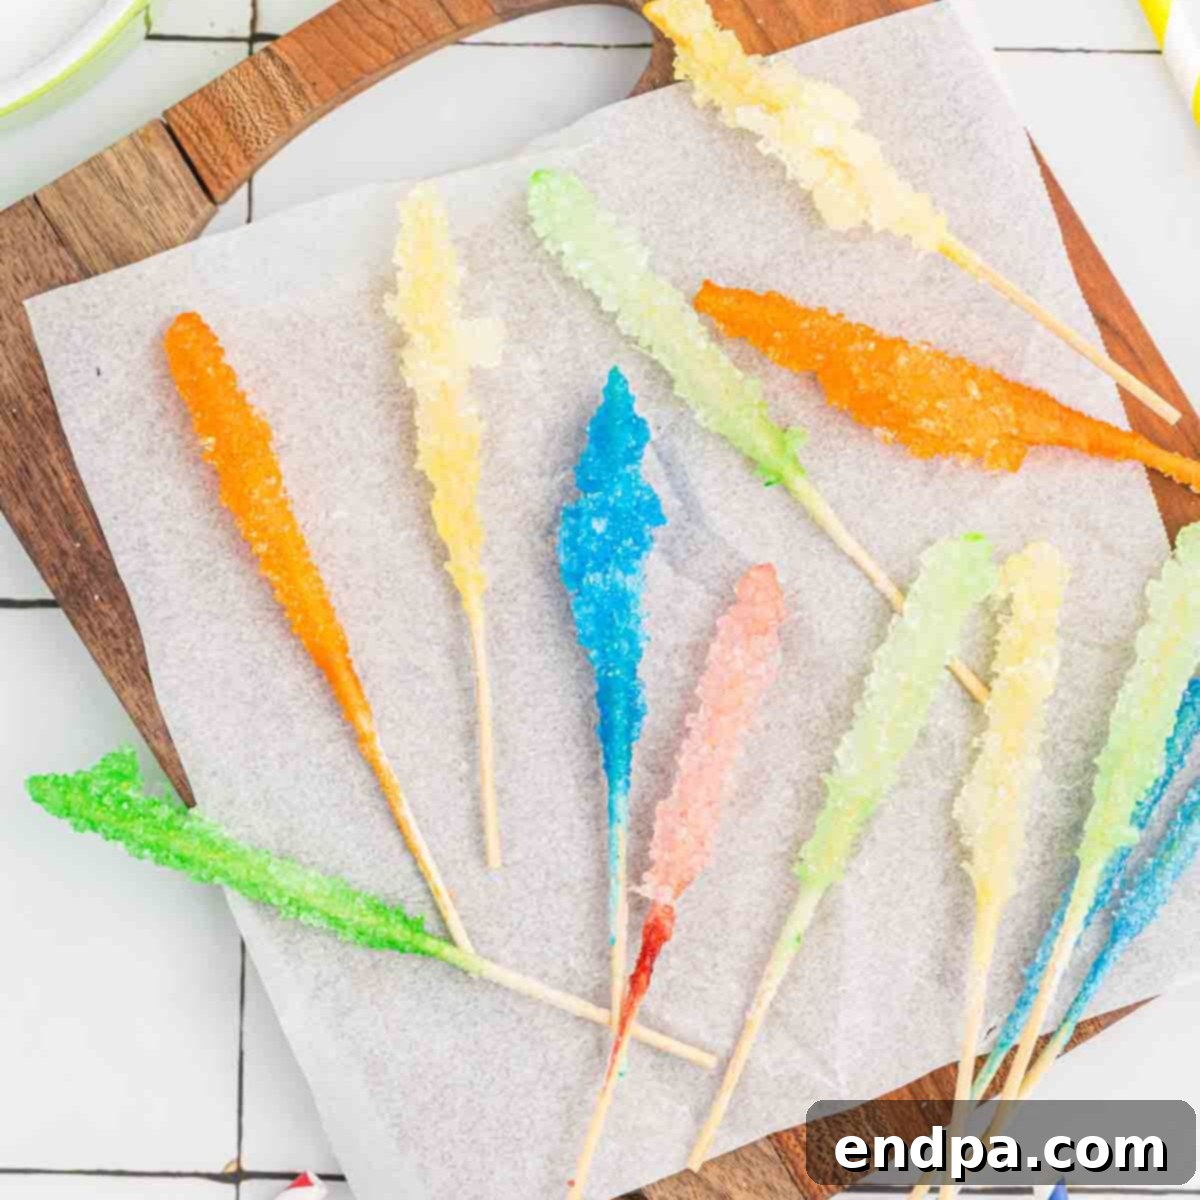
Unlock the delightful secret to creating **homemade rock candy** with this incredibly easy and engaging recipe. Perfect for sparking curiosity in children and satisfying any sweet tooth, this **DIY rock candy** project offers a unique blend of culinary fun and scientific exploration. Get your family involved in making these vibrant, crystalline treats together, and prepare to be amazed by their beauty and surprisingly delicious taste. Learn **how to make rock candy** that is not only a feast for the eyes but also a delightful experience for the palate, creating lasting memories in your kitchen.
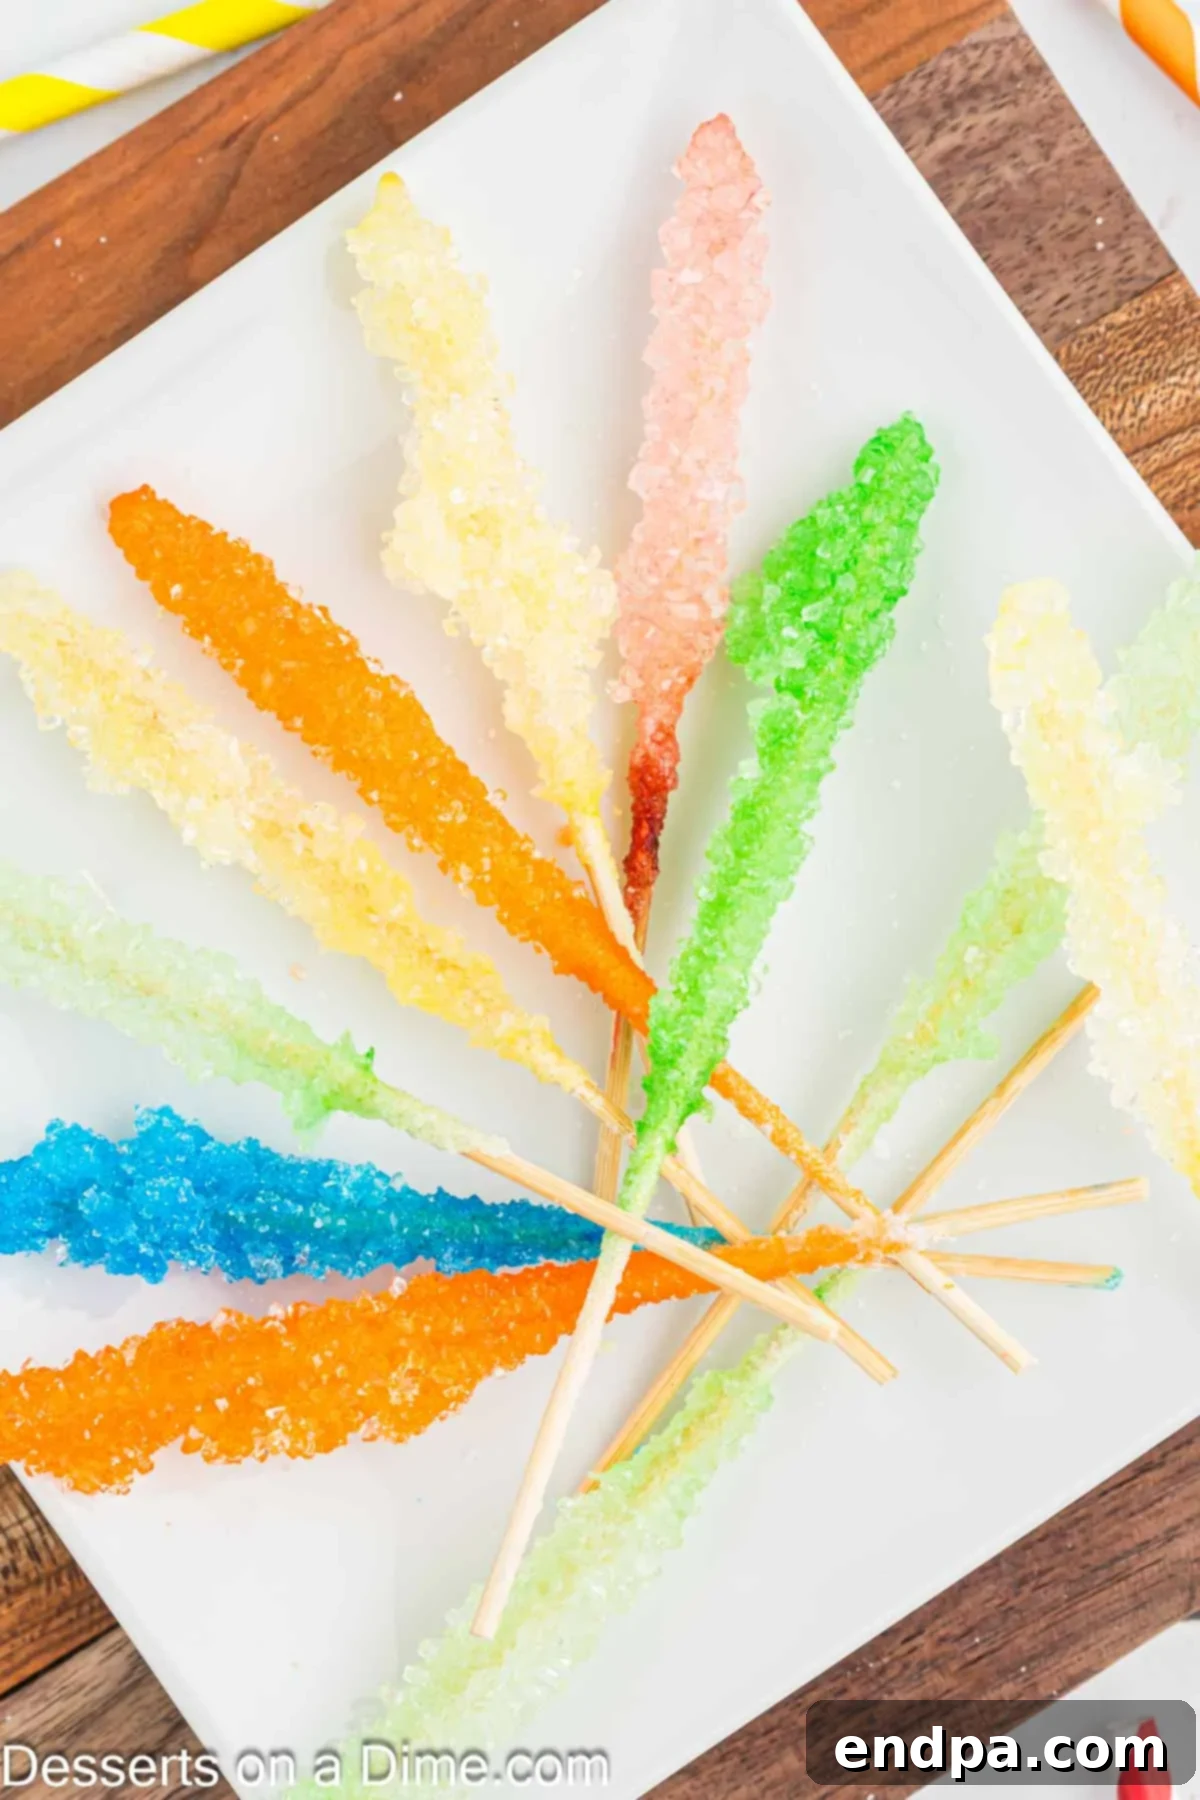
Rock candy has a timeless appeal, often a coveted treat found in candy stores. Now, imagine bringing that wonder into your own home! Making **homemade rock candy** is surprisingly straightforward and incredibly rewarding. Over the years, I’ve enjoyed experimenting with various candy recipes, and venturing into rock candy production has been a true highlight.
While the process involves several steps, each one is simple, making it an accessible project for beginners and seasoned home cooks alike. The real joy comes from customizing your candy with different colors and flavors, and then patiently watching the mesmerizing sugar crystals grow over several days. It’s a captivating spectacle that truly brings a touch of magic to your kitchen. If you enjoy creating sweet delights, you might also love our Old Fashioned Divinity Candy Recipe and our Hard Candy Recipe, which are more family favorites.
Table of Contents
- Why We Love This Recipe
- What is Rock Candy?
- The Science Behind Rock Candy
- Supplies You’ll Need
- Key Ingredients
- Creative Variations
- How to Make Rock Candy (Step-by-Step Guide)
- Expert Tips for Success
- Troubleshooting Common Problems
- Storage Best Practices
- Serving Suggestions
- More Easy Candy Recipes
Why We Love This Recipe
Making **homemade rock candy** is an experience that transcends mere cooking; it’s an adventure for the whole family. Everyone, from the youngest to the oldest, finds immense joy not only in devouring these sparkling treats but also in the hands-on process of creating them. It’s a fantastic way to bond over a shared, sweet project.
Beyond the fun, this recipe doubles as an incredible **science experiment for kids**. Observing the growth of sugar crystals from a clear liquid is a truly captivating educational experience. Children can actively learn about supersaturation and crystallization in a tangible, exciting way, transforming abstract scientific concepts into a delicious reality. This hands-on learning makes the process of watching crystals form truly neat and memorable, fostering a love for science and baking simultaneously.
What is Rock Candy?
**DIY rock candy** consists of large, beautiful sugar crystals, typically grown on a stick or a string. This exceptionally sweet treat is made by allowing pure sugar to crystallize out of a supersaturated solution. Because it’s composed almost entirely of pure sucrose, rock candy is naturally clear and boasts an intense, unadulterated sweetness. Its elegant appearance and simple flavor make it wonderfully versatile. Rock candy can be savored on its own, used as an elegant stirrer for drinks, or broken into shards to top a variety of desserts, adding both texture and sparkle.
Although the creation of rock candy involves multiple steps and a waiting period for crystallization, the individual actions are simple to execute. With just a few basic ingredients and readily available supplies, this project transforms into the perfect **at-home science project**, offering a rewarding outcome for minimal active effort. The initial preparation time for the sugar solution is only about 20 minutes, followed by a fascinating period of crystal growth.
The Science Behind Rock Candy
The magic of rock candy lies in a scientific principle known as supersaturation and crystallization. To create rock candy, you start by dissolving a large quantity of sugar in hot water, much more than the water would normally hold at room temperature. This creates a **supersaturated solution**. As this solution slowly cools, the water molecules can no longer hold all the sugar in a dissolved state.
The excess sugar molecules then begin to look for a surface to attach to. This is where your sugar-coated skewers or string come in. The tiny sugar crystals on these “seed” surfaces act as nucleation sites, providing a perfect starting point for the dissolved sugar to gather and bond. Over several days, these initial crystals slowly grow, attracting more and more sugar molecules from the solution, gradually building up into the larger, beautiful rock candy crystals we cherish. The key to forming large, clear crystals is a slow, undisturbed cooling and growing process, which allows the sugar molecules to arrange themselves in an organized, crystalline structure rather than forming small, chaotic aggregates. This controlled environment is precisely what makes homemade rock candy such a dazzling success.
Supplies You’ll Need
Before you embark on your rock candy adventure, gathering all the necessary supplies will ensure a smooth and enjoyable process. Having everything at hand will make the experience seamless.
- Wooden Skewers: These are essential as they provide the foundation for your sugar crystals to grow. Their slightly porous surface helps the initial sugar coating adhere, which is crucial for successful crystal formation.
- Clean Glass Jars with Lids: Mason jars or similar clear glass containers are perfect. Their transparency allows you to marvel at the crystal growth, and the lids are vital for protecting your solution from dust and maintaining a stable environment. Avoid plastic containers, as they can sometimes leach into hot liquids and are less ideal for crystal formation.
- Straws: You’ll need these to create a simple support structure for your skewers or strings, ensuring they are suspended correctly in the sugar solution without touching the bottom or sides of the jar.
- Baker’s Twine (Optional): If you choose to grow rock candy on a string instead of skewers, baker’s twine is ideal. It’s food-safe and sturdy, helping you securely suspend the string in the solution. A small, food-safe weight can be tied to the end to keep it submerged.
Key Ingredients
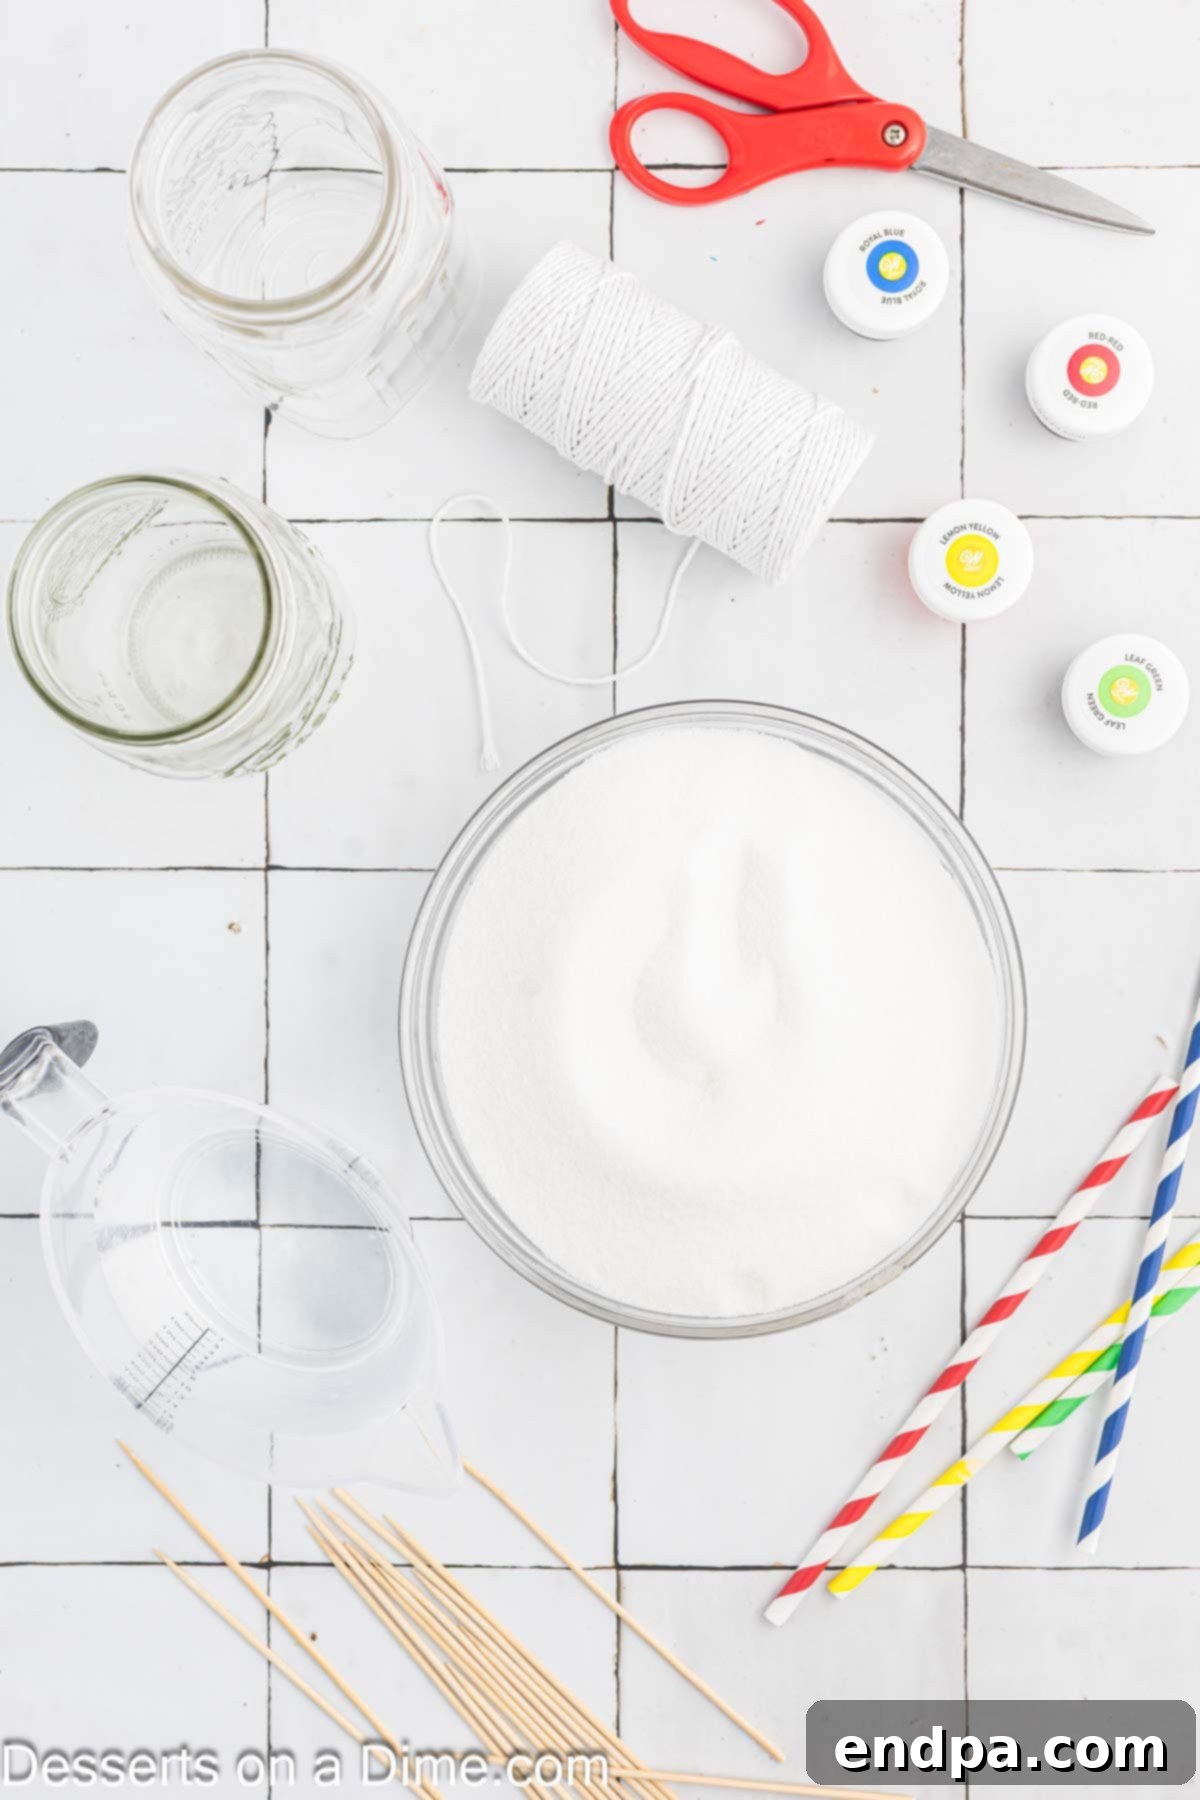
The beauty of **homemade rock candy** lies in its elegant simplicity, requiring only a handful of basic ingredients to create a truly spectacular treat.
- Granulated Sugar: This is the primary component and building block of your rock candy. You’ll need a substantial amount, as the candy itself is essentially crystallized sugar. Using high-quality granulated sugar will contribute to clearer, more visually appealing crystals.
- Water: The solvent that dissolves the sugar to create the supersaturated solution. While tap water is generally fine, using filtered water can sometimes result in even clearer crystals.
- Food Coloring (Optional): For vibrant and fun rock candy, food coloring is your best friend. A few drops can transform the clear sugar crystals into a spectrum of colors, making them even more attractive and customizable.
- Flavoring Oil or Extract (Optional): To add an extra layer of deliciousness, incorporate a few drops of food-grade flavoring oil or extract. Options range from classic vanilla to fruity or minty choices. Remember, flavoring oils are typically more concentrated than extracts, so adjust quantities accordingly.
Creative Variations
One of the most exciting aspects of making **homemade rock candy** is the endless potential for customization. By simply altering the food coloring and flavoring, you can create a diverse array of unique treats to suit any taste or occasion.
- Powdered Sugar Finish: For a soft, delicate look and an extra touch of sweetness, place your dried rock candy in a zip-top bag with a tablespoon of powdered sugar and gently shake to coat.
- Cinnamon Spice: Add a few drops of cinnamon oil to the sugar solution for a warm, comforting flavor. This variation is particularly wonderful for fall gatherings or a special treat during Christmas, perhaps with a hint of red or brown food coloring.
- Blue Raspberry Bliss: Combine raspberry extract with blue food coloring to craft a fun, tangy, and visually striking blue raspberry rock candy that kids adore.
- Classic Strawberry or Cherry: For a burst of fruity flavor, use strawberry extract paired with red food coloring. Cherry extract is another equally delicious alternative that offers a sweet, nostalgic taste.
- Zesty Citrus: Lemon or orange extract will infuse your rock candy with bright, refreshing notes. These are consistently popular choices and pair beautifully with yellow or orange food coloring.
- Cool Peppermint: If you love a refreshing kick, incorporate peppermint extract into your candy solution. This is ideal for winter holidays, especially when combined with white, red, or green food coloring. Wintergreen or spearmint extracts are also excellent options for a similar minty sensation.
How to Make Rock Candy (Step-by-Step Guide)
Creating **homemade rock candy** is a rewarding process that combines simple kitchen techniques with the marvel of natural crystallization. Follow these detailed steps to grow your own stunning sugar crystals.
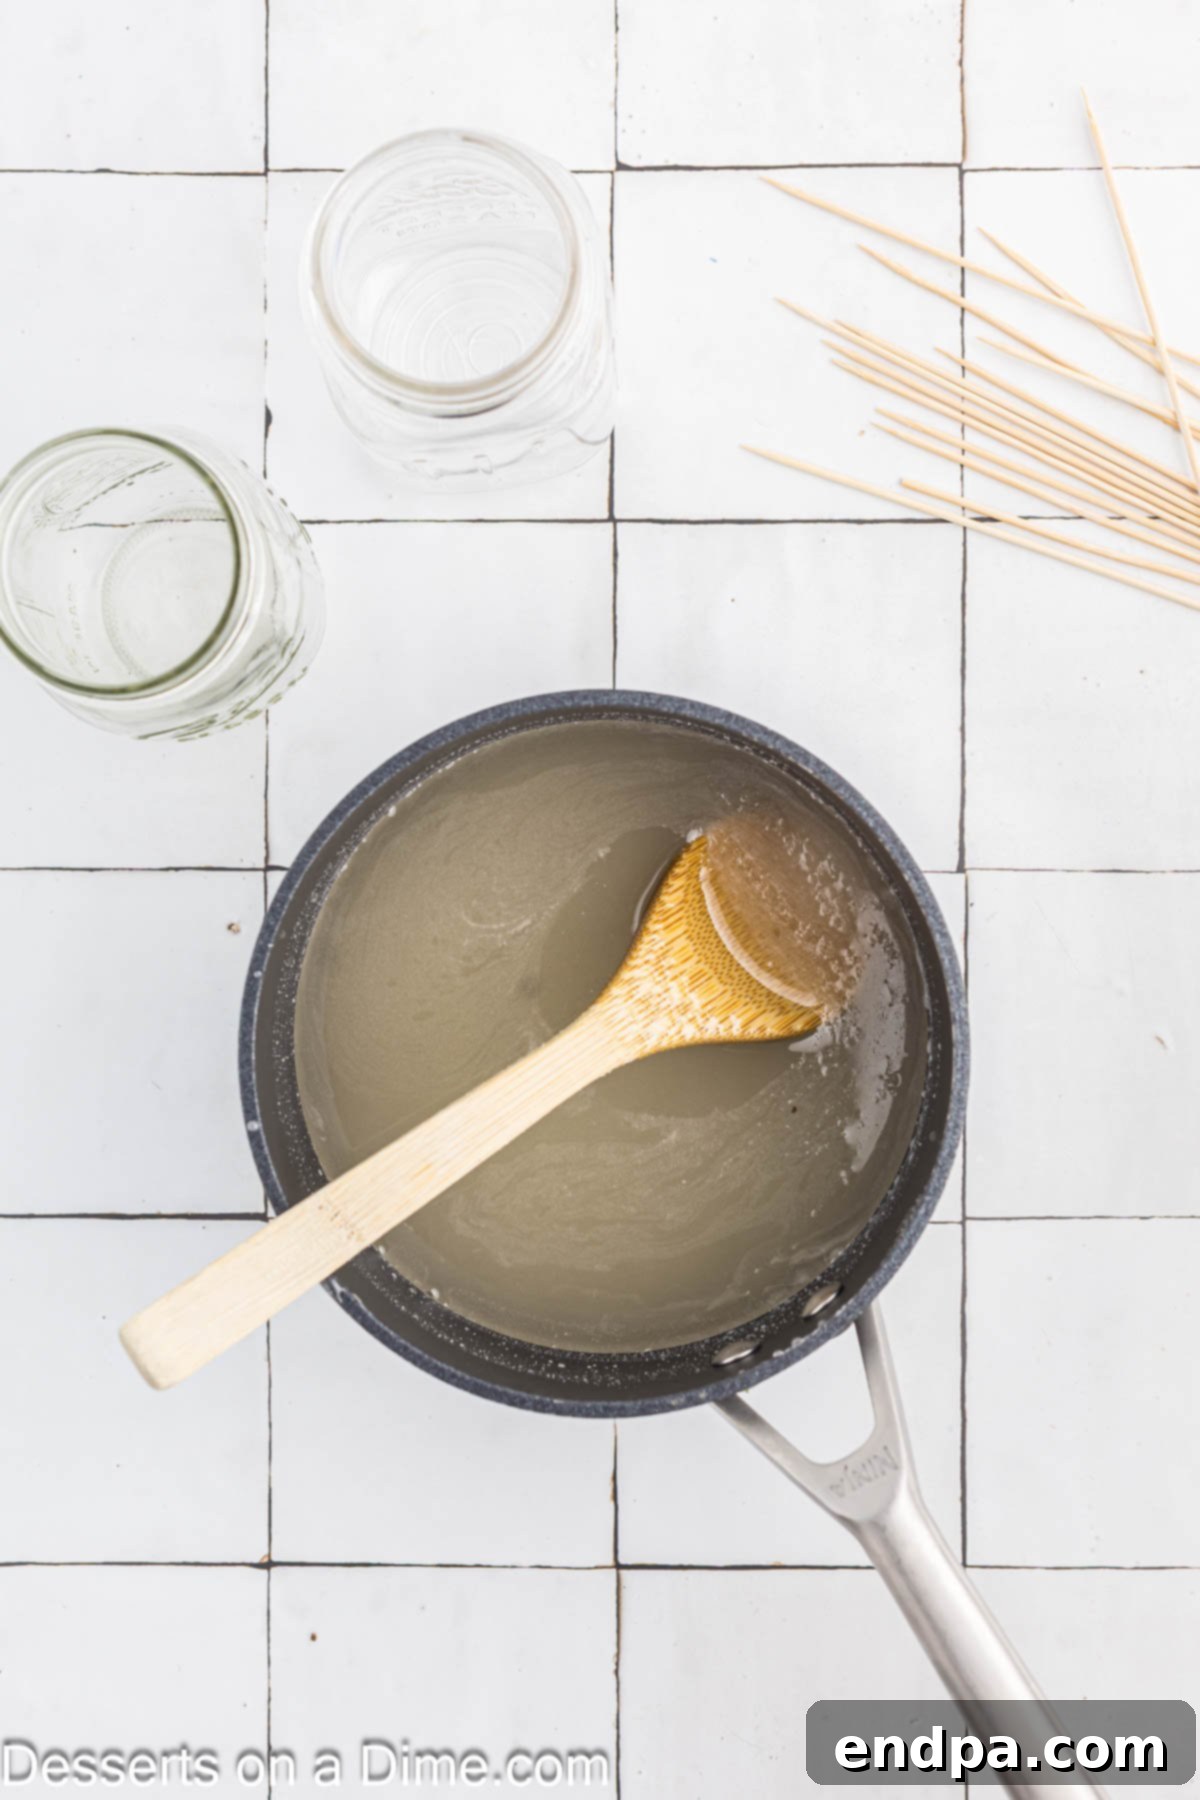
Step 1: Create the Sugar Solution. Begin by adding your granulated sugar and water to a saucepan. Place the pan over high heat and stir constantly. Continue stirring as the mixture heats and comes to a rolling boil. It’s crucial not to boil the sugar solution for too long, as this can cause it to caramelize or harden prematurely. Maintain consistent stirring to ensure all sugar dissolves evenly.
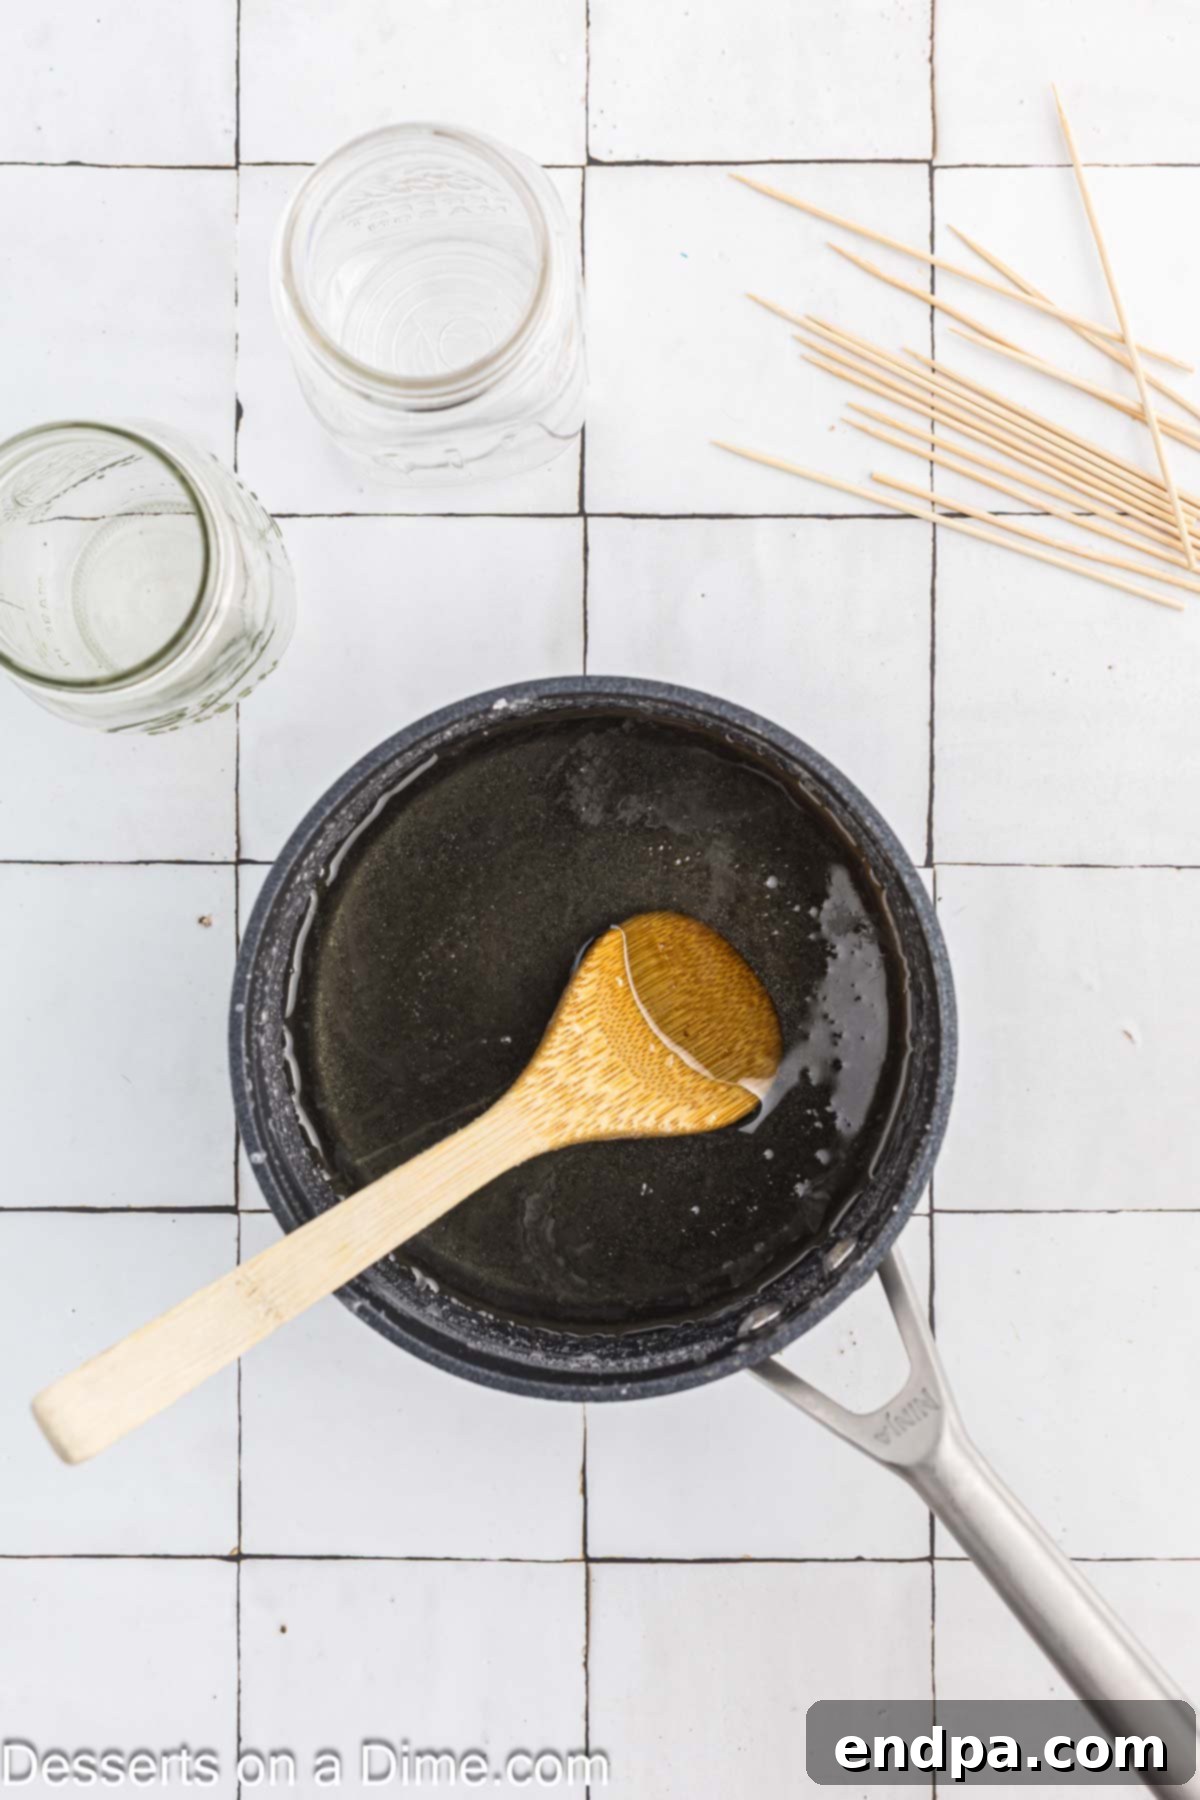
Step 2: Dissolve the Sugar. Once the solution reaches a rolling boil, remove the saucepan from the heat. Continue stirring the sugar syrup until all of the sugar granules have completely dissolved. You’ll observe the sugar mixture becoming noticeably clearer as the sugar fully integrates into the hot liquid, signifying a perfect supersaturated solution.
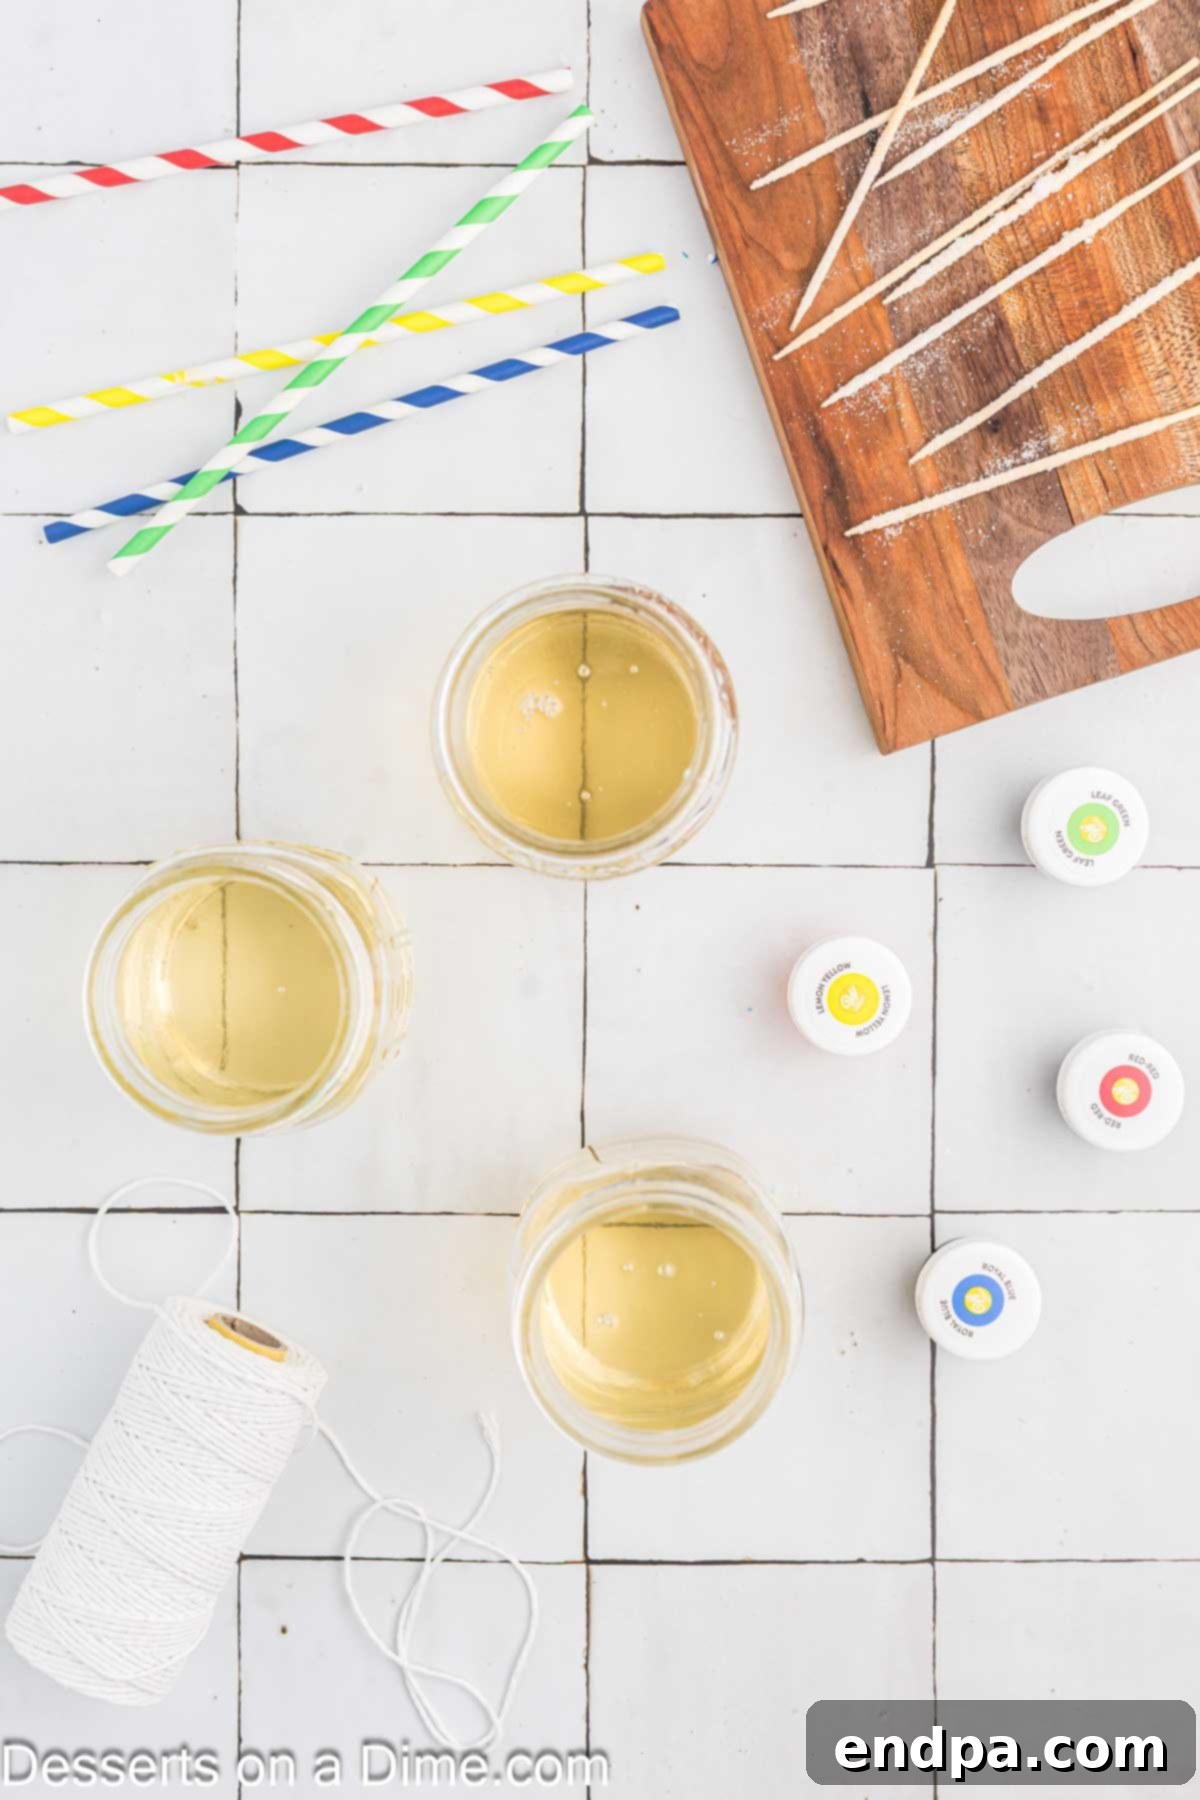
Step 3: Cool the Solution. Carefully pour the hot sugar mixture into your clean glass jars, filling them almost to the top. Then, place these jars in the refrigerator to cool down slightly. Keep a close watch on the mixture; the goal is for it to reach room temperature, not to become cold. This cooling typically takes between 30 minutes to an hour, depending on the size of your jars.
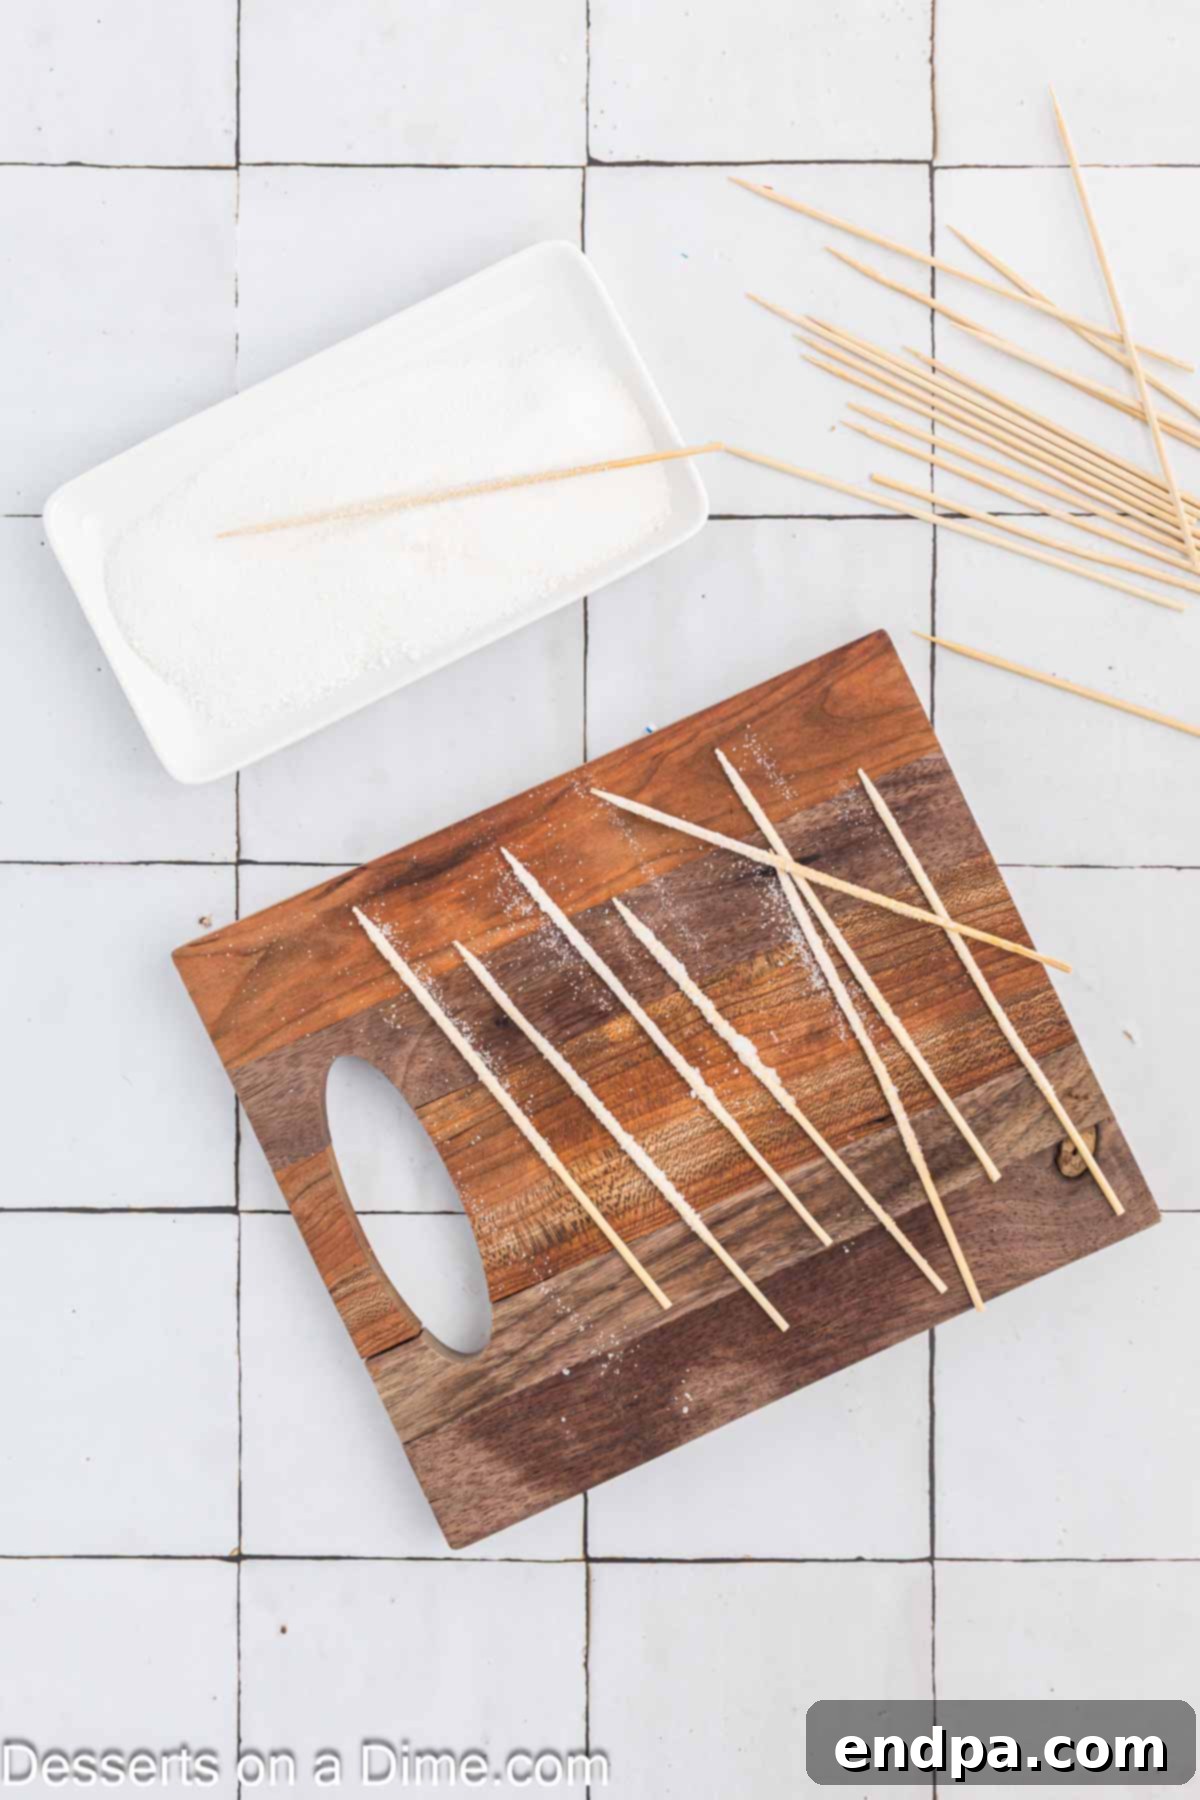
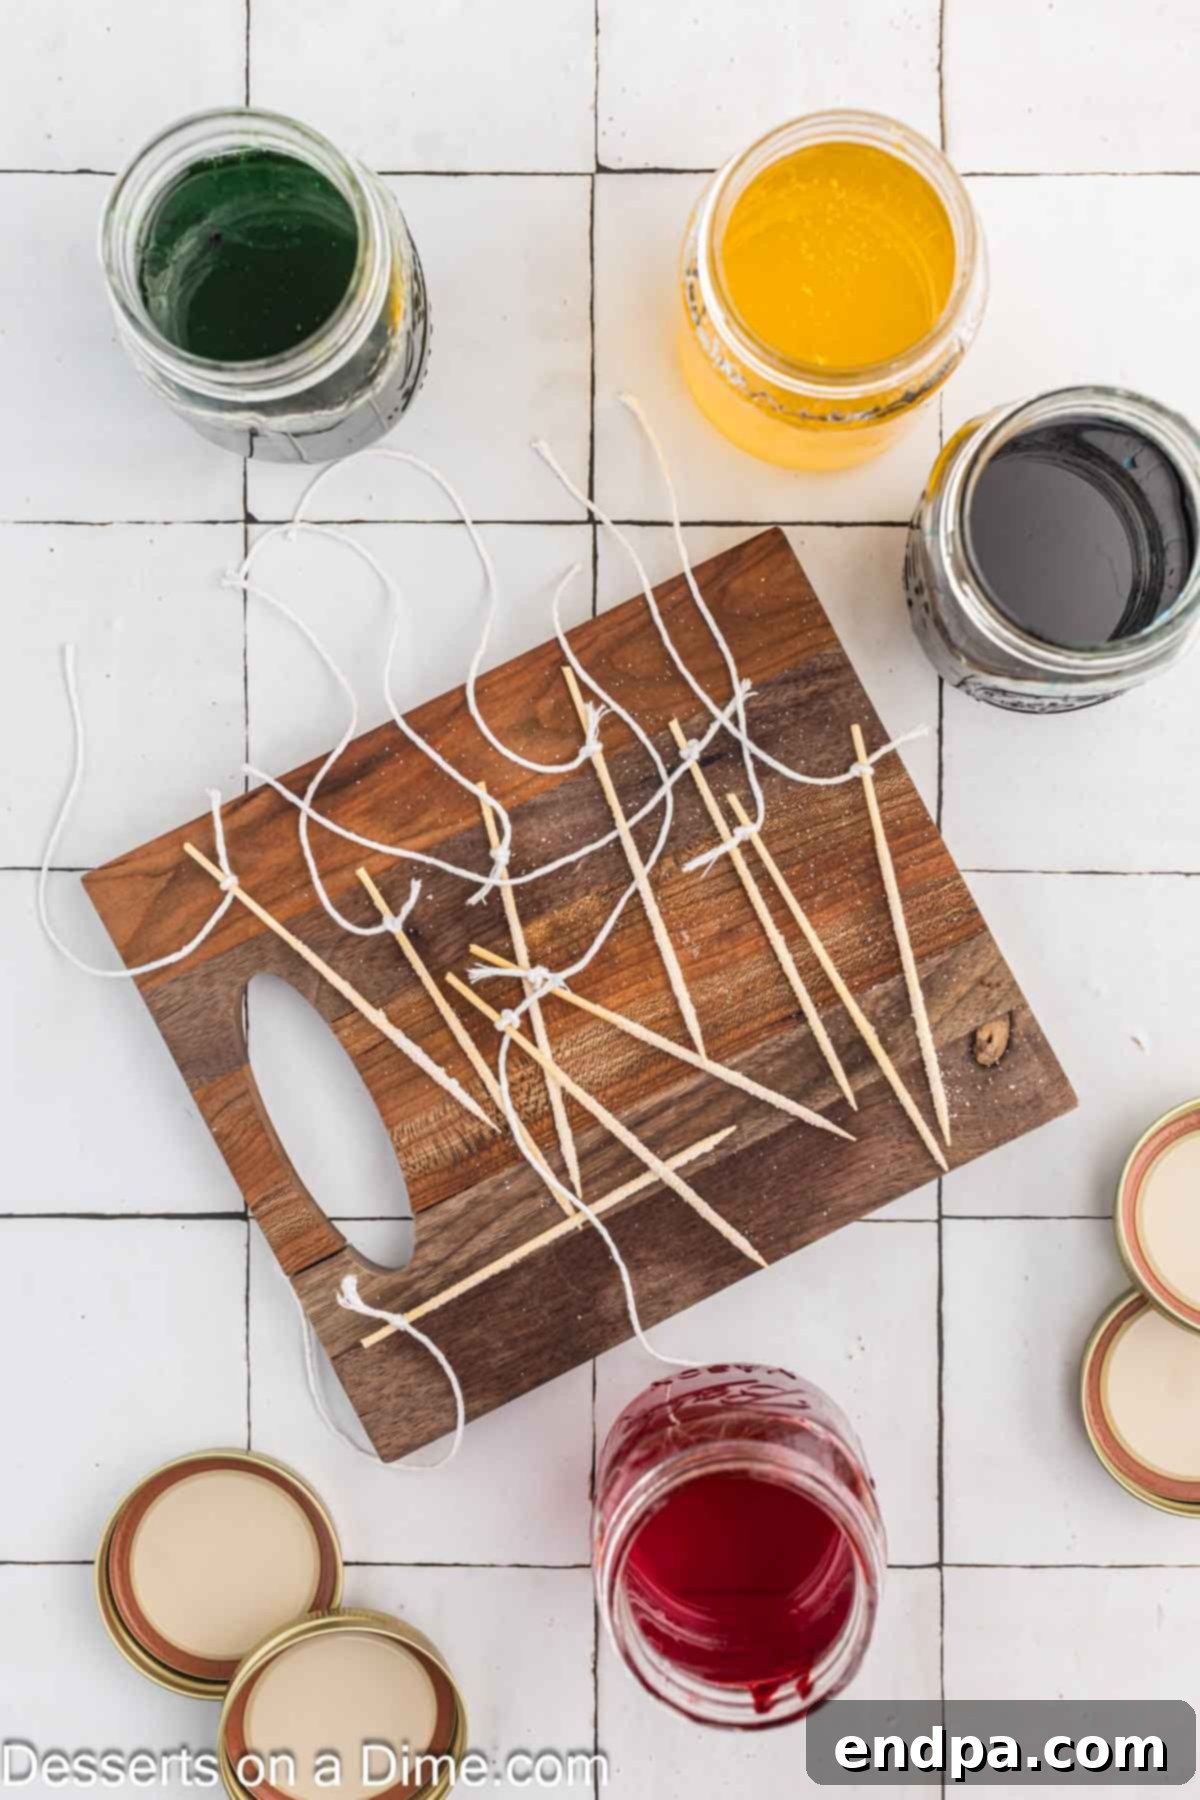
Step 4: Prepare the Skewers (Crystal Seeds). While your sugar solution is cooling, prepare your wooden skewers. Dampen each skewer slightly with water, then roll them generously in granulated sugar until they are thoroughly coated. Set these sugar-coated skewers aside and allow them to dry completely. This vital sugar coating provides the essential “seed” crystals for the dissolved sugar mixture to attach to, encouraging the growth of larger, well-formed sugar crystals for your rock candy.
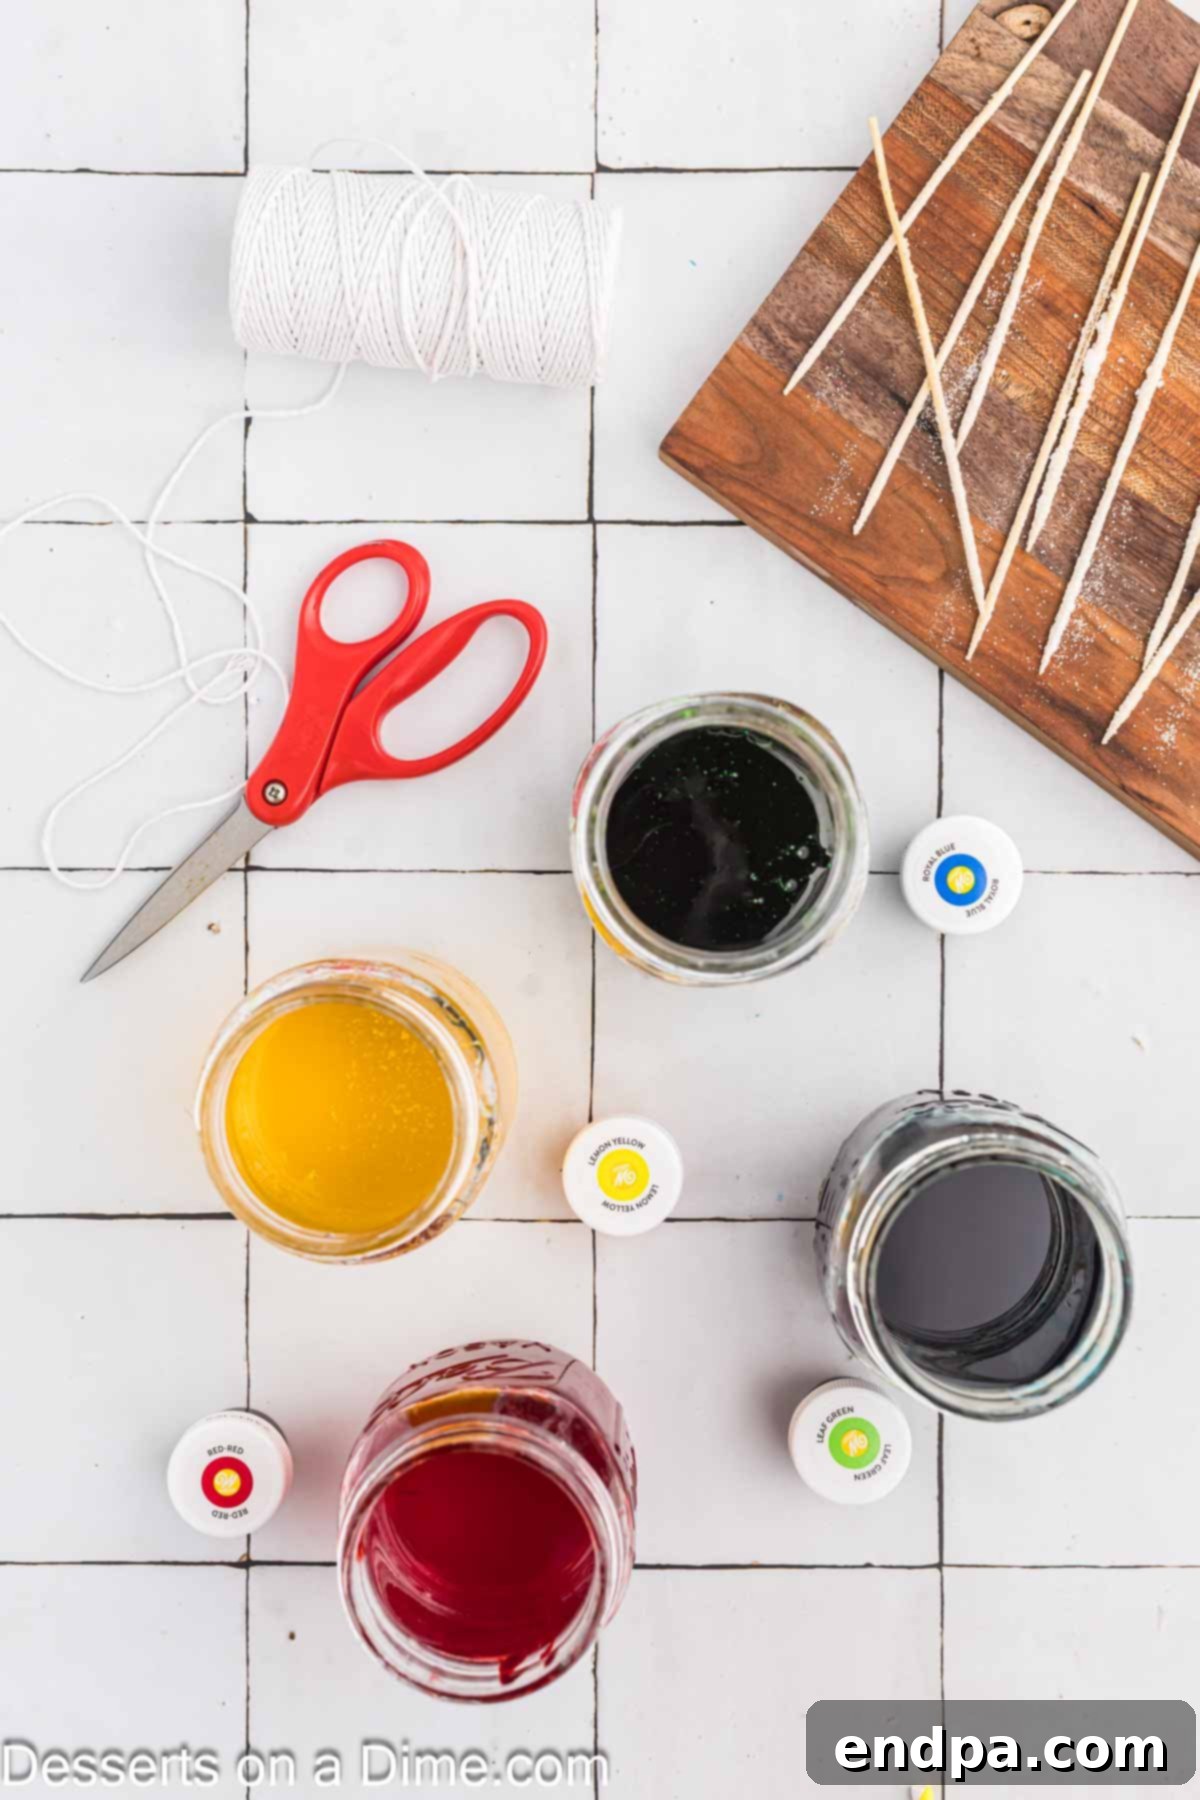
Step 5: Add Color and Flavor. Once the sugar solution in the jars has cooled to approximately room temperature, remove them from the refrigerator. If you plan to add food coloring or flavoring, now is the time to do so. This step is optional, but a few drops of food coloring can make your candy visually stunning. Add drops slowly and stir gently until your desired color and flavor intensity are achieved. You can use baker’s twine tied to the skewers/picks, but the skewers themselves work very well.
Step 6: Suspend the Skewers. Carefully lower your prepared skewers into the sugar mixture in each jar. Position them so they are suspended in the liquid, ensuring they do not touch the bottom, sides, or each other. To hold them in place, you can lay a straw across the top of the jar and tie the skewers’ strings to it. Alternatively, loosely screw the lid onto the jar, allowing the string to be secured by the lid. Place the jars in a quiet, undisturbed location at room temperature, away from direct sunlight or drafts. This is the waiting game: it needs several days before you start to see noticeable sugar crystals grow. The more days you patiently wait, the larger and more impressive your crystals will become.
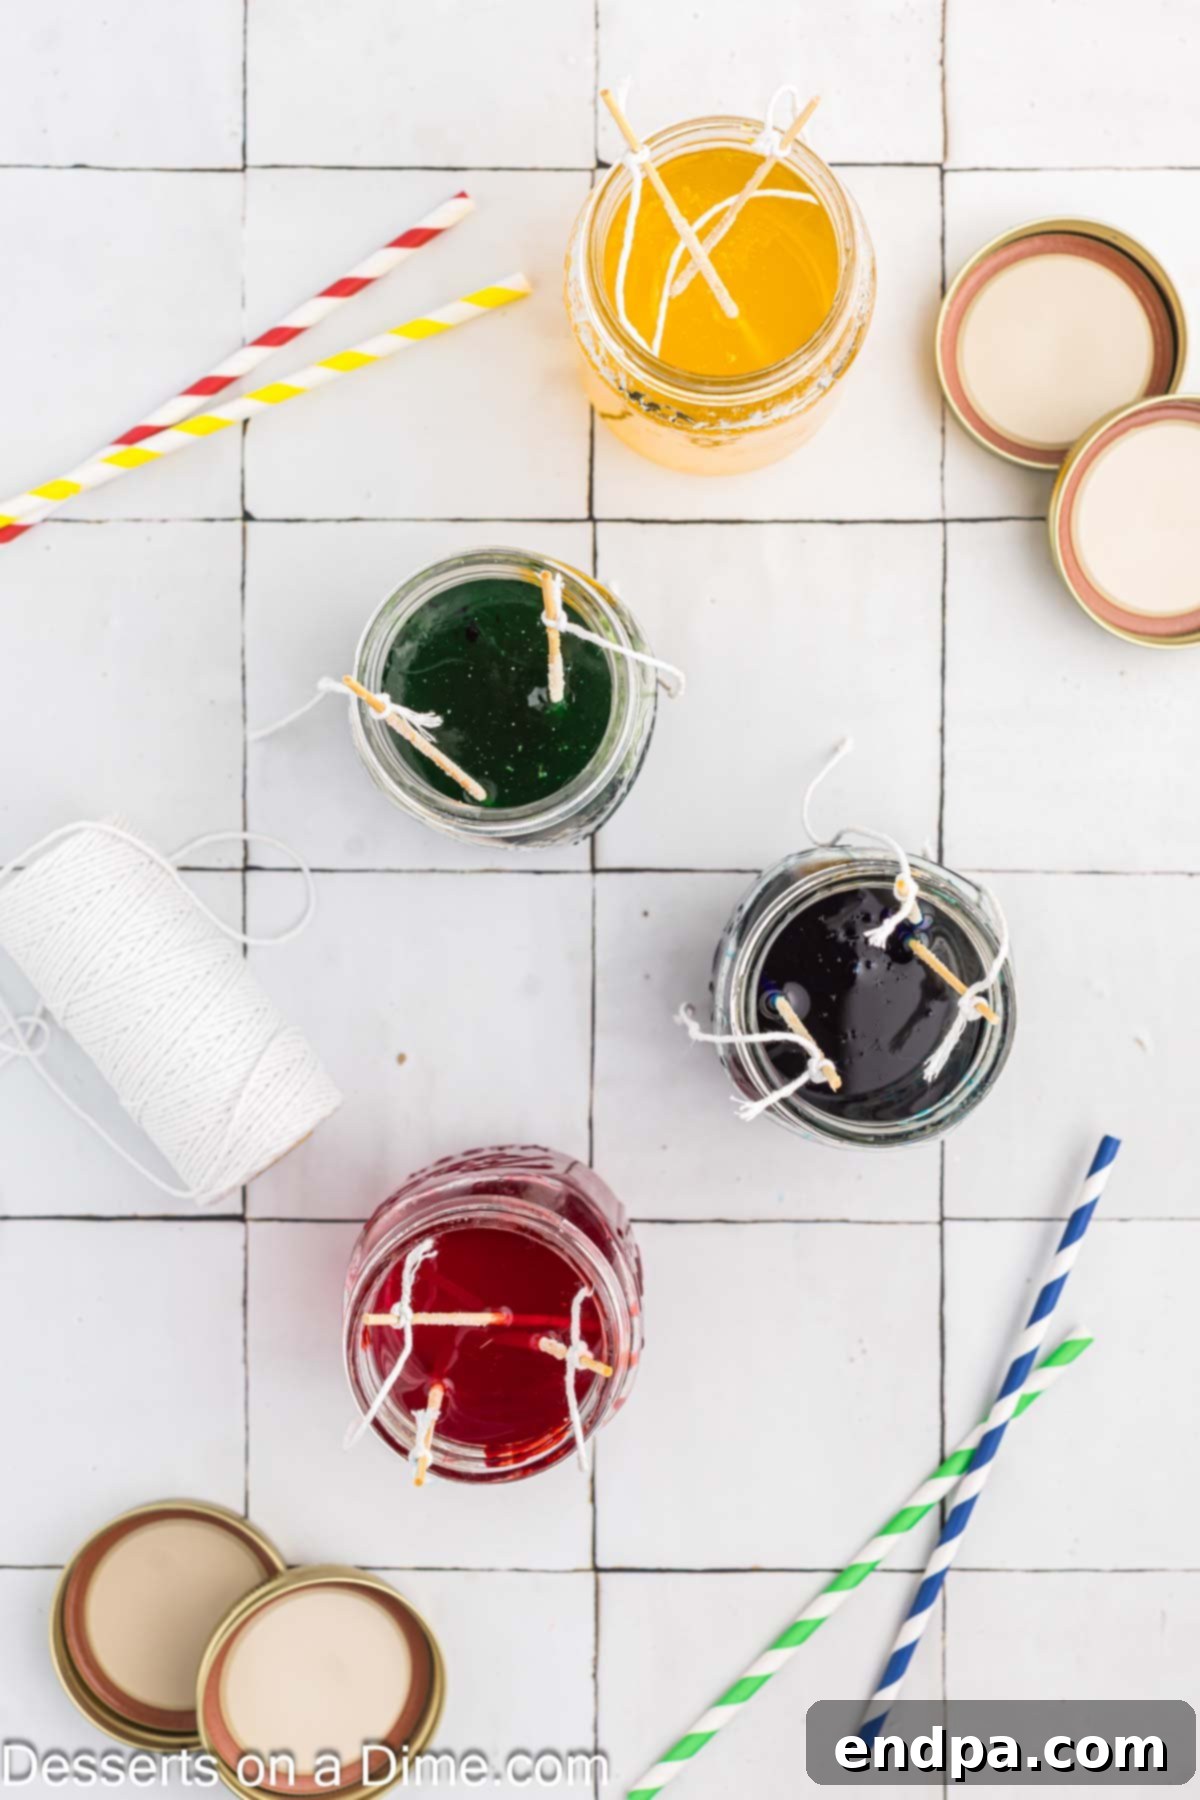
Step 7: Monitor Crystal Growth. Observe the crystals as they grow. Once they have reached your desired size – typically after 3 to 10 days, but potentially longer for truly massive crystals – they are ready for the drying process.
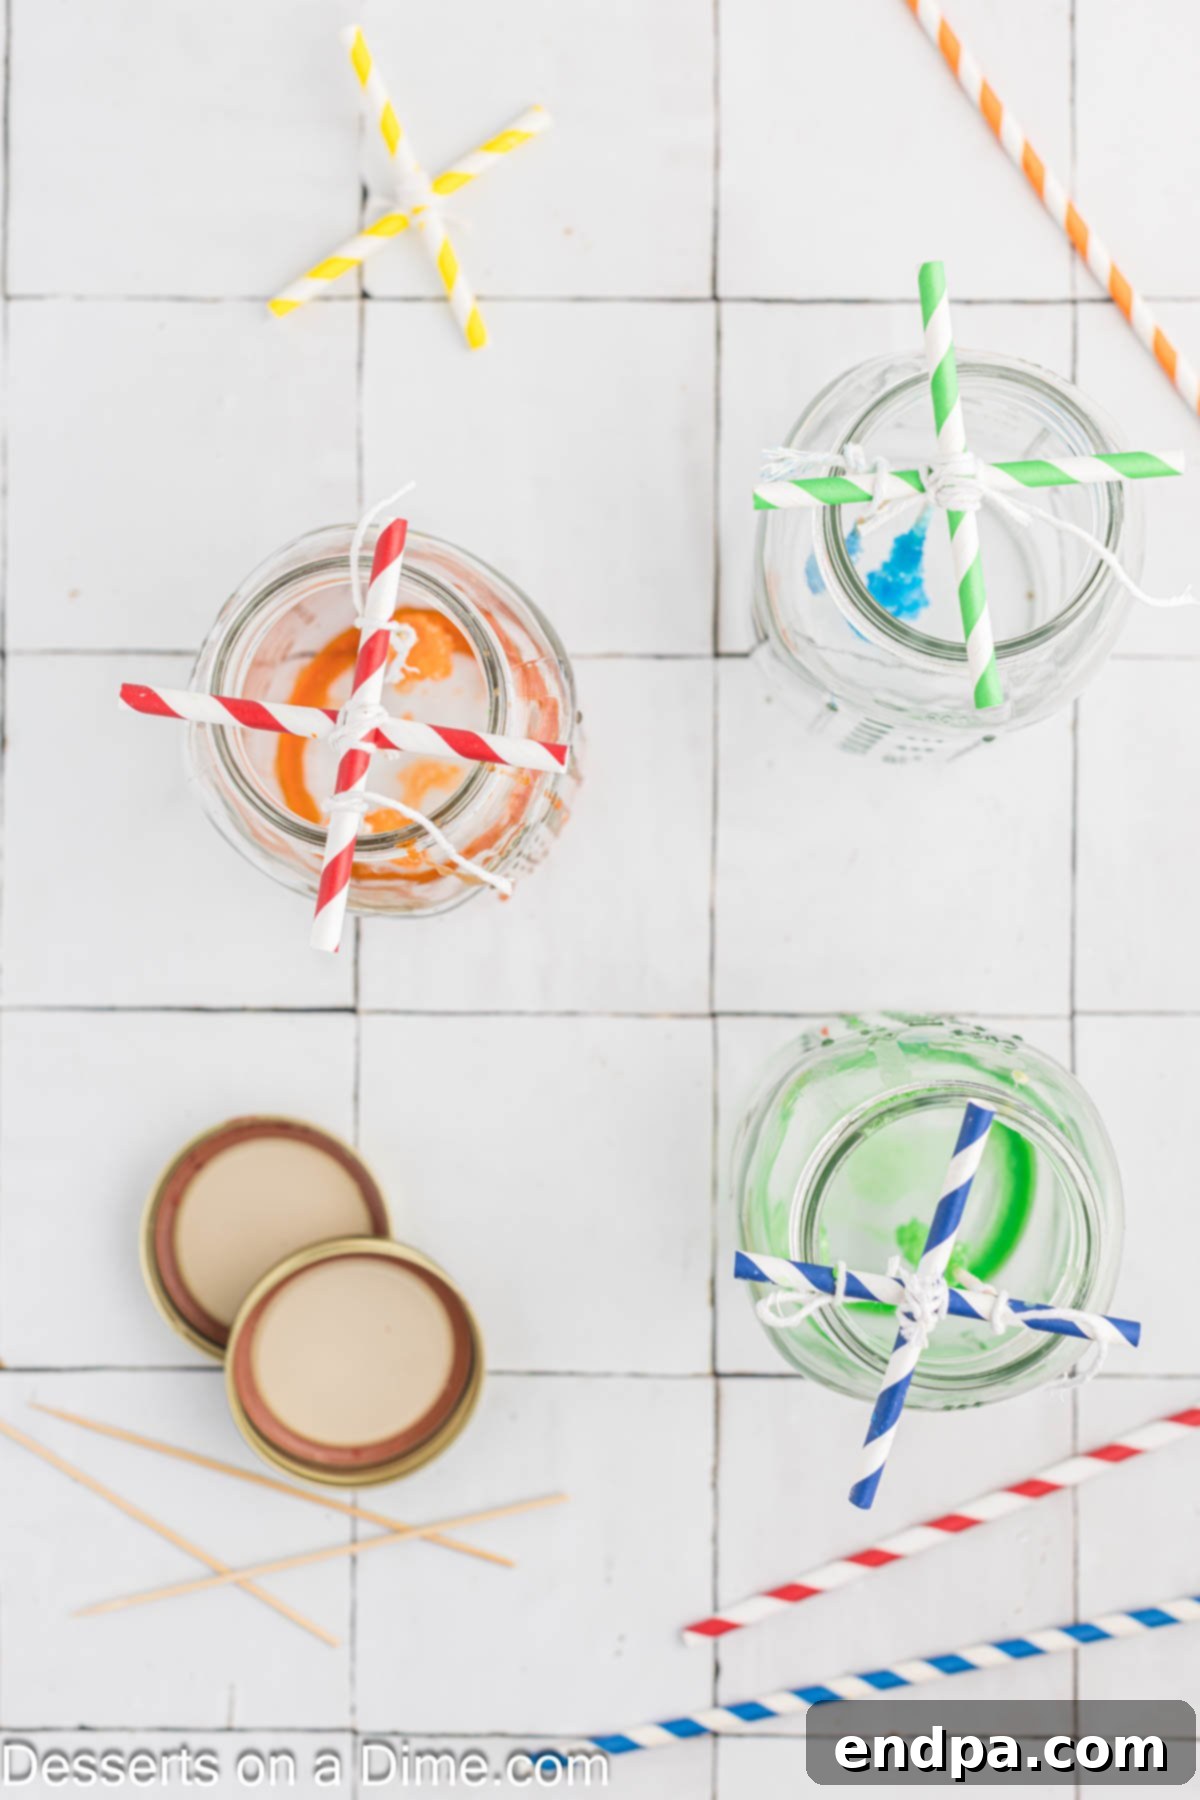
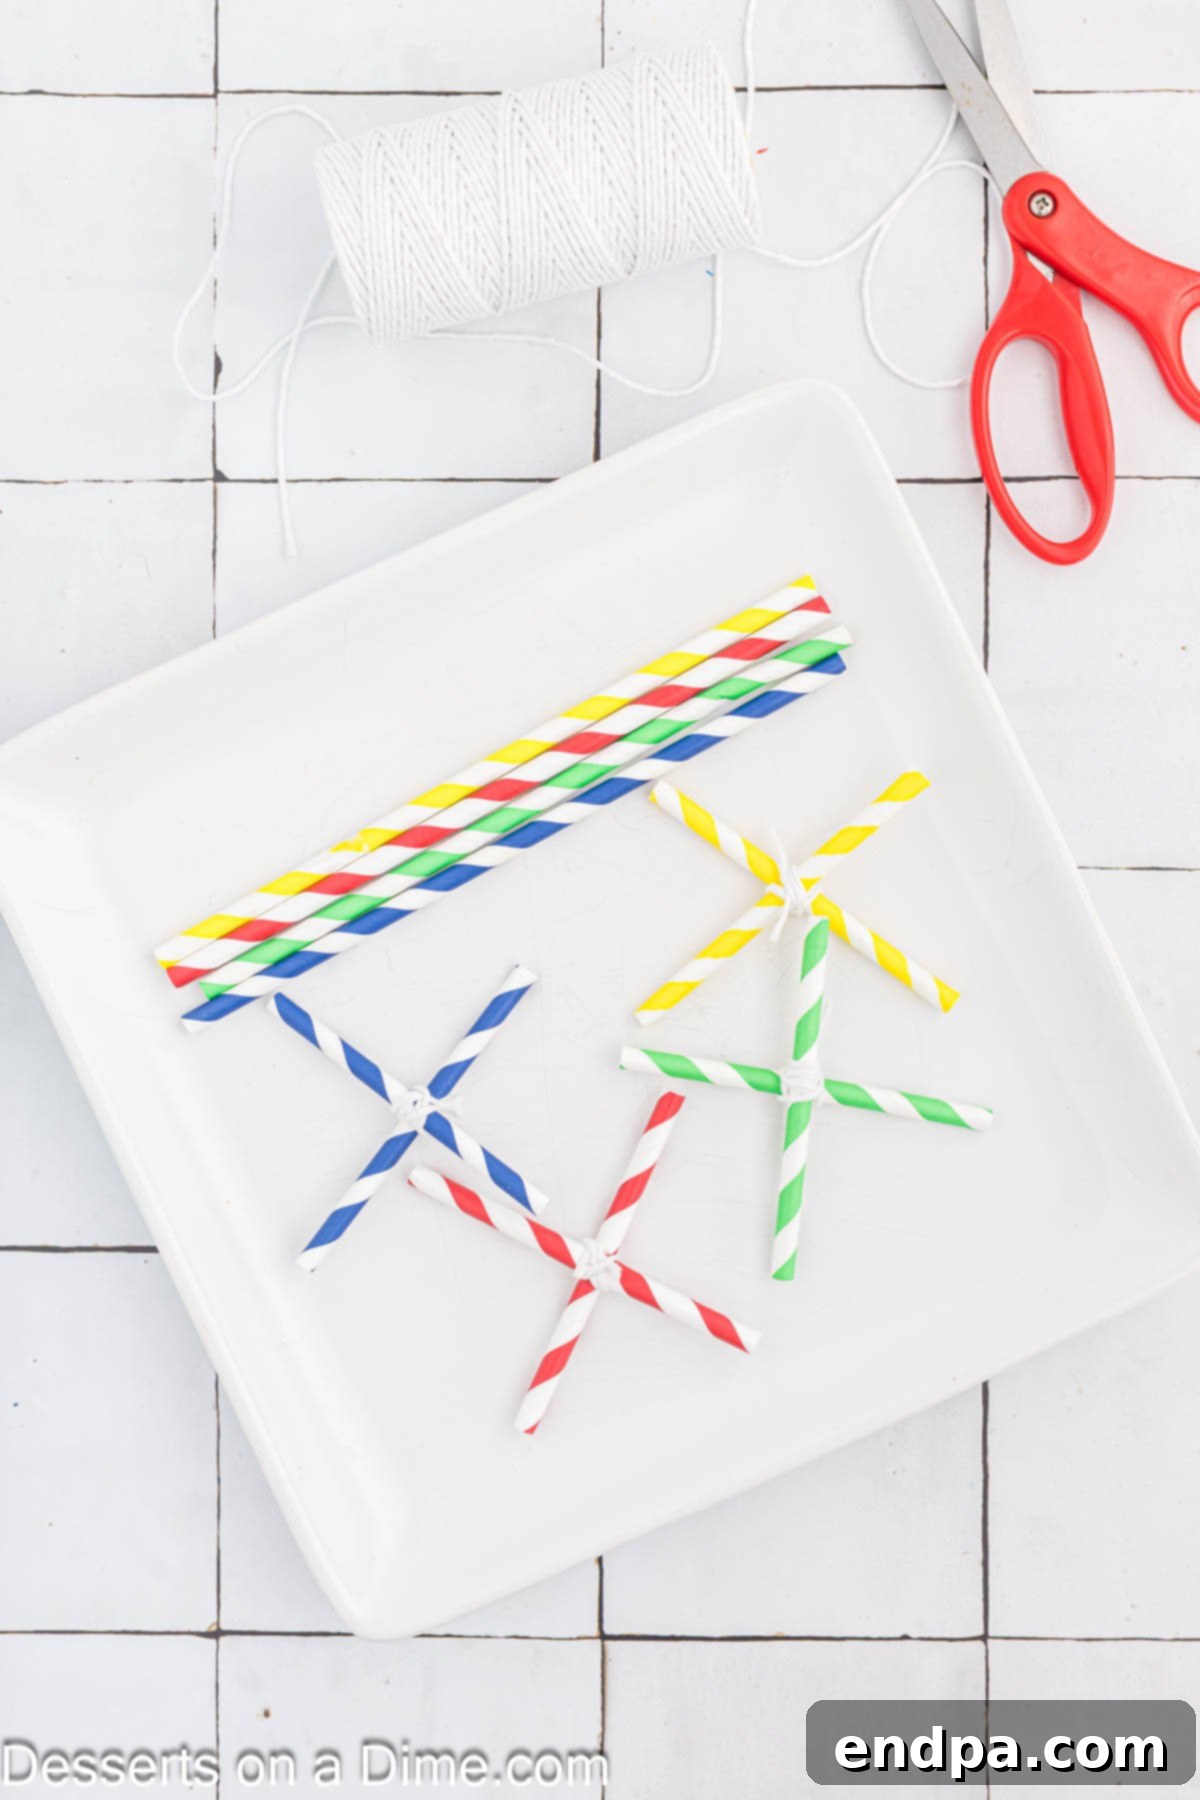
Step 8: Prepare for Drying. To dry your rock candy, tie two straws into an ‘X’ shape and balance this makeshift rack on top of a clean, empty jar or a bowl. Carefully remove each rock candy stick from its sugar solution, allowing excess syrup to drip off. Then, tie the strings (or balance the skewers directly) onto the straw ‘X’.
Step 9: Air Dry Completely. Ensure the rock candy sticks hang freely and do not touch each other or the sides of the drying container. Allow them to air dry for several hours, or even overnight, until they are completely firm and no longer sticky. This step is crucial for proper texture and storage.
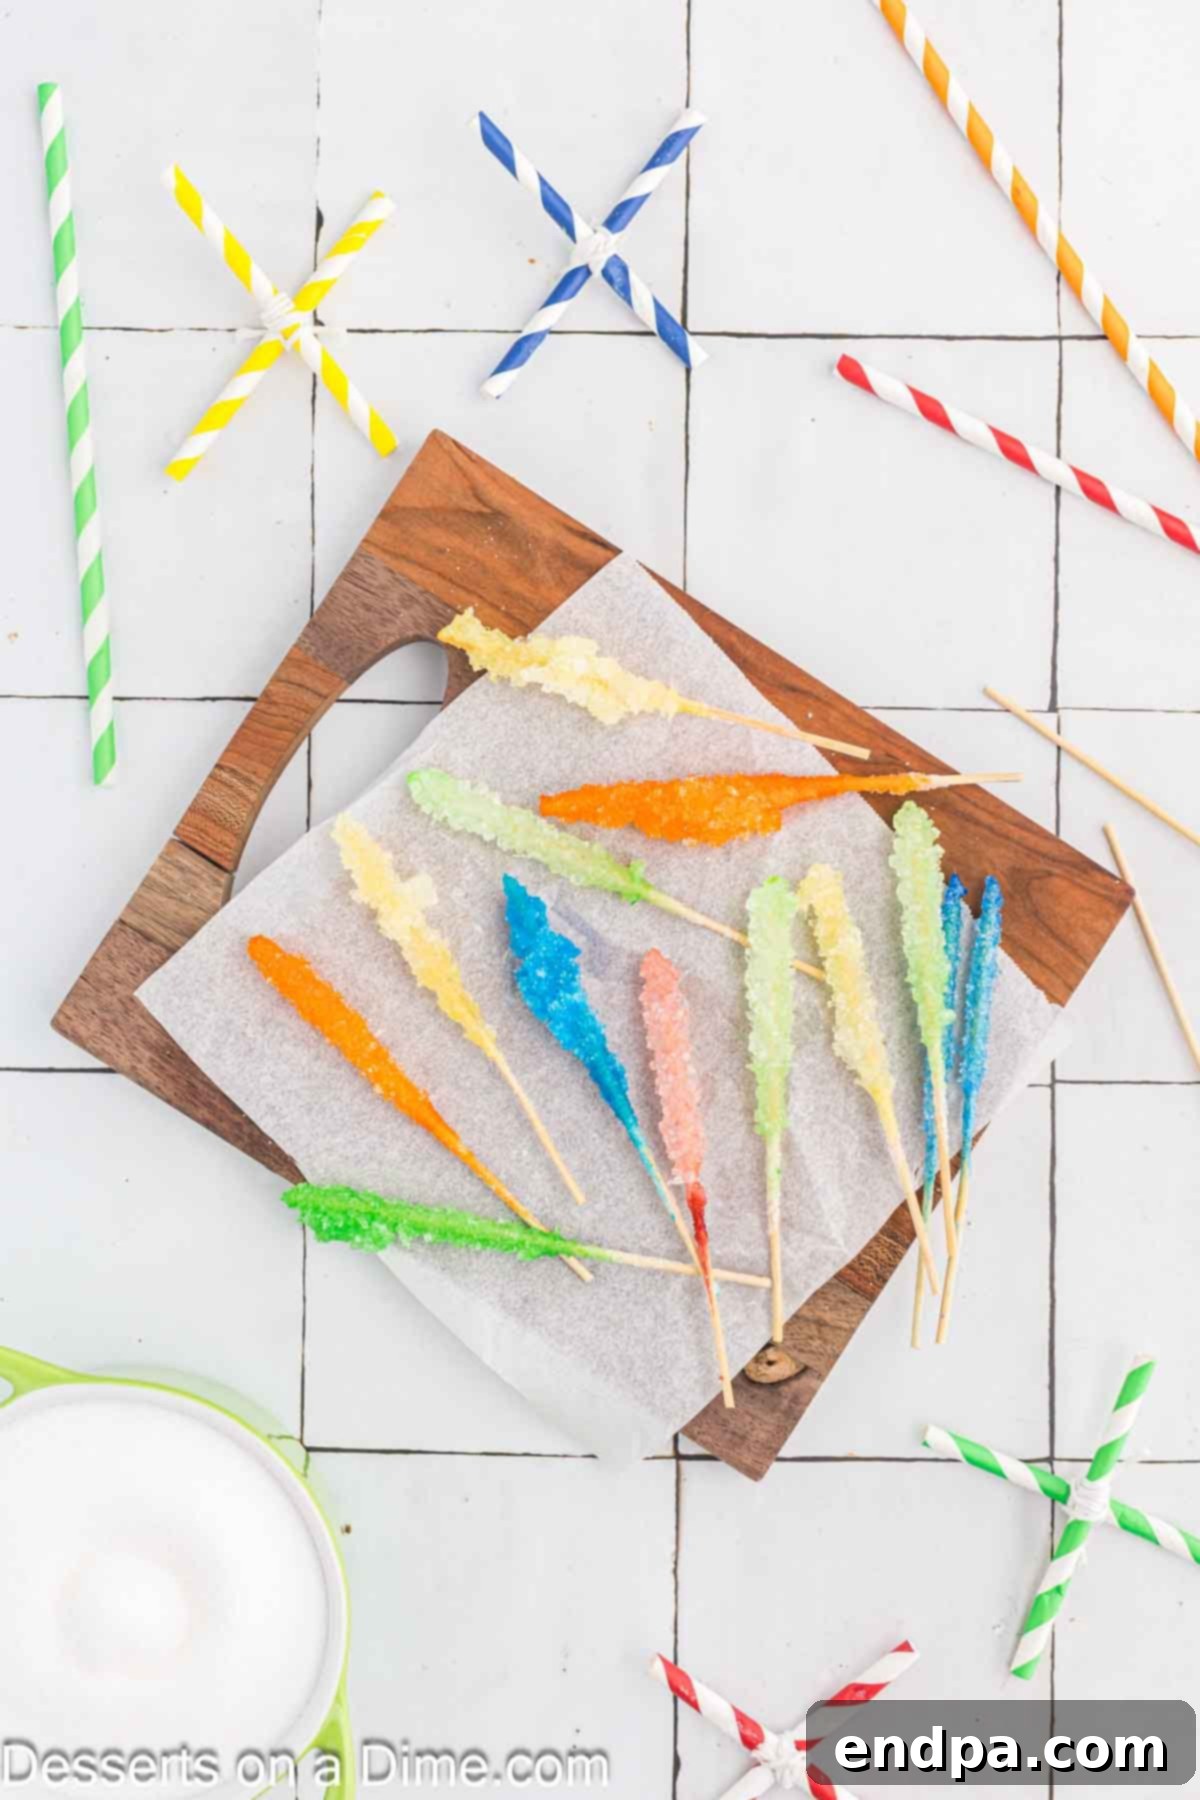
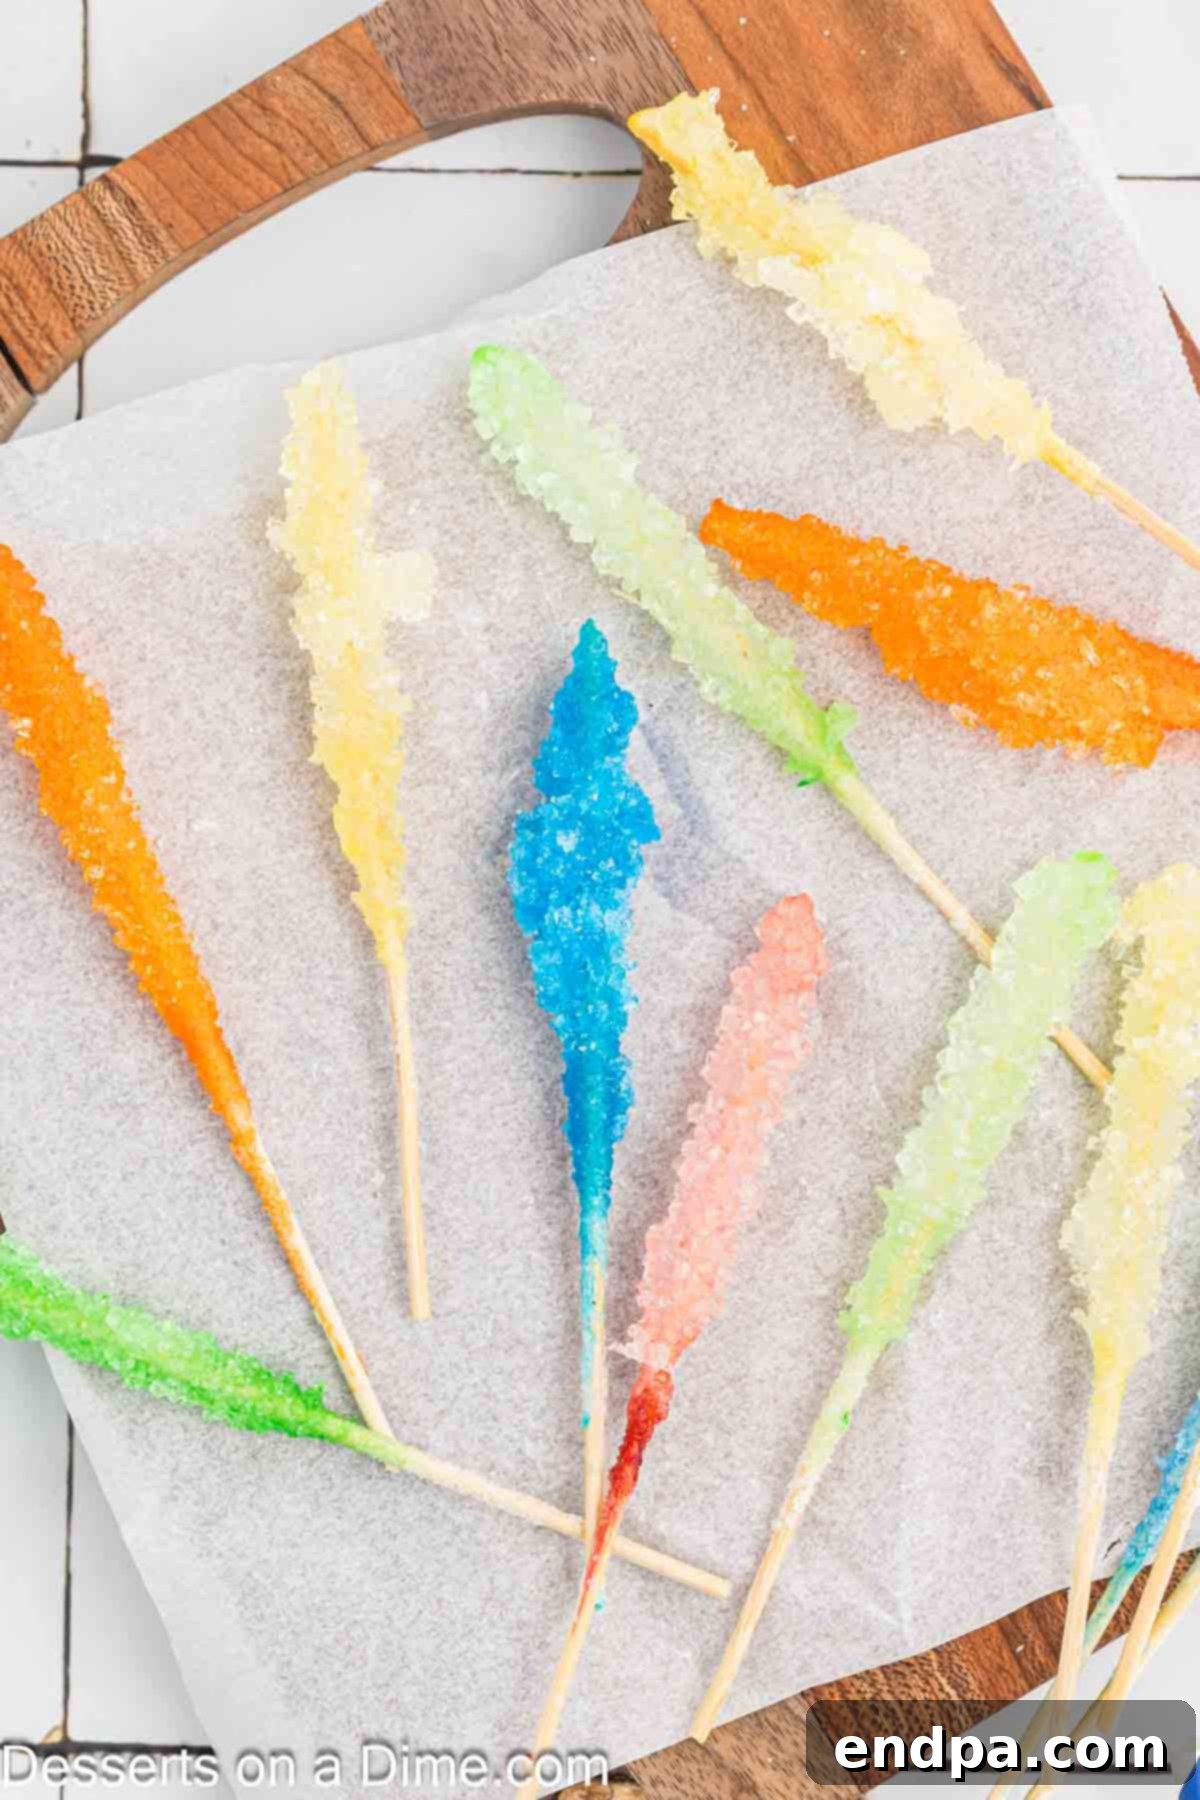
Step 10: Enjoy Your Creation! Once the rock candy is thoroughly dry, it’s ready to be eaten and enjoyed! Marvel at your beautiful, homemade crystalline treats.
Expert Tips for Success
To ensure your **homemade rock candy** turns out perfectly, keep these expert tips in mind. A little attention to detail can make all the difference in achieving large, clear, and beautiful sugar crystals.
- Mind the Sugar Crystals: It’s common for sugar crystals to grow not only on your skewers but also on the sides and even across the top of the glass jars. This is a normal part of the process. You can gently break these formations to easily remove your rock candy sticks. However, be extremely careful not to accidentally knock off the delicate crystals that have formed on your skewers.
- Cleanliness is Key: Ensure all your equipment, especially the glass jars and skewers, are impeccably clean. Any dust, lint, or impurities can act as alternative nucleation sites, leading to cloudy candy or crystals forming in unwanted places instead of on your skewers.
- Cleaning the Jars: After harvesting your rock candy, the jars might have stubborn sugar residue. It will be much easier to clean them by letting them soak in hot water for a while. This will help dissolve and loosen the hardened sugar crystals.
- Twine vs. Skewers: While skewers are generally recommended for their stability and surface area, baker’s twine can also be used. If opting for twine, tie a small, food-safe weight (like a Life Saver candy or a clean metal washer) to the bottom of the string. This keeps the string submerged and taut. While this method works, many find wooden skewers more effective for developing larger, more uniform crystals.
- No Candy Thermometer Needed: Unlike many precise candy-making recipes, you don’t need a specialized candy thermometer for making rock candy. The visual cues of the sugar dissolving and the solution boiling are sufficient for this recipe.
- Glass Containers are Best: Always use clean glass jars or containers for this project. Plastic cups or containers are not recommended as they can sometimes react with the hot sugar solution, and their surfaces are less ideal for promoting clear crystal growth.
- Patience, Patience, Patience: The most important tip! Crystal growth is a slow process. Resist the urge to disturb the jars or remove the skewers prematurely. The longer you let them sit undisturbed, the larger and more impressive your crystals will become.
Troubleshooting Common Problems
While making **homemade rock candy** is generally straightforward, sometimes things don’t go exactly as planned. Here are some common issues you might encounter and how to troubleshoot them:
- No Crystals Are Forming:
- Solution Not Saturated Enough: If your crystals aren’t growing, the most common reason is that not enough sugar was dissolved in the water. Ensure you brought the mixture to a rolling boil and stirred until absolutely all sugar granules disappeared.
- Too Much Movement: Crystal growth requires a completely undisturbed environment. Even slight vibrations can prevent the sugar molecules from forming stable bonds. Place your jars in a quiet corner where they won’t be bumped.
- Missing Seed Crystals: Did you remember to dampen and roll your skewers in sugar, then let them dry? These initial “seed” crystals are crucial for the main crystal growth. Without them, the sugar has nothing easy to attach to.
- Cloudy or Very Small Crystals:
- Impurities: Ensure all your equipment (jars, skewers, spoons) is spotlessly clean. Any tiny dust particles or debris can act as multiple nucleation sites, leading to many small, cloudy crystals instead of fewer large, clear ones.
- Solution Cooled Too Quickly: Rapid cooling can also result in many small crystals. Allowing the solution to cool gradually at room temperature, rather than in a very cold refrigerator, helps promote larger crystal formation.
- Disturbed Jars: Again, movement during the growth period can disrupt the delicate crystal lattice, leading to smaller or imperfect crystals.
- Crystals Forming on Jar Sides Instead of Skewers:
- Insufficient Seed Crystals on Skewers: If your skewers don’t have a good, dry sugar coating, the sugar might find it easier to attach to microscopic imperfections on the glass jar. Re-do step 4 carefully.
- Rough Jar Surfaces: Sometimes, the glass itself might have microscopic rough spots. You can gently scrape off crystals from the jar sides to encourage growth on your skewers, but often, the skewers will still get plenty of sugar growth.
- Sticky Rock Candy:
- Not Dried Enough: Ensure your harvested rock candy is completely air-dried for several hours, or even overnight. It should feel firm and dry to the touch.
- Humidity: High humidity in the air can cause rock candy to absorb moisture and become sticky. Store them in an airtight container in a cool, dry place.
Storage Best Practices
To maintain the beautiful crystalline structure and delicious taste of your **homemade rock candy**, proper storage is key. Rock candy should always be stored in a dry place and never in the refrigerator. The cool, humid environment of a fridge can cause the sugar crystals to absorb moisture, leading to a sticky, clumpy mess. Instead, we highly recommend storing your finished rock candy in an airtight jar or container at room temperature. When stored correctly in a cool, dry pantry, your rock candy will last for approximately two weeks, making it the perfect candy to prepare ahead of time for special events or as delightful gifts.
Serving Suggestions
Your beautiful **homemade rock candy** is a versatile treat that can be enjoyed in a variety of delightful ways, adding a touch of sweetness and sparkle to any occasion.
- As a Classic Sweet Treat: Simply enjoy the rock candy straight off the stick! It’s a satisfying way to indulge in pure sweetness.
- Elegant Beverage Stirrers: Add a touch of sophistication to hot teas, coffees, or even cold cocktails and mocktails. The rock candy will slowly dissolve, infusing your drink with sweetness and a subtle flavor, if added.
- Dessert Decorations: Gently crush larger pieces into smaller, glittering shards to use as an eye-catching edible garnish for cakes, cupcakes, cookies, or even ice cream sundaes.
- Unique Party Favors: Wrap individual rock candy sticks in small cellophane bags tied with a pretty ribbon. They make charming and memorable party favors for birthdays, weddings, or baby showers.
- Edible Science Display: Showcase your perfectly grown crystals as part of a school science project, illustrating the principles of crystallization in a delicious way.
More Easy Candy Recipes
If you’ve discovered a passion for crafting your own sweet treats with this **DIY rock candy** recipe, you’ll be thrilled to explore other simple and delicious candy recipes that can be made right in your kitchen:
- Divinity Candy Recipe
- Homemade Peanut Brittle Recipe
- 2 Ingredient Chocolate Bark
- Popcorn Balls Recipe
- Cream Cheese Mints Recipe
- Homemade Mounds Bar Recipe
Embarking on the journey of making your own sugar candy is an incredibly rewarding experience. Give this fun activity for the kids a try, and we’d love to hear about your sparkling creations! Please come back and leave a comment sharing your experience; your feedback is always appreciated.
How to Make Rock Candy
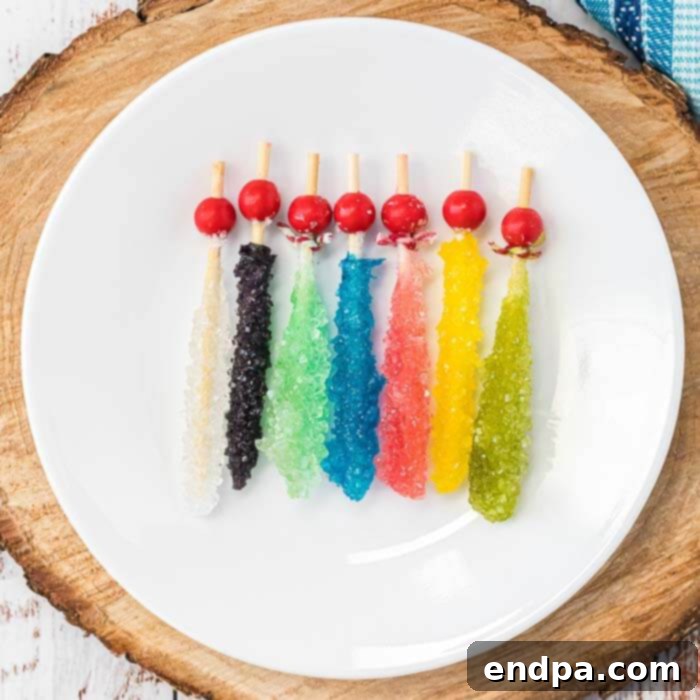
Impress your kids and learn How to Make Rock Candy in a few easy steps. Get the kiddos involved and make this fun candy together. It’s pretty tasty too.
Ingredients
- 3 cups Granulated Sugar
- 1 cup Water
- Food Coloring optional
- 1/2 teaspoon Flavoring Oil or Extract optional
Instructions
- Add sugar and water to a pan and heat over high heat, stirring constantly until it reaches a rolling boil. Be careful not to boil it too long or the candy will start to harden. Keep Stirring!
- Remove from heat and keep stirring until all of the sugar granules have dissolved. The mixture will suddenly get clearer when this happens.
- Carefully pour the hot sugar mixture into your jars and put in the refrigerator to cool a bit. This usually takes 30 minutes to one hour depending on the size of your jars. We don’t want the mixture to be cold, just about room temperature.
- While your mixture is cooling, prepare your wooden skewers by getting them damp and rolling them in sugar. Once they have a coating of dry sugar on them, put them aside to dry. This sugar coating will give our sugar mixture something to attach itself to and help us have bigger sugar crystals in our rock candy!
- When they cool to near room temperature, remove the jars from the refrigerator. If you are adding flavoring or food coloring do that step now.
- Tie baker’s twine to your picks and dangle them into the sugar mixture, try to keep them from touching the bottom or each other. Once you get the picks placed where you want them in the jar, hold their strings along the sides of the jar screw the top on to hold the strings in place.
- Set the jar aside somewhere where it won’t be disturbed and wait 3 -10 days for the sugar crystals to grow, the longer you wait the larger the crystals will get.
- When the crystals grow to a good size, they are ready to dry. Tie two straws into an X and balance it on top of a clean jar. Carefully remove the rock candy sticks from their jars and tie their strings onto the straw X’s. Don’t let them touch each other, let them hang in the jar from the X until they are dry.
- Once they are dry they are ready to eat!
Recipe Notes
Watch the rock candy closely as the sugar crystals grow as they could grow too large and start growing on the sides of the glass jars.
Nutrition Facts
Carbohydrates 100g,
Sodium 3mg,
Potassium 2mg,
Sugar 100g,
Calcium 2mg,
Iron 1mg
