Delight in the irresistible charm of these homemade Red Velvet Sandwich Cookies, a perfect blend of soft, chewy cocoa-infused cookies generously filled with luscious, tangy cream cheese frosting. These iconic red velvet treats are not just a feast for the eyes but also a symphony of flavors, making them an instant favorite for any occasion. Simple to prepare yet elegantly presented, they embody the essence of classic red velvet in every decadent bite.

Red Velvet Sandwich Cookies stand out with their distinct deep red hue and a subtle yet rich cocoa flavor, perfectly complemented by the bright, creamy tang of homemade cream cheese frosting. Each cookie offers a tender, moist texture that yields to a satisfying chewiness, creating an exquisite balance of sweetness and a delicate hint of chocolate. Whether you’re hosting a festive gathering, looking for a special treat to share with loved ones, or simply craving a moment of pure indulgence, these cookies promise a bakery-quality experience right from your kitchen.
The striking contrast between the vibrant red cookie and the pristine white filling makes these sandwich cookies visually stunning and incredibly appealing. They are surprisingly easy to master, requiring only basic baking skills and readily available ingredients. Beyond their deliciousness, they offer versatility for celebrations, gifting, or simply elevating an everyday dessert spread. For those who adore the classic red velvet profile, be sure to explore other delectable options like our Red Velvet Trifle and mouth-watering Red Velvet Fudge.
Table of Contents
- Why We Love These Red Velvet Sandwich Cookies
- Essential Ingredients for Red Velvet Sandwich Cookies
- For the Perfect Red Velvet Cookies
- For the Irresistible Cream Cheese Frosting
- Step-by-Step Guide to Baking
- Storage and Make-Ahead Tips
- Expert Baking Tips for Success
- More Delicious Red Velvet Desserts to Try
- Frequently Asked Questions (FAQ)
Why We Love These Red Velvet Sandwich Cookies
These Red Velvet Sandwich Cookies are more than just a dessert; they are a delightful experience that brings joy with every bite. Here’s why they’ve become a beloved recipe:
- Irresistibly Soft and Chewy Texture: Unlike some cookies that can be dry or crumbly, these red velvet cookies boast a wonderfully soft and moist interior with just the right amount of chewiness on the edges. This ideal texture is a hallmark of a truly great cookie, reminiscent of your favorite bakery-fresh treats. The perfect balance ensures a pleasant mouthfeel that keeps you coming back for more.
- Luxuriously Creamy Cream Cheese Frosting: The star of the show, this homemade cream cheese frosting is rich, velvety, and offers a delightful tangy sweetness that perfectly cuts through the subtle chocolate flavor of the cookies. It’s whipped to a light and airy consistency, making it a dream to pipe and enjoy. This classic pairing is what truly elevates red velvet desserts.
- Visually Stunning and Festive Appeal: With their iconic deep red color and elegant white filling, these cookies are a visual masterpiece. They instantly brighten any dessert platter and are ideal for holiday gatherings, Valentine’s Day, anniversaries, or any special occasion where you want to add a touch of sophistication and charm. They also make thoughtful and beautiful homemade gifts.
- Surprisingly Easy to Prepare from Scratch: Don’t let their elegant appearance fool you; these cookies are straightforward to make. The recipe uses common pantry staples and does not require any specialized equipment or advanced baking techniques. Beginners and seasoned bakers alike can achieve fantastic results, enjoying the satisfaction of creating something beautiful and delicious from scratch.
- Excellent for Making Ahead: Life can be busy, and these cookies understand that! Both the cookie shells and the frosting can be prepared in advance, allowing you to assemble them closer to serving time. This make-ahead flexibility makes them perfect for parties, meal prepping desserts, or simply ensuring you always have a delightful treat on hand without last-minute rush.
- A Crowd-Pleaser for All Ages: The universally loved flavors of red velvet and cream cheese frosting ensure these cookies are a hit with everyone. From picky eaters to gourmet enthusiasts, their balanced taste and delightful texture make them an enjoyable dessert for children and adults alike, guaranteeing smiles all around.
Essential Ingredients for Red Velvet Sandwich Cookies
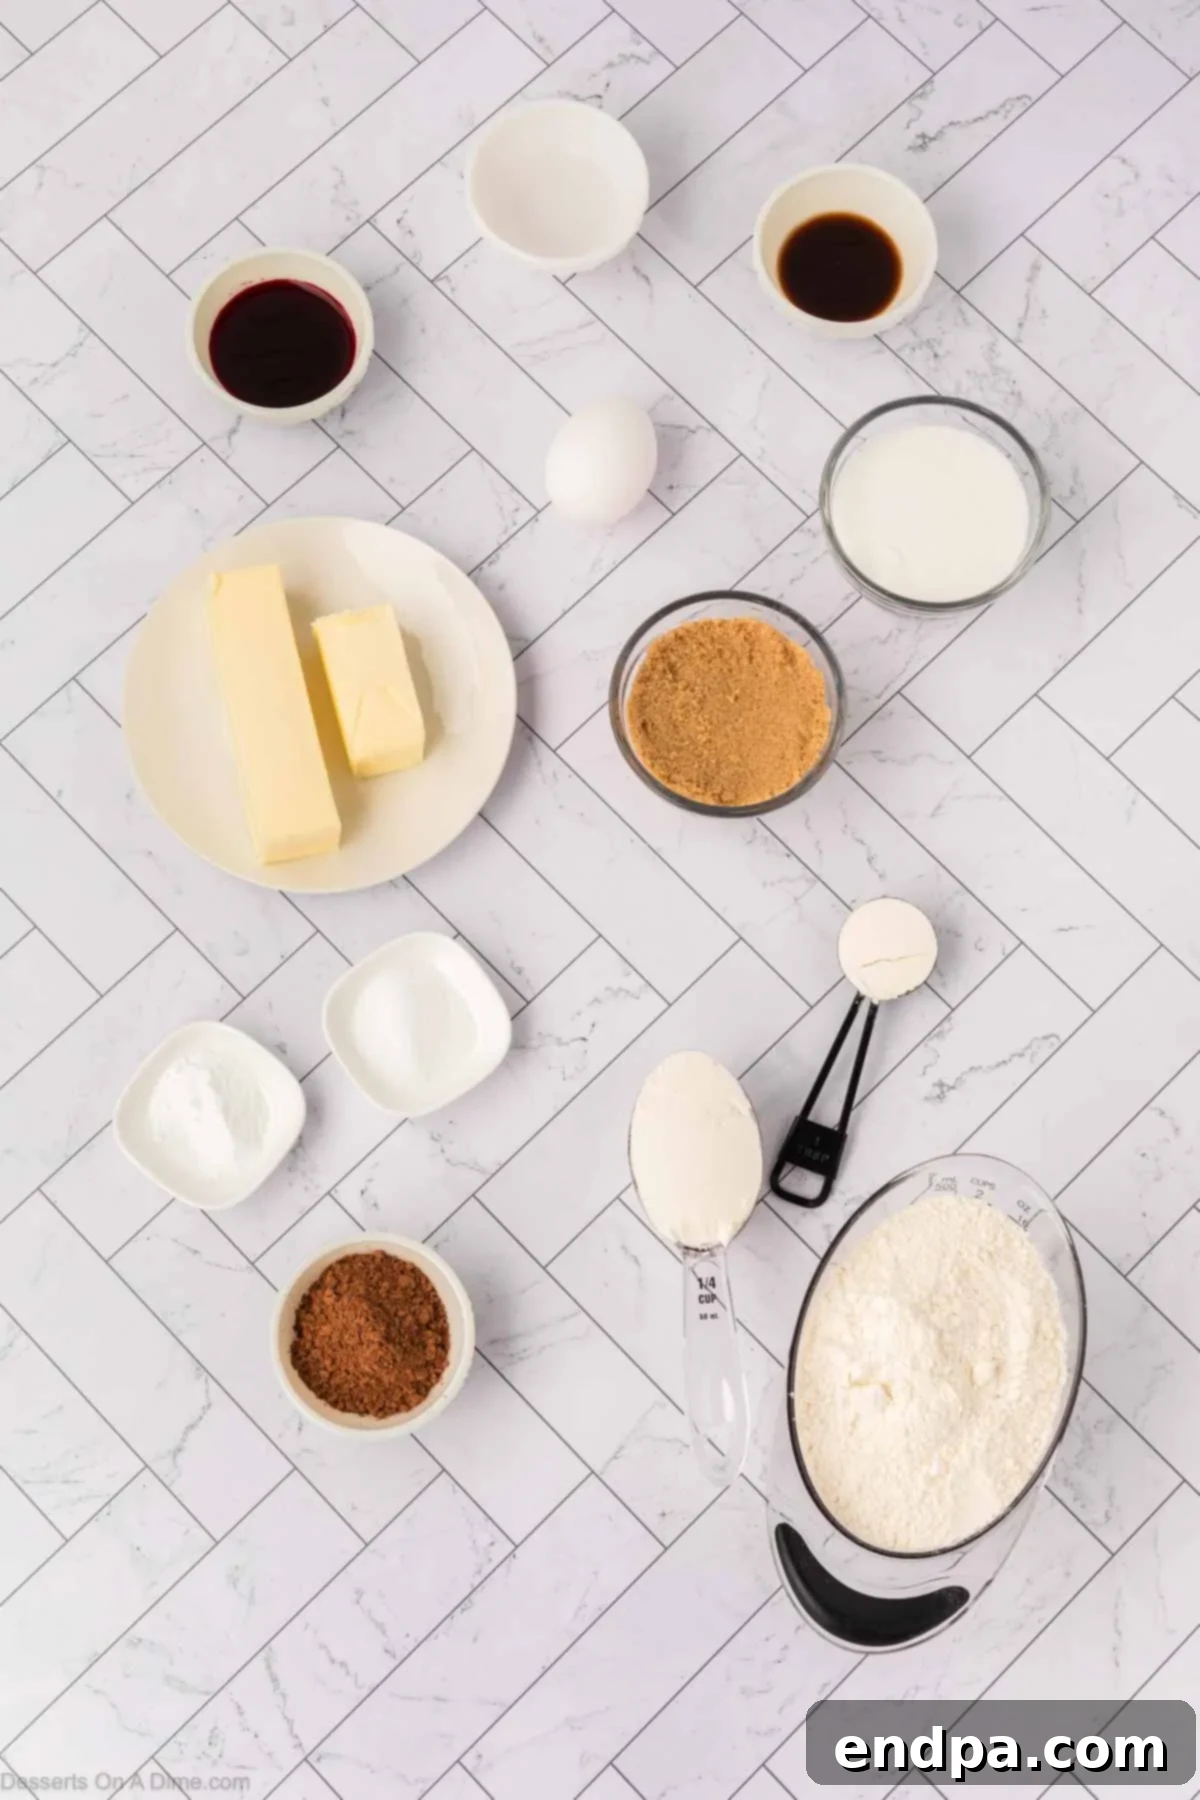
For the Perfect Red Velvet Cookies
Crafting the ideal red velvet cookie starts with understanding the role each ingredient plays in achieving that signature flavor and texture:
- All-purpose flour: This forms the foundational structure of our cookies, providing the necessary body while contributing to their desired soft and chewy texture. Using the correct measurement (spooned and leveled, not scooped directly from the bag) is crucial to prevent dense cookies.
- Unsweetened cocoa powder: The defining ingredient for the “velvet” in red velvet, it imparts a subtle yet distinct chocolate flavor. Don’t be tempted to use Dutch-processed cocoa, as it reacts differently with the baking soda and vinegar. A good quality natural unsweetened cocoa powder is key.
- Baking soda: A vital leavening agent that reacts with acidic ingredients like vinegar and cocoa powder to create tiny air pockets, ensuring the cookies rise beautifully and maintain a light, tender crumb.
- Salt: Essential for balancing the sweetness of the sugars and enhancing all the other flavors in the cookie, preventing them from tasting flat.
- Unsalted butter (softened): Creaming softened butter with sugar creates air bubbles, leading to a light and fluffy cookie. Using unsalted butter allows you to control the total salt content in the recipe. Ensure it’s truly at room temperature for optimal creaming.
- Granulated sugar: Provides sweetness and contributes to the crispness of the cookie edges while helping them spread evenly during baking.
- Brown sugar (packed): Adds moisture, depth of flavor, and an appealing chewiness due to its molasses content. Always pack brown sugar tightly when measuring.
- Egg: Acts as a binder, holding all the ingredients together, and adds richness and moisture to the dough, contributing to the cookie’s tender texture. Ensure it’s at room temperature for better emulsification.
- Pure vanilla extract: A cornerstone of most baking recipes, vanilla enhances the overall flavor profile, adding warmth and sweetness that complements the cocoa beautifully. Use good quality pure vanilla for the best results.
- Vinegar (white or apple cider): This acidic ingredient reacts with the baking soda, contributing to the signature red color and ensuring a wonderfully tender and soft cookie texture. It’s a classic component of authentic red velvet.
- Red food coloring: The key to achieving the iconic vibrant red color. You can adjust the amount to reach your desired intensity, but don’t skimp if you want that classic rich red. Liquid or gel food coloring both work, with gel often providing a deeper color with less volume.
For the Irresistible Cream Cheese Frosting
The cream cheese frosting is the perfect counterpart to the red velvet cookies, offering a creamy, tangy, and sweet filling:
- Cream cheese (room temperature): The star of the frosting, providing its signature tangy flavor and incredibly smooth, creamy base. It’s crucial for the cream cheese to be at room temperature to ensure a lump-free, perfectly blended frosting.
- Unsalted butter (room temperature): Adds richness and helps create a light, fluffy, and stable frosting. Like the cream cheese, room temperature butter is essential for smooth incorporation.
- Powdered sugar (confectioners’ sugar): Sweetens the frosting and gives it that melt-in-your-mouth, smooth, and spreadable consistency. Sifting it can help prevent lumps, though thorough beating often suffices.
- Vanilla extract: Enhances the sweet and tangy notes of the frosting, adding a lovely aromatic depth that ties all the flavors together.
Step-by-Step Guide to Baking Red Velvet Sandwich Cookies
Follow these detailed instructions to create flawless Red Velvet Sandwich Cookies:
- Step 1: Prepare Your Workspace. Begin by preheating your oven to 350°F (175°C). This ensures the oven is at the correct temperature when your dough is ready. Line several baking sheets with parchment paper or silicone baking mats. This prevents sticking and makes for easy cleanup, ensuring your cookies bake evenly and release effortlessly.
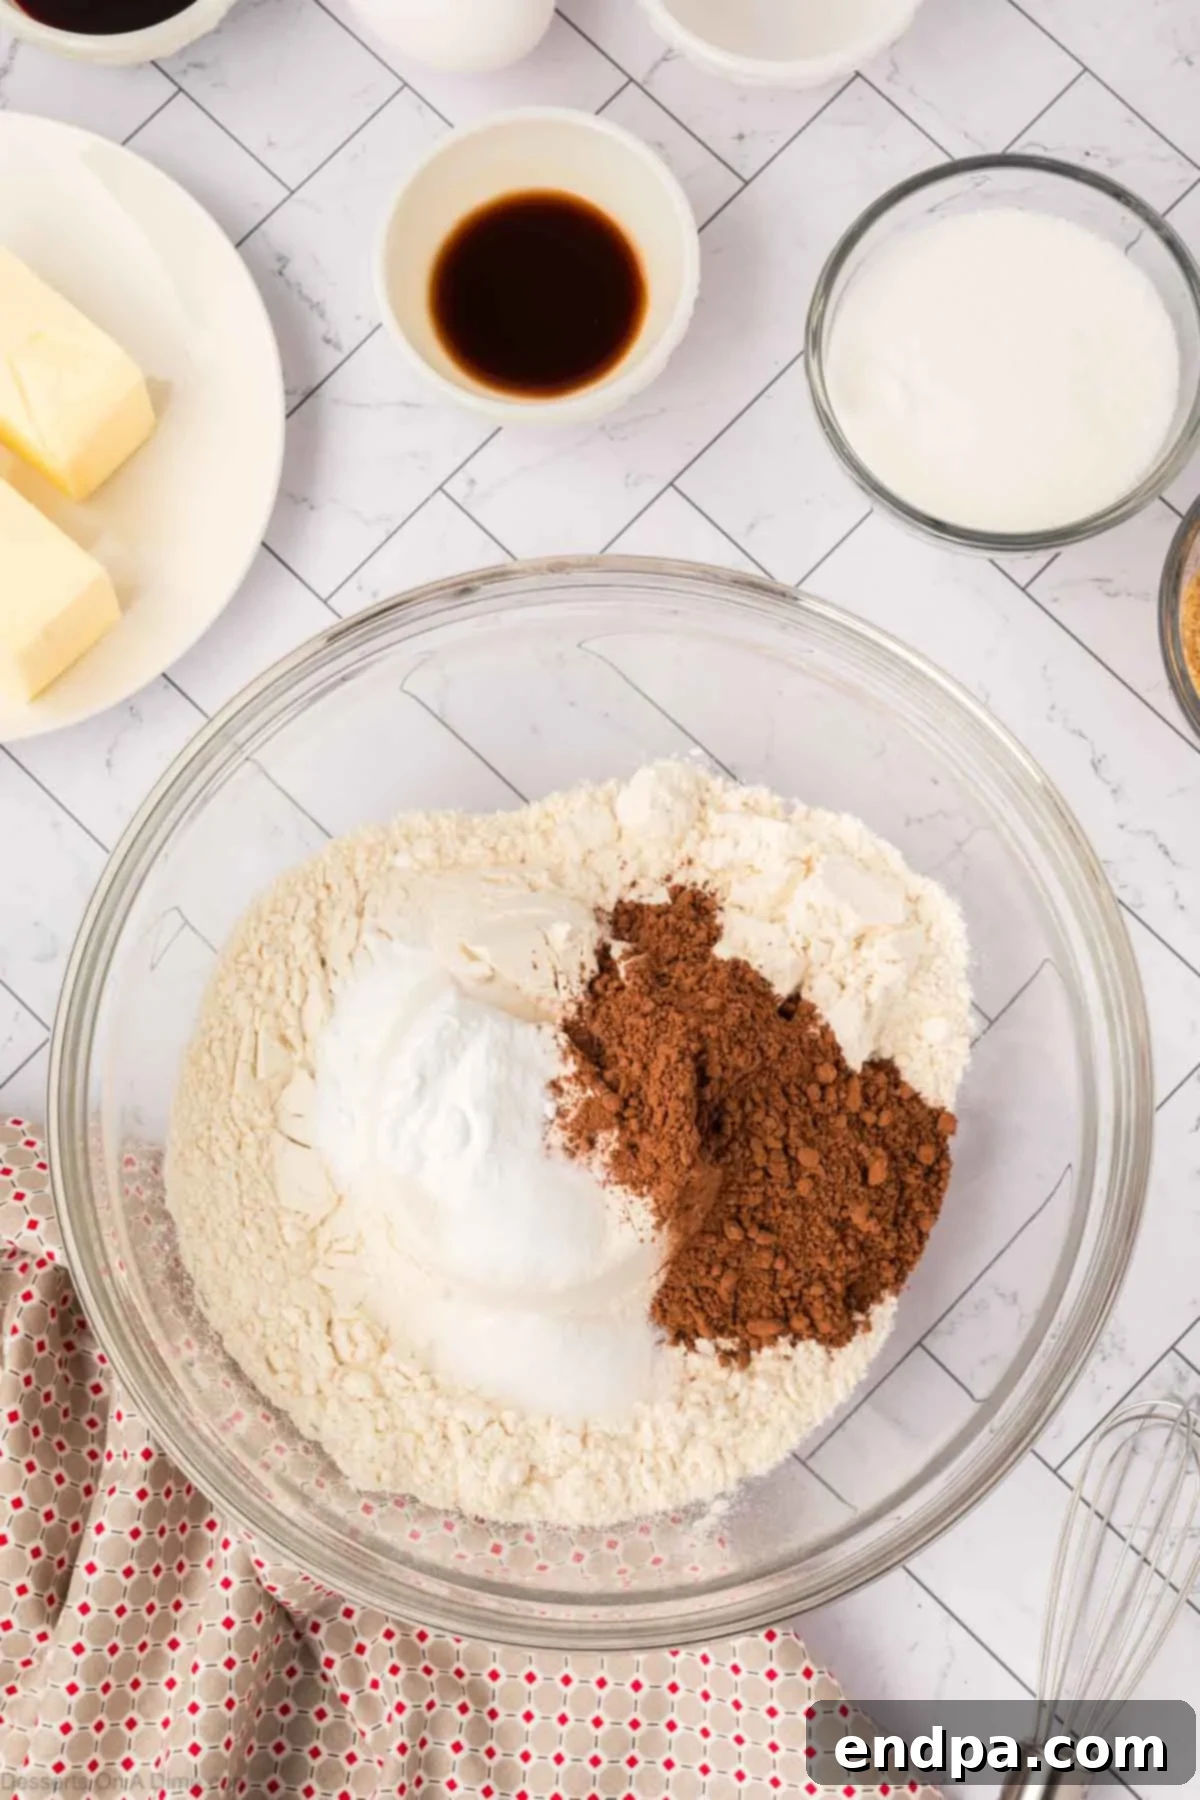
Step 2: Combine Dry Ingredients. In a medium-sized bowl, whisk together the all-purpose flour, unsweetened cocoa powder, baking soda, and salt. Whisking ensures these dry ingredients are thoroughly combined and evenly distributed throughout the dough, which is crucial for consistent cookie texture. Set this bowl aside for later.
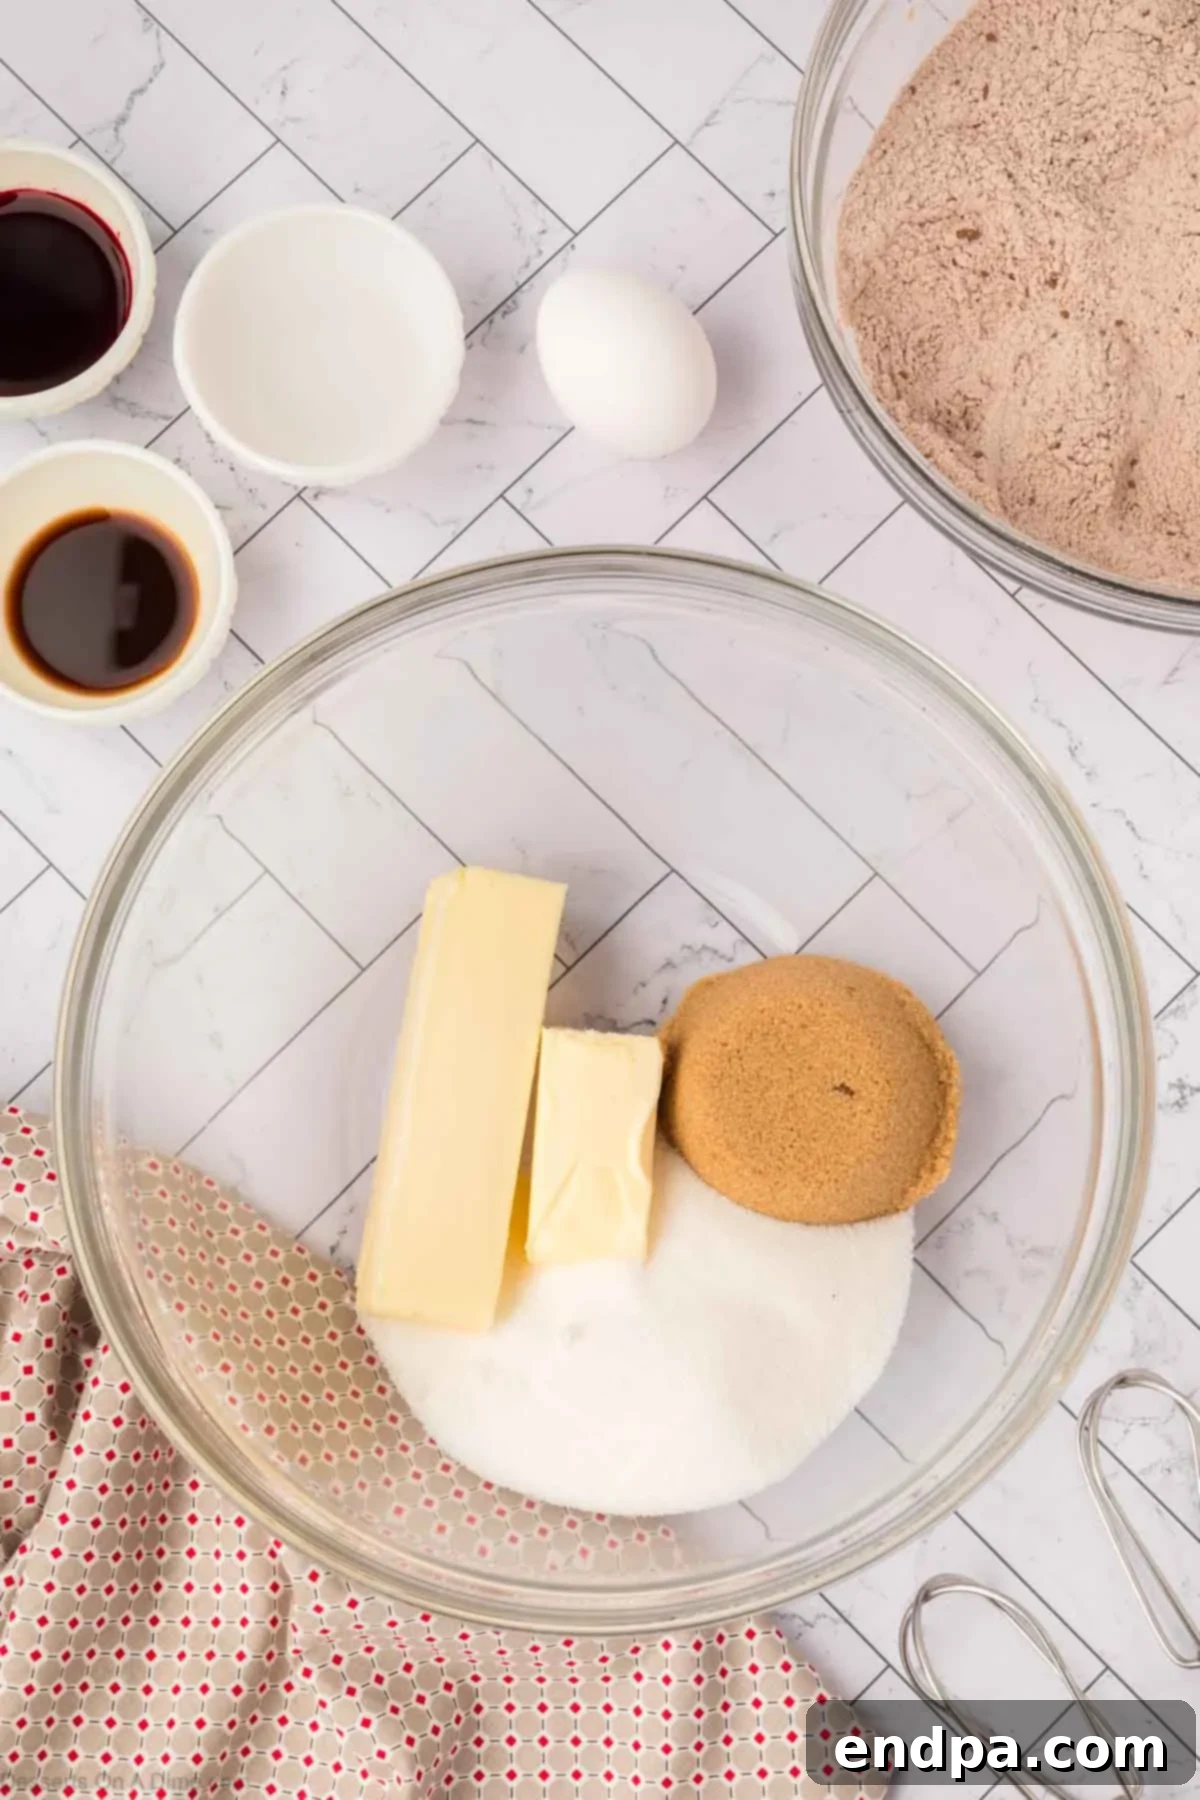
Step 3: Cream Butter and Sugars. In a separate large mixing bowl, using an electric mixer (stand mixer with paddle attachment or hand mixer), beat the softened unsalted butter with both the granulated sugar and packed brown sugar on medium speed. Continue beating for about 2–3 minutes until the mixture becomes light, fluffy, and noticeably pale in color. This creaming process incorporates air, which is essential for soft cookies.
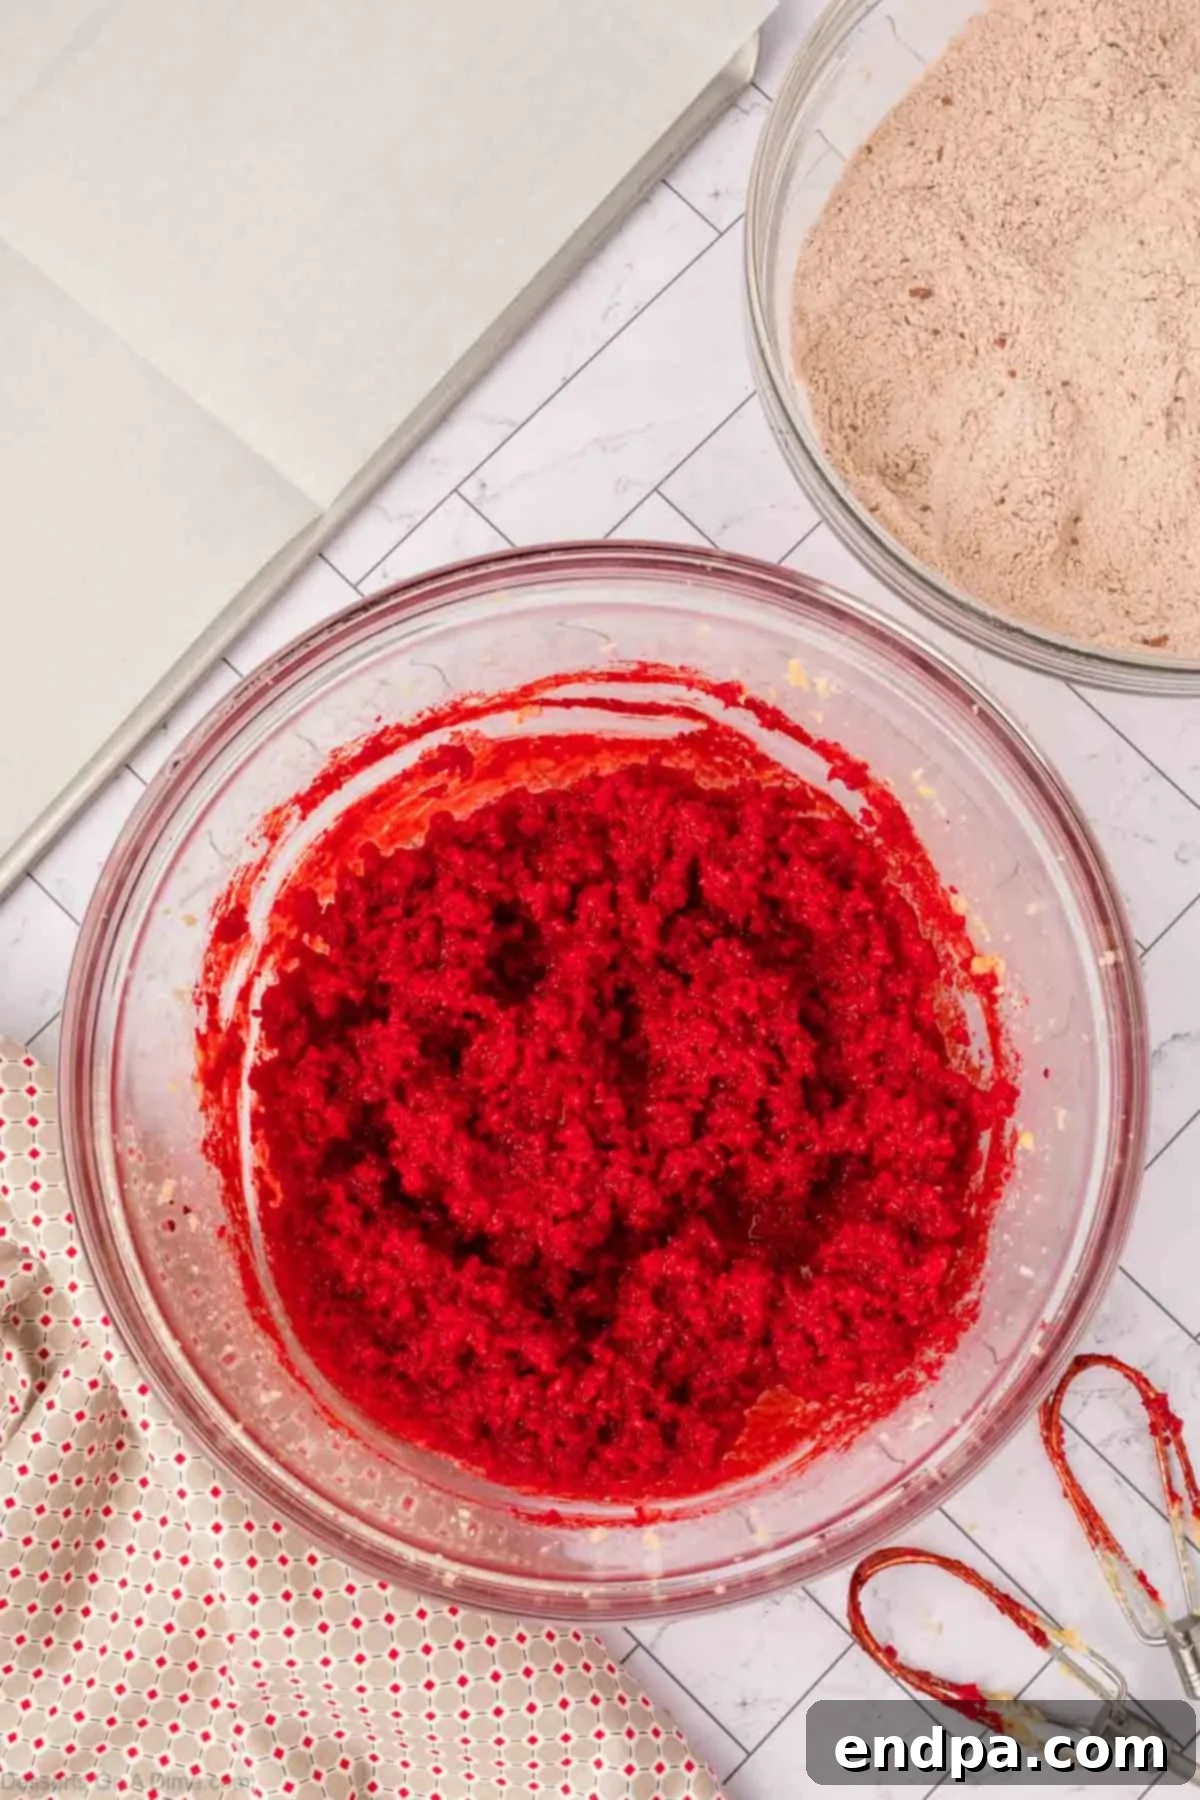
Step 4: Incorporate Wet Ingredients. Add the large egg to the creamed butter and sugar mixture, beating until it is fully combined and no streaks of egg yolk remain. Next, mix in the pure vanilla extract, vinegar, and red food coloring. Continue mixing on low speed until all these wet ingredients are thoroughly blended and the batter has achieved a uniform, vibrant red color. Scrape down the sides of the bowl as needed to ensure everything is incorporated.
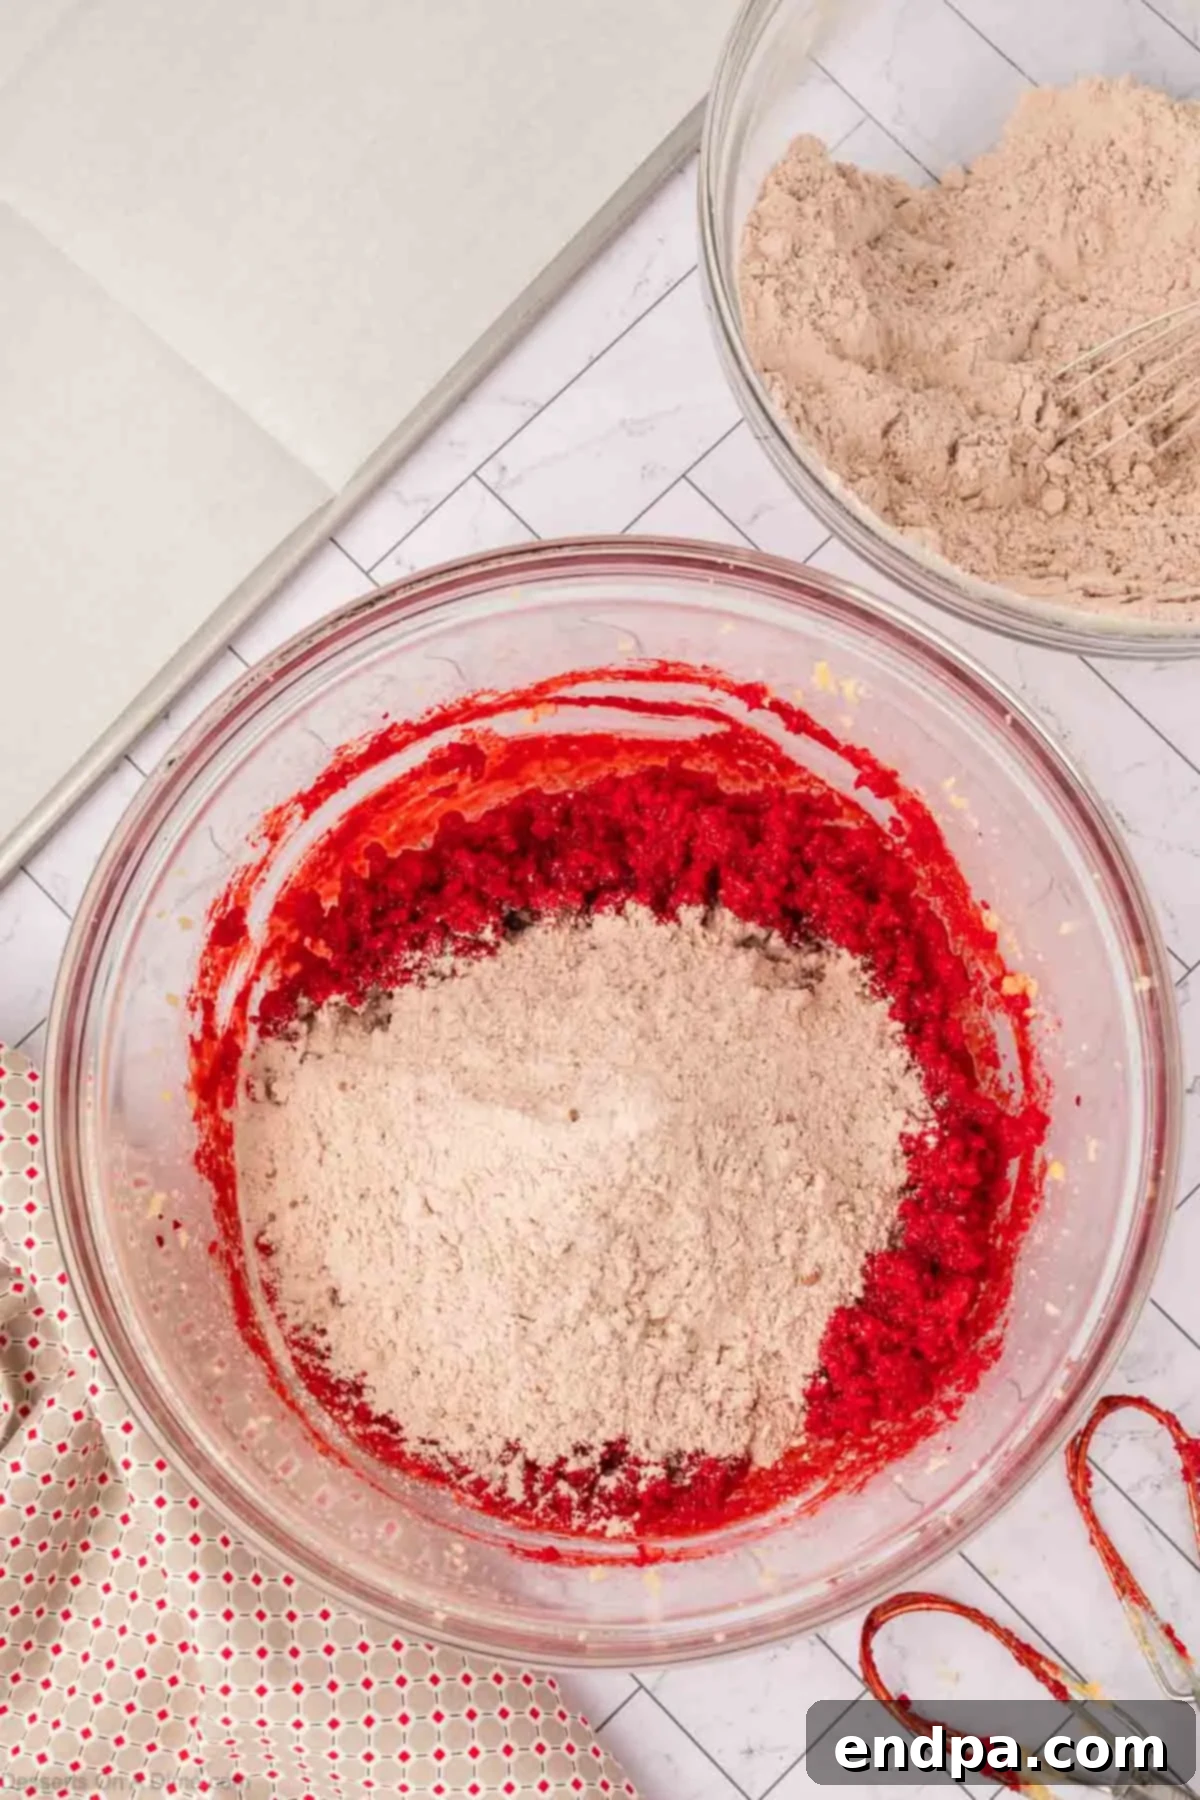
Step 5: Gradually Add Dry to Wet. With the mixer on low speed, slowly add the previously combined dry ingredients (flour, cocoa, baking soda, salt) to the wet mixture. Add them in two or three additions, allowing each addition to just incorporate before adding the next. This prevents a cloud of flour and ensures smooth mixing.

Step 6: Mix Until Just Combined. Continue to stir the dough on low speed or by hand until the dry ingredients are just incorporated into the wet mixture. It’s crucial not to overmix the dough once the flour is added, as overmixing can develop the gluten too much, resulting in tough, dry cookies. Stop mixing as soon as no dry streaks of flour are visible.

Step 7: Portion and Arrange Dough. Using a 1 ½ tablespoon-sized cookie scoop (or simply roll between your palms), form the dough into uniform balls. Place these dough balls onto your prepared baking sheets, ensuring they are spaced about 2 inches apart to allow for spreading during baking. Uniform size is key for even baking and matching sandwich halves.

Step 8: Bake and Cool Cookies. Bake the cookies for approximately 13 minutes. You’ll know they’re done when the edges are lightly set, but the centers still look soft and slightly puffy. They will firm up considerably as they cool. Avoid over-baking to maintain their soft and chewy texture. Let the cookies cool on the baking sheet for 4–5 minutes before carefully transferring them to a wire rack to cool completely. Cooling completely is essential before frosting to prevent melting.

Step 9: Prepare the Cream Cheese Frosting. While the cookies are cooling, it’s time to make the delicious cream cheese frosting. In a large mixing bowl, beat the room-temperature cream cheese and butter together until the mixture is completely smooth and free of any lumps. Add half of the powdered sugar, mixing until it’s fully incorporated. Then, mix in the vanilla extract, followed by the remaining powdered sugar. Continue blending until the frosting is smooth, light, and fluffy. If the frosting seems too soft, you can chill it for 15-20 minutes to firm it up slightly.

Step 10: Frost the Cookies. Once the cookies are completely cool, transfer the prepared cream cheese frosting into a piping bag fitted with your favorite tip (a round or star tip works well for a classic look). Carefully pipe a generous swirl of frosting onto the flat side of half of your cooled red velvet cookies. Aim for a consistent amount of frosting on each cookie for even sandwiching.

Step 11: Assemble the Sandwich Cookies. Gently place a second cooled red velvet cookie on top of the piped frosting, pressing down lightly to create a perfect sandwich. Be careful not to press too hard, or the frosting will squeeze out excessively. If you don’t have a piping bag, a small offset spatula or butter knife works just as well to spread the frosting evenly onto the cookie halves. Once assembled, it’s often best to refrigerate the cookies for a short period to allow the frosting to set slightly, making them easier to handle.

Storage and Make-Ahead Tips
To ensure your Red Velvet Sandwich Cookies remain fresh and delicious, proper storage is key:
- Refrigerator Storage: For optimal freshness and to keep the cream cheese frosting firm, store the assembled Red Velvet Sandwich Cookies in an airtight container in the refrigerator for up to 5 days. Layer them gently, with parchment paper between layers if stacking, to prevent them from sticking or smushing. For the best texture and flavor experience, allow the cookies to sit at room temperature for about 15–20 minutes before serving. This softens the cookies and frosting slightly, enhancing their chewiness and creaminess.
- Freezer Storage for Cookies: If you want to bake ahead, you can freeze the unfrosted cookie shells for up to 2 months. Once baked and completely cooled, arrange them in a single layer on a baking sheet and freeze until solid. Then, transfer the frozen cookies to a freezer-safe airtight container or heavy-duty freezer bag, separating layers with parchment paper. Thaw them completely at room temperature before adding the frosting.
- Freezer Storage for Assembled Cookies: You can also freeze assembled Red Velvet Sandwich Cookies for up to 1 month. Place them on a baking sheet and freeze until the frosting is firm (about 1-2 hours). Then, wrap each cookie individually in plastic wrap and transfer to an airtight freezer container. Thaw them overnight in the refrigerator, then bring to room temperature for about 30-60 minutes before serving.
- Make-Ahead Strategy: Both the cookies and the frosting are excellent components to prepare in advance. Bake and cool the cookies entirely, then store them in an airtight container at room temperature for up to 2-3 days, or freeze as directed. Prepare the cream cheese frosting and store it covered in an airtight container in the refrigerator for up to 3-4 days. Before assembling, let the frosting come to room temperature for about 30 minutes, then re-whip it briefly with an electric mixer to restore its fluffy texture. Assemble the cookies just a few hours before serving for the freshest taste and appearance.
Expert Baking Tips for Success
Achieving bakery-perfect Red Velvet Sandwich Cookies is easy with these insider tips:
- Always Use Room Temperature Ingredients: This is a golden rule for many baking recipes, especially for cookies and frostings. Ensure your butter, cream cheese, and egg are all at true room temperature. This allows them to cream together smoothly with the sugars, creating a uniform, emulsified batter and frosting. Cold ingredients lead to a lumpy batter and frosting that won’t achieve the desired light and fluffy texture.
- Measure Flour Correctly: Accuracy in flour measurement is paramount for cookie texture. Instead of scooping flour directly from the bag (which compacts it and results in too much flour), spoon the flour into your measuring cup and then level it off with a straight edge. Too much flour will lead to dense, dry, and tough cookies, while too little can make them spread too much.
- Avoid Overmixing the Dough: Once you add the dry ingredients to the wet mixture, mix only until they are just combined and no streaks of dry flour are visible. Overmixing develops the gluten in the flour, which can make your cookies tough and less tender. A gentle hand and a watchful eye are key during this step.
- Ensure Uniform Cookie Sizes: For sandwich cookies, consistency in size is crucial for a polished, professional look and even baking. Using a cookie scoop (a 1.5-tablespoon size is ideal for this recipe) helps ensure each cookie is the same size, bakes uniformly, and pairs perfectly with another cookie for a neat sandwich.
- Cool Cookies Completely Before Frosting: Patience is a virtue here! It’s absolutely essential to let your cookies cool fully on a wire rack before attempting to frost them. If the cookies are even slightly warm, the cream cheese frosting will melt, slide off, and create a messy result. A completely cool cookie ensures your frosting stays put and looks beautiful.
- Chill Frosting for Firmer Filling: If your cream cheese frosting seems too soft or runny, especially in a warm kitchen, don’t hesitate to chill it in the refrigerator for 15-30 minutes. A slightly chilled frosting will be much easier to pipe or spread, allowing for cleaner lines and better control, resulting in a more professional-looking sandwich cookie.
- Quality Food Coloring Matters: For that vibrant, deep red color without altering the cookie’s taste, opt for a high-quality gel food coloring. Gel colors are more concentrated than liquid colors, meaning you’ll need less to achieve a brilliant hue. Add it gradually until you reach your desired shade.
- Don’t Overbake: Red velvet cookies should remain soft in the center when removed from the oven. The edges should be set, but the middle may still look slightly undone. They will continue to bake slightly and firm up as they cool on the hot baking sheet. Overbaking leads to dry, crumbly cookies.
More Delicious Red Velvet Desserts to Try
If you’re a fan of the classic red velvet flavor, you’ll love exploring these other delightful dessert recipes:
- Red Velvet Brownies: A fudgy, rich take on the red velvet classic, perfect for chocolate lovers.
- Red Velvet Popcorn: A unique and fun snack with a sweet red velvet coating.
- Red Velvet Trifle Cups: Individual serving trifles, layered with cake, cream, and berries for an elegant dessert.
- Red Velvet Cake Pops: Bite-sized treats, perfect for parties or as a whimsical gift.
- Best Red Velvet Cake Recipe: The quintessential red velvet experience, a moist cake with classic cream cheese frosting.
Frequently Asked Questions (FAQ)
Here are some common questions about baking Red Velvet Sandwich Cookies:
Q: What gives red velvet its distinctive flavor?
A: Red velvet’s unique flavor comes from a combination of cocoa powder, a touch of vinegar (or buttermilk), and vanilla extract. The vinegar reacts with the cocoa and baking soda to produce a tender crumb and historically, a reddish-brown hue. Modern recipes enhance this with red food coloring for a vibrant color. The flavor is a mild, tangy chocolate.
Q: Can I skip the red food coloring?
A: Yes, you can! If you prefer a more natural approach, you can omit the red food coloring. The cookies will still have the classic red velvet flavor and a beautiful reddish-brown color from the cocoa and the reaction with vinegar, though it won’t be as intensely vibrant as with added coloring.
Q: My cream cheese frosting is too soft. What can I do?
A: If your frosting is too soft, it’s likely due to warm ingredients or over-beating. Place the frosting in the refrigerator for 15-30 minutes to chill and firm up. If it’s still too soft, you can add a tablespoon or two more of sifted powdered sugar and beat it again briefly, being careful not to over-whip. Ensure your butter and cream cheese are at room temperature (soft but not melted) before starting.
Q: Can I use salted butter?
A: While unsalted butter is generally preferred in baking to control the salt content, you can use salted butter. If you do, omit the added salt from the cookie recipe and taste the frosting before deciding if you need to add any salt. Keep in mind that the flavor might vary slightly.
Q: How can I make these cookies ahead for a party?
A: You have a few options! You can bake the cookies up to 3 days in advance and store them unfrosted in an airtight container at room temperature. The frosting can also be made 3-4 days ahead and stored in the fridge. On the day of the party, let the frosting soften slightly at room temperature, re-whip it, and then assemble the cookies. Alternatively, freeze the unfrosted cookie shells or the fully assembled cookies as described in the “Storage Tips” section.
Q: Why did my cookies spread too much?
A: Over-spreading can be caused by several factors: your butter was too soft or melted, too little flour, an inaccurate oven temperature (too low), or not chilling the dough (though this recipe doesn’t strictly require chilling, it can help). Ensure your ingredients are measured precisely and your oven is preheated correctly.
Pin
Red Velvet Sandwich Cookies
Ingredients
For the Cookies:
- 2 1/4 cups + 1 tablespoon all-purpose flour
- 2 tablespoons unsweetened cocoa powder
- 3/4 teaspoon baking soda
- 3/4 teaspoon salt
- 3/4 cup unsalted butter softened to room temperature
- 1/2 cup granulated sugar
- 1/2 cup brown sugar packed
- 1 large egg
- 1 1/2 teaspoons pure vanilla extract
- 2 teaspoons vinegar
- 1 1/2 tablespoons red food coloring
For the Filling:
- 8 oz cream cheese room temperature
- 6 tbsp unsalted butter room temperature
- 4 cups powdered sugar
- 1 tsp vanilla extract
Instructions
For the Cookies:
- Preheat the oven to 350°F (175°C). Line baking sheets with parchment paper or silicone baking mats.
- In a medium bowl, combine the flour, cocoa powder, baking soda, and salt. Set aside.
- In a large mixing bowl, beat the butter and both sugars on medium speed until light and fluffy, about 2–3 minutes.
- Mix in the egg until fully incorporated. Add the vanilla extract, vinegar, and red food coloring, mixing until evenly combined.
- Gradually add the dry ingredients to the wet mixture, mixing just until combined. Avoid overmixing to keep the cookies tender.
- Scoop 1 ½ tablespoon-sized portions of dough and roll into balls. Place them on the prepared baking sheet about 2 inches apart.
- Bake for 13 minutes. The cookies will spread, and the centers will look soft but set. Do not over bake. They will firm up as they cool.
- Allow the cookies to cool on the baking sheets for 4–5 minutes before transferring to a wire rack to cool completely.
For the Filling:
- In a large mixing bowl, beat the cream cheese and butter until smooth and well combined.
- Add half of the powdered sugar and mix until incorporated.
- Mix in the vanilla extract, then add the remaining powdered sugar and blend until smooth.
To Assemble:
- Use a piping bag to pipe the frosting onto half of the cookies.
- Pipe frosting onto one cookie at a time, then top with a second cookie to create a sandwich. You can also use a spatula to spread the frosting on if desired.
- Refrigerate the cookie sandwiches until ready to serve. Bring to room temperature before eating.
Recipe Notes
Nutrition Facts
Pin This Now to Remember It Later
Pin Recipe
If you made these Red Velvet Sandwich Cookies, we’d love to hear how they turned out! Leave a comment and star rating below to share your baking experience.
