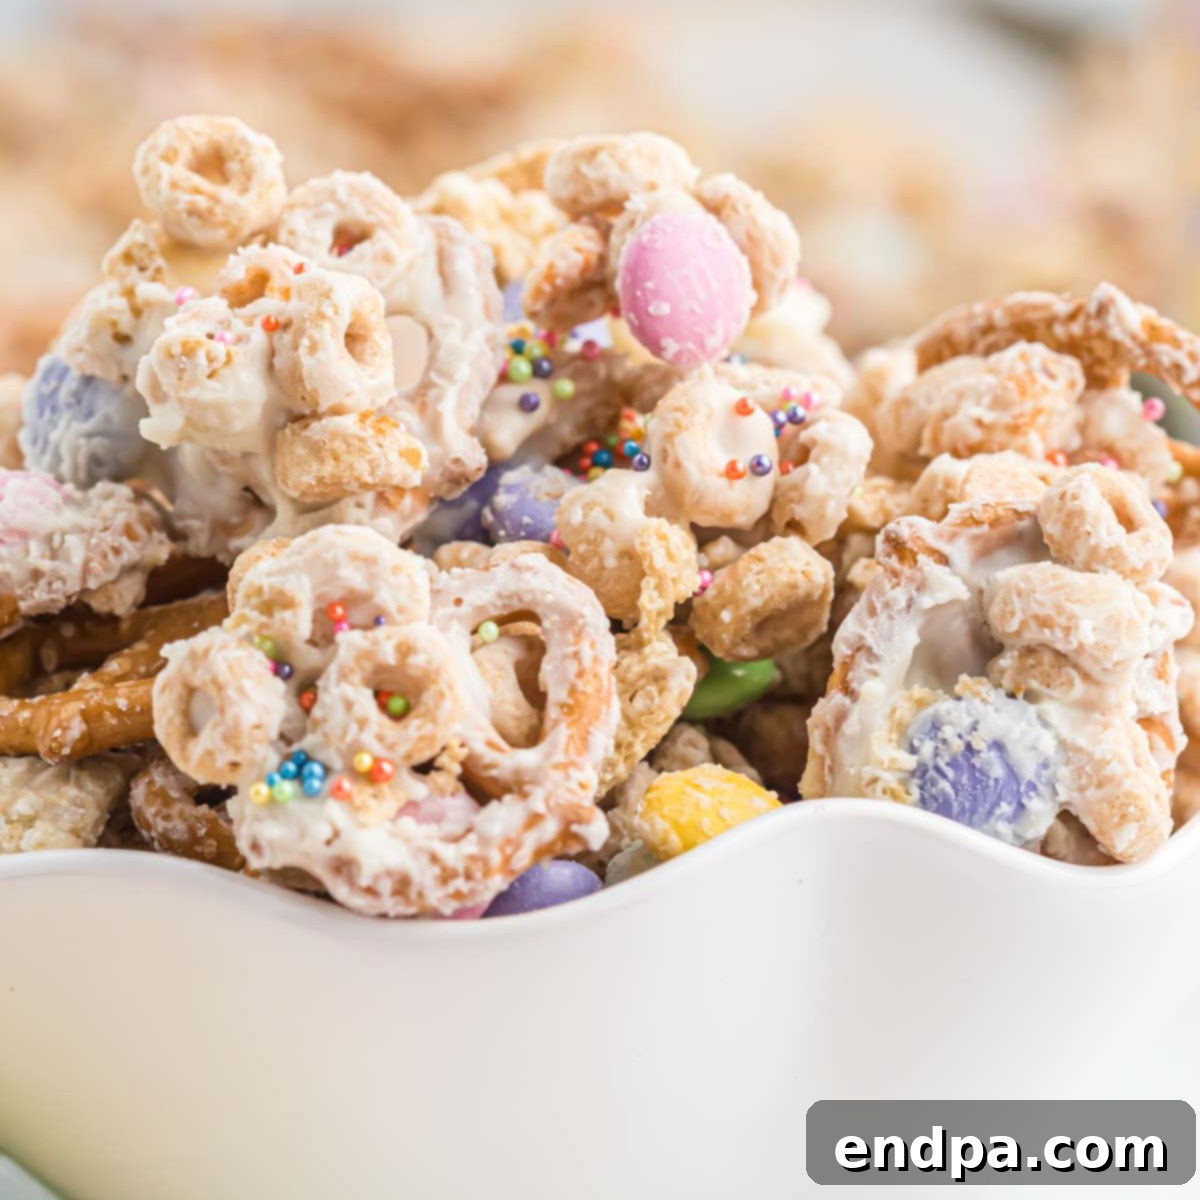
Easter Bunny Bait: The Ultimate Sweet and Salty No-Bake Snack Mix for Spring Celebrations
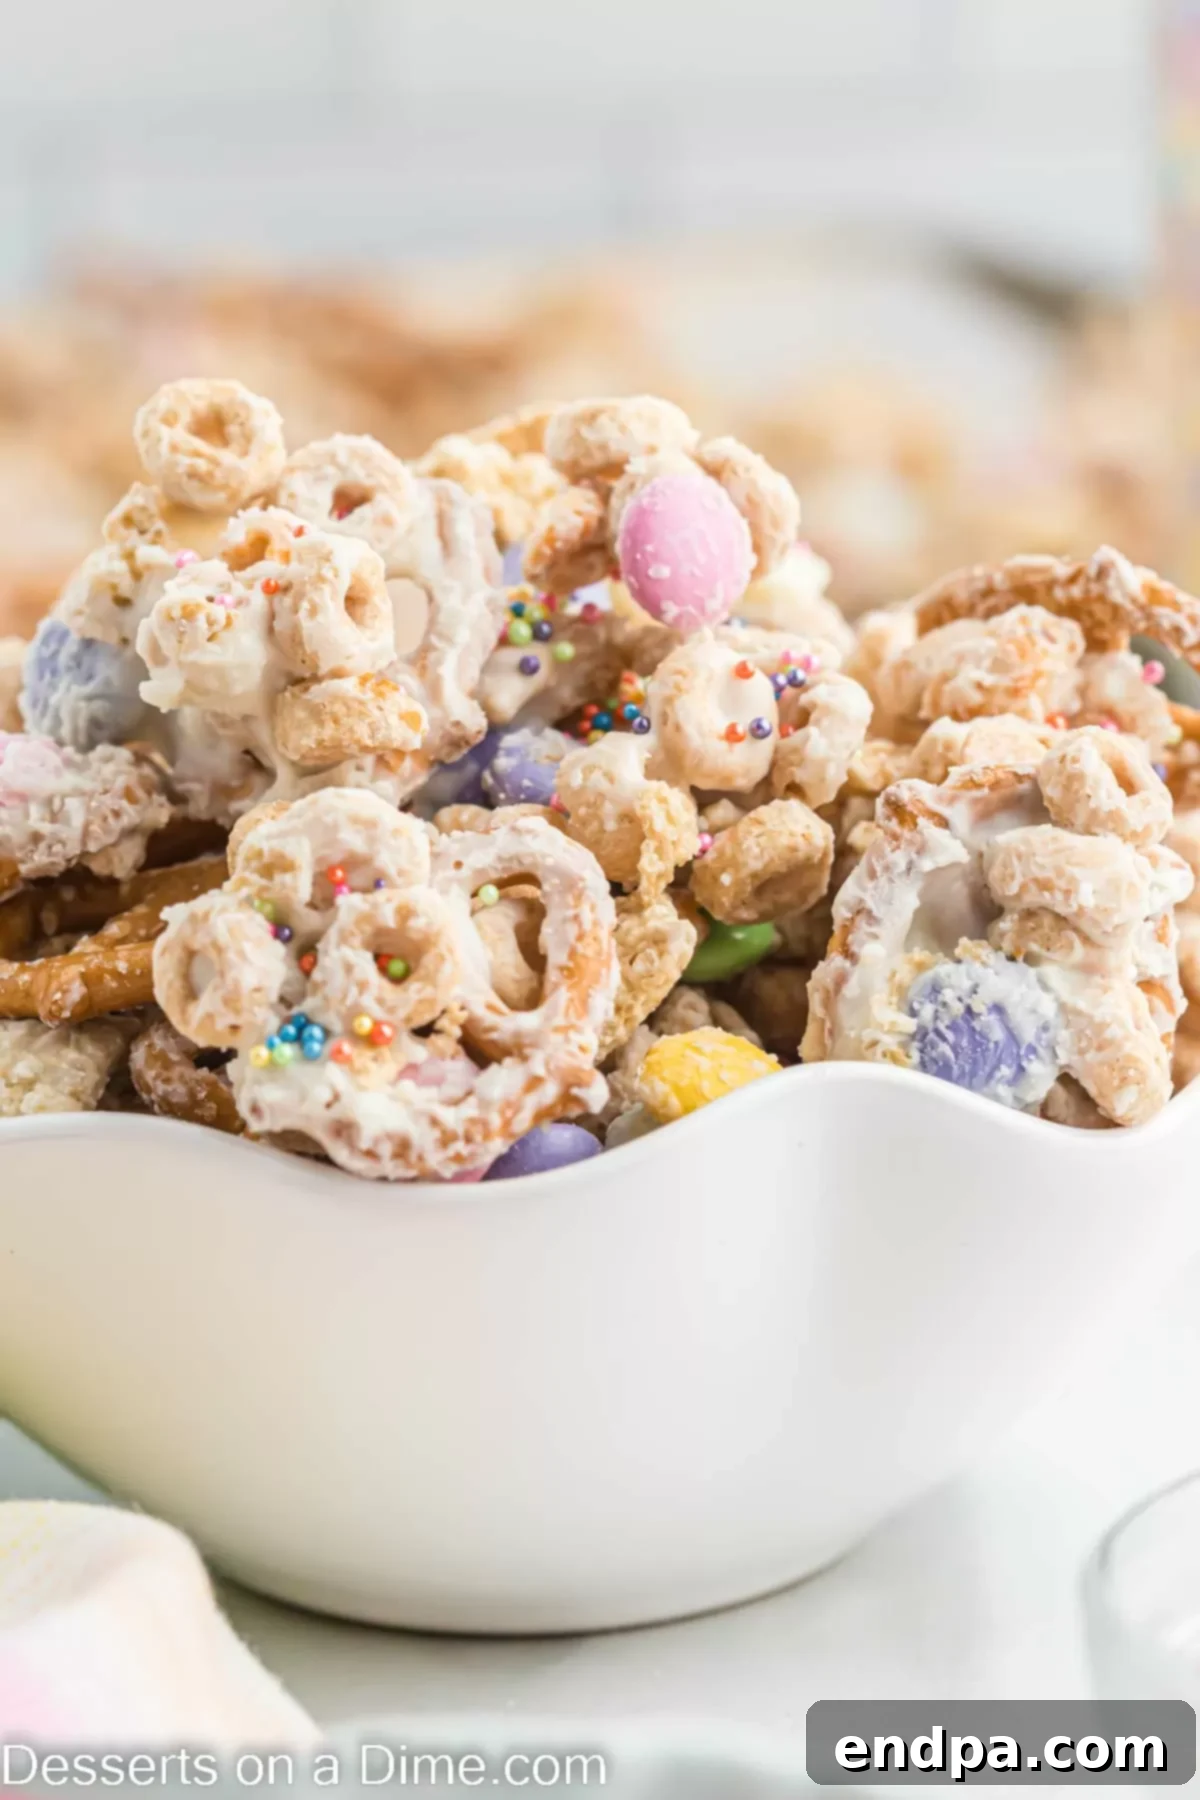
Get ready to delight your taste buds and impress your guests with this irresistible Easter Bunny Bait Recipe – a perfectly balanced sweet and salty snack mix that captures the joy and colors of spring. Each delightful bite is a harmonious blend of crunchy pretzels, wholesome cereals, vibrant M&M’s, and savory peanuts, all generously coated in smooth white chocolate and adorned with festive sprinkles. This isn’t just a treat; it’s a celebration in a bowl, promising to be the highlight of any Easter gathering or a magical surprise in every Easter basket.
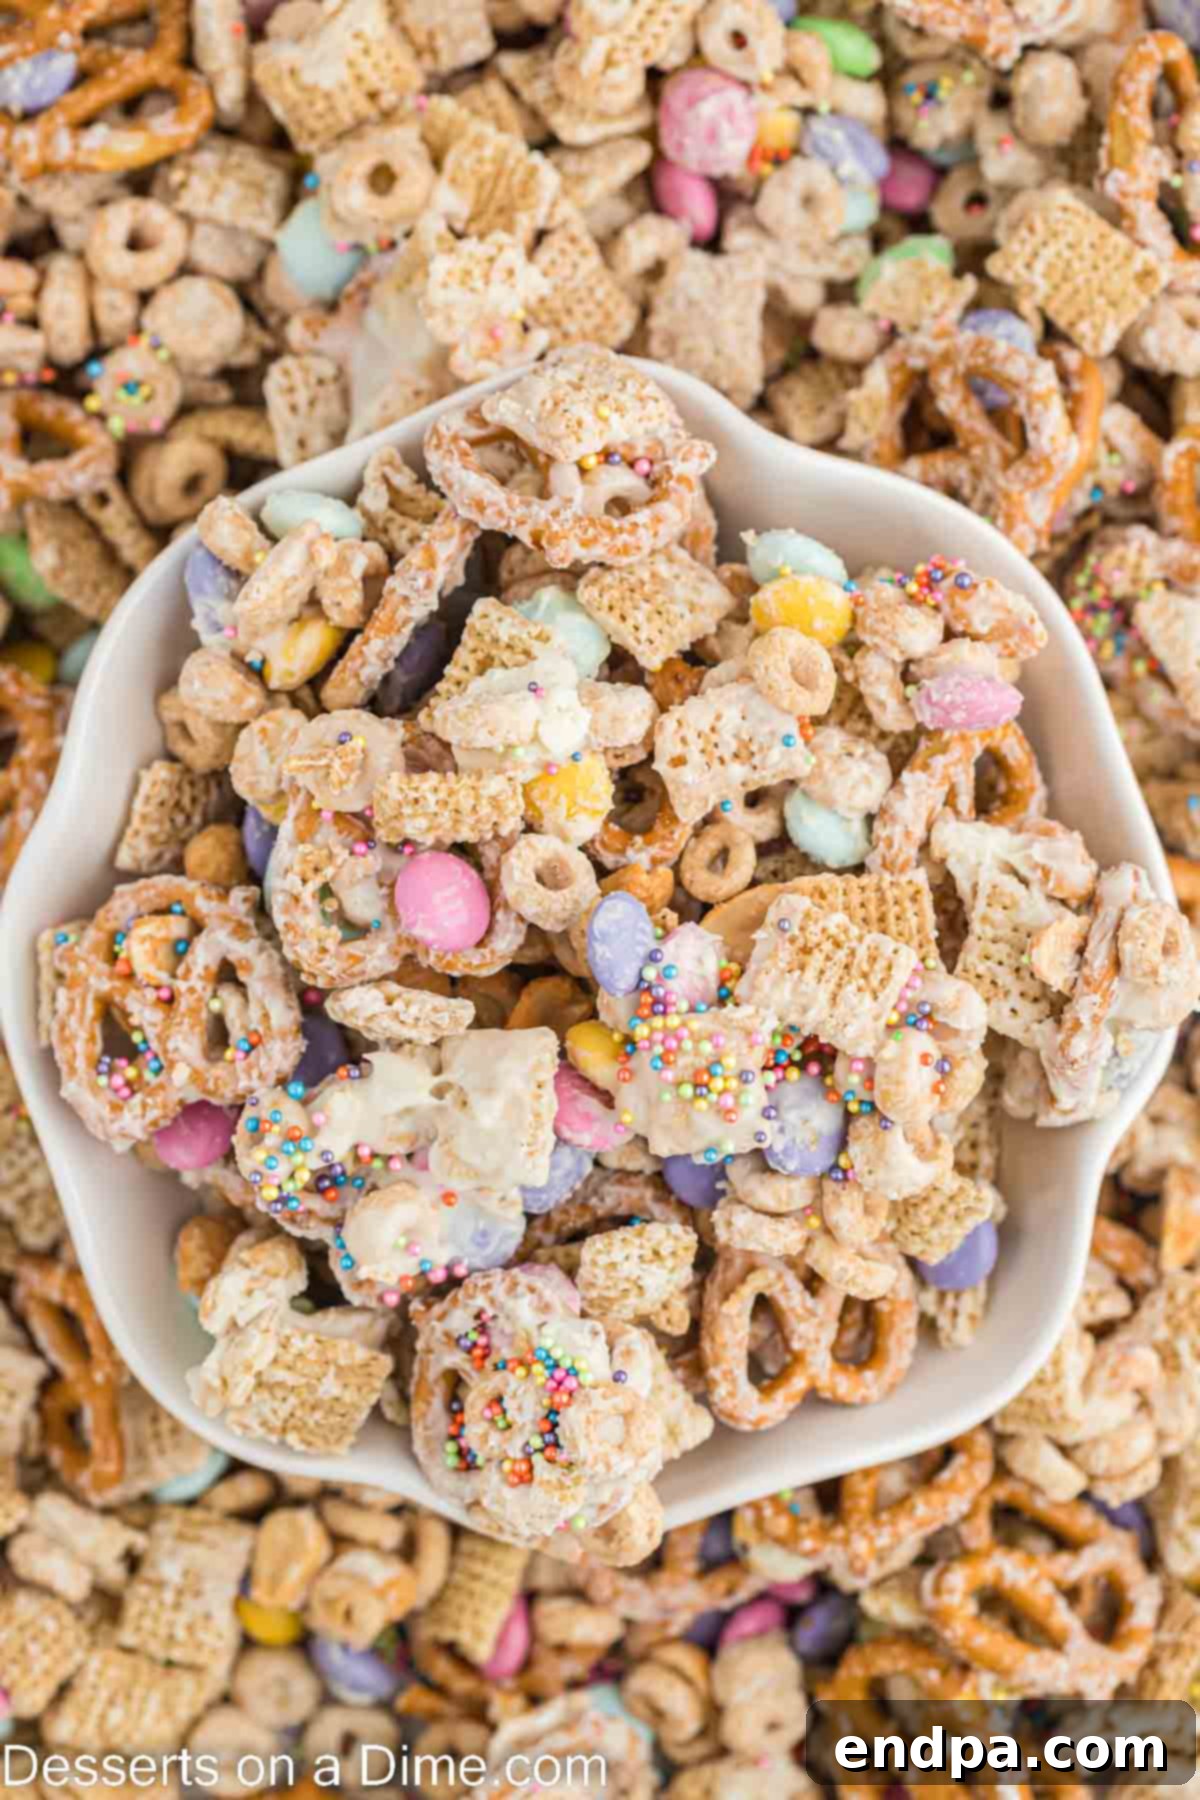
This beloved Bunny Bait Trail Mix has long been a cherished tradition in our home, eagerly anticipated and created year after year. Its popularity stems not only from its incredibly delicious flavor profile but also from its remarkable simplicity. As a no-bake recipe, it offers unparalleled convenience, allowing you to whip up a large batch with minimal effort and without ever needing to turn on your oven. It’s the ideal project for kids and adults alike, fostering precious memories in the kitchen and delivering a yummy snack that everyone, especially the little ones, absolutely adores. The combination of textures and flavors makes it an instant hit, disappearing almost as quickly as it’s made!
Beyond this fantastic bunny bait, our kitchen comes alive with an array of delightful Easter treats each spring. We love exploring various festive desserts that bring smiles to faces. Some of our other cherished recipes include whimsical Easter Bunny Cupcakes, the ever-popular Easter Bunny Chow, decadent Easter Chocolate Covered Oreos, and charming Easter bunny cookies. Each of these treats adds its own unique touch to our holiday celebrations, but Bunny Bait holds a special place for its ease and universal appeal.
Table of contents
- Why We Adore This Easy Bunny Bait Recipe
- Essential Ingredients for Perfect Bunny Bait
- Creative Substitutions & Flavorful Additions
- Step-by-Step: Crafting Your Delicious Bunny Bait
- Optimal Storage for Freshness
- Top Tips for the Best Bunny Bait
- Customize Your Snack Mix for Any Holiday or Occasion
- More Delightful Easter Dessert Recipes
Why We Adore This Easy Bunny Bait Recipe
There are countless reasons why this easy Bunny Bait recipe has become a perennial favorite, especially as an Easter snack mix. Its simplicity, versatility, and undeniable deliciousness make it a standout choice for any occasion, but particularly for spring festivities.
- Effortless No-Bake Preparation. One of the biggest advantages of this recipe is that it requires absolutely no baking. This means less time in the kitchen, no oven preheating, and a quick cleanup. It’s perfect for busy schedules, impromptu gatherings, or when you want to involve younger chefs who can safely participate in mixing and decorating without dealing with hot ovens. You can go from pantry to plate in mere minutes, allowing more time to enjoy your Easter celebration.
- Utilizes Simple, Readily Available Ingredients. You’ll appreciate that the components for this delightful treat are largely common pantry staples. From various cereals to classic pretzels and colorful candies, most items are easily found at any grocery store. This accessibility ensures you can quickly gather everything you need without a special shopping trip, making it a convenient last-minute dessert or snack option.
- Perfect for Feeding a Crowd. Whether you’re hosting a large Easter brunch, preparing gifts for multiple Easter baskets, or simply need a substantial snack for a family movie night, this recipe is incredibly cost-effective and easy to scale up. A generous batch goes a long way, ensuring everyone gets to enjoy this sweet and salty delight. It’s also fantastic for packing into individual treat bags, making it ideal for parties, school events, or sharing with neighbors.
- An Irresistible Sweet and Salty Flavor Profile. The magic of Bunny Bait lies in its exquisite balance of flavors. The satisfying crunch of pretzels and cereals meets the rich sweetness of white chocolate and M&M’s, creating an addictive combination that’s hard to resist. The hint of salt from the pretzels and peanuts perfectly complements the sugary coating, ensuring each bite is decadently delicious and utterly satisfying.
Essential Ingredients for Perfect Bunny Bait
Crafting the perfect homemade Easter snack mix begins with selecting quality ingredients. While this recipe is incredibly forgiving and customizable, starting with the basics listed below will ensure a delightful outcome. The beauty of this recipe is that it leverages familiar items to create something truly special.
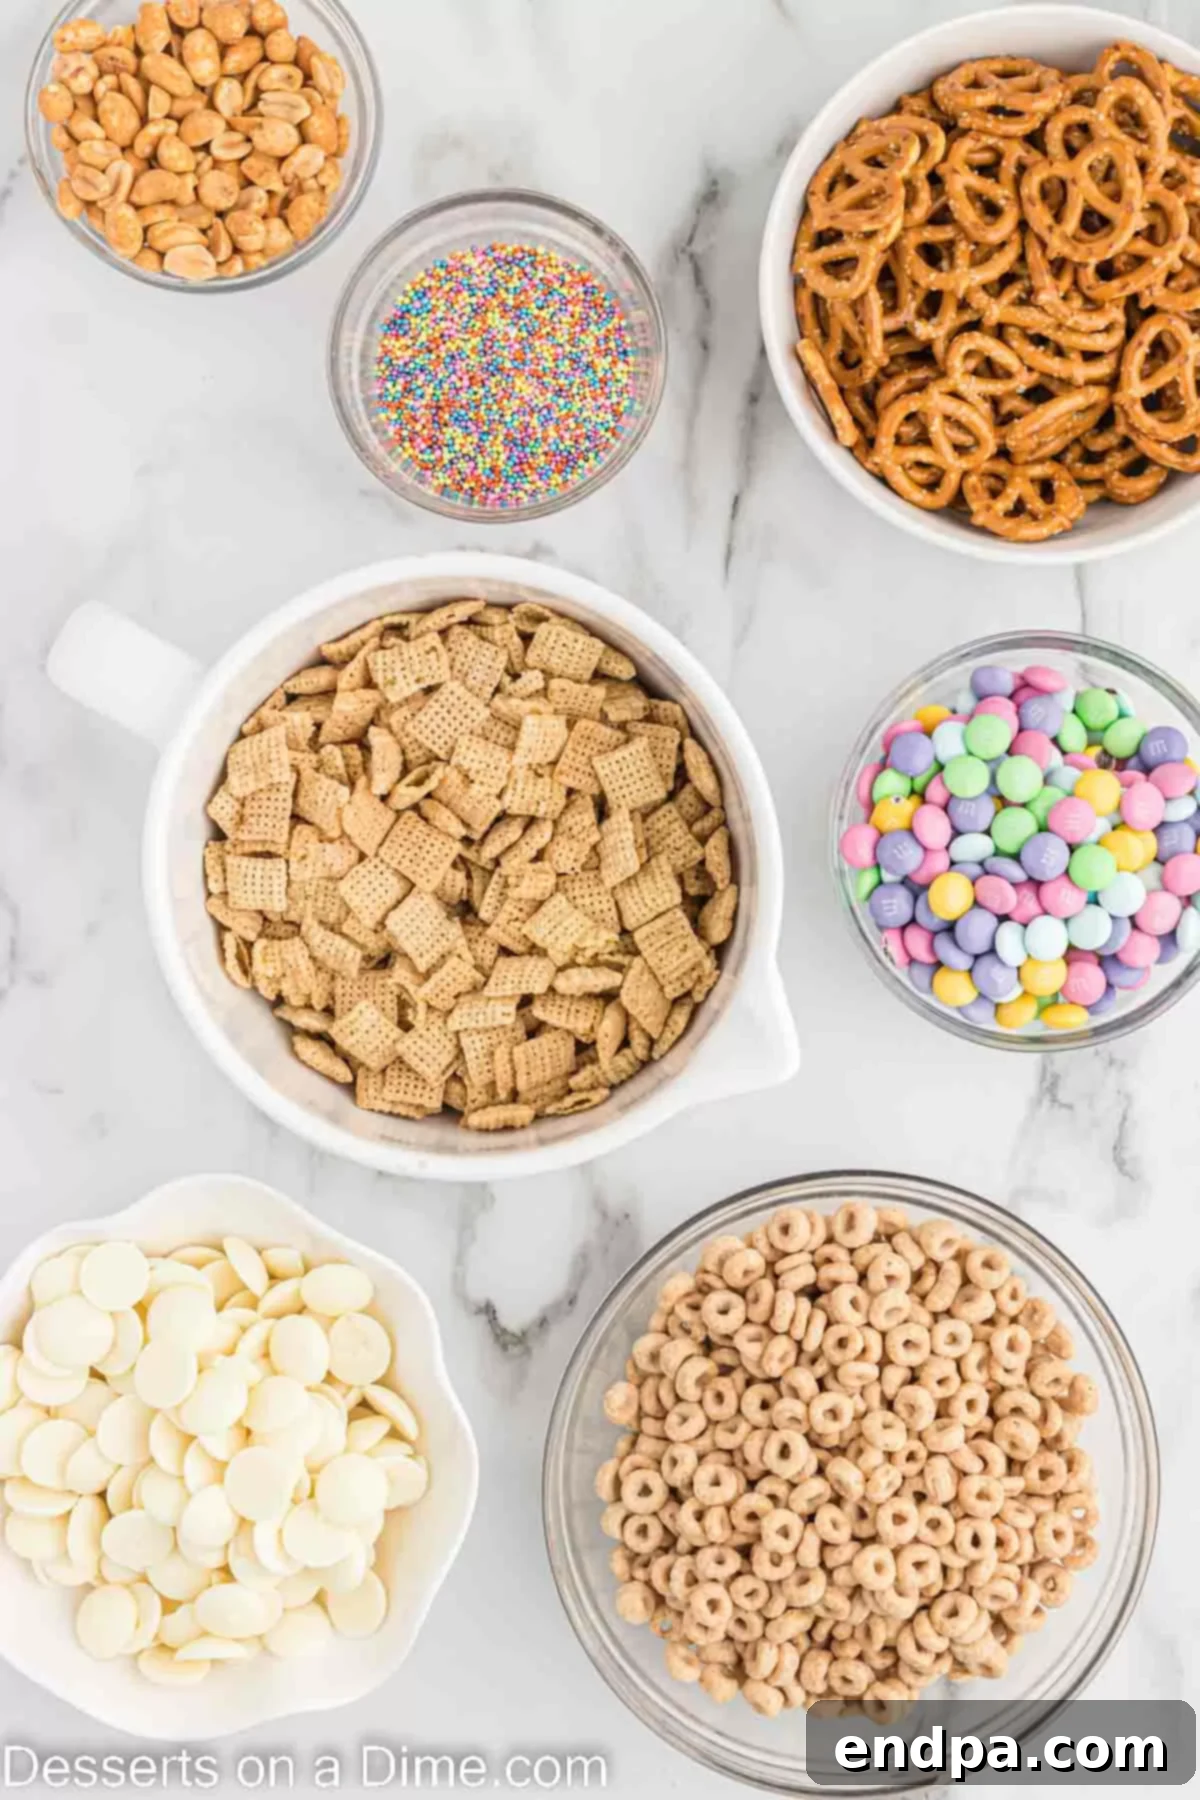
- Pretzels: We recommend using mini twists or pretzel sticks for their perfect bite-sized crunch and salty contrast.
- Honey Nut Cheerios: Adds a subtle sweetness and classic cereal texture.
- Chex Cereal (Rice or Corn): Provides a light, airy crunch and acts as an excellent base for the chocolate coating.
- Salted Peanuts: Offers a savory, nutty element that enhances the sweet components.
- Pastel M&M’s (Easter M&M’s): Essential for that festive spring color and a burst of chocolatey sweetness.
- Pastel Sprinkles: The final touch for vibrant, celebratory decoration.
- White Chocolate: We highly recommend high-quality white chocolate wafers, such as Ghirardelli, for the best melting consistency and rich flavor.
You can find the full, detailed recipe and precise ingredient measurements in the printable recipe card located further down on this page.
Creative Substitutions & Flavorful Additions for Your Bunny Bait
One of the many charms of this Easter Bunny Bait recipe is its incredible adaptability. While the core recipe is fantastic, don’t hesitate to personalize it with your favorite ingredients or what you have on hand. These substitutions and additions can transform your snack mix, making it uniquely yours and perfectly suited for any taste preference or dietary need.
- Chocolate Candies: While pastel M&M’s are perfect for Easter, the possibilities for chocolatey additions are endless! Feel free to swap them out for other favorites like Peanut M&M’s, Peanut Butter M&M’s, Reese’s Pieces for a peanut butter kick, chocolate chips (milk, dark, or semi-sweet), or even chopped chocolate bars. For an extra festive touch, consider seasonal varieties of candy that match your theme.
- Pretzels: Any variety of pretzels will work beautifully in this mix. Experiment with different shapes like pretzel sticks, mini pretzel twists, or even pretzel squares for varied textures. You could also try flavored pretzels for an added layer of taste, such as honey mustard or cheddar pretzels, although traditional salted pretzels are generally preferred to balance the sweetness.
- Mini Marshmallows: For an extra layer of soft, chewy sweetness, toss in some mini marshmallows. To prevent them from melting into the warm chocolate, ensure you add them *after* the melted white chocolate has been thoroughly mixed with the other dry ingredients and has slightly cooled. This way, they’ll retain their fluffy texture.
- Popped Popcorn: If you’re looking to add more volume and a lighter texture, consider substituting some of the cereal with freshly popped popcorn. Ensure it’s plain or very lightly salted, as heavily buttered or seasoned popcorn might overpower the other flavors. Air-popped popcorn works wonderfully here.
- Cereal Variety: While Chex and Honey Nut Cheerios provide a great foundation, don’t limit yourself! Other cereals that stand up well to coating include classic Cheerios, Corn Flakes, Crispix, Captain Crunch for extra sweetness, or even Lucky Charms for a fun, colorful twist. Choose your family’s favorite for a personalized snack.
- Seasonal Customization: This recipe is a chameleon! It’s incredibly easy to adapt for any holiday or occasion simply by changing the color palette of your M&M’s and sprinkles. This makes it a year-round favorite! We’ll delve deeper into this versatility in a dedicated section below.
- Sprinkles: Beyond pastel for Easter, unleash your creativity with sprinkles! Nonpareils, jimmies, edible glitter, or themed sprinkle mixes can transform this treat. Coordinate colors for a birthday party, baby shower, graduation, or any festive event. The right sprinkles can make all the difference in visual appeal.
- Nuts: While salted peanuts offer a fantastic crunch and flavor, feel free to substitute or add other nuts like roasted almonds, cashews, pecans, or walnuts. Ensure they are unsalted or lightly salted to maintain the desired sweet and salty balance.
- Butterscotch Chips or Other Flavor Chips: For a delightful flavor variation, consider melting and combining butterscotch chips with your white chocolate. Or, try other flavored chips like peanut butter chips, milk chocolate chips, or even peppermint chips for a festive winter version. This can add a unique and exciting twist to the classic Bunny Bait.
Step-by-Step: Crafting Your Delicious Bunny Bait
Making this no-bake Easter Bunny Bait is incredibly straightforward, perfect for a quick project with kids or when you need a festive treat in a flash. Follow these simple steps to create a batch of this irresistible sweet and salty snack mix.
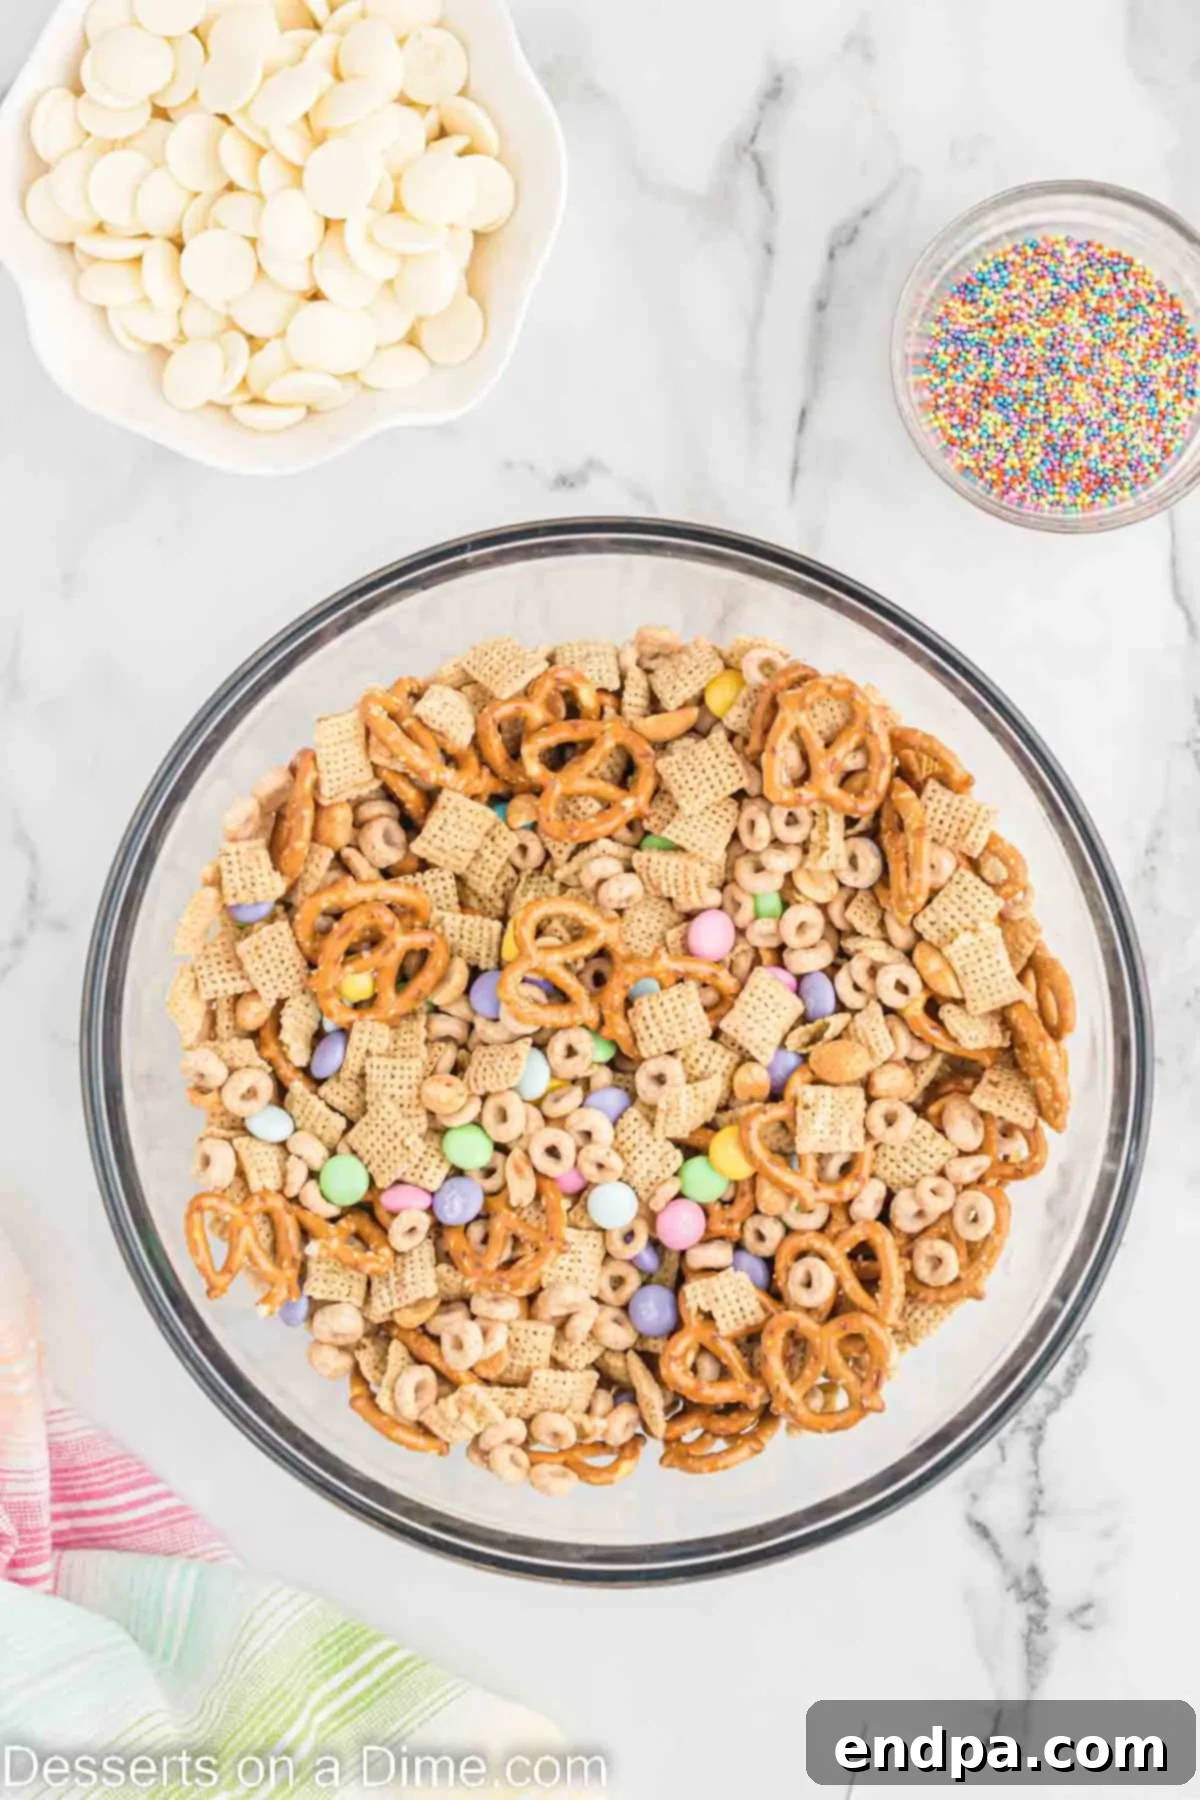
Step 1. Combine Dry Ingredients: Begin by gathering a large mixing bowl. Into this bowl, add the Chex cereal, Honey Nut Cheerios, pretzels, salted peanuts, and pastel M&M’s. Gently toss these ingredients together until they are evenly distributed. This ensures every bite will have a delightful mix of textures and flavors.
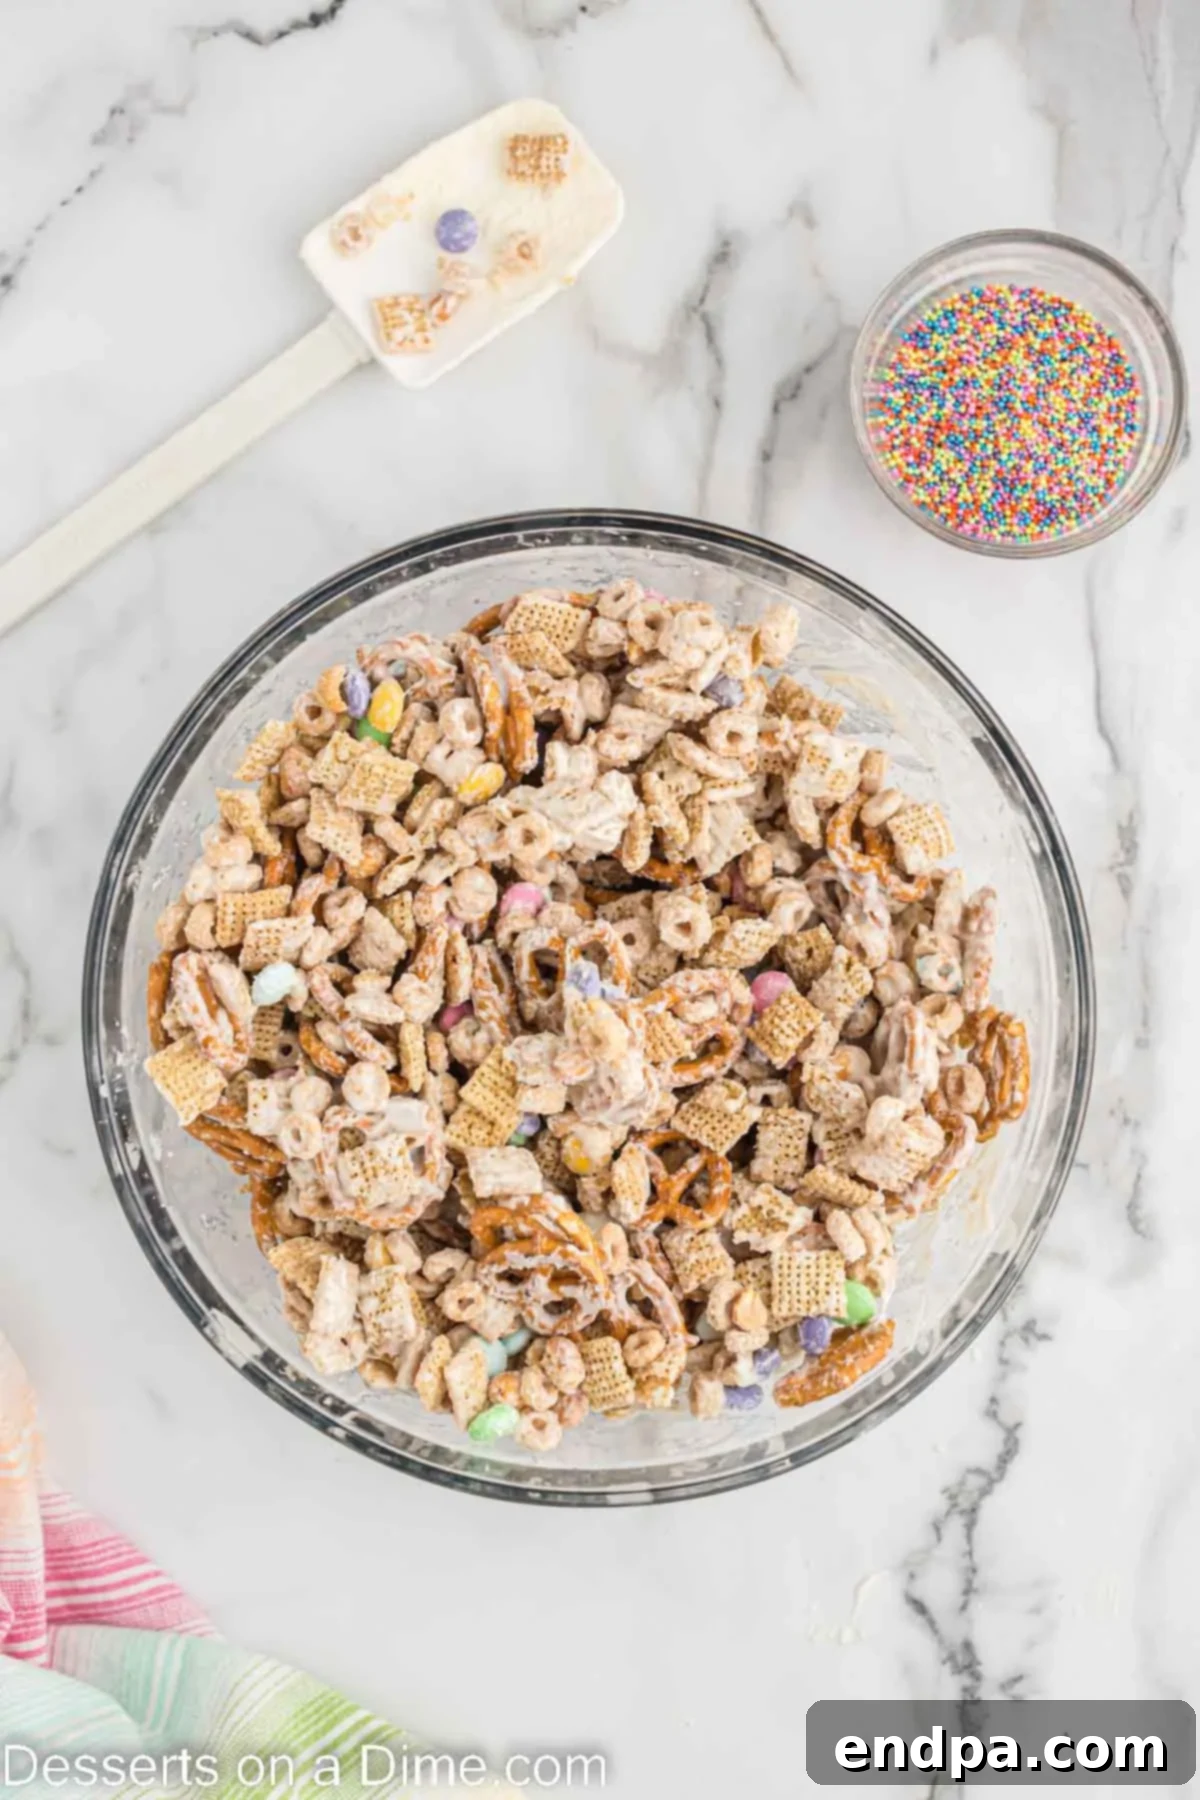
Step 2. Melt and Coat with White Chocolate: Next, place your chosen white chocolate (wafers or chips) into a microwave-safe bowl. Microwave it in 30-second intervals, stirring thoroughly after each interval, until the chocolate is completely melted and smooth. Be careful not to overheat it, as white chocolate can seize. Once melted, pour the luscious white chocolate over your cereal mixture. Stir meticulously with a spatula or spoon, ensuring every piece is beautifully coated in the rich chocolate.
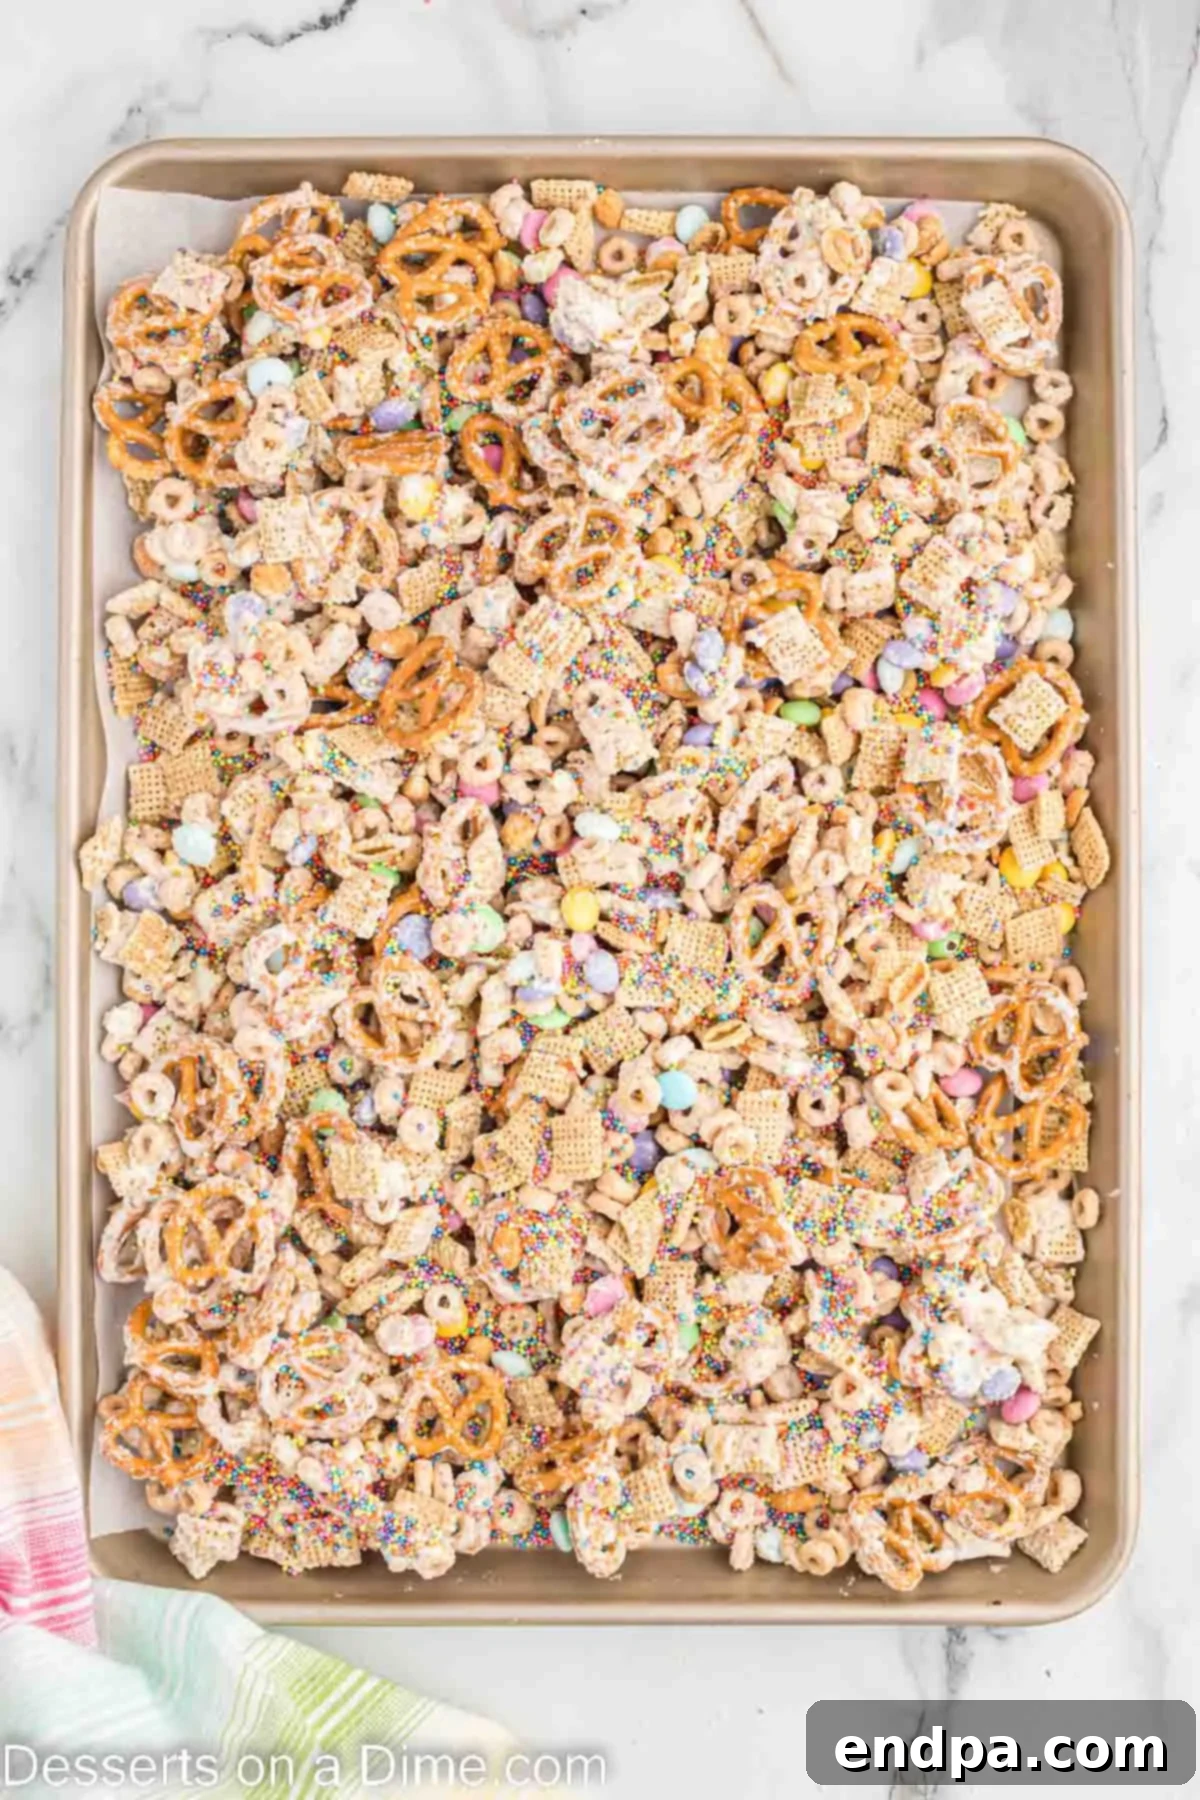
Step 3. Spread and Decorate with Sprinkles: Line a large baking sheet with wax paper or parchment paper. Carefully spread the chocolate-coated mixture evenly onto the lined sheet. While the chocolate is still wet, generously sprinkle the pastel sprinkles over the entire surface. This not only adds a festive touch but also ensures the sprinkles adhere perfectly. Allow the mixture to set undisturbed until the white chocolate has fully hardened, which typically takes at least 15 minutes at room temperature. For quicker setting, you can place it in the refrigerator.
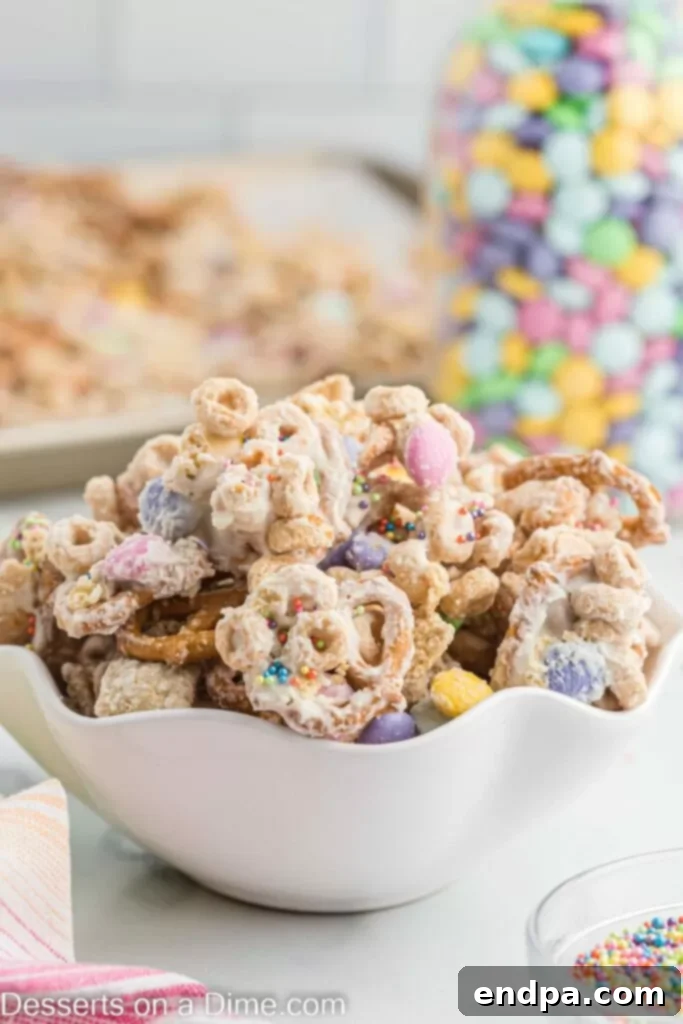
Step 4. Break Apart and Serve: Once the white chocolate is completely firm, you can easily break the large slab of Bunny Bait into smaller, bite-sized pieces. Simply use your hands to snap it apart into individual clusters. Now it’s ready to serve and enjoy! Arrange it beautifully in a bowl for a party, or package it up for charming gifts.
Optimal Storage for Freshness
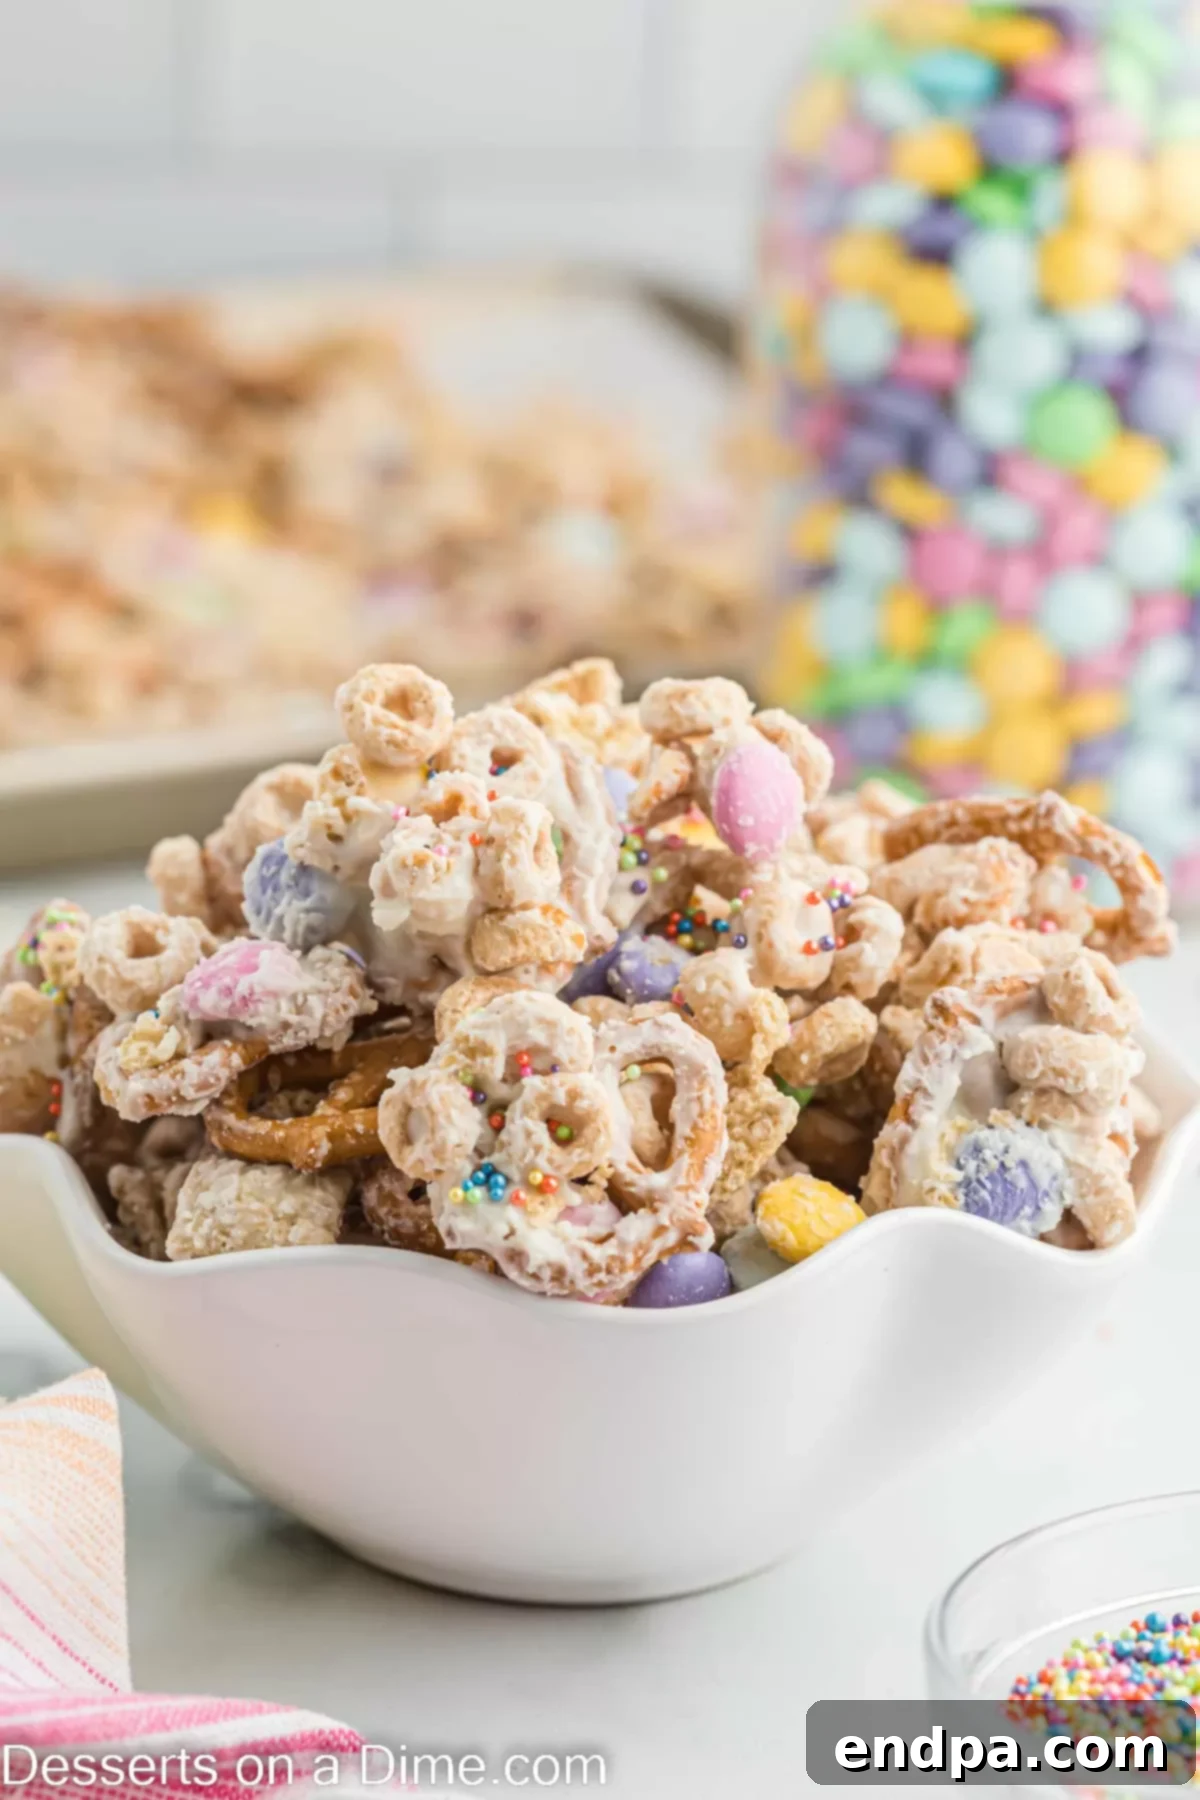
Proper storage is key to keeping your Bunny Bait snack mix fresh and delicious for as long as possible. To maintain its satisfying crunch and prevent the white chocolate from becoming sticky or soft, store the cooled and hardened mixture in an airtight container or a heavy-duty ziplock bag. You can safely keep it on the counter at room temperature for up to 3 days. For extended enjoyment, this versatile treat freezes beautifully. Place it in a freezer-safe bag or container, and it will remain fresh for up to 3 months. Simply thaw it at room temperature for a few minutes before serving, and it will be as good as new!
Top Tips for the Best Bunny Bait
Achieving the perfect batch of Easter Bunny Bait is simple, but a few expert tips can elevate your snack mix from good to absolutely amazing. Keep these suggestions in mind to ensure your homemade treat is a resounding success every time.
- Always Line Your Baking Sheet: To guarantee an easy cleanup and prevent your hardened Bunny Bait from sticking, always line your baking sheet with wax paper or parchment paper. This creates a non-stick surface, allowing you to lift and break apart the cooled mixture effortlessly, without any mess.
- Patience is Key: Allow the Chocolate to Fully Set. It might be tempting to rush, but allowing the white chocolate to fully set and harden is crucial. If you try to break it apart too soon, the mixture will be messy and sticky. Aim for at least 15-20 minutes at room temperature, or if you’re short on time, pop the baking sheet into the refrigerator for 20 to 25 minutes to speed up the setting process. You’ll know it’s ready when it snaps cleanly.
- Work Quickly with Melted Chocolate: White chocolate has a tendency to harden relatively fast once melted and exposed to cooler ingredients. To ensure an even, beautiful coating on all your snack components, work swiftly when pouring and stirring the melted chocolate into the dry mix. A quick and thorough stir will provide the best results, preventing clumps and ensuring every piece is perfectly enrobed.
- Invest in High-Quality White Chocolate: The flavor and texture of your Bunny Bait heavily depend on the quality of your white chocolate. Using a premium brand, like Ghirardelli wafers, will result in a smoother melt, a richer taste, and a more pleasant mouthfeel. Cheaper white chocolate chips or candy melts can sometimes be waxy or difficult to melt smoothly, potentially compromising the overall quality of your treat.
- Prepare in Advance for Events: This easy Easter snack is an ideal make-ahead treat. You can prepare a batch up to a week in advance of your Easter celebration, party, or gifting event. Simply store it properly (as detailed in the storage section), and it will remain fresh and delicious. This is a fantastic time-saving tip, allowing you to focus on other preparations closer to your event.
Customize Your Snack Mix for Any Holiday or Occasion
The versatility of this sweet and salty snack mix extends far beyond Easter! It’s incredibly easy to adapt this recipe for virtually any holiday, season, or special occasion throughout the year. The key lies in customizing the colors of your M&M’s and sprinkles to match your theme, instantly transforming the entire look and feel of the treat.
Imagine a vibrant mix for summer holidays: simply substitute the pastel M&M’s with red, white, and blue varieties for a patriotic Christmas or July 4th celebration. For Halloween, switch to orange, purple, and black M&M’s with spooky sprinkles. During the festive winter season, use red and green M&M’s and festive snowflake sprinkles for a delightful Christmas snack. Valentine’s Day calls for pink and red candies, while St. Patrick’s Day can feature green M&M’s. You can even use school colors for graduation parties or baby pinks and blues for baby showers and gender reveal parties.
With such minor adjustments, this recipe truly comes alive as a year-round favorite. It’s a testament to its simple yet effective design, allowing you to create a perfect, themed treat for any event with minimal effort and maximum impact.
More Delightful Easter Dessert Recipes
If you’re looking for even more inspiration to fill your Easter spread with deliciousness, be sure to explore some of our other fantastic holiday recipes:
- Easter Egg Fruit Pizza
- Sugar Cookies Easter Egg Recipe
- Easter Candy Charcuterie Board
- Easter Dirt Cups Recipe
- Bunny Butt Cupcakes
We encourage you to try this incredibly festive and satisfying Easter Bunny Bait recipe today! It’s a simple project that yields impressive results, perfect for sharing, gifting, or simply enjoying with your family. We absolutely love hearing from you, so please do come back and leave a comment once you’ve made it and tell us what you think!
Pin
Bunny Bait
Ingredients
- 2 cups pretzels
- 2 cups Honey Nut Cheerios
- 3 cups Chex rice or corn
- 1/2 cup Salted Peanuts
- 1 cup Pastel M&M’s Easter M&Ms
- ½ cup Pastel Sprinkles
- 10 ounces white chocolate I used Ghirardelli wafers
Instructions
- In a large bowl, mix the Chex, Cheerios, pretzels, peanuts and M&M’s.
- Place the white chocolate in a microwave safe bowl.
- Microwave for 1 minute. Stir and then melt in 30 second increments. Make sure you stir in between.
- Be careful not to overcook.
- Pour the melted chocolate over the Chex mix and stir until well coated.
- Then pour the Chex mixture onto a piece of wax or parchment paper, top with the pastel sprinkles and allow to set until hardened (at least 15 minutes).
- After the chocolate has set, break the mixture into pieces and then it’s ready to serve and enjoy!
Recipe Notes
Nutrition Facts
Pin This Now to Remember It Later
Pin Recipe
