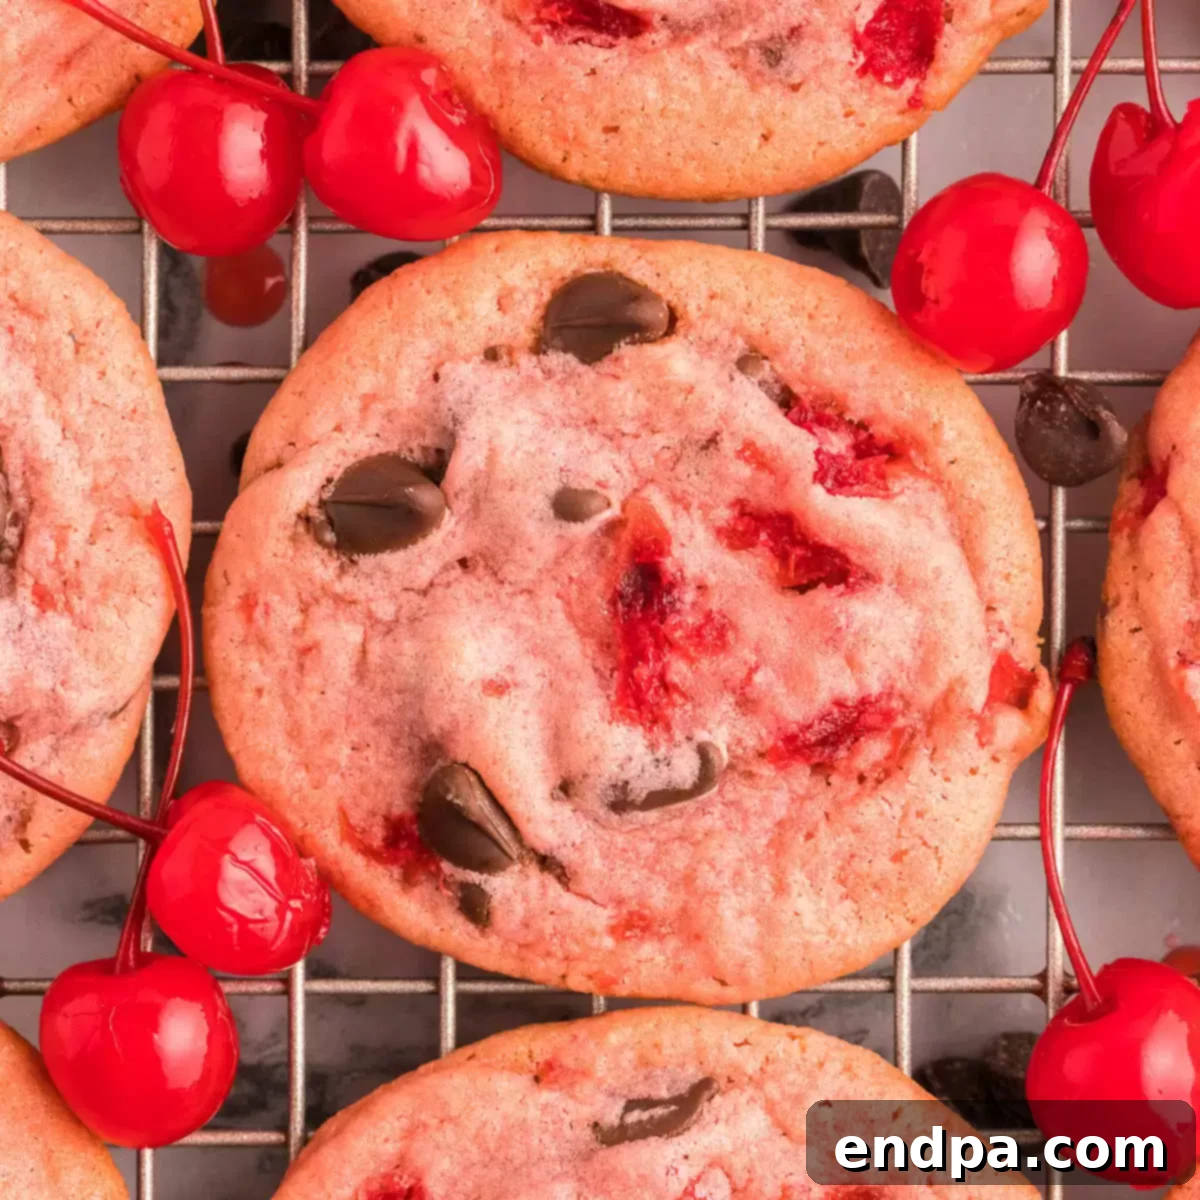
These gorgeous Cherry Chocolate Chip Cookies are an absolute delight, brimming with vibrant cherry flavor that perfectly complements rich milk chocolate. Their eye-catching pink hue makes them a fantastic centerpiece for any dessert table, promising a taste as beautiful as their appearance. Prepare to fall in love with these irresistibly soft and chewy treats!
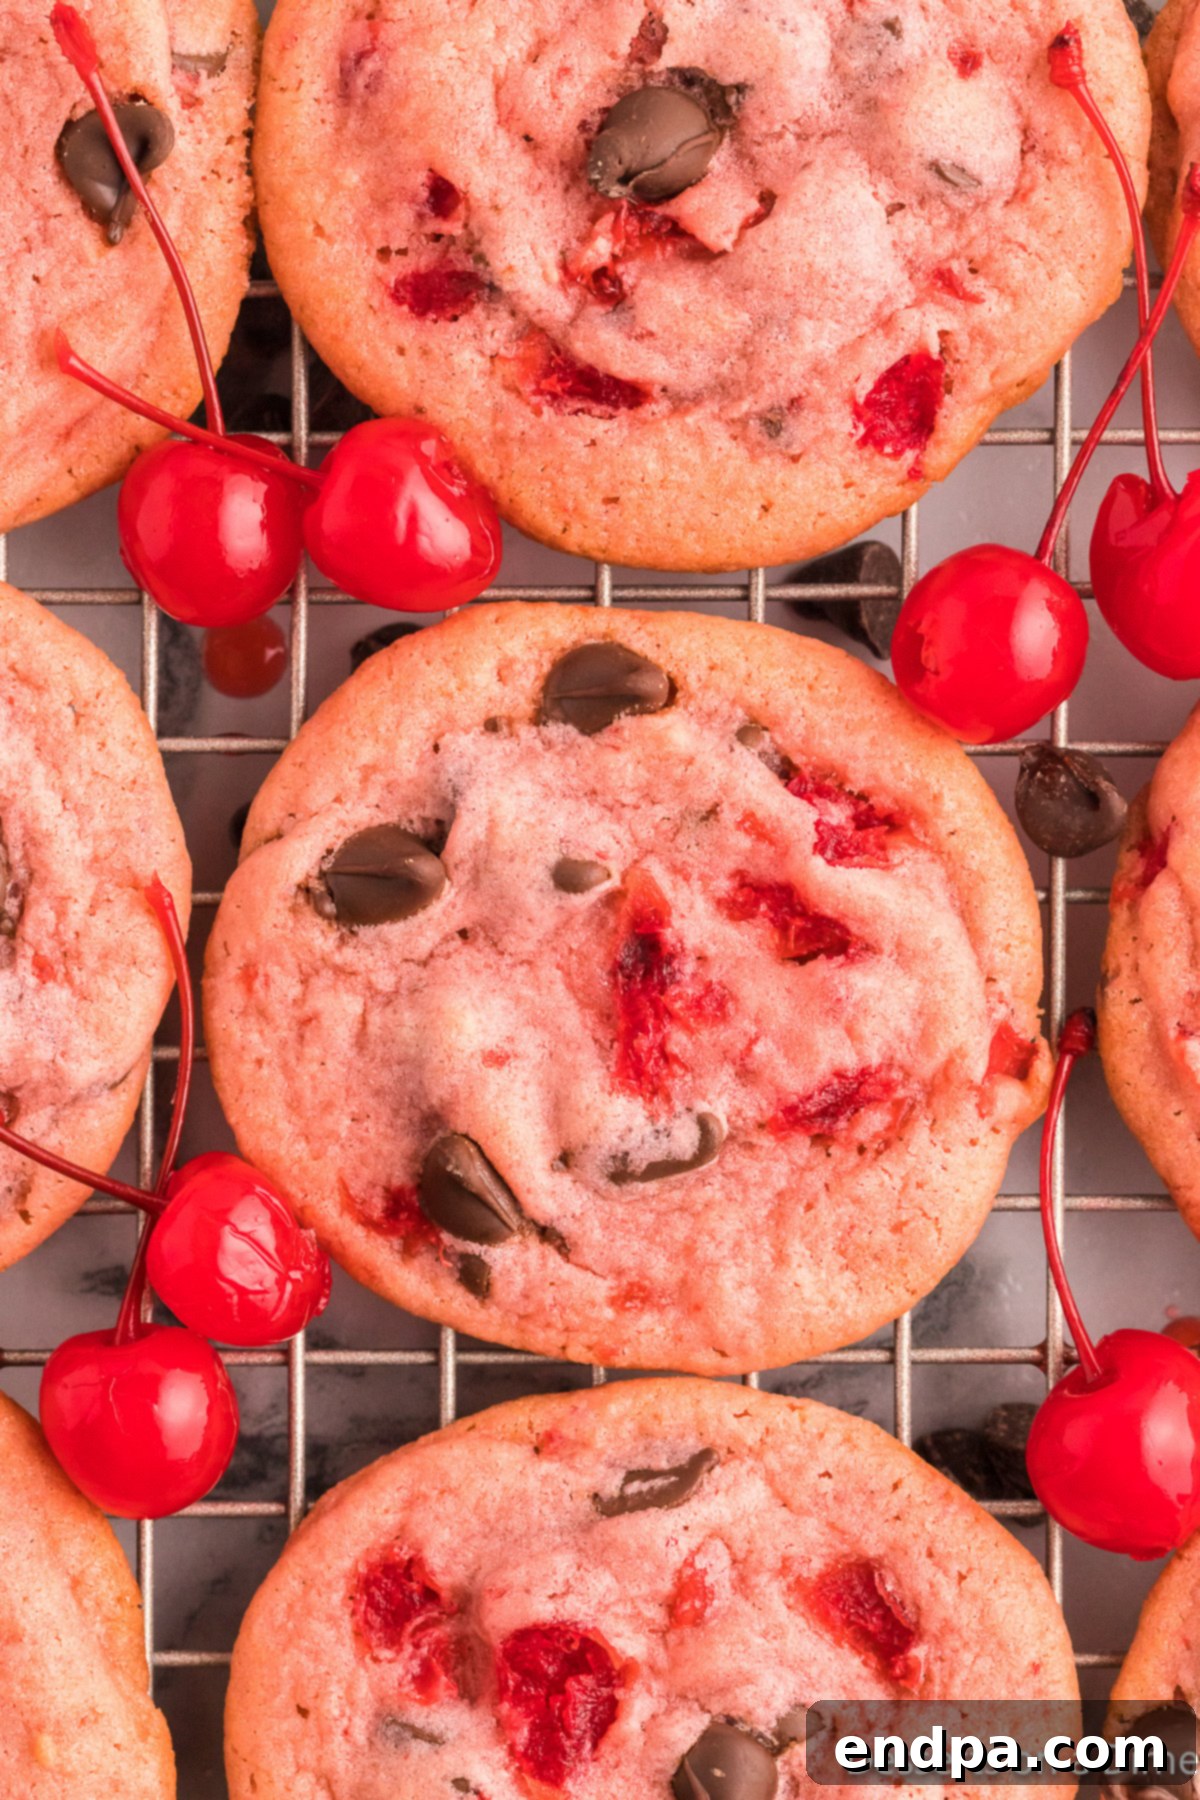
If you’re searching for an easy cookie recipe that truly shines at parties, celebrations, or simply as a special everyday treat, look no further. This delightful recipe yields cookies that are wonderfully soft, delightfully chewy, and generously packed with the harmonious duo of sweet cherries and luscious chocolate chips. Having perfected this recipe over 15 years, I can confidently say it’s one of the Best Cherry Desserts you’ll ever bake, guaranteed to impress with minimal effort.
Beyond their incredible taste, these cookies boast an undeniably gorgeous aesthetic. The bright, cheerful pink color is simply captivating. Imagine serving them at a baby shower, a festive spring gathering, or even as a unique Valentine’s Day confection. They would look absolutely stunning alongside delicate Butter Mints for an extra touch of charm. Their vibrant appearance makes them a fantastic homemade gift as well, perfect for sharing joy with friends and family.
Table of Contents
- Why You’ll Adore This Recipe
- Essential Ingredients for Perfect Cherry Chocolate Chip Cookies
- Step-by-Step: How to Make Cherry Chocolate Chip Cookies
- Proper Storage for Lasting Freshness
- Expert Tips for Baking Success
- Frequently Asked Questions
- Serving Suggestions & Variations
- More Irresistible Cherry Desserts
- More Delightful Chocolate Chip Cookie Recipes
Why You’ll Adore This Recipe
There are countless reasons why these Cherry Chocolate Chip Cookies have become a cherished staple in my kitchen and are destined to become a firm favorite in yours too. First and foremost, their delightful simplicity makes them incredibly approachable, even for novice bakers. The recipe comes together with remarkable ease, proving that you don’t need complicated techniques or specialized equipment to achieve truly extraordinary results.
Beyond their user-friendly nature, the cookies themselves are a symphony of textures and flavors. Each bite delivers a perfect balance of a light, fluffy cookie base, beautifully contrasted with the chewy sweetness of plump maraschino cherries and the indulgent richness of melted chocolate chips. This unique combination creates a flavor profile that is both comforting and exciting, often evoking a sense of nostalgic joy while offering something delightfully new. The bright, fruity notes of the cherry cut through the sweetness of the chocolate, preventing the cookie from being overly rich and making it utterly addictive.
What truly sets these cookies apart is their stunning visual appeal. The dough, infused with a subtle cherry flavor and optional pink food coloring, transforms into a cheerful, soft pink hue. This vibrant color offers a captivating contrast against the deep, dark specks of chocolate chips, making each cookie a mini work of art. This undeniable aesthetic makes them ideal for any festive occasion – from elegant holiday gatherings to vibrant birthday parties, charming baby showers, or even as a thoughtful, heartfelt homemade gift. They’re not just a dessert; they’re a statement piece that brightens any table and is guaranteed to bring smiles to faces. Their undeniable charm, coupled with their decadent taste, ensures they will be a crowd-pleaser every single time they’re served.
Essential Ingredients for Perfect Cherry Chocolate Chip Cookies
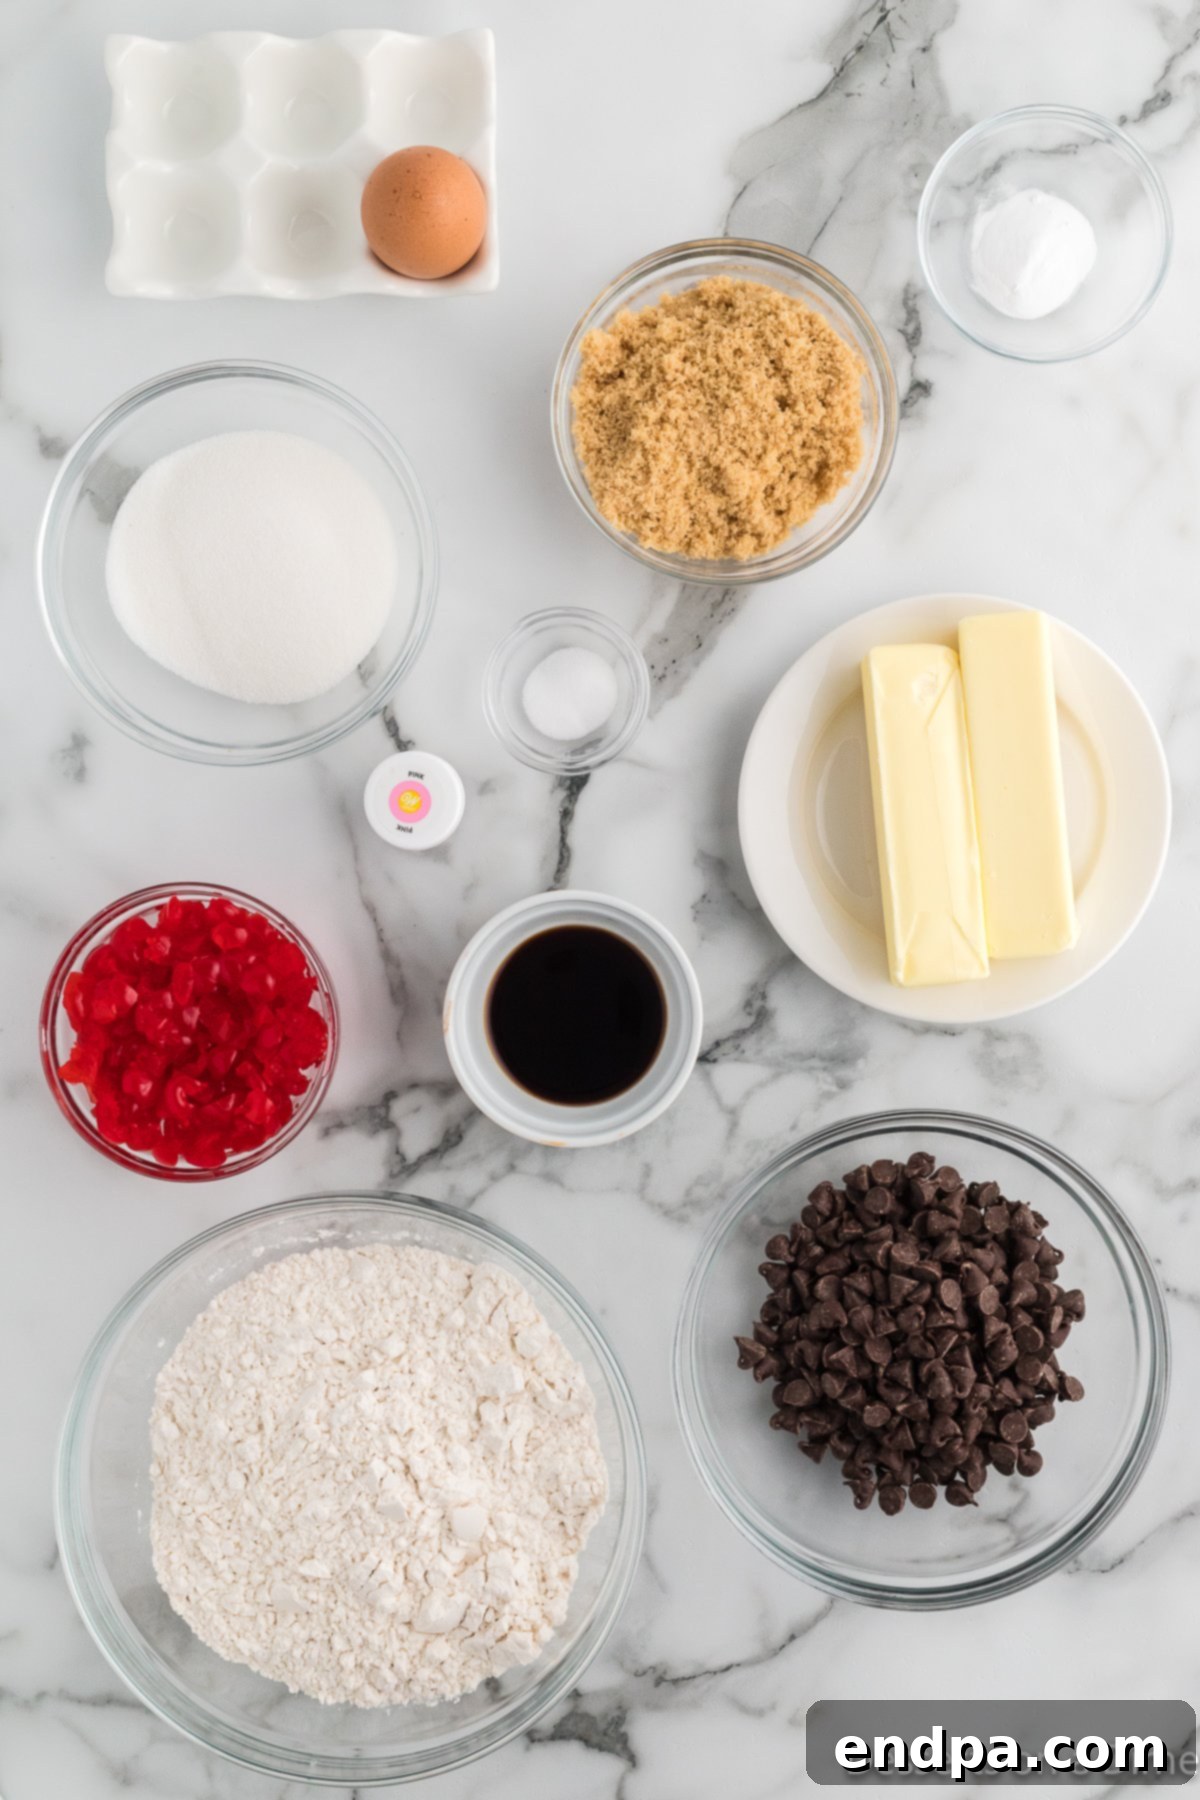
Crafting these delectable cookies requires a selection of readily available ingredients. Using quality components and paying close attention to their preparation will ensure the best possible outcome – perfectly textured and flavored cookies every time:
- Butter: Always opt for unsalted butter, softened to room temperature. This crucial step allows the butter to cream properly with the sugars, creating a light and airy base for your cookie dough. Softened butter should yield slightly when pressed with a finger, but it should not be greasy or melted.
- Granulated Sugar: This provides the primary sweetness to the cookies and contributes to their delightfully crispy edges and wonderfully chewy centers.
- Brown Sugar: The addition of brown sugar is essential for both moisture and flavor. Its molasses content adds a rich, caramel-like depth and ensures the cookies remain wonderfully soft and chewy. If you unexpectedly run out, consider whipping up a batch of Homemade Brown Sugar for a quick and effective substitute.
- Large Egg: For optimal results, ensure your large egg is at room temperature. A room temperature egg emulsifies more effectively with the butter and sugar, leading to a more uniform, smoother dough and ultimately, a superior cookie texture.
- Vanilla Extract: Pure vanilla extract is highly recommended for its rich, complex, and aromatic flavor. It acts as a natural enhancer, beautifully complementing and intensifying all the other ingredients in the cookie. Avoid imitation vanilla if possible, as it lacks the depth of true vanilla.
- All-Purpose Flour: This forms the structural backbone of our cookies. For accurate measurement and to prevent a dense cookie, always spoon the flour lightly into your measuring cup and then level it off with a straight edge. Scooping directly from the bag can compact the flour excessively, resulting in too much flour and dry, crumbly cookies.
- Baking Soda: A vital leavening agent, baking soda reacts with the acidic brown sugar to help the cookies spread beautifully and achieve a tender, delicate crumb. Should you ever find yourself without, explore Best Baking Soda Substitutes for viable alternatives.
- Salt: A small amount of salt is crucial. It doesn’t just add a salty taste; it balances the sweetness of the sugars and chocolate, enhancing the overall flavor profile of the cookies and making them taste more complex and satisfying.
- Maraschino Cherries: These should be thoroughly drained and finely chopped. It’s imperative that they are as dry as possible to prevent excess moisture from altering the dough’s consistency, which could lead to flat or overly soft cookies. Patting them dry with paper towels after draining is an excellent extra step.
- Semi-Sweet Chocolate Chips: These provide a classic, delightful contrast to the sweet and tangy cherries. However, feel free to get creative! Dark chocolate chips will lend a richer, more sophisticated flavor, while milk chocolate chips will create an even sweeter, creamier treat. For a visually striking and equally delicious alternative, consider using white chocolate chips.
- Pink Food Coloring: This ingredient is entirely optional but comes highly recommended if you wish to achieve that signature gorgeous, vibrant pink color that makes these cookies so visually appealing and festive. A few drops are usually sufficient to transform the dough into a captivating hue.
The precise measurements for each of these ingredients, along with the complete step-by-step instructions, are detailed in the comprehensive recipe card located further down this page.
Step-by-Step: How to Make Cherry Chocolate Chip Cookies
Baking these beautiful cherry chocolate chip cookies is a remarkably straightforward process, making it an enjoyable experience for bakers of all skill levels. Follow these simple yet crucial steps for perfectly baked, irresistible cookies every single time:
- Step 1: Prepare Your Baking Environment. Begin by setting your oven to preheat to 350 degrees F (175°C). While your oven warms up, prepare your baking sheets by lining them with parchment paper. This simple yet effective step not only prevents your cookies from sticking to the pan but also promotes more even baking and significantly simplifies the clean-up process afterward.
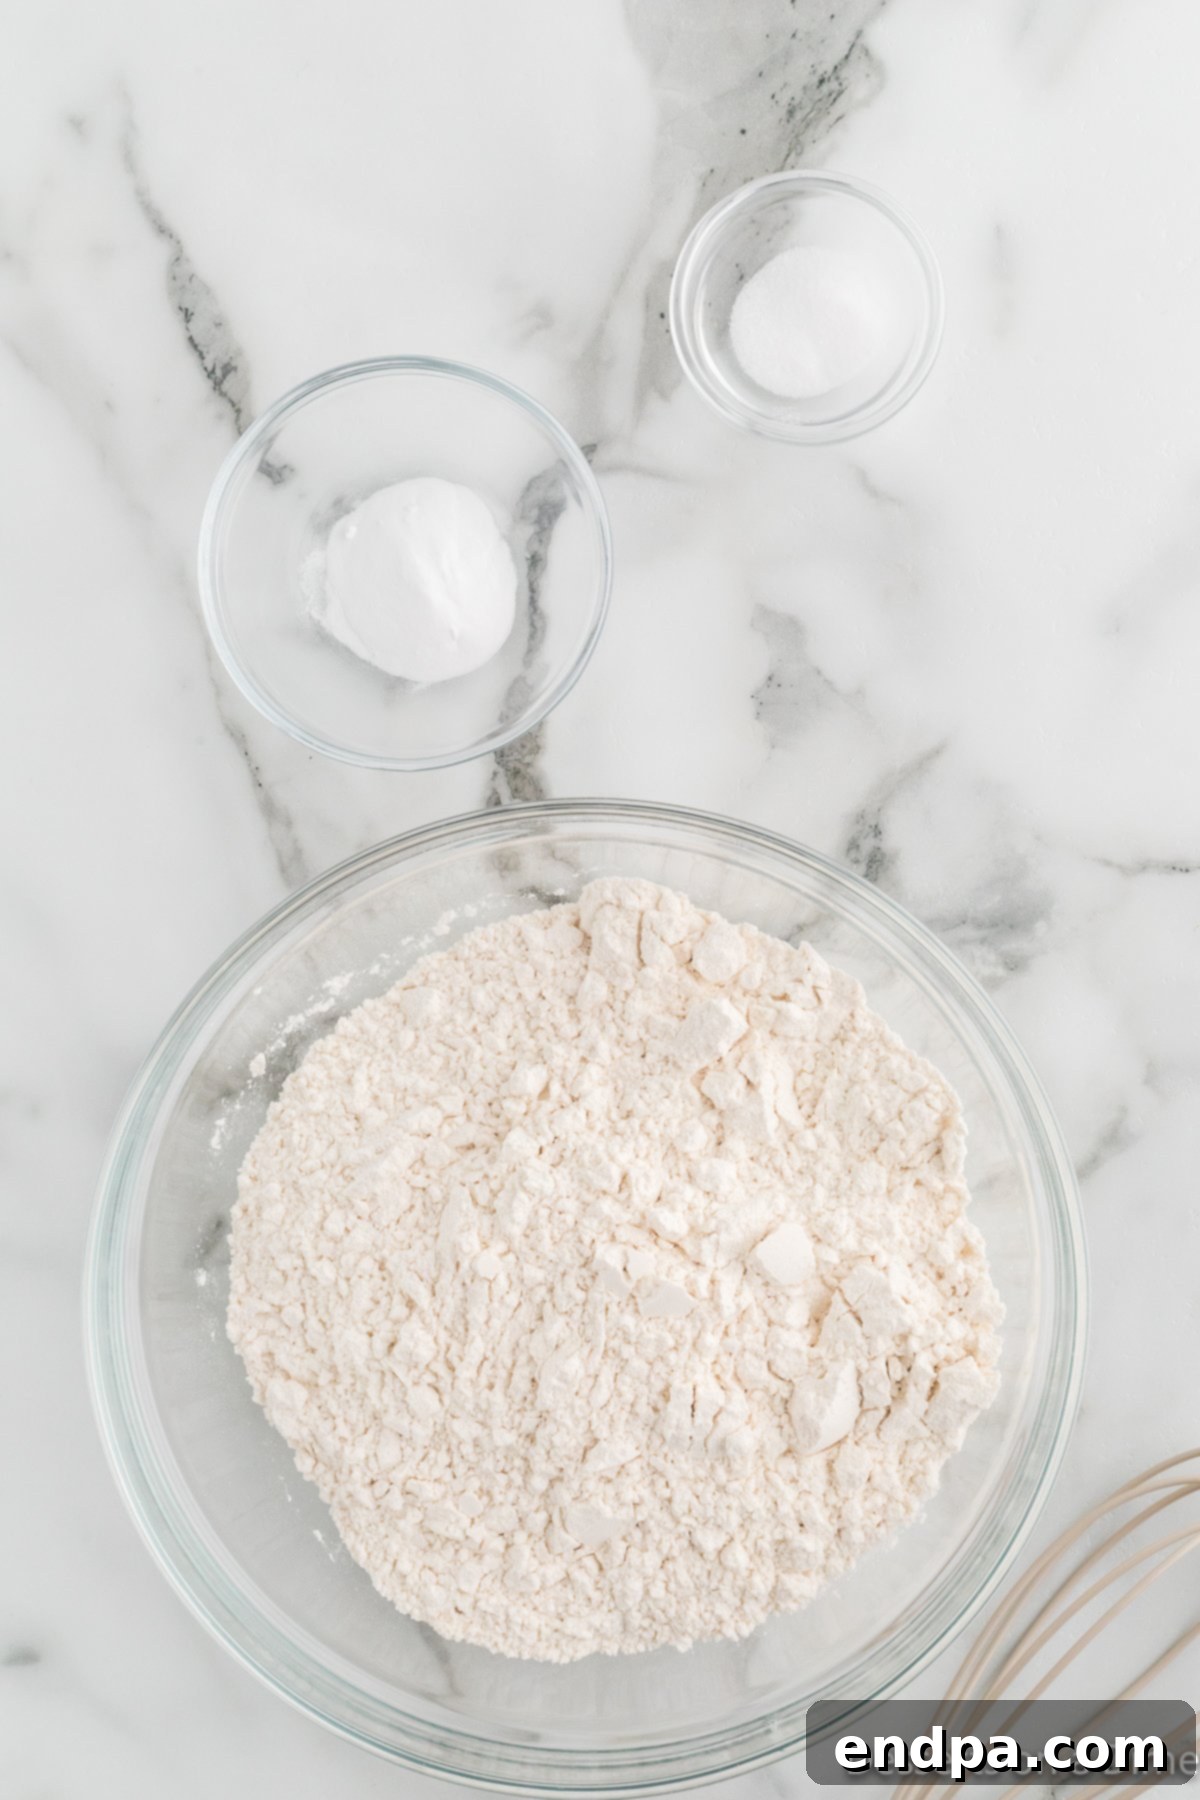
Step 2: Combine Dry Ingredients. In a medium-sized mixing bowl, take your all-purpose flour, baking soda, and salt. Whisk these ingredients together thoroughly until they are uniformly combined. This crucial step ensures that the leavening agent and salt are evenly distributed throughout the dough, which is vital for achieving a consistent texture and balanced flavor in every cookie. Once mixed, set this bowl aside.
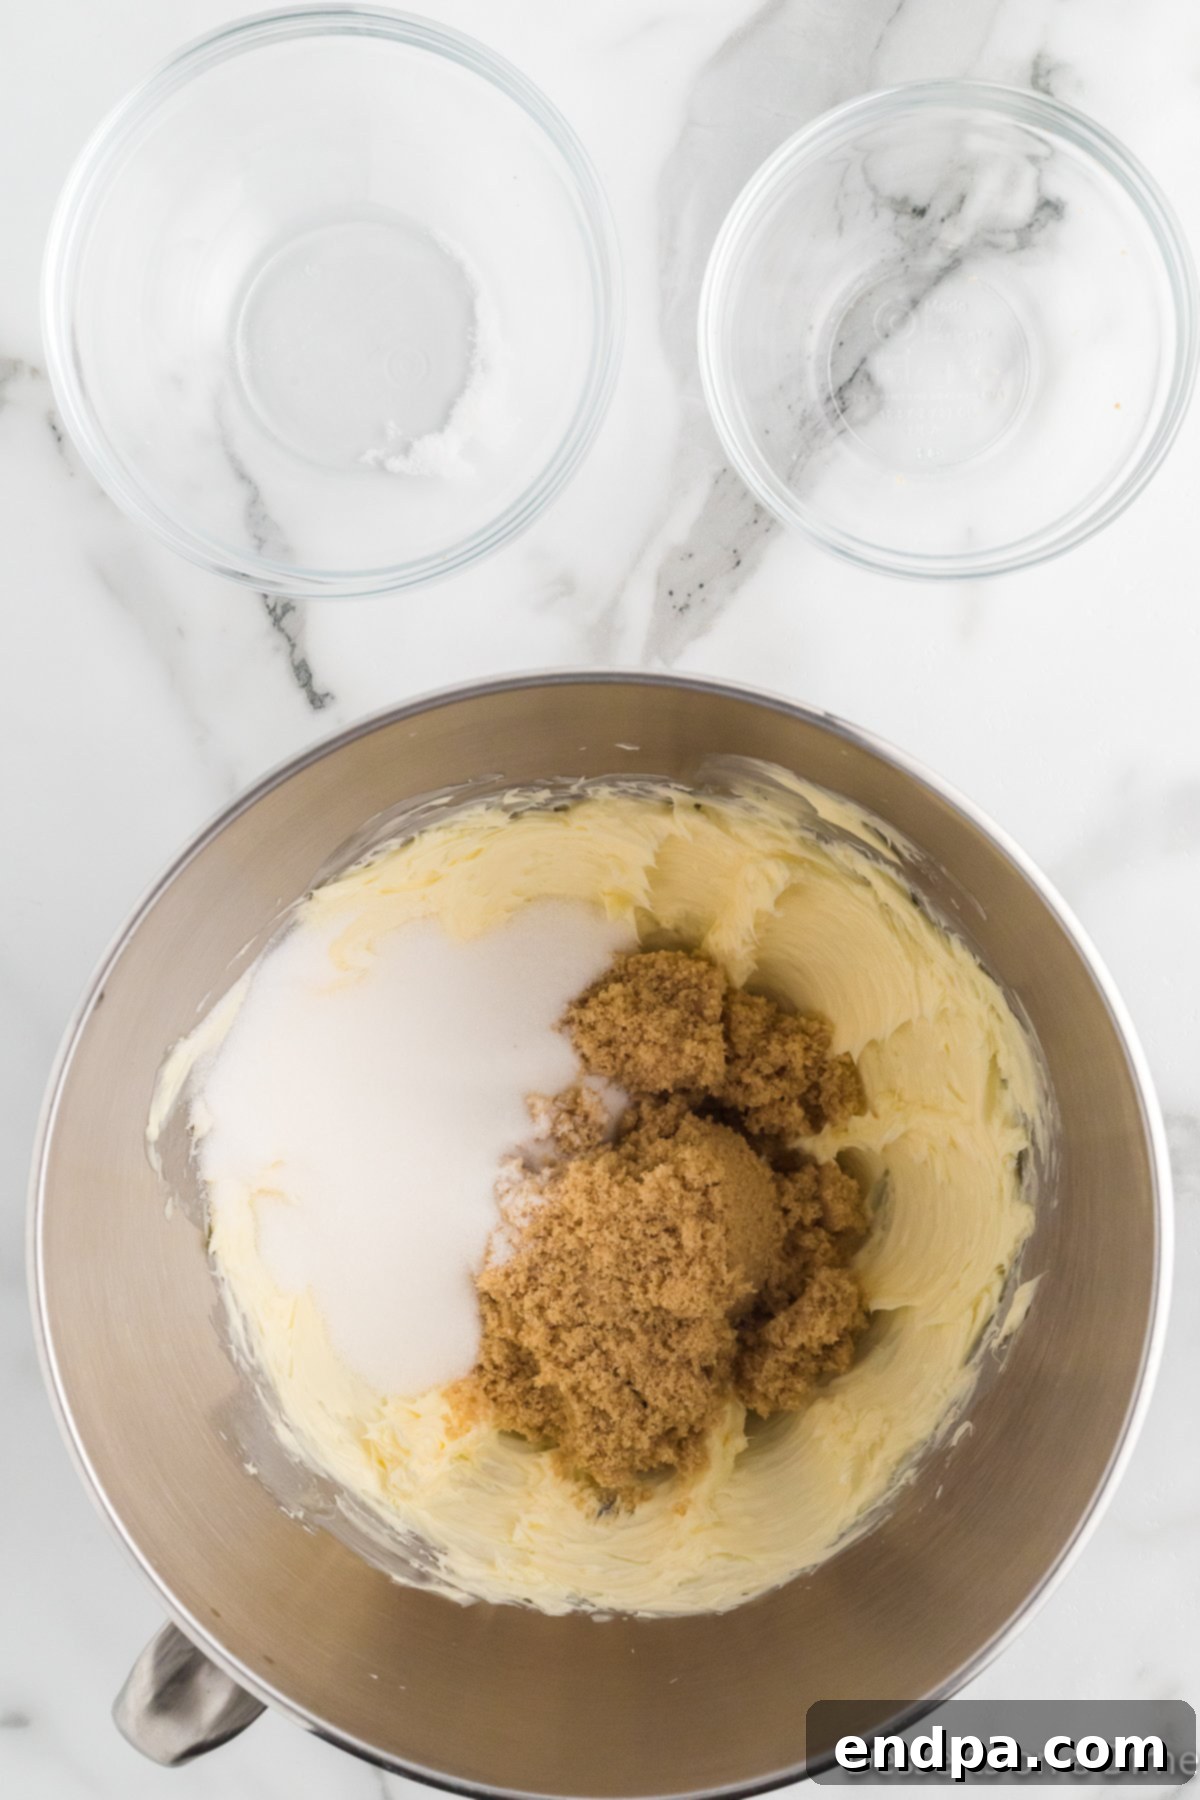
Step 3: Cream Butter and Sugars. In a large mixing bowl, using either a stand mixer fitted with the paddle attachment or a handheld electric mixer, begin by beating the softened butter until it transforms into a light and fluffy consistency. This usually takes approximately 1-2 minutes. Next, add both the granulated sugar and the brown sugar to the butter. Continue to mix on medium speed for another 2 minutes, until the mixture appears pale, creamy, and visibly aerated. This creaming process is fundamental for incorporating air, which directly contributes to the cookies’ wonderfully soft and tender texture.
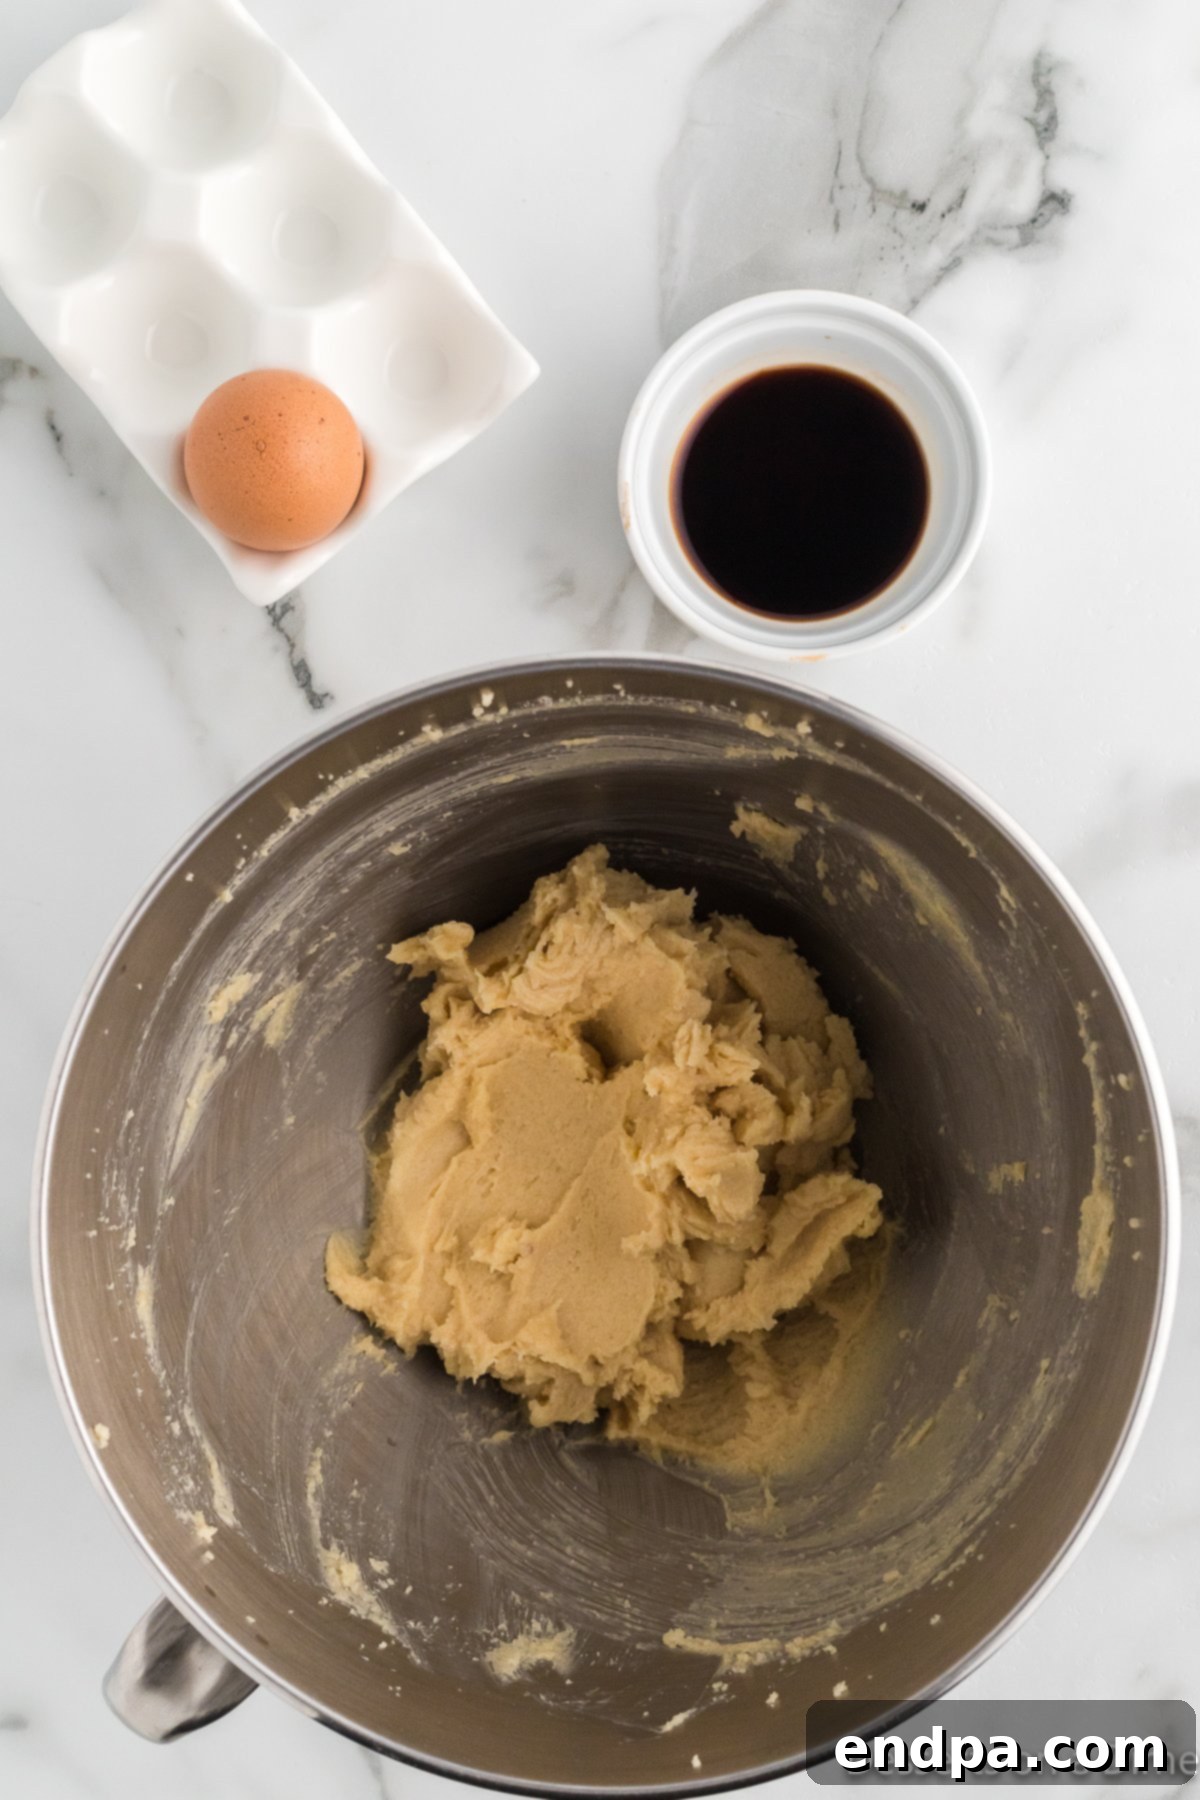
Step 4: Incorporate Wet Ingredients. Introduce the room temperature large egg and the vanilla extract into the creamed butter and sugar mixture. Mix on medium-low speed until all the wet ingredients are thoroughly combined and no visible streaks of egg or vanilla remain. Don’t forget to scrape down the sides of the bowl as needed to ensure everything is fully incorporated into the batter.
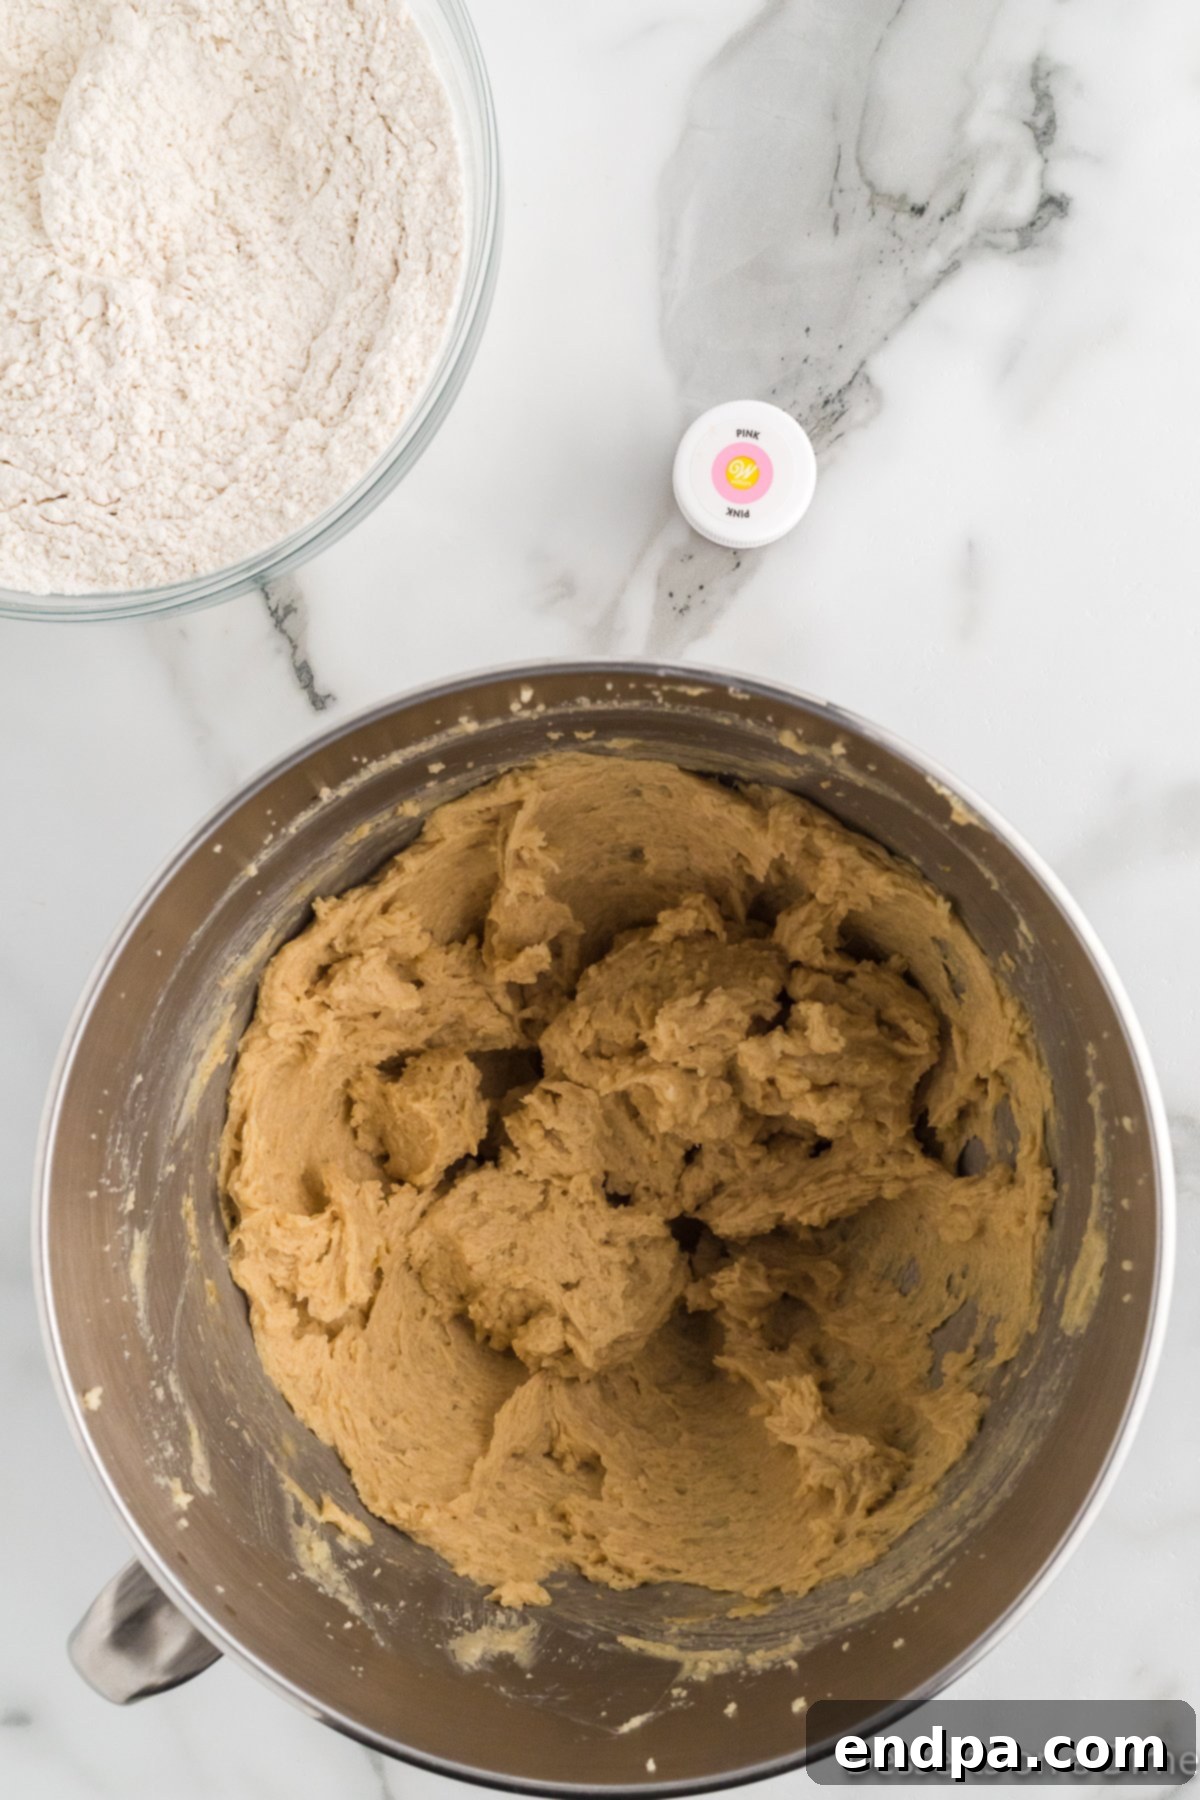
Step 5: Gradually Add Dry Ingredients. Reduce the mixer speed to its lowest setting. Begin to gradually add the previously combined dry flour mixture into the butter mixture. Mix only until the ingredients are just combined, and no dry streaks of flour are visible. It is crucial not to overmix the dough once the flour has been added, as this can over-develop the gluten, resulting in tough, less tender cookies.
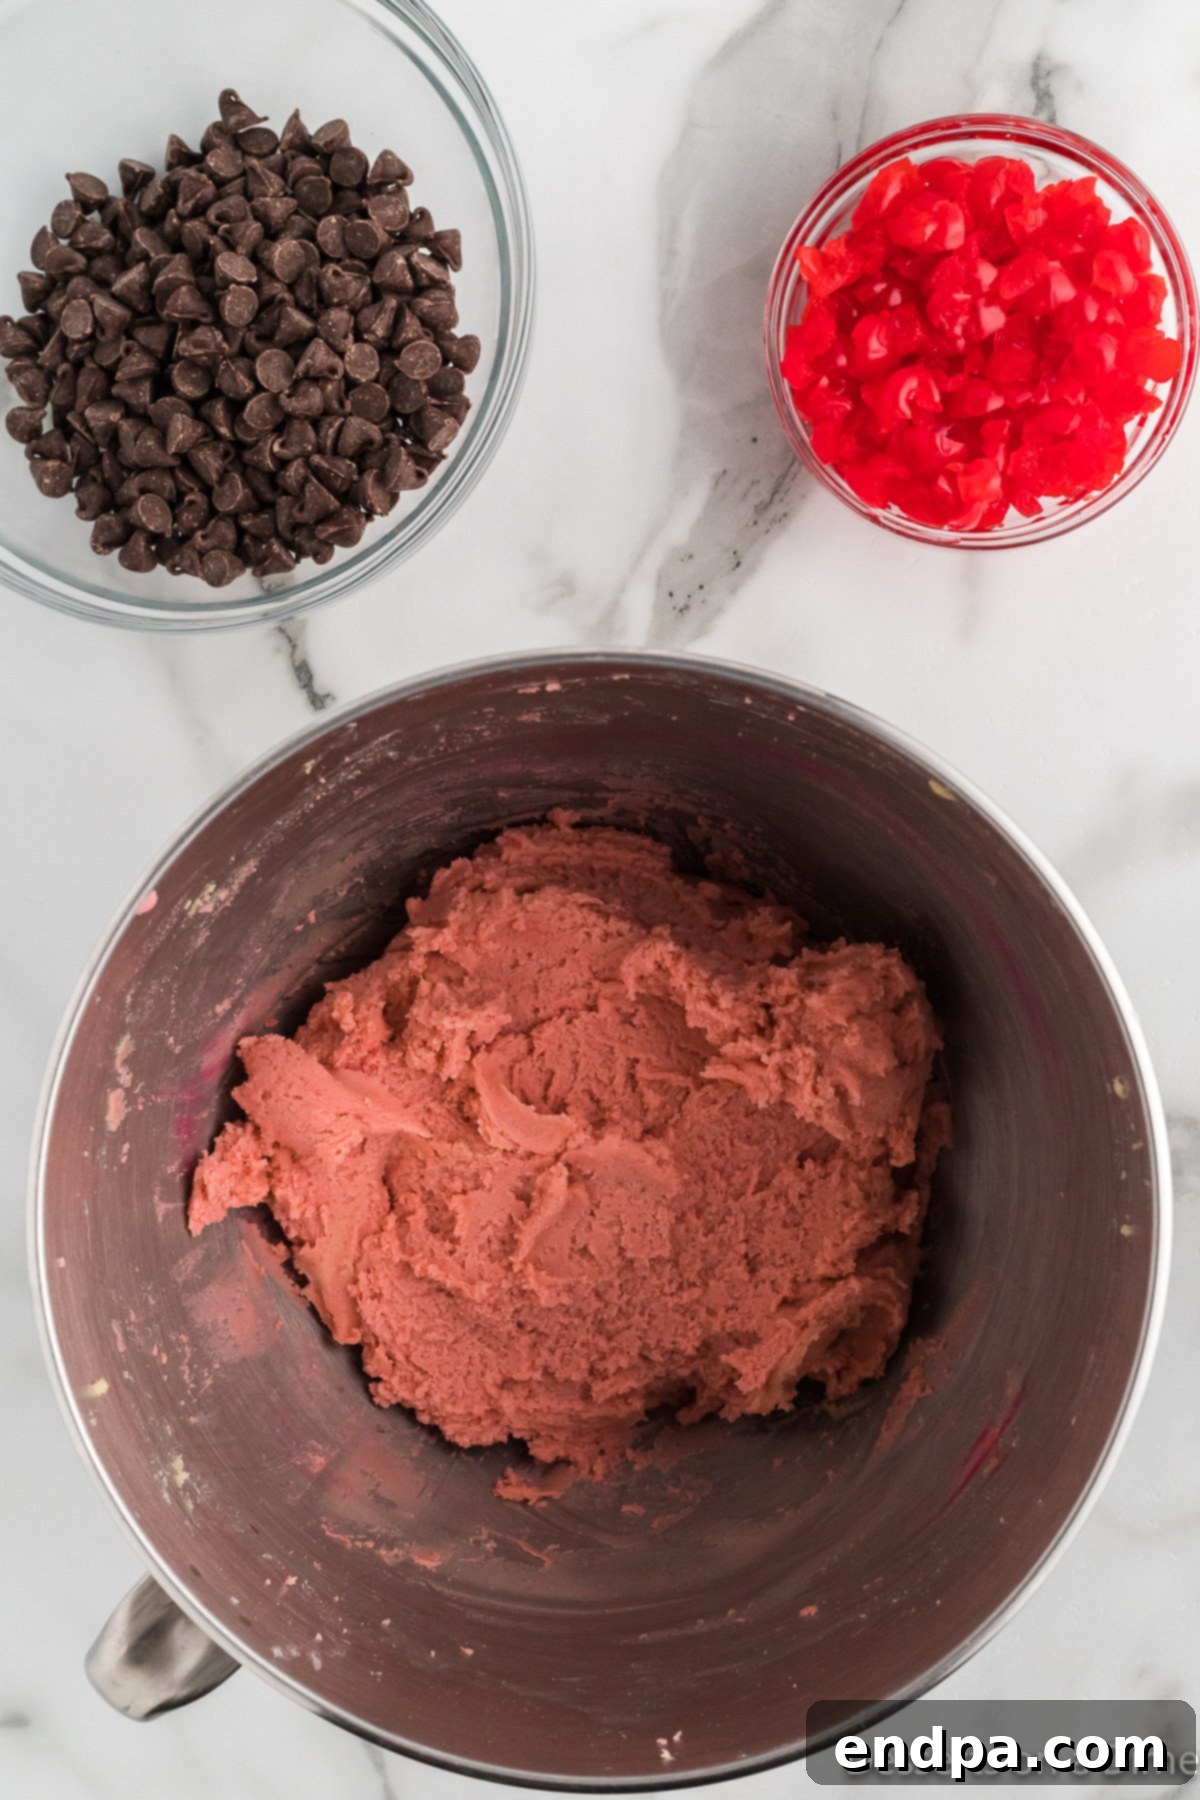
Step 6: Tint the Dough Pink (Optional). At this stage, if you desire that beautiful, vibrant pink hue that makes these cookies so special, add a few drops of pink food coloring to the dough. Mix on low speed until the color is evenly distributed and consistent throughout the dough. You can add more drops incrementally until you achieve your desired shade of pink.
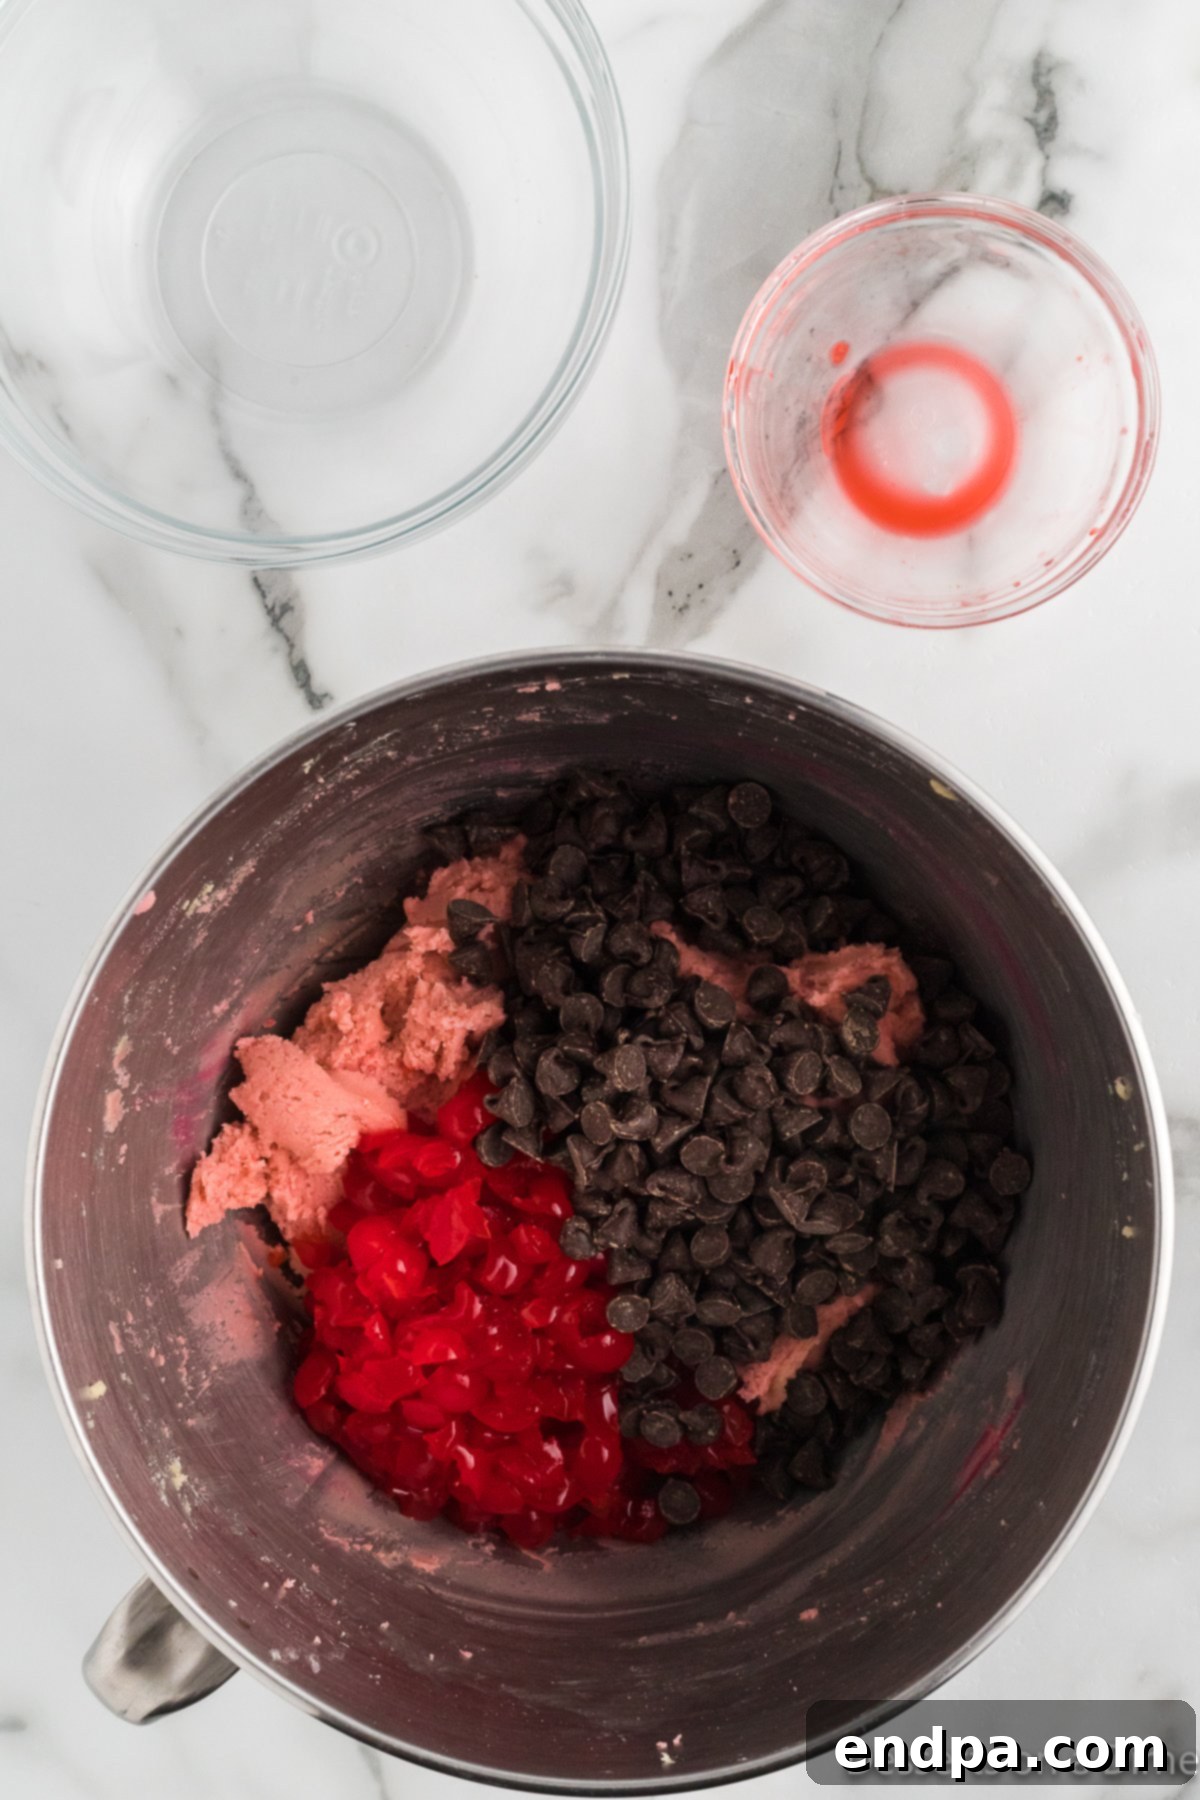
Step 7: Fold in Cherries and Chocolate. Turn off your mixer and remove the bowl. Using a sturdy spatula, gently fold in the thoroughly drained and chopped maraschino cherries and the semi-sweet chocolate chips. Be careful not to crush the delicate cherries too much during this process. A gentle folding motion ensures that these delightful mix-ins are evenly distributed throughout the dough without overworking it.
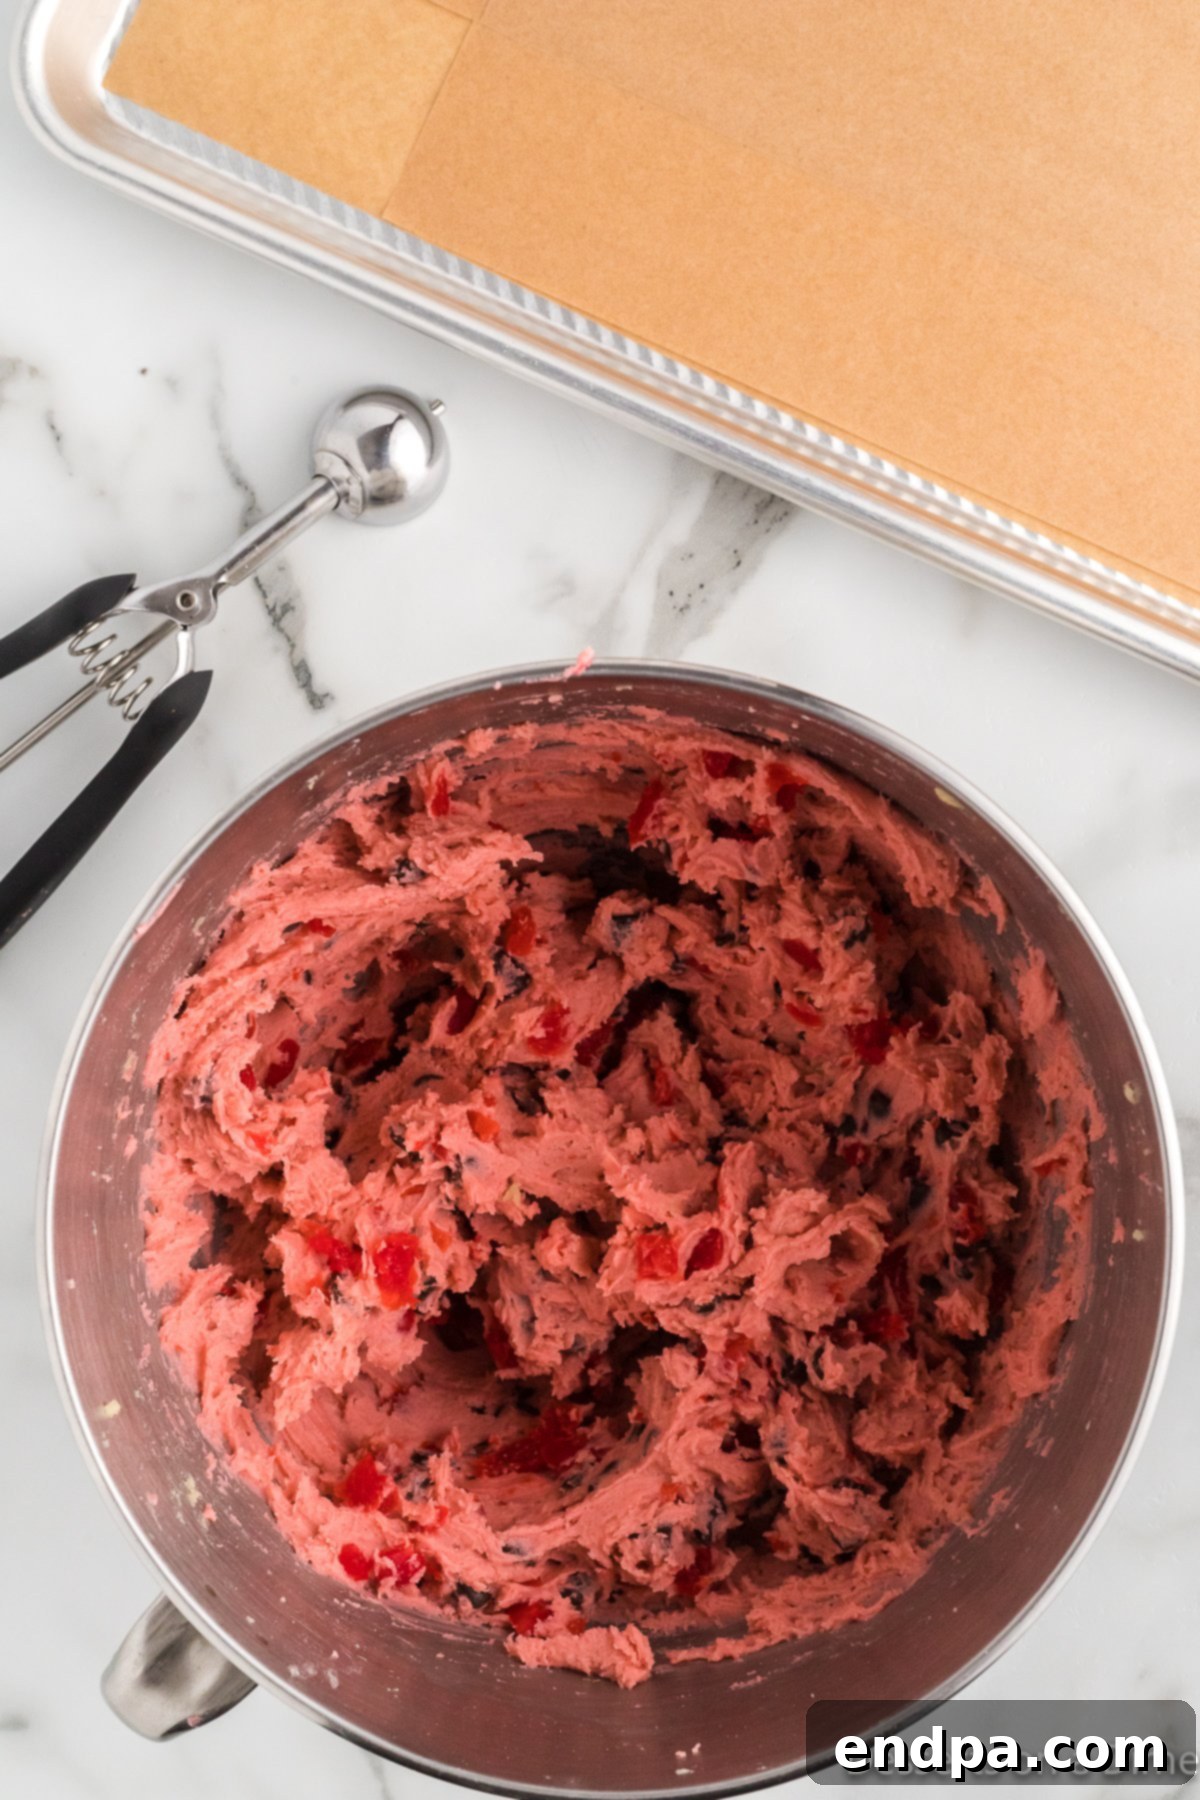
Step 8: Final Gentle Fold. Give the dough one last gentle fold with your spatula to ensure the cherries and chocolate chips are perfectly dispersed. This final step confirms an even distribution of flavor and texture in every single cookie.
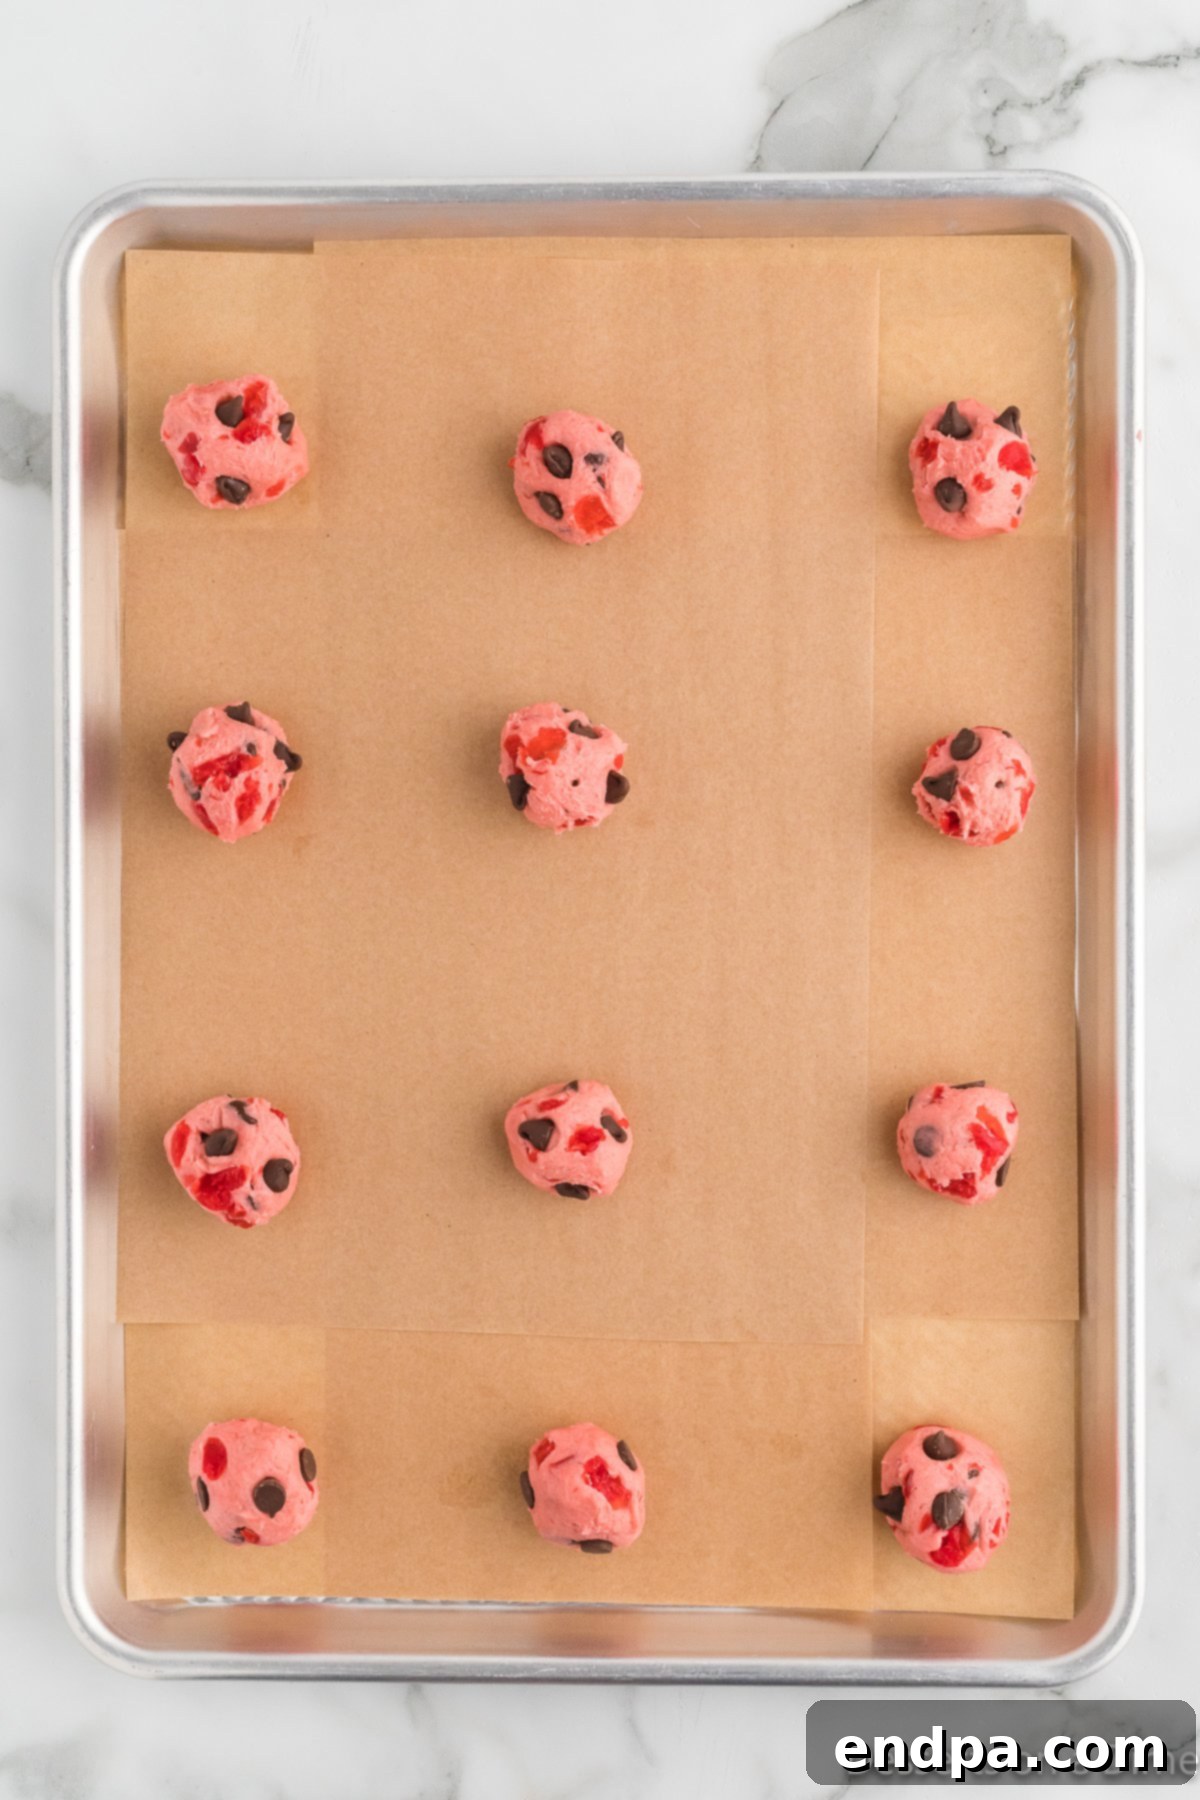
Step 9: Scoop and Place Dough. Using a cookie scoop (typically 1.5 to 2 tablespoons in size), drop rounded balls of cookie dough onto your prepared baking sheets. Make sure to leave approximately 2 inches of space between each cookie. This generous spacing is crucial to allow for proper spreading during baking, preventing them from merging into one large, uneven cookie.
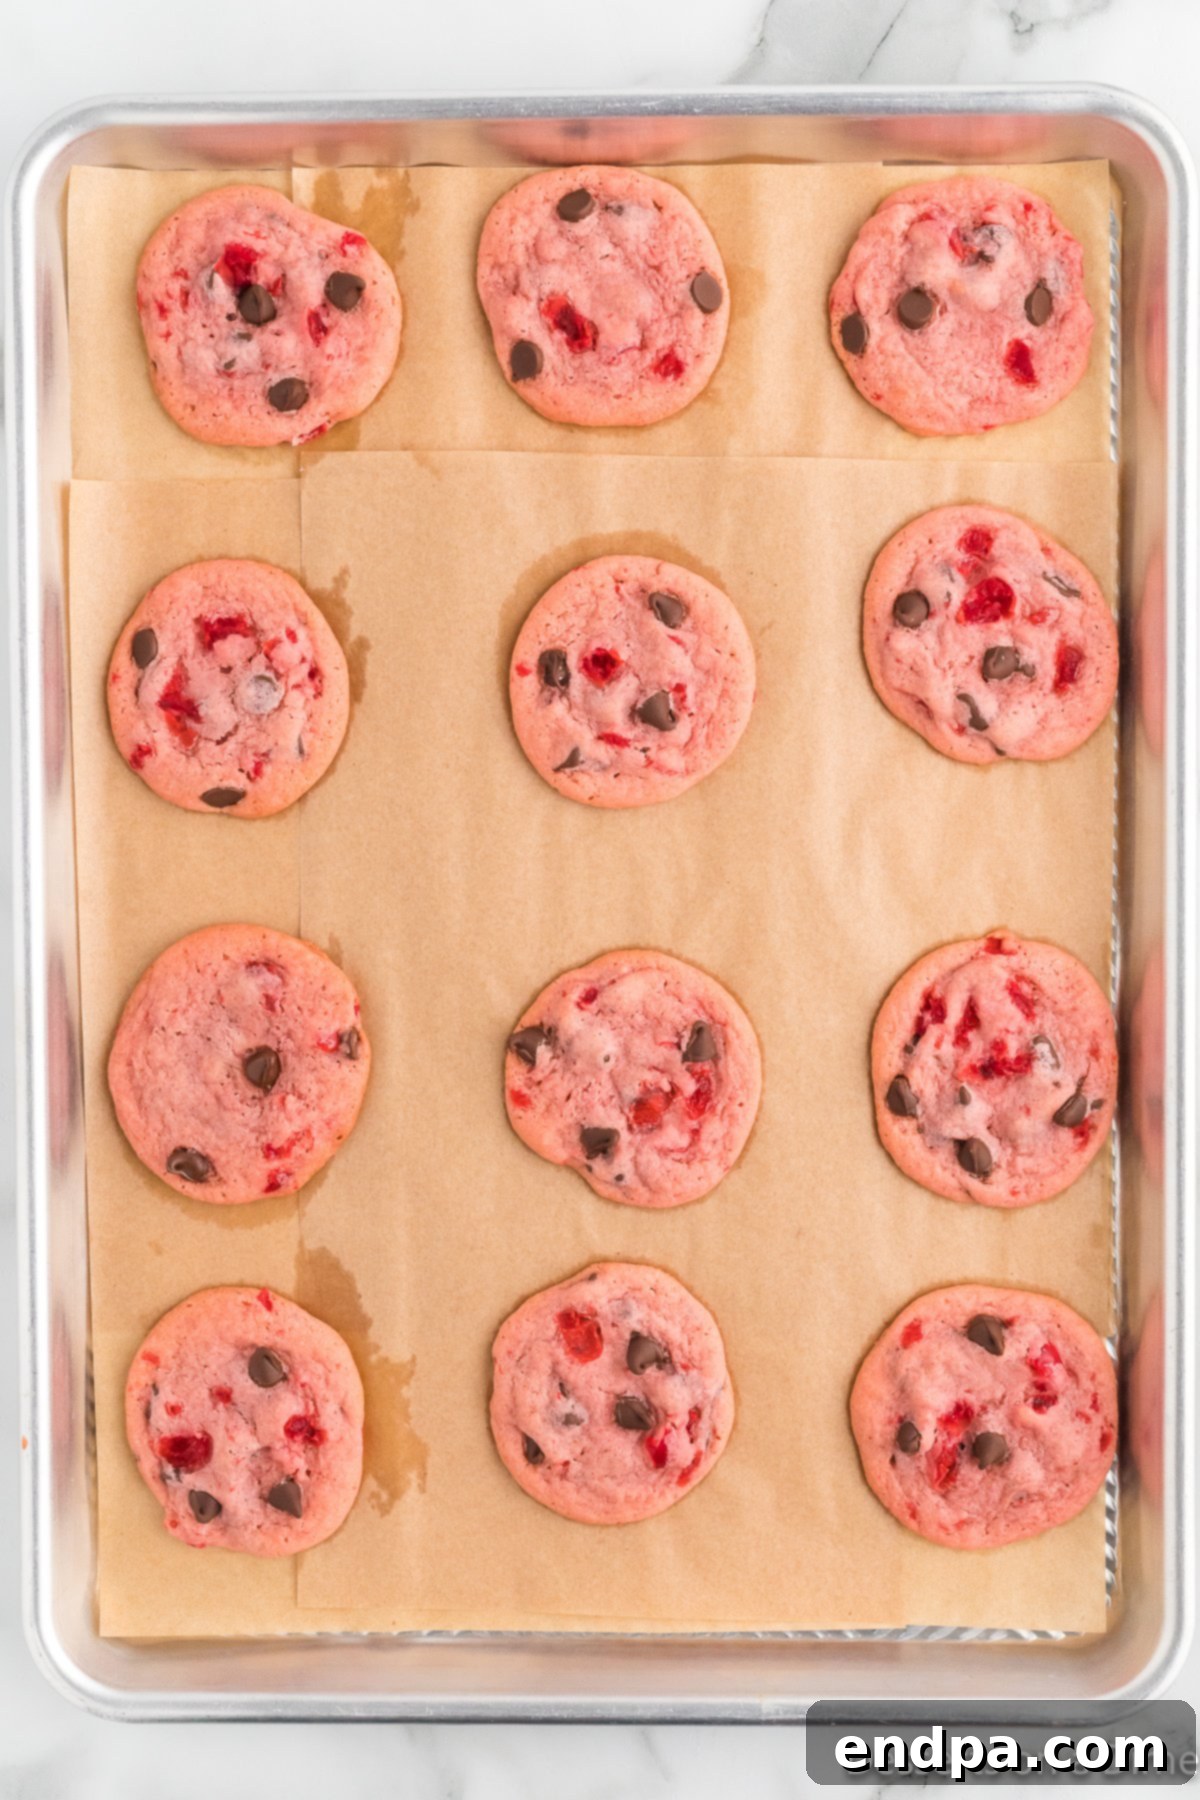
Step 10: Bake to Perfection. Carefully transfer the baking sheets to your preheated oven. Bake for a duration of 10-12 minutes. The cookies are ready when their edges are lightly golden brown, but the centers still appear slightly soft. Keep in mind that cookies continue to cook subtly even after they are removed from the oven due to residual heat, so avoid overbaking.
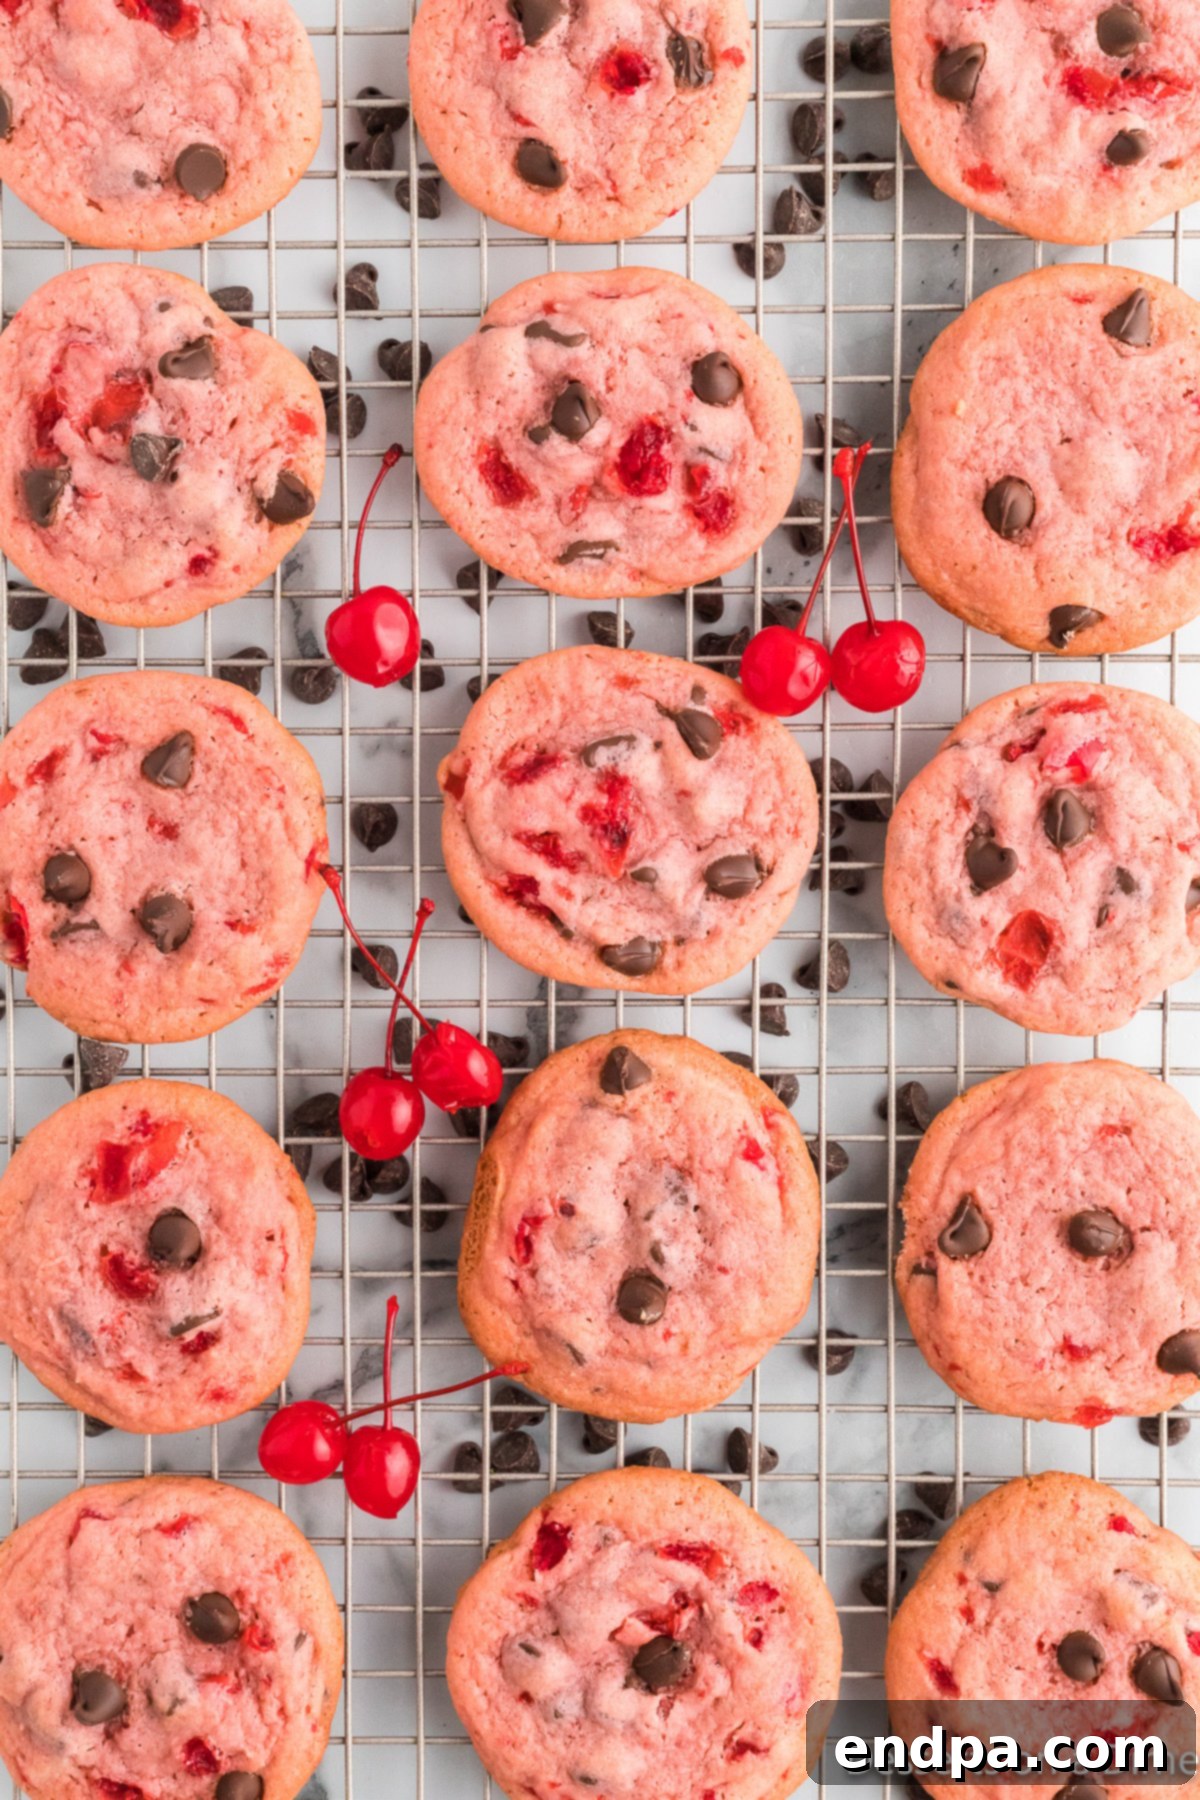
Step 11: Cool Completely. Once baked, remove the cookies from the oven and allow them to rest undisturbed on the hot baking sheet for approximately 5 minutes. This crucial resting period permits the cookies to set and firm up properly, significantly reducing the likelihood of them crumbling when you attempt to move them. After 5 minutes, carefully transfer the cookies to a wire rack to cool completely before enjoying or storing them. This ensures a crisp exterior and proper cooling throughout.
Proper Storage for Lasting Freshness
To ensure your delightful Cherry Chocolate Chip Cookies remain fresh and delicious for as long as possible, proper storage is paramount. Once completely cooled to room temperature, place any leftover cookies in an airtight container or a robust resealable plastic bag. Stored this way, they will maintain their wonderful softness and flavor at room temperature for up to 1 week. For an extra touch that truly helps maintain their ultimate softness and chewiness, try placing a slice of fresh bread in the container with your cookies. The cookies will absorb moisture from the bread, keeping them perfectly moist and tender.
Alternatively, these versatile cookies are also excellent candidates for freezing, allowing you to enjoy a freshly baked treat whenever a craving strikes. You have the option to freeze both the baked cookies and the raw cookie dough, providing flexibility for future baking endeavors.
Expert Tips for Baking Success
Achieving bakery-quality Cherry Chocolate Chip Cookies is simple with a few insider tricks and careful attention to detail:
- Thoroughly Dry the Cherries: This step is more critical than you might think! After draining your maraschino cherries, spread them out on a few layers of paper towels and gently pat them dry, even pressing lightly to remove as much liquid as possible. Excess moisture from the cherries can significantly alter the dough’s consistency, potentially causing your cookies to spread too much during baking or result in a denser texture.
- Experiment with Chocolate Varieties: While classic semi-sweet chocolate chips are undeniably delicious, don’t hesitate to get creative with your chocolate choices! Milk chocolate chips will yield a sweeter, creamier cookie, while dark chocolate chips will introduce a delightful bitterness that beautifully balances the sweetness of the cherries. For a visually striking cookie with a creamy, contrasting flavor, consider using white chocolate chips. You can even combine different types of chocolate for a more complex and exciting flavor profile.
- Add a Crunchy Texture: For those who appreciate a satisfying crunch in their cookies, consider folding in about half a cup of finely chopped walnuts or pecans along with the cherries and chocolate chips. For an even deeper flavor, lightly toast the nuts in a dry pan before adding them to the dough.
- Allow the Cookies to Rest: Patience truly is a virtue in baking! It’s absolutely crucial to let the freshly baked cookies rest on the hot baking sheet for a full 5 minutes after removing them from the oven. This essential cooling period allows the cookies to set and firm up properly, preventing them from crumbling or breaking apart when you transfer them to a wire rack for complete cooling.
- Food Coloring Alternatives: If you don’t happen to have pink food coloring on hand but still desire that signature vibrant hue, you can easily substitute with 1 to 2 drops of red food coloring. Always start with a single drop and gradually add more, mixing thoroughly after each addition, until you achieve your desired shade of pink. Gel food coloring typically provides a more intense color with less liquid, which is ideal for maintaining dough consistency.
- Enhance Flavor with Almond Extract: For an extra layer of sophisticated flavor that beautifully complements the natural taste of cherries, try adding a mere ¼ teaspoon of almond extract to your wet ingredients along with the vanilla. The combination of almond and cherry flavors is a classic pairing that works absolute wonders in these cookies.
- Room Temperature is Key: This seemingly small detail makes a significant difference. Ensure your butter is properly softened (not melted) and your egg is at room temperature. These ingredients will cream together more smoothly and emulsify better when at a similar temperature, leading to a more uniform, tender dough and ultimately, cookies with an superior texture.
- Don’t Overmix the Dough: Once you add the flour mixture to the wet ingredients, mix only until the flour is just combined and no dry streaks remain. Overmixing the dough once flour is present develops the gluten in the flour excessively, which can result in tough, dense, and less tender cookies.
- Use a Cookie Scoop: For professional-looking, uniformly sized cookies that bake evenly and consistently, a cookie scoop is your best friend. It also makes the process of portioning out the dough much quicker and cleaner.
Frequently Asked Questions
Freezing cookie dough is a fantastic and convenient way to prepare ahead, ensuring you can enjoy freshly baked cookies whenever the craving strikes. To do this, prepare the cookie dough exactly as outlined in the recipe, incorporating all the cherries and chocolate chips. Once your dough is ready, use a cookie scoop to form individual, rounded cookie dough balls. Place these dough balls on a baking sheet lined with parchment paper, making sure they are spaced apart and not touching. “Flash freeze” them for 1 to 2 hours, or until they are completely firm. This flash-freezing step is crucial as it prevents the dough balls from sticking together in storage. Once firm, transfer the frozen dough balls to a freezer-safe airtight container or a heavy-duty freezer bag. Be sure to label it clearly with the date. Frozen dough can be stored effectively for up to 3 months. When you’re ready to bake, simply place the frozen cookie dough balls directly onto a prepared baking sheet and bake as normal. You may find that you need to add a few extra minutes to the baking time since they are starting from a frozen state. For even more detailed instructions and helpful tips, explore our guide on how to freeze cookie dough.
Freezing baked cookies is also an excellent option for long-term enjoyment. First and foremost, ensure that your cookies are completely cooled to room temperature before freezing. Stacking or freezing warm cookies can lead to unwanted condensation, which can result in soggy cookies or freezer burn. Once cooled, arrange them in a single layer within a freezer-safe bag or an airtight container. For added protection and to prevent them from sticking together or breaking, I highly recommend placing a sheet of parchment paper or wax paper between layers of cookies. This method allows you to stack them efficiently. Freeze for up to 3 months. To enjoy these frozen delights, simply thaw them overnight in the refrigerator, or allow them to come to room temperature on your kitchen counter for about 30 minutes. For a “freshly baked” experience, you can also warm them slightly in a preheated oven for a few minutes.
Yes, you absolutely can! Dried cherries make a wonderful substitute for maraschino cherries and will offer a slightly different, yet equally delicious, flavor and texture profile to your cookies. If you opt for dried cherries, you might consider rehydrating them first to plump them up. This can be done by soaking them in a little warm water, orange juice, or even a splash of cherry liqueur for about 15-20 minutes, then draining them very thoroughly. This step helps prevent them from absorbing too much moisture from your cookie dough during baking. While we personally prefer the vibrant color and distinct sweet-tartness of maraschino cherries for this particular recipe, dried cherries will yield equally delightful results with a more concentrated, less overtly sweet cherry flavor. It’s a great way to customize the cookies to your preference!
When it comes to coloring cookie dough, gel food coloring is generally preferred over traditional liquid food coloring. Gel colors are significantly more concentrated, meaning you’ll need fewer drops to achieve a vibrant pink hue. This is advantageous because it prevents you from adding excess liquid to your dough, which could potentially alter its consistency and affect the final texture of your cookies. Start with a tiny drop of gel color and mix it in, then gradually add more until you reach your desired color intensity.
While maraschino cherries are specified in this recipe for their unique flavor and consistent color, you could certainly experiment with fresh, pitted, and finely chopped cherries. If you choose to use fresh cherries, it’s crucial to ensure they are very well drained and possibly even tossed lightly in a tablespoon of flour before adding them to the dough. This light dusting of flour helps absorb any additional moisture the fresh cherries might release during baking. Be aware that fresh cherries will generally release more liquid than maraschino cherries, which might slightly alter the cookie’s texture and could cause them to spread a bit more. Additionally, the vibrant pink color will be less pronounced without the use of food coloring, as fresh cherries do not typically impart a strong pink hue to the dough.
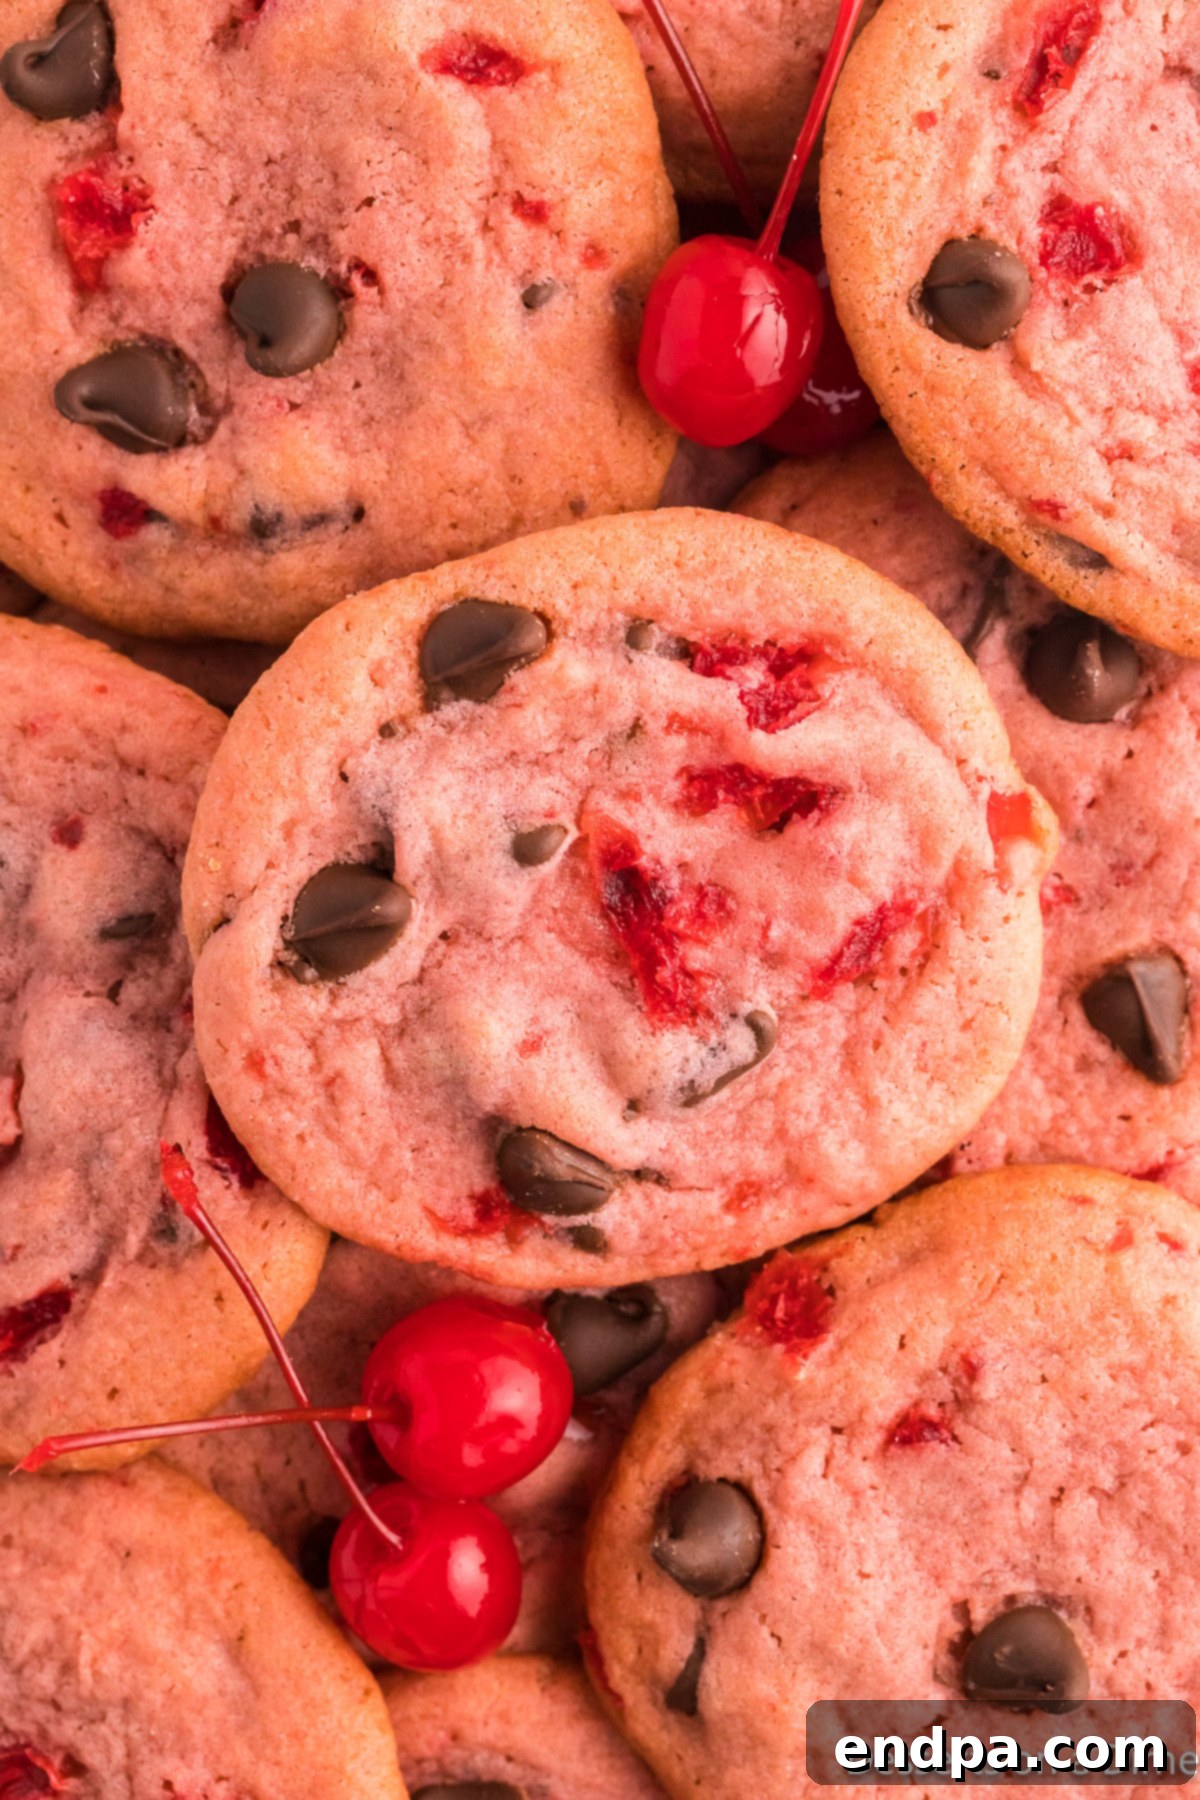
Serving Suggestions & Variations
These Cherry Chocolate Chip Cookies are absolutely delightful on their own, offering a perfect balance of fruity sweetness and chocolatey indulgence. However, here are some ideas to elevate your serving experience or to customize the recipe further to your taste:
- Classic Pairings: For an ultimate indulgent dessert, serve these warm cookies with a generous scoop of creamy vanilla bean ice cream or a dollop of freshly whipped cream. The contrast of warm cookie and cold cream is simply heavenly. A tall glass of cold milk or a comforting hot cup of coffee or tea also makes for a perfect, satisfying accompaniment.
- Holiday Treats: The charming pink and chocolate combination makes these cookies exceptionally suitable for various festive occasions. They are ideal for Valentine’s Day, Mother’s Day brunches, or even as a unique addition to your Christmas cookie platter, perhaps with a sprinkle of green nonpareils for a festive touch.
- Thoughtful Gift Idea: Baked goods make some of the most cherished gifts. Package these beautiful cookies exquisitely in a decorative box, a clear cellophane bag tied with a pretty ribbon, or even a personalized tin. They make a thoughtful and delicious homemade gift for friends, neighbors, teachers, or family.
- Zesty Twist: For a bright and refreshing flavor note that beautifully complements the cherries, try adding 1 teaspoon of finely grated orange or lemon zest to the cookie dough along with the vanilla extract. The citrus zest adds a wonderful aromatic lift.
- White Chocolate Drizzle: Once the cookies are completely cooled, melt some good quality white chocolate chips or white chocolate melting wafers. Drizzle the melted white chocolate artfully over the cookies for an extra layer of sweetness, a creamy texture, and an appealing visual finish.
- Almond Flour for Texture: While this recipe primarily uses all-purpose flour for its classic structure, a small substitution can introduce a new dimension. Replacing approximately 1/4 cup of the all-purpose flour with finely ground almond flour can add a delicate chewiness and a subtle, appealing nutty undertone to the cookies.
More Irresistible Cherry Desserts
If you’ve discovered a new love for the delightful and versatile flavor of cherries through these cookies, then you’re in for a treat! Be sure to explore these other fantastic cherry dessert recipes, each offering a unique way to enjoy this beloved fruit:
- Rich Chocolate Cherry Cake Recipe
- Easy Cherry Fluff Recipe
- Effortless Cherry Dump Cake Recipe
- The Best Cherry Limeade Cupcakes
More Delightful Chocolate Chip Cookie Recipes
For those who simply can’t get enough of the timeless appeal of chocolate chip cookies, we have even more irresistible variations to add to your ever-growing baking repertoire. Expand your cookie horizons with these fantastic recipes:
- Sweet Strawberry Chocolate Chip Cookies
- Classic Mrs. Fields Chocolate Chip Cookies Recipe
- Decadent Salted Caramel Chocolate Chip Cookies
- The Ultimate Best Chocolate Chip Cookies Recipe
- Gourmet Crumbl Chocolate Chip Cookies
We are absolutely confident you are going to adore this Cherry Chocolate Chip Cookie recipe. Their unique flavor, beautiful appearance, and straightforward preparation make them a perfect and delightful addition to your baking collection. Please come back and share your experience by leaving a comment and a star rating. We genuinely cherish your feedback and always love hearing how our recipes brighten your day and bring joy to your kitchen!
Cherry Chocolate Chip Cookies Recipe
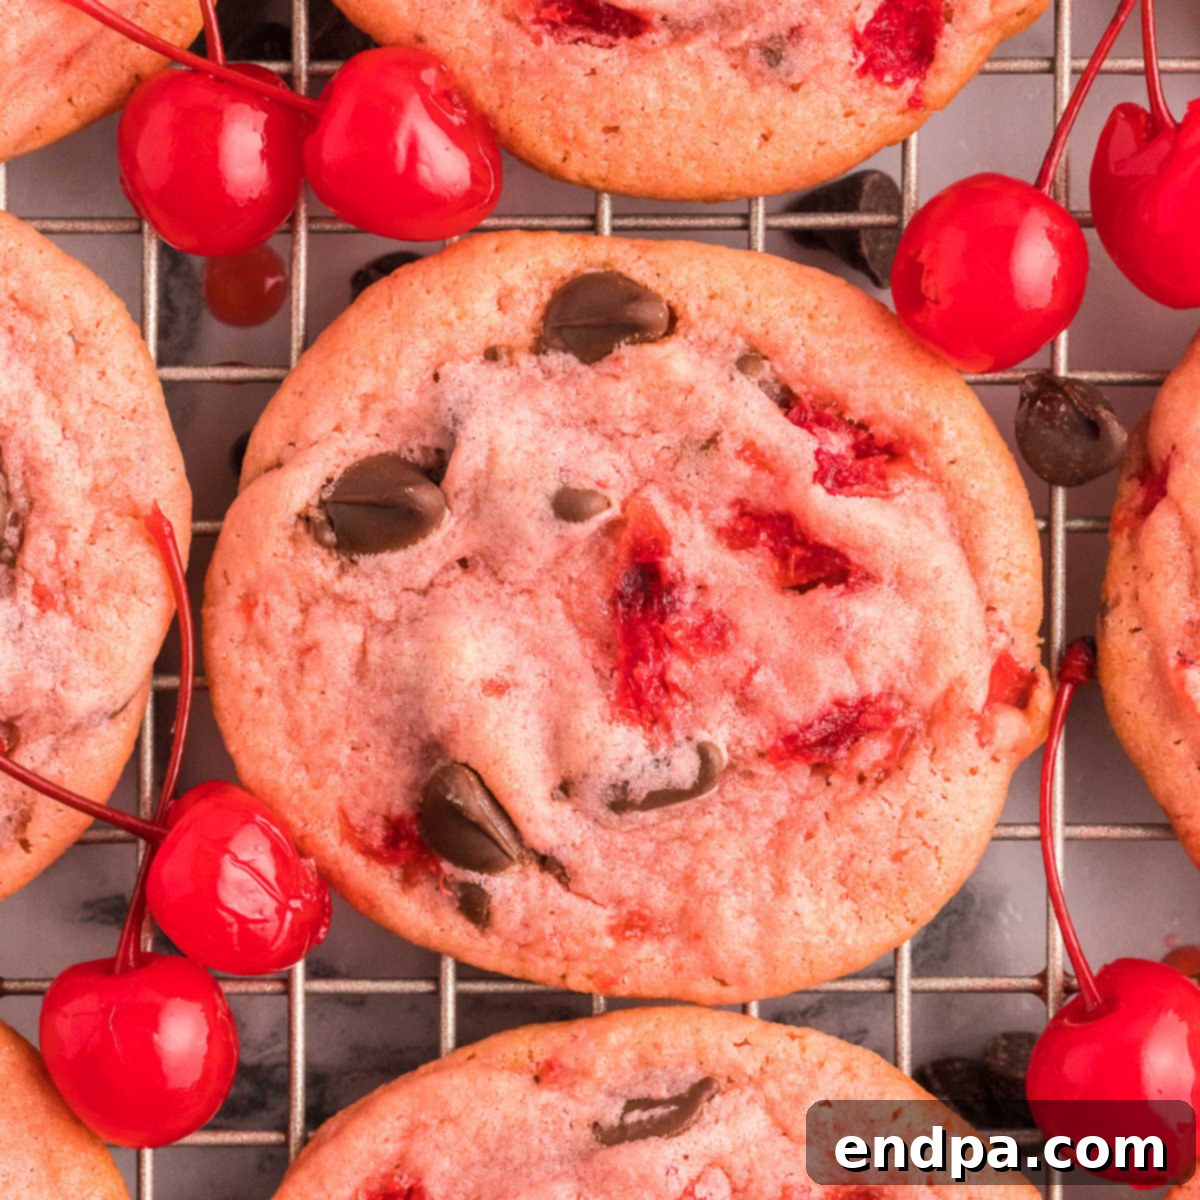
These gorgeous Cherry Chocolate Chip Cookies have tons of cherry flavor. The pretty pink color contrasts with the milk chocolate for a great dessert.
Prep Time: 15 mins
Cook Time: 10 mins
Resting Time: 5 mins
Total Time: 30 mins
Servings: 24 cookies
Cuisine: American
Course: Dessert
Author: Carrie Barnard
Ingredients
- 1 cup Butter, softened at room temperature
- 1/2 cup Granulated Sugar
- 3/4 cup Brown Sugar
- 1 Large Egg, room temperature
- 2 tsp Vanilla Extract
- 2 2/3 cups All Purpose Flour
- 1 tsp Baking Soda
- 1/2 tsp Salt
- 1 cup drained chopped Maraschino Cherries
- 1 cup Semi-Sweet Chocolate Chips
- Pink Food Coloring (optional, for color)
Instructions
- Preheat the oven to 350 degrees F (175°C). Line baking sheets with parchment paper.
- In a medium-sized bowl, whisk together the flour, baking soda, and salt. Set aside.
- In a large mixing bowl, beat the softened butter until smooth and fluffy. Add granulated sugar and brown sugar, mixing for approximately 2 minutes until light and creamy.
- Mix in the egg and vanilla extract until thoroughly combined.
- With the mixer on low speed, gradually add the flour mixture into the butter mixture until just combined. Add a few drops of pink food coloring and mix until the color is even throughout the dough.
- Carefully fold in the chopped maraschino cherries and chocolate chips using a spatula.
- Use a cookie scoop to place rounded balls of cookie dough onto the prepared baking sheets, spaced about 2 inches apart.
- Bake for 10-12 minutes, or until the edges of the cookies are slightly golden brown and the centers still look soft.
- Allow the cookies to sit on the baking sheet for 5 minutes. Then, transfer them to a wire rack to cool completely.
Recipe Notes
Store leftover cookies in an airtight container or bag at room temperature for up to 1 week. Place a slice of bread in the container to help keep them soft.
Nutrition Facts (per serving)
- Calories: 230kcal
- Carbohydrates: 31g
- Protein: 2g
- Fat: 11g
- Saturated Fat: 7g
- Polyunsaturated Fat: 0.5g
- Monounsaturated Fat: 3g
- Trans Fat: 0.3g
- Cholesterol: 28mg
- Sodium: 160mg
- Potassium: 72mg
- Fiber: 1g
- Sugar: 17g
- Vitamin A: 250IU
- Calcium: 16mg
- Iron: 1mg
