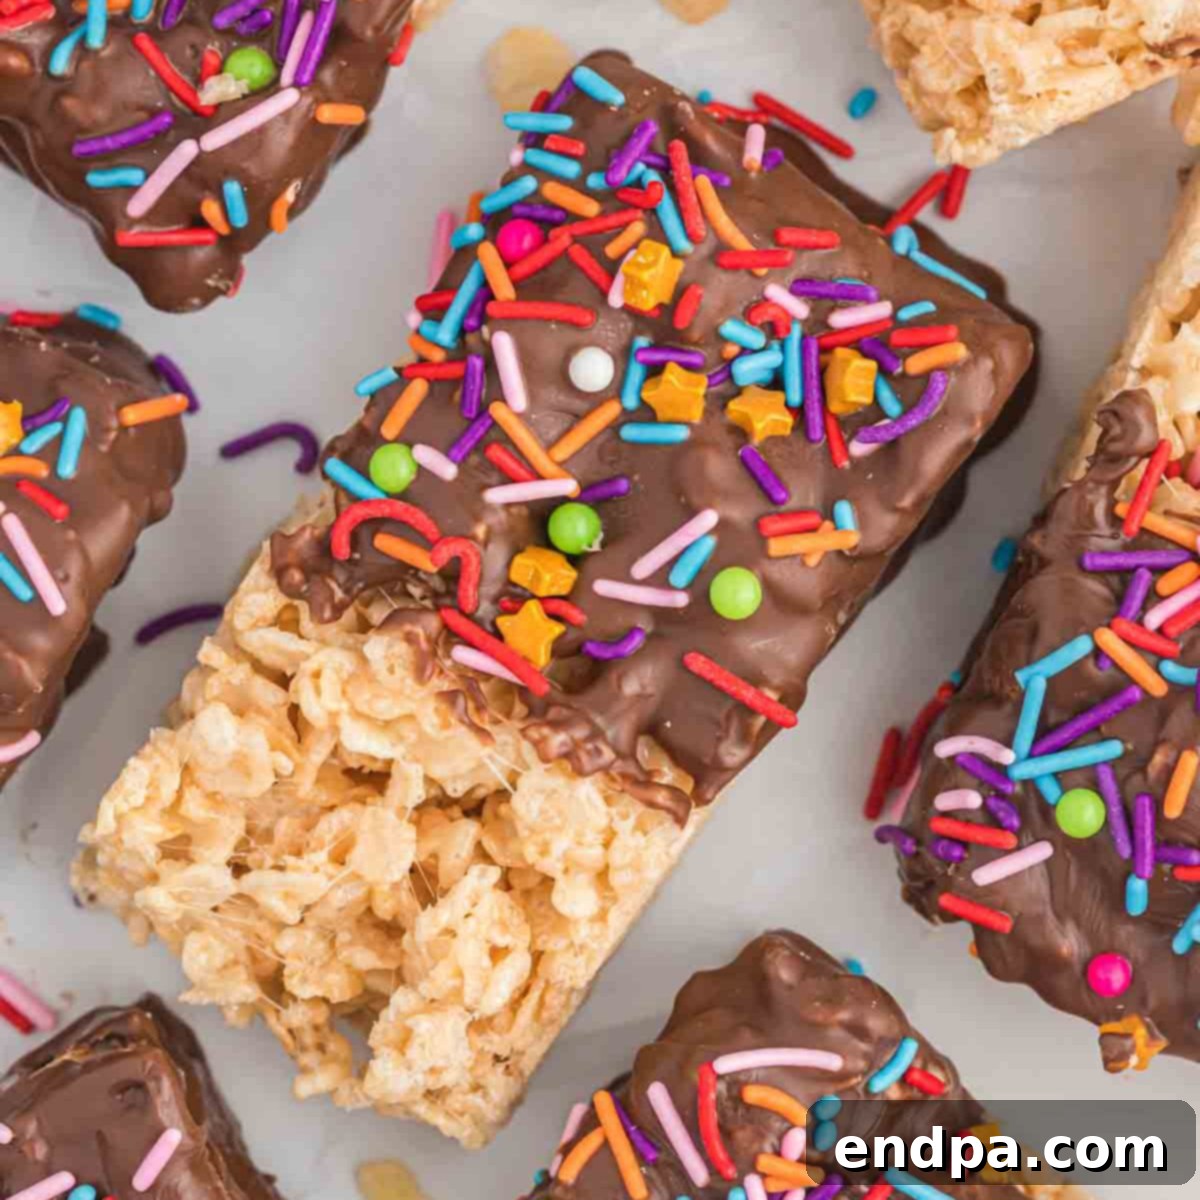
Irresistible Chocolate Dipped Rice Krispie Treats: The Ultimate No-Bake Dessert
Are you searching for a dessert that’s effortlessly simple yet undeniably delicious? Look no further than these incredible Chocolate Dipped Rice Krispie Treats! A true classic elevated, these gooey, crispy squares are coated in a luscious layer of chocolate and adorned with vibrant sprinkles, transforming them into a fabulous dessert perfect for any occasion. Whether it’s a birthday party, a holiday gathering, or just a sweet craving, these homemade treats are guaranteed to be a crowd-pleaser for both kids and adults.
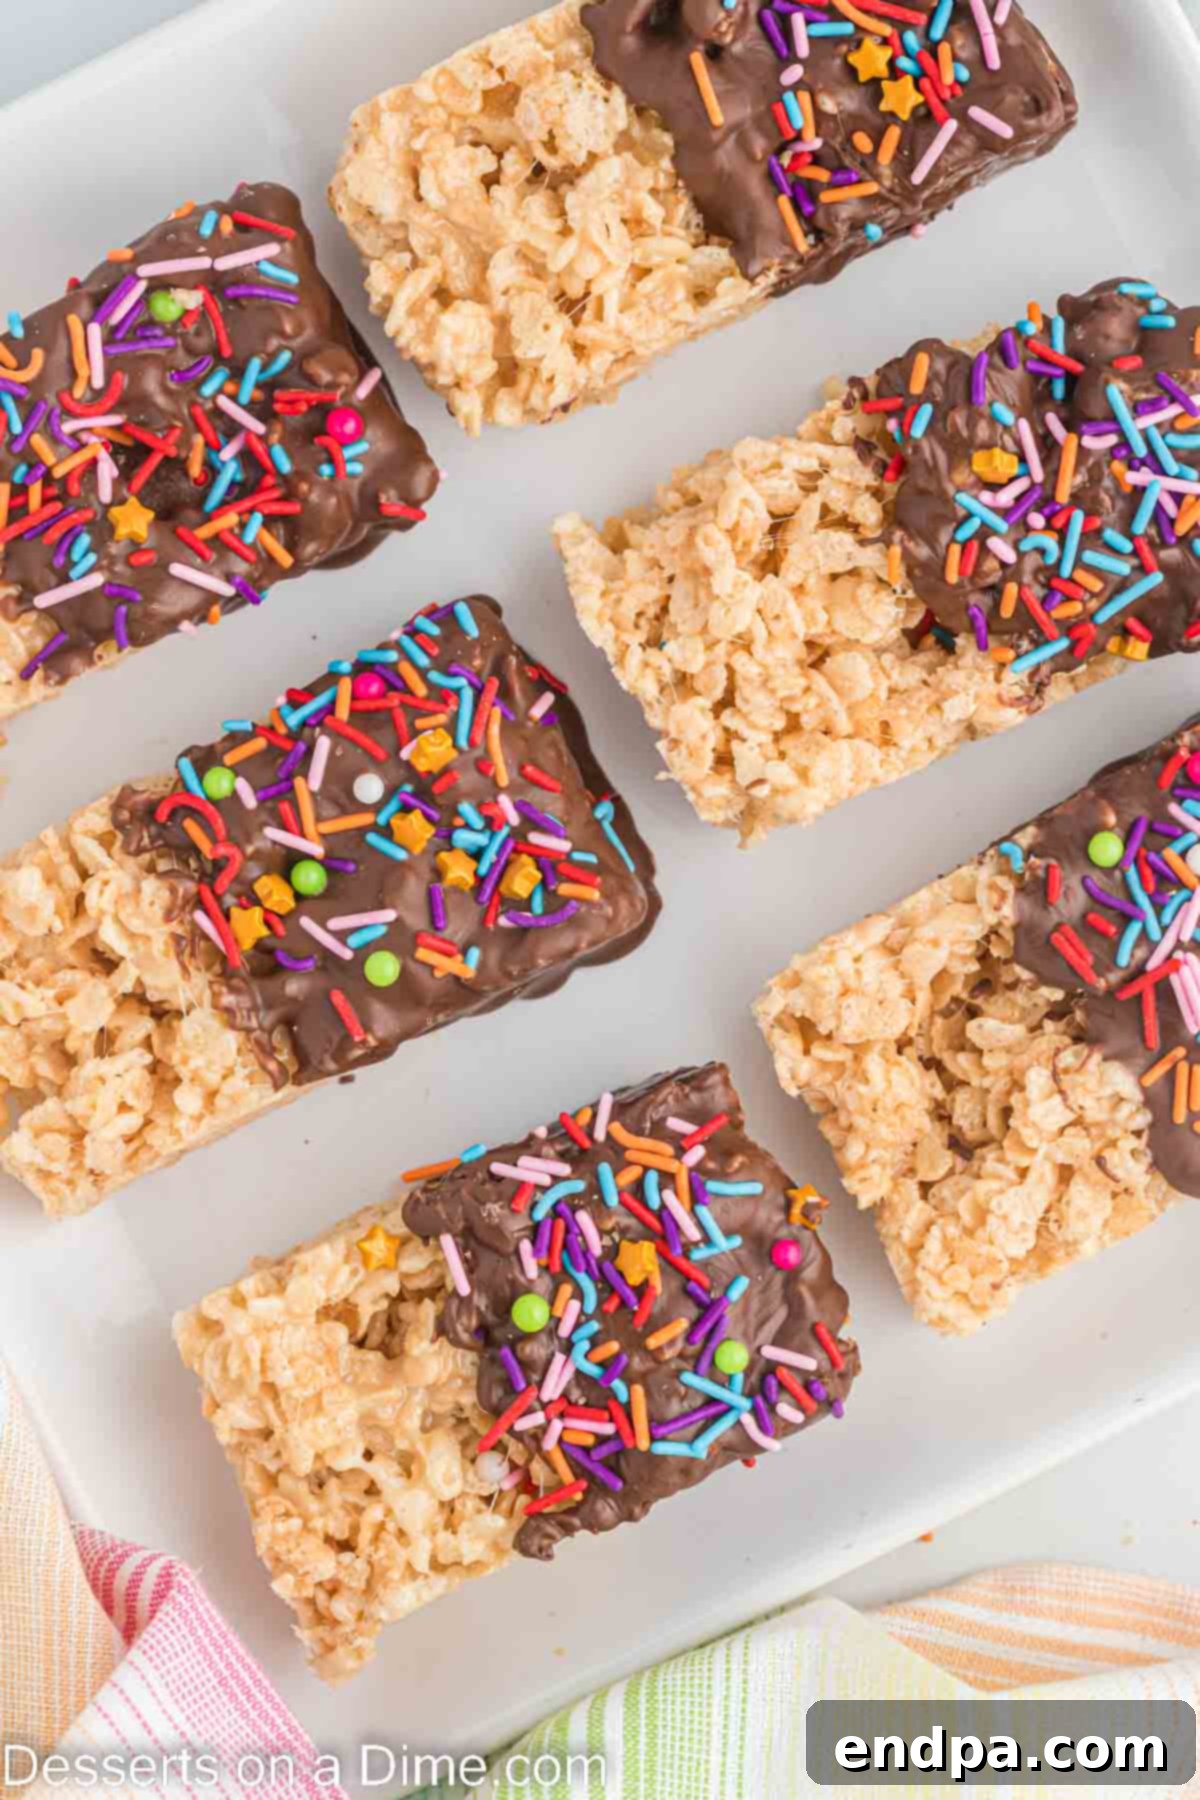
Everyone adores the timeless appeal of classic Rice Krispie Treats, with their signature chewy texture and sweet marshmallow goodness. This recipe takes that beloved foundation and enhances it further by adding a generous dip in rich, melted chocolate. The final flourish of colorful sprinkles not only adds a festive touch but also makes each treat a miniature work of art. As a dedicated fan of no-bake dessert recipes, I can confidently say that the simplicity of preparing this marshmallow mixture makes it an absolute breeze to whip up, requiring minimal effort for maximum indulgence.
What’s in this post: Chocolate Dipped Rice Krispie Treats
- Why We Love These Treats
- Essential Ingredients
- Creative Variations
- Step-By-Step Instructions
- Expert Tips for Perfection
- Storage Guidelines
- Frequently Asked Questions
- More Delightful Cereal Treats
- Full Recipe Card: Chocolate Dipped Rice Krispie Treats
Why We Love These Treats
There are countless reasons to fall in love with these easy chocolate dipped Rice Krispie treats. First and foremost, the entire recipe is incredibly simple to prepare, making it a perfect choice for busy weekdays or last-minute party preparations. No need to preheat the oven or spend hours baking – these treats come together quickly, allowing you more time to enjoy them! Their delightful combination of crunchy cereal, soft marshmallows, and decadent chocolate creates a textural and flavor experience that’s truly addictive. They make a fantastic snack, a satisfying dessert, or a charming addition to any celebratory spread.
Beyond their ease and taste, these chocolate-covered delights are also visually appealing. The vibrant sprinkles add a playful pop of color, making them especially attractive to children, who will undoubtedly clamor for more! But don’t let their kid-friendly appearance fool you; adults appreciate these nostalgic treats just as much. We have a soft spot for all things chocolate-dipped, from savory Chocolate Dipped Potato Chips to rich Chocolate Peanut Butter Fudge, and these Rice Krispie treats fit right into our hall of fame. Their universal appeal makes them a guaranteed hit at any gathering or a wonderful surprise for your family.
Essential Ingredients
Crafting these delectable chocolate dipped Rice Krispie treats requires just a handful of basic ingredients, most of which you likely already have in your pantry. The quality of your ingredients can make a noticeable difference in the final taste and texture, so choose wisely!
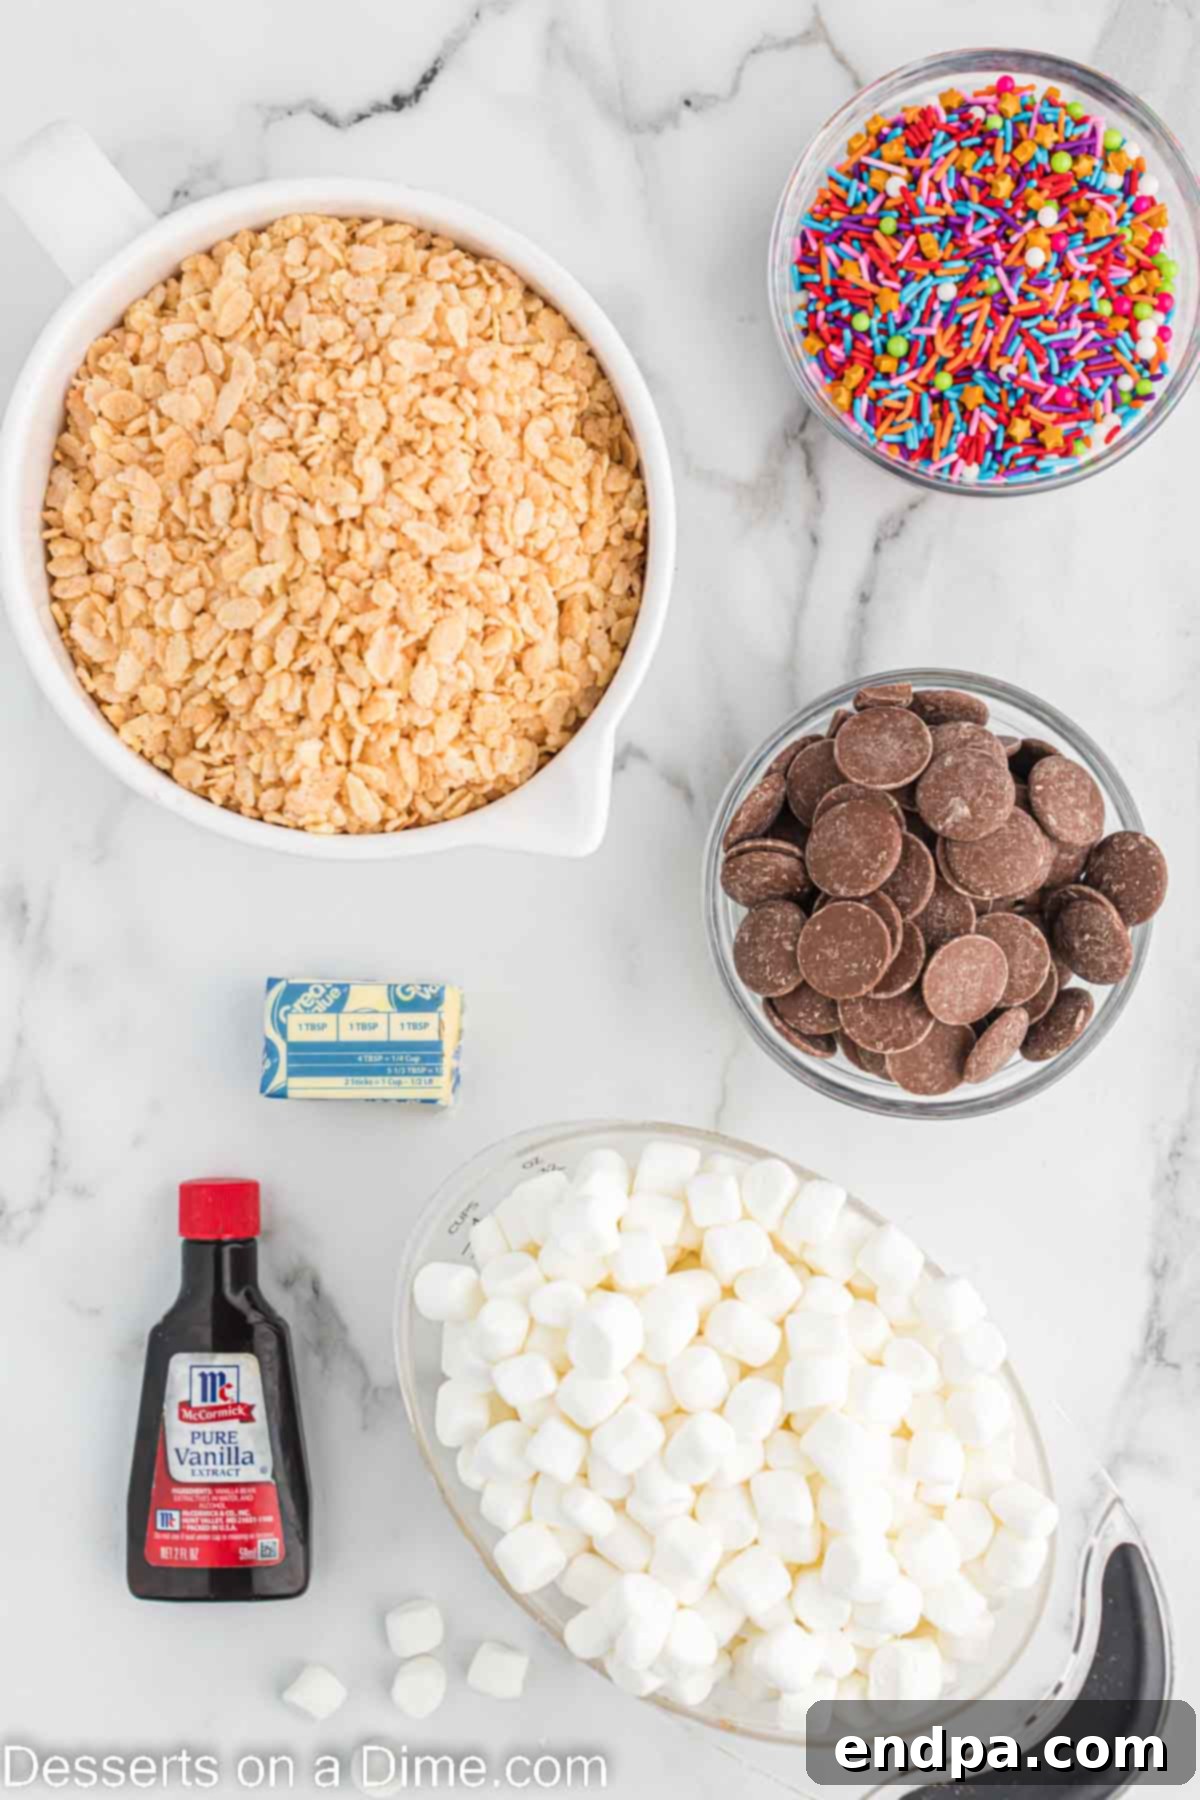
- Rice Krispies Cereal: The star of the show! For the best crispy texture, ensure your cereal is fresh and has not gone stale. Stale cereal can lead to a less satisfying crunch.
- Butter: Opt for real butter for a richer, more authentic flavor profile. It contributes significantly to the chewiness and overall taste of the marshmallow mixture.
- Mini Marshmallows: While larger marshmallows can work, mini marshmallows are highly recommended as they melt more quickly and evenly, creating a smoother, more consistent base for your treats. Fresh marshmallows also melt better than older, hardened ones.
- Vanilla Extract: A touch of pure vanilla extract elevates the flavor of the marshmallow base, adding a warm, aromatic note that complements the chocolate beautifully.
- Chocolate Melting Chips: These are ideal for dipping because they melt smoothly and harden beautifully, providing a glossy, even coating without needing tempering. You can find them in various types like semi-sweet, milk, or dark.
- Multi-Colored Sprinkles: Sprinkles add a burst of color and a touch of whimsy. Feel free to choose any color or shape that suits your preference or the occasion.
You’ll find the precise measurements for each ingredient in the detailed recipe card at the end of this article.
Creative Variations
One of the joys of making these chocolate dipped Rice Krispie treats is how easily they can be customized. Feel free to experiment with different ingredients and toppings to create your unique version!
- Chocolate Choices: Don’t limit yourself to just one type of chocolate! These treats are fantastic when dipped in semi-sweet chocolate, rich milk chocolate, intense dark chocolate, or even creamy white chocolate. If your chocolate is too thick for dipping, a small amount of coconut oil (about a teaspoon per cup of chocolate) can help thin it out for a smoother coating.
- Peanut Butter Perfection: For peanut butter lovers, melt some peanut butter morsels or a creamy peanut butter blend and drizzle it over the set chocolate layer. The combination of chocolate and peanut butter is simply irresistible!
- Seasonal Sprinkles: Customize your sprinkles to match any holiday or event. Switch to festive red and green sprinkles for Christmas, vibrant orange and black for Halloween, or pastel colors for Easter and spring celebrations. The possibilities are endless!
- Delicious Toppings: Elevate your treats with extra toppings. Before the chocolate sets, sprinkle on crushed candy (like M&Ms or peppermint), chopped nuts (peanuts, almonds, pecans), mini chocolate chips, or crushed cookies (Oreos, graham crackers). A sprinkle of sea salt can also add a delightful contrast to the sweetness of the chocolate.
- Elegant Drizzles: After the main chocolate dip has set, melt a contrasting chocolate (like white chocolate over dark chocolate, or vice versa) and drizzle it artfully over the treats. This adds an extra layer of flavor and visual appeal, making them look even more professional.
- Fun on a Stick: For a more playful presentation, insert popsicle sticks or sturdy paper straws into the Rice Krispie bars before dipping them in chocolate. These “treat pops” are easier to eat, less messy for little hands, and perfect for party favors or dessert tables.
- Gluten-Free Option: To make this recipe suitable for those with gluten sensitivities, simply substitute regular Rice Krispies cereal with a certified gluten-free crispy rice cereal. All other ingredients are typically gluten-free, but always check labels to be sure.
Step By Step Instructions
Follow these simple steps to create perfectly gooey and chocolate-covered Rice Krispie treats. Precision in each step ensures the best possible outcome!
- Step 1: Prepare the Baking Dish. Begin by lightly greasing a 9×13 inch baking pan with butter or cooking spray. Alternatively, you can line the pan with parchment paper, leaving an overhang on the sides. This thoughtful preparation will make it incredibly easy to remove and cut your treats later.
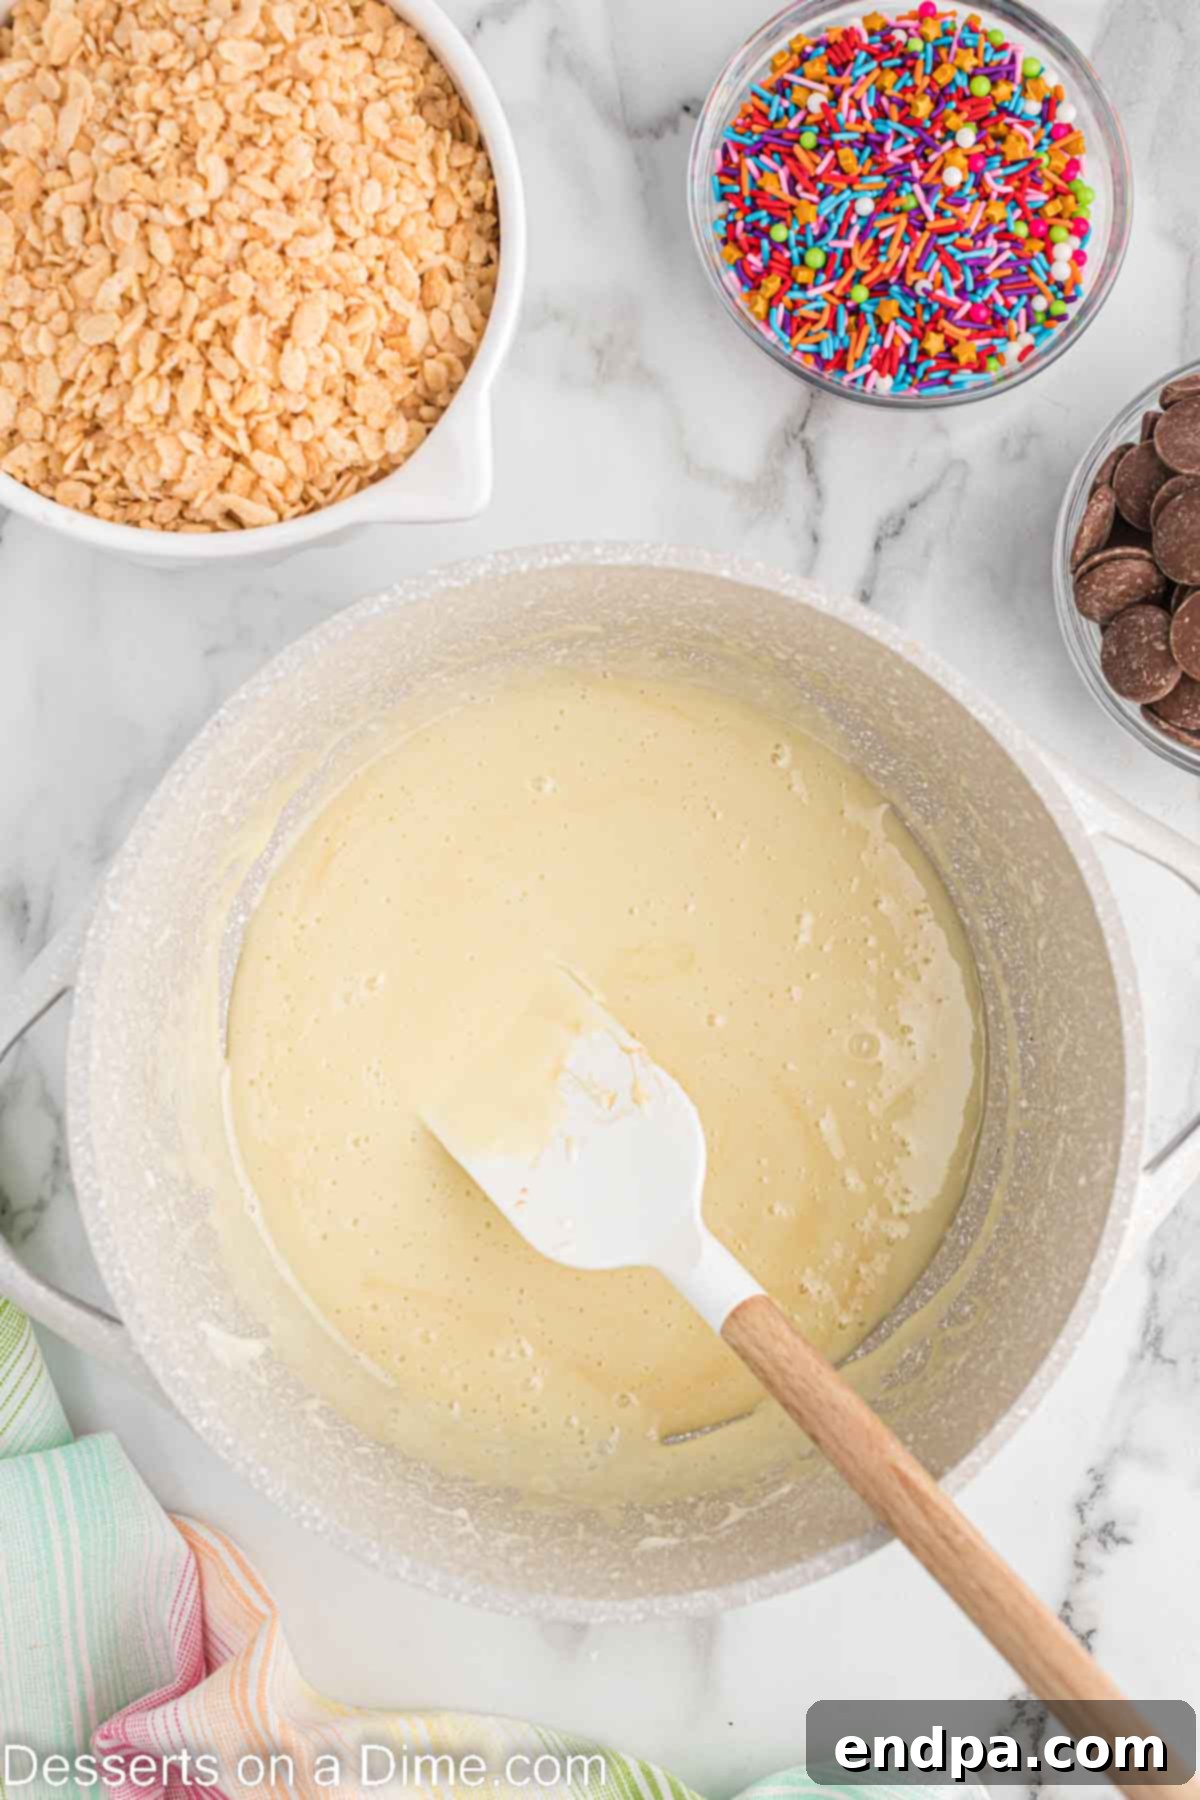
Step 2: Melt Butter and Marshmallows. In a medium to large saucepan, melt the butter over low heat. Once the butter is fully melted, add the mini marshmallows to the pan. Stir continuously with a rubber spatula or wooden spoon until the marshmallows are completely smooth and melted. It’s crucial to use low heat to prevent the marshmallows from burning or becoming tough. Remove the pan from the heat as soon as they are fully melted.
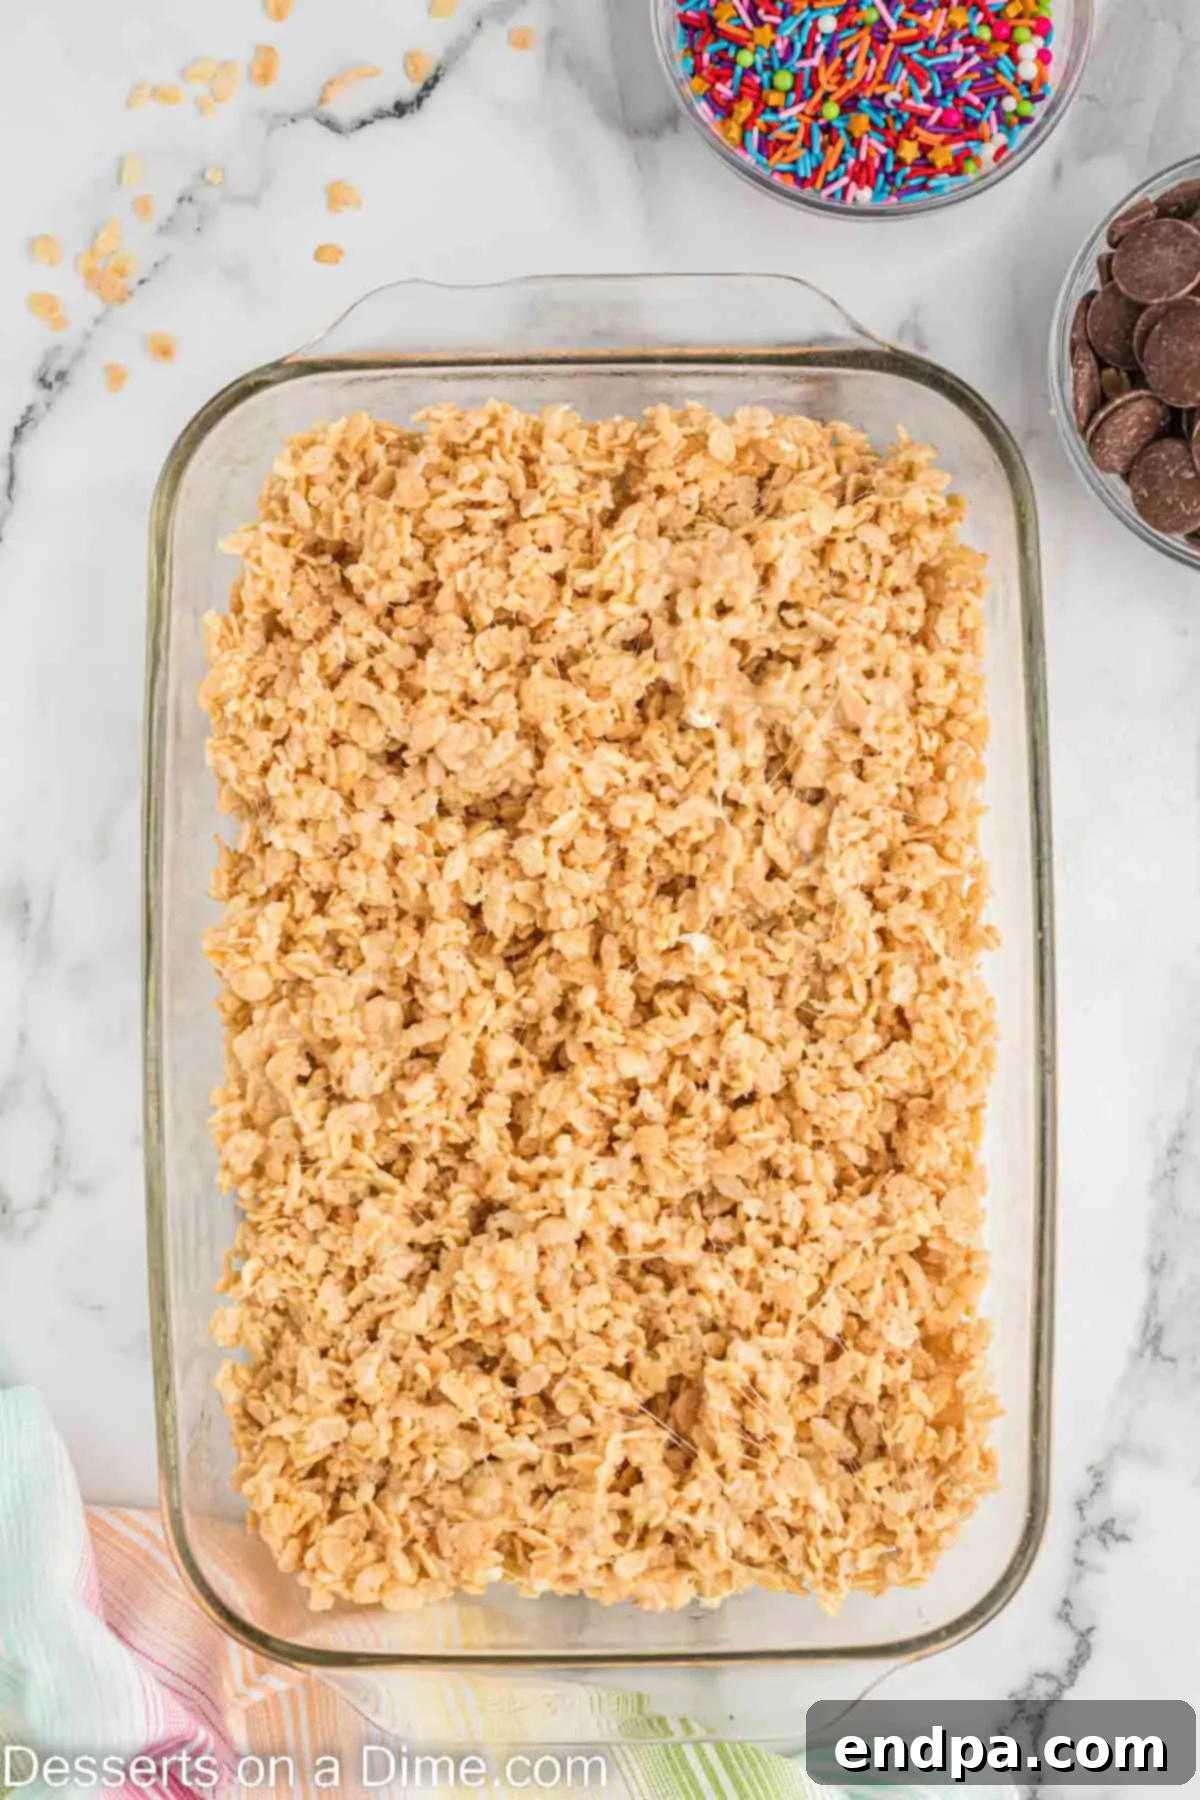
Step 3: Combine and Press. Pour the fresh Rice Krispies cereal into the melted marshmallow mixture. Stir gently but thoroughly until every piece of cereal is evenly coated. Transfer the mixture to your prepared 9×13 inch pan. To press the mixture into an even layer, I recommend lightly buttering your hands or using a piece of wax paper. The key here is to press gently; avoid packing the mixture down too firmly, as this can result in hard, dense Rice Krispie treats instead of soft and chewy ones.
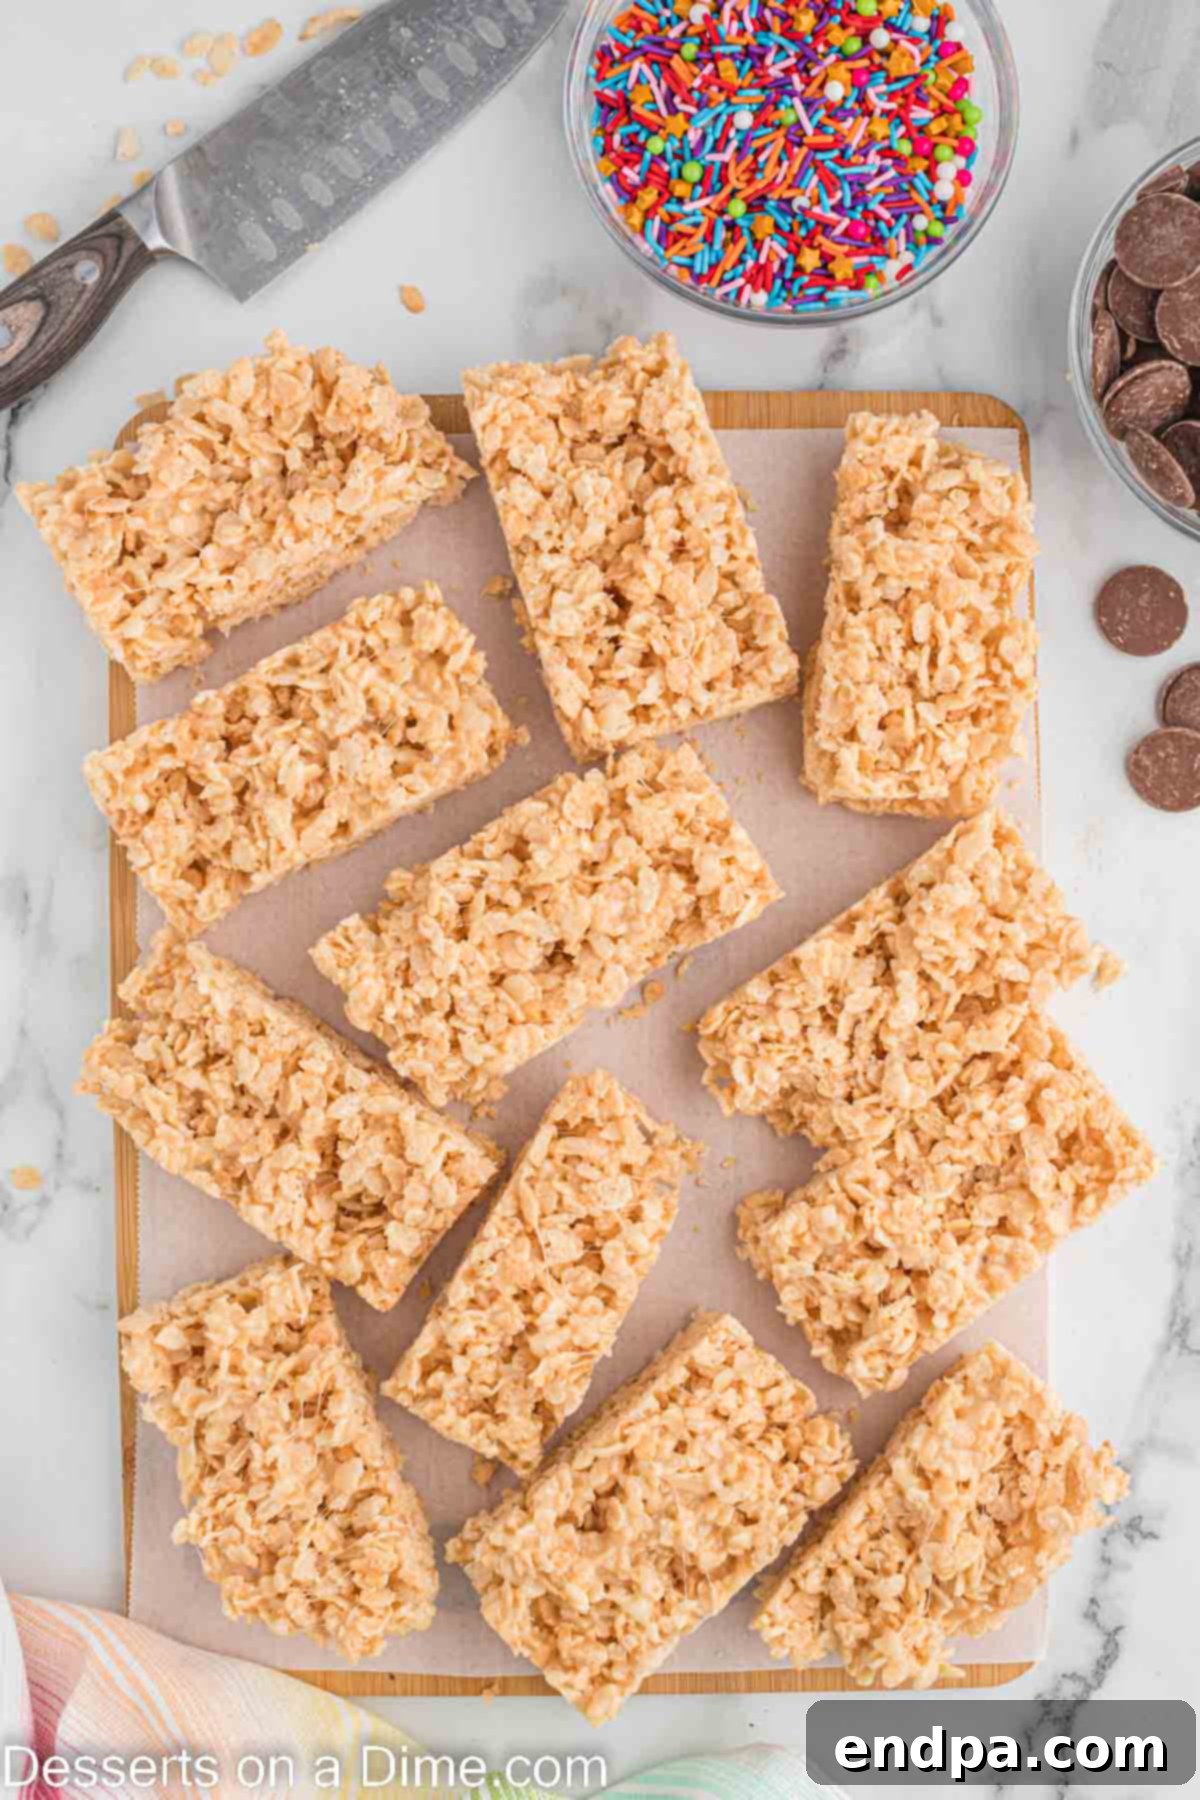
Step 4: Cool and Cut. Allow the Rice Krispie mixture to cool completely and set at room temperature. This usually takes about an hour. Resist the urge to place them in the refrigerator, as this can make them too hard. Once set, use a sharp, buttered knife to cut the treats into 12 even rectangles. You can adjust the size of the bars to your preference, but 12 is a standard serving size for a 9×13 pan.
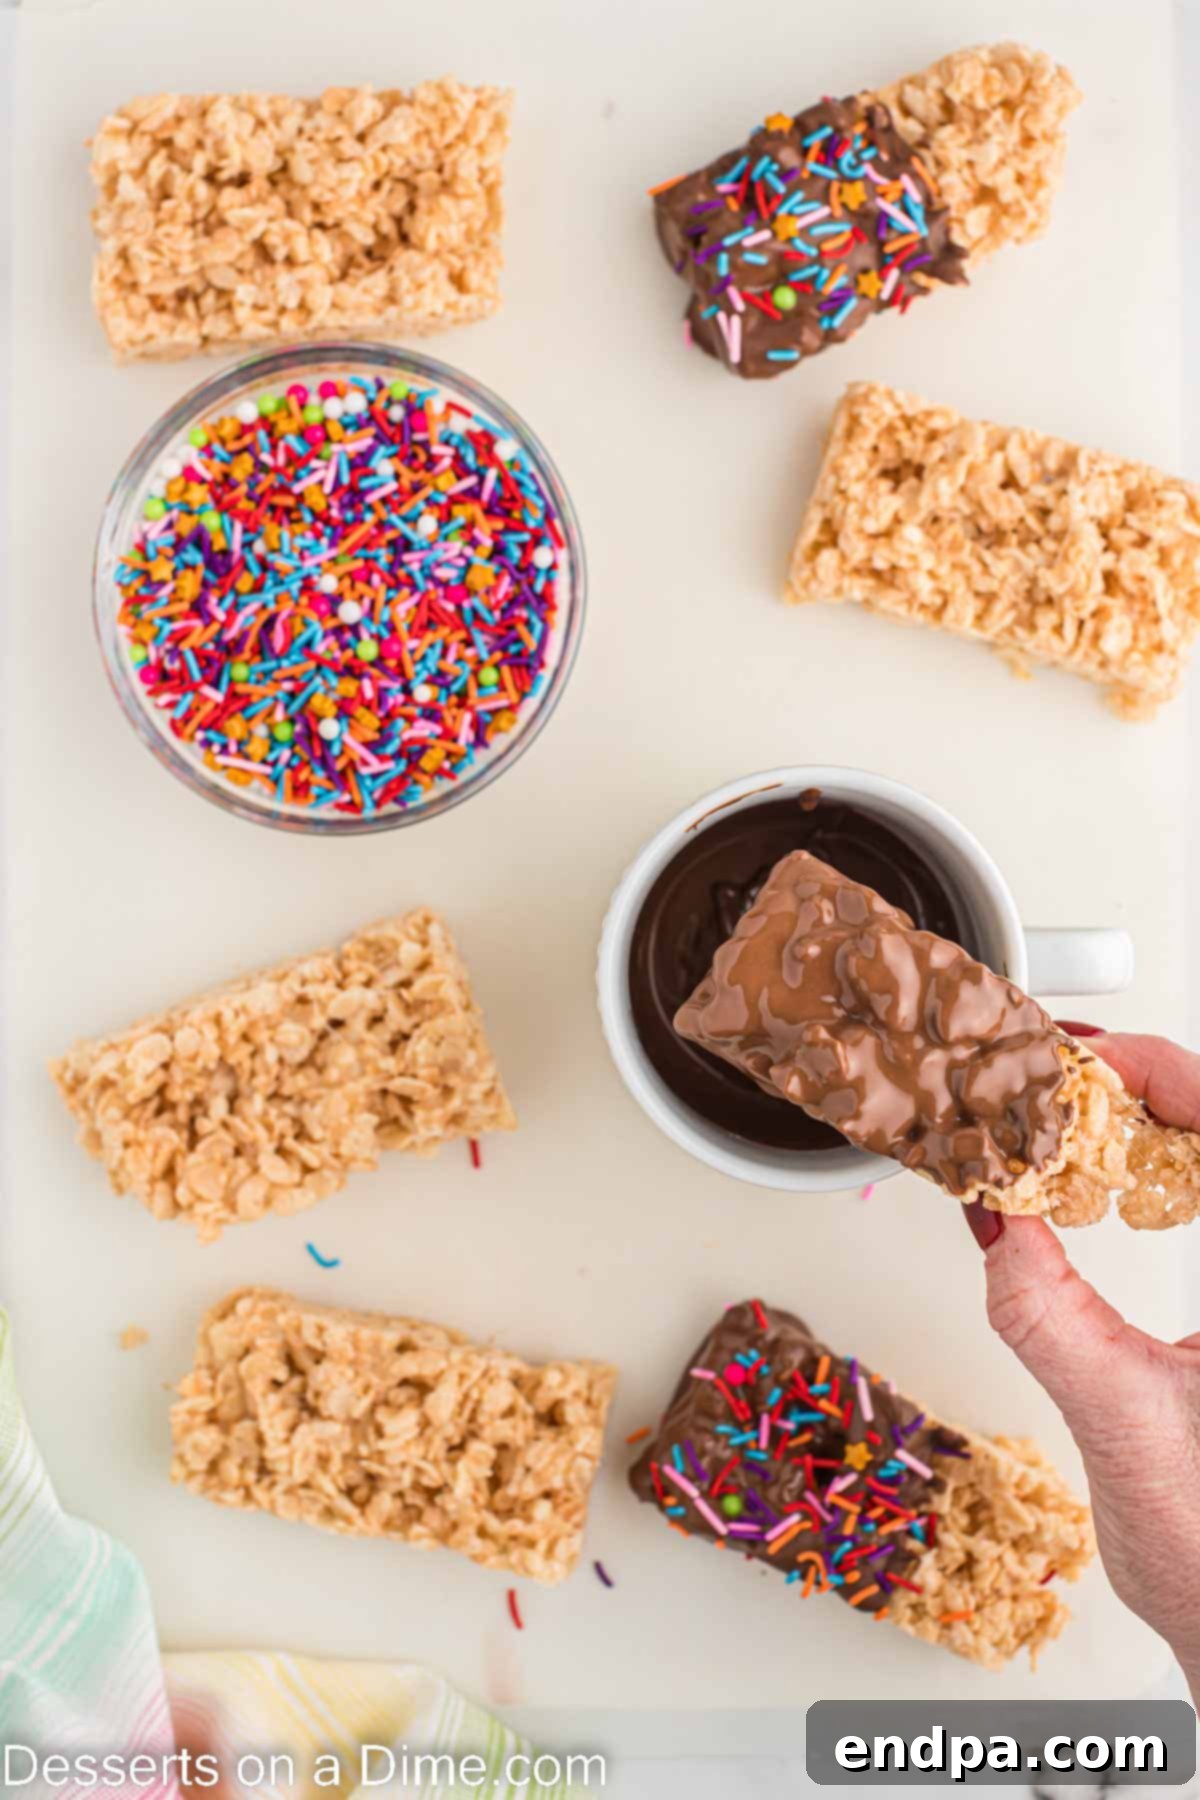
Step 5: Dip and Decorate. Place your chocolate melting chips in a microwave-safe bowl. Heat the chocolate in 30-second intervals, stirring thoroughly after each interval, until the chocolate is smooth and completely melted. This method prevents the chocolate from burning. Dip each Rice Krispie treat into the melted chocolate, coating it as much or as little as you prefer. Allow any excess chocolate to drip off. Immediately place the dipped treats onto a piece of parchment paper and generously sprinkle them with your chosen sprinkles before the chocolate hardens. Let them set at room temperature until the chocolate is firm. This ensures a beautiful, non-sticky finish.
Expert Tips for Perfection
Achieving the perfect batch of chocolate dipped Rice Krispie treats is simple with a few insider tips. Keep these pointers in mind for consistently delicious results:
- Always Use Fresh Marshmallows: This is a game-changer! Fresh marshmallows are soft and pliable, melting into a smooth, gooey consistency that perfectly binds the cereal. Older, harder marshmallows won’t melt as uniformly and can result in tough or lumpy treats.
- Melt on Low Heat: Patience is key when melting the butter and marshmallows. Using low heat prevents the marshmallows from scorching or hardening, ensuring a silky-smooth base for your treats. High heat can also cause the sugar in the marshmallows to crystallize, making the treats stiff.
- Allow Chocolate to Harden Naturally: For the best texture and appearance, let the chocolate coating harden at room temperature. While it might be tempting to speed up the process in the refrigerator, doing so can cause the chocolate to bloom (develop white streaks) or become too brittle.
- Gentle Pressing is Best: When pressing the cereal mixture into your baking dish, use a light hand. If you pack the mixture down too firmly, the finished Rice Krispie treats will be hard and dense instead of delightfully chewy. Lightly buttered hands or a piece of wax paper can help spread the mixture without excessive pressure.
- Quality Chocolate Matters: Using good quality chocolate melting chips or wafers will ensure a smooth, even coating that hardens nicely and tastes fantastic. Standard chocolate chips can also work, but sometimes require a tiny bit of coconut oil to achieve a desirable dipping consistency.
- Timing is Everything for Sprinkles: Add your sprinkles immediately after dipping each treat in chocolate. The chocolate hardens quickly, so you need to act fast to ensure the sprinkles adhere properly.
Storage Guidelines
To keep your chocolate dipped Rice Krispie treats fresh and delicious, proper storage is essential. Store them in an airtight container at room temperature for up to 3 to 4 days. If stacking multiple layers, I highly recommend placing a piece of wax paper or parchment paper between each layer of bars. This simple step prevents the chocolate from sticking together, making it easier to grab a single treat without damaging the others.
Avoid storing them in the refrigerator unless absolutely necessary, as the cold temperature can sometimes make the treats hard and the chocolate less pleasant to eat immediately. If you must refrigerate, allow them to come to room temperature for about 15-20 minutes before serving for the best texture.
Frequently Asked Questions
If your individual Rice Krispie treats have become hard, you can often soften them by placing a single bar in the microwave for 5-10 seconds. Be careful not to overheat, as the marshmallows can become too sticky. For an entire batch, place a slice of fresh white sandwich bread in the airtight storage container with the treats. The moisture from the bread will gradually be absorbed by the treats, helping to soften them over several hours.
Soggy Rice Krispie treats usually stem from a couple of issues. Firstly, using too much butter in the recipe can result in an overly moist, soggy texture. Stick to the exact amount specified. Secondly, if your crispy rice cereal is stale or expired, it won’t retain its crunch when mixed with the marshmallow, leading to soft or soggy treats. Always use fresh cereal for the best results.
The best way to melt chocolate for dipping is to use a microwave-safe bowl and heat the chocolate chips or melting wafers in short intervals. Start with 30 seconds, then stir thoroughly. Continue microwaving in 15-20 second bursts, stirring well after each one, until the chocolate is smooth and melted. Stirring frequently prevents burning and ensures even melting. You can also use a double boiler method for a more controlled melt.
Once your chocolate is melted and smooth, hold a Rice Krispie treat by one end and dip about halfway or two-thirds into the chocolate. Gently tap the bar against the side of the bowl to allow any excess chocolate to drip off. This helps create a smooth, even coating. Then, place the dipped bar onto a baking sheet lined with parchment paper. Immediately add any desired sprinkles before the chocolate sets.
Absolutely! You can easily melt the butter and marshmallows in a large pot or saucepan on the stove top. Just remember to use low heat and stir continuously until the marshmallows are completely melted and smooth. This method provides excellent control over the melting process and is often preferred by those who don’t want to use a microwave.
After pressing the Rice Krispie mixture into the pan, it typically takes about 30-60 minutes for the treats to cool and set at room temperature. Once dipped in chocolate, the chocolate coating will usually harden within 15-30 minutes, depending on the room temperature and type of chocolate used. Speeding up the cooling process in the refrigerator isn’t recommended for the treats themselves, but for the chocolate coating, a few minutes in a cool spot (not necessarily the fridge) can help.
More Delightful Cereal Treats
If you’ve fallen in love with these chocolate dipped Rice Krispie treats, you’re in for a treat! There’s a whole world of creative cereal bars waiting to be explored. Here are some more fantastic cereal treat recipes to try next:
- Classic Chocolate Rice Krispie Treats
- Sweet Butterscotch Rice Krispie Treats
- Decadent Oreo Rice Krispie Treats
- Colorful M&M Rice Krispie Treats
- Rich Chocolate Caramel Rice Krispie Treats
- Irresistible Peanut Butter Balls with Rice Krispies
We encourage you to try this incredibly delicious recipe for Chocolate Dipped Rice Krispie Treats. It’s so easy to make and the results are truly amazing. Once you’ve whipped up a batch and savored these delightful squares, don’t forget to leave a comment below and share your experience!
Full Recipe Card: Chocolate Dipped Rice Krispie Treats
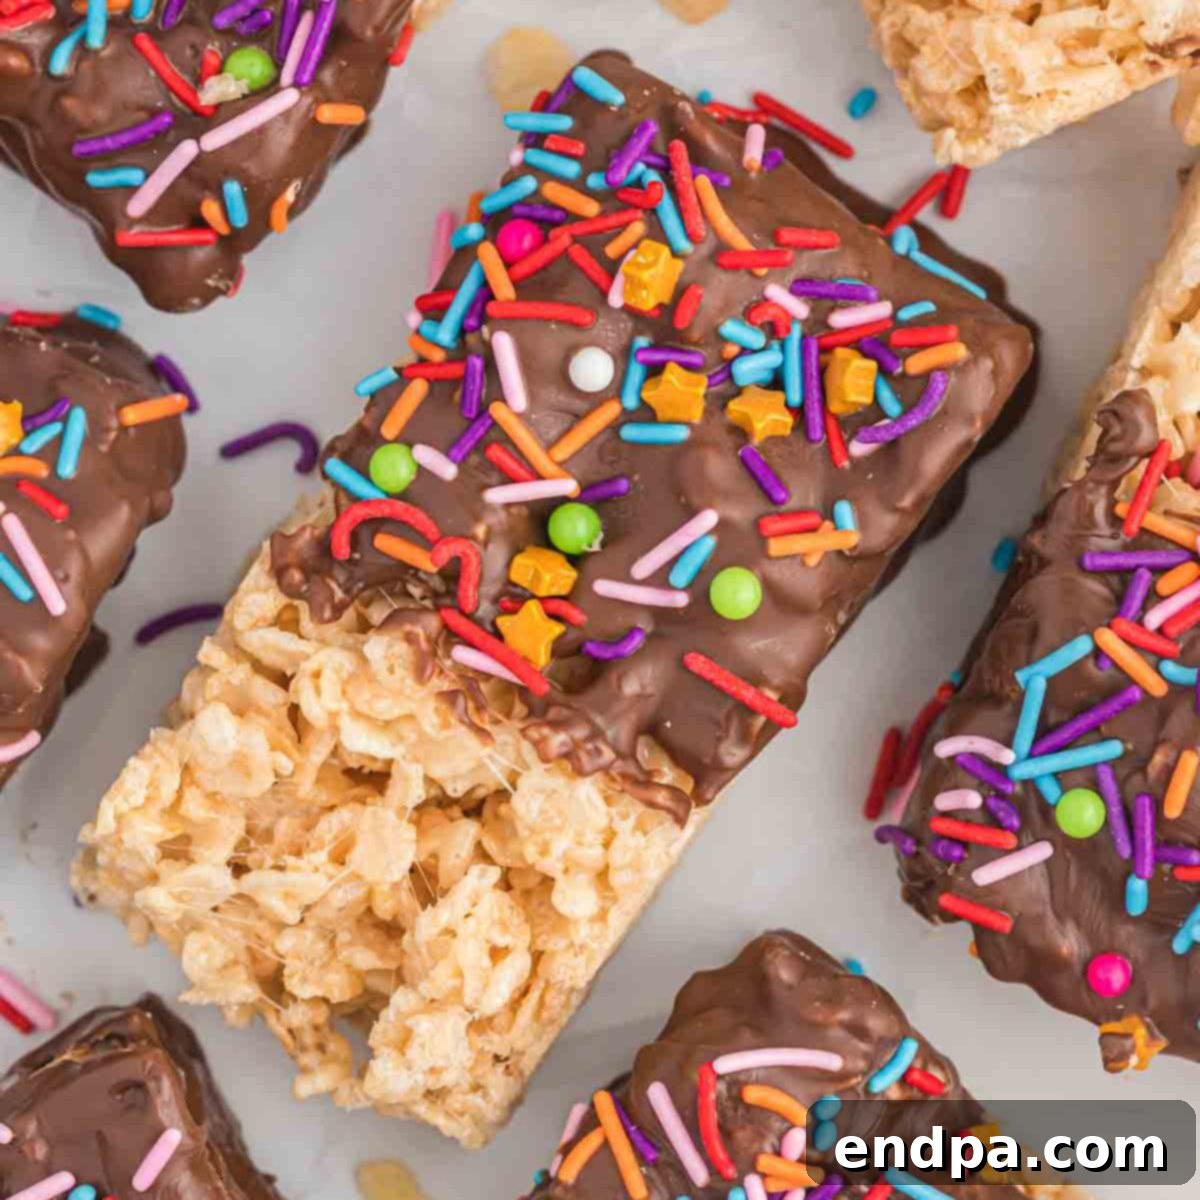
Chocolate Dipped Rice Krispie Treats
These easy no-bake chocolate dipped Rice Krispie treats are a delightful twist on a classic. Gooey, crispy, and coated in chocolate with colorful sprinkles, they make a perfect dessert or snack for any occasion!
15 mins
15 mins
12
American
Dessert
245
Carrie Barnard
Ingredients
- 6 cup Rice Krispies Cereal
- 3 tbsp Butter
- 10.5 oz Mini Marshmallows
- 1 teaspoon Vanilla Extract
- 1 cup Chocolate Melting Chips
- Multi-Colored Sprinkles (for topping)
Instructions
- Using butter or cooking spray, prepare a 9×13 inch pan or line it with parchment paper for easy removal.
- In a medium to large saucepan, melt the butter over low heat.
- Add the mini marshmallows to the melted butter and stir continuously until they are completely melted and smooth.
- Remove the saucepan from the heat.
- Pour the Rice Krispies cereal into the marshmallow mixture and stir well until the cereal is evenly coated.
- Transfer the mixture to the prepared pan. Lightly butter your hands or use wax paper to gently press the mixture into an even layer. Do not pack them down too hard, or the treats will become tough.
- Allow the Rice Krispie treats to cool completely and set at room temperature. Do not place them in the refrigerator at this stage.
- Once set, line a cutting board or tray with parchment paper or wax paper.
- Using a buttered knife, cut the cooled Rice Krispie treats into 12 rectangles.
- Melt the chocolate melting chips in a microwave-safe bowl. Heat in 30-second intervals, stirring thoroughly after each interval, until the chocolate is smooth and fully melted.
- Dip each Rice Krispie treat into the melted chocolate, coating to your desired level. Let any excess chocolate drip off. Place the dipped treats on the lined cutting board or tray.
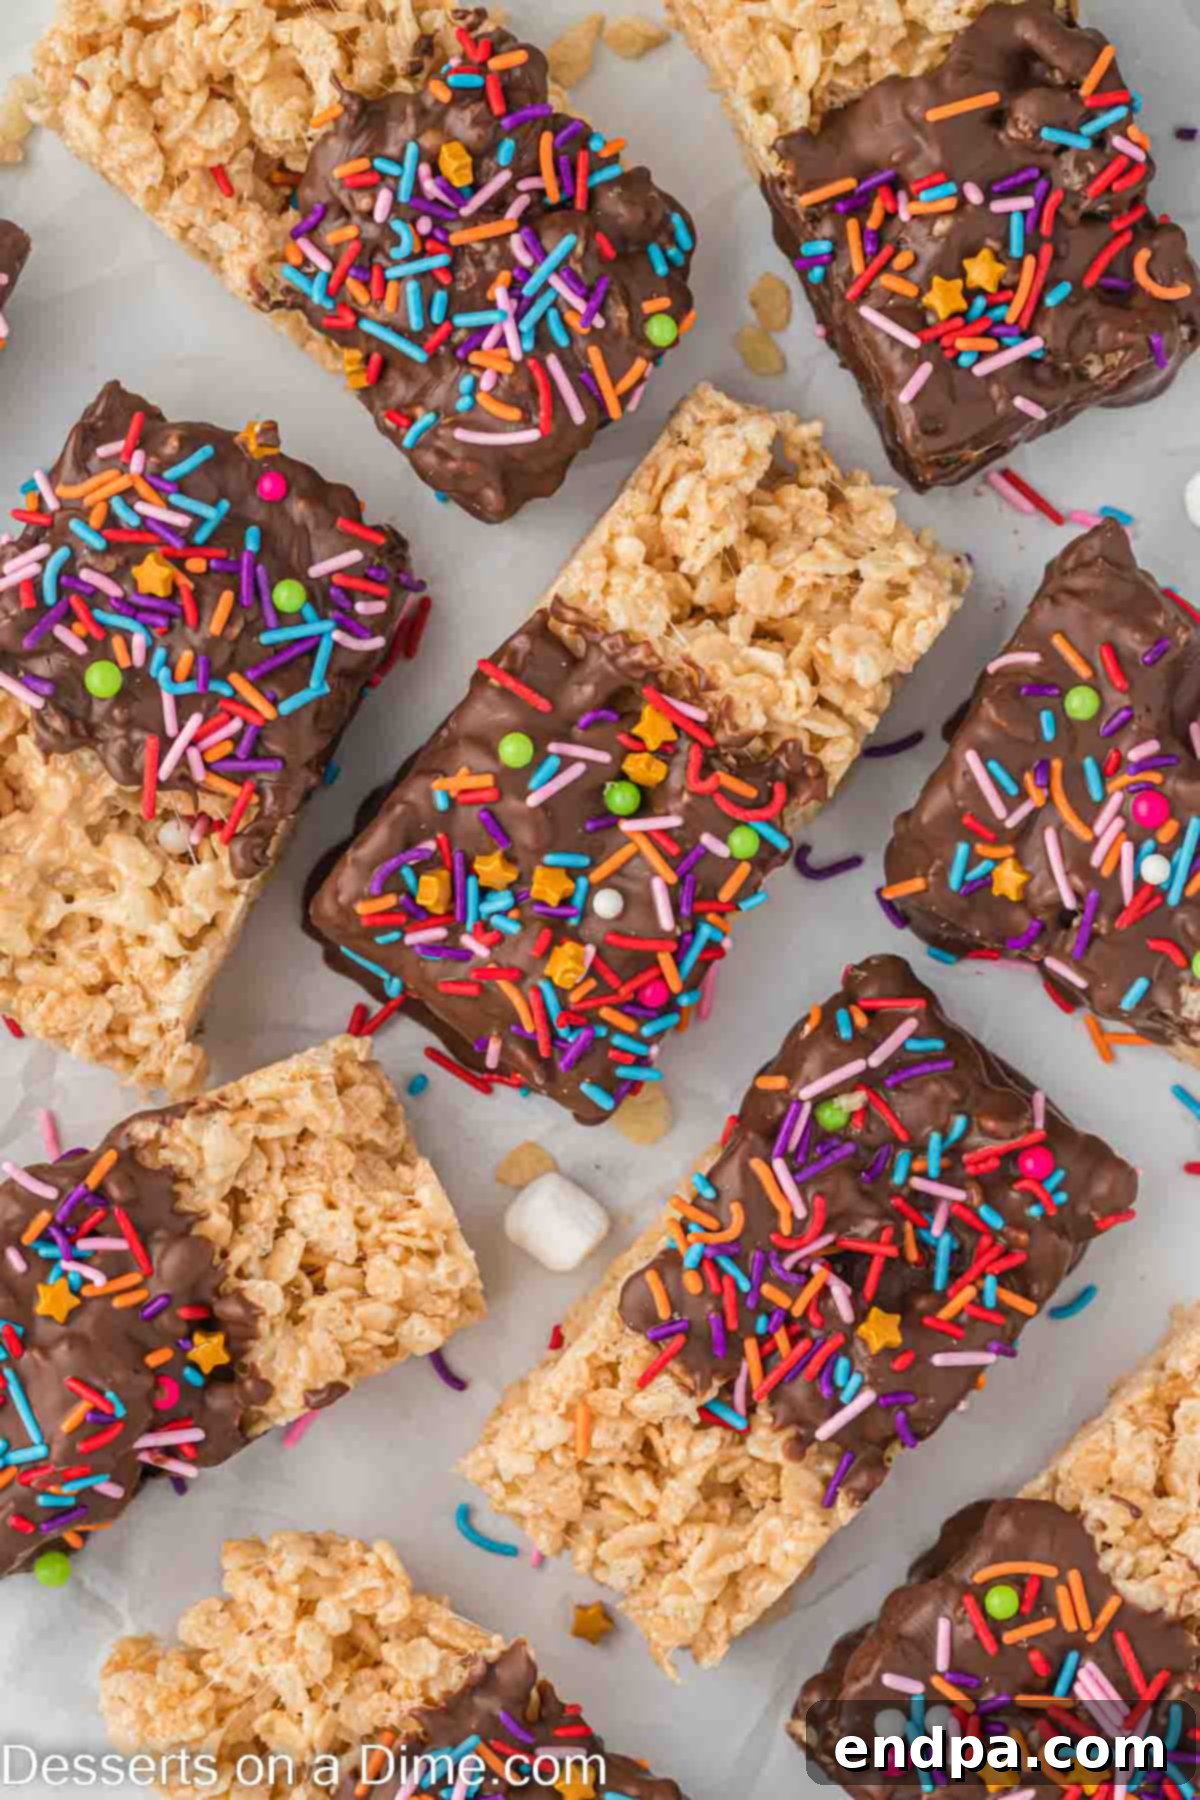
- Immediately top each chocolate-dipped treat with your chosen sprinkles before the chocolate hardens. Allow them to set at room temperature until the chocolate is firm.
Recipe Notes
Store these delicious treats in an airtight container at room temperature for up to 3-4 days to maintain freshness and chewiness. If stacking, place wax paper between layers to prevent sticking.
Feel free to experiment with different types of chocolate for dipping. Semi-sweet, milk, dark, or white chocolate all work wonderfully in this recipe, allowing for endless customization of flavor and appearance.
Nutrition Facts
Carbohydrates 40g,
Protein 2g,
Fat 9g,
Saturated Fat 5g,
Polyunsaturated Fat 0.4g,
Monounsaturated Fat 3g,
Trans Fat 0.1g,
Cholesterol 8mg,
Sodium 118mg,
Potassium 105mg,
Fiber 1g,
Sugar 21g,
Vitamin A 1026IU,
Vitamin C 9mg,
Calcium 12mg,
Iron 5mg
