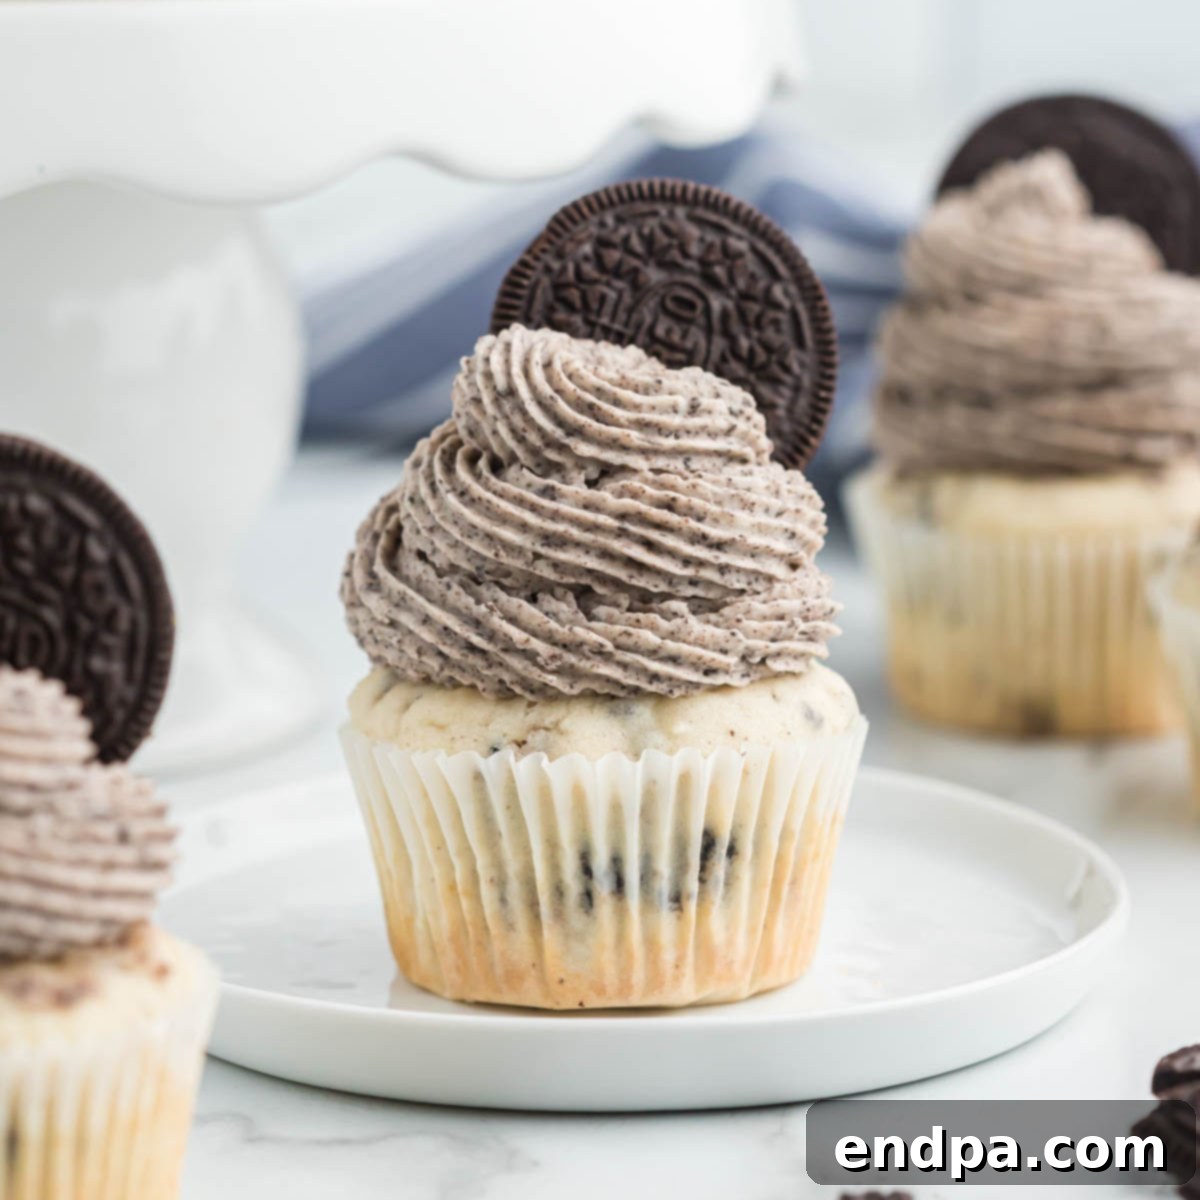
Each bite of a perfectly crafted Oreo Cupcake is an absolutely sensational experience. From the delightful surprise of an Oreo cookie nestled within the moist cake to the luscious frosting generously loaded with crushed Oreos, it truly embodies a dessert lover’s ultimate dream. These cupcakes aren’t just a treat; they are a celebration of the iconic cookie, elevated into an elegant yet incredibly fun confection.
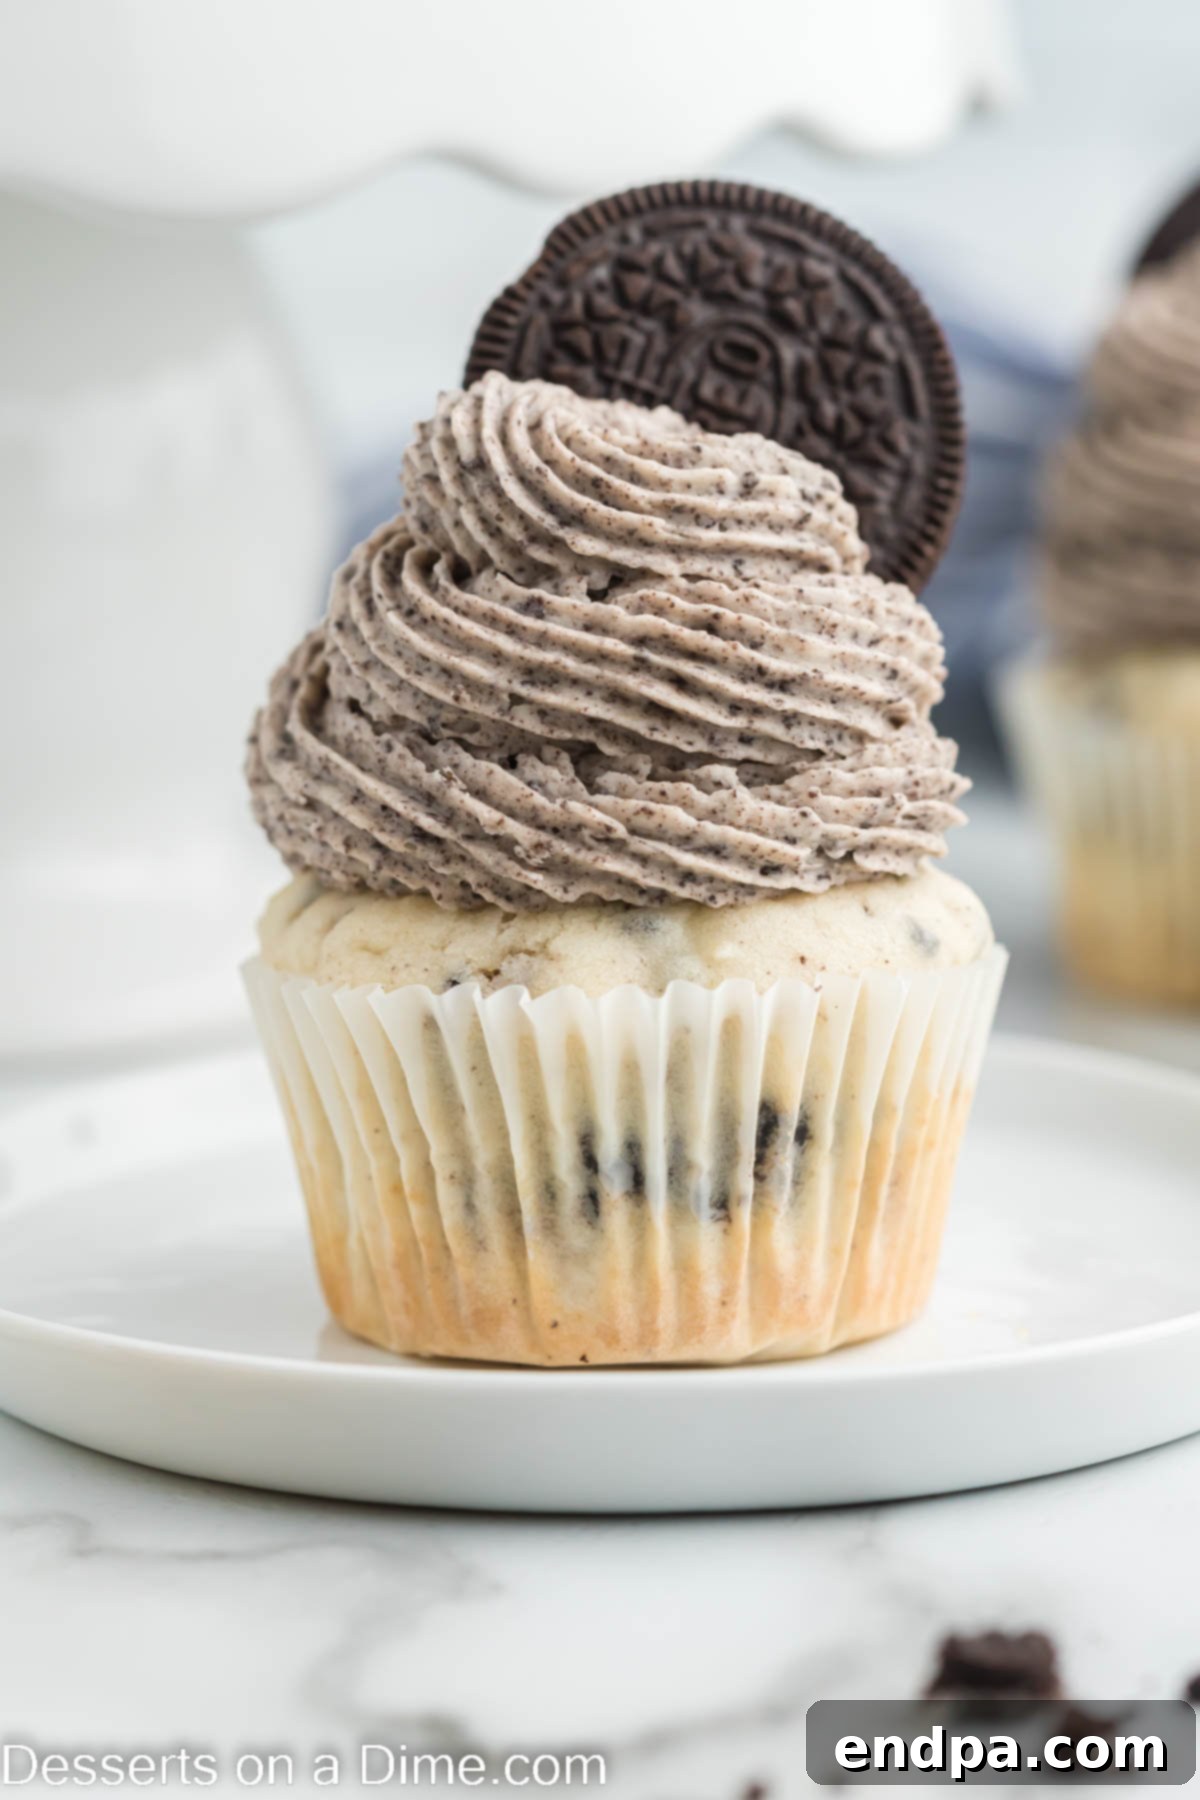
Our Oreo Cupcakes are designed to deliver an unparalleled burst of Oreo flavor in every single bite. This recipe ensures that the rich, chocolatey goodness of Oreos is integrated into every component, promising a dessert that never disappoints. Despite their impressive appearance, these cupcakes are surprisingly easy to make, making them an ideal choice for a wide array of occasions. Whether you’re planning a lively birthday party, celebrating a special milestone, or simply craving a delicious homemade treat, these cookies and cream cupcakes are guaranteed to be a hit. They have been a cherished family tradition for years, delighting taste buds of all ages with their simple charm and irresistible taste.
If you’re someone who adores Oreo desserts, then this cupcake recipe is an absolute must-try. Prepare to fall head over heels for its delightful combination of textures and flavors!
Table of Contents
- Why You’ll Fall in Love with This Recipe
- Gather Your Ingredients
- Essential Equipment for Baking Success
- Delicious Variations to Explore
- Step-by-Step: Crafting Your Perfect Oreo Cupcakes
- Pro Tips for Flawless Oreo Cupcakes
- Storage and Make-Ahead Options
- The Ultimate Oreo Cupcakes Recipe
- More Oreo Indulgences
- Explore More Cupcake Creations
Why You’ll Fall in Love with This Recipe
These Oreo cupcakes possess an undeniable charm that makes them stand out. They boast a sophisticated appearance, looking every bit as exquisite as a treat from a high-end bakery, complete with a rich and creamy Oreo frosting. Yet, the beauty of this recipe lies in its simplicity. We’ve meticulously broken down the process into easy-to-follow, step-by-step instructions, ensuring that even novice bakers can achieve spectacular results. The entire creation comes together quickly and effortlessly, proving that you don’t need to spend hours in the kitchen to create something truly extraordinary.
Beyond their ease and beauty, these cupcakes are a testament to flavor. The combination of moist cake, infused with chunks of Oreo, and a cloud of frosting studded with finely crushed cookies, creates a harmonious blend of textures and tastes. They are incredibly versatile, perfect for elevating any gathering from casual family dinners to grand celebrations. Our family has enjoyed these cupcakes for years, creating cherished memories around this delightful dessert. It’s more than just a recipe; it’s a gateway to joy, bringing smiles to everyone who takes a bite.
Gather Your Ingredients
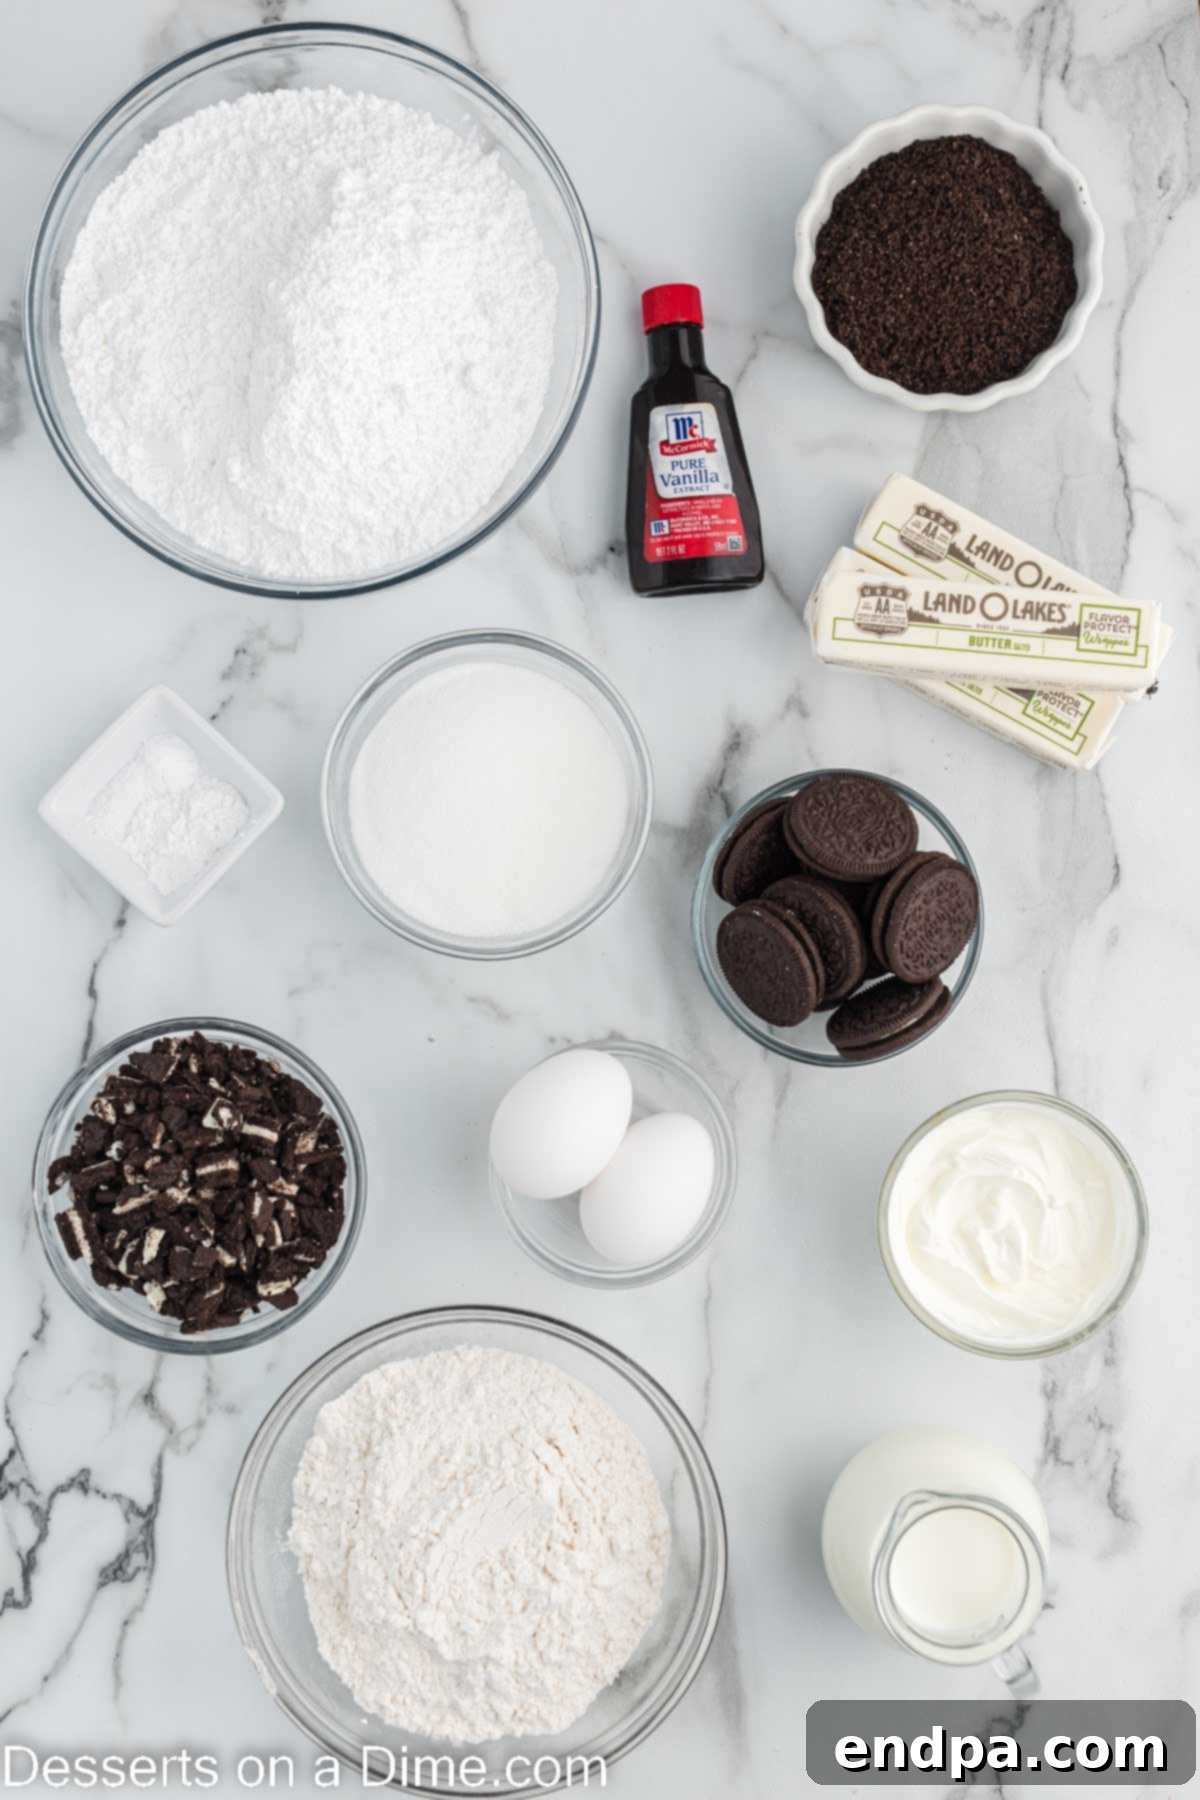
Creating these magical Oreo cupcakes begins with a selection of high-quality ingredients, each playing a vital role in achieving the perfect flavor and texture. Pay attention to the details to ensure your cupcakes are moist, flavorful, and truly unforgettable.
For the Moist Vanilla Cupcakes:
- Granulated Sugar: This provides the primary sweetness and contributes to the tender crumb of the cupcakes.
- All-Purpose Flour: The structural backbone of your cupcakes, ensuring they hold their shape beautifully.
- Salted Butter (softened): Using softened butter is crucial for creaming with sugar, incorporating air, and adding rich, buttery flavor to the cake. If using unsalted butter, add an extra pinch of salt to the dry ingredients.
- Egg Whites: These contribute to a lighter, whiter cake crumb, giving the cupcakes a delicate texture without the richness of yolks, allowing the Oreo flavor to shine.
- Vanilla Extract: A splash of good quality vanilla extract enhances all the other flavors and adds a warm, inviting aroma.
- Baking Powder & Baking Soda: These leavening agents work in harmony to give the cupcakes their perfect rise and airy texture.
- Salt: Essential for balancing the sweetness and enhancing the overall flavor profile, making the cupcakes taste more complex.
- Whole Milk: Adds necessary moisture to the batter, ensuring the cupcakes remain tender and not dry.
- Sour Cream: A secret ingredient for exceptionally moist and tender cupcakes. Its acidity also helps activate the baking soda, contributing to a better rise.
- Chopped Oreo Cookies: These are folded into the batter, providing delightful pockets of crunchy chocolate cookie goodness throughout the cake.
For the Dreamy Oreo Buttercream Frosting:
- Salted Butter: The foundation of our creamy buttercream, providing richness and structure. Ensure it’s softened for a smooth, lump-free frosting.
- Powdered Sugar: Also known as confectioners’ sugar, this fine sugar dissolves easily, creating a silky-smooth, pipeable frosting.
- Whole Milk: Used to adjust the frosting’s consistency, making it wonderfully creamy and easy to spread or pipe.
- Vanilla Extract: Complements the chocolate flavor of the Oreos, adding depth and warmth to the frosting.
- Crushed Oreo Cookies (finely crushed): These are folded into the frosting, infusing it with iconic Oreo flavor and creating beautiful speckled appearance. The finer crush ensures a smooth frosting texture.
- Whole Oreos (for decorating): The perfect final touch, adding a classic visual appeal and an extra layer of crunch to each cupcake.
Essential Equipment for Baking Success
Having the right tools on hand can make all the difference in your baking experience, transforming it from a chore into a joy. For these Oreo Cupcakes, you won’t need anything overly specialized, but a few key pieces of equipment will ensure smooth sailing:
- Standard 12-Cup Cupcake Pan: The essential vessel for baking your cupcakes uniformly.
- Paper Cupcake Liners: Prevent sticking and make for easy serving.
- Large Mixing Bowls (2-3): For separating wet and dry ingredients, and for mixing the frosting.
- Electric Mixer (Handheld or Stand Mixer): Absolutely invaluable for creaming butter and sugar, and for whipping up fluffy buttercream frosting.
- Whisk: For combining dry ingredients evenly.
- Rubber Spatula: Perfect for scraping down the sides of bowls and gently folding in ingredients.
- Measuring Cups and Spoons: Accuracy is key in baking!
- Cooling Rack: Allows air to circulate around baked cupcakes, preventing them from becoming soggy.
- Piping Bag and Star Tip (e.g., Wilton 1M or 2D): For achieving that beautiful, professional-looking swirl of frosting.
- Food Processor (Optional): Excellent for finely crushing Oreos for the frosting, or a large ziplock bag and rolling pin will work just as well.
Delicious Variations to Explore
While this classic Oreo Cupcake recipe is perfect as is, it also serves as a fantastic canvas for creativity. Feel free to experiment with these exciting variations to tailor them to your taste or the occasion:
- Yogurt Swap: For a slightly tangier flavor profile and an equally moist crumb, you can easily substitute plain Greek yogurt for the sour cream in the cupcake batter. This is a great option if you prefer a lighter dessert or want to slightly reduce the fat content without sacrificing moisture.
- Cupcake Base Alternatives: While a moist vanilla base perfectly highlights the Oreo flavor, feel free to use this incredible Oreo frosting on other cupcake variations. It’s truly exceptional on classic vanilla cupcakes or rich chocolate cupcakes for an even more intense chocolate experience. You could even try red velvet cupcakes for a vibrant color contrast.
- Creative Toppings Galore: Instead of a large whole Oreo cookie, consider topping your cupcakes with a couple of charming mini Oreo cookies for a playful look. For the true chocoholic, shaved chocolate, a sprinkle of mini chocolate chips, or a decadent drizzle of chocolate syrup can add an extra layer of indulgence. White chocolate curls would also look stunning and add a different flavor note.
- The Fancy Double Liner Trick: To achieve that polished, bakery-quality finish, try using two cupcake liners for each cupcake. The inner liner will naturally absorb some of the oils from the cake and cling to it, while the outer liner will maintain its crisp shape and vibrant color, creating a more professional and appealing presentation.
- Explore Different Oreo Flavors: Don’t limit yourself to original Oreos! Imagine the possibilities with Mint Oreos for a refreshing twist, Golden Oreos for a vanilla-forward treat, or even Peanut Butter Oreos for a rich, nutty depth. These variations can transform the entire flavor profile of your cupcakes.
- Mini Oreo Cupcakes: For bite-sized delights perfect for parties or portion control, use a mini cupcake pan and liners. Adjust the baking time accordingly; they will typically bake faster, usually between 10-14 minutes.
- Add a Chocolate Ganache Drizzle: For an extra layer of decadence, once the frosting has slightly set, drizzle a simple homemade chocolate ganache over the top of each cupcake. This adds shine, richness, and another dimension of chocolate flavor.
Step-by-Step: Crafting Your Perfect Oreo Cupcakes
Follow these detailed steps to create a batch of show-stopping Oreo cupcakes that are as delightful to make as they are to eat.
- Step 1. Prepare for Baking: Preheat and Line. Begin by preheating your oven to 350 degrees F (175 degrees C). This ensures the oven is at the correct temperature for even baking from the moment your cupcakes go in. Line a standard 12-cup cupcake pan with paper liners. Using liners not only prevents sticking but also makes for easy handling and serving.
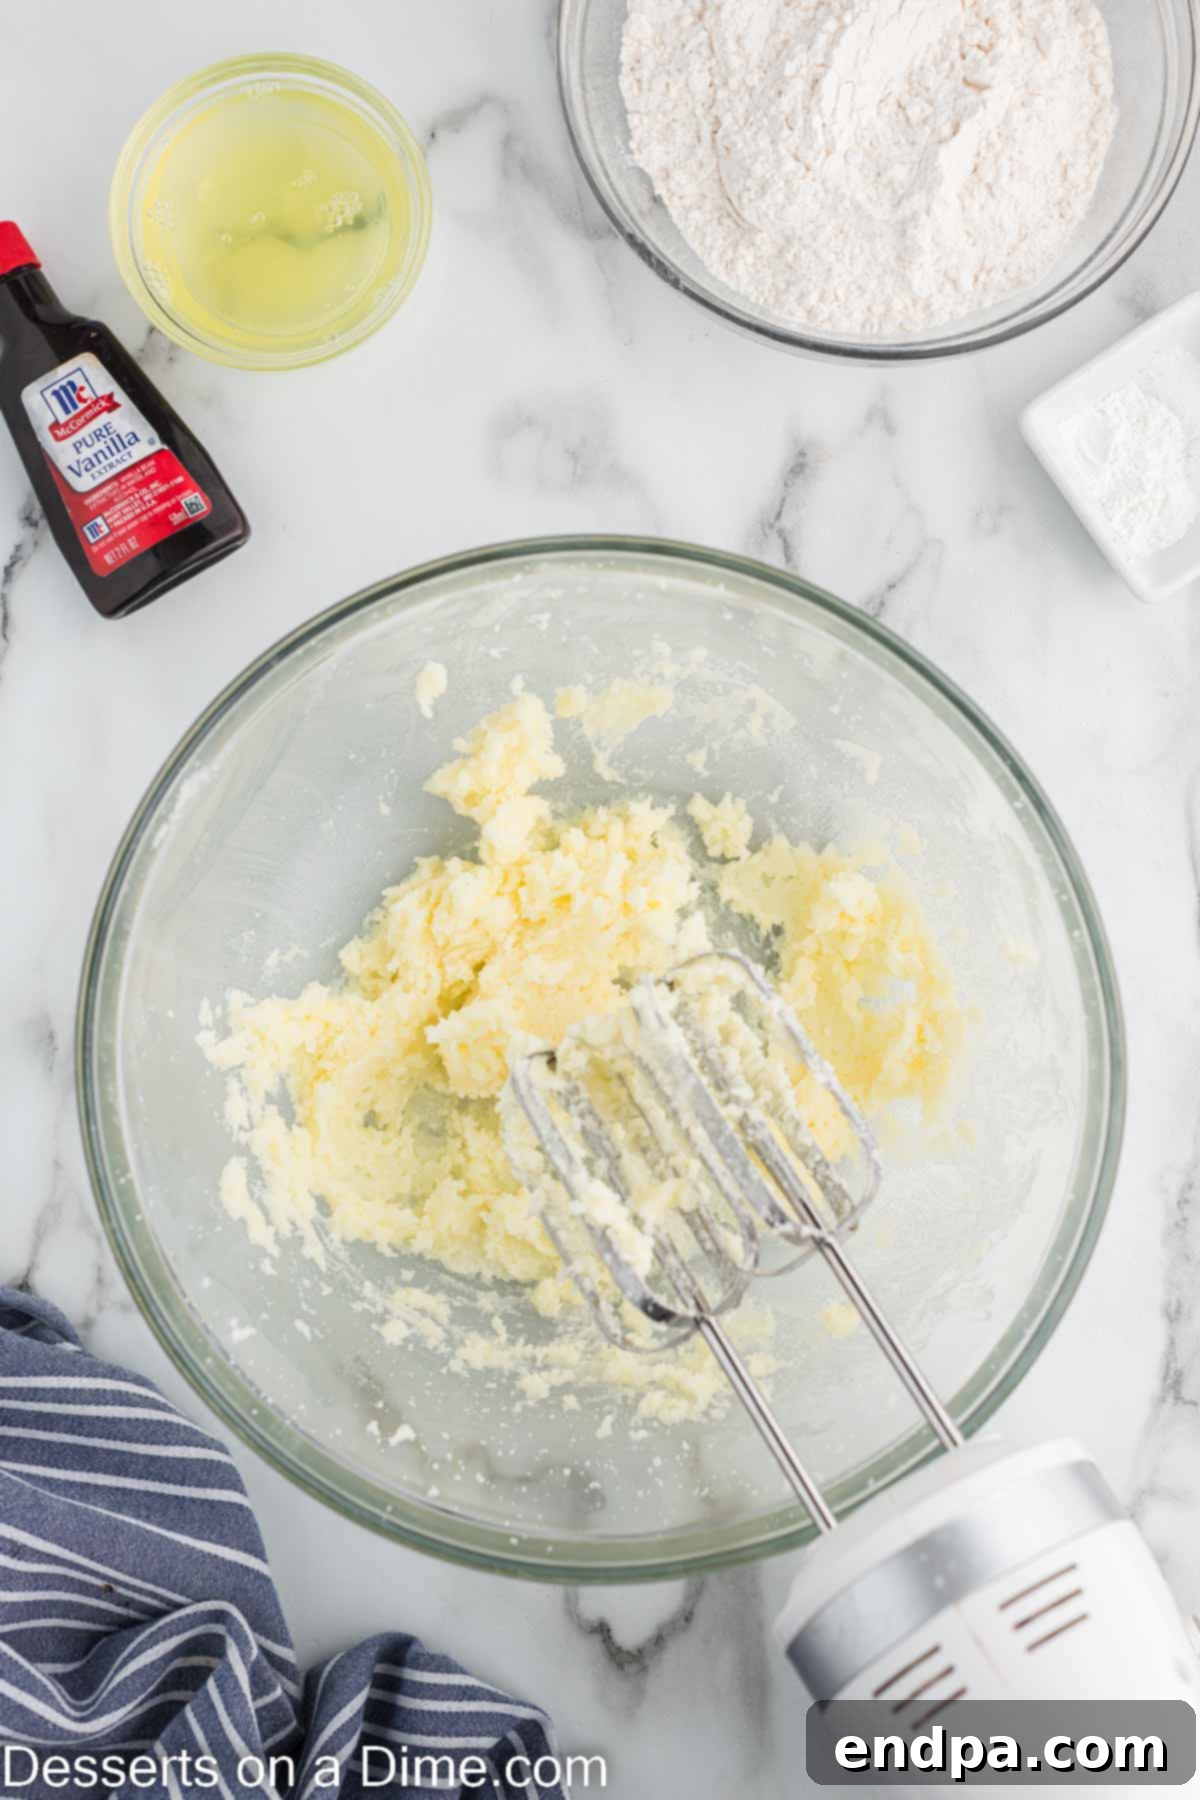
Step 2. Cream Butter and Sugar. In a large mixing bowl, using either a handheld mixer or a stand mixer fitted with the paddle attachment, beat together the softened butter and granulated sugar. Mix on medium-high speed until the mixture becomes light, fluffy, and pale in color. This creaming process incorporates air, which is essential for a tender cupcake texture.
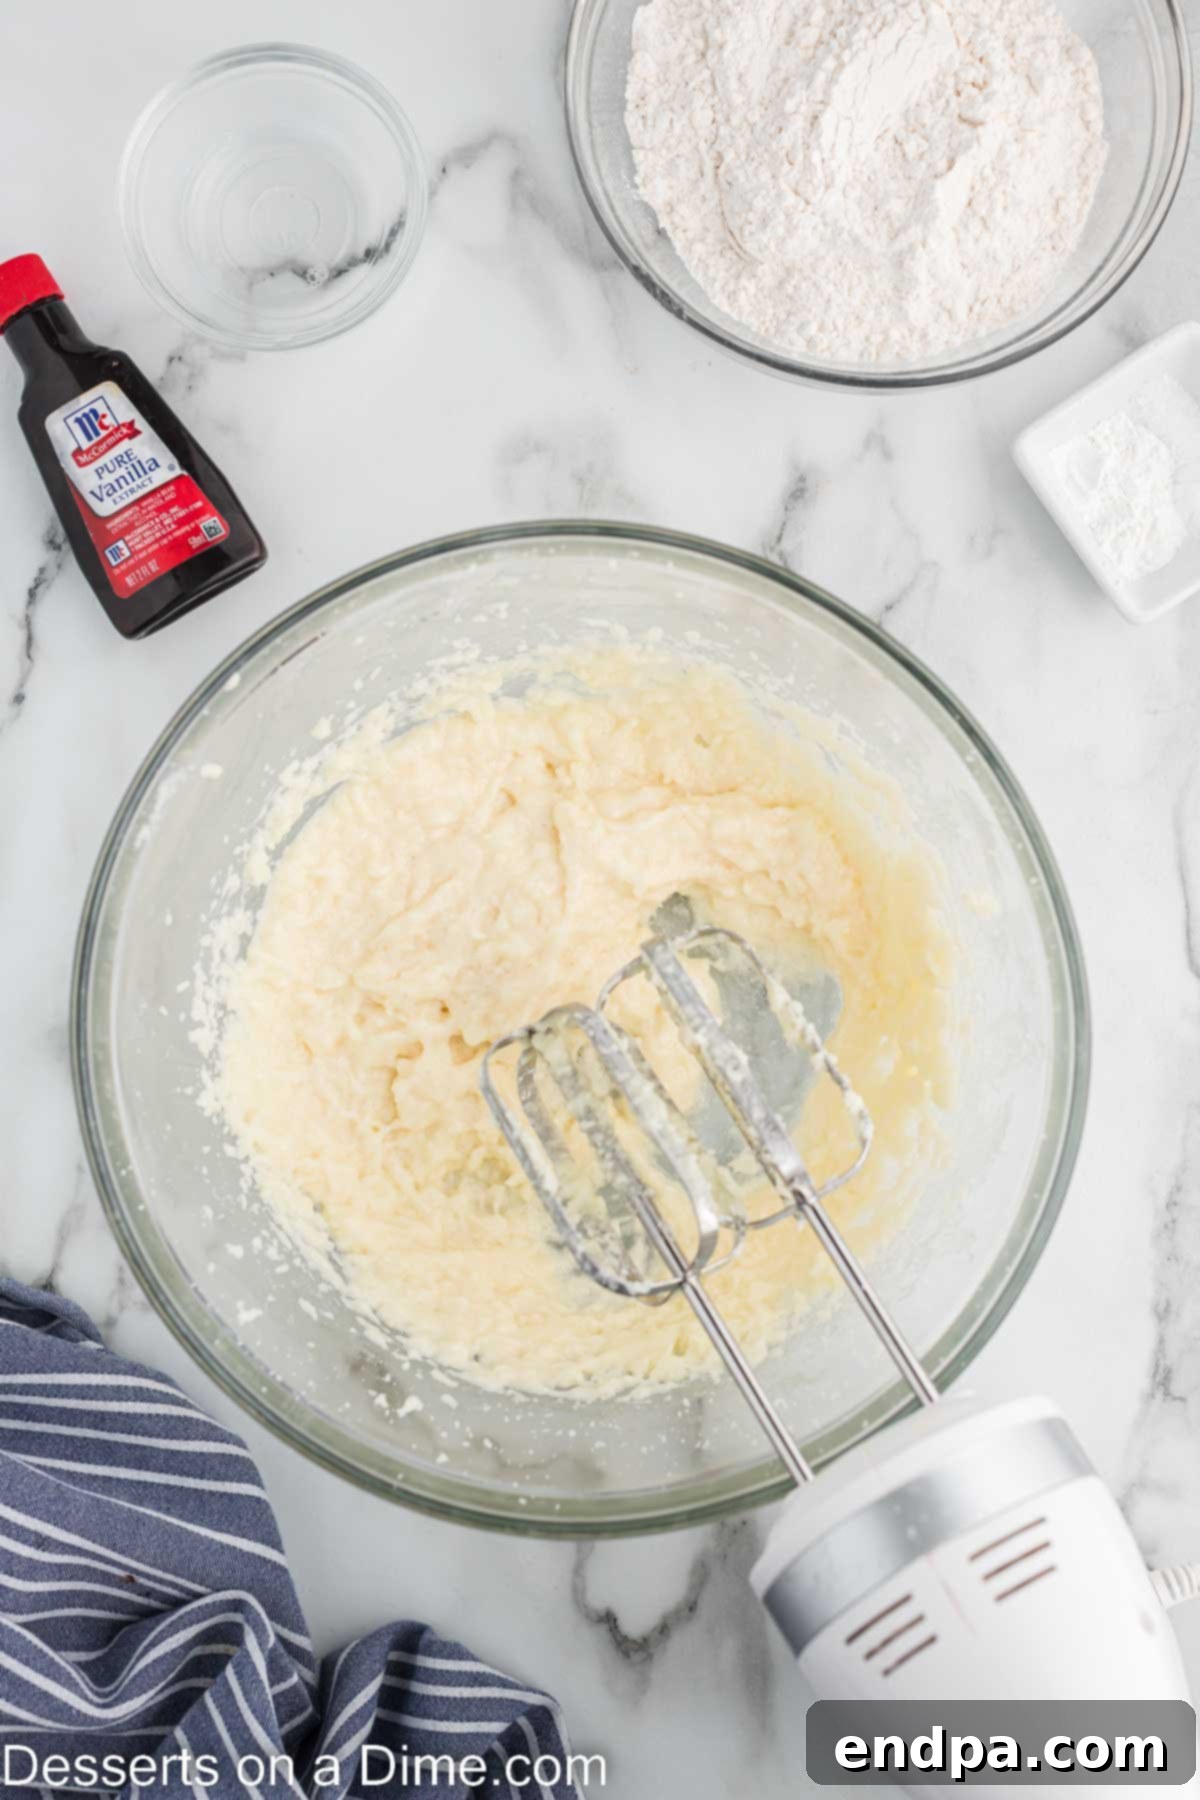
Step 3. Incorporate Wet Ingredients. Add the egg whites and vanilla extract to the creamed butter and sugar. Beat until just combined, scraping down the sides of the bowl as needed to ensure everything is thoroughly mixed. Be careful not to overmix at this stage.
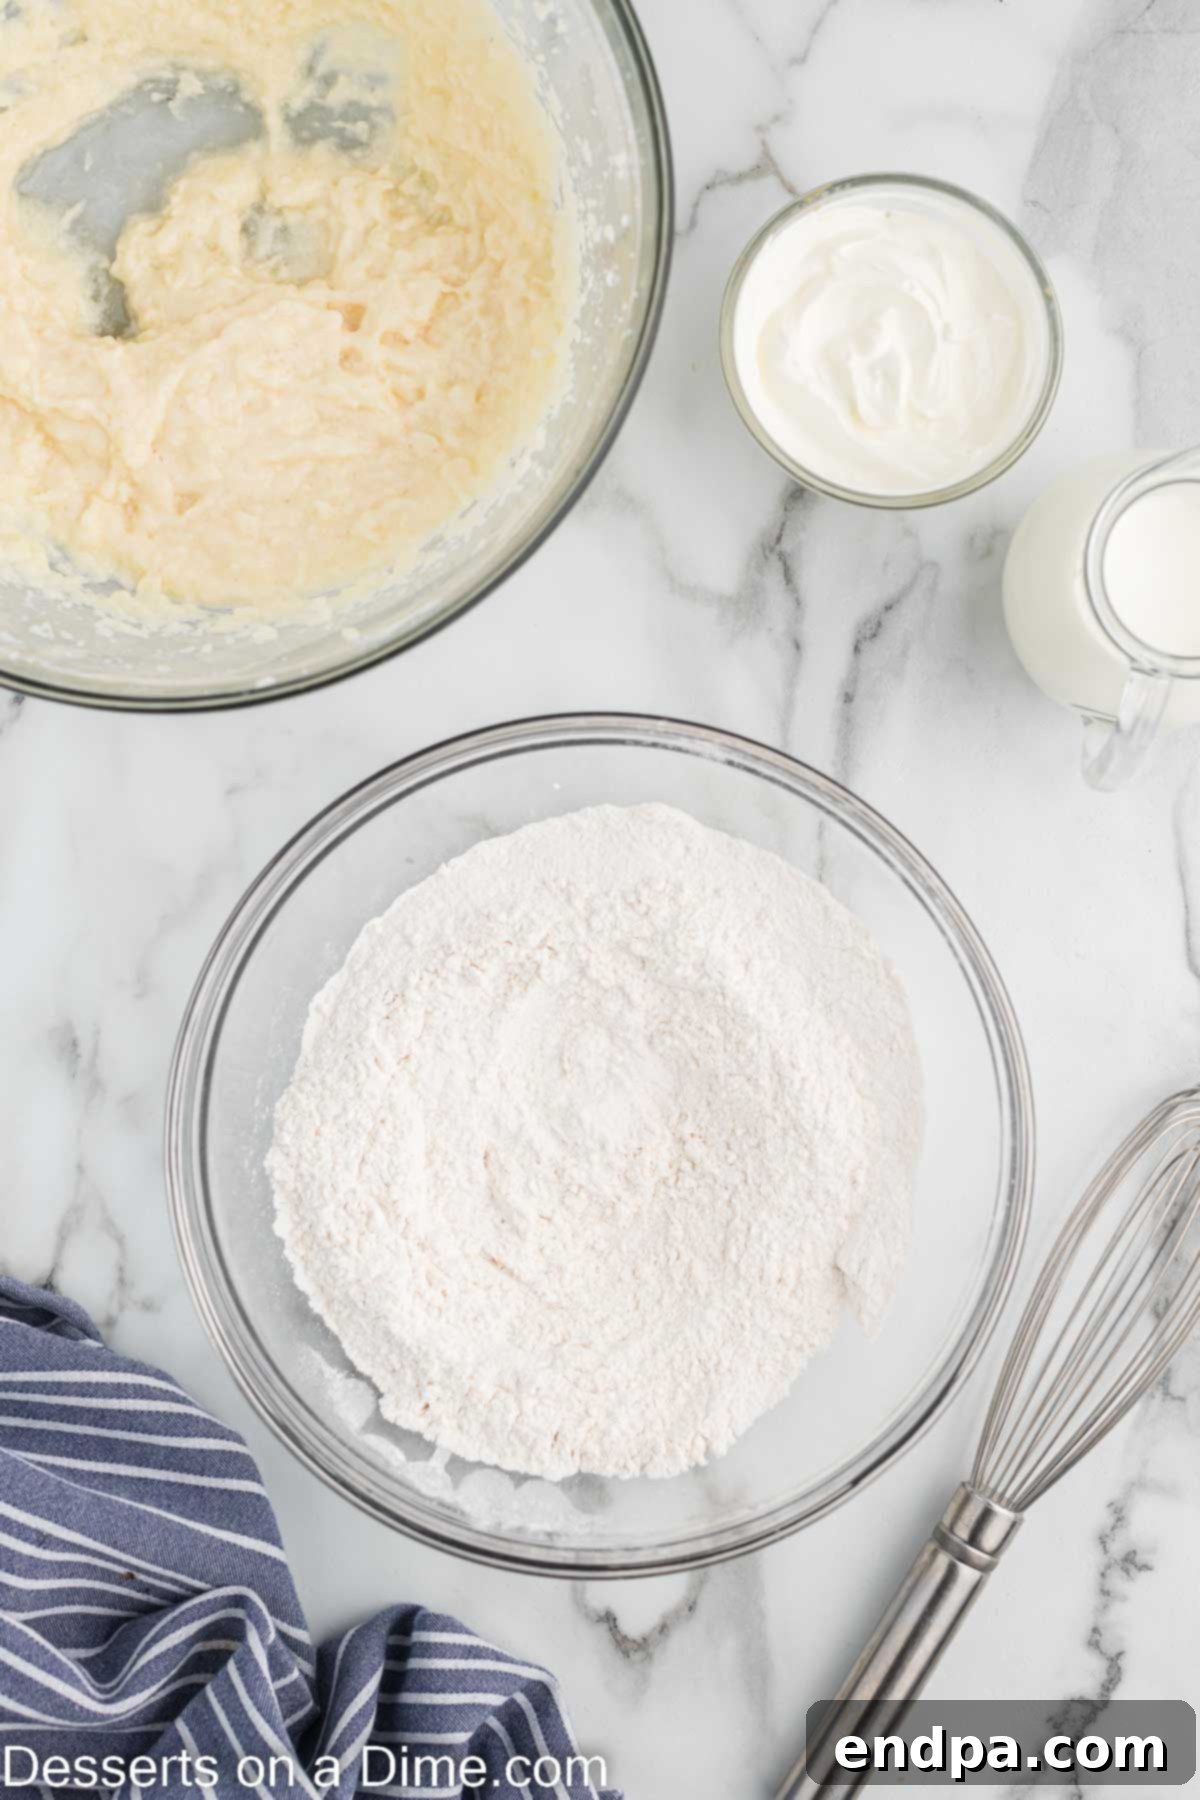
Step 4. Whisk Dry Ingredients. In a separate, medium-sized bowl, whisk together the all-purpose flour, baking powder, baking soda, and salt until they are well combined. This ensures that the leavening agents and salt are evenly distributed throughout the dry mixture, preventing pockets of unmixed ingredients in your final cupcakes.
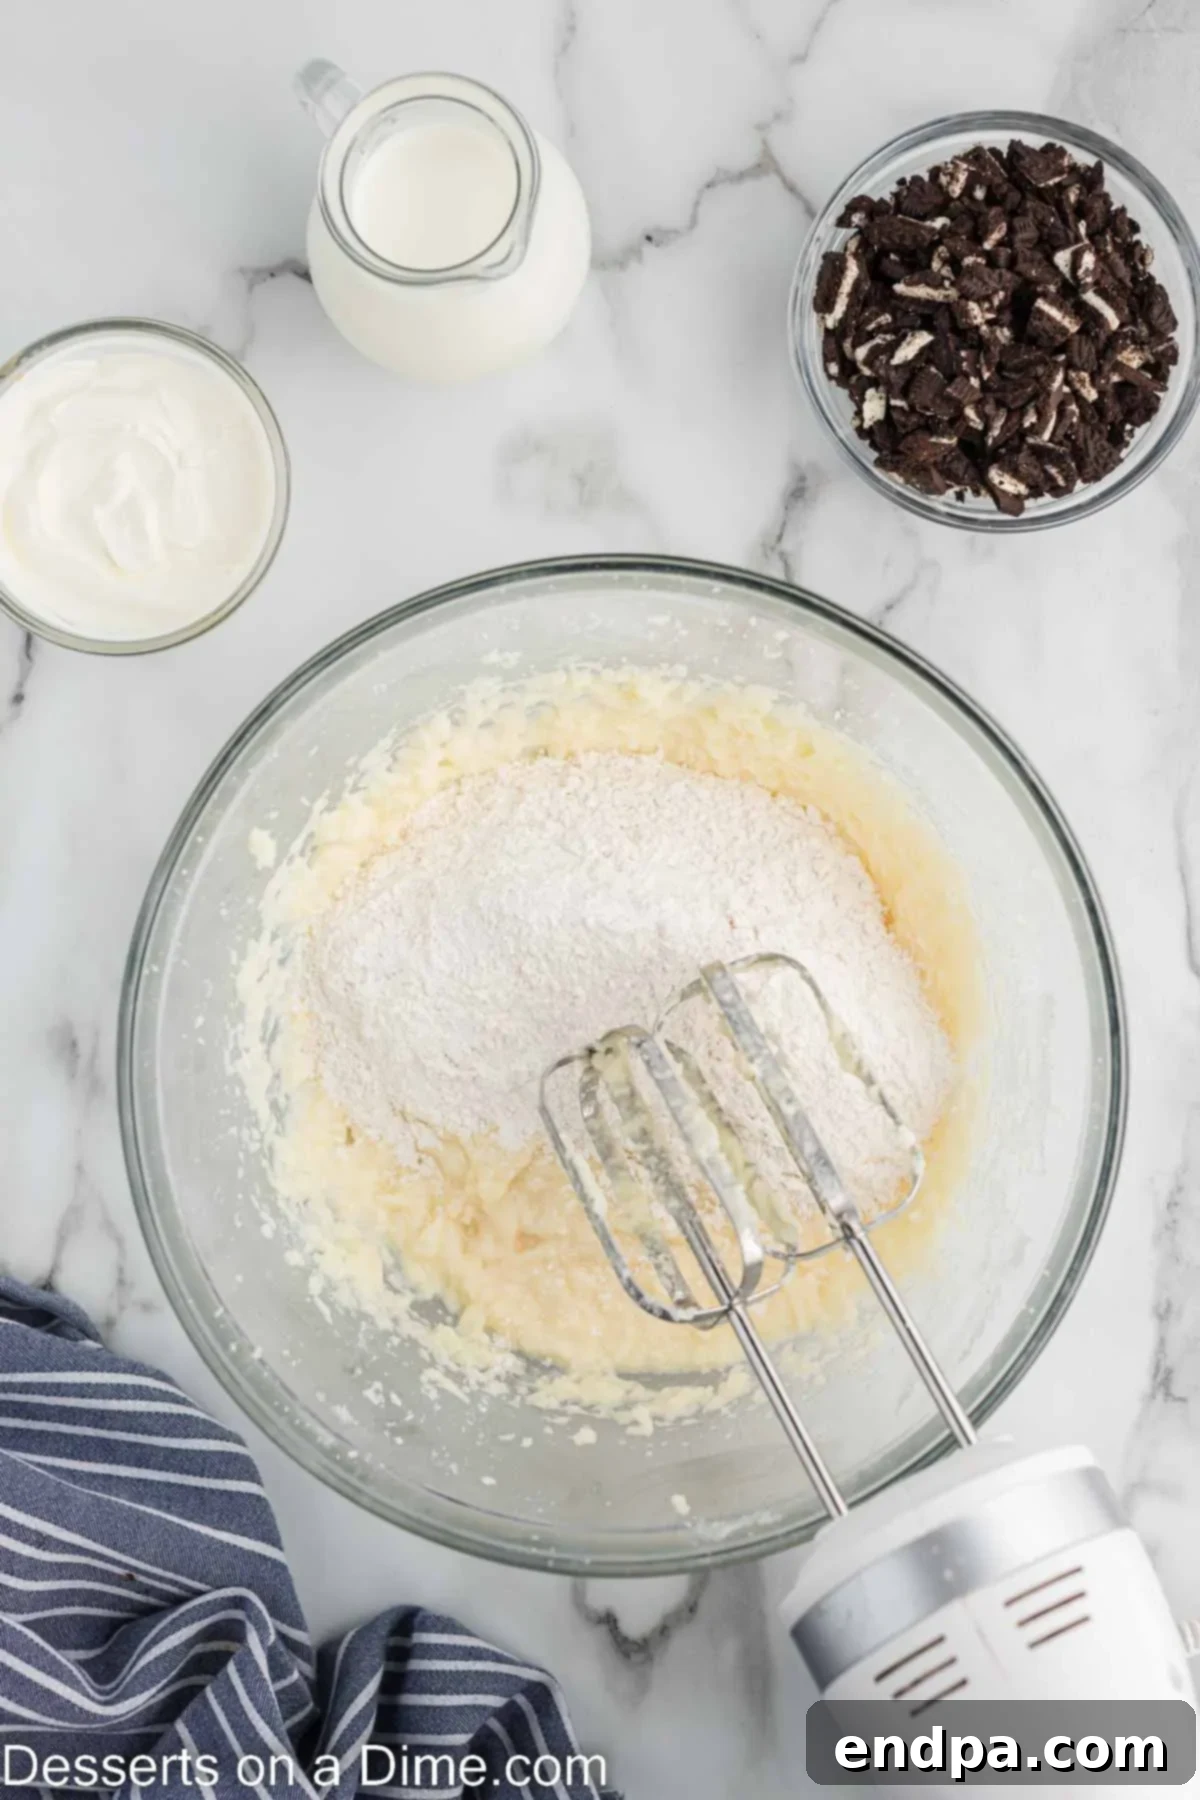
Step 5. Combine Wet and Dry. Gradually add the dry ingredient mixture into the butter mixture, alternating with the milk and sour cream (you can add a third of the dry, then half the milk/sour cream, then another third of the dry, etc.). Mix on low speed until just combined. Overmixing at this stage can lead to tough cupcakes, so stop as soon as no streaks of flour remain.
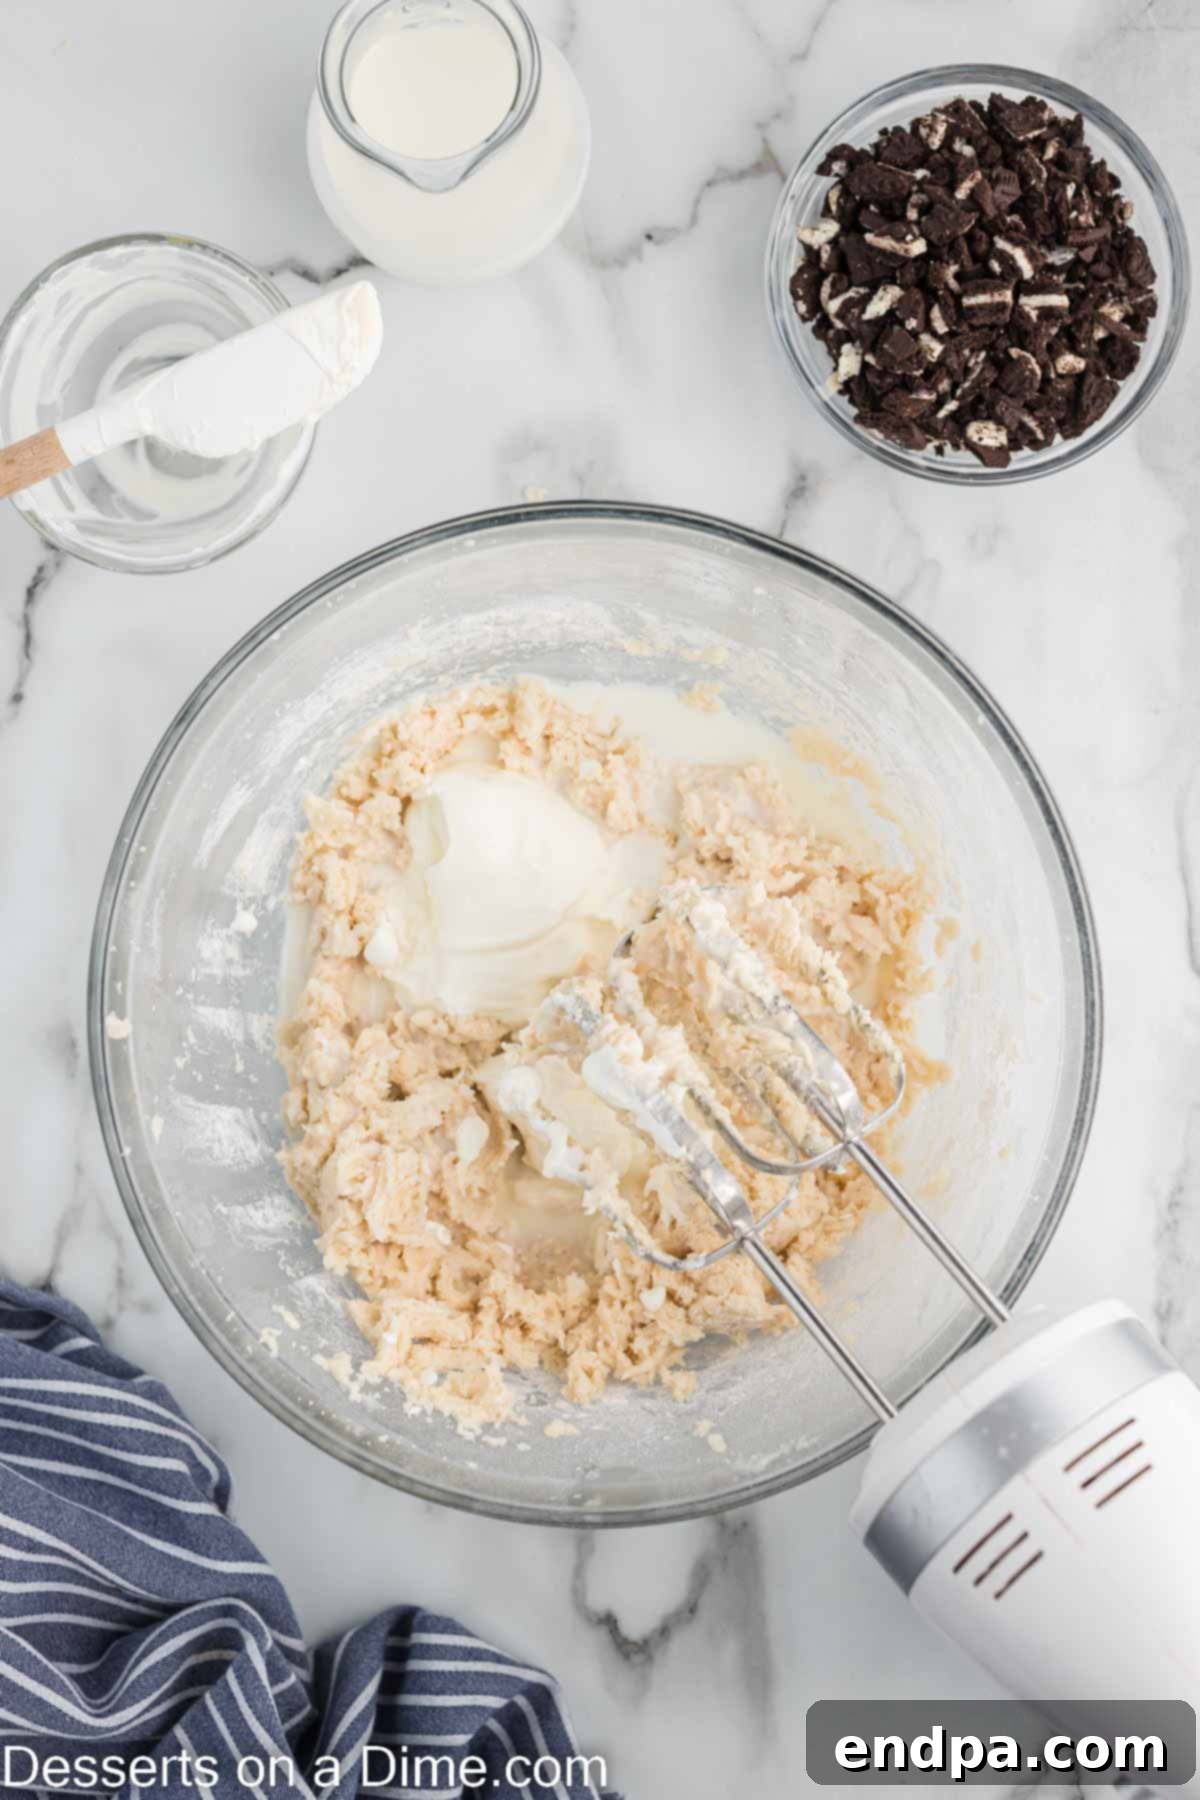
Step 6. Add Dairy for Moisture. Once the dry ingredients are mostly incorporated, gently stir in the sour cream and whole milk. Mix until the batter is smooth and well blended. These ingredients are key for a wonderfully moist and tender crumb.
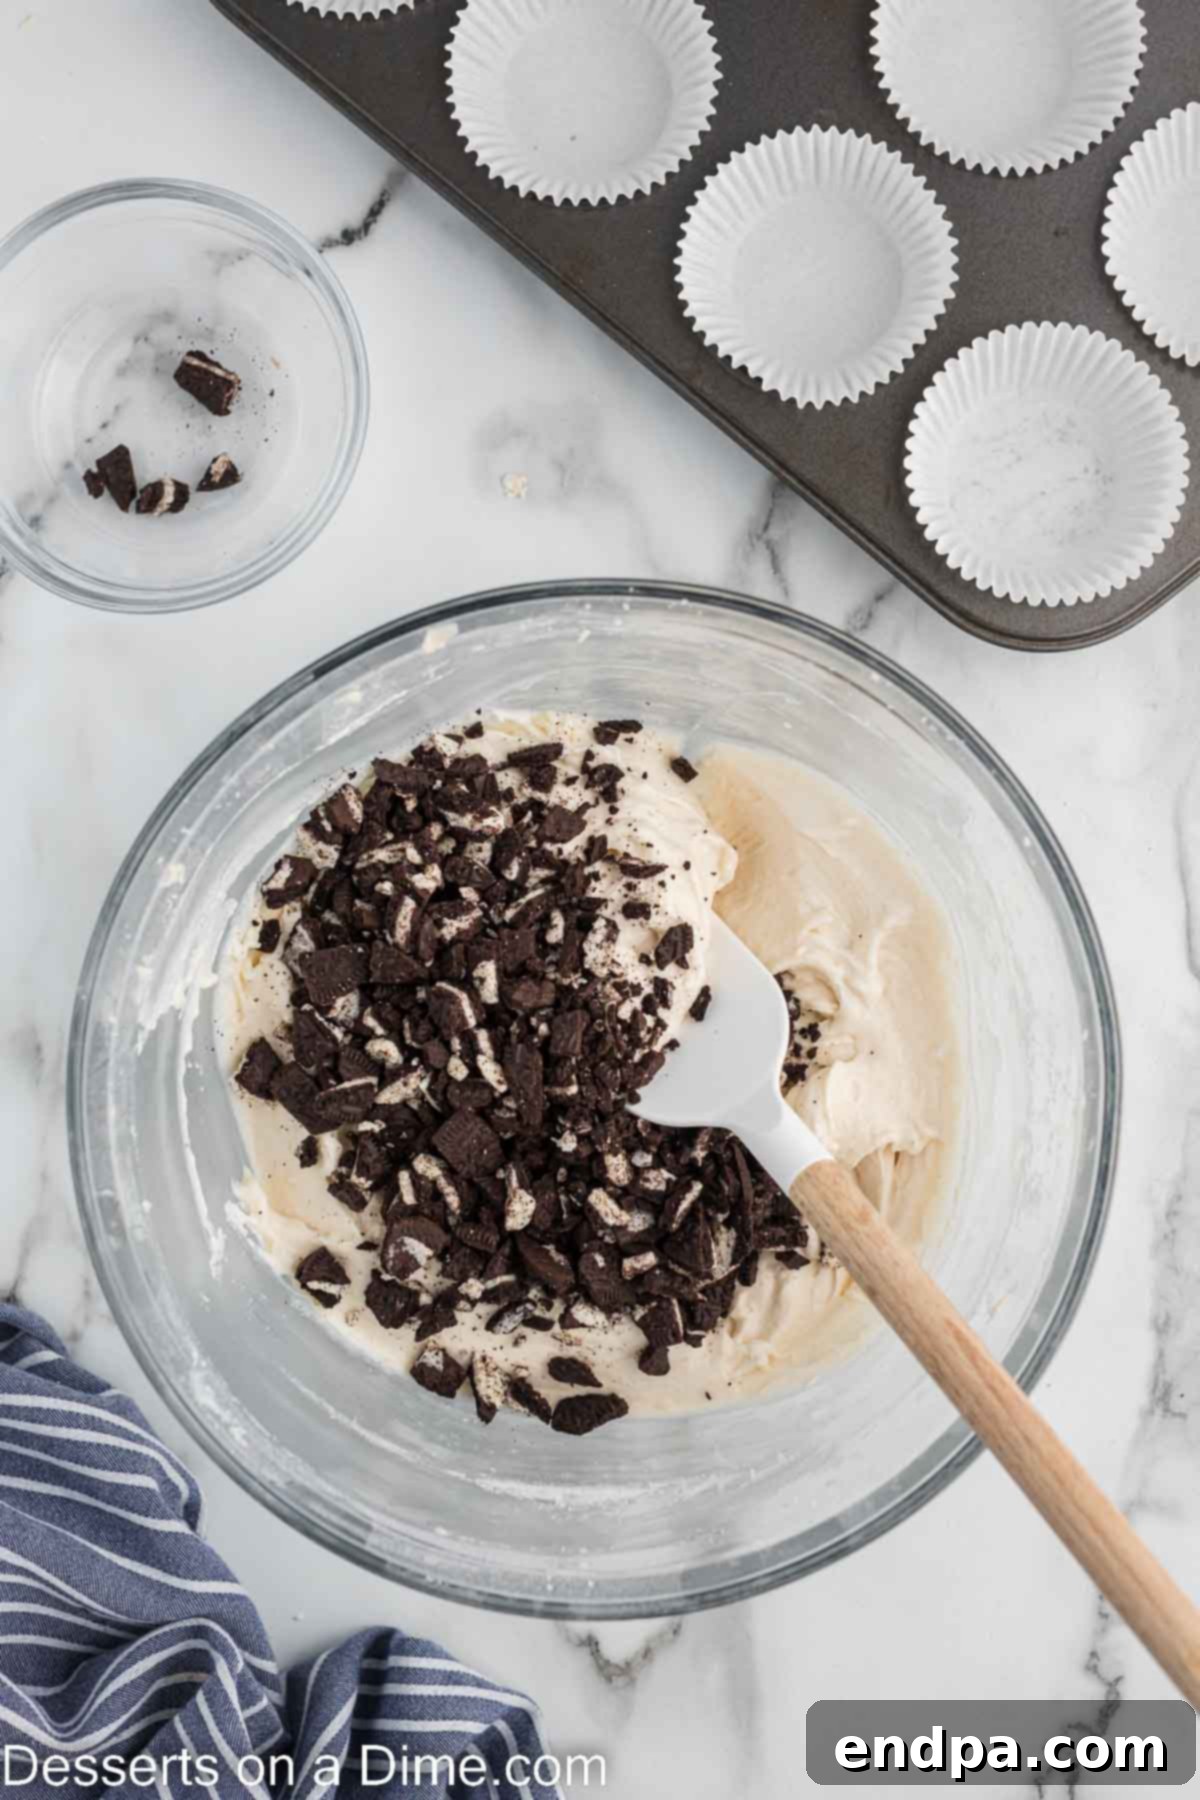
Step 7. Fold in Chopped Oreos. With a spatula, gently fold in the chopped Oreo cookies. Do this by hand to avoid crushing them too much and to ensure they are evenly distributed throughout the batter. You want distinct pieces of Oreo for delightful texture in every bite.
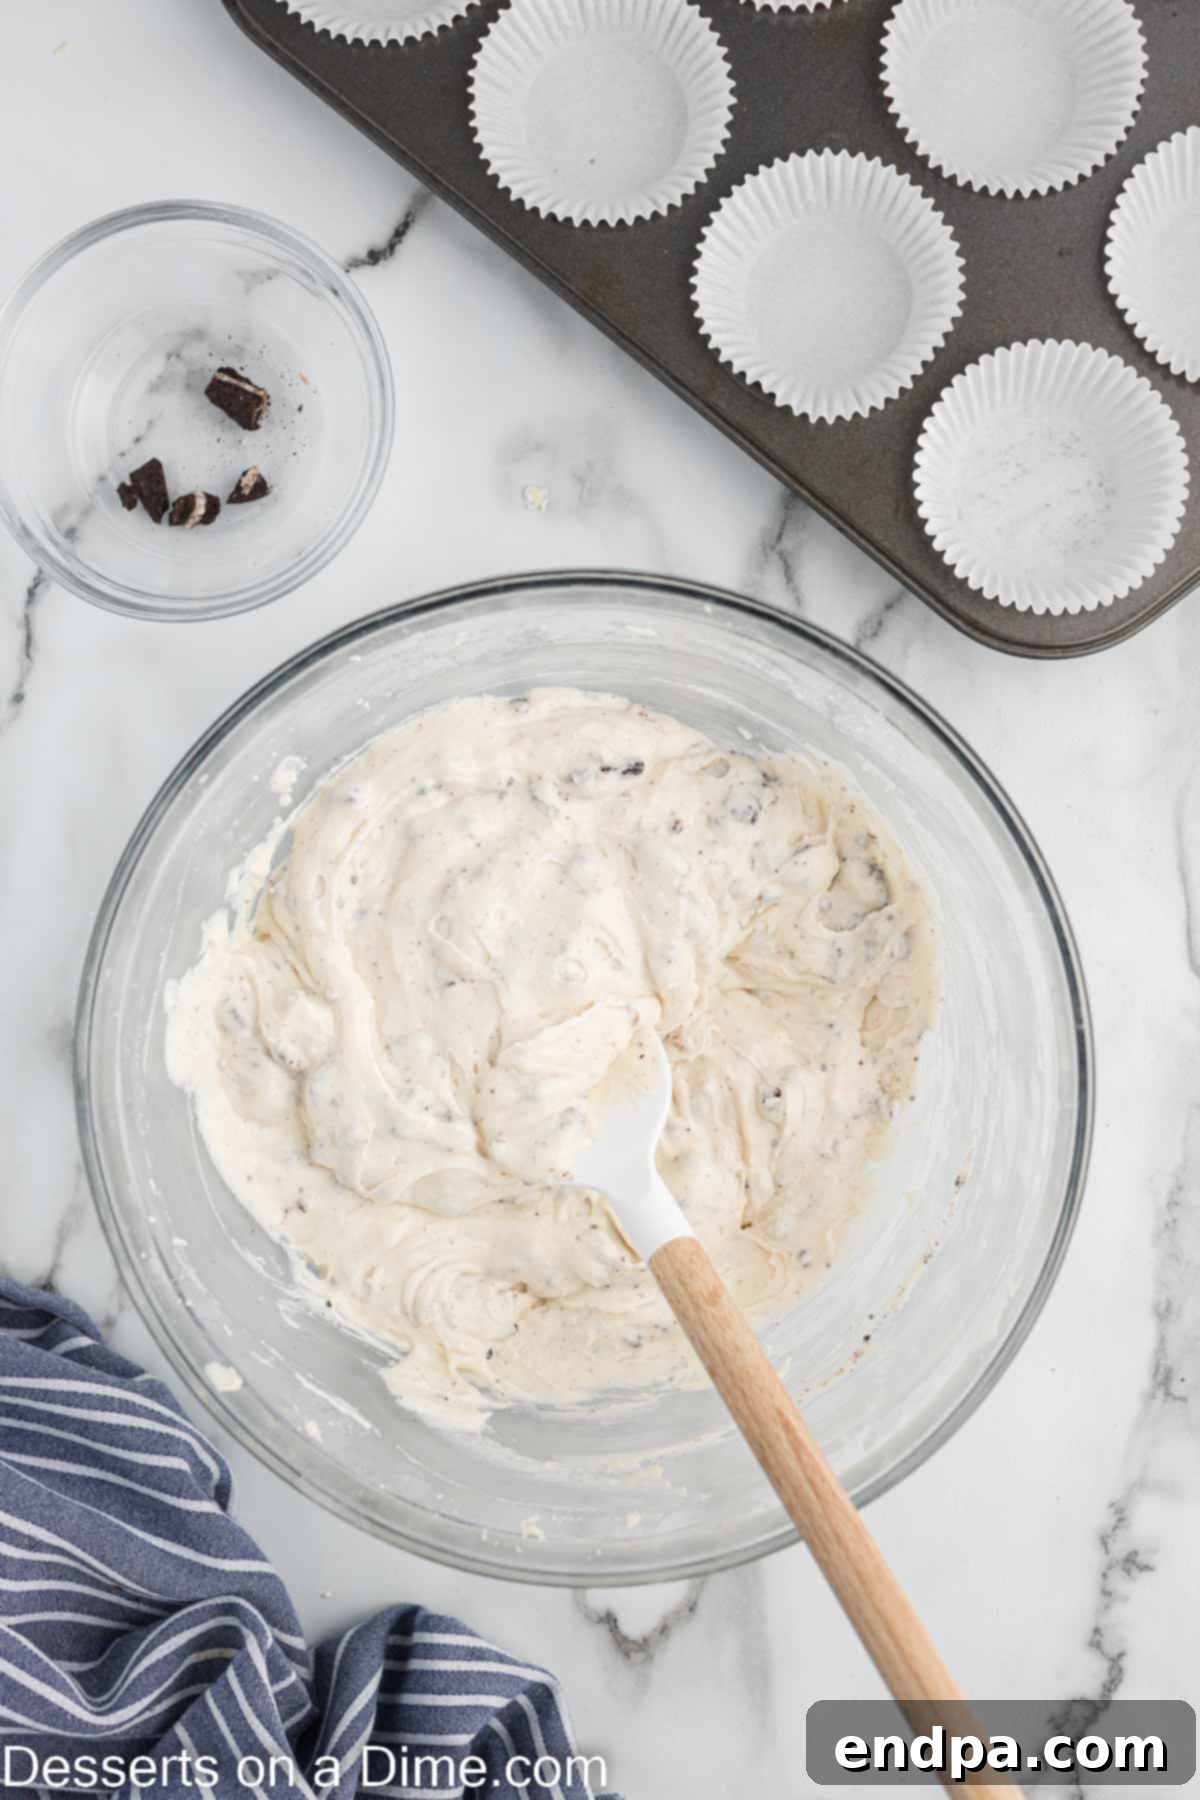
Step 8. Fill Cupcake Liners. Divide the cupcake batter evenly among the prepared cupcake liners. Fill each liner approximately two-thirds full. This allows enough space for the cupcakes to rise without spilling over, ensuring perfectly domed tops.
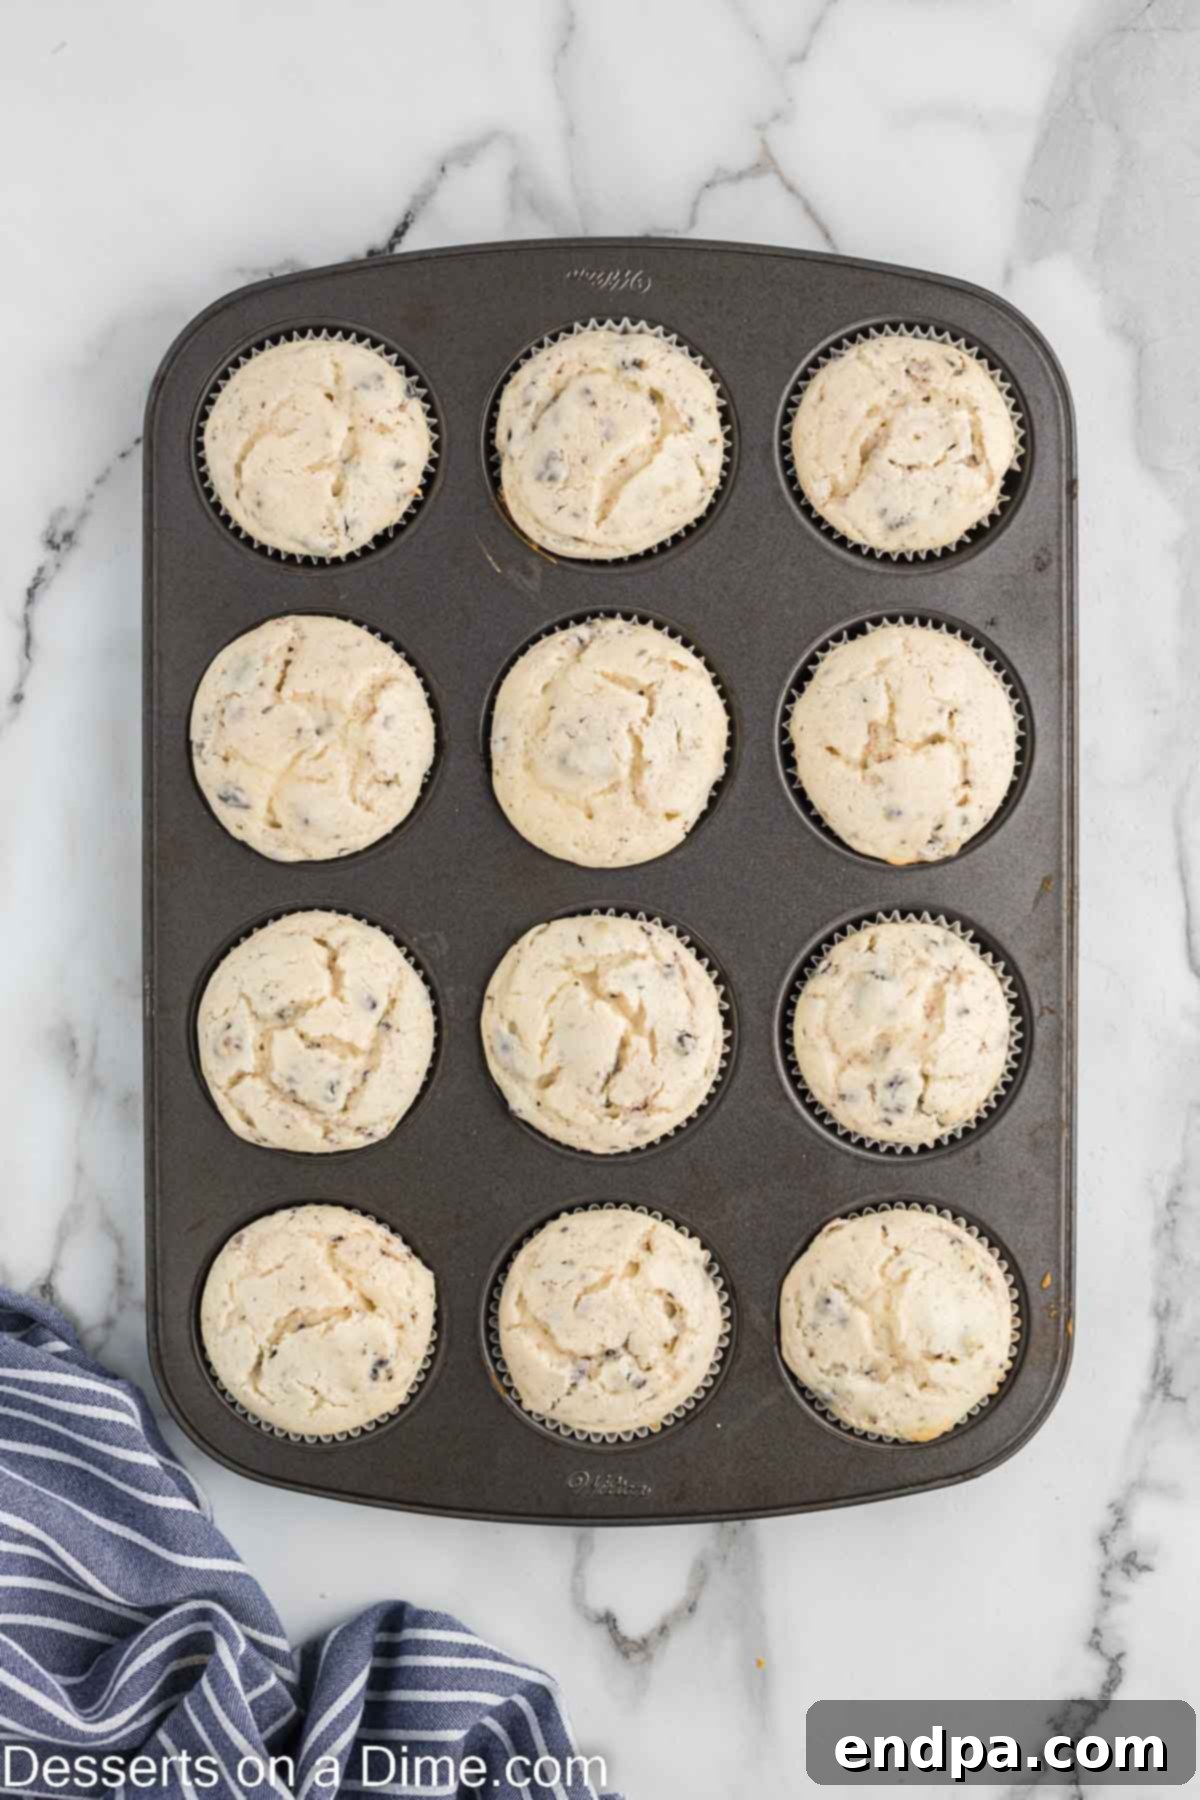
Step 9. Bake to Perfection and Cool. Bake the cupcakes for 18-20 minutes, or until a wooden toothpick inserted into the center of a cupcake comes out clean. Once baked, remove the pan from the oven and let the cupcakes cool in the pan for a few minutes before transferring them to a wire cooling rack to cool completely. This is a critical step; frosting warm cupcakes will result in melted frosting.
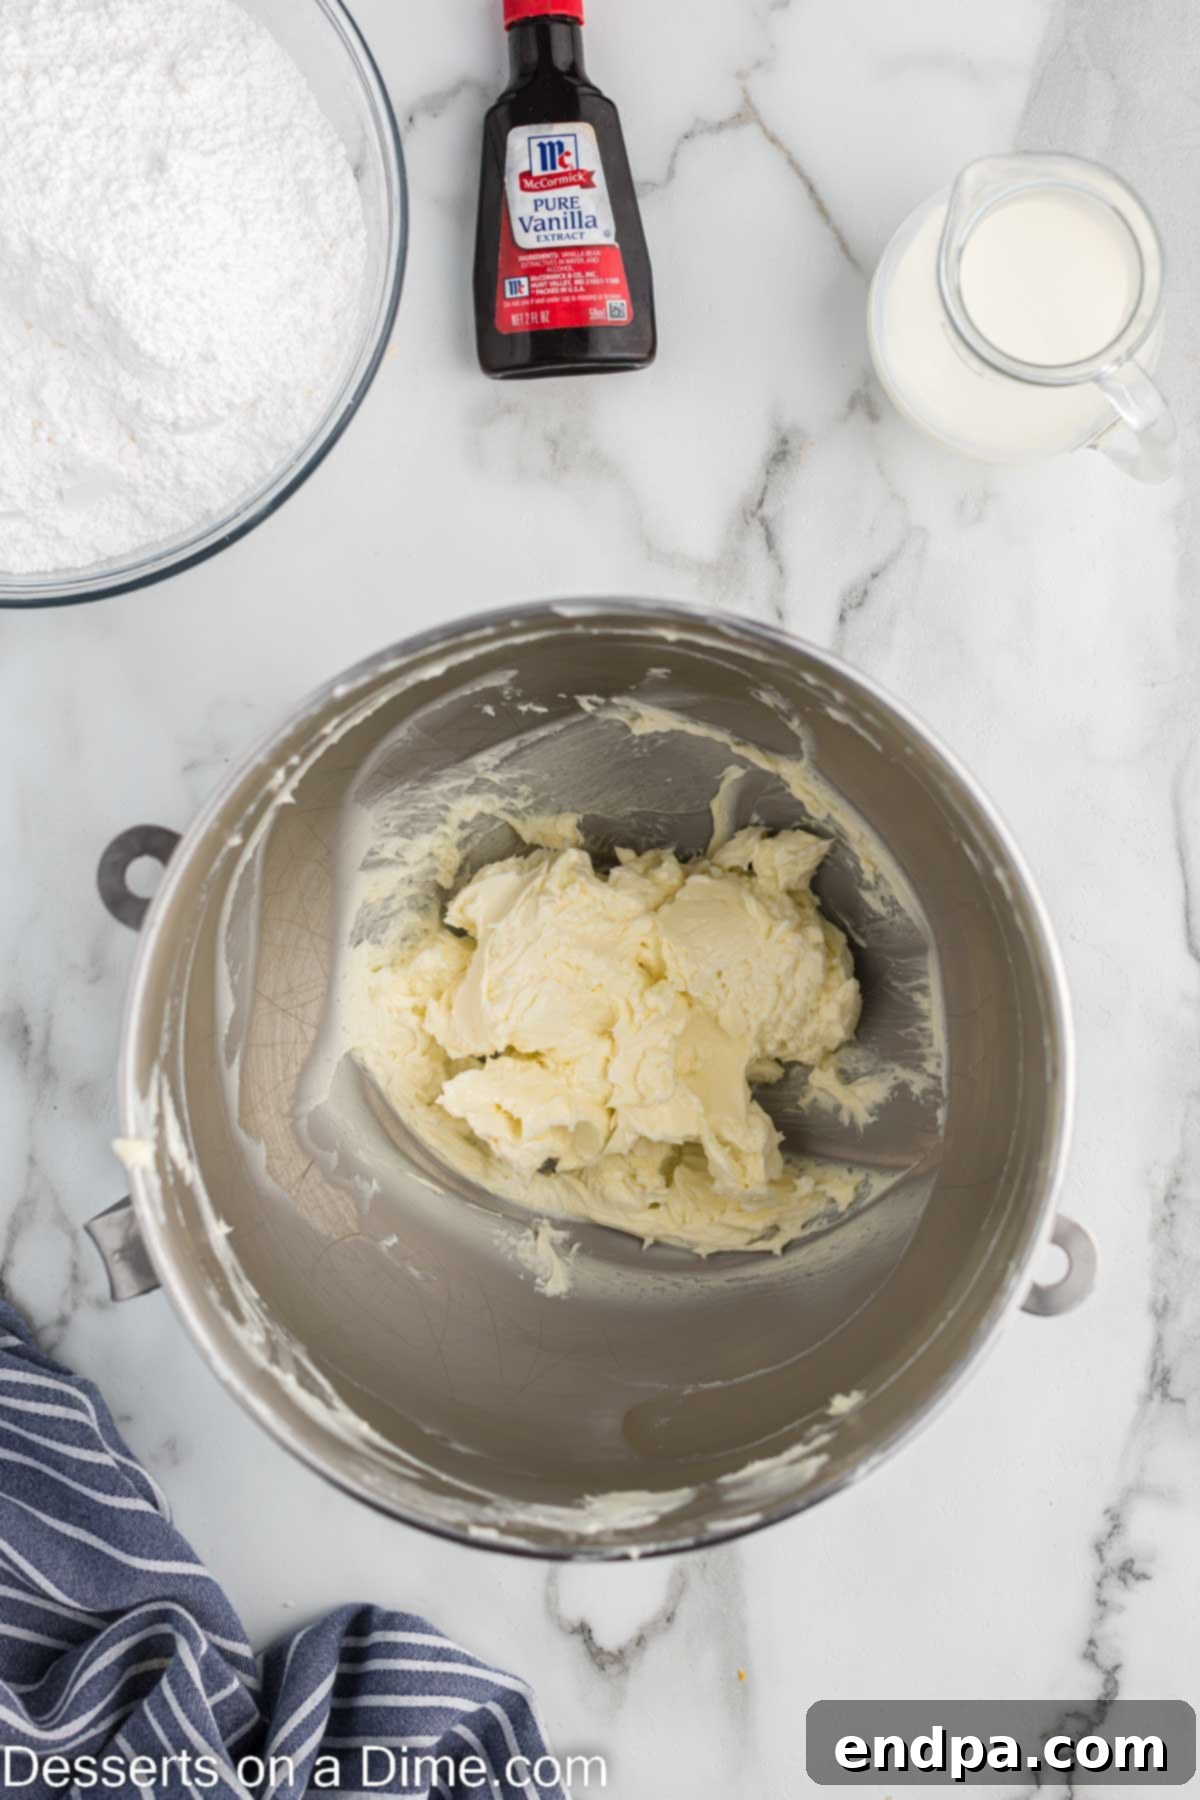
Step 10. Prepare Frosting Base. While your cupcakes are cooling, begin making the delectable Oreo buttercream frosting. In a large mixing bowl, beat the softened butter with an electric mixer until it is light, creamy, and visibly fluffy. This usually takes 2-3 minutes on medium-high speed.
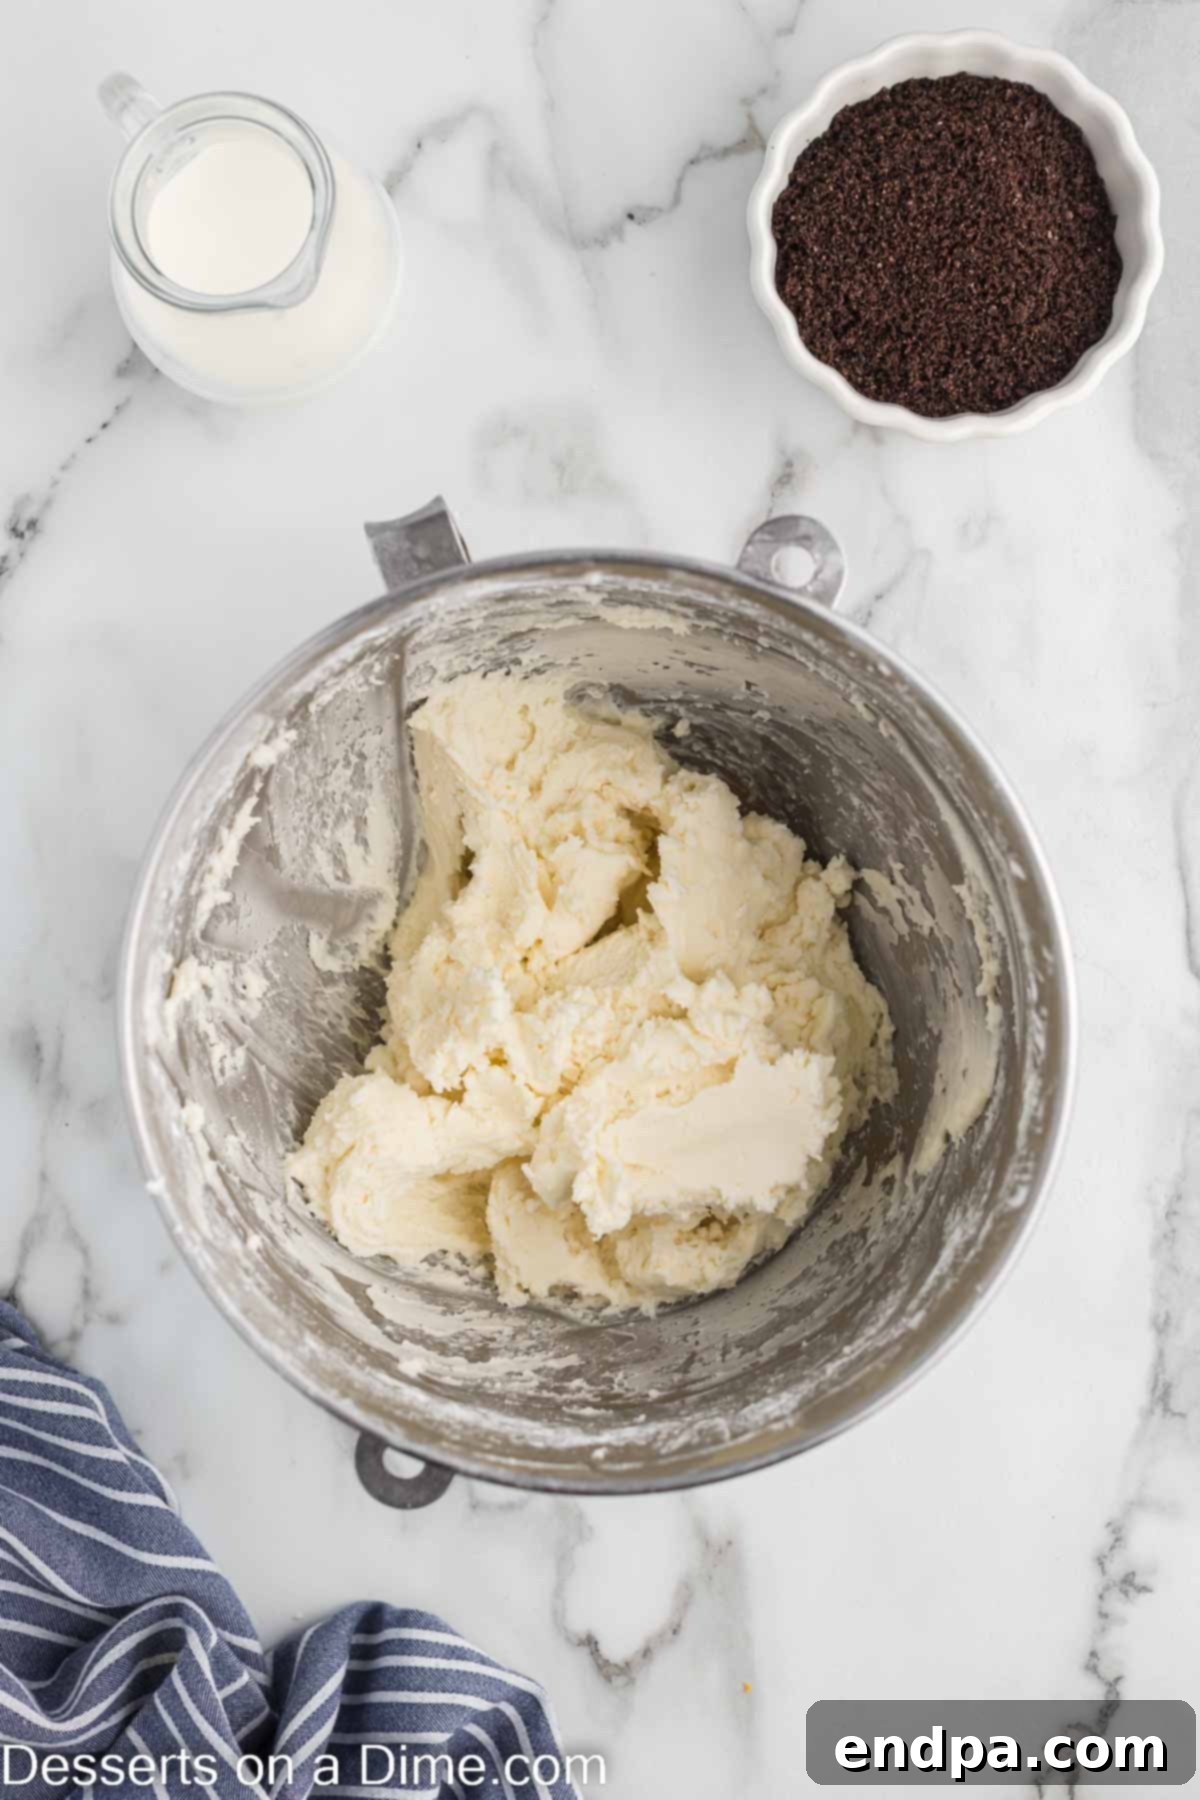
Step 11. Create the Buttercream. Gradually add the powdered sugar to the butter, one cup at a time, mixing on low speed until combined, then increasing to medium until fluffy. Once all the sugar is in, add the vanilla extract. Then, slowly drizzle in the whole milk, a tablespoon at a time, until the frosting reaches a smooth, creamy consistency that is easily pipeable. You may not need all the milk, or you might need a tiny bit more, depending on your butter and sugar.
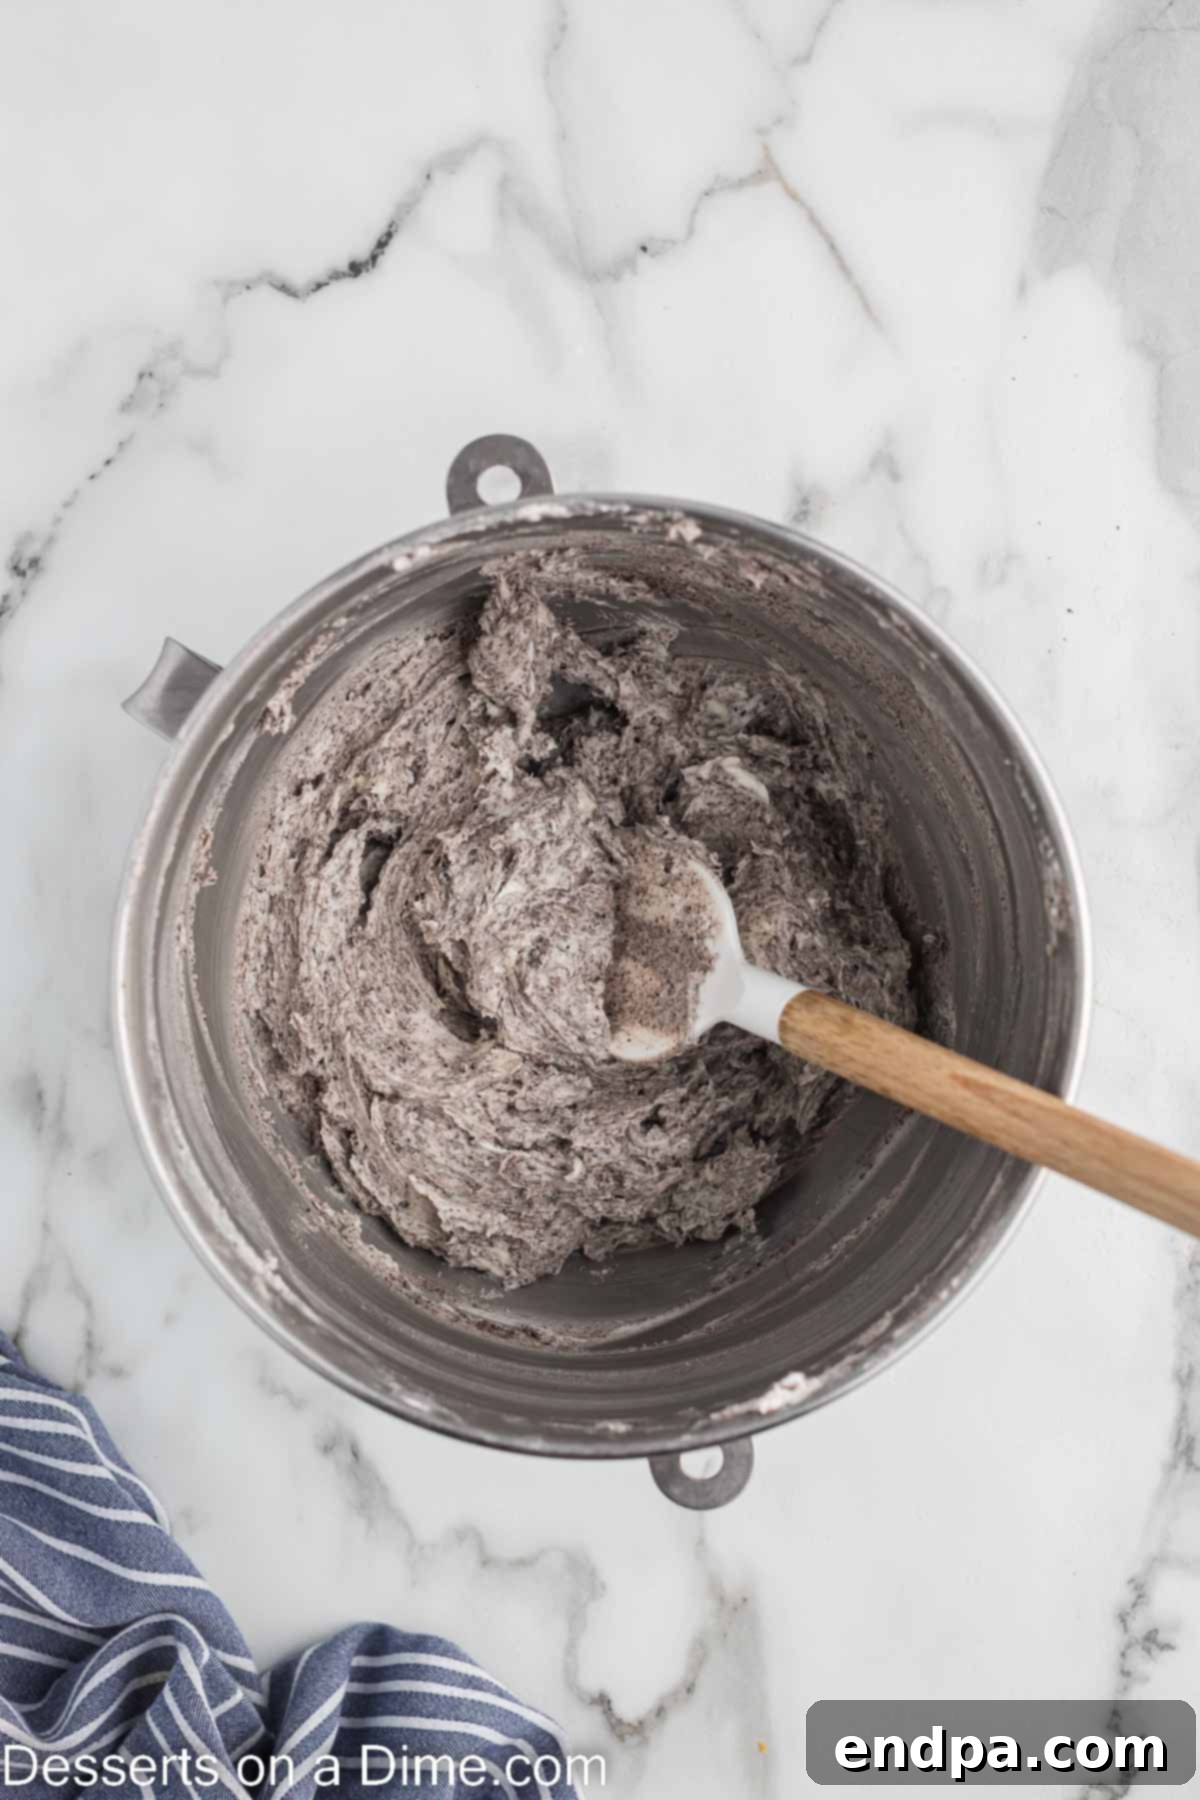
Step 12. Add Crushed Oreos to Frosting. Carefully fold in the finely crushed Oreo cookie crumbs into the buttercream using a spatula. Scrape the sides of the large bowl to ensure all the crumbs are incorporated. Remember, the Oreos for the frosting should be much finer than those used in the batter, almost like a powder, to maintain a smooth frosting texture. This step infuses the frosting with that signature cookies and cream flavor.
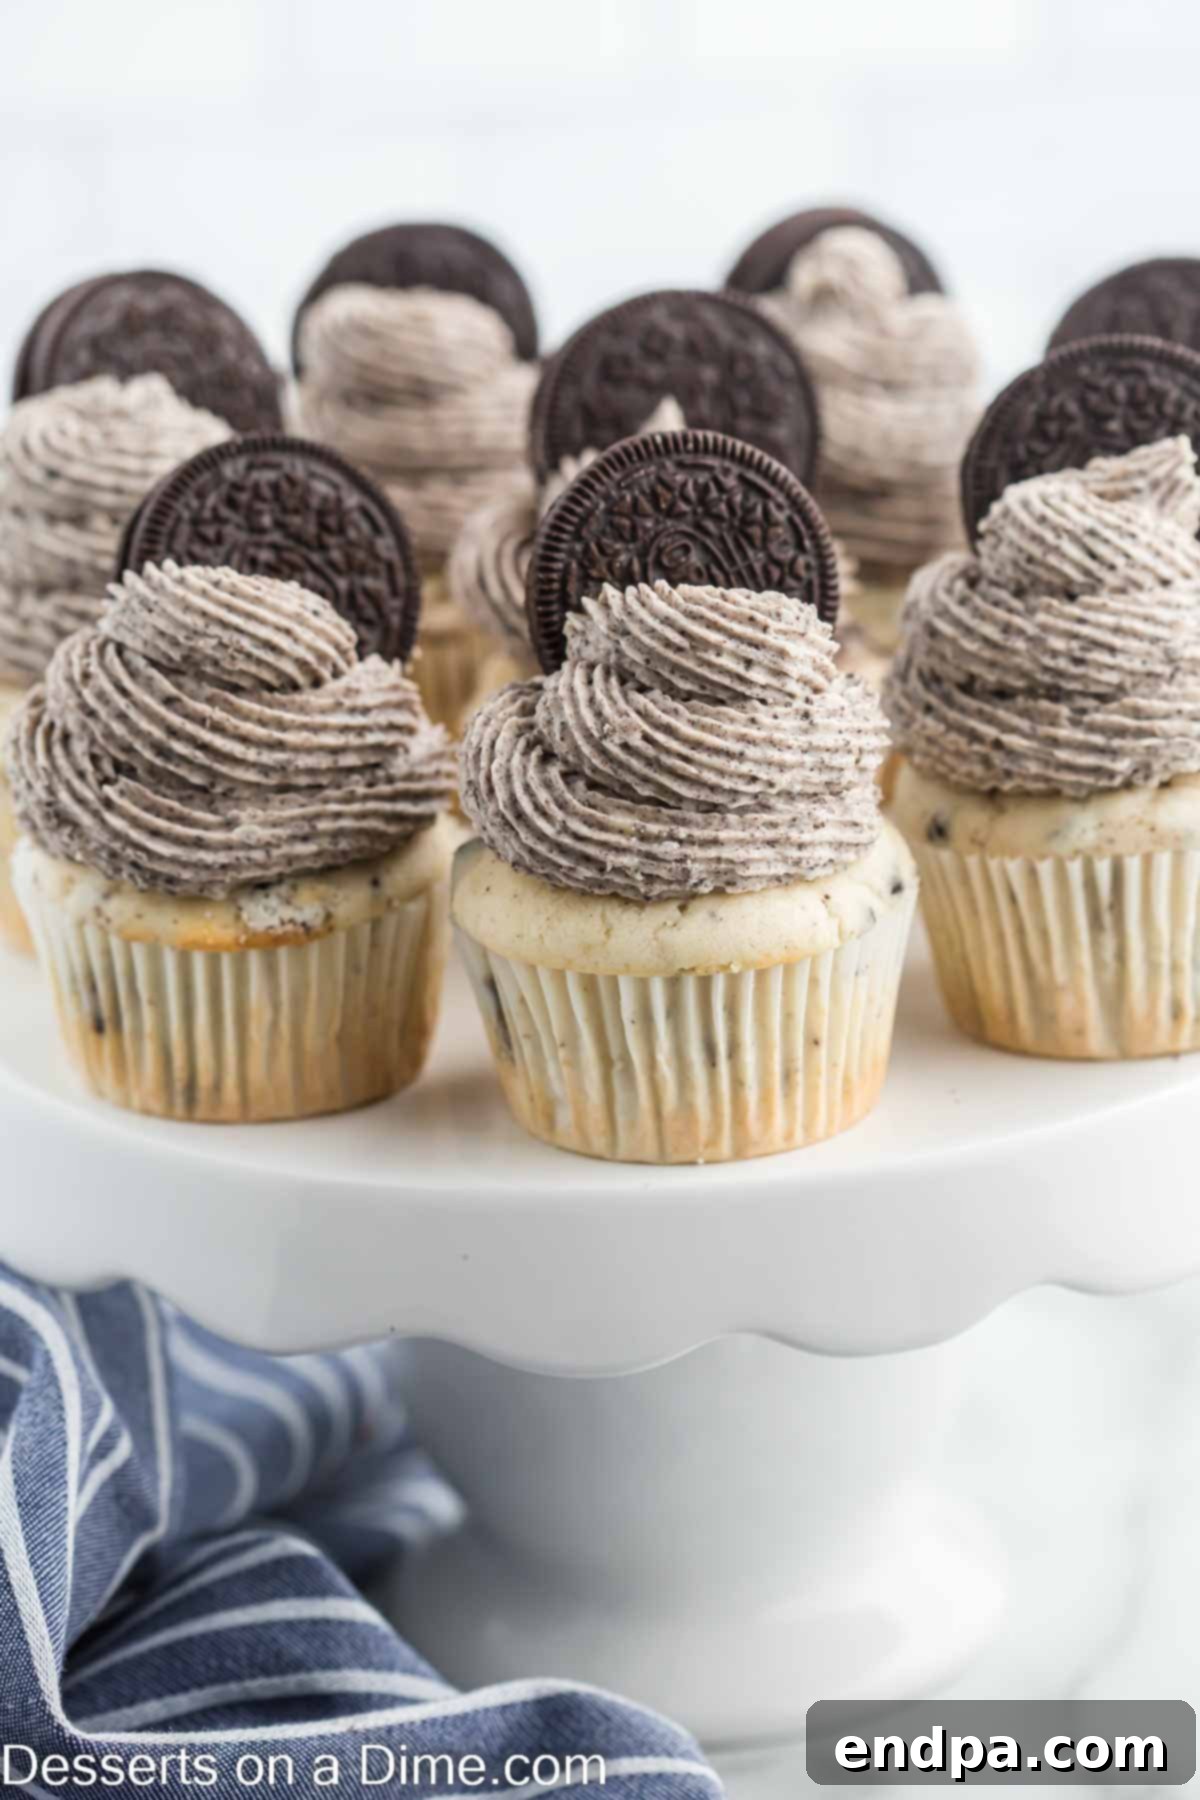
Step 13. Decorate Your Masterpieces. Once the cupcakes have cooled completely, transfer the Oreo buttercream frosting to a piping bag fitted with your desired tip (a star tip works wonderfully for a classic swirl). Frost each cupcake in a beautiful swirl pattern, starting from the outside edge and working your way inward. Finish by delicately placing a whole Oreo cookie on top of each frosted cupcake for that iconic look and an extra crunch.
Pro Tips for Flawless Oreo Cupcakes
Achieving bakery-quality Oreo cupcakes is easier than you think with these expert tips:
- Oreo Cookie Consistency is Key: Pay close attention to how you prepare your Oreos. For the cupcake batter, you want them chopped into small pieces so that you get delightful bursts of crunch and flavor throughout the cake. For the frosting, however, aim for finely crushed Oreos – almost like a powder – to ensure a smooth, pipeable buttercream without chunky bits. A food processor is excellent for this, or you can use a ziplock bag and a rolling pin.
- Gently Fold, Don’t Mix: When incorporating the chopped Oreos into the cake batter and the crushed Oreos into the frosting, always use a spatula to gently fold them in. Avoid using your electric mixer, as this can overmix the batter (leading to tough cupcakes) or over-process the cookie crumbs in the frosting.
- Evenly Fill Cupcake Liners: For consistent baking and beautiful, uniform cupcakes, ensure each liner contains approximately the same amount of batter. A spring-loaded ice cream scoop works perfectly for this. Be careful not to overfill, as this can cause the batter to spill over the sides of the liners and create messy, mushroom-topped cupcakes. Aim for about two-thirds full.
- Crushing Oreos Made Easy: If you don’t have a food processor, simply place your Oreos (whole or broken) into a sturdy ziplock bag. Seal it, pressing out as much air as possible, then use the back of a heavy spoon, a meat mallet, or a rolling pin to crush them to your desired consistency.
- Piping Bag Alternative: No piping bag? No problem! Simply spoon your prepared frosting into a large ziplock bag. Snip off one of the bottom corners with scissors to create a makeshift piping bag. You can control the size of your opening for different piping effects.
- Room Temperature Ingredients: For both the cupcakes and the frosting, ensuring your butter, eggs, and dairy (milk, sour cream) are at room temperature is crucial. Room temperature ingredients emulsify better, creating a smoother batter and a creamier, lighter frosting. Cold ingredients can result in a lumpy batter and a denser texture.
- Do Not Overmix the Batter: Once you’ve added the dry ingredients, mix only until just combined. Overmixing develops the gluten in the flour too much, leading to cupcakes that are tough and chewy instead of tender and moist.
- Cool Cupcakes Completely: Patience is a virtue when it comes to frosting! Ensure your cupcakes are entirely cool before applying the buttercream. Frosting warm cupcakes will cause the buttercream to melt and slide off, creating a sticky mess.
- Quality Cupcake Liners: Invest in good quality cupcake liners. Cheaper liners can sometimes stick to the cupcake, tear easily, or become translucent, affecting the presentation.
Storage and Make-Ahead Options
These Oreo cupcakes are delicious fresh, but also store well, making them perfect for planning ahead:
Store leftover frosted cupcakes in an airtight container at room temperature for up to 4 days. If your kitchen is particularly warm, or if you prefer them chilled, you can refrigerate them for up to 1 week. For the best flavor and texture, allow refrigerated cupcakes to come back to room temperature for about 30-60 minutes before serving.
You can also freeze the unfrosted cupcakes for longer storage. Once they have completely cooled, place them in a single layer in a freezer-safe bag or airtight container. They will last for up to 2 months in the freezer. When ready to enjoy, thaw them at room temperature, then frost as desired.
For even more convenience, both the unfrosted cupcakes and the frosting can be made in advance. The cupcakes can be baked and stored as mentioned above. The buttercream frosting can be prepared and refrigerated in an airtight container for up to 7 days. Before frosting, allow the buttercream to come to room temperature and then re-whip it for a few minutes with an electric mixer until it’s light and fluffy again.
The Ultimate Oreo Cupcakes Recipe
Review
Pin
Oreo Cupcakes
15
20
35
24
American
Dessert
279
Carrie Barnard
Ingredients
For the Cupcakes:
- 1 1/2 cups All Purpose Flour
- 3/4 cup Granulated Sugar
- 1/2 cup Salted Butter softened
- 2 Egg Whites
- 2 teaspoons Vanilla Extract
- 1 teaspoon Baking Powder
- 1/4 teaspoon Baking Soda
- 1/4 teaspoon Salt
- 1/2 cup Whole Milk
- 1/2 cup Sour Cream
- 1 cup Chopped Oreo Cookies
For the Frosting:
- 1 cup Salted Butter
- 4 cups Powdered Sugar
- 2 Tablespoons Whole Milk
- 1 teaspoon Vanilla Extract
- 1 cup Crushed Oreo Cookies finely crushed
- 12 Whole Oreos for decorating
Instructions
- Preheat the oven to 350 degrees F (175 degrees C) and line a cupcake pan with paper liners.
For the Cupcakes:
- Cream together the softened butter and granulated sugar with a hand held mixer or stand mixer until light and creamy. Then mix in the egg whites and vanilla extract until just combined.
- In a separate bowl, whisk together the dry ingredients: flour, baking powder, baking soda, and salt.
- Gradually mix the dry ingredients into the butter mixture on low speed until just combined. Do not overmix.
- Incorporate the sour cream and whole milk into the batter. Gently fold in the chopped Oreo cookies using a spatula.
- Pour the cupcake batter into the prepared cupcake liners, filling each approximately 2/3 of the way full.
- Bake for 18-20 minutes, or until a toothpick inserted into the center comes out clean.
- Place them on a cooling rack and allow the cupcakes to cool completely before topping them with the frosting.
For the Frosting:
- Beat the softened butter in a large mixing bowl with a hand held mixer or stand mixer until it is light and creamy, about 2-3 minutes.
- Gradually add the powdered sugar and vanilla extract, beating until smooth. Then, add in the milk, one tablespoon at a time, until the frosting reaches a smooth, pipeable consistency.
- Gently fold in the finely crushed Oreo cookies using a spatula until evenly distributed.
- Pipe the frosting onto each completely cooled cupcake in a swirl pattern, and top with a whole Oreo Cookie.
- Allow the frosting to set fully before serving and enjoying your delicious creations!
Recipe Notes
Remember to use finely crushed Oreos for the frosting to achieve a smooth texture, while the Oreos for the cupcake batter should be chopped for delightful chunks throughout the cake.
Nutrition Facts
Pin This Now to Remember It Later
Pin Recipe
More Oreo Indulgences
If your love for Oreos knows no bounds, explore these other fantastic recipes that celebrate the classic cookie:
- Oreo Fluff
- Mini Oreo Cheesecake Recipe
- 2-Ingredient Oreo Mug Cake
- Oreo Cheesecake Cookies Recipe
- Oreo Funnel Cake
- Oreo Spider Cookies
Explore More Cupcake Creations
For those who simply can’t get enough of delightful cupcakes, here are more recipes to inspire your baking adventures:
- Smores Cupcakes
- Key Lime Cupcakes
- Cherry Limeade Cupcake Recipe
- Strawberry Lemonade Cupcake Recipe
We are genuinely excited for you to try this easy and utterly delicious Oreo cupcakes recipe. Once you’ve whipped up a batch and savored their incredible flavor, please take a moment to leave a comment and share your experience. Happy baking!
