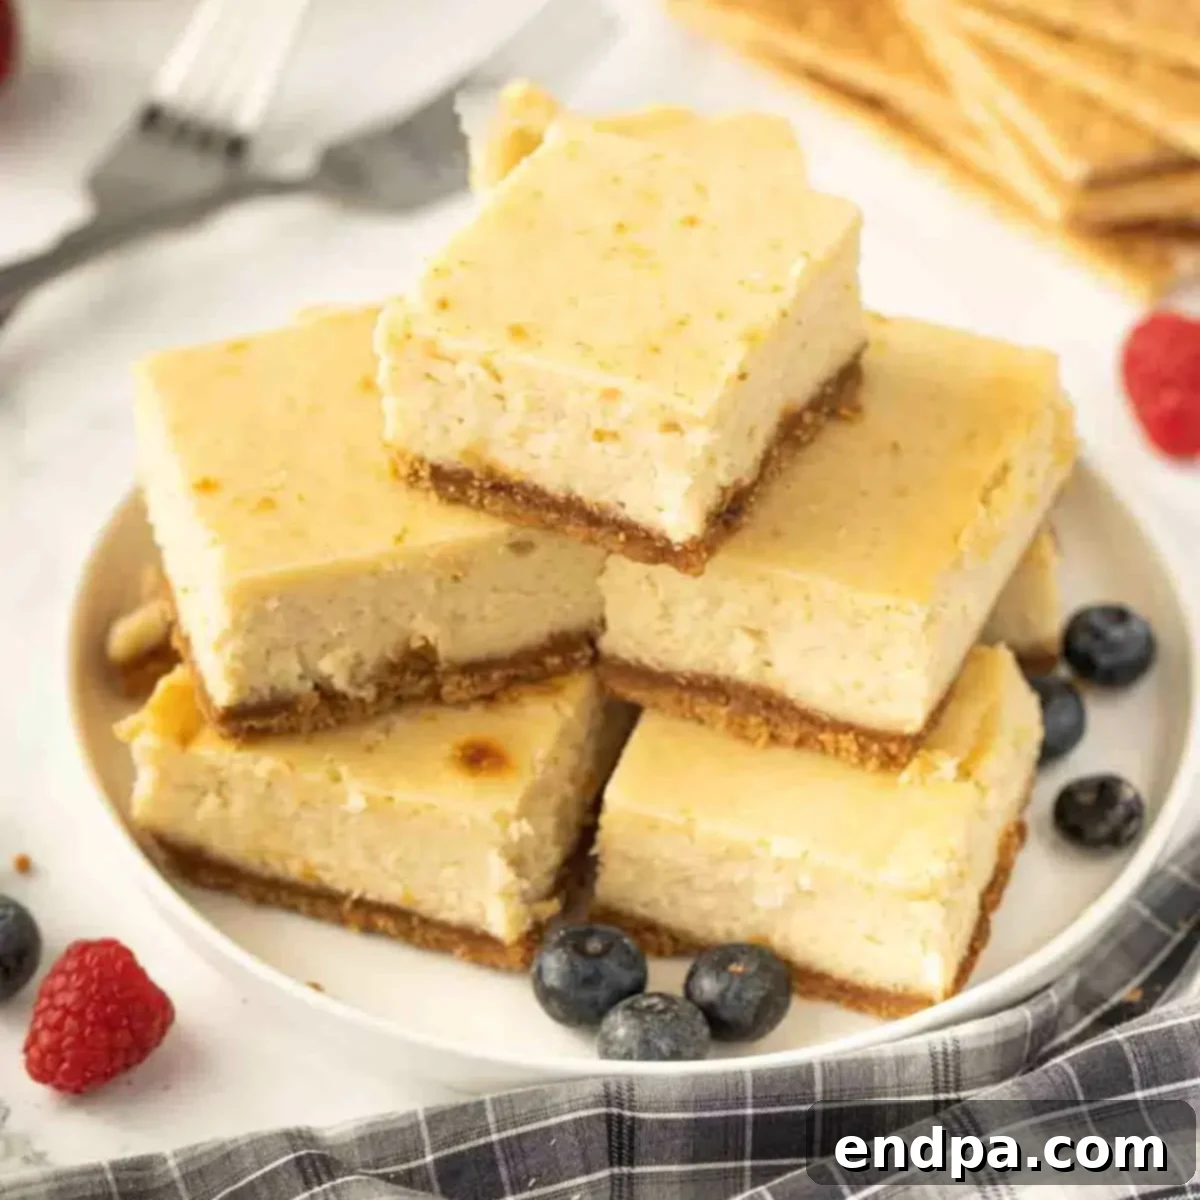
Indulge in the irresistible delight of easy and creamy Cheesecake Bars, featuring a rich, buttery graham cracker crust. These crowd-pleasing dessert bars are a fantastic choice for any occasion, offering the classic, beloved taste of cheesecake in a convenient, sliceable format. Perfectly simple to prepare and wonderful for sharing, they promise a decadent experience that will leave everyone asking for more.
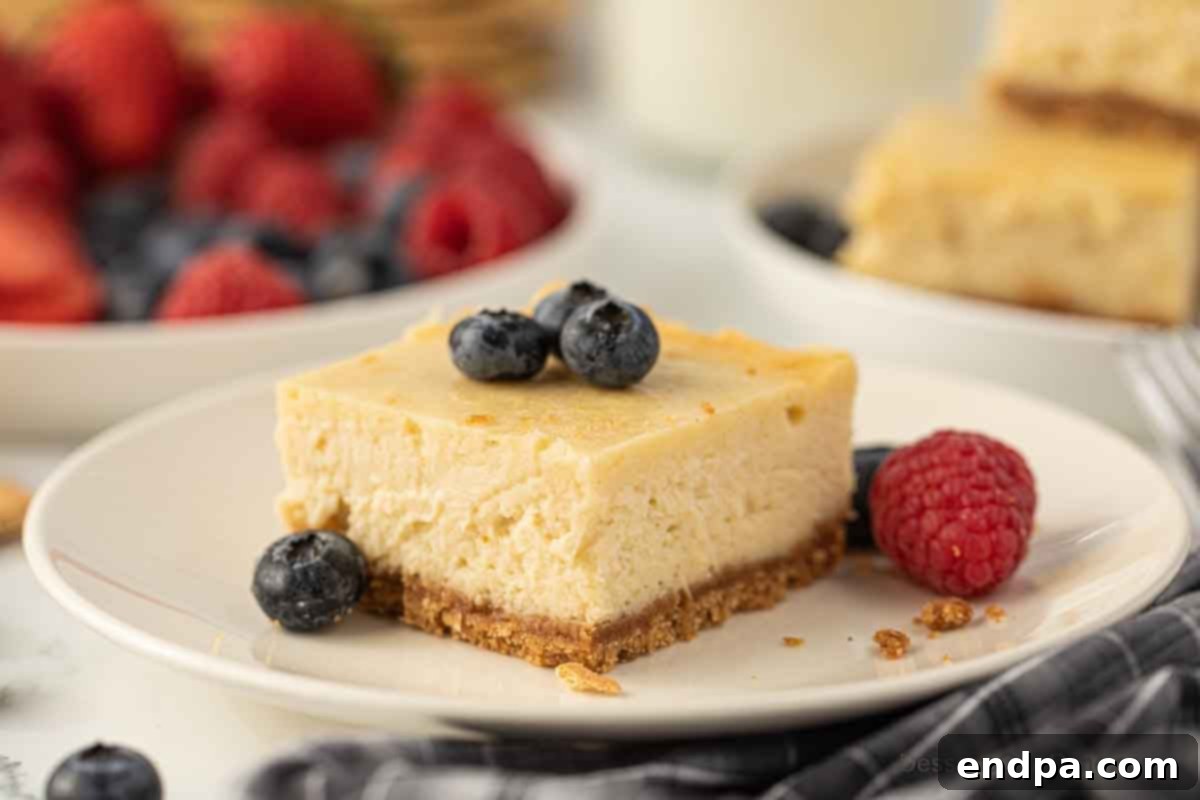
Cheesecake Bars are a brilliant modern twist on traditional cheesecake, providing all the luscious creaminess and tangy flavor in an effortlessly portable and handheld form. Crafted with a perfectly golden, buttery graham cracker crust and a smooth, rich, and tangy cream cheese filling, these bars are ideally suited for lively parties, casual potlucks, or simply whenever you desire a simple yet impressively elegant dessert. Their ease of slicing and serving makes them an absolute favorite at any gathering, simplifying dessert distribution and ensuring everyone gets a taste of this delightful treat.
If your love for cheesecake runs deep, just like ours, you absolutely must explore some of our other cherished recipes. Dive into our Easy No Bake Cheesecake Recipe for a quick and effortless fix, savor the seasonal flavors with our Pecan Pie Cheesecake Bars, or experience a unique dessert fusion with our Churro Cheesecake Recipe. For those who adore dessert bars beyond just cheesecake, we also highly recommend our comforting Pumpkin Bars Recipe and the delightful Easy Pecan Pie Bars Recipe. And for our health-conscious friends following a ketogenic diet, our Keto Cheesecake Recipe offers all the flavor without the carbs.
Table of Contents
- Why We Love This Recipe
- Essential Ingredients for Cheesecake Bars
- The Perfect Crust
- Creamy Cheesecake Filling
- Creative Variations and Flavor Twists
- Step-by-Step Instructions for Flawless Cheesecake Bars
- Expert Pro Tips for Baking Success
- Delicious Toppings and Garnishes
- Storing Your Cheesecake Bars
- Frequently Asked Questions About Cheesecake Bars
- More Easy Cheesecake Bar Recipes to Try
Why We Love These Easy Cheesecake Bars
These cheesecake bars aren’t just delicious; they’re incredibly convenient and a joy to make. Here’s why this recipe stands out as a true winner:
- Effortless Preparation: Forget the complexities of traditional cheesecake. This recipe eliminates the need for a delicate water bath or a specialized springform pan, making the baking process significantly simpler and more approachable for home bakers of all skill levels.
- Perfectly Portioned Servings: Designed for convenience, these bars can be easily cut into individual squares, making them ideal for any gathering. They’re a wonderful grab-and-go treat that eliminates the mess and fuss often associated with serving a whole cheesecake.
- Infinitely Customizable: The classic flavor of these cheesecake bars provides a perfect canvas for your creativity. Personalize each batch by adding your favorite toppings, such as fresh seasonal fruits, decadent chocolate drizzles, rich caramel sauce, or a sprinkle of nuts.
- Luxuriously Creamy Texture: Every bite delivers a rich, smooth, and velvety experience that melts in your mouth. The texture is the hallmark of a well-made cheesecake, and these bars certainly deliver.
- Excellent for Make-Ahead: These cheesecake bars are incredibly forgiving and store exceptionally well in the refrigerator. This makes them a fantastic dessert option for prepping in advance, saving you time and stress when hosting or preparing for events.
Essential Ingredients for Perfect Cheesecake Bars
Crafting these heavenly cheesecake bars requires a selection of fresh, high-quality ingredients. Each component plays a vital role in achieving that perfect balance of crunchy crust and smooth, tangy filling.
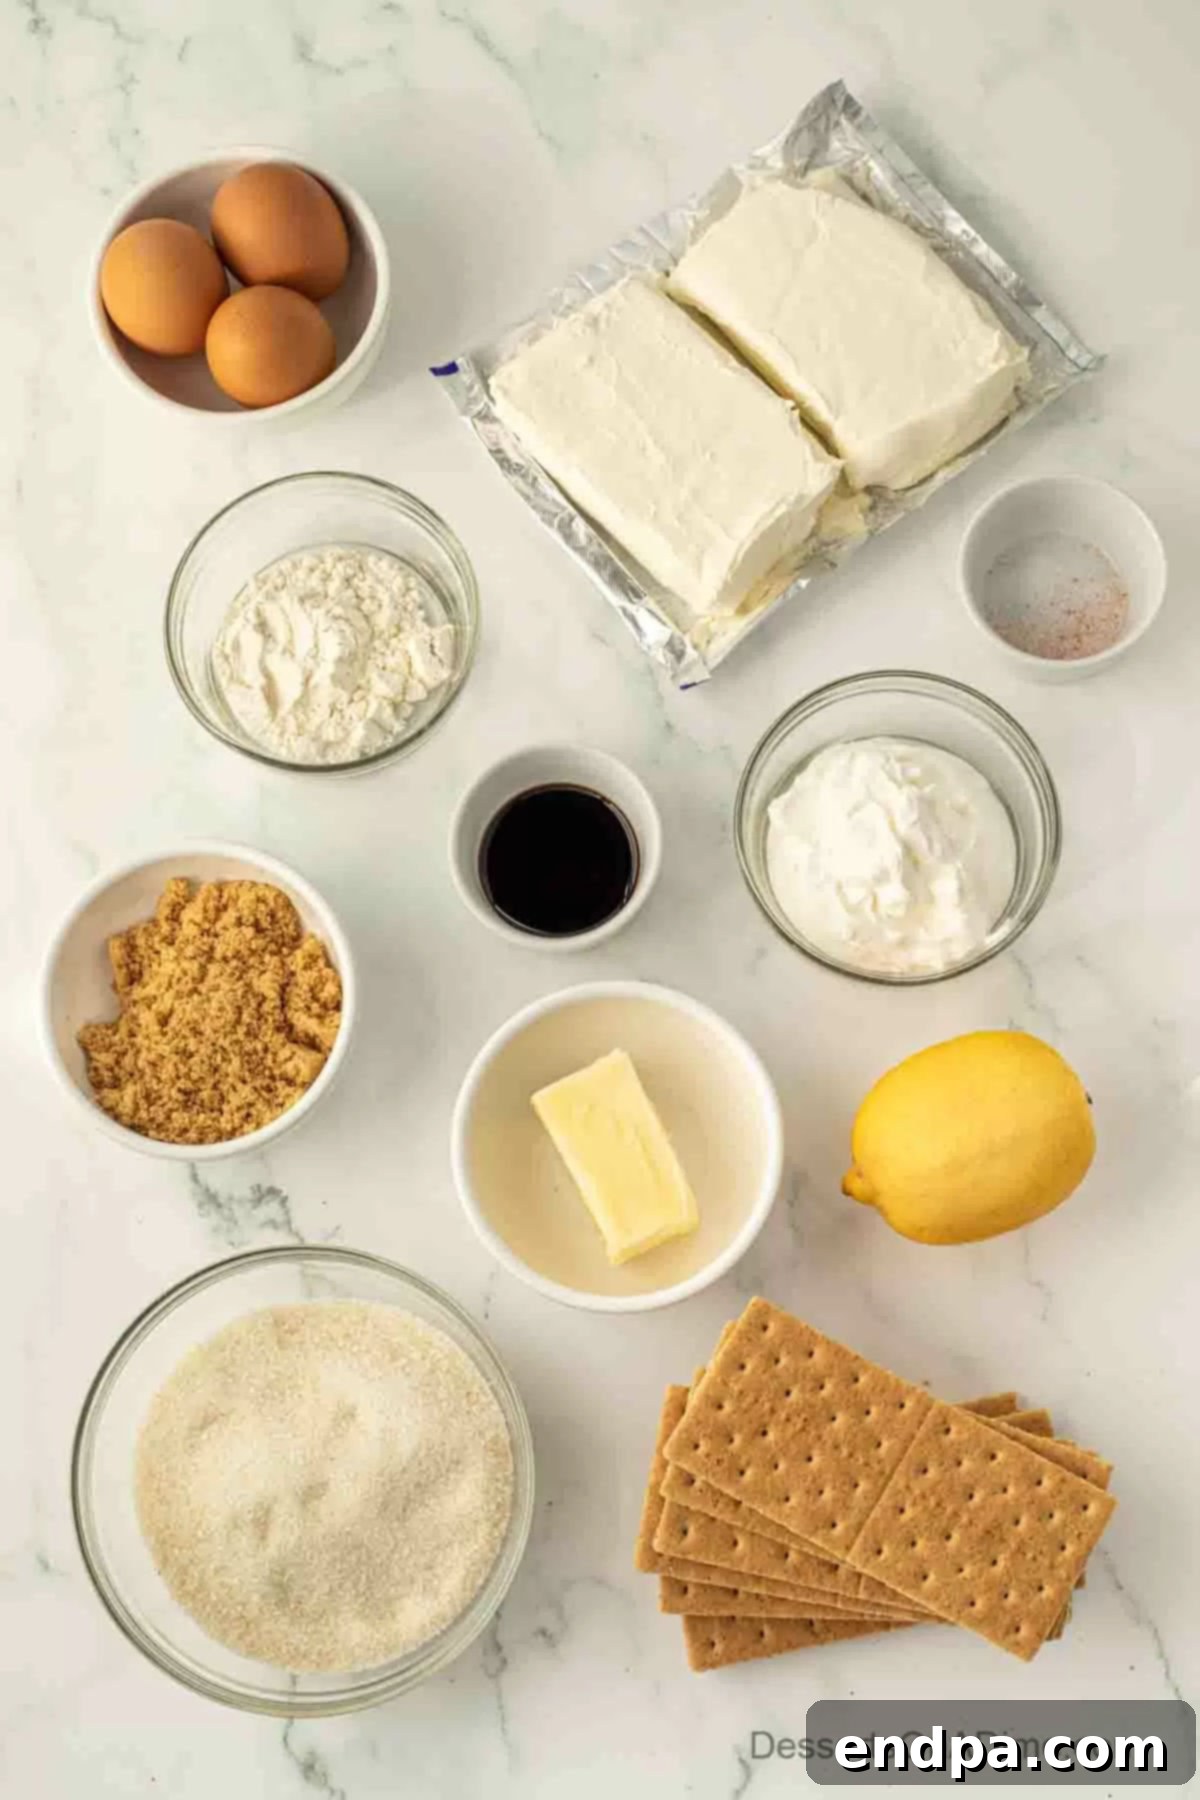
The Perfect Buttery Graham Cracker Crust
The foundation of any great cheesecake bar is its crust. This classic graham cracker base provides a delightful texture and a buttery, sweet contrast to the creamy filling.
- Graham Crackers: Crushed into fine, uniform crumbs, these are the star of our crust, creating that quintessential buttery cheesecake base that’s both flavorful and firm.
- Brown Sugar: A touch of brown sugar is added to the crust mixture to impart a deeper, richer sweetness and a hint of molasses, enhancing the overall flavor profile. For an even more unique taste, consider trying our Homemade Brown Sugar Recipe.
- Melted Butter: Essential for binding the graham cracker crumbs and sugar together, melted butter ensures the crust holds its shape while adding a rich, irresistible flavor that complements the entire dessert.
- Salt: A pinch of salt is crucial for balancing the sweetness and enhancing the flavors of the crust ingredients.
The Irresistibly Creamy Cheesecake Filling
The heart of these bars is a velvety, smooth, and tangy filling. Using room temperature ingredients is key to achieving a lump-free, luxurious texture.
- Cream Cheese: Softened at room temperature, high-quality cream cheese is the cornerstone of our filling, ensuring a smooth, rich, and utterly creamy texture. Avoid using cold cream cheese, as it can lead to lumps in your batter.
- Granulated Sugar: White granulated sugar sweetens the filling to perfection, providing a clean sweetness that allows the tangy cream cheese to shine.
- All-Purpose Flour: A small amount of all-purpose flour acts as a stabilizer, helping the filling to set properly and preventing cracks during baking. Remember to spoon the flour into your measuring cup rather than packing it, to ensure accurate measurement.
- Large Eggs: Used at room temperature, eggs emulsify evenly into the batter, contributing to the filling’s smooth texture and structure. Adding them one at a time and mixing gently is vital.
- Sour Cream: This ingredient is a game-changer, adding a delightful subtle tang and significantly enhancing the overall creamy texture of the cheesecake filling.
- Pure Vanilla Extract: For the most authentic and rich flavor, always opt for pure vanilla extract. It adds warmth and depth that elevate the entire dessert.
- Fresh Lemon Juice: A splash of fresh lemon juice is not just for flavor; it brightens the filling, balancing the richness of the cream cheese with a subtle, zesty finish.
- Salt: Just like in the crust, a tiny pinch of salt in the filling helps to highlight and balance all the sweet and tangy notes.
Creative Variations and Flavor Twists for Your Cheesecake Bars
While the classic cheesecake bar is perfection on its own, its versatility allows for endless creative variations. Don’t hesitate to experiment and make these bars uniquely your own!
- Switch Up the Crust: While graham crackers are classic, you can completely transform the flavor profile by using different cookie crumbs. Try crushed Oreo cookies for a chocolatey base, gingersnaps for a spiced kick, or shortbread cookies for a delicate, buttery foundation. Simply mix your chosen cookie crumbs with melted butter and a bit of brown sugar to achieve the desired consistency.
- Add a Decadent Syrup Drizzle: Once your cheesecake bars are perfectly chilled and sliced, elevate them with a luxurious drizzle. Options include a rich chocolate syrup, a buttery homemade caramel sauce, or a glossy chocolate ganache for an extra layer of indulgence.
- Top with Vibrant Fruit Sauce: For a burst of fresh flavor and color, add a vibrant fruit topping. A homemade berry compote, a bright raspberry sauce, or even a luscious cherry pie filling pairs beautifully with the tangy cream cheese, offering a refreshing contrast.
- Incorporate Fun Mix-Ins: Stir mini chocolate chips, crunchy crushed toffee bits, or swirls of creamy peanut butter directly into the cheesecake filling before baking. These additions create exciting new textures and flavor combinations within each bite.
- Infuse Zesty Citrus Flavors: Brighten your cheesecake filling by adding a little orange or lime zest. This citrusy upgrade provides a wonderful aroma and a refreshing tang that perfectly complements the rich and creamy base.
Step-by-Step Instructions for Flawless Cheesecake Bars
Making these easy cheesecake bars is a straightforward process. Follow these detailed steps to ensure a perfect batch every time.
- Step 1: Prepare Your Baking Pan and Oven. Begin by preheating your oven to 350 degrees F (175°C). Line an 8×8-inch baking dish with parchment paper or aluminum foil, making sure to leave an overhang on the sides. This overhang will serve as “handles” later, allowing you to easily lift the entire chilled cheesecake from the pan for clean cutting.
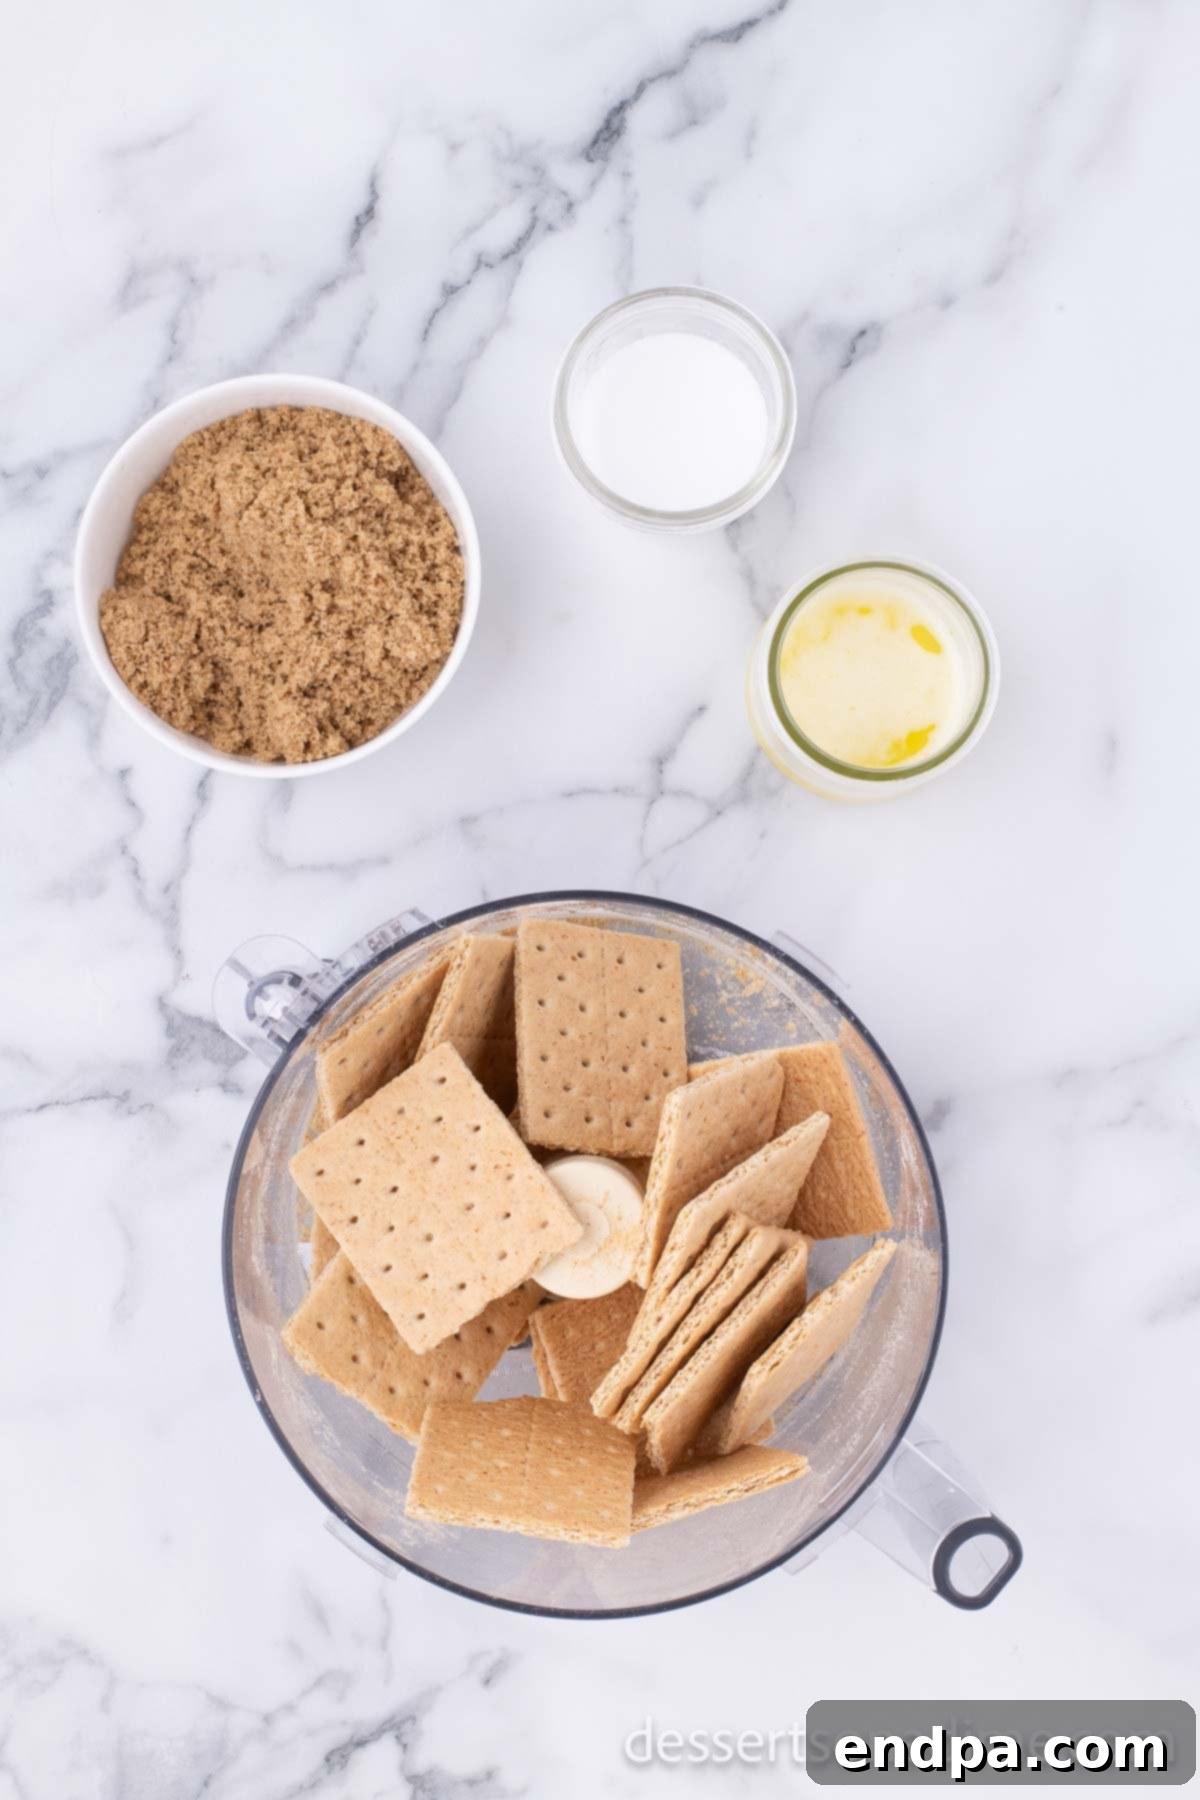
Step 2: Create the Graham Cracker Crumbs. Place the whole graham crackers into a food processor. Pulse until they are finely crushed and resemble even crumbs. If you don’t have a food processor, you can place the crackers in a large zip-top bag and crush them with a rolling pin.
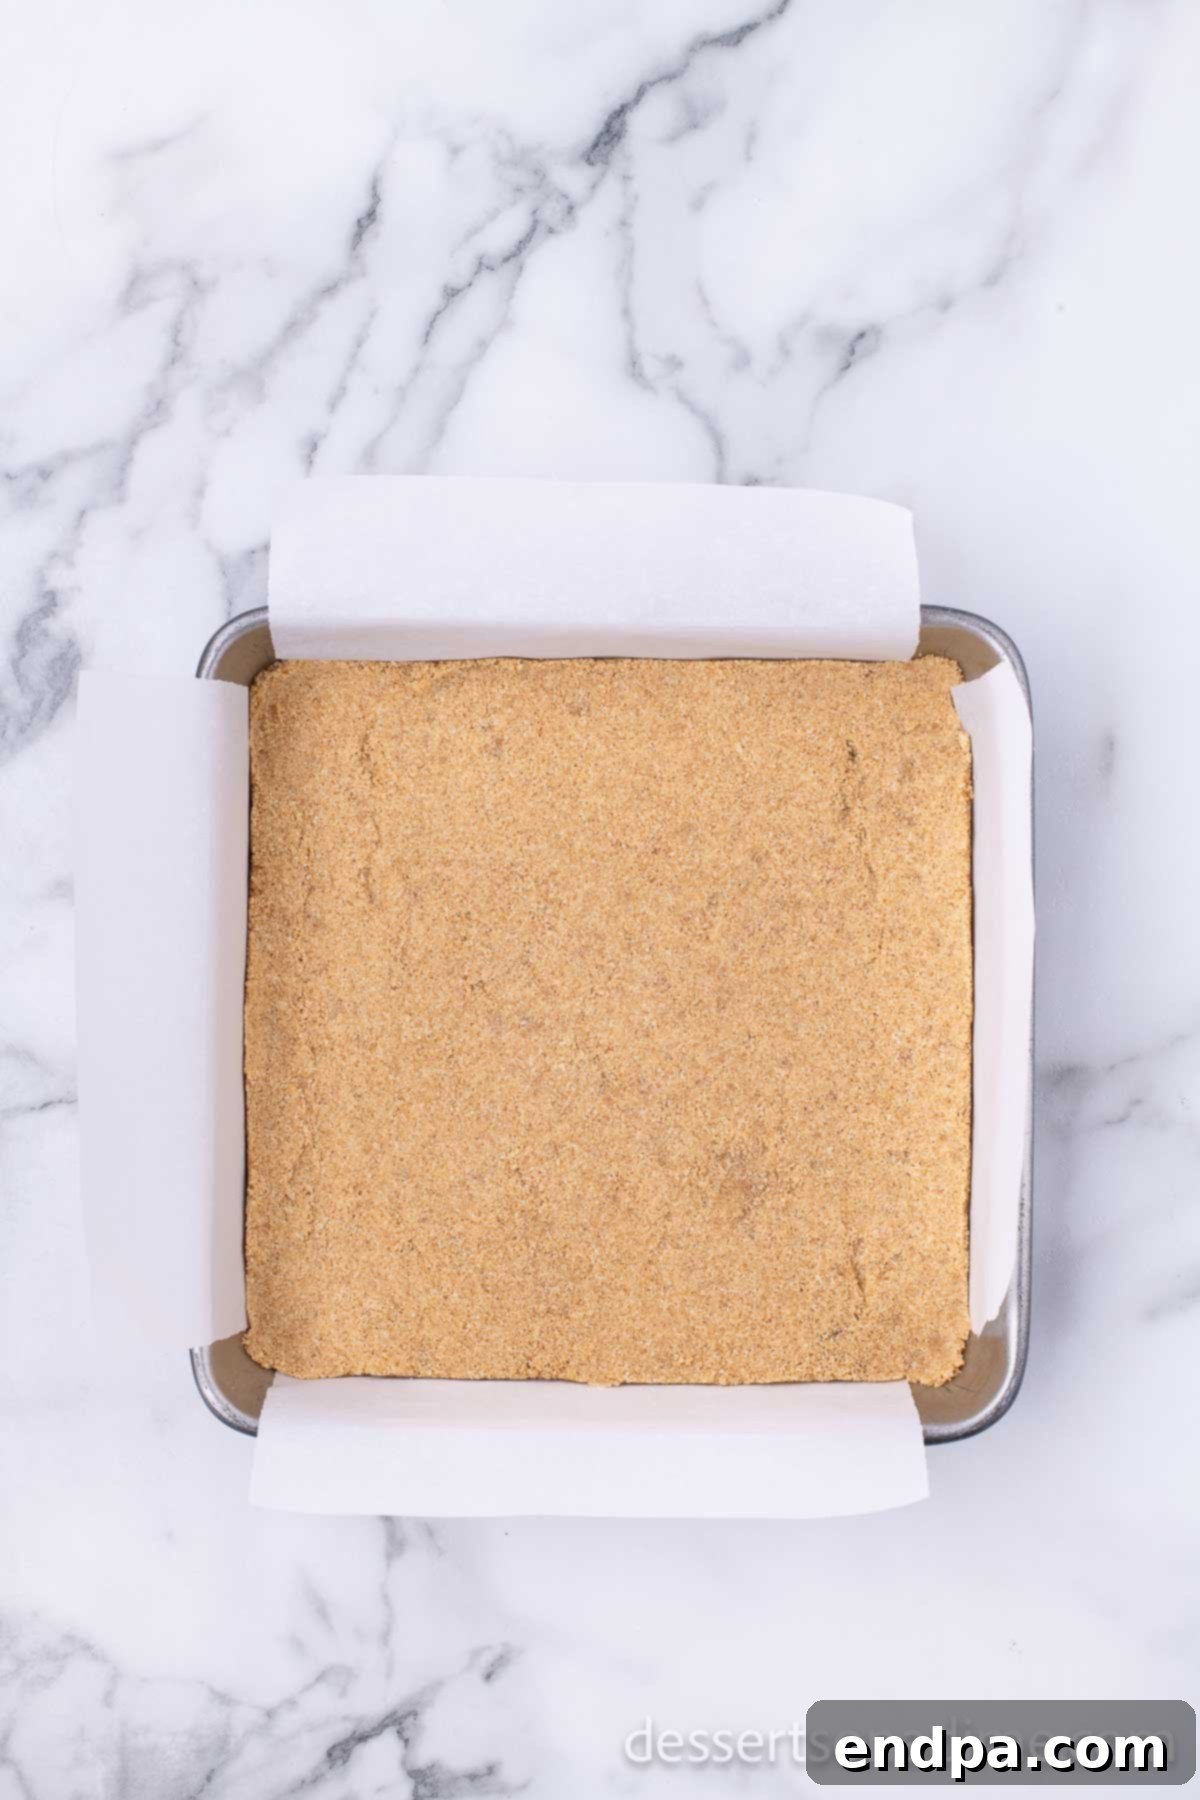
Step 3: Prepare and Press the Crust. In a medium mixing bowl, combine the graham cracker crumbs, brown sugar, melted butter, and salt. Stir until all ingredients are thoroughly mixed and the crumbs are moistened. Press this mixture firmly and evenly into the bottom of the prepared 8×8-inch baking pan. Use the back of a spoon or your fingers to create a compact, even layer.
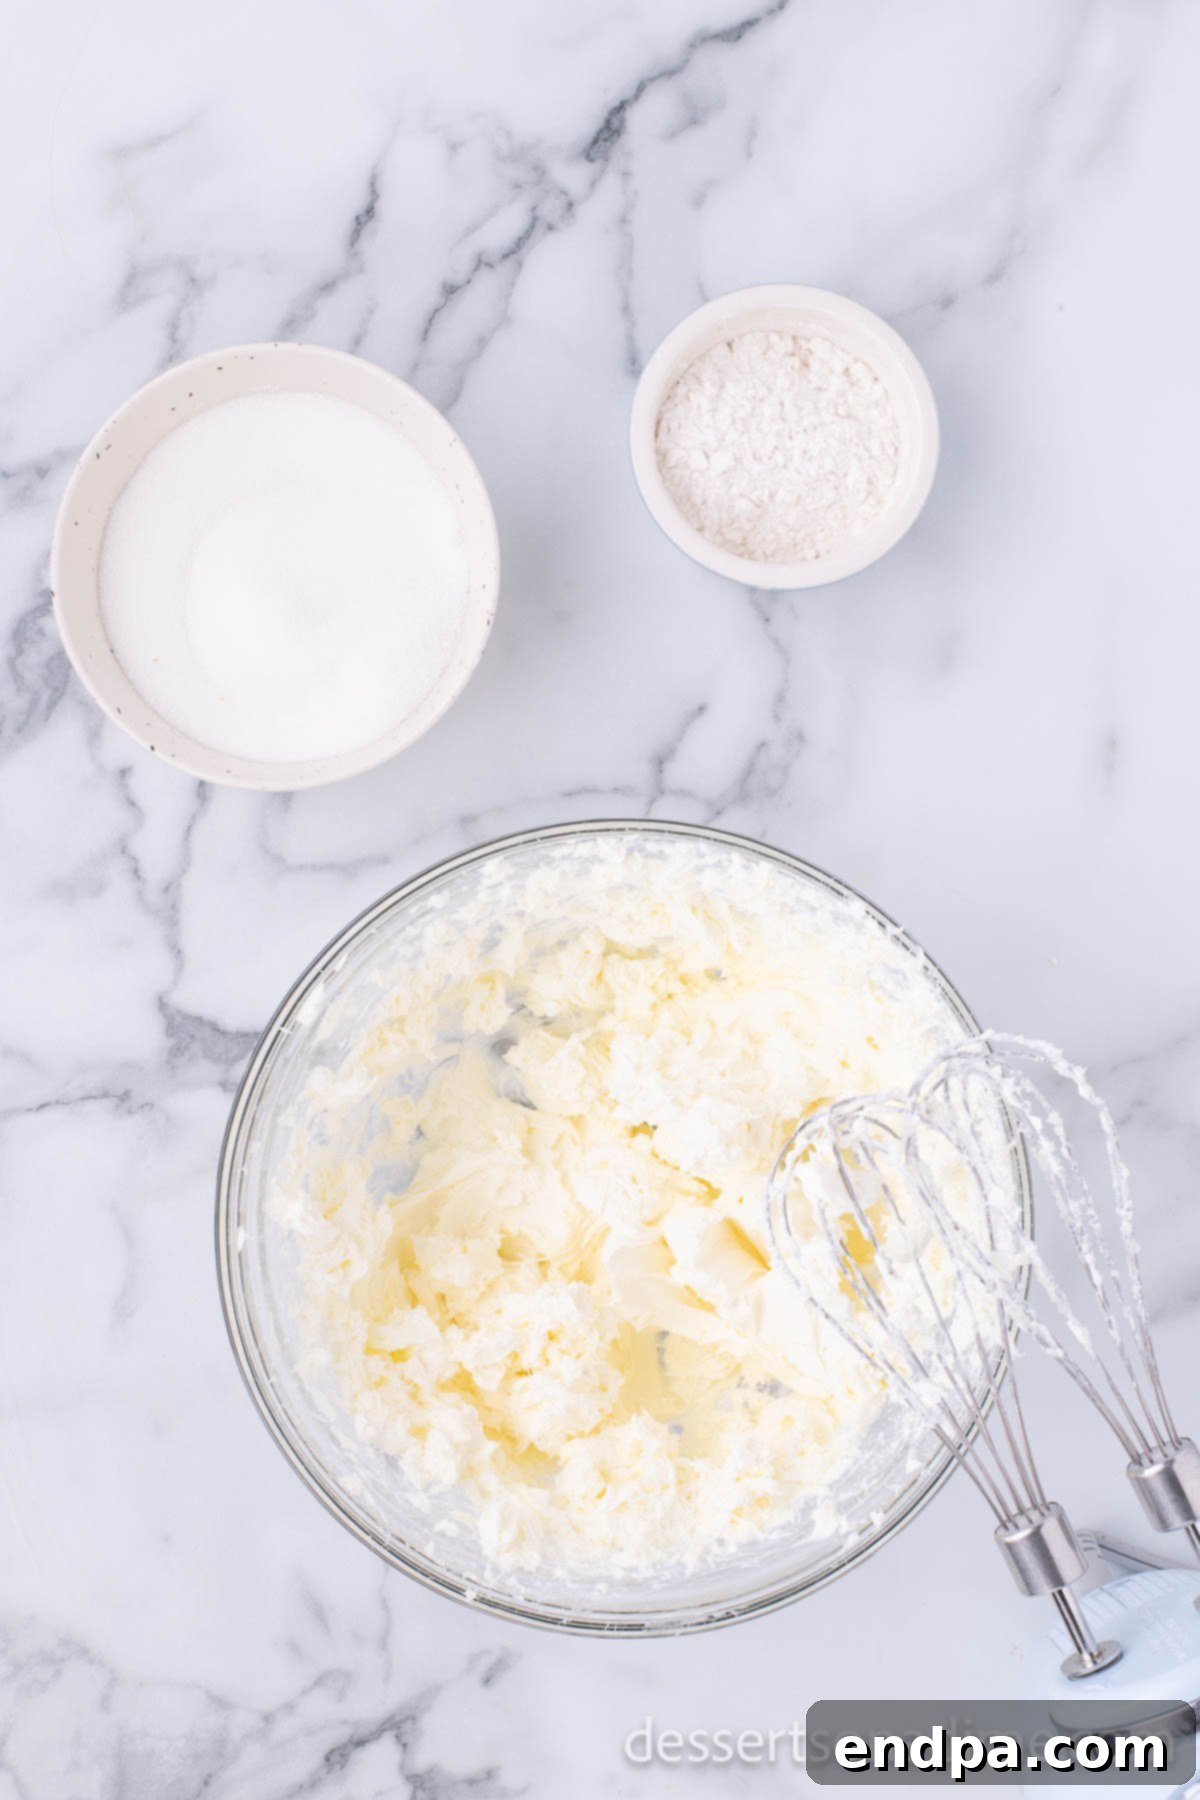
Step 4: Begin the Cheesecake Filling. In a large mixing bowl, using an electric mixer (either a stand mixer or a hand mixer) on medium-high speed, cream together the softened cream cheese, granulated sugar, and all-purpose flour. Beat until the mixture is light, fluffy, and completely smooth, scraping down the sides of the bowl as needed to ensure everything is well combined.
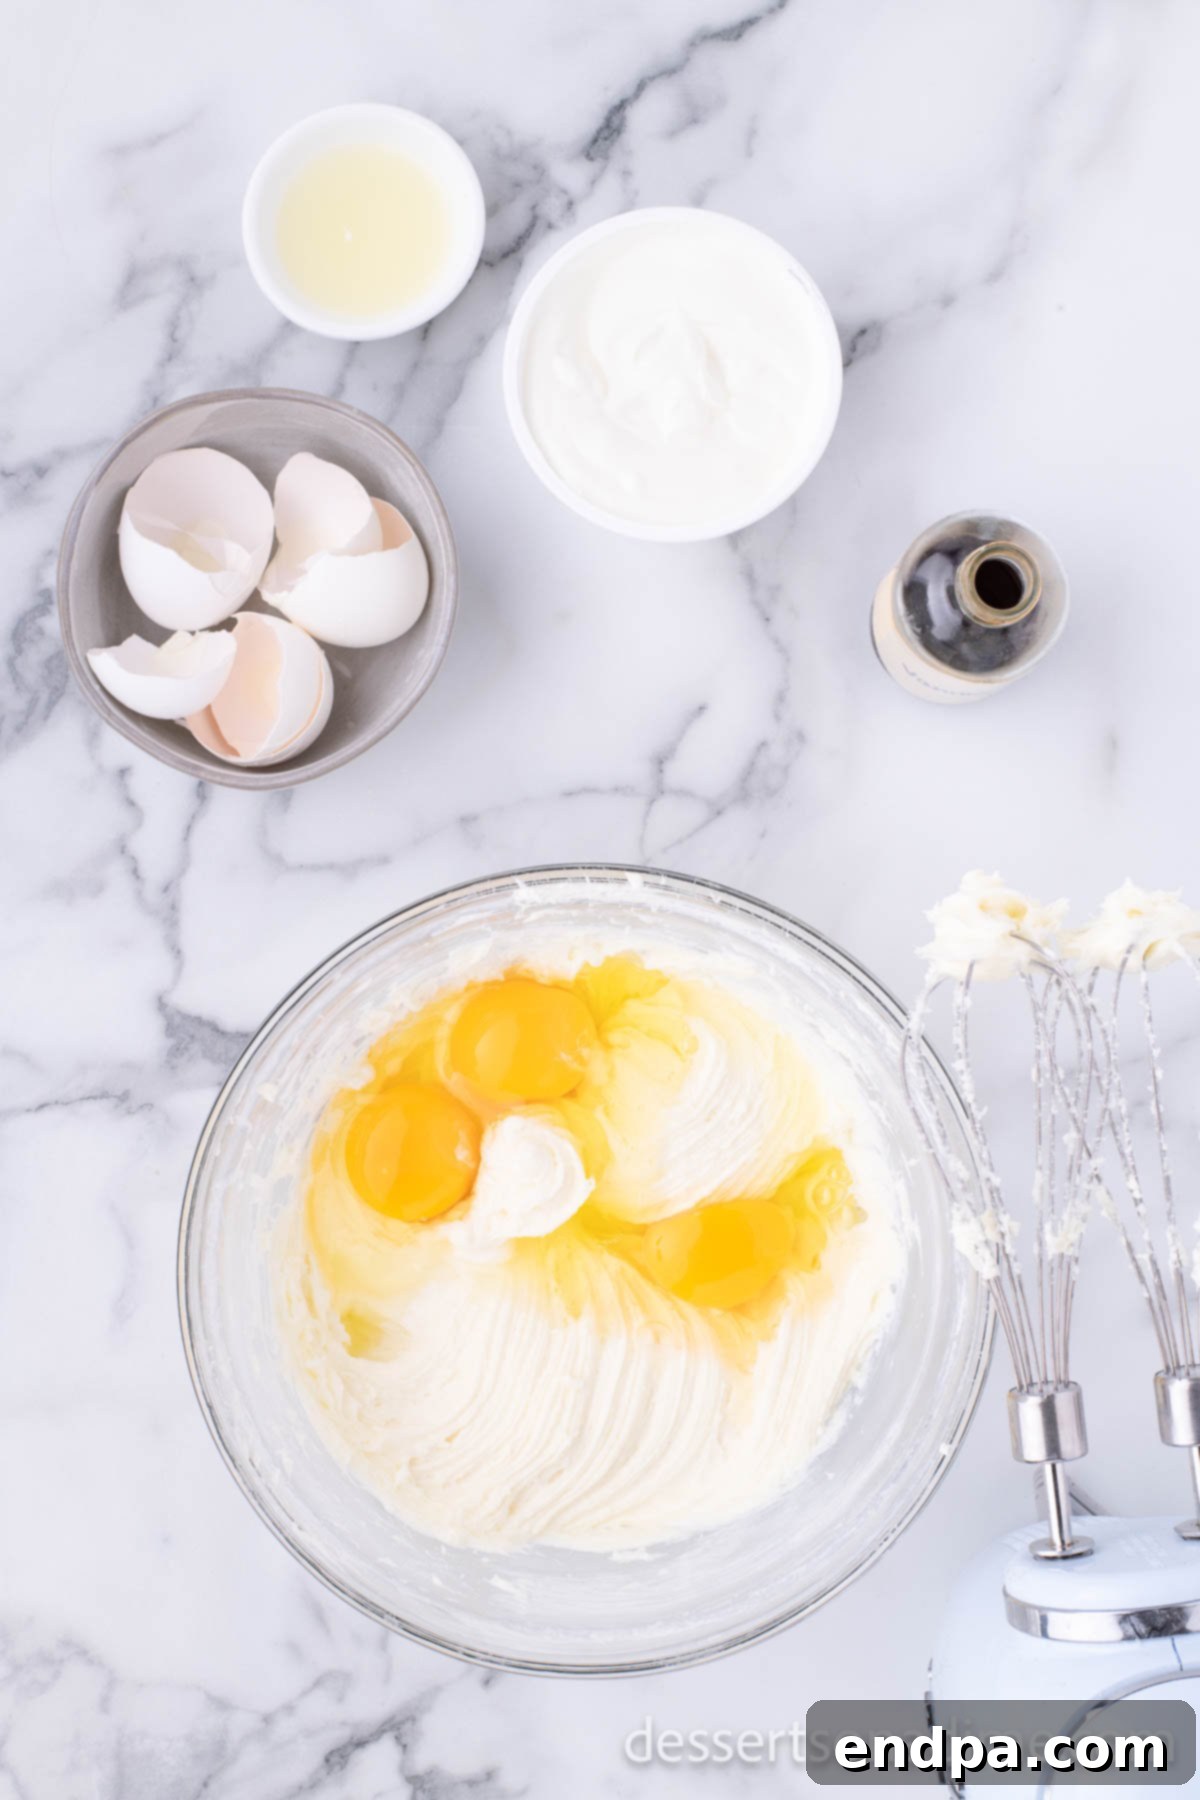
Step 5: Incorporate Wet Ingredients. Reduce the mixer speed to medium. Gradually add in the sour cream, eggs (one at a time, mixing just until combined after each addition), fresh lemon juice, pure vanilla extract, and the remaining salt. Continue mixing the cheesecake batter until it is smooth and uniform, being careful not to overmix, which can introduce too much air.
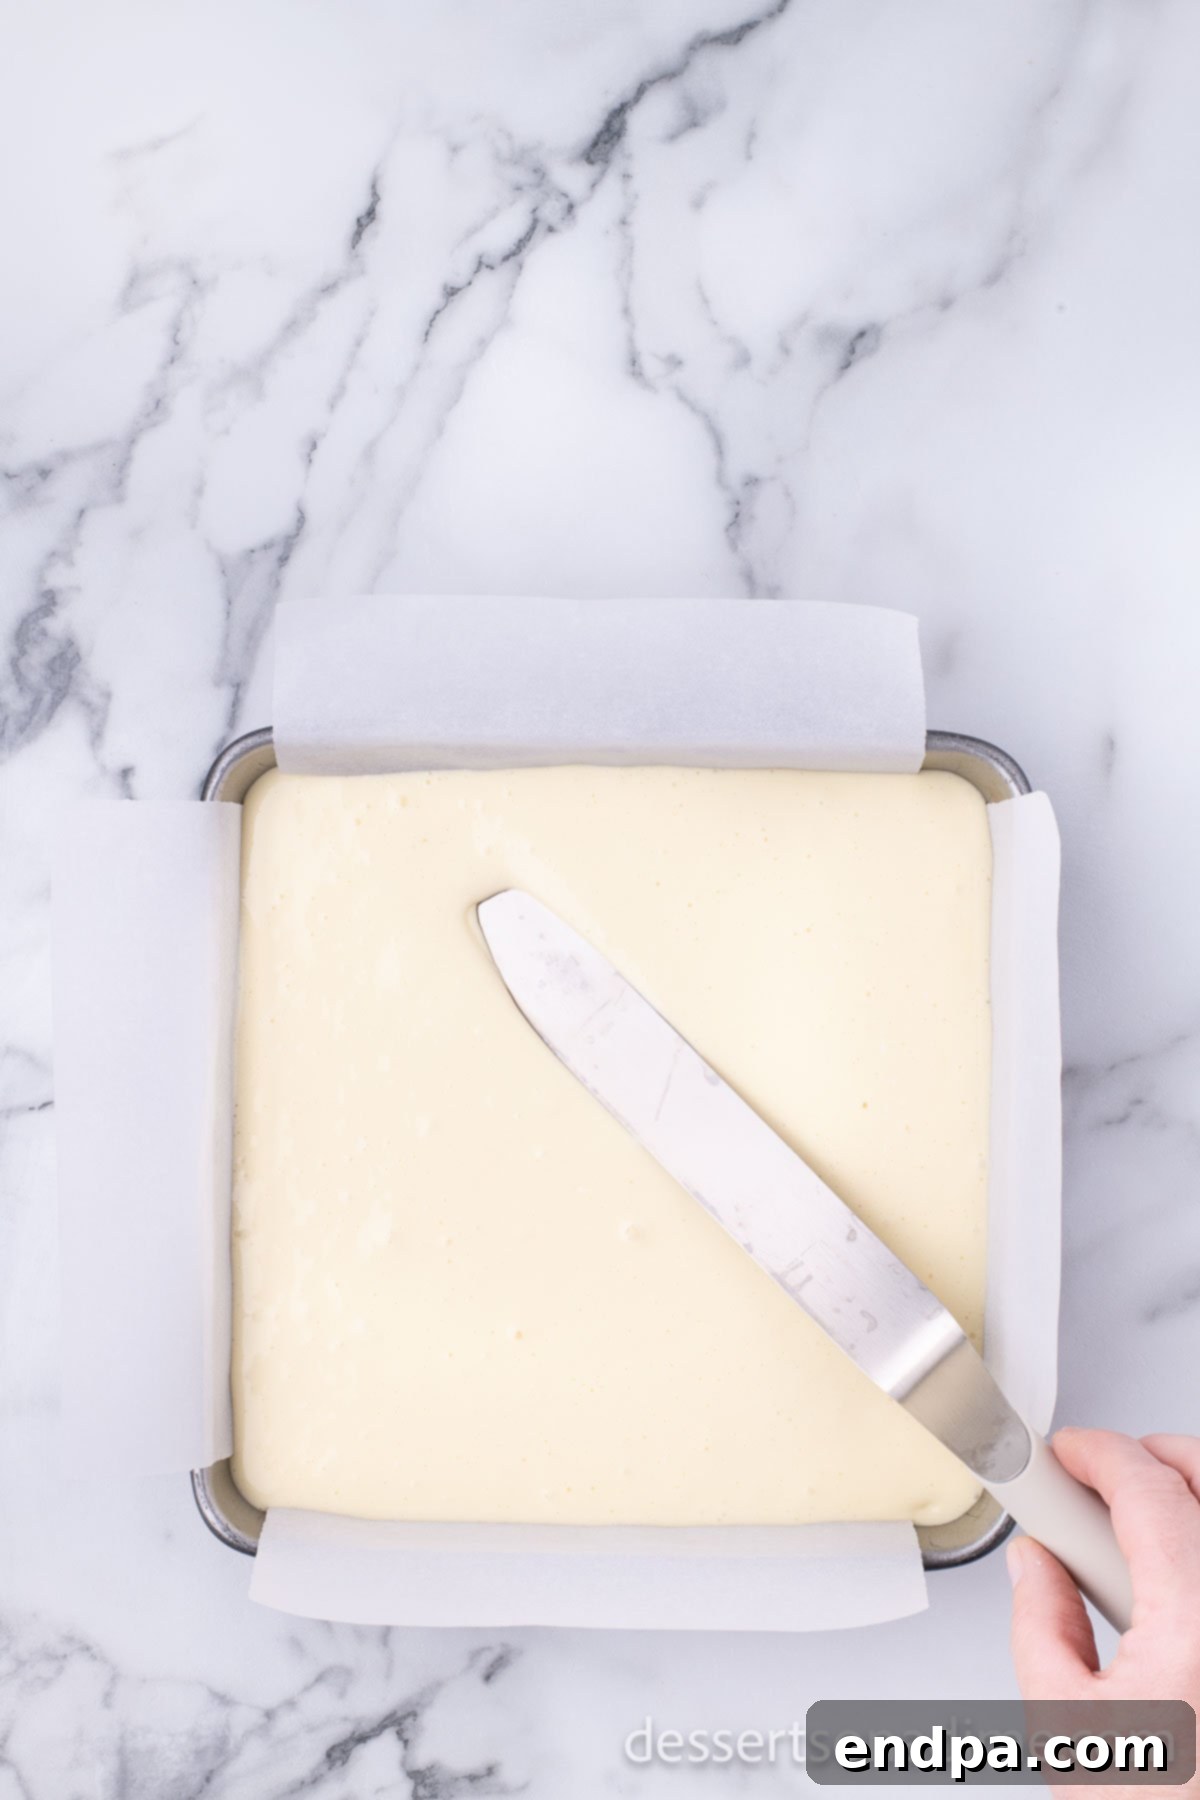
Step 6: Assemble and Bake. Carefully pour the prepared cream cheese mixture evenly over the pressed graham cracker crust in your baking pan. Gently spread it to the edges, ensuring a smooth top surface.
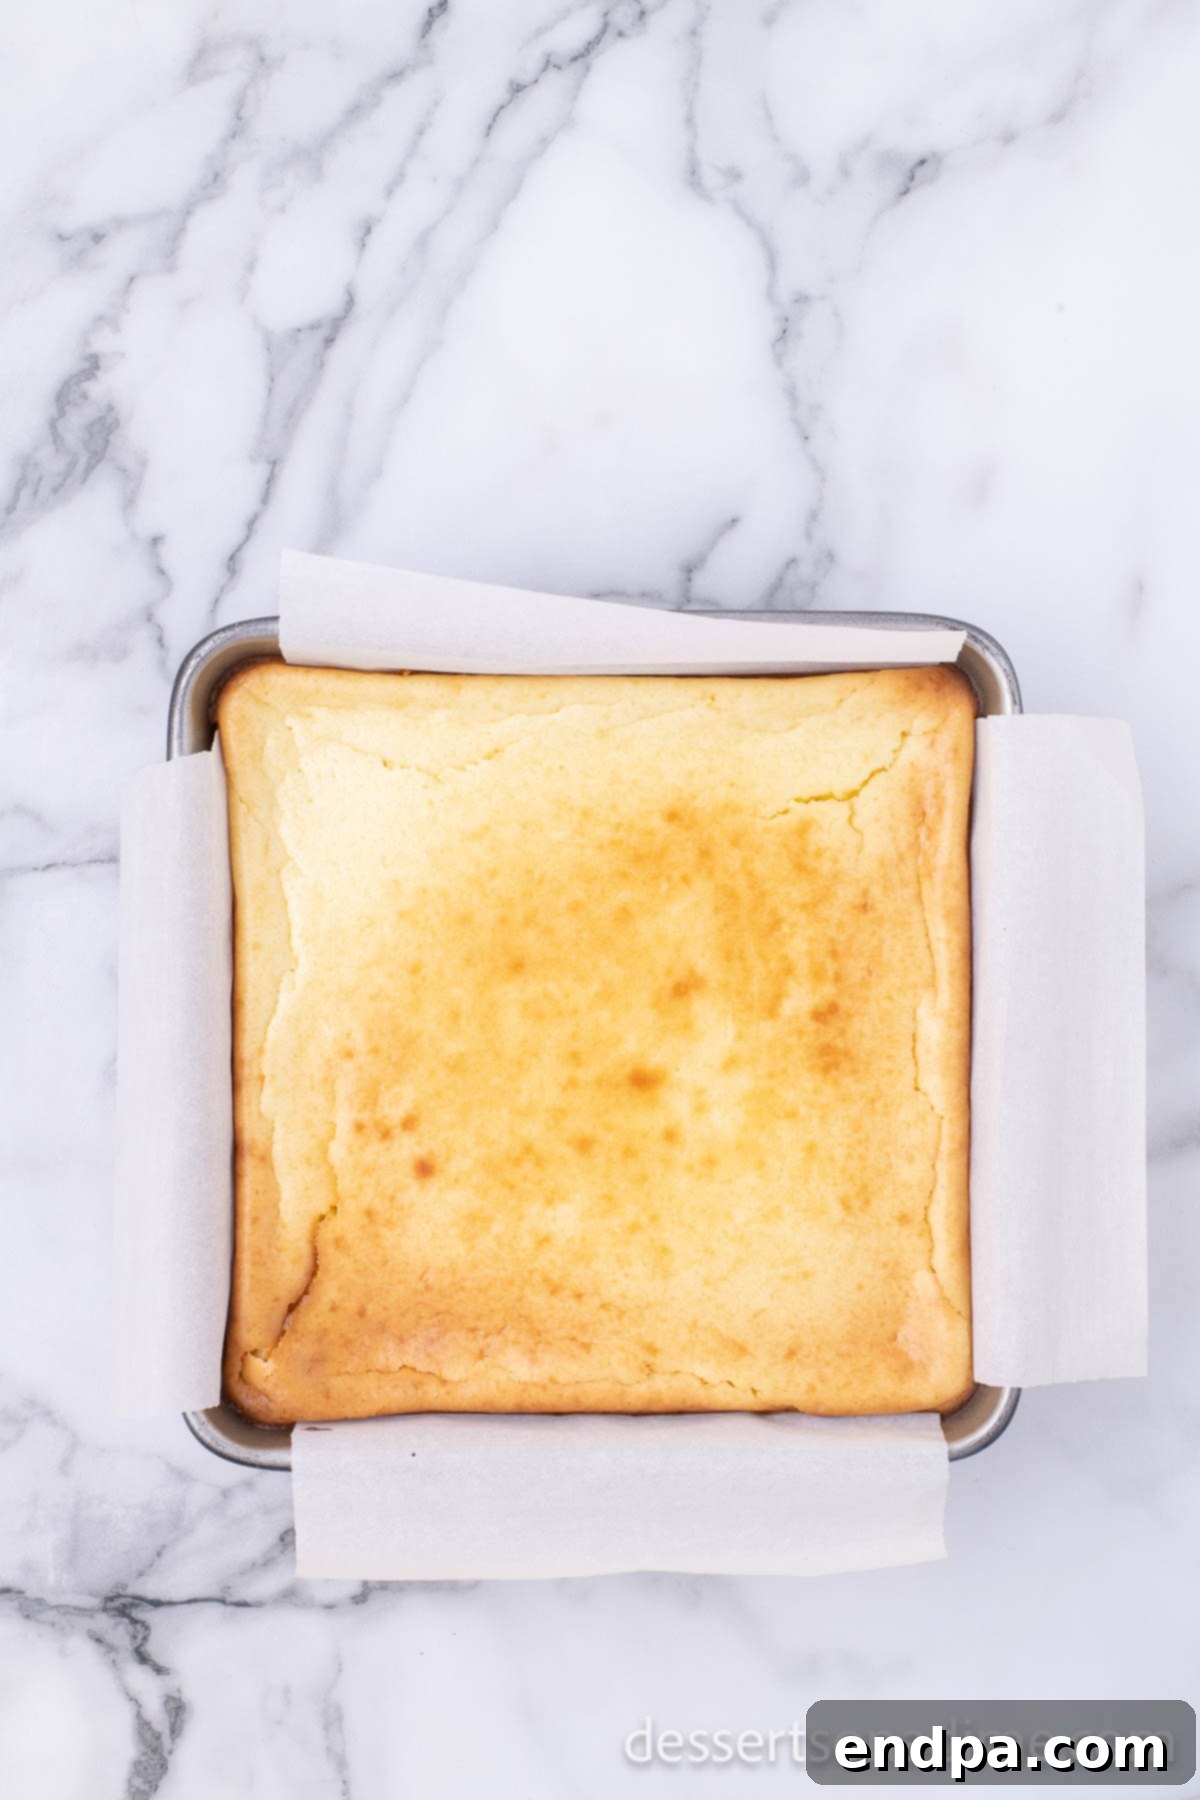
Step 7: Bake and Chill. Bake the cheesecake bars uncovered for 40-45 minutes. The cheesecake is done when the edges are set and lightly golden, and the center has a slight, gentle jiggle when the pan is lightly shaken. Remove from the oven and allow the bars to cool completely at room temperature on a wire rack. Once fully cooled, transfer the pan to the refrigerator and chill for a minimum of 4 hours, or ideally, overnight. This chilling time is crucial for the bars to fully set and achieve their perfect firm yet creamy texture. Use a sharp, clean knife to cut into squares before serving.
Expert Pro Tips for Baking Perfect Cheesecake Bars Every Time
Achieving bakery-quality cheesecake bars is easy with a few expert tips. These suggestions will help you avoid common pitfalls and ensure your dessert is a resounding success:
- Portion Control with Smaller Bars: Cheesecake bars are inherently rich and decadent, meaning a little goes a long way. Consider cutting them into smaller, bite-sized squares. This not only makes them ideal for serving at parties and gatherings but also allows guests to enjoy the indulgence without feeling overwhelmed.
- Prevent Cracks by Avoiding Overmixing: When adding eggs to your cheesecake batter, mix them in gently and only until they are just combined. Overmixing at this stage can incorporate too much air into the batter, which can cause the cheesecake to puff up in the oven and then fall, leading to unsightly cracks on the surface.
- Effortless Crust Creation with a Food Processor: For consistently fine graham cracker crumbs that form a perfect crust, a food processor is your best friend. It quickly and efficiently grinds the crackers. If you don’t have one, placing the crackers in a sturdy zip-top bag and crushing them with a rolling pin works just as well.
- Achieve a Smooth Filling with Proper Mixing: Whether you opt for a powerful stand mixer or a versatile hand mixer, both are excellent tools for creating a silky-smooth cheesecake filling. Remember to frequently scrape down the sides and bottom of the mixing bowl. This ensures that all ingredients are thoroughly incorporated and prevents any unmixed pockets.
- Room Temperature Ingredients for Ultimate Creaminess: This is a crucial tip for any cheesecake recipe. Always ensure your cream cheese, eggs, and sour cream are at room temperature before you begin mixing. Cold ingredients will not emulsify properly, leading to a lumpy batter and a less-than-ideal texture in your final bars.
- Simplify Removal by Lining the Baking Pan: To make removing and slicing your cheesecake bars incredibly easy and mess-free, line your baking pan with parchment paper. Leave a generous overhang on two opposite sides. Once chilled, you can simply use these parchment “handles” to lift the entire cheesecake out of the pan onto a cutting board.
- No Water Bath Needed: One of the greatest advantages of this cheesecake bar recipe is that it does not require a water bath. Unlike many traditional cheesecakes that need this extra step to prevent cracking and ensure even baking, these bars are designed to be simpler to make while still delivering a rich, incredibly creamy texture.
Delicious Toppings and Garnishes for Your Cheesecake Bars
While these creamy cheesecake bars are fantastic on their own, adding a topping can elevate them to new heights. Here are some popular and delicious ideas to consider:
- Warm Ground Cinnamon: A light dusting of ground cinnamon adds a subtle warmth and comforting spice that beautifully complements the sweet and tangy notes of the cheesecake.
- Fluffy Whipped Cream: A generous dollop of Homemade Whipped Cream is an indulgent and classic topping. For an elegant touch, pipe it onto each bar using a decorative tip.
- Fresh Seasonal Fruit: Brighten your dessert with an array of fresh fruits. Sliced strawberries, juicy blueberries, tart raspberries, or vibrant kiwi not only add beautiful color but also a refreshing contrast to the richness of the cheesecake.
- Sweet Caramel or Chocolate Drizzle: For those who crave extra decadence, a drizzle of Homemade Caramel Sauce or melted dark or milk chocolate provides a luscious, gooey finish.
- Crunchy Crushed Nuts: Add a textural contrast with a sprinkle of chopped pecans, walnuts, or almonds. Toasting them lightly beforehand can enhance their nutty flavor.
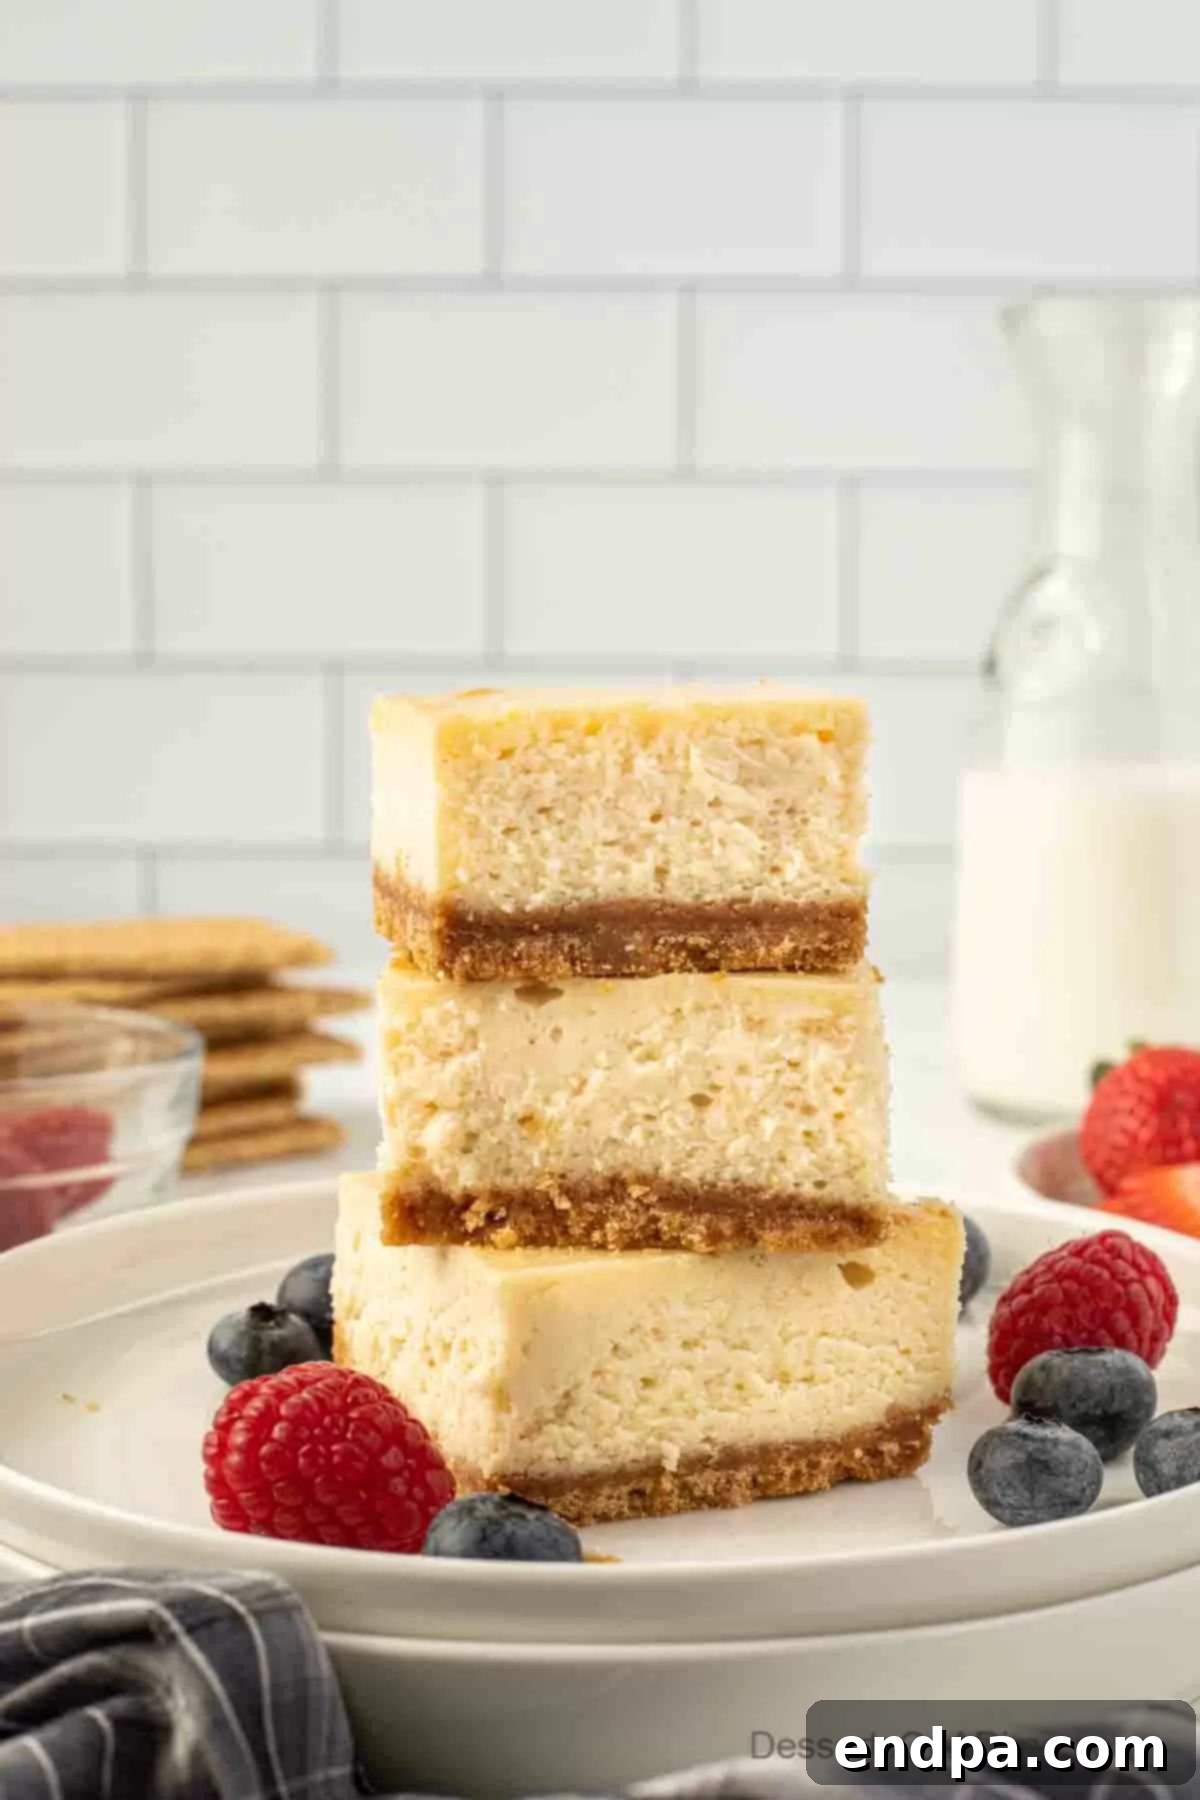
Storing Your Delicious Cheesecake Bars
Proper storage is key to maintaining the freshness and delicious taste of your homemade cheesecake bars. Here’s how to keep them at their best:
Refrigerator Storage: After baking and fully chilling, store any leftover cheesecake bars in an airtight container in the refrigerator. When properly stored, they will remain fresh and delightful for up to 5 days. For the optimal texture and flavor, always ensure they are thoroughly chilled for several hours after baking before you serve or store them.
Freezer Storage: Cheesecake bars freeze exceptionally well, making them an ideal make-ahead dessert. To freeze, wrap individual bars tightly in plastic wrap, then place them in a freezer-safe bag or an airtight container. They can be stored in the freezer for up to 2 months. When you’re ready to enjoy them, simply thaw the bars in the refrigerator overnight. Alternatively, for a slightly softer, creamier texture right away, allow them to sit at room temperature for 10-15 minutes before serving.
Frequently Asked Questions About Cheesecake Bars
The secret to perfectly clean slices lies in patience and technique. First, ensure the cheesecake bars have cooled completely at room temperature and then chilled in the refrigerator for a minimum of 4 hours, though overnight is truly ideal for them to fully set. Once chilled, for the cleanest cuts, use a thin, sharp knife. For even more precise and non-stick cutting, many home bakers find success using a plastic throwaway knife, wiping the knife clean with a damp cloth after each slice to prevent sticking and maintain sharp edges. This attention to detail will give you beautifully presented bars.
Determining when your cheesecake bars are perfectly baked requires a keen eye. The cheesecake is ready when the edges appear set and slightly firm, with a very subtle, gentle jiggle in the center when the pan is lightly nudged. It’s important not to wait until the center is completely firm, as it will continue to set as it cools. Overbaking can lead to a dry texture or cracks. Trust the slight jiggle; it’s the sign of a creamy, perfectly baked cheesecake. The cooling and chilling process will take care of the rest.
Absolutely! Cheesecake bars are an excellent dessert to prepare in advance, making them perfect for holidays, parties, or any busy occasion. In fact, making them the night before serving is highly recommended, as it allows ample time for the bars to cool completely and then chill thoroughly in the refrigerator. This crucial chilling period ensures the filling sets beautifully, resulting in the ideal firm yet creamy texture and makes for much cleaner slices. When you’re ready to serve, simply add your desired toppings, saving you valuable time and effort on the day of your event. This make-ahead convenience is particularly helpful during busy times like the holidays, allowing you to focus on other preparations while still offering a spectacular homemade dessert.
More Easy Cheesecake Bar Recipes to Explore
If you’ve enjoyed these classic cheesecake bars, you’ll love exploring these other fantastic variations. Each offers a unique twist on this beloved dessert:
- Oreo Cheesecake Bars Recipe
- Slutty Cheesecake Bars
- Chocolate Chip Cookie Cheesecake Bars
- Easy Peanut Butter Cheesecake Bites Recipe
- German Chocolate Cheesecake Bars
- Raspberry Cheesecake Bars
Whip up this classic cheesecake bar recipe today and treat yourself to a truly decadent dessert experience. We love hearing from our bakers, so please don’t hesitate to leave a comment once you’ve made it!
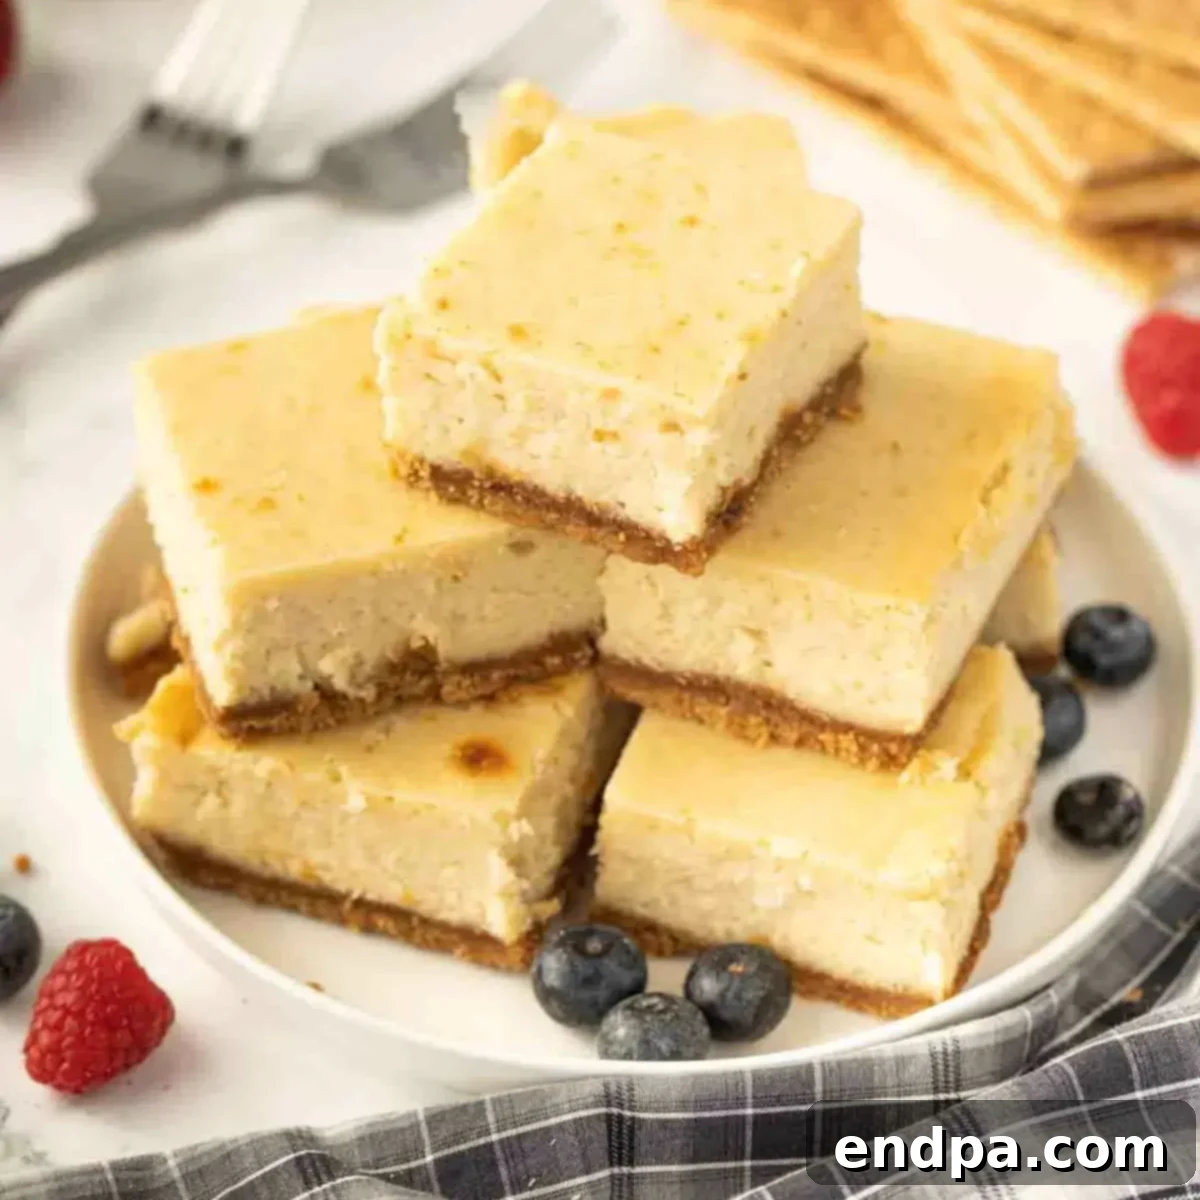
Classic Cheesecake Bars Recipe
20 mins
45 mins
4 hrs
5 hrs 5 mins
24 bars
American
Dessert
162
Carrie Barnard
Ingredients
For the Crust:
- 8 full Graham Crackers (crushed into fine crumbs)
- 1/4 cup Brown Sugar
- 4 Tbsp Butter (melted)
- 1/8 tsp Salt
For the Cheesecake Filling:
- 16 oz Cream Cheese (softened at room temperature)
- 1 cup Granulated Sugar
- 1 1/2 Tbsp All-Purpose Flour
- 3 Large Eggs (room temperature)
- 1/2 cup Sour Cream (room temperature)
- 2 1/2 tsp Pure Vanilla Extract
- 1 tsp Lemon Juice (freshly squeezed)
- 1/8 tsp Salt
Instructions
- Preheat oven to 350°F (175°C). Line an 8×8-inch baking pan with parchment paper or foil, leaving an overhang on two sides for easy removal.
- Crush graham crackers into fine crumbs using a food processor or by placing them in a bag and crushing with a rolling pin.
- In a medium bowl, combine graham cracker crumbs, brown sugar, melted butter, and 1/8 tsp salt for the crust. Press this mixture firmly and evenly into the bottom of the prepared baking pan.
- In a large mixing bowl, using an electric mixer, cream together the softened cream cheese, granulated sugar, and all-purpose flour on medium-high speed until light and fluffy. Scrape down the sides of the bowl as needed.
- Reduce mixer speed to medium. Add sour cream, eggs (one at a time, mixing just until combined), lemon juice, vanilla extract, and the remaining 1/8 tsp salt. Mix until smooth, being careful not to overmix.
- Pour the cream cheese mixture evenly over the prepared crust in the baking pan.
- Bake uncovered for 40-45 minutes, or until the edges are set and the center has a slight jiggle.
- Remove from oven and allow to cool completely at room temperature on a wire rack. Once cooled, chill in the refrigerator for at least 4 hours, or preferably overnight, for the best setting and flavor.
- Lift the chilled cheesecake from the pan using the parchment paper overhang. Slice into squares with a sharp knife, cleaning the knife after each cut for best results. Enjoy!
Nutrition Facts
Calories
162
kcal
,
Carbohydrates
16
g
,
Protein
2
g
,
Fat
10
g
,
Saturated Fat
6
g
,
Cholesterol
49
mg
,
Sodium
145
mg
,
Potassium
52
mg
,
Fiber
1
g
,
Sugar
12
g
,
Vitamin A
372
IU
,
Vitamin C
1
mg
,
Calcium
33
mg
,
Iron
1
mg
