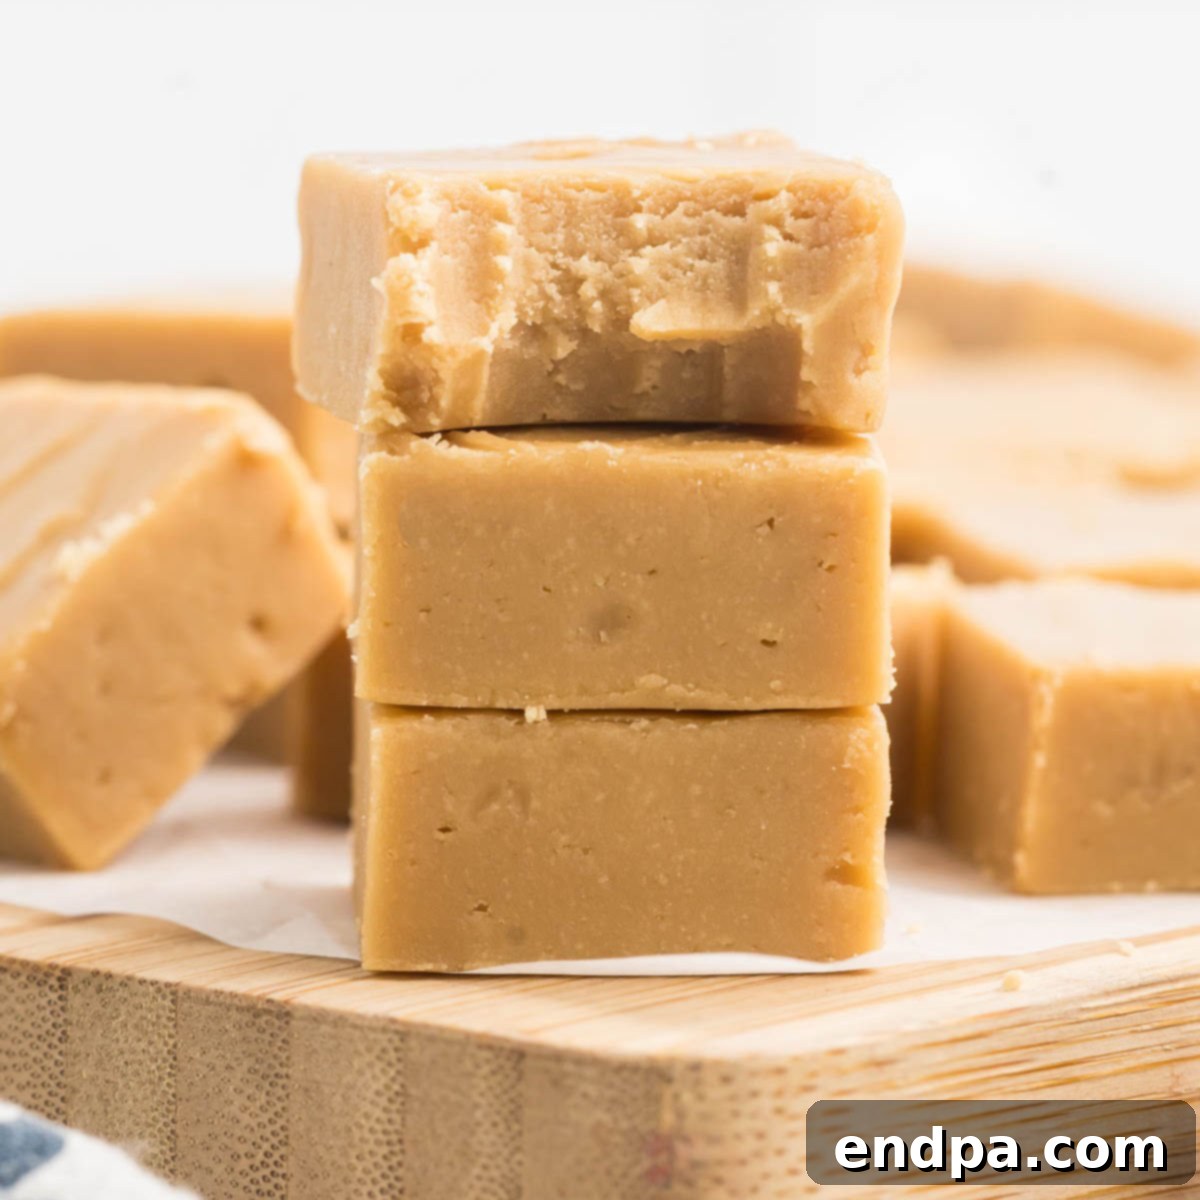
Unlock the secret to creating the most unbelievably rich and creamy 3-Ingredient Maple Fudge, a decadent treat that promises to melt effortlessly in your mouth. This foolproof recipe simplifies the art of fudge-making, requiring just a trio of readily available ingredients to produce a confection so luxurious, your friends and family will think you spent hours in the kitchen. Whether you’re a seasoned baker or a complete novice, preparing this delightful maple fudge is an enjoyable and rewarding experience, resulting in perfect, velvety squares every time.
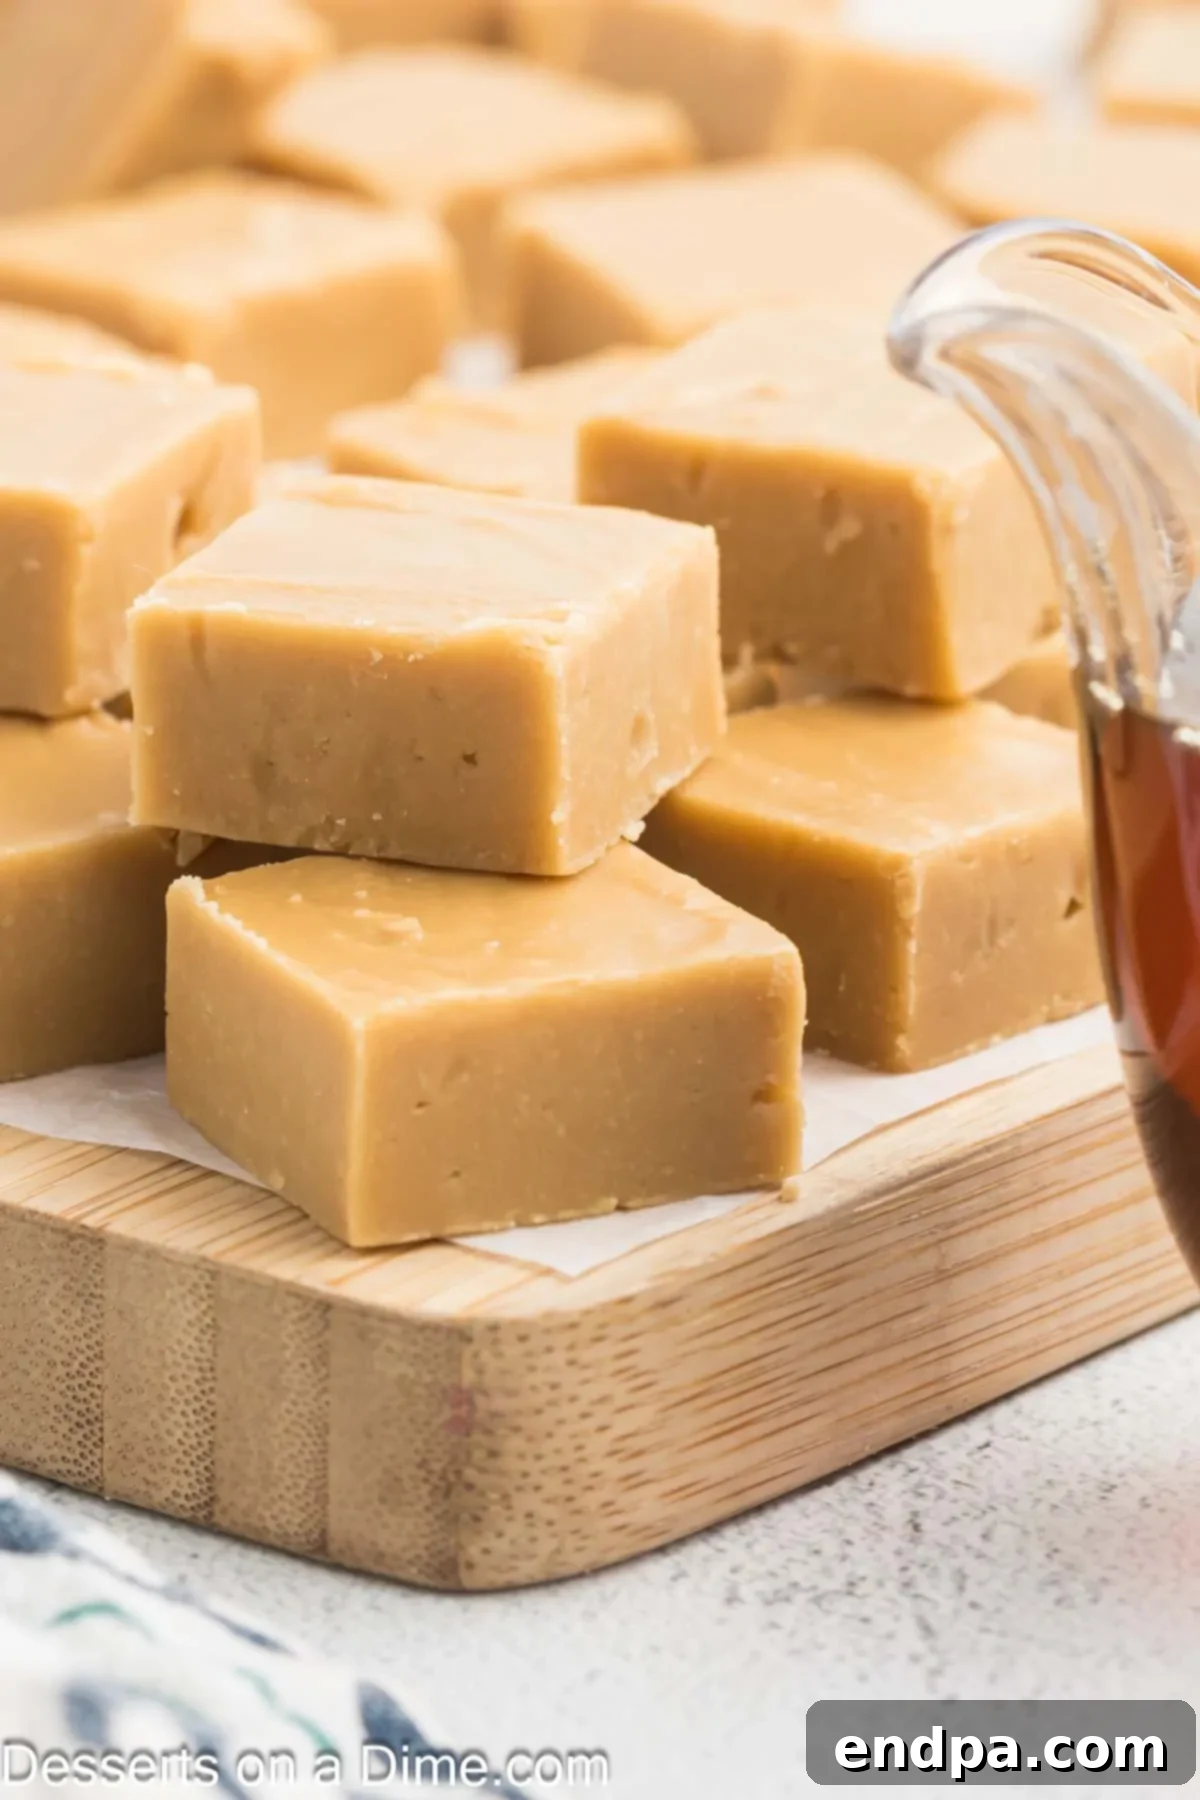
Prepare yourself for the ultimate indulgence with this incredibly simple yet profoundly flavorful easy fudge recipe. The deep, aromatic essence of maple shines through, delivering a taste experience that truly captivates. It’s genuinely astonishing that such a magnificent dessert can be crafted from such a minimal list of ingredients. This recipe not only simplifies your baking but also elevates your homemade treat game, making it a perfect staple for any occasion.
You might already have these essential ingredients tucked away in your pantry, making this simple recipe even more accessible. For those who appreciate the versatility of easy fudge, we also highly recommend exploring other delightful variations such as our 3 Ingredient Oreo Fudge, the whimsical Unicorn Fudge, and the classic Easy Vanilla Fudge. Having perfected the art of fudge-making over many years, I can confidently say that these recipes are designed for ease and guaranteed success. Don’t miss out on trying the magical Butterbeer Fudge, the nutty Butterfinger Fudge, or the wonderfully fluffy Marshmallow Fluff Fudge for even more sweet inspiration.
Table of Contents
- Why We Love This Effortless Recipe
- Essential Ingredients
- Equipment You’ll Need
- Step-by-Step Instructions for Perfect Maple Fudge
- Storage & Freezing Tips
- Creative Mix-In & Variation Ideas
- Expert Tips for Fudge Success
- Frequently Asked Questions About Fudge
- Printable Recipe Card
Why We Love This Effortless Recipe
This 3-ingredient maple fudge stands out as a true marvel in the world of homemade treats. Its appeal lies not only in its exceptional taste but also in its unparalleled simplicity. Imagine crafting a confectionery masterpiece that tastes like it came from a gourmet candy shop, all with just three basic items and minimal effort. This recipe is specifically designed to deliver perfect results every time, making it an absolute joy to prepare. Even if you’ve never made fudge before, you’ll be astonished by how straightforward it is to achieve a professional-quality dessert. No special culinary skills, advanced techniques, or obscure kitchen gadgets are required; just follow our clear steps, and you’ll be rewarded with a batch of exquisite fudge.
Beyond its ease and deliciousness, this maple fudge is also incredibly cost-effective, making it an ideal choice for budget-conscious dessert lovers. It uses common pantry staples, eliminating the need for expensive or hard-to-find ingredients. Furthermore, its elegant appearance and delightful flavor make it the perfect homemade gift for holidays, birthdays, or any special occasion. Presenting a box of this rich, creamy fudge is a thoughtful gesture that will undoubtedly be appreciated. It’s a versatile treat that fits seamlessly into festive gatherings, quiet evenings at home, or as a delightful pick-me-up throughout the week.
Essential Ingredients for Decadent Maple Fudge
The magic of this maple fudge lies in the quality and synergy of its minimal ingredients. Each component plays a crucial role in achieving that signature rich, creamy texture and profound maple flavor. Selecting the right ingredients is key to success, ensuring your fudge is not just good, but truly exceptional.
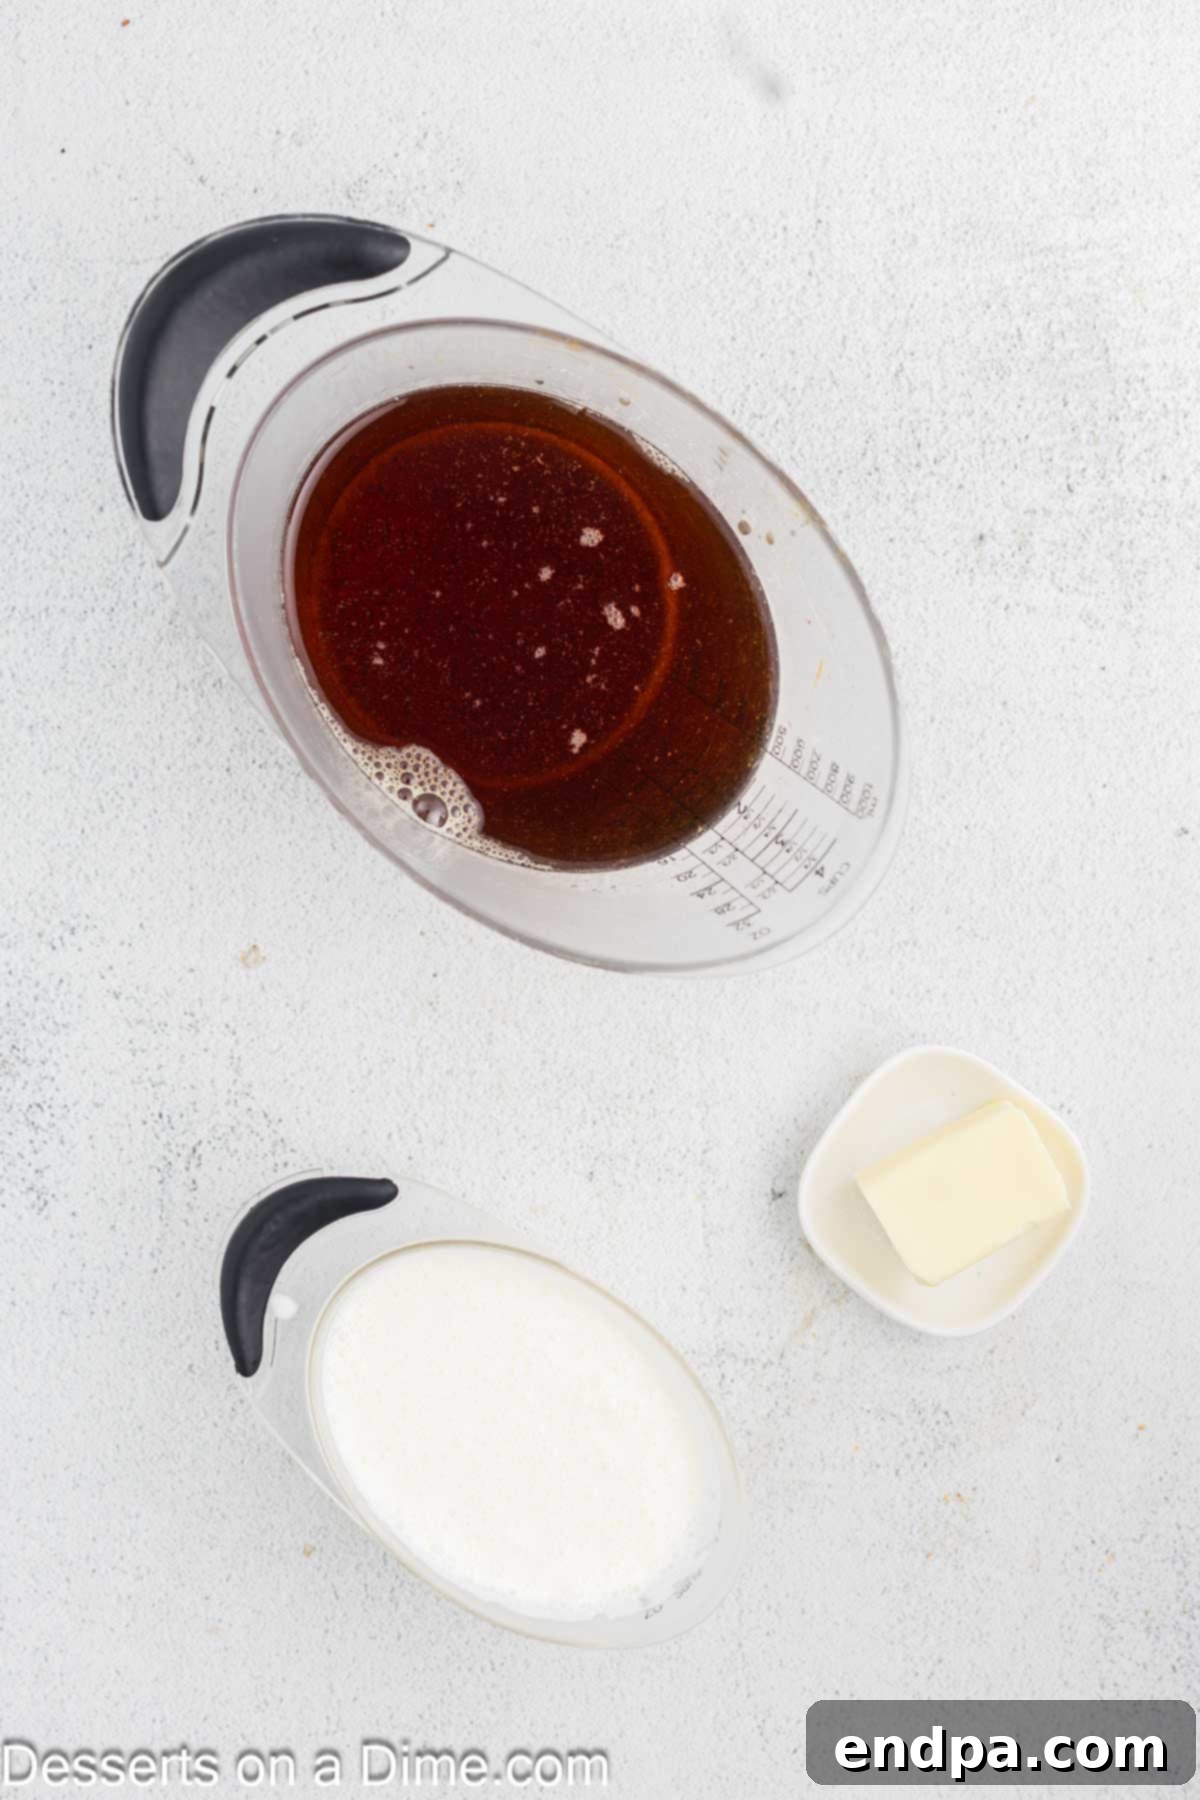
- Pure Maple Syrup: This is the absolute star of the show and the cornerstone of your fudge’s authentic flavor. For the best results, it is imperative to use *pure* maple syrup, not imitation pancake syrup, which is often made from corn syrup and artificial flavorings. Pure maple syrup provides a complex, natural sweetness and a deep, earthy maple aroma that cannot be replicated. Look for Grade A Dark, Robust Taste (formerly Grade B) for the most intense maple profile, which translates into a richer fudge.
- Heavy Cream: Essential for that luxurious, melt-in-your-mouth consistency, heavy cream contributes significantly to the fudge’s richness and smooth texture. Its high-fat content emulsifies beautifully with the maple syrup and butter, creating a stable and creamy base. I strongly advise against substituting heavy cream with lighter creams or milk, as these alternatives lack the necessary fat content and will not yield the desired thick, rich fudge texture. Full-fat dairy is critical for this recipe’s success.
- Unsalted Butter: Real butter is non-negotiable for achieving the perfect flavor and velvety mouthfeel. Unsalted butter allows you to control the overall saltiness of the fudge, ensuring the maple flavor remains center stage. The butter introduces a delicate richness and helps to create a smooth, pliable texture, preventing the fudge from becoming too firm or crumbly. Always opt for high-quality unsalted butter for the best taste and consistency.
You can find the precise measurements for these ingredients in the detailed recipe card at the bottom of this page. Using these quality ingredients will ensure your maple fudge is nothing short of extraordinary.
Equipment You’ll Need
While this recipe is incredibly simple, having the right tools on hand will ensure a smooth and successful fudge-making process. Gather these items before you begin:
- 8×8 Inch Baking Dish: A sturdy square pan is ideal for setting your fudge.
- Foil or Parchment Paper: For lining the pan, ensuring easy removal of the finished fudge.
- Non-Stick Cooking Spray: An extra layer of protection to prevent sticking.
- Heavy-Bottomed Saucepan: A good quality pan helps distribute heat evenly and prevents scorching, which is crucial for candy making.
- Candy Thermometer: Absolutely essential for accurate temperature measurement. This is the most important tool for achieving the correct fudge consistency.
- Electric Mixer (Handheld or Stand Mixer): Used for beating the cooled fudge mixture to achieve its creamy texture.
- Large, Sharp Knife: For cleanly cutting the set fudge into uniform pieces.
Step-by-Step Instructions for Perfect Maple Fudge
Creating this rich and creamy maple fudge is a straightforward process when you follow these instructions carefully. Precision in temperature and timing is key to achieving that perfect melt-in-your-mouth texture.
- Prepare Your Baking Dish: Begin by preparing an 8×8 inch baking dish. Line it completely with either aluminum foil or parchment paper, ensuring that the paper or foil extends slightly over the edges. This overhang will serve as handles, making it incredibly easy to lift the fudge out once it has set. Lightly spray the lined dish with a non-stick cooking spray to prevent any sticking, guaranteeing a smooth removal.
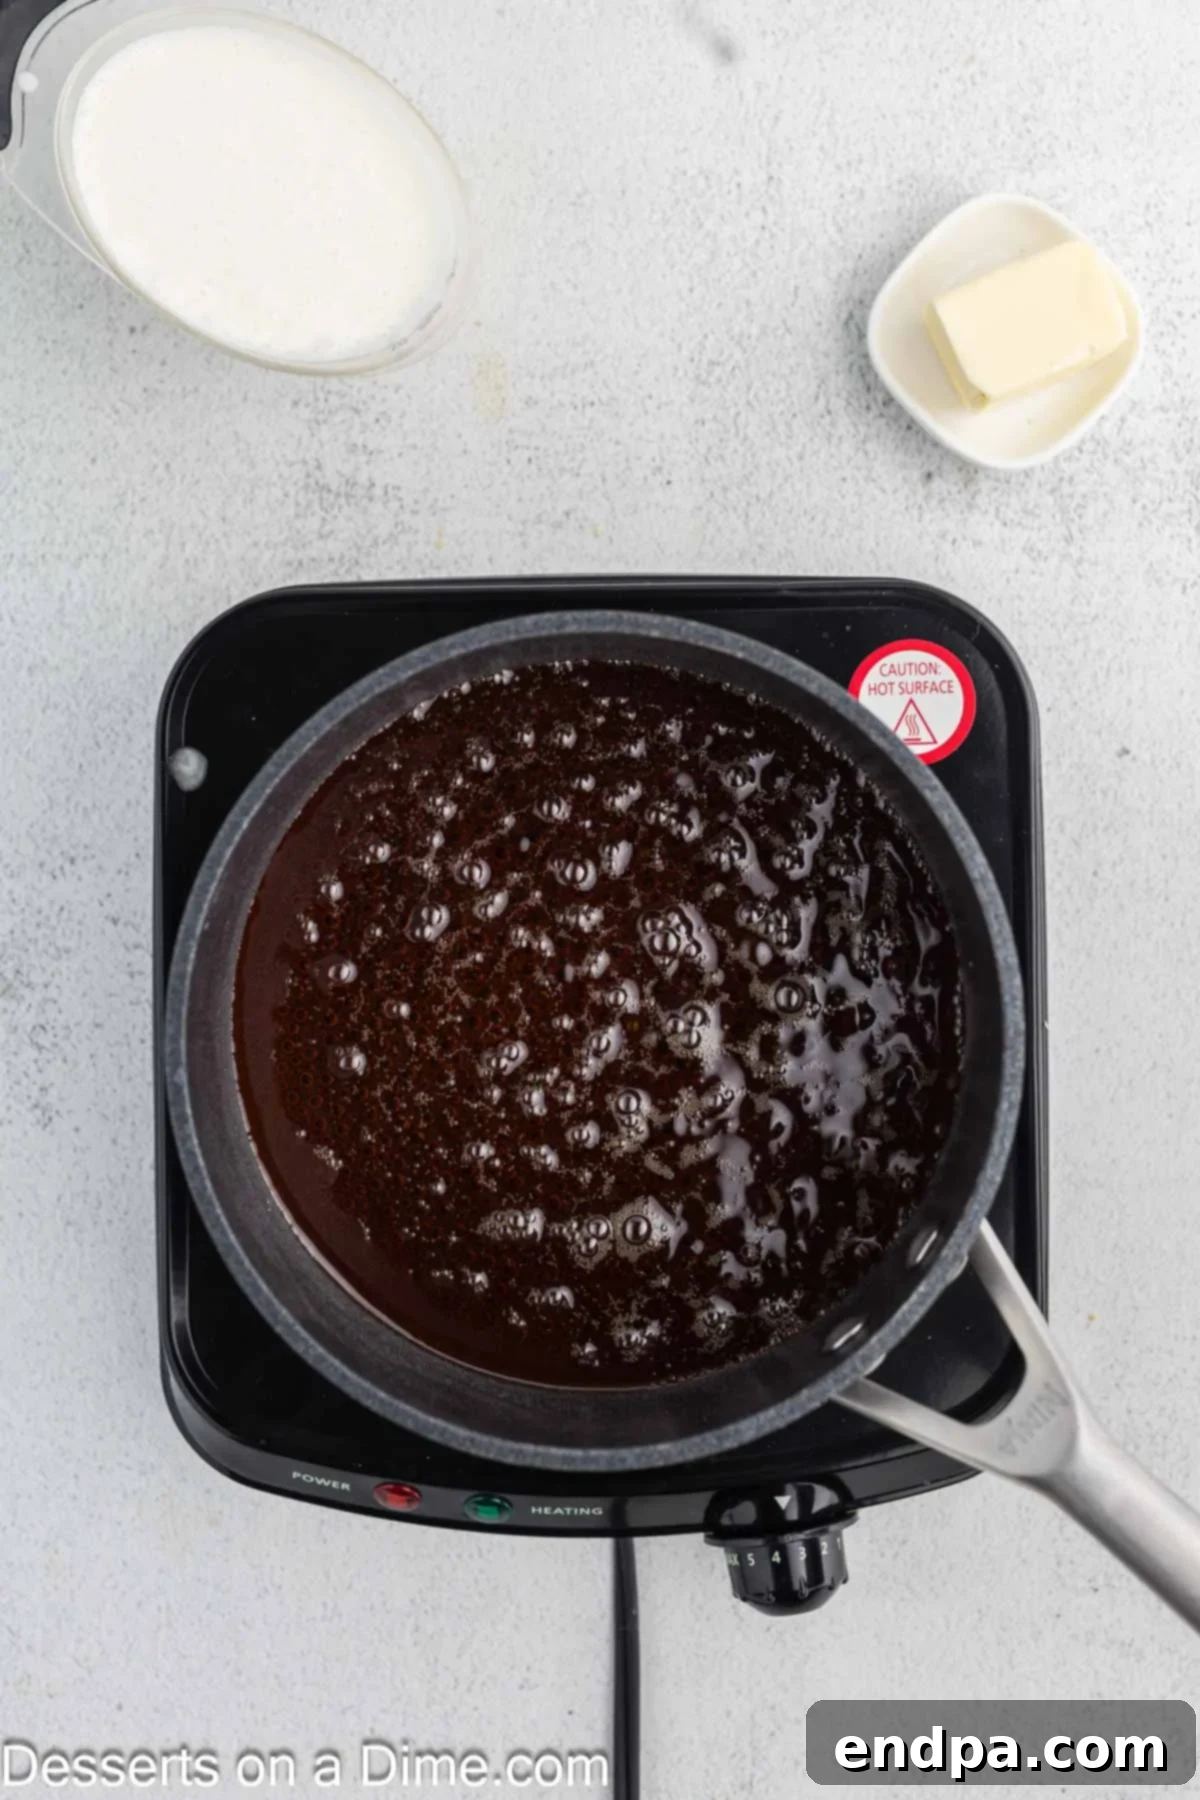
2. Initiate the Syrup Cook: Pour the pure maple syrup into a heavy-bottomed saucepan. Place the saucepan over medium heat, bringing the syrup to a gentle boil. Once boiling, reduce the heat to low and allow the syrup to simmer for precisely 5 minutes. This initial simmer helps to slightly thicken the syrup and develop its flavor.
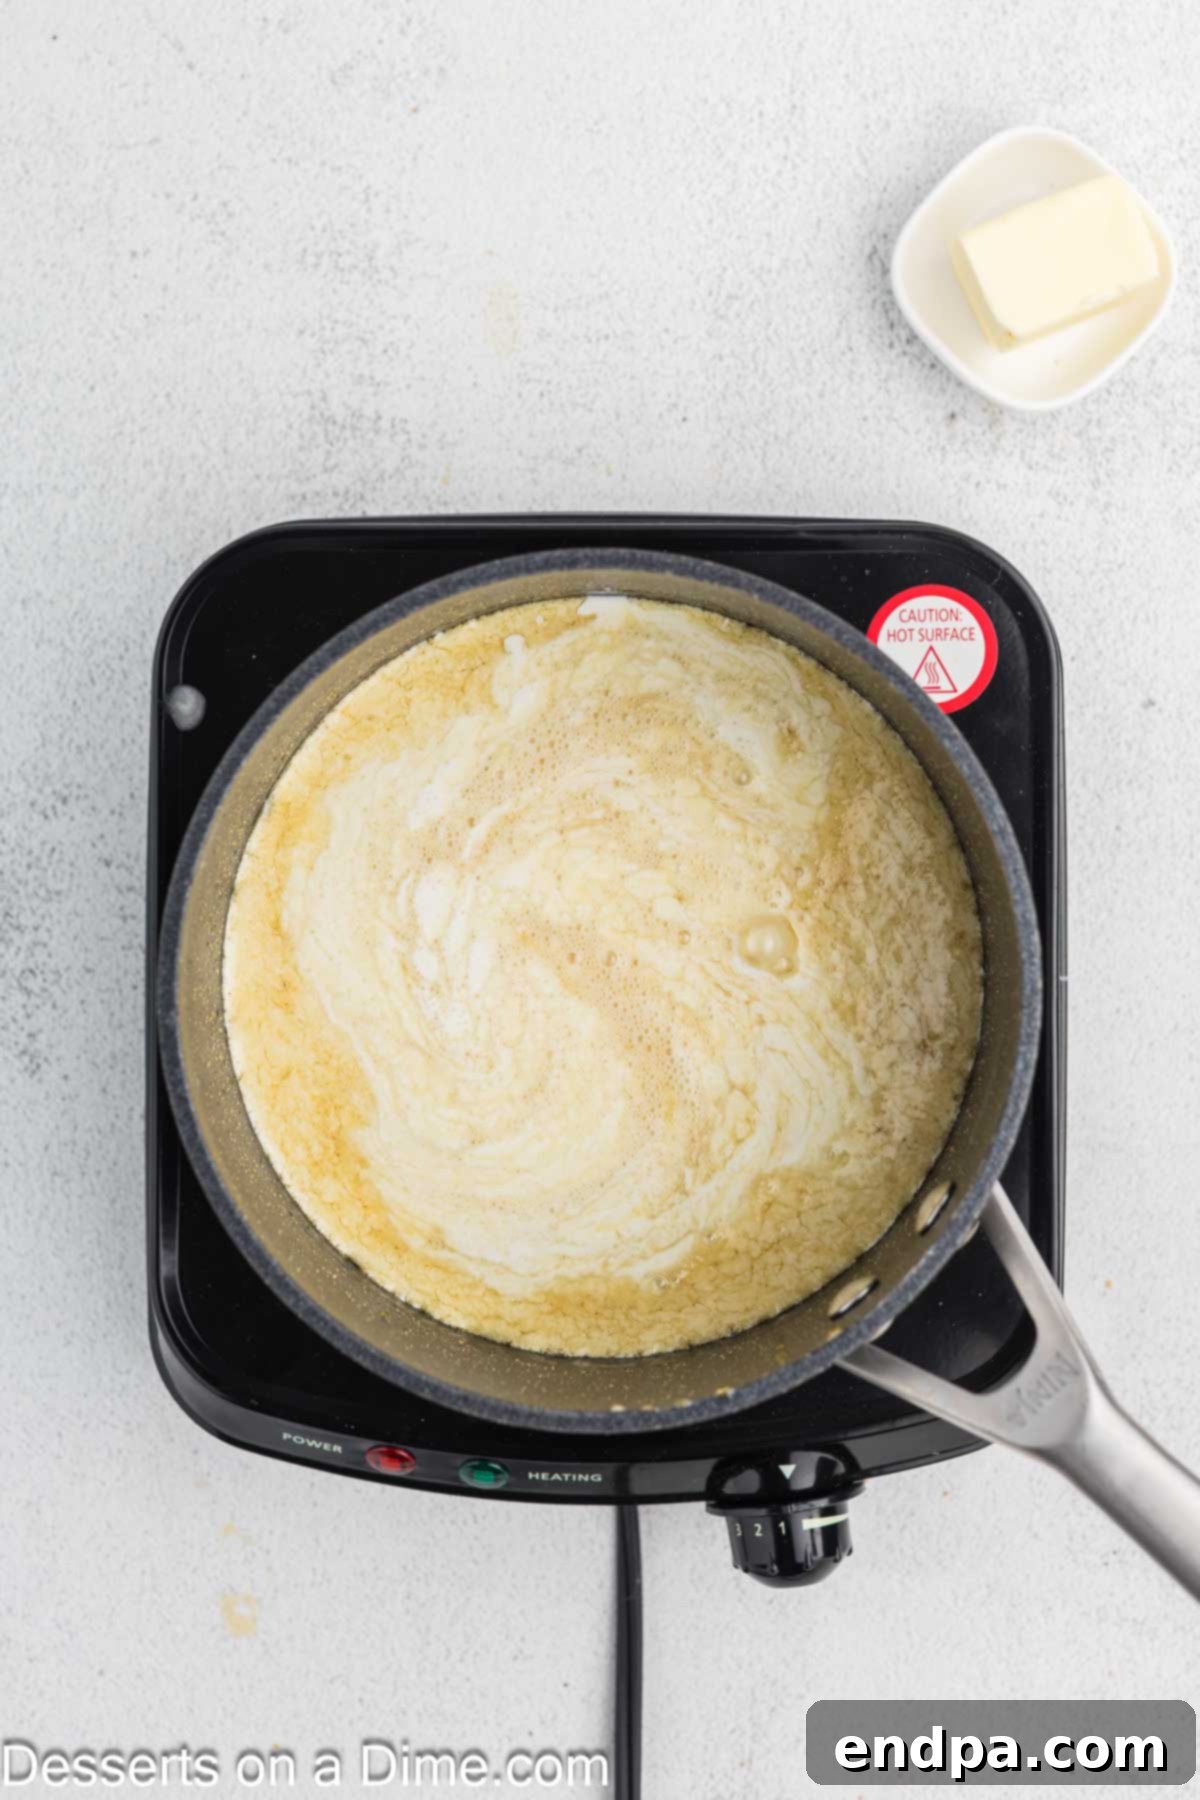
3. Incorporate Cream and Reach Temperature: Carefully and slowly pour the heavy cream into the simmering maple syrup. It is crucial *not* to stir the mixture at this point. Allow it to come back to a boil, then reduce the heat to medium-low. Continue to simmer for 15-20 minutes. During this time, monitor the temperature closely with a candy thermometer until the mixture reaches exactly 236 degrees F (113 degrees C). This temperature, known as the soft-ball stage, is vital for the fudge to set correctly.
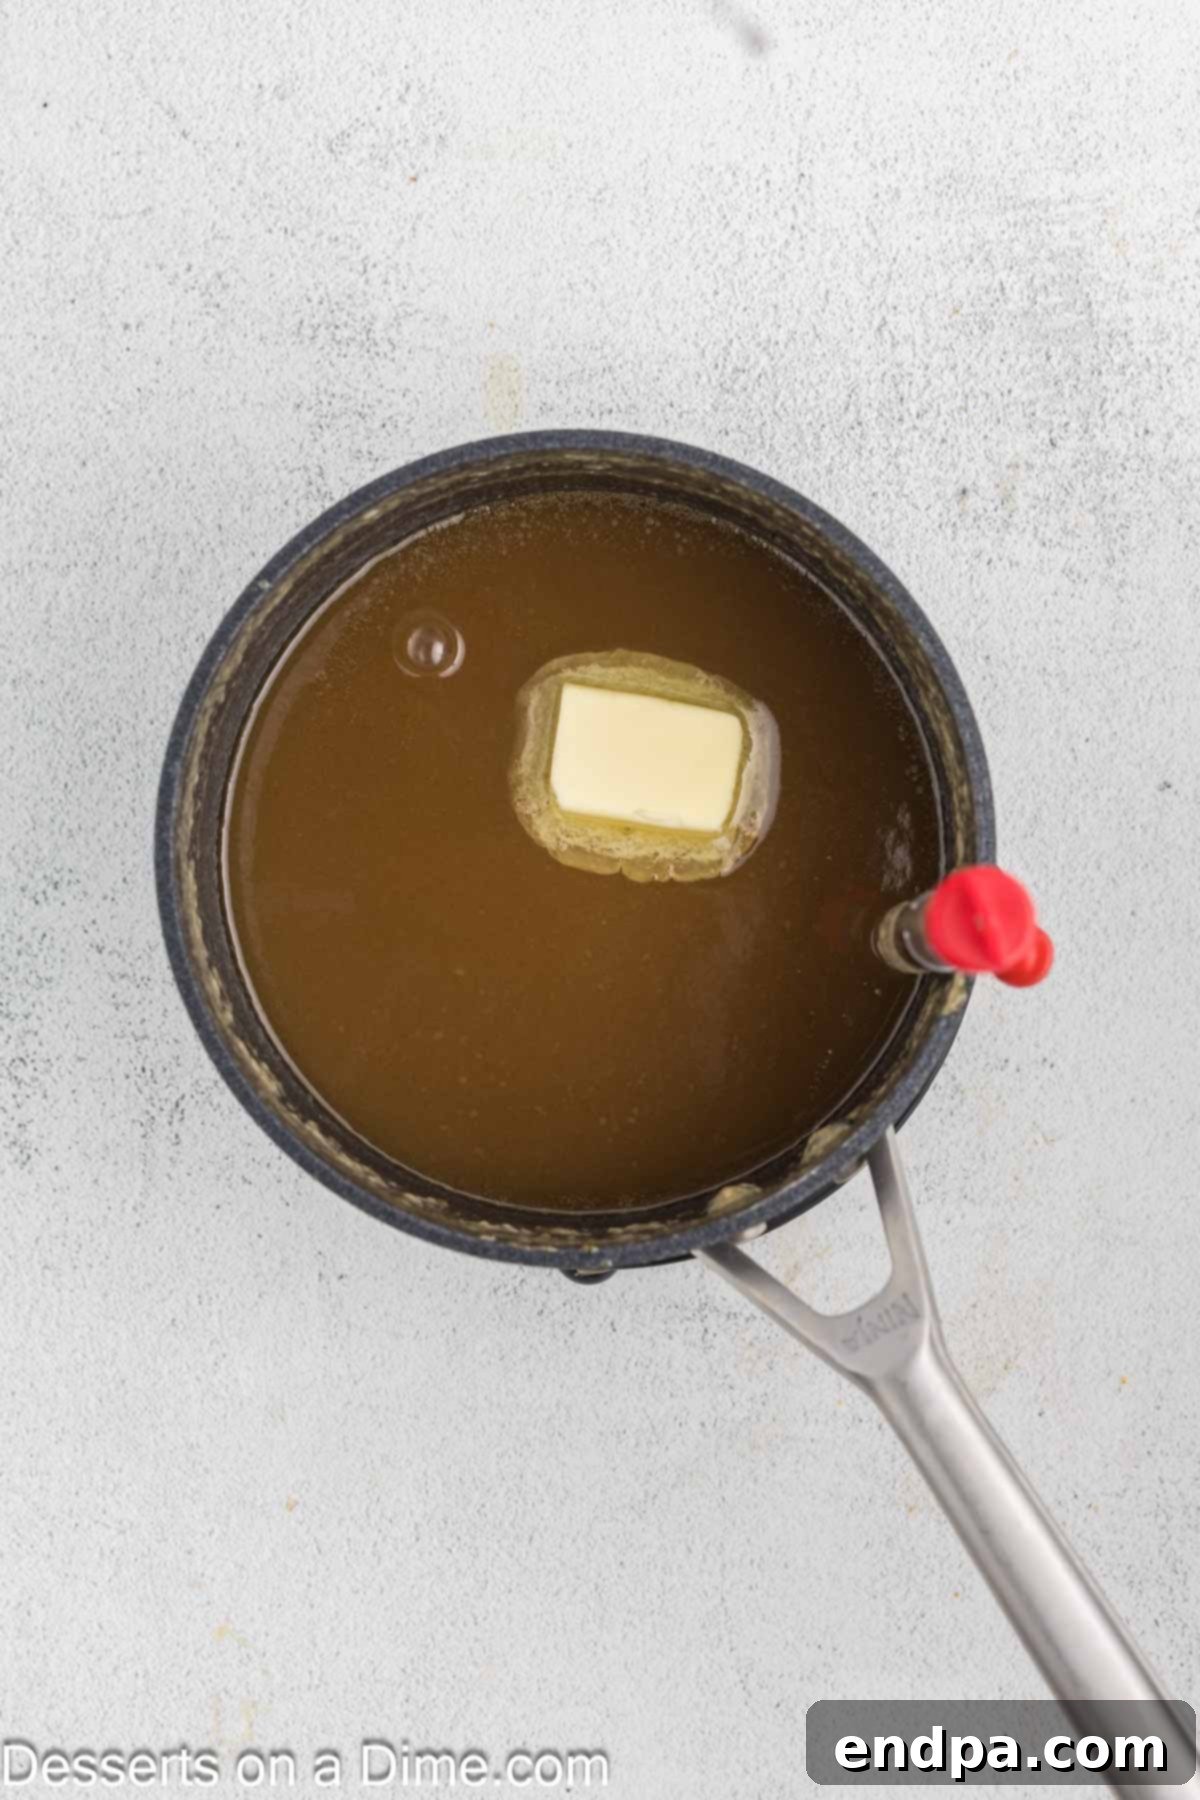
4. Add Butter and Cool: Once the mixture precisely reaches 236 degrees F, immediately remove the saucepan from the heat. Add the unsalted butter to the hot mixture. Again, it is very important *not* to stir the butter in. Allow the mixture to cool undisturbed for approximately 10 minutes. This resting period helps in crystal formation, which is essential for creamy fudge.
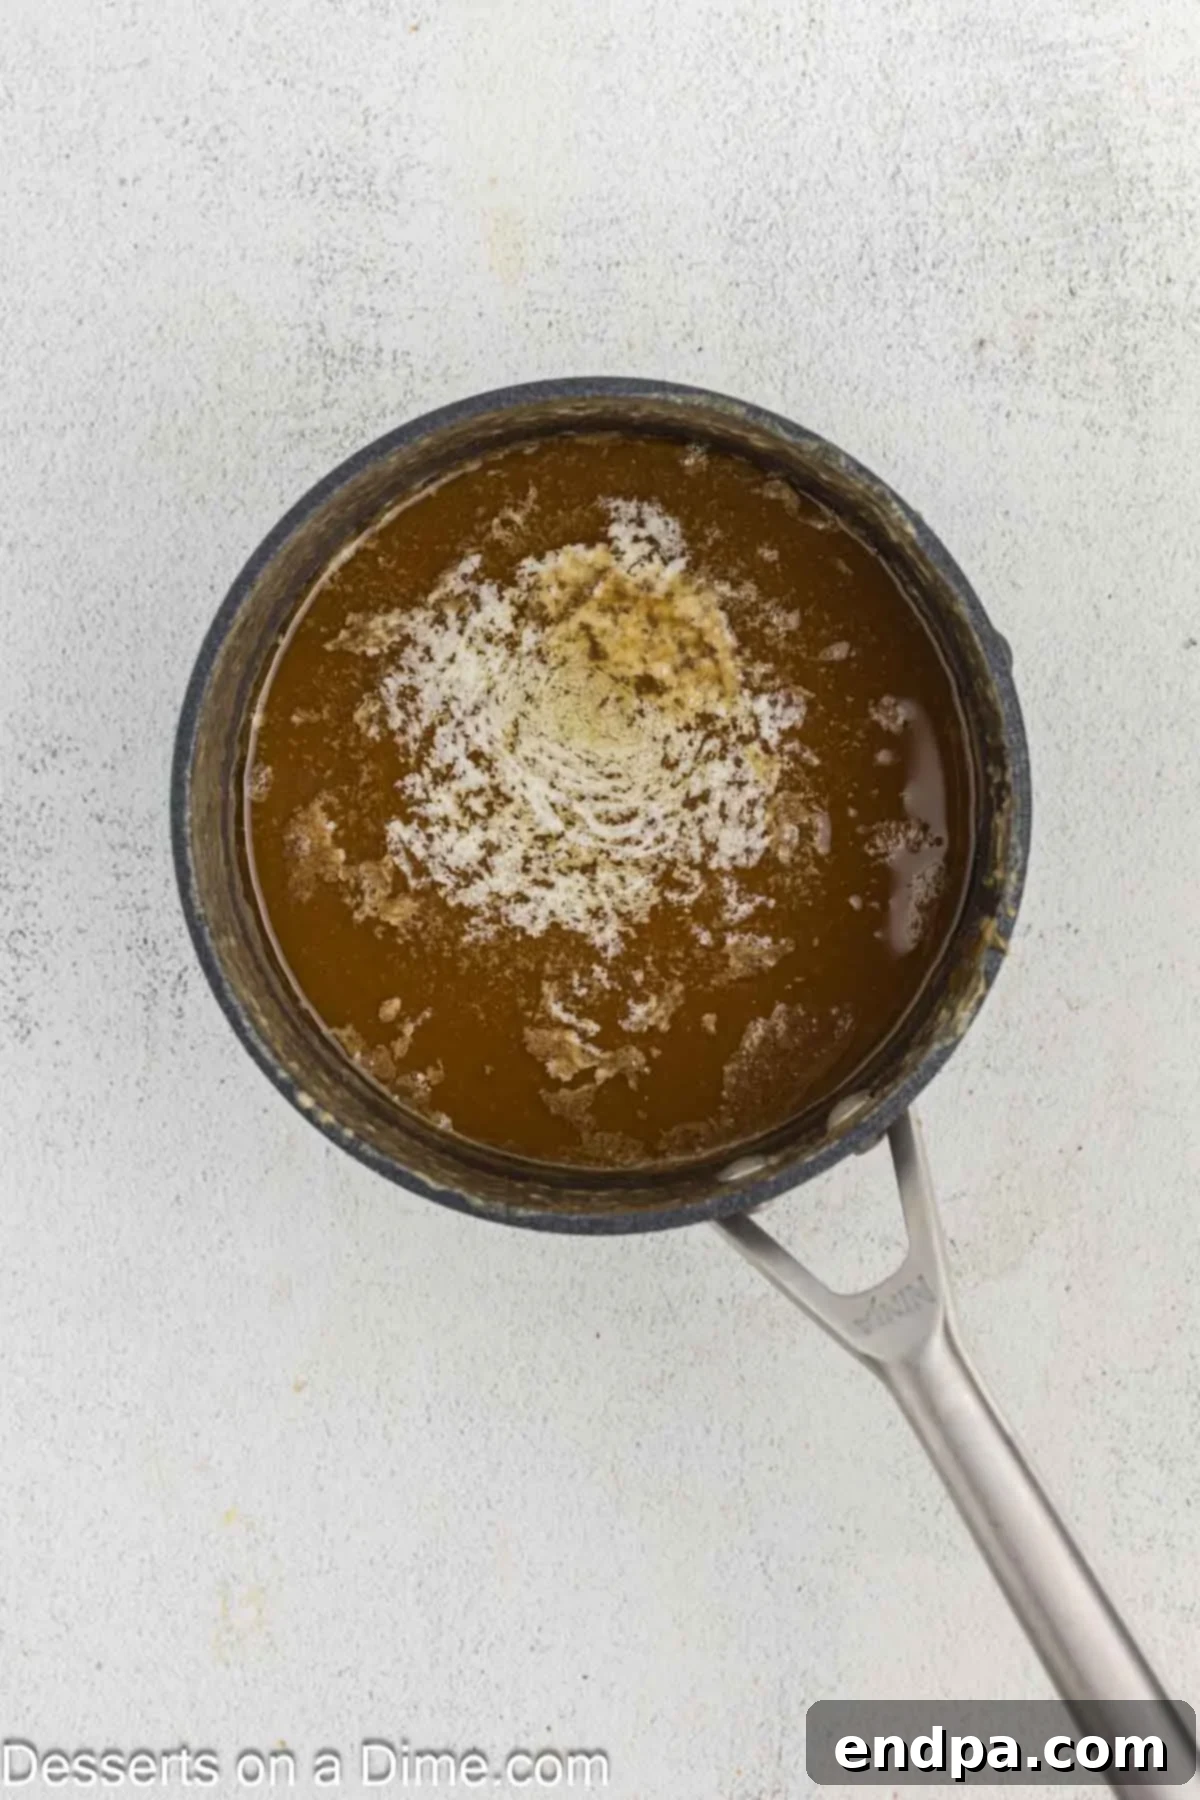
5. Beat for Creaminess: After the 10-minute cooling period, use an electric mixer (handheld or stand mixer with paddle attachment) to beat the mixture vigorously for 5 minutes. You will notice the mixture thickening and transforming into a rich, smooth, and thoroughly combined fudge. This beating process encourages the formation of tiny sugar crystals, resulting in a perfectly creamy texture.
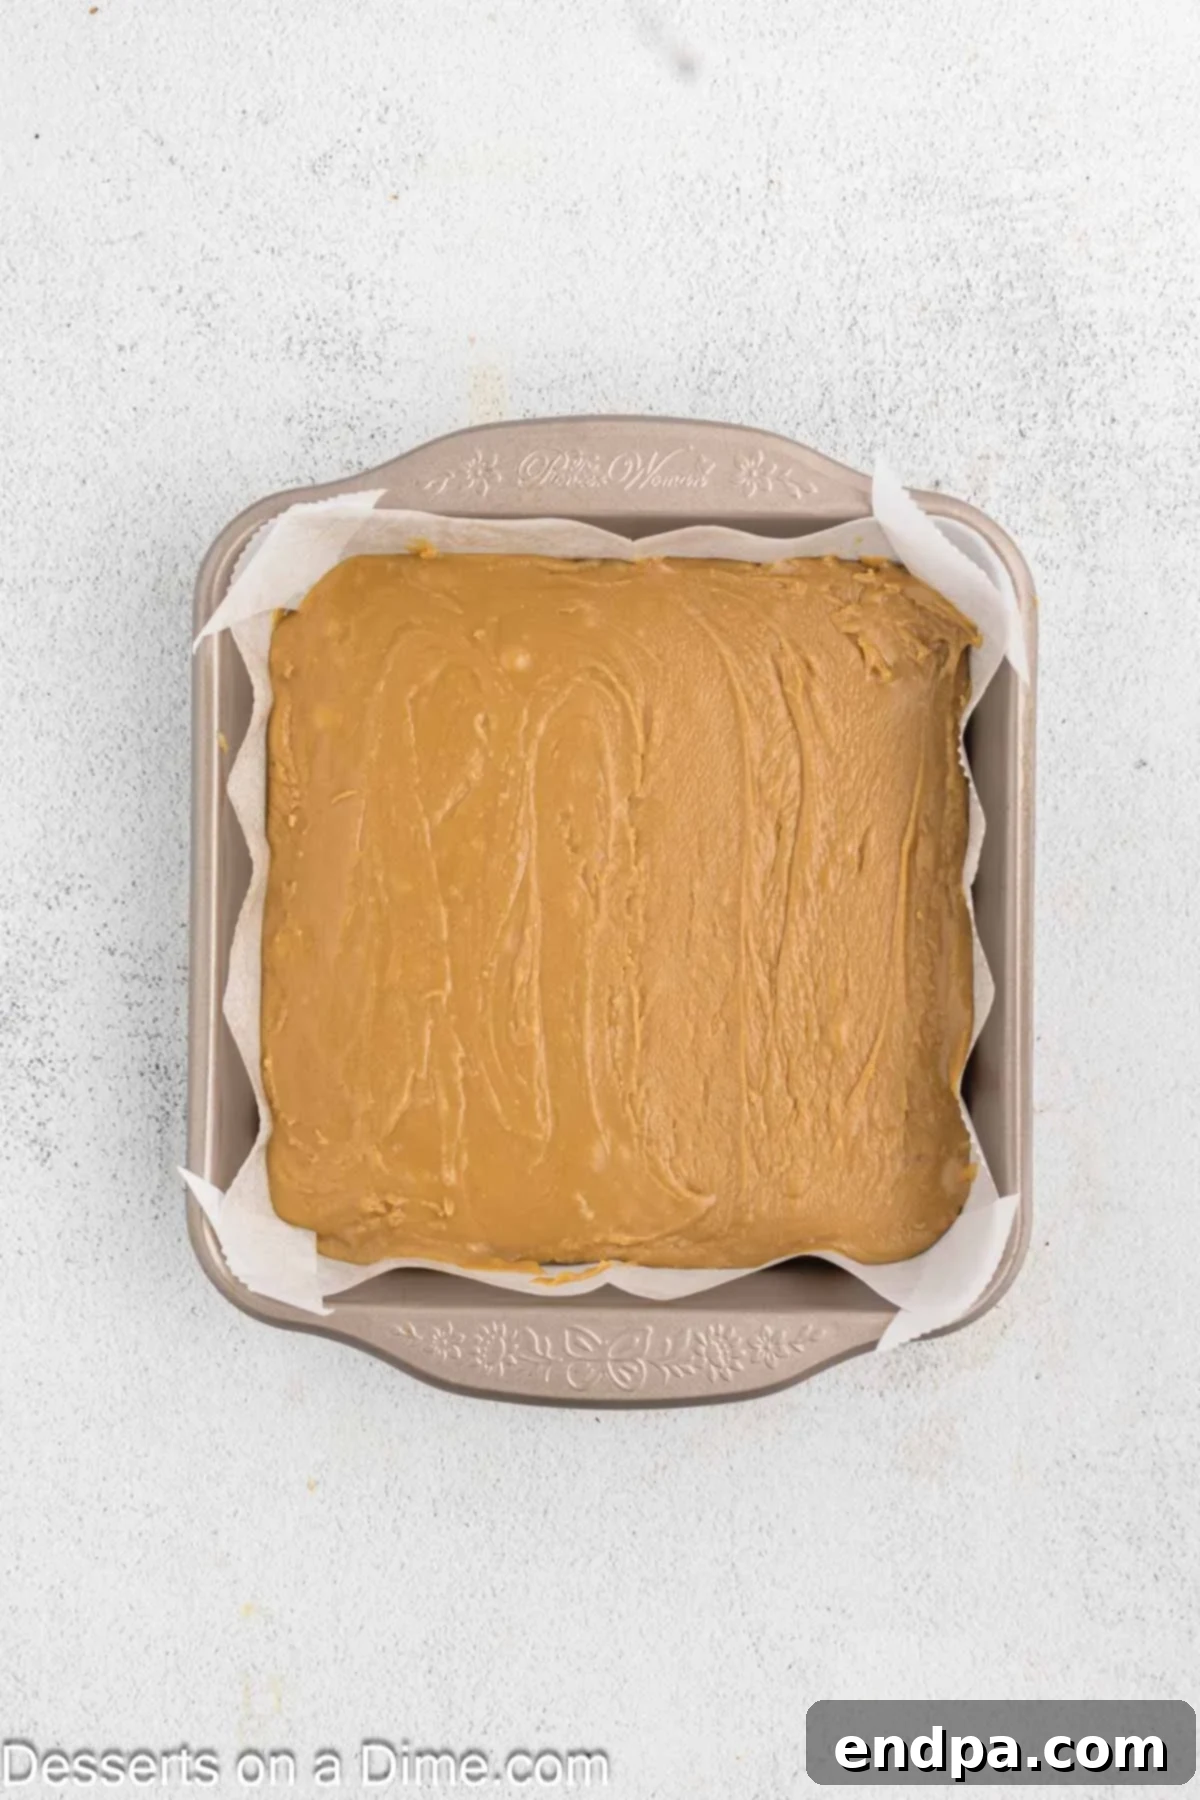
6. Pour into Pan and Set: Promptly pour the beaten fudge mixture into your prepared square pan, spreading it evenly into a single layer using a spoon or spatula. Gently tap the pan on your countertop a few times. This action helps to release any trapped air bubbles, ensuring a smooth surface and a dense fudge.
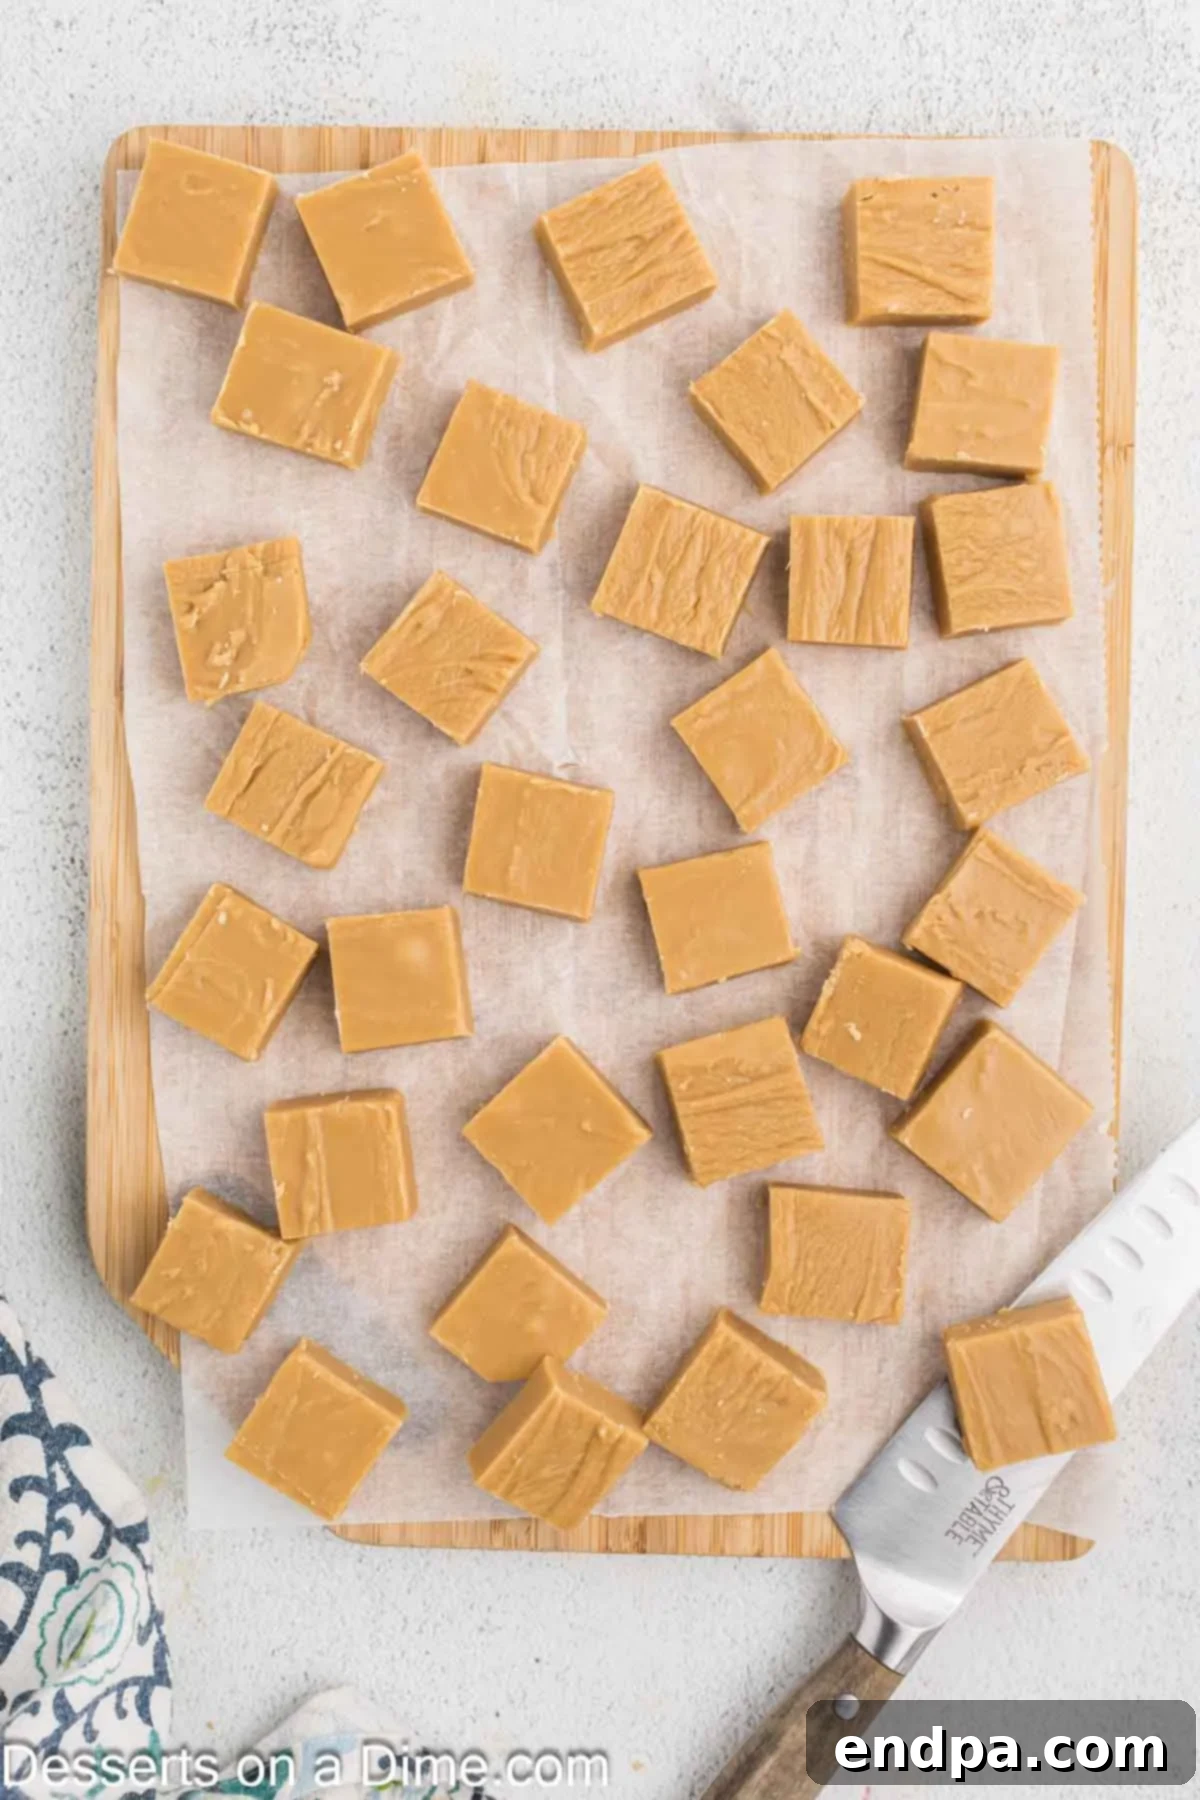
7. Chill Until Firm: Cover the fudge in the pan with plastic wrap or another piece of parchment paper. Transfer the pan to the refrigerator and allow the fudge to chill until it is completely set and firm. This typically takes about 2-3 hours. Once fully set, carefully remove the fudge from the pan by lifting the edges of the parchment paper or foil. Place it on a cutting board.
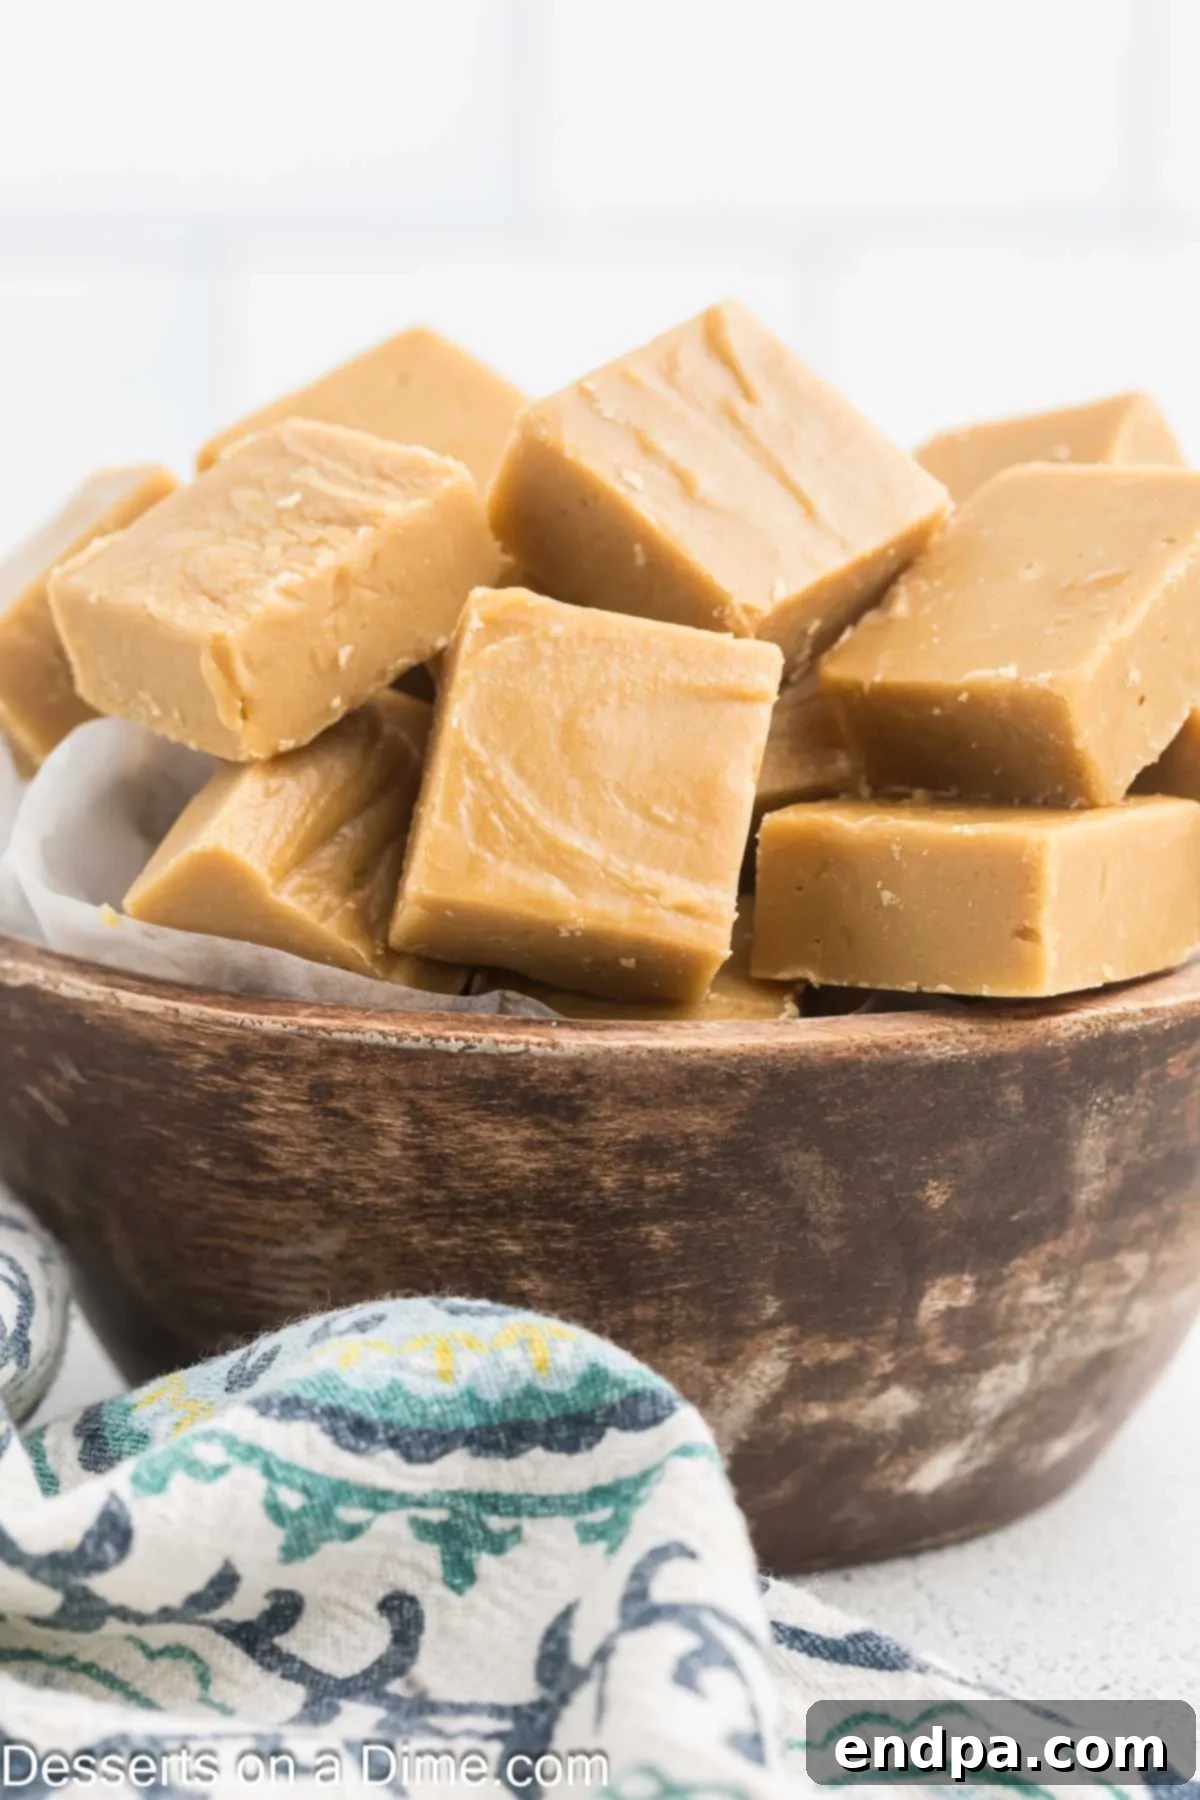
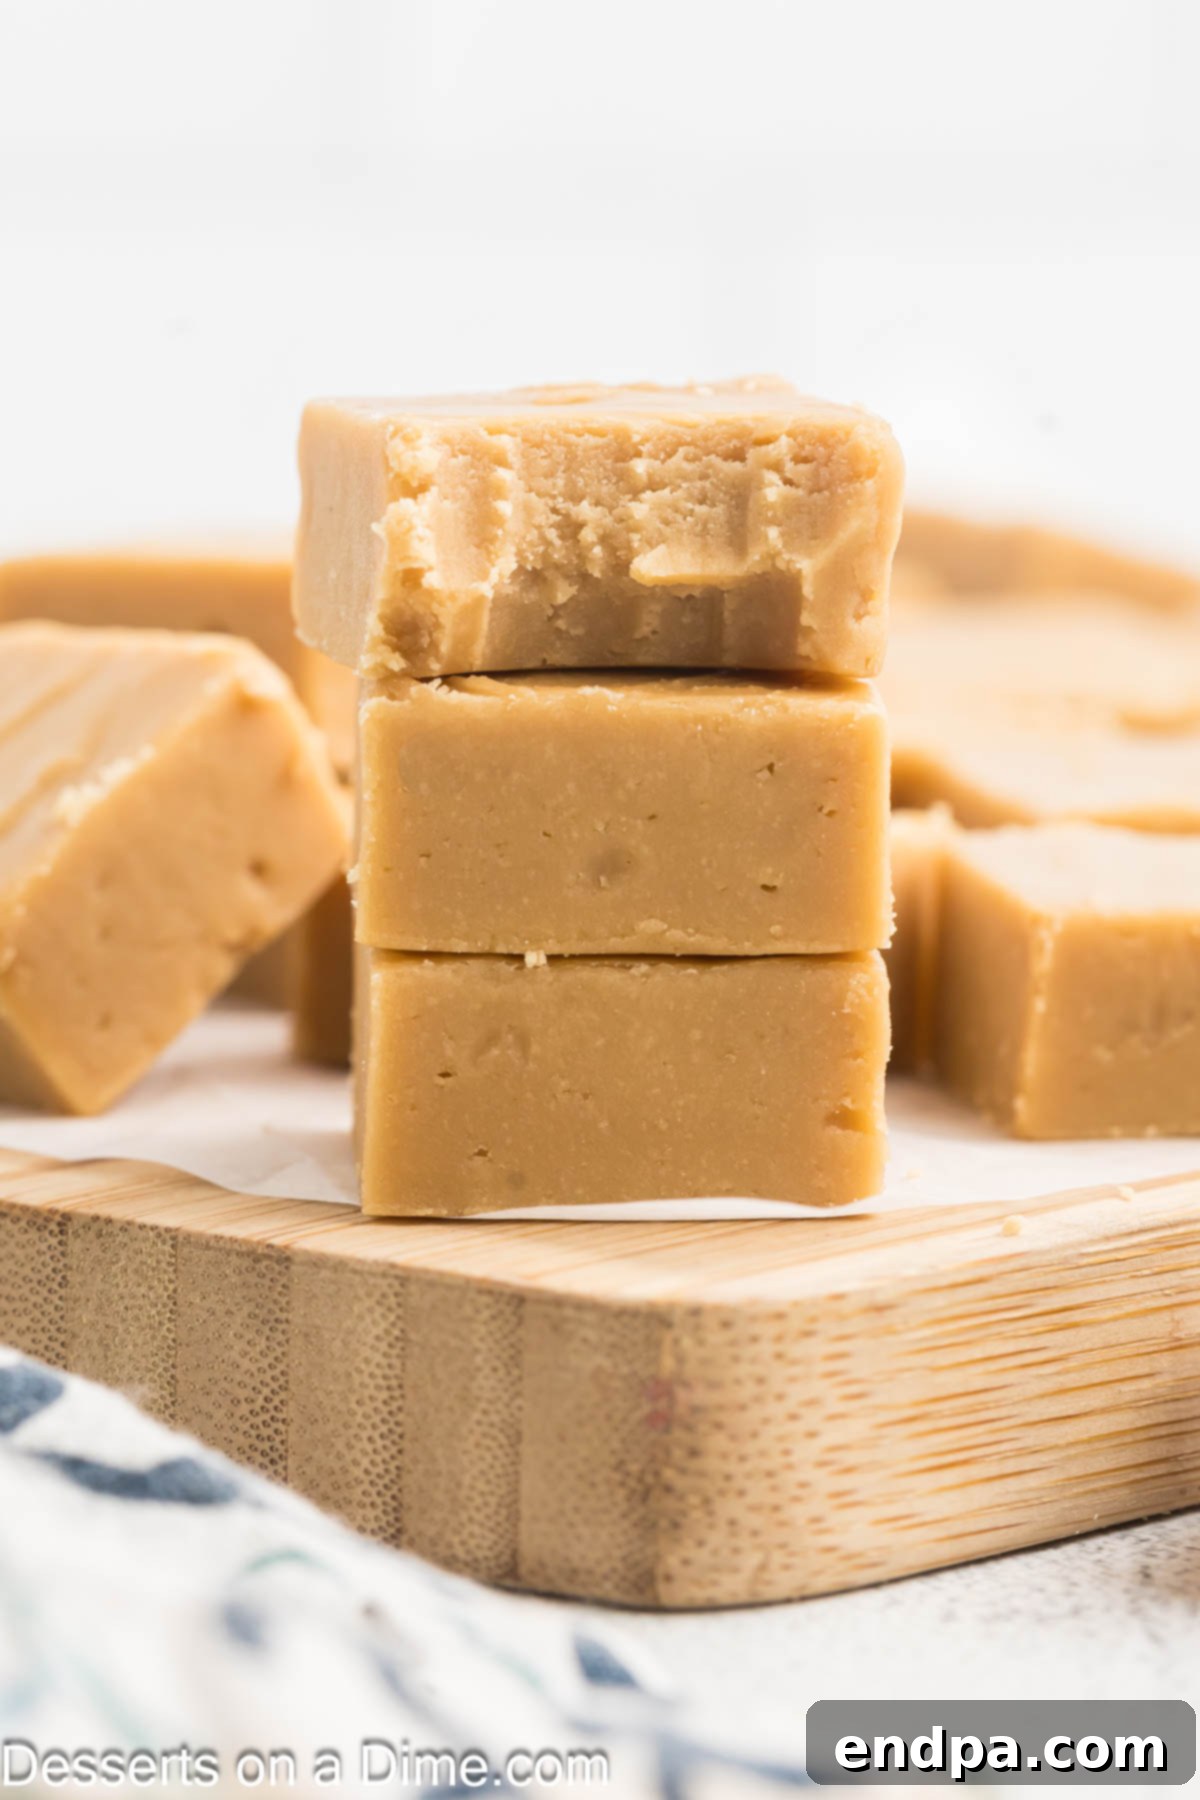
8. Cut and Serve: Using a large, sharp knife, cut the fudge into 24 uniform pieces. For clean cuts, you can run the knife under hot water and wipe it dry between slices. Once cut, your exquisite 3-ingredient maple fudge is ready to serve and be savored!
Storage & Freezing Tips for Fresh Fudge
Proper storage is essential to maintain the freshness and delightful texture of your homemade maple fudge. Whether you plan to enjoy it over several days or save it for a later date, these tips will help keep your fudge in perfect condition.
- Room Temperature Storage: For short-term storage, place any leftover maple fudge pieces in an airtight container. Store it at room temperature, away from direct sunlight and heat, for up to 1-2 weeks. This method preserves the fudge’s soft, chewy texture perfectly.
- Refrigeration: To extend the shelf life of your fudge, transfer it to an airtight container and store it in the refrigerator. When refrigerated, maple fudge can stay fresh for up to 2-3 weeks. If the fudge becomes a bit firm in the fridge, simply let it come to room temperature for a few minutes before serving to restore its ideal texture.
- Freezing: Wondering can you freeze fudge? Absolutely! Freezing is an excellent option for long-term storage, allowing you to enjoy your homemade maple fudge for months to come. To freeze, wrap individual pieces or small blocks of fudge tightly in plastic wrap, then place them in a freezer-safe airtight container or heavy-duty freezer bag. Frozen fudge can be stored for up to 2 months. When you’re ready to enjoy, simply thaw the fudge in the refrigerator overnight or at room temperature for a few hours until it reaches your desired consistency.
Always ensure your fudge is stored in an airtight container to prevent it from drying out or absorbing unwanted odors from your fridge or pantry.
Creative Mix-In & Variation Ideas
While this 3-ingredient maple fudge is divine on its own, adding mix-ins can introduce exciting new textures and flavor dimensions. Get creative and customize your batch with these delicious suggestions:
- Mini Marshmallows: Stir in a handful of mini marshmallows during the beating phase or press them into the top of the fudge just after pouring it into the pan. They add a delightful chewiness and a subtle sweetness that complements the maple flavor beautifully.
- Sea Salt: For a sophisticated twist, sprinkle flaky sea salt on top of the fudge before it fully sets. The contrast between the sweet maple and the hint of saltiness creates an irresistible flavor profile that elevates the entire experience.
- Mini Chocolate Chips: Incorporate mini chocolate chips into the mixture during the beating stage or scatter them generously over the top of the fudge before chilling. Both milk chocolate and white chocolate chips pair wonderfully with maple, adding an extra layer of sweetness and a pleasant textural crunch.
- Nuts: Chopped walnuts are a classic and highly recommended addition, transforming this into what’s often called Vermont Fudge or Maple Walnut Fudge. The nutty crunch and earthy flavor of walnuts perfectly complement the rich maple. Pecans are another excellent choice, offering a slightly buttery and sweet note. Toast the nuts lightly before adding for enhanced flavor.
- Coconut: Shredded coconut, either mixed into the fudge or sprinkled on top, adds a tropical hint and a lovely texture. Toasting the coconut beforehand will bring out a deeper, caramelized flavor.
- Dried Fruit: Small diced dried cranberries or cherries can add a burst of tartness and a chewy texture that beautifully contrasts the fudge’s richness.
- Spices: A pinch of ground cinnamon or nutmeg can enhance the warm, inviting flavors of maple, especially during the fall and winter months. Add a small amount during the simmering stage.
Experiment with these mix-ins to discover your favorite combinations and personalize your maple fudge creations.
Expert Tips for Fudge Success
Achieving consistently perfect maple fudge involves a few key practices. These expert tips will help ensure your fudge turns out flawlessly every time: creamy, smooth, and utterly delicious.
- Prioritize Real Maple Syrup: This cannot be stressed enough – for an authentic and superior flavor, always use pure, real maple syrup. Artificial pancake syrups contain corn syrup and synthetic flavorings that will compromise the taste and texture of your fudge. Invest in a good quality pure maple syrup for the best results.
- Invest in a Candy Thermometer: A reliable candy thermometer is your best friend when making fudge. Accurately reaching the soft-ball stage (236 degrees F or 113 degrees C) is absolutely critical for the fudge to set properly. Without the correct temperature, your fudge may be too soft and never firm up, or too hard and grainy. Calibrate your thermometer by placing it in boiling water; it should read 212°F (100°C).
- Resist the Urge to Stir: Pay close attention to the instructions that specify “do not stir.” Stirring at certain stages, particularly after adding the heavy cream or butter and during the initial cooling phase, can encourage premature crystallization of sugar, leading to a grainy texture instead of the desired smooth creaminess. Trust the process and let the ingredients meld naturally.
- Choose Dark Robust Syrup: While any pure maple syrup works, Grade A Dark, Robust Taste (formerly Grade B) maple syrup boasts the most intense and profound maple flavor. This will translate into a richer, more deeply flavored fudge that truly celebrates the essence of maple.
- Consider Maple Extract (Optional): If you desire an even more pronounced maple flavor, you can add a few drops of pure maple extract during the beating phase. However, if you use high-quality pure maple syrup, this addition typically isn’t necessary.
- Heavy-Bottomed Saucepan is Best: Use a heavy-bottomed saucepan for cooking your fudge mixture. This type of pan distributes heat more evenly, reducing the risk of scorching the syrup and cream, which can negatively affect the flavor and texture of your fudge.
- Be Patient with Cooling: The 10-minute cooling period after removing the mixture from heat and adding butter is not arbitrary. This allows the mixture to cool slightly and initiates the proper crystallization process before beating, contributing significantly to a smooth, creamy fudge.
- Clean Pan Sides: As the mixture boils, sugar crystals can form on the sides of the pan. These can cause the fudge to become grainy. Use a pastry brush dipped in water to gently wash down the sides of the pan during cooking to prevent this.
Frequently Asked Questions About Maple Fudge
Understanding common issues and best practices can help you master the art of fudge making. Here are answers to some frequently asked questions:
Why did my fudge not set?
The most common reason for fudge not setting is incorrect cooking temperature. If the maple syrup and cream mixture does not reach the critical temperature of 236 degrees F (soft-ball stage), the sugar crystals won’t form correctly, and the fudge will remain too soft. It’s crucial to use a reliable candy thermometer and ensure it is calibrated correctly. Cooking for too short a time or at too low a heat will prevent it from reaching the necessary consistency.
Why is my fudge hard?
Fudge that turns out too hard is usually a sign of overcooking. If the mixture goes beyond 236 degrees F, too much moisture evaporates, leading to an overly firm, sometimes brittle texture. Over-beating the fudge can also contribute to a harder consistency, as it promotes excessive crystal formation. Carefully monitoring your candy thermometer is key to avoiding this problem.
What makes fudge grainy?
A grainy texture in fudge typically results from improper crystallization. This can happen if the mixture is overmixed during the cooling phase, or if it’s stirred too vigorously while hot, causing large sugar crystals to form. Not cleaning sugar crystals off the sides of the pan during boiling can also introduce seed crystals that lead to graininess. Allowing the mixture to cool undisturbed for the initial 10 minutes before beating is crucial for a smooth fudge.
Can I use pancake syrup instead of pure maple syrup?
No, it is highly recommended to use pure maple syrup for this recipe. Pancake syrup is typically made from corn syrup, high-fructose corn syrup, and artificial flavorings, which will not provide the same rich, natural maple flavor or the correct chemical properties for the fudge to set properly. The unique sugar composition of pure maple syrup is essential for this recipe.
Do I need an electric mixer?
While an electric mixer (handheld or stand mixer) makes the beating process much easier and more efficient, you can technically beat the fudge by hand with a sturdy spoon. However, it will require significant arm strength and more time to achieve the desired thick and creamy consistency.
Maple Fudge Recipe
Pin
Maple Fudge
You only need 3 ingredients to make rich and creamy Maple Fudge. This indulgent treat is so delicious and melts in your mouth.
Ingredients
- 2 1/4 cups Pure Maple Syrup
- 1 cup Heavy Cream
- 3 Tablespoons Unsalted Butter
Instructions
- Line an 8X8 baking dish with foil or parchment paper and spray with a non-stick cooking spray for easy removal of the fudge.
- Add the maple syrup to a saucepan and heat over medium high heat. Bring the syrup just to a boil and then reduce the heat to low and simmer for approximately 5 minutes.
- Pour in the heavy cream and do not stir it in. Bring the mixture back to a boil and then reduce the heat again and let it simmer for 15-20 minutes until the mixture reaches 236 degrees F with a candy thermometer.
- Remove the pan from the heat. Add in the butter but do not stir in. Let the mixture cool for approximately 10 minutes.
- Beat the mixture with a hand held mixer for 5 minutes until the mixture becomes thick and is thoroughly combined.
- Pour the mixture into the prepared pan into a single layer. Gently tap the pan on the countertop to remove any air bubbles from the mixture.
- Refrigerate until the fudge is fully set (2-3 hours).
- Carefully remove the fudge from the pan by lifting the parchment paper or foil.
- Dice the fudge into 24 pieces with a large, sharp knife.
- Then the fudge is ready to serve and enjoy!
Recipe Notes
Make sure to use pure, real maple syrup and not artificial pancake syrup for the best flavor on this fudge.
Store any leftovers in an airtight container at room temperature for up to 1-2 weeks or refrigerate for up to 2-3 weeks.
Nutrition Facts
Carbohydrates 21g,
Protein 0.3g,
Fat 5g,
Saturated Fat 3g,
Polyunsaturated Fat 0.2g,
Monounsaturated Fat 1g,
Trans Fat 0.1g,
Cholesterol 15mg,
Sodium 6mg,
Potassium 78mg,
Sugar 18g,
Vitamin A 190IU,
Vitamin C 0.1mg,
Calcium 40mg,
Iron 0.04mg
More Irresistible Fudge Recipes
Easy Fudge
Chocolate Peanut Butter Fudge Recipe
Easy Fudge
Butterscotch Fudge
Easy Fudge
Hot Chocolate Fudge
Easy Fudge
Red Velvet Fudge
This 3-ingredient maple fudge is more than just a dessert; it’s a delightful experience waiting to happen. Simple to make, incredibly delicious, and perfect for sharing or savoring solo, it’s a recipe you’ll revisit time and again. Whip up a batch today and immerse yourself in the rich, creamy goodness of homemade maple fudge. We’d love to hear about your experience – leave a comment below and share your fudge-making triumphs!
