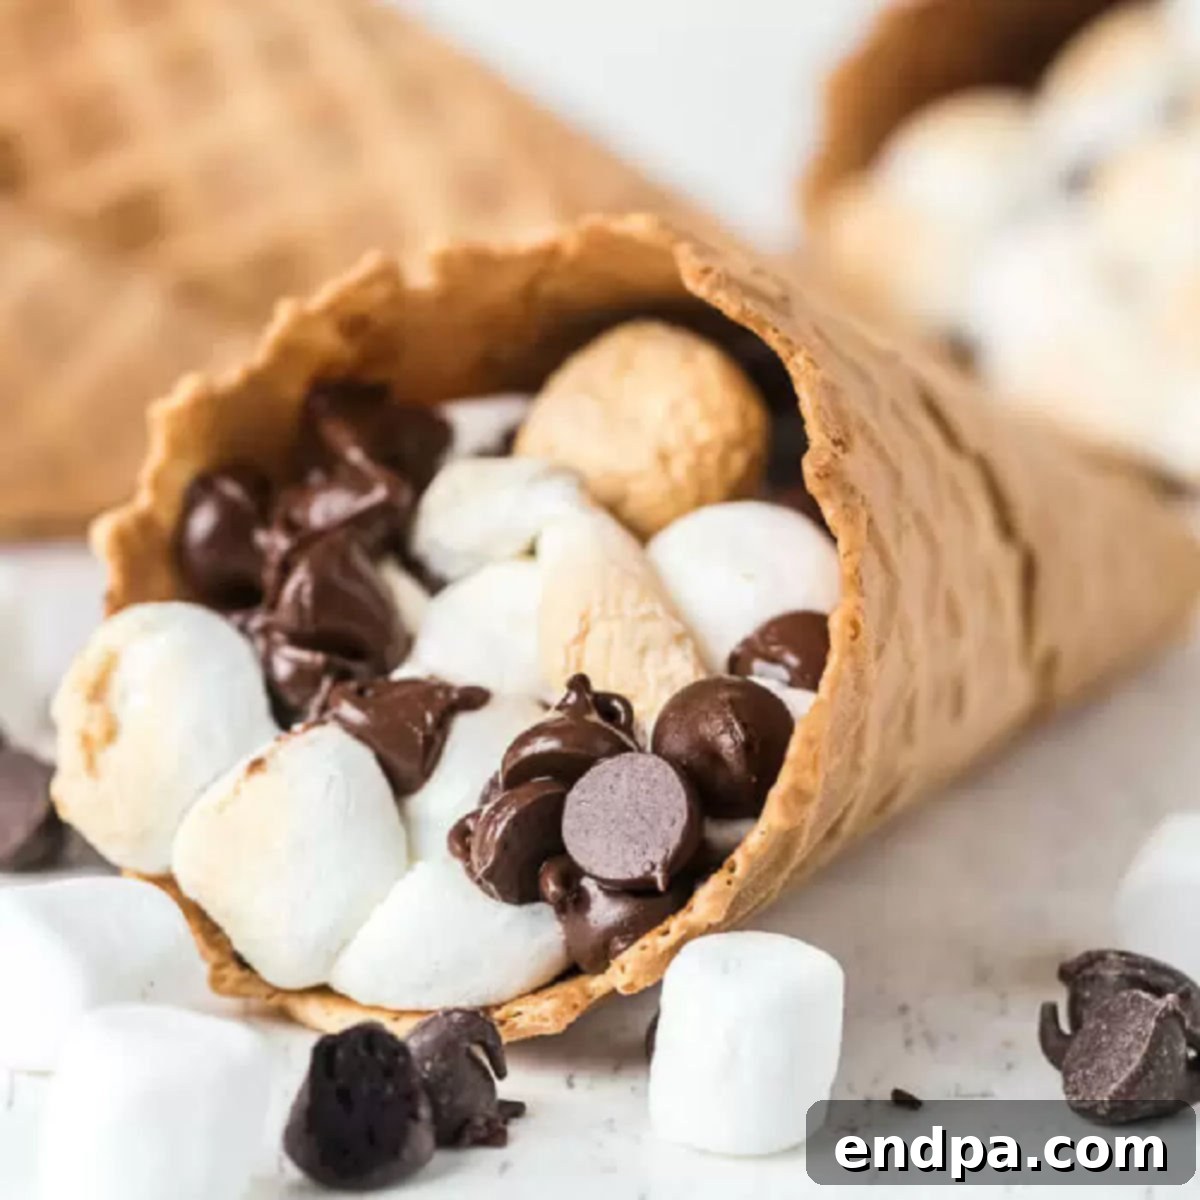
Waffle Cone S’mores: The Ultimate Easy Campfire Treat
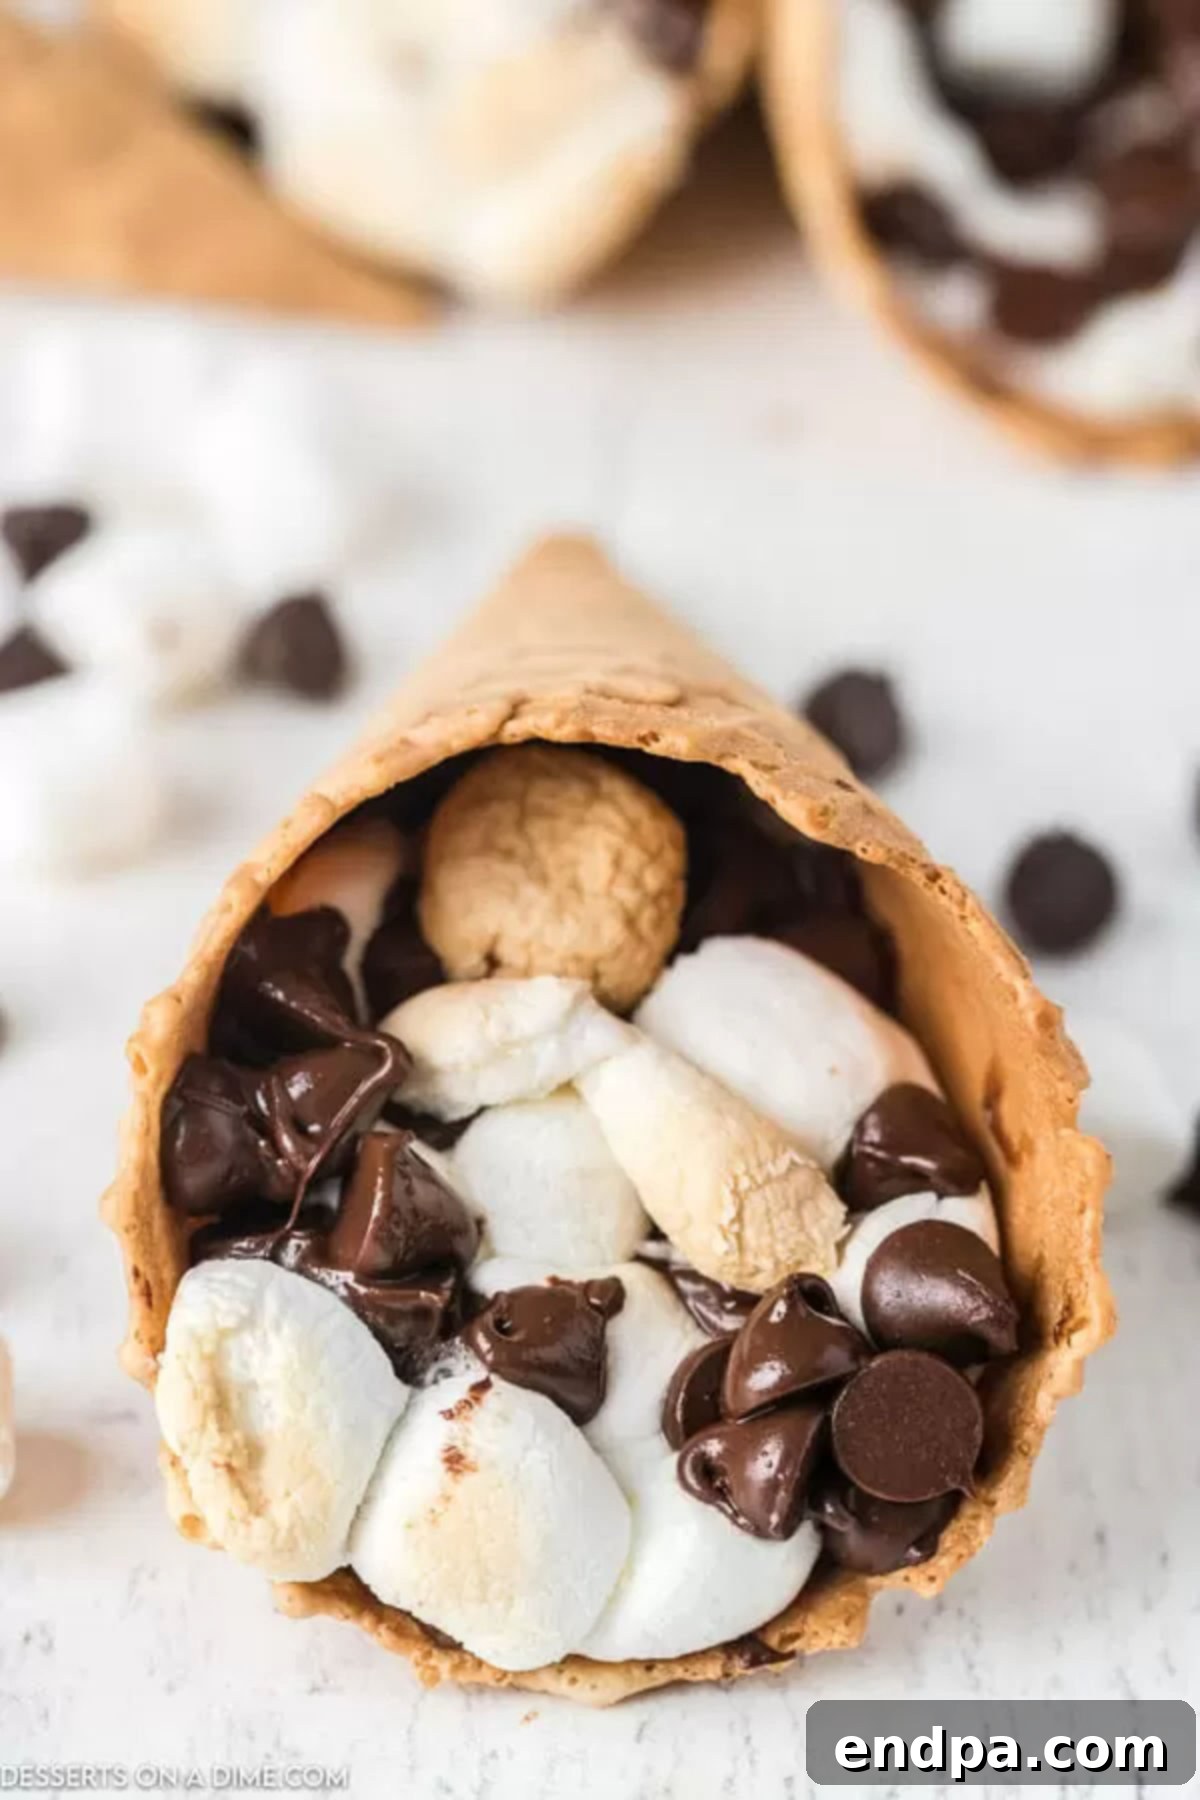
There’s something inherently magical about s’mores. That perfect blend of gooey, toasted marshmallow, melted chocolate, and crisp graham cracker evokes memories of crackling campfires, starry nights, and shared laughter. However, the traditional s’mores experience, while nostalgic, can often be quite messy and, let’s be honest, a little cumbersome to assemble, especially for younger hands. Enter the ingenious solution: Waffle Cone S’mores! This delightful dessert takes everything you adore about classic s’mores and cleverly packages it into a convenient, handheld waffle cone, making it an absolute game-changer for any outdoor gathering, backyard BBQ, or even a cozy night in.
Whether you’re planning an epic camping trip and need a dessert that’s both fun and practical, or simply grilling out in your backyard and looking for a tasty, less-mess alternative, these delicious waffle cone s’mores truly hit the spot. They eliminate the need for juggling separate ingredients, providing a neat, portable package of pure s’mores bliss. The waffle cone itself adds an extra layer of flavor and texture, perfectly complementing the sweet, melty filling.
If you’re already a fan of creative s’mores variations, like our Golden Graham S’mores Bars, then this waffle cone s’mores recipe is bound to become your new favorite. Our family simply can’t get enough of anything s’mores-related! We’ve previously enjoyed making our Easy S’mores Cake Recipe, S’mores Puppy Chow, and even delightful S’mores Cupcakes, all of which were huge hits. These s’mores cones offer another fantastic way to enjoy those beloved flavors with minimal fuss and maximum enjoyment.
For those who crave even more marshmallow goodness, you might also consider making Deep Fried Marshmallows as another delightful treat to accompany your s’mores cones. The possibilities for s’mores-inspired desserts are truly endless, and these cones are a testament to their versatility.
Table of Contents
- Why We Love This Recipe
- Ingredients for Waffle Cone S’mores
- Creative Variations for Your S’mores Cones
- How to Make S’mores Cones
- How to Serve Waffle Cone S’mores
- Can You Make S’mores Cones In Advance?
- Pro Tips for Perfect S’mores Cones
- More Irresistible Smores Recipes to Try
Why We Love This Recipe: The Joys of Waffle Cone S’mores
There are countless reasons why waffle cone s’mores have become a staple in our outdoor cooking repertoire. The convenience of preparing and eating s’mores in these easy-to-handle cones is simply unparalleled. Kids absolutely adore these “campfire cones” not only for their delicious taste but also for the fun, interactive experience of customizing and eating them without the typical sticky fingers.
Beyond convenience, the waffle cone introduces a delightful textural element that traditional graham crackers can’t quite match. The sweet, slightly crunchy cone, especially when warmed, provides a perfect vessel for the molten chocolate and soft marshmallows. It’s a fun and flavorful twist that elevates the classic s’mores experience to new heights. They are incredibly versatile, adaptable to various heat sources (grill, oven, campfire), and offer endless possibilities for customization, making them a crowd-pleaser for all ages. They are also significantly less messy, making cleanup a breeze and allowing everyone to focus on enjoying the moment.
Ingredients for Waffle Cone S’mores
Crafting these delectable waffle cone s’mores requires just a few simple ingredients, most of which you likely already have on hand or can easily find at any grocery store. The beauty of this recipe lies in its simplicity and the ability to customize it to your heart’s content.
- Sugar Cones or Waffle Cones: While sugar cones work well, we highly recommend using waffle ice cream cones. Their slightly richer flavor and more robust structure most closely resemble the delightful taste and texture of traditional s’mores, offering a hint of that familiar “graham cracker” essence in a more convenient form. Look for sturdy cones that won’t easily break when filled.
- Mini Marshmallows: For ease of filling and even melting, mini marshmallows are our top choice. They nestle perfectly inside the cones and melt into a wonderfully gooey consistency. While regular or even large marshmallows can be used (though larger ones may need to be cut), minis provide the optimal distribution of meltiness.
- Milk Chocolate Chips: The classic s’mores experience demands creamy milk chocolate. You can use regular-sized or mini chocolate chips, depending on your preference. Milk chocolate chips melt beautifully, creating that irresistible warm, flowing chocolate layer that everyone loves.
For the complete, detailed ingredient list and precise measurements, please refer to the recipe card section below. Always opt for fresh, good-quality ingredients to ensure the best possible flavor and texture for your s’mores cones.
Creative Variations for Your S’mores Cones
One of the most exciting aspects of making waffle cone s’mores is the endless potential for customization. While the classic chocolate and marshmallow combination is always a winner, don’t hesitate to get creative and experiment with different fillings to discover new family favorites. Here are some fantastic variations to inspire your next batch:
- Peanut Butter Perfection: For the ultimate peanut butter and chocolate lovers, add a few Reese’s Peanut Butter Cups, chopped into smaller pieces, or even a tablespoon of peanut butter chips to the cone. The creamy, salty peanut butter combined with sweet chocolate and gooey marshmallow is a match made in heaven.
- Marshmallow Mayhem: While mini marshmallows are recommended for ease, feel free to use regular-sized marshmallows for extra fluffiness. You can even cut larger marshmallows into smaller chunks to fit them inside the cones, creating delightful pockets of gooeyness.
- Chocolate Choices: Don’t limit yourself to just milk chocolate chips! Explore other types of morsels for different flavor profiles.
- Dark Chocolate Chips: For a more intense, less sweet s’mores experience.
- White Chocolate Chips: Adds a creamy, sweet contrast.
- Butterscotch Chips: Offers a rich, caramelly note.
- Peanut Butter Chips: Enhances the nutty flavor (especially good with peanut butter cups).
- Caramel Chips: For a decadent, buttery sweetness.
- Mint Chocolate Chips: A refreshing twist, perfect for holidays.
- Candy Bar Blitz: Get rid of leftover candy bars by chopping them into small pieces and adding them to your cones. A classic Hershey bar is an obvious choice for an authentic s’mores flavor, but imagine the possibilities with chopped Rolo candies for a caramel infusion, Snickers for a nutty crunch, or even M&M’s for a burst of color and chocolate.
- Decadent Toppings: Once your s’mores cones are warm and melty, take them to the next level with a drizzle of your favorite toppings.
- Homemade Caramel Sauce: Adds a luxurious, buttery sweetness.
- Hot Fudge Sauce: Intensifies the chocolate experience.
- Sprinkles: For a festive and fun touch, especially for kids.
- Fruity Freshness: For a lighter, brighter touch, top your warm s’mores cones with fresh fruit after they come off the heat. Sliced strawberries, blueberries, or bananas add a wonderful contrast in flavor and texture, cutting through the richness of the chocolate and marshmallow.
How to Make S’mores Cones
Making waffle cone s’mores is incredibly simple, making it a perfect activity for kids (with adult supervision) or a quick dessert for impromptu gatherings. Follow these easy steps to create your own delicious campfire cones:
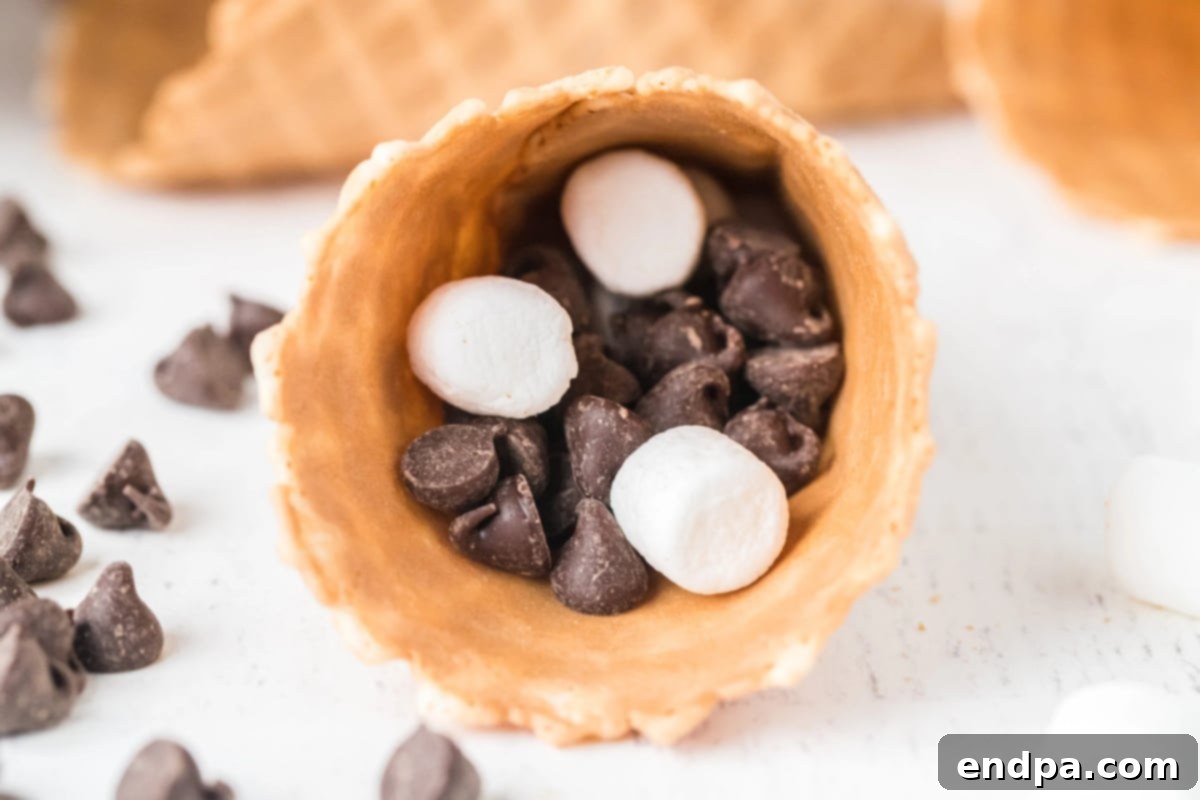
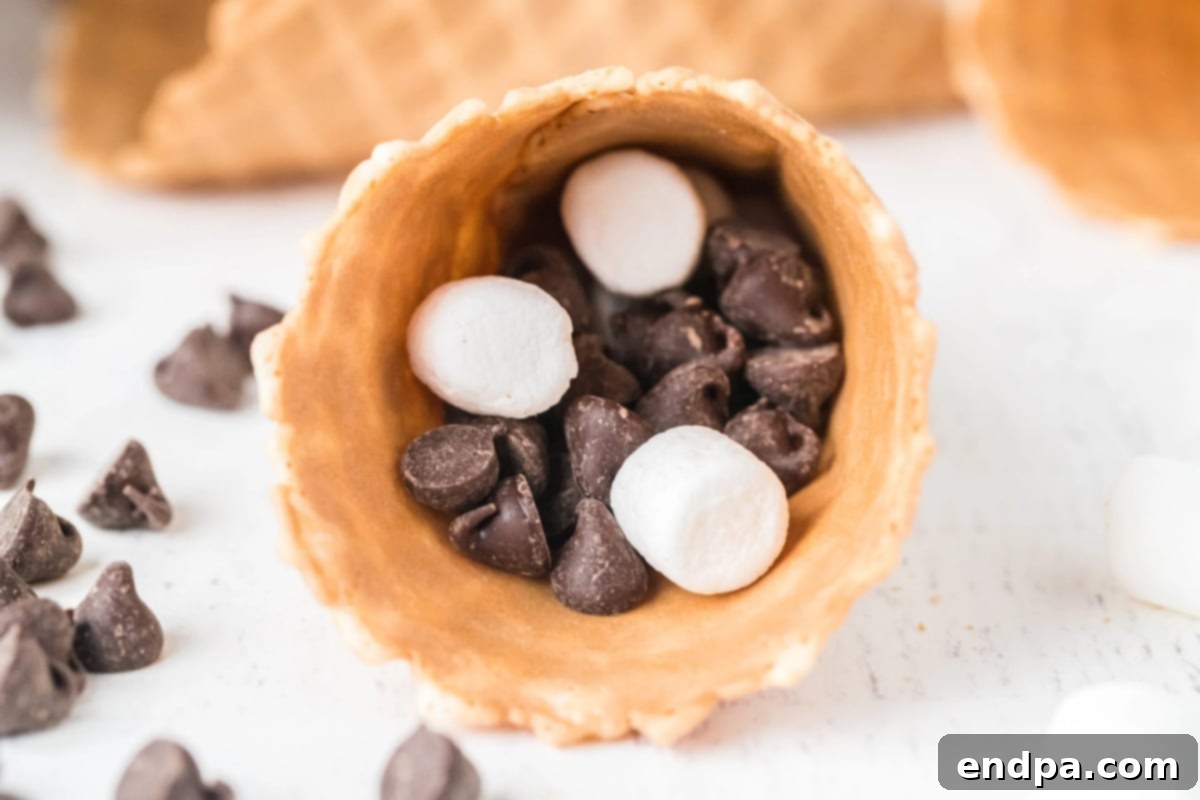
Step 1: Fill the Cones. Begin by carefully filling each sugar or waffle cone with a generous amount of mini marshmallows and chocolate chips. You can layer them, mixing chocolate and marshmallows, or place chocolate chips at the bottom and top with marshmallows. Don’t overpack them, as the ingredients will expand slightly when heated. Aim for about two-thirds full to allow for melting and gooey expansion.
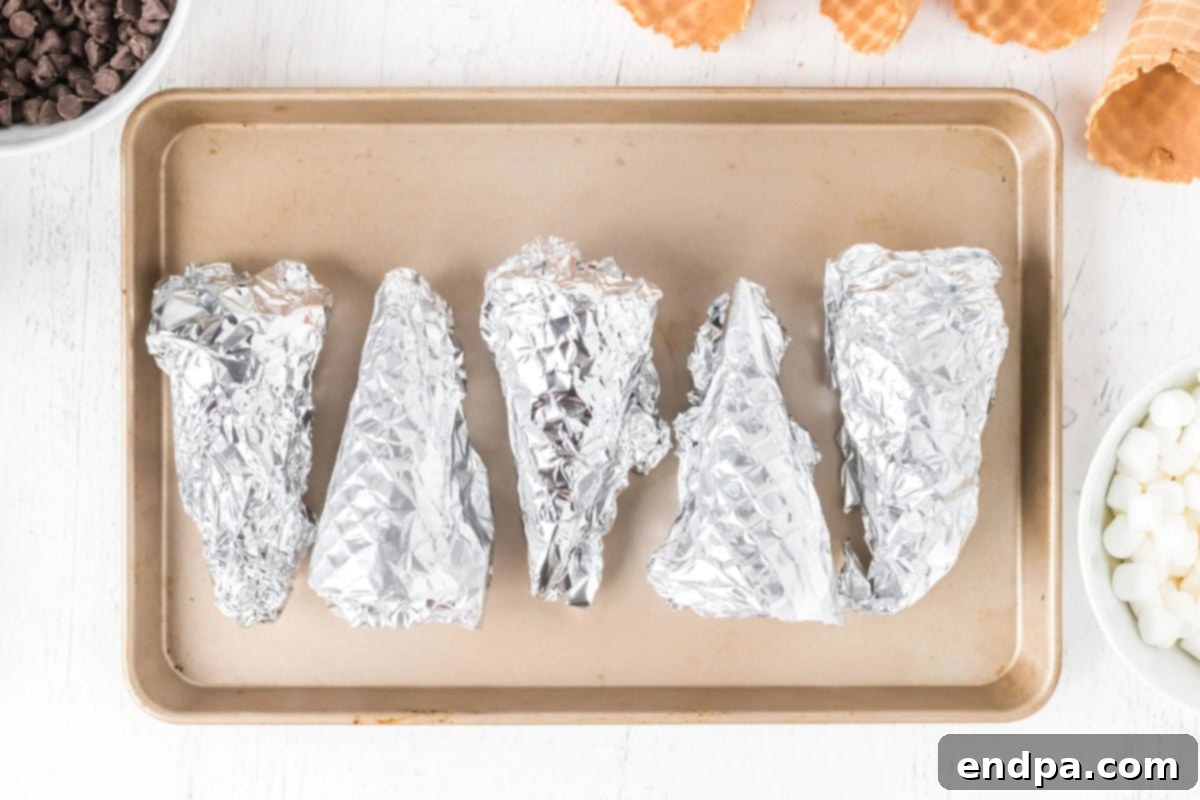
Step 2: Wrap and Heat. Once filled, wrap each cone tightly in aluminum foil. This prevents the cone from burning and helps to create that perfectly melted, gooey interior. Place the wrapped cones on a baking sheet if using an oven, or directly onto a preheated grill. Heat for approximately 7-10 minutes. The cooking time is relatively short; you’re simply aiming for the chocolate to be melted and the marshmallows to become wonderfully gooey and slightly puffed. This method works perfectly whether you choose to bake them in the oven (at 350°F / 175°C) or cook them on a grill over medium heat. Always exercise caution when handling hot foil and cones.
How to Serve Waffle Cone S’mores
These Waffle Cone S’mores are an absolute treat and are best served warm, straight from the grill or oven. The melty chocolate and gooey marshmallows are at their peak deliciousness when hot. Carefully unwrap the foil (watch out for steam!) and let them cool for a minute or two to avoid burning eager mouths. The warm, sweet flavors are incredibly satisfying on their own, but for an extra indulgence, consider serving them alongside a scoop of creamy vanilla ice cream. The cold, smooth ice cream provides a delightful contrast to the warm, gooey s’mores, creating a truly unforgettable dessert experience.
Can You Make S’mores Cones In Advance?
While you can certainly prepare the s’mores cones by filling and wrapping them in foil a few hours before cooking, this dessert is truly at its best when served fresh and warm. The magic of the melty chocolate and gooey marshmallow is maximized immediately after heating. If you do choose to assemble them in advance, store the wrapped cones in a cool, dry place until you’re ready to heat them. Avoid refrigerating, as it can make the cones soggy. The quick prep and cook time make this an ideal dessert to prepare on demand, ensuring everyone gets to enjoy the ultimate warm, melty experience.
Pro Tips for Perfect S’mores Cones
Achieving the perfect waffle cone s’mores is easy, but a few expert tips can elevate your dessert from good to absolutely phenomenal:
- Optimal Heating: Whether you’re using a campfire, grill, or oven, consistent, moderate heat is key. For campfires, place cones on a grate over dying embers rather than direct flames to prevent burning. On a grill, use indirect heat or a lower flame. In the oven, a preheated 350°F (175°C) works wonders. The goal is to melt the fillings, not to burn the cone. Keep an eye on them; 7-10 minutes is usually sufficient, but cooking times can vary.
- Thoughtful Filling: While simply tossing ingredients in works, consider a strategic approach. Placing some chocolate chips at the bottom of the cone can create a delightful pool of melted chocolate that prevents the marshmallows from sticking too much to the cone. Layering chocolate and marshmallows throughout ensures every bite is packed with flavor. Don’t be afraid to gently pack the ingredients, but leave a little room for expansion.
- Secure Wrapping: Wrapping the cones tightly in heavy-duty aluminum foil is crucial. This not only prevents burning but also traps the heat inside, creating a steamy environment that melts the chocolate and marshmallows into a wonderfully gooey consistency. A double layer of foil can provide extra protection, especially over an open flame. Ensure no part of the cone is exposed to direct heat to prevent charring.
- Don’t Rush the Unwrap: After removing the cones from the heat, allow them to sit for a minute or two before unwrapping. This helps the contents set slightly and prevents the molten chocolate and marshmallow from spilling out immediately. Use tongs to handle the hot cones and warn everyone that the contents will be very hot!
- Customize Your Cones: Offer a “s’mores bar” experience! Lay out various types of chocolate chips (milk, dark, white, peanut butter, butterscotch), mini candies (chopped candy bars, M&M’s), and different marshmallow sizes. Let guests build their own custom s’mores cones before wrapping and heating them. This adds an element of fun and ensures everyone gets their perfect s’more.
- Cleanup Made Easy: Since the cones are wrapped in foil, cleanup is minimal. Simply discard the foil and any leftover cone pieces. This convenience is a huge bonus, especially when camping or entertaining outdoors.
More Irresistible Smores Recipes to Try
If you’re as passionate about s’mores as we are, you’ll be thrilled to discover even more ways to enjoy this beloved flavor combination. Here are a few other fantastic s’mores-inspired recipes that are sure to delight:
- Easy S’mores Cake Recipe: A delightful cake that brings all the s’mores flavors to a celebratory dessert.
- Easy to Grill S’mores Recipe: For those who love the classic, here’s a foolproof way to grill s’mores perfectly.
- Super Fun S’Mores Parfait Recipe: Layered s’mores goodness in a glass, perfect for individual servings.
- S’mores Cookies: Chewy cookies loaded with chocolate, marshmallow, and graham cracker flavor.
- Deep Fried S’mores: An indulgent and crispy twist on the classic treat.
- Oreo S’mores: A chocolatey upgrade featuring everyone’s favorite cookie.
Don’t wait to make Waffle Cone S’mores today for an easy, fun, and unbelievably delicious treat that everyone will love. Once you’ve tried this delightful dessert, please consider leaving a star rating and a comment below to share your experience!
Waffle Cone S’mores
Waffle Cone S’mores are so fun to make and eat with yummy chocolate and marshmallows. These waffle cone smores combine all that you love into a handy cone.
Prep Time: 5 mins
Cook Time: 10 mins
Total Time: 15 mins
Servings: 12
Cuisine: American
Course: Dessert
Calories: 243
Author: Carrie Barnard
Ingredients
- 12 Sugar or Waffle Cones
- 1 bag Mini Marshmallows
- 12 oz Chocolate Chips
Instructions
- Fill each cone with marshmallows and chocolate chips.
- Wrap in aluminum foil.
- Heat in 350°F (175°C) oven or on a heated grill for 7 – 10 minutes.
- Unwrap and enjoy.
- Be careful as contents may be hot.
Recipe Notes
Generally, I use milk chocolate chips for this recipe, but this also would be great with dark chocolate chips or butterscotch chips as well.
Nutrition Facts
Calories: 243 kcal, Carbohydrates: 43g, Protein: 2g, Fat: 7g, Saturated Fat: 4g, Trans Fat: 1g, Cholesterol: 4mg, Sodium: 64mg, Potassium: 15mg, Fiber: 1g, Sugar: 31g, Vitamin A: 64IU, Vitamin C: 1mg, Calcium: 38mg, Iron: 1mg
