Ultimate Guide to Chocolate Dipped Peppermint Cookies: A Festive Holiday Tradition
Prepare to delight your taste buds and impress your holiday guests with these incredibly festive Chocolate Dipped Peppermint Cookies. The delightful pairing of rich, smooth chocolate and refreshing peppermint creates an irresistible flavor combination that captures the true spirit of the season. These light, fluffy, and perfectly sweet cookies are not just a dessert; they’re a cherished holiday tradition waiting to be made in your kitchen.

There’s something truly magical about peppermint during the holidays, and when it’s embraced by a generous coating of chocolate and adorned with sparkling crushed candy canes, it becomes absolutely enchanting. These aren’t just any Christmas cookies; they’re a showstopper that no one will be able to resist. As a busy home baker, I understand the need for easy Christmas desserts that deliver maximum impact with minimal fuss. This recipe fits the bill perfectly, making it a staple in my annual holiday baking lineup, alongside beloved favorites like Chocolate Peppermint Cookies and Chocolate Dipped Shortbread Cookies.
Peppermint flavor not only tastes incredible but also lends itself to visually stunning desserts. The vibrant red cookies, contrasting with dark chocolate and bright white and red candy cane bits, make for a truly beautiful presentation. It’s the ideal treat for holiday parties, cookie exchanges, or simply enjoying with a warm cup of cocoa by the fire. Ensure this recipe earns a top spot on your holiday baking list this year, and for more chocolate-dipped delights, don’t miss our Chocolate Dipped Potato Chips!
What You’ll Find in This Guide: Chocolate Dipped Peppermint Cookies Recipe
- Why This Recipe is a Must-Make
- Essential Ingredients for Success
- Creative Substitutions and Exciting Additions
- Easy Step-by-Step Baking Instructions
- Pro Tips for Perfect Peppermint Cookies
- Frequently Asked Questions
- Explore More Festive Peppermint Desserts
- The Complete Peppermint Cookies Recipe Card
Why This Recipe is a Must-Make for Your Holidays
- Irresistible Chocolate and Peppermint Combination: This classic duo is simply unbeatable, especially during the festive season. The cool, minty flavor of peppermint perfectly complements the rich, deep notes of chocolate, creating a symphony of flavors that will have everyone reaching for more. These are truly the best Christmas cookies you can make.
- Simple Ingredients, Incredible Flavor: You don’t need exotic items for these delicious cookies. Most of the ingredients are likely already in your pantry, making this a convenient and hassle-free recipe. High-quality ingredients, even simple ones, make all the difference in the final taste.
- Effortlessly Easy to Create: Don’t let their elegant appearance fool you; these cookies are super easy to make. With straightforward step-by-step instructions, even novice bakers can confidently whip up a batch of homemade cookie dough and achieve professional-looking results. It’s a rewarding baking experience from start to finish.
- Visually Stunning for Holiday Spreads: The vibrant red hue, deep chocolate coating, and sparkling crushed candy canes make these cookies a beautiful addition to any holiday platter or dessert table. They add a pop of color and festive cheer that instantly brightens up your spread.
- Perfect for Gifting: Homemade cookies are always a thoughtful gift. Package these beautiful cookies in decorative boxes or bags, and you’ll have the perfect present for friends, family, neighbors, or teachers. They’re sure to be appreciated!
Essential Ingredients for Success
Crafting the perfect batch of Chocolate Dipped Peppermint Cookies begins with selecting the right ingredients. Each component plays a vital role in achieving that delightful texture and iconic flavor. Here’s a closer look at what you’ll need and why:
- Unsalted Butter (softened at room temperature): The foundation of any good cookie, softened butter is crucial for creating a light and airy dough. It creams beautifully with sugar, incorporating air for that desired fluffy texture. Ensure it’s at room temperature for easy blending and a smooth consistency.
- Granulated Sugar: Provides the sweetness and helps with the tender texture of the cookies.
- Salt: A pinch of salt enhances all the other flavors, balancing the sweetness and bringing out the depth of the chocolate and peppermint.
- Large Egg (room temperature): Acts as a binder, helping to hold the cookies together and contributing to their rich texture. Using a room temperature egg ensures it incorporates smoothly into the butter mixture without curdling.
- Pure Vanilla Extract: Don’t skimp on quality here! Pure vanilla extract adds a warm, aromatic depth that complements the peppermint and chocolate beautifully. It’s a background note that truly elevates the overall flavor.
- All-Purpose Flour: The primary dry ingredient, providing structure to the cookies. Remember, proper measurement is key: spoon the flour into your measuring cup and level it off rather than scooping directly from the bag to avoid over-packing. Too much flour can result in dry, dense cookies.
- Peppermint Extract: This is where the magic happens! Crucial for the distinct peppermint flavor. Be sure to use peppermint extract, not spearmint or mint extract, as their flavors are distinctly different and will alter the taste profile significantly.
- Red Food Coloring (preferably gel): Gives these cookies their signature festive red hue. Gel food coloring provides a more concentrated color without adding excess liquid to the dough, ensuring a vibrant result. Adjust the amount to achieve your desired shade.
- Chocolate Almond Bark or Your Preferred Melting Chocolate: This forms the decadent outer layer. Almond bark melts smoothly and sets quickly, making it ideal for dipping. However, feel free to use your favorite type of melting chocolate, such as milk chocolate, dark chocolate, or semi-sweet chocolate chips.
- Crushed Peppermint or Candy Canes: The final flourish! These add a delightful crunch, a burst of intense peppermint flavor, and that quintessential holiday sparkle. Either pre-crushed peppermint or classic candy canes will work perfectly.
For the complete, precise ingredient list and measurements, please refer to the recipe card at the bottom of this post.
Creative Substitutions and Exciting Additions
While the classic Chocolate Dipped Peppermint Cookies are perfect as they are, there’s always room for a little creativity in the kitchen! Here are some ideas to customize your batch and make them uniquely yours:
- Explore Different Chocolates: The beauty of chocolate dipping is the variety!
- Milk Chocolate: For a sweeter, creamier coating that’s always a crowd-pleaser.
- Dark Chocolate: If you prefer a less sweet cookie, dark chocolate offers a sophisticated bitterness that beautifully contrasts with the sweet peppermint.
- Semi-Sweet Chocolate: A versatile choice that strikes a perfect balance between sweet and slightly bitter.
- White Chocolate: For a truly striking visual, dip your red peppermint cookies in melted white chocolate. You can even tint the white chocolate with a touch of green food coloring for an extra festive touch!
- Festive Sprinkles and Toppings: Beyond crushed peppermint, consider these decorative additions:
- Holiday Sprinkles: Red, green, and white nonpareils or jimmies can add an extra layer of festivity.
- Edible Glitter: A light dusting of edible glitter can make your cookies sparkle under holiday lights.
- Mini Chocolate Chips: Sprinkle these over the wet chocolate for an extra chocolatey bite.
- Chopped Nuts: For a different texture and flavor profile, finely chopped pecans or walnuts could be a delightful surprise.
- Extract Variations (Use with caution!): While peppermint is traditional, if you’re feeling adventurous (and it’s not for a purist!), you could experiment with other extracts in the cookie dough, though this changes the core recipe:
- Almond Extract: A tiny hint could add complexity, but be careful not to overpower the peppermint.
- Cookie Dough Variations:
- Cocoa Powder: For a “double chocolate” experience, consider adding a tablespoon or two of unsweetened cocoa powder to the dry ingredients for chocolate peppermint cookies.
Remember, when experimenting with additions, add them while the chocolate is still wet to ensure they adhere properly. Have fun customizing your cookies!
Easy Step-by-Step Baking Instructions
Making these delightful Chocolate Dipped Peppermint Cookies is a joyful experience, and with these clear instructions, you’ll have a batch ready in no time. Follow along for perfect results:
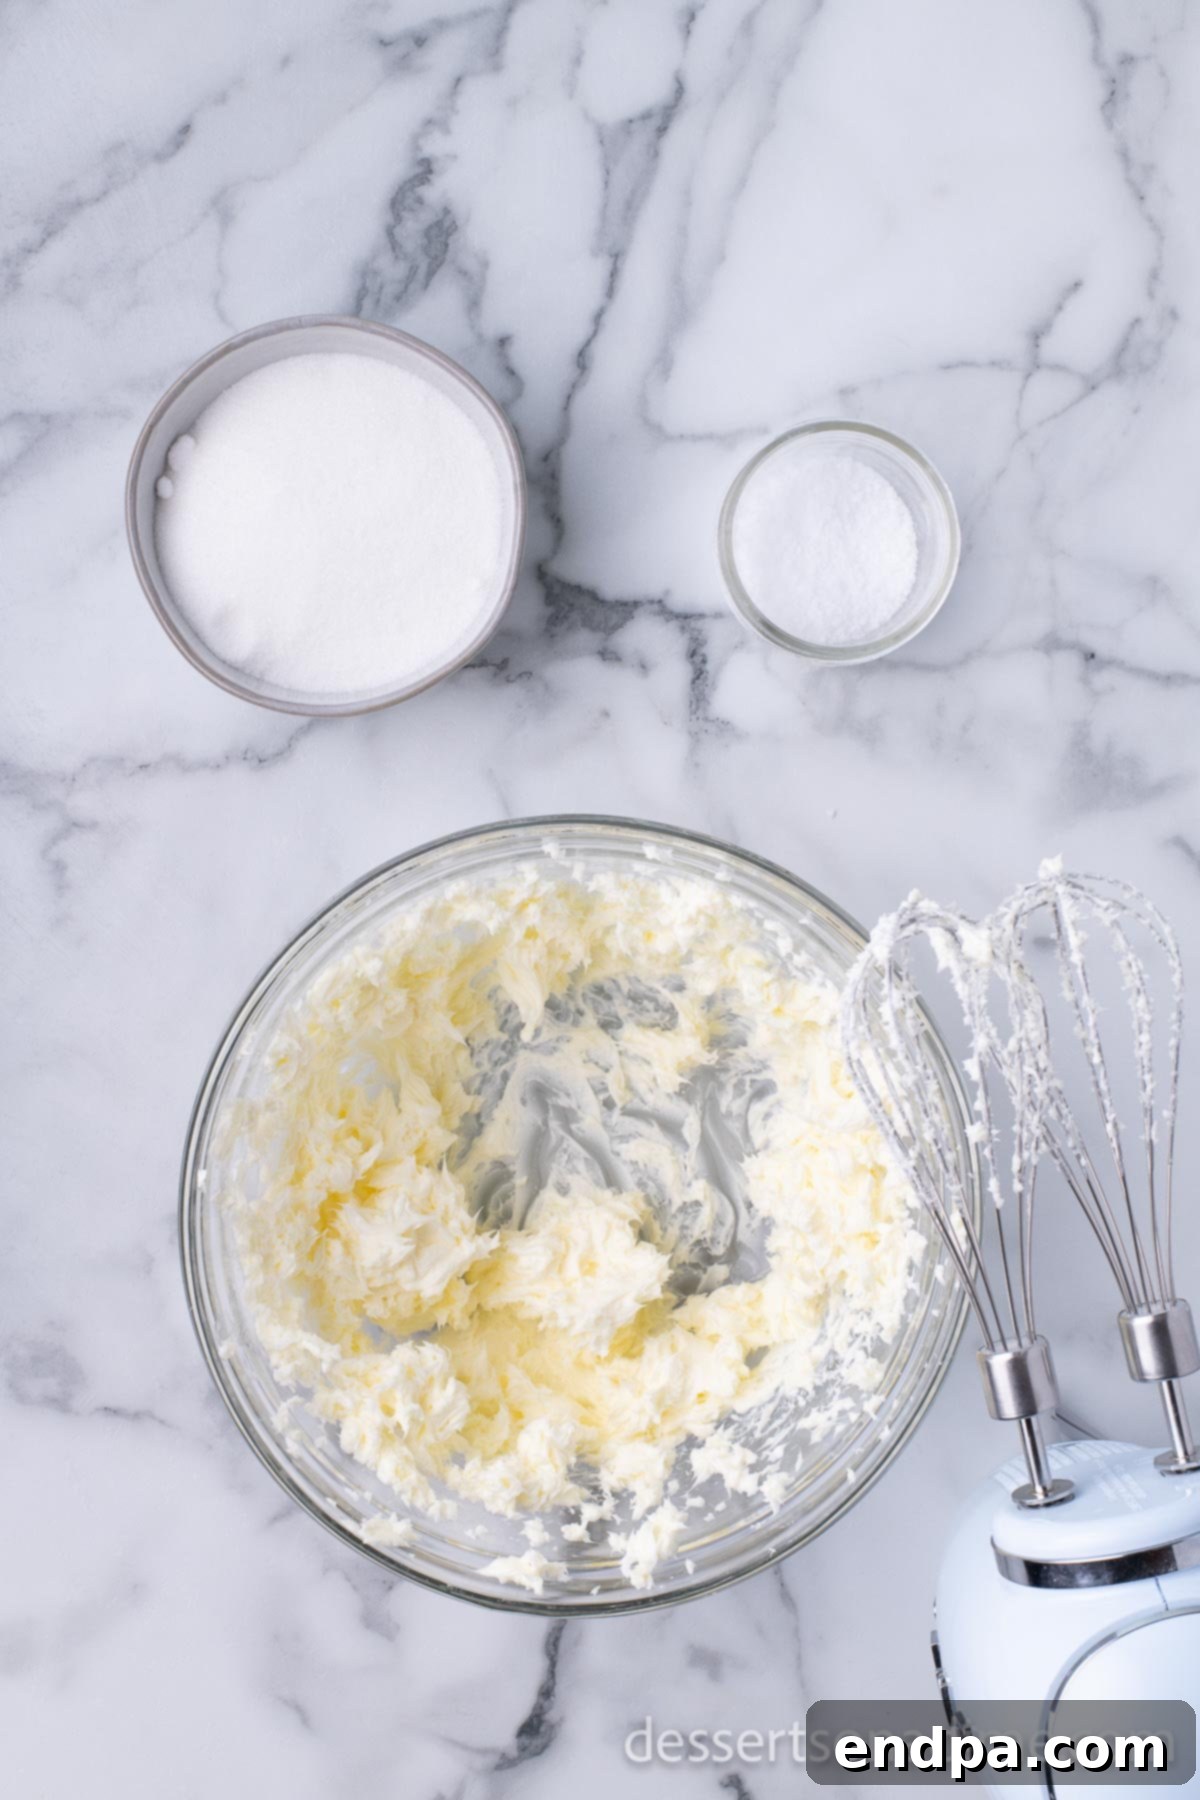
Step 1: Prepare Your Baking Station. Begin by preheating your oven to 350°F (175°C). While the oven heats, line a large baking sheet with parchment paper or a silicone mat. This prevents sticking and makes for easy cleanup.
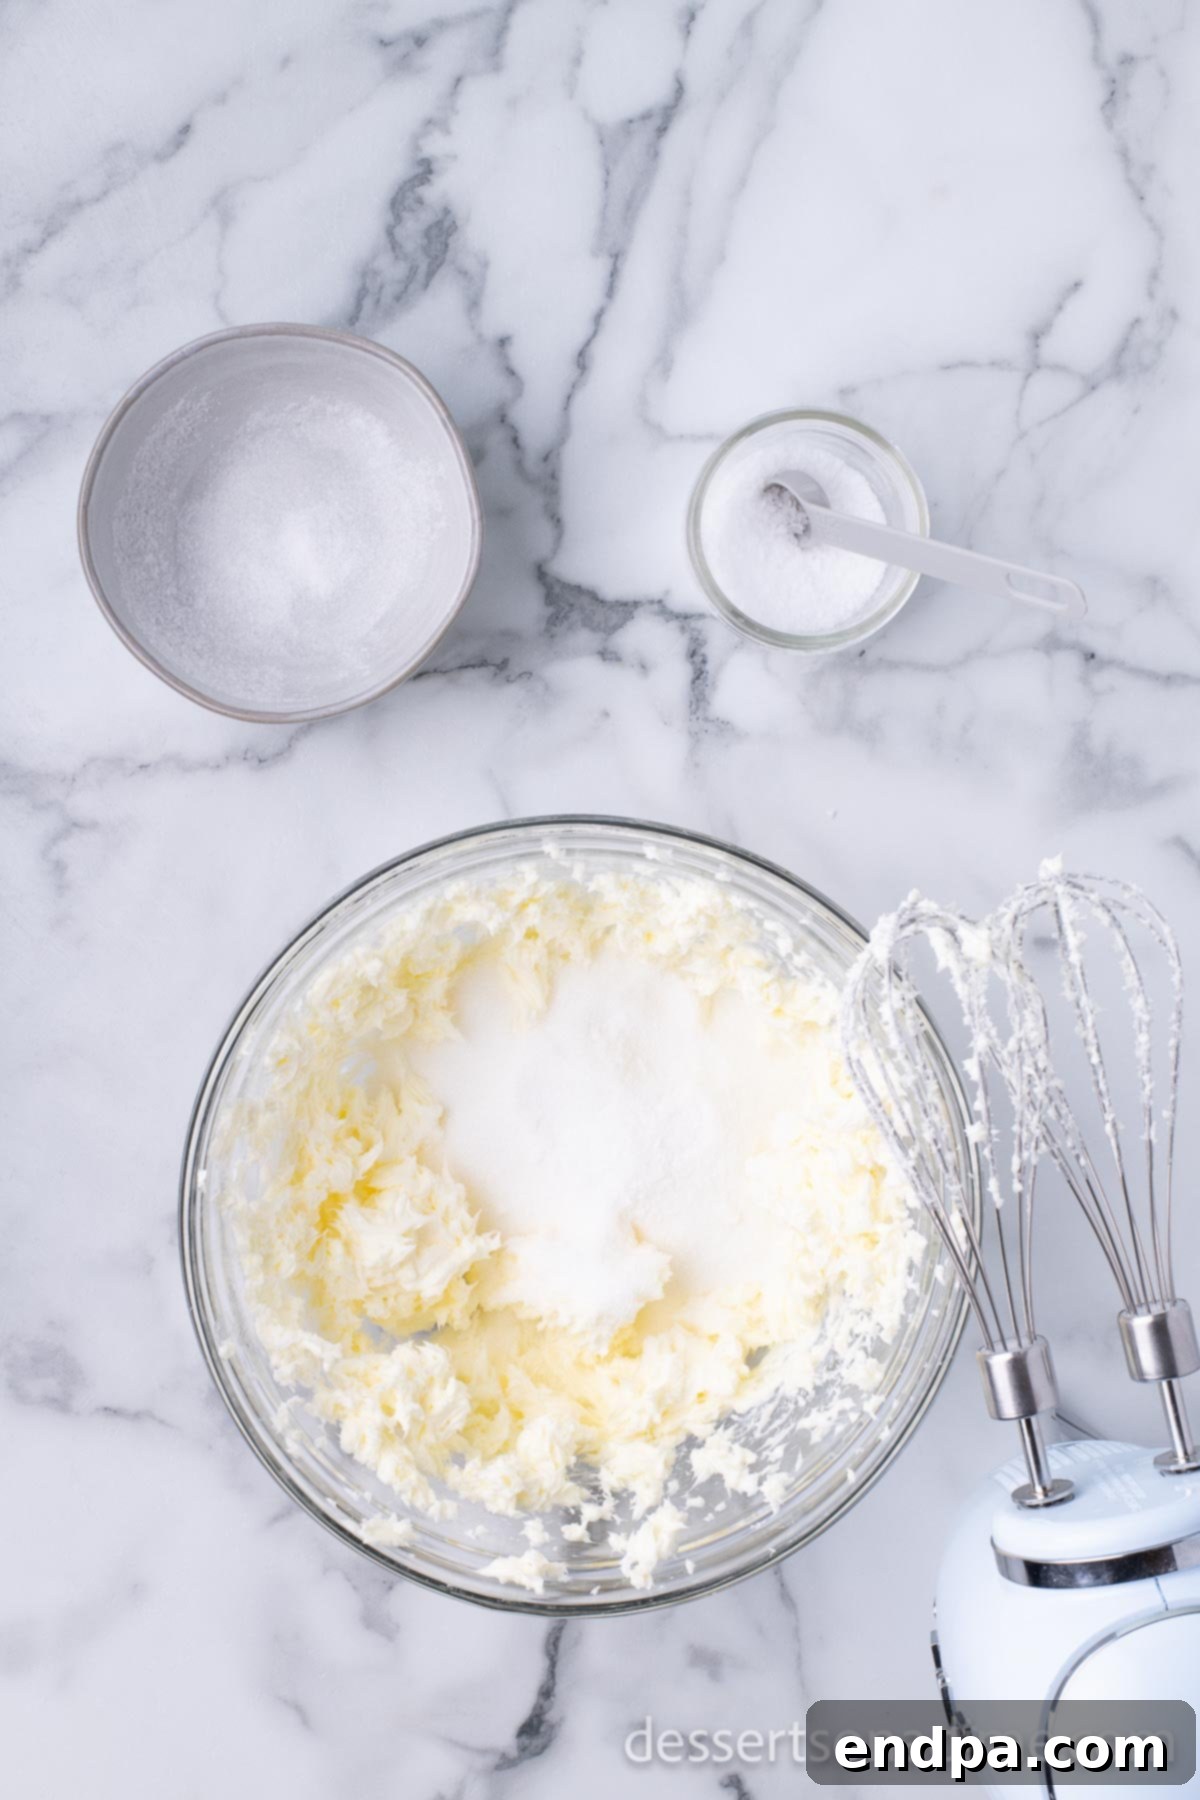
Step 2: Cream Butter and Sugar. In a large mixing bowl (or the bowl of a stand mixer), beat the softened unsalted butter on medium speed until it is light and fluffy, about 1-2 minutes. Then, add the granulated sugar and salt to the butter. Continue beating until the mixture is well combined and reaches a visibly fluffy consistency, which usually takes another 2-3 minutes. This step incorporates air, making your cookies light.
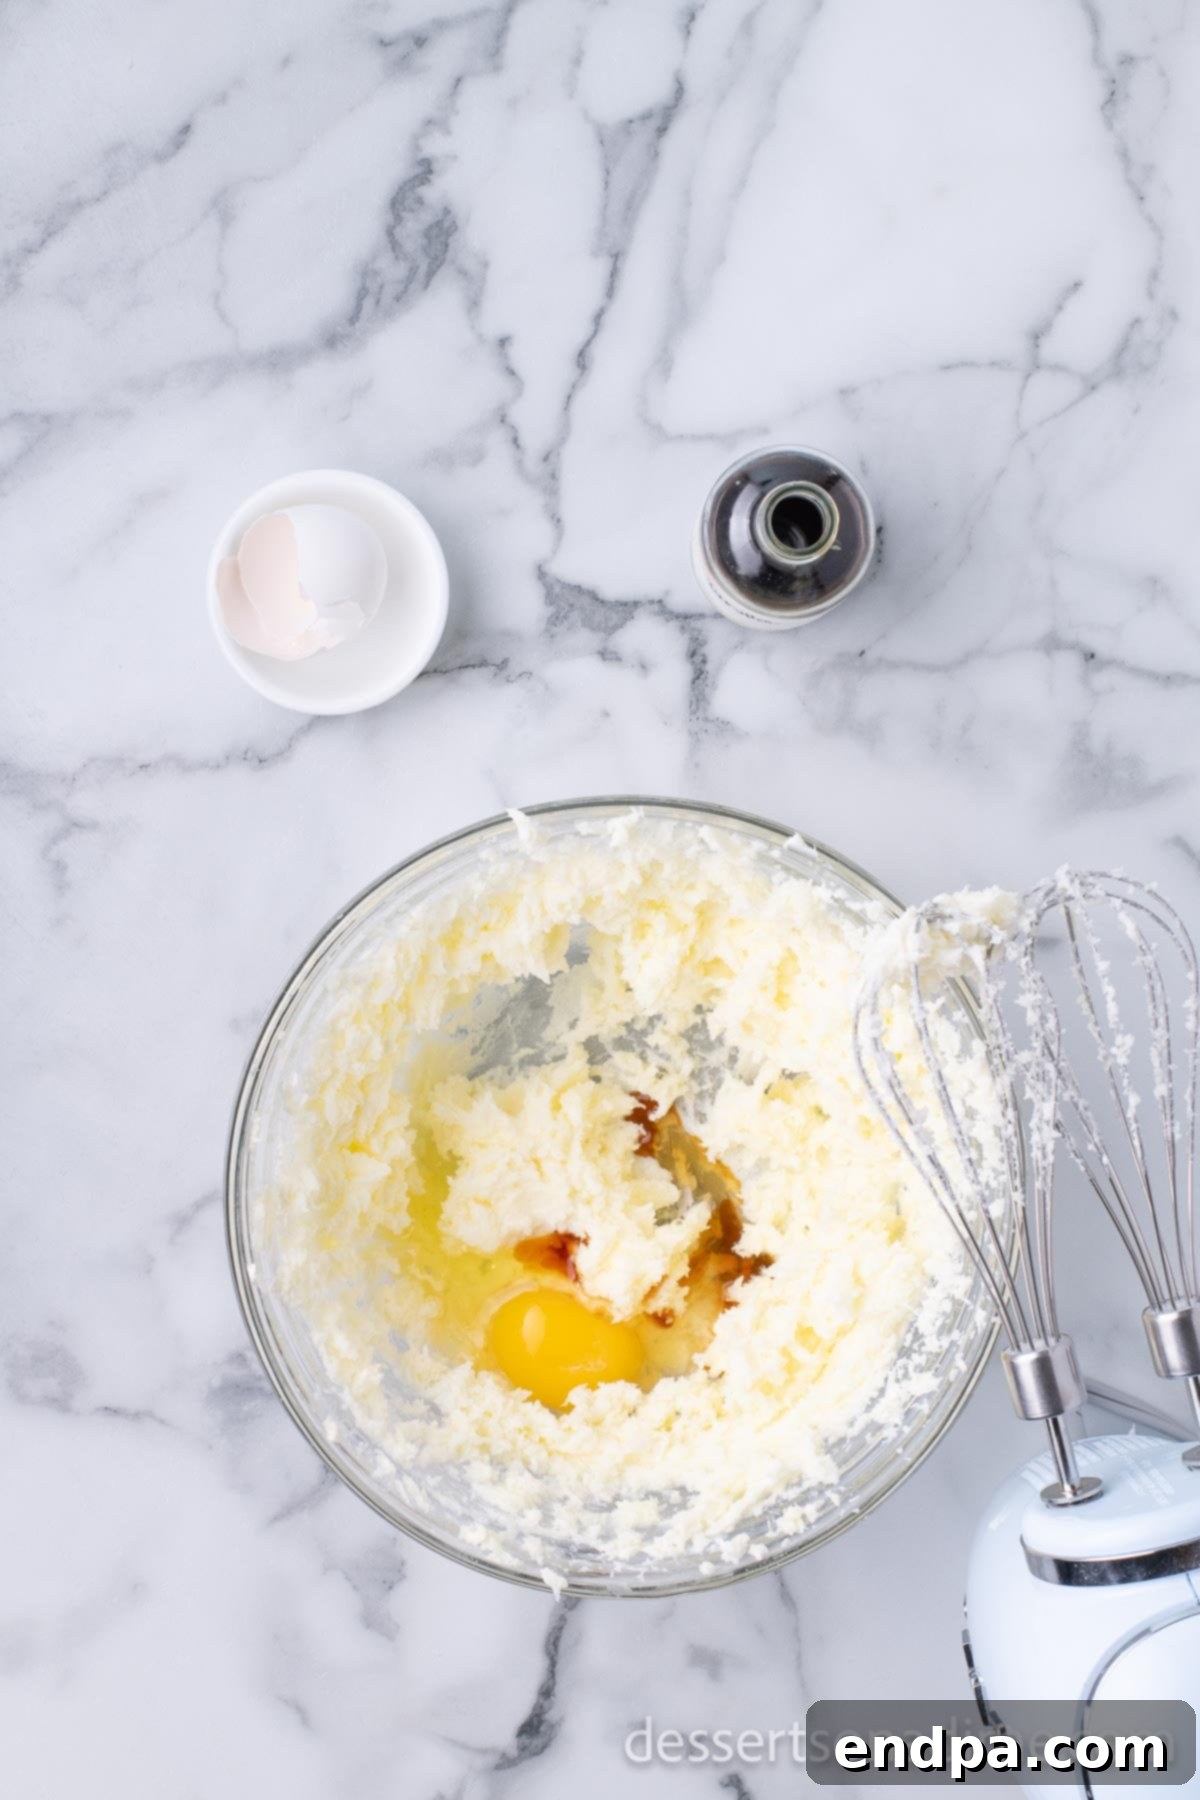
Step 3: Incorporate Wet Ingredients. Add the large egg and pure vanilla extract to the creamed butter mixture. Whisk or beat on low speed until all ingredients are thoroughly combined and smooth. Scrape down the sides of the bowl as needed to ensure everything is fully incorporated.
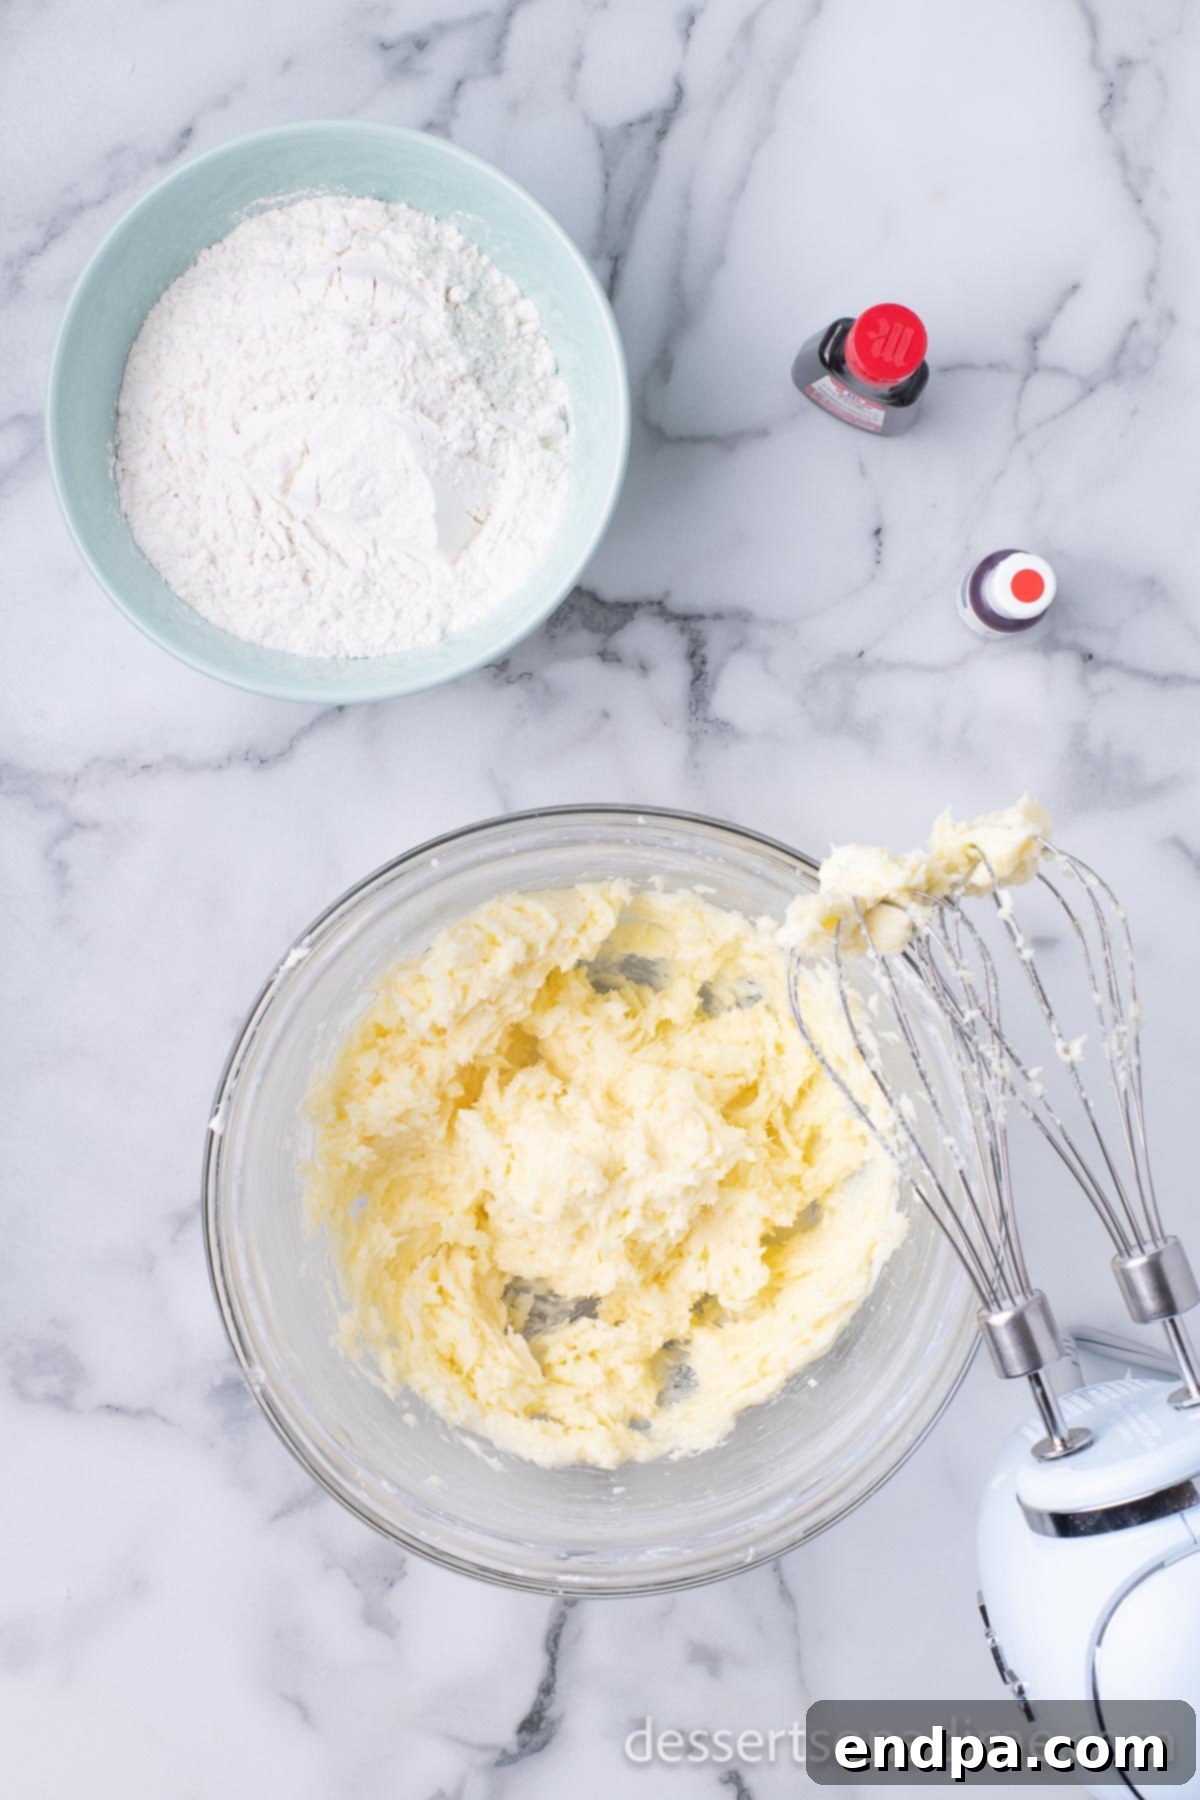
Step 4: Add Dry Ingredients. Gradually add the all-purpose flour to the wet mixture, a half-cup at a time. Beat on low to medium speed until just combined. Be careful not to overmix, as this can develop the gluten too much, leading to tough cookies. Mix until no streaks of dry flour remain.
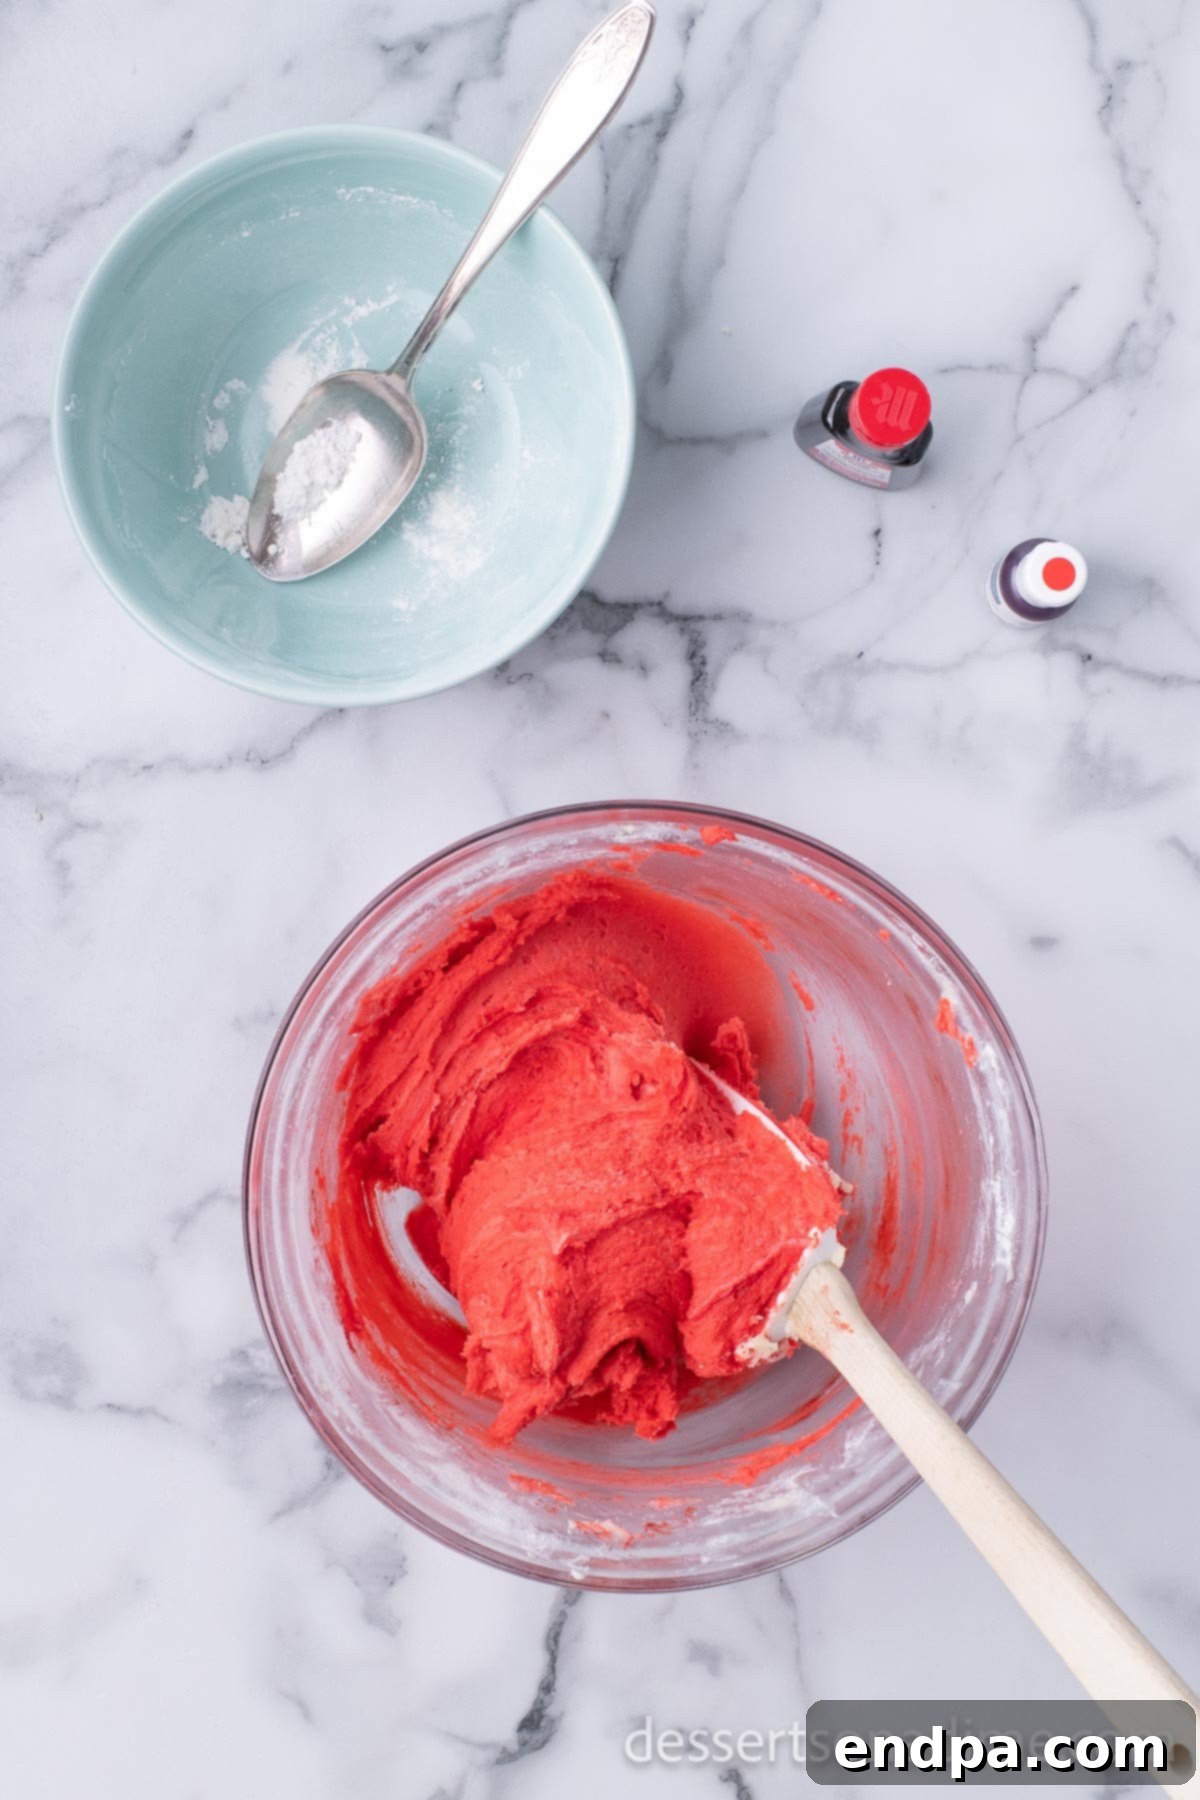
Step 5: Flavor and Color the Dough. Now for the festive part! Add the peppermint extract and red food coloring (start with 2-3 drops and add more if you desire a deeper red) to the cookie dough. Mix on low speed until the color is evenly distributed and the dough is a uniform vibrant red, and the peppermint aroma fills your kitchen.
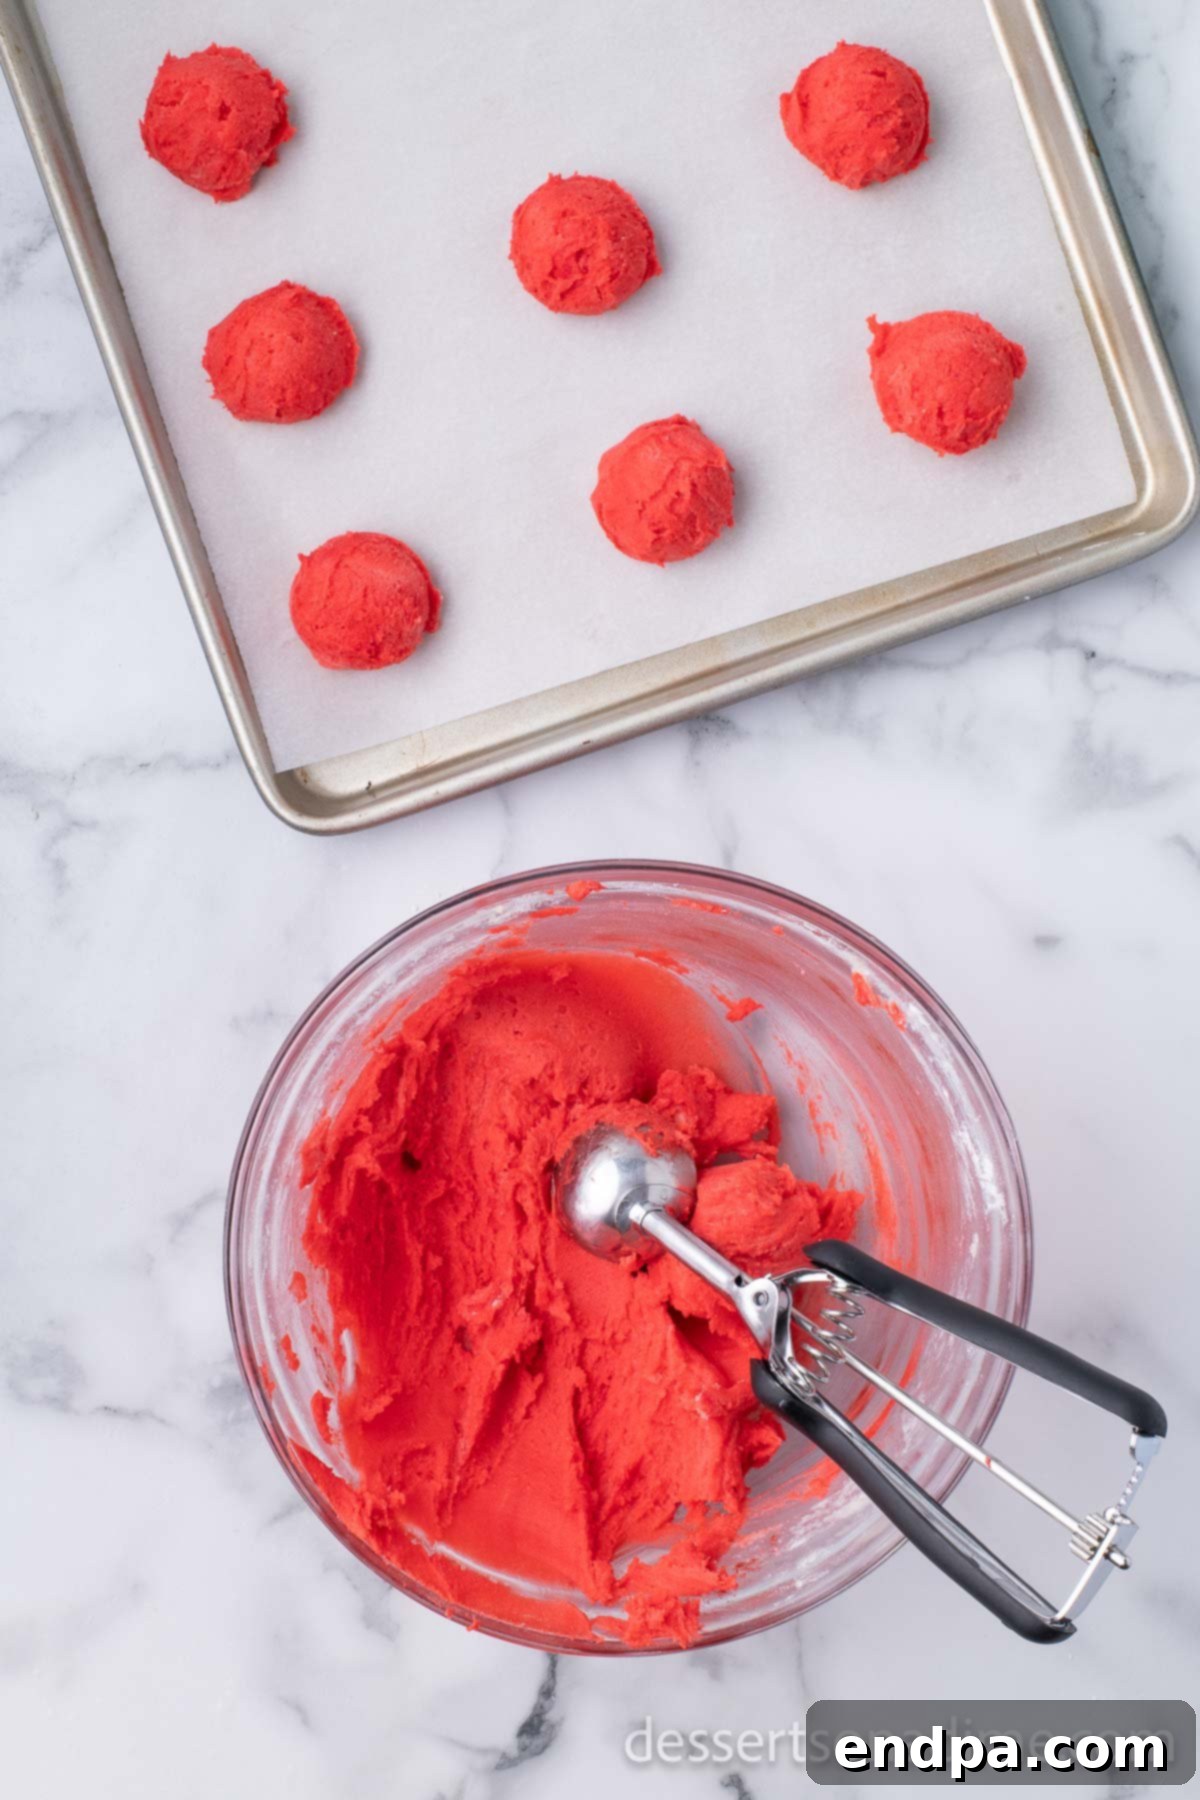
Step 6: Form the Cookies. Use a cookie scoop (about 1.5-2 tablespoons) to portion out the dough. Roll each portion into smooth balls and place them about 2 inches apart on your prepared baking sheet. Using a scoop ensures your cookies are uniform in size and bake evenly.
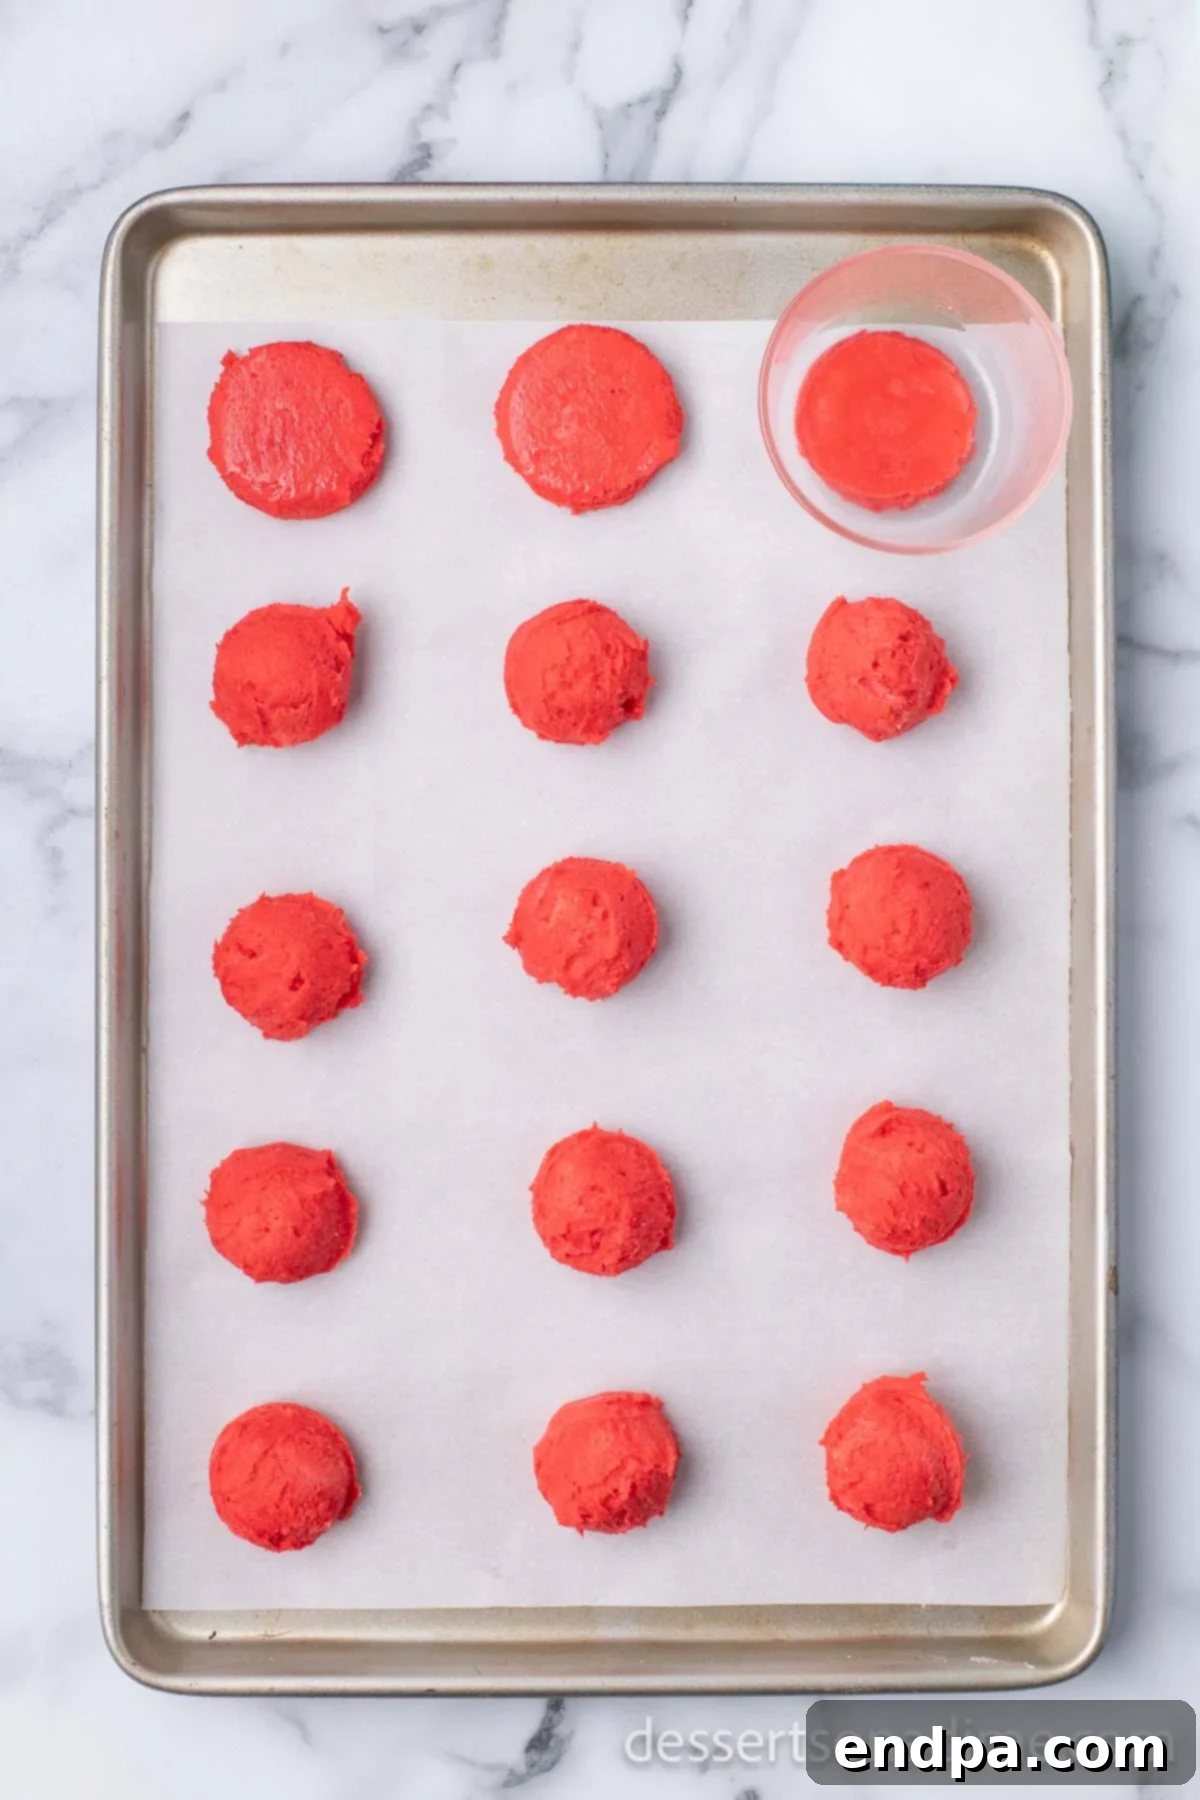
Step 7: Flatten the Cookie Dough. Take a flat-bottomed glass or the bottom of a measuring cup and lightly dip it in water. Gently press down on each cookie dough ball to flatten it slightly. The water prevents the dough from sticking to the glass, ensuring a smooth, round cookie.
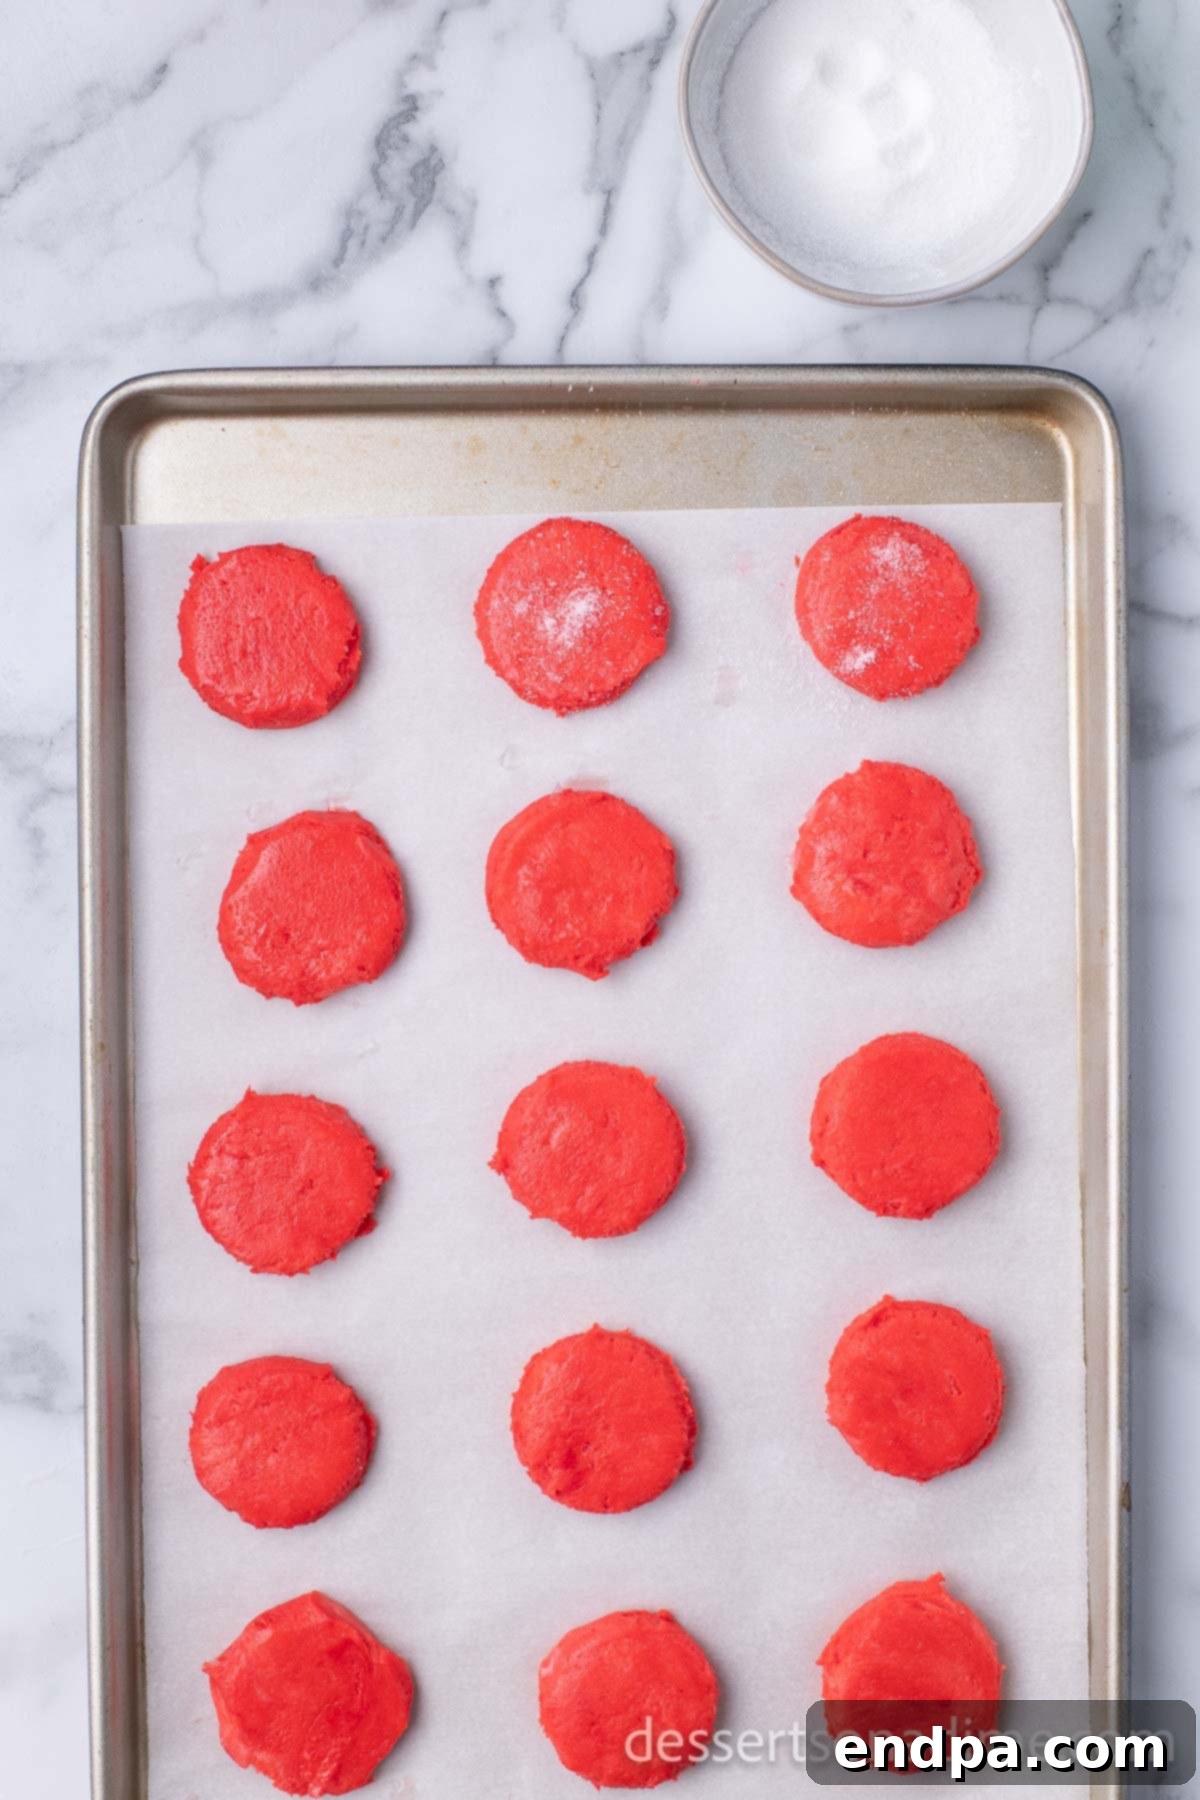
Step 8: Bake to Perfection. If desired, lightly sprinkle the flattened cookies with a little granulated sugar before baking for an extra sparkle. Bake for 8-10 minutes, or until the edges are just set and very lightly golden brown. Baking times can vary by oven, so keep an eye on them. Some ovens may require 10-12 minutes.
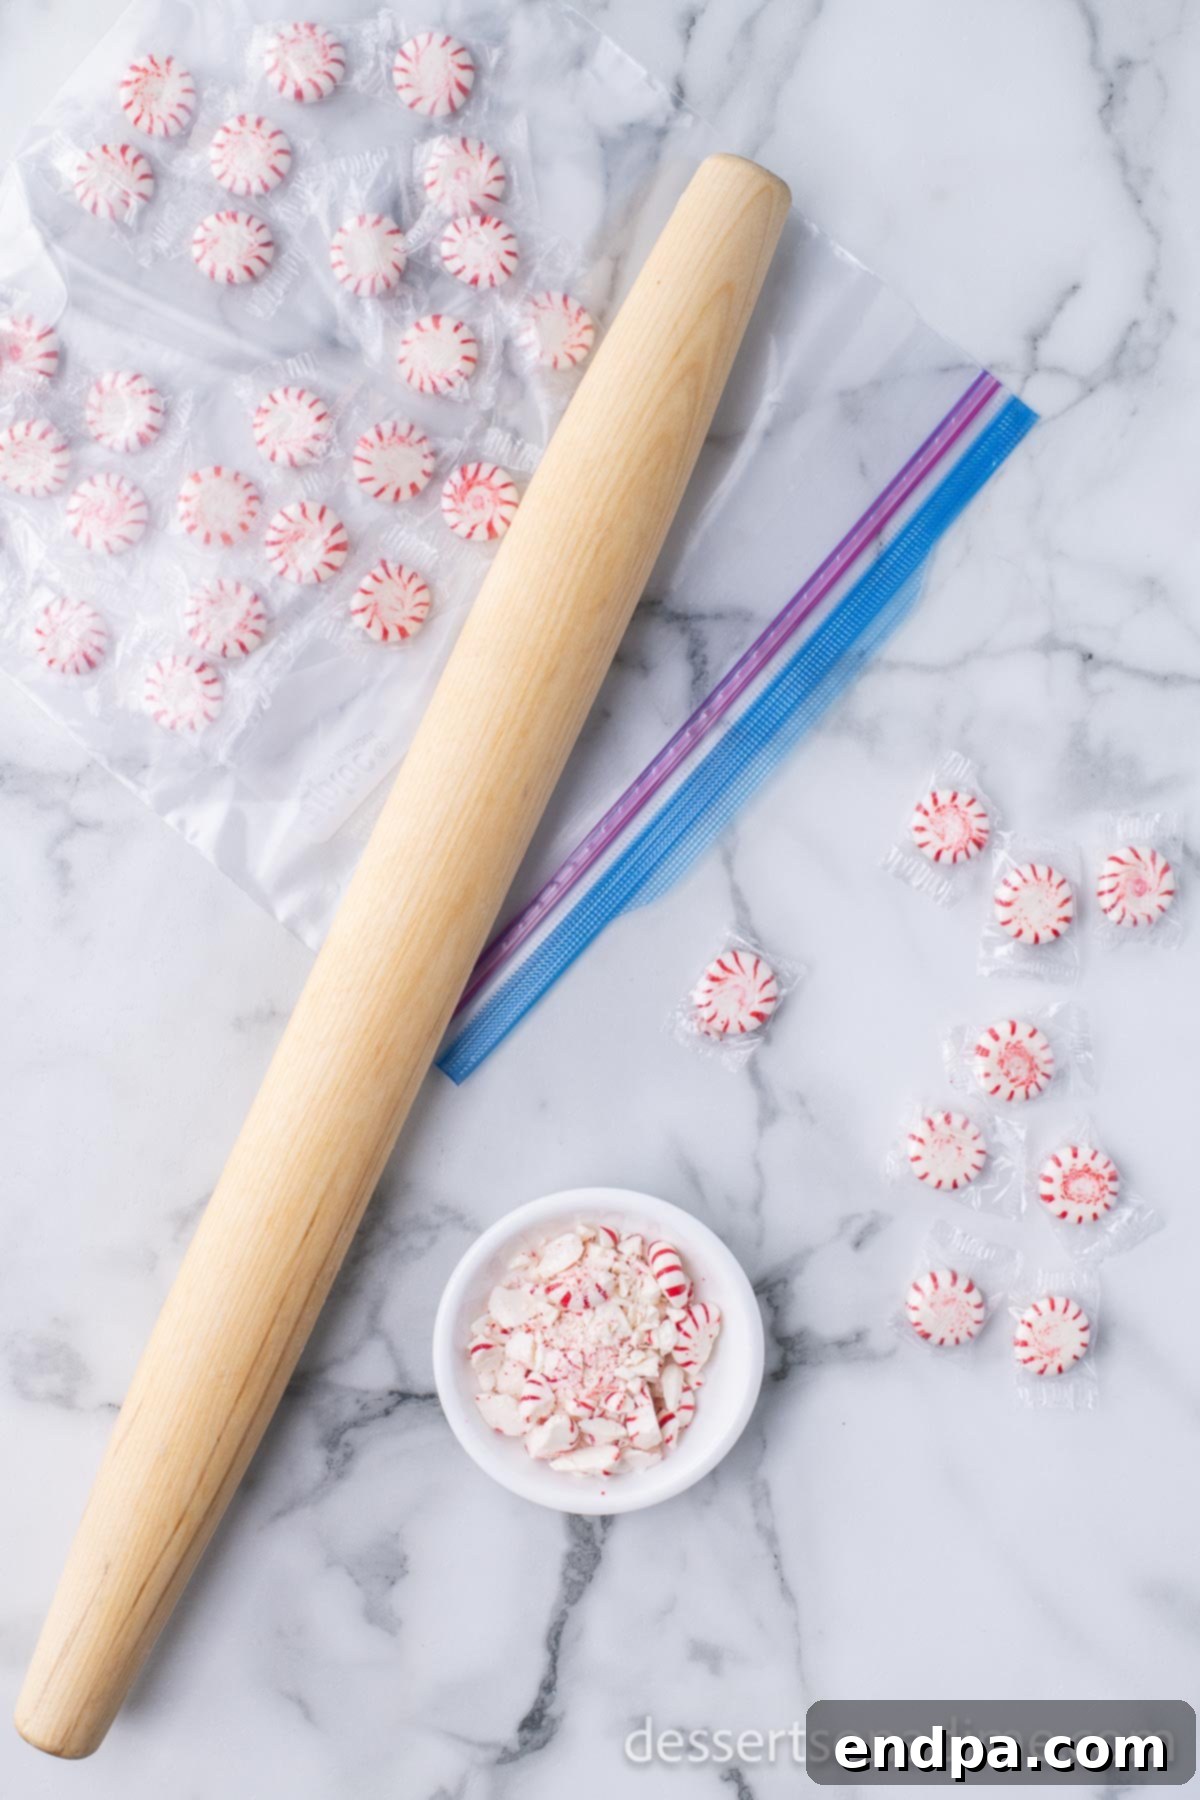
Step 9: Prepare Toppings. While the cookies are baking and cooling, prepare your crushed peppermint. Place peppermint candies or candy canes in a sturdy resealable bag and crush them using a rolling pin or the bottom of a heavy pan until you have fine crumbs and small pieces. Also, melt your chocolate almond bark (or chosen melting chocolate) in a microwave-safe bowl according to package directions, stirring until smooth.
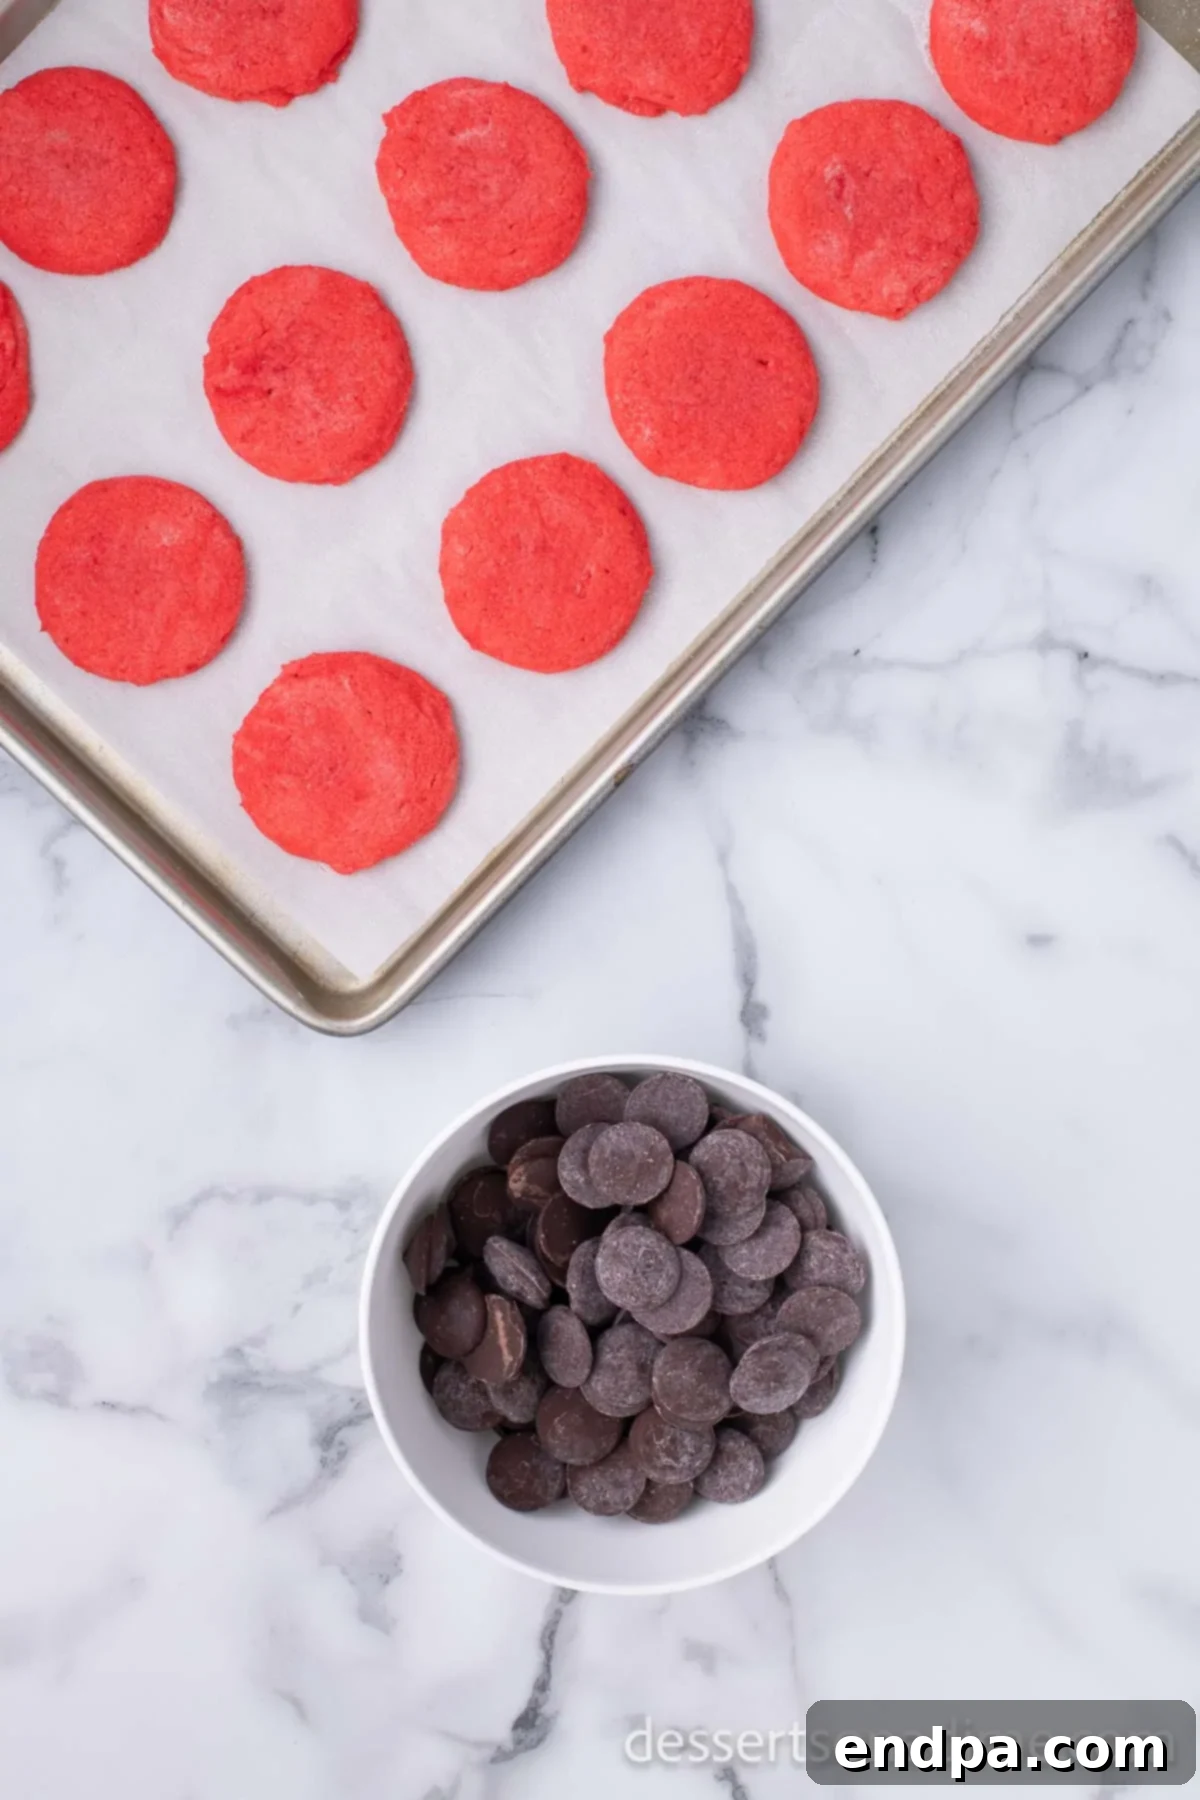
Step 10: Cool the Cookies. Once baked, remove the cookies from the oven and let them cool on the baking sheet for a few minutes before transferring them to a wire rack to cool completely. It’s crucial that the cookies are fully cooled before dipping in chocolate; otherwise, the chocolate won’t set properly.
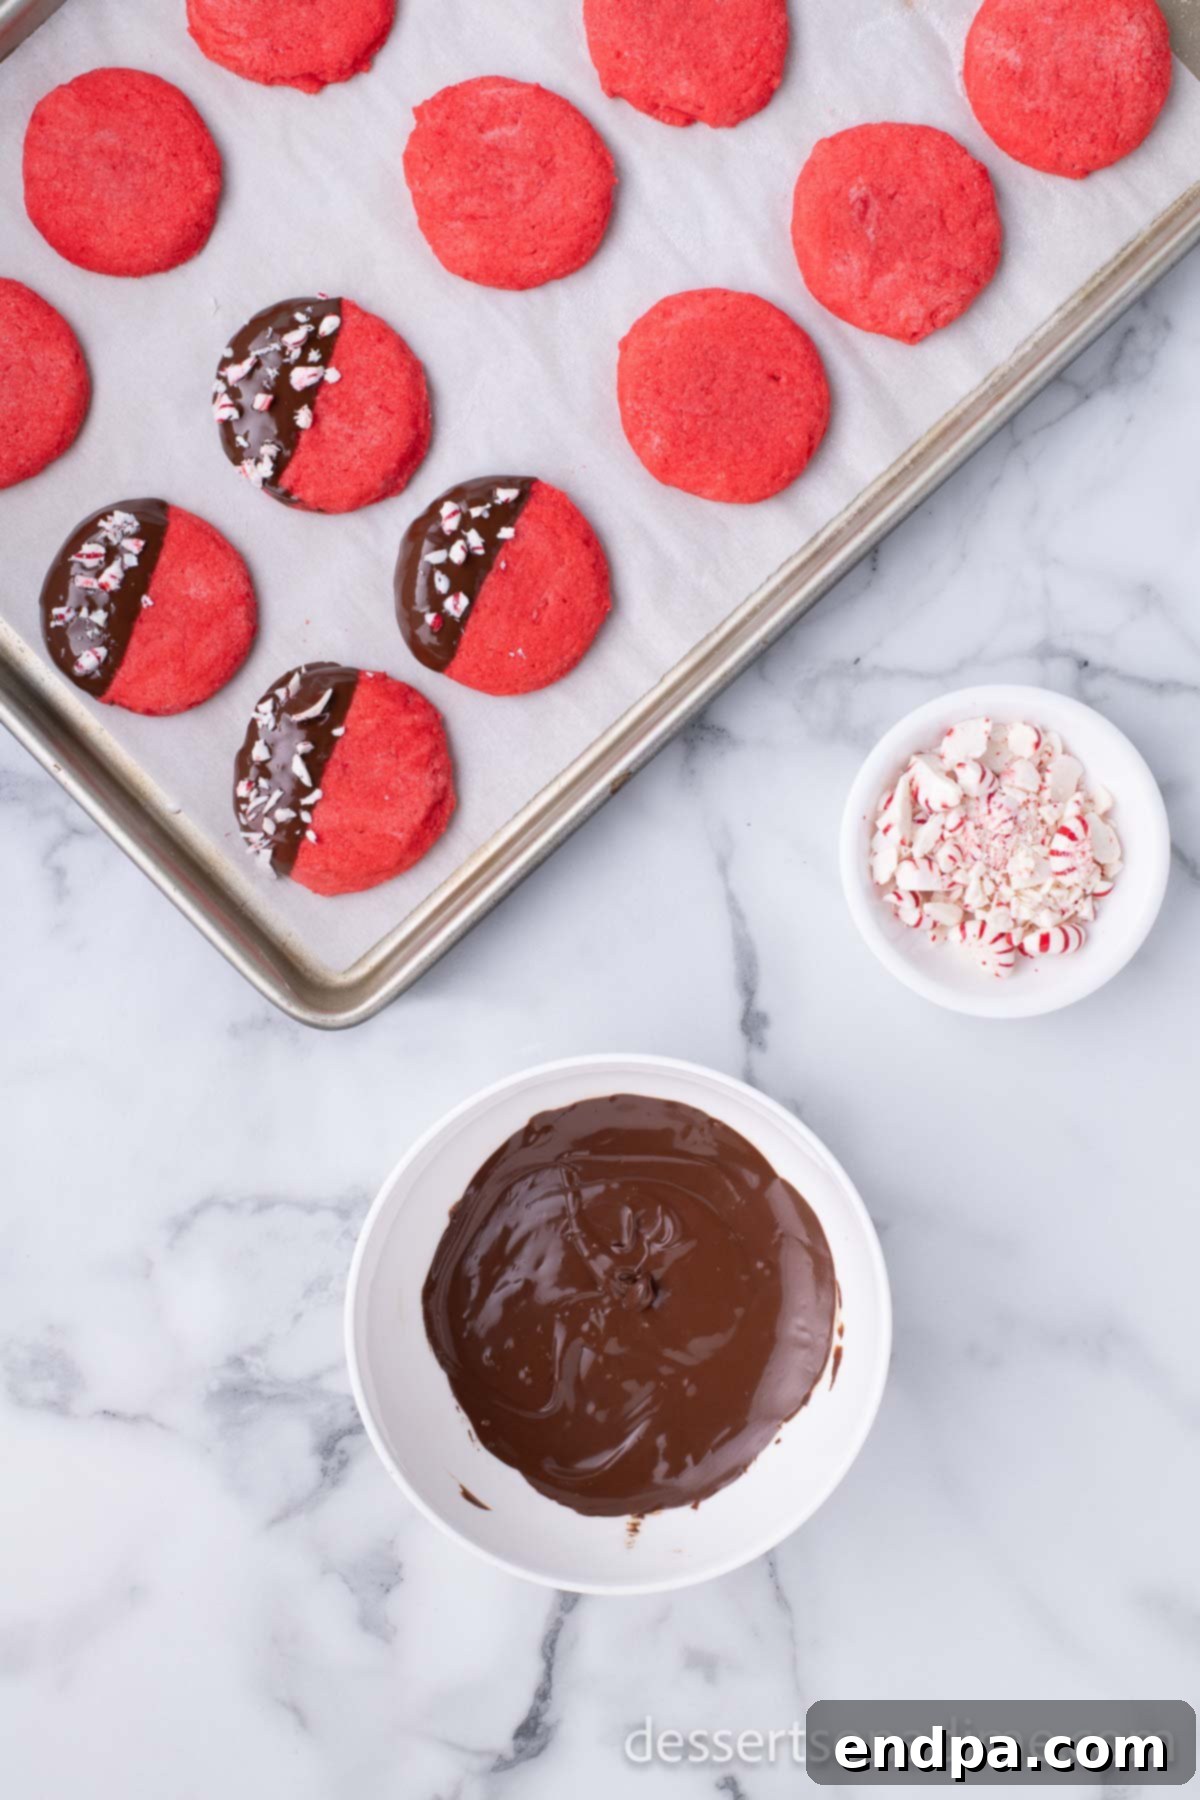
Step 11: Dip in Chocolate. Once the cookies are completely cool, dip one edge of each baked cookie into the melted chocolate. Allow any excess chocolate to drip off for a clean finish.

Step 12: Garnish and Set. Immediately after dipping each cookie, sprinkle the wet chocolate with the crushed peppermint candy. Speed is key here to ensure the candy adheres before the chocolate begins to set. Place the decorated cookies back on the wire rack to allow the chocolate to fully harden. This can take some time, so be patient. Once set, your beautiful Chocolate Dipped Peppermint Cookies are ready to enjoy or store!
Expert Tips for Perfect Peppermint Cookies
Achieving bakery-quality Chocolate Dipped Peppermint Cookies is easier than you think with these professional tips. Pay attention to these details, and your cookies will be a resounding success:
- Act Fast with Toppings: The melted chocolate sets relatively quickly, especially if your kitchen is cool. It is absolutely crucial to add the crushed peppermint or other toppings immediately after dipping each cookie. If the chocolate starts to harden, the toppings won’t stick, and you’ll miss out on that beautiful festive look and delicious crunch.
- Measure Flour Accurately: This is one of the most common baking mistakes! Never scoop flour directly from the bag with your measuring cup. Instead, fluff the flour with a spoon, then spoon it into your measuring cup until overflowing. Finally, level it off with the back of a knife. This method prevents compacting the flour, ensuring you don’t add too much, which can lead to dry, dense, and crumbly cookies.
- Utilize a Cookie Scoop: For perfectly uniform cookies, a cookie scoop is your best friend. Not only does it make portioning the dough quick and mess-free, but it also ensures that all your cookies are the same size. This guarantees even baking, so you don’t end up with some underbaked and some overbaked. Plus, uniform cookies look much more professional on a platter!
- Don’t Overmix the Dough: After adding the flour, mix just until no streaks of dry flour remain. Overmixing develops the gluten in the flour, which can result in tough, chewy cookies rather than the desired tender, melt-in-your-mouth texture.
- Chill the Dough (Optional but Recommended): While this recipe is designed for quick baking, chilling the dough for 30 minutes to an hour can yield even better results. Chilled dough is easier to handle, and it helps prevent the cookies from spreading too much in the oven, leading to a thicker, chewier cookie.
- Proper Chocolate Melting: Whether you use a microwave or a double boiler, melt your chocolate slowly and carefully. Overheated chocolate can seize (become thick and clumpy) or burn, making it unusable for dipping. If using a microwave, heat in 30-second intervals, stirring thoroughly after each, until smooth.
- Cool Completely Before Dipping: Patience is a virtue in cookie decorating! Ensure your cookies are entirely cooled to room temperature before dipping them into the melted chocolate. Dipping warm cookies will cause the chocolate to melt right off or create a messy, uneven coating.
Frequently Asked Questions About Peppermint Cookies
Once the chocolate has fully set, place the cookies in an airtight container at room temperature. They will remain fresh and delicious for up to 3 days. For longer storage, you can freeze them in a freezer-safe container for up to 3 months. To thaw, simply take them out of the freezer and let them come to room temperature on the counter.
Absolutely, this cookie dough freezes beautifully! Roll the dough into balls as directed, then arrange them on a baking sheet and freeze until solid. Once frozen, transfer the dough balls to a freezer-safe bag or container, separating layers with parchment paper to prevent sticking. You can freeze the dough for up to 2 weeks. When you’re ready to bake, simply allow the frozen dough balls to come to room temperature (this might take 30-60 minutes) and then bake them as normal according to the recipe instructions.
Chocolate seizing (becoming thick and crumbly) usually happens for two main reasons: either it was overheated, or a tiny bit of water or steam got into the chocolate. To prevent this, melt chocolate slowly using a double boiler or in the microwave in short bursts, stirring frequently. Ensure all utensils and bowls are completely dry.
Yes, you can! While candy canes are classic, any hard peppermint candy can be crushed and used as a topping. Just make sure it’s pure peppermint and not a softer, chewy variety, as those won’t crush properly.

Explore More Festive Peppermint Desserts
If you’ve fallen in love with the refreshing taste of peppermint, there’s a whole world of delightful desserts waiting for you to explore! Expand your holiday baking repertoire with these other fantastic peppermint-infused treats:
- Chocolate Peppermint Cookies Recipe: Another fantastic option for the chocolate and peppermint enthusiast, often with cocoa directly in the cookie dough for a double chocolate punch.
- Chocolate Dipped Sugar Cookies Recipe: While not peppermint, these offer a similar dipping experience for those who love decorated cookies and are perfect for adapting with peppermint extract.
- Peppermint Bark: A timeless holiday classic that’s incredibly easy to make and perfect for gifting. Layers of dark and white chocolate with crunchy peppermint bits.
- Peppermint Ice Cream Recipe: Cool, creamy, and bursting with peppermint flavor, this homemade ice cream is a refreshing treat any time of year, especially festive in winter.
- White Chocolate Peppermint Brownies Recipe: Fudgy brownies topped with a creamy white chocolate layer and plenty of crushed peppermint for an indulgent, layered dessert.
We can’t wait for you to make these delightful Chocolate Dipped Peppermint Cookies and make them a new holiday tradition. Please consider leaving a star recipe rating and a comment below once you’ve tried them – your feedback helps other bakers!
Chocolate Dipped Peppermint Cookies Recipe
15
10
25
36 cookies
American
Dessert, Holiday
106
Carrie Barnard
Ingredients
- 1 cup unsalted butter softened
- ⅔ cup granulated sugar
- ½ teaspoon salt
- 1 large egg room temperature
- 1 tablespoon pure vanilla extract
- 2 cups all-purpose flour
- 1 teaspoon peppermint extract
- 2-3 drops red gel food coloring (or more, to achieve desired color)
- Granulated sugar (optional, for sprinkling before baking)
- Chocolate almond bark or other melting chocolate (milk, dark, or semi-sweet)
- Crushed peppermint or candy canes (for topping)
Instructions
- Preheat your oven to 350 degrees F (175°C).
- Line a large baking sheet with parchment paper or a silicone mat.
- In a spacious mixing bowl, beat the softened unsalted butter until it becomes light and fluffy.
- Add the granulated sugar and salt to the butter. Continue beating on medium speed until the mixture is well combined and achieves a creamy, fluffy consistency.
- Beat in the room temperature large egg and pure vanilla extract until they are thoroughly combined into the mixture. Scrape down the sides of the bowl as needed.
- Gradually add the all-purpose flour to the wet ingredients, mixing on low speed until the flour is just incorporated and no dry streaks remain. Be careful not to overmix.
- Stir in the peppermint extract and red food coloring. Mix well until the color is evenly distributed throughout the dough, creating a vibrant red hue.
- Using a cookie scoop, form the dough into uniform balls. Place them onto your prepared baking sheet, leaving about 2 inches between each cookie.
- Lightly press down each cookie ball using the bottom of a flat glass or measuring cup that has been dipped in water to prevent sticking.
- If desired, lightly sprinkle the flattened cookies with a bit of granulated sugar before placing them in the oven.
- Bake for 8-10 minutes, or until the edges are just set and slightly golden brown. Baking times may vary, so keep a close watch.
- Remove the baked cookies from the oven and transfer them to a wire rack to cool completely before proceeding to the dipping step.
- While the cookies cool, crush your peppermint candies or candy canes in a resealable bag using a rolling pin until you achieve desired consistency.
- Melt the chocolate almond bark or your chosen melting chocolate in a microwave-safe bowl, following the package instructions until smooth and fluid.
- Dip one edge of each completely cooled cookie into the melted chocolate. Allow any excess chocolate to drip back into the bowl.
- Immediately after dipping, sprinkle the wet chocolate with the crushed peppermint candy.
- Place the decorated cookies back on the wire rack to allow the chocolate to fully set and harden before storing or serving.
Nutrition Facts
Calories
106
kcal
,
Carbohydrates
11
g
,
Protein
1
g
,
Fat
6
g
,
Saturated Fat
4
g
,
Cholesterol
18
mg
,
Sodium
36
mg
,
Potassium
11
mg
,
Fiber
1
g
,
Sugar
6
g
,
Vitamin A
164
IU
,
Calcium
3
mg
,
Iron
1
mg
