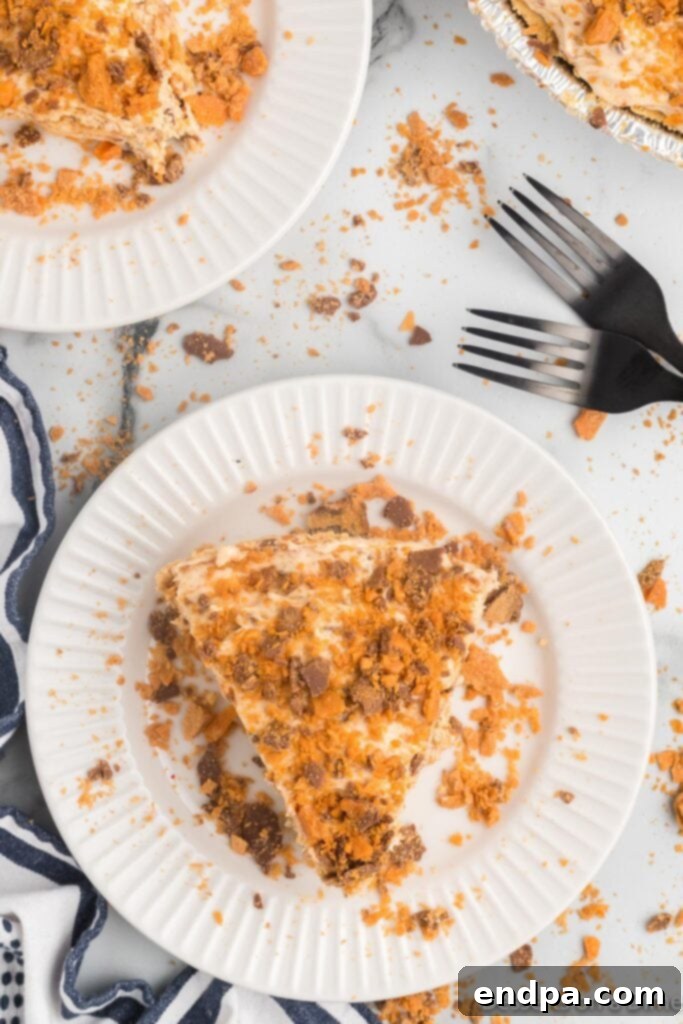
Butterfinger Pie is a truly irresistible dessert that effortlessly blends contrasting textures and complementary flavors into a single, sensational treat. Imagine a golden, buttery graham cracker crust serving as the perfect foundation for a lusciously creamy peanut butter filling. This rich, smooth core is then generously adorned with crunchy, chocolatey Butterfinger candy pieces and a drizzle of rich chocolate, creating a symphony of taste in every bite. This decadent no-bake dessert is not just a crowd-pleaser for holidays and special gatherings, but also the ideal solution for satisfying any sudden sweet craving with minimal effort.
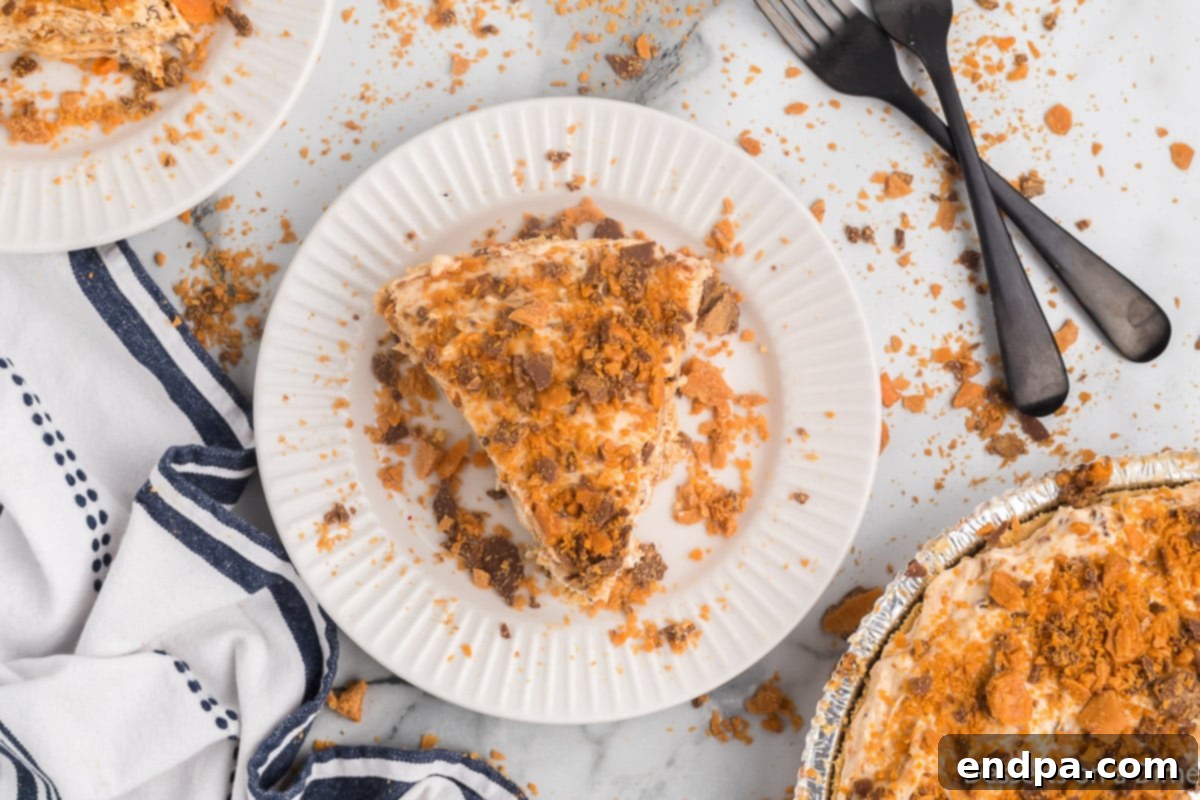
Crafting this remarkable pie begins with its foundation: a crisp, buttery graham cracker crust. This provides a delightful sweetness and a satisfying crunch that beautifully contrasts the velvety smooth interior. The heart of the pie is its incredibly rich and creamy peanut butter layer, which melts in your mouth and offers a comforting, nutty sweetness. This luxurious filling is then elevated by the signature inclusion of Butterfinger candy bars, known for their unique flaky, crunchy peanut butter core enveloped in a layer of milk chocolate. The combination of these elements ensures that each forkful delivers an exciting interplay of smooth, crunchy, sweet, and savory notes.
Whether you’re hosting a grand holiday feast, a casual family get-together, or simply seeking a delightful weekend project, this Butterfinger Pie is guaranteed to be a hit. Its ease of preparation, coupled with its universally loved flavor profile, makes it an essential addition to any dessert repertoire. The harmonious blend of textures, from the firm crust to the silky filling and the crisp candy topping, ensures an unforgettable dessert experience that will have everyone asking for the recipe.
My family’s love affair with Butterfinger-flavored treats runs deep, and for good reason! We’ve spent years perfecting various recipes, ensuring that every creation delivers that unmistakable, satisfying crunch and rich peanut butter-chocolate goodness. From delightful Butterfinger Cupcakes that are perfect for parties, to refreshing Butterfinger Ice Cream that cools you down on a warm day, and even our incredibly popular Homemade Butterfingers, we truly can’t get enough of this iconic candy. We also love making bite-sized Butterfinger Balls for a quick treat.
Among all our Butterfinger endeavors, this particular recipe for No-Bake Butterfinger Pie stands out as one of my all-time favorite pie recipes. The creamy Butterfinger filling is nothing short of heavenly, truly melting in your mouth with every spoonful. If Butterfinger is your go-to candy bar, then making this pie is an absolute must – it’s an experience that takes your favorite treat to an entirely new level. And if you’re looking for another fantastic way to enjoy this flavor, be sure to try our Butterfinger Cookies as well!
What’s in this post: The Ultimate Butterfinger Pie Recipe
- Why You’ll Adore This No-Bake Pie
- Essential Ingredients for Butterfinger Pie
- Creative Variations & Substitutions
- Easy Step-by-Step Instructions
- Storage and Make-Ahead Tips
- Pro Tips for Butterfinger Pie Perfection
- More Irresistible No-Bake Pie Recipes
- Full Butterfinger Pie Recipe
Why You’ll Adore This No-Bake Butterfinger Pie
This Butterfinger Pie isn’t just a dessert; it’s a testament to simple elegance and incredible flavor. Here’s why this recipe will quickly become a cherished favorite in your kitchen:
- Effortless No-Bake Convenience: One of the biggest advantages of this Butterfinger pie is that it requires absolutely no oven time. This makes it incredibly quick and easy to prepare, perfect for warm weather or when you need a fantastic dessert without the fuss of baking. Simply mix, chill, and serve!
- Perfectly Buttery Graham Cracker Crust: The foundation of this pie is a classic graham cracker crust that is rich, sweet, and perfectly crisp. It provides a delightful textural contrast to the smooth filling, creating a harmonious balance that enhances every bite. You can use a store-bought crust for ultimate convenience or whip up your own homemade version for an extra touch.
- Velvety Creamy Peanut Butter Filling: The star of the show, this filling is luxuriously smooth and boasts a deep, comforting peanut butter flavor. It’s light yet rich, striking the perfect balance between indulgence and airy texture, making it utterly delightful from the first spoonful.
- Signature Crunchy Butterfinger Topping: What’s a Butterfinger Pie without the iconic candy? Generous chunks of crunchy Butterfinger candy are folded into the filling and sprinkled on top, delivering bursts of chocolatey, flaky peanut butter goodness in every single bite. It’s the ultimate textural and flavor accent.
- Versatile for Any Occasion: This pie is incredibly adaptable, making it suitable for a wide range of events. Whether it’s a festive holiday gathering, a casual backyard barbecue, a birthday celebration, or just a simple weeknight treat, its universal appeal ensures it will be a triumphant addition to any dessert table. It’s also an excellent option for those last-minute dessert needs.
Essential Ingredients for the Ultimate Butterfinger Pie
Creating this delightful no-bake Butterfinger Pie requires just a handful of simple ingredients, each playing a crucial role in achieving its perfect flavor and texture. Here’s what you’ll need:
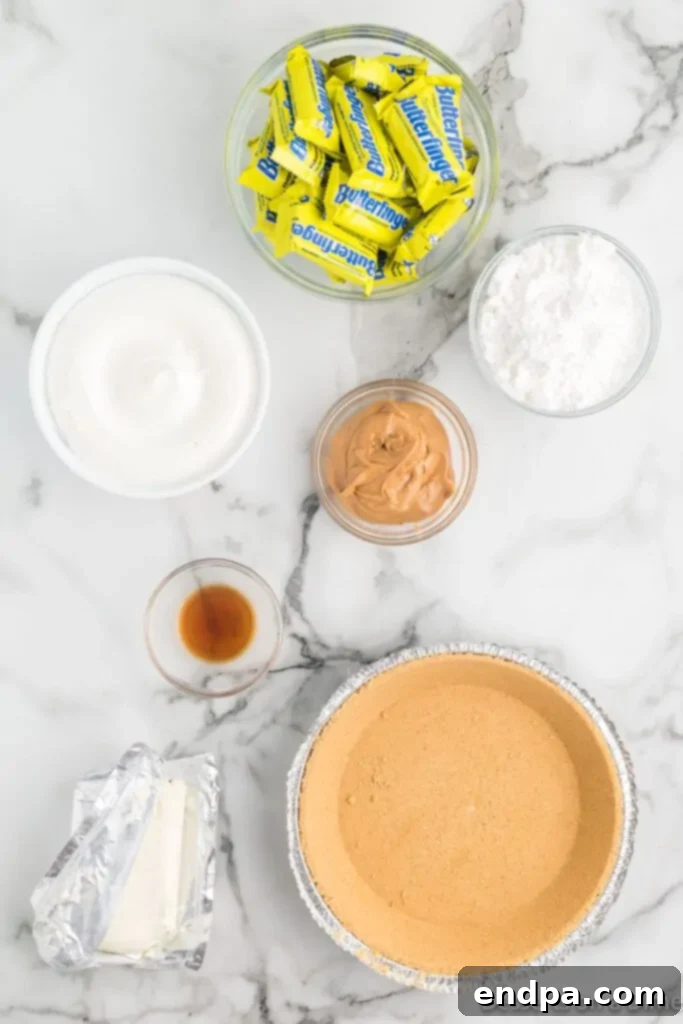
- Graham Cracker Crust: For ultimate convenience and a consistently delicious result, we recommend a pre-made graham cracker crust. These are readily available at most grocery stores and save a significant amount of prep time. However, if you prefer a homemade touch, making your own graham cracker crust is also a simple and rewarding option. The crisp, sweet base is essential for balancing the rich filling.
- Cream Cheese: Ensure your cream cheese is softened at room temperature before you begin. This is a critical step for achieving a smooth, lump-free filling that blends effortlessly with the other ingredients. Room temperature cream cheese will mix beautifully, creating that velvety texture we’re aiming for.
- Creamy Peanut Butter: The quality of your peanut butter makes a difference here. Brands like Skippy or Jif are excellent choices for their smooth consistency and rich, consistent flavor. Avoid natural peanut butter that separates, as it can alter the texture of the filling. This is the primary flavor driver of our decadent pie.
- Powdered Sugar: Also known as confectioners’ sugar, this ingredient sweetens the filling and contributes to its silky-smooth texture. We highly recommend sifting the powdered sugar before adding it to prevent any lumps, ensuring your pie filling is perfectly uniform and delightful.
- Butterfinger Candy Bars: The star ingredient! Fun-size Butterfinger bars are ideal for this recipe as they are easy to crush and distribute. These candy bars provide that iconic crunchy, flaky peanut butter center with a chocolate coating, adding both texture and an explosion of flavor that defines this pie.
- Whipped Topping: A light and airy whipped topping, such as Cool Whip (thawed), is folded into the filling to give it a wonderfully fluffy and creamy consistency. It lightens the rich peanut butter and cream cheese mixture, making the pie feel indulgent without being overly heavy. For an even fresher taste, you can also opt for Homemade Whipped Cream made from heavy whipping cream.
The complete, precise ingredient list with exact measurements can be found in the detailed recipe card conveniently located at the bottom of this post, ready for you to print and follow!
Creative Variations & Substitutions to Personalize Your Pie
While the classic Butterfinger Pie is undeniably delicious, there are many ways to customize this recipe to suit your taste preferences or to simply try something new. Don’t be afraid to get creative in the kitchen!
- Experiment with Pie Crusts: The graham cracker crust is a classic, but your options don’t stop there. This recipe is equally delicious with a store-bought or homemade chocolate pie crust for an added layer of chocolatey richness. For an extra indulgent twist, consider an Oreo cookie crust, which pairs wonderfully with peanut butter and chocolate. Making a homemade graham cracker crust is also very easy, requiring just graham cracker crumbs, melted butter, and a touch of sugar pressed into a pie pan.
- Elevate with Homemade Whipped Cream: Instead of store-bought whipped topping, elevate your pie with fresh homemade whipped cream. It’s surprisingly easy to make with just heavy whipping cream, a touch of powdered sugar, and a splash of vanilla extract. The fresh, rich flavor and lighter texture of homemade whipped cream will take your pie to a gourmet level.
- Enhance the Topping: The crushed Butterfinger candy is fantastic on its own, but you can add even more decadence. Consider drizzling homemade chocolate sauce or hot fudge over the top before serving for an extra layer of chocolatey goodness. A sprinkle of mini chocolate chips, a swirl of caramel sauce, or even some chopped peanuts could also add extra texture and flavor dimension.
- Different Candy Mix-ins: While Butterfinger is central to this pie, you could experiment with other candy bars in the filling if you’re feeling adventurous. Reese’s peanut butter cups, snickers, or even Heath bars could offer interesting variations, though the classic Butterfinger crunch is truly unique.
Easy Step-by-Step Instructions to Make Your Butterfinger Pie
Making this incredible no-bake Butterfinger Pie is straightforward and fun! Follow these simple steps for a dessert that looks and tastes like you spent hours in the kitchen:
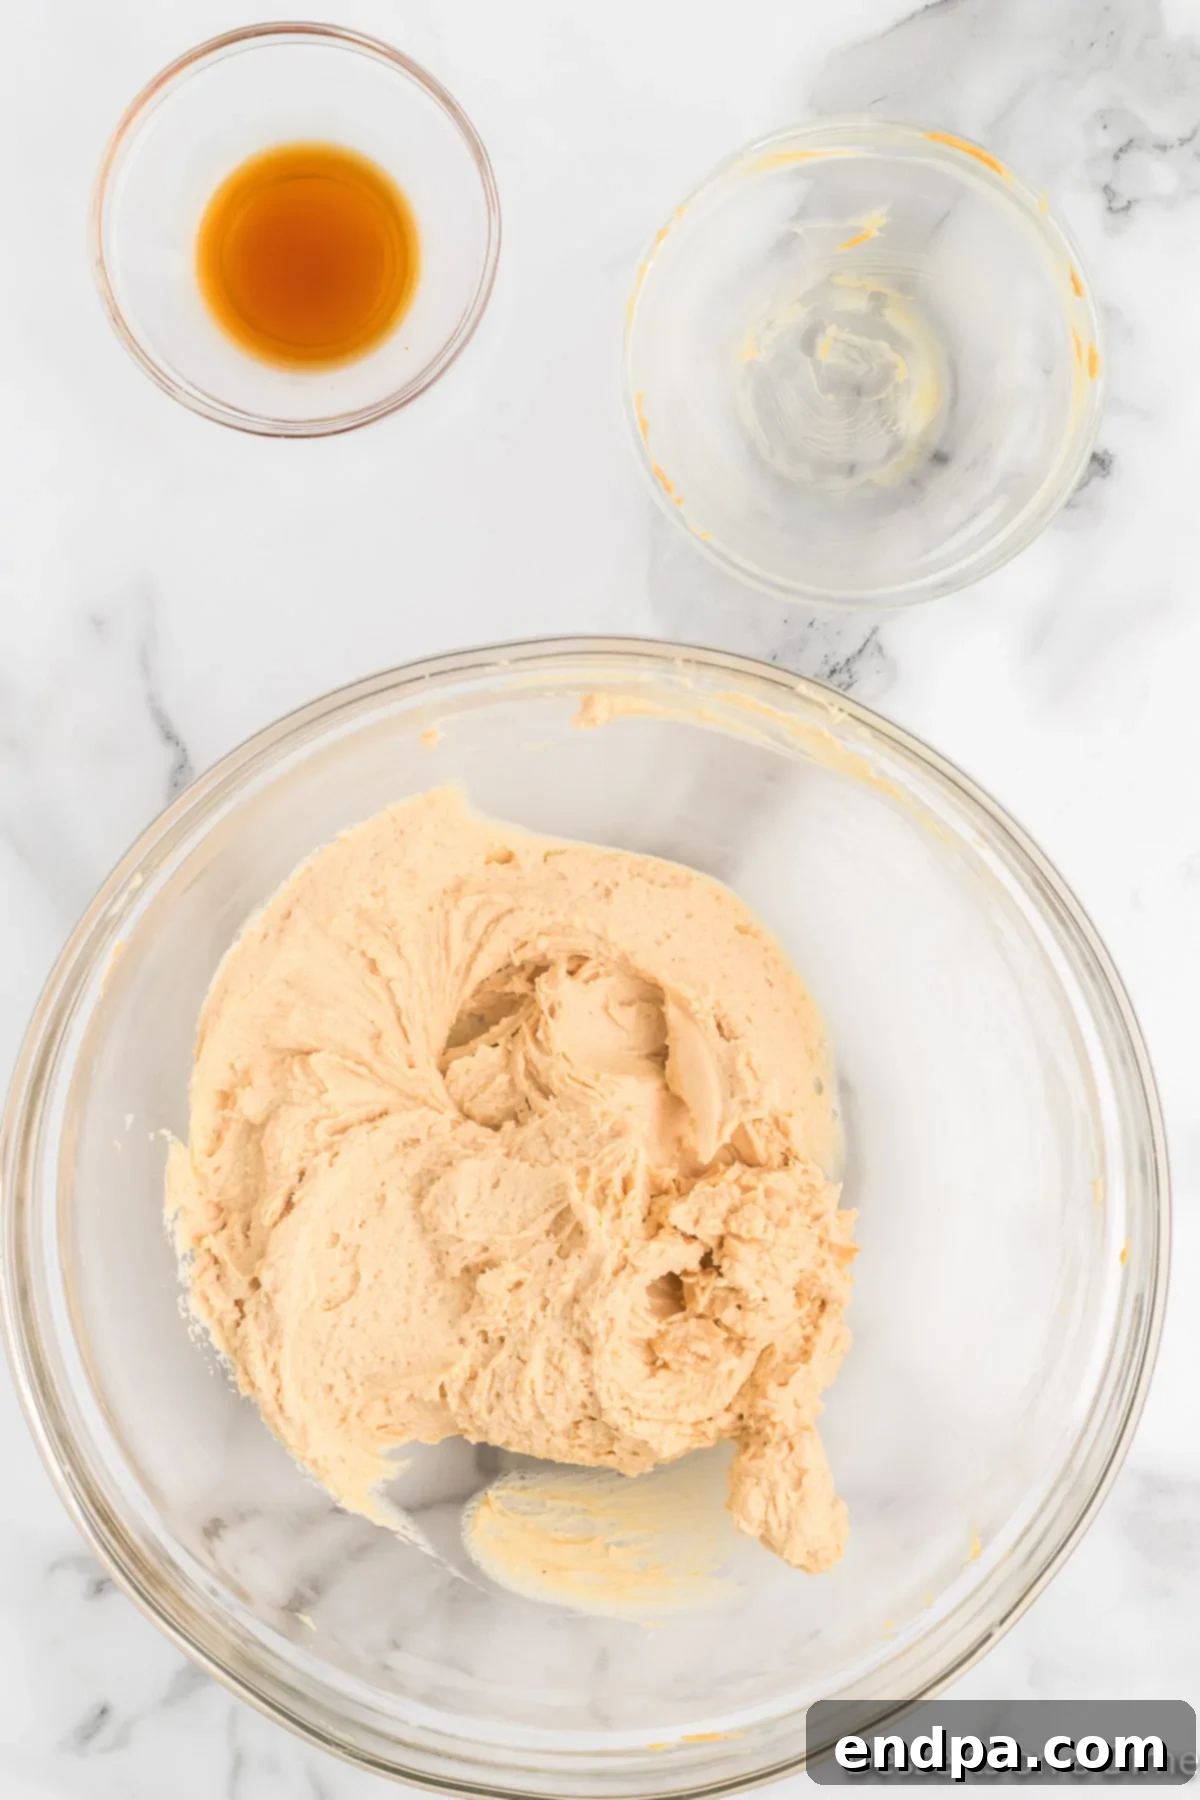
Step 1. Prepare the Base Cream Mixture: In a large mixing bowl, combine the softened cream cheese and creamy peanut butter. Using either a hand-held electric mixer or a stand mixer fitted with the paddle attachment, beat the ingredients together on medium speed until the mixture is smooth and well combined, with no lumps of cream cheese remaining. This ensures a uniform texture for your filling. Once smooth, stir in the vanilla extract until fully incorporated, adding a lovely aromatic depth.
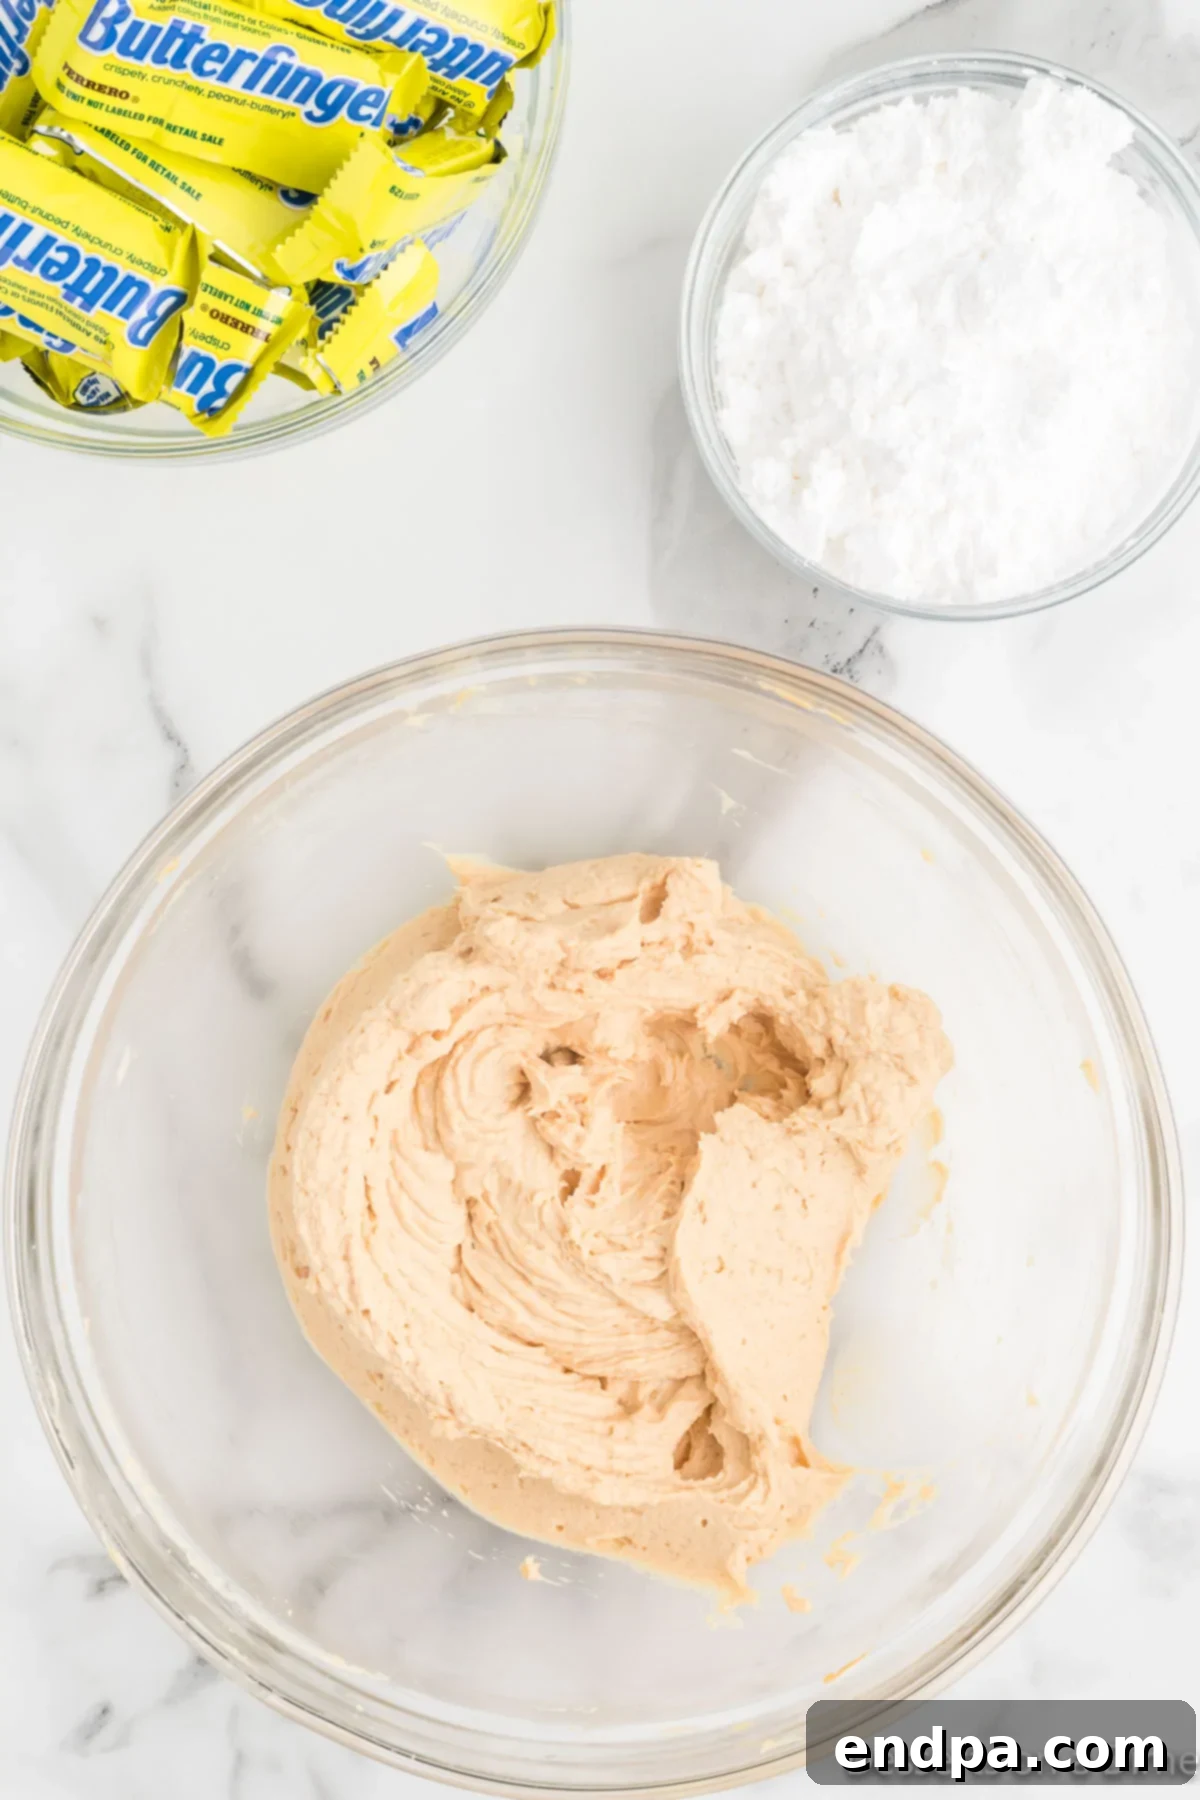
Step 2. Sweeten and Smooth the Filling: Gradually add the powdered sugar to the cream cheese and peanut butter mixture. Continue mixing with your electric mixer until the sugar is fully incorporated and the entire filling is incredibly smooth and creamy. Use a rubber spatula to occasionally scrape down the sides of the bowl to ensure all ingredients are evenly mixed and prevent any dry spots or lumps.
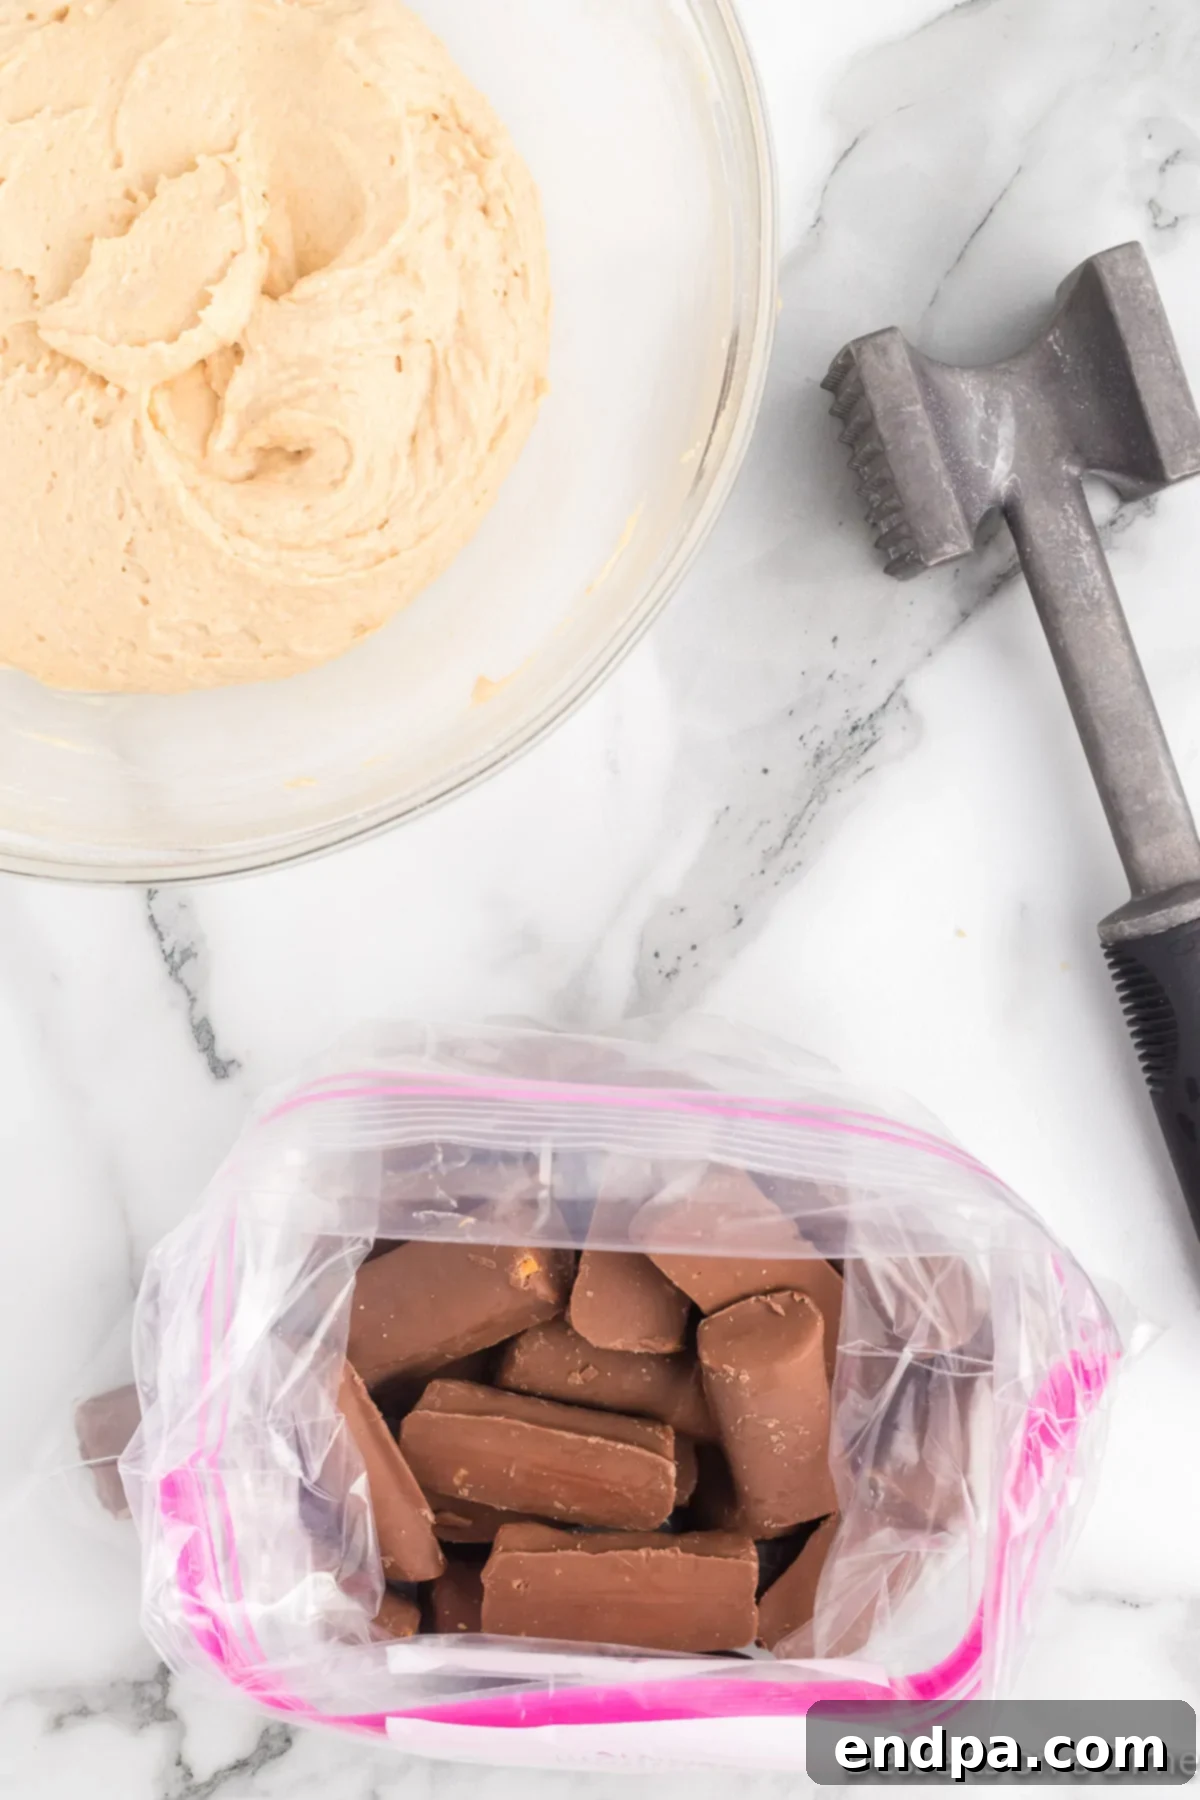
Step 3. Crush the Butterfinger Candy Bars: This step is key for that signature crunch! Unwrap your fun-size Butterfinger candy bars and place them into a sturdy freezer-safe ziploc bag. Seal the bag, removing as much air as possible. Gently, yet firmly, beat the candy bars with a meat mallet, a rolling pin, or even the back of a heavy spoon until they are crushed into small, irregular pieces. Avoid turning them into a fine powder; you want distinct crunchy bits.
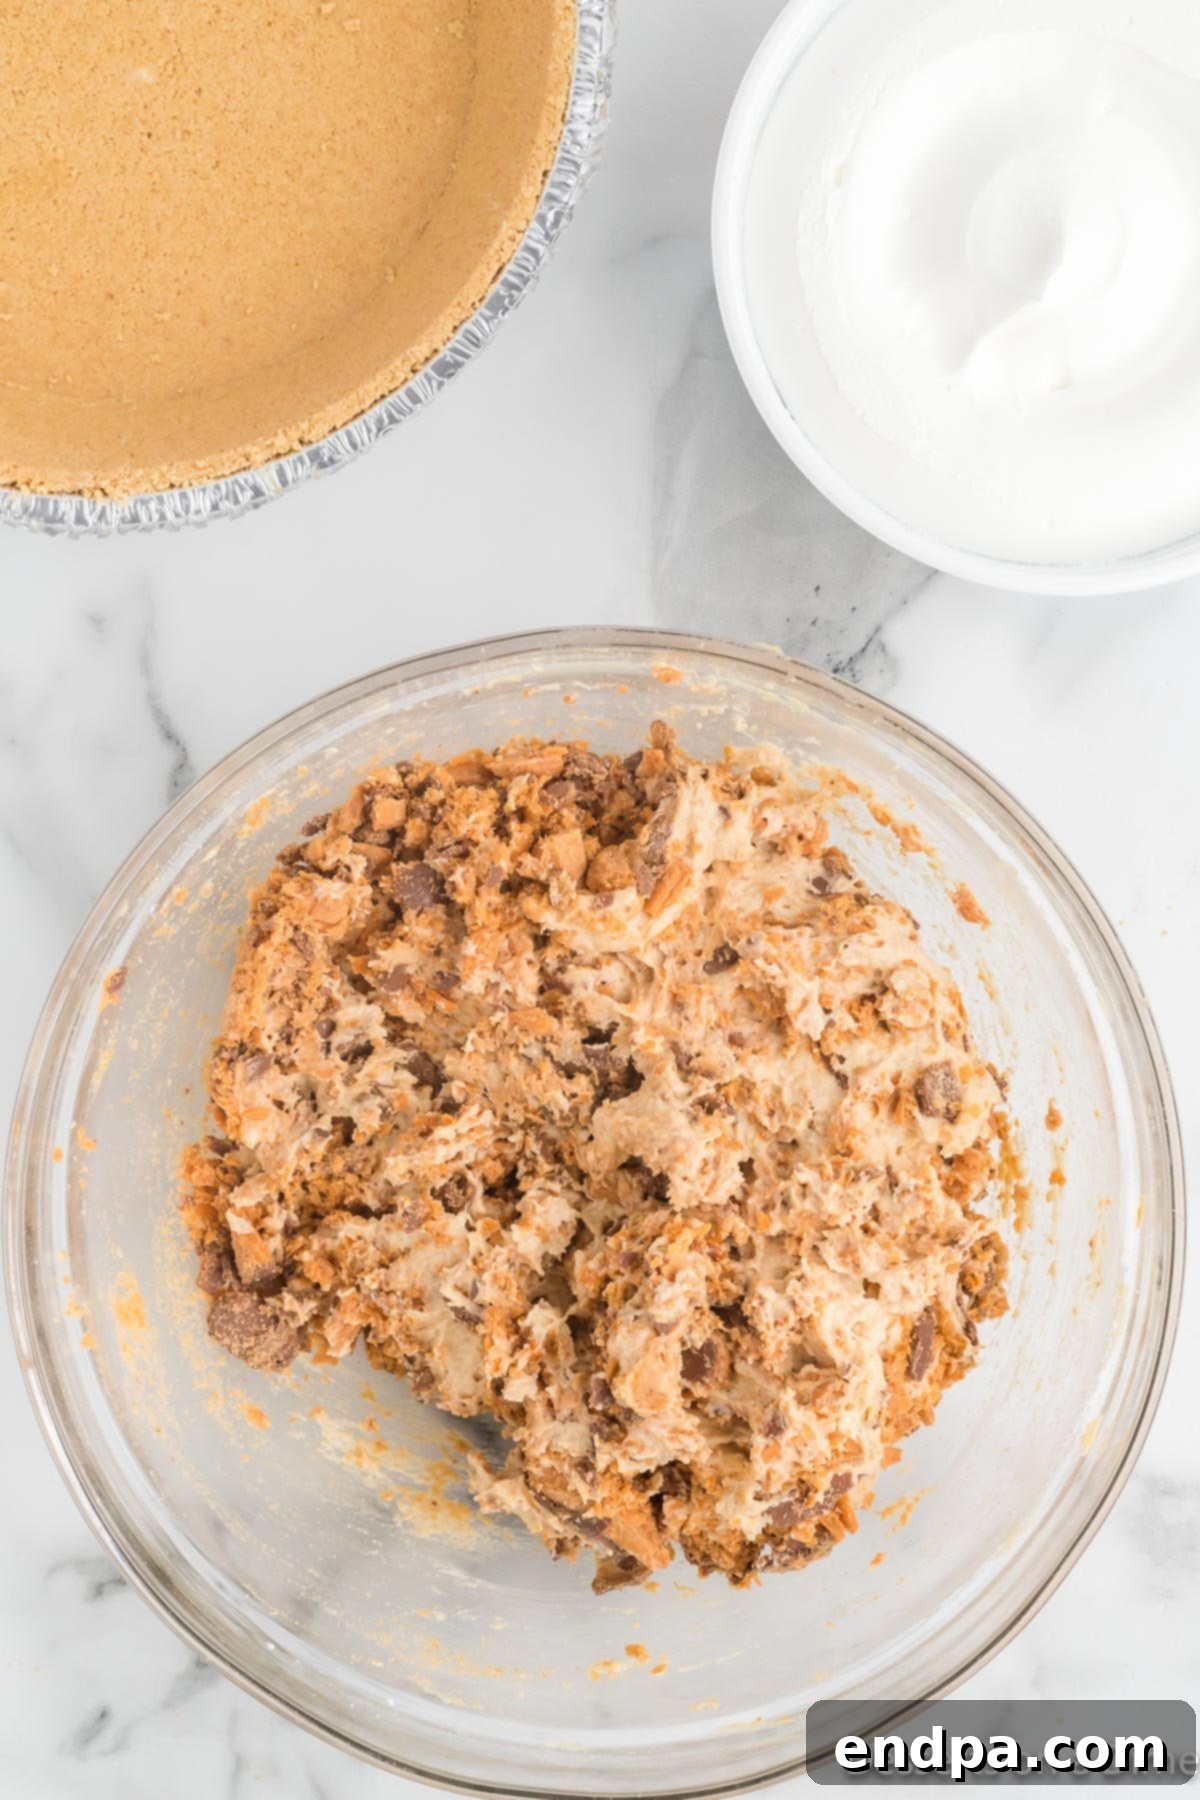
Step 4. Incorporate the Crushed Candy: Now it’s time to add the crunch! Take a portion of the crushed Butterfinger candy – about two-thirds of the total amount – and gently fold it into the prepared cream cheese and peanut butter mixture. Use your rubber spatula to carefully mix the candy throughout the filling. Remember to set aside the remaining crushed Butterfinger pieces, as these will be used for the spectacular topping.
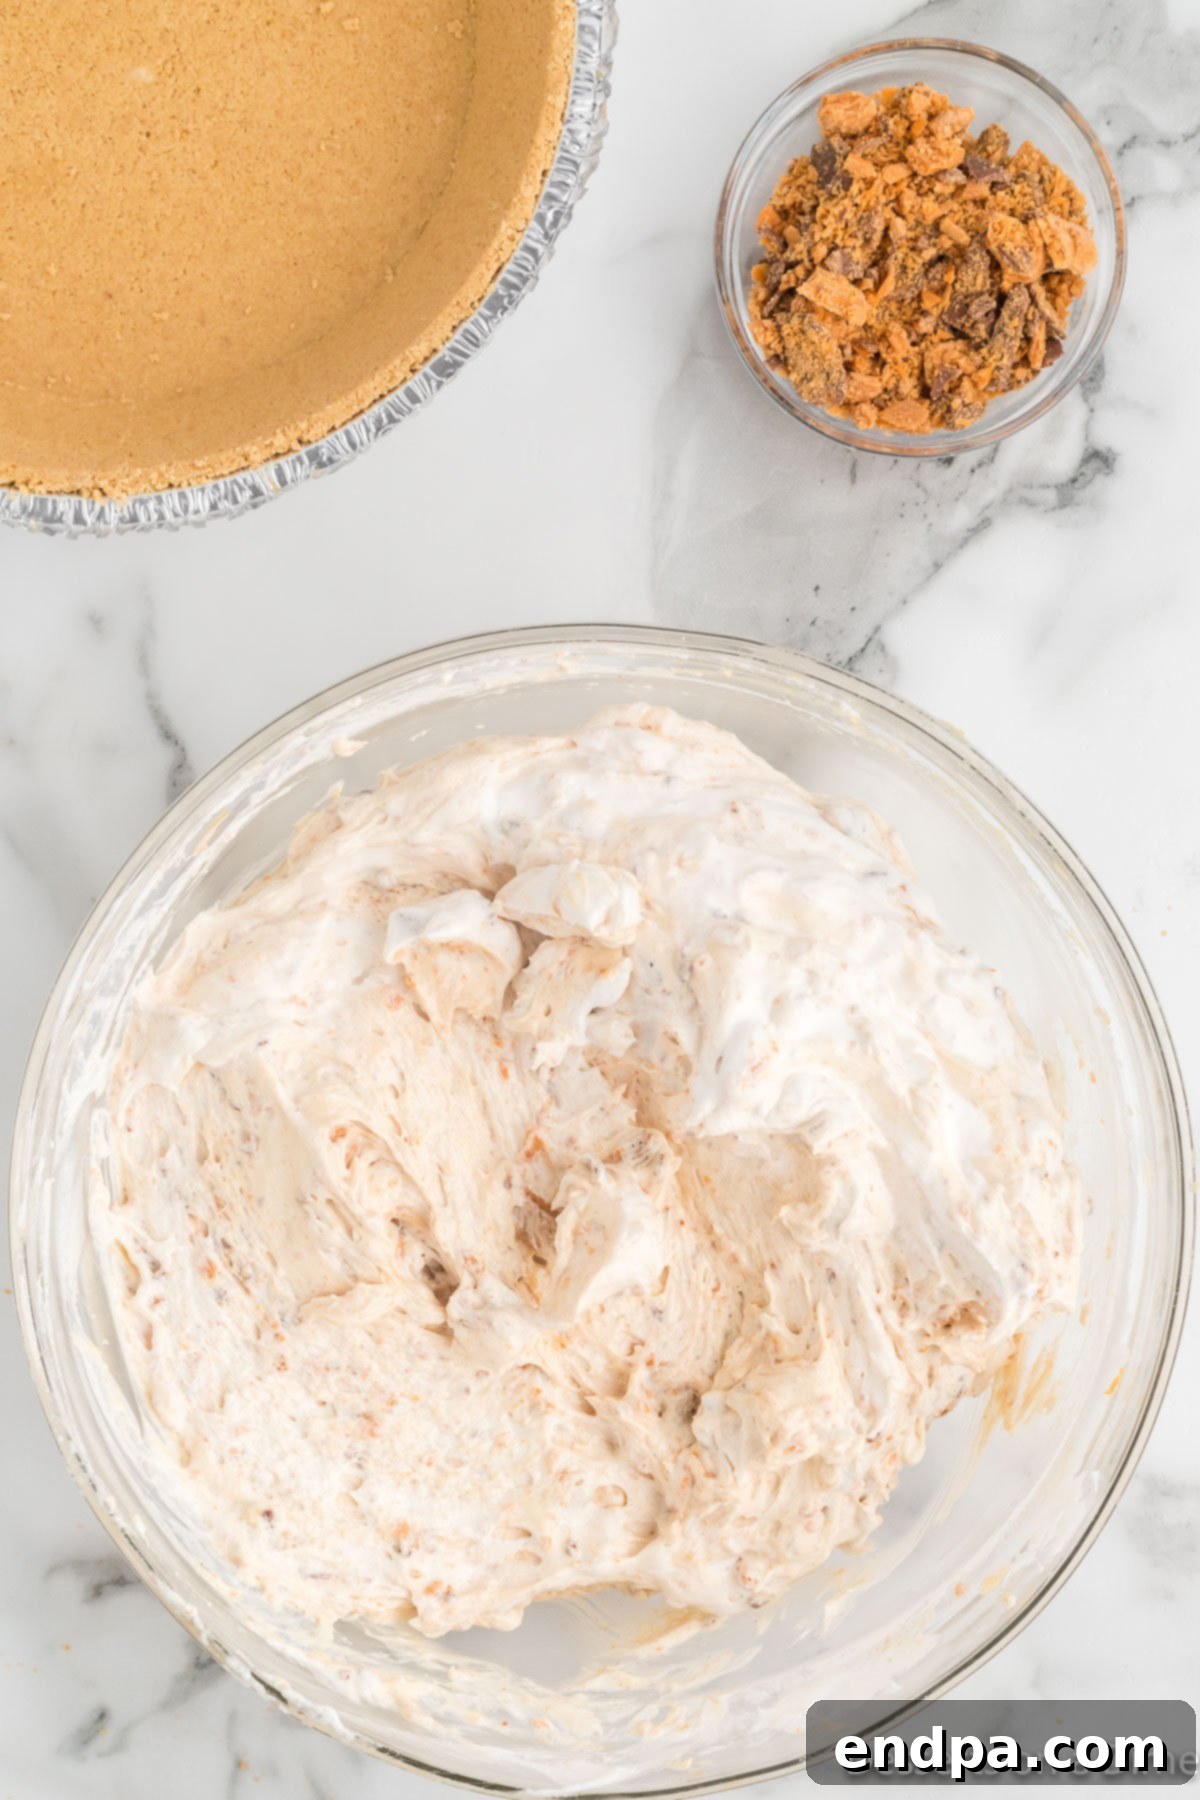
Step 5. Lighten the Filling with Whipped Topping: Carefully fold in the thawed whipped topping (Cool Whip) into the peanut butter and cream cheese mixture. This step requires a gentle hand to maintain the airiness of the whipped topping, which contributes to the pie’s light and fluffy texture. Fold until just combined, being careful not to overmix. This creates a wonderfully creamy yet ethereal filling.
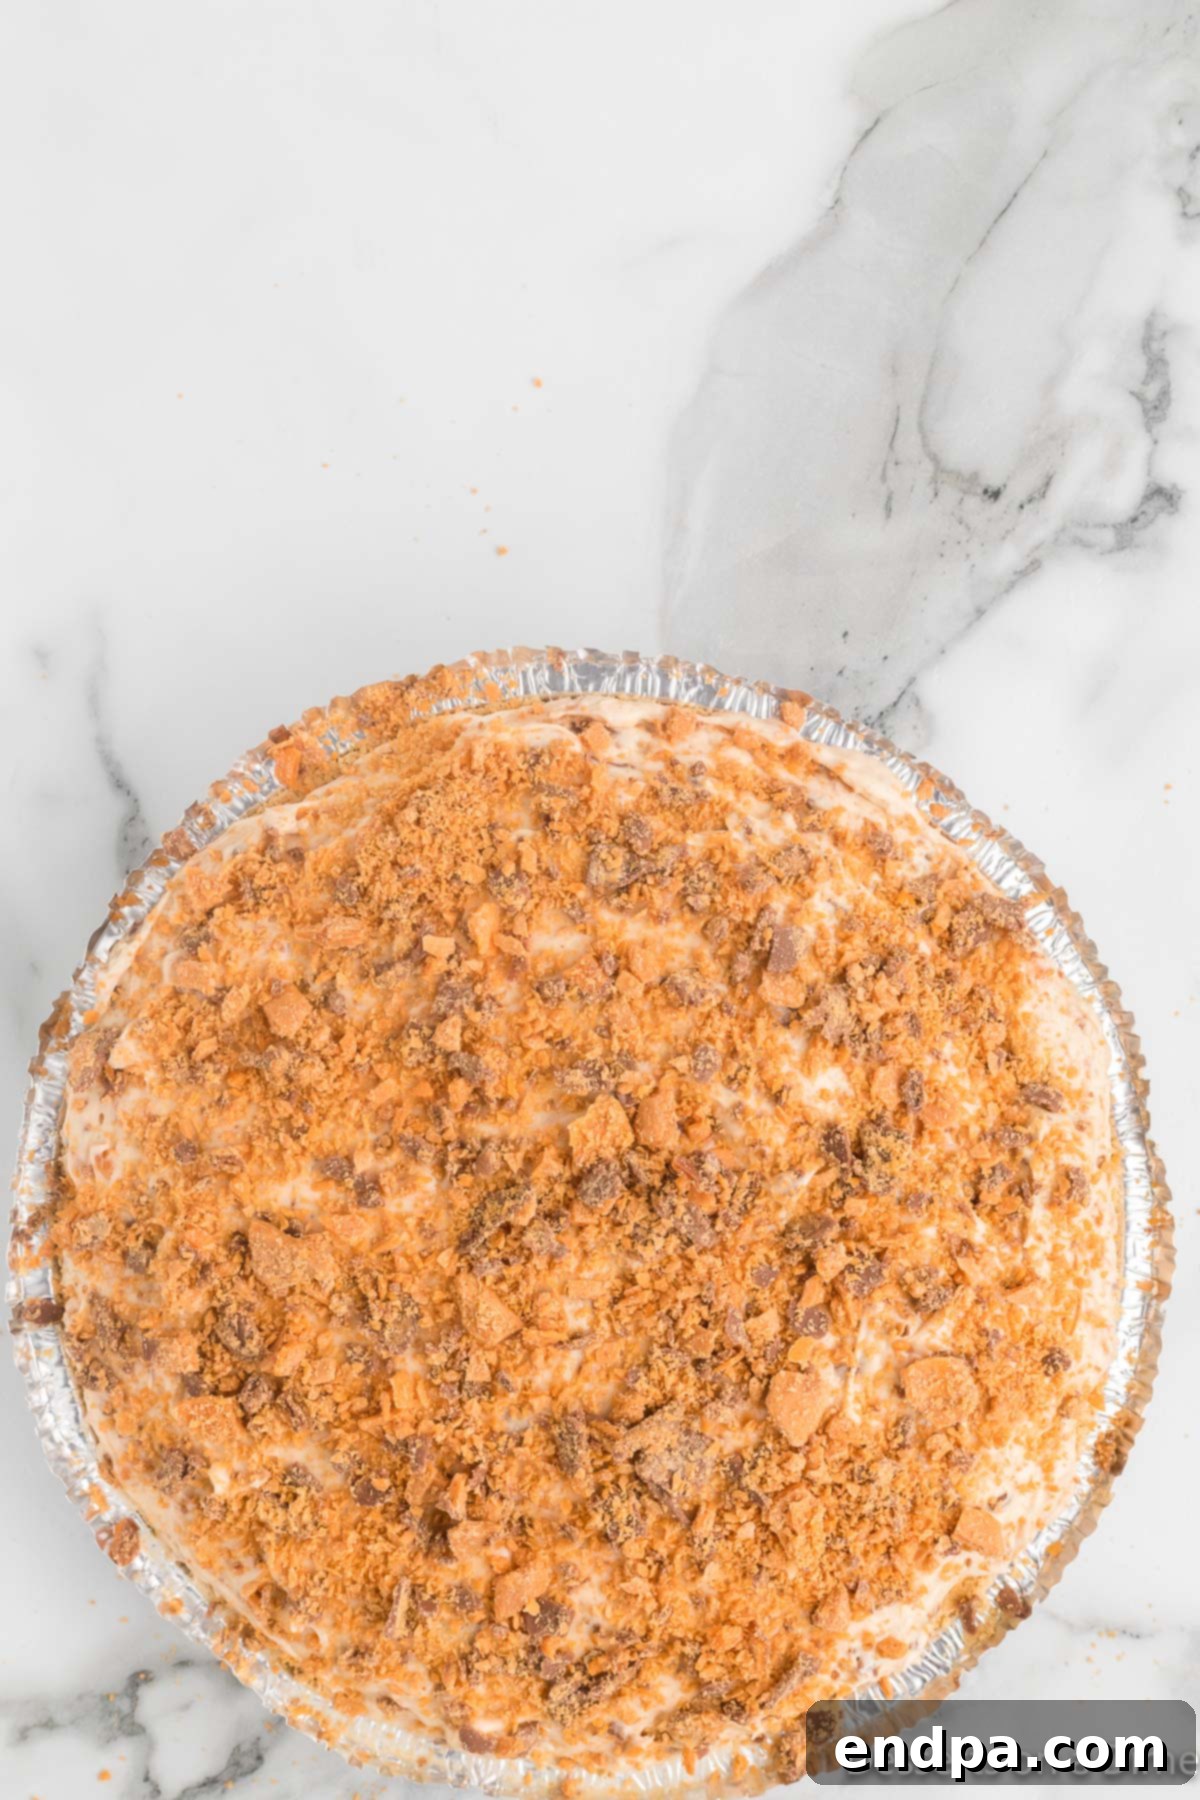
Step 6. Assemble and Chill the Pie: Gently spread the entire creamy Butterfinger filling mixture evenly into your prepared graham cracker crust. Once the filling is smooth in the pie shell, take the remaining crushed Butterfinger pieces that you reserved earlier and generously sprinkle them over the top of the pie. This creates an inviting, crunchy layer. Finally, and most importantly, cover the pie loosely with plastic wrap and allow it to chill in the refrigerator for at least 4 hours, or preferably overnight, before serving. This crucial chilling time allows the filling to set perfectly, resulting in firm, clean slices.
Storage and Make-Ahead Tips for Your Butterfinger Pie
Proper storage is essential to maintain the deliciousness and creamy texture of your no-bake Butterfinger Pie. Here’s how to store it and some tips for making it ahead of time:
Refrigerator Storage:
- Short-Term: After serving, any leftover Butterfinger pie should be stored promptly in the refrigerator. Place the pie in an airtight container or cover it tightly with plastic wrap to prevent it from absorbing odors from other foods and to keep the filling fresh.
- Shelf Life: When properly stored, the pie will remain fresh and delicious for up to 5 days in the refrigerator. Keep it chilled at all times to maintain the creamy texture of the filling and ensure food safety.
Freezer Storage:
- Freezing Whole or Slices: If you wish to freeze the entire pie or individual slices for longer storage, it’s a great option! Wrap the pie (or slices) tightly first in plastic wrap, ensuring no air can get in. Then, wrap it again securely in aluminum foil. This double layer of protection helps prevent freezer burn.
- Container: Place the double-wrapped pie into a freezer-safe container or a large freezer bag for added protection.
- Shelf Life: The Butterfinger pie can be frozen for up to 1 month without significant loss of quality.
- Thawing: To enjoy, thaw the frozen pie in the refrigerator for several hours or overnight before serving. Do not thaw at room temperature.
Important Note on Room Temperature:
- Avoid Extended Room Temperature Exposure: Since this is a no-bake pie that contains dairy ingredients like cream cheese and whipped topping, it should not be left at room temperature for extended periods. The creamy filling will begin to soften and could spoil if left out for more than 2 hours. Always return it to the refrigerator promptly after serving.
Make-Ahead Convenience:
- Preparation in Advance: This pie is an excellent make-ahead dessert! You can prepare the entire pie a day in advance, which makes it perfect for parties, holidays, or any event where you want to minimize last-minute stress. Preparing it the day before also allows the flavors to meld and the filling to set even more firmly, resulting in perfectly clean slices. Simply cover and refrigerate until ready to serve.
Pro Tips for Butterfinger Pie Perfection
To ensure your Butterfinger Pie turns out perfectly every time, keep these valuable tips and tricks in mind. They’ll help you achieve that irresistible creamy texture and balanced flavor that makes this dessert so special:
- Ensure Softened Cream Cheese: This is arguably the most crucial tip for a smooth filling. Always make sure your cream cheese is at true room temperature. If it’s too cold, it will be difficult to blend, resulting in a lumpy filling. You can soften it more quickly by unwrapping it and placing it on a plate for 30-60 minutes, or microwaving it for 10-15 seconds at a time until pliable.
- Prioritize Chilling Time: Do not rush the chilling process! Refrigerating the pie for at least 2-3 hours (and ideally 4 hours or overnight) is essential. This allows the creamy filling to set completely and firm up, making it much easier to slice and serve. A well-chilled pie holds its shape beautifully and tastes even better.
- Chop Butterfinger Bars Uniformly Small: When crushing your Butterfinger bars, aim for small, relatively uniform pieces. This ensures that the candy is evenly distributed throughout the filling and topping, providing that satisfying crunch in every single bite. Avoid large chunks that can be difficult to cut through or powdery bits that disappear into the filling.
- Leverage Make-Ahead Capabilities: This no-bake pie is a fantastic candidate for making ahead. Prepare it a day in advance for holidays or parties. The extra chilling time actually enhances the flavors and allows the filling to fully set, making your life easier on the day of your event. Just cover it loosely and keep it in the fridge.
- Explore Crust Alternatives for Flavor Twist: While a graham cracker crust is classic, don’t hesitate to experiment! A chocolate cookie crust (made from crushed Oreo cookies or similar) can add an even richer, deeper chocolate flavor that perfectly complements the peanut butter and Butterfinger. This simple swap can completely change the character of the pie.
- Don’t Overmix the Whipped Topping: When folding in the whipped topping, be gentle and stop as soon as it’s just combined. Overmixing can deflate the whipped topping, leading to a denser, less airy pie filling. The goal is a light, fluffy texture.
More Irresistible No-Bake Pie Recipes to Try
If you’ve fallen in love with the ease and deliciousness of this no-bake Butterfinger Pie, you’re in luck! The world of no-bake desserts is vast and full of incredible options that require minimal effort but deliver maximum flavor. Here are some more fantastic no-bake pie recipes that are sure to impress:
- No Bake Oreo Pie: A chocolate lover’s dream, featuring a rich Oreo crust and a creamy, dreamy Oreo-infused filling.
- Easy No Bake Hershey Pie: Simple yet satisfying, this pie is packed with rich chocolate flavor and has a light, mousse-like consistency.
- Salted Caramel Pie: A perfect balance of sweet and savory with a luscious caramel filling, often topped with a sprinkle of sea salt.
- Reese’s Peanut Butter Pie: If you love the peanut butter in this Butterfinger pie, you’ll adore this one, loaded with the classic flavor of Reese’s cups.
We encourage you to do yourself a favor and whip up this amazingly yummy Butterfinger Pie for your family and friends. It’s guaranteed to bring smiles and satisfied sighs! Once you’ve made it, we’d love to hear all about your experience. Please leave a star recipe rating and comment below to share your thoughts and any creative twists you added!
Butterfinger Pie
4.67 from 3 votes
20 minutes
4 hours
4 hours 20 minutes
8
American
Dessert
529
Carrie Barnard
Ingredients
- 1 pre-made Graham Cracker Crust
- 8 ounces Cream Cheese softened
- ½ cup Creamy Peanut Butter
- 1 teaspoon Vanilla Extract
- 1 cup Powdered Sugar
- 1 bag Fun-Size Butterfinger Bars
- 8 ounces Whipped Topping Cool Whip – thawed
Instructions
- Mix together the softened cream cheese and creamy peanut butter in a large bowl using a hand-held or stand mixer until smooth. Then, stir in the vanilla extract until well combined.
- Gradually add the powdered sugar to the mixture, beating until it is completely smooth and creamy. Make sure to scrape down the sides of the bowl with a rubber spatula to ensure everything is fully incorporated.
- Crush the Butterfinger bars by placing them in a ziplock bag and gently beating them with a meat mallet or rolling pin. Aim for small, crunchy pieces, not a fine powder.
- Reserve about one-third of the crushed Butterfingers for the topping. Mix the remaining crushed Butterfingers into the cream cheese and peanut butter mixture until evenly distributed.
- Gently fold in the thawed whipped topping into the pie mixture. Be careful not to overmix, as this will help keep the filling light and airy.
- Spread the finished mixture evenly into your pre-made graham cracker crust. Sprinkle the reserved crushed Butterfingers generously over the top of the pie.
- Cover the pie loosely with plastic wrap and refrigerate for at least 4 hours, or preferably overnight, to allow the filling to set completely. Once chilled, the pie is ready to slice, serve, and enjoy!
Recipe Notes
Nutrition Facts
Carbohydrates 57g,
Protein 9g,
Fat 31g,
Saturated Fat 14g,
Polyunsaturated Fat 4g,
Monounsaturated Fat 12g,
Trans Fat 0.01g,
Cholesterol 29mg,
Sodium 331mg,
Potassium 232mg,
Fiber 2g,
Sugar 38g,
Vitamin A 402IU,
Calcium 70mg,
Iron 1mg
Pin This Now to Remember It Later
Pin Recipe
