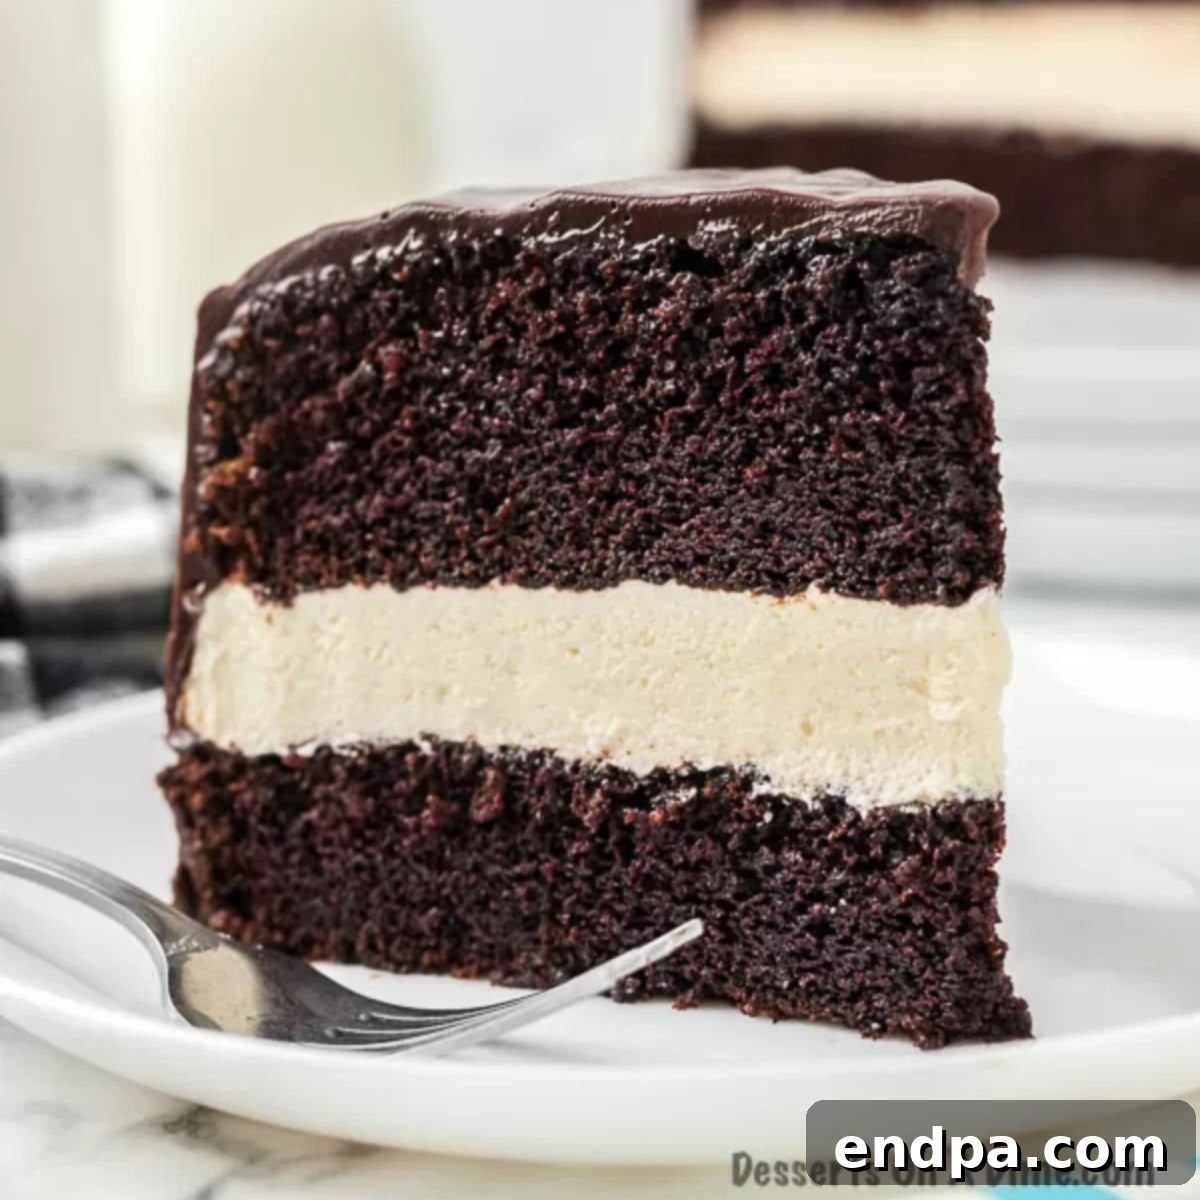
Ding Dong Cake offers a delightful journey into the heart of classic American comfort desserts. This homemade rendition perfectly captures the nostalgic essence of the beloved chocolate snack cake, featuring exquisitely moist chocolate layers, a luscious, creamy filling, and a decadent, glossy chocolate ganache. It’s a show-stopping dessert that’s surprisingly approachable to make, ideal for any occasion from a casual family treat to a celebratory centerpiece.
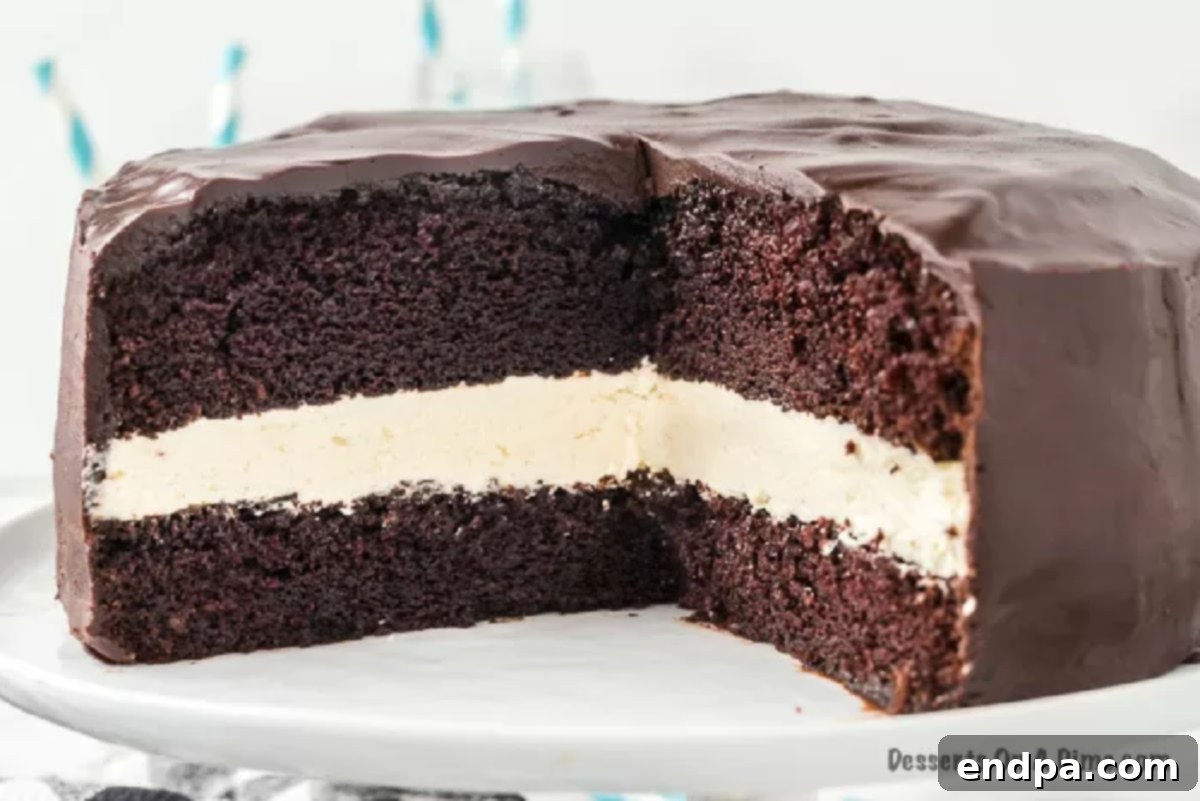
Recreating the iconic Ding Dong Cake at home not only allows for a fresher, more personalized experience but also lets you control the quality of ingredients, ensuring every bite is pure indulgence. This recipe delivers a rich, deeply chocolatey cake with a heavenly, fluffy cream filling that balances the intense chocolate flavor. The smooth, pourable chocolate ganache adds a final layer of luxuriousness, making it an irresistible dessert that will surely impress your guests and bring smiles to faces.
Whether you’re hosting a party, celebrating a special event, or simply craving a sophisticated yet fun chocolate treat, this homemade Ding Dong Cake is a perfect choice. It’s a testament to the fact that some of the best nostalgic flavors can be elevated and enjoyed anew with a homemade touch. Don’t forget to explore other delightful confections like the Copycat Swiss Roll Cake Recipe for more sweet inspiration!
Table of Contents
- Why Is It Called Ding Dong Cake?
- The Anatomy of a Classic Ding Dong Cake: Ingredients
- For the Moist Chocolate Cake
- For the Airy Cream Filling
- For the Decadent Chocolate Ganache
- Crafting Your Homemade Ding Dong Cake: Step-By-Step Instructions
- Storage Tips for Your Ding Dong Cake
- Expert Baking Pro Tips for Success
- More Irresistible Chocolate Cake Recipes
- Explore Other Delightful Copycat Recipes
Why Is It Called Ding Dong Cake?
The intriguing name of this chocolate masterpiece harks back to its commercial inspiration: the iconic Hostess Ding Dong snack cakes. These individually wrapped chocolate cakes, filled with a creamy center and coated in a chocolate glaze, have been a beloved treat for generations. Our homemade version pays homage to this classic, aiming to replicate and even enhance its rich, decadent flavors and satisfying textures.
The original Hostess Ding Dong cakes were named during an advertising campaign that featured ringing bells. This simple, memorable name helped solidify their place in popular culture as a go-to chocolate indulgence. Over the decades, the Ding Dong cake has evolved from a simple convenience store item into a nostalgic symbol of childhood treats and sweet satisfaction. Our copycat recipe allows you to bring that timeless joy into your own kitchen, creating a superior, freshly baked version that captures the essence of this favorite snack with a gourmet twist.
This recipe is not just about baking a cake; it’s about recreating a piece of culinary history and sharing a nostalgic experience. The combination of dense chocolate cake, the light, sweet cream, and the rich ganache creates a symphony of flavors and textures that remains as captivating today as it was when the original snack cakes first rang their way into our hearts.
The Anatomy of a Classic Ding Dong Cake: Ingredients
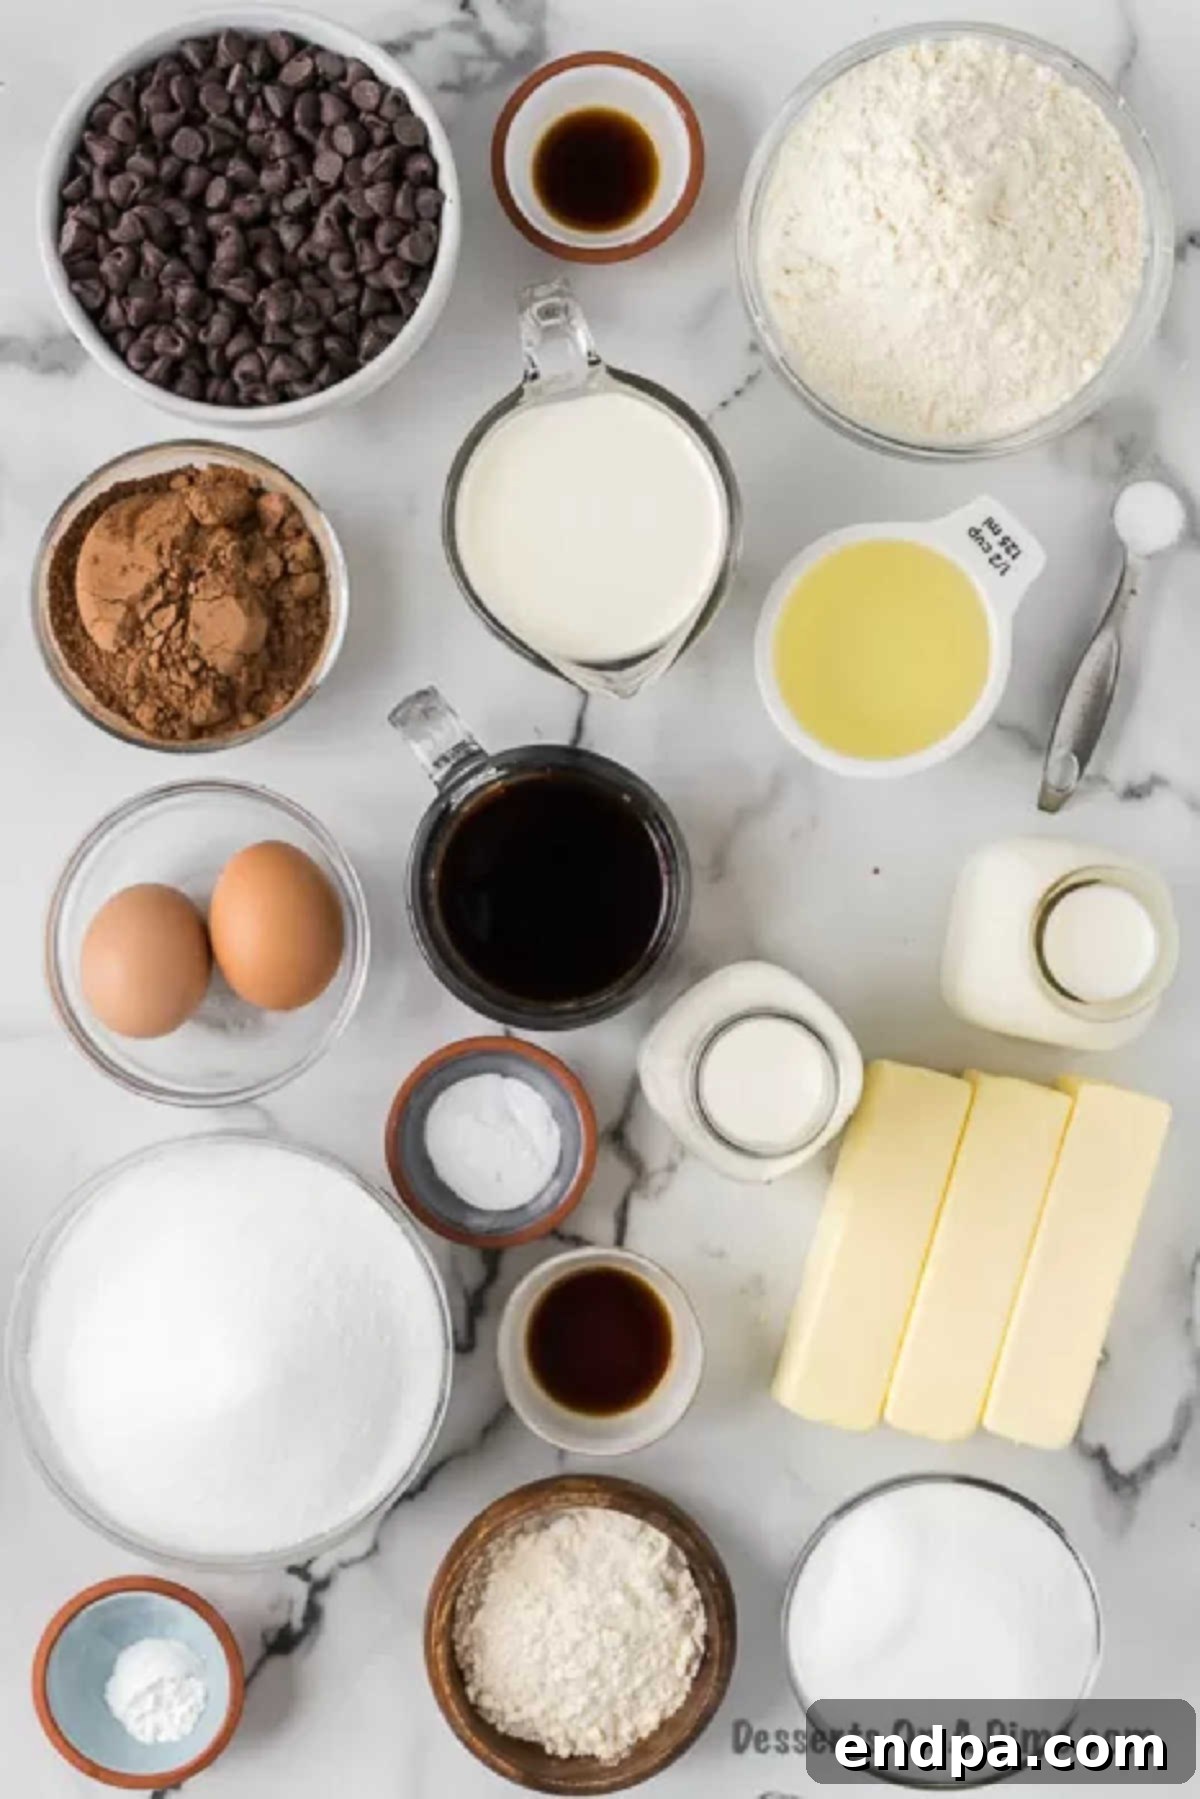
Crafting the perfect Ding Dong Cake requires a precise selection of ingredients for each distinct layer. Here’s a detailed look at what you’ll need to achieve that authentic, rich flavor and delightful texture:
For the Moist Chocolate Cake:
- Unsalted Butter: Essential for richness and flavor. Ensure it’s softened at room temperature for optimal creaming with sugar, leading to a tender cake crumb.
- Granulated Sugar: Not only sweetens but also contributes to the cake’s structure and moisture retention, yielding a beautifully balanced sweetness.
- Large Eggs: Act as binders, adding richness and helping to leaven the cake. Bringing them to room temperature allows for better emulsification with other ingredients, creating a smoother batter.
- All-Purpose Flour: Provides the fundamental structure of the cake. Proper measurement is crucial to avoid a dense or dry cake.
- Unsweetened Cocoa Powder: The star of the show, delivering a deep, intense chocolate flavor that defines the Ding Dong Cake. Opt for high-quality cocoa for the best results.
- Baking Soda: A leavening agent that reacts with acidic ingredients (like cocoa powder and coffee) to help the cake rise, creating a light and airy texture.
- Baking Powder: Provides additional lift, working in conjunction with baking soda to ensure a perfectly risen and tender cake.
- Vegetable Oil: Contributes significantly to the cake’s moistness and tender texture, keeping it from drying out.
- Vanilla Extract: Enhances and complements the chocolate flavor, adding a touch of aromatic depth.
- Brewed Coffee: A secret weapon for chocolate cakes! Cooled brewed coffee doesn’t make the cake taste like coffee, but rather intensifies the chocolate flavor, making it richer and more profound.
- Whole Milk: Adds moisture and richness to the batter. Using whole milk ensures a creamier texture in the final cake.
- Salt: A pinch of salt balances the sweetness and brings out the full depth of the chocolate flavor.
For the Airy Cream Filling:
- All-Purpose Flour: Used to create a cooked paste with milk, which forms the stable base for this unique, fluffy cream filling.
- Whole Milk: Crucial for a smooth and creamy cooked flour paste. Skim or reduced-fat milk may result in a less rich and silky filling.
- Vanilla Extract: Infuses the filling with a classic, sweet aroma and flavor that perfectly complements the chocolate cake.
- Unsalted Butter: Softened at room temperature, it’s beaten into the cooled flour paste with sugar to create a light, whipped, and incredibly rich filling.
- Granulated Sugar: Sweetens the filling to perfection, providing a lovely contrast to the deep chocolate cake.
For the Decadent Chocolate Ganache:
- Semi-sweet Chocolate Chips: These melt smoothly to form a rich, glossy, and pourable chocolate coating that defines the classic Ding Dong look and taste. Quality chocolate makes a difference here.
- Heavy Cream: When heated and combined with the chocolate chips, it creates the silky, luxurious texture of the ganache, ensuring a smooth and even finish.
Crafting Your Homemade Ding Dong Cake: Step-By-Step Instructions
Follow these detailed steps carefully to create a magnificent homemade Ding Dong Cake that will impress and delight:
- Step 1: Prepare Your Baking Environment. Begin by preheating your oven to 350°F (175°C). While the oven heats, retrieve two 9-inch round cake pans. Generously spray the insides of both pans with a non-stick cooking spray, or grease and flour them to prevent sticking and ensure easy removal.
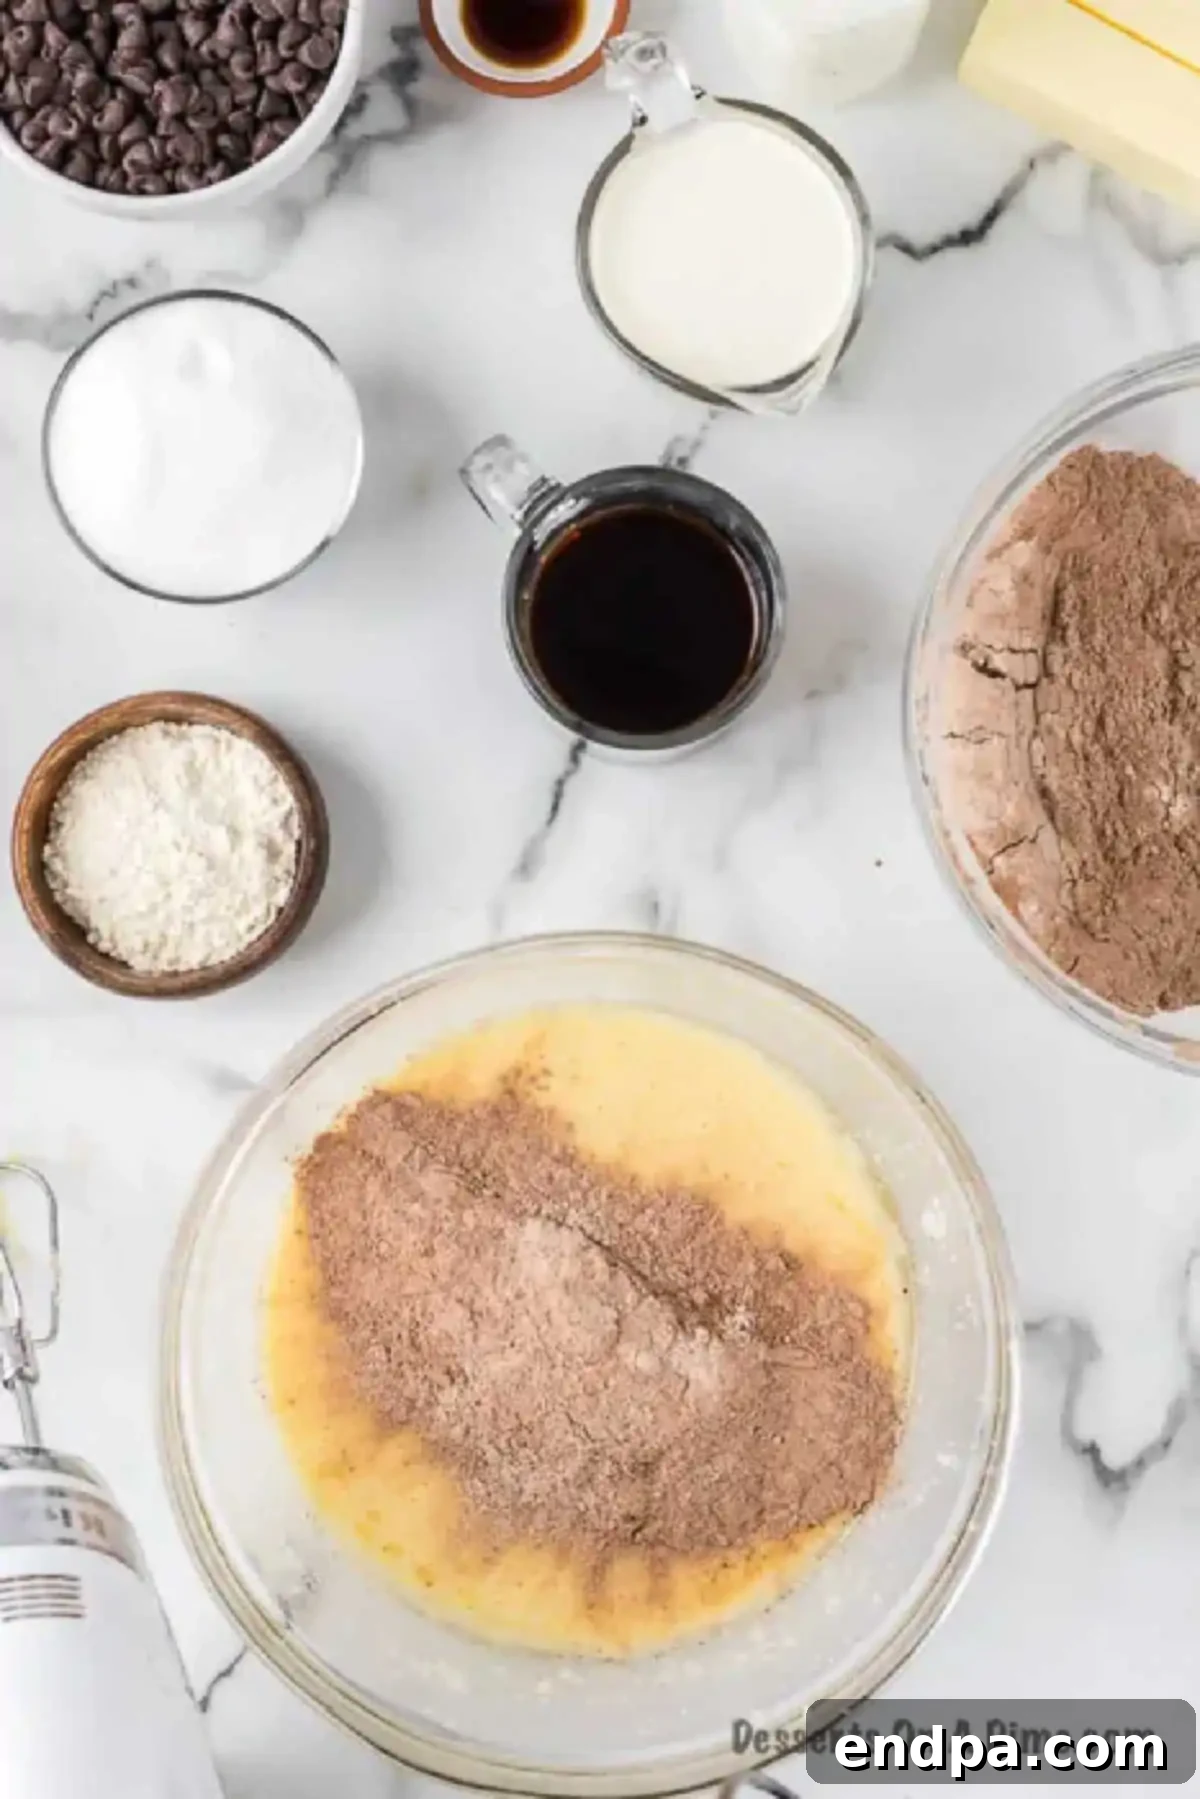
Step 2: Combine the Dry Ingredients. In a medium-sized mixing bowl, whisk together the all-purpose flour, unsweetened cocoa powder, baking soda, baking powder, and salt until they are thoroughly combined. This ensures even distribution of the leavening agents and flavor throughout the cake.
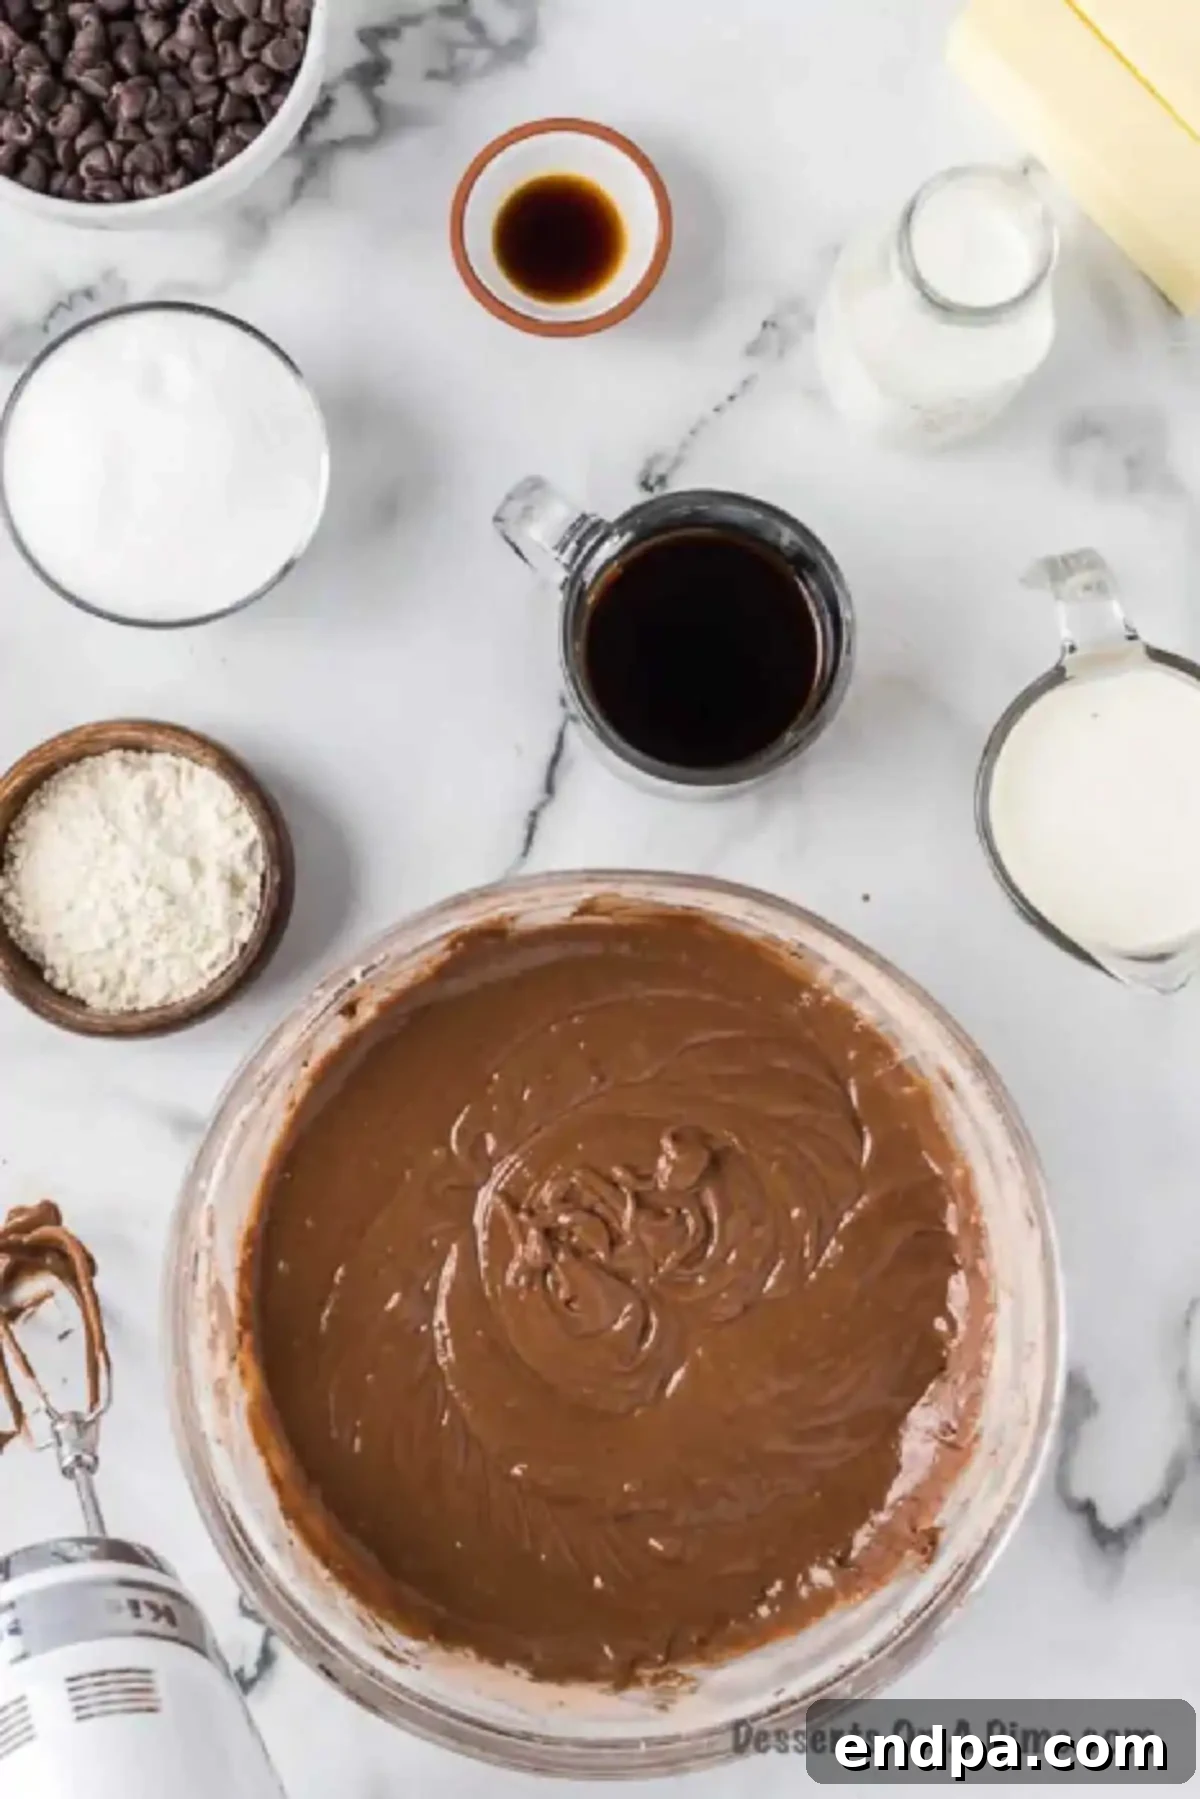
Step 3: Mix Wet Ingredients and Combine with Dry. In a separate, larger bowl, using either a stand mixer with a paddle attachment or a handheld electric mixer, cream together the softened unsalted butter and granulated sugar until the mixture is light, fluffy, and pale in color (about 2-3 minutes). This aeration is key for a tender cake. Next, beat in the whole milk, vegetable oil, large eggs, and vanilla extract until well combined. Gradually add the prepared dry ingredients into the wet mixture, mixing on a low speed until just incorporated. Be careful not to overmix.
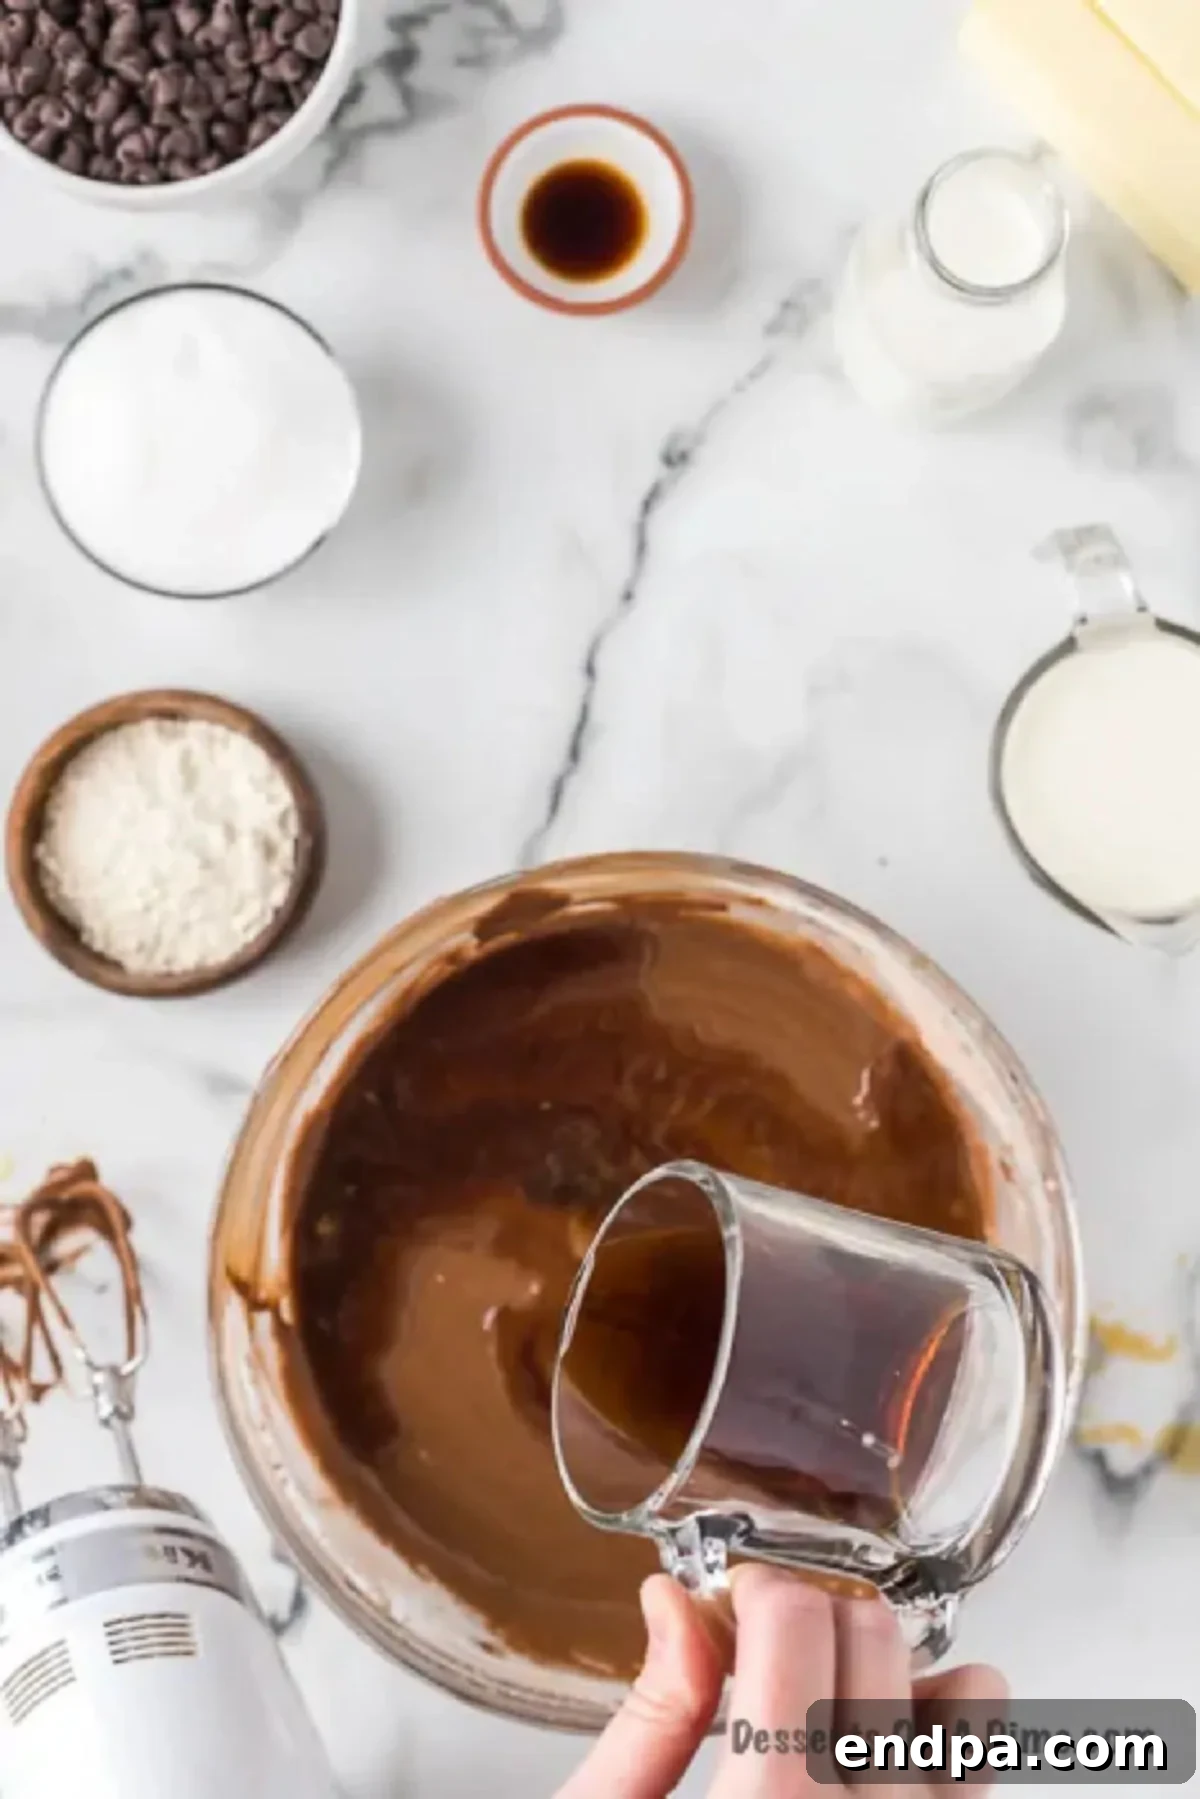
Step 4: Incorporate the Coffee. With the mixer still on a low setting, slowly pour in the cooled brewed coffee. The slow addition helps prevent the batter from splitting and allows for even integration.
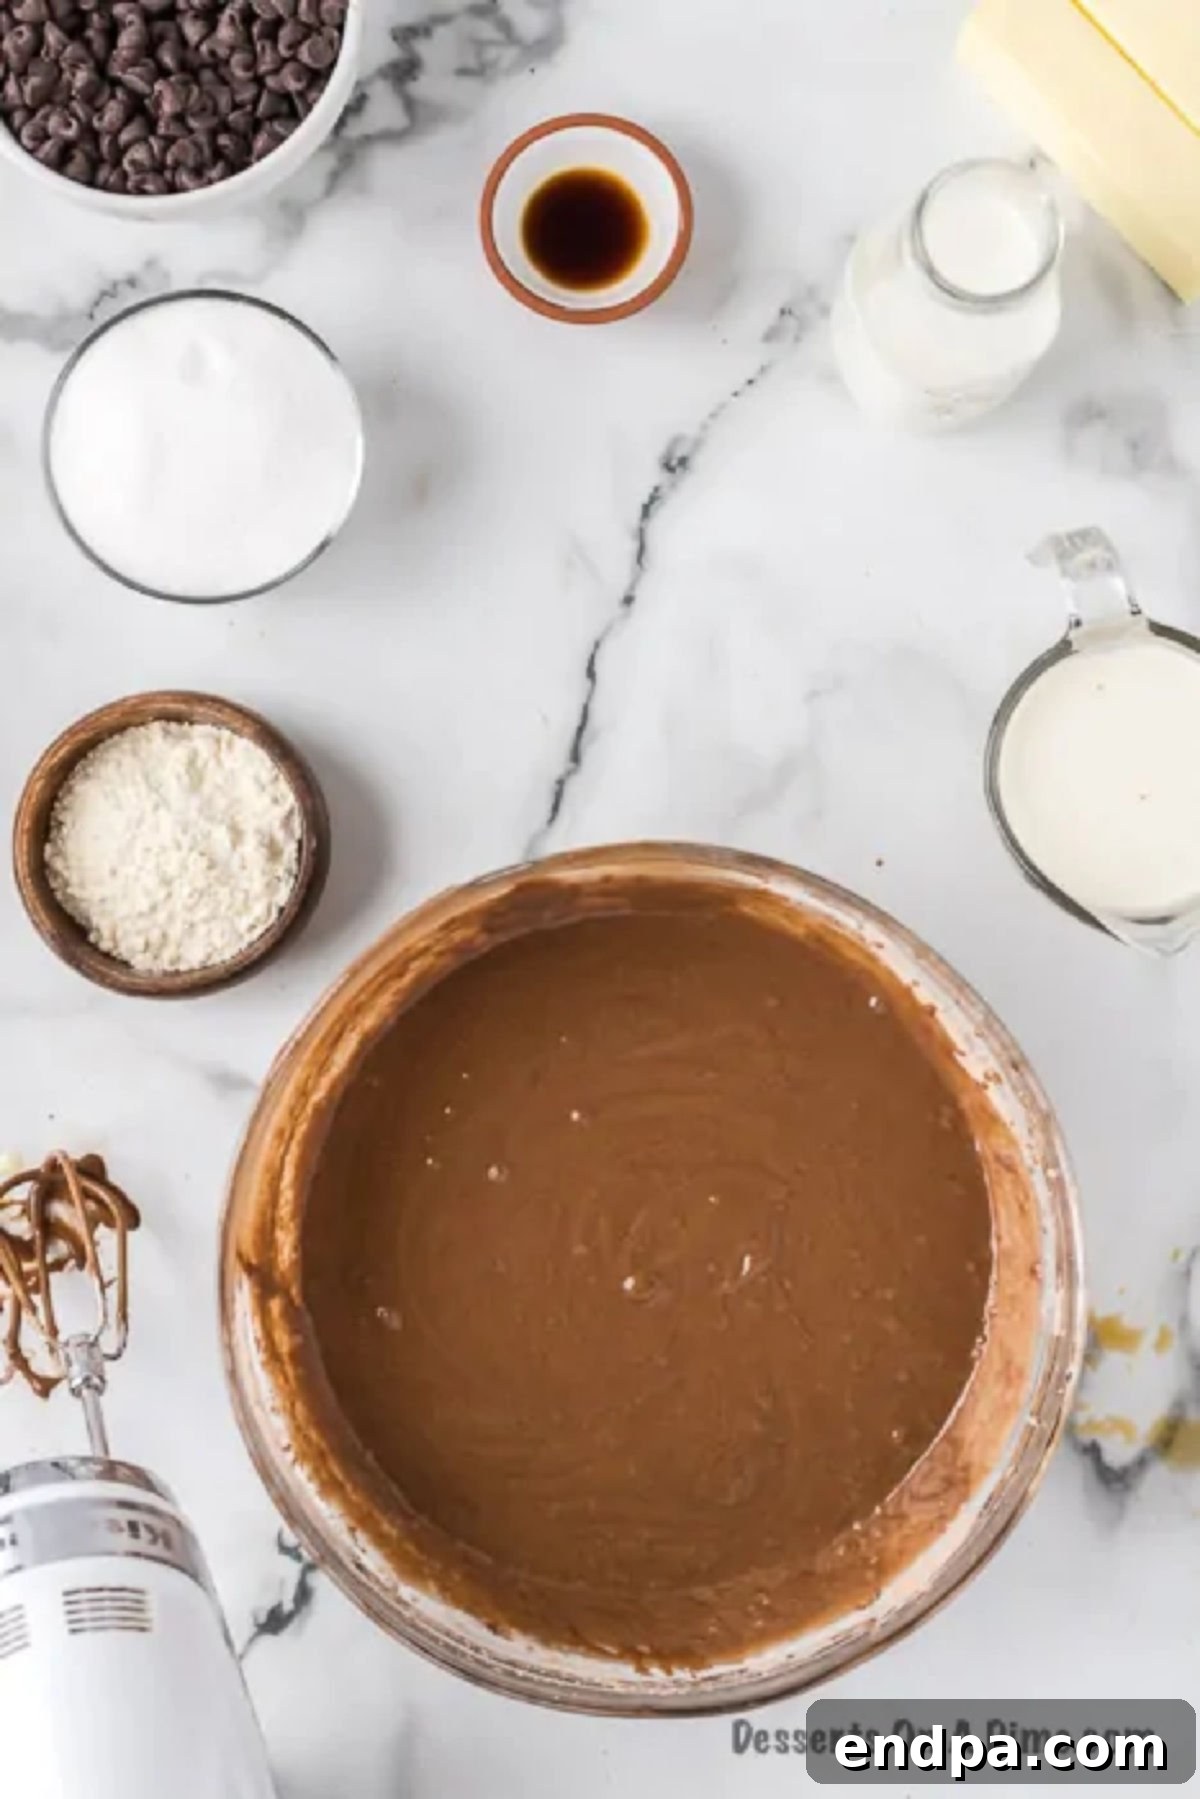
Step 5: Final Mix. Continue to mix the batter on a low setting for just another 30 seconds to ensure everything is fully combined and smooth. Avoid overmixing, as this can develop the gluten too much, resulting in a tough cake.
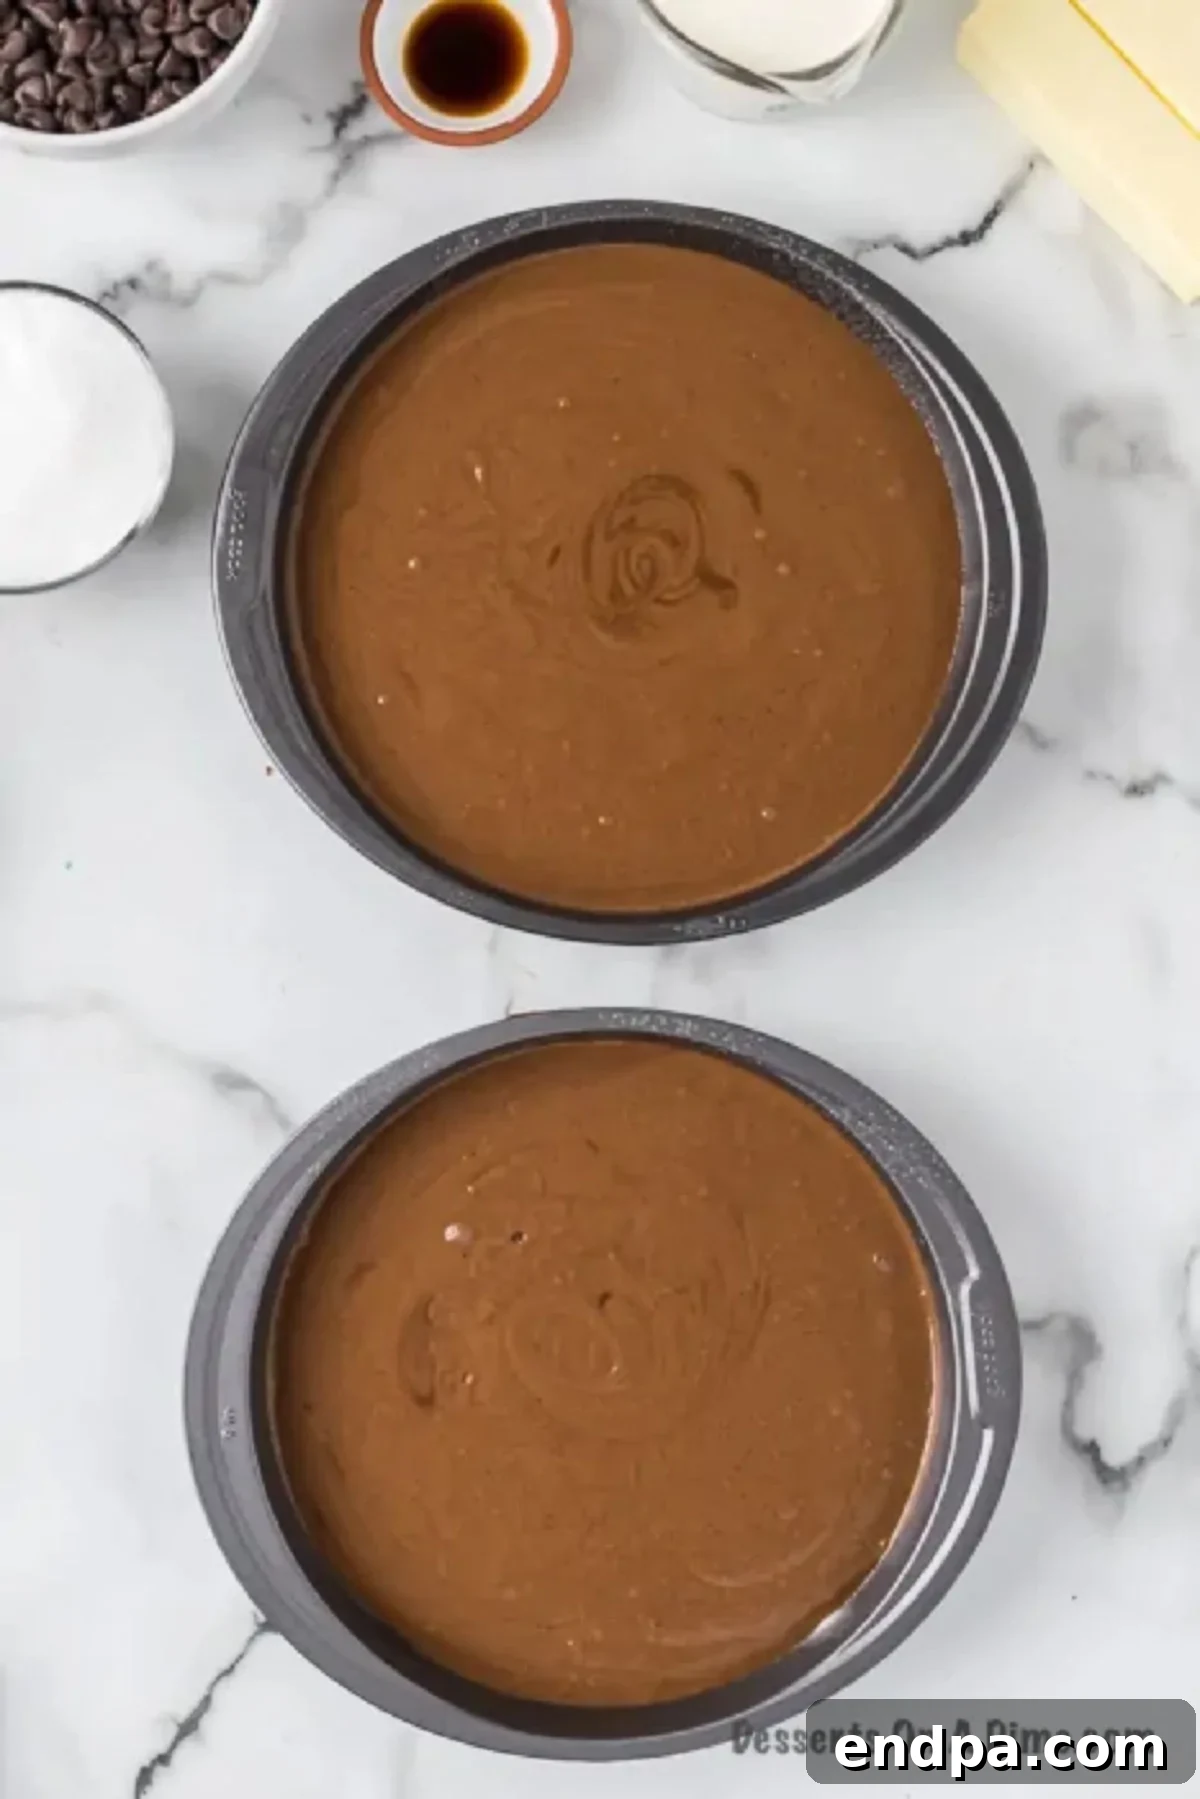
Step 6: Bake the Cake Layers. Divide the cake batter evenly between the two prepared 9-inch round cake pans. Gently tap the pans on the counter a few times to release any large air bubbles.
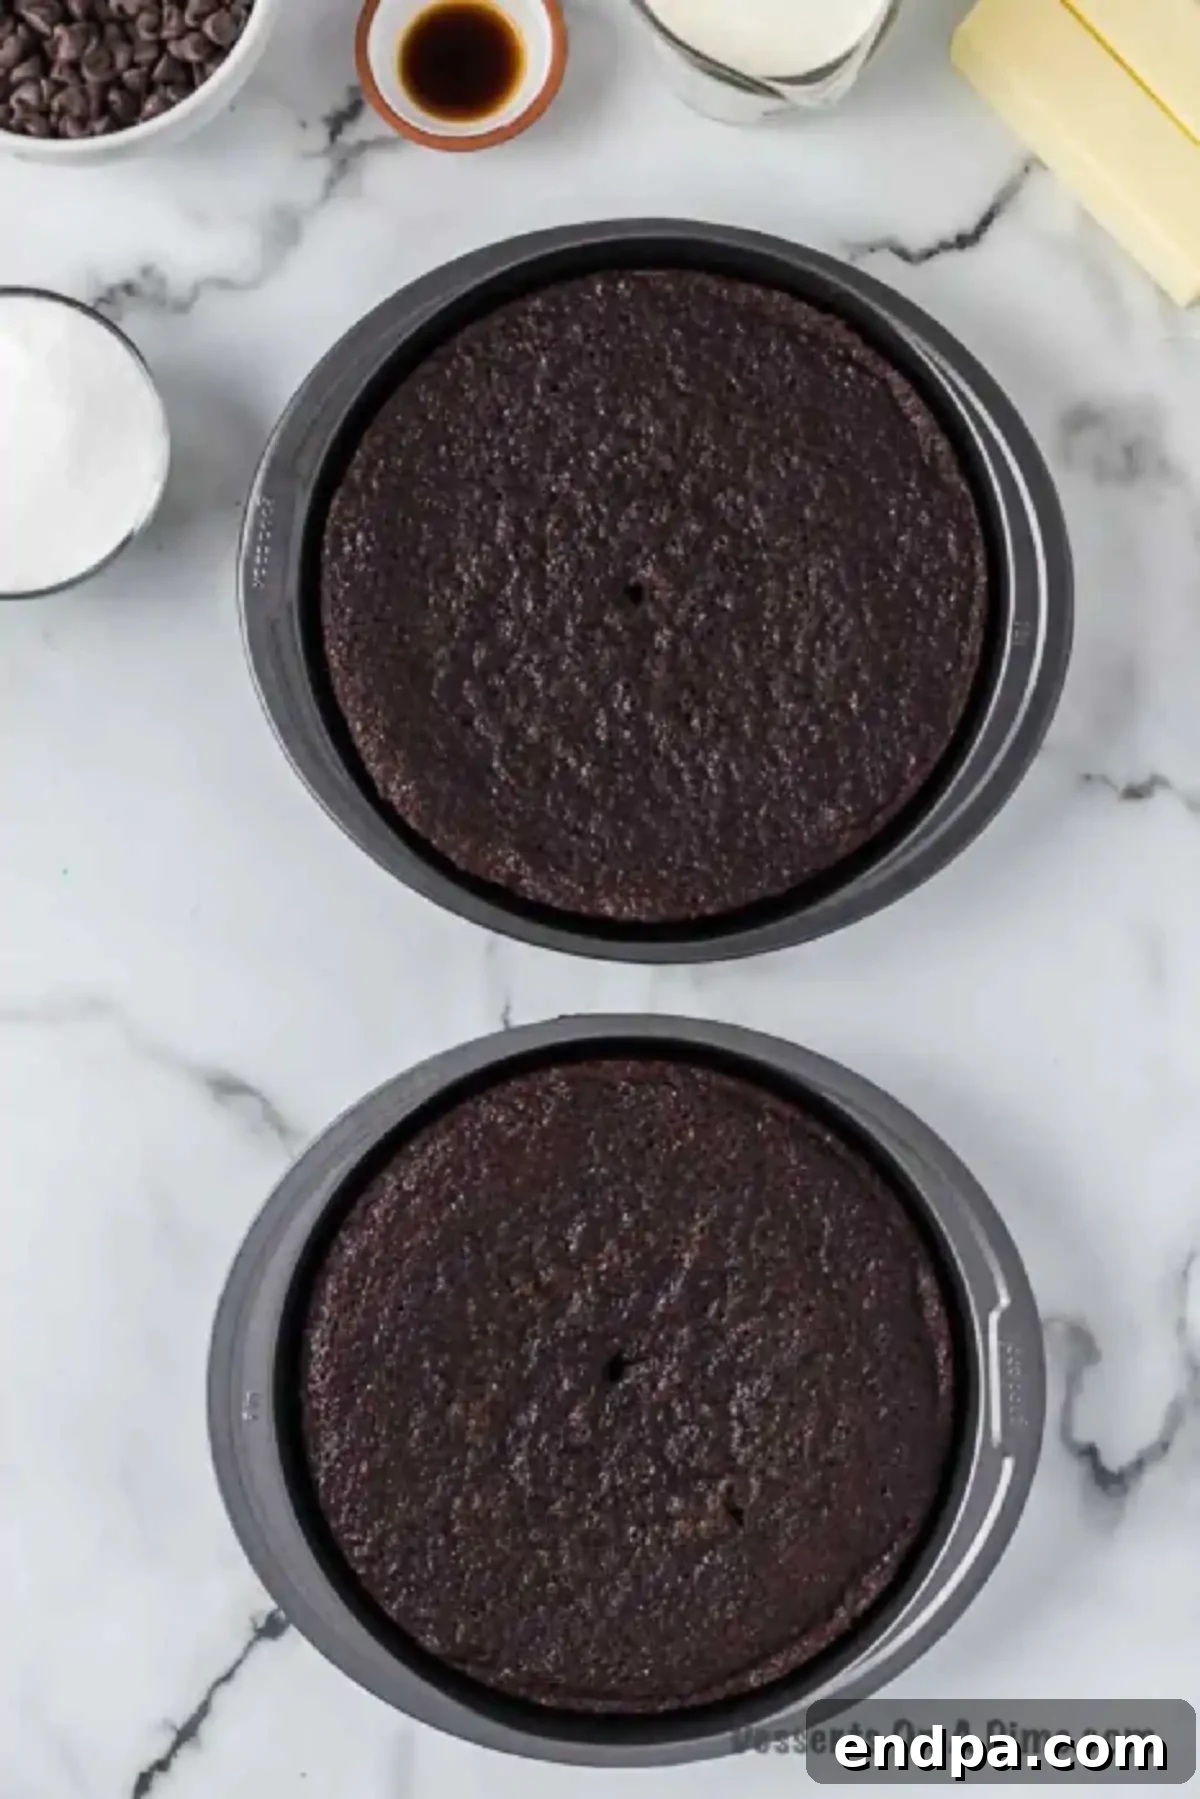
Step 7: Cool the Cakes. Bake the cakes for approximately 25 to 35 minutes, or until a wooden toothpick inserted into the center of a cake comes out clean. Once baked, allow the chocolate cake layers to cool in their pans for about 10 minutes. This helps them firm up slightly before you handle them. Then, carefully invert them onto a wire rack to cool completely. Cooling completely is crucial before assembling, as warm cakes will melt the filling and ganache.
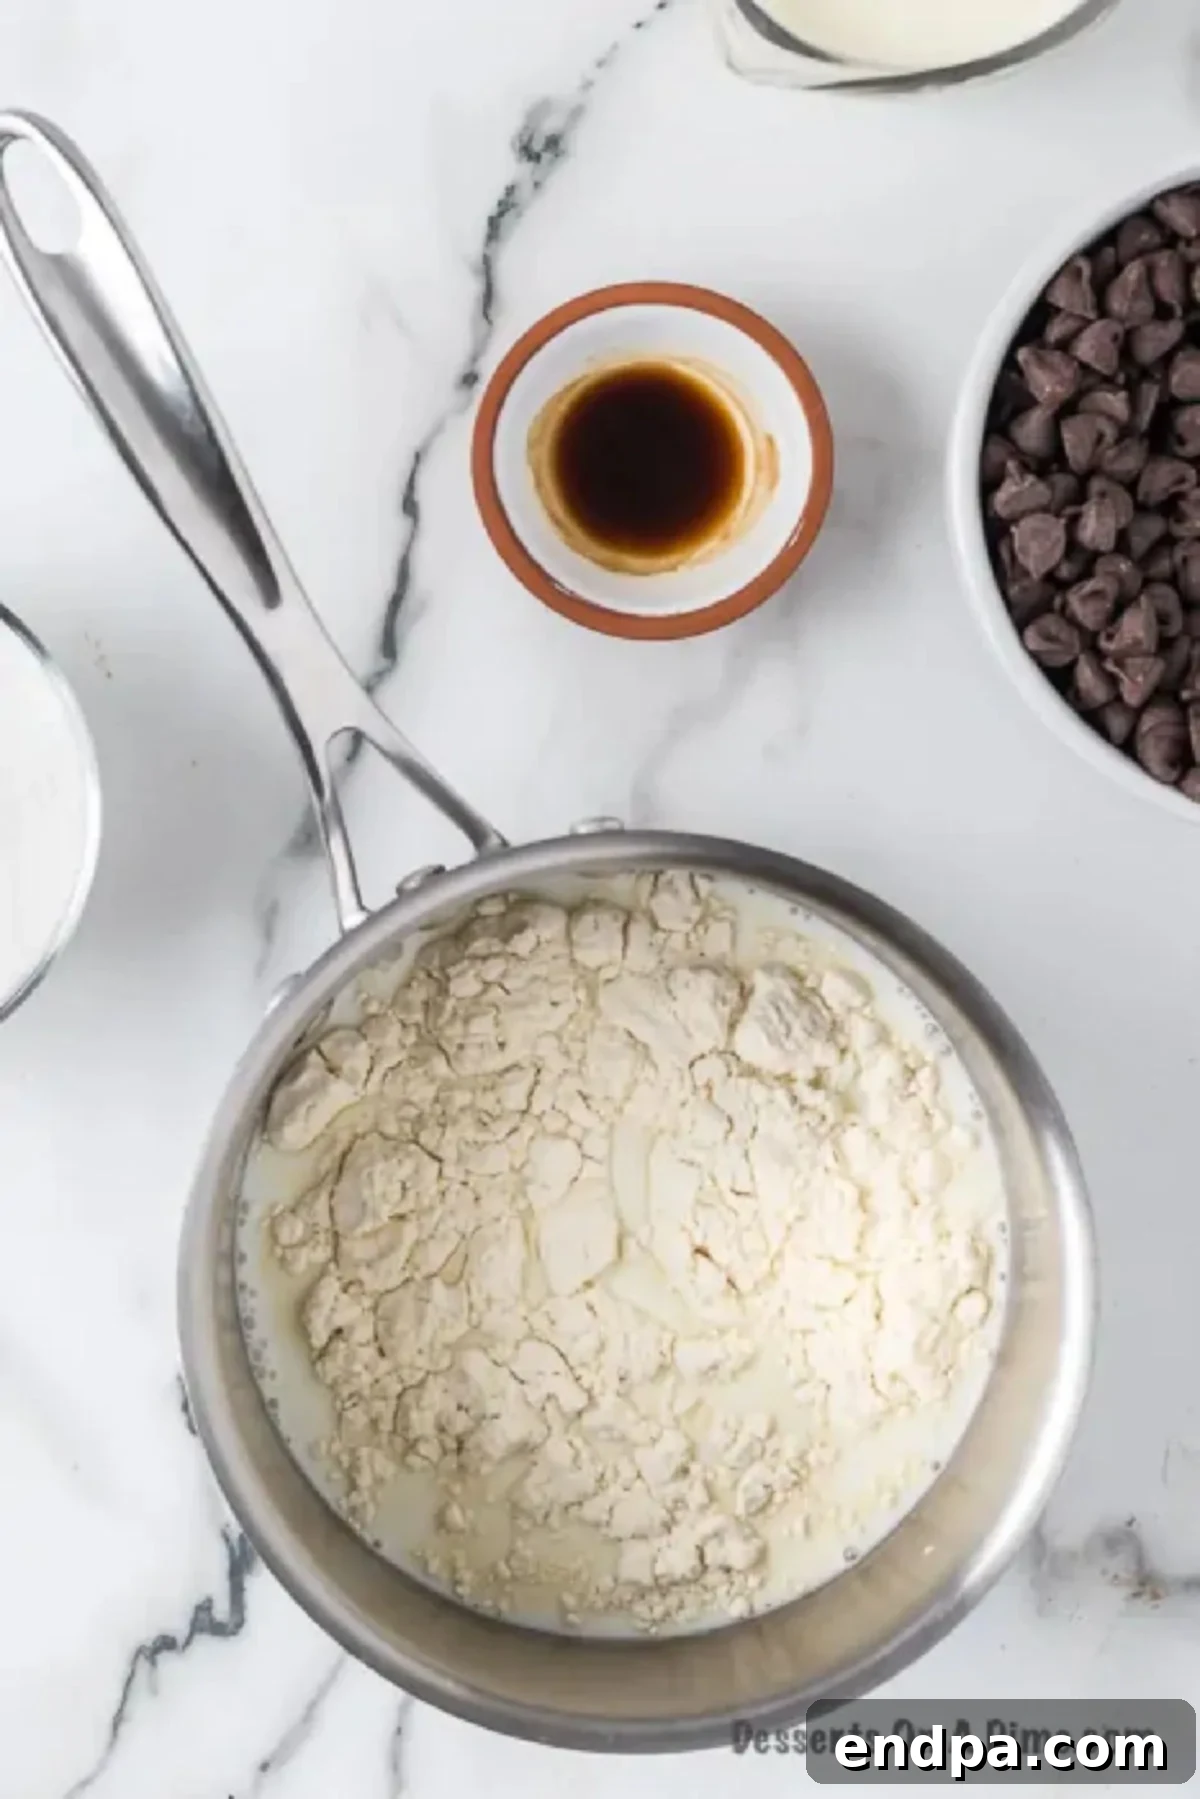
Step 8: Begin the Cream Filling Base. To start the creamy filling, pour the whole milk into a small saucepan. Heat it over low-medium heat. Gradually whisk in the all-purpose flour until there are no lumps and the mixture is smooth. Continue whisking as it heats to prevent scorching.
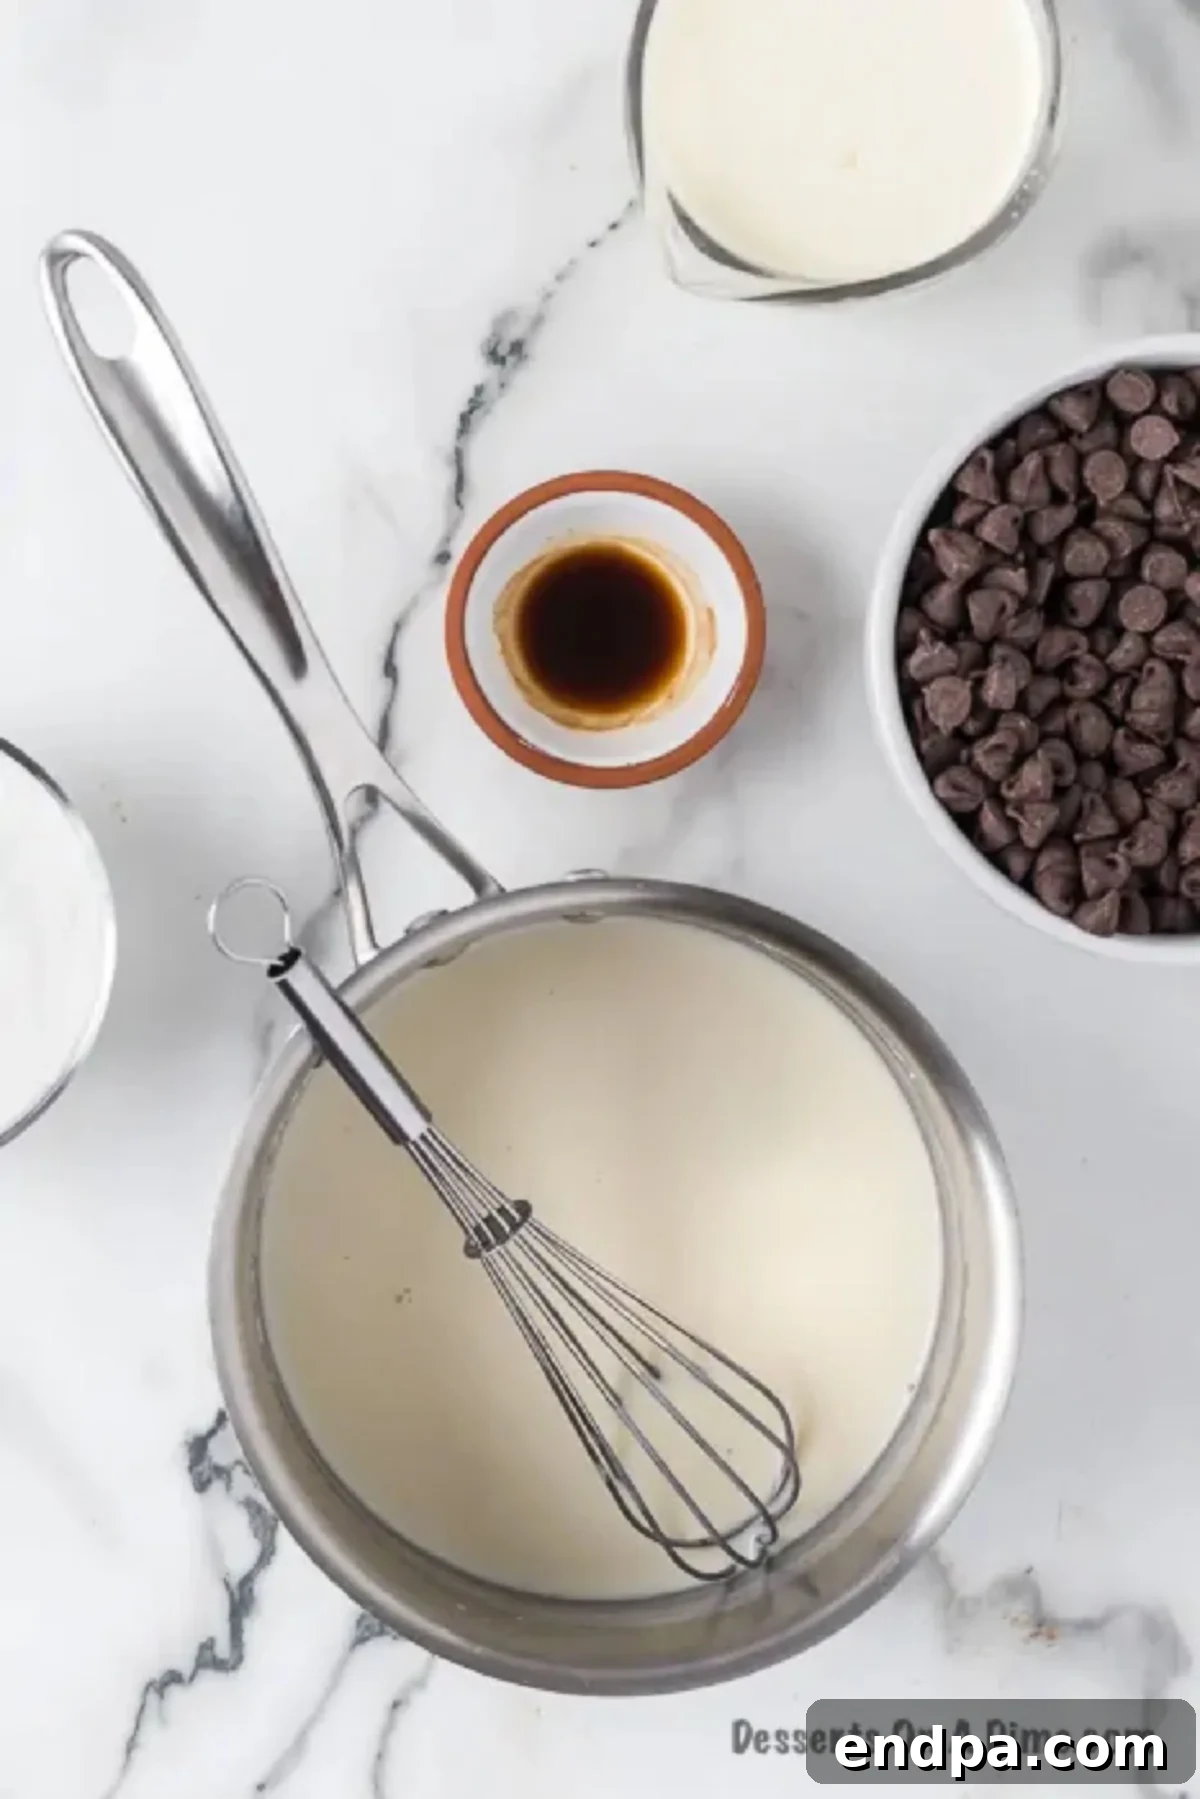
Step 9: Thicken and Cool the Paste. Increase the heat to medium-low and continue to cook the milk and flour mixture, stirring constantly, until it thickens into a thick paste, similar to a pudding consistency. This typically takes 5-7 minutes. Remove the saucepan from the heat and stir in the vanilla extract. Transfer the paste to a separate bowl, cover it with plastic wrap directly on the surface to prevent a skin from forming, and allow it to cool completely to room temperature. This step is critical; if the paste is warm, it will melt the butter in the next step.
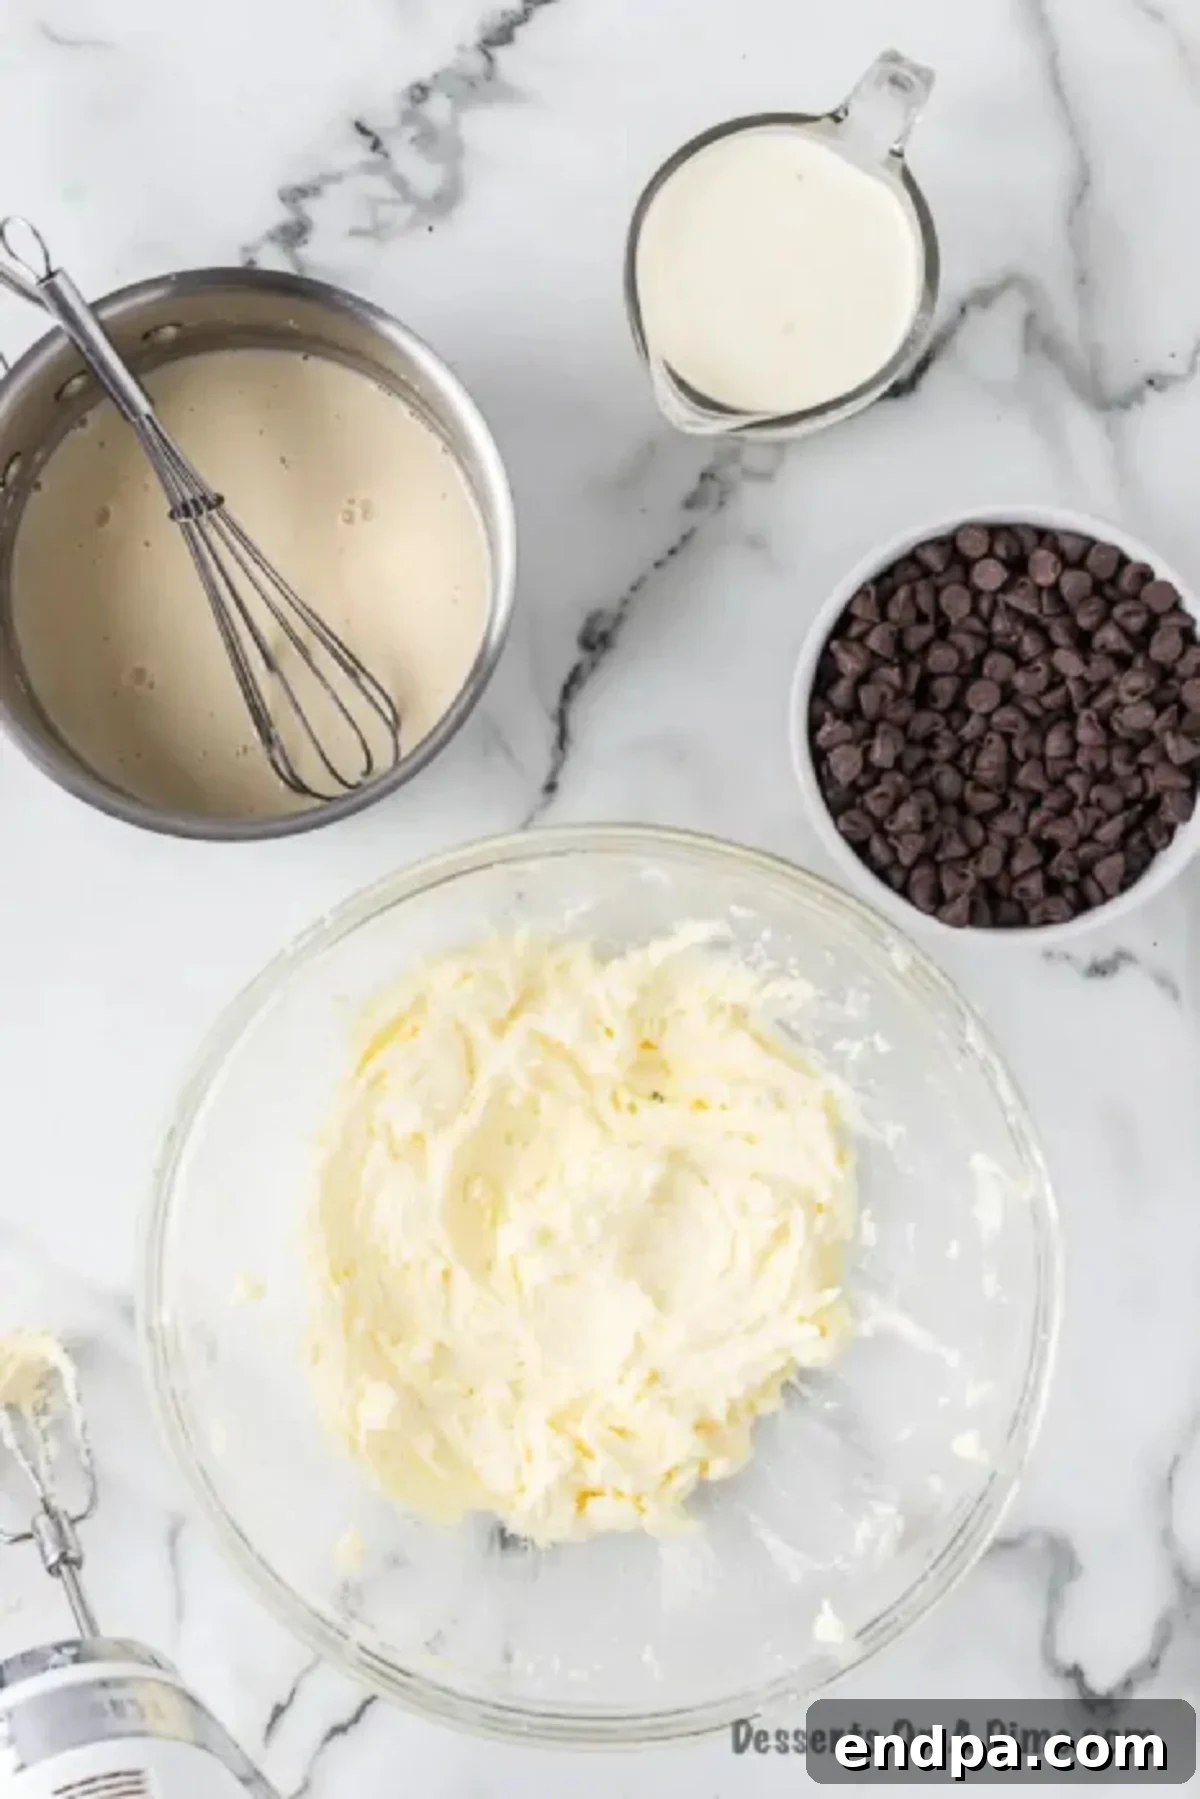
Step 10: Prepare the Butter-Sugar Mixture. In a separate large mixing bowl, using a clean stand mixer or handheld mixer, cream together the softened unsalted butter and granulated sugar until the mixture is very light, fluffy, and significantly increased in volume. This could take 3-5 minutes of beating.
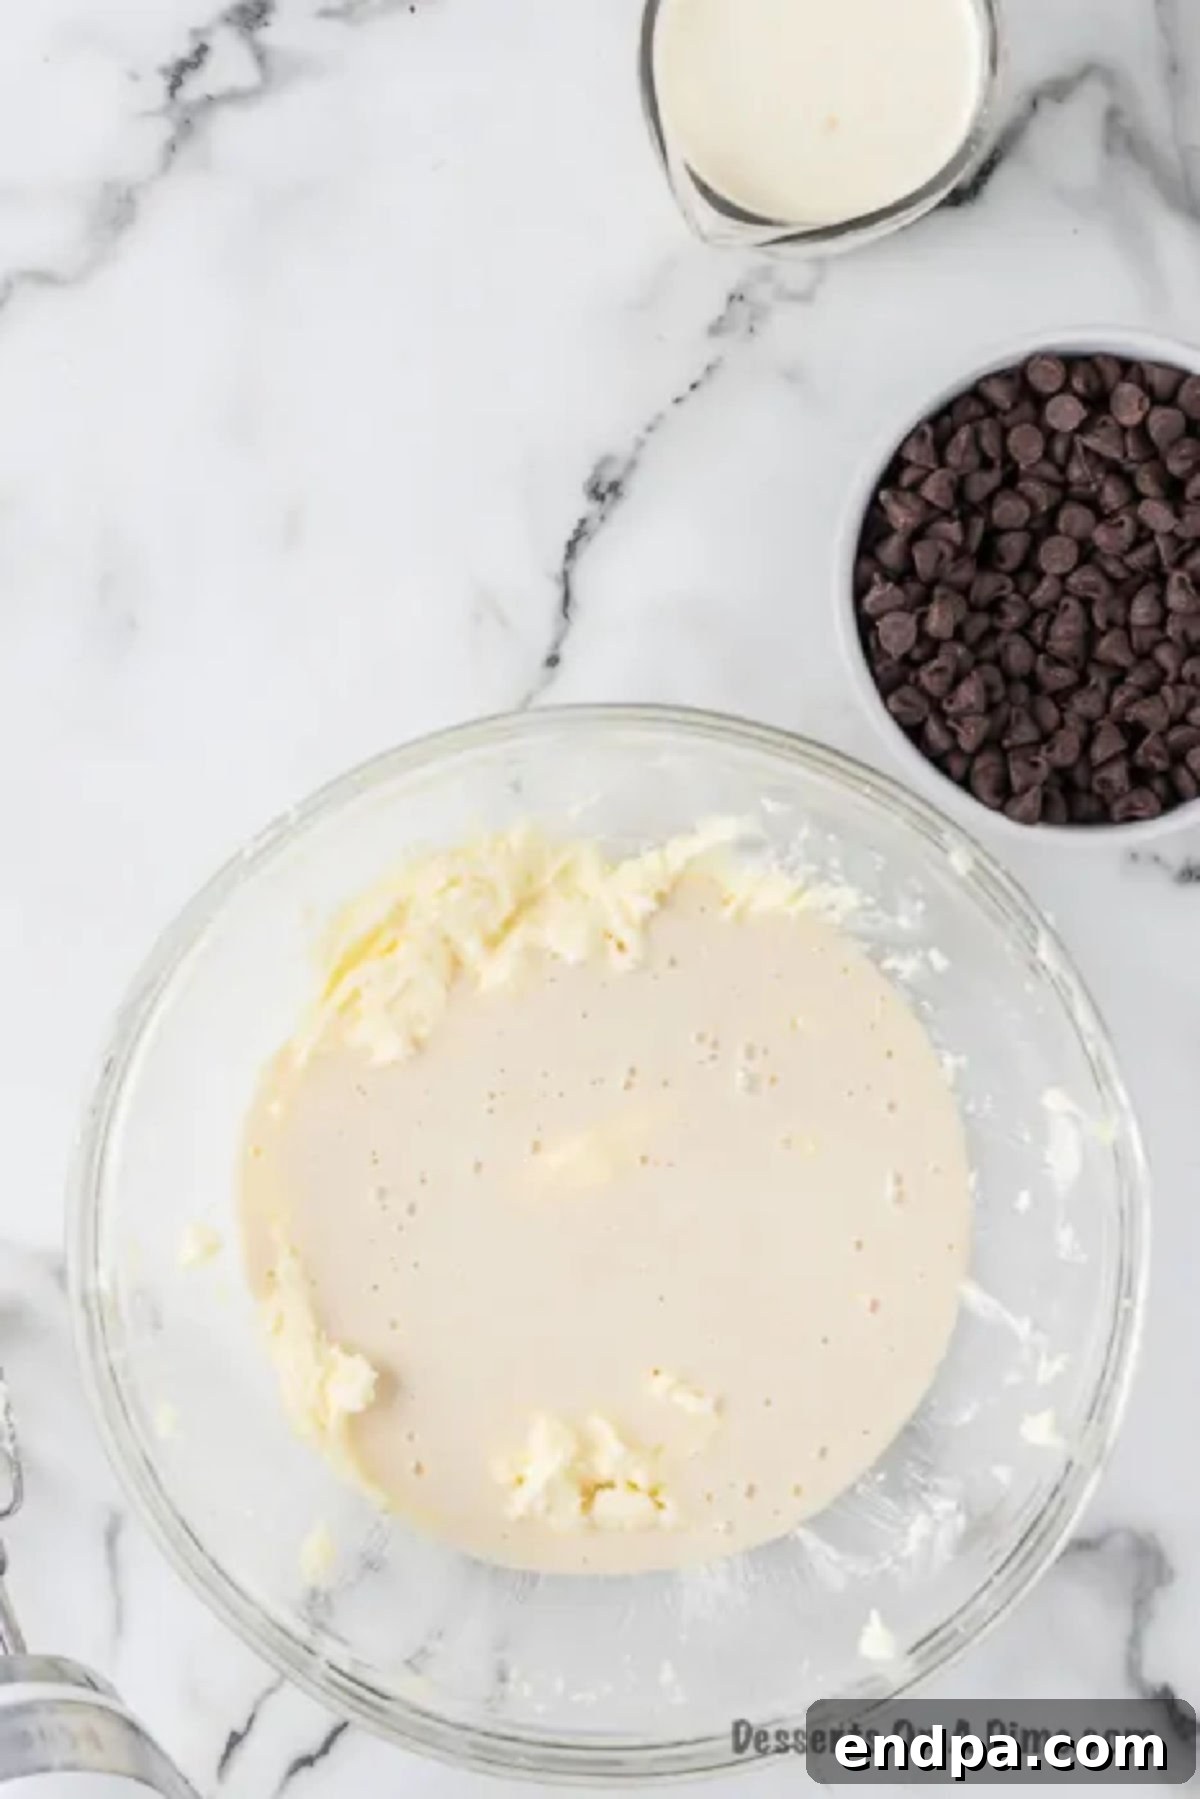
Step 11: Create the Creamy Filling. Once the flour-milk paste is completely cool, gradually add it, spoonful by spoonful, to the butter and sugar mixture while the mixer is running on medium speed. Continue beating until the entire mixture is light, incredibly fluffy, and resembles whipped cream. This process may take a few minutes, so be patient to achieve the perfect consistency.
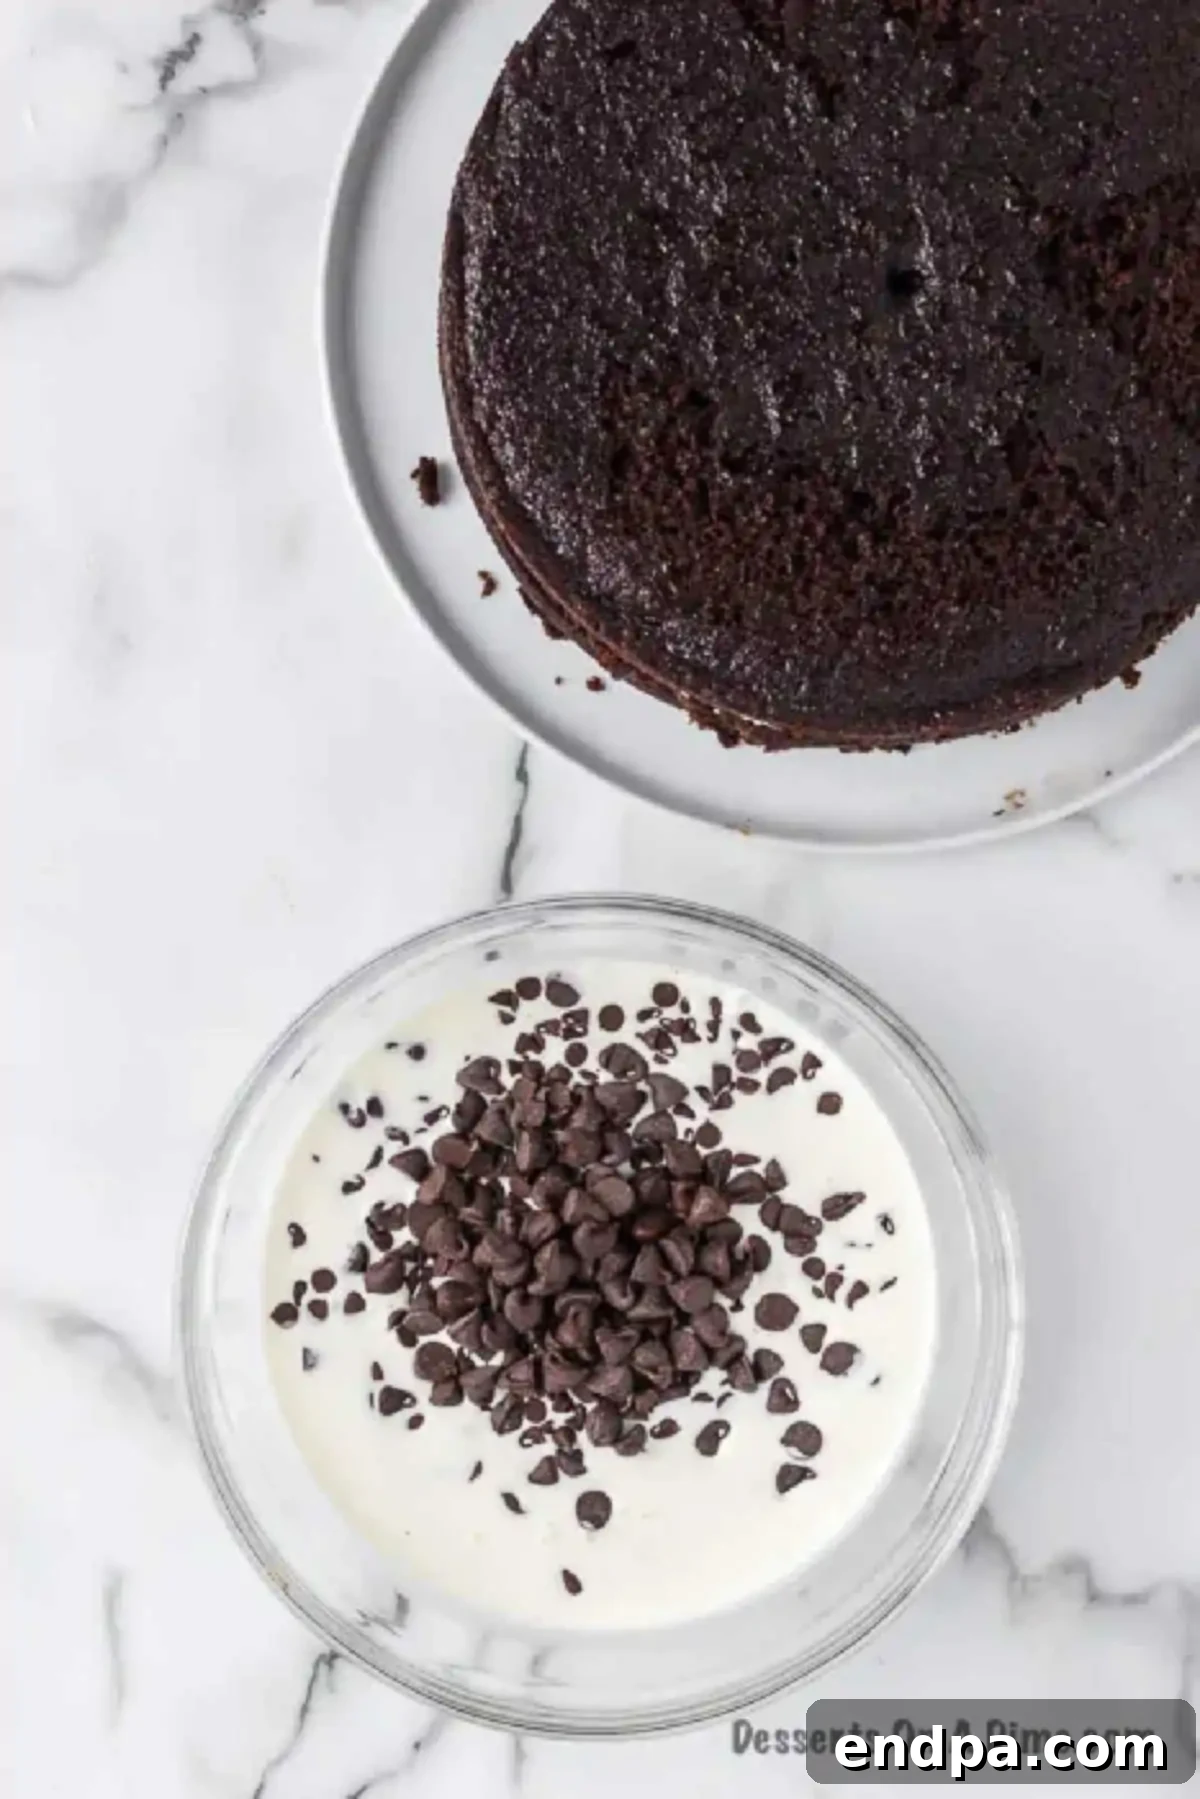
Step 12: Prepare the Chocolate Ganache. In a microwave-safe bowl, combine the semi-sweet chocolate chips and heavy whipping cream. Microwave on high for 1 minute, then remove and stir well. Continue to microwave in 30-second intervals, stirring thoroughly after each, until the chocolate is completely melted and the mixture is smooth and glossy. Be careful not to overheat the chocolate, as it can seize.
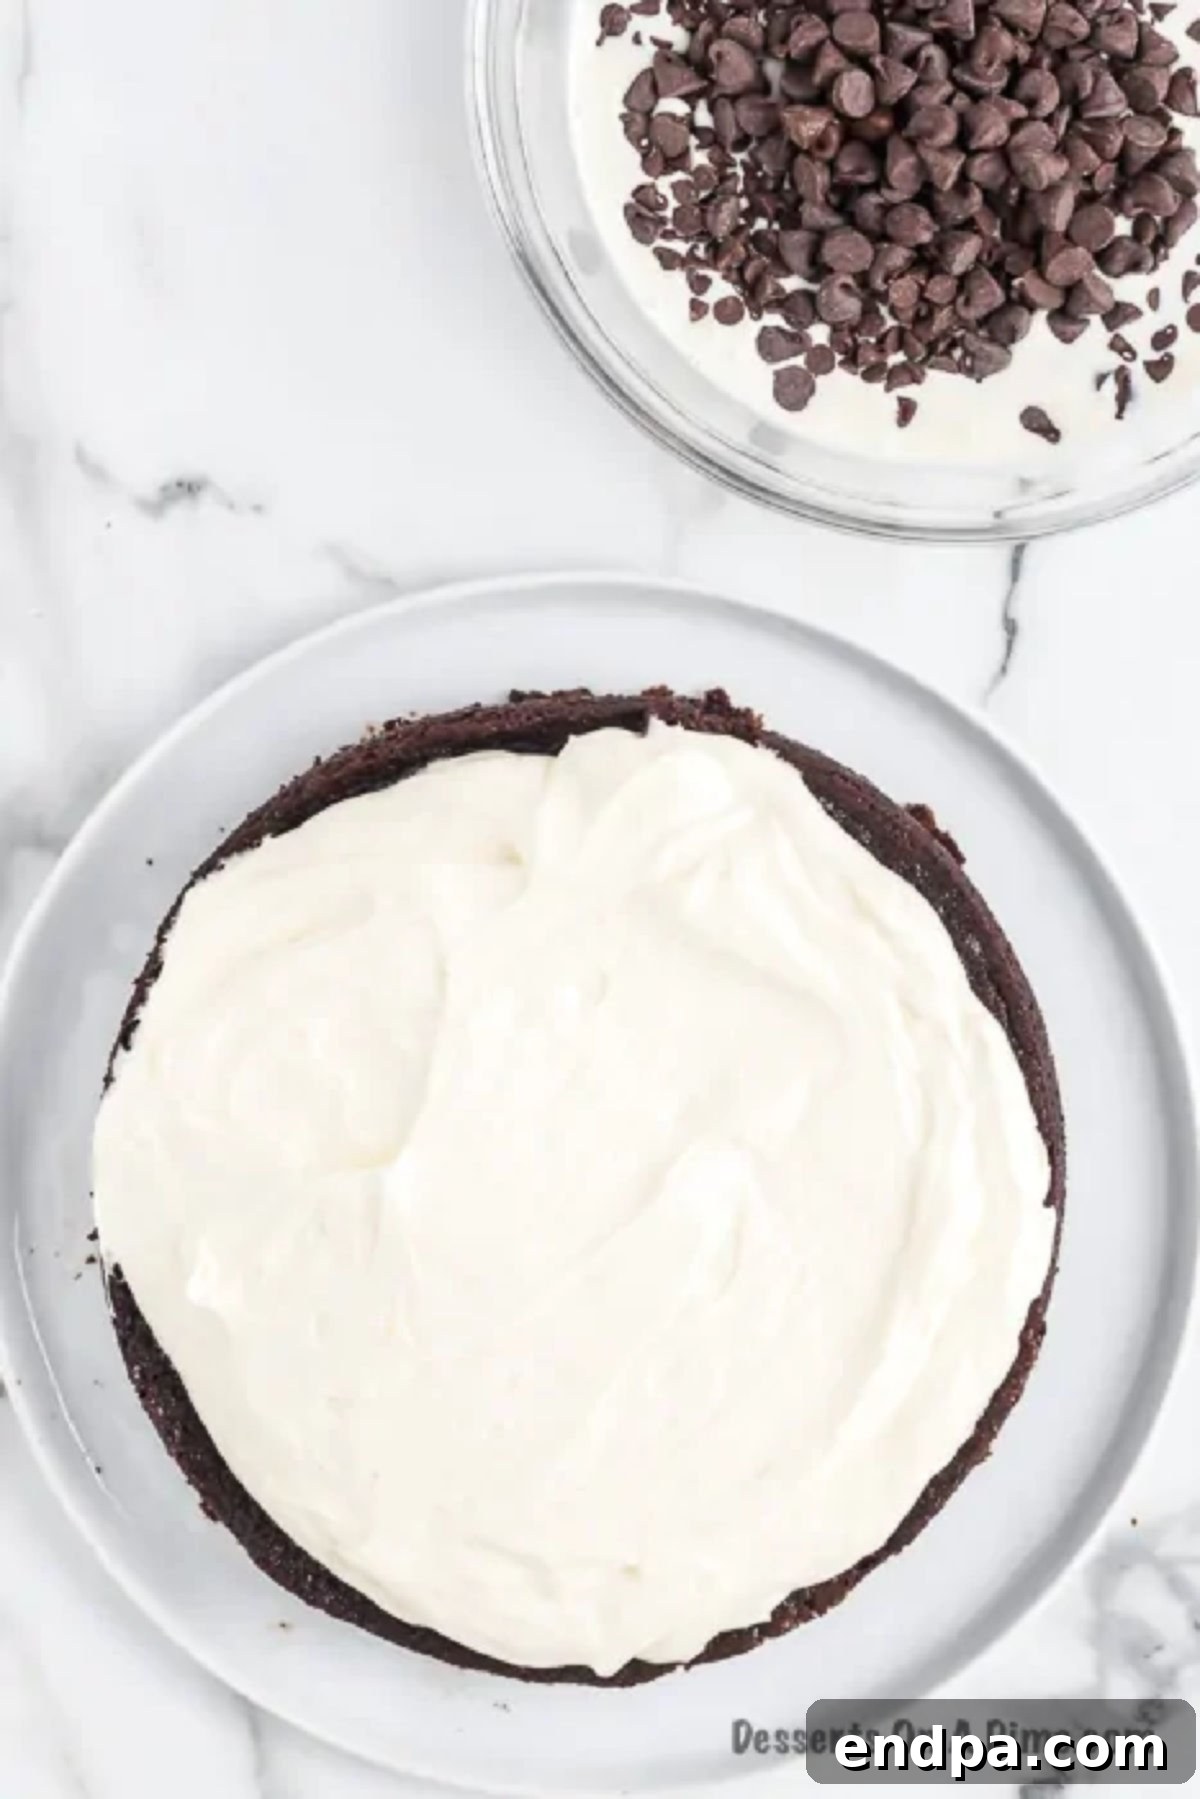
Step 13: Assemble the First Layer. Place one cooled chocolate cake layer on your serving platter or cake stand. Evenly spread all of the prepared cream filling over the top surface of this cake layer. An offset spatula works wonderfully for achieving a smooth, even layer.
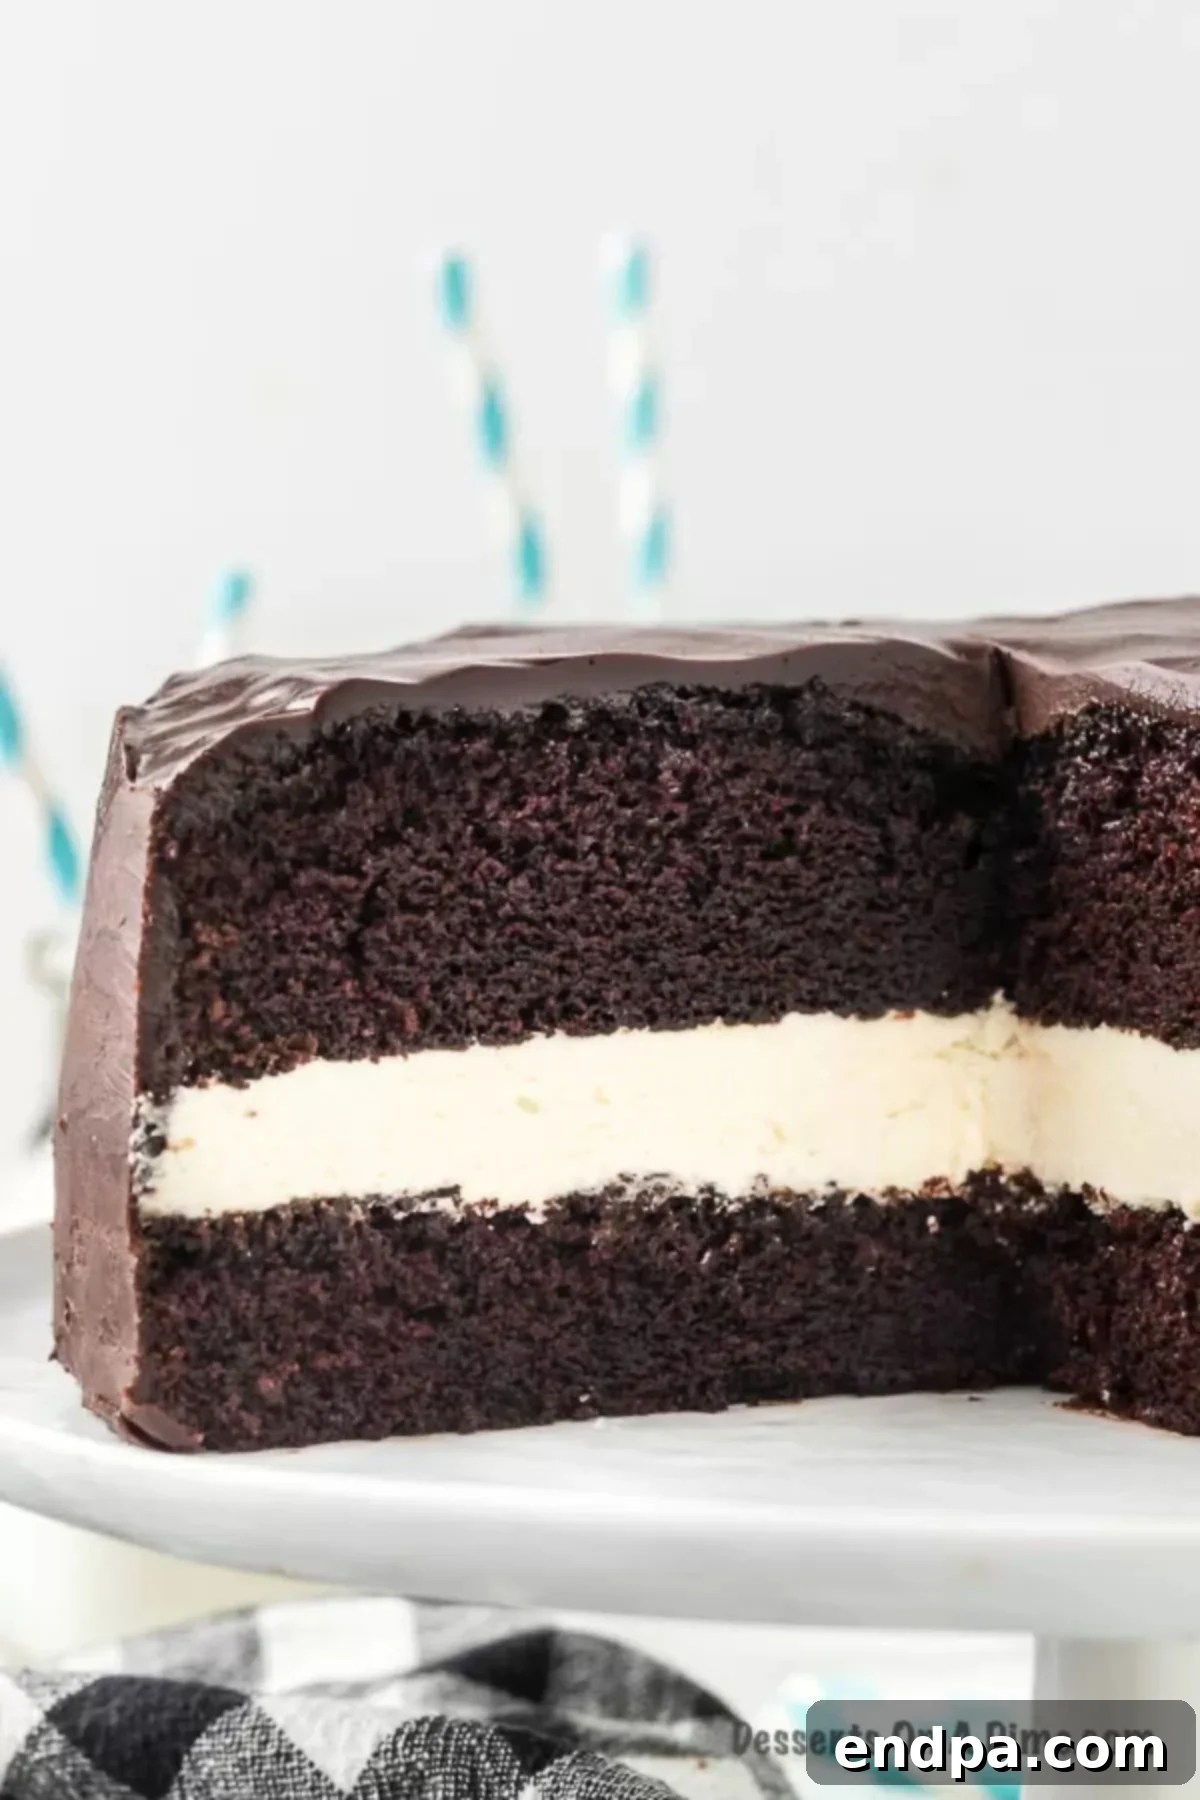
Step 14: Add the Second Layer and Ganache. Carefully place the second chocolate cake layer directly on top of the creamy filling. Gently press down to ensure it’s secure. Then, slowly and steadily pour the warm chocolate ganache over the entire top of the cake, allowing it to drip beautifully down the sides. Use a clean offset spatula or the back of a spoon to gently spread the ganache, ensuring it completely covers the top and flows down the sides for that classic Ding Dong look. For the cleanest edges, you can place strips of parchment paper under the first cake layer before pouring the ganache and remove them once the ganache sets slightly.
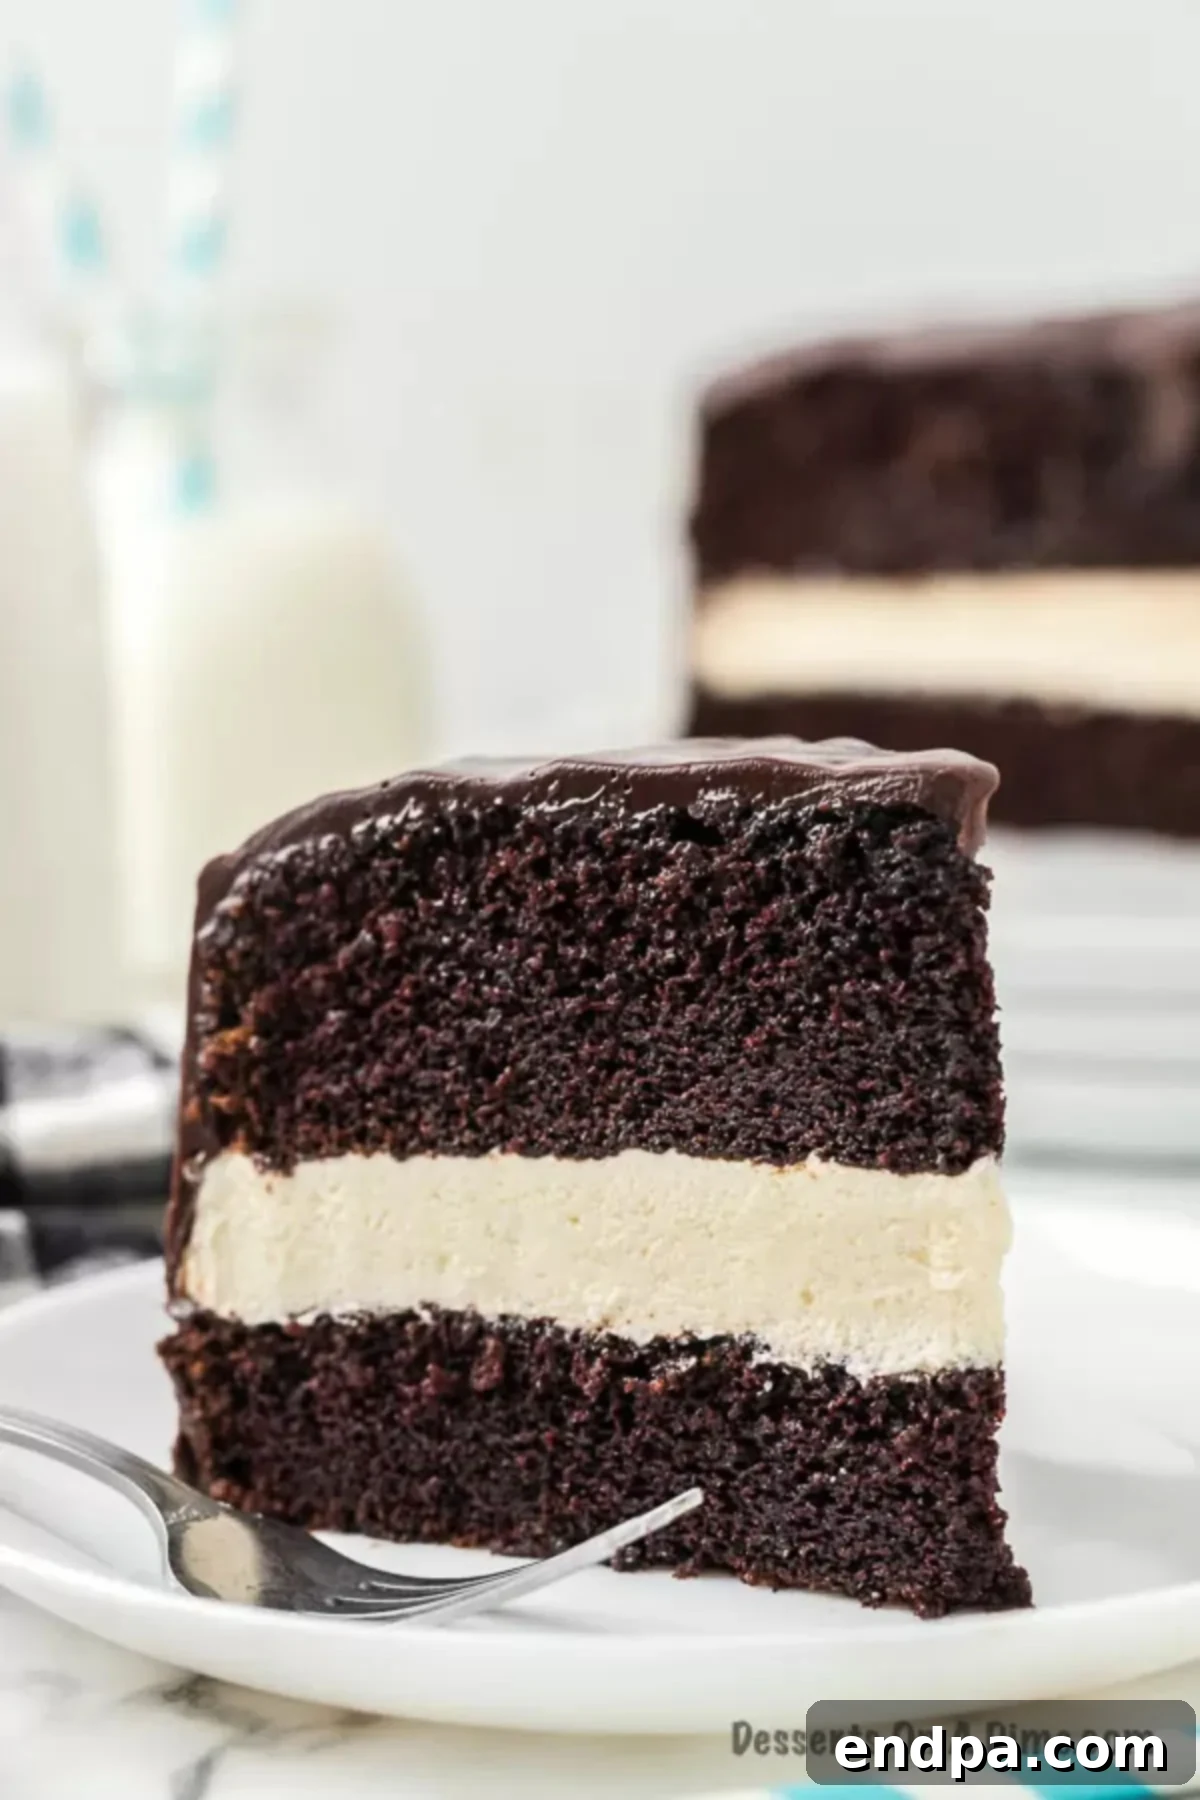
Step 15: Chill and Serve. Allow the assembled cake to sit at room temperature for 10 to 15 minutes to allow the ganache to set slightly and achieve a firm, glossy finish. This brief resting period also helps all the flavors meld together beautifully. Once set, your magnificent homemade Ding Dong Cake is ready to slice and serve! Enjoy this rich, chocolatey, and creamy delight.
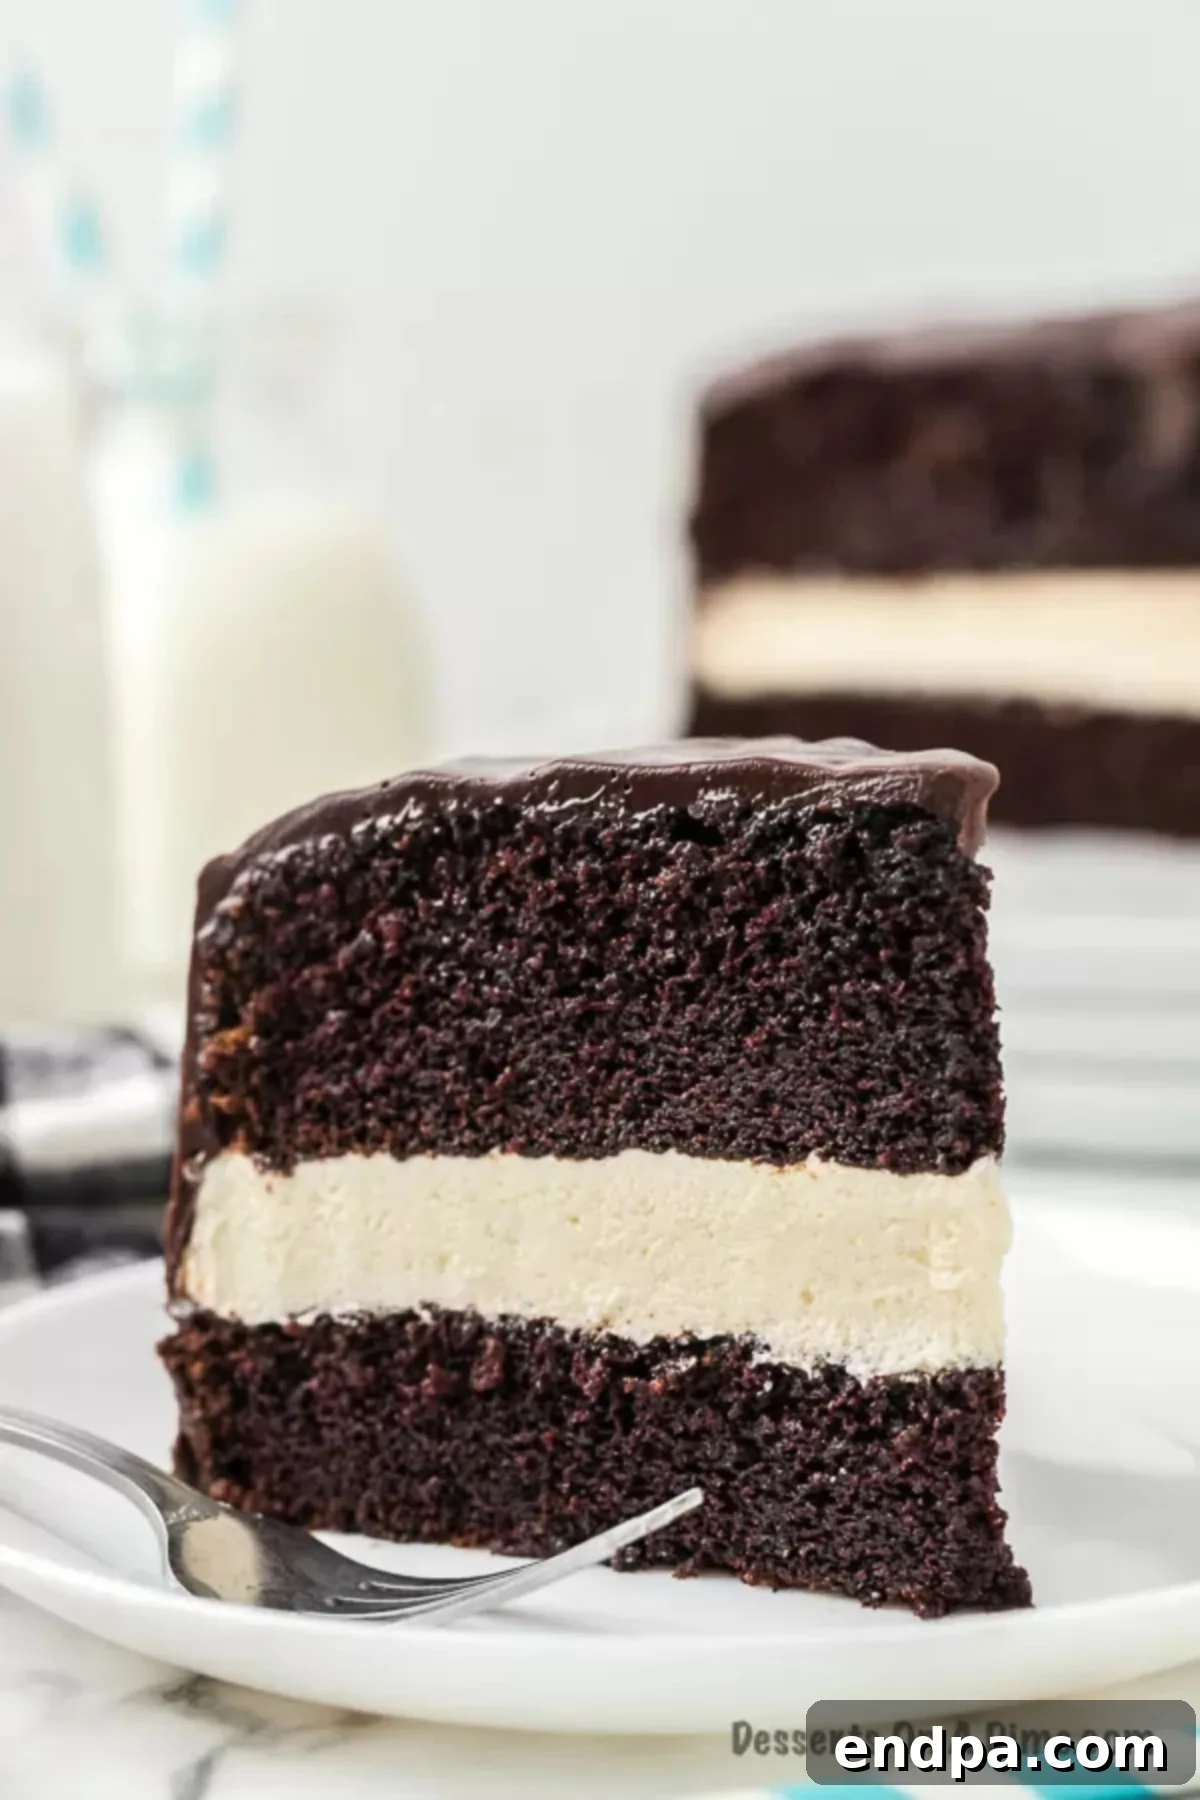
Storage Tips for Your Ding Dong Cake
To ensure your homemade Ding Dong Cake remains fresh and delicious, proper storage is key. Here’s how to keep it at its best:
- Room Temperature: If your environment is cool and not humid, the assembled cake can be kept in an airtight container at room temperature for up to 2 days. However, due to the cream filling, refrigeration is generally recommended for longer storage.
- Refrigerator: For optimal freshness and to keep the creamy filling perfectly chilled, store any leftover cake in a sealed, airtight container in the refrigerator for up to 5 days. Bringing it to room temperature for 15-20 minutes before serving can enhance its flavors and texture.
- Freezer: To enjoy your Ding Dong Cake for an extended period, wrap individual slices or the entire cake tightly in plastic wrap, then an additional layer of aluminum foil. Freeze for up to 2 months. When ready to serve, thaw the cake in the refrigerator overnight, then bring it to room temperature for about an hour before slicing.
- Ganache Tip: If you’ve made extra ganache or prefer to glaze just before serving, store the ganache in an airtight container in the refrigerator for up to 1 week. Reheat it gently in the microwave in short bursts, stirring until smooth and pourable, before drizzling over your cake or individual slices.
Expert Baking Pro Tips for Success
Achieving a perfectly moist, flavorful, and beautifully assembled Ding Dong Cake is easier with these expert tips:
- Room Temperature Ingredients are Non-Negotiable: Always ensure all your dairy and eggs are at room temperature. This is crucial for creating a smooth, emulsified batter and fluffy filling, preventing curdling, and ensuring even baking.
- Cool the Brewed Coffee Thoroughly: The coffee dramatically enhances the chocolate flavor, but it must be completely cooled before being added to the cake batter. Warm coffee can partially cook the eggs and butter, leading to a lumpy batter or an undesirable texture.
- Melt Chocolate Slowly for Ganache: When preparing the ganache, use short bursts in the microwave (30-second intervals) or a double boiler. Stir frequently between intervals to prevent the chocolate from burning, seizing, or separating. A smooth, glossy ganache is the goal.
- Consider a Quality Cake Mix for Convenience: If you’re short on time but still want to enjoy this delicious treat, a high-quality boxed chocolate cake mix can be a fantastic shortcut for the cake layers. Just ensure it’s a moist variety and follow the package directions, then proceed with the homemade cream filling and ganache.
- Master Your Mixing: Utilize a stand mixer or a powerful handheld mixer to thoroughly combine ingredients. This is especially important for creaming butter and sugar for the cake and whipping the filling to its airy consistency. However, avoid overmixing the cake batter once flour is added, as this can develop gluten and lead to a tough cake.
- Properly Prepare Baking Pans: Grease and flour your cake pans meticulously. Alternatively, use baking spray with flour, or line the bottoms with parchment paper cut to size. This simple step is vital for easy release and beautifully intact cake layers.
- Achieve Even Cake Layers: For a professional-looking cake, once your layers are completely cooled, use a long, serrated knife (like a bread knife) to carefully trim any domed tops. This creates flat surfaces, allowing for even stacking and a level cake.
- Enhance Your Serving Experience: This rich and indulgent cake is already a showstopper. For an extra touch of decadence, serve each slice with a scoop of premium vanilla bean ice cream, a dollop of fresh whipped cream, or an additional drizzle of leftover chocolate ganache. A sprinkle of mini chocolate chips or cocoa powder can also add visual appeal.
- Patience is a Virtue, Especially with Cooling: Resist the urge to assemble or frost warm cake layers. Both the cake and the flour paste for the filling must be completely cool to the touch. Warm components will cause your filling and ganache to melt, leading to a messy and disappointing result. Plan your baking accordingly.
More Irresistible Chocolate Cake Recipes
If you have a passion for chocolate, these other delightful cake recipes are sure to satisfy your cravings:
- Chocolate Caramel Poke Cake Recipe
- Easy Chocolate Cherry Cake Recipe
- Easy Chocolate Depression Cake Recipe
- Butterfinger Cake
Explore Other Delightful Copycat Recipes
Beyond the Ding Dong Cake, there’s a world of copycat recipes waiting to be discovered, allowing you to recreate your favorite treats at home:
- Copycat Little Debbie Brownies Recipe
- How to Make Ice Cream Cake (Copycat Dairy Queen Cake)
- Copycat Disney Churro Recipe
We hope you thoroughly enjoy making this rich, decadent homemade chocolate Ding Dong Cake. We would love to hear your thoughts and see your creations! Please leave a comment and a star rating below to share your experience with this recipe.
Pin
Ding Dong Cake Recipe
Ding Dong Cake features rich layers of moist chocolate cake, a luscious cream filling, and a glossy chocolate ganache topping. This irresistible dessert is perfect for any celebration or a delightful treat.
Ingredients
For the Cake:
- ½ cup Unsalted Butter softened at room temperature
- 2 cups Sugar
- 2 large Eggs
- 1 ¾ cups Flour
- ¾ cup unsweetened cocoa powder
- ½ tsp Salt
- 2 tsp Baking Soda
- 1 tsp Baking powder
- ½ cup Vegetable Oil
- 1 tsp Vanilla Extract
- 1 cup Brewed Coffee cooled
- 1 cup Whole Milk
For the Cream Filling:
- 5 Tbsp Flour
- 1 cup Whole Milk
- 1 tsp Vanilla Extract
- 1 cup unsalted Butter softened at room temperature
- 1 cup sugar
For the Ganache:
- 12 oz Semi-sweet Chocolate Chips
- 1 cup Heavy Whipping Cream
Instructions
For the Cake:
- Preheat the oven to 350 degrees F (175°C) and generously spray 2 9-inch round pans with a non-stick cooking spray.
- In a medium-sized bowl, combine the flour, cocoa, baking soda, baking powder, and salt.
- In a separate bowl, beat the butter and sugar together for 1-2 minutes until light and fluffy. Then, add in the milk, oil, eggs, and vanilla extract with a hand-held mixer or a stand mixer.
- Gradually add the dry ingredients into the wet ingredients. Then, slowly add in the cooled coffee while the mixer is on a low setting.
- Pour the batter evenly into the 2 9-inch round pans.
- Bake for 25-35 minutes, or until a toothpick inserted into the middle of the cake comes out clean.
- Cool the cakes in the pan for 10 minutes, then carefully remove them and place them on a wire rack to cool completely.
For the Cream Filling:
- Pour the milk into a small saucepan and heat over low-medium heat. Whisk in the flour until smooth.
- Turn the heat to medium-low and let the mixture heat uncovered, stirring constantly, until it has thickened into a paste. Remove from heat and stir in the vanilla extract. Let cool completely.
- In a separate large mixing bowl, cream together the softened butter and sugar with a mixer until light and fluffy.
- Gradually add the cooled milk-flour paste to the butter-sugar mixture, beating until it is light and resembles whipped cream.
- Place one cake layer on your platter. Top this cake with all of the cream filling mixture, spreading it evenly with an offset spatula.
- Add the second cake layer on top of the creamy filling.
For the Ganache Topping:
- Place the chocolate chips and heavy whipping cream in a microwave-safe bowl. Microwave for 1 minute, then stir. Continue microwaving in 30-second intervals, stirring after each, until the chocolate is fully melted and combined into a smooth ganache.
- Slowly pour the chocolate ganache over the assembled cake. Use a spatula to gently spread it out, ensuring the ganache covers the top and sides of the cake.
- Allow the cake to sit for 10 to 15 minutes for the ganache to set slightly before serving.
Recipe Notes
Refrigerate any leftover cake, covered, for up to 5 days.
All ingredients should be at room temperature for the best results in this Ding Dong Cake recipe, contributing to a smooth batter and light filling.
Nutrition Facts
Pin This Now to Remember It Later
Pin Recipe
