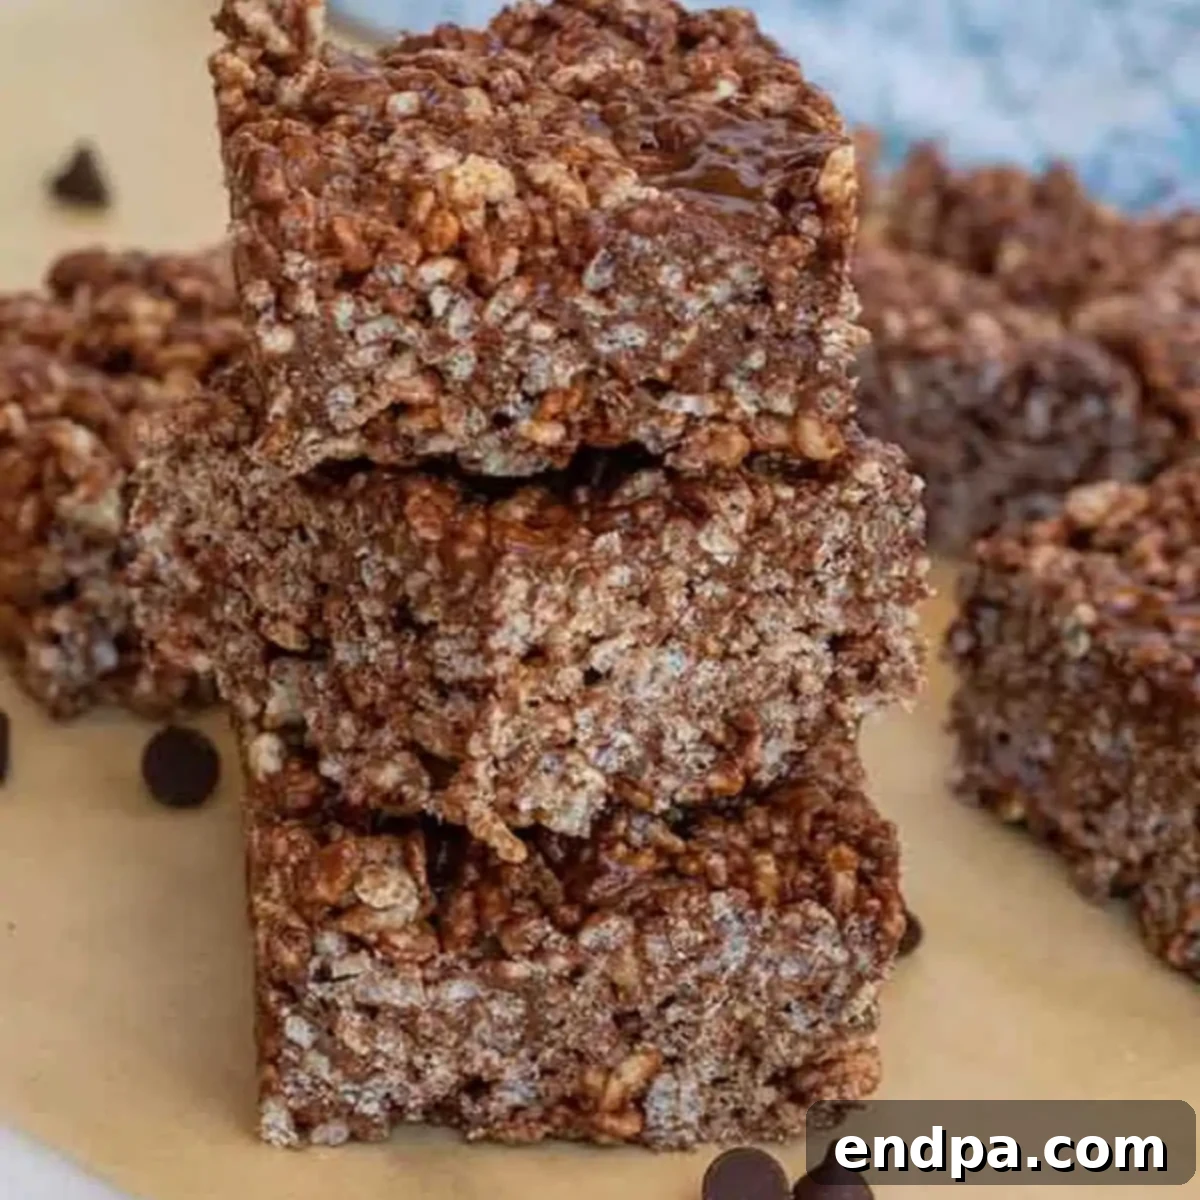
Irresistible Chocolate Rice Krispie Treats: Your New Go-To No-Bake Dessert
Elevate your snack game with this incredibly simple yet utterly decadent recipe for Chocolate Rice Krispie Treats. Forget the traditional versions; this recipe is a chocolate lover’s dream, bursting with rich cocoa flavor and delightful chocolate chips. Perfect for a quick dessert or a satisfying snack, these no-bake wonders come together in minutes, making them an ideal choice for busy households or spontaneous cravings.
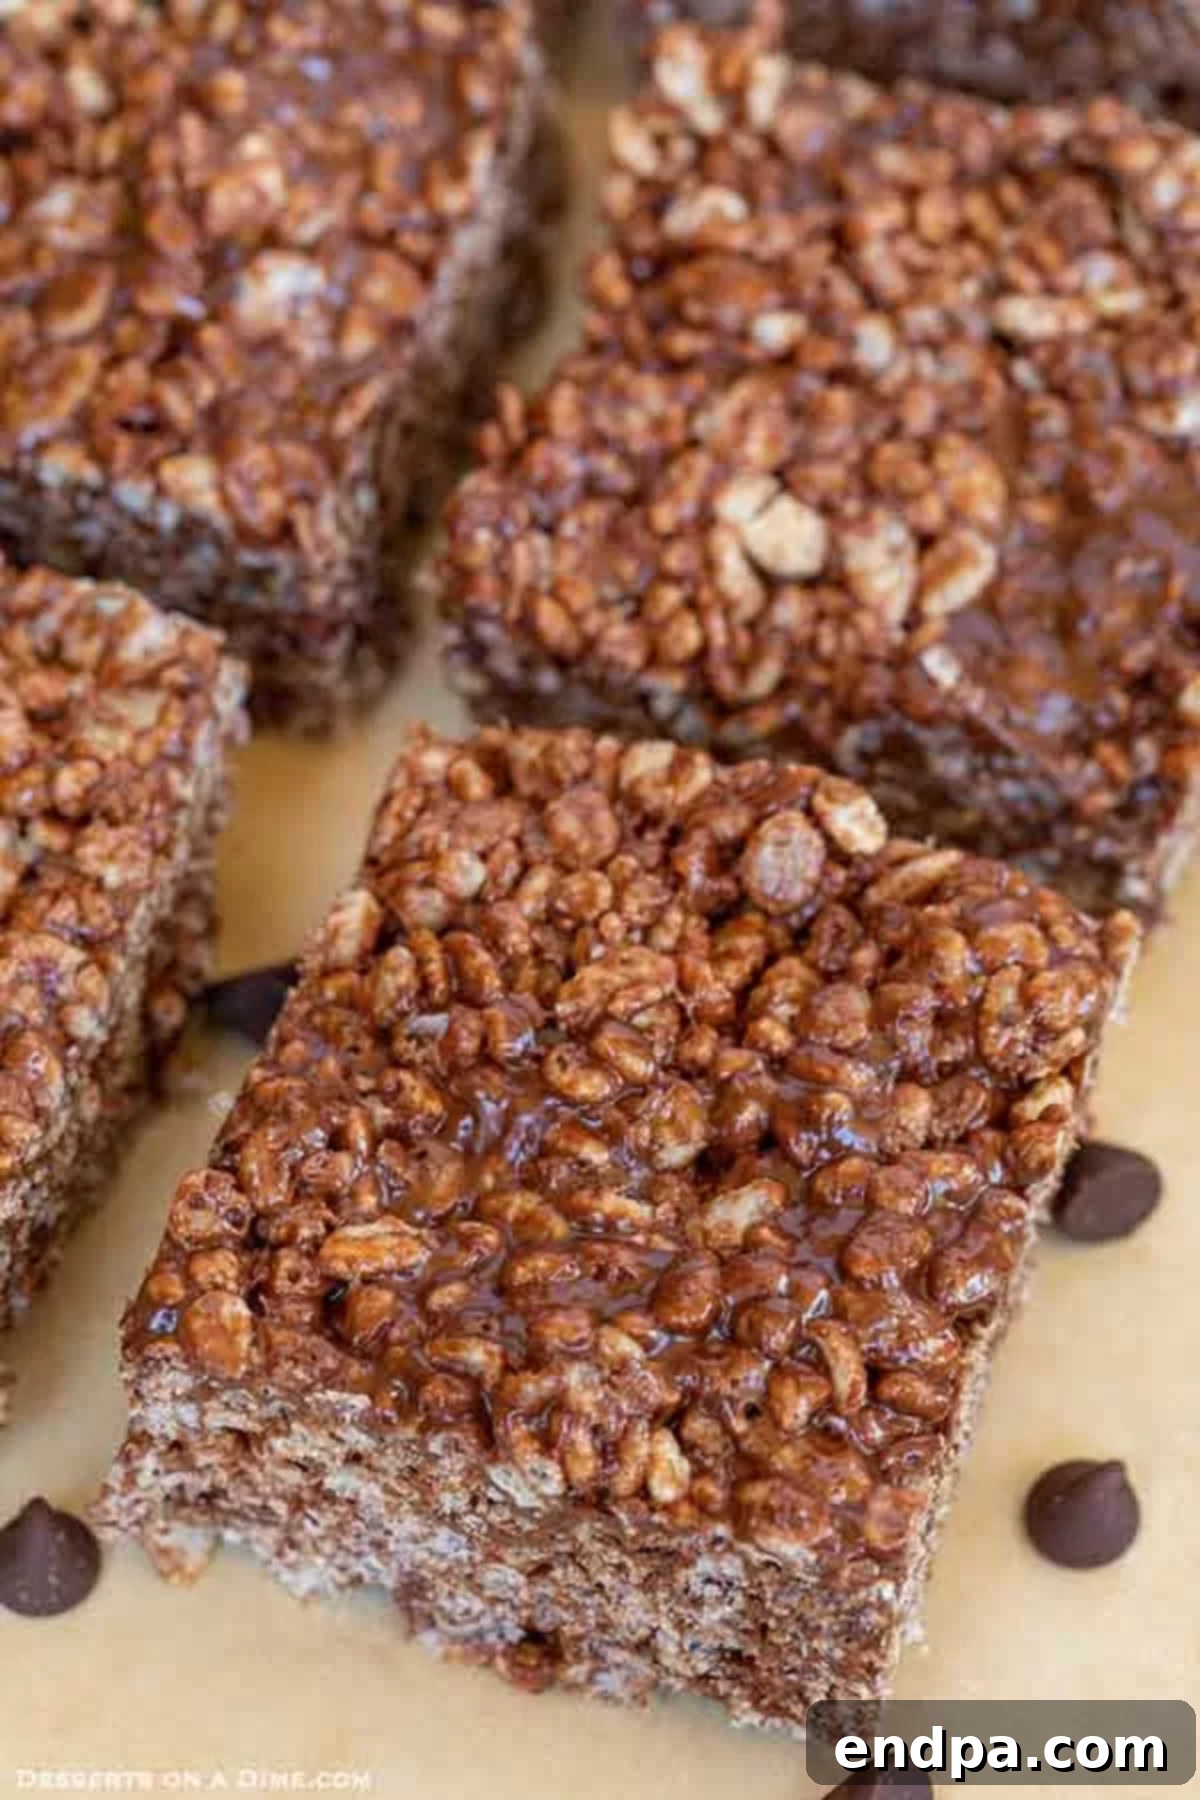
This no-bake dessert is not only a fantastic treat for all ages but also a fun project for kids to help with in the kitchen. If you’re a fan of the classic Rice Krispie Treat, prepare to be amazed by this chocolate-infused upgrade. The generous amount of chocolate chips truly transforms these into an indulgent experience that’s hard to resist.
Requiring just a handful of basic ingredients and a super easy process, this chocolate rendition of the beloved treat is perfect for any occasion. Pack them in lunchboxes for a delightful midday surprise, serve them as an after-school snack, or enjoy them during a cozy movie night. Their versatility and irresistible flavor make them a family favorite.
Looking for more crispy cereal creations? Be sure to explore our collection of the Best Rice Krispie Treat Recipes. Some other favorites include Salted Caramel Rice Krispie Treats, Chocolate Caramel Rice Krispie Treats, Red White and Blue Rice Krispie Treats, and Patriotic Rice Krispie Treats. Each offers a unique twist on the classic, but none quite capture the rich, deep chocolate essence of this recipe.
Table of Contents
- Why We Love This Recipe
- Key Ingredients
- Step-By-Step Guide
- Expert Tips for Perfection
- Creative Substitutions and Additions
- Frequently Asked Questions
- Discover More Crispy Treat Recipes
Why We Love This Recipe
Our Chocolate Rice Krispie Treats recipe is truly a dream come true for anyone who adores chocolate. With minimal effort and simple ingredients, you can create a show-stopping dessert for any gathering, holiday, or just because. The no-bake aspect is a huge win, keeping your kitchen cool and simplifying the process significantly. It’s perfect for summer treats or when you just don’t want to turn on the oven.
Beyond their ease and deliciousness, these treats are incredibly versatile. They can be customized for different flavors, holidays, or dietary preferences, making them a staple in many kitchens. Their gooey texture and satisfying crunch are simply unmatched, offering a delightful sensory experience with every bite. The rich chocolate flavor truly sets them apart from plain versions, satisfying even the most intense chocolate cravings.
We also love experimenting with other crispy cereal variations, such as Peanut Butter Balls with Rice Krispies and Neapolitan Rice Krispie Treats, but the pure chocolate experience of these treats holds a special place in our hearts.
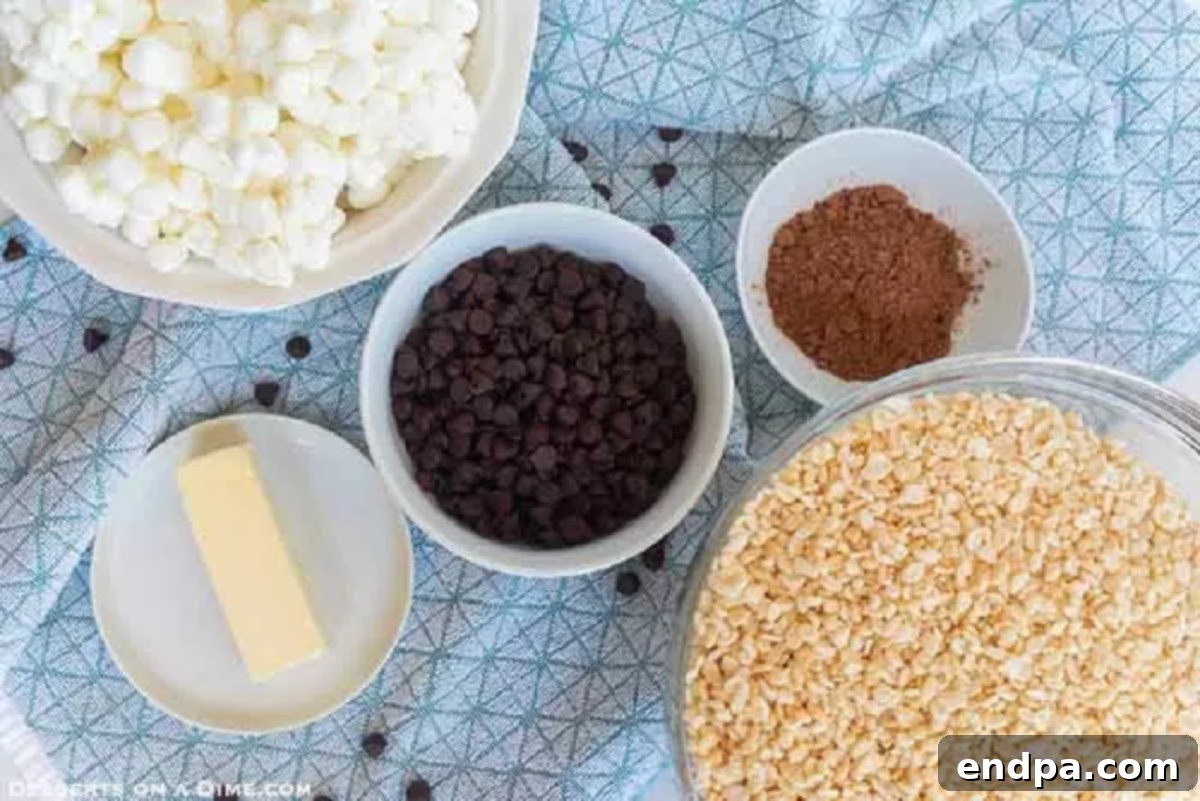
Key Ingredients
Creating these delightful chocolate treats requires just a few pantry staples. Quality ingredients make a noticeable difference in the final taste and texture, so choose wisely!
- Rice Krispie Cereal: The star of the show! Ensure your cereal is fresh and crispy. Stale cereal will result in a less satisfying texture.
- Unsalted Butter: We prefer unsalted butter to control the overall saltiness of the treats. If using salted butter, you might want to slightly reduce any added salt in other variations.
- Marshmallows: Mini marshmallows melt more quickly and evenly, making the process smoother. However, large marshmallows can also be used; just be sure to cut them into smaller pieces for faster melting.
- Chocolate Chips: A crucial component for that intense chocolate flavor. You can use milk chocolate chips for a sweeter treat, dark chocolate chips for a richer, more sophisticated flavor, or semi-sweet chocolate chips for a balanced profile. Choose a good quality brand for the best results.
- Cocoa Powder: This is what truly infuses the treats with deep chocolatey goodness. Use unsweetened cocoa powder to avoid making the treats overly sweet, allowing the natural chocolate flavor to shine through.
For the precise measurements, please refer to the comprehensive recipe card located at the bottom of this page.
Step-By-Step Guide
Follow these simple steps to create a batch of perfect Chocolate Rice Krispie Treats:
- Step 1 – Prepare Your Pan: Begin by lightly spraying a 9×13-inch baking pan with a non-stick cooking spray. This crucial step will prevent sticking and make serving much easier.
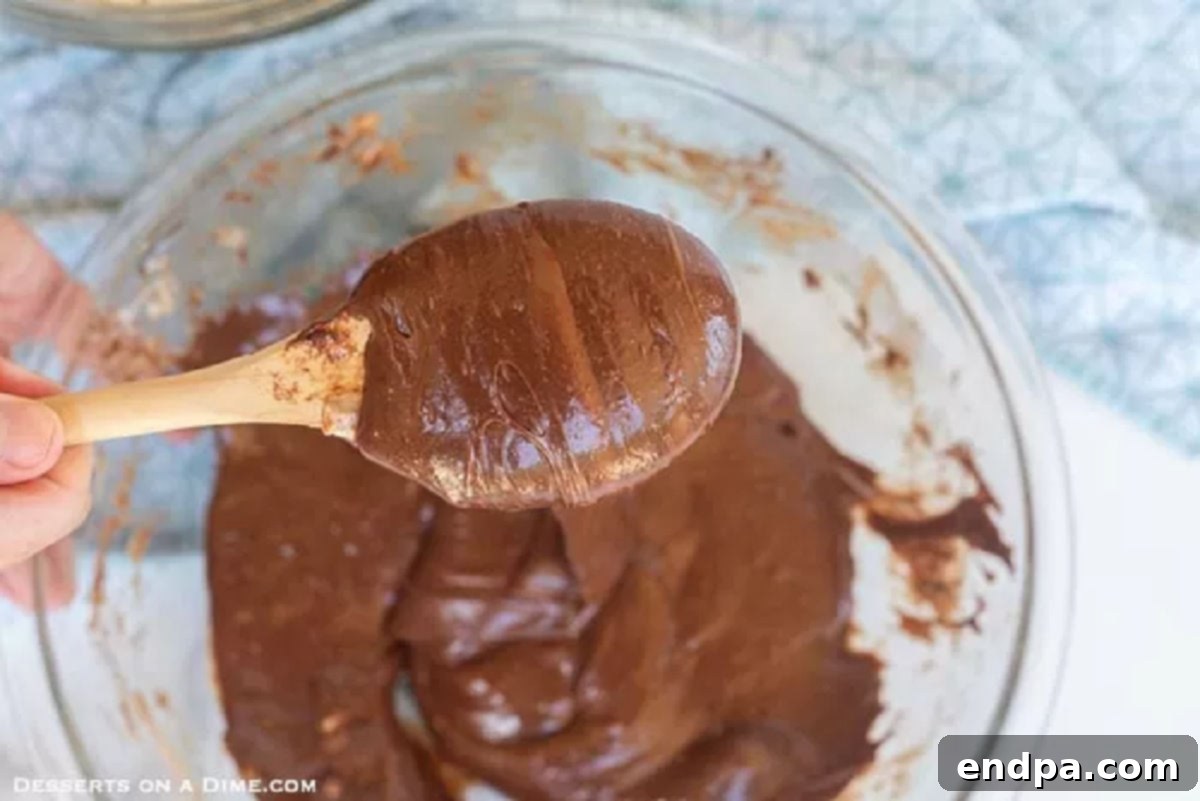
Step 2 – Melt the Chocolate Mixture: In a large, microwave-safe bowl, combine the unsalted butter, marshmallows, chocolate chips, and cocoa powder. Microwave the mixture in 30-second intervals, stirring thoroughly after each interval, until everything is completely melted and smooth. This gradual approach helps prevent the marshmallows from hardening.
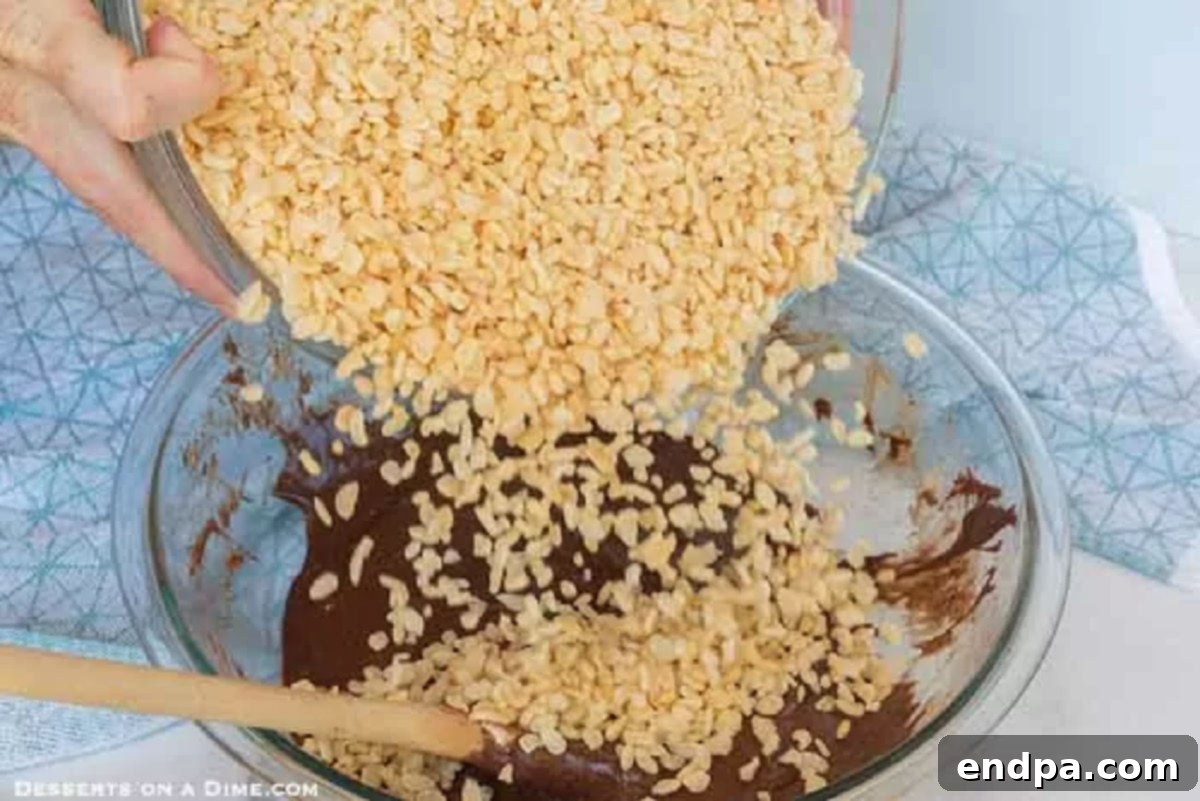
Step 3 – Combine with Cereal: Once your chocolate-marshmallow mixture is perfectly smooth, gradually add the Rice Krispie cereal to the bowl. Fold the cereal into the melted chocolate until every single piece is completely coated, ensuring an even distribution of flavor and texture.
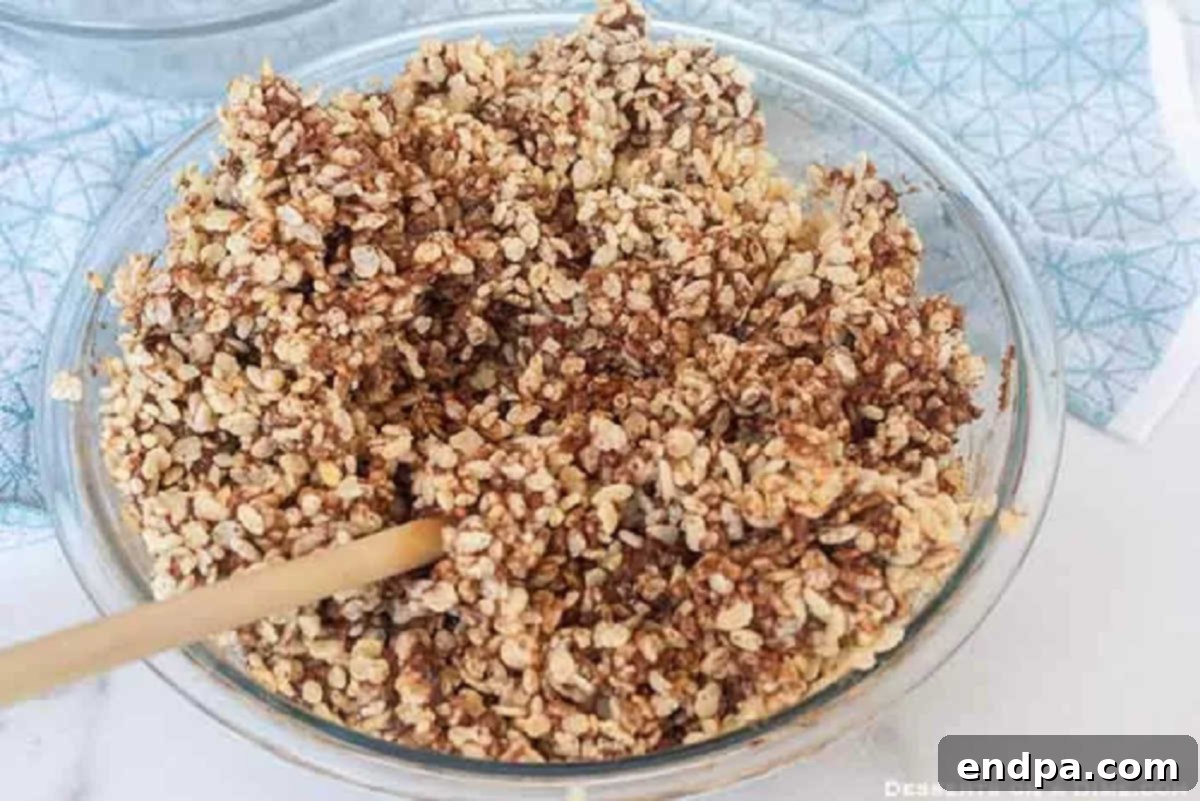
Step 4 – Ensure Even Coating: Using a rubber spatula, continue mixing the crispy rice cereal with the melted chocolate. Make sure there are no dry spots and that the mixture is uniform. This ensures a consistent chocolatey bite in every treat.
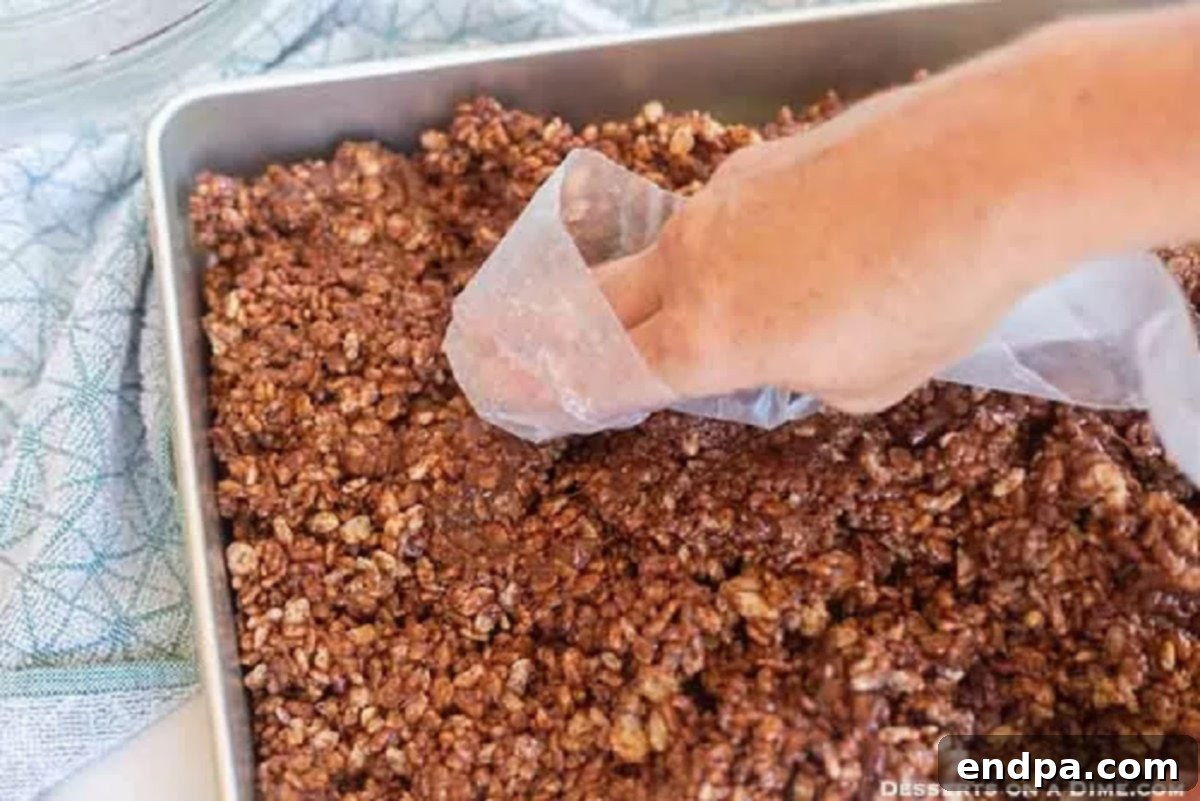
Step 5 – Press and Cool: Transfer the coated cereal mixture into your prepared 9×13-inch pan. Press the mixture down evenly across the pan. A helpful trick is to spray a piece of wax paper or parchment paper with non-stick spray and use it to firmly press the mixture into an even layer without it sticking to your hands. Allow the treats to cool completely at room temperature before slicing them with a sharp knife and serving. Cooling completely is essential for neat cuts and the best texture.
Expert Tips for Perfection
Achieving the perfect gooey, chewy, and chocolatey Rice Krispie Treat is easy with these expert tips:
- Melting Chocolate: While microwaving is convenient, you can also melt the butter, marshmallows, chocolate chips, and cocoa powder in a large saucepan over low heat. Stir continuously until smooth. Once melted, remove the pan from the heat *before* adding the cereal to prevent overcooking the marshmallows and making the treats hard.
- Preparing the Baking Pan: For easy removal and clean slices, line your baking pan with parchment paper before spraying it with non-stick cooking spray. This creates a sling that allows you to lift the entire batch out before cutting. Ensure the mixture is pressed firmly and evenly into the pan for consistent thickness.
- Mixing Ingredients: The key to success is thorough mixing. Once the chocolate-marshmallow base is melted, work quickly but gently to fold in the Rice Krispie cereal until every piece is coated. Avoid over-mixing, which can crush the cereal.
- Treat Thickness: This recipe yields wonderfully thick and substantial treats, which we absolutely adore! If you prefer thinner treats, you can easily halve the batch or spread the full batch into a larger pan (e.g., a jelly roll pan) for more servings of a less dense treat.
- Use Fresh Ingredients: The freshness of your marshmallows and Rice Krispie cereal significantly impacts the final texture and shelf life of your treats. Fresh marshmallows ensure gooeyness, and fresh cereal guarantees that satisfying crunch. Always check expiration dates for the best results.
Creative Substitutions and Additions
One of the best things about Rice Krispie Treats is how easily they can be customized. Here are some ideas to make these chocolate treats uniquely yours:
- Cocoa Krispies Cereal Treat: For an extra boost of chocolate flavor, swap out the regular Rice Krispie cereal for Cocoa Krispies. This will create an even deeper, more intense chocolate experience, perfect for serious chocoholics.
- Marshmallow Variety: While mini marshmallows are recommended for their ease of melting, feel free to use any size or shape of marshmallow you have on hand. Just ensure they are melted smoothly into the butter and chocolate mixture.
- A Pinch of Sea Salt: A sprinkle of flaky sea salt over the top of the finished treats (before they set) can beautifully enhance the chocolate flavor, creating a sophisticated sweet and salty balance.
- Fun Shapes: Once the mixture is pressed into the pan but still slightly warm and pliable, use cookie cutters to create festive shapes. This is especially fun for holiday parties or kid-friendly events.
- Decorative Sprinkles: Add a pop of color and festivity by incorporating sprinkles into the mixture before pressing it into the pan, or generously sprinkle them on top while the treats are still warm. Choose sprinkles that match the occasion!
- Alternate Chips: Beyond chocolate chips, consider adding peanut butter chips for a chocolate-peanut butter fusion, or butterscotch chips for a different sweet note. You could even mix in white chocolate chips for visual contrast and a creamy flavor.
- Chocolate Drizzle: For an elegant finish, melt additional chocolate chips (milk, dark, or white chocolate) and drizzle them artfully over the cooled treats. You can also use colorful candy melts for a vibrant touch, perfect for themed parties.
- Peanut Butter Swirl: For an added layer of rich flavor, stir a few tablespoons of creamy peanut butter into the butter and marshmallow mixture as it melts. This creates a luscious peanut butter and chocolate treat that’s truly irresistible.
Frequently Asked Questions
Here are some common questions and helpful answers about making and storing your Chocolate Rice Krispie Treats:
For optimal freshness and gooeyness, store your Chocolate Rice Krispie Treats in an airtight container at room temperature. They are best enjoyed within 3-4 days. Avoid storing them in the refrigerator, as the cold can cause them to harden and lose their signature chewy texture.
While technically possible, we generally do not recommend freezing this recipe. Freezing can significantly alter the texture of the treats, making them hard and brittle once thawed. For more detailed information on freezing various Rice Krispie Treat recipes, you can refer to our guide on Can You Freeze Rice Krispie Treats.
Hard Rice Krispie Treats are usually a result of overcooking the marshmallow mixture. When melting the butter and marshmallows, it’s crucial to do so slowly and gently. If using a microwave, melt in short 30-second intervals, stirring thoroughly after each one. On the stovetop, use low heat and stir constantly. Overheating the gooey marshmallows can cause the sugar to crystallize, leading to a hard, rather than soft and chewy, final product.
Discover More Crispy Treat Recipes
If you loved these Chocolate Rice Krispie Treats, you’ll definitely want to explore these other fantastic variations:
- Butterscotch Rice Krispie Treats
- Fruity Pebbles Rice Crispy Treats
- Halloween Monster Rice Krispie Treats
- M&M Rice Krispie Treats
- Pumpkin Rice Krispie Treats
- Fun Color Rice Krispie Treats
Once you experience the rich, gooey delight of homemade Chocolate Rice Krispie Treats, you’ll be hooked! We hope you enjoy making and sharing this recipe. Please feel free to leave a comment and a star rating below to let us know how much you loved them.
Chocolate Rice Krispie Treats Recipe
Rating: 5 from 5 votes
Prep Time: 15 mins
Total Time: 15 mins
Servings: 24
Cuisine: American
Course: Dessert
Calories: 194 kcal
Author: Carrie Barnard
Ingredients
- 12 cups Rice Krispie Cereal (ensure it’s fresh for best results)
- 6 Tablespoons Unsalted Butter
- 2 10-ounce packages of Marshmallows (mini marshmallows recommended)
- 1 cup Chocolate Chips (semi-sweet, milk, or dark)
- 1/3 cup Unsweetened Cocoa Powder
Instructions
- Lightly spray a 9×13-inch pan with non-stick cooking spray.
- In a large, microwave-safe bowl, combine the butter, marshmallows, chocolate chips, and cocoa powder. Microwave in 30-second intervals, stirring thoroughly after each, until completely melted and smooth.
- Gradually add the Rice Krispie cereal to the melted chocolate mixture. Stir until the cereal is completely coated.
- Spread the mixture evenly into the prepared pan. For easier pressing, you can lightly spray a piece of wax paper with non-stick spray and use it to flatten the treats.
- Allow the treats to cool completely at room temperature before cutting and serving.
- Note on Thickness: This recipe yields thick, satisfying treats. If you prefer thinner treats, you can halve the recipe or use a larger pan.
- Storage Tip: Do not store these treats in the refrigerator. They are best kept at room temperature in an airtight container to maintain their delicious gooey and chewy texture.
- Slice into squares and enjoy every yummy bite!
Nutrition Facts (per serving, estimated)
- Calories: 194 kcal
- Carbohydrates: 37g
- Protein: 2g
- Fat: 5g
- Saturated Fat: 3g
- Cholesterol: 9mg
- Sodium: 123mg
- Potassium: 36mg
- Fiber: 1g
- Sugar: 20g
- Vitamin A: 1036 IU
- Vitamin C: 9mg
- Calcium: 12mg
- Iron: 5mg
Pin This Recipe Now to Remember It Later
Pin Recipe
