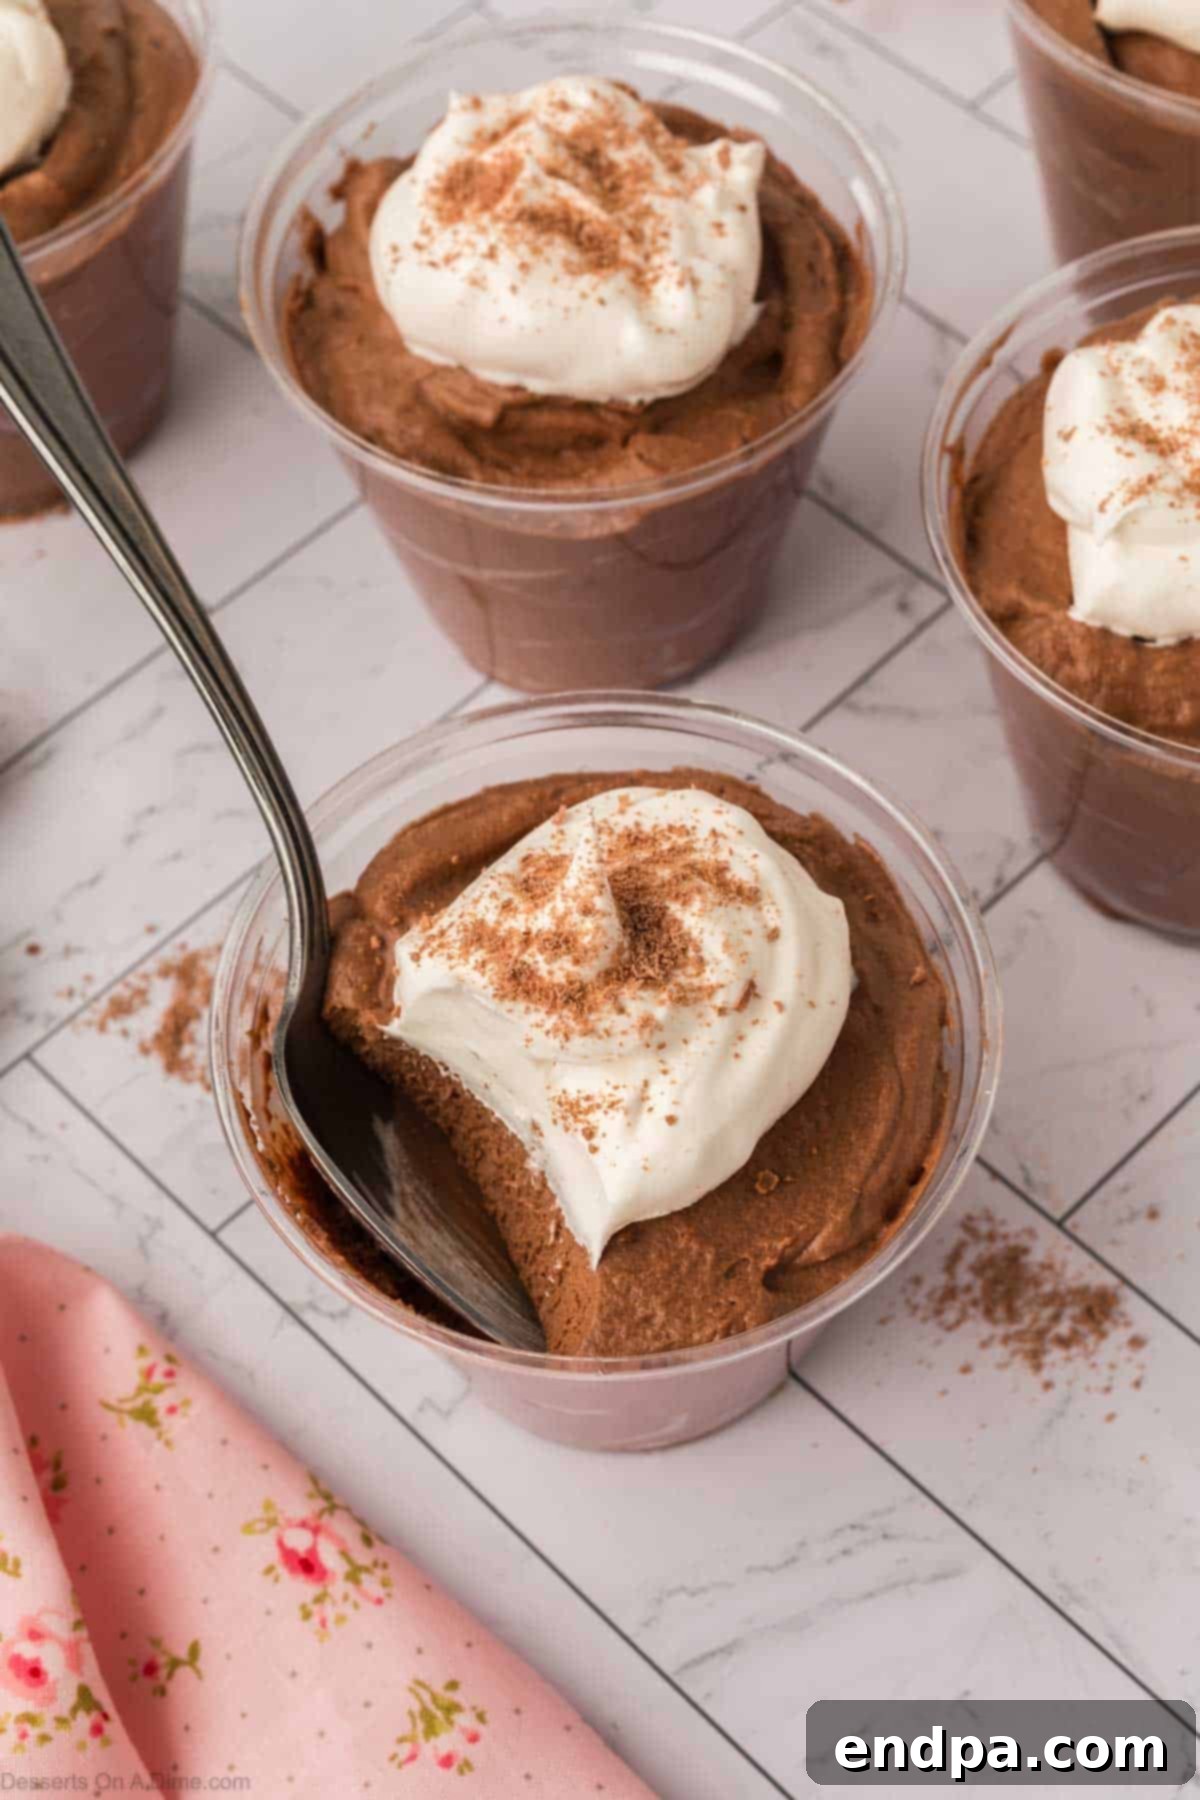
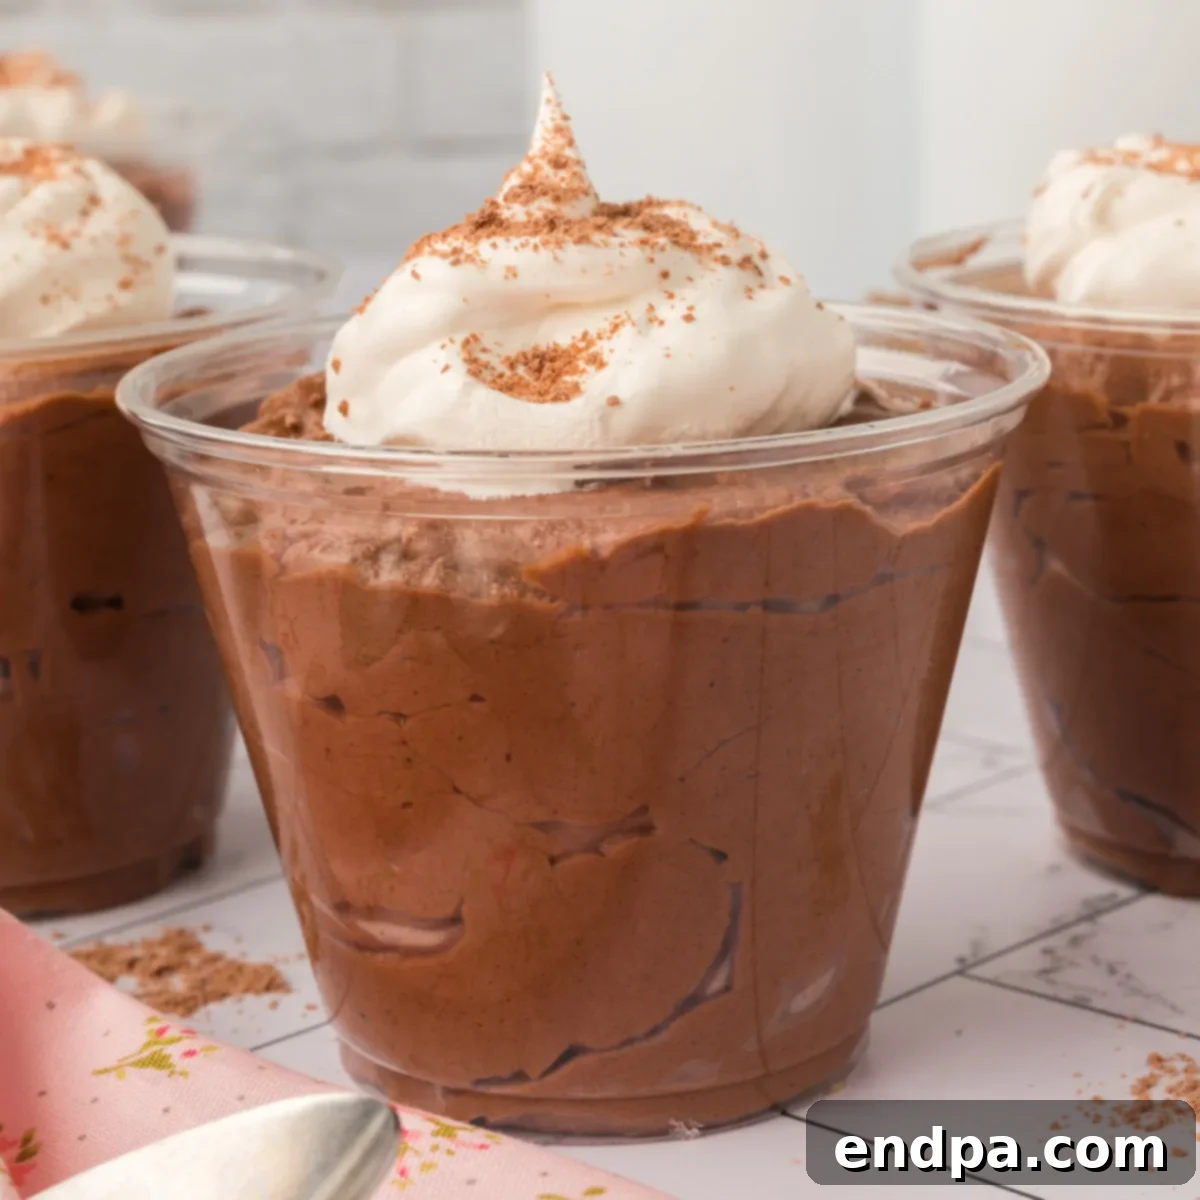
Indulge in the unparalleled richness and velvety smoothness of homemade Chocolate Mousse Cups. This effortless dessert recipe is a true crowd-pleaser, perfect for any occasion. Designed for simplicity without sacrificing decadent flavor, it promises to impress your guests and satisfy your deepest chocolate cravings with minimal effort. Quick to prepare and boasting an elegant presentation, these individual chocolate mousse cups are guaranteed to become a cherished addition to your dessert repertoire.
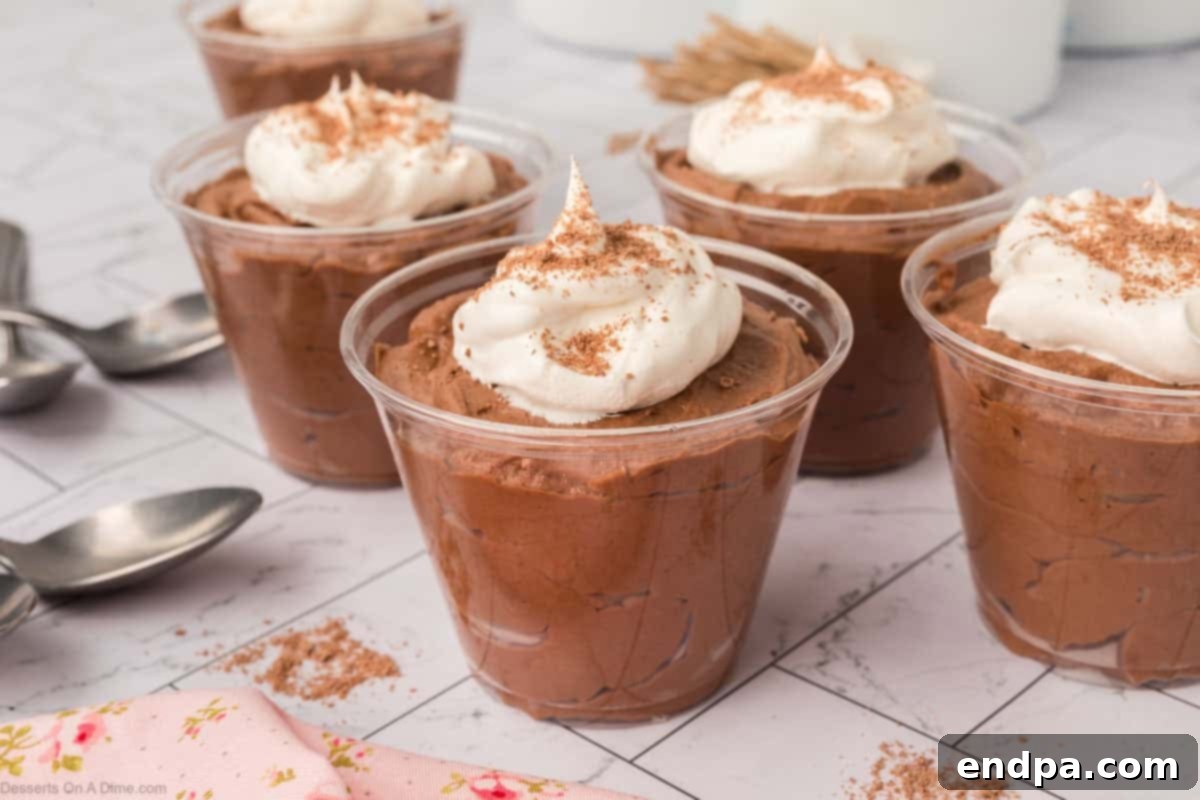
Are you searching for a dessert that marries luxury with simplicity, offering an exquisite taste that never fails to enchant? Look no further than these sublime Chocolate Mousse Cups. This recipe delivers a rich, creamy, and surprisingly easy-to-make treat using just a handful of essential ingredients. Whether you’re hosting an elegant dinner party, preparing for holiday festivities, or simply craving a sweet escape, this no-bake masterpiece combines intense chocolate flavor with a refined, individual presentation. It’s an ideal choice for both novice cooks venturing into dessert making and experienced bakers seeking a reliable, show-stopping option. Widely celebrated as one of the Best Chocolate Desserts, these mousse cups are a testament to how truly simple ingredients can create something extraordinary.
Table of Contents
- Why This Recipe is a Must-Try
- Essential Ingredients for Perfection
- Step-by-Step Guide to Chocolate Mousse Cups
- Storage and Make-Ahead Tips
- Pro Tips for Flawless Chocolate Mousse
- Equipment You Will Need
- Variations and Serving Suggestions
- Frequently Asked Questions
- More Irresistible Chocolate Desserts
Why This Recipe is a Must-Try
Our Chocolate Mousse Cups aren’t just a dessert; they’re an experience. Here’s why this recipe stands out and earns its place as a favorite for many:
- Unbelievably Rich and Creamy Texture: Each spoonful melts in your mouth, offering a luxurious, velvety smooth consistency paired with an intense, deep chocolate flavor. It’s the perfect balance of sweetness and cocoa bitterness.
- Effortlessly Easy to Make: Forget the oven! This is a no-bake wonder that simplifies dessert preparation. With just a few common ingredients and straightforward steps, even beginner home cooks can achieve professional-quality results.
- Ideal for Entertaining: With their elegant appearance and individual portions, these mousse cups are perfect for dinner parties, holiday gatherings, or any special occasion. They look sophisticated but are surprisingly easy to manage for guests.
- Fantastically Make-Ahead Friendly: Prepare them hours or even a day in advance! Chilling time is essential, making them a stress-free option for busy hosts. Simply pull them from the refrigerator when you’re ready to serve.
- Highly Customizable: While exquisite on their own, these chocolate mousse cups serve as a versatile canvas for your creativity. Top them with a dollop of whipped cream, fresh berries, crunchy crushed cookies, delicate chocolate shavings, or a sprinkle of sea salt to elevate their appeal.
- Minimal Cleanup: As a no-bake recipe, you’ll avoid extensive dirty baking dishes, leading to a quicker and easier cleanup process.
- Satisfies Serious Cravings: For true chocolate lovers, this mousse delivers an intensely satisfying experience, hitting all the right notes of sweetness and richness.
Essential Ingredients for Perfection
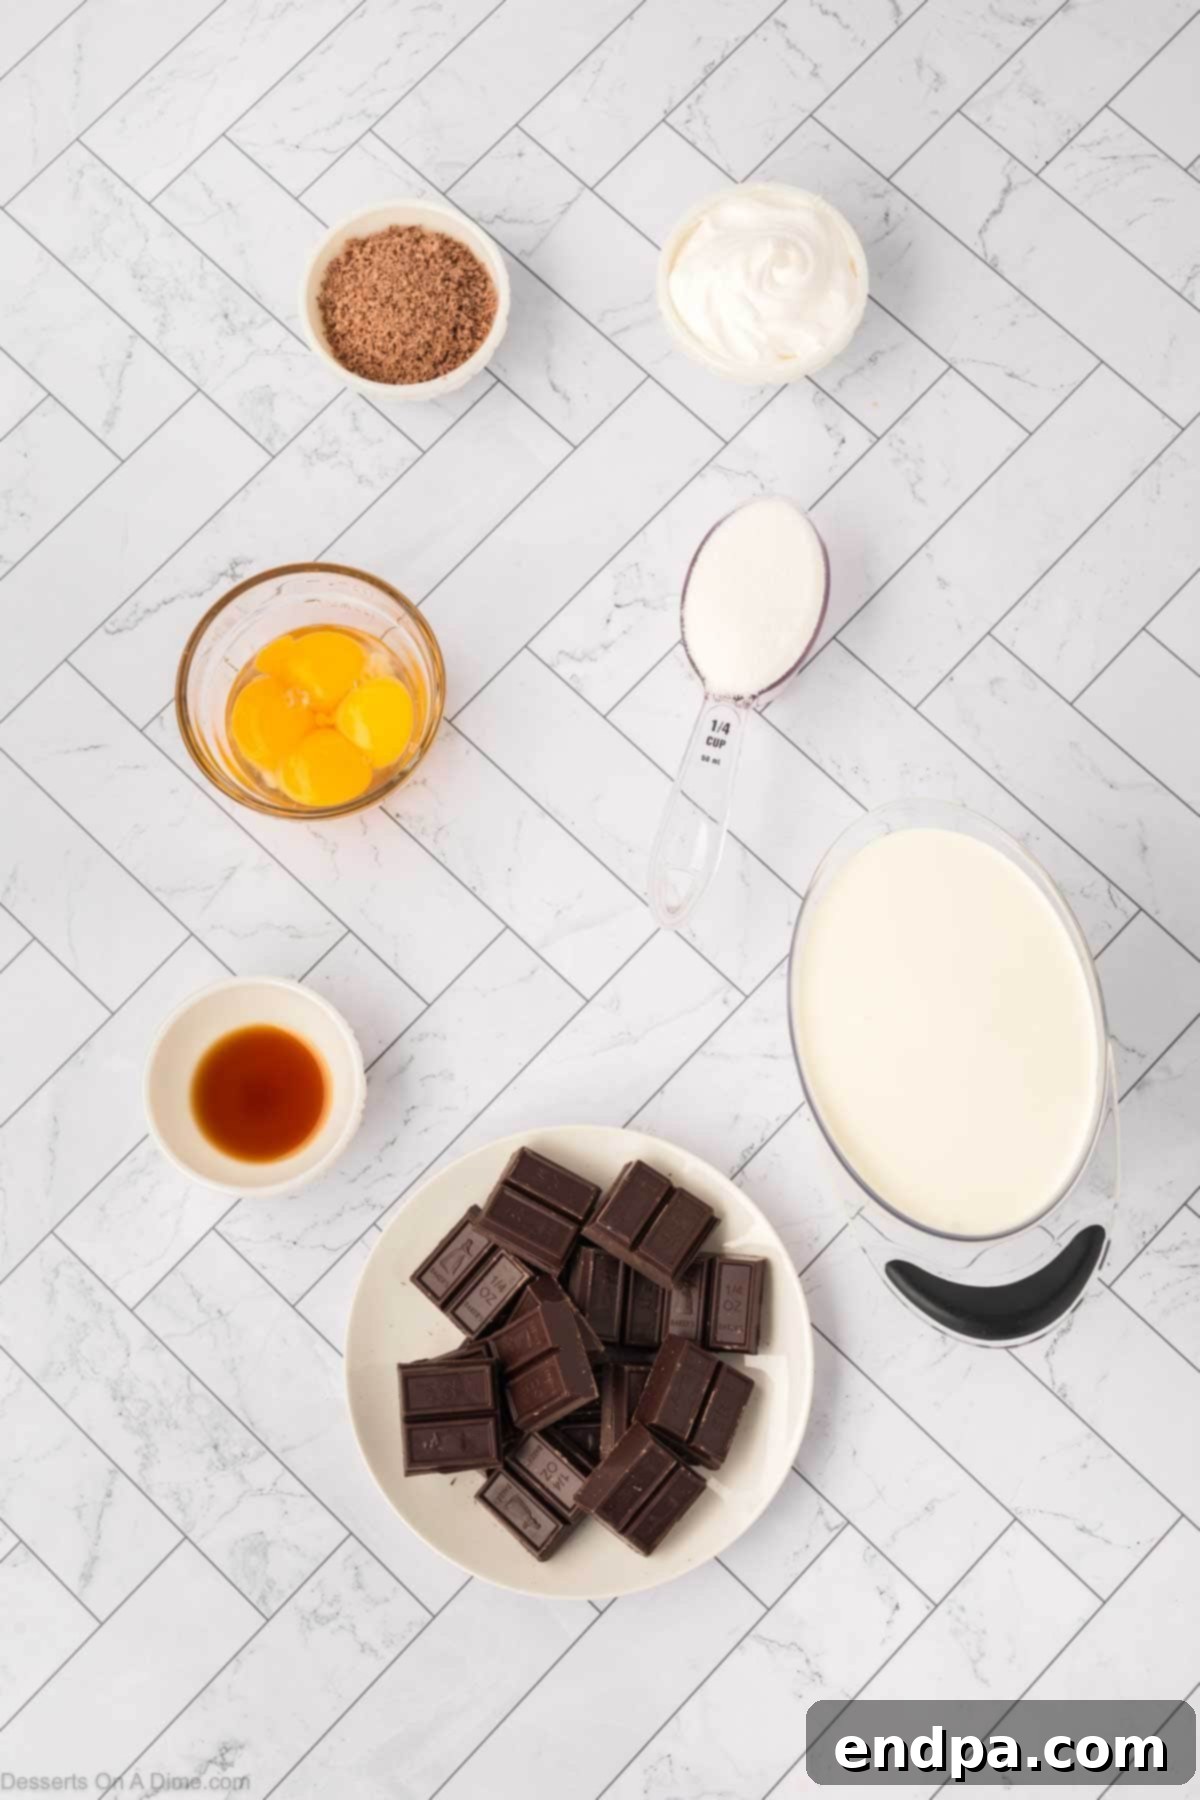
Creating this heavenly chocolate mousse requires only a few high-quality ingredients. Each plays a crucial role in achieving the desired texture and flavor:
- Egg Yolks: These are the secret to the mousse’s luxurious richness and silky, custard-like base. They provide structure and a beautiful golden hue to the initial mixture.
- Granulated Sugar: Not only does sugar sweeten the mousse, but it also helps to stabilize the egg yolks when heated, preventing them from curdling. A balanced sweetness complements the chocolate perfectly.
- Heavy Cream (divided use): This ingredient is key to both the creamy texture and the airy lightness of the mousse. A portion is gently heated with the egg mixture to form the base, while the remainder is whipped to stiff peaks and then folded in to create that signature fluffy consistency.
- Vanilla Extract: A splash of vanilla extract isn’t just for flavor; it actually enhances and deepens the natural chocolate notes, adding a layer of aromatic complexity.
- Bittersweet Chocolate: This is the star of the show. Using high-quality bittersweet chocolate (around 60-70% cocoa solids) is paramount for the best flavor and a smooth, glossy finish. Its slight bitterness beautifully contrasts with the sweetness of the sugar and cream, creating a sophisticated taste. For a sweeter mousse, semi-sweet chocolate can be substituted.
- Optional Garnish: Elevate your presentation with a dollop of light Homemade Whipped Cream, elegant shaved chocolate curls, or a scattering of vibrant fresh berries like raspberries or strawberries. These additions not only add visual appeal but also introduce complementary textures and flavors.
Step-by-Step Guide to Chocolate Mousse Cups
Follow these detailed instructions to create flawless, irresistible chocolate mousse cups every time:
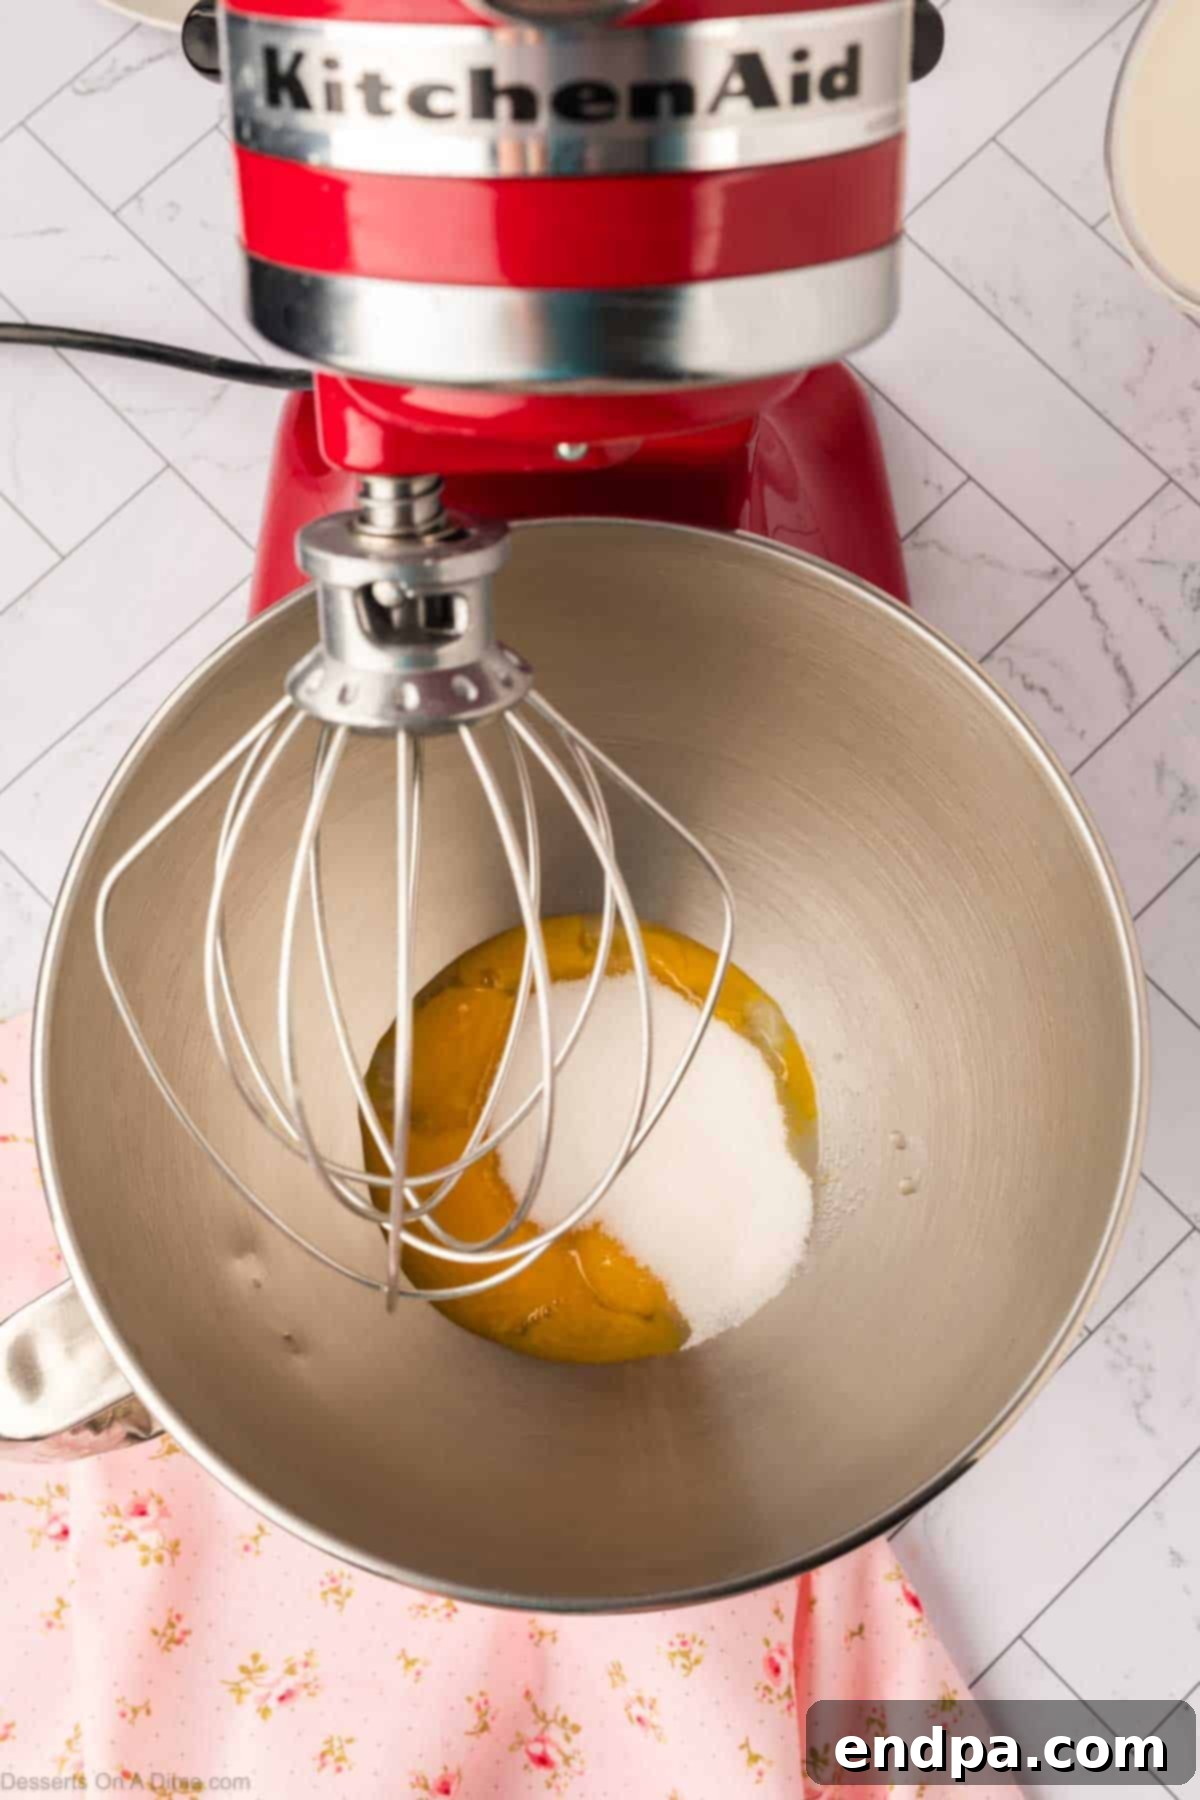
Step 1. In the bowl of a stand mixer, beat the egg yolks and granulated sugar on high speed for approximately 2 minutes. The mixture should become noticeably thick and pale yellow.
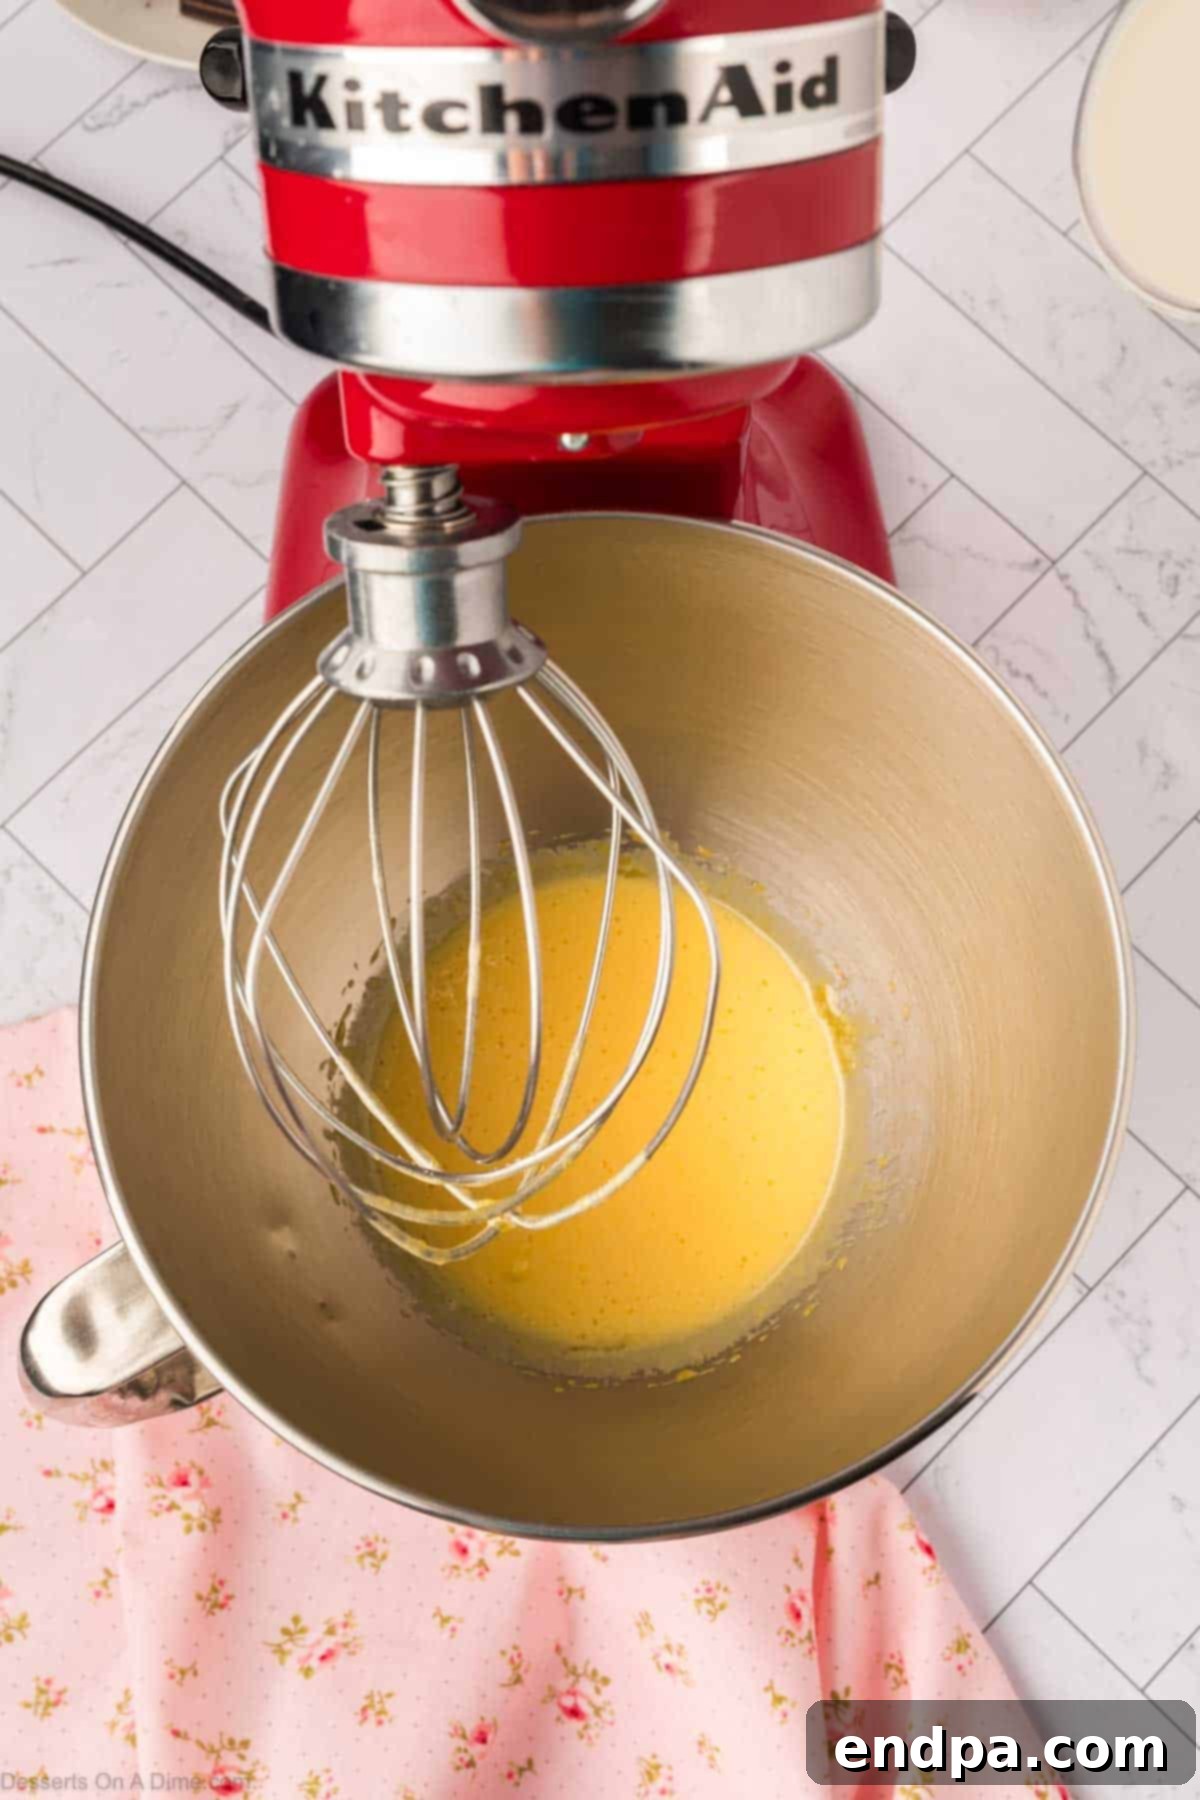
Step 2. Continue beating until the egg and sugar mixture reaches a thick, pale, and creamy consistency. This ensures the sugar is fully dissolved and the yolks are aerated.
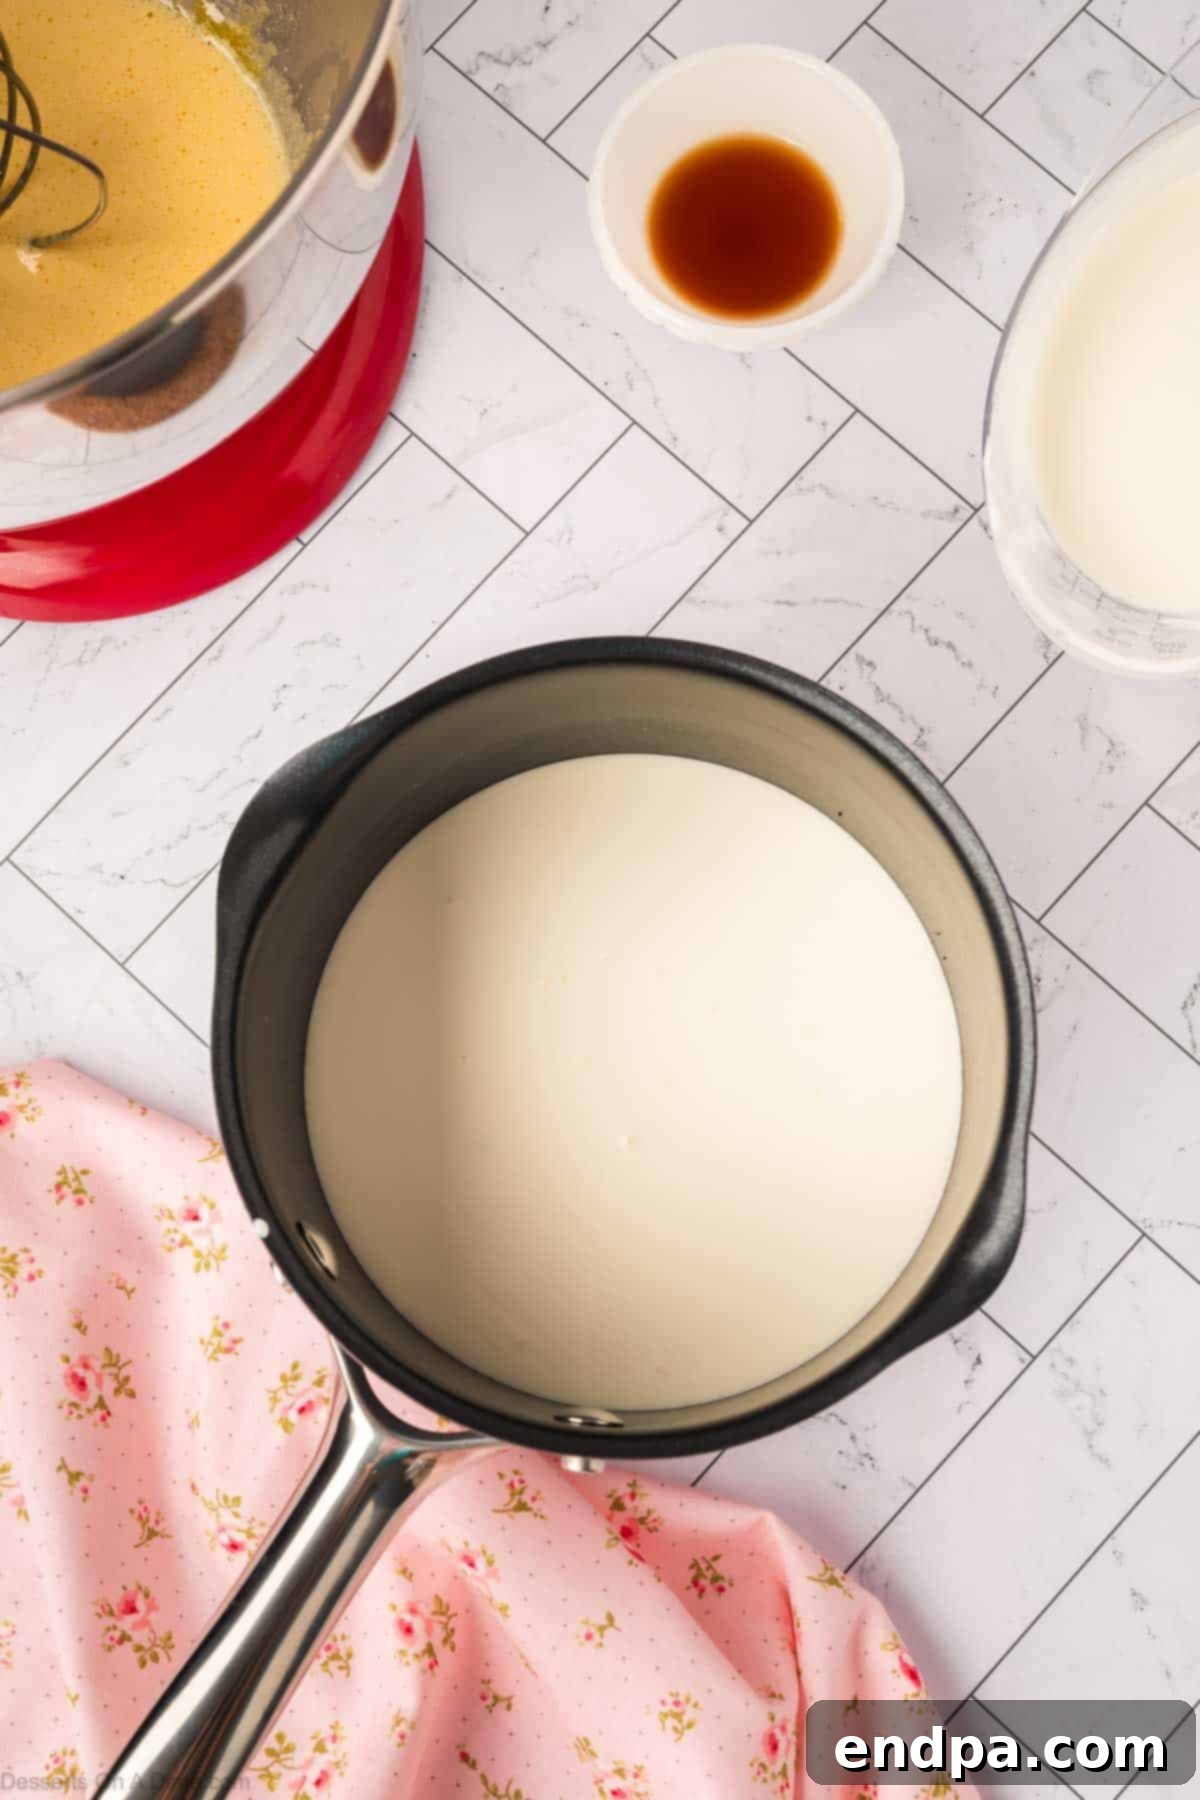
Step 3. Pour ¾ cup of heavy cream into a small saucepan. Heat it gently over low heat, just until it is warm to the touch but not boiling or simmering. You should see small bubbles forming around the edges.
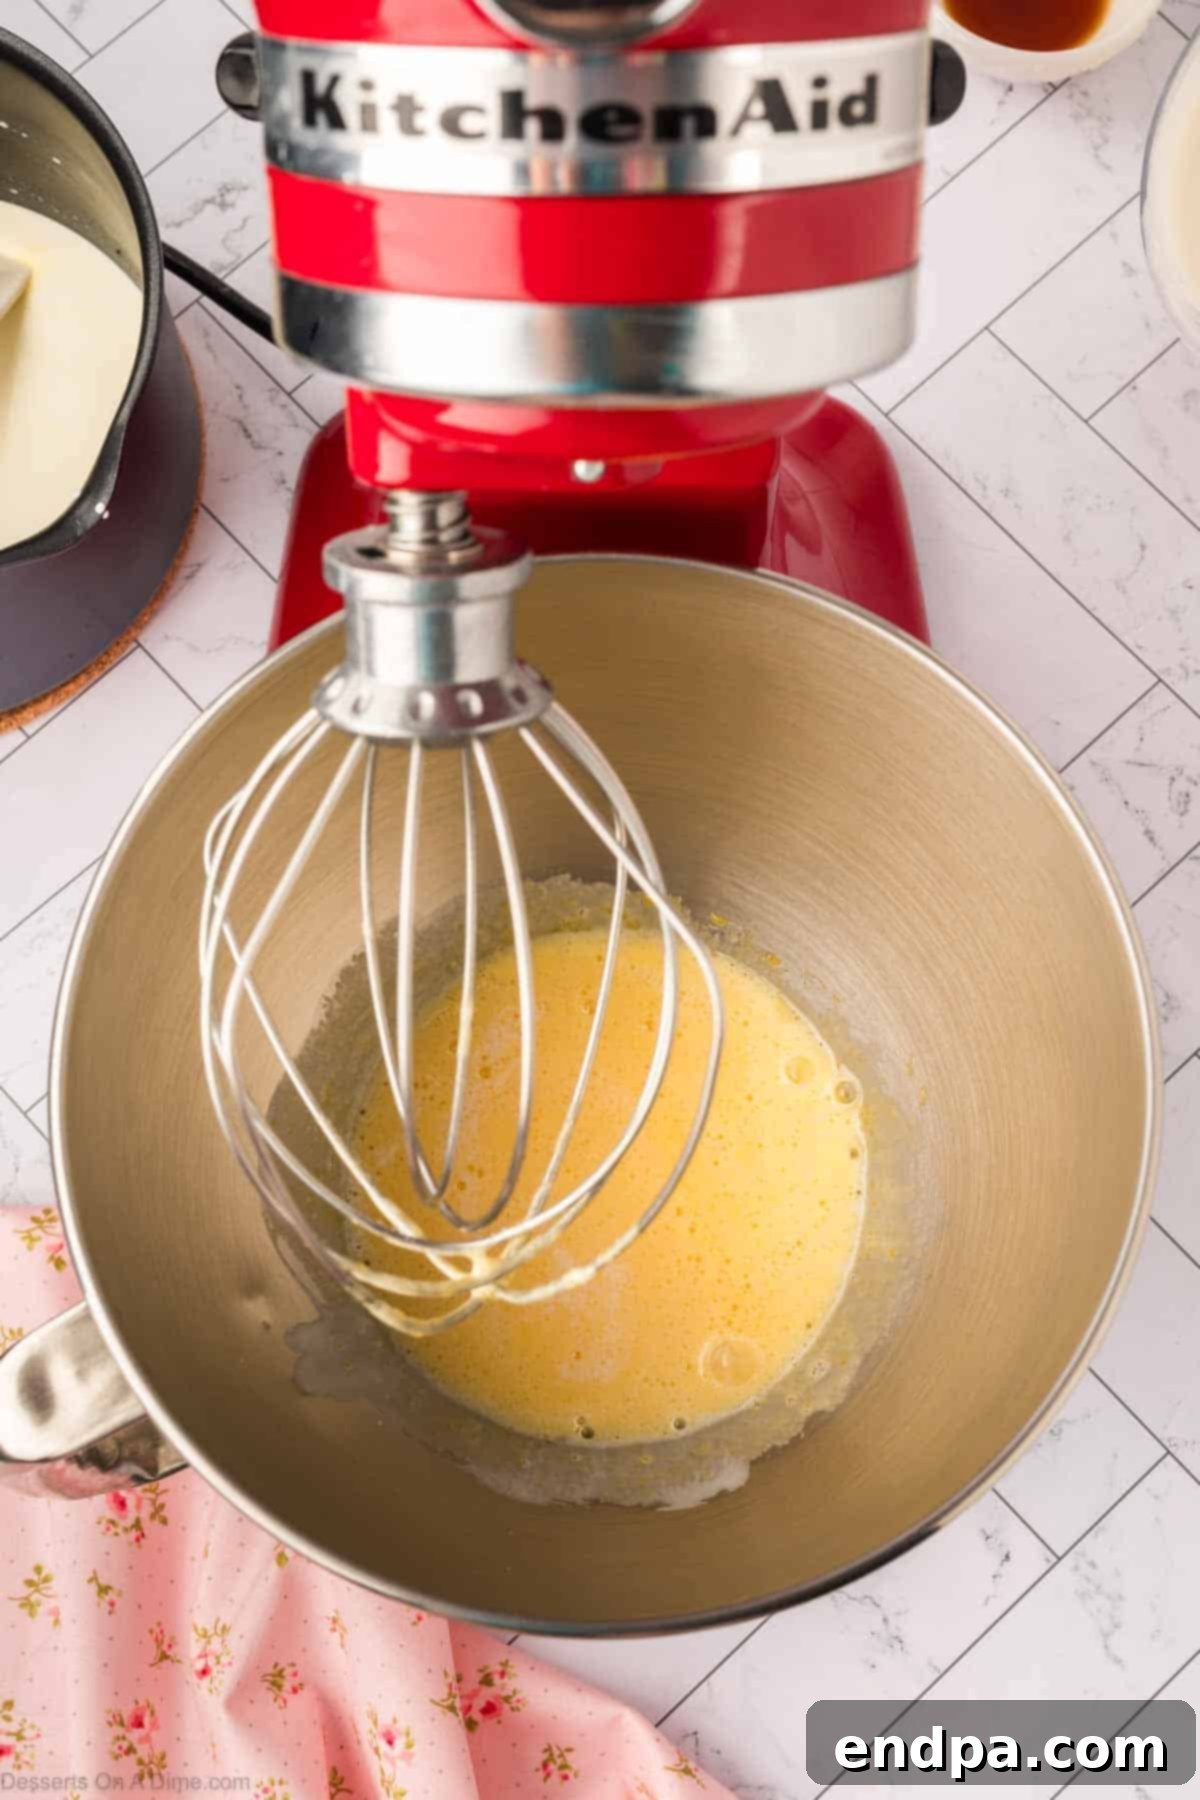
Step 4. This is crucial: slowly pour the warm heavy cream into the beaten egg yolk mixture, whisking constantly and vigorously. This process, known as tempering, gradually raises the temperature of the egg yolks, preventing them from scrambling.
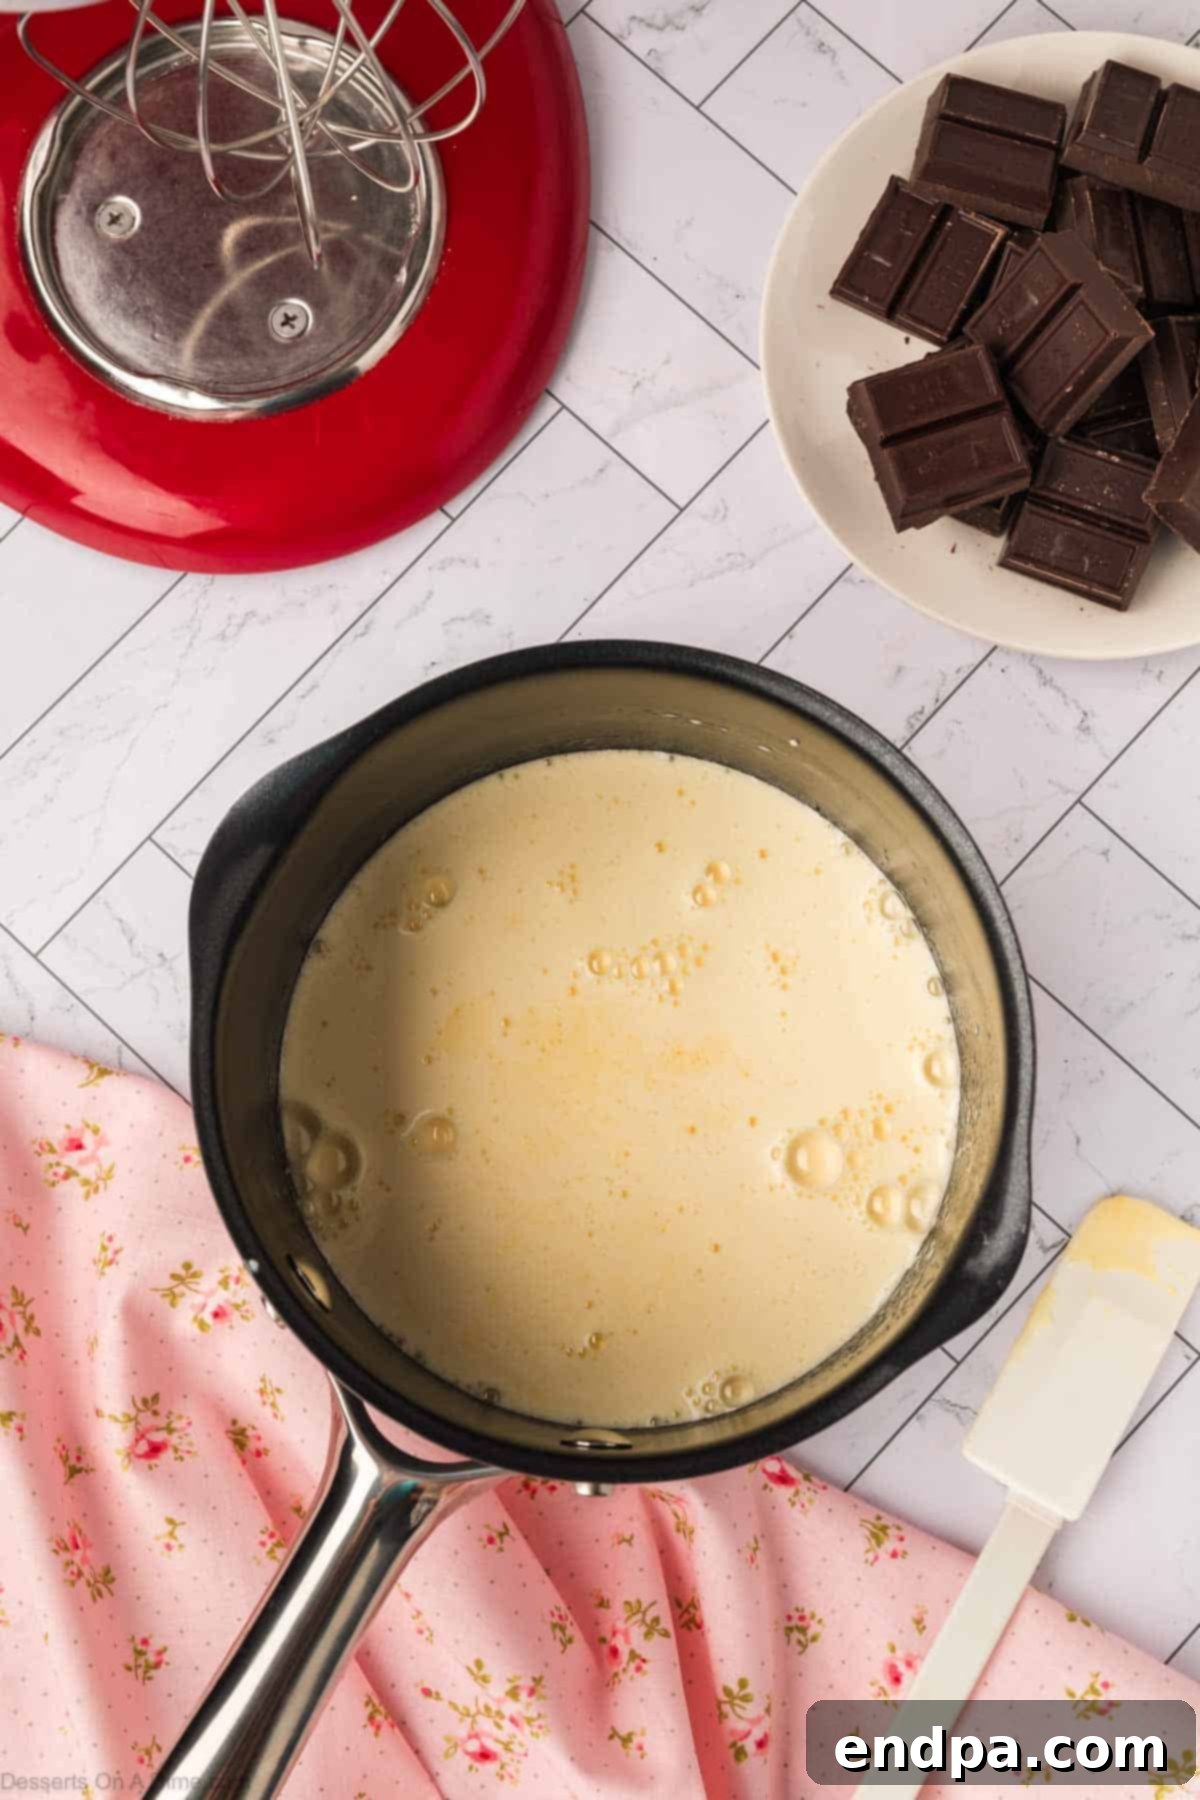
Step 5. Return the tempered mixture to the same saucepan. Cook over low heat, stirring continuously with a whisk or rubber spatula, until the mixture reaches 160°F (71°C) on an instant-read thermometer. This usually takes about 4 to 6 minutes. Do not allow it to boil or reach a higher temperature to avoid overcooking the eggs.
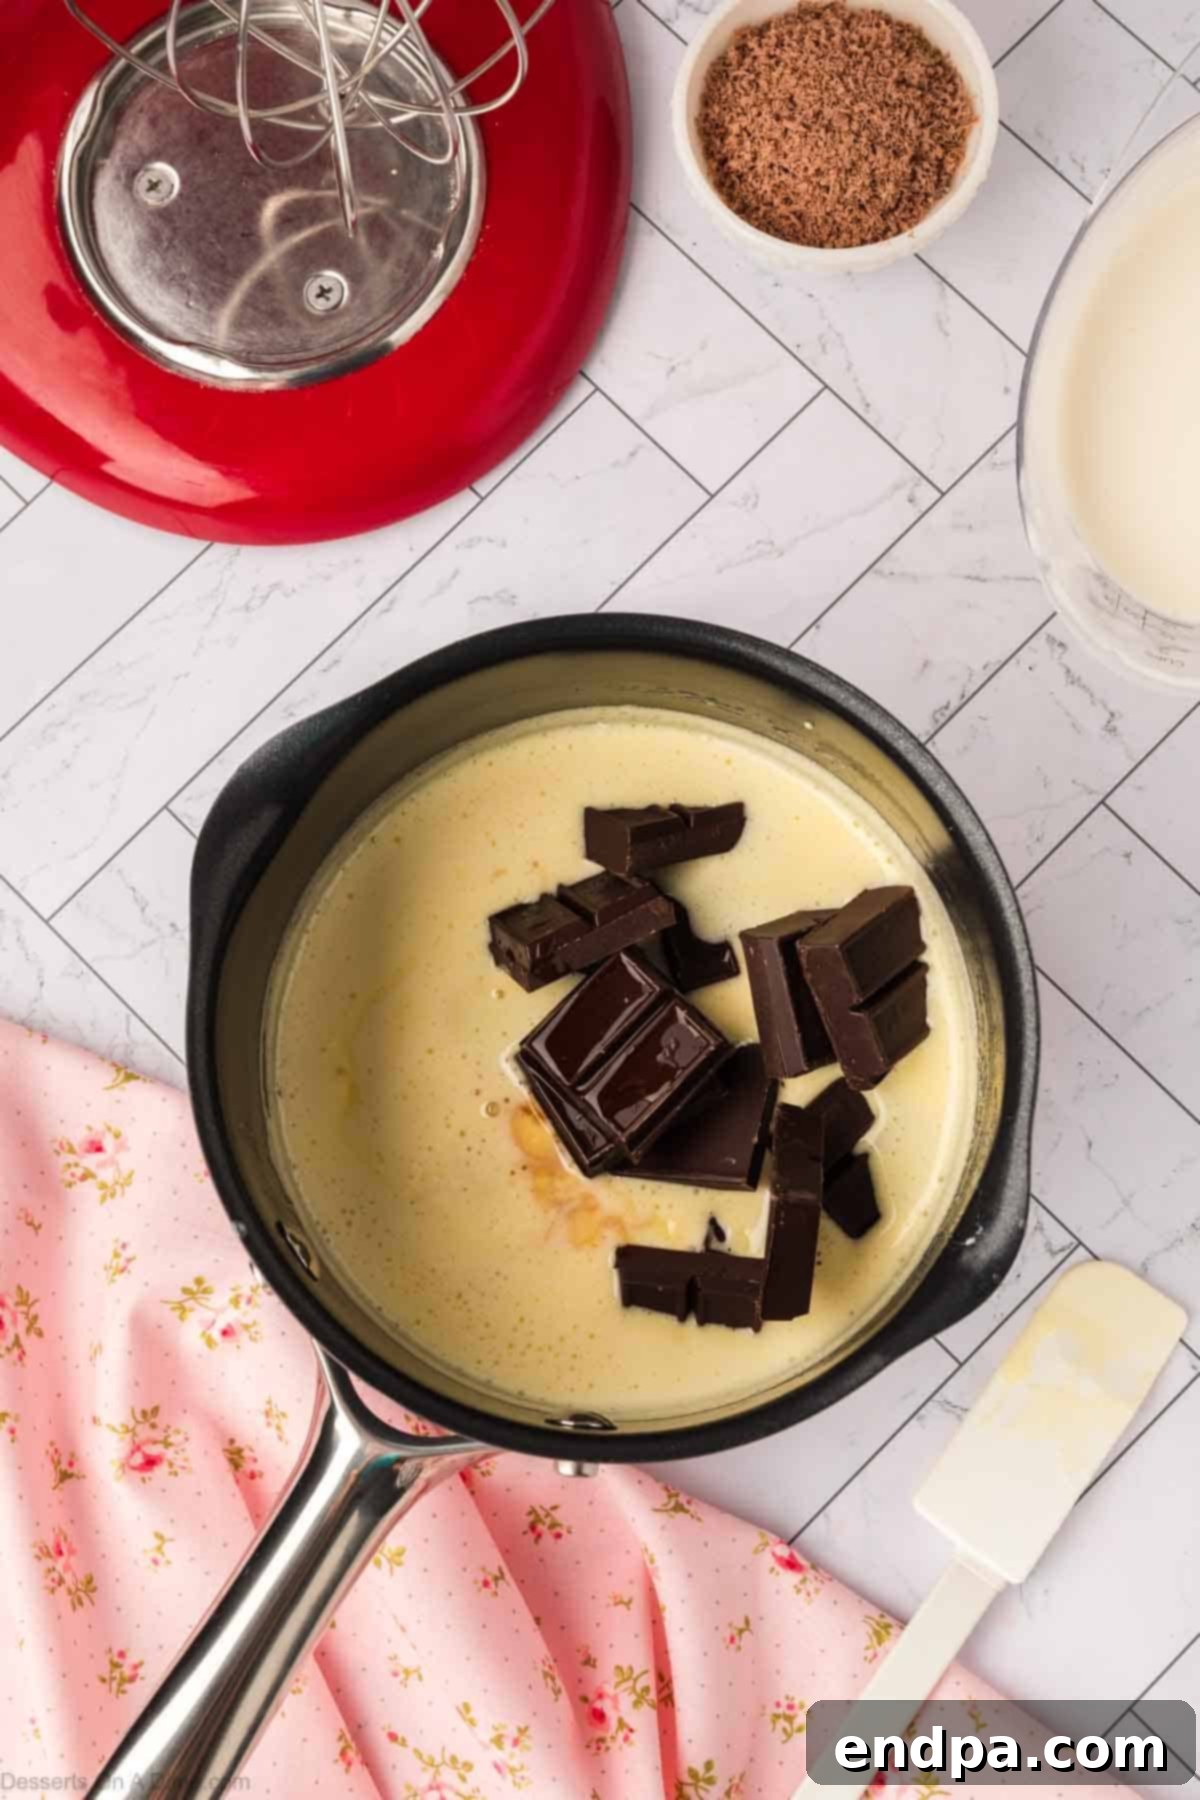
Step 6. Immediately remove the saucepan from the heat. Add the bittersweet chocolate (chopped or in chips) and the vanilla extract. The residual heat will melt the chocolate.
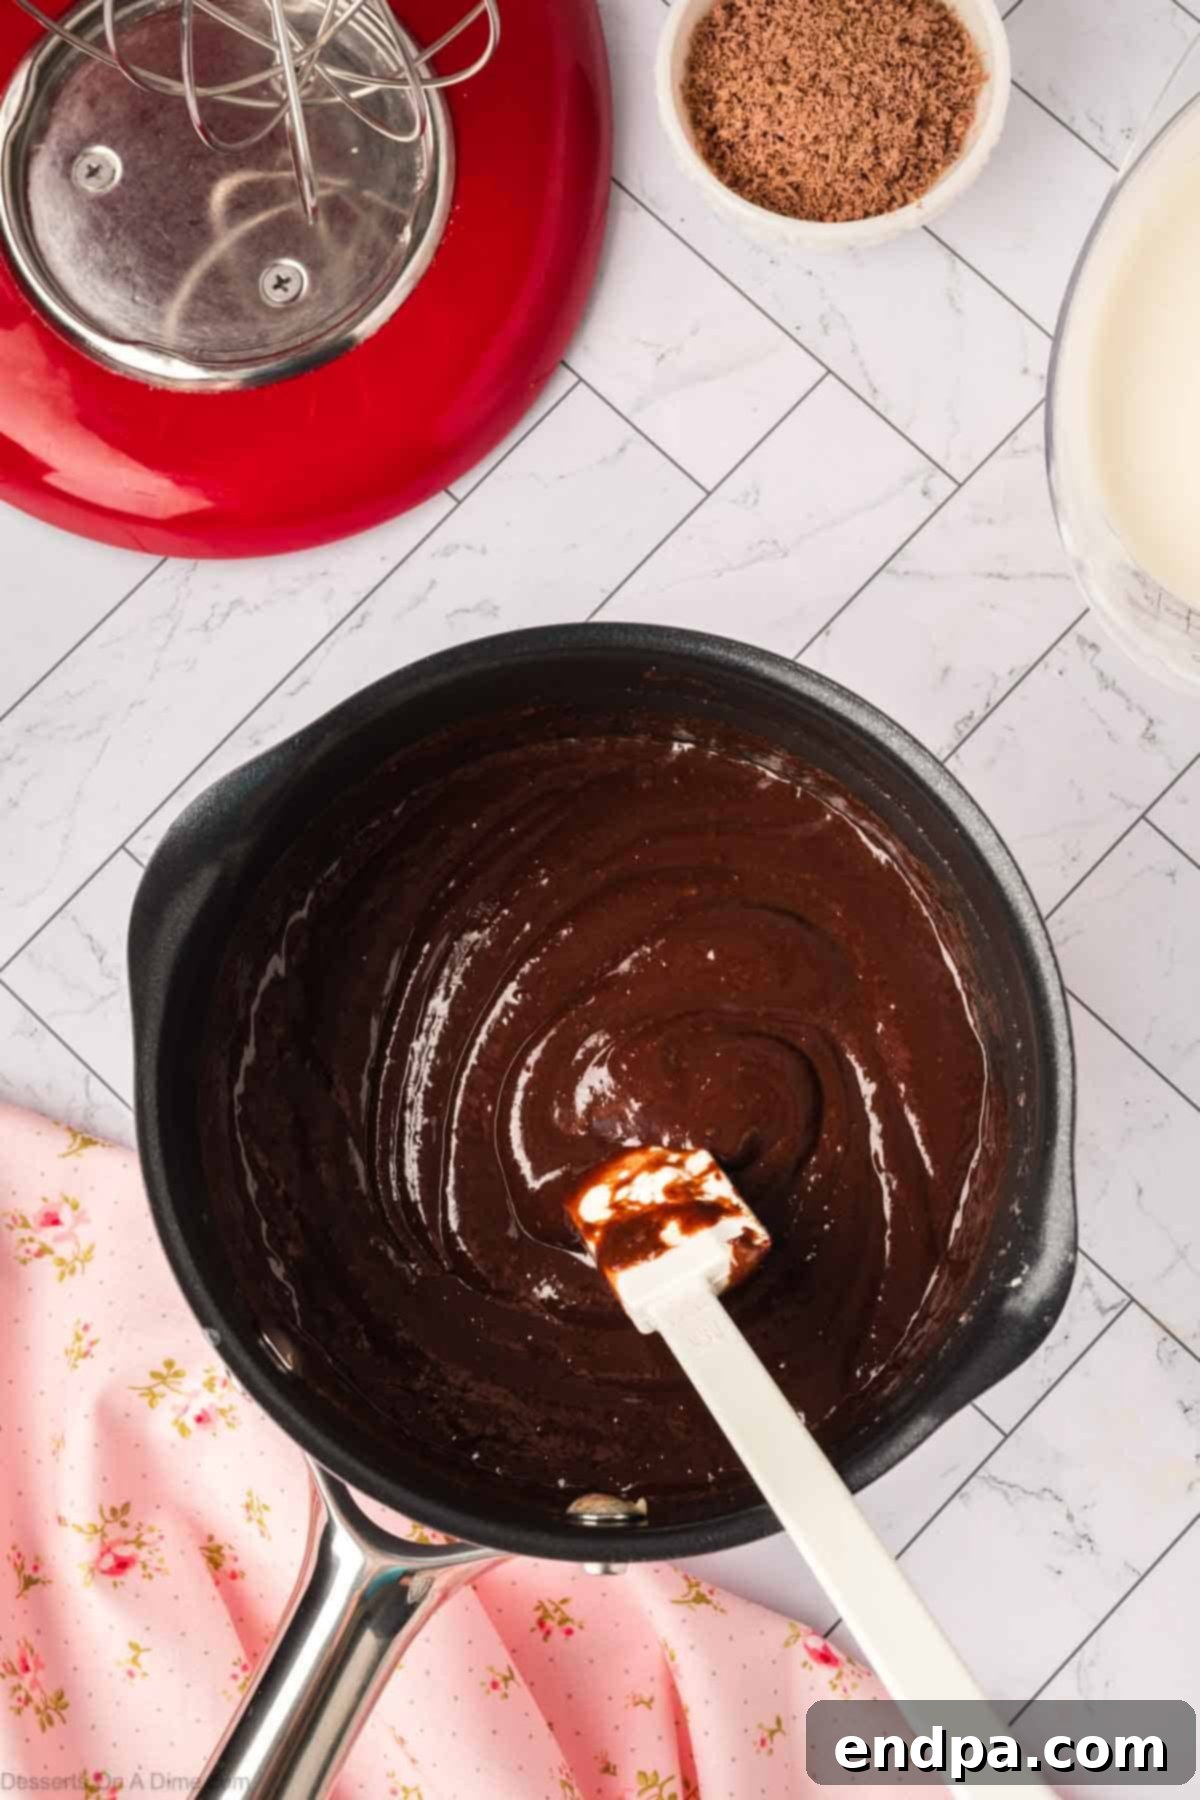
Step 7. Stir vigorously until the chocolate has completely melted and the mixture is smooth, glossy, and perfectly combined. Ensure no lumps remain.
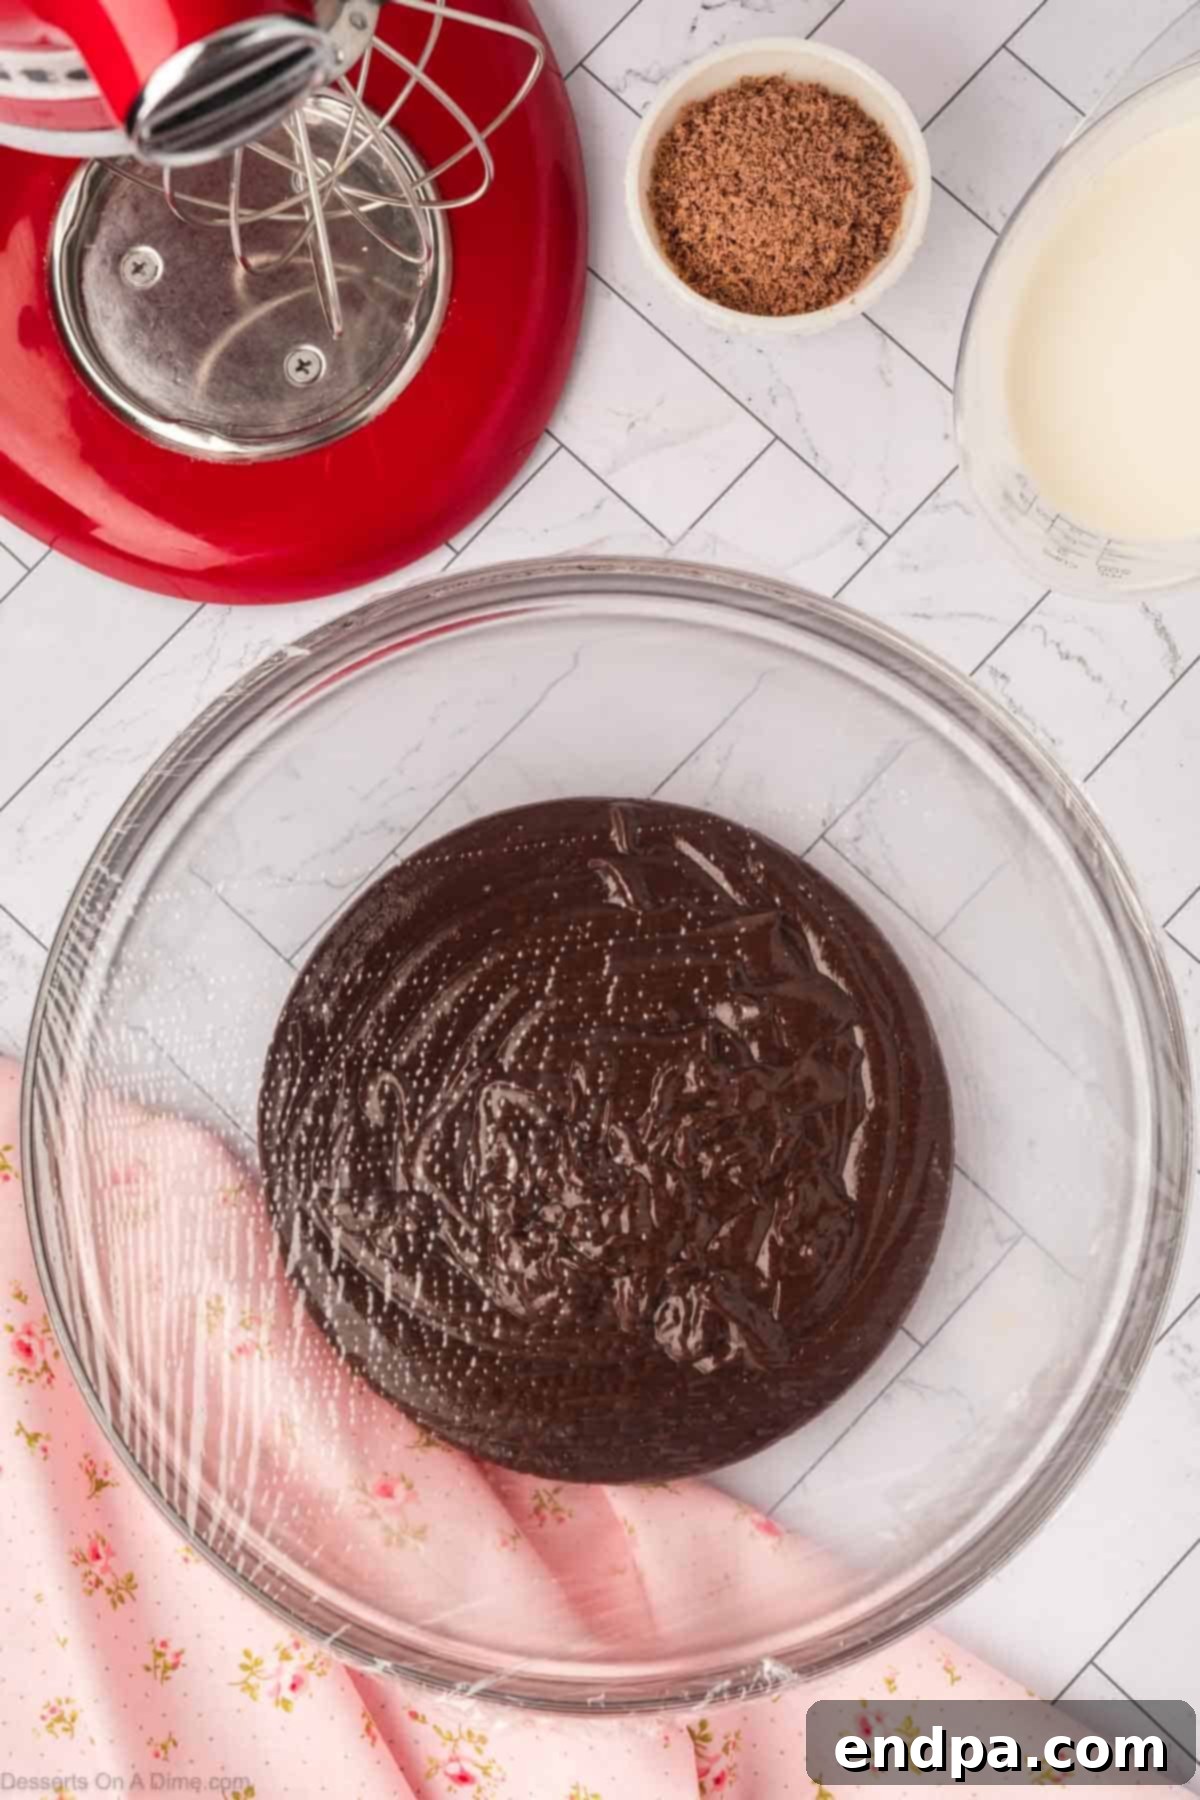
Step 8. Transfer the chocolate mixture into a clean mixing bowl. Cover the surface directly with plastic wrap to prevent a skin from forming. Refrigerate until it cools to approximately 70°F (21°C), which typically takes 30 to 45 minutes. Stir the mixture every 15 minutes and check the temperature with an instant-read thermometer to ensure even and proper cooling.
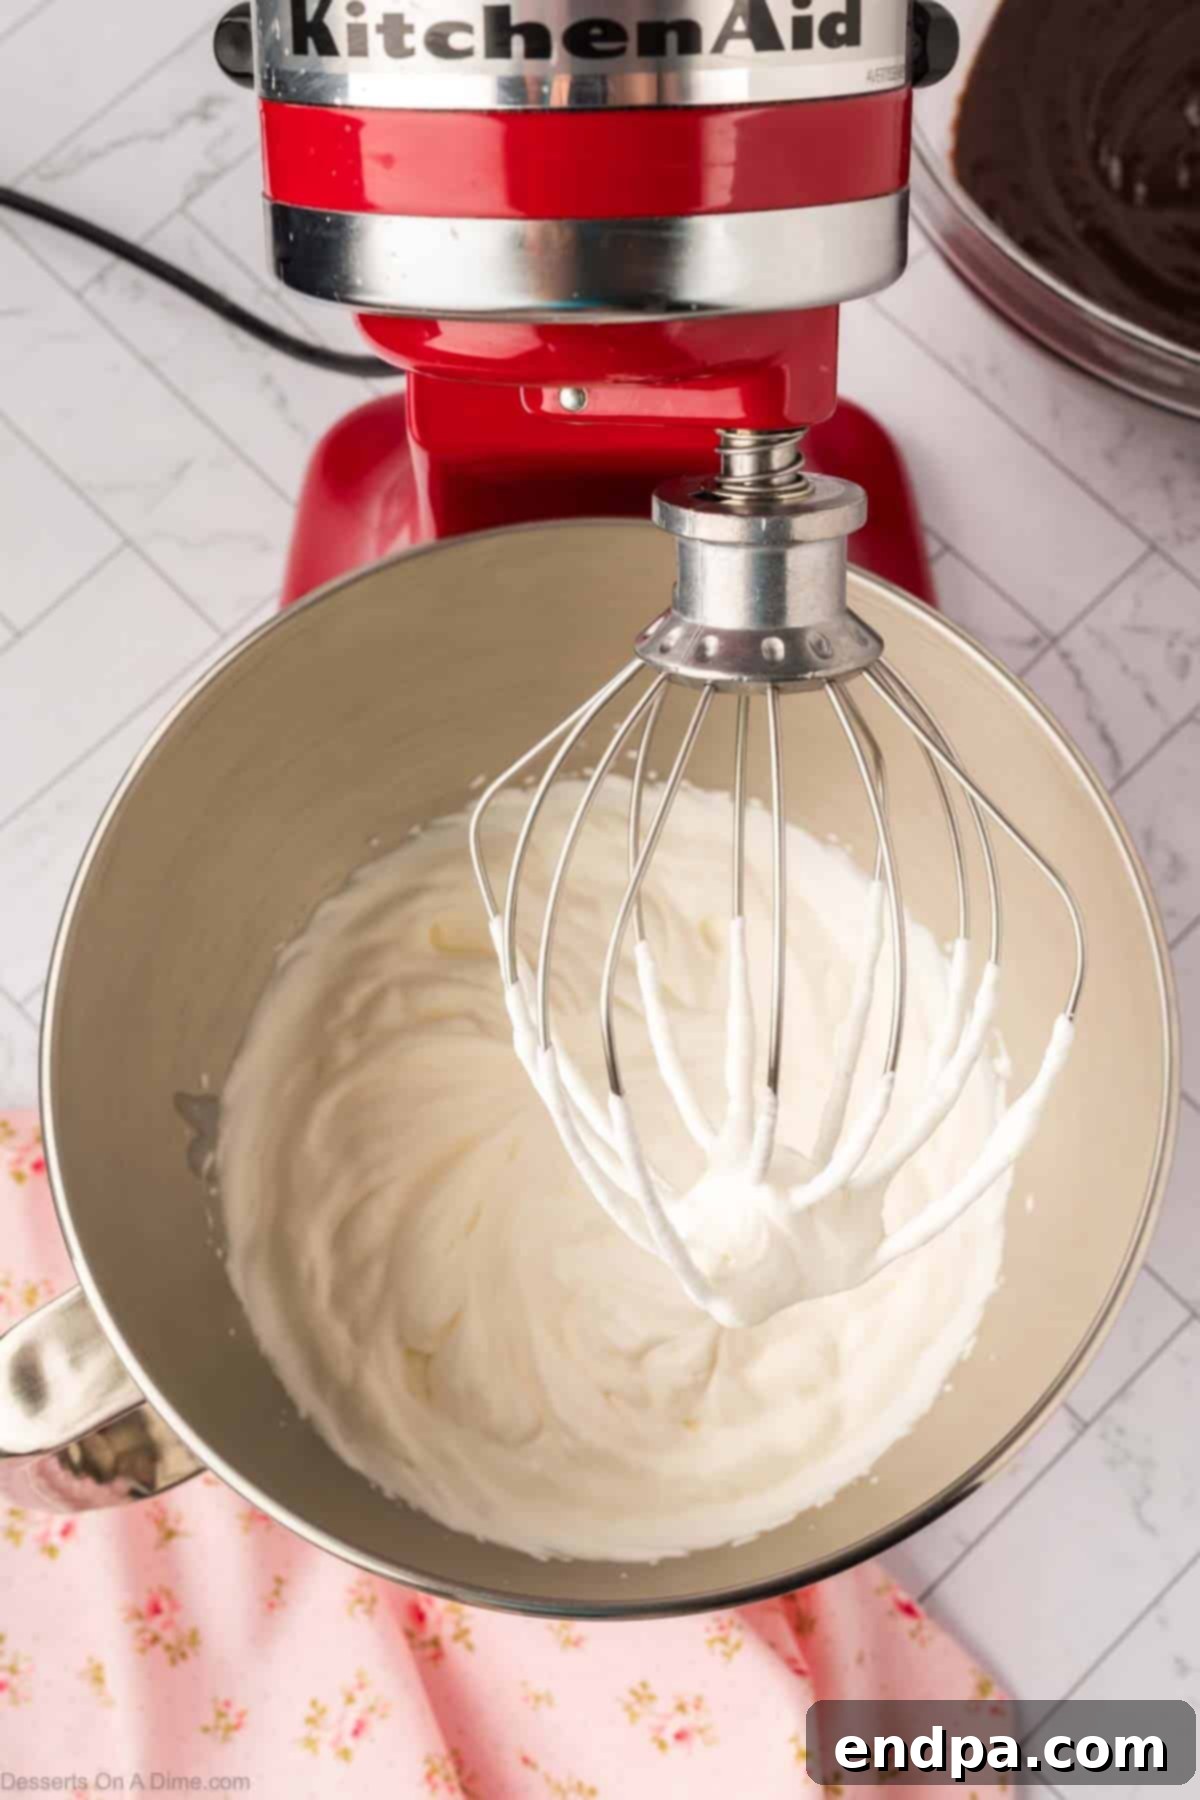
Step 9. In a separate, chilled bowl (using a stand mixer or a hand mixer), pour the remaining heavy cream. Whip it on high speed until stiff peaks form. Be careful not to over-whip, which can turn it grainy.
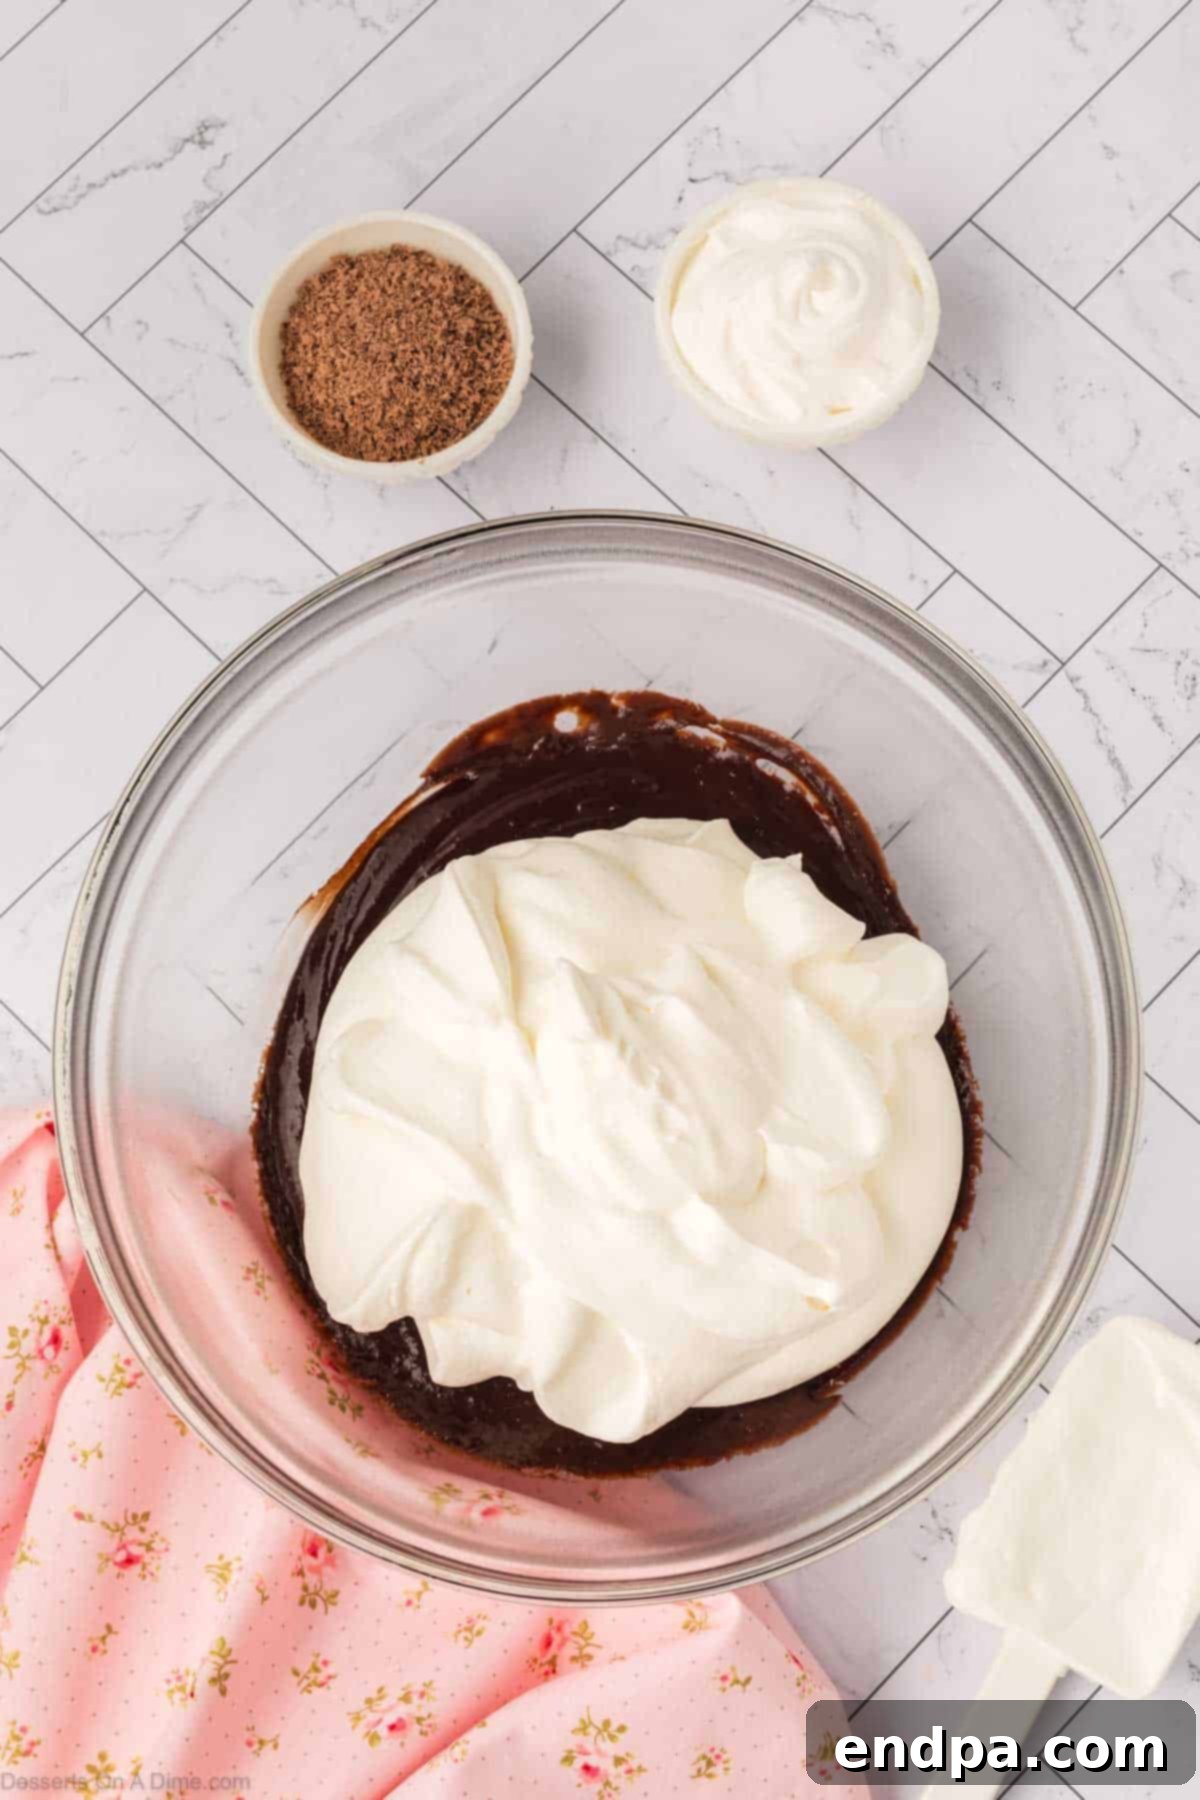
Step 10. Once the chocolate mixture has cooled to the correct temperature (70°F), gently add the whipped cream to it. This step is crucial for achieving the light and airy texture.
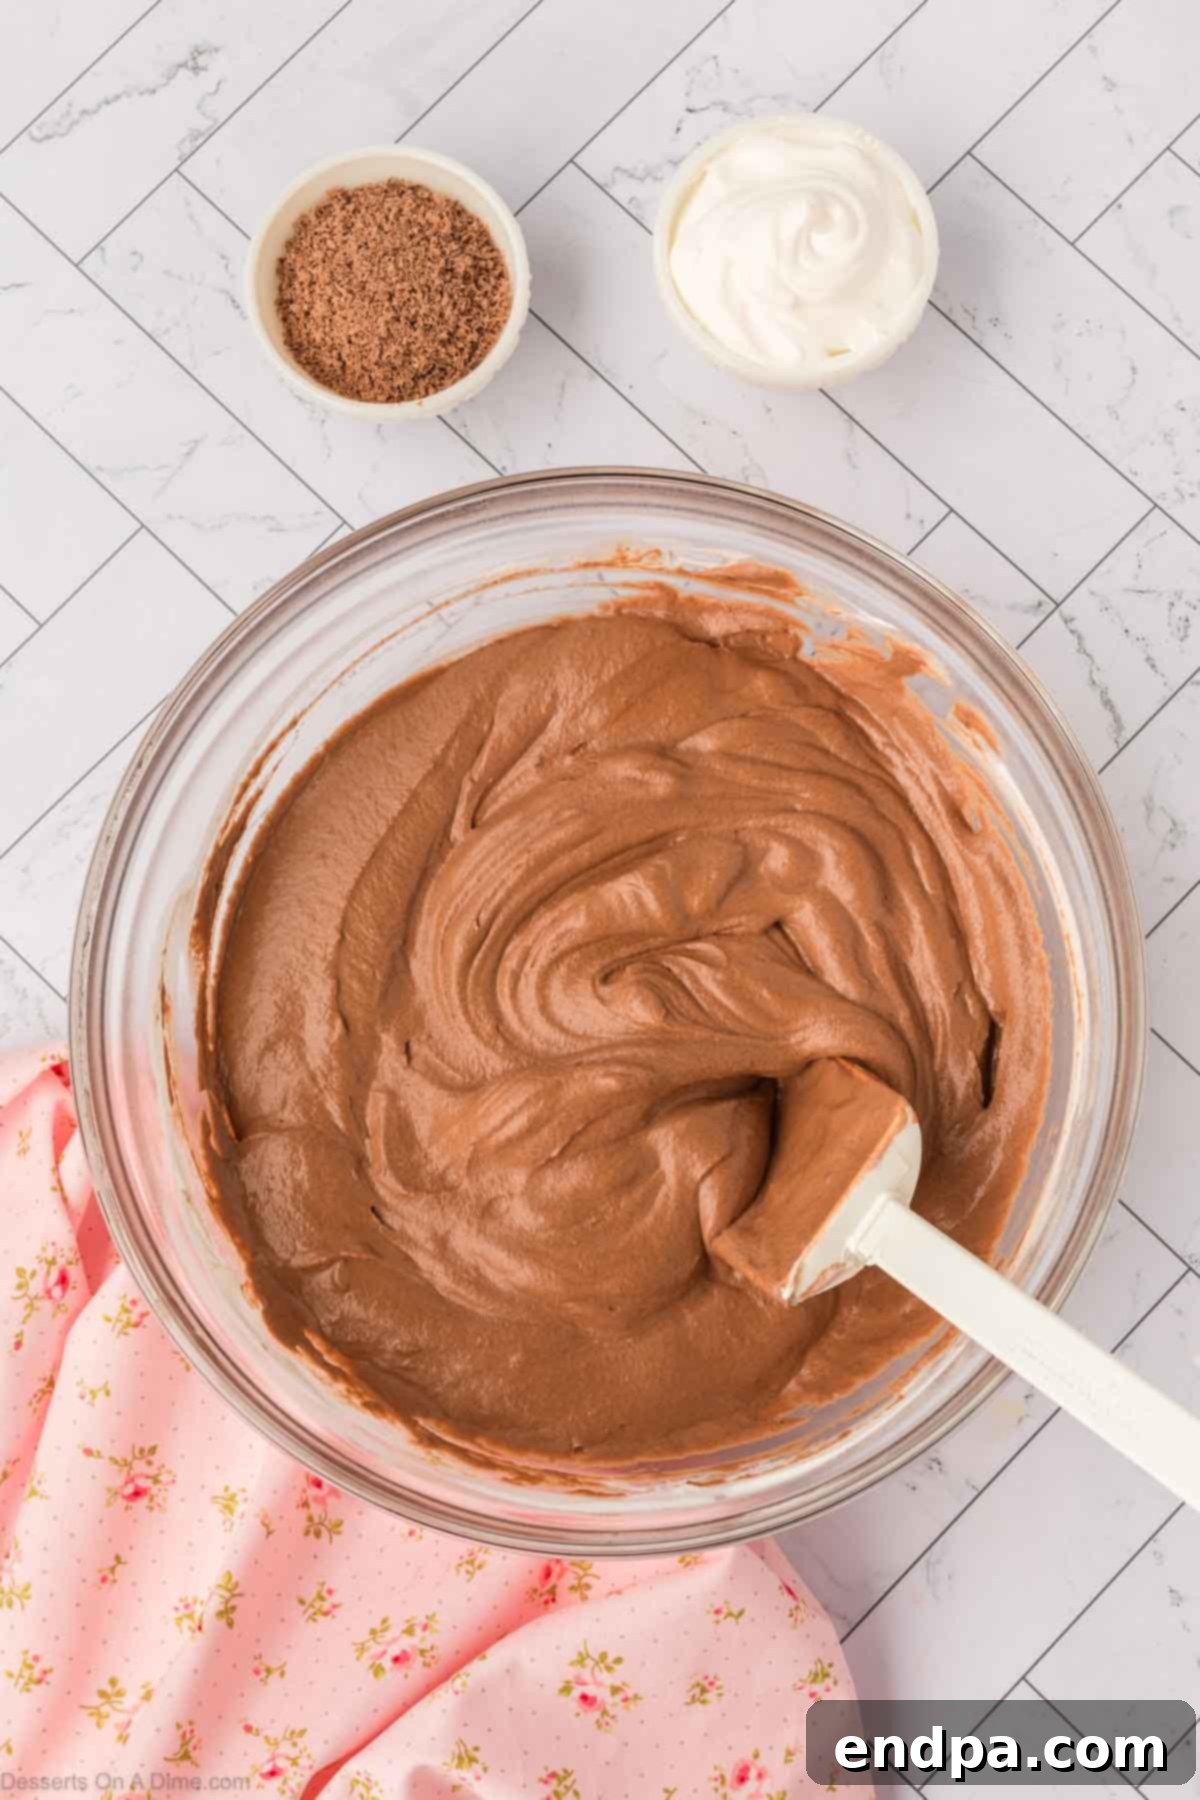
Step 11. Using a spatula, carefully fold the whipped cream into the chocolate mixture until it is smooth, homogenous, and no streaks of white cream remain. Use a gentle, lifting motion to maintain the mousse’s airy quality. Do not overmix.
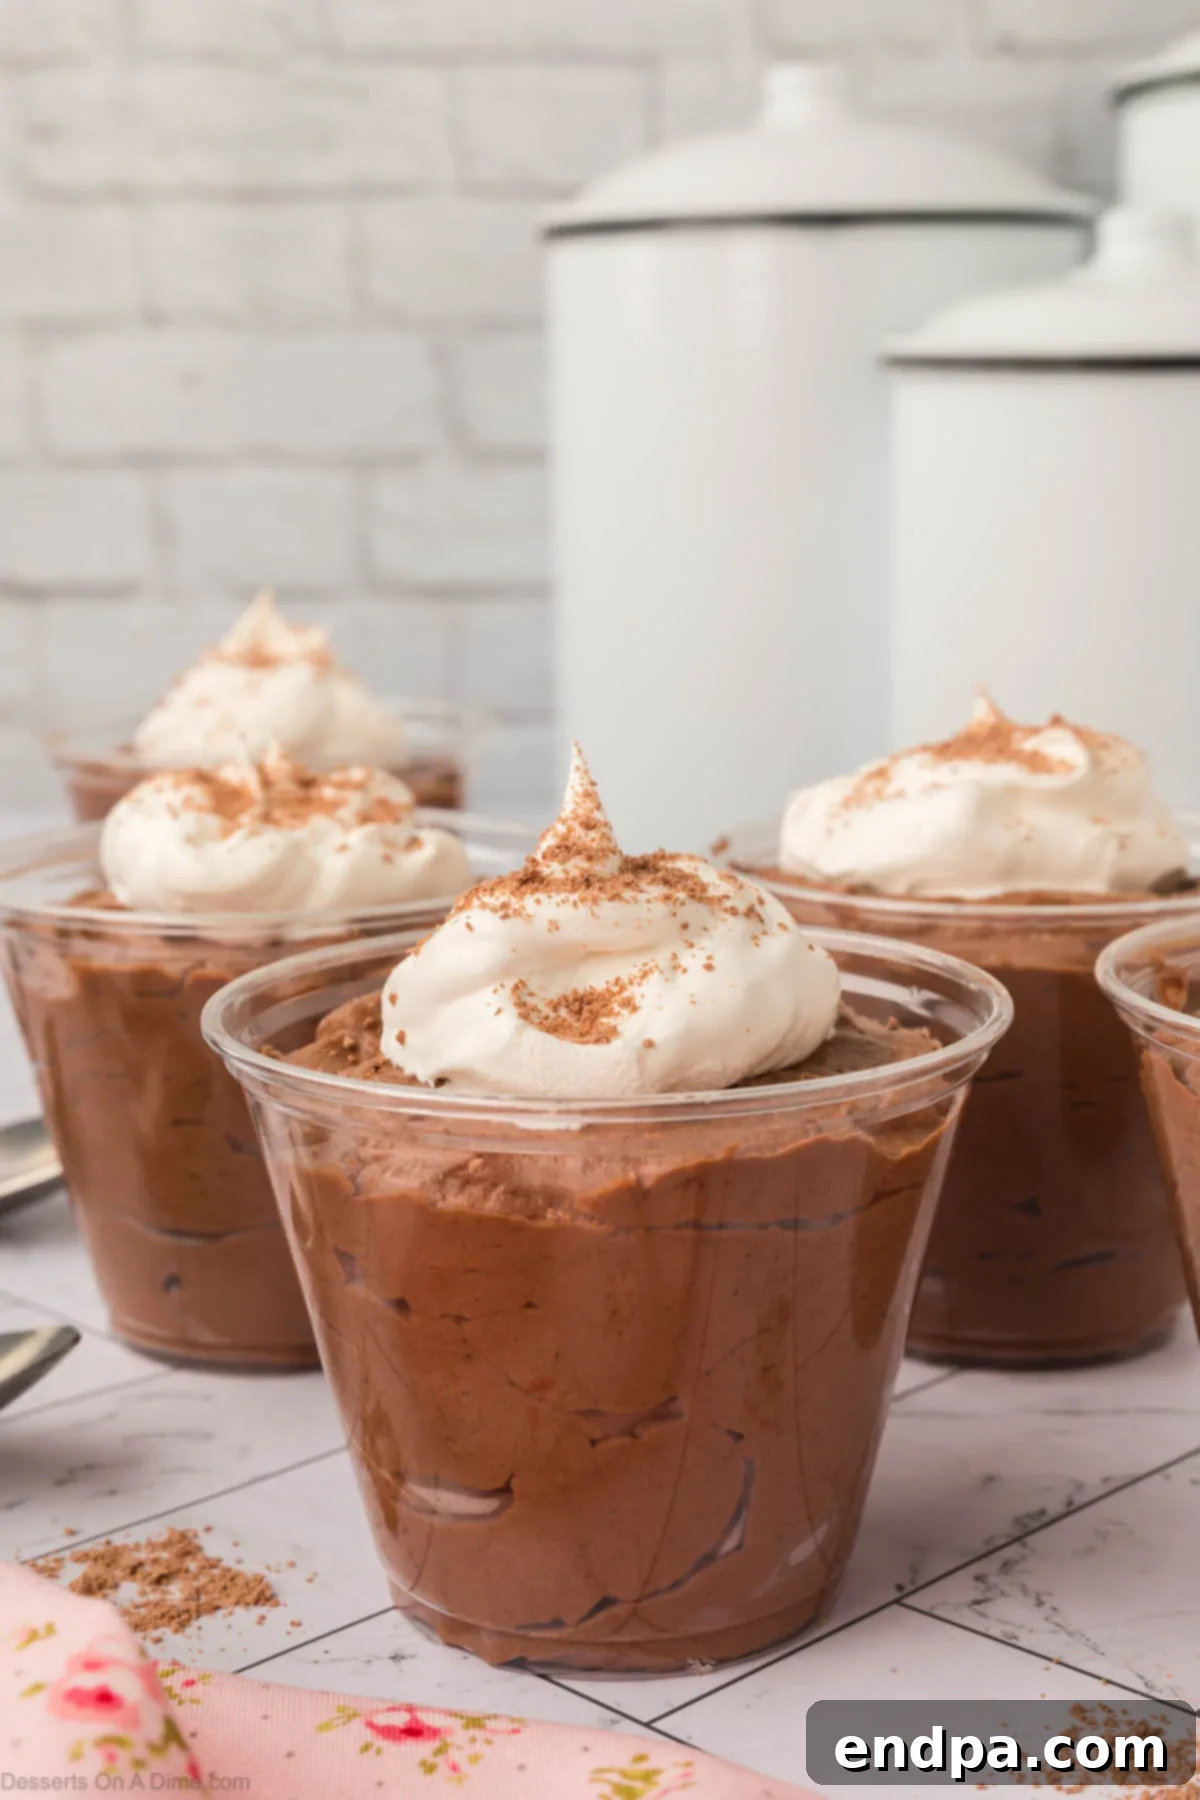
Step 12. Spoon or pipe the finished mousse into individual dessert cups, ramekins, or small glasses using a pastry bag with a star tip for an elegant presentation. Refrigerate for at least 2 hours, or until thoroughly set. When ready to serve, garnish with a dollop of fresh whipped cream, delicate chocolate shavings, or fresh raspberries. While delicious chilled, many find the flavors truly bloom when the mousse is enjoyed at a slightly cooler room temperature. Enjoy your homemade, decadent dessert!
Storage and Make-Ahead Tips
Chocolate Mousse Cups are an excellent make-ahead dessert, which makes them perfect for entertaining. Here’s how to store them effectively:
- Refrigeration: Store the finished mousse cups, tightly covered with plastic wrap, in the refrigerator for up to 3 days. Ensure the plastic wrap touches the surface of the mousse or the rim of the cup to prevent a skin from forming and to keep it fresh.
- Texture Change: Over time, the mousse may lose some of its initial airy fluffiness and become a bit denser, but its rich chocolate flavor will remain absolutely delicious. For the best texture, serve within 24-48 hours of preparation.
- Garnishing: For optimal freshness and presentation, add any whipped cream, chocolate shavings, or fresh fruit garnishes just before serving. This prevents the whipped cream from deflating or fruit from weeping.
Pro Tips for Flawless Chocolate Mousse
Achieving a perfect chocolate mousse is simple with these expert tips and tricks:
- Strain if Lumpy: If, by chance, your egg and cream mixture develops any small lumps while cooking, don’t despair! Simply pour it through a fine-mesh strainer into a clean bowl before returning it to the saucepan. This will ensure your mousse base is perfectly smooth.
- Temper Eggs Slowly and Carefully: The tempering step is non-negotiable. Always pour the warm cream into the egg mixture gradually, in a thin stream, while whisking constantly. This slow, continuous motion prevents the egg yolks from scrambling and ensures a smooth, silky custard base.
- Fold in Whipped Cream at the Right Temperature: Timing is key here. Add the whipped cream only when the chocolate base has cooled to approximately 70°F (21°C). If the chocolate mixture is too warm, it will melt the whipped cream, resulting in a runny mousse. If it cools too much, it will be too firm and difficult to incorporate smoothly, leading to a lumpy texture. An instant-read thermometer is your best friend here.
- Prioritize Quality Chocolate: The flavor of your mousse is directly proportional to the quality of your chocolate. Invest in good quality bittersweet or semi-sweet chocolate bars or chips for a superior taste and a beautifully smooth melt. Avoid using chocolate melts or candy coating.
- Chill Your Whipping Tools: For extra fluffy and stable whipped cream, place your mixing bowl and whisk attachment (or hand mixer beaters) in the freezer for 10-15 minutes before whipping the heavy cream. Cold tools help the cream whip faster and hold stiff peaks more effectively.
- Utilize a Thermometer: An instant-read or digital thermometer is invaluable for this recipe. It ensures you cook the egg mixture to the safe and correct temperature (160°F) without overcooking, and that you cool the chocolate base to the precise temperature (70°F) before folding in the whipped cream. This precision guarantees success.
- Avoid Overmixing the Mousse: When folding in the whipped cream, use a gentle, deliberate motion with a rubber spatula. Stop as soon as the mixture is uniform and smooth. Overmixing can deflate the air incorporated into the whipped cream, resulting in a denser, less airy mousse.
- Individual Portions for Quick Setting: Dividing the mousse into individual cups allows it to chill and set faster than a large bowl, making it more efficient for serving.
Equipment You Will Need
Having the right tools makes the process even smoother:
- Stand Mixer or Hand Mixer: Essential for beating egg yolks and whipping heavy cream to achieve desired consistency.
- Small Saucepan: For gently heating the heavy cream and cooking the tempered egg mixture.
- Whisk: For tempering the eggs and stirring the mixture.
- Instant-Read Thermometer: Crucial for accurate temperature control when cooking eggs and cooling the chocolate base.
- Mixing Bowls: Several bowls will be needed for different stages of the recipe.
- Rubber Spatula: Ideal for gently folding in the whipped cream without deflating the mousse.
- Dessert Cups or Ramekins: For portioning and serving the mousse. Approximately 6-8 oz cups work well.
- Plastic Wrap: To cover the chocolate mixture while chilling.
- Fine Mesh Strainer (optional): Useful for ensuring a smooth egg mixture if lumps occur.
- Piping Bag with Star Tip (optional): For an elegant, professional presentation when filling cups.
Variations and Serving Suggestions
While classic chocolate mousse is undeniably delicious, don’t hesitate to experiment with these variations to make it your own:
- Flavor Infusions:
- Coffee Mousse: Dissolve 1-2 teaspoons of instant espresso powder into the warm cream before tempering for a mocha-flavored mousse.
- Orange Zest: Add 1-2 teaspoons of finely grated orange zest to the chocolate mixture for a refreshing citrusy note.
- Mint Chocolate: Stir in a few drops of peppermint extract with the vanilla for a cool, minty twist.
- Spicy Chocolate: A pinch of cayenne pepper added to the chocolate can introduce an intriguing heat.
- Liqueur Boost: A tablespoon of your favorite liqueur, such as Grand Marnier, Kahlua, or rum, can be folded in with the vanilla for an adult version.
- Topping Ideas:
- Fresh Berries: Raspberries, strawberries, or blueberries add a beautiful pop of color and tartness.
- Chocolate Shavings or Curls: A classic, elegant topping that enhances the chocolate theme.
- Crushed Cookies: Graham crackers, Oreos, or shortbread cookies add a delightful crunch.
- Toasted Nuts: Chopped almonds, pecans, or hazelnuts for added texture and nutty flavor.
- Sea Salt Flakes: A sprinkle of flaky sea salt can enhance the chocolate flavor and cut through the sweetness.
- Edible Gold Dust: For a truly glamorous touch, especially for special occasions.
- Presentation:
- Serve in small shot glasses for a bite-sized treat.
- Use elegant stemmed glasses for a more sophisticated dessert.
- Layer with fruit or cookie crumbles in clear cups for a parfait-style presentation.
- Pipe the mousse into mini tart shells for individual chocolate mousse tarts.
Frequently Asked Questions
Here are answers to some common questions about making chocolate mousse:
- Why do I need to temper the eggs? Tempering slowly raises the temperature of the egg yolks by gradually adding warm liquid. This prevents the eggs from scrambling when they are later cooked, ensuring a smooth, custard-like base for the mousse.
- Can I use semi-sweet chocolate instead of bittersweet? Yes, absolutely! If you prefer a sweeter mousse or are not a fan of the deeper, slightly bitter notes of bittersweet chocolate, semi-sweet chocolate is a perfect substitute.
- How do I prevent lumps in my mousse? Ensure you whisk constantly when tempering the eggs and when cooking the mixture in the saucepan. If any lumps appear, straining the mixture through a fine-mesh sieve before adding chocolate can save it.
- My mousse is too runny, what went wrong? This usually happens if the chocolate base was too warm when the whipped cream was folded in, causing the cream to melt and deflate. Ensure the chocolate mixture cools to 70°F (21°C) before combining with the whipped cream. Overmixing can also lead to a deflated, runny mousse.
- Can I make this recipe without eggs? While this specific recipe uses egg yolks for richness and structure, there are alternative eggless chocolate mousse recipes that often rely on gelatin, cornstarch, or silken tofu for stabilization. This recipe is designed to use eggs for a traditional, classic mousse texture.
- How long does the mousse need to chill? The mousse requires at least 2 hours in the refrigerator to properly set and achieve its firm, yet airy texture. For best results, chill for 4 hours or overnight.
Recipe: Chocolate Mousse Cups
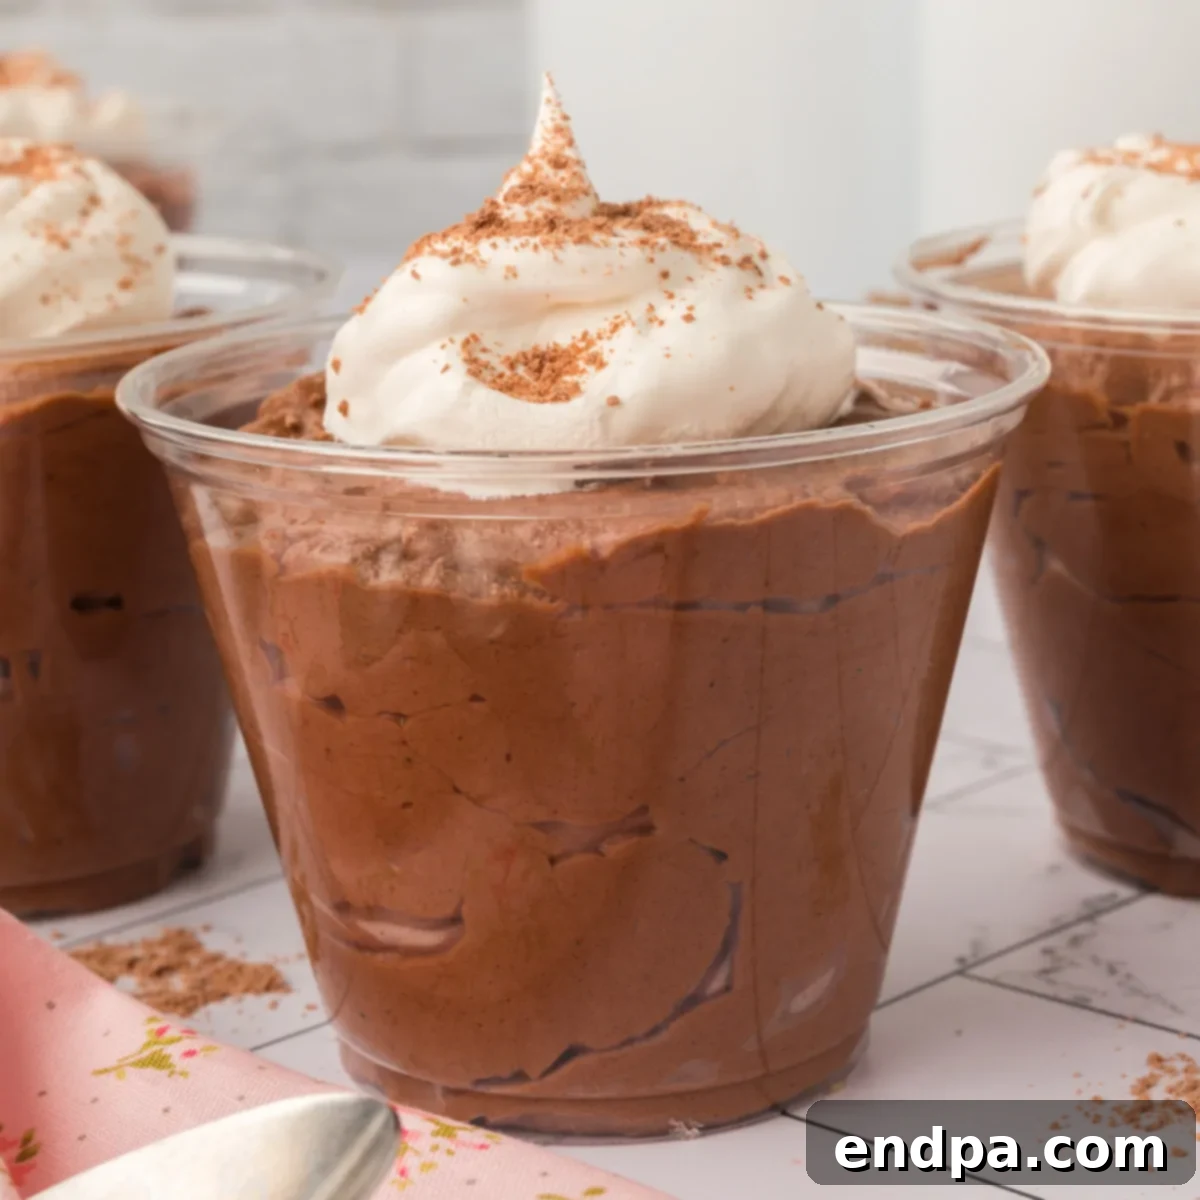
Indulge in rich, creamy Chocolate Mousse Cups. The perfect easy dessert recipe for any occasion. Quick to make, decadent flavor, and crowd-pleasing every time!
Recipe Details
- Prep Time: 10 mins
- Cook Time: 10 mins
- Refrigerate: 2 hrs 30 mins
- Total Time: 2 hrs 50 mins
- Servings: 6
- Cuisine: American
- Course: Dessert
- Calories: 561 kcal
- Author: Carrie Barnard
Ingredients
- 4 Large Egg Yolks
- 1/4 Cup Granulated Sugar
- 2 Cups Heavy Cream (Divided use: 3/4 cup for tempering, 1 1/4 cups for whipping)
- 1 teaspoon Vanilla Extract
- 8 oz Bittersweet Chocolate (high-quality, chopped)
- Optional Garnish: Whipped cream and shaved chocolate or fresh berries
Instructions
- In the bowl of a stand mixer, beat the egg yolks and sugar on high speed for 2 minutes until the mixture is thick and pale.
- Pour ¾ cup heavy cream into a small saucepan. Heat gently over low heat until warm, but do not let it boil.
- Slowly pour the warm cream into the egg mixture while continuously whisking to temper the egg yolks and prevent scrambling.
- Return the combined mixture to the saucepan and cook over low heat, stirring constantly, until it reaches 160°F (71°C). This usually takes 4-6 minutes. Use an instant-read thermometer to ensure accuracy.
- Remove the saucepan from heat, then add the chopped bittersweet chocolate and vanilla extract. Stir until the chocolate is completely melted and the mixture is smooth and well combined.
- Pour the chocolate mixture into a clean mixing bowl. Cover the surface directly with plastic wrap and refrigerate until it cools down to approximately 70°F (21°C). This will take about 30-45 minutes; stir every 15 minutes and check the temperature.
- In another chilled bowl, pour the remaining 1 ¼ cups of heavy cream. Whip it using a stand mixer or hand mixer until stiff peaks form.
- Once the chocolate mixture has cooled to 70°F, gently fold the whipped cream into the chocolate mixture using a spatula until fully combined and smooth. Be careful not to overmix.
- Spoon or pipe the mousse into individual dessert cups or ramekins.
- Refrigerate for at least 2 hours to allow the mousse to set completely.
- Serve chilled or at a slightly cool room temperature, topped with a dollop of fresh whipped cream, chocolate shavings, or fresh berries if desired. Enjoy!
Recipe Notes
- If the egg mixture appears lumpy while cooking, strain it through a fine-mesh sieve before returning to the saucepan to ensure a smooth base.
- For a sweeter mousse, substitute bittersweet chocolate with semi-sweet chocolate.
- Ensure the chocolate base is cooled to 70°F (21°C) before folding in the whipped cream. If it’s too warm, the whipped cream will melt; if too cold, it will be hard to combine smoothly.
- Store covered in the refrigerator for up to 3 days. While the texture may become slightly denser over time, the flavor will remain excellent.
Nutrition Facts (per serving)
- Calories: 561 kcal
- Carbohydrates: 31g
- Protein: 6g
- Fat: 46g
- Saturated Fat: 28g
- Polyunsaturated Fat: 2g
- Monounsaturated Fat: 13g
- Trans Fat: 0.03g
- Cholesterol: 222mg
- Sodium: 31mg
- Potassium: 304mg
- Fiber: 3g
- Sugar: 25g
- Vitamin A: 1358 IU
- Vitamin C: 0.5mg
- Calcium: 91mg
- Iron: 3mg
More Easy Chocolate Desserts
Easy Fudge
Homemade Chocolate Fudge Recipe
Homemade Pudding
Chocolate Pudding
Easy Dessert Dips
Chocolate Fruit Dip
We truly hope you’ll give this incredible Chocolate Mousse recipe a try! You’re going to fall in love with its intensely rich flavor, incredibly creamy texture, and deeply satisfying indulgence. It’s a simple luxury that proves homemade desserts can be both easy and exquisitely delightful. If you do make it, we’d absolutely love to hear your thoughts and see your creations! Please feel free to leave a comment below and let us know how your Chocolate Mousse Cups turned out. Happy dessert making!
