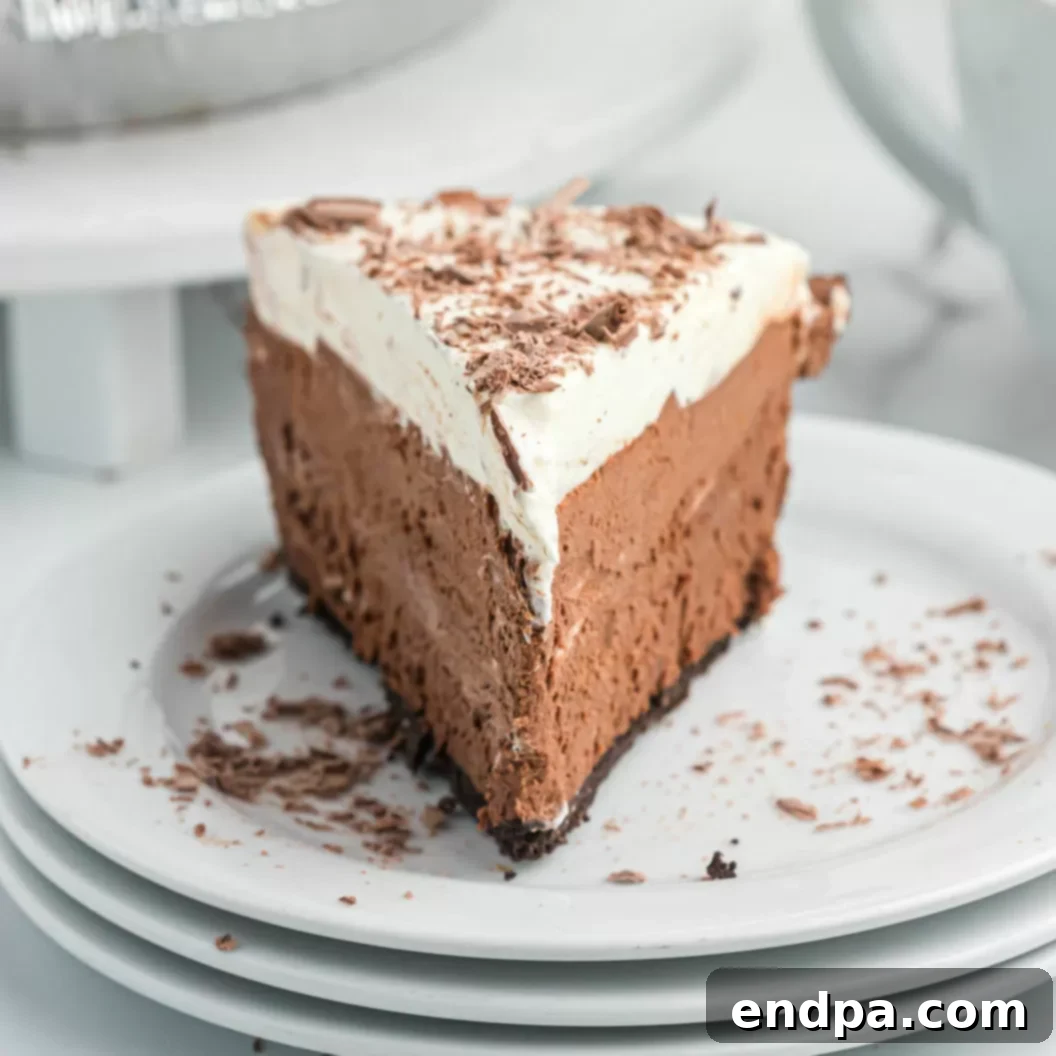
Chocolate Mousse Pie is the epitome of a luxurious yet incredibly
simple dessert, perfect for any occasion. This exquisite no-bake pie combines a
velvety smooth chocolate mousse with a crisp cookie crust, delivering a taste
and texture experience that is both sophisticated and utterly comforting. In
just minutes of active preparation, you can create a show-stopping dessert
that is guaranteed to impress guests and satisfy even the most discerning
chocolate cravings.
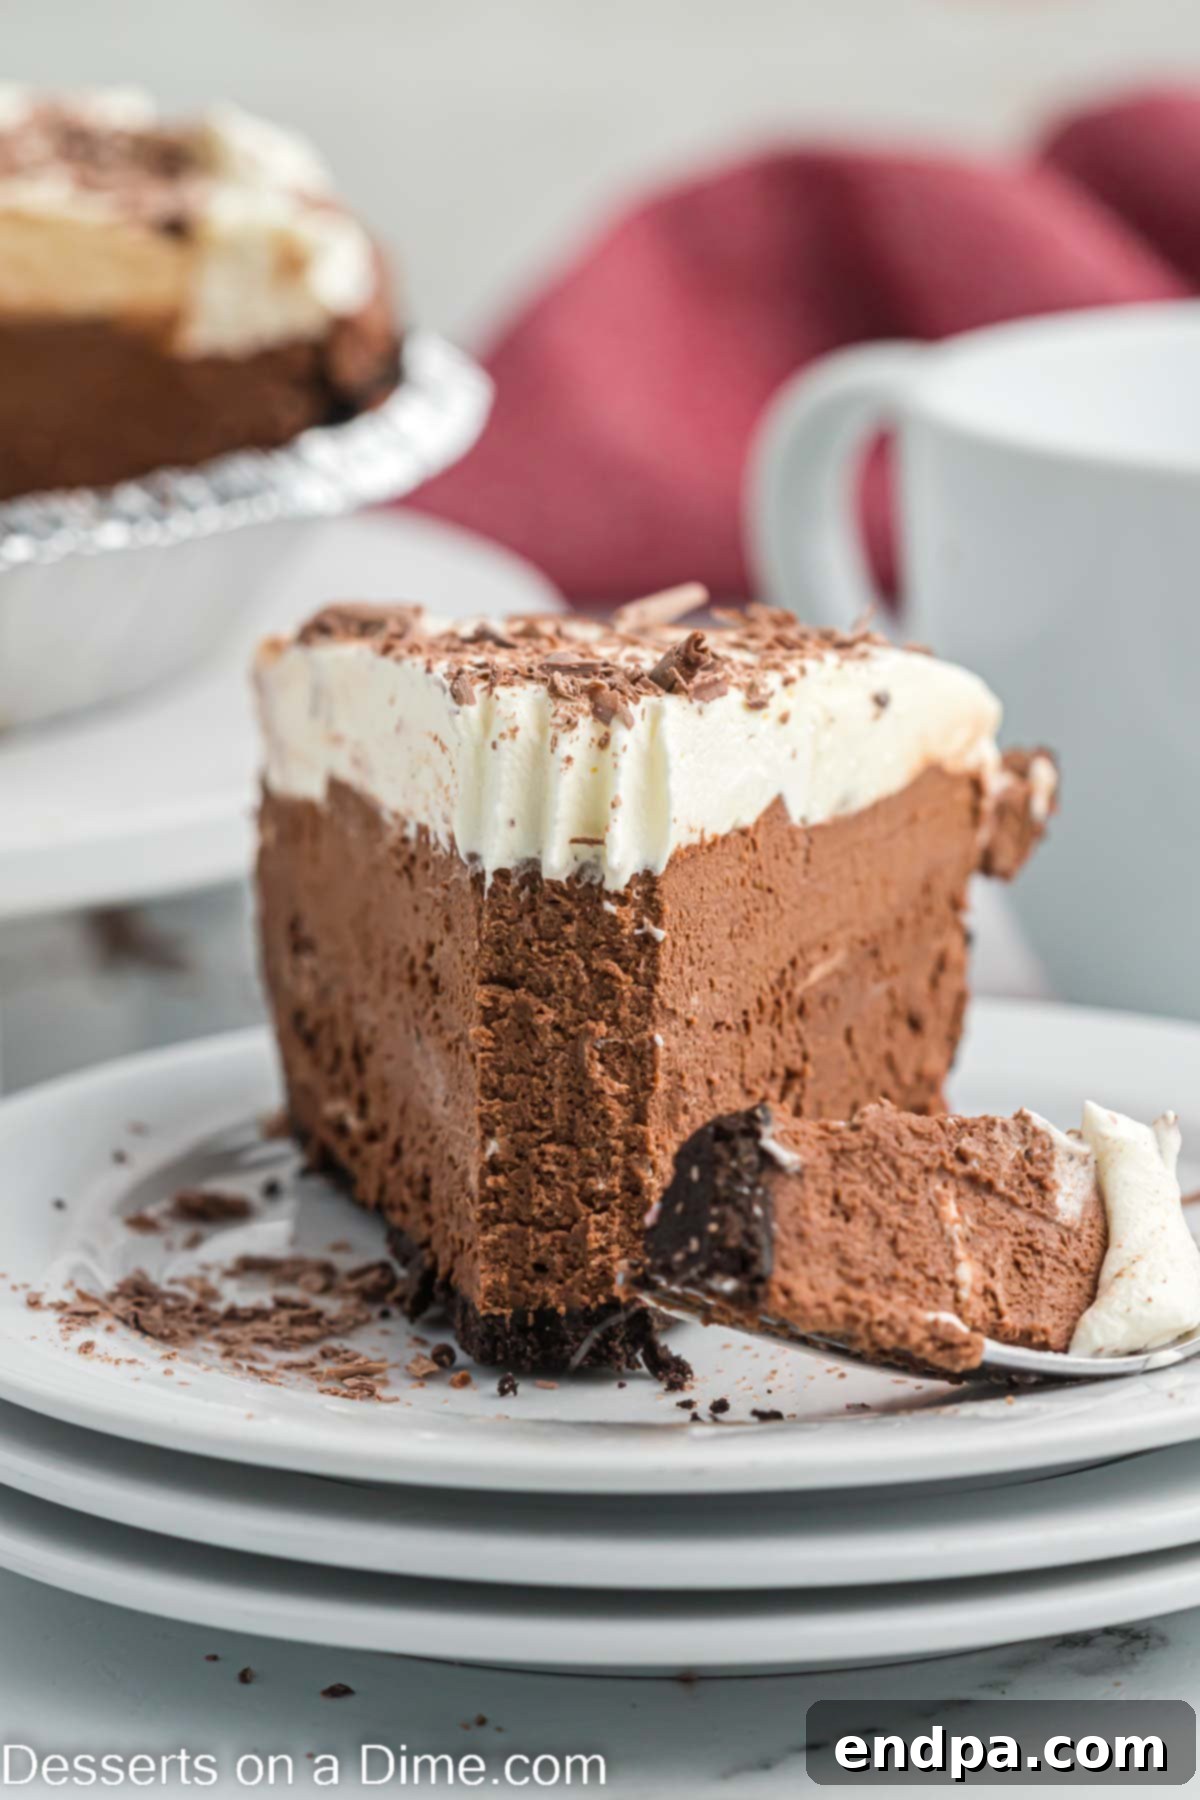
This easy pie recipe
is a guaranteed crowd-pleaser, consistently earning rave reviews. Our Chocolate Mousse Pie
never disappoints; its rich flavor and effortless preparation make it a beloved classic.
Whether you’re hosting a dinner party or simply looking for a delightful treat, this pie
is an instant hit.
Every time I bring this dessert to a gathering, it’s the first thing to vanish. Its
popularity is so immense that I often find myself preparing two! Friends and family adore
this pie, much like they do other favorites such as
Cheesecake Mousse and
Chocolate Mousse Cups.
Each slice is a work of art, and the intense chocolate flavor is pure bliss for any chocolate
enthusiast. Beyond this pie, I also frequently enjoy making other delightful chocolate desserts
like the No Bake Hershey Pie Recipe,
Chocolate Lasagna Recipe,
and classic Chocolate Pudding.
Table of Contents
- Why You’ll Love This Chocolate Mousse Pie
- Key Ingredients for the Perfect Chocolate Mousse Pie
- Creative Variations & Customizations
- Step-by-Step Guide to Crafting Your Chocolate Mousse Pie
- Storage and Make-Ahead Tips
- Frequently Asked Questions (FAQs)
- Expert Tips for an Flawless Chocolate Mousse Pie
- More Decadent & Easy Pie Recipes
Why You’ll Love This Chocolate Mousse Pie
What makes this Chocolate Mousse Pie truly special? It’s the delightful combination
of a light, airy, and incredibly fluffy chocolate mixture nestled in a perfectly
crumbly crust. This dessert requires only a few simple ingredients, yet the resulting
flavor profile is anything but basic. The harmonious blend of rich chocolate,
cold heavy cream, and a hint of vanilla creates an irresistible dessert that
tastes like it came from a gourmet bakery, but is surprisingly easy to whip up in your own kitchen.
The greatest allure of this dessert is its “no-bake” nature, making it an
effortless treat that saves you time and keeps your kitchen cool, especially
during warmer months. Despite the minimal effort, it delivers a lavish and
rich-tasting pie that feels indulgent. Everything you adore about a classic
Chocolate Mousse
is transformed into an amazing pie format, offering a delightful contrast
between the creamy filling and the crunchy crust. You are going to absolutely
love this recipe, and if you’re a true chocolate connoisseur, you might also
enjoy exploring other cocoa-rich delights like
French Silk Brownies
for an extra dose of chocolate flavor.
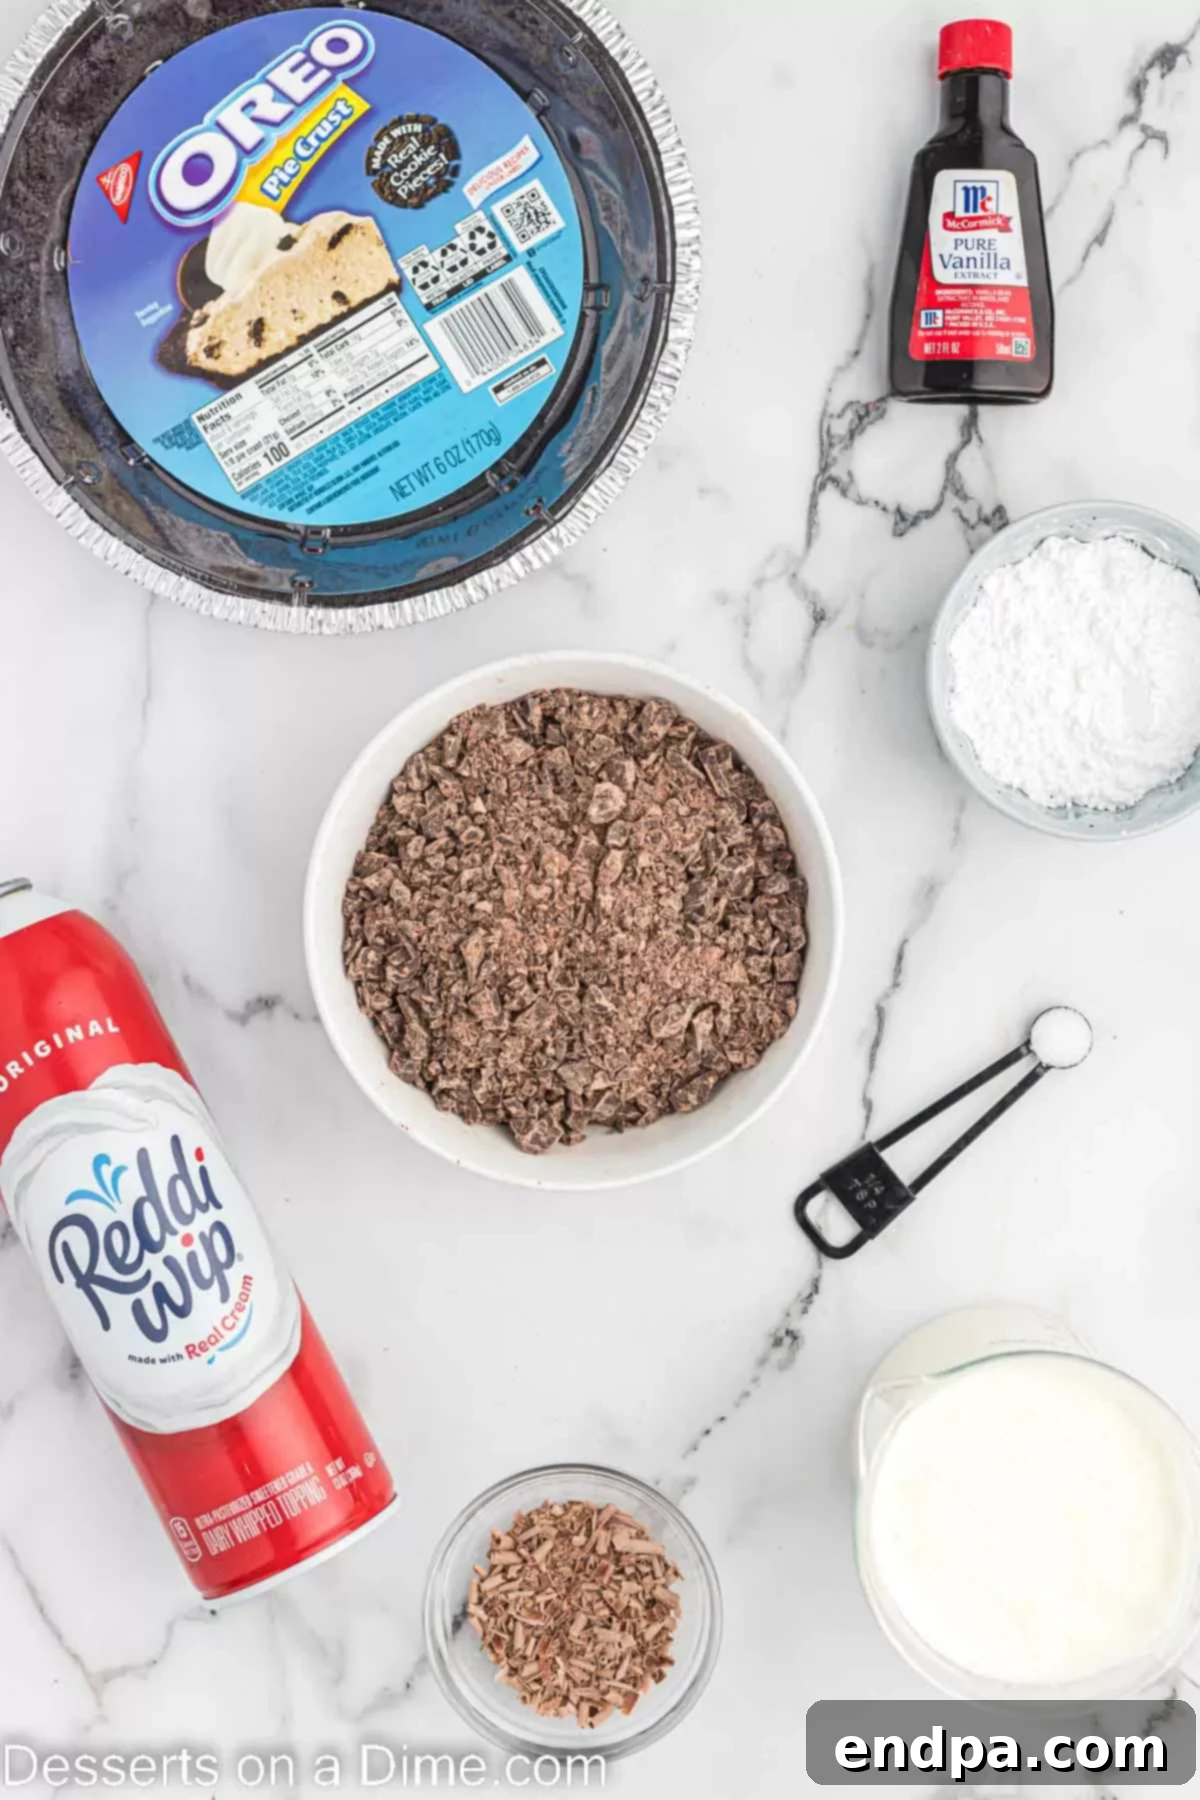
Key Ingredients for the Perfect Chocolate Mousse Pie
Creating an exceptional Chocolate Mousse Pie starts with high-quality ingredients.
Each component plays a crucial role in achieving the desired flavor and texture.
Here’s a closer look at what you’ll need:
-
Oreo Cookie Crust: We opt for a premade chocolate cookie crust
for ultimate convenience, making this dessert truly effortless. The deep
chocolate flavor of the Oreo crust perfectly complements the rich mousse.
If you prefer a homemade touch, you can easily create one using crushed
Oreo cookies and melted butter. -
Semi-Sweet Chocolate: Using semi-sweet chocolate is key to
achieving a balanced sweetness in the mousse. It provides a deep, complex
chocolate flavor without being overly sugary, allowing the other elements
to shine. Finely chopped chocolate chips or a high-quality chocolate bar
work best for a smooth melt. -
Heavy Whipping Cream: This is the foundation of our light
and airy mousse. Ensure your heavy whipping cream is well-chilled before
you begin whipping. Cold cream whips up faster and holds its volume
better, which is essential for the mousse’s signature fluffy texture. -
Vanilla Extract: Pure vanilla extract is highly recommended
as it enhances the chocolate flavor, adding a subtle warmth and depth that
elevates the overall taste profile of the pie. -
Powdered Sugar: Also known as confectioners’ sugar, powdered
sugar dissolves seamlessly into the whipped cream, ensuring a perfectly smooth
and lump-free mousse. Sifting the powdered sugar before use can help prevent
any clumps. -
Salt: A small pinch of salt in a sweet dessert might seem
unusual, but it’s a secret ingredient that works wonders. Salt brightens
and intensifies the chocolate flavor, preventing the pie from tasting flat
and balancing the sweetness beautifully. -
Whipped Cream: For serving, a generous dollop of freshly
whipped cream adds an extra layer of decadence and a beautiful contrast
to the rich chocolate. You can use store-bought whipped cream or easily
make your own Homemade Whipped Cream. -
Chocolate Shavings: As a final flourish, chocolate shavings
not only add an elegant visual appeal but also a lovely textural element.
Use your favorite type of chocolate—dark, milk, or even white—to create
these delicate curls.
These thoughtfully selected ingredients come together to create a Chocolate Mousse Pie
that is truly unforgettable. The full detailed ingredient list, including precise
measurements, can be found in the recipe card at the bottom of this page.
Creative Variations & Customizations
While the classic Chocolate Mousse Pie recipe is undoubtedly delicious, there
are many ways to customize it to your personal preferences or to suit a specific
occasion. Don’t hesitate to experiment with these variations:
-
Homemade Pie Crust: While a store-bought Oreo crust offers
unbeatable ease, crafting your own homemade crust is also a rewarding option.
For a classic Oreo crust, finely crush about 20-24 Oreo cookies (approximately
1 ½ cups of crumbs) and mix them with 4-6 tablespoons of melted butter. Press
this mixture firmly into a 9-inch pie dish and chill for at least 30 minutes
before adding the filling. For a different twist, consider using homemade
Chocolate Wafer Cookies
for your crust. -
Other Varieties of Crust: Oreo is fantastic, but don’t feel
limited. A classic graham cracker crust offers a delightful, slightly nutty
counterpoint to the chocolate mousse. You could also try a shortbread cookie
crust for a buttery, tender base, or even a pretzel crust for a unique
salty-sweet combination. -
Chocolate Choices: The recipe calls for semi-sweet chocolate,
which provides a wonderful balance. However, if you’re a fan of deeper,
more intense flavors, substitute dark chocolate. For those who prefer
a sweeter, milder chocolate profile, milk chocolate can also be used,
though you might want to slightly reduce the powdered sugar. White chocolate
mousse pie is another delectable option for a truly different experience. -
Flavor Infusions: Elevate your mousse with various flavorings.
Add a teaspoon of espresso powder to the chocolate mixture to enhance
and deepen the chocolate notes without adding a coffee flavor. A few drops
of peppermint extract can turn this into a festive mint chocolate mousse pie.
Orange zest, almond extract, or a splash of your favorite liqueur
(like Kahlua, Grand Marnier, or rum) can also add sophisticated twists. -
Creative Toppings: Traditional chocolate shavings are elegant,
but the topping possibilities are endless. Consider colorful sprinkles for a
festive look, crushed candy
bars (like Heath or Butterfinger) for extra crunch, or even crushed
cookies. Mini chocolate chips, toasted nuts (pecans, almonds), or fresh
berries (raspberries, strawberries) can also add visual appeal and
complementary flavors. A drizzle of caramel or hot fudge sauce before
serving is always a welcome addition.
Step-by-Step Guide to Crafting Your Chocolate Mousse Pie
Follow these detailed instructions to create a flawless and incredibly delicious
Chocolate Mousse Pie that will have everyone asking for seconds.
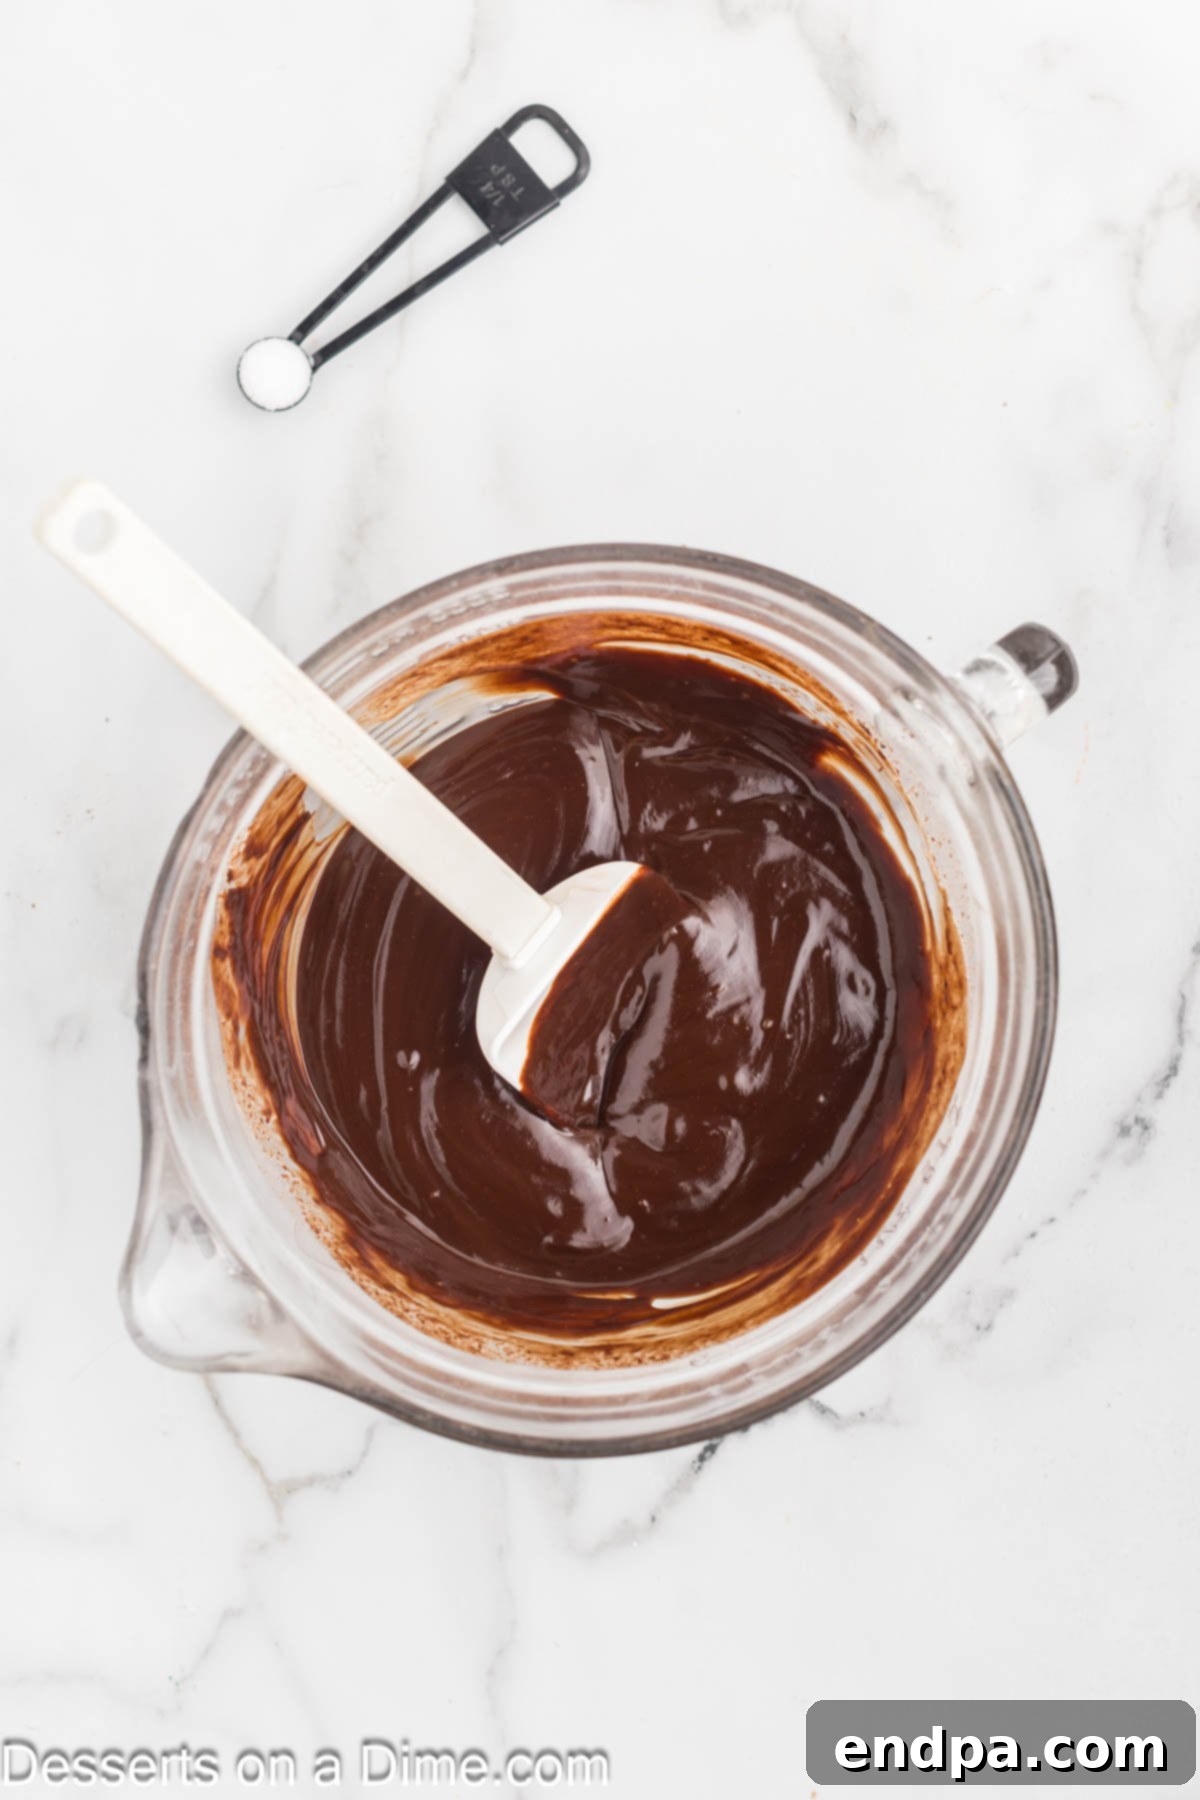
Step 1: Prepare the Chocolate Base. Begin by placing your
finely chopped semi-sweet chocolate chips and 1 cup of the heavy whipping
cream into a microwave-safe bowl. Heat the mixture in 30-second intervals,
stirring thoroughly after each interval, until the chocolate is completely
melted and smooth. It’s crucial not to overheat the chocolate, as this can
cause it to seize or burn. Once melted, stir in the salt to enhance the
chocolate flavor. Set the chocolate mixture aside to cool to room temperature.
This cooling step is vital to prevent it from deflating the whipped cream
in the next step.
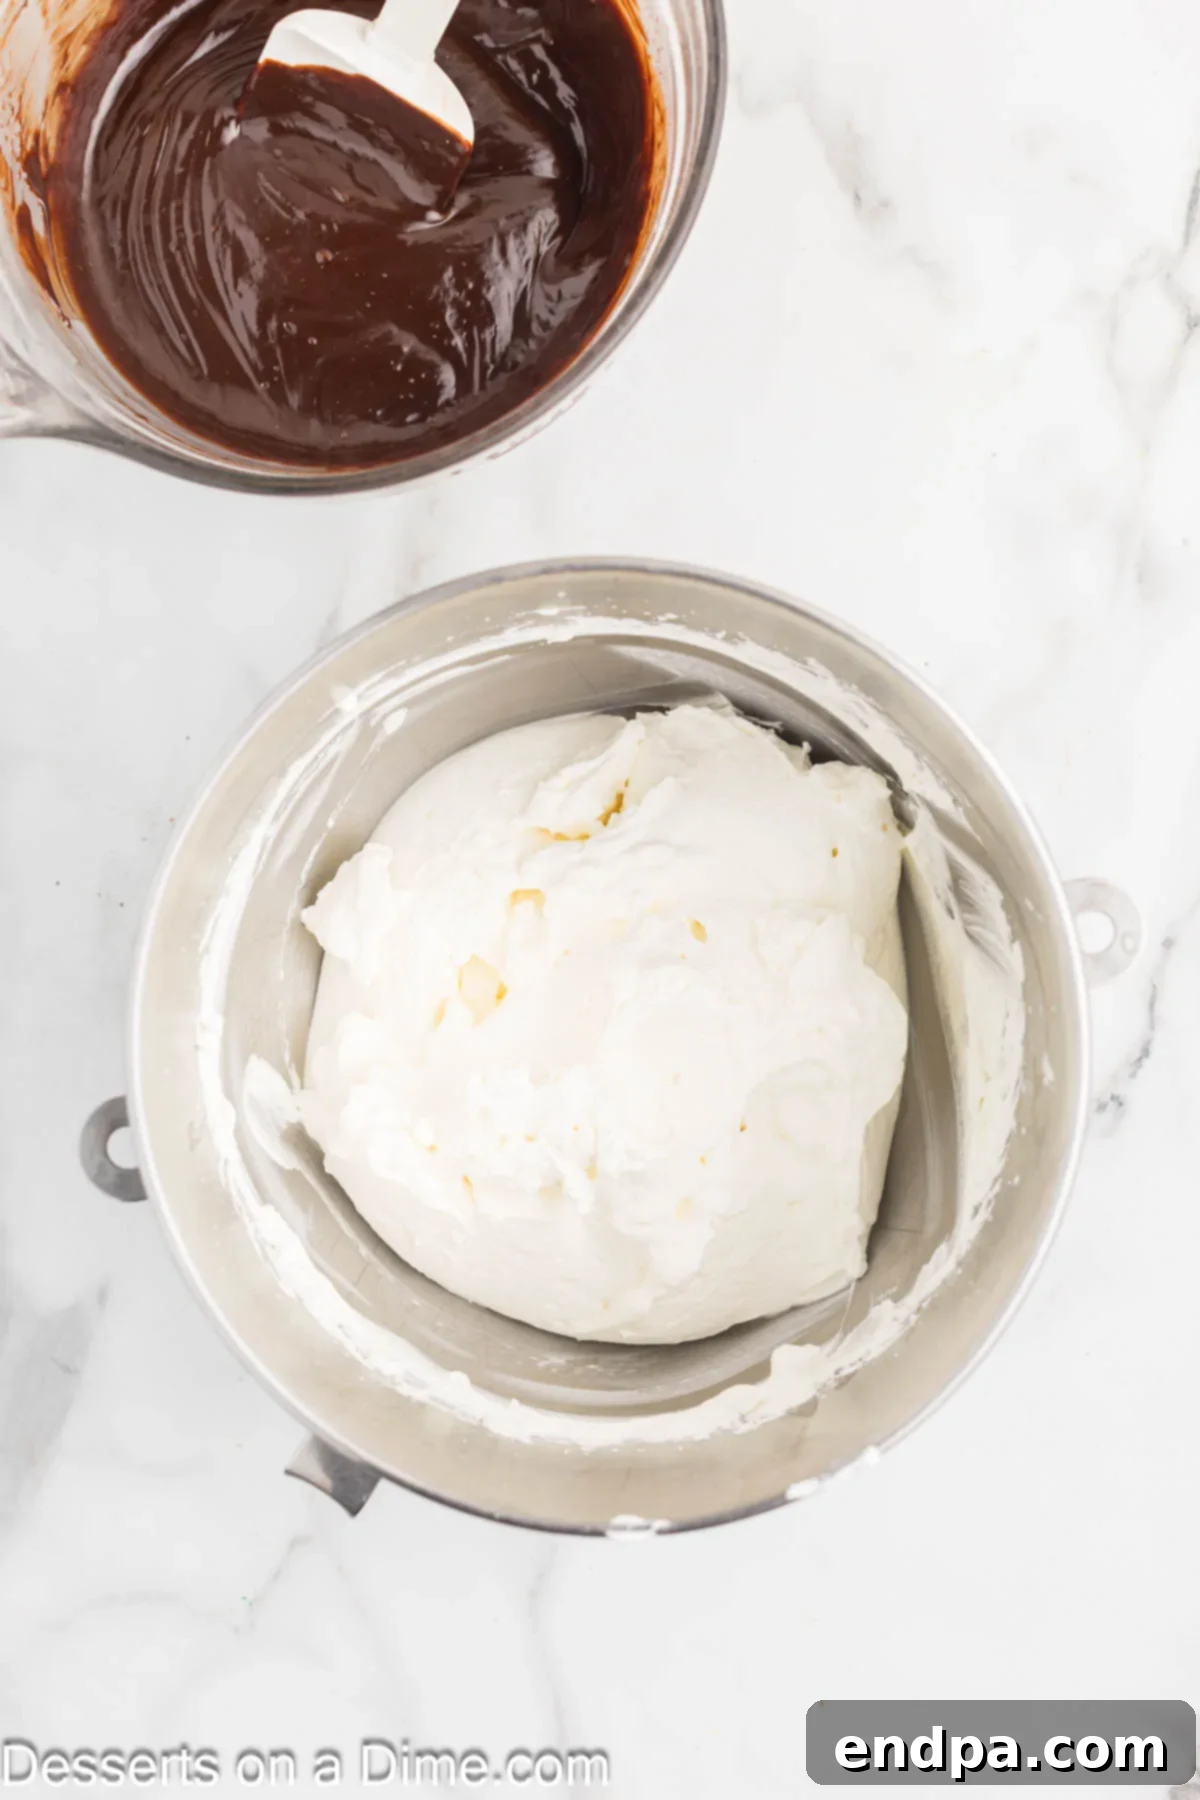
Step 2: Whip the Cream. In a separate, clean medium bowl,
combine the remaining heavy whipping cream, vanilla extract, and powdered
sugar. Using an electric mixer (either a stand mixer with a whisk attachment
or a handheld mixer), beat the mixture on medium-high speed until stiff
peaks form. Stiff peaks mean that when you lift the beaters, the whipped
cream holds its shape firmly. Be careful not to overbeat, as this can
turn the cream grainy.
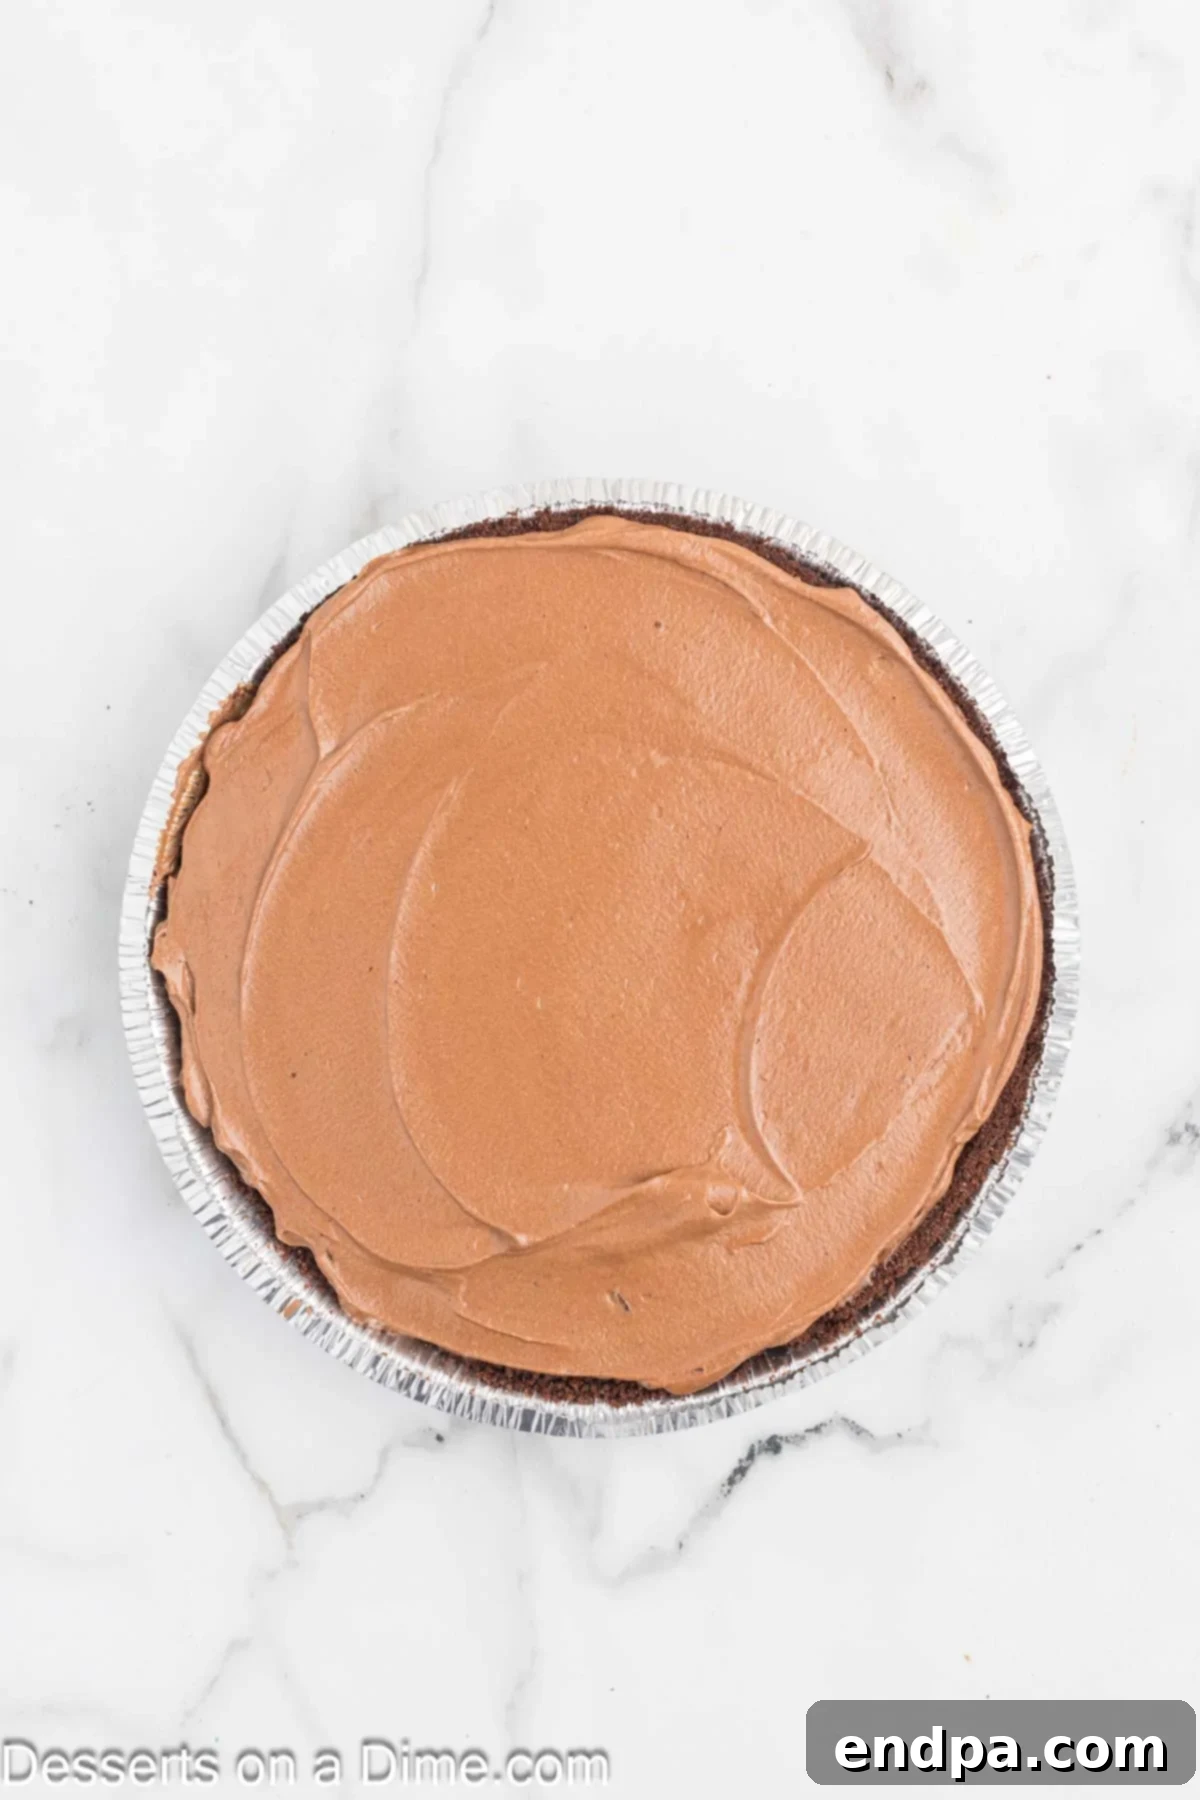
Step 3: Gently Combine and Chill. Once your chocolate
mixture has cooled sufficiently and your cream is whipped to stiff peaks,
it’s time to bring them together. Carefully and gently fold the whipped
cream mixture into the cooled chocolate mixture. Use a spatula and a light
hand, lifting from the bottom and folding over the top, until just combined.
The goal is to incorporate the ingredients without deflating the air from
the whipped cream, which gives the mousse its light texture. Once combined,
pour the glorious chocolate mousse filling into your prepared 9-inch Oreo
cookie crust. Use a spatula to spread it evenly. Transfer the pie to the
refrigerator and chill for a minimum of 4 hours, or ideally, overnight.
Chilling is essential for the mousse to set properly and develop its full flavor.
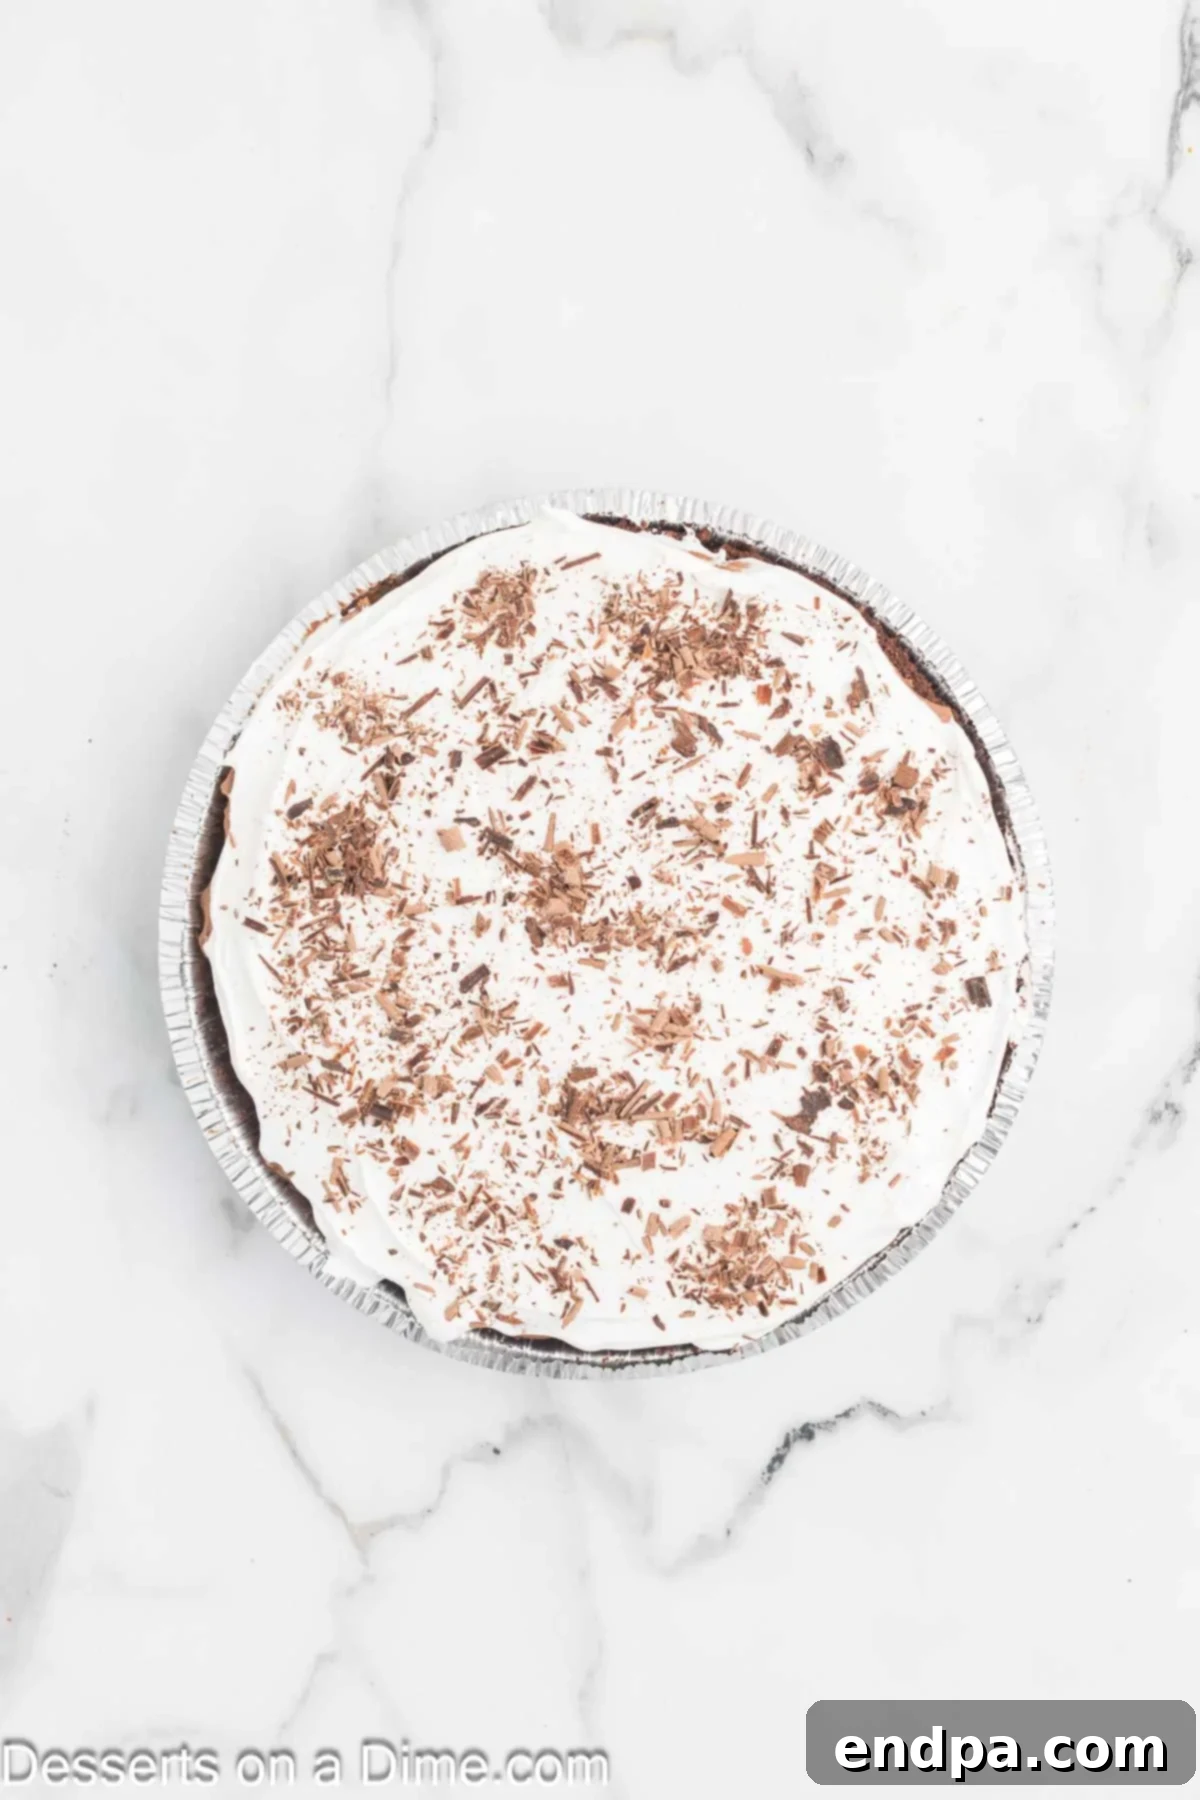
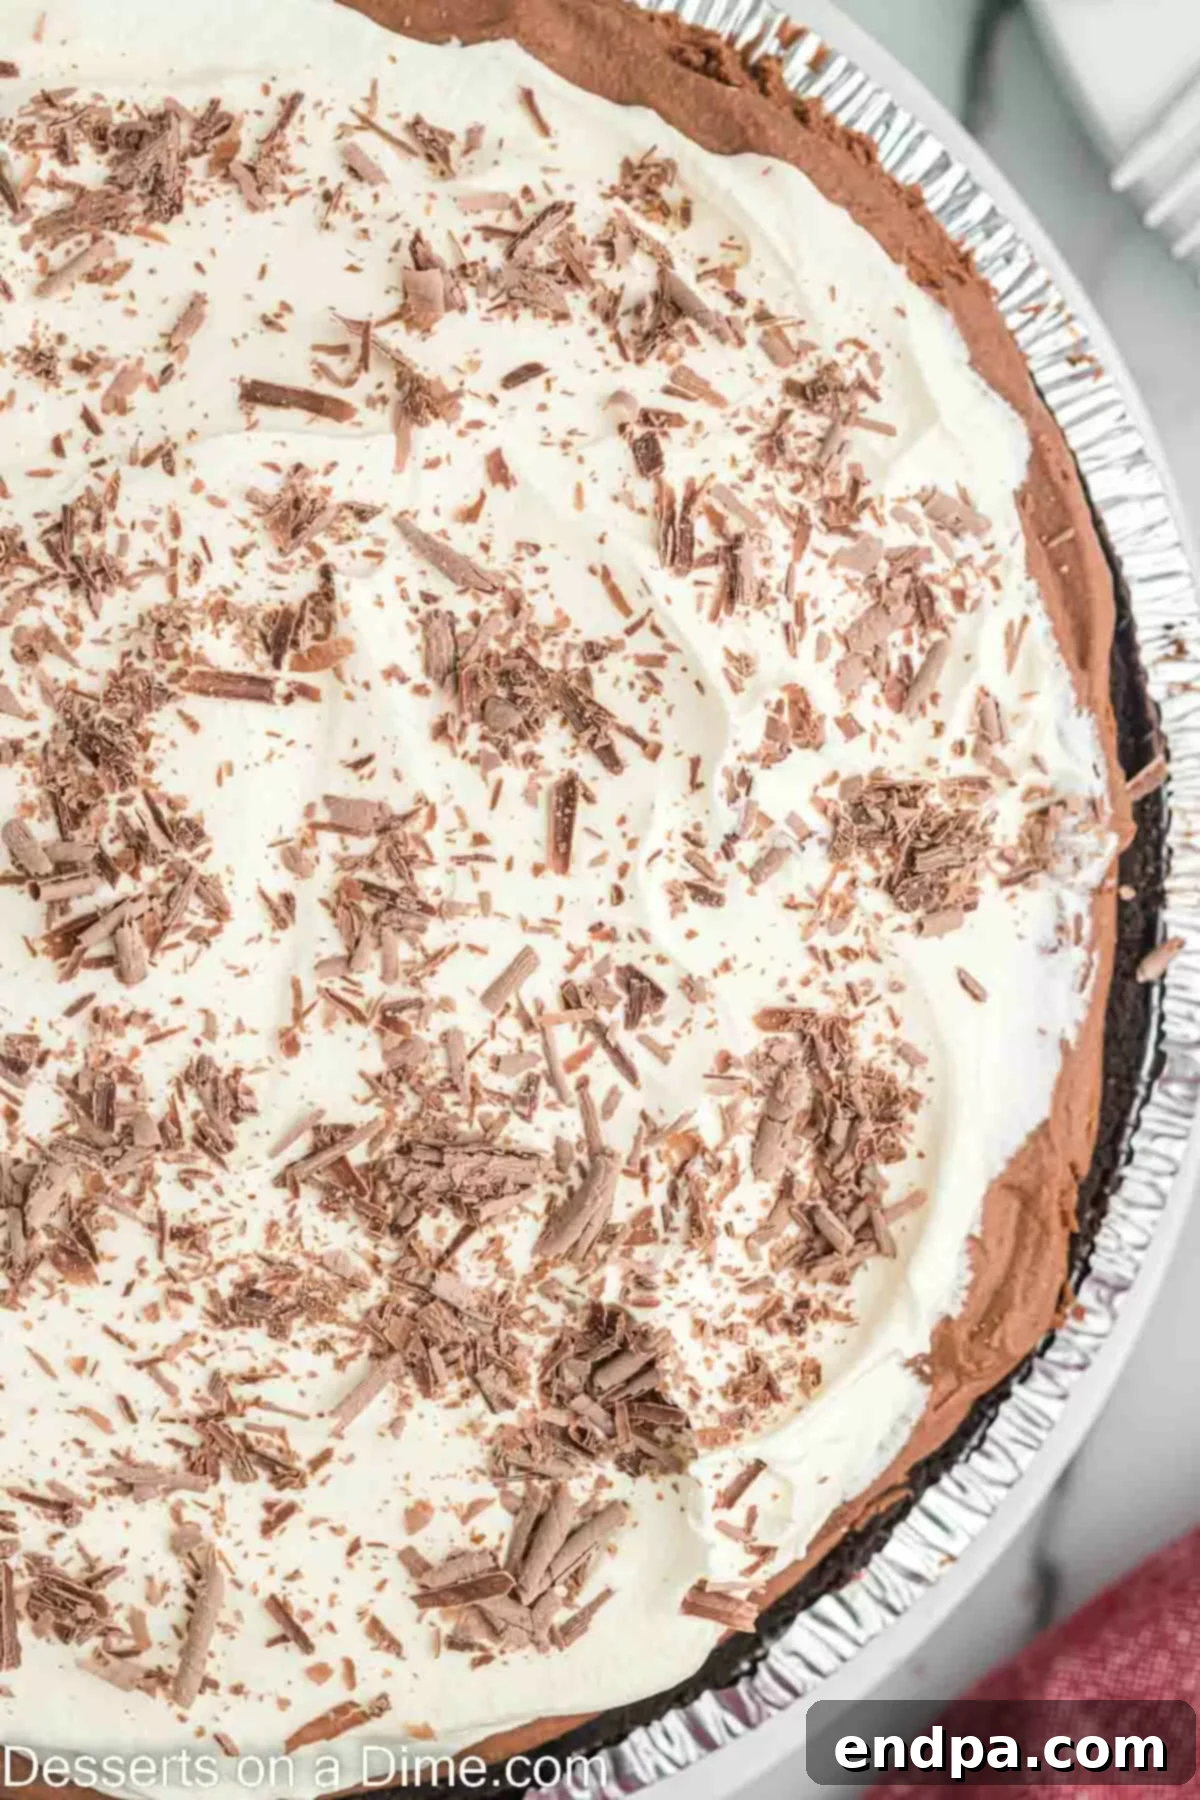
Step 4: Serve and Indulge. Once the pie is perfectly chilled
and set, it’s ready to be served. Before slicing, adorn each piece with a
beautiful swirl of fresh whipped cream and a sprinkle of delicate chocolate
shavings. The combination of the creamy mousse, crisp crust, and fresh toppings
is truly a delight for the senses. Enjoy your homemade Chocolate Mousse Pie!
Storage and Make-Ahead Tips
Proper storage ensures your Chocolate Mousse Pie remains fresh and delicious for
as long as possible. Leftovers should be refrigerated promptly, covered tightly
with plastic wrap or stored in an airtight container, for up to 5 days. It’s best
to add the whipped cream and chocolate shavings just before serving each slice
to maintain their freshness and appearance.
This pie is also an excellent make-ahead dessert, perfect for entertaining or
special occasions. You can prepare the entire pie (without the final toppings)
up to 2 days in advance. Simply keep it refrigerated until you are ready to
slice and serve, adding the fresh whipped cream and chocolate shavings right
before presentation. This makes hosting much less stressful!
Frequently Asked Questions (FAQs)
Absolutely! This Chocolate Mousse Pie is ideal for making ahead, which
is perfect for special occasions, parties, or when you just want a head
start. You can prepare the pie, excluding the final whipped cream and
chocolate shaving toppings, up to 2 days in advance. Store it covered
in the refrigerator until you’re ready to serve. Add the fresh toppings
just before presentation for the best results.
Yes, this pie freezes beautifully! To freeze, prepare the pie as directed
but omit the whipped topping and chocolate shavings. Wrap the entire pie
tightly first in plastic wrap, then in a layer of aluminum foil, ensuring
it’s well-sealed to prevent freezer burn. It can be frozen for up to
2 months. When you’re ready to enjoy, transfer the pie to the refrigerator
and allow it to thaw for about 24 hours. Once thawed, you can top it
with fresh whipped cream and chocolate shavings. We do not recommend
freezing the pie with the toppings already applied, as they can lose
texture upon thawing.
Another excellent method for freezing is to flash freeze the pie. Place
the uncovered pie on a baking sheet and freeze for 2-3 hours until firm.
Then, remove it from the baking sheet and wrap it tightly in plastic
wrap and foil. This method helps prevent the pie from sticking to the
wrap and preserves its shape.
There are a few common reasons why your mousse might not be setting.
Firstly, ensure your heavy whipping cream is very cold before beating
it to stiff peaks. Secondly, the melted chocolate mixture must be cooled
to room temperature before folding it into the whipped cream; if it’s
too warm, it will melt the whipped cream and cause the mousse to be runny.
Lastly, the pie needs sufficient chilling time – at least 4 hours, but
overnight is always best for a truly firm and sliceable pie.
While standard chocolate chips can be used, finely chopped good quality
chocolate (from a bar) is generally recommended. Finely chopped chocolate
melts more smoothly and creates a silkier mousse texture. Chocolate chips
often contain stabilizers that prevent them from melting as smoothly as
chopped baking chocolate, which might result in a slightly less refined
texture. However, for convenience, chocolate chips will certainly work.
Expert Tips for an Flawless Chocolate Mousse Pie
Achieve perfection with your Chocolate Mousse Pie by incorporating these expert tips:
-
Effortless Chocolate Shavings: Creating elegant chocolate
shavings is simpler than you think. Use a vegetable peeler or a sharp knife
to gently scrape along the edge of a block of your favorite chocolate.
For best results, the chocolate should be at room temperature or slightly
chilled. -
Elevate Your Pie Plate: Even if you’re using a store-bought
crust, transferring it to a decorative pie plate makes a big difference.
It not only provides a sturdier base for carrying and serving but also
enhances the overall presentation, making your pie look even more gourmet. -
Mind the Chocolate Temperature: When melting chocolate,
patience is a virtue. Avoid overheating it, whether in the microwave or
over a double boiler. Heat in short intervals and stir constantly to ensure
a smooth melt without burning. Crucially, allow the melted chocolate mixture
to cool down to room temperature before combining it with the whipped cream.
A warm chocolate mixture will instantly deflate the delicate whipped cream,
resulting in a dense rather than airy mousse. -
Invest in Quality Chocolate: The chocolate is truly the star
of this pie. Using a good quality semi-sweet or dark chocolate will significantly
impact the depth and richness of the flavor. Opt for brands you enjoy eating
on their own. -
Don’t Overmix: When folding the whipped cream into the
chocolate mixture, be gentle and stop as soon as it’s just combined.
Overmixing will deflate the whipped cream, making your mousse heavy and
less airy. The goal is a light and fluffy texture, so handle with care. -
Chill Your Equipment: For faster and more stable whipped
cream, consider chilling your mixing bowl and whisk attachment in the
refrigerator or freezer for 10-15 minutes before you begin whipping the cream.
The colder the environment, the quicker and more effectively the cream will whip. -
Taste and Adjust: Before pouring the mousse into the crust,
give it a small taste. If you prefer a slightly sweeter or richer flavor,
you can carefully fold in a tiny bit more powdered sugar or a touch more
vanilla extract, if desired. -
Perfect Slicing: For clean slices, use a sharp knife warmed
under hot water and wiped dry between each cut. This will help prevent the
mousse from sticking and ensure beautiful presentation.
More Decadent & Easy Pie Recipes
If you’ve enjoyed this delightful Chocolate Mousse Pie, you might also love
exploring these other fantastic and easy pie recipes:
- Cinnamon Roll Pie Recipe
- Buckeye Pie Recipe
- Brownie Pie
- Butternut Squash Pie Recipe
- Easy No Bake Hershey Pie Recipe
We hope you try this incredibly delicious and easy Chocolate Mousse Pie recipe
soon! It’s a dessert that truly has it all: minimal effort, maximum flavor,
and stunning presentation. Please leave a comment once you’ve had a chance
to make it – we’d love to hear your thoughts!
Chocolate Mousse Pie
Chocolate Mousse Pie is a rich and luscious dessert that is ready in minutes.
Make this chocolate pie for an instant hit.
15
mins
4
hrs
4
hrs
15
mins
8
American
Dessert
672
Carrie Barnard
Ingredients
-
1
Pre-made Oreo Pie Crust
6 oz -
12
oz
Semi-Sweet Chocolate
finely chopped -
3
cups
Heavy Whipping Cream
chilled, divided -
1/4
teaspoon
Salt
-
1
teaspoon
Vanilla Extract
-
1/4
cup
Powdered Sugar
-
Whipped Cream
for serving -
Chocolate Shavings
for serving
Instructions
- Place the finely chopped chocolate and 1 cup of the chilled heavy whipping cream
in a microwave-safe bowl. Heat in 30-second intervals, stirring thoroughly
after each interval, until the chocolate is fully melted and smooth. Stir in
the salt. Ensure not to overheat the chocolate. - Allow the chocolate mixture to cool completely to room temperature. This step
is crucial to prevent it from deflating the whipped cream later. - In a separate, clean mixing bowl, beat the remaining heavy whipping cream,
vanilla extract, and powdered sugar with an electric mixer (stand or handheld)
until stiff peaks form. The cream should hold its shape firmly. - Gently fold the whipped cream mixture into the cooled chocolate mixture until
just combined. Be very careful not to overmix, as this will flatten the whipped
cream and make the mousse dense. - Pour the chocolate mousse filling into your prepared Oreo crust. Use a spatula
to spread it evenly. Chill the pie in the refrigerator for at least 4 hours, or
preferably overnight, until it is fully set. - When ready to serve, top the pie with additional whipped cream and chocolate
shavings. Slice and enjoy!
Recipe Notes
Refrigerate any leftover Chocolate Mousse Pie, covered, for up to 5 days.
Nutrition Facts
Calories 672kcal,
Carbohydrates 42g,
Protein 6g,
Fat 54g,
Saturated Fat 31g,
Polyunsaturated Fat 2g,
Monounsaturated Fat 17g,
Trans Fat 0.03g,
Cholesterol 103mg,
Sodium 201mg,
Potassium 351mg,
Fiber 4g,
Sugar 26g,
Vitamin A 1333IU,
Vitamin C 1mg,
Calcium 92mg,
Iron 3mg.
