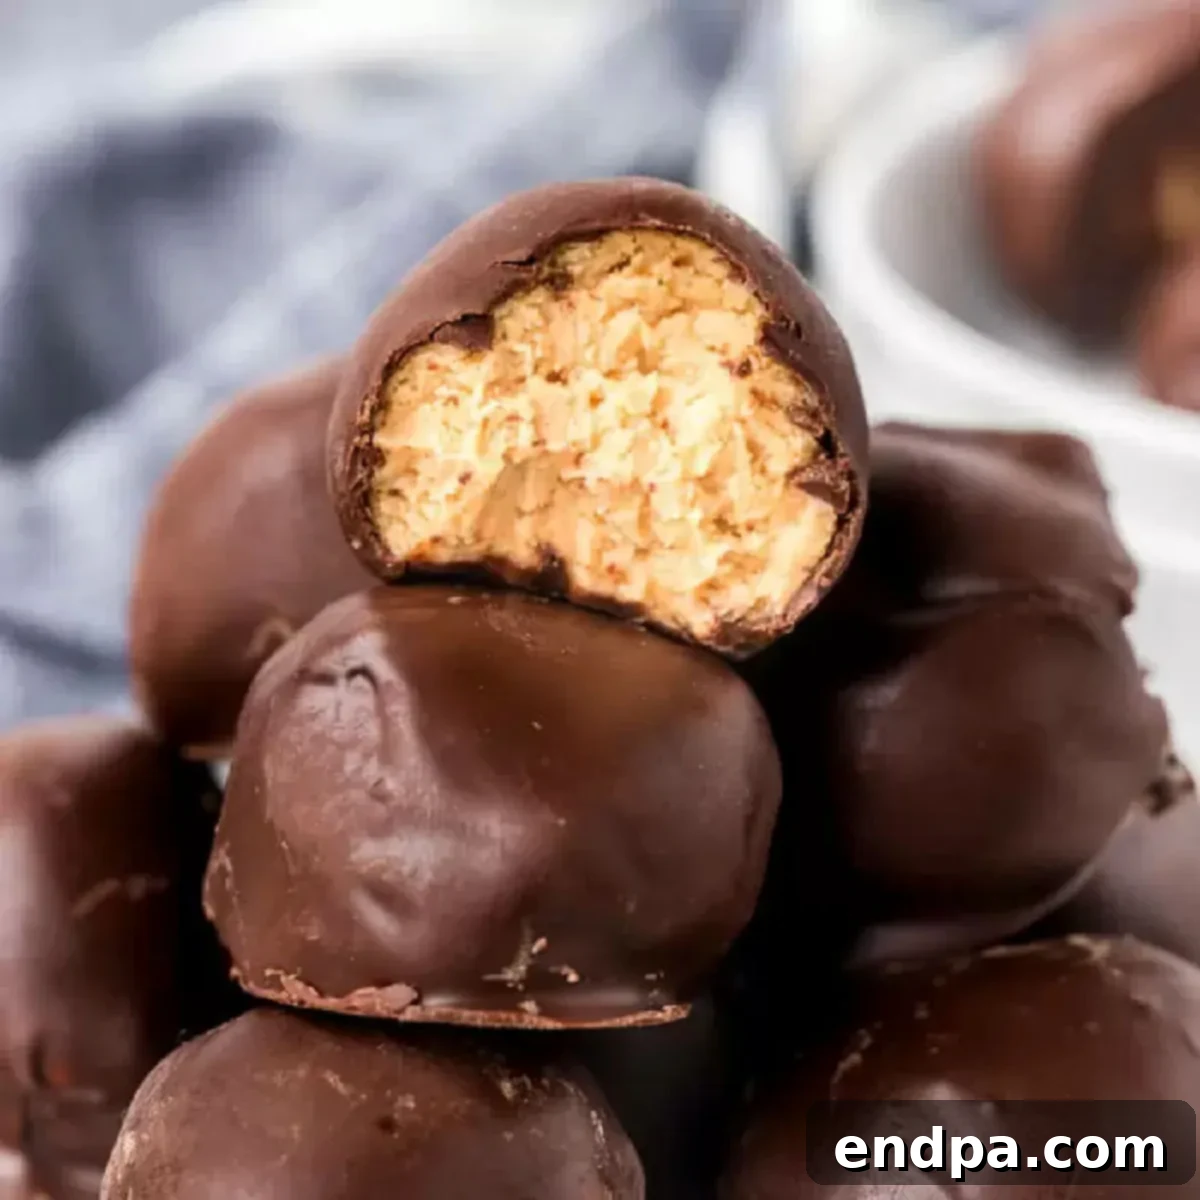
Prepare to be utterly captivated by the delightful simplicity and rich flavor of **Chocolate Covered Peanut Butter Balls**. This homemade confection is more than just a dessert; it’s a melt-in-your-mouth experience that promises to become a cherished favorite, perfect for any season or celebration.
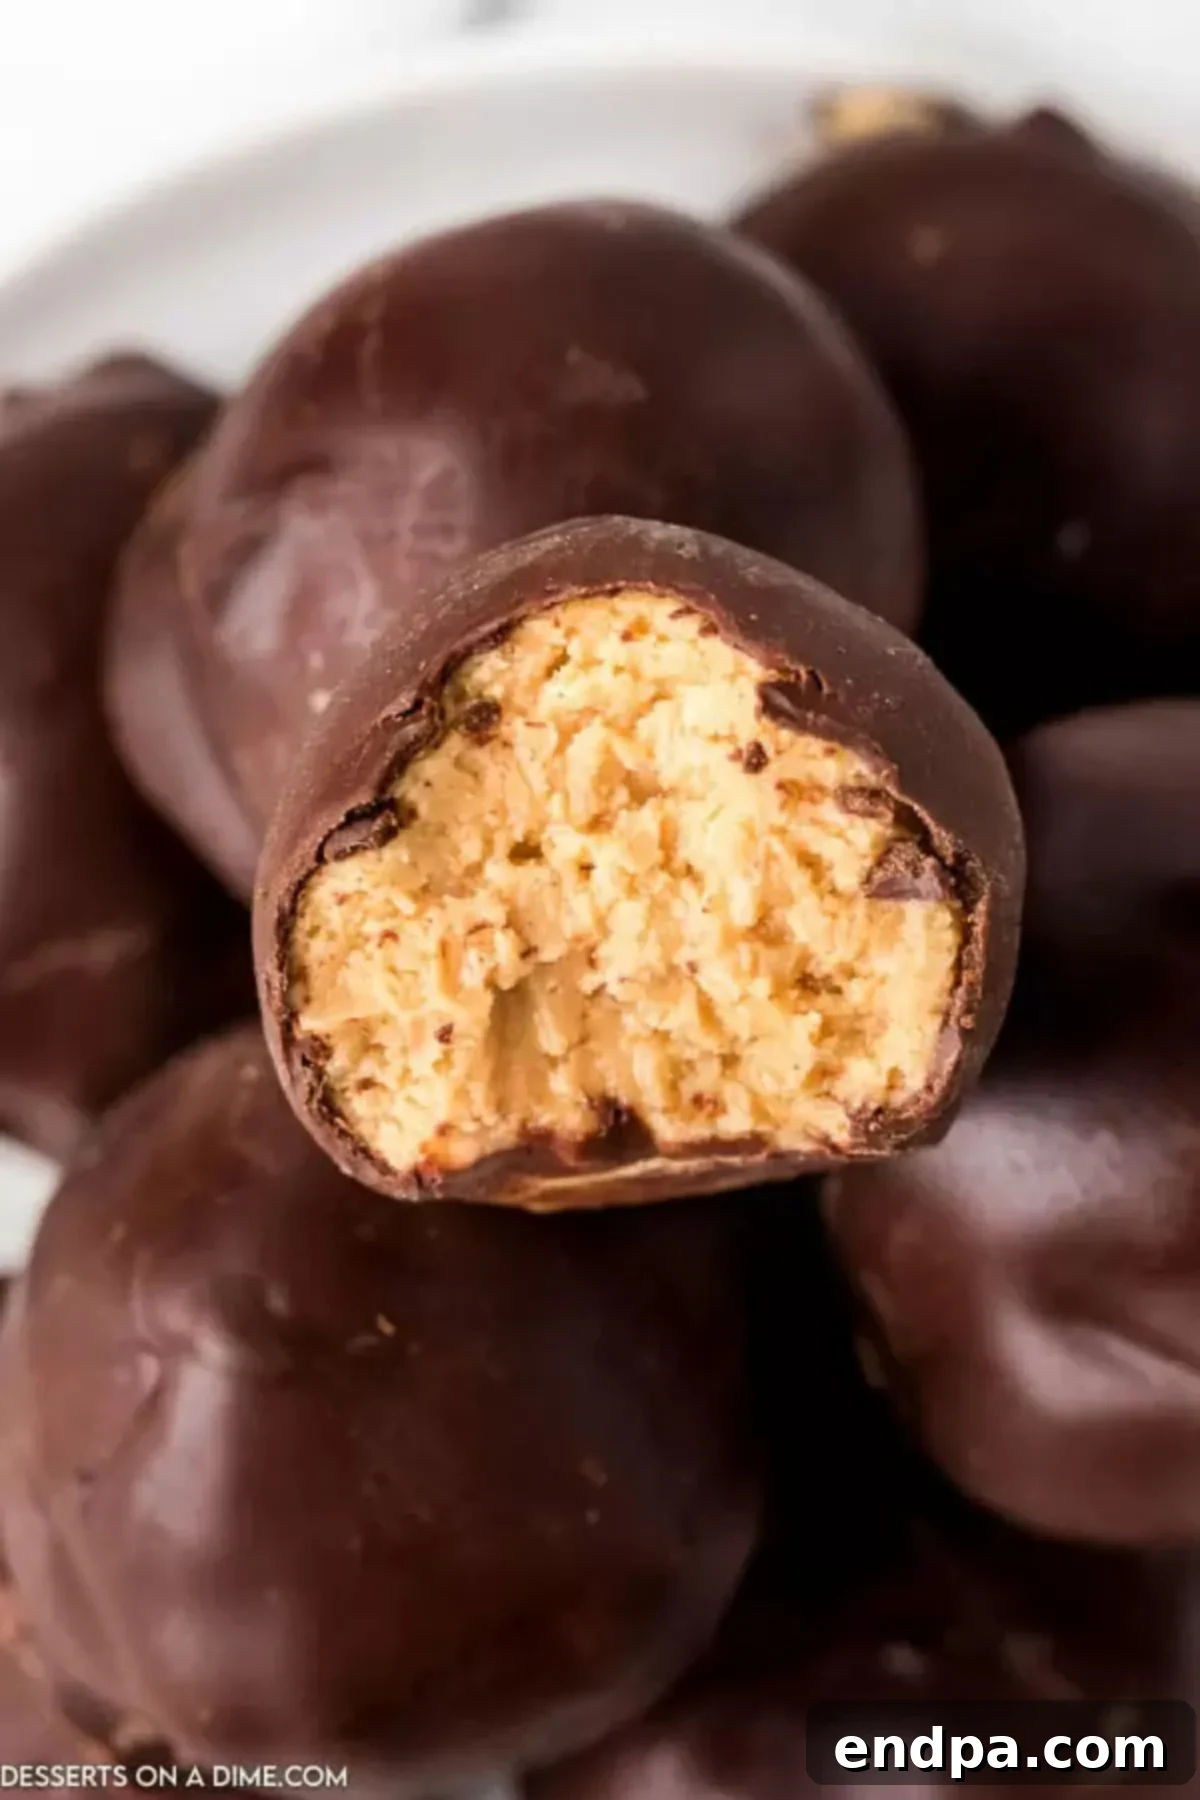
If you have a fondness for the classic combination of chocolate and peanut butter, particularly the iconic Reese’s peanut butter cups, then this recipe for Chocolate Covered Peanut Butter Balls will quickly rise to the top of your dessert list. These bite-sized wonders offer the same beloved taste in a convenient, irresistible form. They are a staple in our household, making frequent appearances at Christmas gatherings, birthday celebrations, and whenever we crave a quick, satisfying treat. Beyond the holiday season, these no-bake delights are ideal for potlucks, party platters, or simply as an indulgent snack.
For those who adore the harmonious blend of sweet chocolate and savory peanut butter, you might also enjoy our Chocolate Covered Ritz Crackers – another surprisingly delicious and easy-to-make treat that hits all the right notes.
Table of Contents
- Why You Will Love This Recipe
- Essential Ingredients for Peanut Butter Perfection
- Creative Variations and Smart Substitutions
- Step-by-Step: How to Make Chocolate Covered Peanut Butter Balls
- Expert Tips for Flawless Chocolate Peanut Butter Balls
- Serving and Storage Suggestions
- Frequently Asked Questions About Peanut Butter Balls
Why You Will Love This Recipe
There are countless reasons why these Chocolate Covered Peanut Butter Balls have earned a special place in our hearts and kitchens. Firstly, their appeal lies in their incredible simplicity. Using just a handful of readily available, pantry-friendly ingredients, you can whip up a batch of these exquisite no-bake desserts in under an hour of active preparation time. This makes them an absolute lifesaver when you need a show-stopping treat without the fuss of baking.
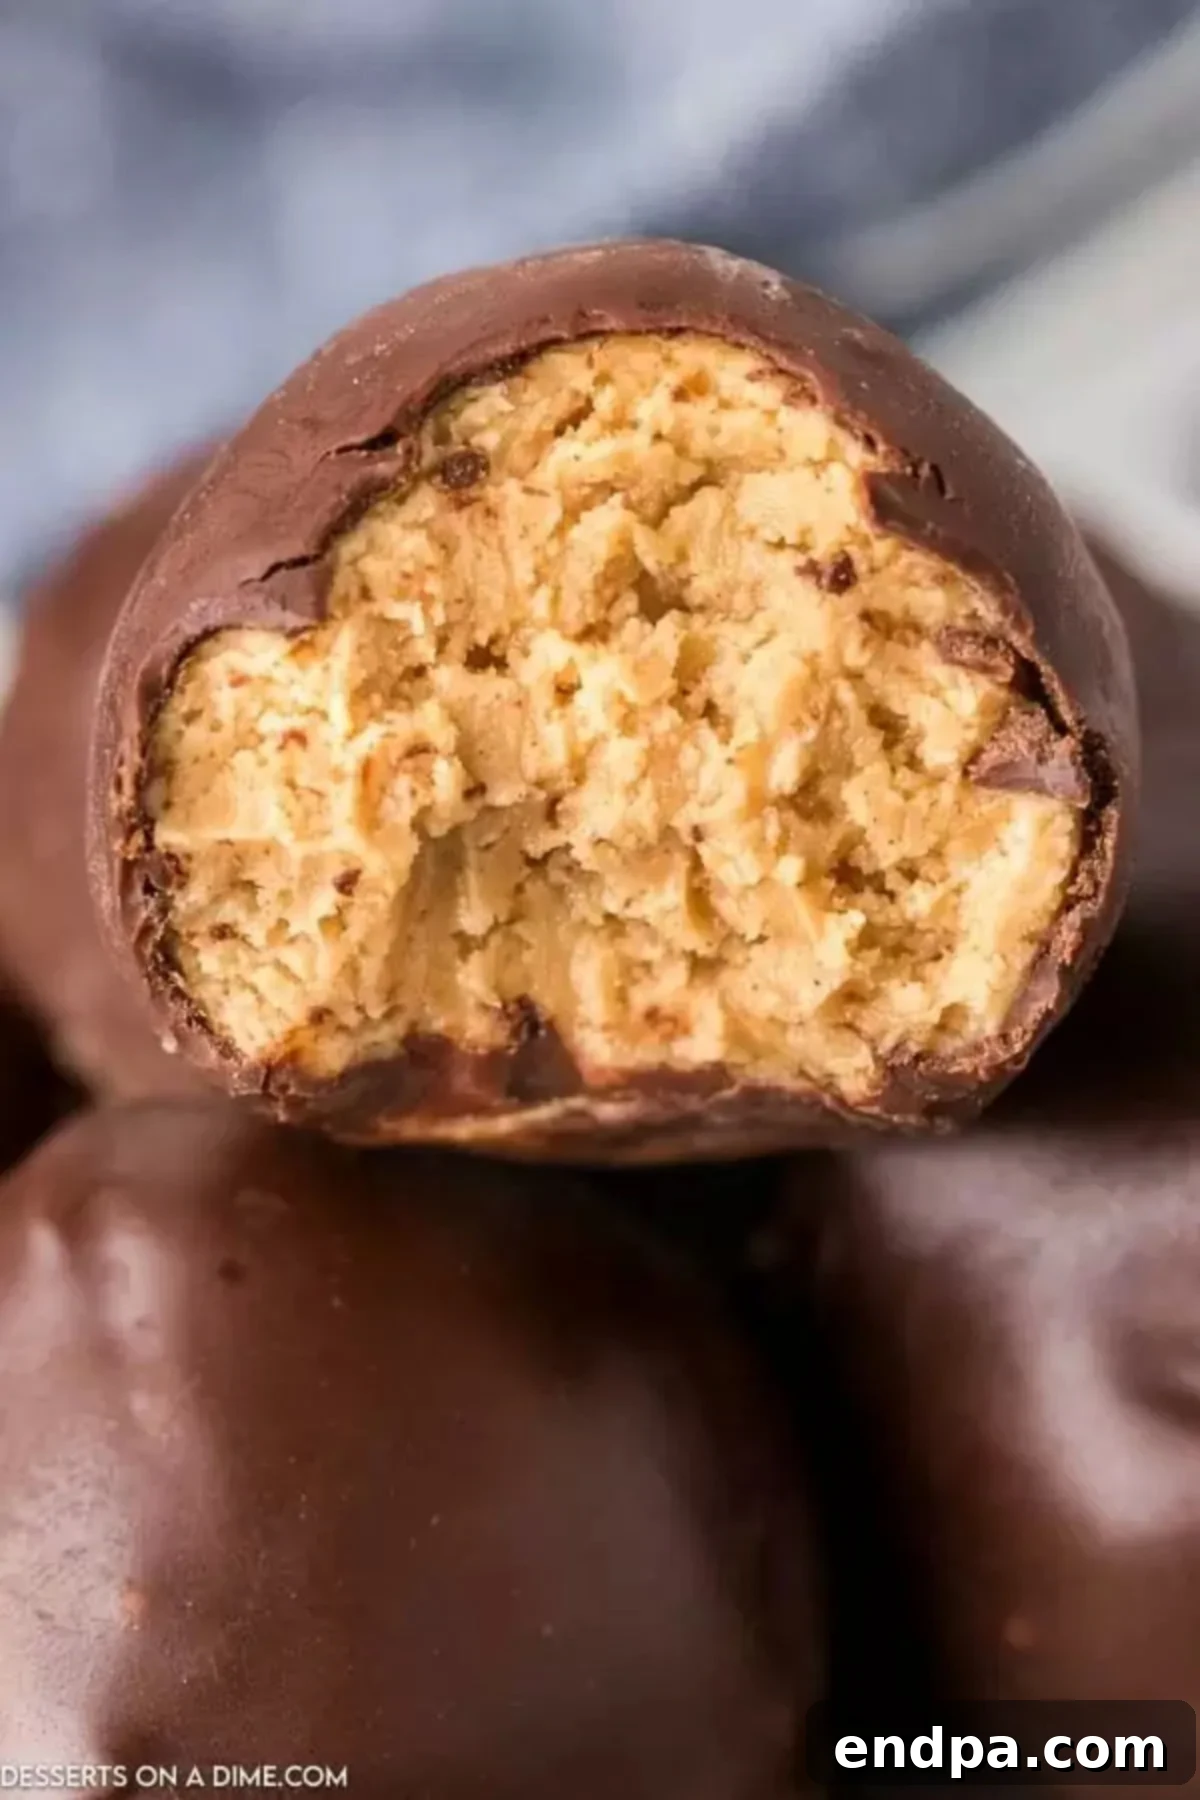
The texture is pure bliss: a rich, creamy peanut butter center enveloped in a crisp, satisfying layer of chocolate. Each bite melts in your mouth, delivering an explosion of flavor that balances the nutty sweetness of peanut butter with the indulgent bitterness of chocolate. This classic pairing is universally loved, ensuring these treats are a hit with both children and adults alike.
Beyond their ease and deliciousness, these peanut butter balls are incredibly versatile. They are perfect for holiday dessert trays, homemade gift baskets for friends and family, school events, or even just a cozy night in. Their small, spherical shape makes them ideal for portion control (if you can stop at just one!) and easy to handle at parties. Furthermore, their no-bake nature means you won’t be tying up your oven, leaving it free for other holiday baking or dinner preparations. This recipe truly embodies the spirit of effortless indulgence, delivering maximum flavor with minimal effort.
Essential Ingredients for Peanut Butter Perfection
The magic of these Chocolate Covered Peanut Butter Balls lies in the quality and balance of a few simple components. Here’s what you’ll need to create these irresistible treats:
- Creamy Peanut Butter: For the smoothest, most delectable peanut butter filling, creamy peanut butter is highly recommended. It blends effortlessly with the other ingredients, creating a uniform and rich texture. While you can experiment with natural peanut butter, ensure it’s well-stirred and firm to prevent an oily consistency.
- Softened Butter: Room temperature butter is crucial for achieving a smooth and easily workable peanut butter mixture. If your butter is too cold, it won’t incorporate properly, leading to lumps. If it’s too warm, the mixture might be too soft.
- Pure Vanilla Extract: A touch of pure vanilla extract elevates the flavor profile, adding a warm, aromatic note that complements both the peanut butter and chocolate beautifully. Always opt for pure vanilla over imitation for the best taste.
- Powdered Sugar (Confectioners’ Sugar): This is the secret to the ultra-smooth, melt-in-your-mouth texture of the peanut butter filling. Powdered sugar dissolves seamlessly, providing sweetness without any graininess. If your powdered sugar is lumpy, a quick sift will ensure a perfectly smooth mixture.
- Semi-Sweet Chocolate Chips: While any type of chocolate can be used for coating, semi-sweet chocolate chips offer a balanced sweetness that beautifully contrasts the rich peanut butter. They melt smoothly and provide a classic chocolate flavor.
- Shortening: A small amount of shortening added to the melting chocolate is key. It helps to thin the chocolate slightly, making it easier to dip the balls and ensuring a smooth, glossy, and quick-setting coating that won’t seize or become too thick.
You’ll find the complete list of exact measurements for these ingredients in the detailed recipe card at the bottom of this article.
Creative Variations and Smart Substitutions
One of the best aspects of this recipe is its adaptability. Feel free to customize your Chocolate Covered Peanut Butter Balls to suit your taste preferences or dietary needs. Here are some ideas to inspire you:
- **Explore Different Types of Chocolate:** Don’t limit yourself to semi-sweet! These peanut butter balls are equally delicious when dipped in milk chocolate for a sweeter, creamier finish, or dark chocolate for a more intense, less sweet treat. White chocolate also provides a beautiful contrast and unique flavor.
- **Experiment with Nut Butters:** While peanut butter is traditional, other nut butters can create delicious variations. Almond butter, cashew butter, or even sunflower seed butter (for nut-allergy friendly options) would all be delightful. You can also use crunchy peanut butter if you prefer a bit of texture in your filling.
- **Add Festive Sprinkles:** Before the chocolate coating fully sets in the refrigerator, add a festive touch! Sprinkle your favorite holiday sprinkles, colorful jimmies, or even finely chopped nuts over the freshly dipped balls. This is especially fun for seasonal treats.
- **Drizzle with Extra Chocolate:** For an elegant presentation, drizzle a contrasting chocolate over the set peanut butter balls. A delicate swirl of white chocolate over dark chocolate, or vice versa, makes them look extra fancy and adds another layer of visual appeal.
- **Use Melting Wafers:** If you’re looking for an even easier and smoother coating experience, consider using candy melting wafers instead of chocolate chips. They are designed to melt smoothly and set quickly, often coming in a variety of vibrant colors to match any occasion.
- **A Touch of Sea Salt:** A sprinkle of flaky sea salt on top of the still-wet chocolate coating can truly enhance the flavors, bringing out the depth of both the chocolate and the peanut butter.
Step-by-Step: How to Make Chocolate Covered Peanut Butter Balls
Making these delightful no-bake treats is straightforward and fun. Follow these simple steps for perfect Chocolate Covered Peanut Butter Balls every time:
- Step 1: Prepare Your Workspace. Begin by lining a large baking sheet with waxed paper or parchment paper. This will prevent the peanut butter balls from sticking and make cleanup a breeze. Set it aside for later use.
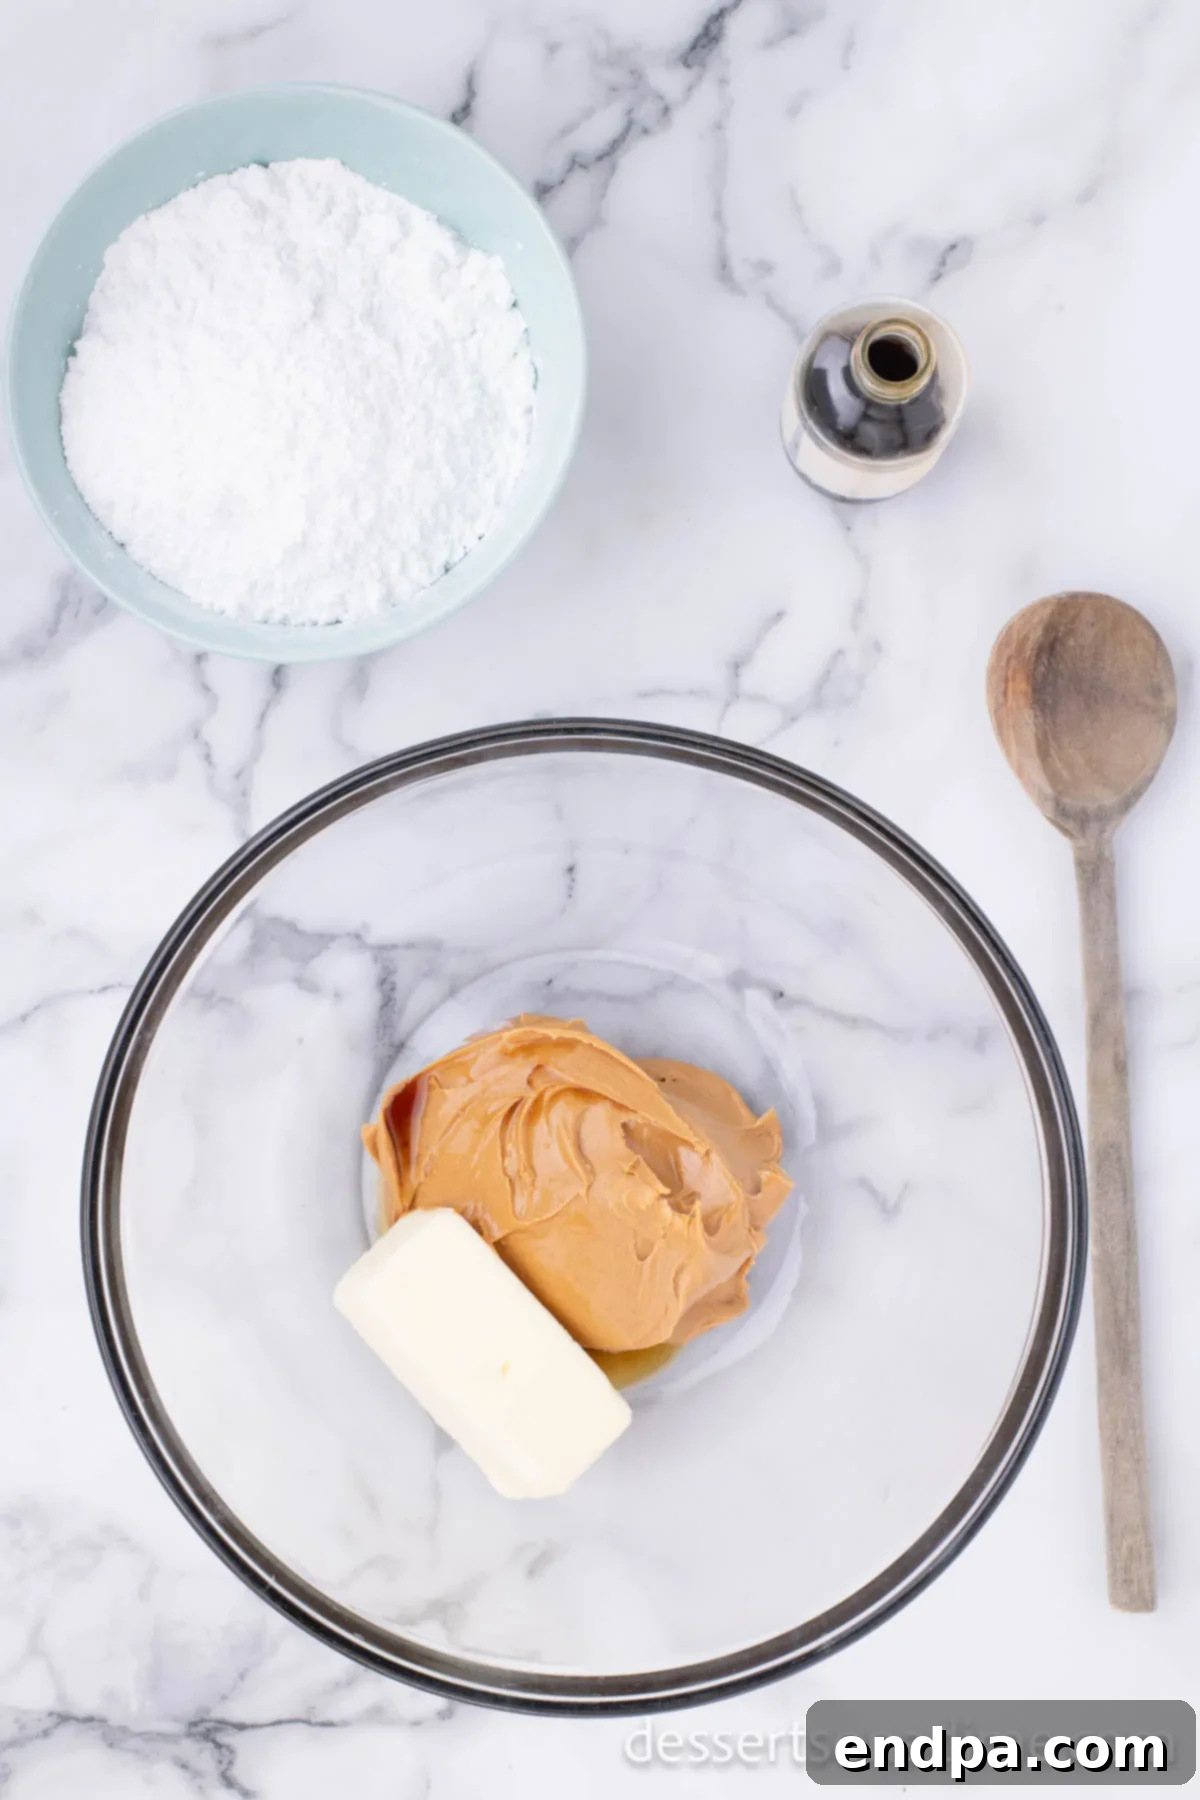
Step 2: Combine the Wet Ingredients. In a large mixing bowl, combine the creamy peanut butter, softened butter, and pure vanilla extract. Mix these ingredients thoroughly until they are well combined and smooth. A stand mixer with a paddle attachment or a hand mixer will make this process much easier, but it can certainly be done by hand with a sturdy spoon.
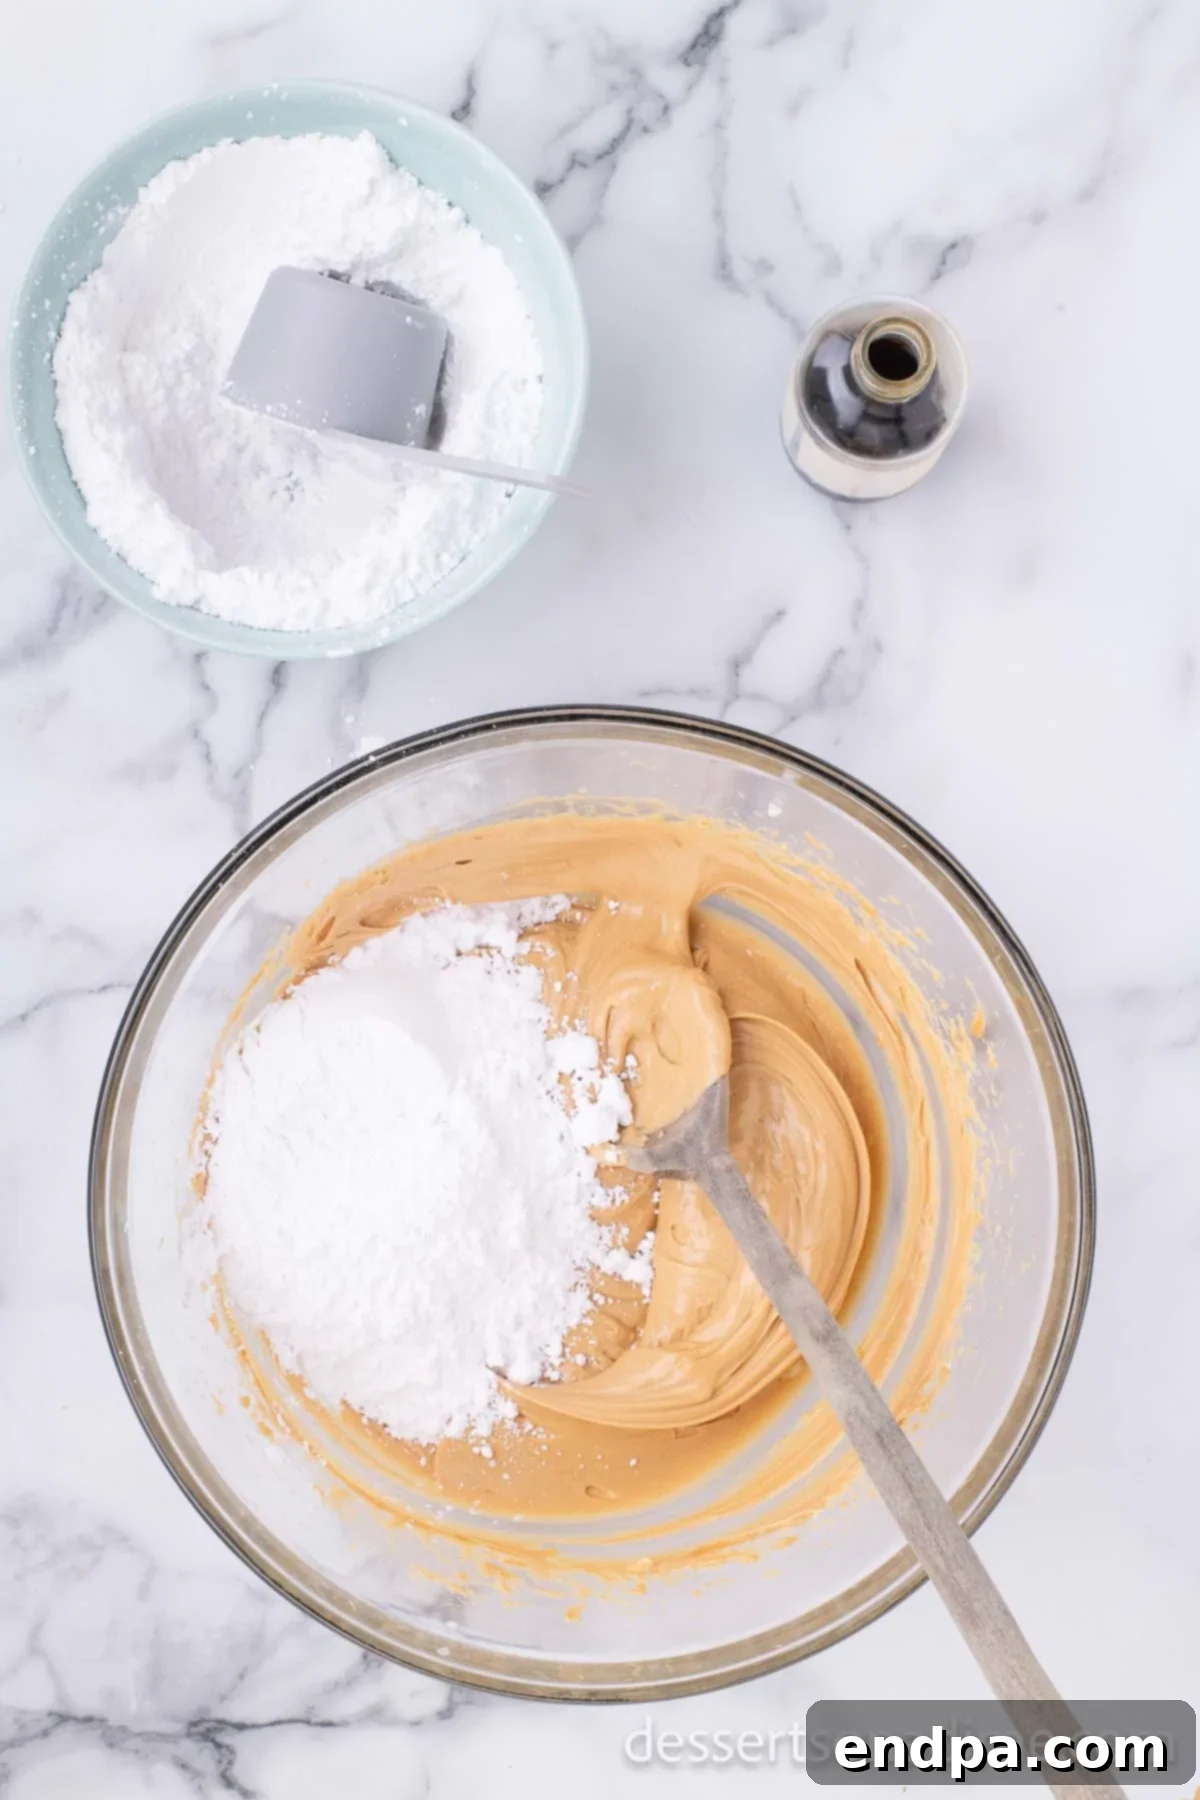
Step 3: Gradually Add Powdered Sugar. Begin slowly incorporating the powdered sugar into the peanut butter mixture, about one cup at a time. Mix well after each addition. As you add more sugar, the mixture will gradually thicken and become more firm. Towards the end, it might become quite difficult to stir with a spoon, signaling that it’s reaching the right consistency.
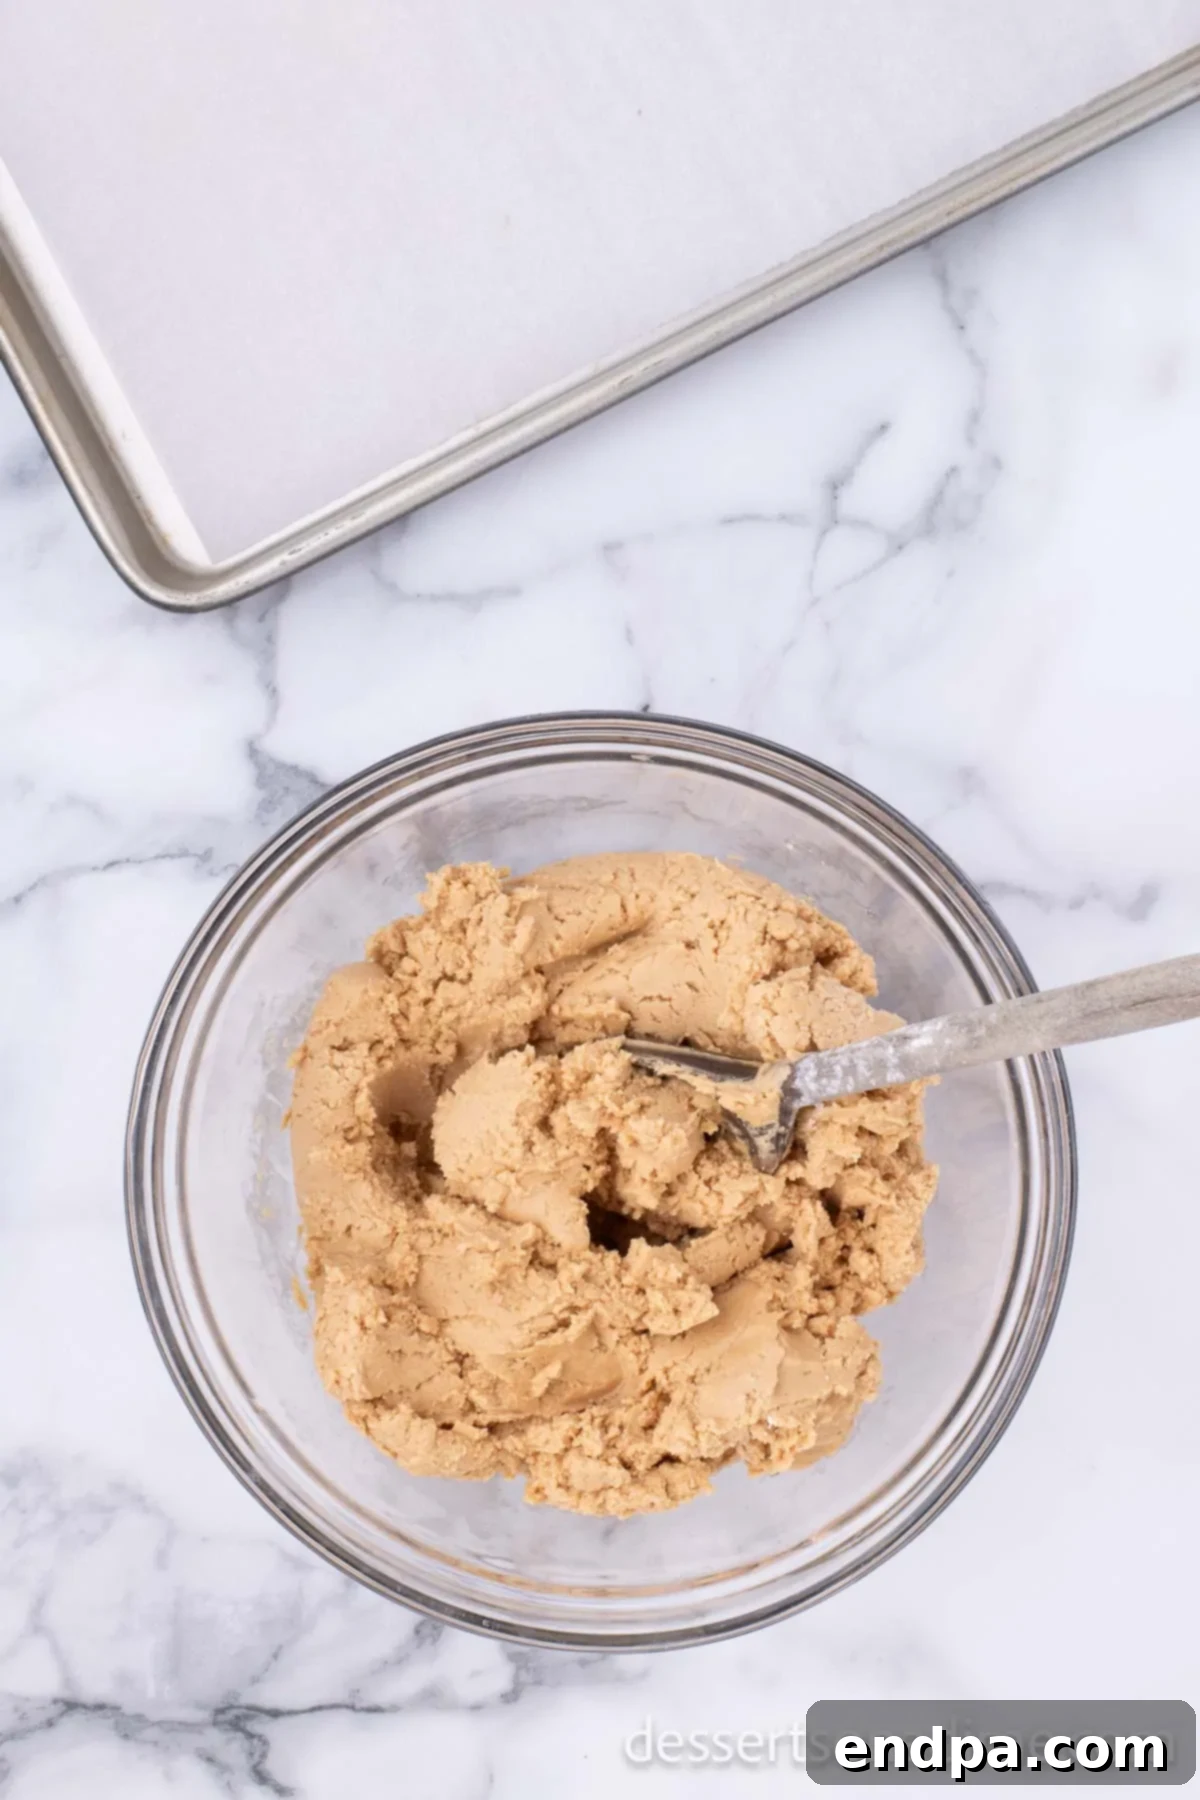
Step 4: Ensure Thorough Blending. Continue mixing until all the powdered sugar is fully incorporated and the mixture is well blended. The final consistency should be firm enough to handle and roll into balls without being overly sticky.
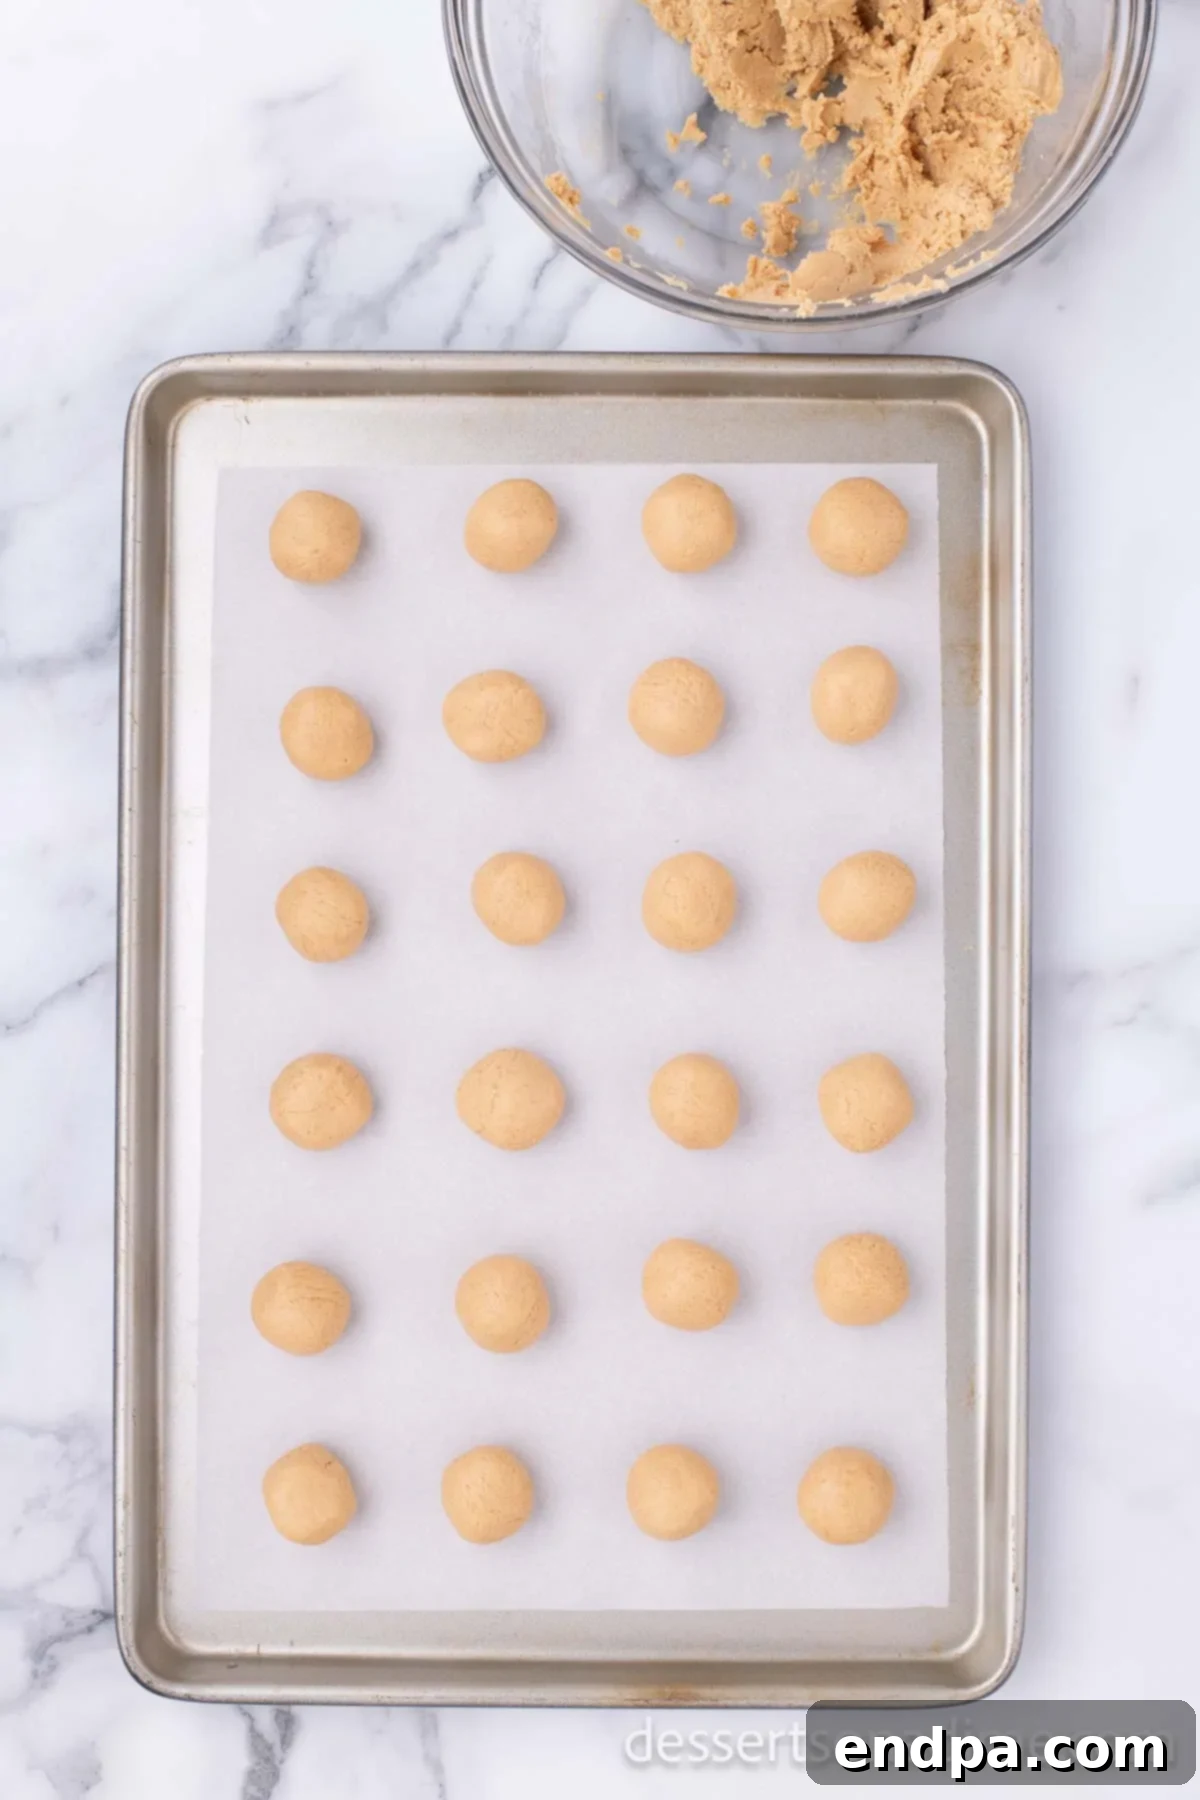
Step 5: Form the Peanut Butter Balls. Once the mixture is ready, it’s time to form the balls. Pinch off small amounts of the mixture and roll them between your palms to create uniform spheres. For consistent sizing and quicker work, a cookie scoop is an excellent tool. Place the formed peanut butter balls onto your prepared baking sheet.
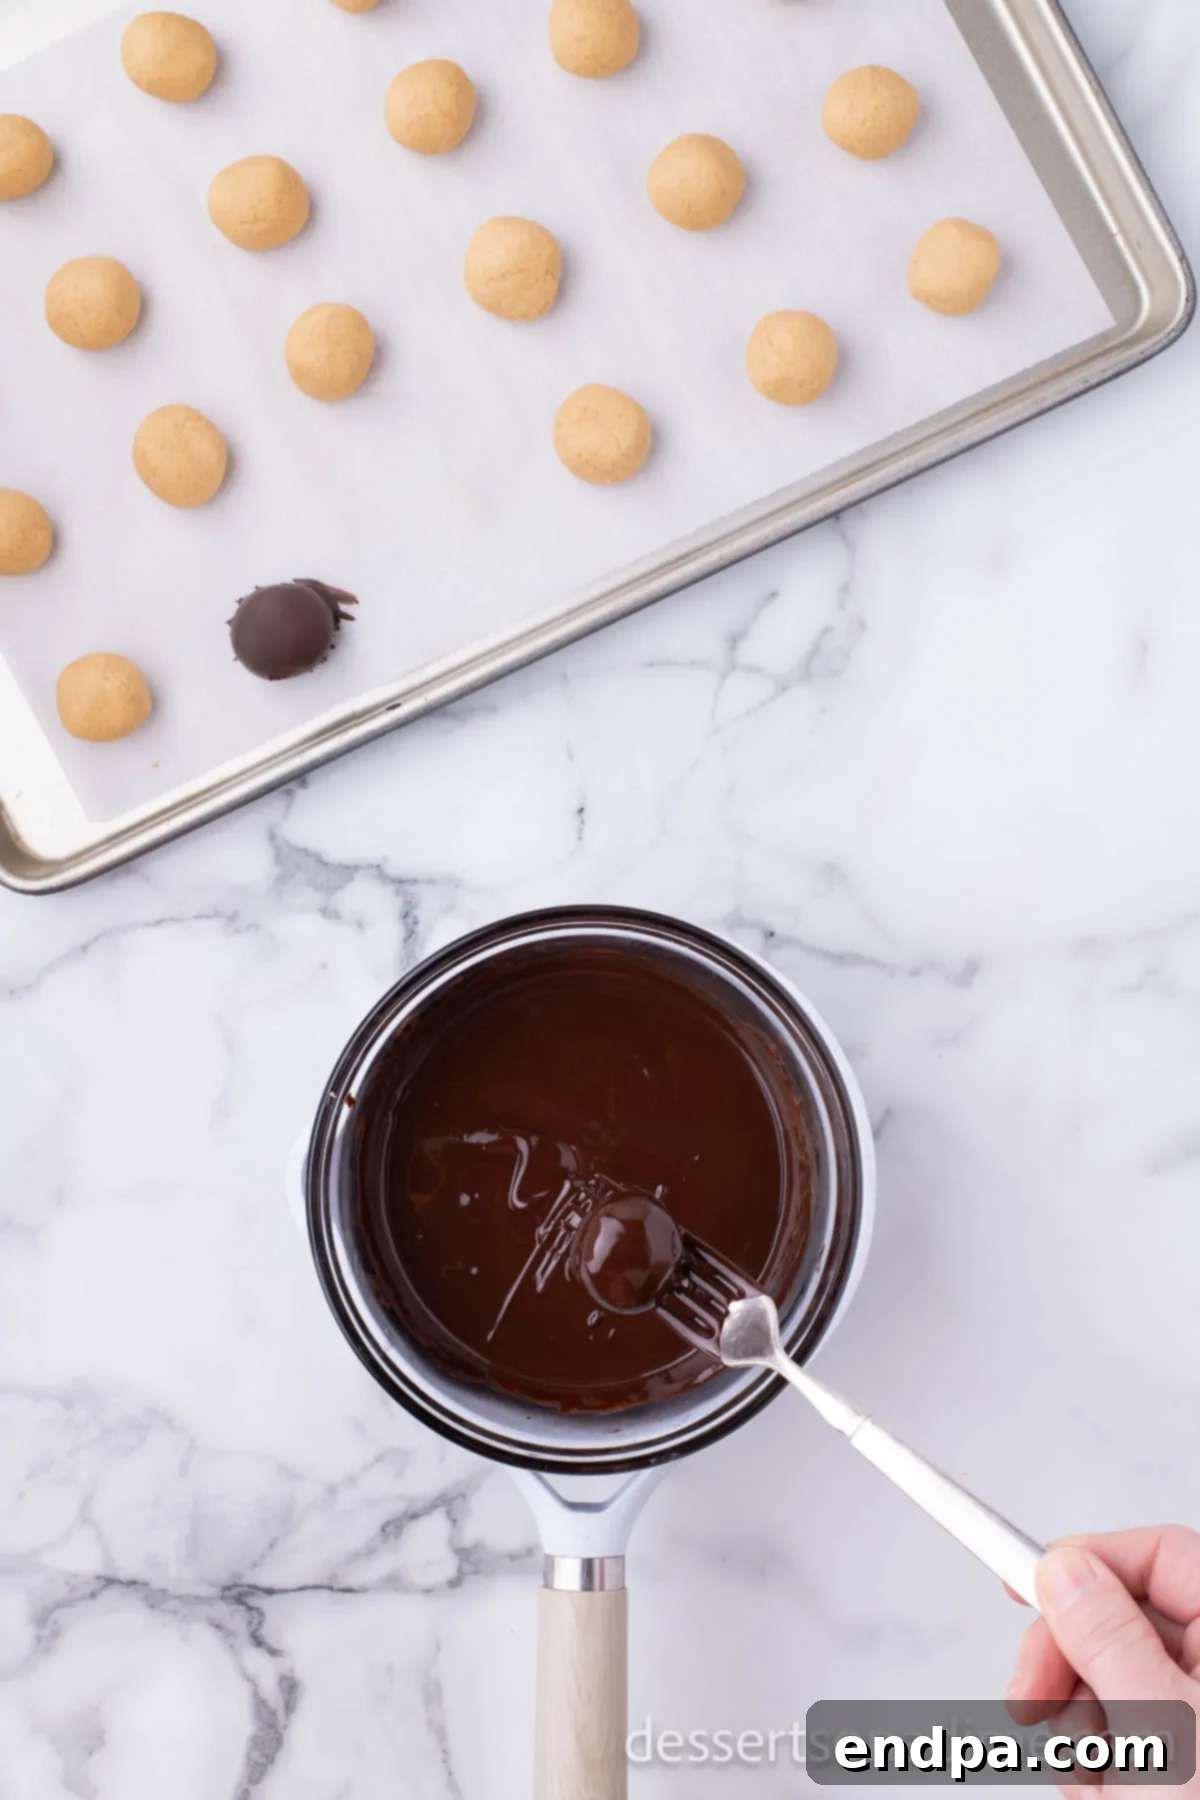
Step 6: Melt the Chocolate. Once all your peanut butter balls are formed, it’s time to melt the chocolate. The best method for perfectly smooth, tempered chocolate is a double boiler. If you don’t own one, you can easily create a makeshift version by placing a heat-safe metal or glass bowl over a saucepan with about an inch of simmering water (ensure the bowl doesn’t touch the water). As the steam heats the bowl, the chocolate will melt gently and evenly. Crucially, add the shortening to your chocolate as it melts. This will make the chocolate smoother, easier to work with for dipping, and will ensure a beautiful, shiny finish.
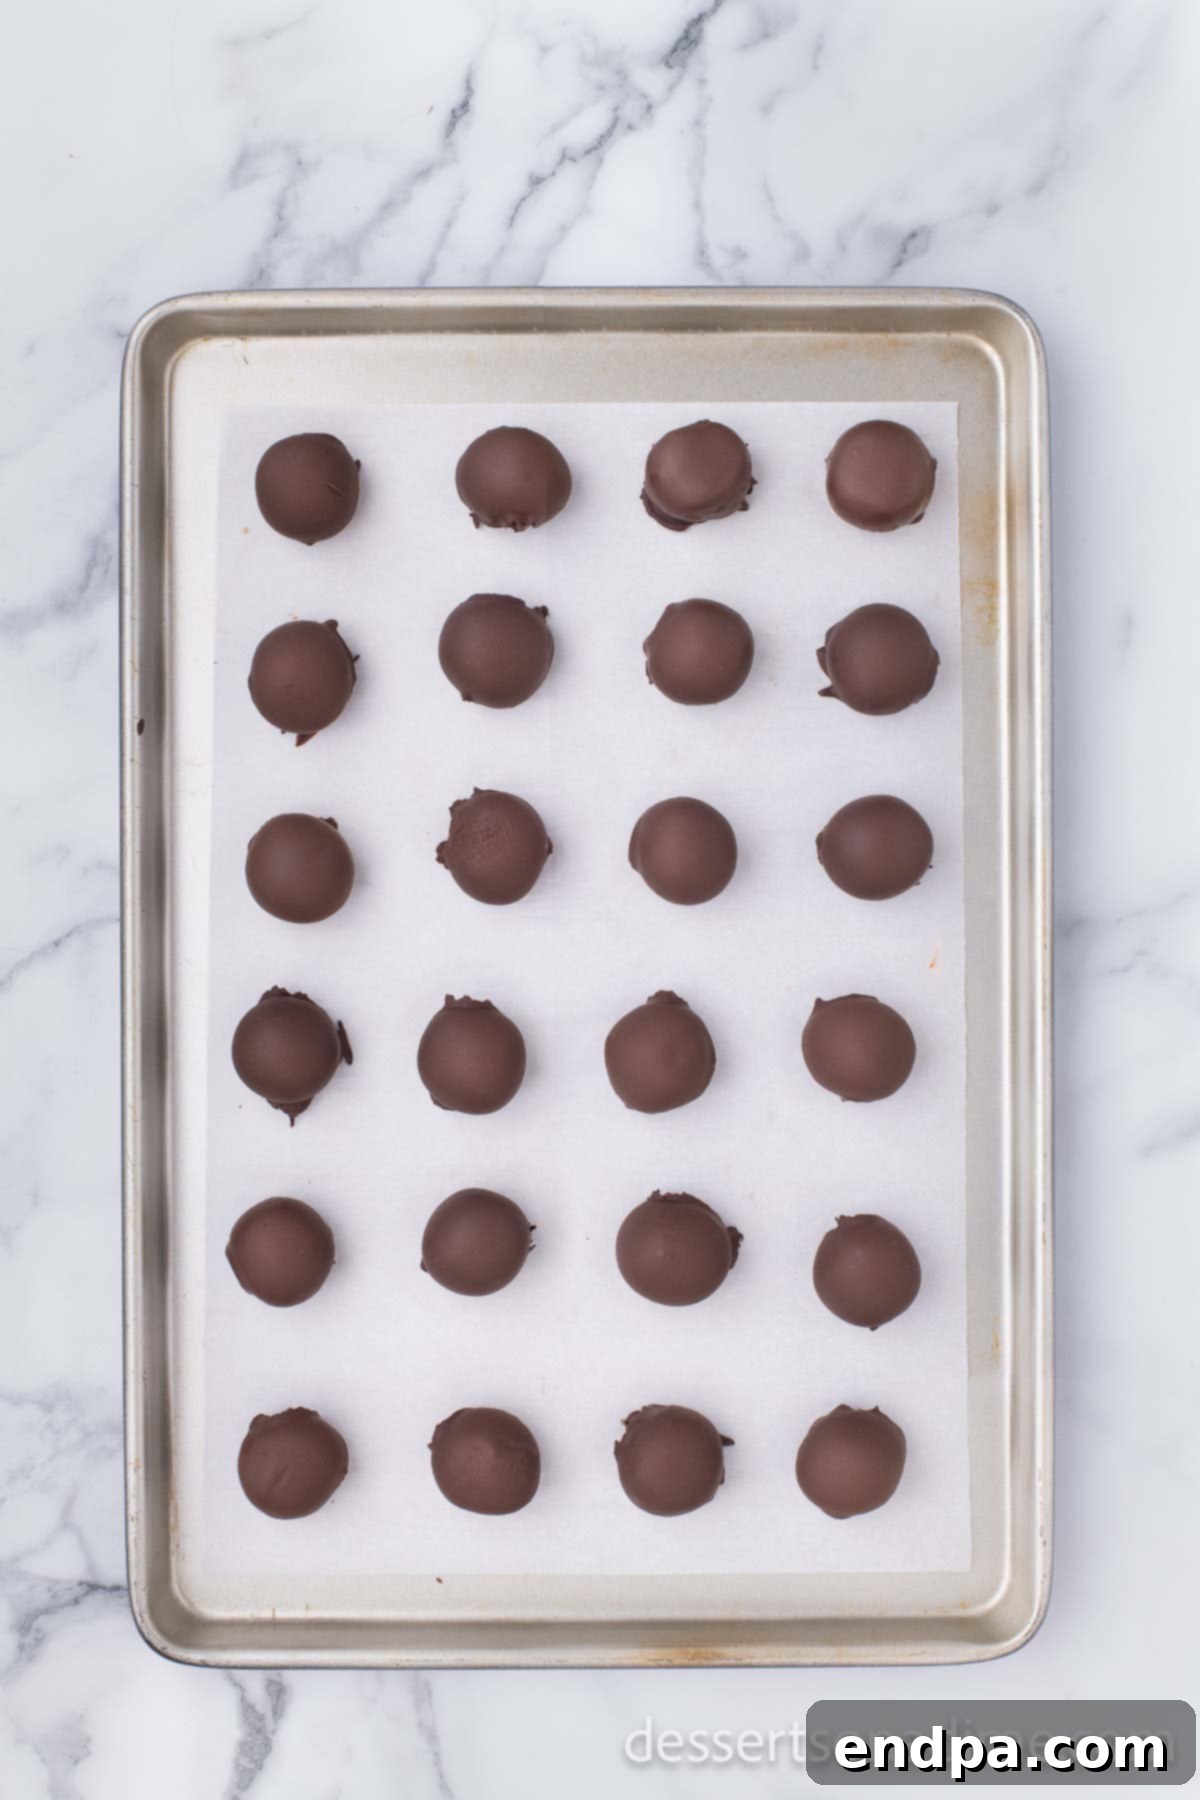
Step 7: Dip and Chill. Take one peanut butter ball at a time and carefully drop it into the melted chocolate. Use a fork to lift the ball out, allowing any excess chocolate to drip off. Gently transfer the coated ball back to the waxed paper-lined baking sheet. Repeat this process until all the peanut butter balls are beautifully coated. Once finished, place the baking sheet in the refrigerator for 15-30 minutes, or until the chocolate coating is completely set and firm.
Expert Tips for Flawless Chocolate Peanut Butter Balls
Achieving perfectly uniform and beautifully coated Chocolate Covered Peanut Butter Balls is easy with a few simple tricks:
- The Power of a Cookie Scoop: For consistently sized peanut butter balls, a cookie scoop is your best friend. It ensures each ball is roughly the same size, which not only looks professional but also helps them chill and set evenly. Using a scoop also makes the rolling process much faster and less messy.
- Chill Before Dipping: This is a crucial step! Make sure your peanut butter balls are thoroughly chilled in the refrigerator for at least 15-20 minutes before you attempt to dip them in chocolate. Cold balls hold their shape better and are less likely to fall apart or become overly soft when introduced to the warm chocolate.
- Mastering the Fork Dip: When dipping the balls, use a fork rather than tongs or your fingers. The tines of the fork allow excess chocolate to drip off easily, preventing puddles of chocolate at the base of your balls. Gently tap the fork against the side of the bowl to remove extra chocolate before transferring the ball to the wax paper.
- Avoid Overheating Chocolate: Be mindful when melting chocolate. Overcooked chocolate can become grainy, seize, or clump, making it impossible to achieve a smooth coating. Melt chocolate gently over a double boiler or in short bursts in the microwave, stirring frequently. Remove from heat as soon as it’s mostly melted, and continue stirring until completely smooth, using residual heat.
- Room Temperature Ingredients (for the filling): While chilling the formed balls is important, starting with room temperature butter (and peanut butter, if it’s been refrigerated) for the peanut butter mixture will make the initial mixing process much smoother and ensure a lump-free, easily blended dough.
- Taming Sticky Peanut Butter: If your peanut butter mixture feels too sticky to roll easily, gradually add a tablespoon or two more of powdered sugar until it reaches a manageable consistency. If it’s too dry and crumbly, add a tiny bit more softened butter or peanut butter.
- Speed is Key: Once your chocolate is melted and your peanut butter balls are chilled, work relatively quickly when dipping. This prevents the chocolate from cooling and thickening too much, ensuring a consistent, smooth coating.
Serving and Storage Suggestions
These versatile treats are perfect for a variety of occasions. Serve them as part of a festive holiday dessert platter, alongside coffee for an afternoon pick-me-up, or as a delightful end to any meal. They are excellent on their own or paired with a cold glass of milk. For a special touch, consider arranging them in mini paper liners.
When it comes to storage, Chocolate Covered Peanut Butter Balls are quite convenient. They are best enjoyed fresh, but can be stored in an airtight container in the refrigerator for up to 2 weeks. This makes them a fantastic make-ahead option for busy periods. You can also freeze them for longer-term enjoyment.
Frequently Asked Questions About Peanut Butter Balls
Chocolate Covered Peanut Butter Balls are a beloved no-bake dessert, particularly popular during the holiday season. They consist of a rich, creamy peanut butter filling, typically made with peanut butter, butter, vanilla, and powdered sugar, which is then shaped into small balls and coated in a smooth layer of melted chocolate. They offer a decadent combination of sweet and salty flavors in a bite-sized format.
The core ingredients for the peanut butter filling usually include creamy peanut butter, softened butter, pure vanilla extract, and powdered sugar (confectioners’ sugar). For the coating, semi-sweet chocolate chips (or your preferred type of chocolate) are melted with a small amount of shortening to ensure a smooth, glossy finish. Optional additions like sea salt or sprinkles can make these treats even more festive.
For optimal freshness and flavor, Chocolate Covered Peanut Butter Balls are best enjoyed within the first few days. However, they can be stored in an airtight container in the refrigerator for up to 2 weeks. Ensure they are completely cooled and the chocolate is set before storing to prevent sticking.
Yes, Chocolate Covered Peanut Butter Balls freeze beautifully, making them an excellent make-ahead option for holiday baking or general meal prep. To freeze:
- Place the prepared and fully chilled chocolate peanut butter balls in a single layer on a baking sheet lined with parchment paper.
- Transfer the baking sheet to the freezer for about 30 minutes, or until the balls are solid. This “flash freezing” prevents them from sticking together.
- Once frozen solid, transfer the balls to a freezer-safe zip-top bag or an airtight container.
- They can be stored in the freezer for up to 2-3 months. Thaw them in the refrigerator for a few hours or at room temperature for about 30 minutes before serving.
Absolutely! While a double boiler is ideal for melting chocolate smoothly, you can easily create one at home. Simply place a heat-safe glass or metal bowl over a saucepan containing about an inch of simmering water. Ensure the bottom of the bowl does not touch the water. The steam from the simmering water will gently melt the chocolate, preventing it from burning or seizing. Stir frequently for best results.
Several factors can cause chocolate to clump or thicken. The most common reasons include overheating the chocolate (it burns easily), getting even a tiny drop of water into the melting chocolate (this causes it to seize), or not adding shortening for fluidity. Ensure you melt chocolate slowly and carefully, avoid any moisture, and always use shortening for a smooth, dip-friendly consistency.
More Chocolate Peanut Butter Desserts
Cookies
Chocolate Peanut Butter Cookies
All Recipes Dessert
Chocolate Peanut Butter Rice Krispie Treats
Easy Fudge
Chocolate Peanut Butter Fudge Recipe
Chocolate Covered Peanut Butter Balls
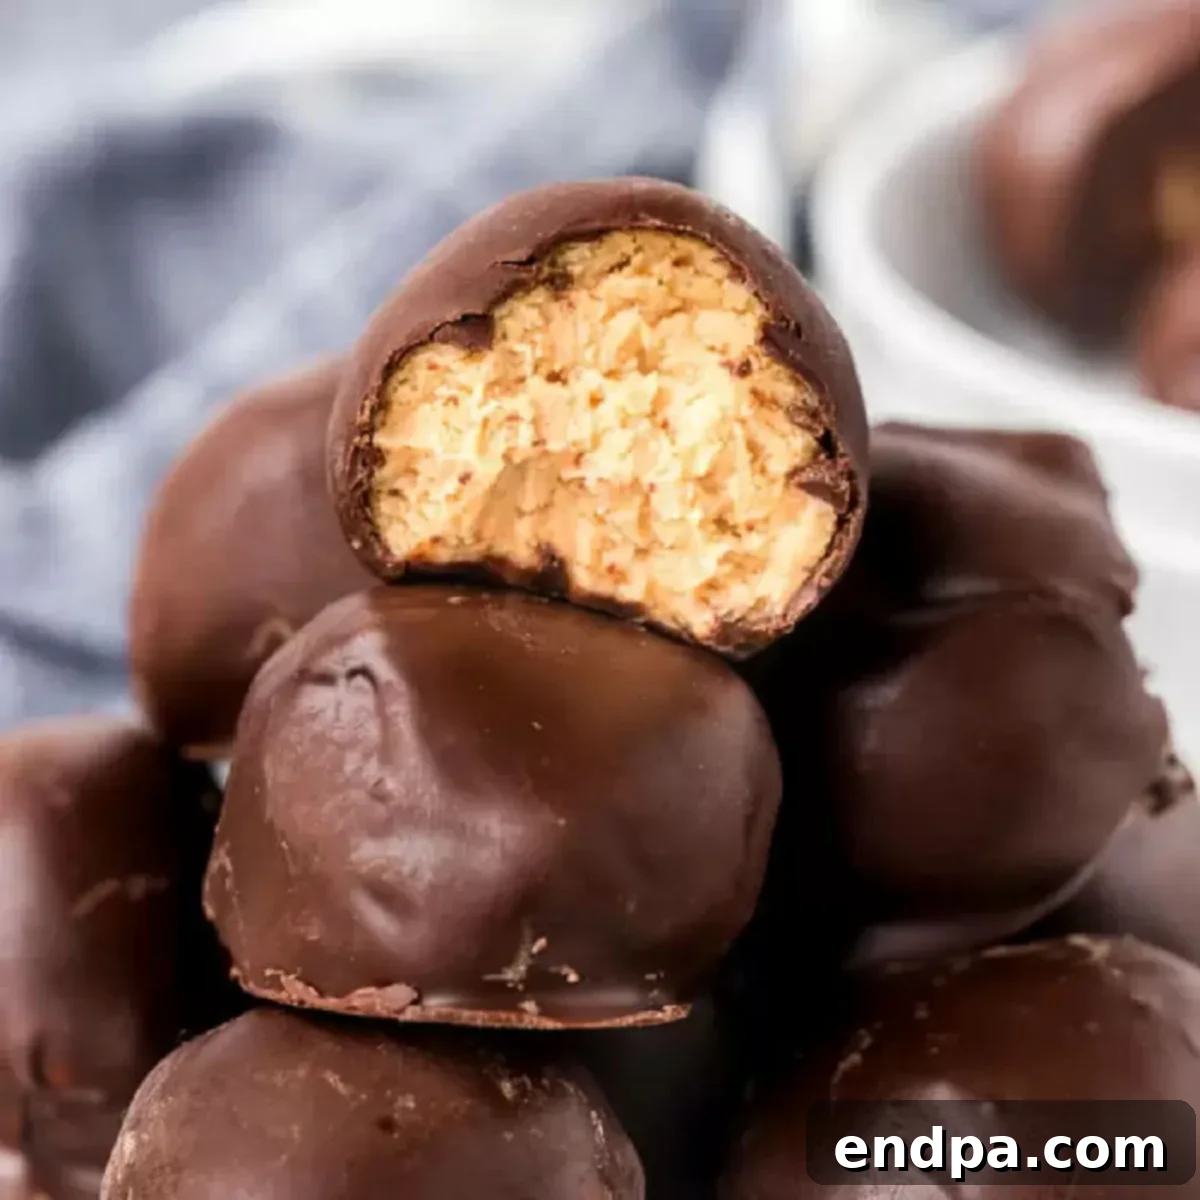
Once you make **Chocolate Covered Peanut Butter Balls**, you will be hooked. This homemade treat *melts in your mouth* for a delicious dessert anytime of the year.
Ingredients
- 1 1/2 cups creamy peanut butter
- 1/2 cup butter softened
- 1 teaspoon vanilla extract
- 3 cups powdered sugar
- 12 oz bag of chocolate chips (semi-sweet recommended)
- 2 tablespoons shortening
Instructions
- Line a baking sheet with waxed paper or parchment paper and set aside.
- In a large bowl, mix creamy peanut butter, softened butter, and vanilla extract together until well combined and smooth.
- Slowly add the powdered sugar to the creamy mixture, about one cup at a time, mixing thoroughly after each addition. The mixture will become firm.
- Once all the powdered sugar is incorporated, the mixture should be firm enough to handle.
- Pinch off small amounts of the mixture and roll them between your hands to form small, uniform balls. Place the peanut butter balls on the prepared baking sheet. For best results, chill the formed balls in the refrigerator for 15-20 minutes before dipping.
- Melt the chocolate chips and shortening together. You can use a double boiler (or a heat-safe bowl over a saucepan with simmering water, ensuring the bowl does not touch the water). Stir frequently until smooth and fully melted.
- One at a time, drop each chilled peanut butter ball into the melted chocolate. Use a fork to lift the ball out, allowing excess chocolate to drip off, then transfer it back to the waxed paper-lined baking sheet.
- Once all the peanut butter balls are coated, place the baking sheet in the refrigerator for 15-30 minutes, or until the chocolate coating is completely hardened.
Nutrition Facts
Calories 197kcal,
Carbohydrates 18g,
Protein 4g,
Fat 13g,
Saturated Fat 4g,
Cholesterol 10mg,
Sodium 108mg,
Potassium 105mg,
Fiber 1g,
Sugar 16g,
Vitamin A 118IU,
Calcium 8mg,
Iron 1mg
Pin This Now to Remember It Later
Pin Recipe
