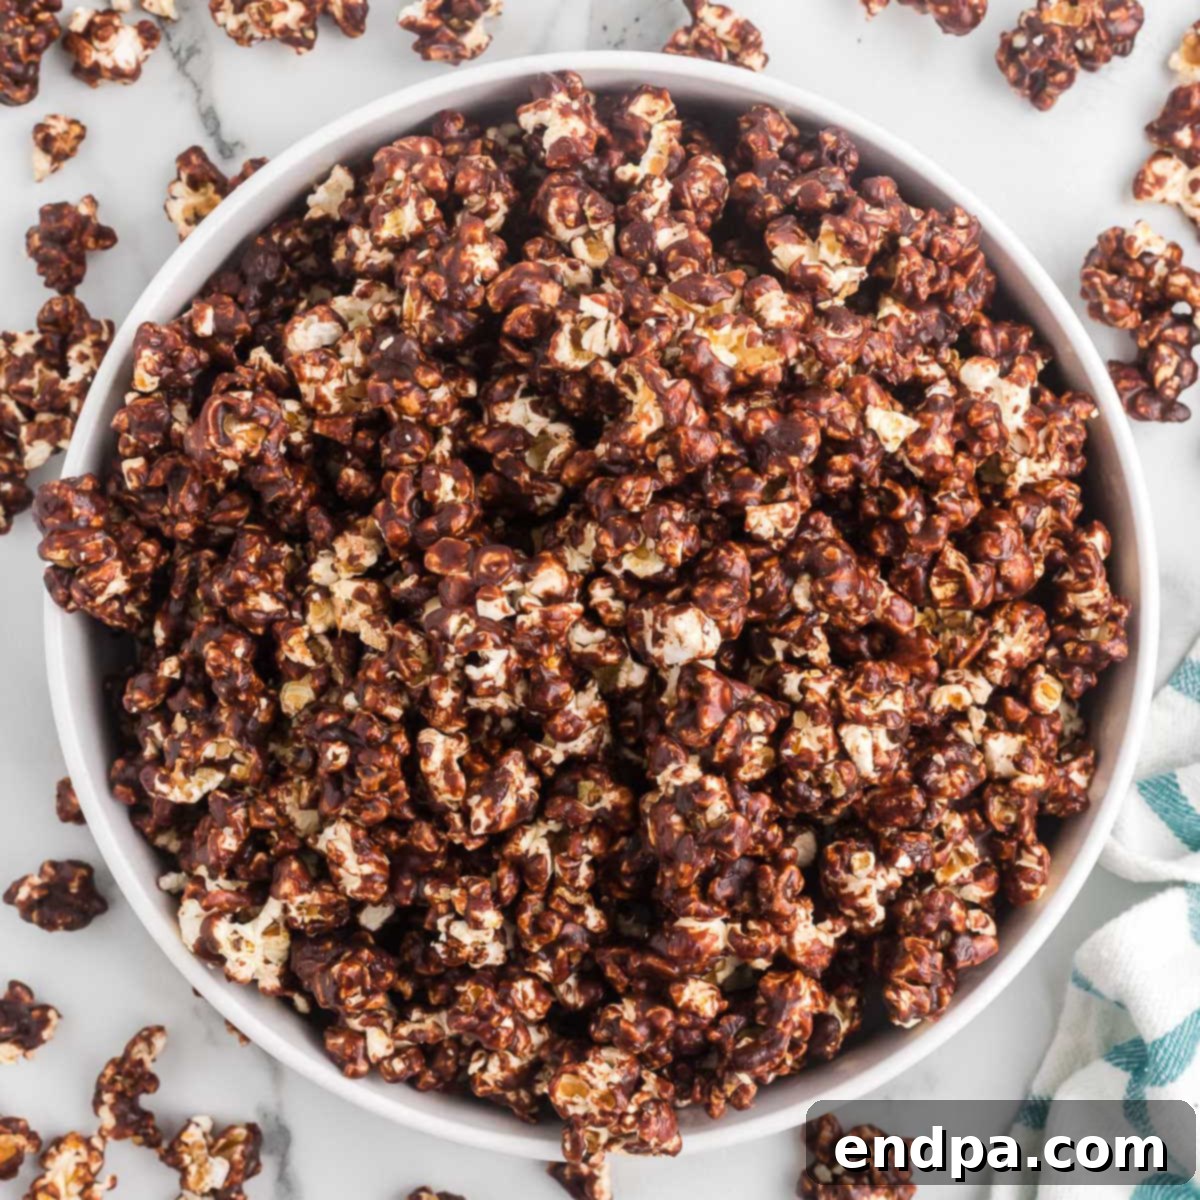
Chocolate Popcorn is an irresistible blend that perfectly marries the satisfying crunch of freshly popped kernels with a luxurious coating of rich, decadent chocolate. This delightful treat is more than just a snack; it’s an experience, transforming ordinary movie nights and casual gatherings into special occasions. Each handful offers a harmonious balance of sweet and salty notes, making it utterly addictive and a true crowd-plepleaser. Prepare to elevate your snacking game with this wonderfully simple yet sophisticated homemade chocolate popcorn.
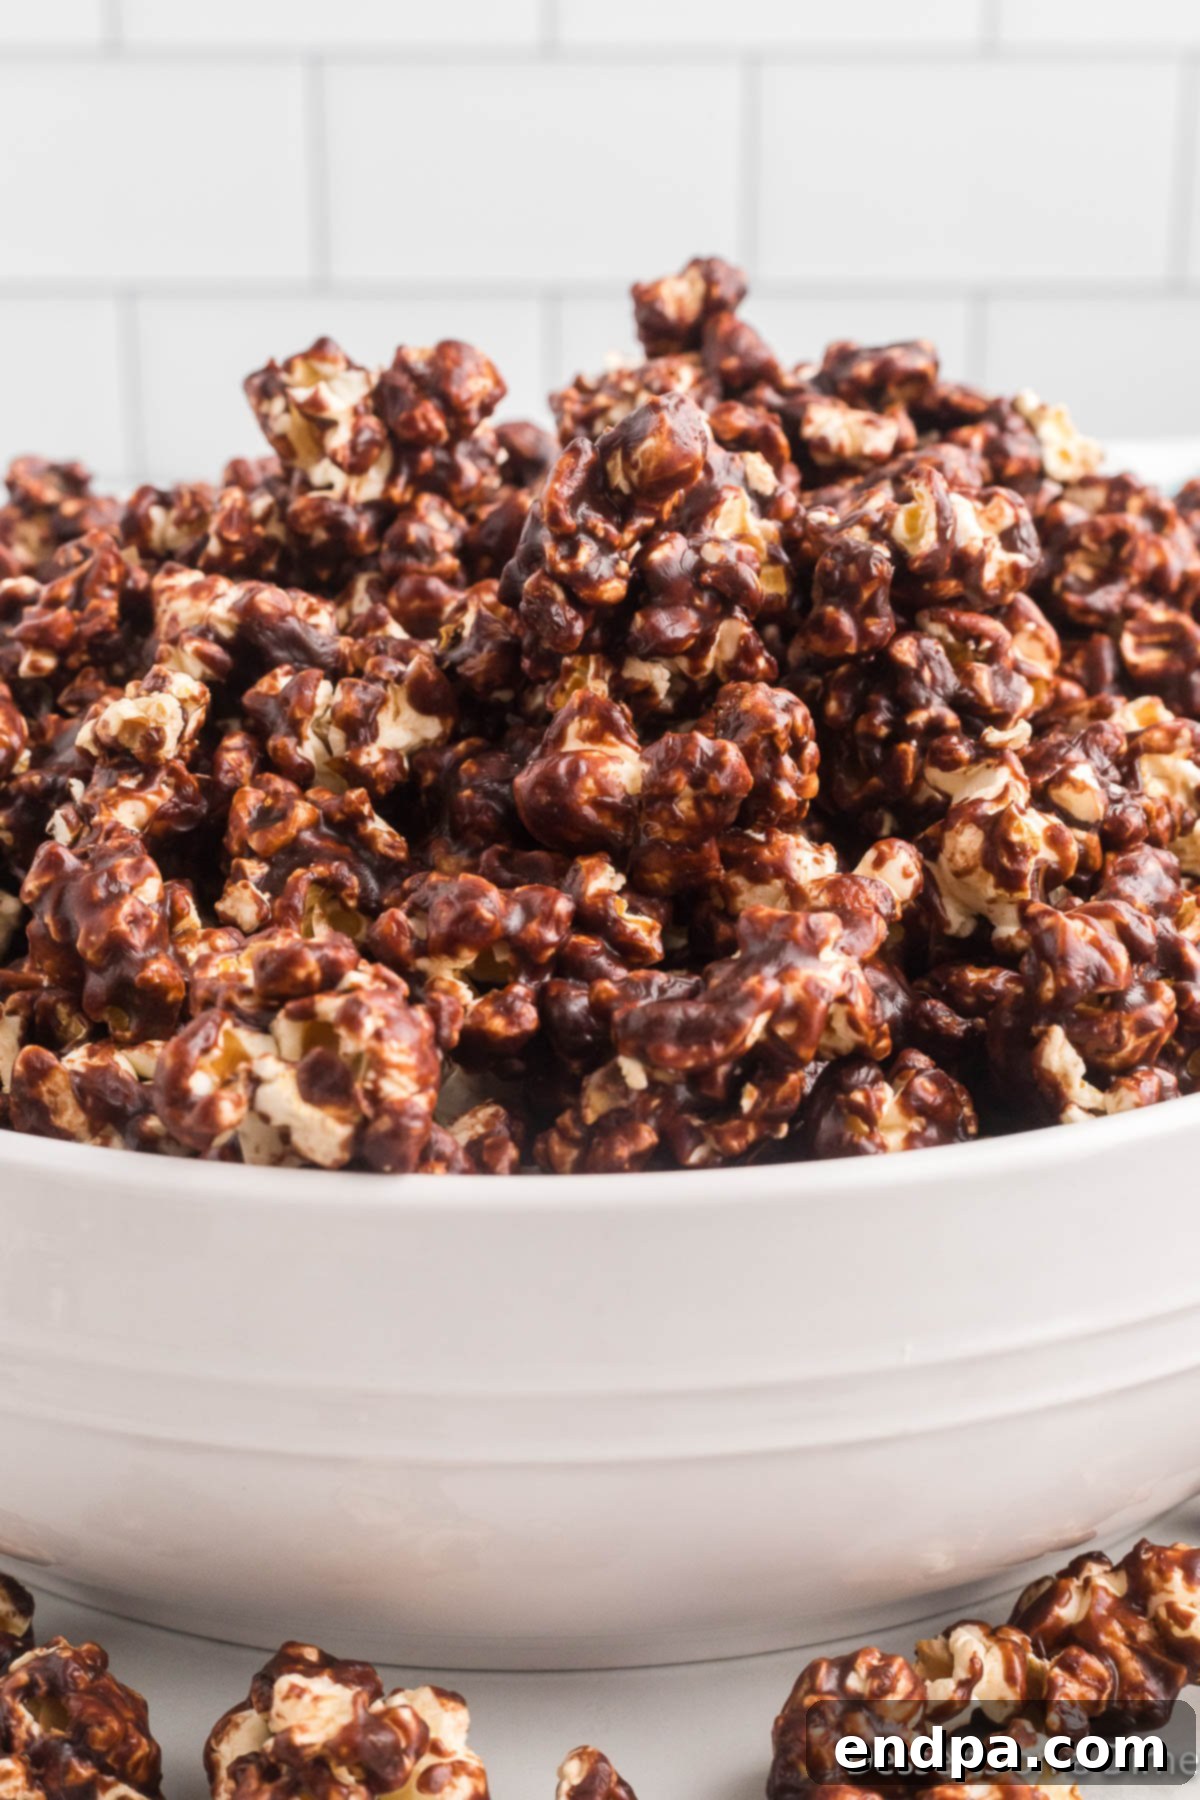
Popcorn holds a special place in our hearts, and we’re always on the lookout for innovative and exciting ways to enjoy it. From classic buttery cinema-style to gourmet caramel, the versatility of popcorn is truly limitless. Today, we’re diving into the delightful world of homemade chocolate covered popcorn, a recipe that stands out for its incredible flavor and straightforward preparation.
This recipe is designed to be accessible for everyone, simple enough to whip up for a quick family treat any day of the week. Yet, its indulgent profile makes it perfectly suited for grander celebrations. Whether you’re hosting a birthday party, celebrating a holiday, or simply looking for a special dessert, our chocolate popcorn promises to impress without the fuss. It’s a guaranteed hit with anyone who has a love affair with chocolate, offering a taste that’s truly dreamy. Enjoy it alongside a creamy Chocolate Milkshake or a slice of Easy Chocolate Cake for the ultimate chocolate indulgence. If you’re a popcorn enthusiast, you might also explore our extensive collection of 69 Popcorn Recipes, including vibrant Rainbow Popcorn.
Table of Contents
- Why We Love This Recipe
- Essential Ingredients
- Creative Variations & Customization
- How to Make Homemade Chocolate Popcorn
- Expert Tips for Perfect Chocolate Popcorn
- Storage Guidelines
- Frequently Asked Questions
- More Flavored Popcorn Recipes
Why We Love This Recipe
The allure of this homemade chocolate popcorn lies in its captivating blend of textures and tastes. If you, like us, are captivated by the delightful interplay of sweet and salty, this recipe is destined to become a staple in your household. It offers an array of compelling reasons to try it:
- Irresistible Flavor Combination: The primary draw is undoubtedly the perfect harmony between the crisp, airy popcorn and the rich, bittersweet chocolate. A touch of salt enhances both flavors, creating a truly addictive snack that’s hard to resist.
- Effortless Preparation: Despite its gourmet taste, this chocolate popcorn is incredibly easy to prepare. With minimal steps and common pantry ingredients, you can whip up a large batch in under an hour, making it ideal for spontaneous cravings or last-minute entertaining.
- Budget-Friendly Indulgence: Enjoy a luxurious treat without breaking the bank. Popcorn is an economical base, and the other ingredients are standard, affordable staples. This allows you to create a high-quality, decadent snack at a fraction of the cost of store-bought gourmet versions.
- Versatile for Any Occasion: Whether it’s a casual family movie night, a festive holiday gathering, a birthday celebration, or a thoughtful homemade gift, chocolate popcorn fits every scenario. Its appealing appearance and universally loved taste make it a versatile choice.
- Customization Opportunities: This recipe serves as an excellent foundation for creativity. As you’ll see in our variations section, there are countless ways to customize this popcorn with different chocolates, nuts, candies, and spices, allowing you to tailor it to specific tastes or themes.
- Homemade Goodness: There’s a distinct satisfaction that comes from making treats from scratch. Homemade chocolate popcorn not only tastes fresher and more authentic than packaged alternatives but also allows you to control the quality of ingredients.
Beyond this chocolate creation, we often find ourselves experimenting with other flavored popcorns such as Candy Popcorn, our beloved Homemade Caramel Popcorn, and rich Butter Toffee Popcorn. For a lighter, yet equally delicious option, Honey Butter Popcorn is a fantastic choice. And for those who appreciate classic simplicity, Kettle Corn Popcorn, Homemade Cracker Jacks, and whimsical Cotton Candy Popcorn are always big hits.
Essential Ingredients
Crafting the perfect batch of chocolate popcorn requires a handful of simple, readily available ingredients. Each component plays a crucial role in achieving that delightful sweet and salty crunch.
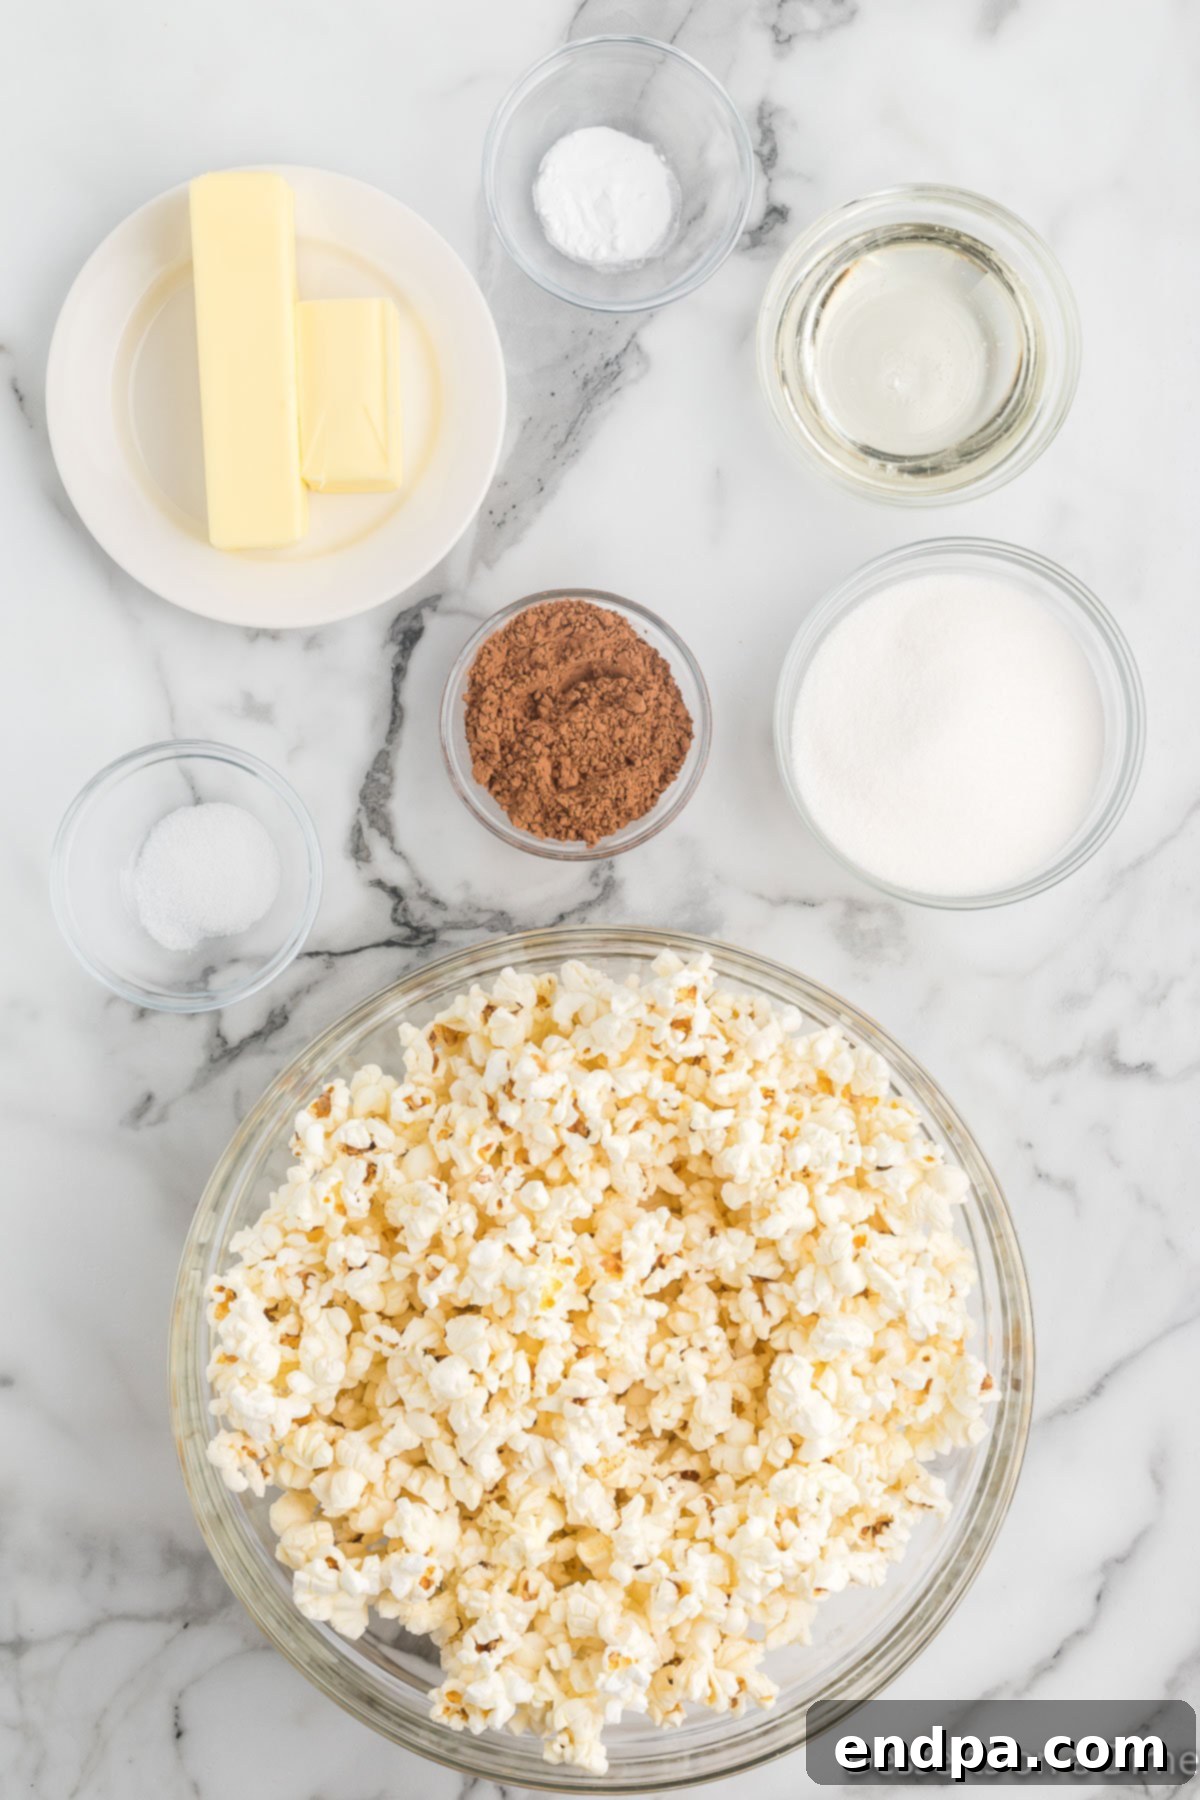
- Popped Popcorn: This is the foundation of our snack. Whether you prefer air-popped, stovetop, or microwave popcorn, ensure it’s plain and unsalted for best results. Crucially, take the time to remove any unpopped kernels to prevent unpleasant surprises and protect your teeth! Aim for about 10 cups of popped kernels.
- Unsalted Butter: Butter provides richness and helps create a smooth, luscious chocolate coating. We recommend unsalted butter so you have complete control over the overall saltiness of the final product. If you only have salted butter, simply omit or reduce the added salt in the recipe. (You’ll need approximately 3/4 cup).
- Granulated Sugar: Essential for sweetness and the caramelization that gives the chocolate coating its desirable texture and sheen. (About 1 cup).
- Light Corn Syrup: This ingredient is key to achieving a professional-quality, glossy coating. Corn syrup helps prevent the sugar from crystallizing, resulting in a smoother, chewier, and less grainy texture. It also contributes to the beautiful sheen of the finished popcorn. (Approximately 1/2 cup).
- Salt: A small amount of salt is vital for balancing the sweetness of the chocolate and sugar, enhancing all the flavors, and truly bringing out that irresistible sweet and salty profile. (Around 1/2 teaspoon).
- Unsweetened Cocoa Powder: The star ingredient for our chocolate flavor. Using unsweetened cocoa powder allows us to control the sweetness of the coating while providing a deep, rich chocolate taste. Good quality cocoa powder makes a noticeable difference. (About 1/2 cup).
- Baking Soda: This might seem like an unusual addition, but baking soda is the secret to achieving that wonderfully light and airy, yet crispy, chocolate coating. When added to the hot sugar mixture, it reacts to create tiny air bubbles, which results in a softer, less brittle caramel that coats the popcorn beautifully without making it overly hard. (Learn more about baking soda substitutes here if needed, though it’s highly recommended for this recipe). (About 1/2 teaspoon).
The precise quantities for these ingredients can also be found in the comprehensive recipe card towards the end of this page.
Creative Variations & Customization
One of the best aspects of this chocolate popcorn recipe is its incredible adaptability. While the basic recipe is fantastic on its own, it serves as a wonderful canvas for creative customization. Here are some ideas to inspire your own unique batches:
-
Different Types of Chocolate: Instead of relying solely on cocoa powder for the coating, you can easily incorporate melted chocolate chips for an even richer, more direct chocolate flavor.
- Melted Chocolate Drizzle: Melt chocolate chips (milk, dark, or white chocolate) and drizzle them over the popcorn after it’s baked and cooled. This adds an extra layer of chocolatey goodness and visual appeal. You can even combine different types for a striking marbled effect. Use a touch of coconut oil to thin melted chocolate for easier drizzling if needed. Melt chocolate gently in a microwave-safe bowl in 30-second intervals, stirring after each, or use a double boiler for a more controlled melt.
- Coating with Melted Chocolate: For an intensely chocolatey experience, you can omit the cocoa powder in the syrup and instead toss the popcorn directly with melted chocolate (using a good quality melting chocolate or tempering chocolate for the best snap).
-
Popcorn Choices: The type of popcorn you use can subtly change the texture and flavor profile.
- We’ve opted for plain microwave popcorn for convenience, but feel free to use stovetop popcorn or air-popped popcorn. Using a specific variety like mushroom-style popcorn kernels can yield larger, rounder pieces that hold more coating. Simply use whatever is most convenient or available in your pantry.
- Candy Melts for Color: For festive occasions or themed parties, consider using candy melts in various colors. Melt them down and use them to coat the popcorn. This is an effortless way to match your snack to birthday themes, holidays (think red and green for Christmas, pastels for Easter), or any special event.
- Vegan Chocolate Options: If you have dietary restrictions or preferences, readily available vegan chocolate chips or baking bars can be used to create a plant-based version of this delightful treat.
- Double the Chocolate: For true chocoholics, why not go for an extra burst of chocolate? After coating the popcorn in the cocoa mixture as normal, allow it to cool slightly, then generously drizzle more melted chocolate (as described above) over the entire batch. This creates a deeply satisfying, multi-layered chocolate flavor.
- Nutty Additions: Introduce a delightful crunch and nutty flavor by tossing in chopped nuts before the chocolate coating fully dries. Pecans, walnuts, almonds, and peanuts are all excellent choices that pair wonderfully with chocolate.
-
Mix-Ins & Toppings: Elevate your chocolate popcorn with a variety of mix-ins. These are best added after the popcorn has been coated and is still slightly warm, or drizzled on top after cooling.
- Mini M&M’s candies
- Reece’s Pieces
- Crushed Heath bar or other chocolate bars
- Sprinkles (colorful ones for birthdays, themed ones for holidays)
- Shredded coconut
- Mini marshmallows
- Pretzel bits (for extra salty crunch)
- Dried fruit pieces (cranberries, cherries)
- Spicy Kick: For an adventurous twist, add a pinch of chili powder or cayenne pepper to the chocolate mixture for a “Mexican hot chocolate” inspired flavor.
- Sea Salt Flakes: A final sprinkle of flaky sea salt after coating (while still wet) can intensify the sweet and salty contrast, adding a gourmet touch.
How to Make Homemade Chocolate Popcorn
Making this incredibly delicious chocolate popcorn is a straightforward process, combining simple ingredients to create a truly irresistible snack. Follow these steps for a perfectly coated, crispy, and flavorful treat.
- Step 1: Prepare Your Baking Environment.
First, preheat your oven to 250 degrees Fahrenheit (120°C). This low temperature is crucial for baking the popcorn to a perfect crisp without burning. While the oven preheats, prepare your baking sheets. Line one or two large baking sheets with parchment paper or foil. The number of sheets you need will depend on their size and the quantity of popcorn you are making; it’s important not to overcrowd the pan for even baking.
Step 2: Create the Rich Chocolate Syrup.
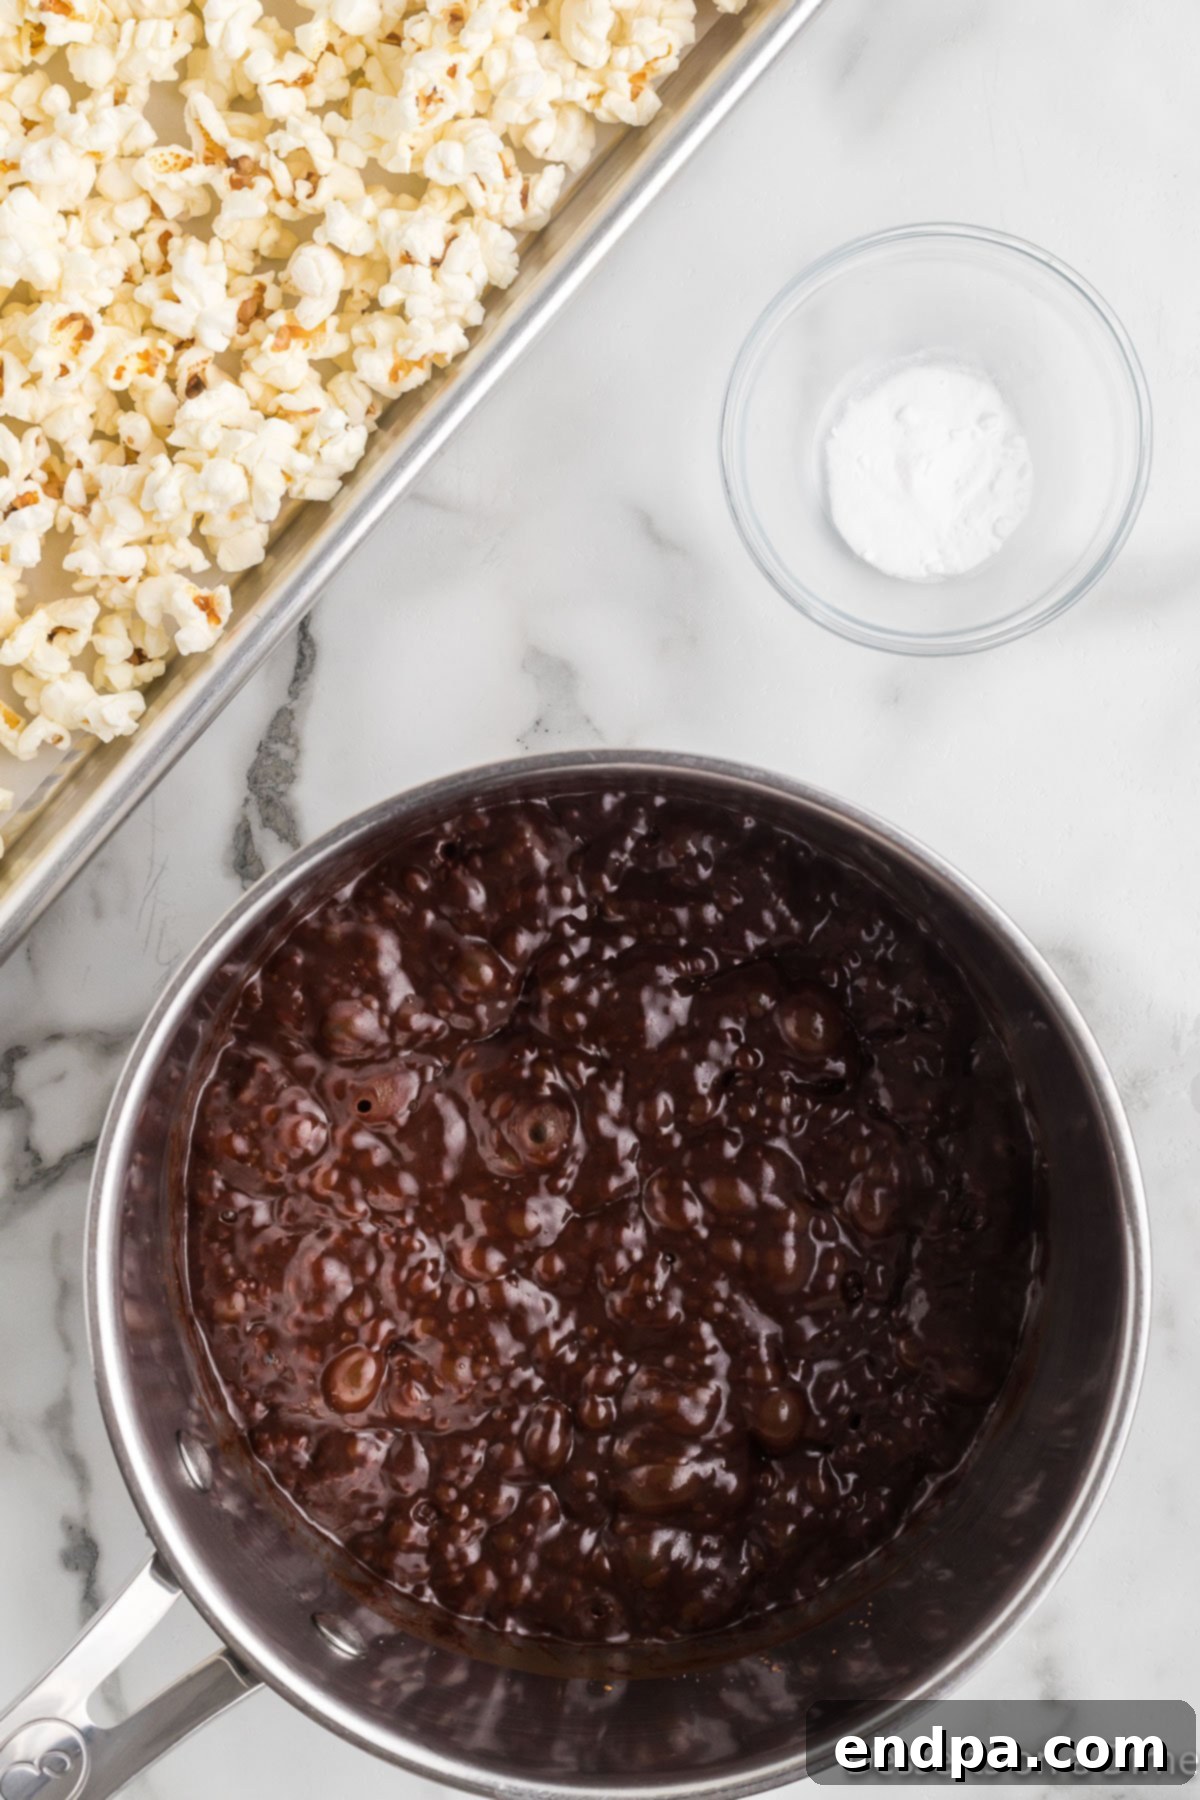
In a large, heavy-bottomed saucepan, begin by melting the unsalted butter over medium heat. Once the butter is fully melted and shimmering, stir in the granulated sugar, light corn syrup, salt, and unsweetened cocoa powder. Mix these ingredients thoroughly until well combined and smooth. Bring this mixture to a rolling boil, stirring frequently to ensure the sugar dissolves and the ingredients fully integrate. Once boiling, allow it to continue boiling for precisely 5 minutes without stirring. This ensures the syrup reaches the correct consistency for a perfect coating. Remove the saucepan from the heat immediately after 5 minutes.
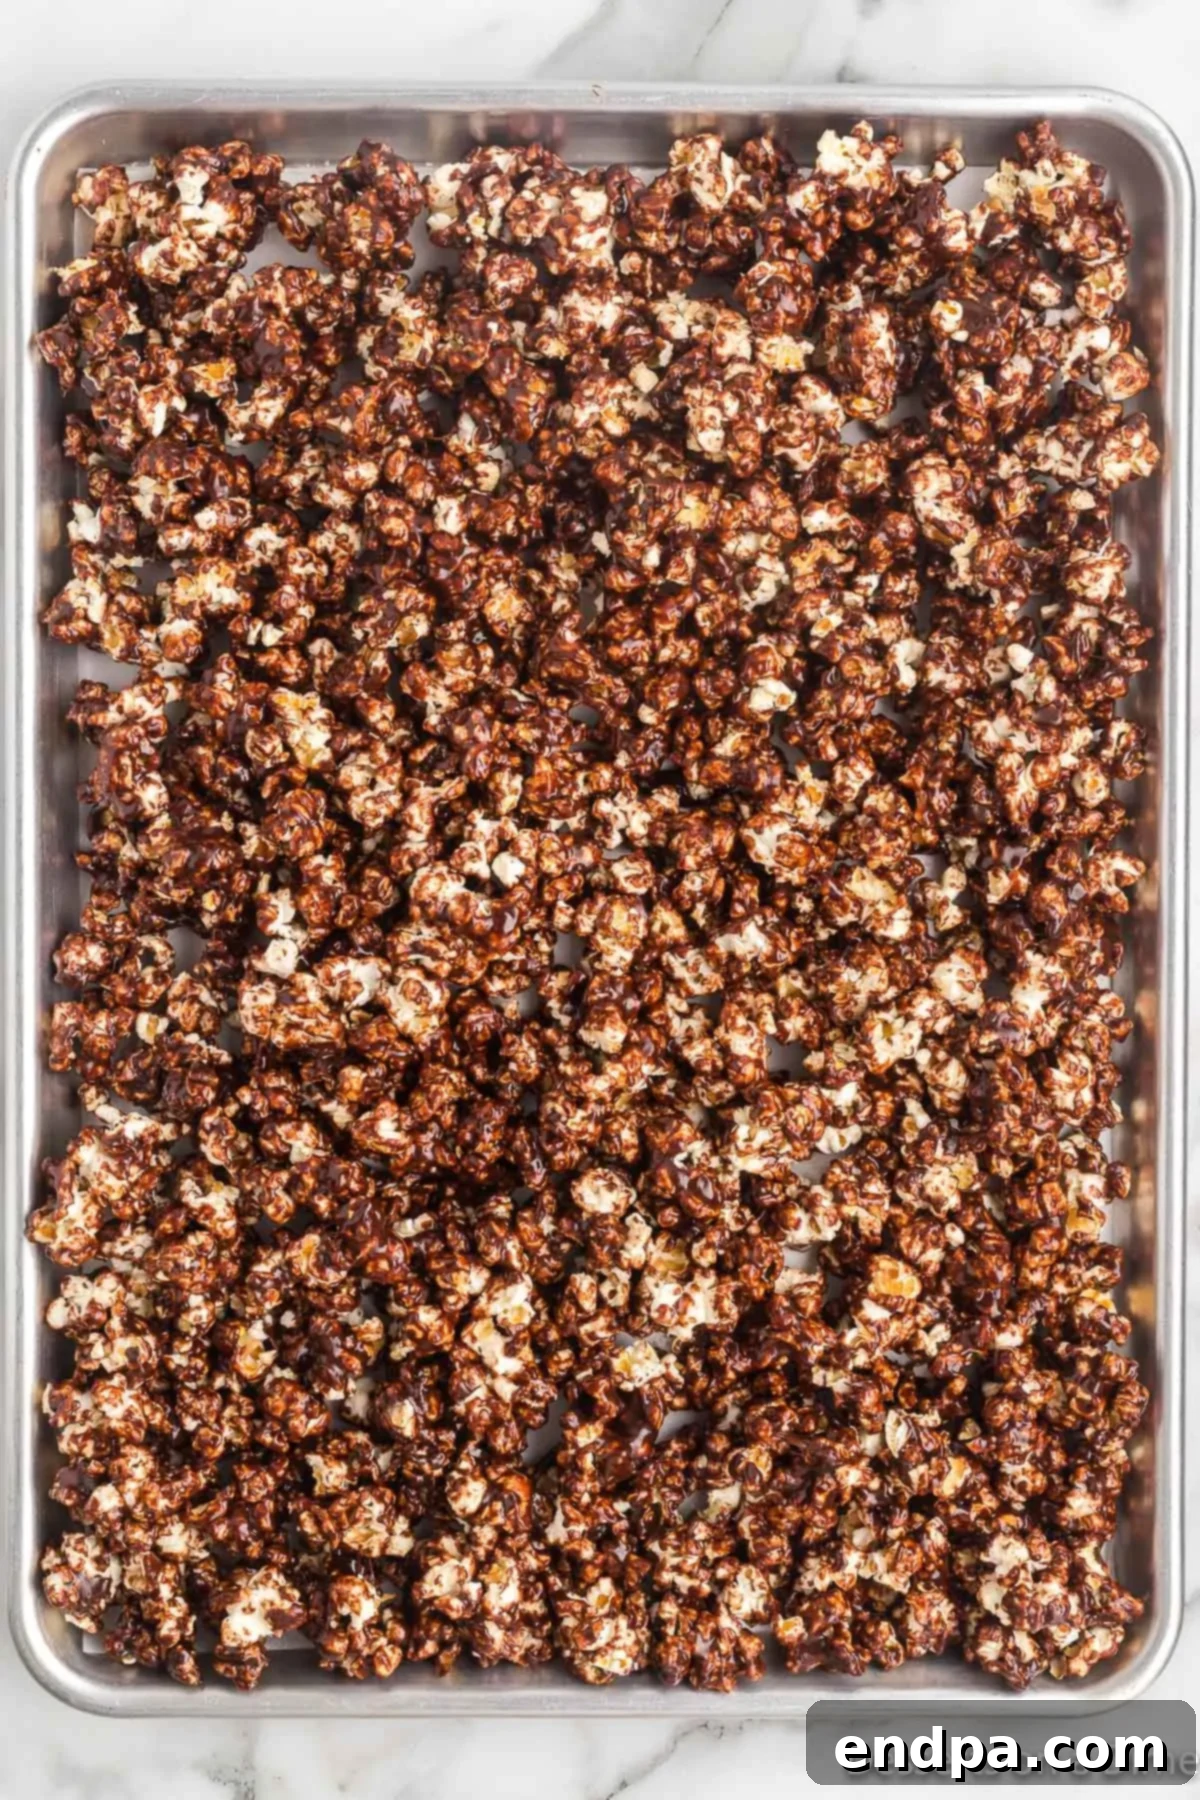
Step 3: Combine Popcorn and Chocolate Syrup.
Once the chocolate syrup is removed from the heat, quickly stir in the baking soda. You will notice the mixture will foam up and lighten in color; this is the baking soda reacting, creating air bubbles that will give your popcorn a delightful, crisp texture. Immediately pour this warm, foamy mixture over your popped popcorn in a very large bowl. Using a spatula or your hands (be careful, it’s warm!), gently but thoroughly toss the popcorn, ensuring every kernel is evenly coated with the rich chocolate syrup. Then, spread the coated popcorn in a single layer onto your prepared baking sheets.
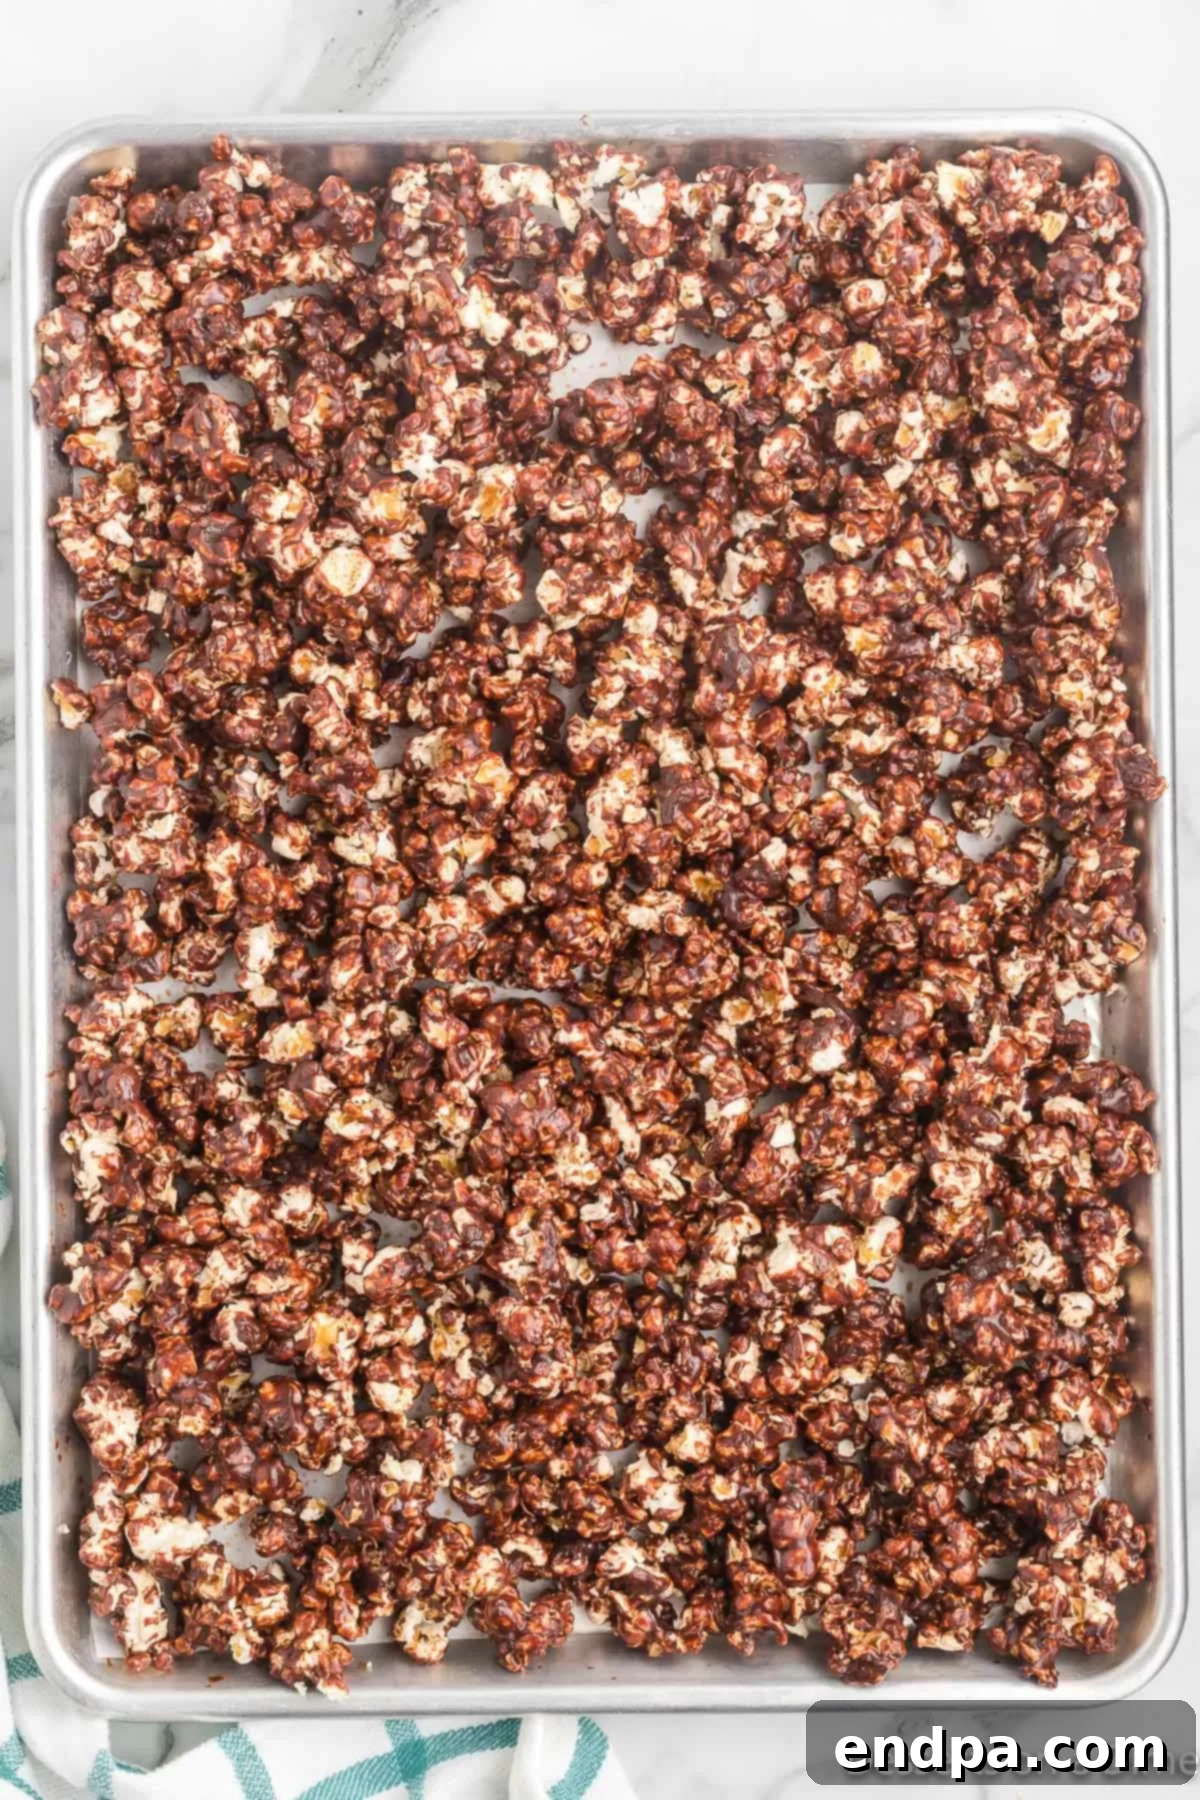
Step 4: Bake to Perfection.
Place the baking sheets into your preheated oven. Bake the chocolate popcorn for a total of 30 minutes. To ensure an even, crisp coating and prevent sticking, make sure to stir the popcorn gently every 10 minutes. This helps to redistribute the kernels and allows the coating to dry uniformly. The baking process helps the chocolate set beautifully and achieves that satisfying crunch.
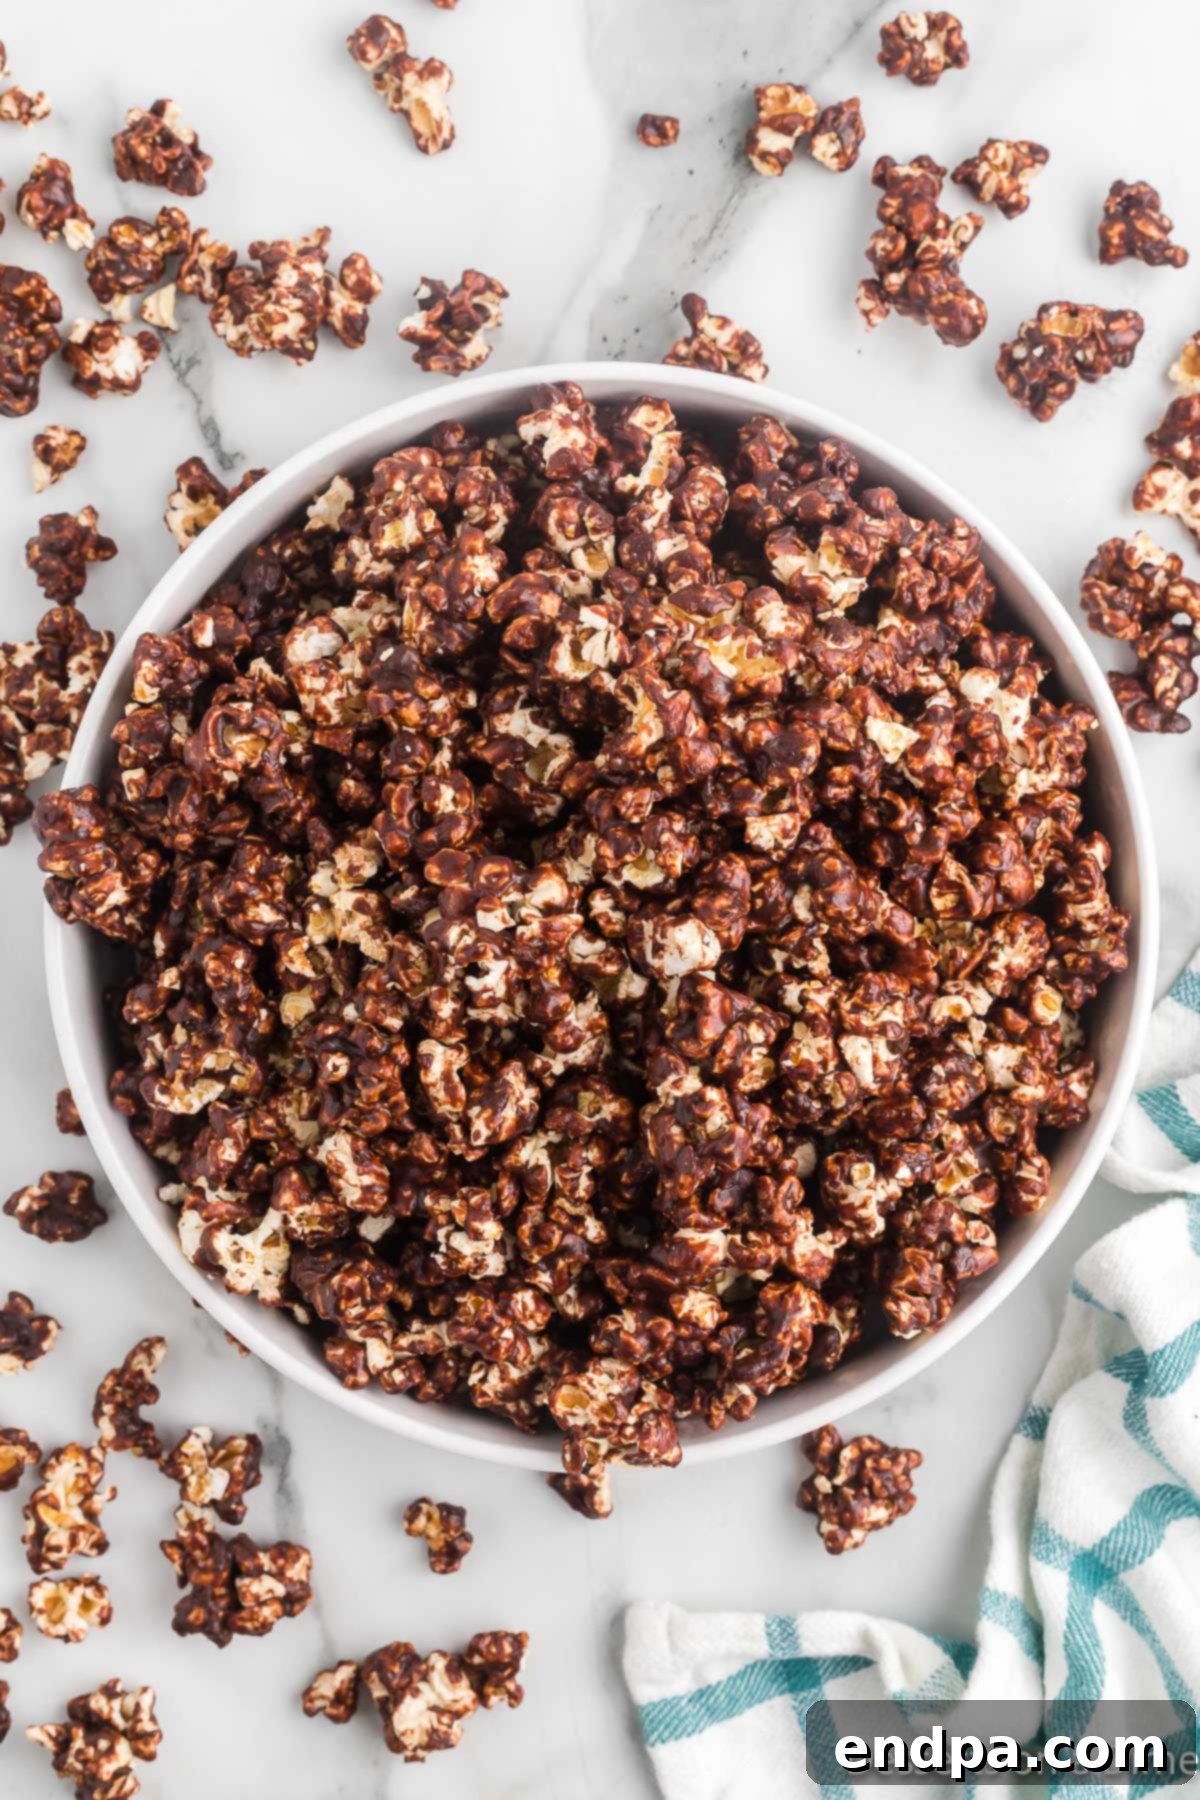
Step 5: Cool and Enjoy.
Once the baking time is complete, remove the popcorn from the oven. Allow it to cool completely on the baking sheets. As it cools, the chocolate coating will harden and become crisp. Once fully cooled, break the popcorn into individual pieces or clusters, as desired. Transfer it to a large serving bowl and prepare to enjoy this delightful, homemade sweet and salty chocolate popcorn!
Expert Tips for Perfect Chocolate Popcorn
Achieving perfectly coated, delightfully crunchy chocolate popcorn is easy with a few simple tricks. Keep these tips in mind to ensure your homemade snack is always a success:
- Remove Unpopped Kernels: Before you even think about coating your popcorn, take a moment to meticulously pick out any unpopped or partially popped kernels. This crucial step prevents anyone from unexpectedly biting down on a hard kernel, which can be unpleasant and even cause dental discomfort.
- Prepare Your Baking Sheets Properly: Always line your baking sheets with parchment paper or a silicone baking mat. The chocolate coating can be quite sticky, and this simple step will make cleanup significantly easier, preventing the popcorn from adhering to the pan. You’ll be glad you didn’t skip it!
- Don’t Overcrowd the Pan: For the best results, spread the chocolate-coated popcorn in a single, even layer on your baking sheets. If the popcorn is piled too high, it won’t dry out and crisp up properly, leading to soggy spots. Use two baking sheets if necessary.
- Stir Regularly During Baking: The instruction to stir every 10 minutes during baking is important. This ensures that the popcorn bakes evenly, prevents it from sticking together excessively, and allows the chocolate coating to become uniformly crisp.
- Cool Completely: Patience is a virtue, especially when it comes to chocolate popcorn. Allow the popcorn to cool completely on the baking sheets before breaking it apart and serving. The coating will firm up as it cools, giving you that perfect snap and crunch.
- Quality of Ingredients Matters: While this recipe uses simple ingredients, opting for a good quality unsweetened cocoa powder can significantly enhance the depth of chocolate flavor in your popcorn.
- Consider for Party Favors: This chocolate popcorn makes an inexpensive yet incredibly charming party favor. Once cooled, divide the popcorn into cellophane bags, tie them with a pretty ribbon, and hand them out to guests for a memorable take-home treat.
- Flavor Enhancers: A tiny sprinkle of flaky sea salt on the popcorn right after it’s coated (while still warm) can really elevate the sweet and salty dynamic, adding a gourmet touch.
Storage Guidelines
Proper storage is key to keeping your homemade chocolate popcorn fresh, crisp, and delicious for as long as possible. Follow these simple recommendations:
- Room Temperature Storage: Once your chocolate popcorn has completely cooled and hardened, store it in an airtight container or a resealable plastic bag. Keep it at room temperature, away from direct sunlight or heat sources. Stored this way, it will remain fresh and crunchy for up to 1 week. Though, in our experience, it rarely lasts that long – we usually finish ours within a few days!
- Freezing for Longer Preservation: If you’ve made a large batch or want to prepare it ahead of time, chocolate coated popcorn can be frozen. Place the cooled popcorn in a freezer-safe airtight container or heavy-duty freezer bag. It can be frozen for up to 3 months. When you’re ready to enjoy it, simply remove it from the freezer and let it thaw at room temperature. It will quickly come back to its original delicious texture.
Frequently Asked Questions
Yes, absolutely! Chocolate coated popcorn freezes exceptionally well. To freeze, ensure it’s completely cooled, then place it inside an airtight container or a heavy-duty freezer bag. It can be stored in the freezer for up to 3 months. Thaw at room temperature before serving.
The key to preventing sogginess is proper storage. Always store your chocolate popcorn in an airtight container or a sealed bag at room temperature. This protects it from humidity, which is the main culprit behind soggy popcorn. Keep the popcorn away from heat sources and humid environments to maintain its crispness.
You have several options! You can use stove-top popcorn, air-popped popcorn, or even plain microwave popcorn (without added butter or salt). The most important thing is that the popcorn is freshly popped and that you remove any unpopped kernels before coating it with the chocolate mixture.
For the best results and texture, it’s highly recommended to use unsweetened cocoa powder and follow the recipe’s syrup-making process, or to use melted chocolate chips as a variation. Chocolate syrup has a different consistency and sugar content, which may lead to a less desirable, potentially soggy or unevenly coated popcorn, and might not set properly.
Chocolate coating seizing (becoming thick, lumpy, and unworkable) is usually due to moisture introducing itself into melted chocolate or overheating the chocolate. When making the syrup in this recipe, ensure your saucepan is completely dry before you start. Also, be careful not to over-boil the syrup beyond the recommended 5 minutes, as this can cause the sugar to crystallize and become grainy. The baking soda step helps prevent this but precise timing is still important.
To make a slightly healthier version, start with air-popped popcorn, which uses less oil. You can also reduce the amount of granulated sugar slightly, or opt for dark chocolate (if using melted chocolate chips) for its lower sugar content and higher antioxidant benefits. Adding nuts for healthy fats and fiber is another great option.
More Flavored Popcorn Recipes
If you’ve enjoyed venturing into the world of sweet and salty treats with our chocolate popcorn, you’ll be thrilled to discover the endless possibilities of flavored popcorn. Expand your snacking repertoire with these other fantastic recipes, perfect for any craving or occasion:
- Red Hot Cinnamon Popcorn: A spicy-sweet kick that’s truly unique.
- White Chocolate Popcorn: A creamy, elegant twist on a classic.
- Cookie Butter Popcorn: Indulgent and rich with the beloved flavor of cookie butter.
- Hot Chocolate Popcorn: All the cozy flavors of hot chocolate in a crunchy snack form.
- S’mores Popcorn: Recreate the campfire classic with marshmallows, chocolate, and graham crackers.
- Snickers Popcorn Recipe: Packed with the delightful flavors of peanuts, caramel, and chocolate.
Don’t hesitate to give our **Irresistible Chocolate Popcorn** a try for an easy, economical, and utterly delicious snack that promises to be a hit. We’d love to hear your thoughts and see your creations! Come back and leave a comment to share your experience.
Chocolate Popcorn Recipe
Chocolate Popcorn is a sweet and salty blend of freshly popped popcorn and a rich chocolate coating. It is the perfect movie night snack or party food. Each chocolate covered popcorn handful is so tasty and decadent.
Prep Time: 10 mins
Cook Time: 35 mins
Total Time: 45 mins
Servings: 10
Cuisine: American
Course: Dessert
Calories: 300 kcal
Author: Carrie Barnard
Ingredients
- 10 cups Popped Popcorn (ensure unpopped kernels are removed)
- 1 cup Granulated Sugar
- 3/4 cup Unsalted Butter
- 1/2 cup Light Corn Syrup
- 1/2 teaspoon Salt
- 1/2 cup Unsweetened Cocoa Powder
- 1/2 teaspoon Baking Soda
Instructions
- Preheat the oven to 250 degrees Fahrenheit (120°C). Line one or two baking sheets with parchment paper or foil, depending on their size and the amount of popcorn.
- In a large saucepan, melt the unsalted butter over medium heat. Stir in the granulated sugar, light corn syrup, salt, and unsweetened cocoa powder until well combined.
- Bring the mixture to a rolling boil, stirring frequently. Once boiling, continue to boil for approximately 5 minutes without stirring. Remove the saucepan from the heat.
- Quickly stir in the baking soda. The mixture will foam up and lighten.
- Place the popped popcorn in a very large bowl. Pour the chocolate mixture over the popcorn and gently toss to coat all the kernels evenly.
- Spread the coated popcorn in a single layer onto the prepared baking sheets.
- Bake for 30 minutes, stirring the popcorn gently every 10 minutes to ensure even baking and crispness.
- Remove the popcorn from the oven and allow it to cool completely on the baking sheets. As it cools, the chocolate coating will harden.
- Once fully cooled, break the popcorn into pieces. Serve and enjoy your homemade chocolate popcorn!
Recipe Notes
Store any leftover chocolate popcorn in an airtight container or bag at room temperature for up to 1 week to maintain its freshness and crunch.
Nutrition Facts (per serving)
Calories: 300kcal, Carbohydrates: 44g, Protein: 2g, Fat: 15g, Saturated Fat: 9g, Polyunsaturated Fat: 1g, Monounsaturated Fat: 4g, Trans Fat: 1g, Cholesterol: 37mg, Sodium: 185mg, Potassium: 106mg, Fiber: 3g, Sugar: 33g, Vitamin A: 447IU, Calcium: 13mg, Iron: 1mg
