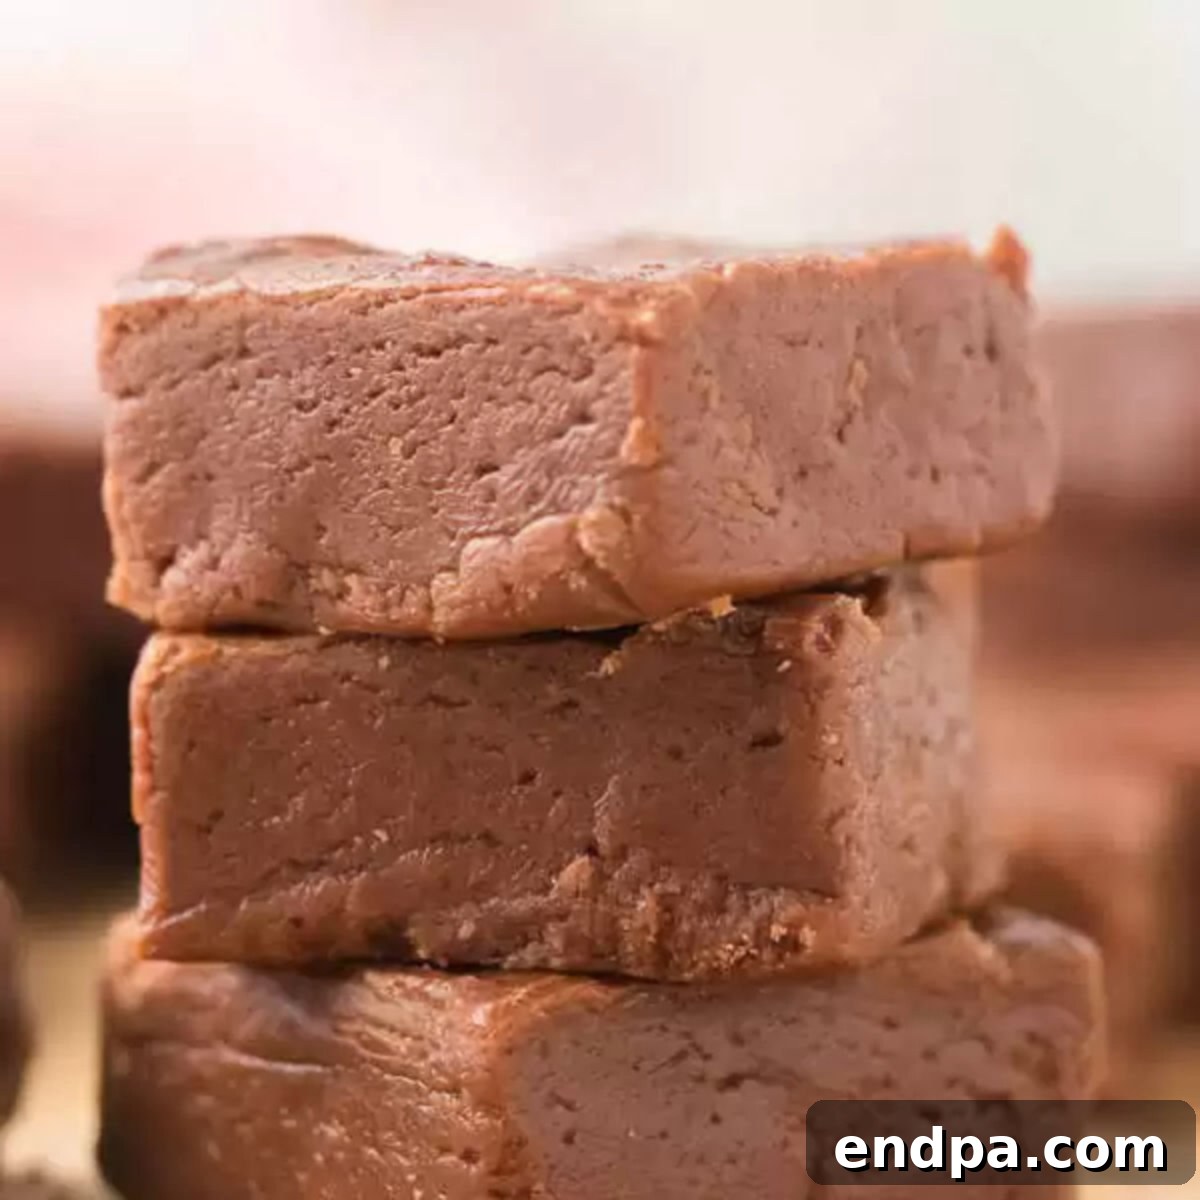
Discover the delightful simplicity of crafting rich, creamy Homemade Chocolate Fudge. Forget complicated candy thermometers and endless stirring; this incredible recipe requires just three essential ingredients and minimal effort. The result is a truly decadent treat that’s both incredibly simple to make and irresistibly delicious, melting in your mouth with every bite.
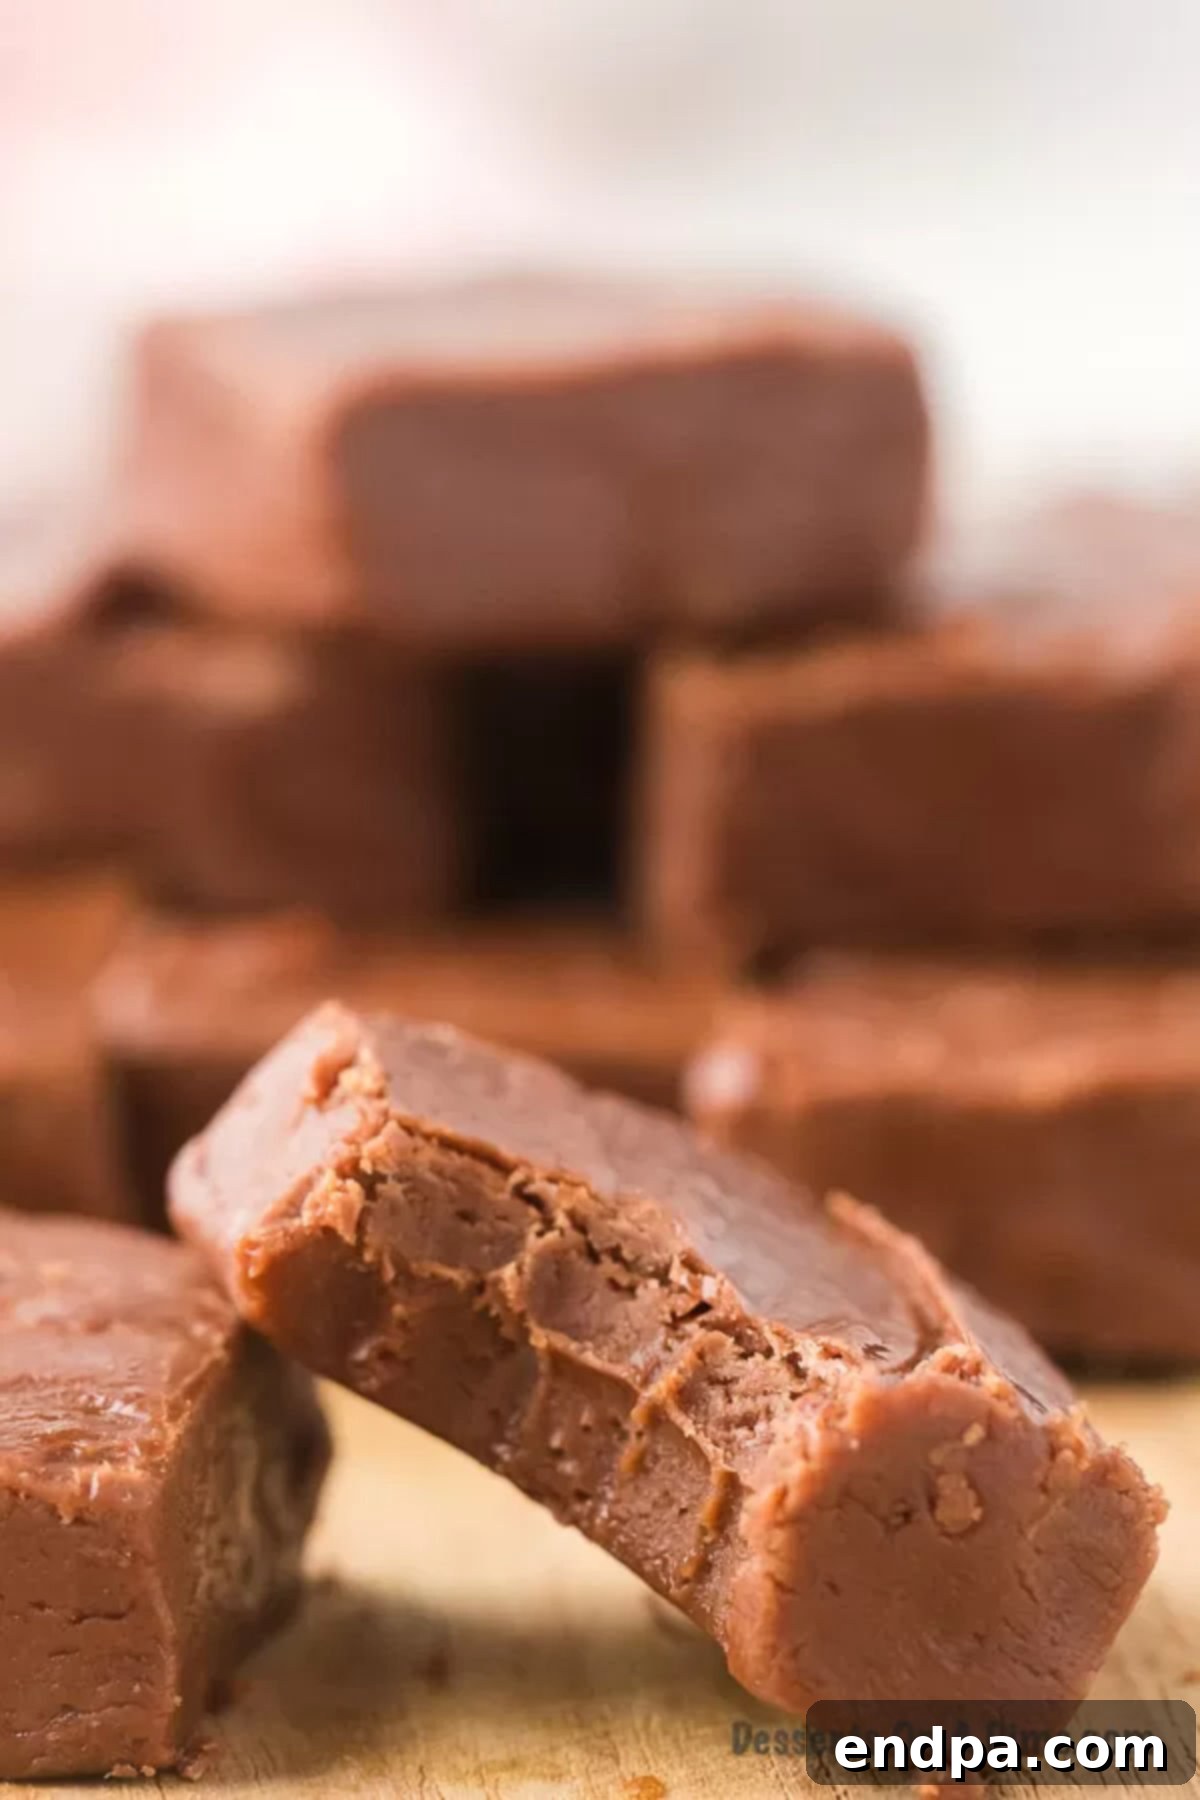
For many years, the idea of making fudge at home seemed like a daunting task, something reserved for seasoned confectioners. I used to believe that creating that perfectly smooth, rich texture was incredibly complicated, often leading me to shy away from attempting it. However, everything changed when I discovered this fantastic 3-ingredient chocolate fudge recipe. It’s not just a recipe; it’s a game-changer, quickly becoming my go-to for its unbelievable ease and consistent, heavenly results.
The beauty of this easy chocolate fudge recipe lies in its versatility. While it’s utterly divine in its classic form, it also serves as an excellent base for countless variations. Fancy a festive treat? Easily adapt it to make peppermint fudge by adding a touch of mint extract. Craving a textural delight? Top it with fluffy marshmallows, crunchy nuts, and a chocolate drizzle to create a stunning rocky road fudge. The possibilities are truly endless, allowing you to customize this simple dessert to suit any occasion or preference.
This homemade fudge proves that extraordinary flavor doesn’t have to come with extraordinary effort. The process is genuinely straightforward, and the delicious outcomes speak for themselves. Beyond this classic, don’t miss out on trying other fantastic fudge creations like our effortless Crock Pot Fudge and the mesmerizing swirl of our Tiger Butter Fudge Recipe. Each offers a unique twist on this beloved confection, reinforcing the fact that making delightful fudge can be surprisingly simple and rewarding.
What’s in this post: Homemade Chocolate Fudge Recipe
- Why Make this Homemade Fudge:
- The Magic of Just 3 Ingredients:
- Ingredients You’ll Need:
- Creative Variation Ideas:
- How to Make Easy Chocolate Fudge:
- Expert Recipe Tips for Perfect Fudge:
- Irresistible Topping Ideas:
- How to Store Homemade Chocolate Fudge:
- More Delightful Fudge Recipes:
- Homemade Chocolate Fudge Recipe Card
Why Make this Homemade Fudge:
There’s a special charm to homemade chocolate fudge that store-bought versions simply can’t replicate. For me, this particular recipe evokes fond memories of my grandmother’s kitchen, where rich, comforting aromas always filled the air. The deep, intense chocolate flavor of this recipe truly makes it the best old-fashioned fudge, a timeless classic that never fails to impress.
Beyond its nostalgic appeal, this fudge is an absolute dream for anyone seeking a delicious treat that doubles as a thoughtful gift. Its elegant appearance and luxurious texture make it the perfect homemade present for holidays, birthdays, or just to show someone you care. Imagine beautifully packaged squares of this fudge gracing your holiday dessert trays, each piece promising a melt-in-your-mouth experience that will leave everyone craving more. It’s a simple gesture that delivers profound joy, proving that the best gifts are often those made with love and a handful of quality ingredients.
Making your own fudge is also incredibly cost-effective compared to buying gourmet fudge, and you have complete control over the quality of ingredients. Plus, the process itself is surprisingly therapeutic, offering a sweet escape in your kitchen. It’s a wonderful way to satisfy your chocolate cravings, create lasting memories, and share a piece of homemade goodness with those you cherish.
The Magic of Just 3 Ingredients:
The secret to this incredibly simple yet utterly delicious chocolate fudge lies in its minimalist approach. You might be surprised that such a rich and creamy dessert requires so few components. Each ingredient plays a crucial role in creating the perfect texture and flavor, making it a masterpiece of culinary efficiency. This recipe bypasses the need for complex techniques or specialized equipment, proving that sometimes, less truly is more in the world of sweets.
The combination of these three simple pantry staples results in a fudge that is consistently smooth, delightfully firm yet pliable, and bursting with authentic chocolate taste. It’s a testament to how humble ingredients, when combined correctly, can produce an extraordinary confection. This simplicity also makes it an ideal recipe for beginner bakers or anyone looking for a quick and satisfying dessert solution.
Ingredients You’ll Need:
Gathering your ingredients for this easy chocolate fudge is half the battle won. Here’s what you’ll need to create this amazing treat:
- Semi-Sweet Chocolate Chips: These are the star of our fudge, providing that classic rich chocolate flavor without being overly sweet. They melt beautifully and contribute to the fudge’s smooth texture.
- Sweetened Condensed Milk: This magical ingredient does double duty, adding sweetness and creaminess, while also acting as the binding agent for our fudge. It’s key to achieving that signature melt-in-your-mouth consistency.
- Vanilla Extract: A touch of vanilla elevates the chocolate flavor, adding depth and a subtle aromatic complexity that makes the fudge truly irresistible. Don’t skip this for the best taste!
For precise measurements and a detailed recipe, please refer to the comprehensive recipe card located at the bottom of this post. It contains all the information you need to perfectly execute this simple yet sensational fudge.
Creative Variation Ideas:
While this classic chocolate fudge is perfect on its own, it’s also an ideal canvas for creativity. Experiment with these variation ideas to personalize your fudge and discover new favorite flavor combinations:
- Change the Chocolate Chips: Don’t be afraid to switch up your chocolate base!
- For a milder, sweeter fudge, use Milk Chocolate Chips.
- For a richer, more intense flavor, opt for Dark Chocolate Chips.
- For a unique contrast, or as a base for colorful additions, try White Chocolate Chips. You can even swirl different types together for a marbled effect.
- Add Nuts: Incorporating nuts adds a delightful crunch and nutty flavor that complements the smooth fudge perfectly. Stir in a cup of finely chopped pecans, walnuts, or even almonds to the fudge mixture just before spreading it into the pan.
- Peanut Butter Swirl: Chocolate and peanut butter is a match made in heaven! Once your chocolate and sweetened condensed milk mixture is melted and combined, stir in about 1/2 to 1 cup of creamy peanut butter until just incorporated but still showing a distinct swirl for a beautiful marbling effect and incredible flavor.
- Peppermint Extract: For a festive and refreshing treat, especially around the holidays, add a teaspoon of peppermint extract to the melted fudge mixture along with the vanilla. This creates a vibrant peppermint chocolate fudge that’s truly irresistible.
- Espresso Boost: For coffee lovers, dissolve 1-2 teaspoons of instant espresso powder into the warmed condensed milk before adding the chocolate chips. It deepens the chocolate flavor beautifully without making the fudge taste like coffee.
- Citrus Zest: For a bright, aromatic twist, add 1-2 teaspoons of finely grated orange or lemon zest to the fudge mixture. The citrus notes cut through the richness of the chocolate, offering a refreshing counterpoint.
- Mix-Ins Galore: Beyond nuts, consider adding other fun mix-ins. Mini marshmallows, crushed pretzels for a salty-sweet crunch, shredded coconut, or even chopped dried cherries or cranberries can transform your fudge.
- Salted Caramel Swirl: After spreading the fudge into the pan, dollop spoonfuls of warmed salted caramel sauce on top and gently swirl it through with a knife for an elegant and delicious salted caramel chocolate fudge.
How to Make Easy Chocolate Fudge:
Creating this incredible homemade chocolate fudge is a straightforward process, broken down into simple, easy-to-follow steps. Let’s get started on your journey to deliciousness!
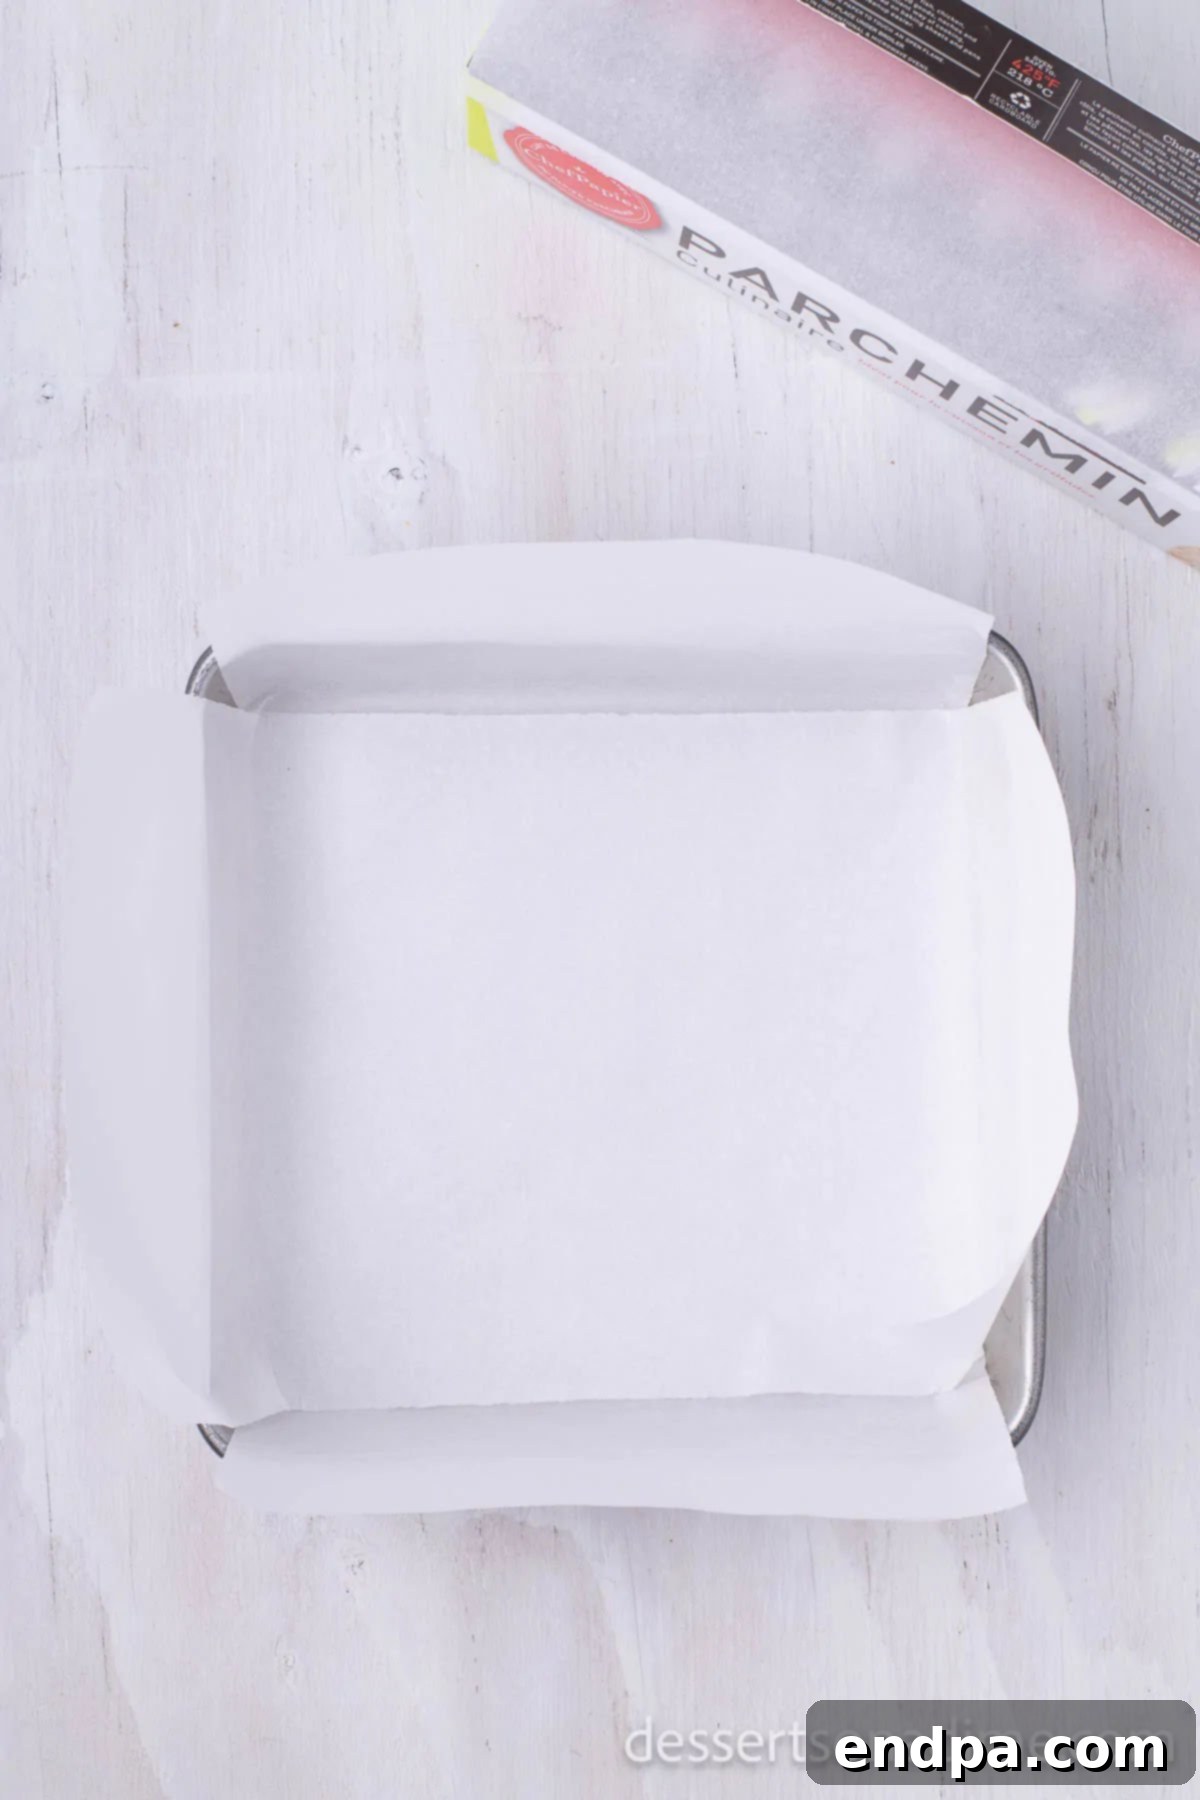
Step 1: Prepare Your Pan. Begin by preparing a 9×9 square baking pan. Line it thoroughly with parchment paper, ensuring that the paper extends up and over the sides of the pan. This crucial step will create handy “handles,” making it incredibly easy to lift the set fudge out of the pan later, ensuring a clean and effortless removal.
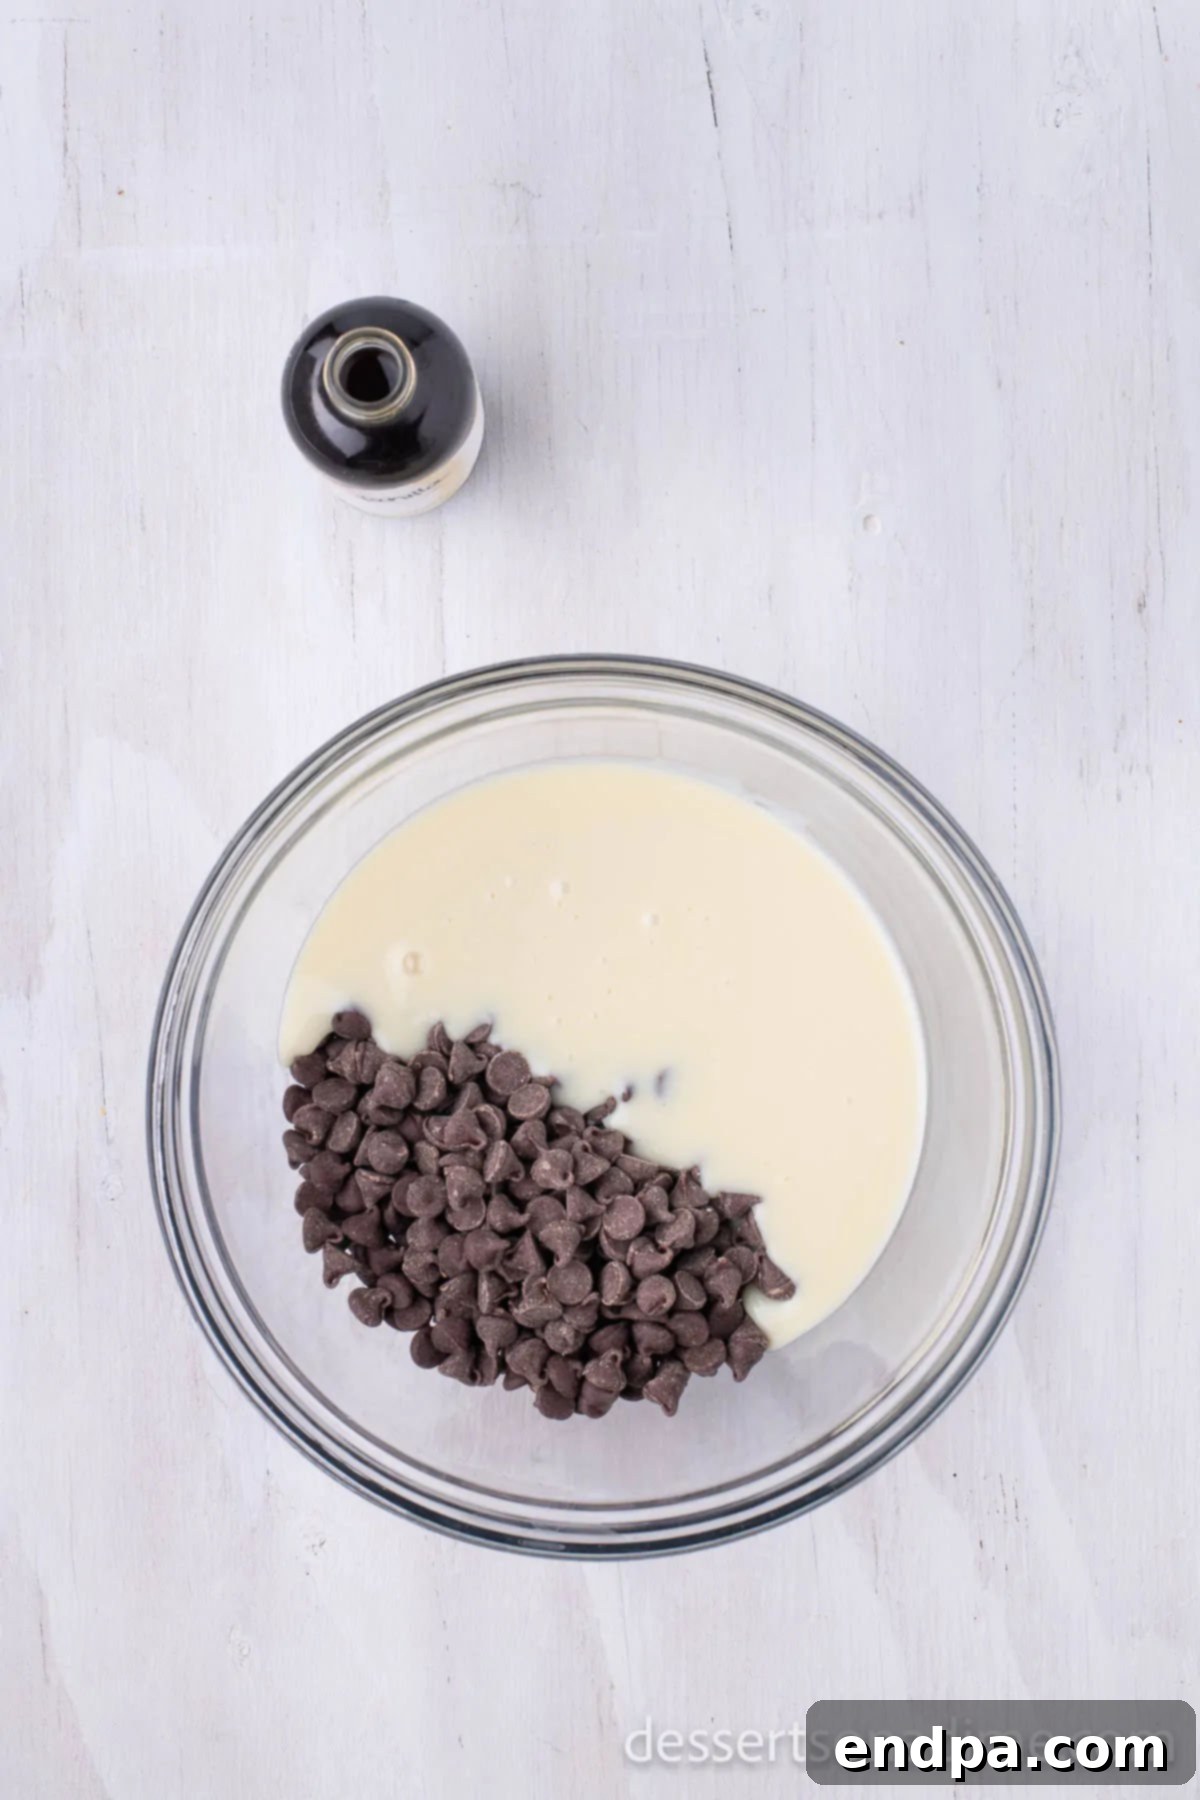
Step 2: Initiate Melting. In a large, microwave-safe bowl, combine your semi-sweet chocolate chips and the sweetened condensed milk. Place the bowl in the microwave and heat for an initial minute. Microwaving in short intervals helps prevent the chocolate from burning, ensuring a smooth melt.
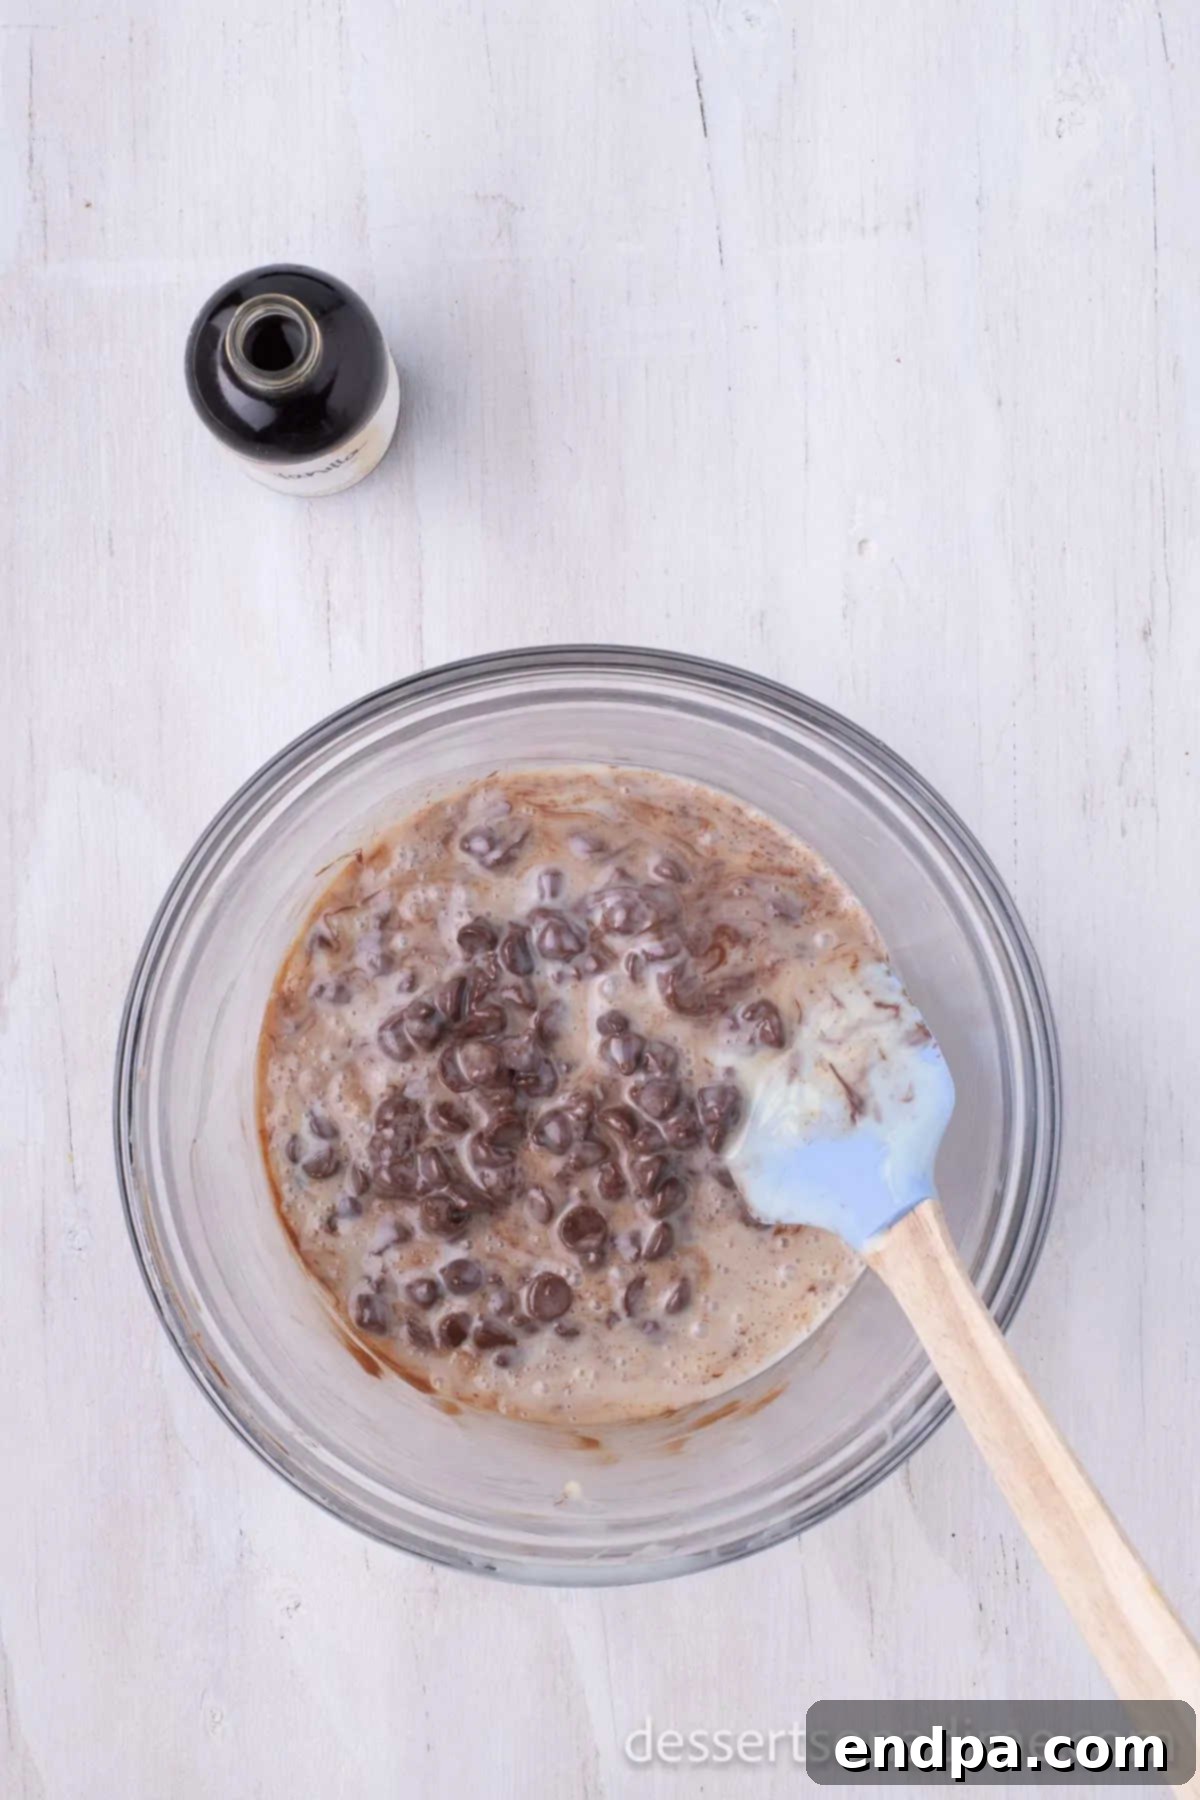
Step 3: Combine and Stir. After the initial minute, remove the bowl from the microwave and stir the ingredients thoroughly. Even if the chocolate doesn’t appear fully melted, the residual heat will continue to soften it. I find a sturdy wooden spoon works best for this, ensuring everything is well combined and promoting even melting.
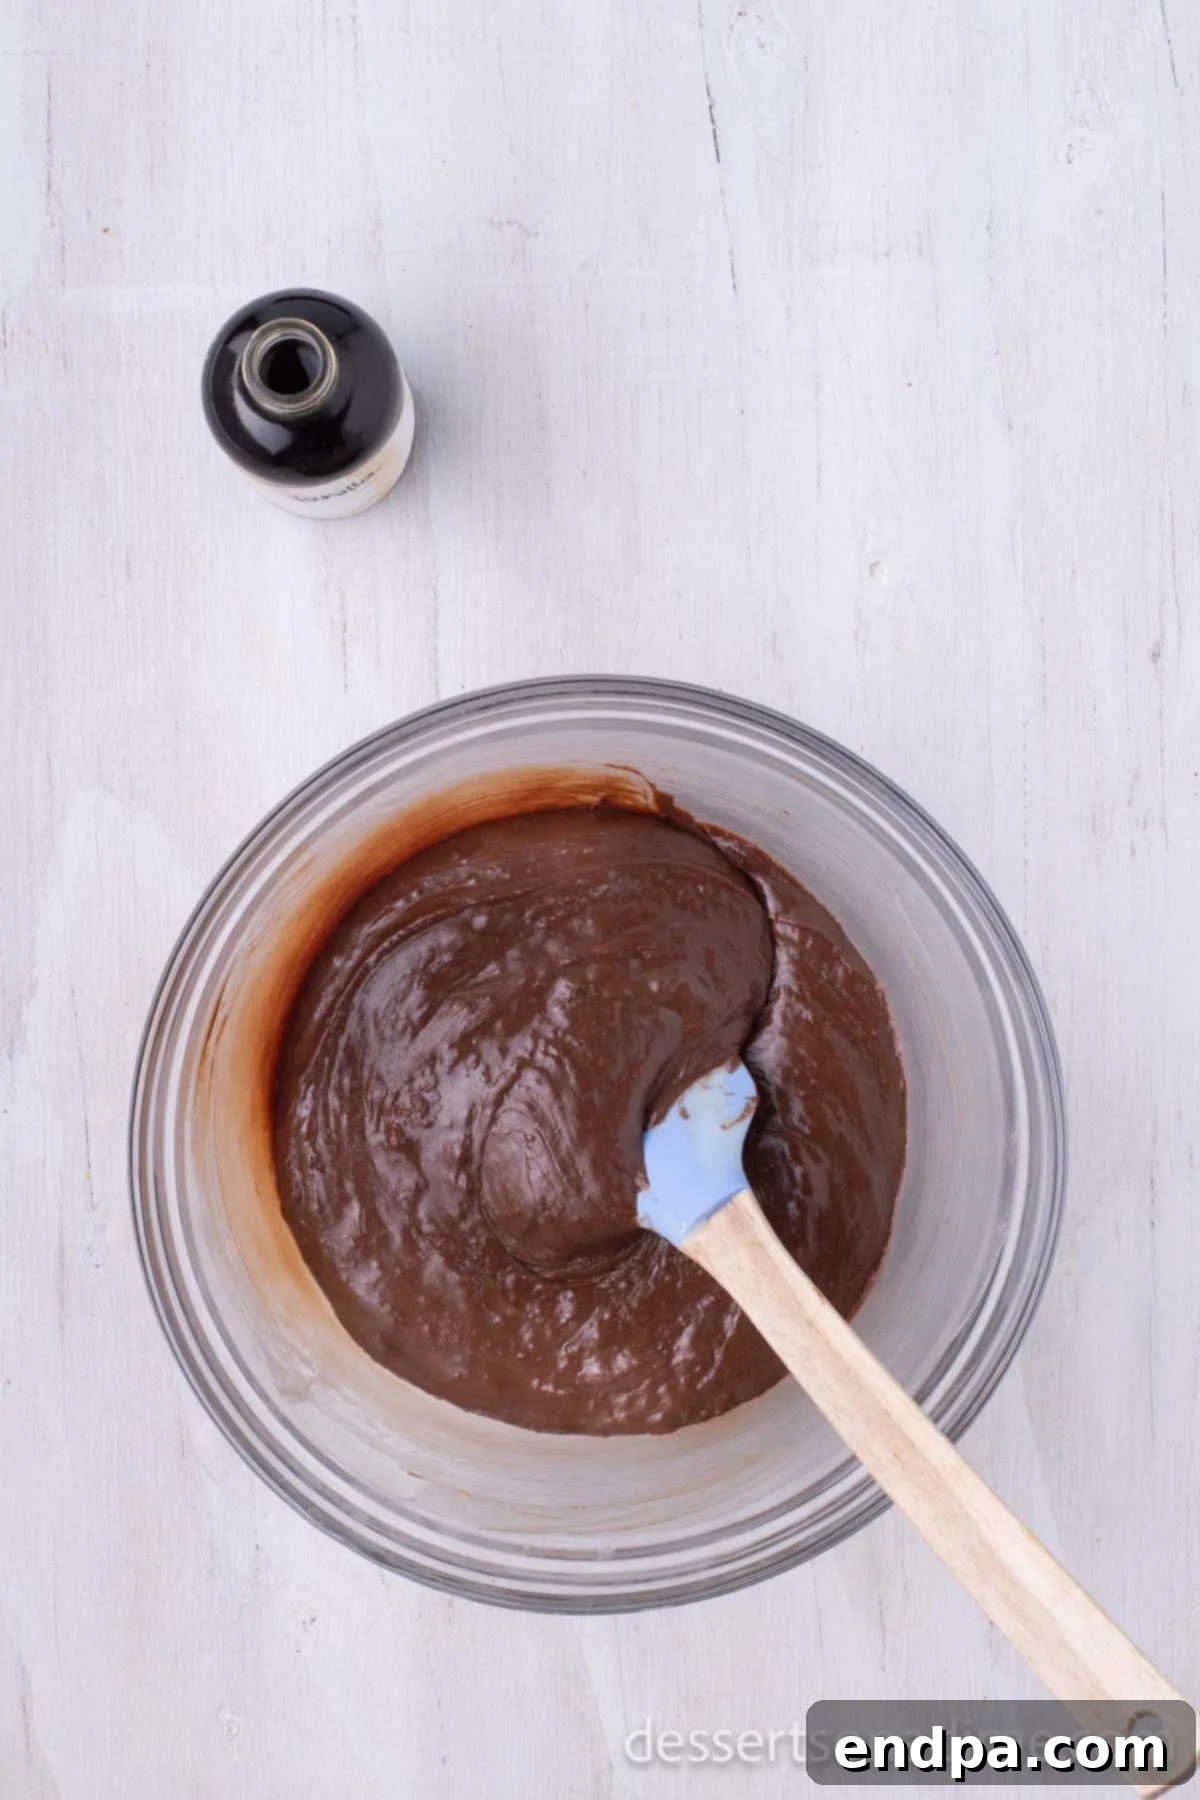
Step 4: Achieve Smoothness. If your chocolate mixture isn’t completely smooth after stirring, return it to the microwave for another 30-second interval, or until it reaches a silky-smooth consistency. Be careful not to overheat. Once perfectly melted and combined, stir in the vanilla extract, ensuring it’s evenly distributed throughout the rich chocolate mixture. This adds a final touch of aromatic depth.
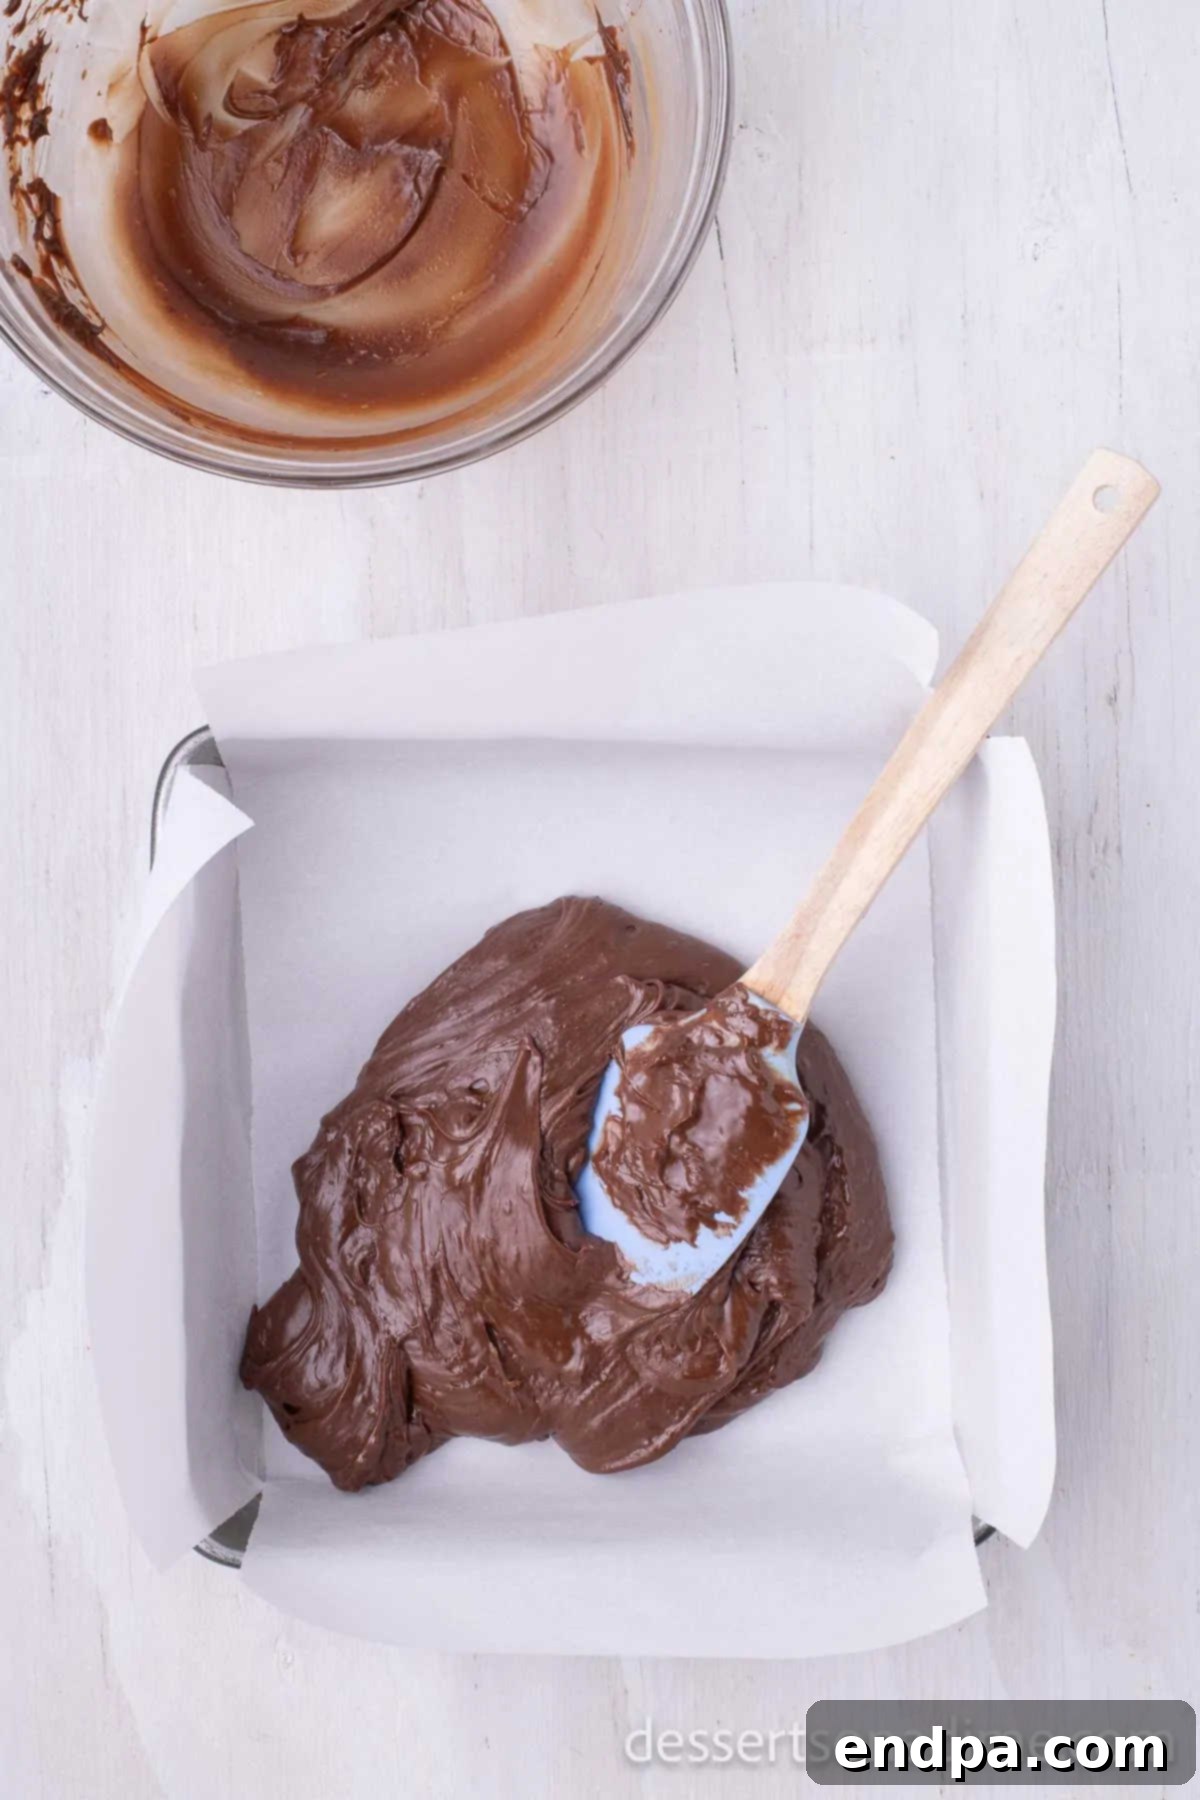
Step 5: Transfer to Pan. Working quickly, immediately transfer the warm, smooth chocolate mixture into your parchment-lined pan. The fudge will begin to set as it cools, so swift action is key here to ensure a uniform layer.
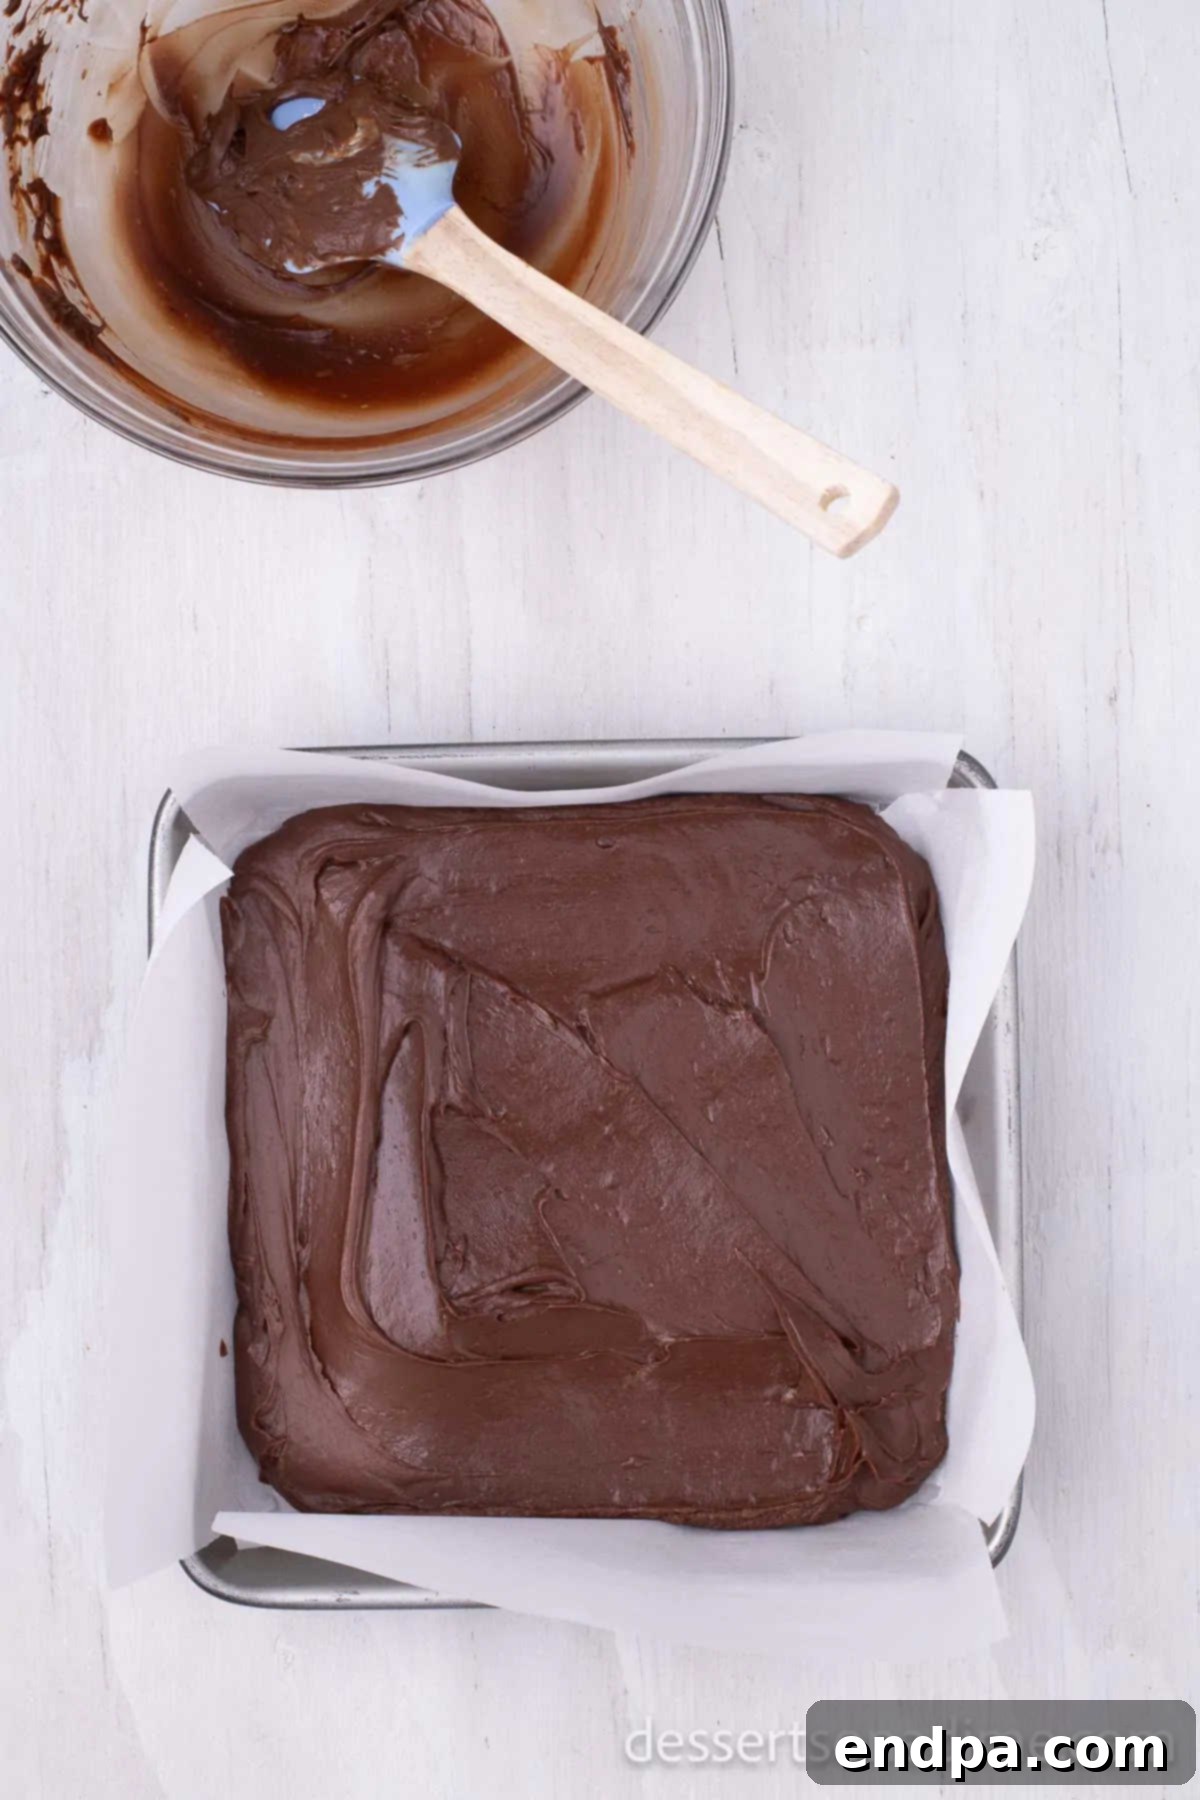
Step 6: Chill and Set. Use a spatula to spread the mixture evenly across the entire surface of the pan, creating a smooth, flat top. Once leveled, place the pan into the refrigerator and allow the fudge to chill until it is completely firm. This typically takes about 2 to 3 hours, ensuring a perfect texture for cutting.
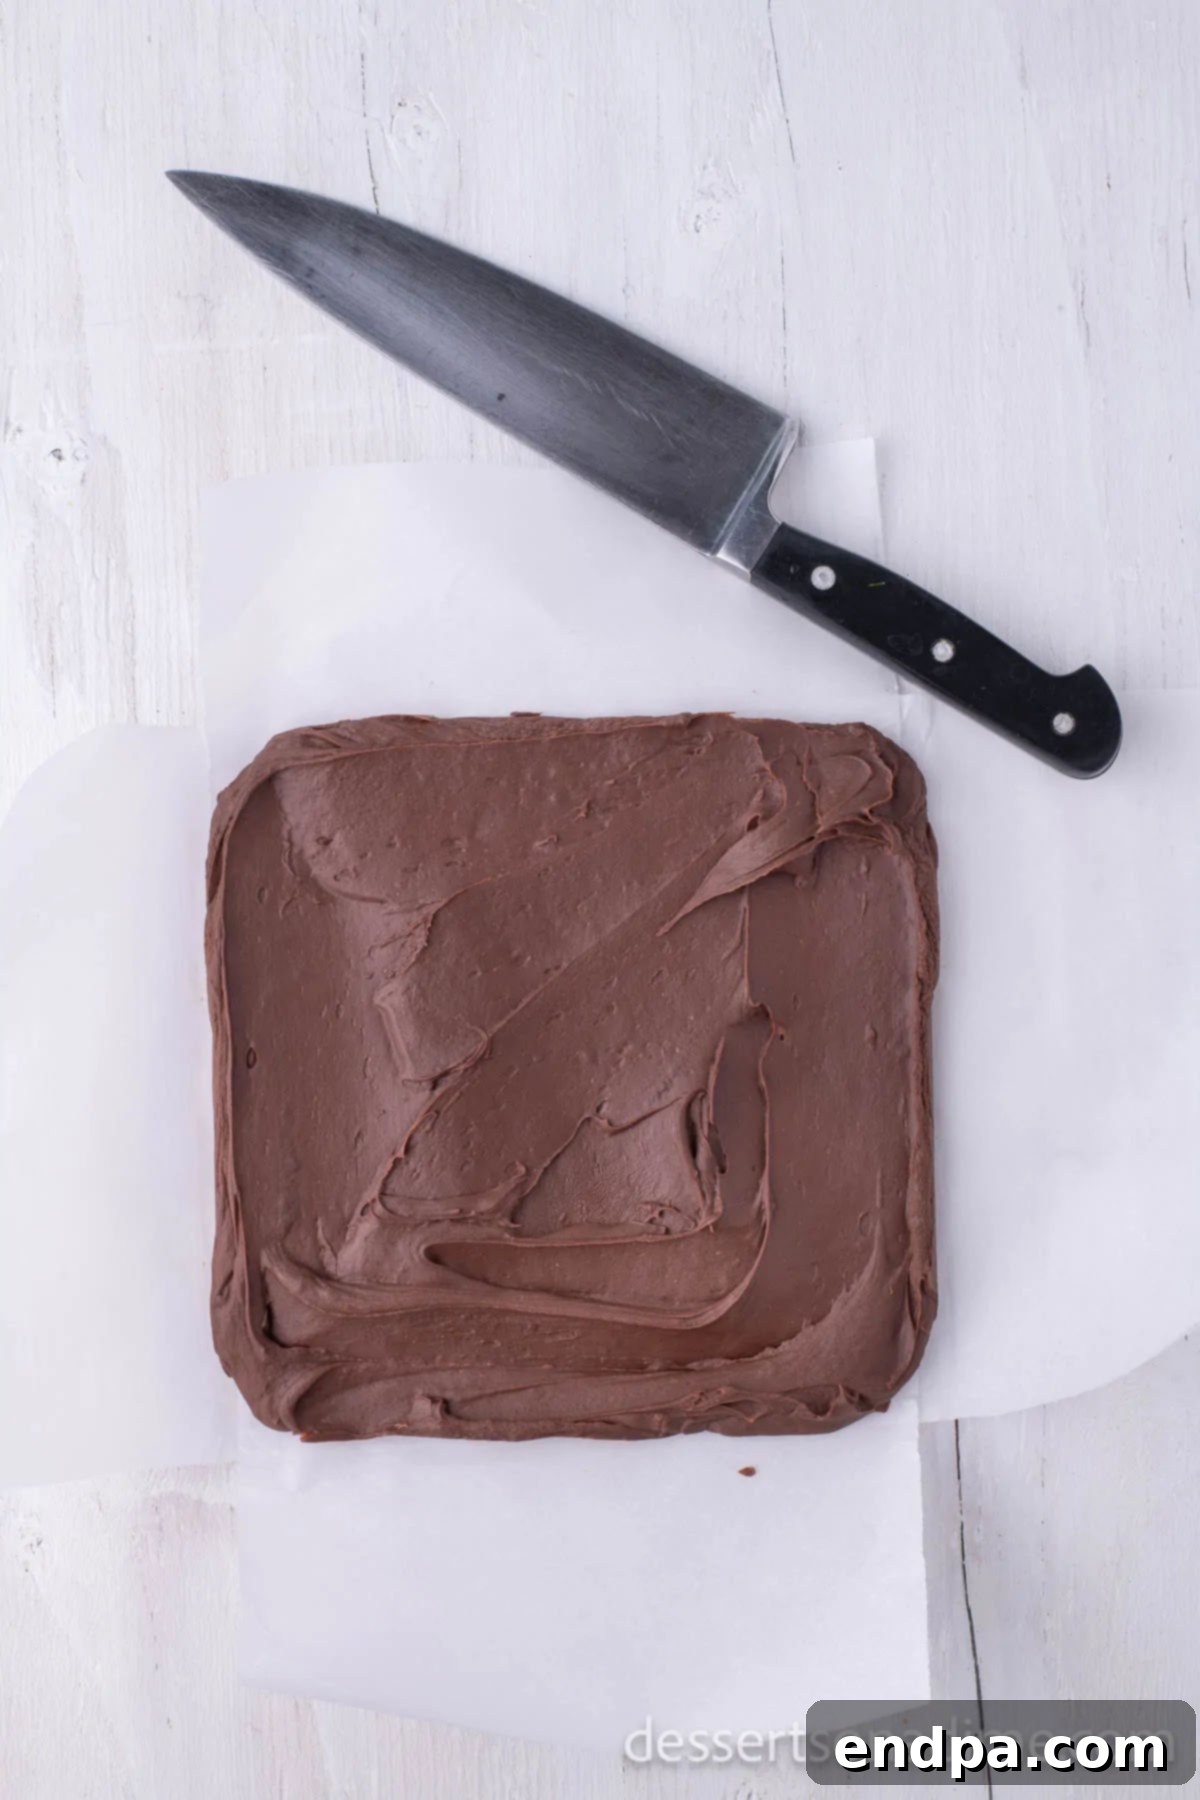
Step 7: Lift and Prepare for Cutting. Once the fudge is firm, use the parchment paper overhang as handles to carefully lift the entire slab of fudge out of the baking pan. Place it onto a clean cutting board, ready for the final step.
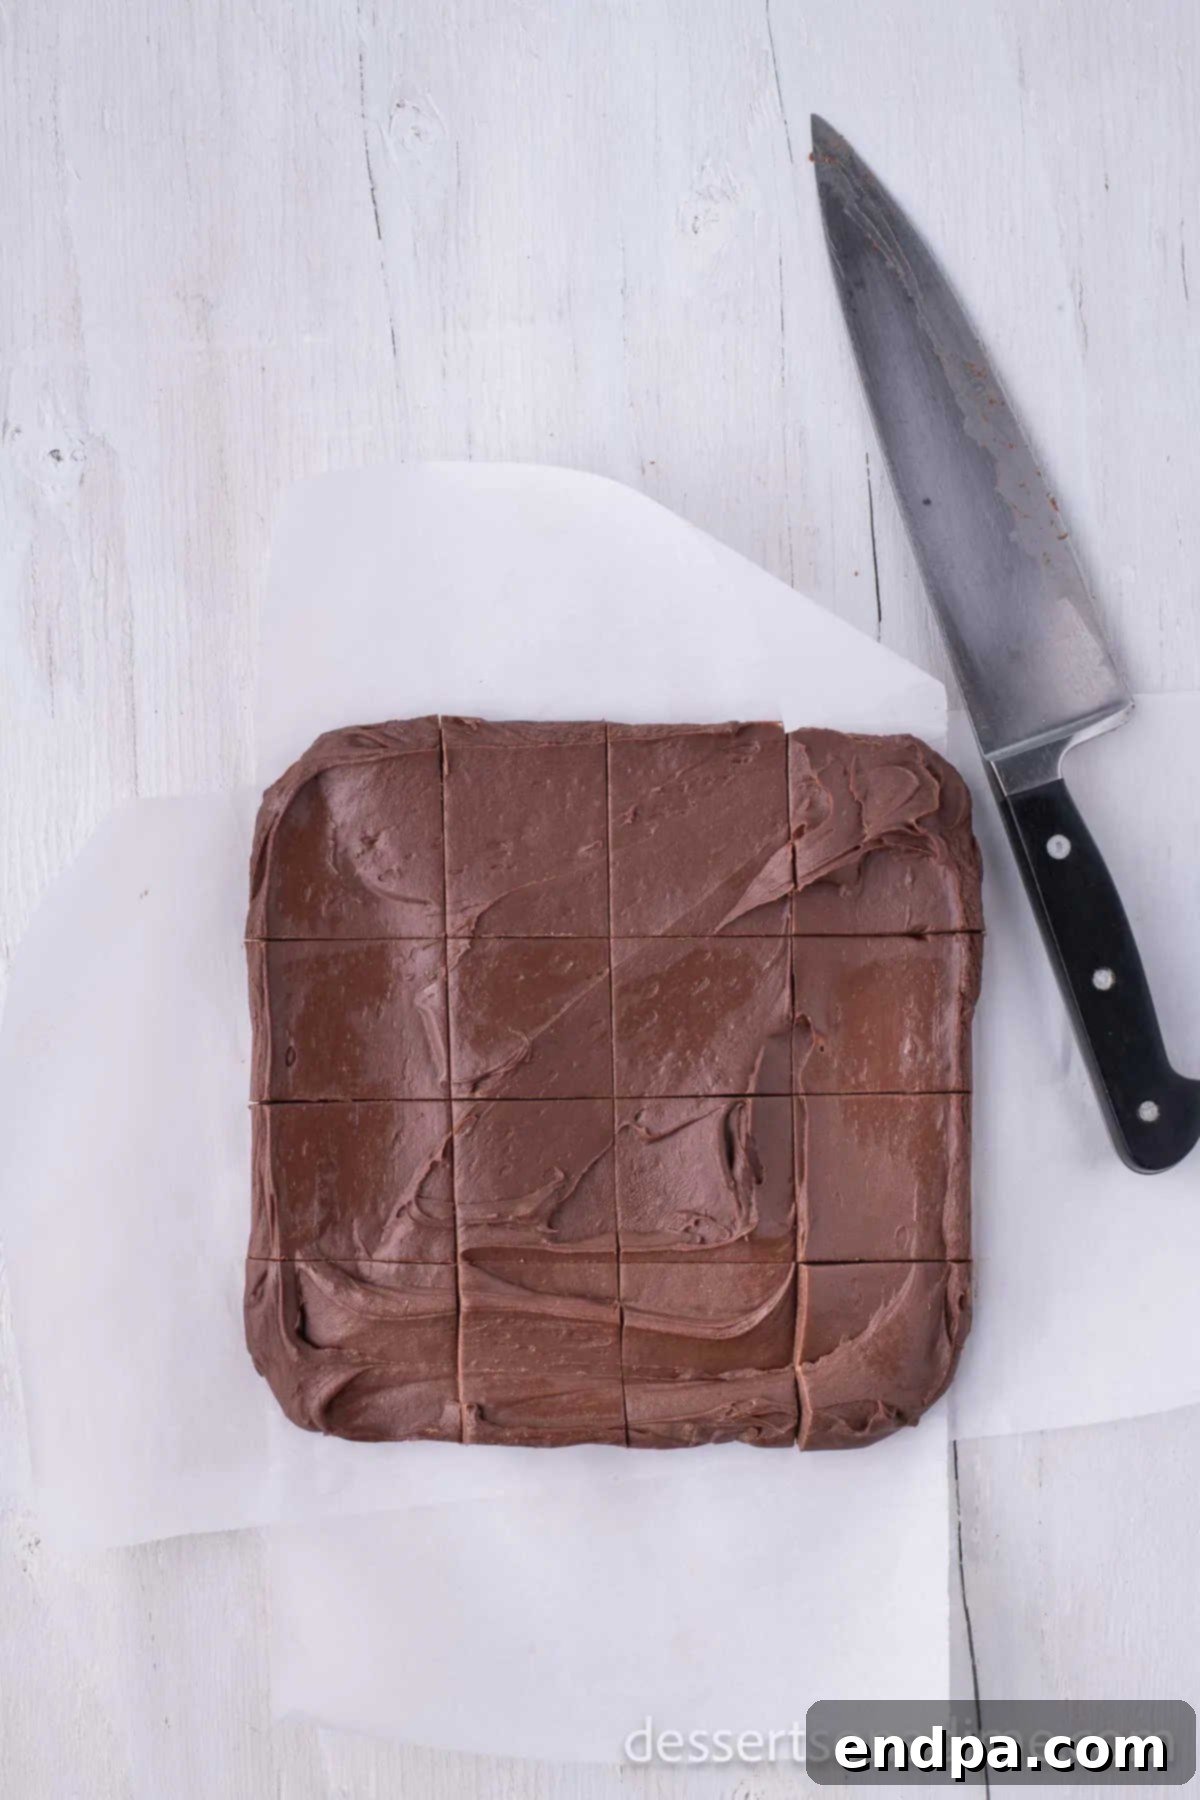
Step 8: Cut and Serve. Using a sharp knife, cut the fudge into desired squares. It’s best to do this while the fudge is still cold, immediately after removing it from the refrigerator, as it will hold its shape perfectly and allow for clean, precise cuts. If it warms up, it may become too soft to cut neatly.
Expert Recipe Tips for Perfect Fudge:
Achieving consistently perfect homemade fudge is easier than you think, especially with these helpful tips and tricks. These insights will ensure your chocolate fudge turns out beautifully every time, whether you’re a novice or an experienced baker.
- No Candy Thermometer Needed: One of the greatest advantages of this 3-ingredient fudge recipe is that it eliminates the need for a candy thermometer. The microwave simplifies the melting process, making it accessible for everyone, regardless of their candy-making experience. This method truly makes fudge-making effortless.
- For the Perfect Fudge: Beyond these simple steps, we have compiled additional detailed advice in our 5 Tips to Make the Perfect Fudge Recipe guide. Following these expert recommendations will dramatically improve your fudge-making success, guaranteeing a creamy, smooth, and delicious result every single time.
- Freezing Fudge for Later: Fudge freezes exceptionally well, making it a fantastic make-ahead dessert. To freeze, wrap the cut squares tightly in aluminum foil, then place them in an airtight freezer container or a heavy-duty freezer bag. For best results and to prevent sticking, you can also place small pieces of parchment paper between individual fudge squares. Properly stored, frozen fudge can last for up to 3 months. To enjoy, simply thaw at room temperature or in the refrigerator.
- Mastering Chocolate Melting: The key to smooth fudge is properly melted chocolate. When using the microwave, always heat in short bursts (30-60 seconds) and stir frequently. This prevents the chocolate from overheating and burning, which can lead to a grainy texture. Alternatively, you can melt the chocolate chips and sweetened condensed milk in a saucepan over medium-low heat, stirring continuously until smooth. This method provides more control, but still requires attention to avoid scorching.
- The Importance of Chill Time: Do not rush the chilling process! Allowing the fudge ample time to firm up in the refrigerator (2-3 hours) is crucial for achieving the correct texture and making it easy to cut. If you try to cut it too soon, it will be too soft and messy. This also makes fudge an ideal dessert to prepare in advance for parties or gatherings, as it requires hands-off setting time.
- Quality Ingredients Matter: While this recipe uses only three ingredients, the quality of each makes a difference. Opt for good quality chocolate chips for the best flavor.
- Pan Size: Using the recommended 9×9 inch pan is important for achieving the ideal fudge thickness. A larger pan will result in thinner fudge, and a smaller one will make it thicker, potentially altering chilling time and serving size.
- Cutting Techniques: For perfectly clean cuts, run your knife under hot water and wipe it dry between each slice. This will help prevent the fudge from sticking and dragging, giving you beautifully presented squares.
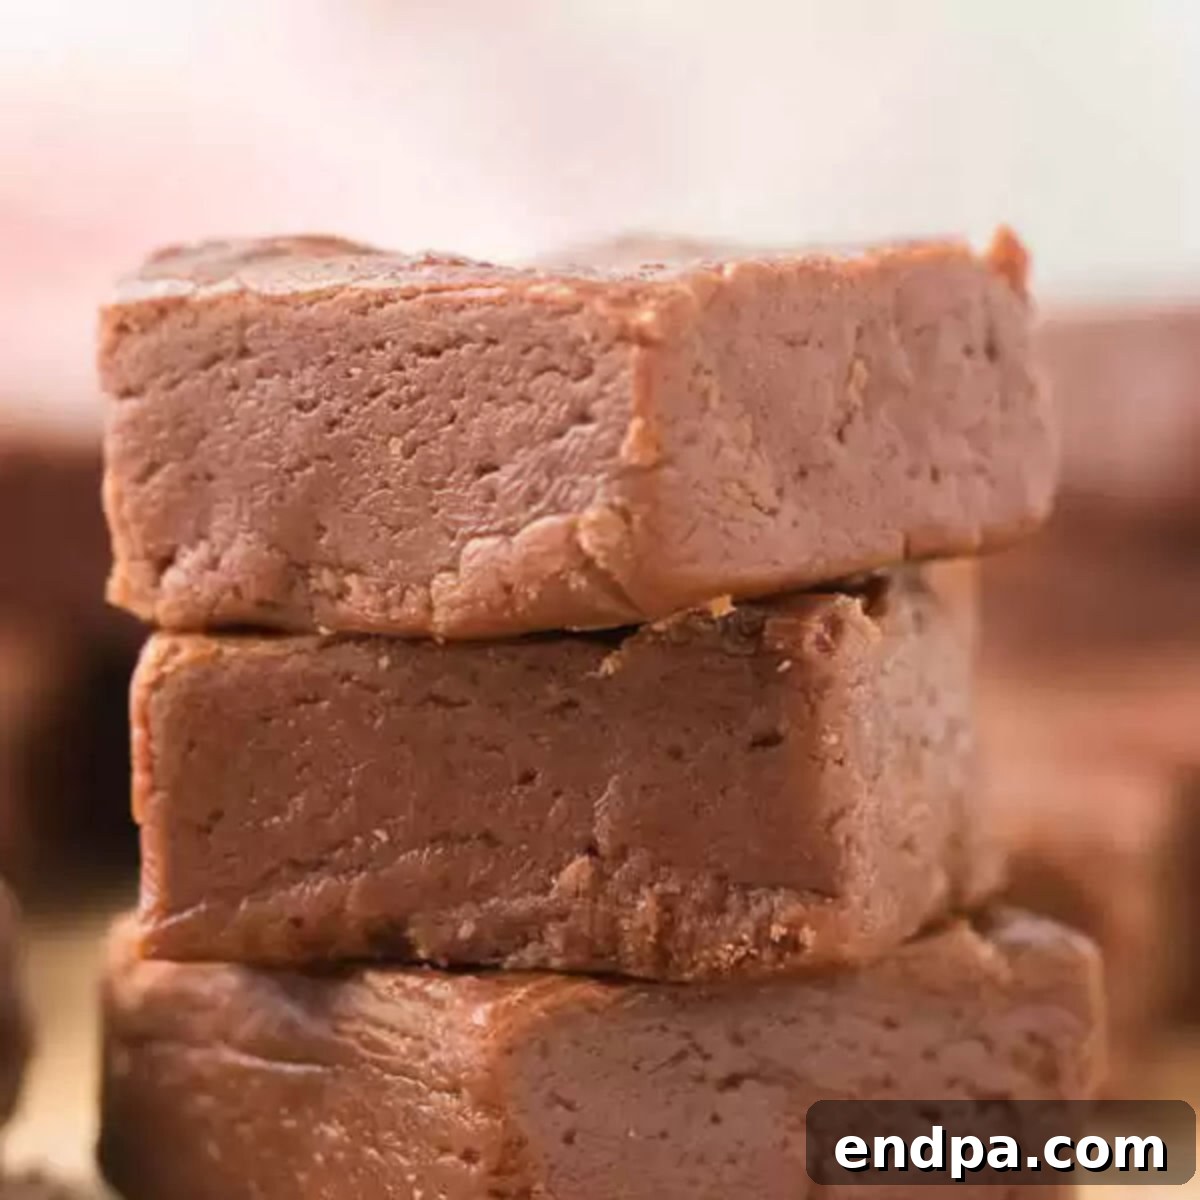
Irresistible Topping Ideas:
Elevate your Homemade Chocolate Fudge by adding a variety of delightful toppings. These simple additions can transform your classic fudge into a gourmet treat, perfect for any occasion. Here are some of my favorite ideas:
- Chopped Nuts: For an elegant crunch, sprinkle finely chopped pistachios, almonds, or pecans over the fudge before it sets. The contrasting texture and nutty flavor are simply divine.
- Crushed Peppermints or Candy Canes: Ideal for holiday festivities, crushed peppermints or candy canes add a burst of cool mint and festive color. Sprinkle generously over the warm fudge before chilling.
- Mini Marshmallows: For a softer, sweeter touch, gently press mini marshmallows onto the warm fudge surface. They become wonderfully gooey as the fudge sets.
- Chopped Cookies: Crushed Oreo cookies, chocolate chip cookies, or even graham crackers can add a delightful texture and familiar flavor.
- Chopped Candy Bar Pieces: Personalize your fudge by adding pieces of your favorite candy bars. Think Snickers, Reese’s, or Kit Kat for an extra layer of indulgence.
- Salted Caramel Drizzle: Once the fudge has slightly set but is still soft, drizzle warm salted caramel sauce over the top in an artistic pattern. A sprinkle of sea salt on top of the caramel takes it to the next level.
- Flaky Sea Salt: A sprinkle of flaky sea salt on top of the plain chocolate fudge (or over a caramel drizzle) perfectly balances the sweetness and enhances the rich chocolate flavor.
- White Chocolate Drizzle: Melt white chocolate chips and drizzle them artfully over the set dark chocolate fudge for a beautiful visual contrast and an extra layer of creamy sweetness.
- Colorful Sprinkles: For a fun and festive look, especially for celebrations or kids’ parties, add a generous amount of colorful sprinkles while the fudge is still warm and soft.
When adding toppings, consider sprinkling them over the fudge while it’s still warm and slightly soft, allowing them to adhere beautifully as it chills. This ensures your toppings stay in place and become an integral part of the fudge experience.
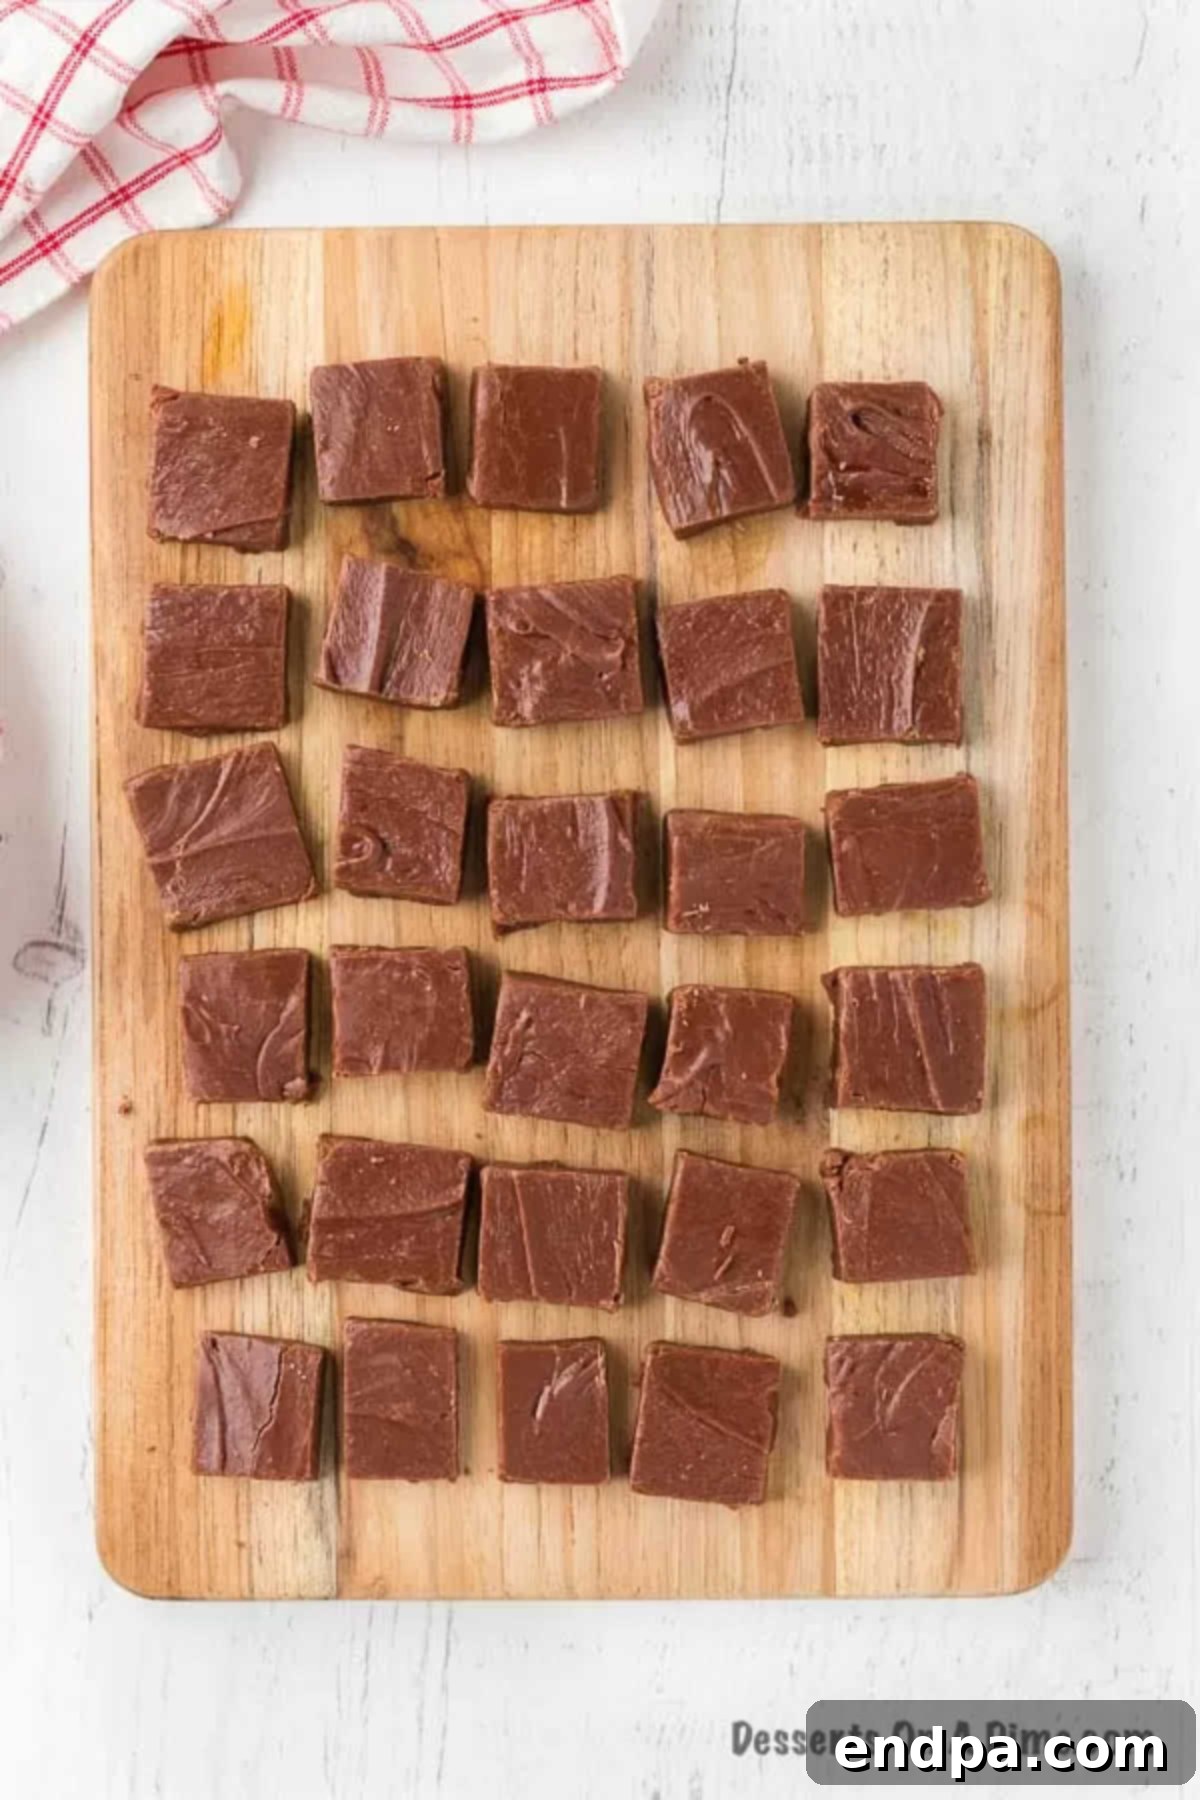
How to Store Homemade Chocolate Fudge:
Proper storage is key to keeping your homemade chocolate fudge fresh and delicious for as long as possible. Fortunately, fudge is quite forgiving and can be stored in a couple of ways, depending on your preferred texture:
The fudge can be stored at either room temperature or in the refrigerator. For optimal freshness and to prevent it from drying out, always store your fudge in an airtight container. This will protect it from air exposure, which can lead to hardening or staleness.
If you prefer a softer, melt-in-your-mouth texture, it is best to store the fudge at room temperature. Kept in an airtight container, it will remain fresh for up to a week. Ensure it’s kept in a cool, dry place away from direct sunlight or heat sources, as these can cause it to melt or become sticky.
For a firmer fudge that holds its shape more rigidly, storing it in the refrigerator is the ideal choice. In an airtight container, refrigerated fudge can last for up to 2-3 weeks. When serving, you might want to let it sit at room temperature for about 10-15 minutes before enjoying to allow it to soften slightly and enhance its flavor. Remember to always use an airtight container to prevent it from absorbing odors from other foods in the fridge.
As mentioned in our recipe tips, fudge also freezes beautifully for longer storage, providing a convenient option for enjoying your homemade treat weeks or even months down the line.
More Delightful Fudge Recipes:
If you’ve fallen in love with the simplicity and deliciousness of this homemade chocolate fudge, you’ll be thrilled to explore more easy fudge recipes from our collection. Each offers a unique flavor profile and a straightforward approach to creating irresistible treats:
- Peanut Butter Chocolate Chip Fudge: A match made in heaven for fans of the classic chocolate and peanut butter combination. This recipe delivers a creamy, nutty, and utterly satisfying experience.
- Tips to Make the Perfect Fudge: Dive deeper into the art of fudge making with our essential guide. Learn all the secrets to achieving a consistently perfect texture and flavor every single time.
- The World’s Best Fudge: Often hailed by those who try it, this recipe promises an unparalleled fudge experience that will impress even the most discerning palates.
We absolutely adore hearing from you and seeing your culinary creations! If you try this Homemade Chocolate Fudge Recipe, please make sure to leave us a comment below and a star review. Your feedback helps us and other home cooks discover and enjoy these delightful recipes!
Pin
Homemade Chocolate Fudge
Ingredients
- 2 cups semi sweet chocolate chips (do not use milk chocolate)
- 14 oz can sweetened condensed milk
- 1 tsp vanilla extract
Instructions
- Line a 9×9 square pan with parchment paper that covers the sides of the pan.
- Place the chocolate chips and sweetened condensed milk in a large bowl and microwave for one minute. Stir well to combine and allow the heat to melt the chocolate chips. If needed, microwave for another 30 seconds or so, until the chocolate is completely smooth.
- Stir in the vanilla extract, then quickly transfer the mixture to the lined pan and spread evenly.
- Refrigerate the fudge for about 2-3 hours – until firm
- Cut the fudge while it’s still cold (right out the the fridge) and store in an air tight container. Fudge can be stored at either room temperature or the fridge. It will be softer at room temperature.
Nutrition Facts
Pin This Now to Remember It Later
Pin Recipe
