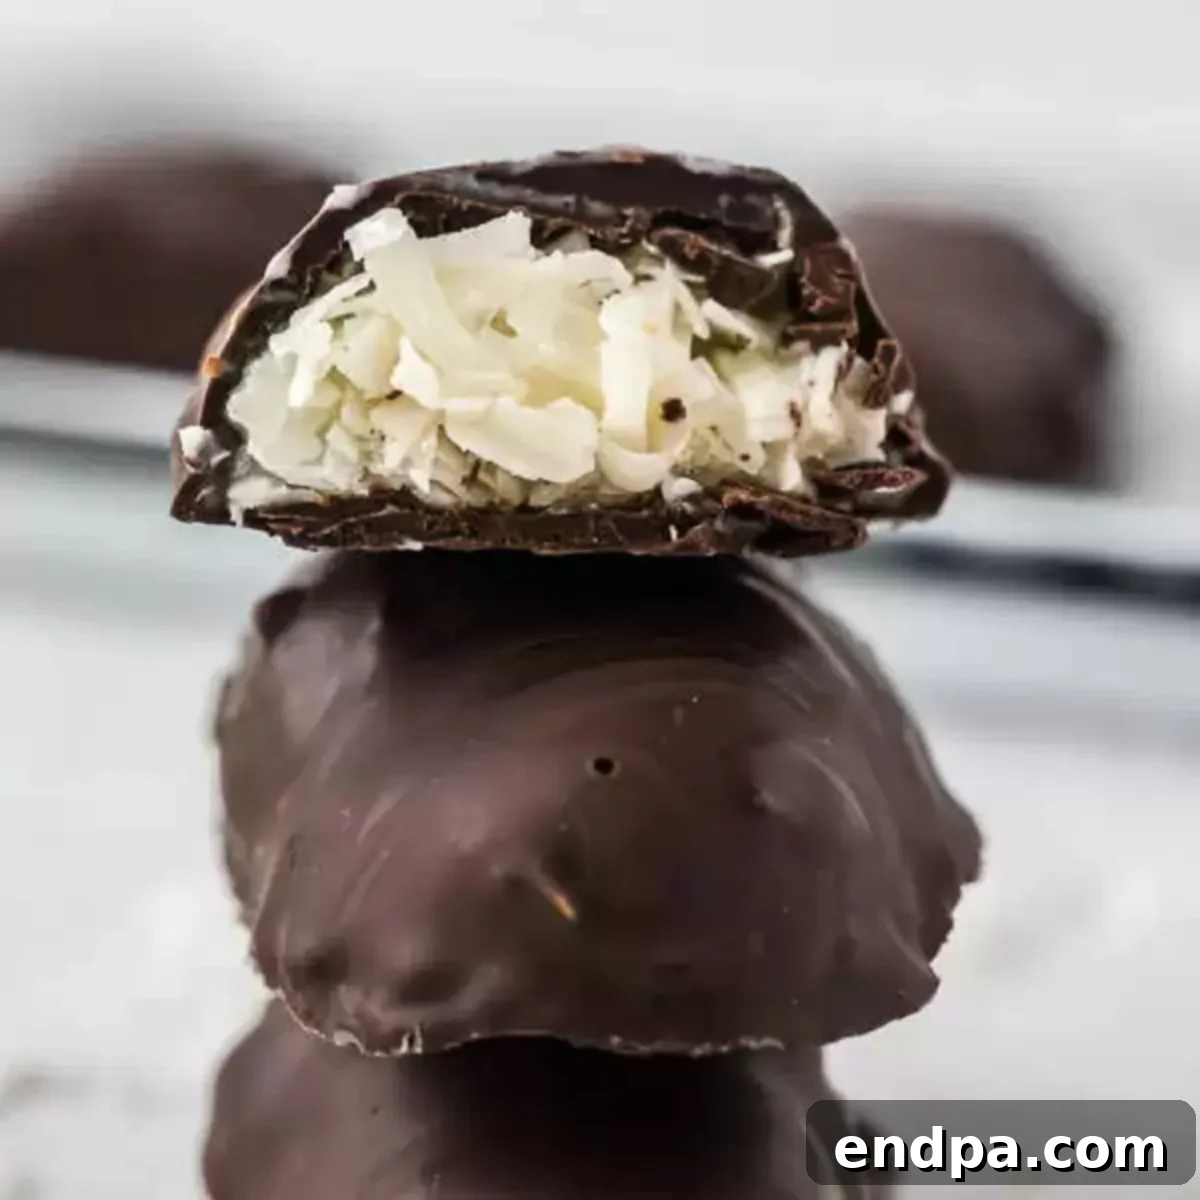
Craving that iconic combination of moist, sweet coconut and rich, dark chocolate? Look no further! This incredible Homemade Mounds Bar Recipe brings the classic candy bar experience right to your kitchen with incredible ease. Prepare to delight your taste buds with this simple yet sensational no-bake dessert, requiring just three essential ingredients. It’s a dream come true for any coconut enthusiast!
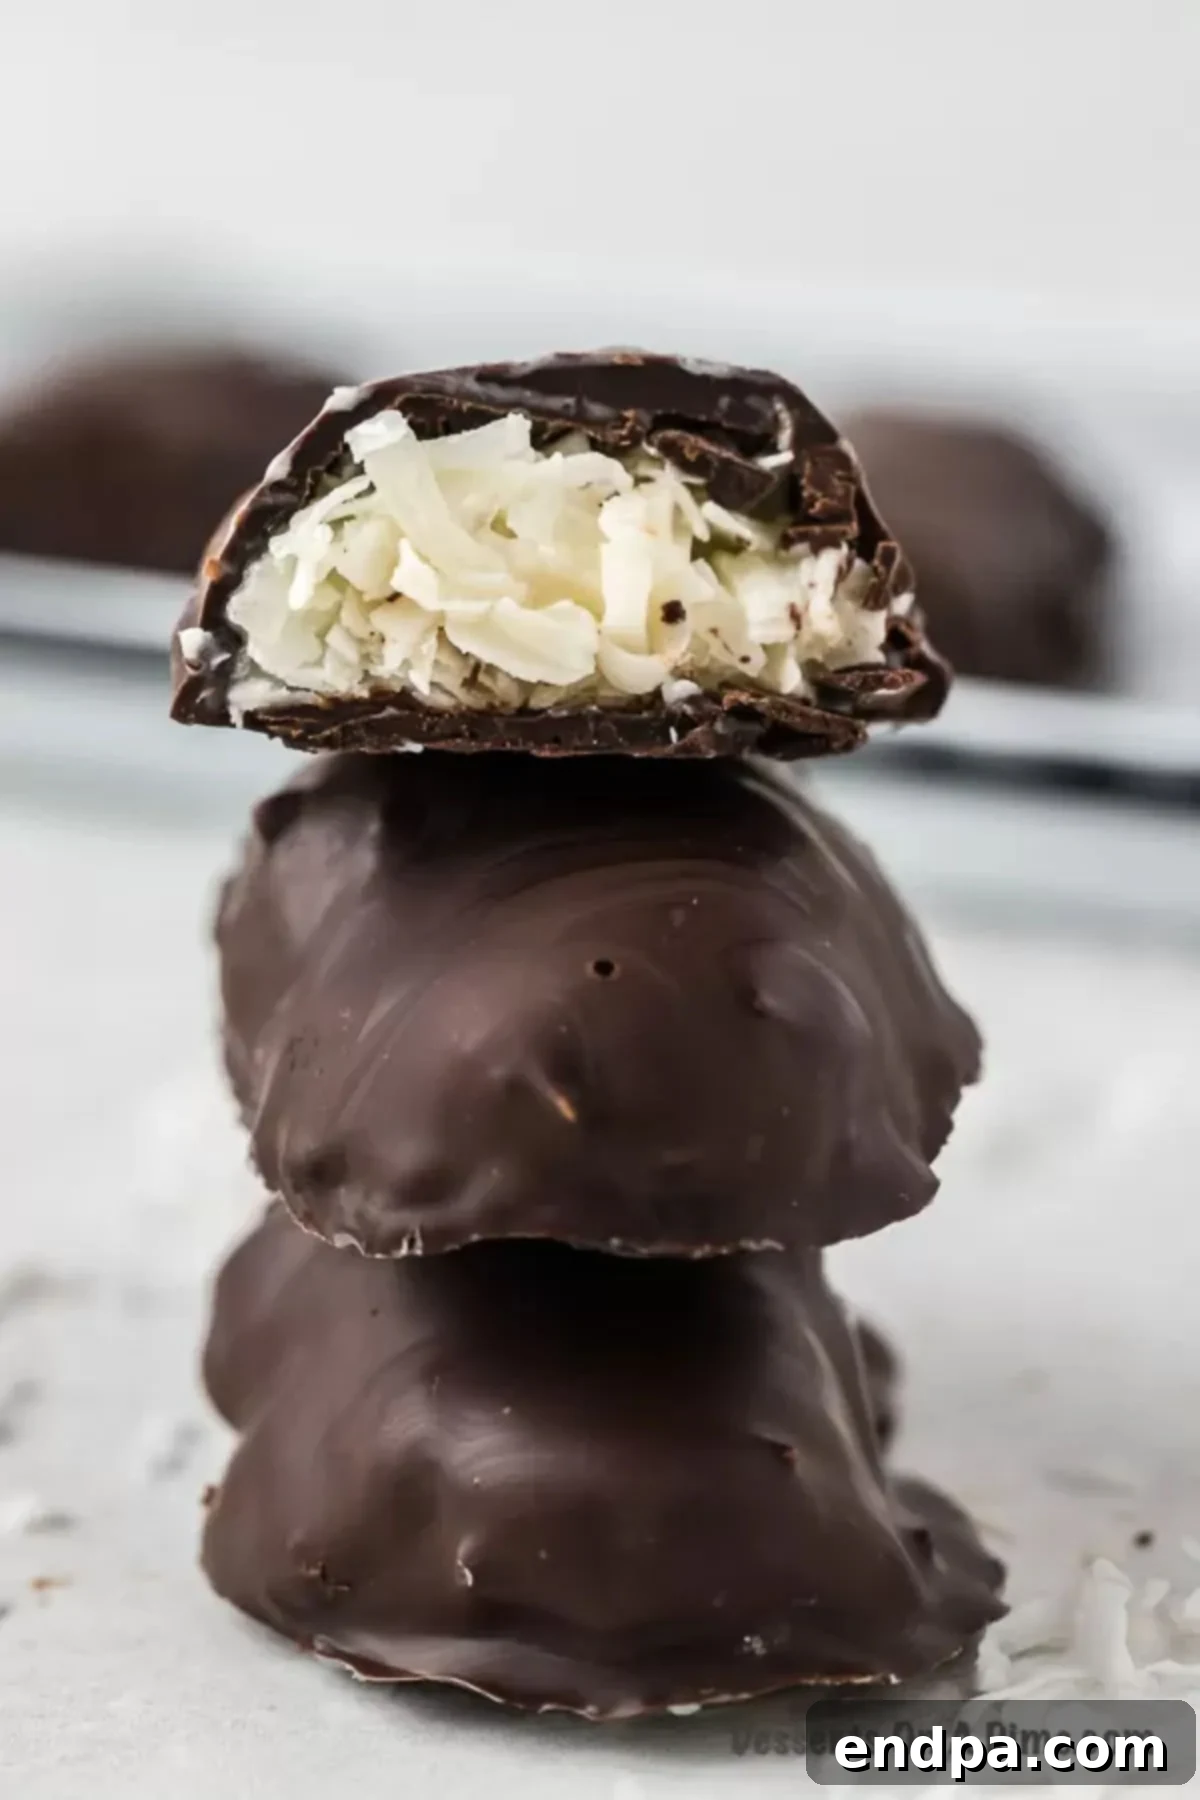
You’ll be absolutely amazed at how effortlessly these delectable treats come together. Forget complicated steps or lengthy baking times; this recipe is designed for maximum flavor with minimal effort. Whether you’re a seasoned baker or a kitchen novice, you’ll find the process incredibly straightforward, making these homemade Mounds bars the perfect sweet indulgence for any occasion or a quick, satisfying snack.
If you have a fondness for the store-bought Mounds candy bars, then diving into this homemade version is an absolute must-try. The fresh coconut flavor enveloped in luscious chocolate truly elevates the experience. My family, for example, adores when I whip up homemade candy bars. It’s a fun and rewarding activity that always results in smiles. We also love making Homemade Snickers, which are equally delicious and satisfying!
Do you often find yourself with leftover shredded coconut? Don’t let it go to waste! It’s a versatile ingredient that can be transformed into other delightful treats. Consider trying our Coconut Chocolate Chip Cookies Recipe or crafting a batch of classic Macaroon Cookies. Both are fantastic ways to enjoy the tropical flavor of coconut.
Table of Contents
- Why We Love This Recipe
- What is The Main Ingredient in a Mounds Candy Bar?
- Ingredients Spotlight
- Essential Equipment
- How to Make Mounds Bar
- Pro Tips for Perfect Mounds Bars
- Customization Ideas & Variations
- Storage Best Practices
- How to Freeze Mounds Bars
- Can I Double the Recipe?
- Frequently Asked Questions (FAQ)
- More Chocolate Desserts
- Homemade Mounds Bar Recipe Card
Why We Love This Recipe
There’s something truly magical about these homemade Mounds bars. They possess an elegant appearance, reminiscent of artisan chocolates you might find at a high-end bakery, but without the premium price tag or the complex preparation. The true beauty lies in their simplicity and exceptional taste. Each bar features a wonderfully sweet and tender coconut filling, lovingly enrobed in a layer of rich, melted chocolate. This creates a perfect contrast of textures and flavors that is utterly irresistible.
Beyond their delightful taste and sophisticated look, these bars offer several advantages. You control the quality of ingredients, ensuring freshness and avoiding artificial additives often found in commercial candies. They are also incredibly versatile – easy to customize with different types of chocolate or even a sprinkle of sea salt to enhance the flavor profile. Plus, the process itself is enjoyable, making it a fantastic activity for families or a relaxing way to treat yourself.
The first time I made them, I was genuinely thrilled with the results. They truly looked like something straight out of a professional bake shop. The best part? The homemade flavor far surpasses anything you can buy, with a freshness that is simply unmatched. If you’re familiar with the Almond Joy candy bar, you’ll recognize the similar delightful coconut base, but without the almond, allowing the pure coconut-chocolate harmony to shine.
What is The Main Ingredient in a Mounds Candy Bar?
The undisputed star of the Mounds candy bar, and subsequently our homemade version, is undoubtedly the coconut. It’s the foundation of that uniquely chewy, sweet, and aromatic filling that makes Mounds so distinct. The quality and type of coconut you choose will significantly impact the final texture and flavor of your homemade bars.
For the authentic Mounds experience, the sweet coconut filling is then generously dipped in a luscious chocolate coating. While classic Mounds bars feature dark chocolate, the beauty of making them at home means you have the freedom to customize. You can opt for semi-sweet chocolate chips for a balanced sweetness, rich dark chocolate for a more intense flavor, or even creamy milk chocolate for a milder, sweeter treat. Each choice offers a delightful variation, allowing you to tailor these bars perfectly to your chocolate preference.
Ingredients Spotlight
Creating these heavenly Mounds bars requires a minimalist approach, relying on just three core ingredients that come together to produce a surprisingly complex and satisfying flavor profile. Each component plays a crucial role in achieving that perfect balance of sweetness and texture.
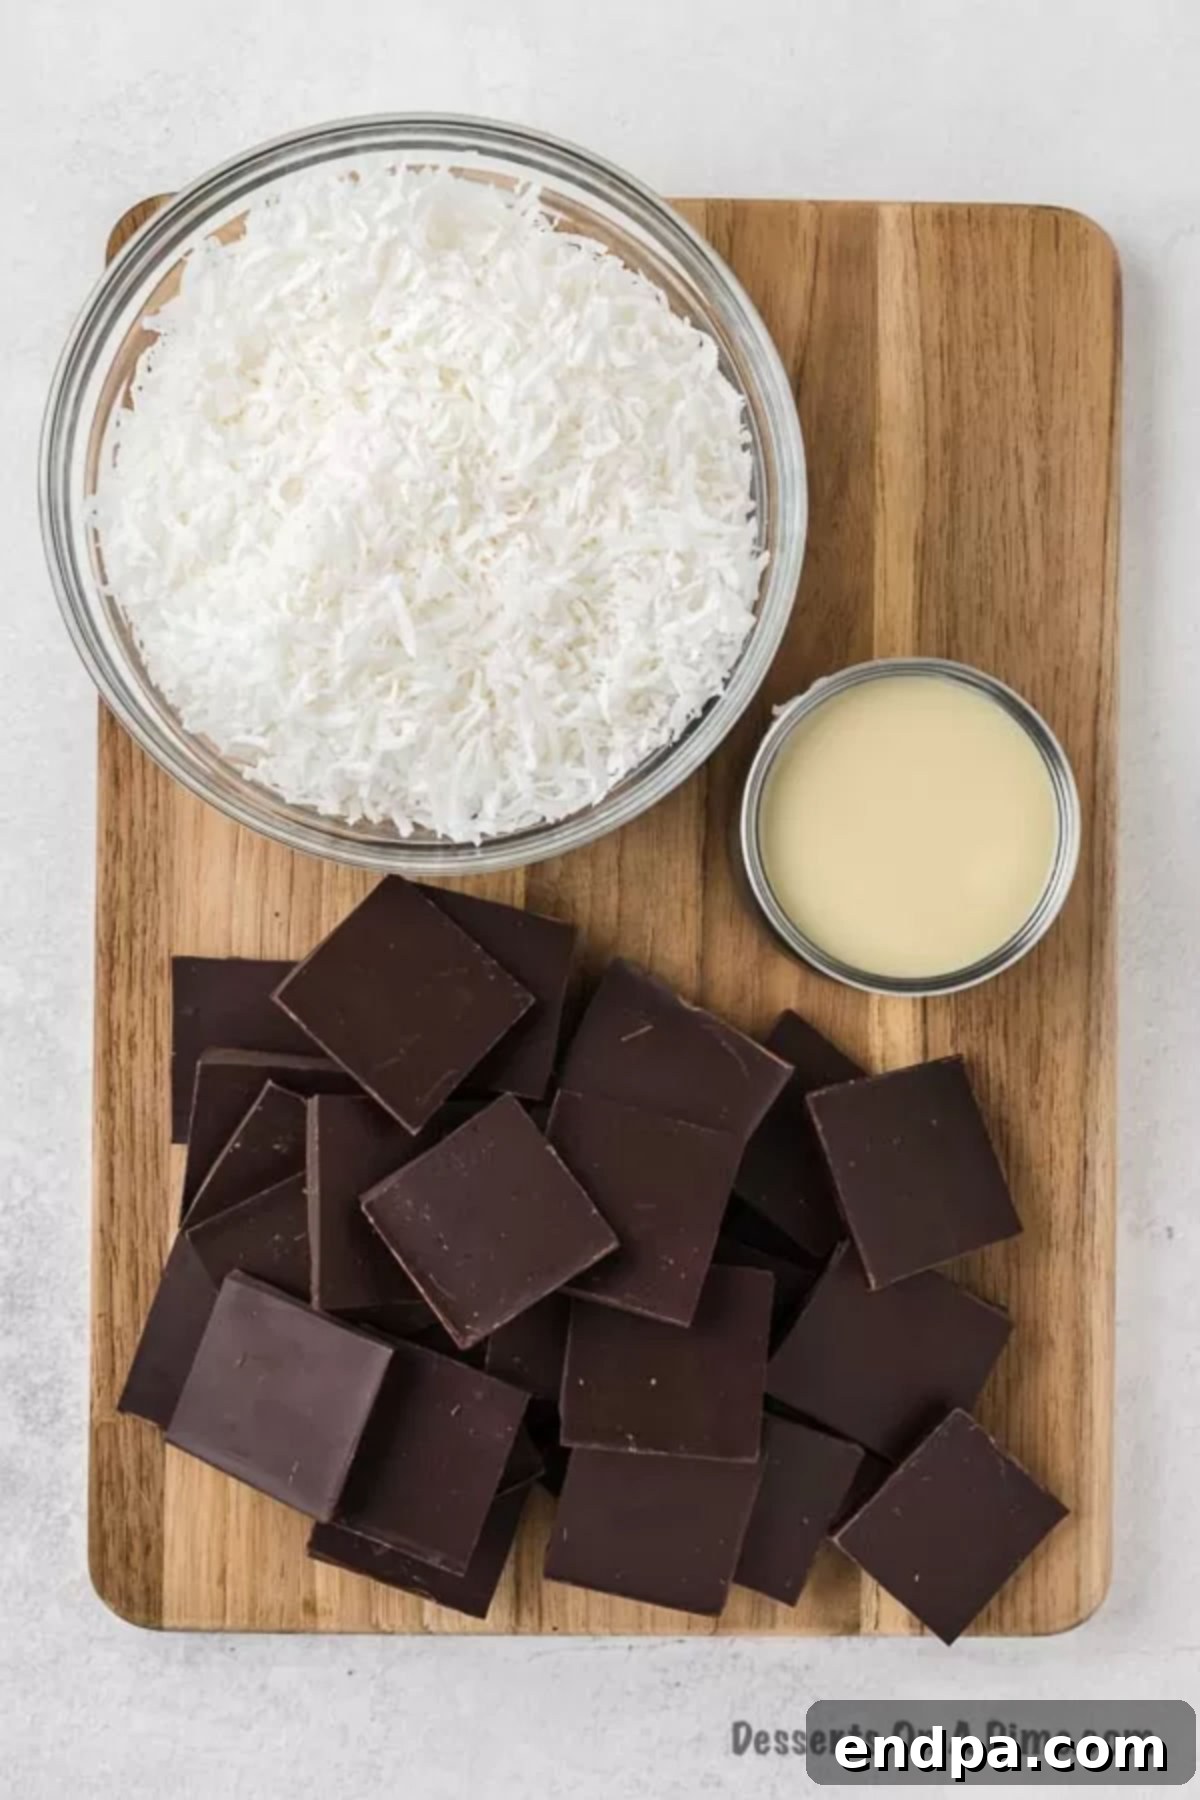
- Unsweetened Shredded Coconut: This is the heart of your Mounds bar. Using unsweetened coconut is key because sweetened condensed milk will provide all the necessary sweetness. Unsweetened coconut allows the natural, fresh flavor of the coconut to shine through without being overly saccharine. It also gives you more control over the sugar content.
- Sweetened Condensed Milk: This magical ingredient acts as both a binder and a sweetener, creating that incredibly moist and tender texture that is characteristic of the Mounds bar filling. Its thick, syrupy consistency holds the coconut together beautifully. If you’re feeling ambitious, you can even try our Homemade Sweetened Condensed Milk Recipe for an even more personalized touch.
- Semi-Sweet or Dark Chocolate: The coating is just as important as the filling. Semi-sweet chocolate chips offer a balanced flavor that complements the sweet coconut without overpowering it. For those who prefer a deeper, more robust chocolate experience, dark chocolate provides a wonderful bitterness that cuts through the sweetness of the coconut. Both options create a delicious contrast, so choose based on your preference. High-quality chocolate bars can also be chopped and melted for an even smoother, glossier finish.
With these three simple yet powerful ingredients, you’re well on your way to crafting a truly memorable homemade Mounds bar.
Essential Equipment
You don’t need a professional chef’s kitchen to make these delightful Mounds bars. A few basic tools are all it takes:
- Medium Mixing Bowl: For combining the coconut and sweetened condensed milk.
- Parchment Paper: Crucial for lining your baking sheet to prevent sticking and for easy cleanup.
- Baking Sheet (or Cookie Sheet): To hold your shaped coconut bars while they chill and after they are dipped in chocolate.
- Microwave-Safe Bowl: For melting your chocolate efficiently.
- Forks or Dipping Tools: Two forks are usually sufficient for dipping the coconut bars into the melted chocolate, allowing excess chocolate to drip off. Specialized dipping tools can also make this process even cleaner.
- Spatula or Spoon: For mixing the coconut mixture and stirring the melting chocolate.
How to Make Mounds Bar
Crafting these homemade Mounds bars is a delightfully simple process, broken down into easy-to-follow steps. The key is to ensure proper chilling, which helps the bars maintain their shape and allows the chocolate coating to set beautifully.
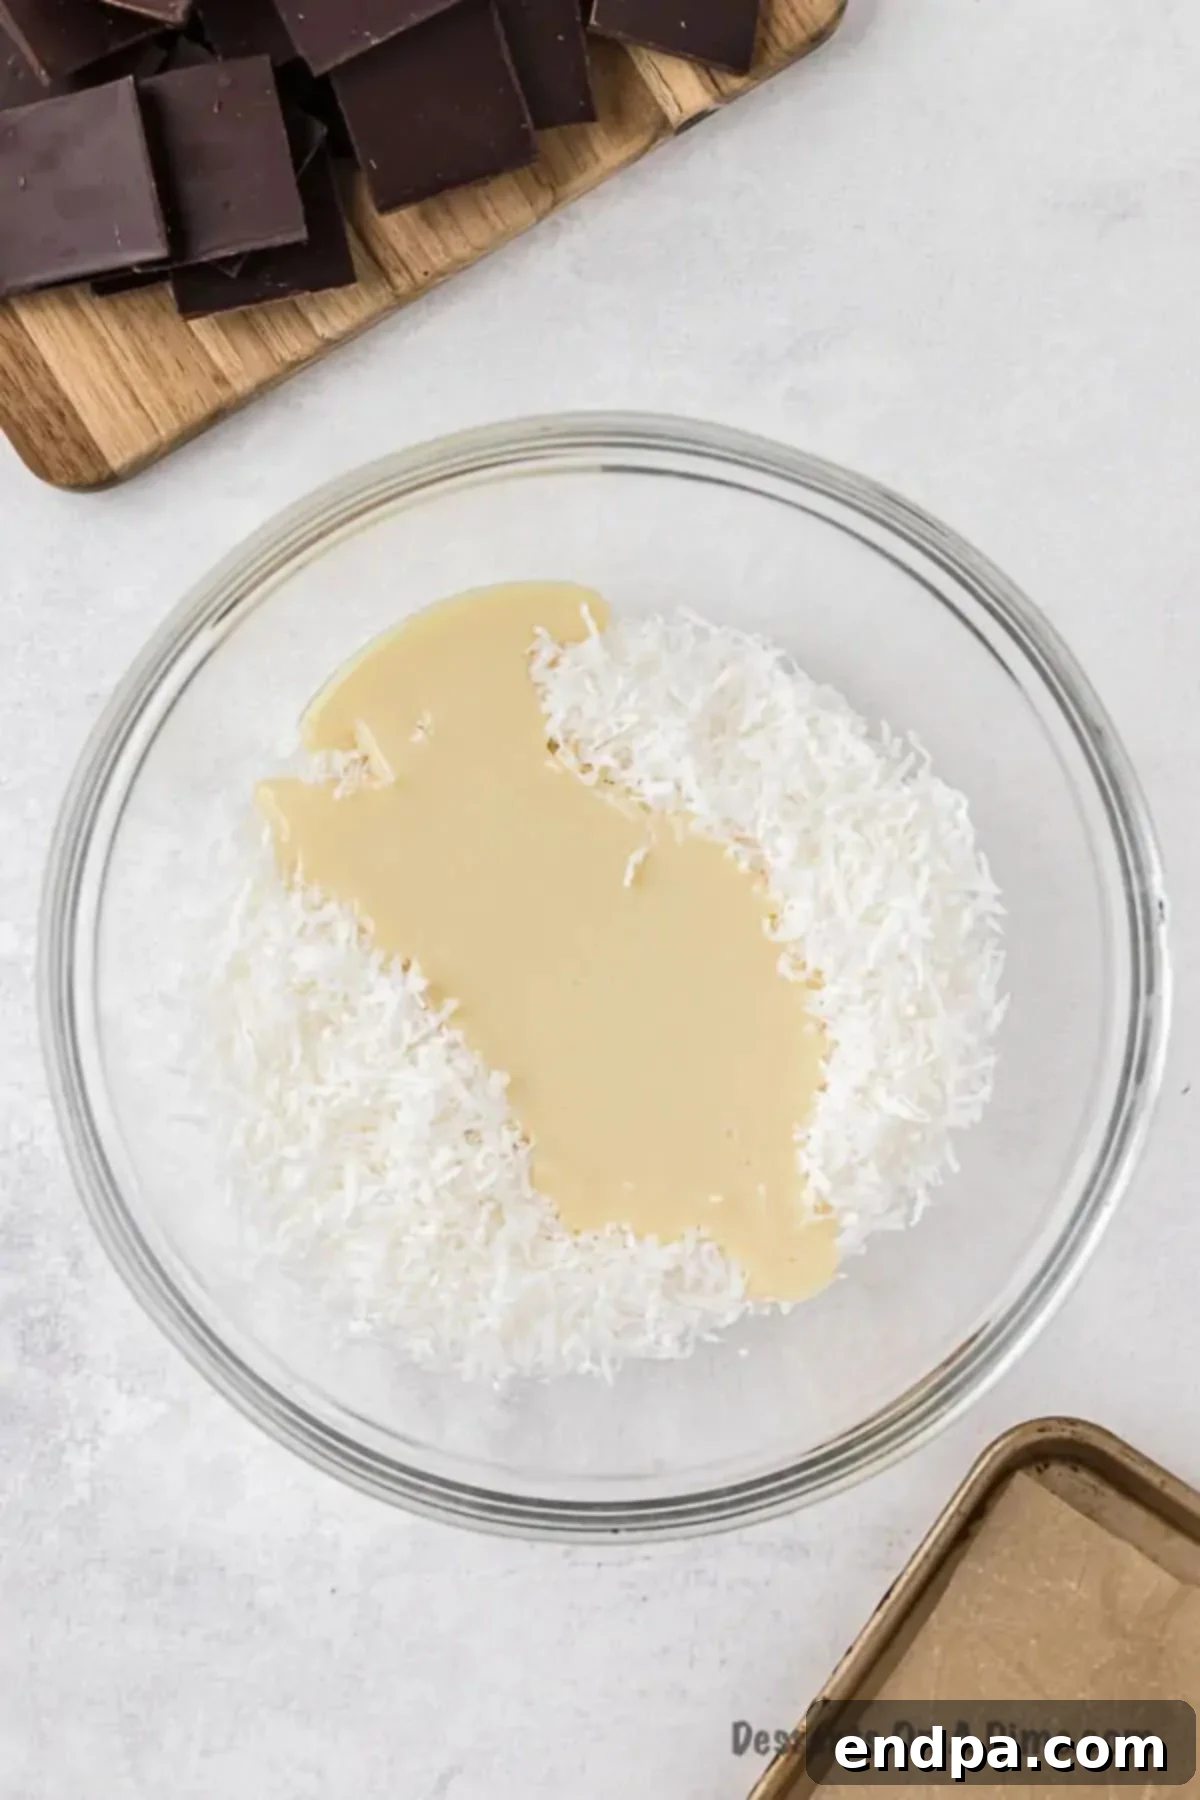
Step 1: Combine Ingredients. Begin by taking a medium-sized mixing bowl. Add the unsweetened shredded coconut and the can of sweetened condensed milk to the bowl.
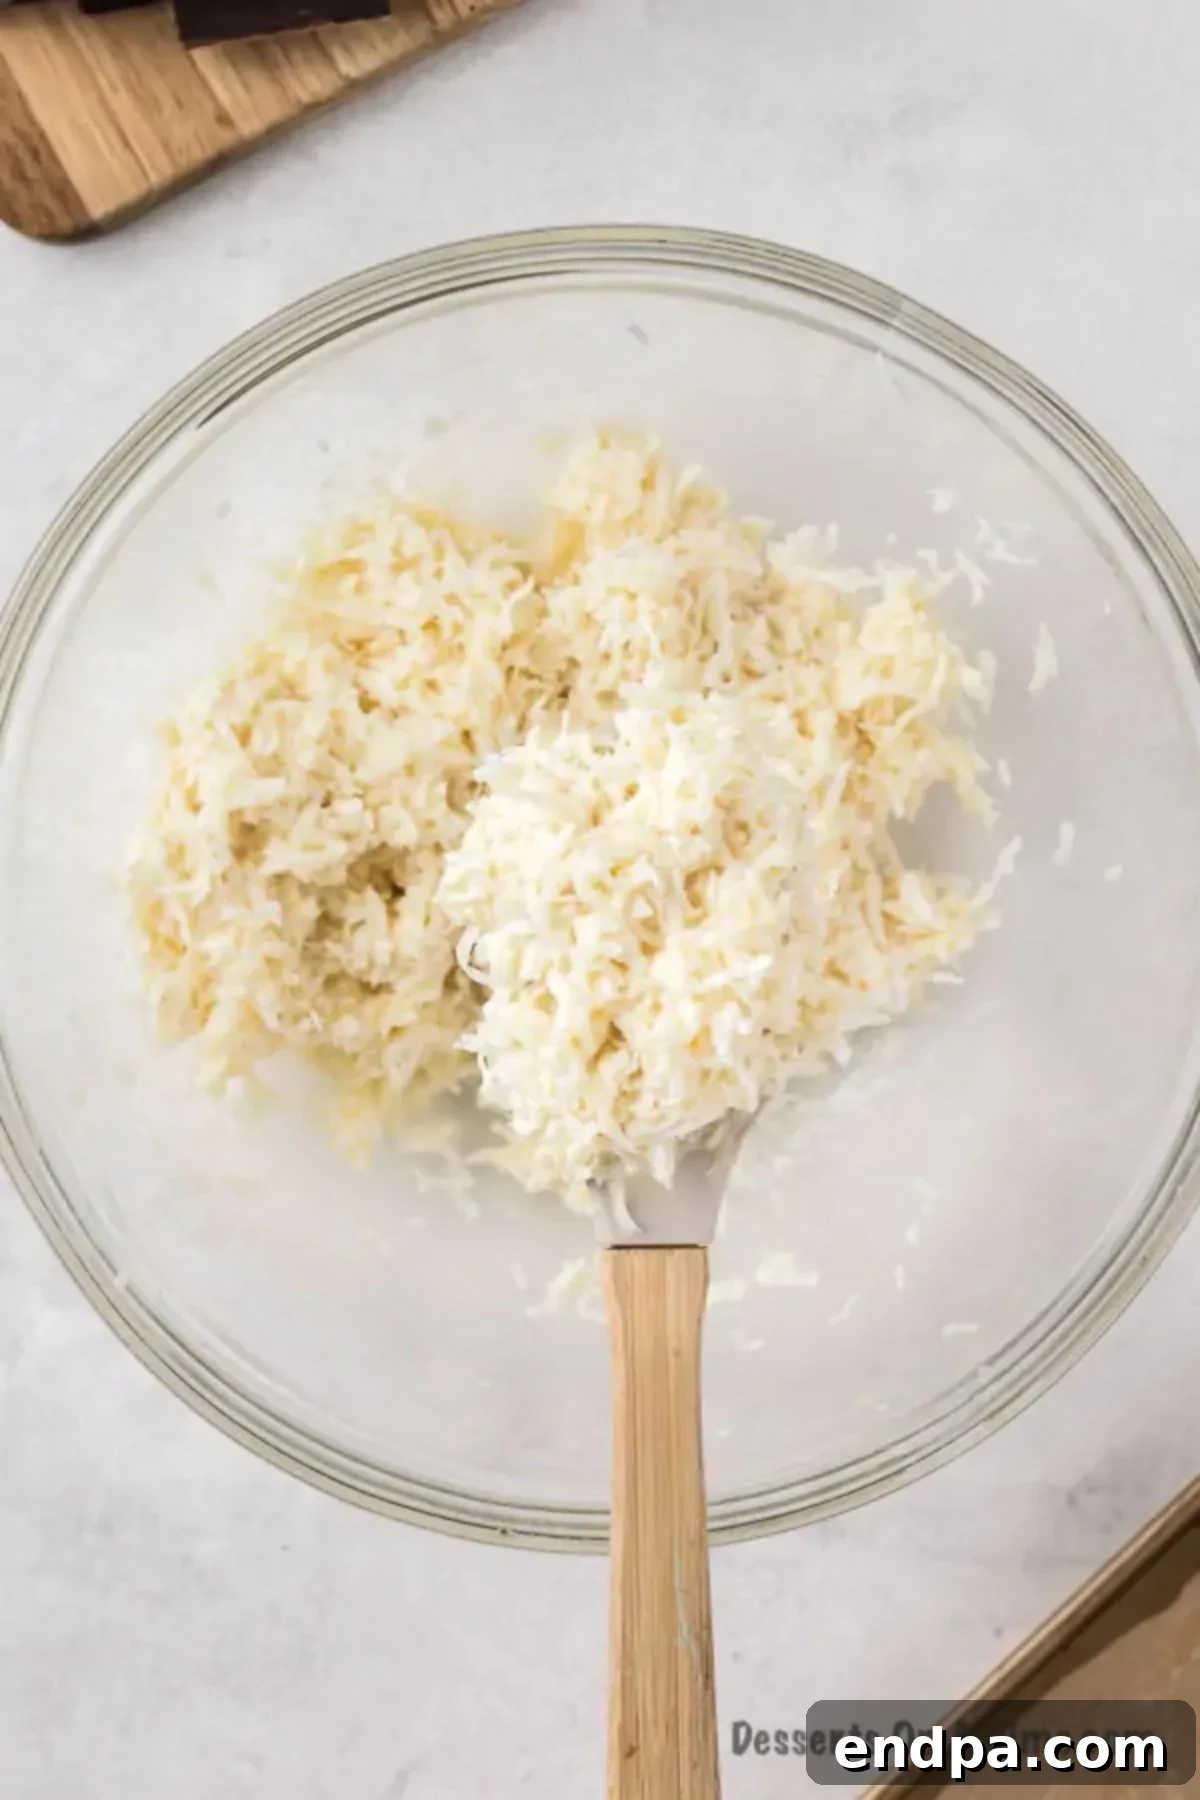
Step 2: Mix Thoroughly. Use a sturdy spoon or spatula to combine the coconut and sweetened condensed milk thoroughly. Mix until all the coconut is evenly coated and the mixture is cohesive.
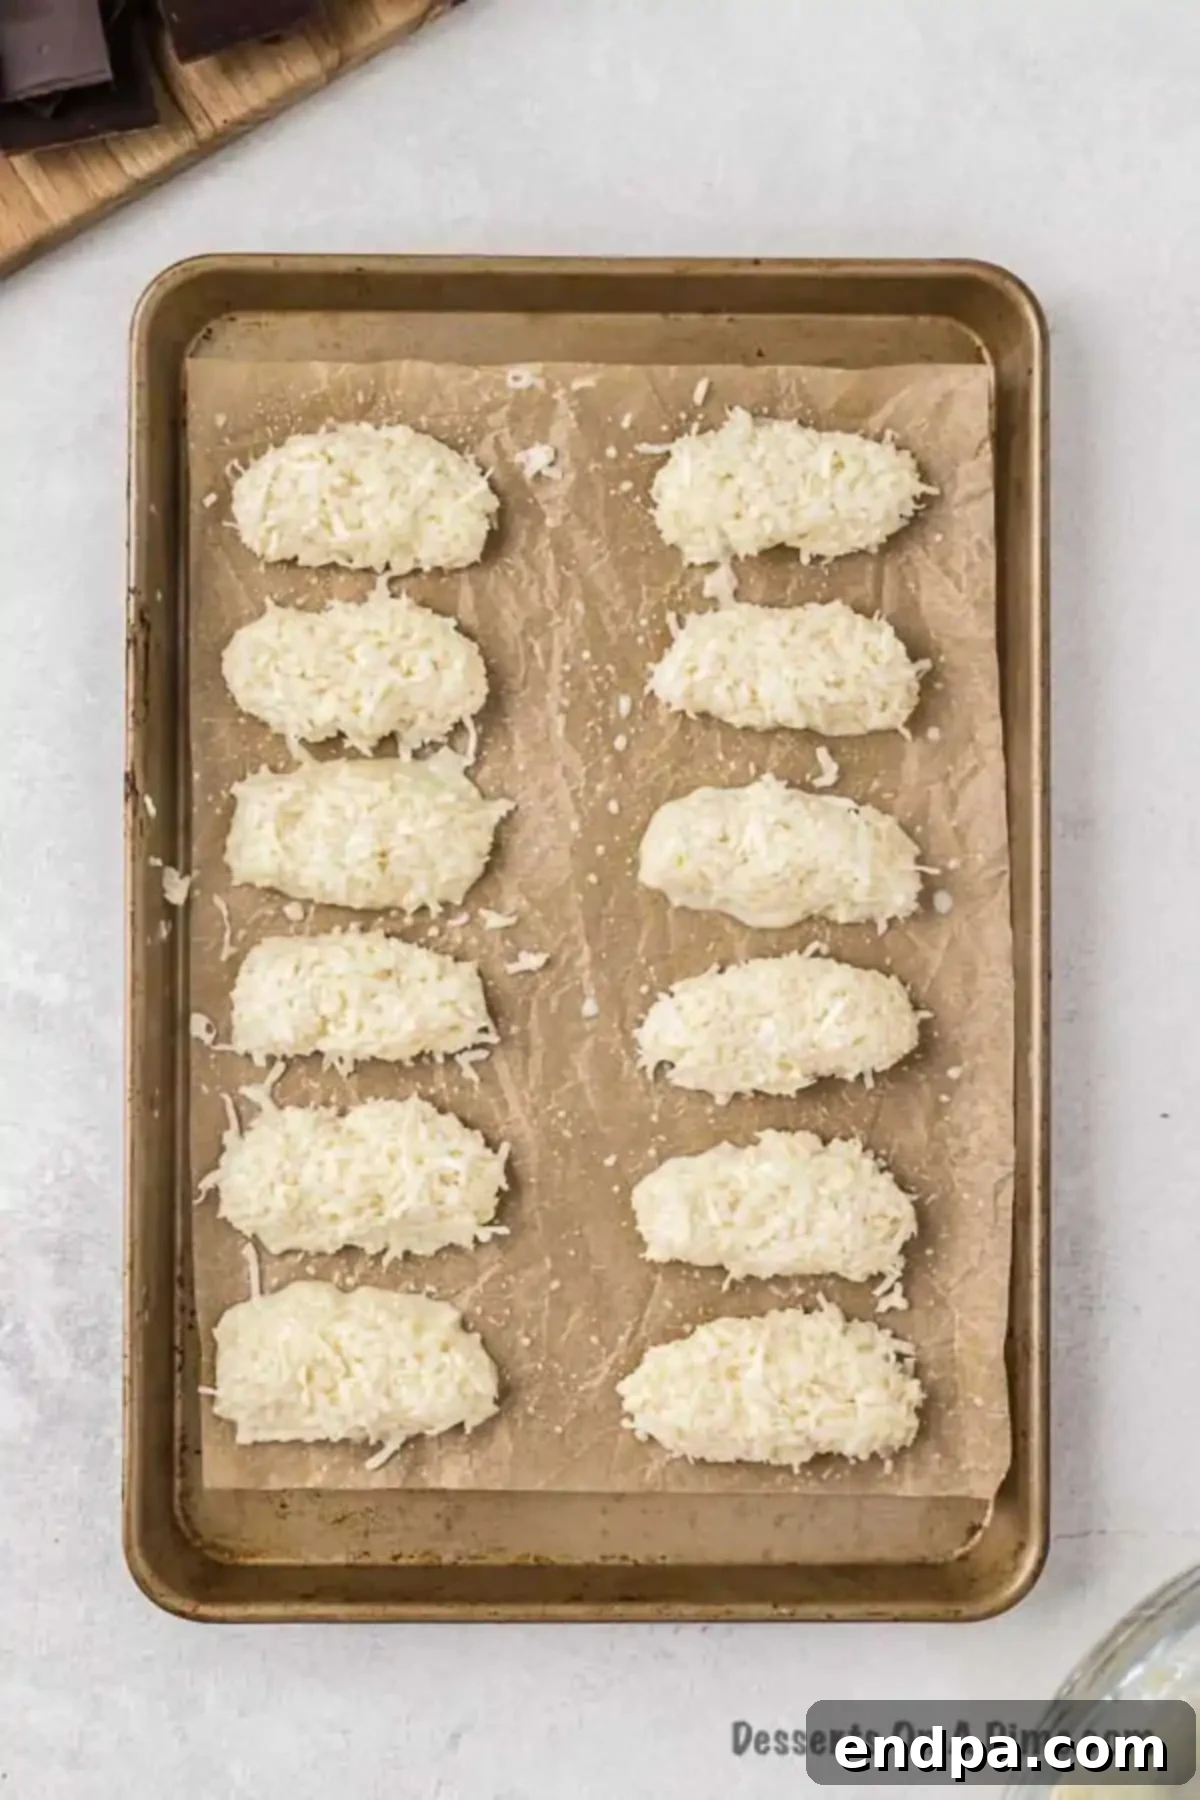
Step 3: Shape and Freeze. Line a baking sheet with parchment paper. Slightly wet your hands – this helps prevent the mixture from sticking – and shape the coconut mixture into approximately 12 uniform logs, similar in size to traditional Mounds bars. Place these shaped coconut logs onto the lined baking sheet. Transfer the baking sheet to the freezer for about 20 to 30 minutes, allowing the bars to firm up.
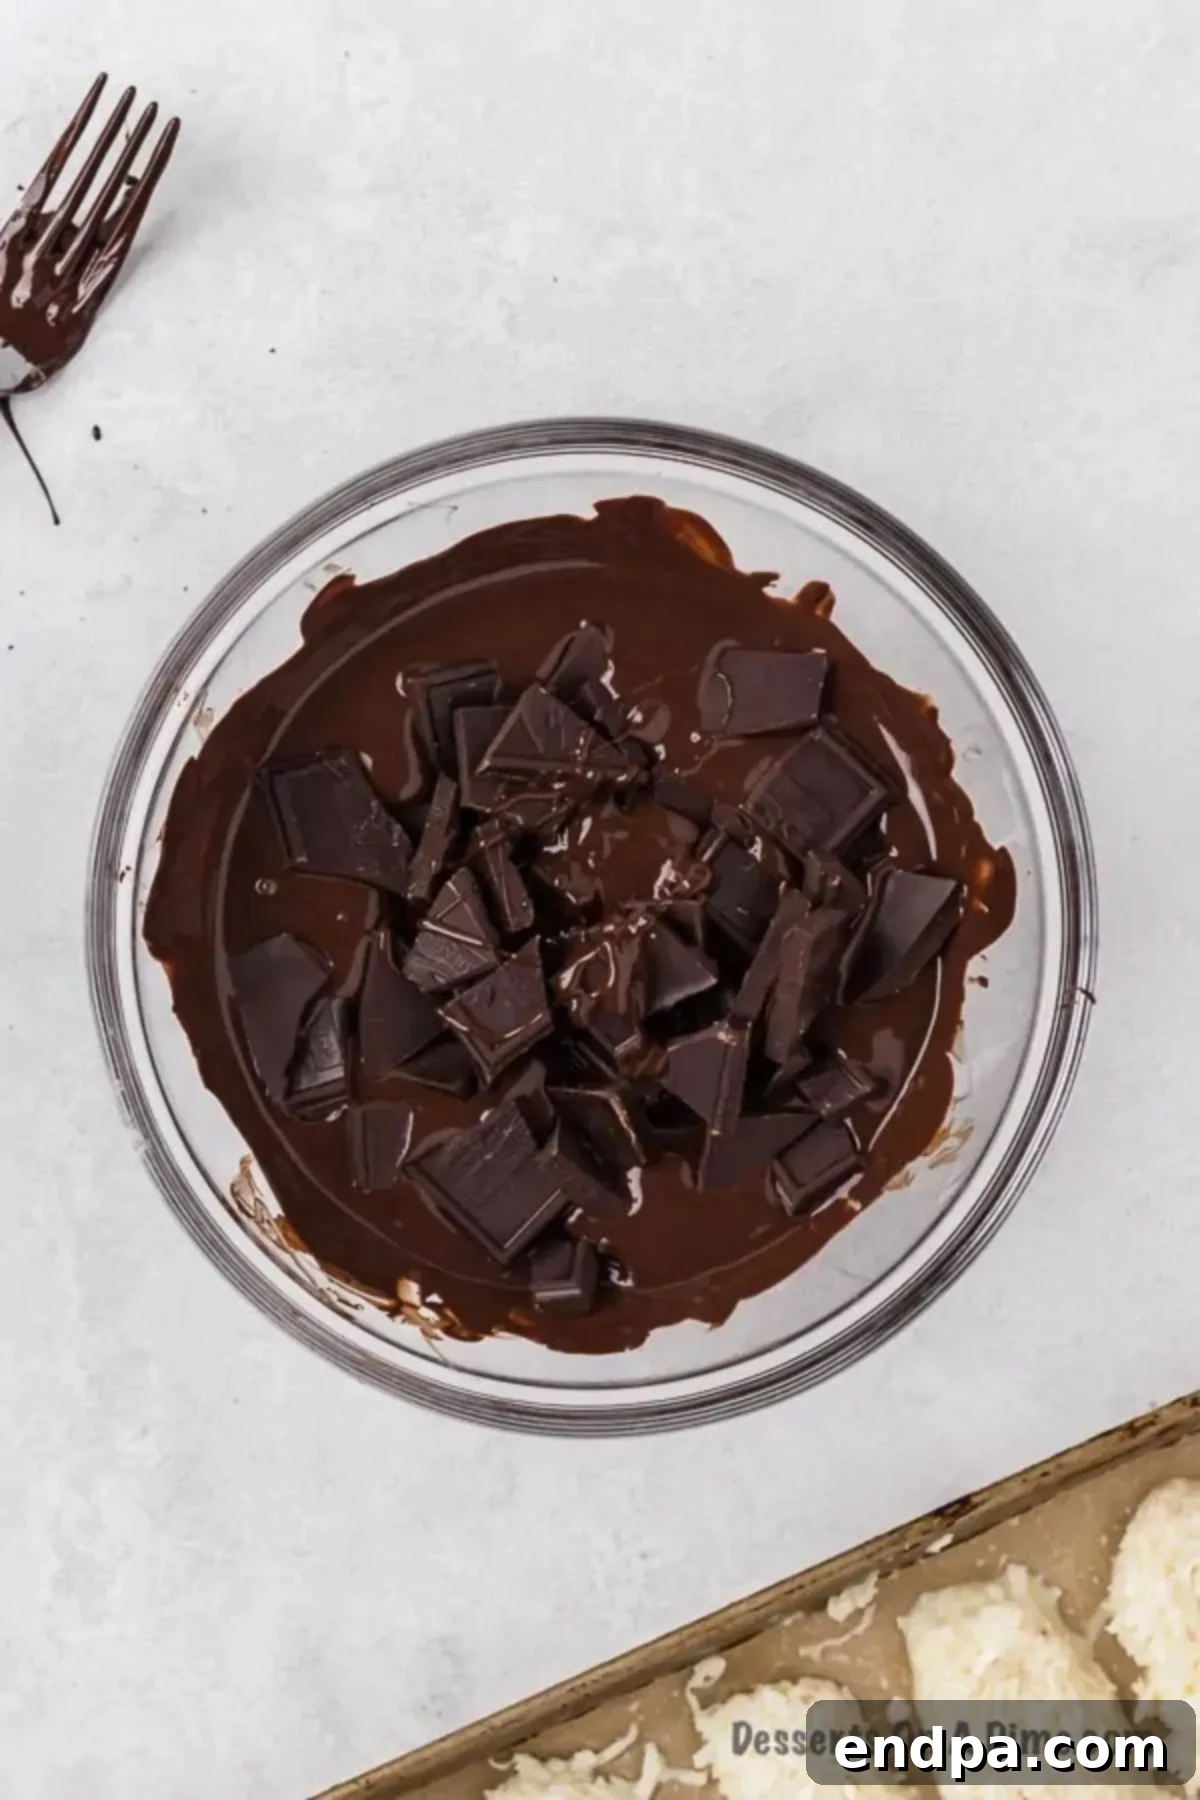
Step 4: Melt the Chocolate. While your coconut bars are chilling in the freezer, prepare your chocolate coating. Place your semi-sweet or dark chocolate (chips or chopped bars) into a microwave-safe bowl. Microwave on high for 30 seconds. Remove and stir well.
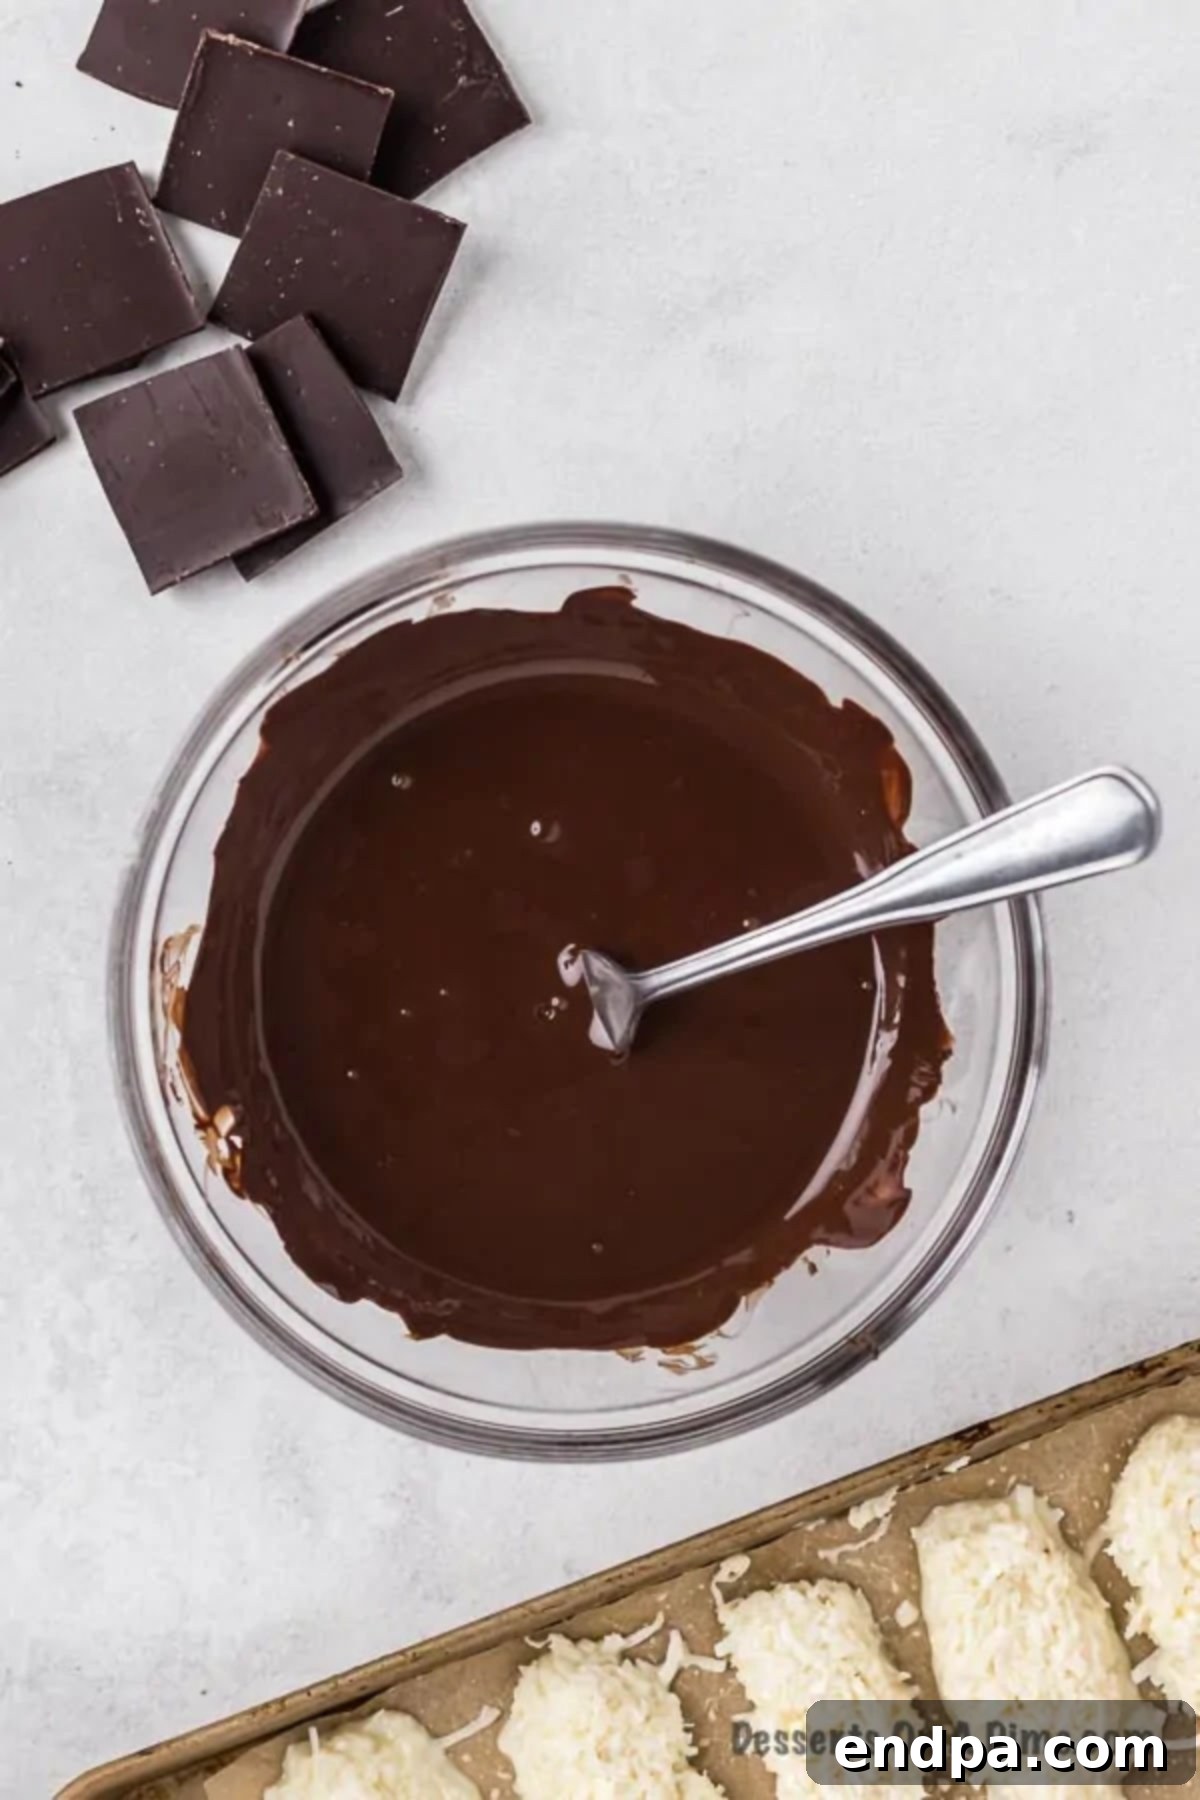
Step 5: Continue Melting. Continue microwaving the chocolate in 15-second intervals, stirring thoroughly after each interval. This staggered approach is crucial to prevent the chocolate from burning or seizing. Keep going until the chocolate is completely smooth and melted.
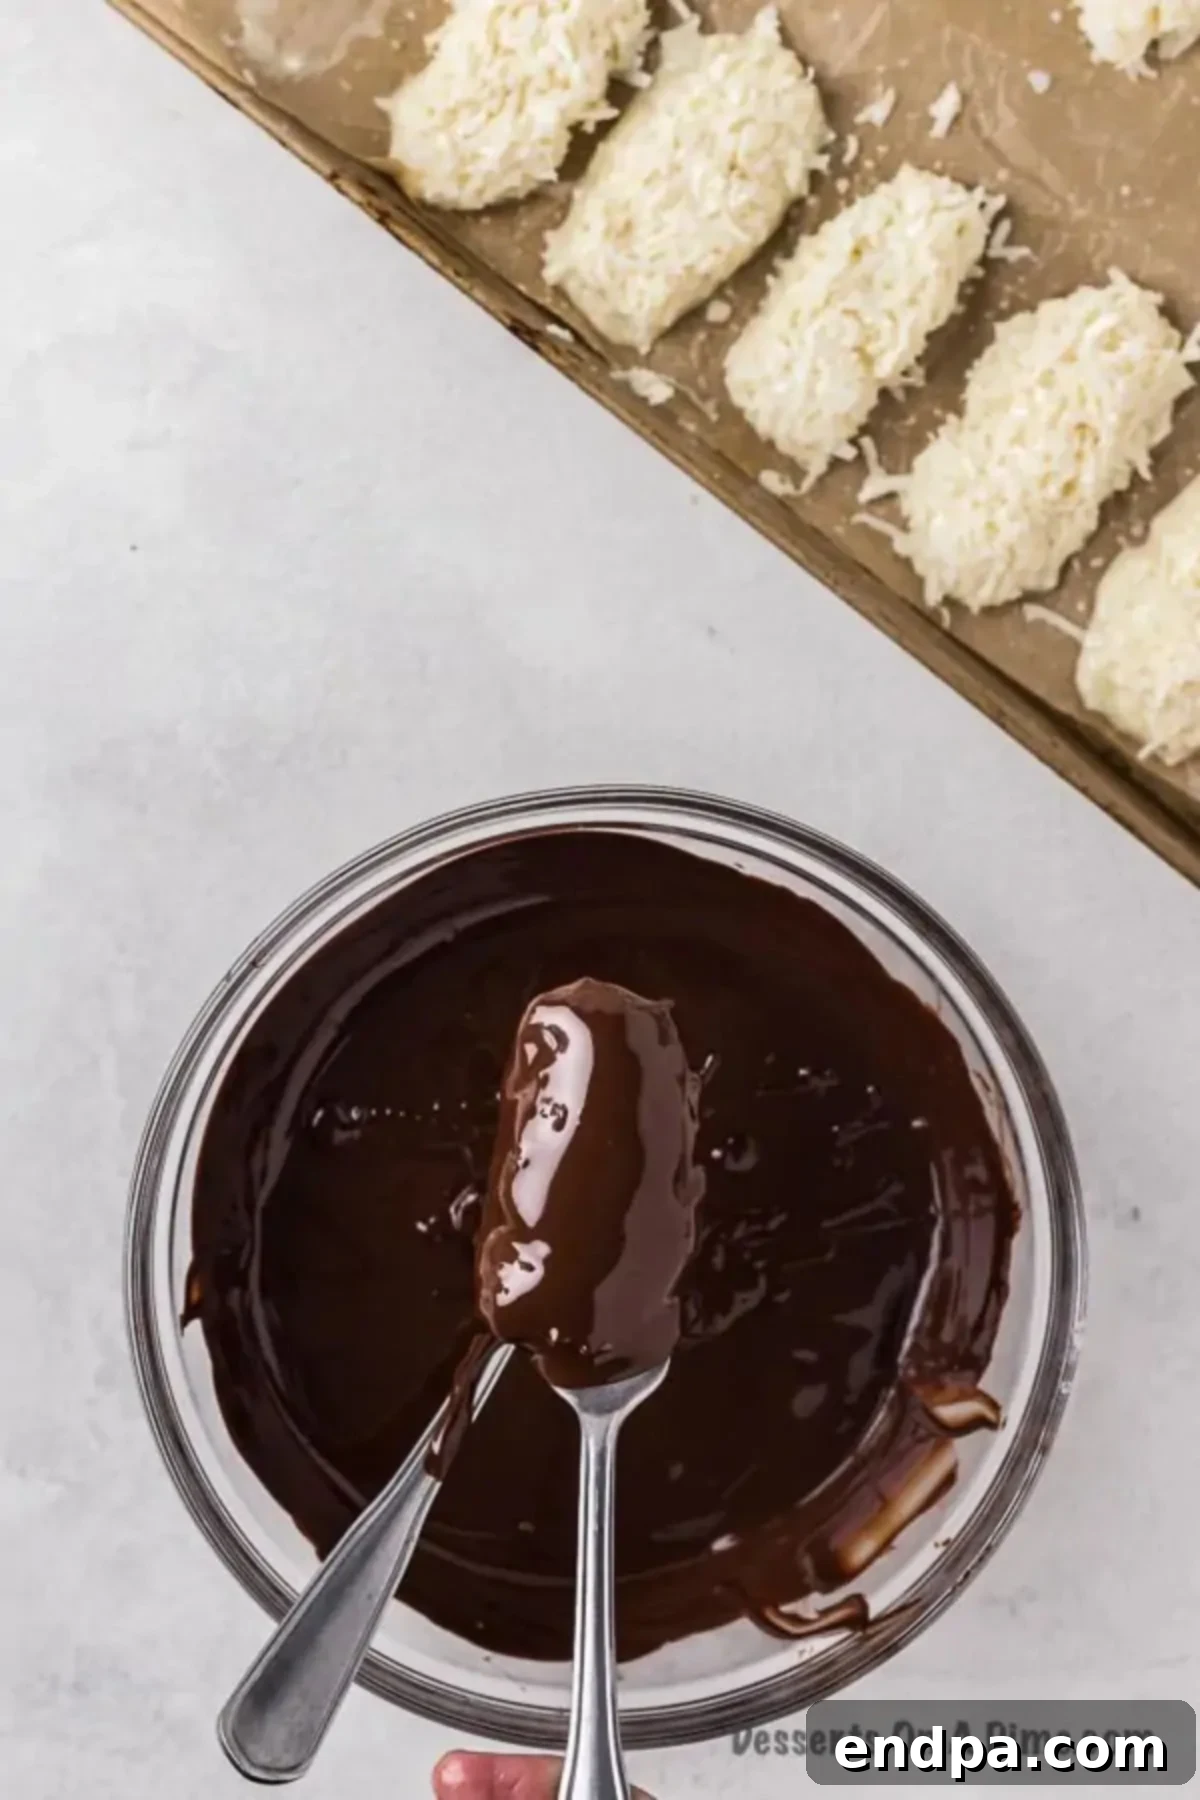
Step 6: Dip the Bars. Once the chocolate is perfectly melted, retrieve your chilled coconut bars from the freezer. Using two forks, carefully dip each coconut bar into the melted chocolate, ensuring it’s fully coated. Gently shake off any excess chocolate, allowing it to drip back into the bowl, creating a thinner, even layer.
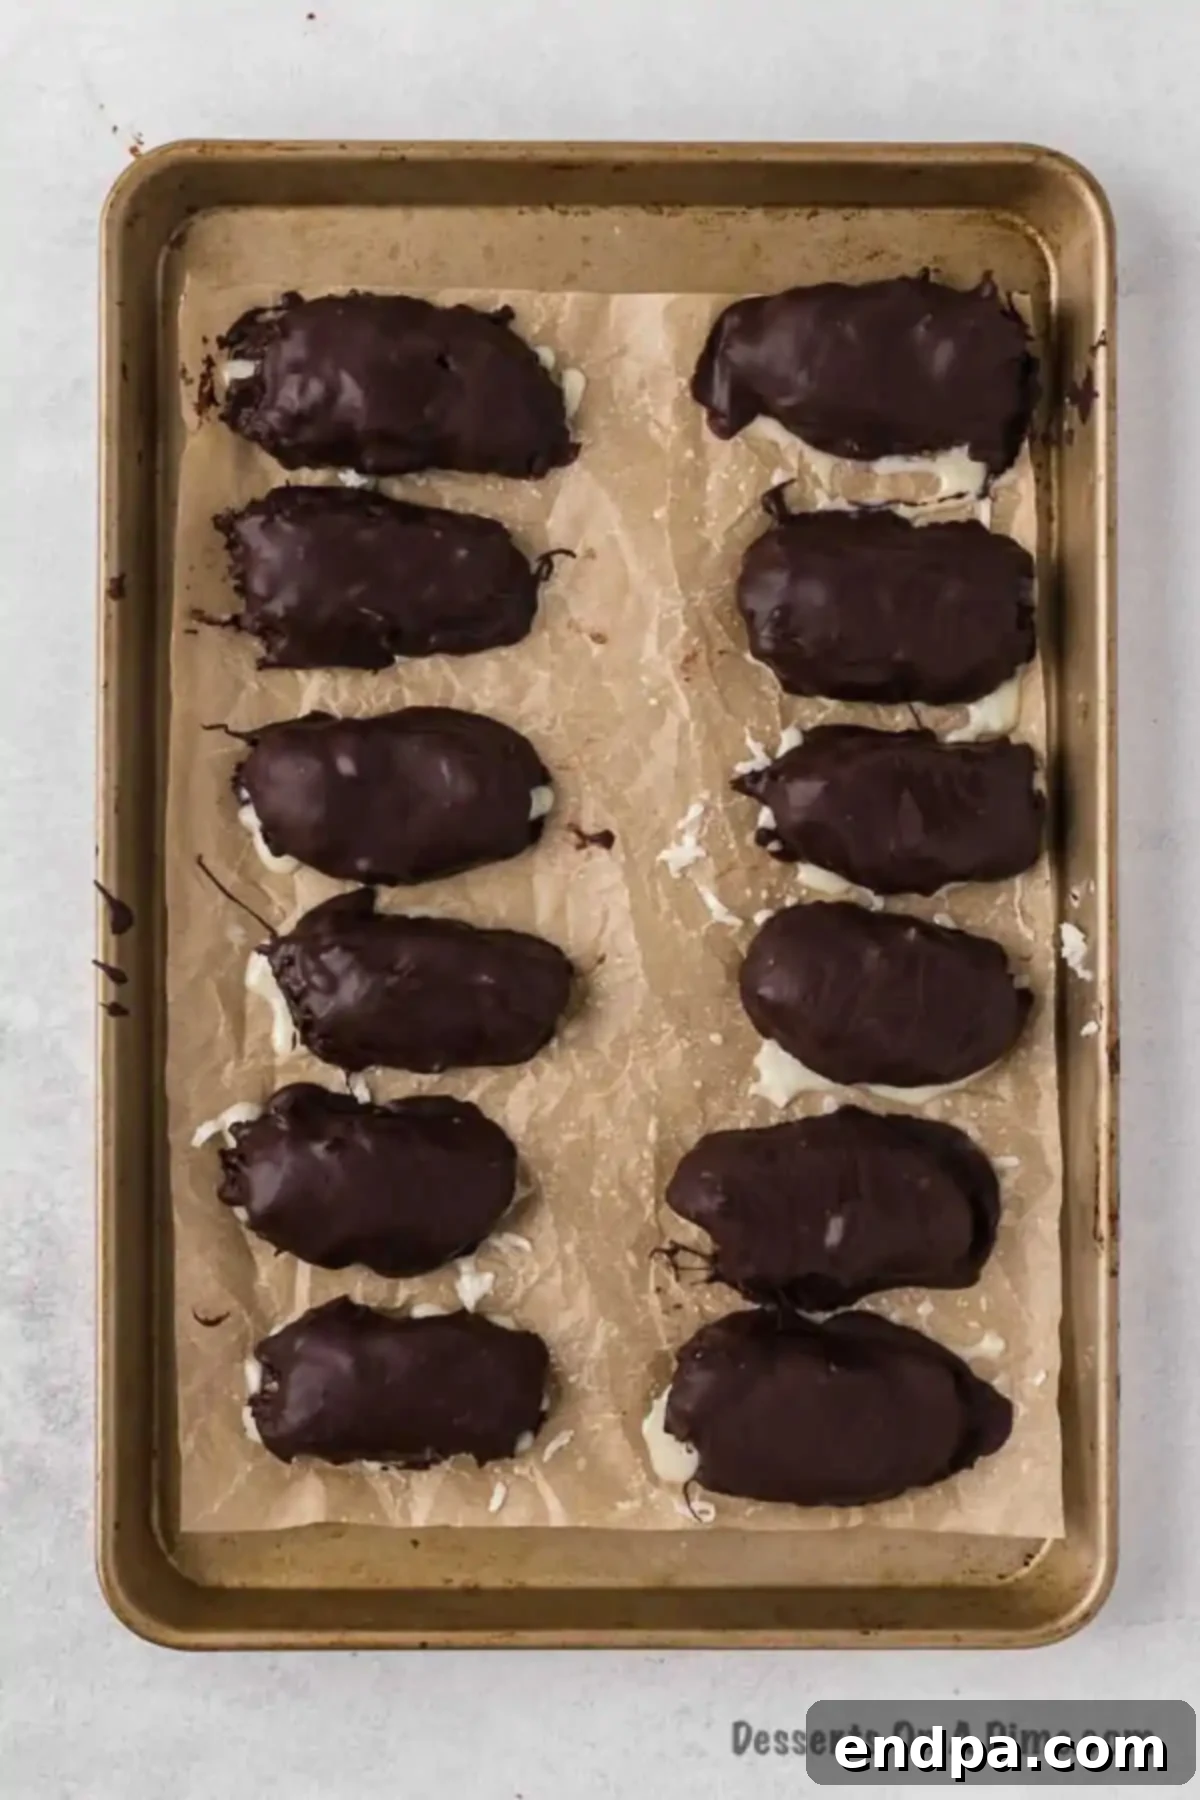
Step 7: Place on Baking Sheet. As you coat each bar, carefully transfer it back onto the parchment-lined baking sheet. The coldness of the coconut bars will help the chocolate begin to set almost immediately.
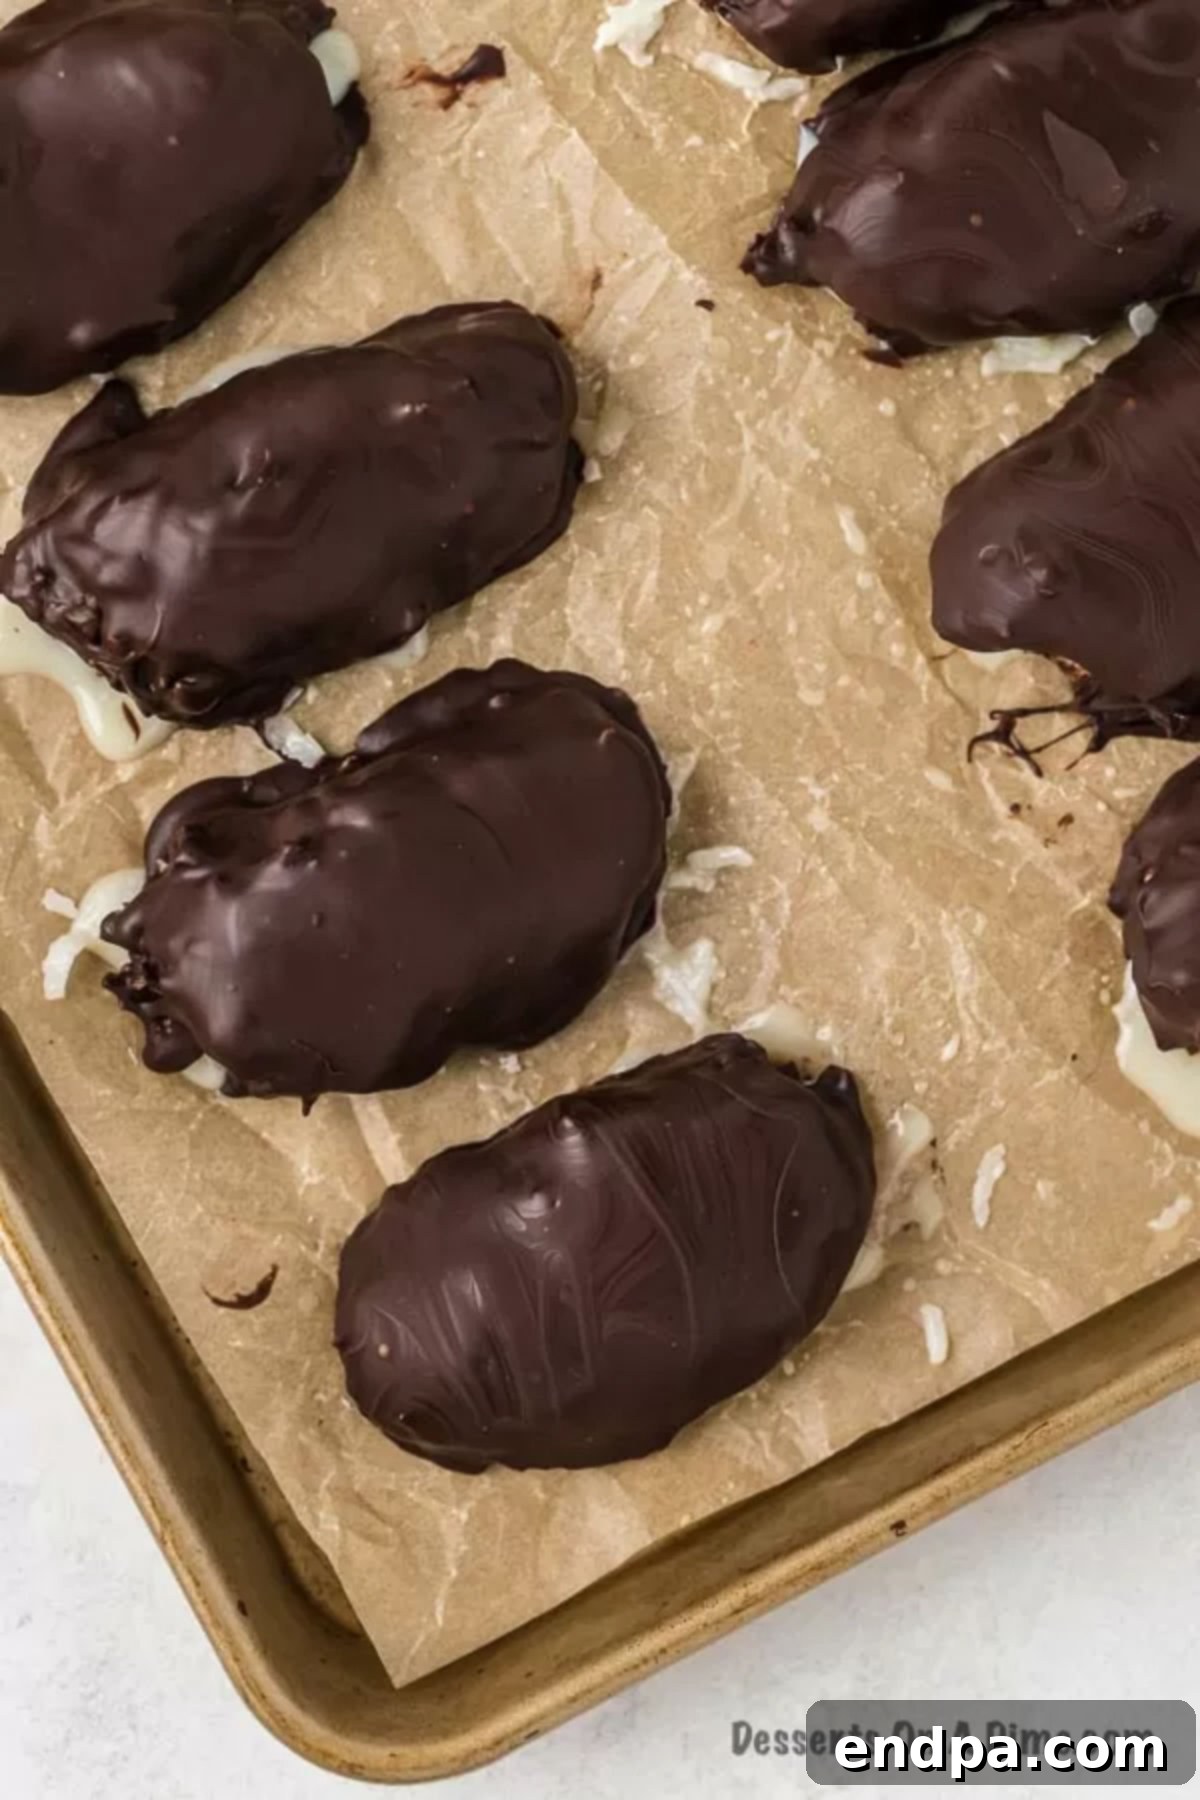
Step 8: Allow Chocolate to Set. Once all the bars are dipped and placed back on the baking sheet, let the melted chocolate coating fully set. Thanks to the chilled coconut core, this should happen fairly quickly at room temperature, or you can pop them back in the fridge for a few minutes for an even faster set. Enjoy your homemade Mounds bars!
Pro Tips for Perfect Mounds Bars
Achieving bakery-quality Mounds bars at home is easier than you think, especially with these insider tips:
- Careful Chocolate Melting: When melting chocolate in the microwave, patience is key. Always use 30-second intervals initially, then switch to 15-second bursts. Stir the chocolate thoroughly after each interval, even if it doesn’t look fully melted. Residual heat will continue to melt the chocolate, preventing it from burning, seizing, or becoming grainy.
- Double Boiler Method: If you prefer a stovetop method or are working with more delicate chocolate, a double boiler is an excellent alternative. Simply place a heat-proof bowl over a pot of simmering water, ensuring the bottom of the bowl does not touch the water. Stir gently until the chocolate is smooth and melted.
- Choosing Your Chocolate: While semi-sweet is a popular choice, feel free to experiment! Dark chocolate chips offer a richer, less sweet contrast to the coconut, appealing to those who love intense flavors. Milk chocolate chips will yield a sweeter, creamier bar, reminiscent of an Almond Joy. You can also use high-quality chocolate baking bars, chopped into small pieces, for an exceptionally smooth and glossy coating.
- The Right Coconut: For the most authentic Mounds flavor and texture, unsweetened shredded coconut is highly recommended. Sweetened varieties can make the bars overly sweet and might alter the texture of the filling.
- Crucial Freezing Step: Do not rush the freezing of the coconut logs. A properly chilled coconut core is essential. If the bars aren’t firm enough, they will be difficult to dip, and the coconut mixture might fall apart in the warm chocolate. Aim for at least 20-30 minutes, or longer if your freezer isn’t very cold.
- Removing Excess Chocolate: After dipping each coconut mound, gently tap the fork against the side of the bowl to allow any excessive chocolate to drip off. This ensures a clean, even coating and prevents a thick, clumpy chocolate layer. A thinner chocolate layer also allows the delightful coconut flavor to truly shine.
- Parchment Paper is Your Friend: Always line your baking sheet with parchment paper. This simple step makes cleanup a breeze and prevents your freshly dipped Mounds bars from sticking to the tray as the chocolate sets.
- Almond Joy Inspiration: If you’re a fan of Almond Joy, it’s incredibly easy to transform these Mounds bars! Simply place a blanched almond or two on top of each coconut log before dipping them in chocolate. The nutty crunch adds another layer of flavor and texture that is absolutely delicious.
Customization Ideas & Variations
One of the joys of making homemade candy is the freedom to get creative! While the classic Mounds bar is perfect as is, here are some ideas to customize your batch:
- Chocolate Drizzle: After the dark chocolate coating has set, drizzle a contrasting chocolate (like white chocolate or milk chocolate) over the bars for an elegant finish.
- Sea Salt Sprinkle: A light sprinkle of flaky sea salt on top of the wet chocolate coating before it sets can wonderfully enhance the chocolate and coconut flavors.
- Nutty Additions: As mentioned, adding an almond makes it an Almond Joy. You could also try finely chopped pecans or walnuts mixed into the coconut filling for extra crunch.
- Extracts: A few drops of vanilla extract, almond extract, or even rum extract can add an extra layer of flavor to the coconut filling. Add it to the sweetened condensed milk before mixing with coconut.
- Toasted Coconut: Lightly toast some shredded coconut flakes and sprinkle them on top of the wet chocolate coating for added texture and a deeper coconut flavor.
- Spices: A pinch of cinnamon or a tiny dash of cayenne pepper (for a hint of heat) can be mixed into the chocolate or coconut filling for an adventurous twist.
Storage Best Practices
To keep your homemade Mounds bars fresh and delicious, proper storage is essential. Once the chocolate coating has fully set, carefully place the bars in an airtight container. They can be stored at room temperature for up to 4 to 5 days, though their delightful flavor often means they disappear much faster!
For optimal freshness and to maintain their firm texture, especially in warmer climates, storing them in the refrigerator is also a great option. Chilled Mounds bars offer a wonderfully refreshing bite, and they will typically last for about a week in the fridge. Always ensure they are in a sealed container to prevent them from absorbing any odors from other foods.
How to Freeze Mounds Bars
These homemade Mounds bars are perfect for making ahead or enjoying over an extended period because they freeze beautifully. To freeze them, ensure the chocolate coating is completely set. Then, arrange the bars in a single layer on a parchment-lined baking sheet and flash-freeze them for about an hour or until solid. This prevents them from sticking together.
Once frozen solid, transfer the bars to a freezer-safe airtight container or a heavy-duty freezer bag. You can layer them with parchment paper in between to prevent sticking. They will keep well in the freezer for up to 2-3 months. We personally love enjoying homemade Mounds bars cold, straight from the freezer for a super firm, refreshing treat. If you prefer a slightly softer texture, simply remove them from the freezer and let them thaw for a few minutes at room temperature or in the fridge before indulging.
Can I Double the Recipe?
Absolutely, you can easily double or even triple this recipe! This is a fantastic option if you’re preparing for holidays, hosting a party, or simply want to stock your freezer with a convenient and delicious chocolate treat. The process remains the same, just ensure you have a large enough mixing bowl and sufficient freezer space for your baking sheets. Doubling the recipe will yield 24 bars, and tripling it will give you 36, making sure you have plenty of homemade Mounds to share or savor whenever a craving strikes.
Frequently Asked Questions (FAQ)
- Can I use sweetened shredded coconut? While possible, it’s not recommended for the most authentic Mounds flavor. Sweetened condensed milk already provides a lot of sugar, and sweetened coconut can make the bars excessively sweet. If you must use it, consider adjusting the amount of condensed milk, though this can affect texture.
- My chocolate seized, what happened? Chocolate seizes when it comes into contact with even a tiny amount of water or when overheated. Ensure your bowl and tools are completely dry. When melting, stick to short intervals and stir continuously.
- Can I make these vegan? Yes! You can use vegan sweetened condensed milk (often coconut-based) and dairy-free chocolate chips to make this recipe entirely vegan-friendly.
- How do I get a smooth chocolate coating? Ensure your chocolate is fully melted and smooth. Dip the chilled coconut bars quickly and gently. Tap off excess chocolate by tapping the fork against the bowl. For an extra smooth finish, consider tempering your chocolate, though it’s not strictly necessary for this recipe.
- Are these gluten-free? Yes, all the core ingredients (unsweetened shredded coconut, sweetened condensed milk, and chocolate) are naturally gluten-free. Always double-check labels if you have severe allergies.
More Chocolate Desserts
If you’re a chocolate lover, there’s always room for more delightful treats! Here are some other fantastic chocolate-infused dessert recipes you might enjoy:
- Hot Chocolate Bomb
- Chocolate Covered Peanut Butter Balls Recipe
- Amazing Chocolate Brownie Cookies Recipe
- Easter Chocolate Bark
- The Best Chocolate Fudge Recipe
- One Bowl Brownies
We hope you love making these incredibly easy and satisfying homemade Mounds bars. They truly are a testament to how simple ingredients can create extraordinary treats. Give this delightful recipe a try for a sweet, coconut-filled escape. Don’t forget to leave a comment and share your experience once you do!
Homemade Mounds Bar Recipe Card
Homemade Mounds Bar Recipe
Rated 4.82 from 11 votes
Ingredients
- 3 cups unsweetened shredded coconut
- 14 ounce can sweetened condensed milk
- 15 ounces semi sweet or dark chocolate
Instructions
- In a medium mixing bowl, combine coconut and sweetened condensed milk.
- With clean and wet hands, shape the coconut mixture into 12 logs, placing each on a parchment paper lined cookie sheet.
- Freeze for about 20-30 minutes.
- In a microwave-safe bowl, microwave the chocolate on high for 30 seconds. Stir well. Then microwave in 15-second intervals, stirring in between, until completely melted.
- Use forks to dip each of the coconut bars into the chocolate, then transfer back to the parchment paper lined cookie sheet.
- Allow the chocolate on the bars to set.
- Because the bars were chilled in the freezer, the chocolate should set quickly.
