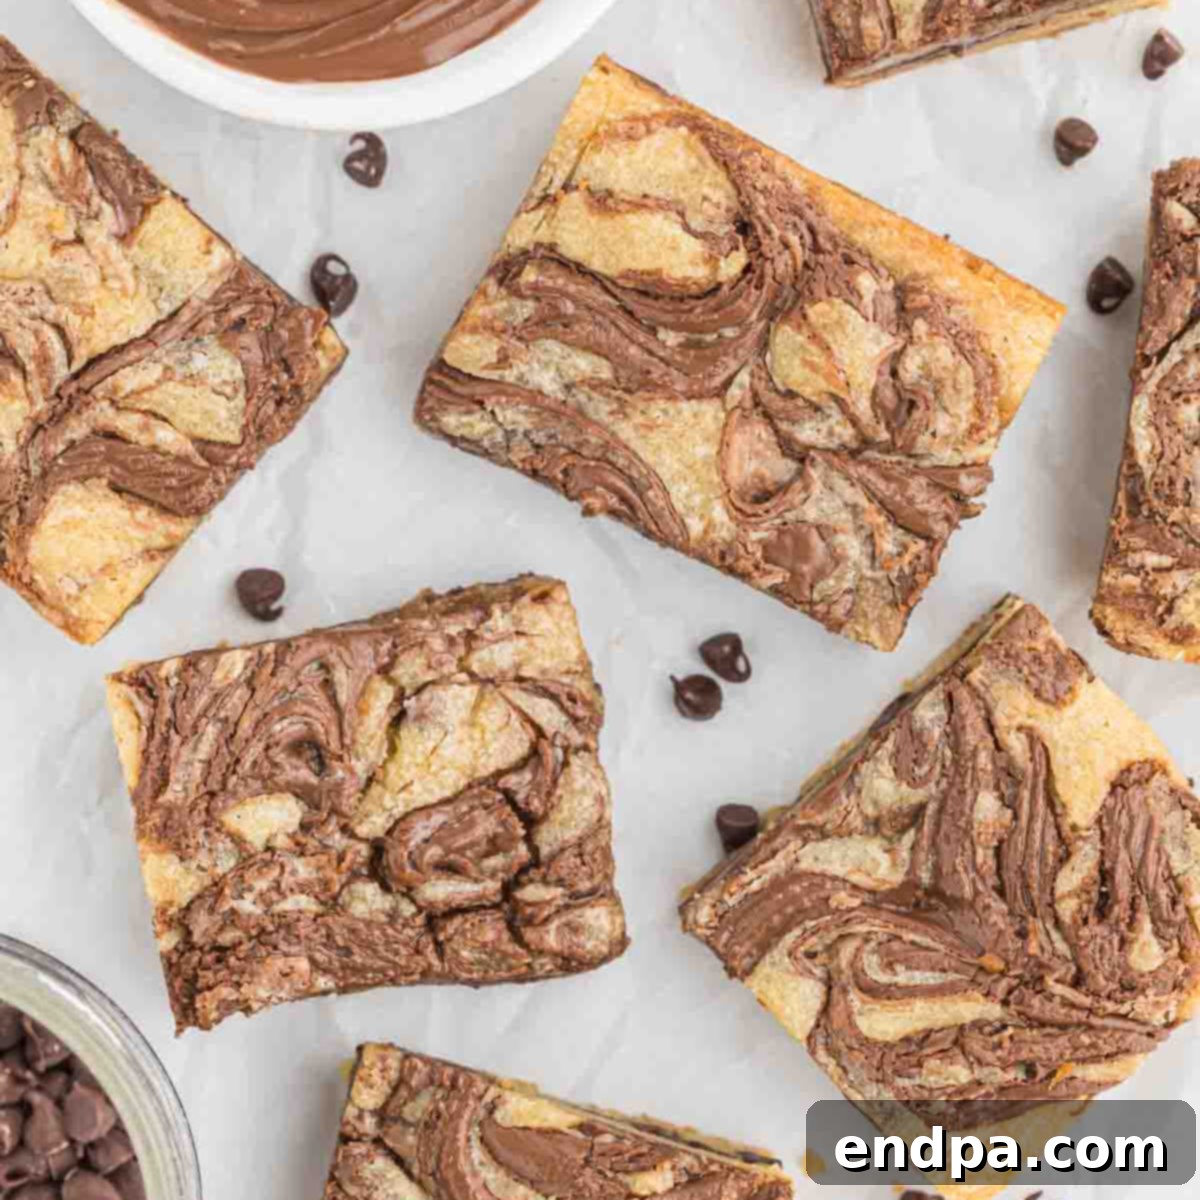
Nutella Bars: The Ultimate Gooey Chocolate Chip Hazelnut Treat
Indulge in the irresistible delight of Nutella Bars, a decadent dessert that masterfully blends the rich, creamy allure of Nutella with the classic comfort of chocolate chip cookies. Each bite of these gooey cookie bars promises luscious swirls of hazelnut spread and a generous scattering of chocolate chips, delivering an explosion of flavor that’s simply heavenly. Imagine your favorite chocolate chip cookie, but infused with the iconic taste of Nutella and baked into a convenient, shareable bar format. This recipe transforms a beloved classic into an extraordinary treat with minimal effort, making it perfect for bakers of all skill levels.
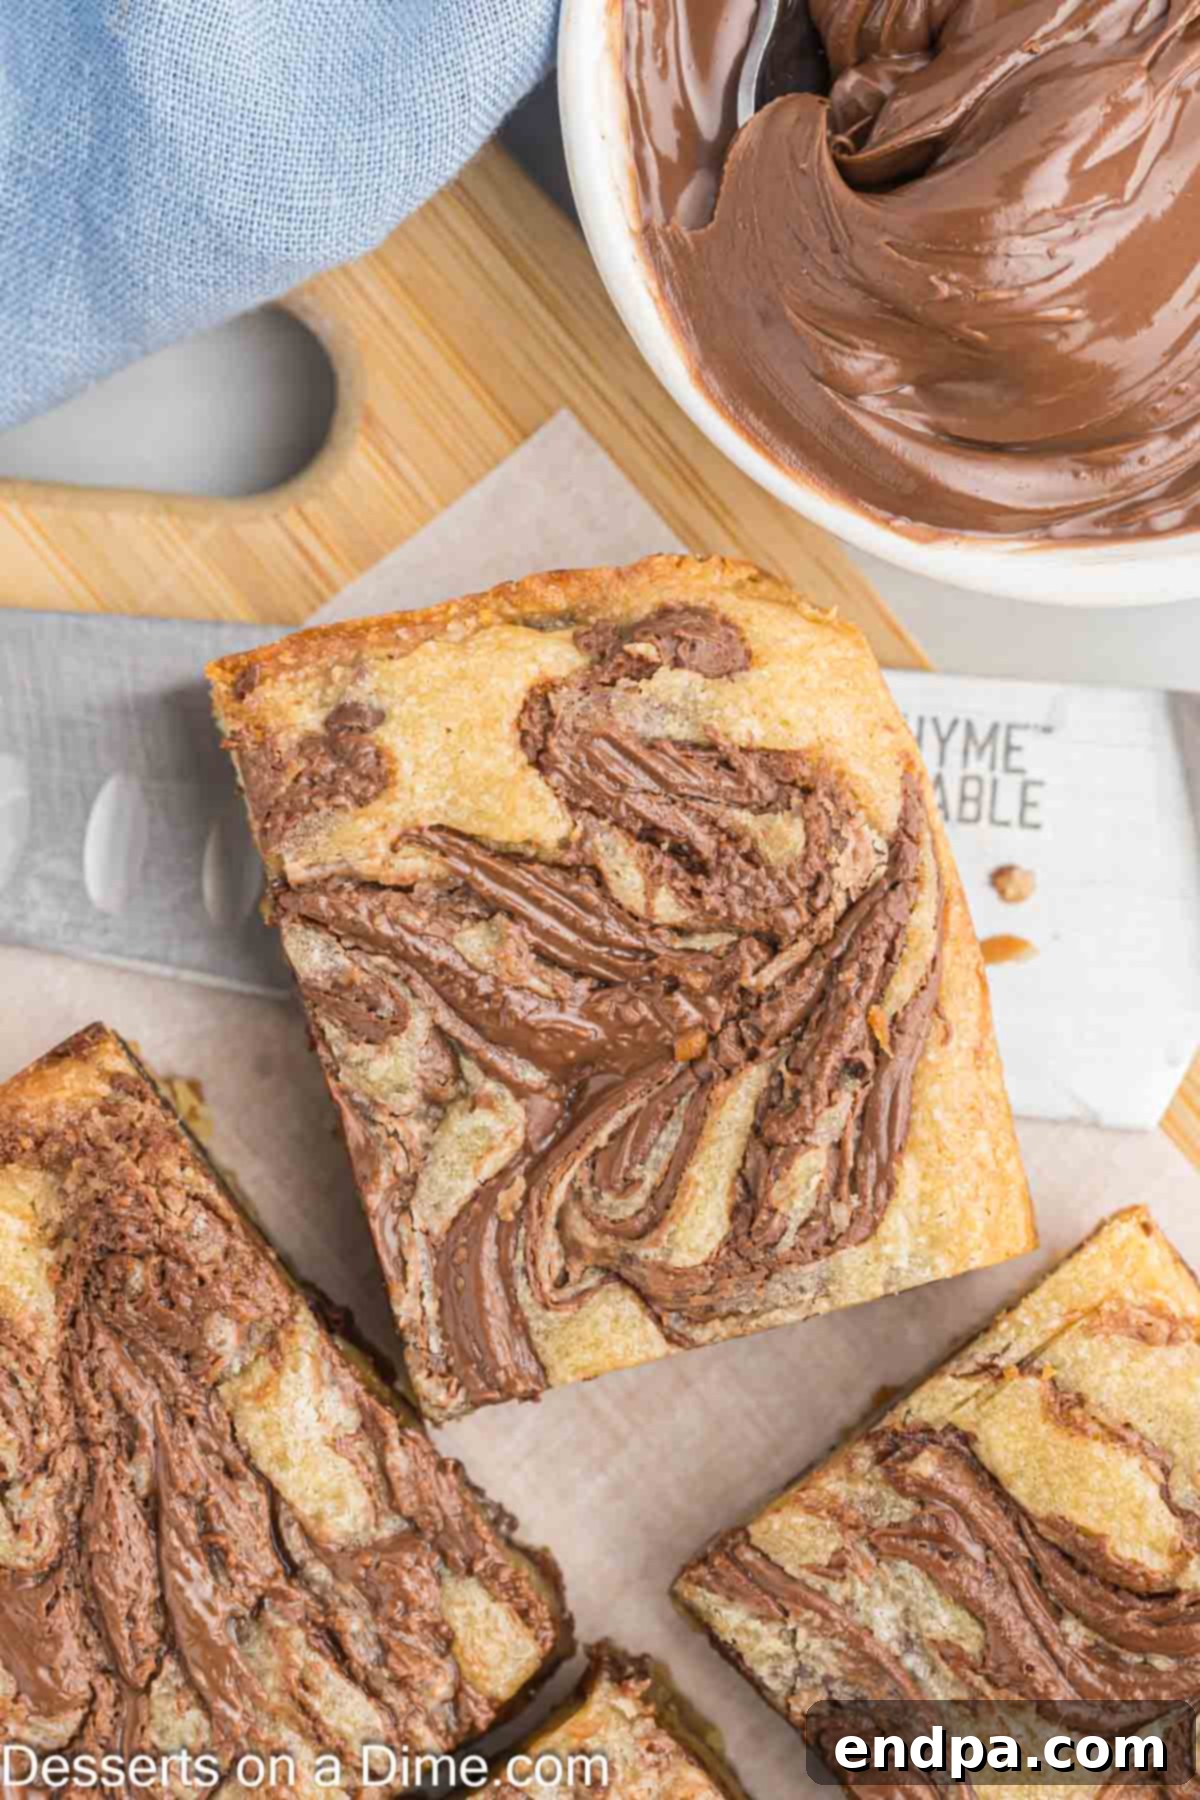
Get ready to impress your family and friends with these spectacular Nutella Cookie Bars. This recipe takes the beloved concept of a chocolate chip cookie and reimagines it as a dessert bar, brimming with the distinctive taste of Nutella. These bars are not only incredibly easy to prepare but also emerge from the oven rich, moist, and utterly decadent. They are a surefire way to satisfy any sweet craving and add a touch of gourmet flair to your dessert table.
In our household, any occasion that calls for baking with Nutella is met with sheer enthusiasm. From delightful Nutella Cookies to fudgy Nutella Brownies, incorporating this hazelnut spread into our desserts always brings joy. These Nutella Bars continue that tradition, offering a new, exciting way to enjoy this beloved ingredient in a format that’s ideal for sharing.
Table of Contents
- Why You’ll Adore These Nutella Bars
- Essential Equipment for Baking
- Key Ingredients for Success
- Creative Variations to Try
- Detailed Step-by-Step Instructions
- Storing Your Delicious Nutella Bars
- Expert Tips for Perfect Nutella Bars
- Frequently Asked Questions
- More Irresistible Dessert Bar Recipes
Why You’ll Adore These Nutella Bars
These Nutella Bars are more than just a dessert; they are an experience waiting to happen. Here’s why this recipe will quickly become a cherished favorite in your recipe collection:
- Harmonious Flavor Combination: The interplay between the sweet, nutty Nutella and the rich, melting chocolate chips creates an absolutely divine taste. It’s a sophisticated twist on a classic chocolate chip cookie that appeals to everyone. The distinct hazelnut flavor elevates the simple cookie dough, making each bite truly memorable.
- Effortlessly Simple to Prepare: You’ll be hard-pressed to find an easier recipe for such an impressive treat. Unlike traditional cookies that often require scooping individual portions and multiple baking sheets, these bars are baked in a single pan. This streamlines the baking process, saving you time and cleanup, without compromising on flavor or texture.
- Versatile for Any Event: Whether you’re hosting a holiday gathering, bringing a dessert to a potluck, celebrating a birthday, or simply craving a sweet indulgence on a Tuesday night, these Nutella Bars fit every occasion. Their ease of preparation means you can whip up a batch anytime the craving strikes or an event calls for a crowd-pleasing dessert. They’re also fantastic for lunchboxes or a cozy evening treat.
- Family Favorite: The rich taste of Nutella combined with gooey chocolate chips is universally loved, making these bars an instant hit with both kids and adults. They are the perfect treat to bake with the family, creating delicious memories together.
- Perfect Texture: These bars boast a delightful balance of chewiness from the brown sugar, tenderness from the perfectly baked dough, and the added gooeyness from the Nutella and melted chocolate chips. They strike that coveted balance between a fudgy brownie and a soft cookie.
Essential Equipment for Baking
Gathering your tools before you begin ensures a smooth and enjoyable baking process. For these Nutella Bars, you’ll need:
- 8×8 inch baking dish
- Parchment paper
- Large mixing bowl
- Electric hand mixer or stand mixer
- Rubber spatula
- Measuring cups and spoons
- Sharp knife (for cutting)
- Wire rack (for cooling)
Key Ingredients for Success
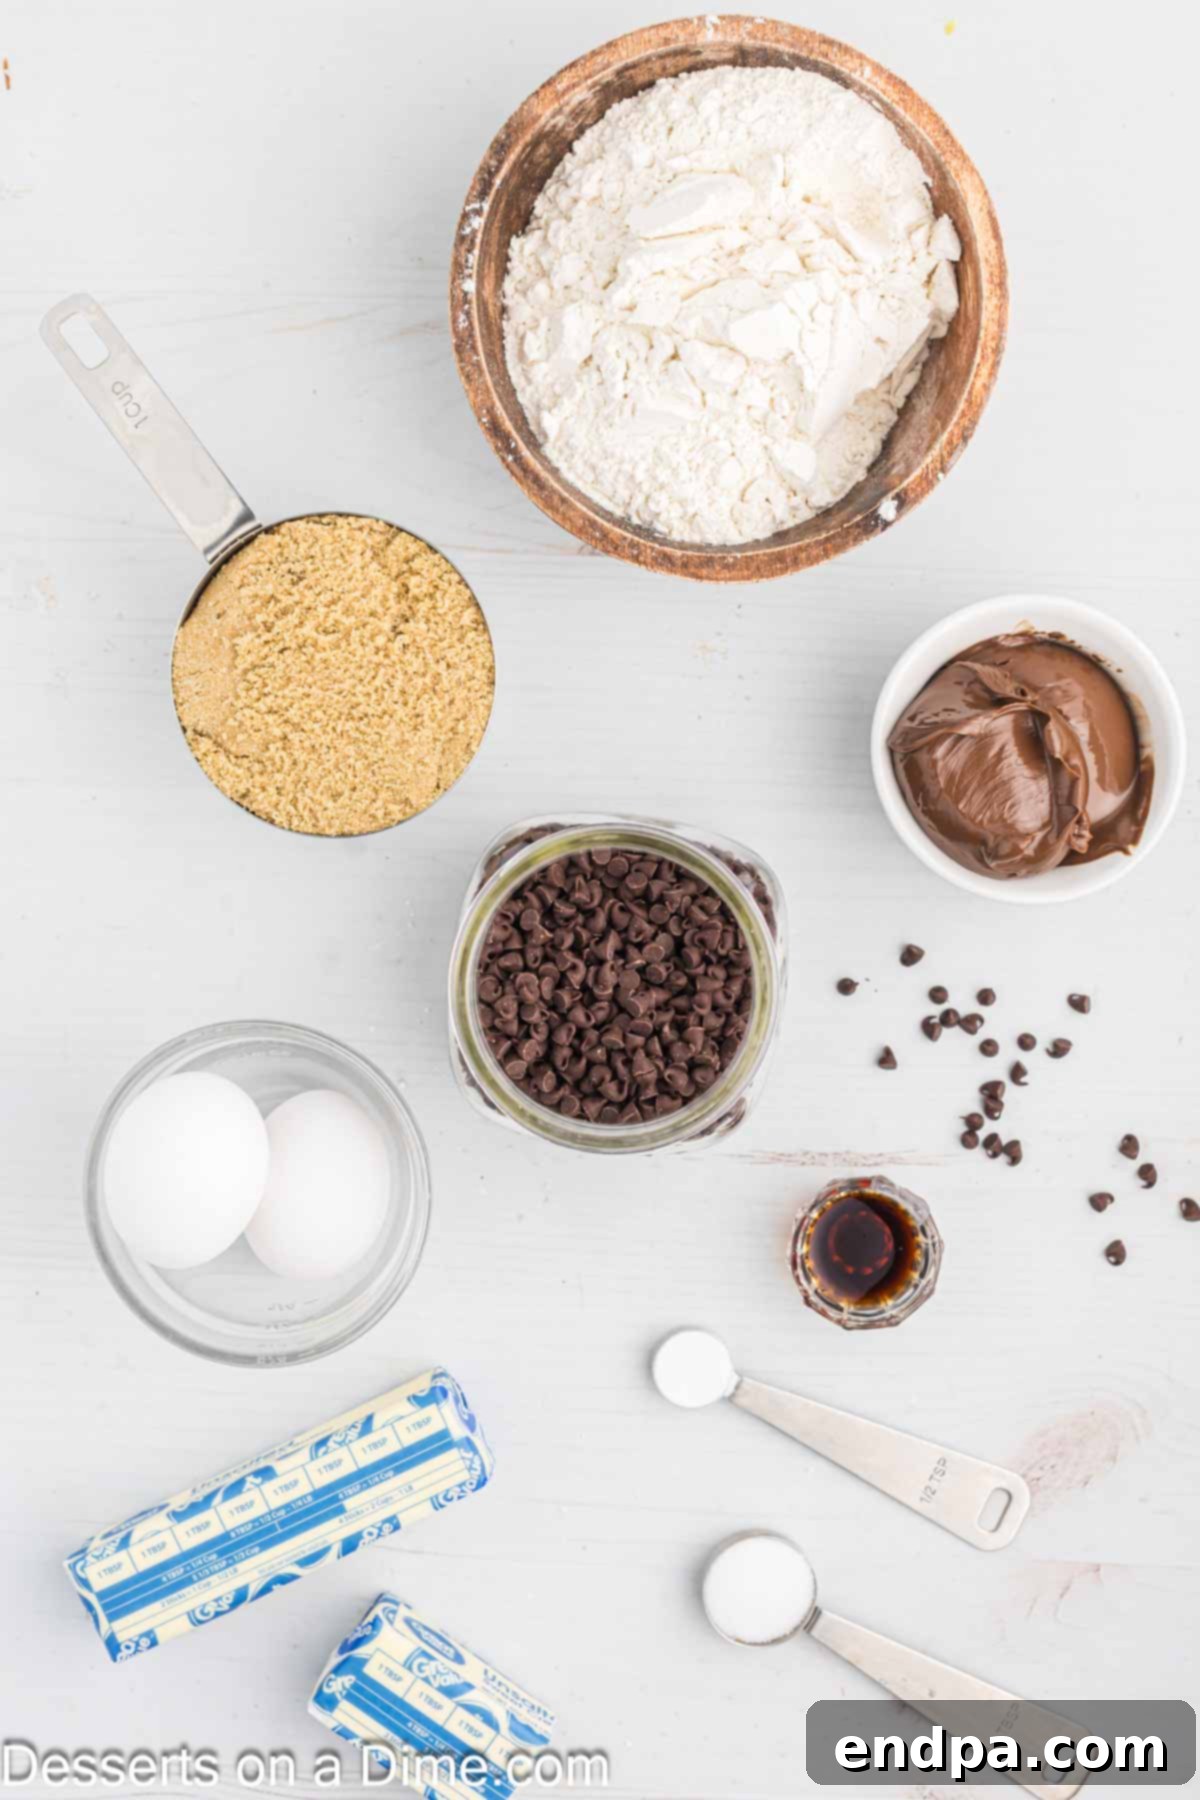
The magic of these Nutella Bars starts with a few simple, high-quality ingredients. Here’s what you’ll need and why each component is important:
- Unsalted Butter: Ensure your butter is softened to room temperature. This allows it to cream easily with the sugar, creating a light and fluffy base for your cookie dough. Unsalted butter gives you control over the overall saltiness of the bars.
- Brown Sugar: This is crucial for the chewy texture and deep, caramel-like flavor of the bars. You can use either light or dark brown sugar, depending on your preference for a milder or richer molasses note. If you’re feeling adventurous, try our Homemade Brown Sugar Recipe, it’s surprisingly easy to make and yields fantastic results.
- Large Eggs: Eggs act as a binder, adding structure, moisture, and richness to the cookie dough. Make sure they are at room temperature for better emulsification with the butter and sugar.
- Pure Vanilla Extract: For the best and most authentic flavor, always opt for pure vanilla extract. It enhances all the other flavors in the bars, adding a comforting warmth.
- All-Purpose Flour: The foundation of our cookie dough. For accurate measurement and to prevent dense bars, I highly recommend spooning the flour into your measuring cup and then leveling it off, rather than scooping directly from the bag. This method prevents overpacking the flour.
- Salt: A pinch of salt is essential to balance the sweetness and bring out the depth of the chocolate and Nutella flavors.
- Baking Powder: This leavening agent helps the bars achieve a light, tender crumb without making them too cakey.
- Mini Semi-Sweet Chocolate Chips: The mini size is perfect for these bars as they distribute evenly throughout the dough and melt beautifully without creating large pockets of chocolate. Semi-sweet provides a nice contrast to the sweetness of the Nutella.
- Nutella: The undeniable star of this recipe! This creamy, rich hazelnut spread provides its signature flavor and creates those irresistible gooey swirls throughout the bars. It’s truly what makes these bars unique and utterly addictive. You’ll divide it into two portions for layering.
The complete, precise quantities for each ingredient can be found in the detailed recipe card at the bottom of this page.
Creative Variations to Try
While these Nutella Bars are perfect as is, feel free to get creative and customize them to your liking:
- Different Chocolates: Instead of or in addition to mini semi-sweet chips, experiment with milk chocolate chips, dark chocolate chunks, or even white chocolate chips for a different flavor profile. A mix of different chocolates can add complexity.
- Add a Pinch of Sea Salt: Sprinkle a touch of flaky sea salt over the top of the bars before baking. The salt crystals will enhance the chocolate and hazelnut flavors, creating a sophisticated sweet and salty contrast.
- Nutty Additions: For an extra layer of texture and flavor, fold in chopped roasted hazelnuts, pecans, or walnuts into the cookie dough along with the chocolate chips.
- Other Spreads: If you’re not a fan of Nutella or want to try something different, consider substituting it with almond butter, Biscoff cookie butter, or even peanut butter for a distinct twist.
- A Dash of Espresso: A teaspoon of instant espresso powder mixed into the dry ingredients can deepen the chocolate flavor without making the bars taste like coffee.
- Colorful Sprinkles: Add some festive sprinkles to the top of the bars before baking for a playful touch, especially for birthdays or holidays.
Detailed Step-by-Step Instructions
Creating these delightful Nutella Bars is a straightforward process. Follow these steps for perfect results:
- Step 1: Prepare Your Pan and Preheat Oven. Begin by preheating your oven to 350 degrees Fahrenheit (175°C). Line an 8×8 inch (20×20 cm) baking dish with parchment paper. Make sure the parchment paper extends over the edges of the pan on two sides, creating “handles” that will make it incredibly easy to lift the baked bars out later. Press the paper firmly into the bottom and sides of the dish to ensure it lies flat.
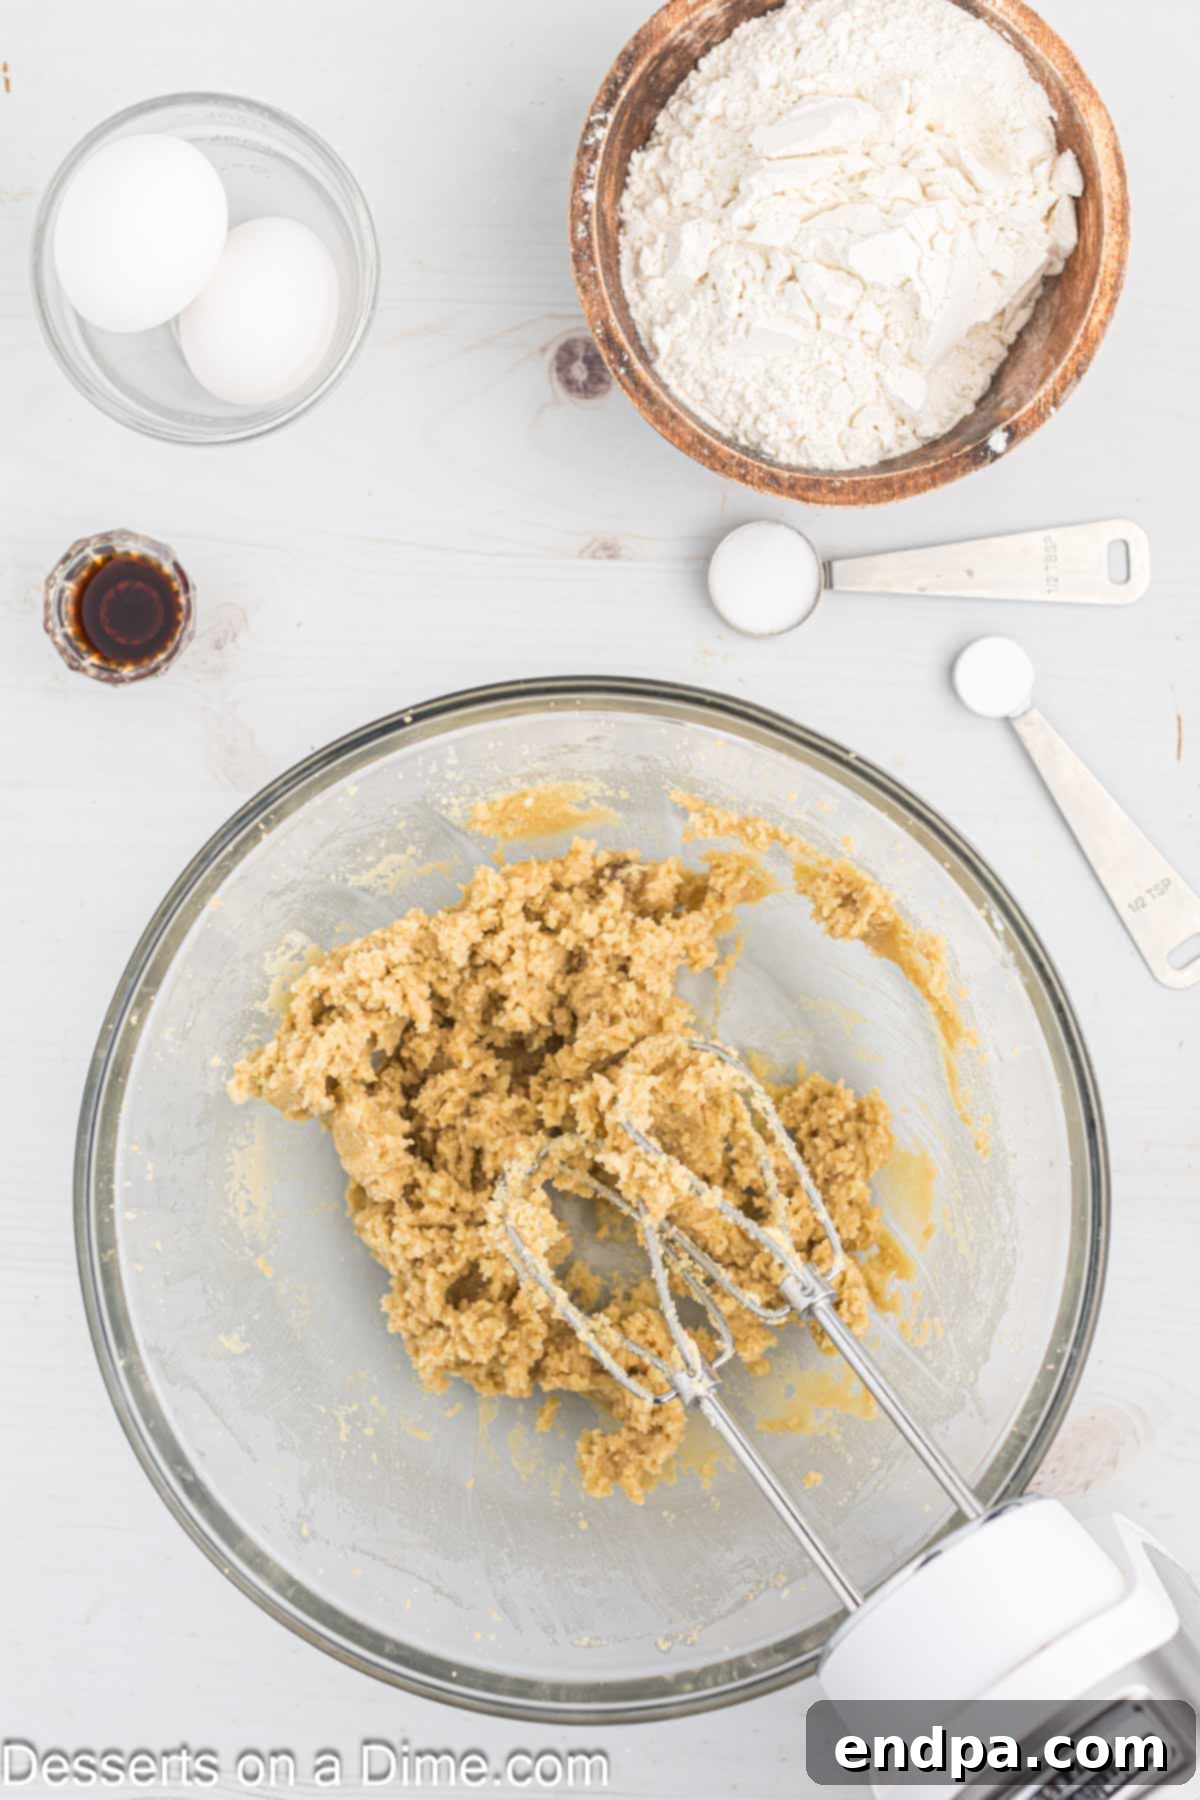
Step 2: Cream Butter and Sugar. In a large mixing bowl, combine the softened unsalted butter and packed brown sugar. Use an electric hand mixer or a stand mixer fitted with the paddle attachment to beat them together on medium speed until the mixture is light, fluffy, and well combined. This usually takes about 2-3 minutes. Remember to scrape down the sides of the bowl with a rubber spatula halfway through to ensure everything is thoroughly incorporated.
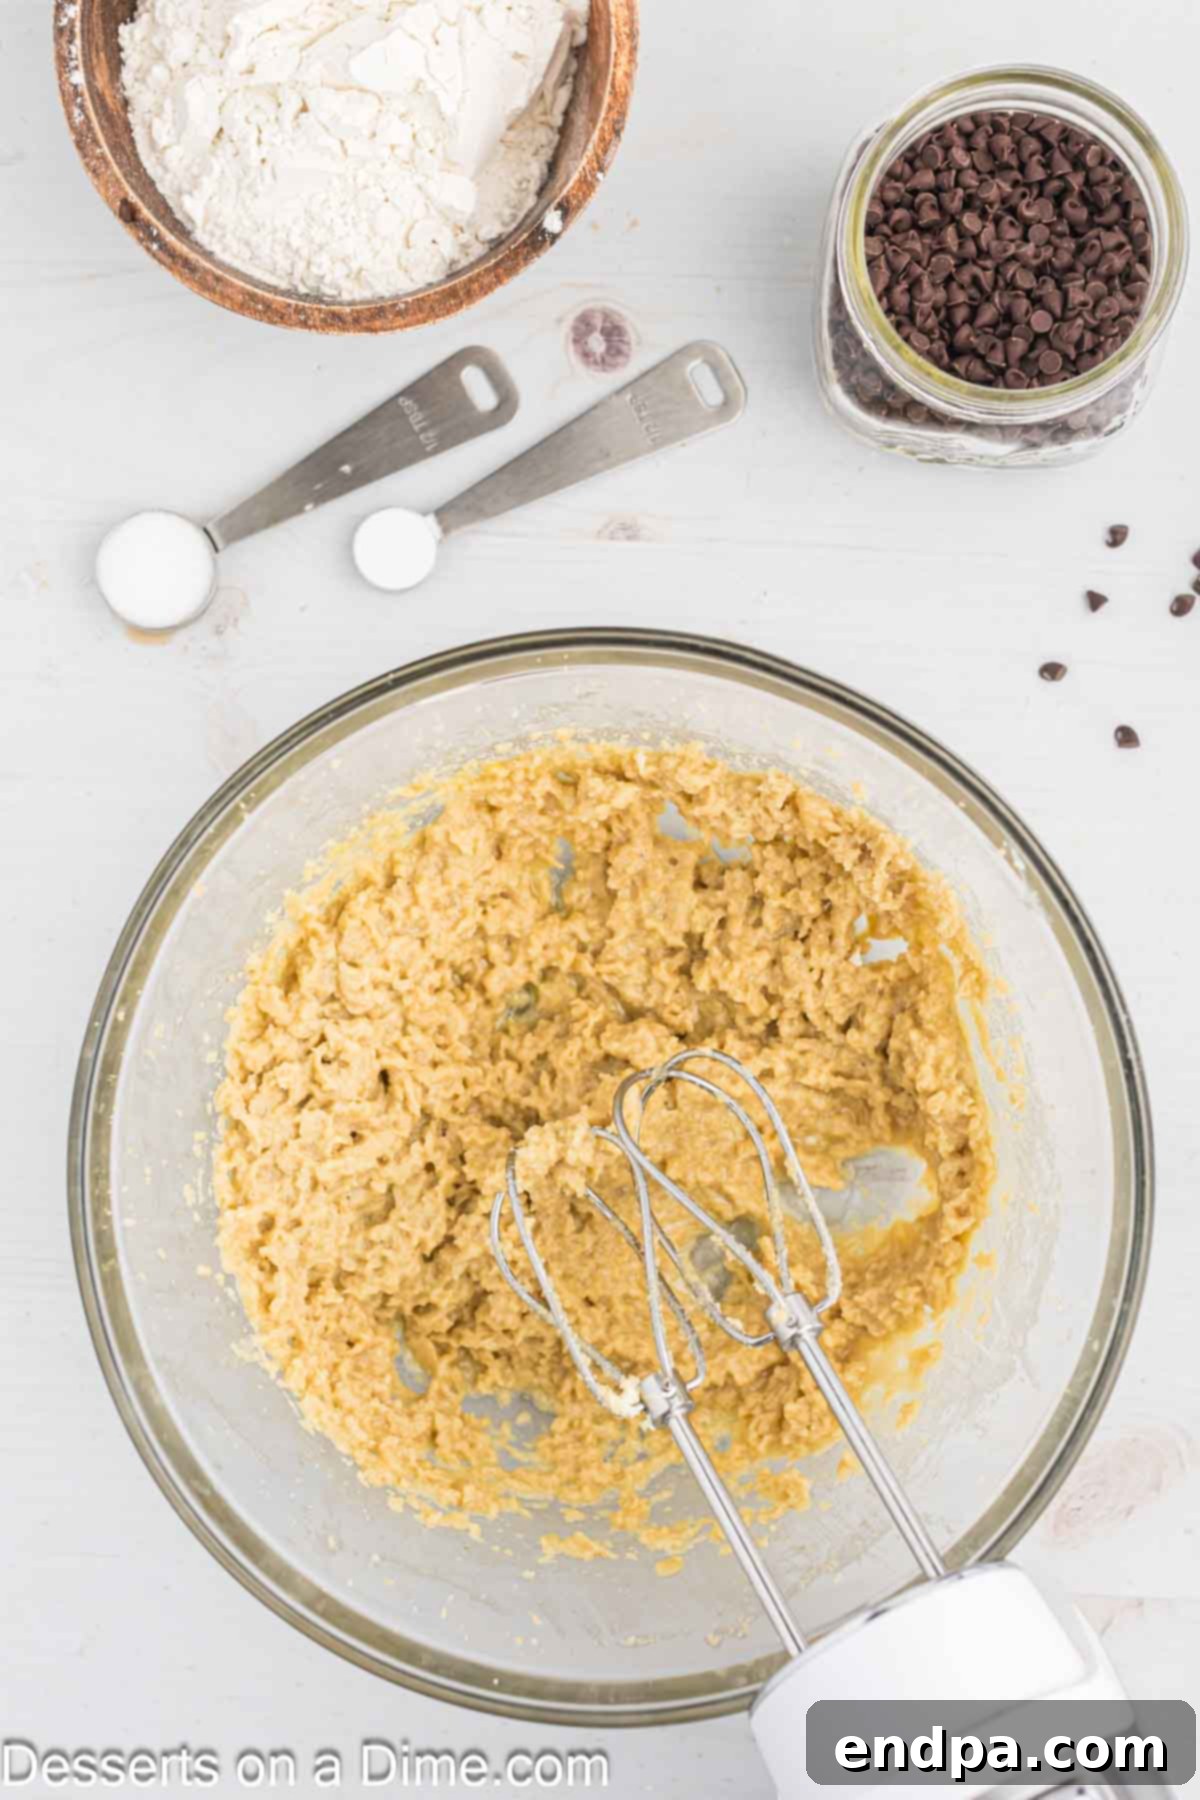
Step 3: Add Eggs and Vanilla. Crack in the large eggs one at a time, mixing well after each addition until fully incorporated. Then, pour in the pure vanilla extract. Continue to beat until the mixture is smooth and cohesive. Don’t forget another quick scrape of the bowl to catch any unmixed ingredients.
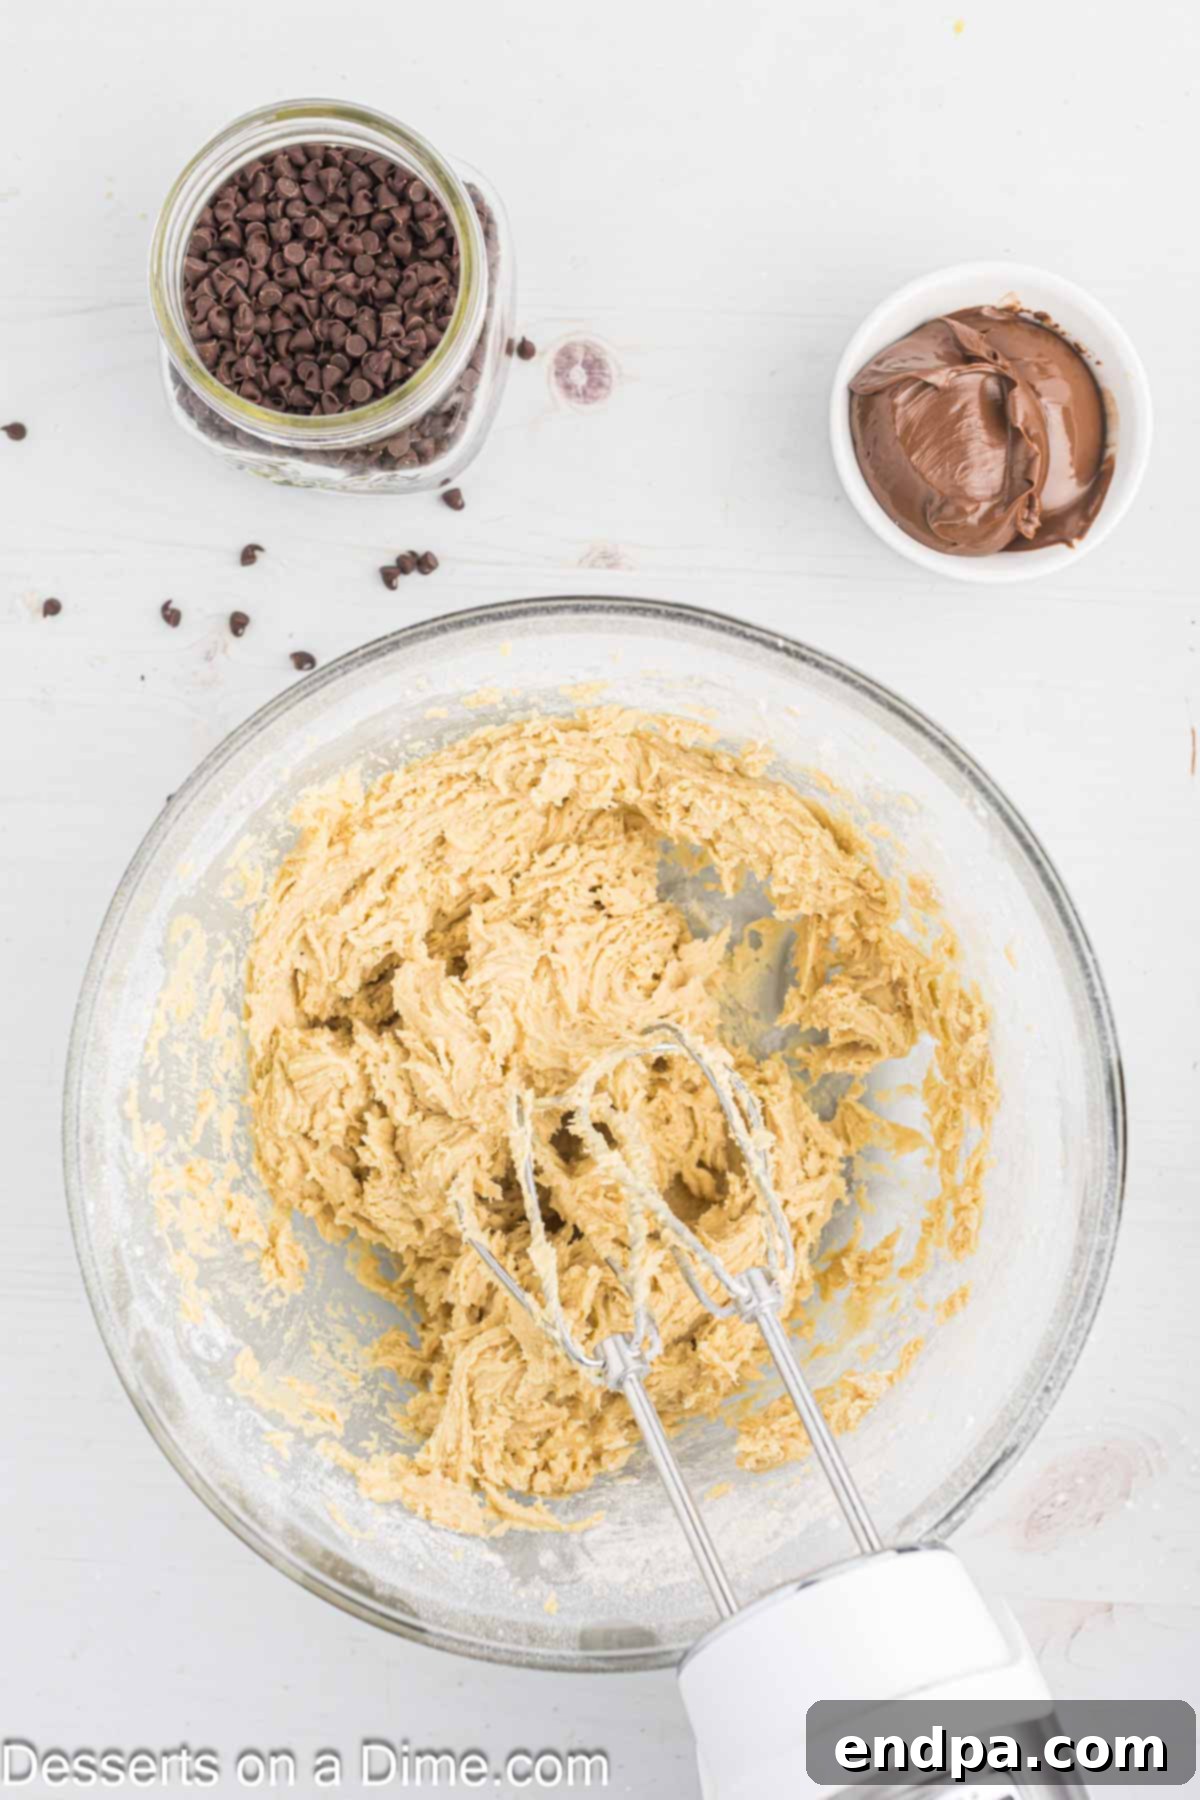
Step 4: Incorporate Dry Ingredients. In a separate small bowl, whisk together the all-purpose flour, salt, and baking powder. Gradually add this dry mixture to the wet ingredients in the large bowl. Mix on low speed with your electric mixer, or by hand with a spatula, until the batter is *just* combined. It’s important not to overmix at this stage, as overworking the flour can lead to tough, dense bars. A few streaks of flour are fine; they will disappear with the next step.
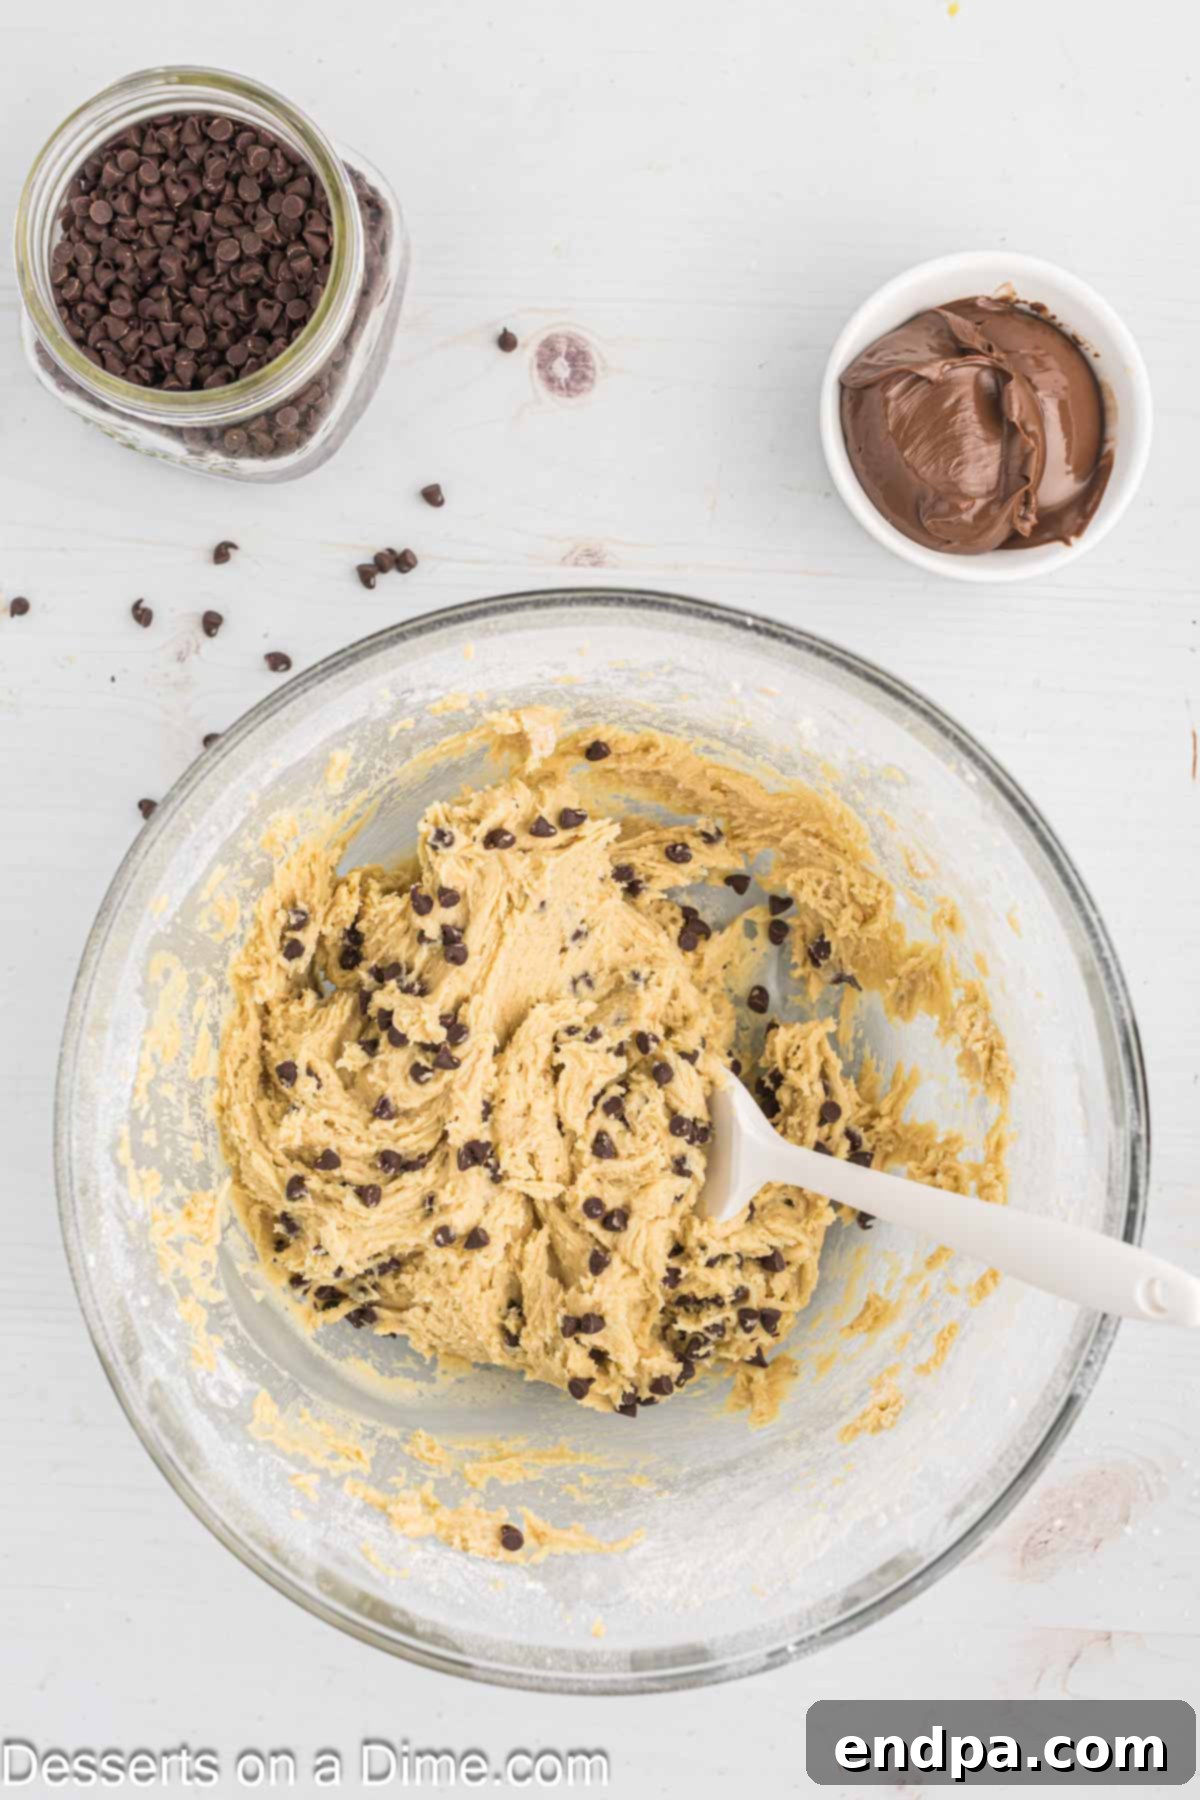
Step 5: Fold in Chocolate Chips. Gently fold the mini semi-sweet chocolate chips into the batter by hand using a rubber spatula. Stir until they are evenly distributed throughout the dough. Avoid using an electric mixer for this step, as it can break up the chocolate chips.
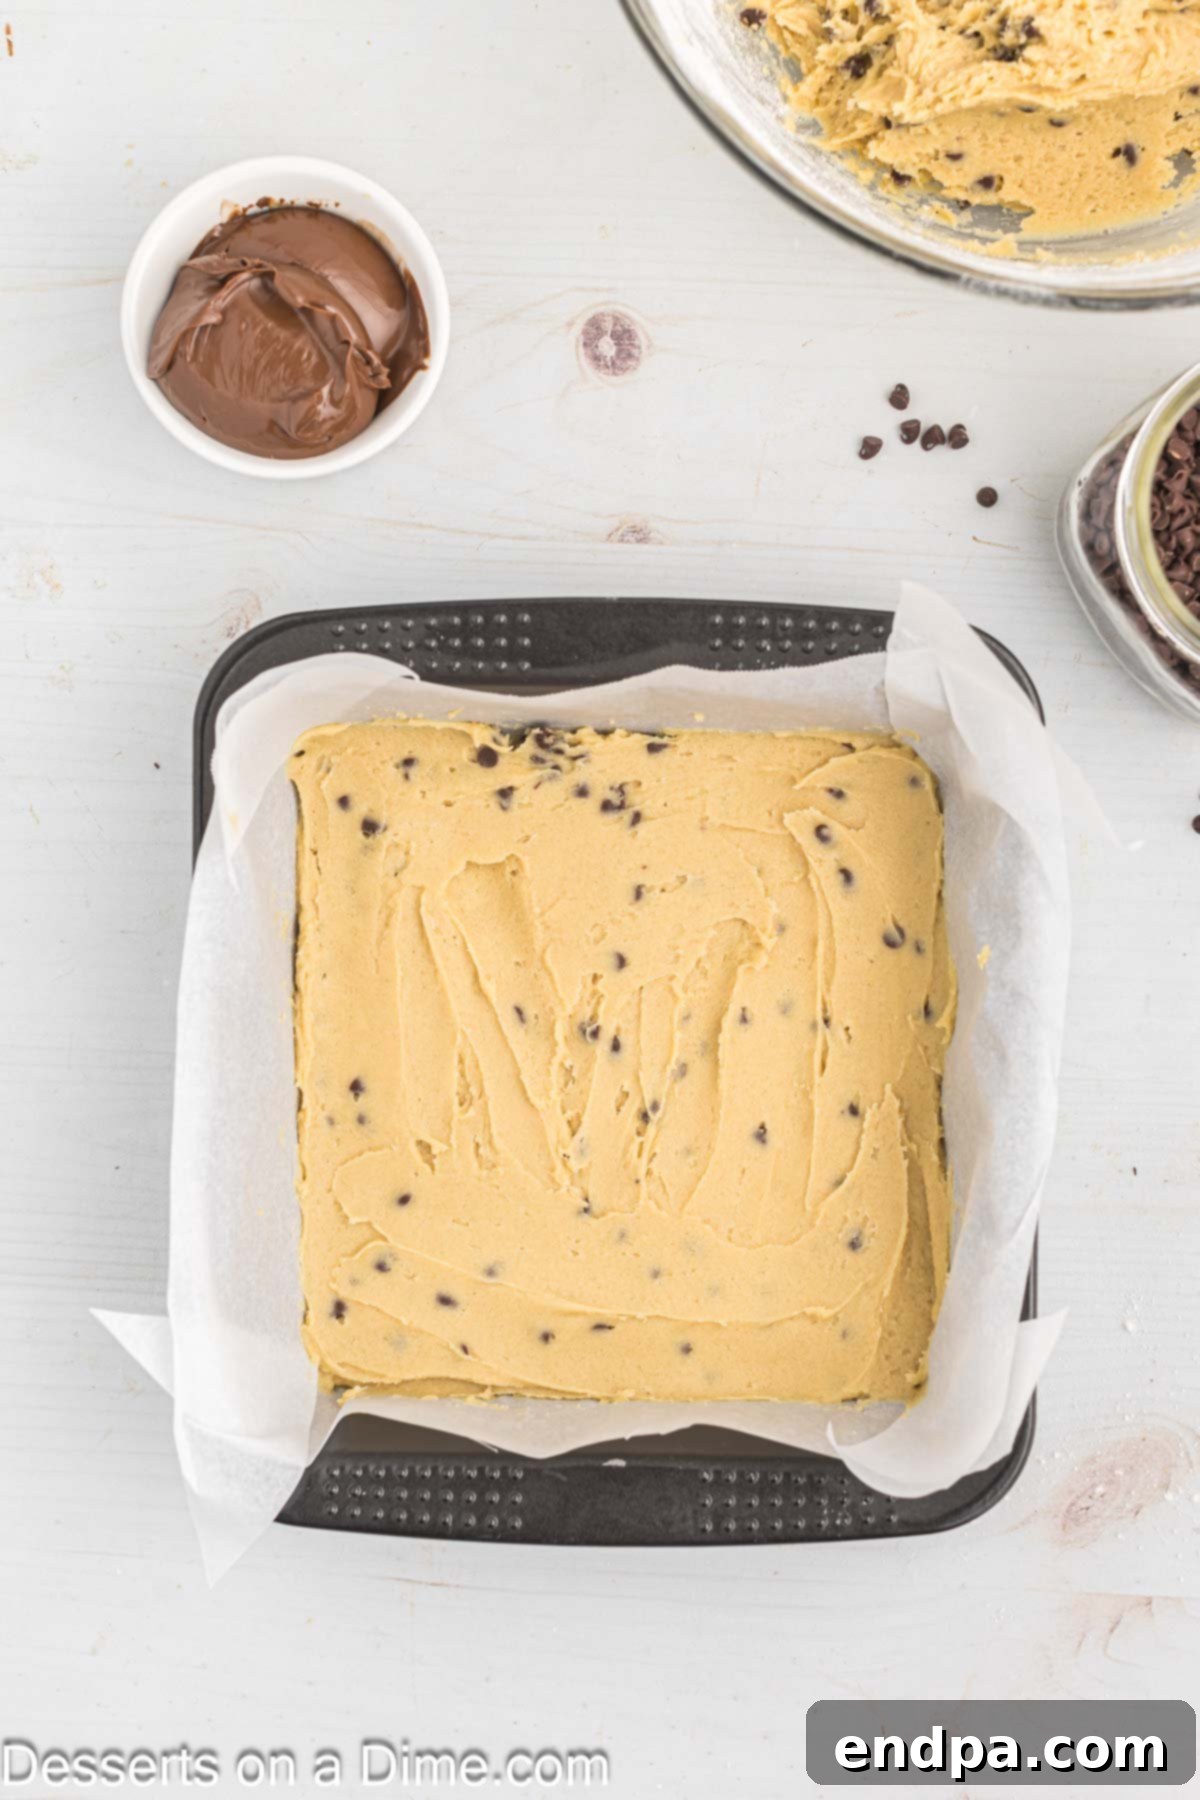
Step 6: Form the Base Layer. Take approximately half of your prepared cookie dough batter and carefully press it evenly into the bottom of the parchment-lined baking pan. Use your hands or the back of a spatula to create a smooth, compact layer.
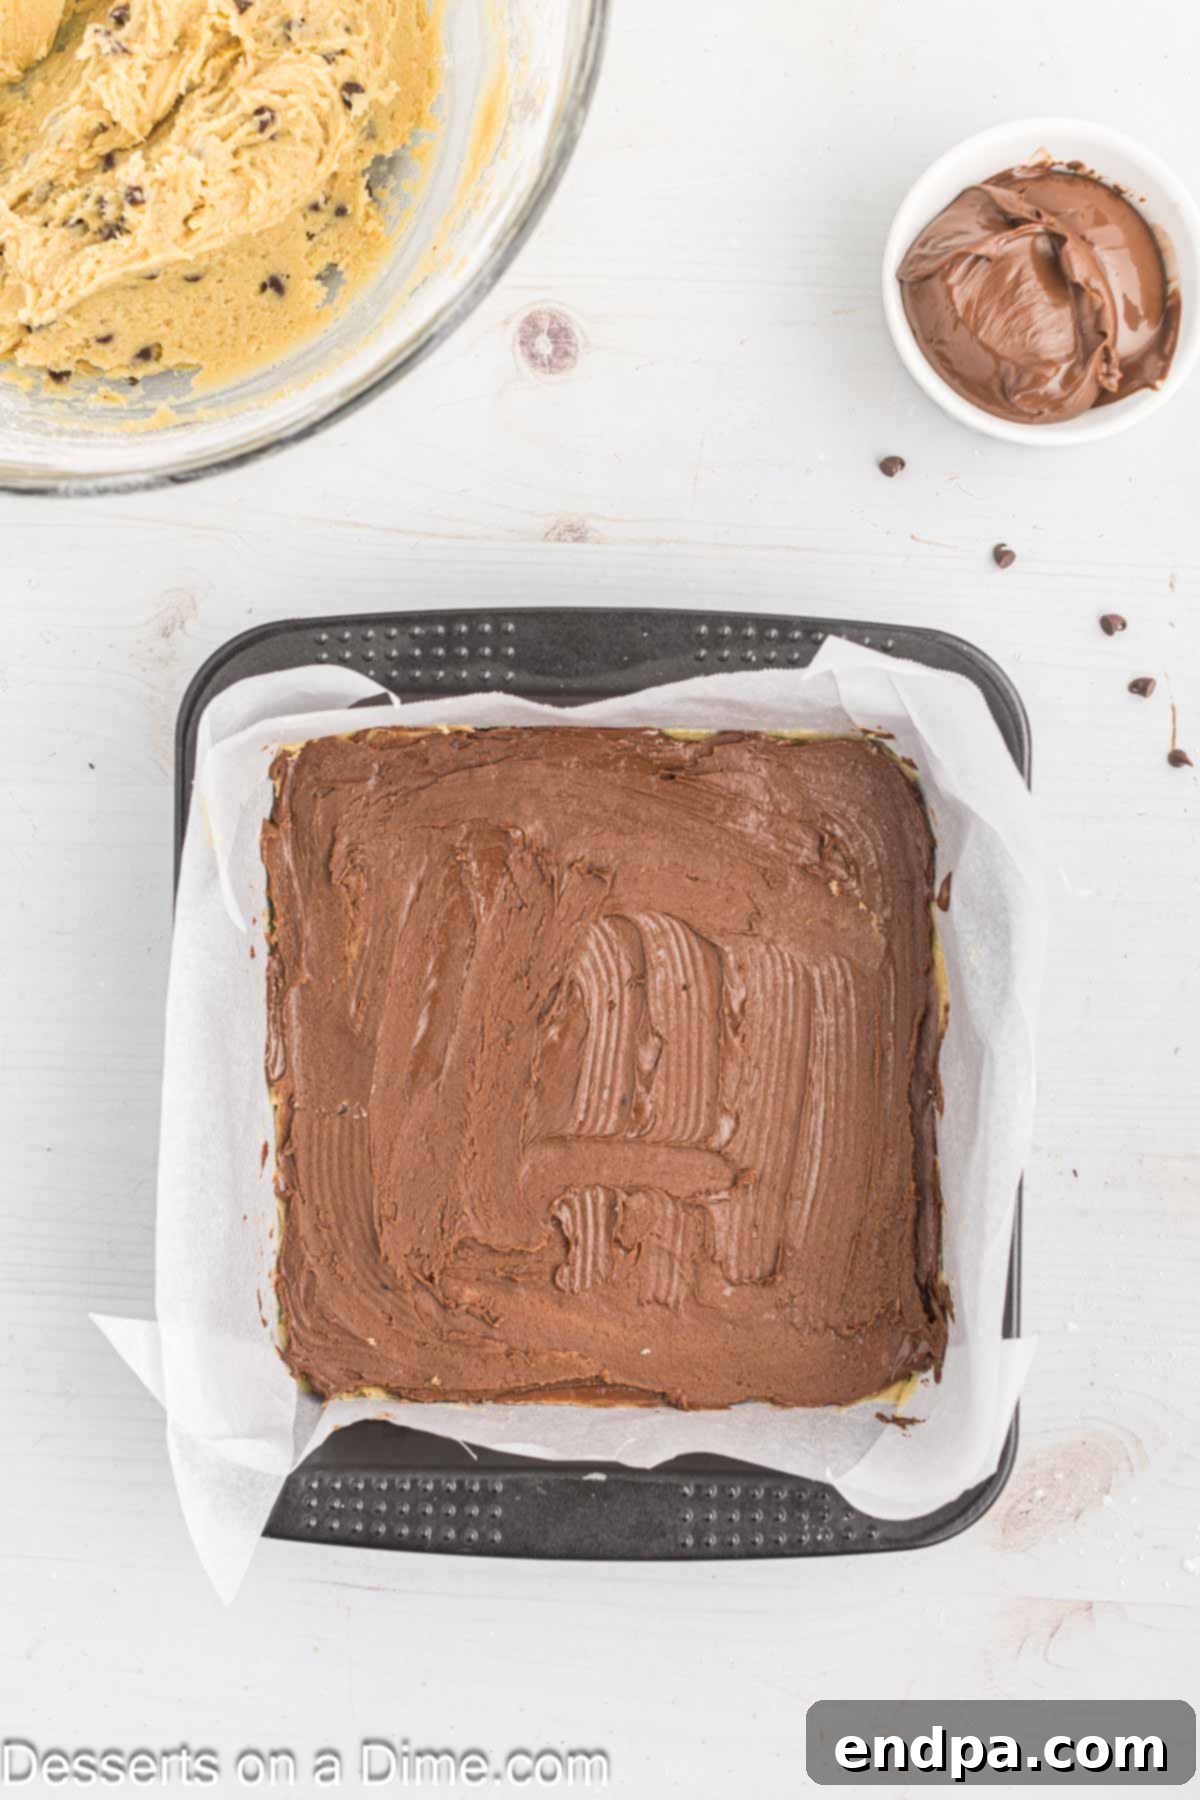
Step 7: Add the First Nutella Layer. Evenly spread half of the divided Nutella over the cookie dough base. A rubber spatula works best for this, creating as smooth and consistent a layer as possible. If your Nutella is too stiff to spread easily, microwave it for 10-15 seconds to soften it slightly.
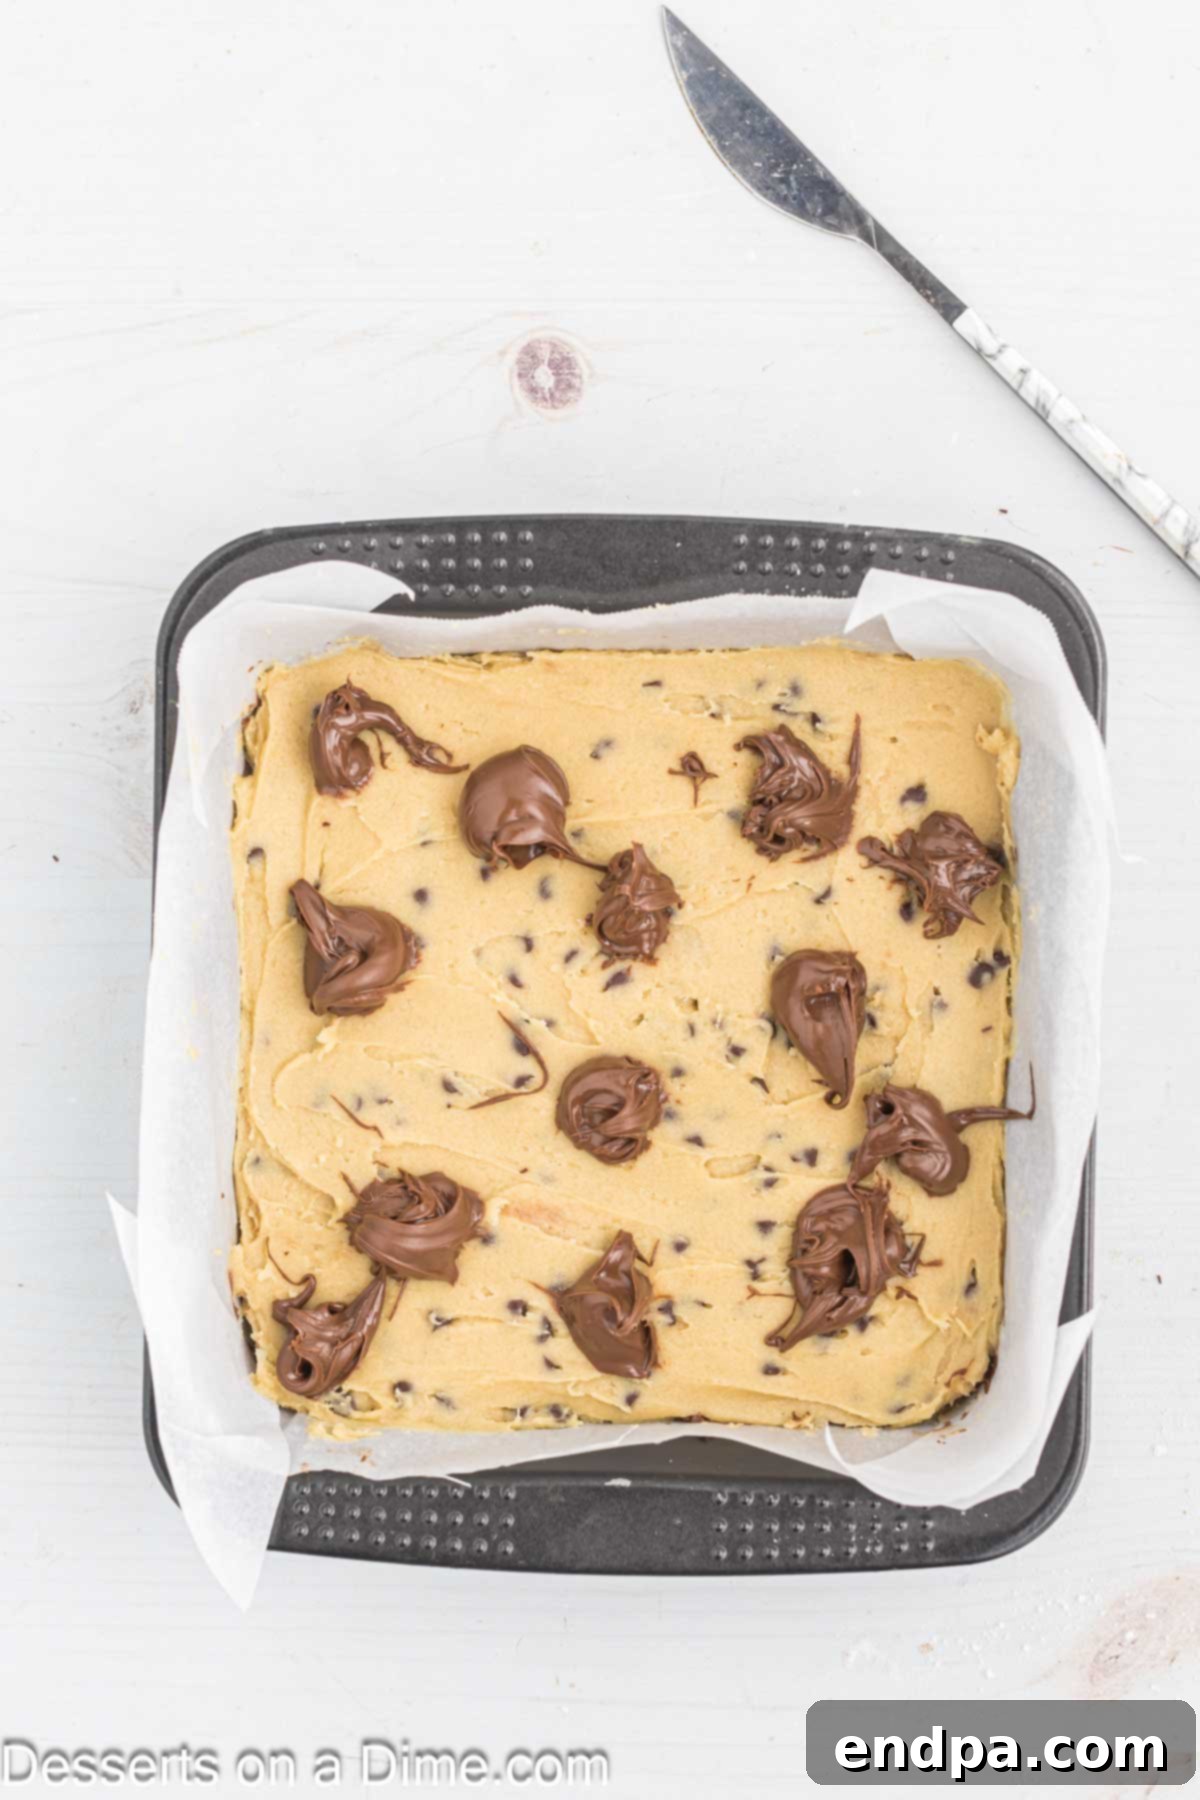
Step 8: Top with Remaining Dough and Nutella. Carefully drop spoonfuls of the remaining cookie dough over the Nutella layer. It doesn’t need to cover perfectly, as it will spread during baking. Then, dollop the remaining chocolate hazelnut spread (Nutella) on top of these cookie dough mounds. The more strategically you place these dollops, the more beautiful your swirls will be.
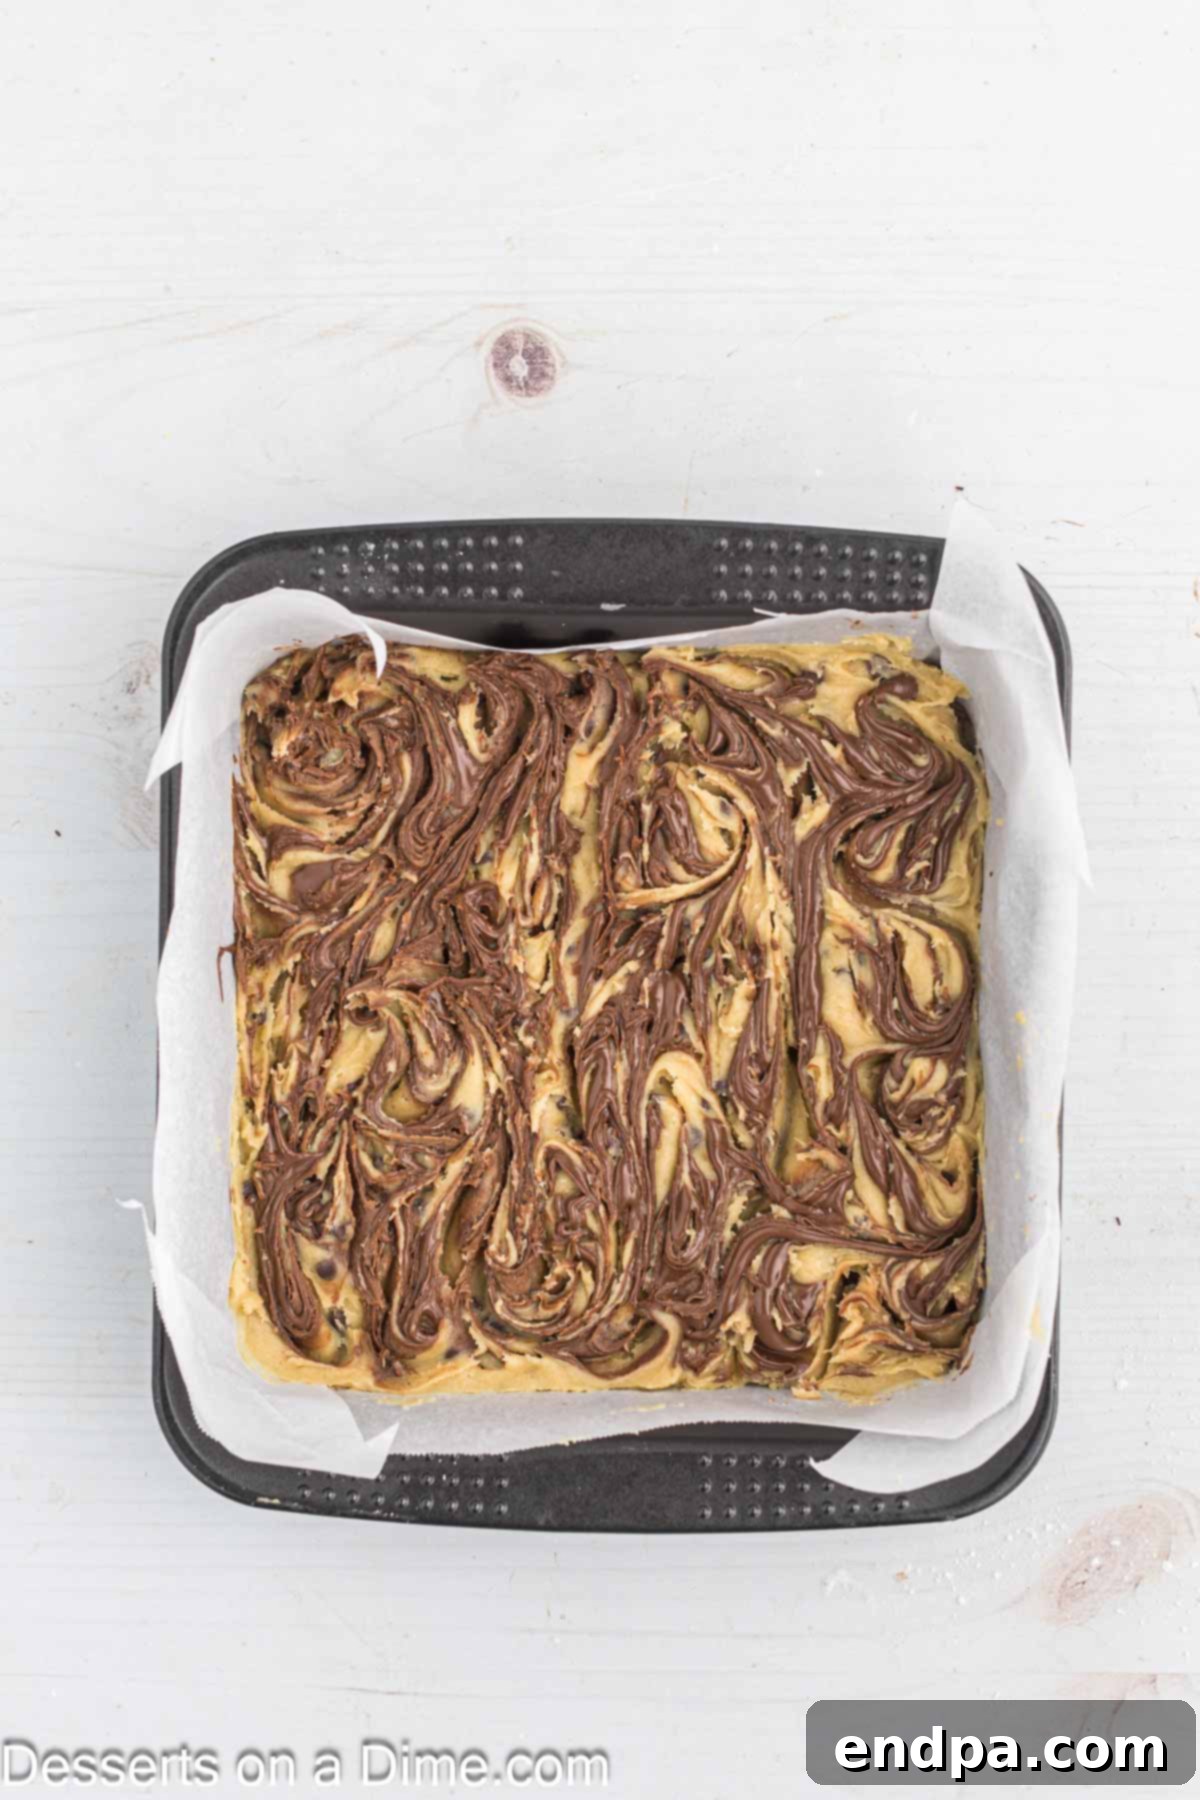
Step 9: Swirl for Visual Appeal. Take a butter knife or a skewer and gently swirl the dollops of Nutella into the cookie dough. Create an attractive marbled design. Be careful not to swirl too much or go too deep into the bottom layer, as this can overmix the layers and obscure the distinct swirls.
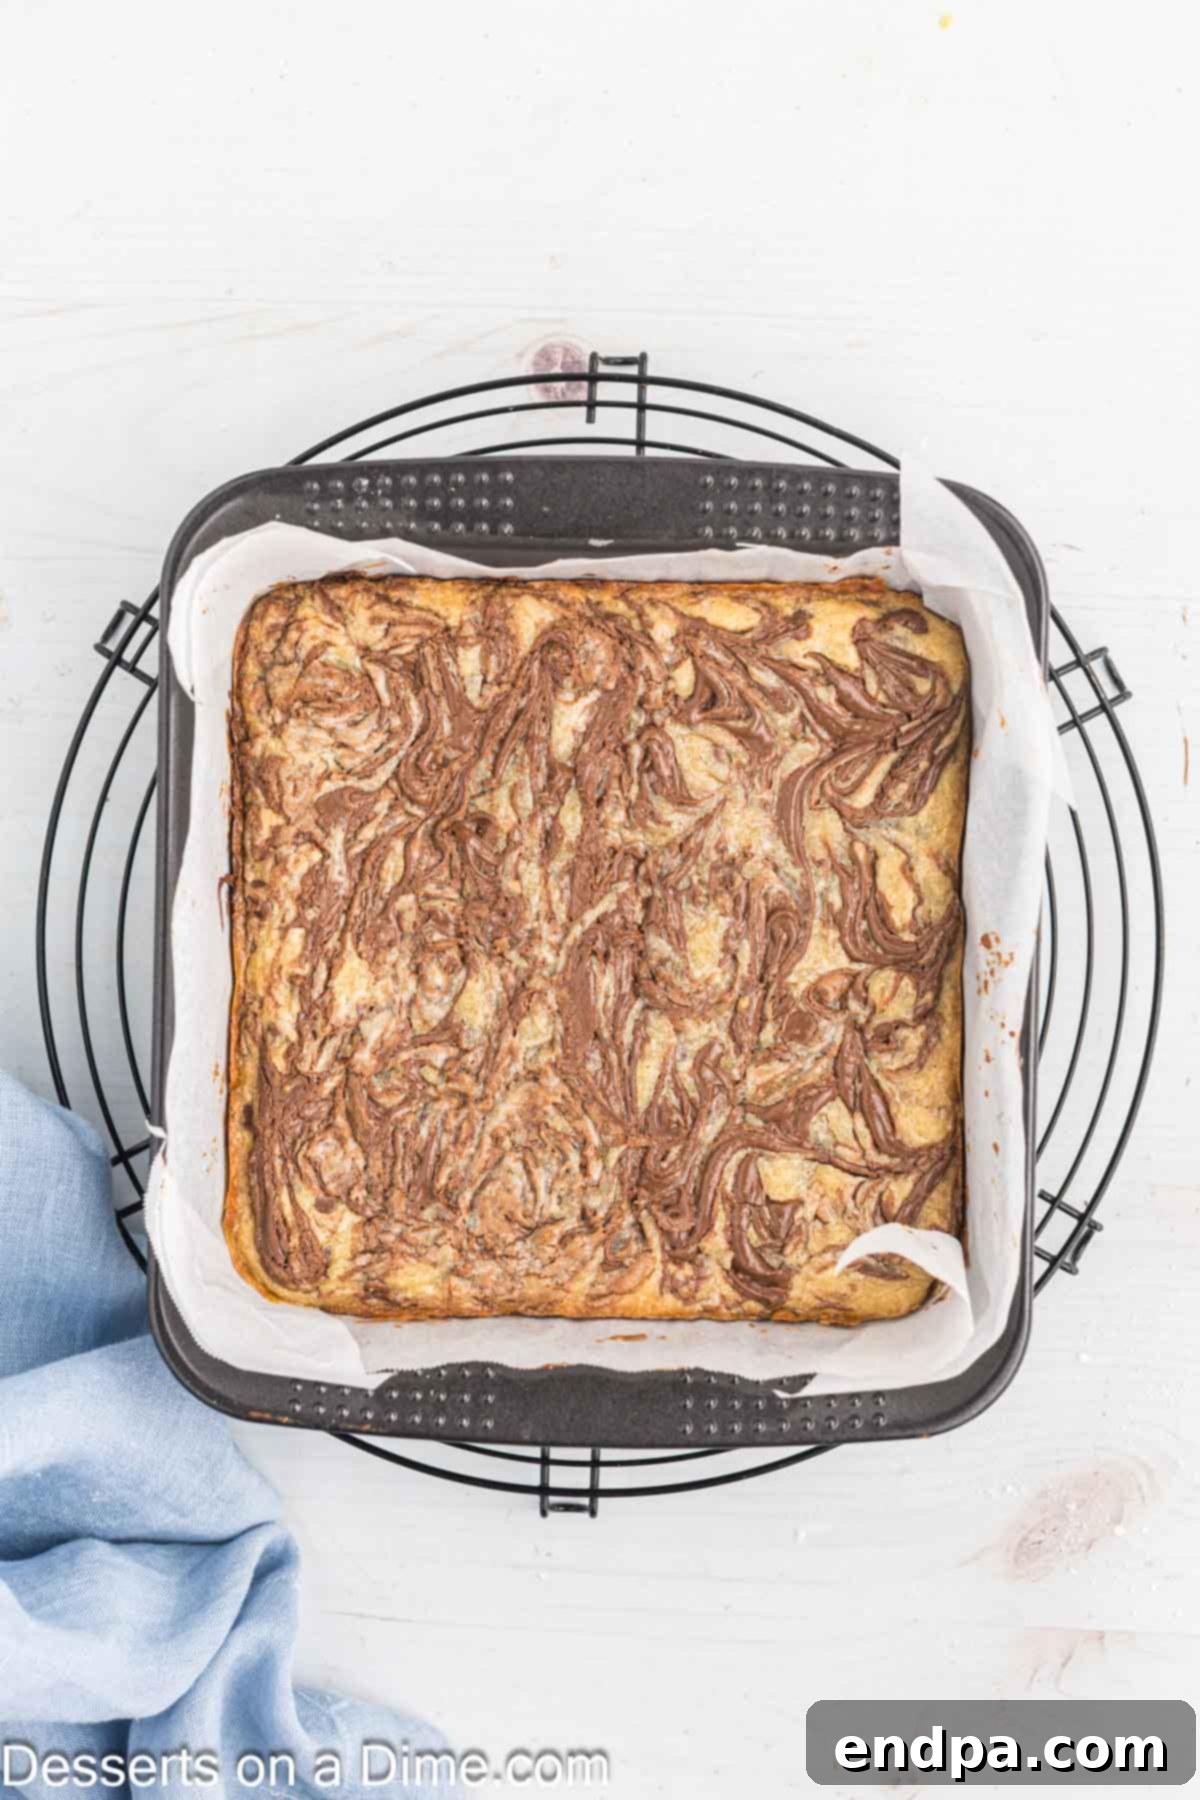
Step 10: Bake and Cool (Partially). Place the baking dish in the preheated oven and bake for 25-30 minutes. The bars are ready when the edges are golden brown and the center still appears slightly jiggly when gently shaken. This slight jiggle indicates a perfectly soft and gooey center. Remove the pan from the oven and allow the bars to cool in the pan for at least 10-15 minutes on a wire rack. This initial cooling helps them set.
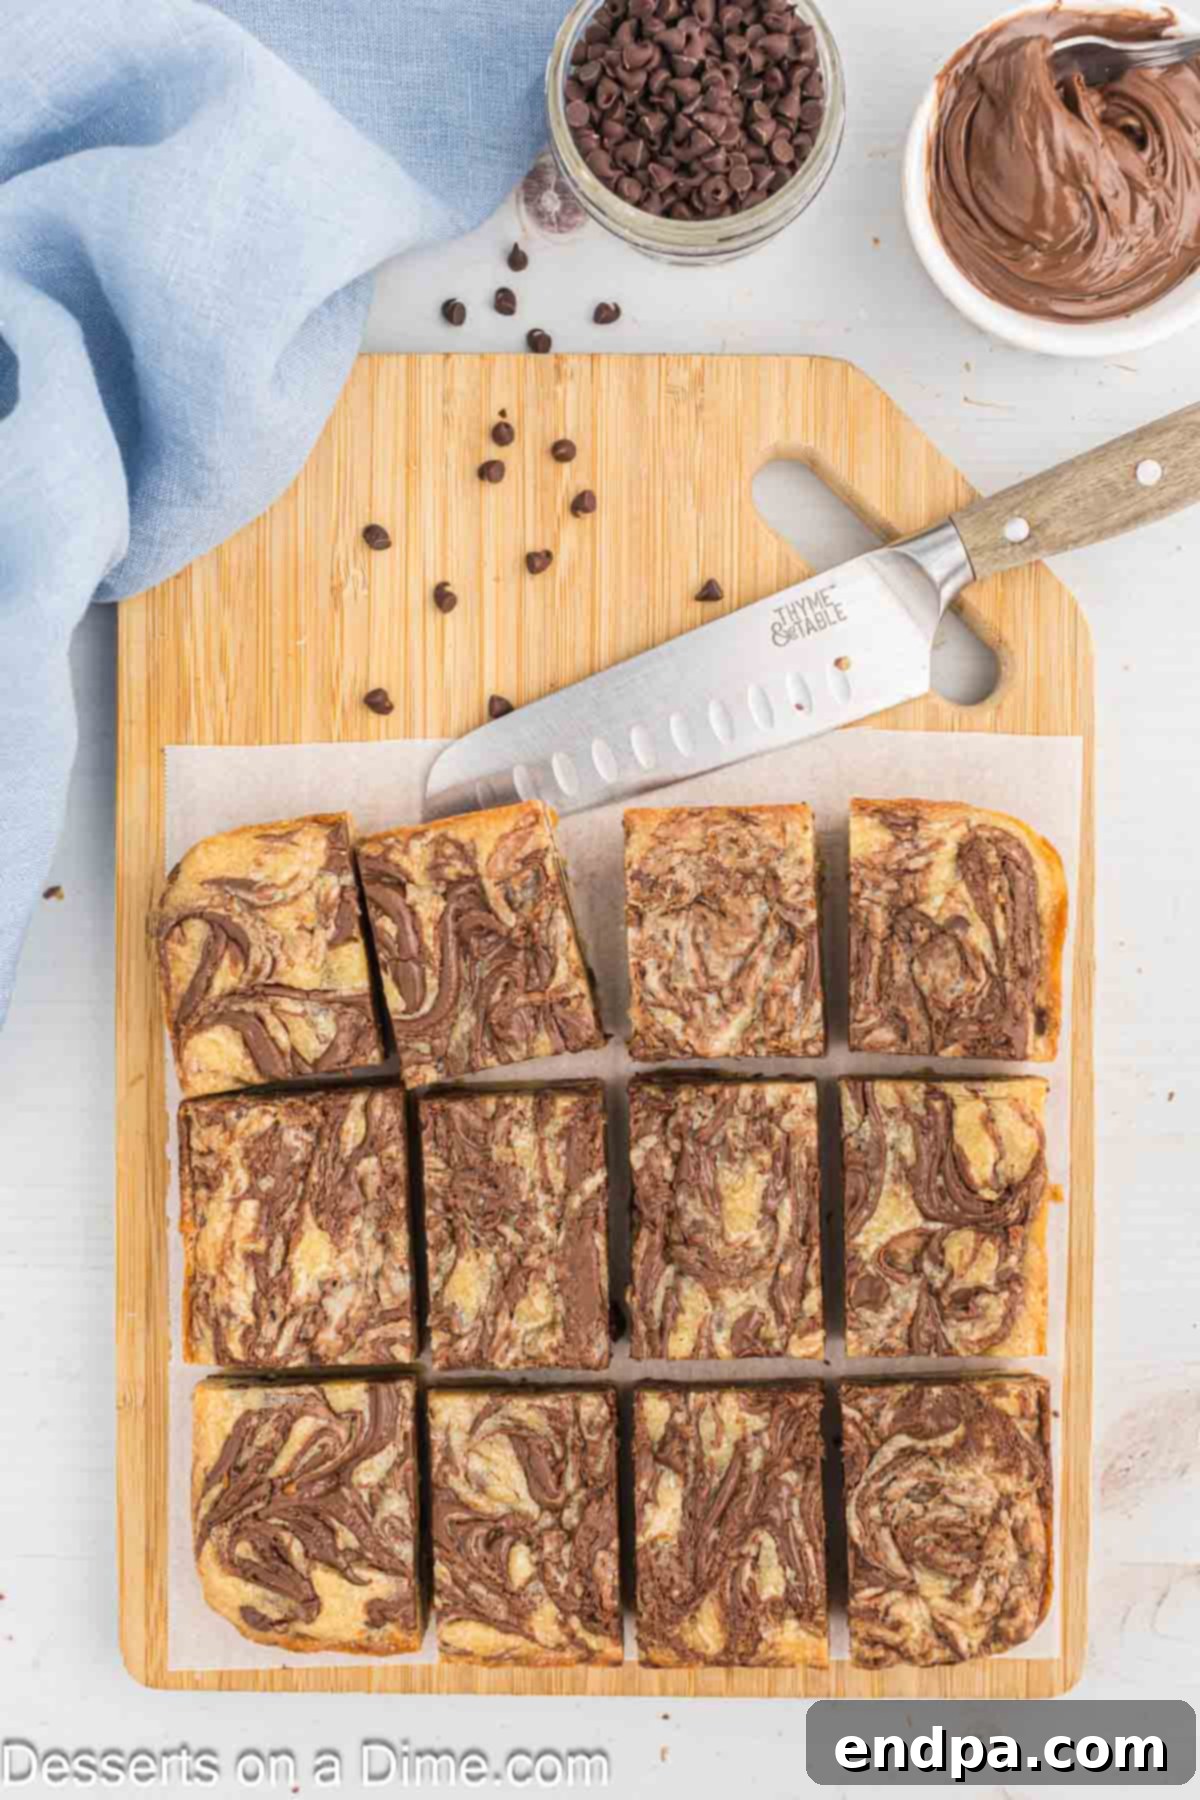
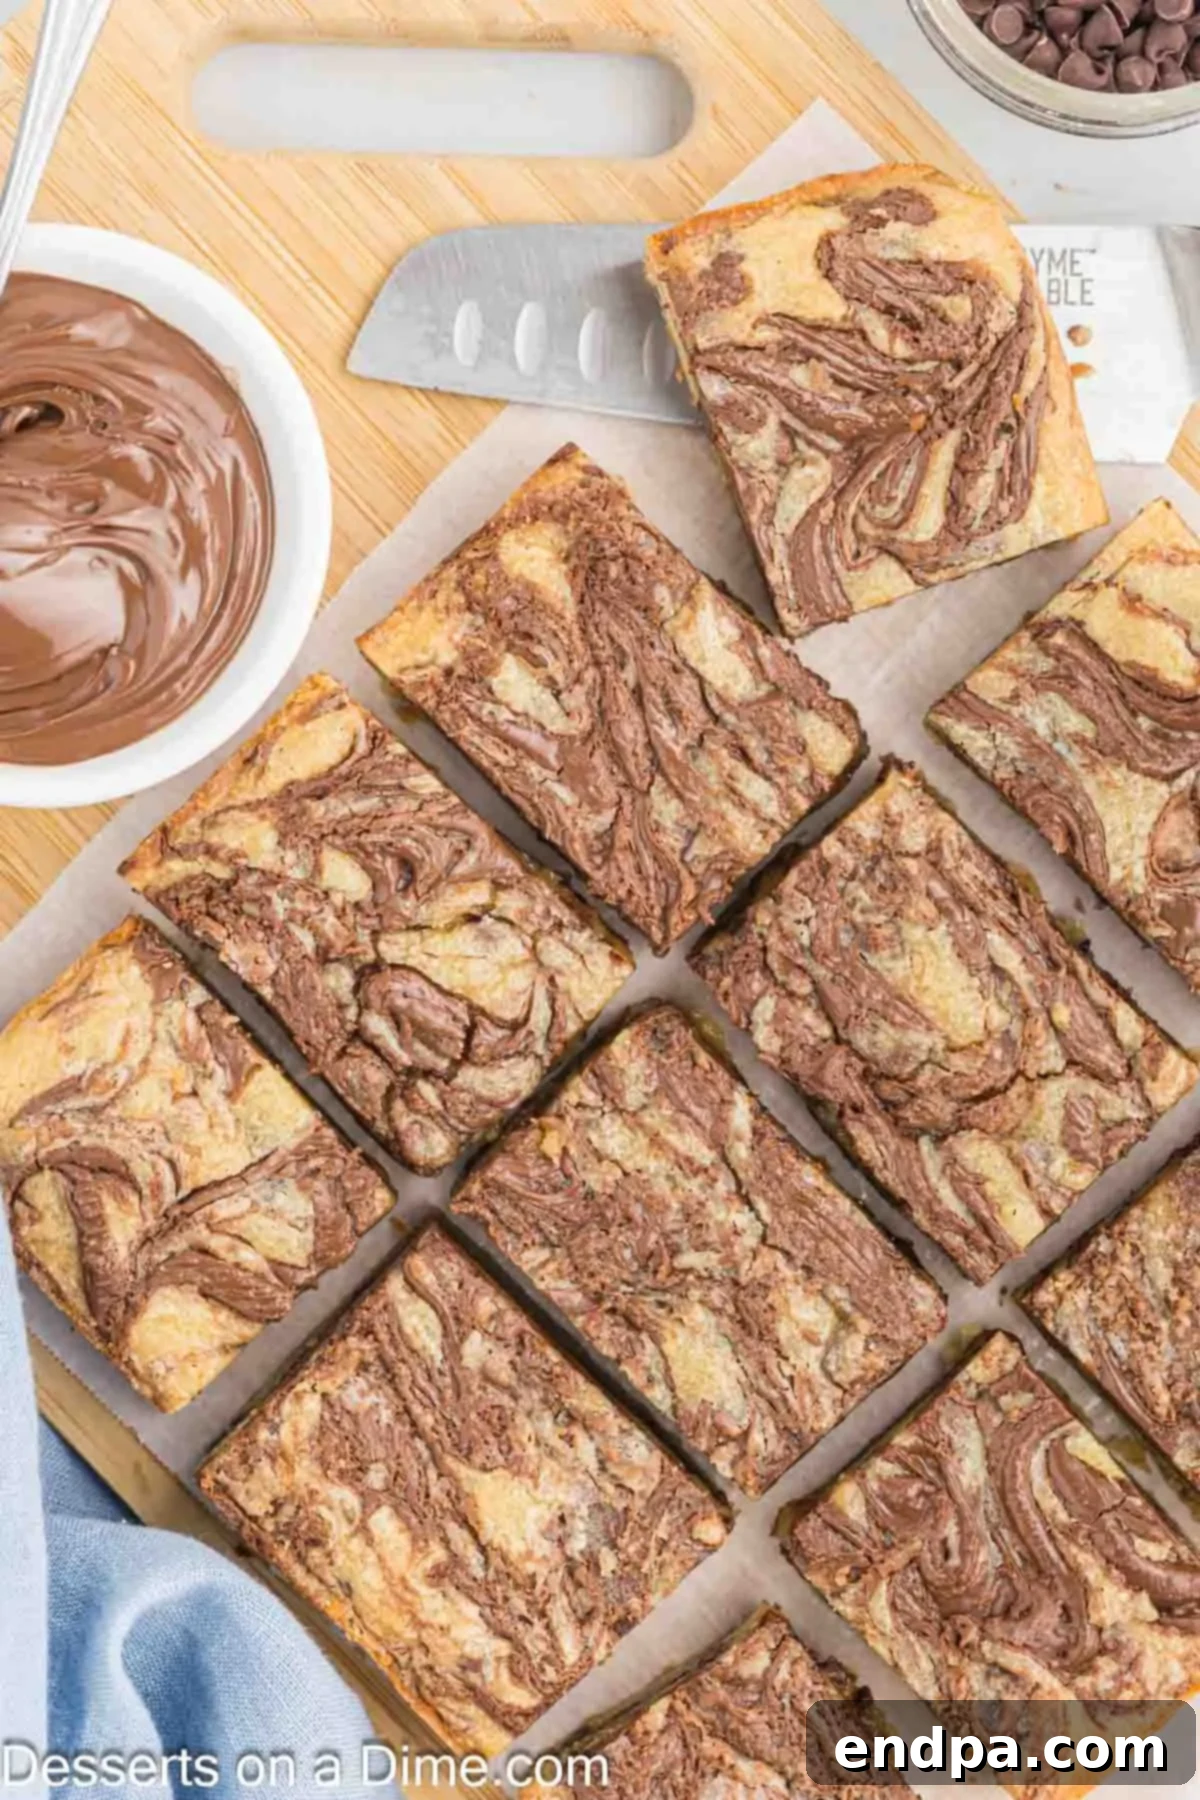
Step 11: Remove, Cool Completely, and Slice. Once partially cooled, use the parchment paper “handles” to carefully lift the entire slab of bars out of the baking pan and transfer them to a wire rack. Allow them to cool completely on the rack before attempting to cut them. Cooling completely is crucial for clean slices. Once fully cooled, use a sharp knife to cut the large slab into individual bars. Serve and savor every delectable bite!
Storing Your Delicious Nutella Bars
To keep your Nutella Bars fresh and delicious for as long as possible, proper storage is key:
- Room Temperature: Place any leftover bars in an airtight container at room temperature. They will stay fresh and soft for up to 4-5 days. If stacking, place a piece of parchment paper between layers to prevent sticking.
- Refrigeration: While not strictly necessary, if your kitchen is particularly warm or if you prefer a slightly firmer bar, you can refrigerate them. Store in an airtight container for up to a week. Bring them back to room temperature or warm slightly before serving for the best texture.
- Freezing: Nutella Bars freeze beautifully! Allow the bars to cool completely, then cut them into individual squares. Wrap each bar tightly in plastic wrap, then place them in a freezer-safe bag or airtight container. They can be frozen for up to 1 month. To enjoy, thaw them at room temperature for a few hours or microwave briefly for a warm, gooey treat.
Expert Tips for Perfect Nutella Bars
Achieve bakery-quality Nutella Bars with these expert tips:
- Accurate Flour Measurement: The way you measure flour significantly impacts the texture of your baked goods. Instead of scooping the measuring cup directly into the flour bag (which compacts it and leads to too much flour), first fluff the flour in its container with a spoon. Then, gently spoon the flour into your measuring cup until it’s overflowing, and finally, level it off with the back of a straight knife or flat edge. This method ensures a lighter, more accurate measurement.
- Avoid Overmixing the Batter: Once you add the dry ingredients to the wet, mix only until they are just combined. Overmixing develops the gluten in the flour, which can result in tough, dense bars rather than soft and chewy ones. A few streaks of flour are acceptable before adding the chocolate chips.
- The Art of the Nutella Swirl: For a beautiful marbled effect, don’t over-swirl the Nutella into the dough. Use a butter knife or a skewer to make gentle, broad strokes across the top layer. The goal is distinct swirls, not a fully integrated mixture. This creates eye-catching patterns and ensures pockets of pure Nutella goodness.
- Soft Brown Sugar is Essential: Always use fresh, soft brown sugar. If your brown sugar has hardened, moisten it by placing a slice of bread or a damp paper towel in its airtight container overnight. Soft brown sugar contributes significantly to the bars’ moistness, chewiness, and rich flavor.
- Serve Warm for Ultimate Gooeyness: While delicious at any temperature, these bars are absolutely divine when served slightly warm. The chocolate chips will be melty, and the Nutella will be extra gooey, creating an incredibly indulgent experience. Just a few seconds in the microwave can revive their warmth and meltiness.
- Doneness Check: The bars are done when the edges are golden brown, but the center still looks slightly soft and might jiggle a bit when gently shaken. They will continue to set as they cool. Overbaking will result in dry bars.
- Parchment Paper is Your Best Friend: Don’t skip lining your pan with parchment paper, leaving an overhang on two sides. This makes lifting the entire batch of bars out of the pan incredibly easy once baked and cooled, simplifying cleanup and cutting.
- Clean Slices: For perfectly clean and neat slices, ensure the bars are completely cooled before cutting. Use a sharp knife and, for extra pristine edges, wipe the knife clean with a damp cloth after each cut. Running the knife under hot water briefly before each cut can also help achieve super smooth edges.
Frequently Asked Questions
Yes, you absolutely can! Peanut butter is a popular and delicious substitute for Nutella, offering a classic flavor profile. Other options include almond butter, Biscoff cookie butter, or even a homemade chocolate ganache for a different kind of richness.
For the cleanest cuts, it’s crucial to let the bars cool completely to room temperature. Use a sharp, non-serrated knife. For extra clean slices, wipe the knife blade with a damp cloth after each cut, or run it under hot water and dry it before making the next cut. This prevents sticking and ensures beautiful, defined squares.
Absolutely! Nutella Bars freeze very well. Once they are completely cooled, cut them into individual bars. Wrap each bar tightly in plastic wrap, then place them in an airtight freezer-safe bag or container. They will maintain their quality in the freezer for up to 1 month. Thaw at room temperature or warm briefly in the microwave for a fresh-from-the-oven experience.
This recipe is designed for an 8×8 inch baking pan. If you use a larger pan (like a 9×13 inch), the bars will be thinner, and you’ll need to adjust the baking time, likely reducing it by 5-10 minutes. Conversely, a smaller pan would yield thicker bars, requiring a longer baking time. Always keep an eye on the edges for golden brown and the center for a slight jiggle to determine doneness.
While parchment paper is highly recommended for easy removal, you can bake these bars without it. Heavily grease and flour your baking pan to prevent sticking. Be aware that removal and cutting might be a bit more challenging, and the edges might not be as neat.
More Irresistible Dessert Bar Recipes
If you love the convenience and deliciousness of dessert bars, you’ll definitely want to explore these other fantastic recipes. They’re perfect for any occasion and offer a delightful variety of flavors:
- Butterscotch Bars Recipe: A classic treat bursting with the rich, buttery flavor of butterscotch. These chewy bars are a nostalgic delight and incredibly easy to make.
- Easy Pecan Pie Bars Recipe: All the incredible flavors of traditional pecan pie, but in a convenient and portable bar form. Perfect for holidays or a special indulgence without the fuss of a pie crust.
- Sweet Potato Pie Bars: A comforting and warmly spiced dessert that brings the taste of autumn in every bite. These bars are rich, creamy, and wonderfully satisfying.
- Oatmeal Scotchies: Chewy oatmeal cookies packed with sweet butterscotch chips, transformed into a hearty and satisfying bar. A simple yet incredibly flavorful dessert.
- Pumpkin Bars Recipe: Moist, spiced pumpkin bars topped with a luscious cream cheese frosting. These are a quintessential fall dessert that’s easy to make for a crowd.
Now it’s your turn to bake these incredible Nutella Bars! I’m confident that you and your loved ones will absolutely adore them. Once you’ve had a chance to try this recipe, please come back and leave a comment to share your experience – I love hearing your feedback!
Nutella Bars
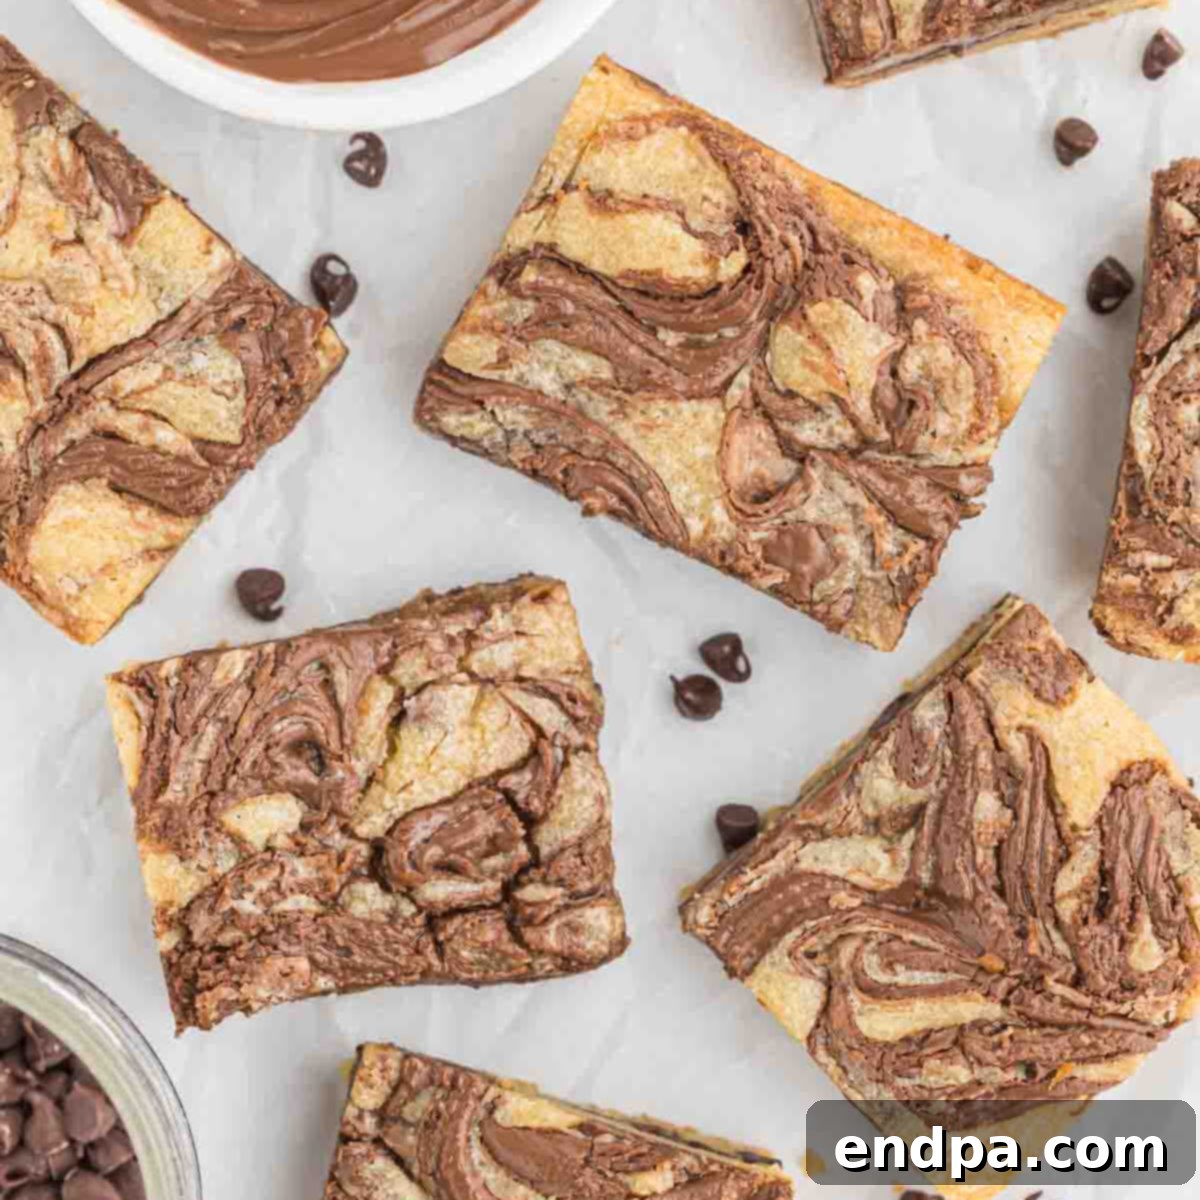
Nutella Bars feature luscious swirls of Nutella and chocolate chips in every bite. These cookie bars taste just like a gooey chocolate chip cookie with Nutella. It’s an amazing treat with very little work!
Cuisine: American
Course: Dessert
Calories: 371 kcal
Author: Carrie Barnard
Ingredients
- 3/4 cup Unsalted Butter softened
- 1 cup Brown Sugar packed
- 2 large Eggs
- 2 teaspoons Vanilla Extract
- 1/2 teaspoon Salt
- 1/4 teaspoon Baking Powder
- 1 2/3 cups All Purpose Flour
- 1/2 cup Mini Semi-Sweet Chocolate Chips
- 1/2 cup Nutella divided
Instructions
- Preheat the oven to 350 degrees Fahrenheit (175°C) and line an 8×8 inch baking dish with parchment paper. Make sure that the parchment paper overhangs the edges of the pan and press it down into the baking dish.
- In a large mixing bowl, beat together the butter and brown sugar with an electric hand mixer or stand mixer until light and fluffy.
- Add in the eggs and vanilla extract. Mix until combined, scraping down the sides of the bowl as needed.
- Mix in the flour, salt, and baking powder on low speed with the mixer or by hand until the batter is just combined. Avoid overmixing.
- Stir the chocolate chips into the batter by hand using a spatula until evenly distributed.
- Press half of the cookie dough batter into the prepared pan. Spread half of the Nutella on top of the cookie dough into an even layer (as possible).
- Press the remaining cookie dough on top, gently spreading it over the Nutella.
- Drop spoonfuls of the remaining Nutella on top of the cookie dough. Use a knife to swirl the Nutella into the cookie dough to create a marbled effect.
- Bake for 25-30 minutes until the bars are golden brown around the edges and the center is still likely jiggly to the touch.
- Remove from the oven and allow the bars to cool for 10-15 minutes in the pan on a wire rack.
- Carefully remove the bars from the pan using the parchment paper handles and transfer them to a wire rack to cool completely.
- Once fully cooled, slice into bars, serve, and enjoy!
Recipe Notes
Store any leftover bars in an airtight container for up to 4-5 days at room temperature.
Make sure that you measure the flour correctly by fluffing the flour, then spooning it into the measuring cup and leveling it off, rather than scooping the flour directly with the measuring cup.
Nutrition Facts (per serving)
Calories: 371 kcal,
Carbohydrates: 44g,
Protein: 4g,
Fat: 20g,
Saturated Fat: 13g,
Polyunsaturated Fat: 1g,
Monounsaturated Fat: 4g,
Trans Fat: 0.5g,
Cholesterol: 58mg,
Sodium: 129mg,
Potassium: 164mg,
Fiber: 2g,
Sugar: 28g,
Vitamin A: 400IU,
Calcium: 50mg,
Iron: 2mg
Want to save this recipe?
Just enter your email, and we’ll send it right to you, plus great new recipes weekly!
(Note: Form functionality removed as per instructions; this is a placeholder for a subscription call to action.)
Subscribe to our newsletter
Pin This Now to Remember It Later
Pin Recipe
