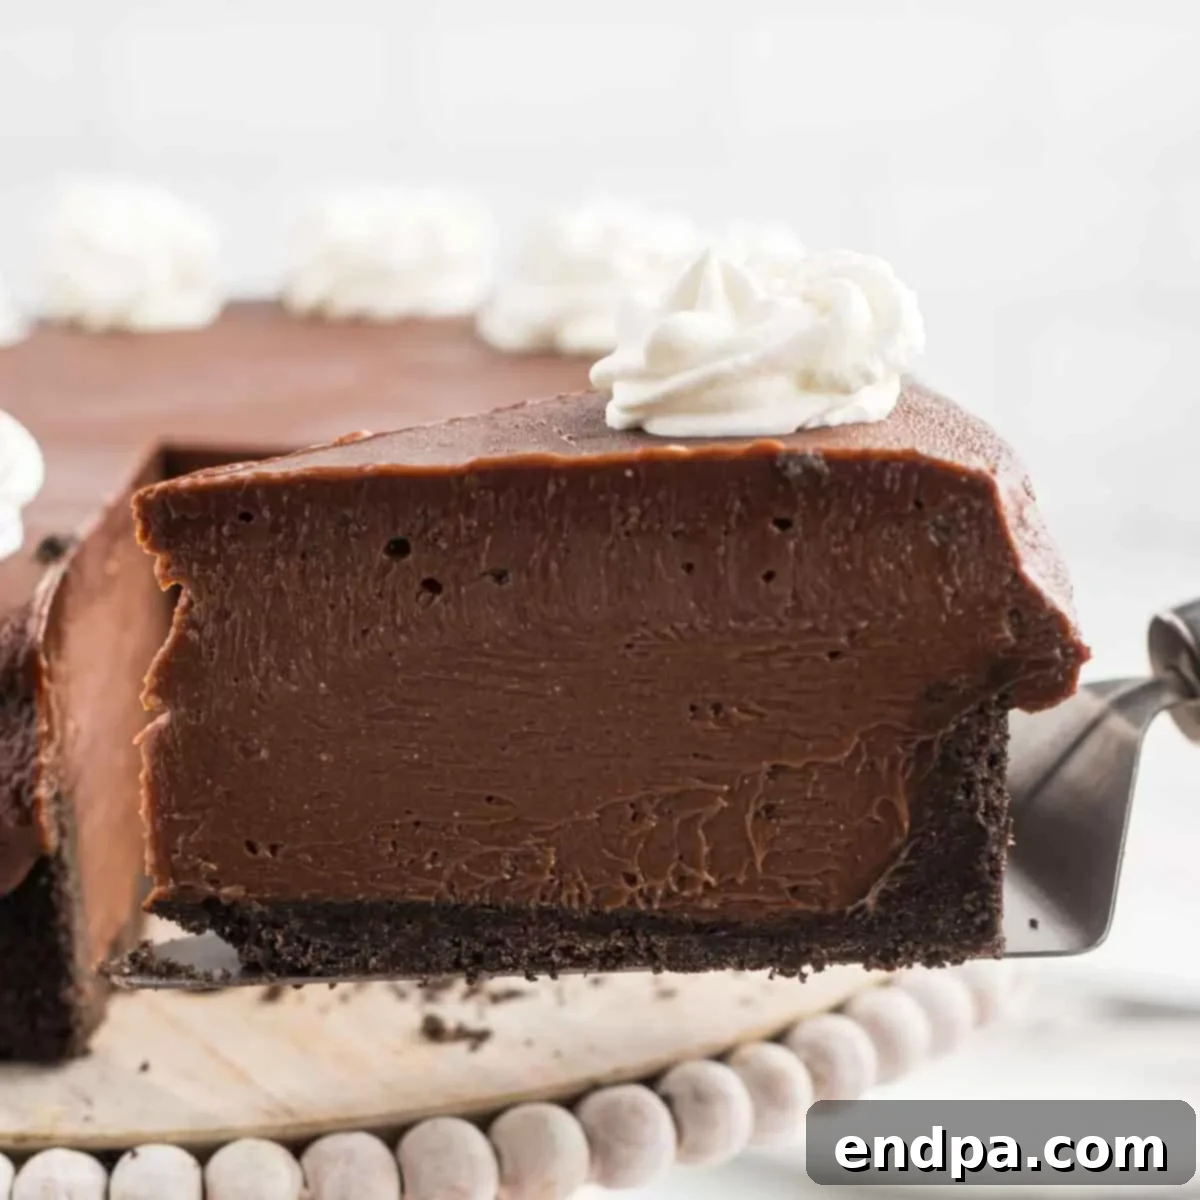
The Ultimate Nutella Cheesecake Recipe: A Decadent Homemade Delight
Prepare to embark on a culinary journey to cheesecake heaven with our incredible **Nutella Cheesecake recipe**. This isn’t just any dessert; it’s a masterpiece of rich, creamy, and utterly decadent flavors, meticulously baked to perfection. If you’re searching for a show-stopping dessert for a special occasion, or simply want to treat yourself to an unforgettable sweet experience, this **homemade Nutella cheesecake** is precisely what you need.
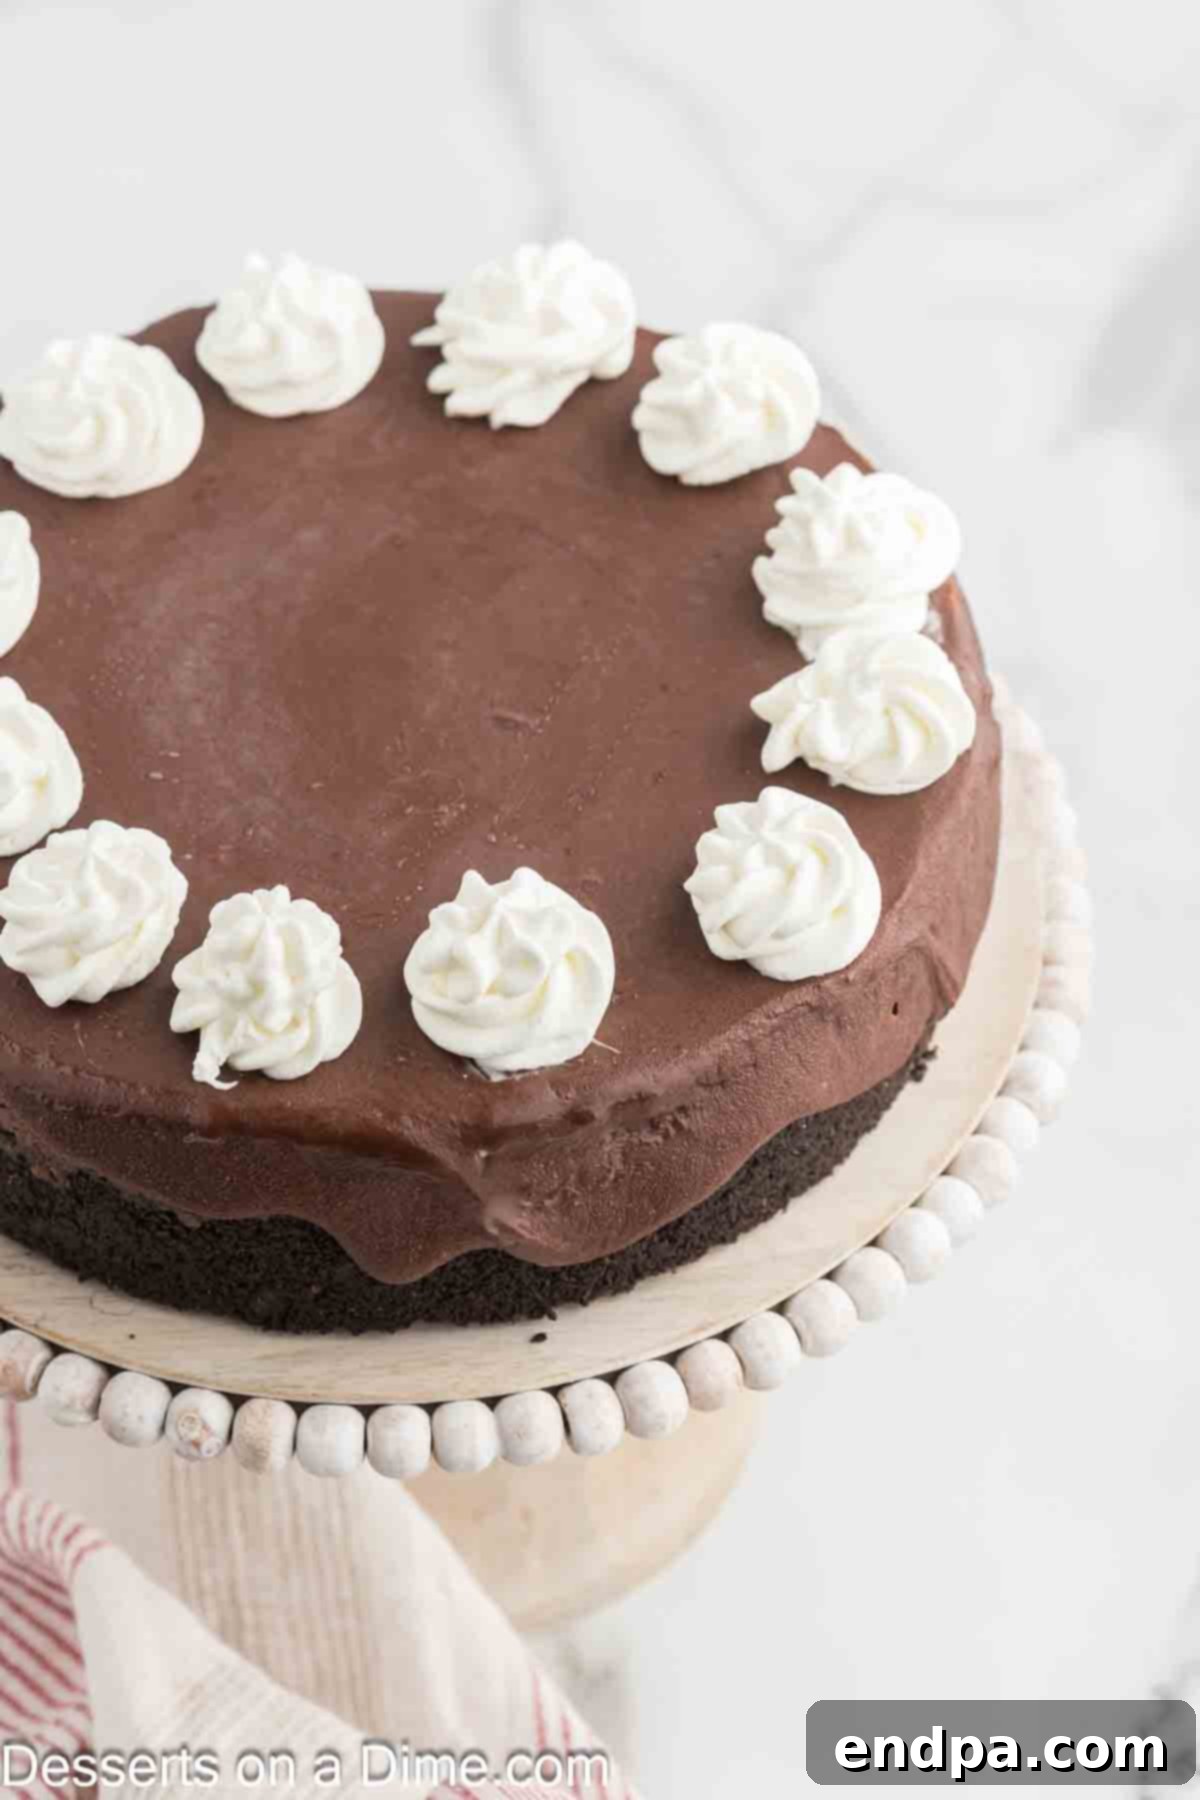
Our **baked Nutella cheesecake** stands out with its irresistible combination of a crisp Oreo crust, a luxuriously smooth Nutella-infused cream cheese filling, and a glossy chocolate hazelnut glaze. Each component works in harmony to create a dessert that is robust in flavor yet incredibly balanced in sweetness and texture. Using Nutella in the filling ensures that rich, distinctive chocolate-hazelnut taste that everyone adores, transforming a classic cheesecake into something truly extraordinary.
This recipe is designed to be straightforward, using simple ingredients to achieve spectacular results. Forget complicated techniques; with our clear instructions, you’ll be able to create a professional-quality cheesecake right in your own kitchen. The crunchy **Oreo crust** is the ideal foundation, perfectly complementing the creamy filling and adding an extra layer of chocolatey goodness. It’s an innovative twist that elevates this **creamy Nutella cheesecake** above traditional recipes.
Beyond this spectacular Nutella creation, we also love exploring other cheesecake varieties. For more inspiration, check out our Chocolate Chip Cookie Cheesecake, Cookies and Cream Cheesecake, and Cheesecake Brulee. For seasonal delights, particularly in the spring, don’t miss our Blackberry Cheesecake Recipe, Key Lime Cheesecake, and Lemon Blueberry Cheesecake Recipe. If you can’t get enough of Nutella, you might also enjoy our quick and easy Nutella Mug Cake Recipe and delightful Nutella Cupcakes.
What’s in this post: Nutella Cheesecake
- Why This Nutella Cheesecake is a Must-Try
- Can I Use a Graham Cracker Crust?
- Essential Ingredients for Your Nutella Cheesecake
- Exciting Variations and Serving Ideas
- Step-by-Step Guide: How to Make Nutella Cheesecake
- Crafting the Perfect Nutella Cheesecake Glaze
- Expert Recipe Tips for a Flawless Cheesecake
- The Art of Cooling Your Cheesecake
- Frequently Asked Questions About Nutella Cheesecake
- More Irresistible Cheesecake Recipes
- Nutella Cheesecake Recipe Card
Why This Nutella Cheesecake is a Must-Try
There are countless reasons why this **Nutella Cheesecake** should be at the top of your baking list. It offers a unique blend of flavors that cater to both chocolate lovers and cheesecake enthusiasts alike. The rich, creamy texture of the filling, combined with the delightful crunch of the Oreo crust, creates a sensory experience that is truly unmatched. Unlike many other desserts, this cheesecake strikes a perfect balance, being intensely flavorful without being overly sweet. It’s the kind of dessert that elicits gasps of delight and requests for second slices. Its elegant appearance, especially with the smooth Nutella glaze, makes it an ideal centerpiece for holiday gatherings, birthday celebrations, or any event where you want to impress your guests with minimal fuss but maximum impact. Plus, the ease of preparation, especially with our detailed instructions, means you don’t need to be a seasoned baker to achieve spectacular results.
Can I Use a Graham Cracker Crust?
Absolutely! While we passionately believe that the rich, chocolatey notes of an **Oreo crust** pair exceptionally well with the hazelnut-chocolate flavor of Nutella, a **graham cracker crust** is a perfectly delicious alternative. Cheesecake is wonderfully versatile, and you should always feel free to customize it to your personal preferences. If you prefer the classic taste of graham crackers, or if you simply have them on hand, go for it! The subtle honey and cinnamon notes of a graham cracker crust will offer a different yet equally delightful contrast to the creamy Nutella filling.
You can easily prepare a homemade graham cracker crust from scratch, or save time by purchasing a pre-made one from your local grocery store. Just ensure it’s a 9-inch crust to fit our recipe’s specifications. Whichever crust you choose, the star of the show, our **decadent Nutella cheesecake filling**, will shine through beautifully.
Essential Ingredients for Your Nutella Cheesecake
Creating this magnificent **homemade Nutella cheesecake** requires a selection of fresh, high-quality ingredients. Ensure your cream cheese and eggs are at room temperature for the smoothest, creamiest filling possible. Here’s what you’ll need:
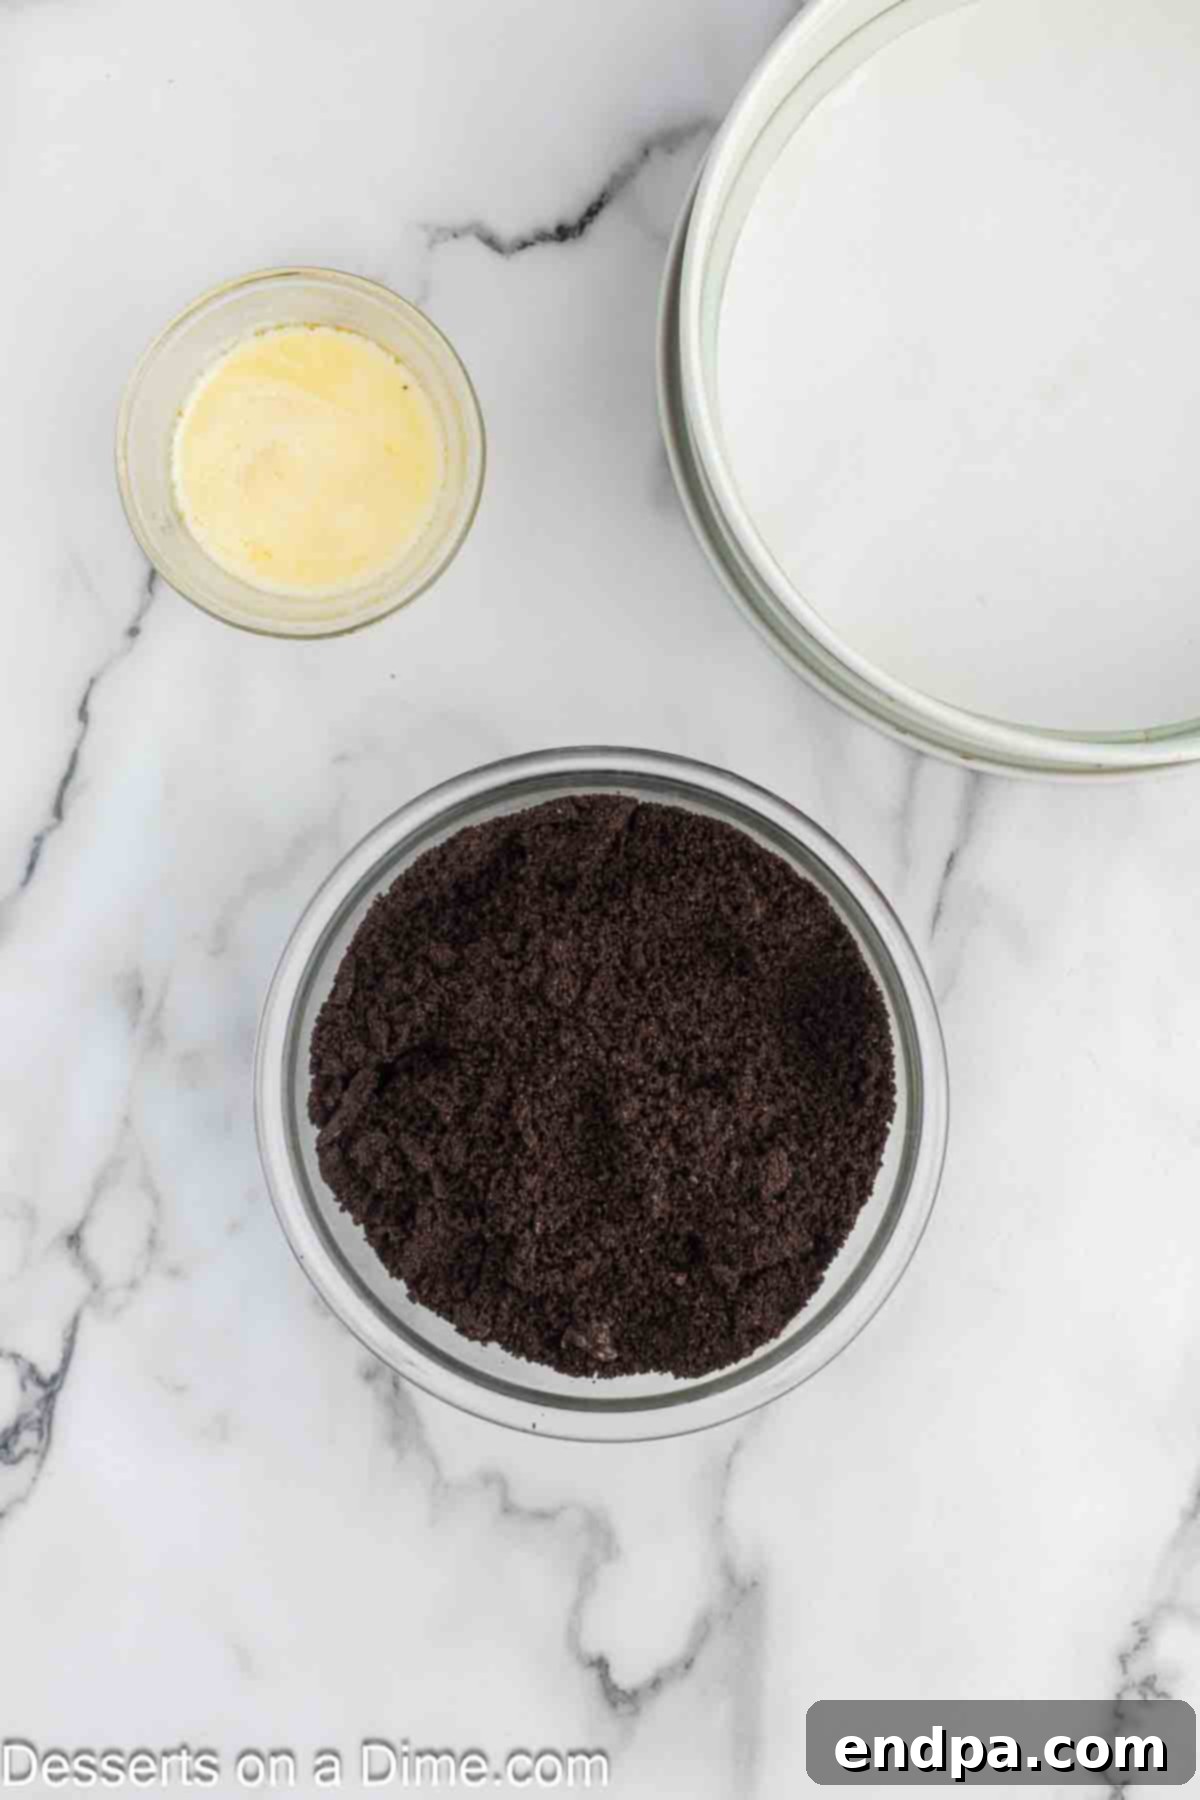
For the Crust
- Oreo Cookies (full package, including the cream filling, about 35 cookies)
- Butter (melted, preferably unsalted)
For the Filling
- Cream Cheese (softened to room temperature, 32 ounces or four 8-ounce blocks)
- Granulated Sugar (white sugar)
- Vanilla Extract (pure vanilla extract for best flavor)
- Nutella (one large 32-ounce container, ensures a rich hazelnut flavor)
- Large Eggs (room temperature, helps prevent cracking)
For the Luxurious Glaze and Toppings
- Nutella (additional 1 cup for the glaze)
- Heavy Whipping Cream (for the silky smooth glaze)
- Whipped Cream (optional, for serving and extra indulgence)
You can find the exact measurements and detailed recipe instructions further down in the dedicated recipe card.
Exciting Variations and Serving Ideas
While our **Nutella Cheesecake** recipe is perfect as written, there’s always room for creativity! Feel free to experiment with these variations to customize your dessert and make it truly your own:
- Alternative Glaze Options: Instead of the classic Nutella glaze, consider a simple whipped topping made from powdered sugar and heavy cream for a lighter finish. A dark chocolate ganache would also be incredibly decadent and beautiful, or a white chocolate drizzle for an elegant contrast.
- No-Bake Nutella Cheesecake: If you’re looking for a quicker, oven-free alternative, explore a **no-bake Nutella cheesecake** recipe. These are fantastic for hot summer days or when oven space is limited, offering all the Nutella flavor with less fuss.
- Creative Toppings: Elevate your cheesecake by adding various toppings just before serving. A dollop of homemade whipped cream is always a classic. You could also sprinkle it with powdered sugar, add a sophisticated chocolate drizzle, or brighten it up with fresh berries like raspberries or strawberries. Chopped hazelnuts or extra crushed Oreos would add wonderful texture and reinforce the core flavors. Mini chocolate chips or chocolate shavings are also excellent choices.
- Different Crust Varieties: As mentioned, a **graham cracker crust** is a fantastic alternative to the Oreo crust. But don’t stop there! Try crushing other types of cookies like shortbread, vanilla wafers, or even chocolate chip cookies for a unique flavor profile. The key is to find a cookie that complements the rich Nutella filling.
These variations offer endless possibilities to adapt this **easy Nutella cheesecake recipe** to any taste or occasion, ensuring it never gets boring!
Step-by-Step Guide: How to Make Nutella Cheesecake
Creating this irresistible **baked Nutella cheesecake** is a rewarding experience. Follow these detailed steps to ensure a flawless and delicious result.
- Step 1: Prepare Your Oven and Pan. Begin by preheating your oven to 350 degrees Fahrenheit (175°C). This ensures the oven is at the correct temperature when your crust is ready to bake. Line a 9-inch springform pan with parchment paper on the bottom and lightly grease the sides. This crucial step will prevent your cheesecake from sticking and make removal much easier.
- Step 2: Craft the Oreo Crust. Place your Oreo cookies (including the cream filling) into a food processor or a sturdy blender. Pulse until they are finely crushed into uniform crumbs. Transfer these crumbs to a medium-sized mixing bowl. Pour in the melted butter and mix thoroughly until all the crumbs are moistened and resemble wet sand. This ensures a firm and cohesive crust.
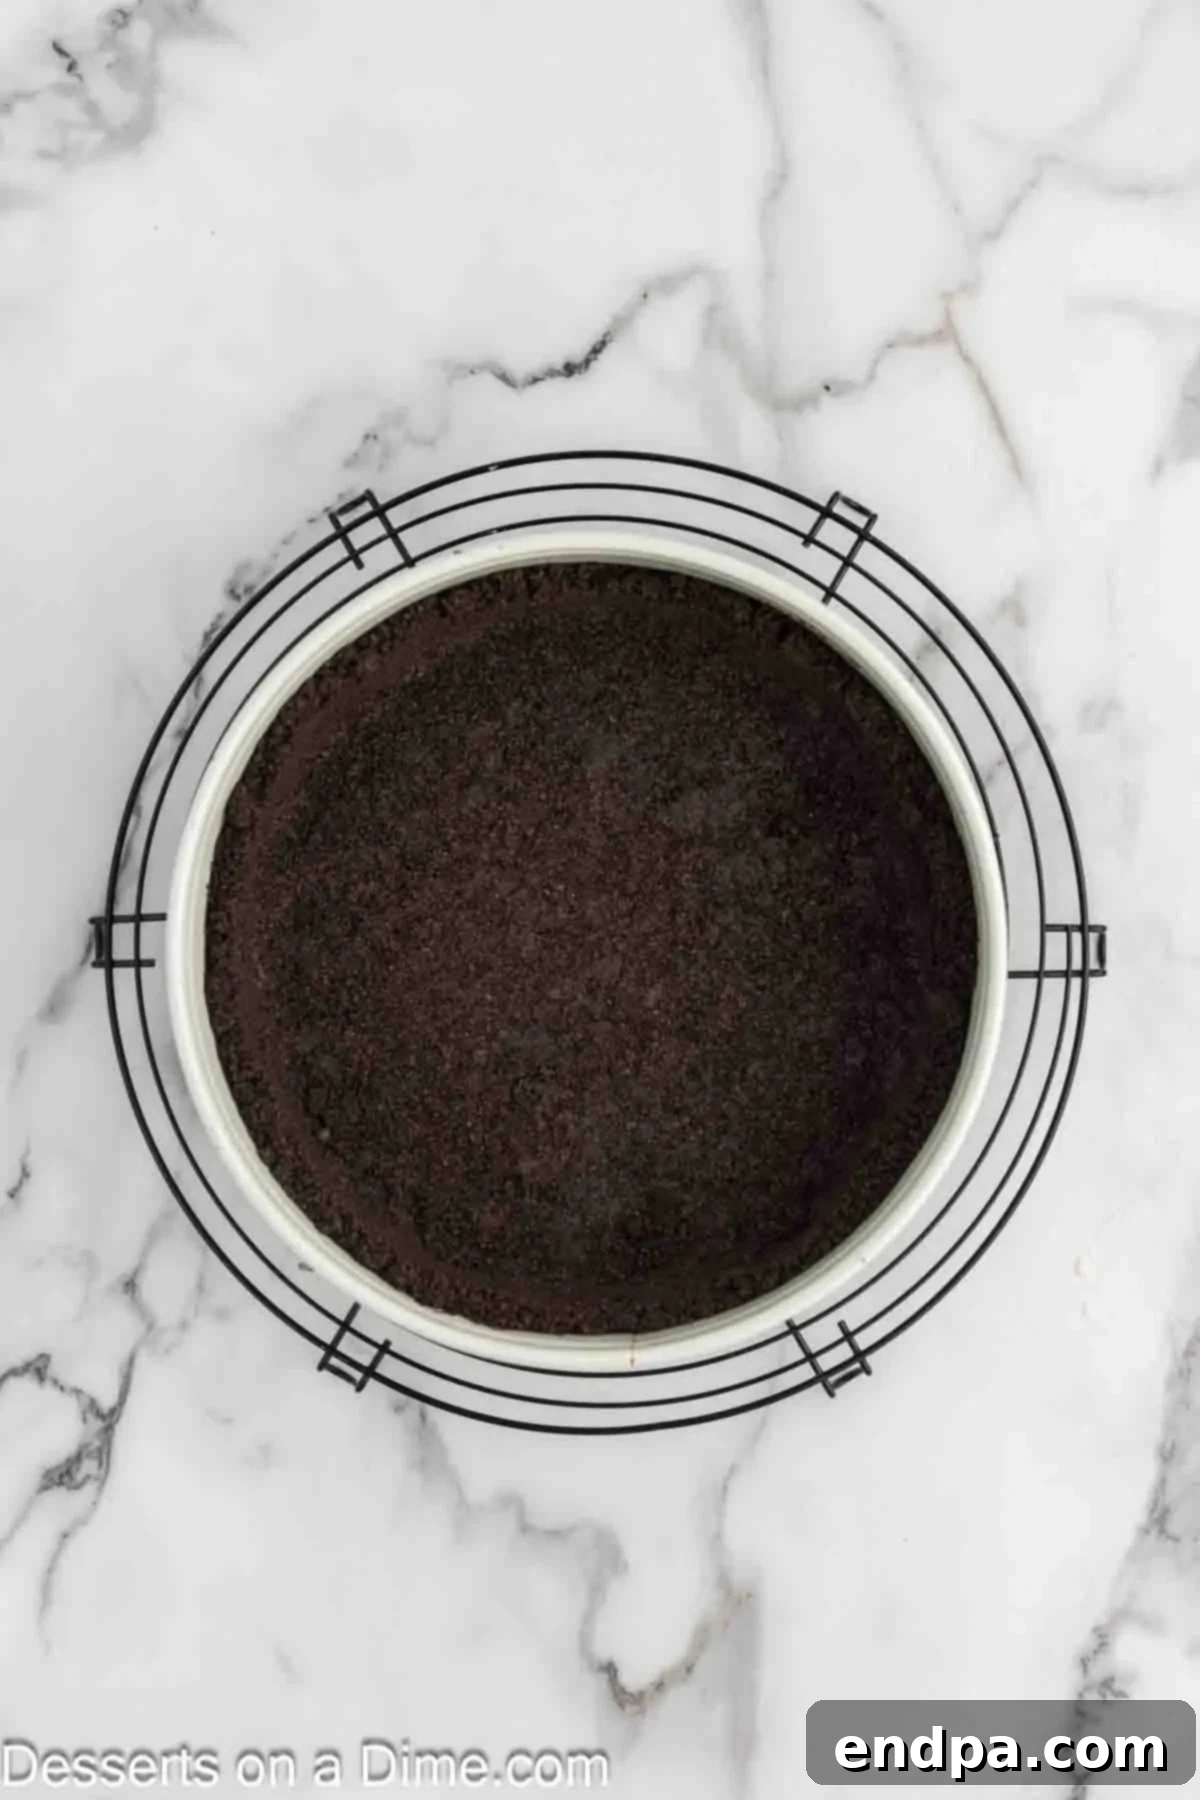
Step 3: Form and Bake the Crust. Firmly press the Oreo mixture into the bottom of your prepared springform pan. Use the back of a spoon or your fingers to press it slightly up the sides of the pan, creating a neat crust edge. Bake this crust in the preheated oven for 7 minutes. After baking, remove it from the oven and let it cool completely at room temperature while you prepare the creamy filling. A cool crust prevents the filling from becoming greasy.
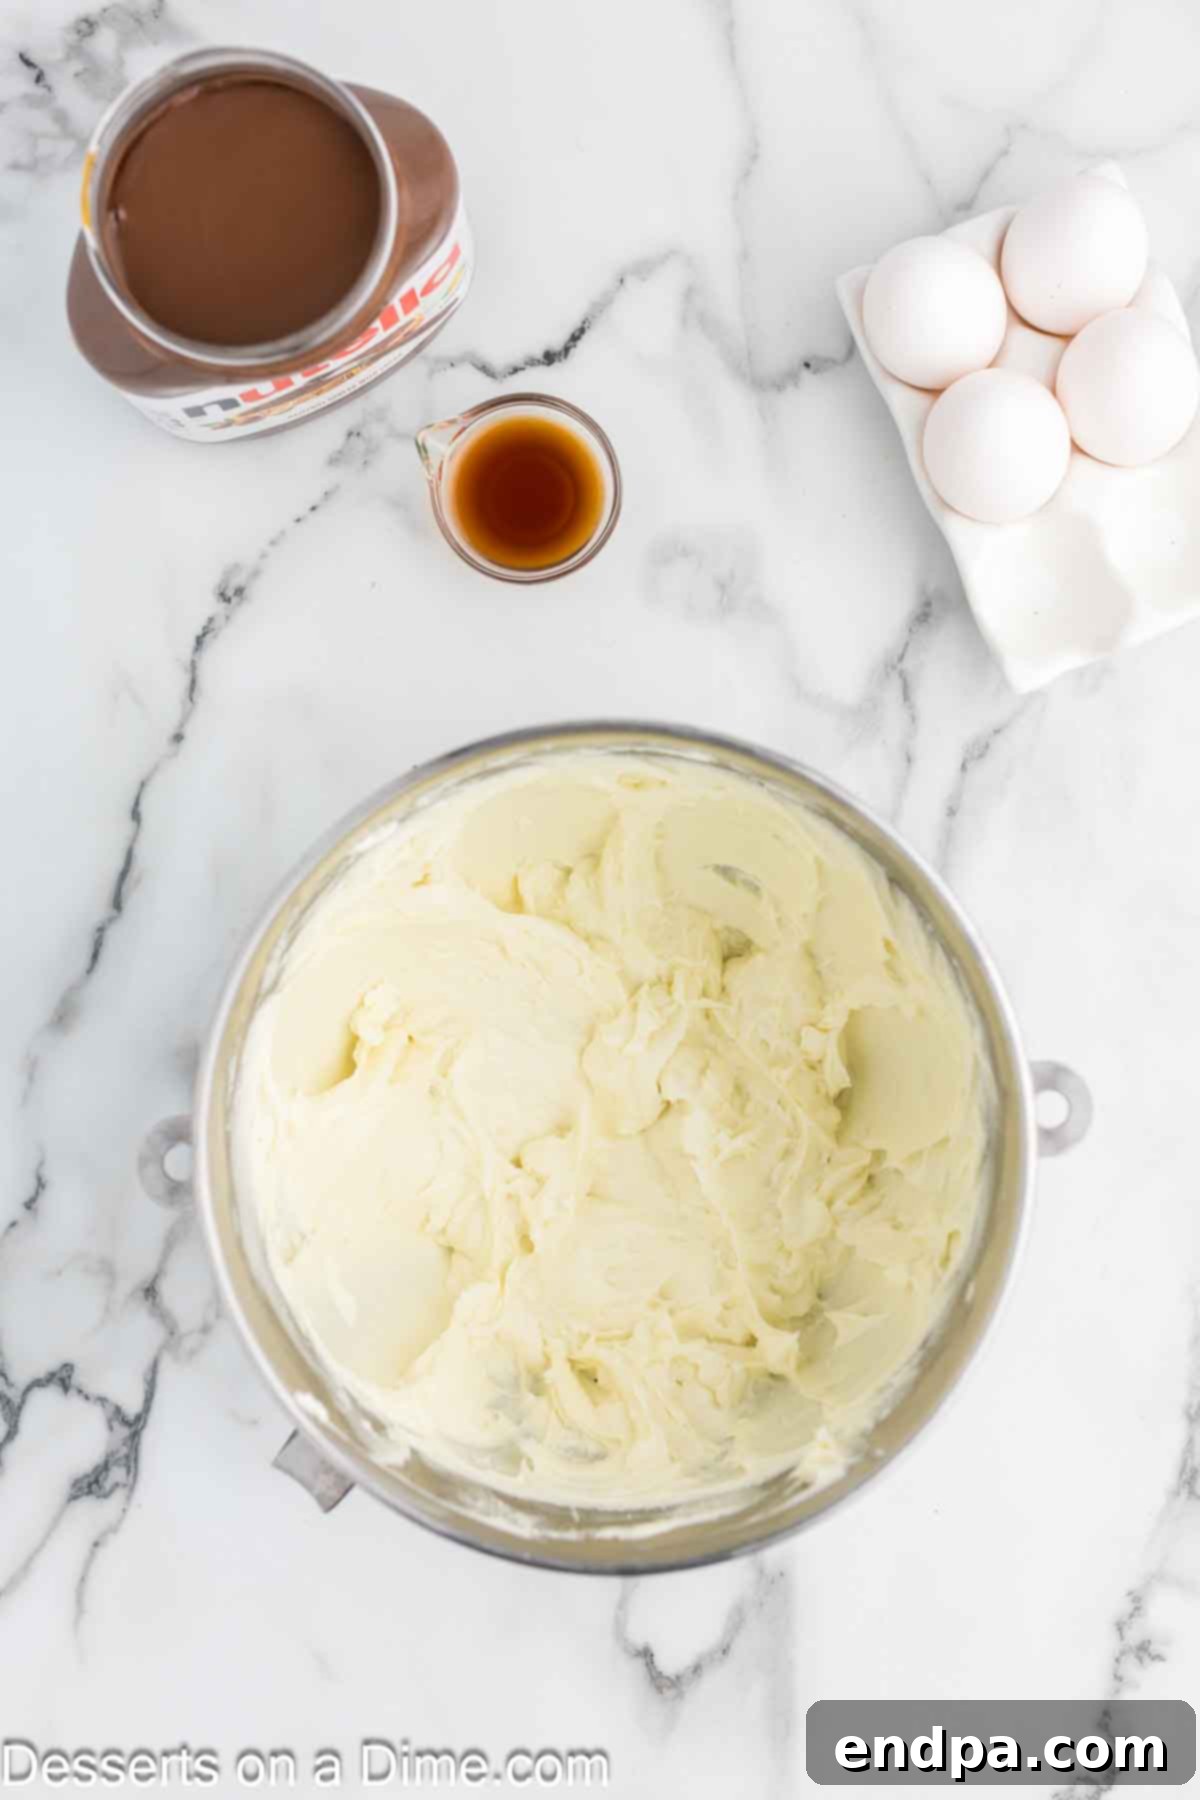
Step 4: Prepare the Cream Cheese Filling Base. In a large mixing bowl, combine the softened cream cheese and granulated sugar. Using an electric hand mixer or a stand mixer with the paddle attachment, beat these ingredients together on medium speed until the mixture is light, fluffy, and completely smooth. Be careful not to overmix at this stage. Then, incorporate the vanilla extract and the generous amount of Nutella, mixing until just combined and evenly distributed, creating that signature **chocolate hazelnut cheesecake** flavor.
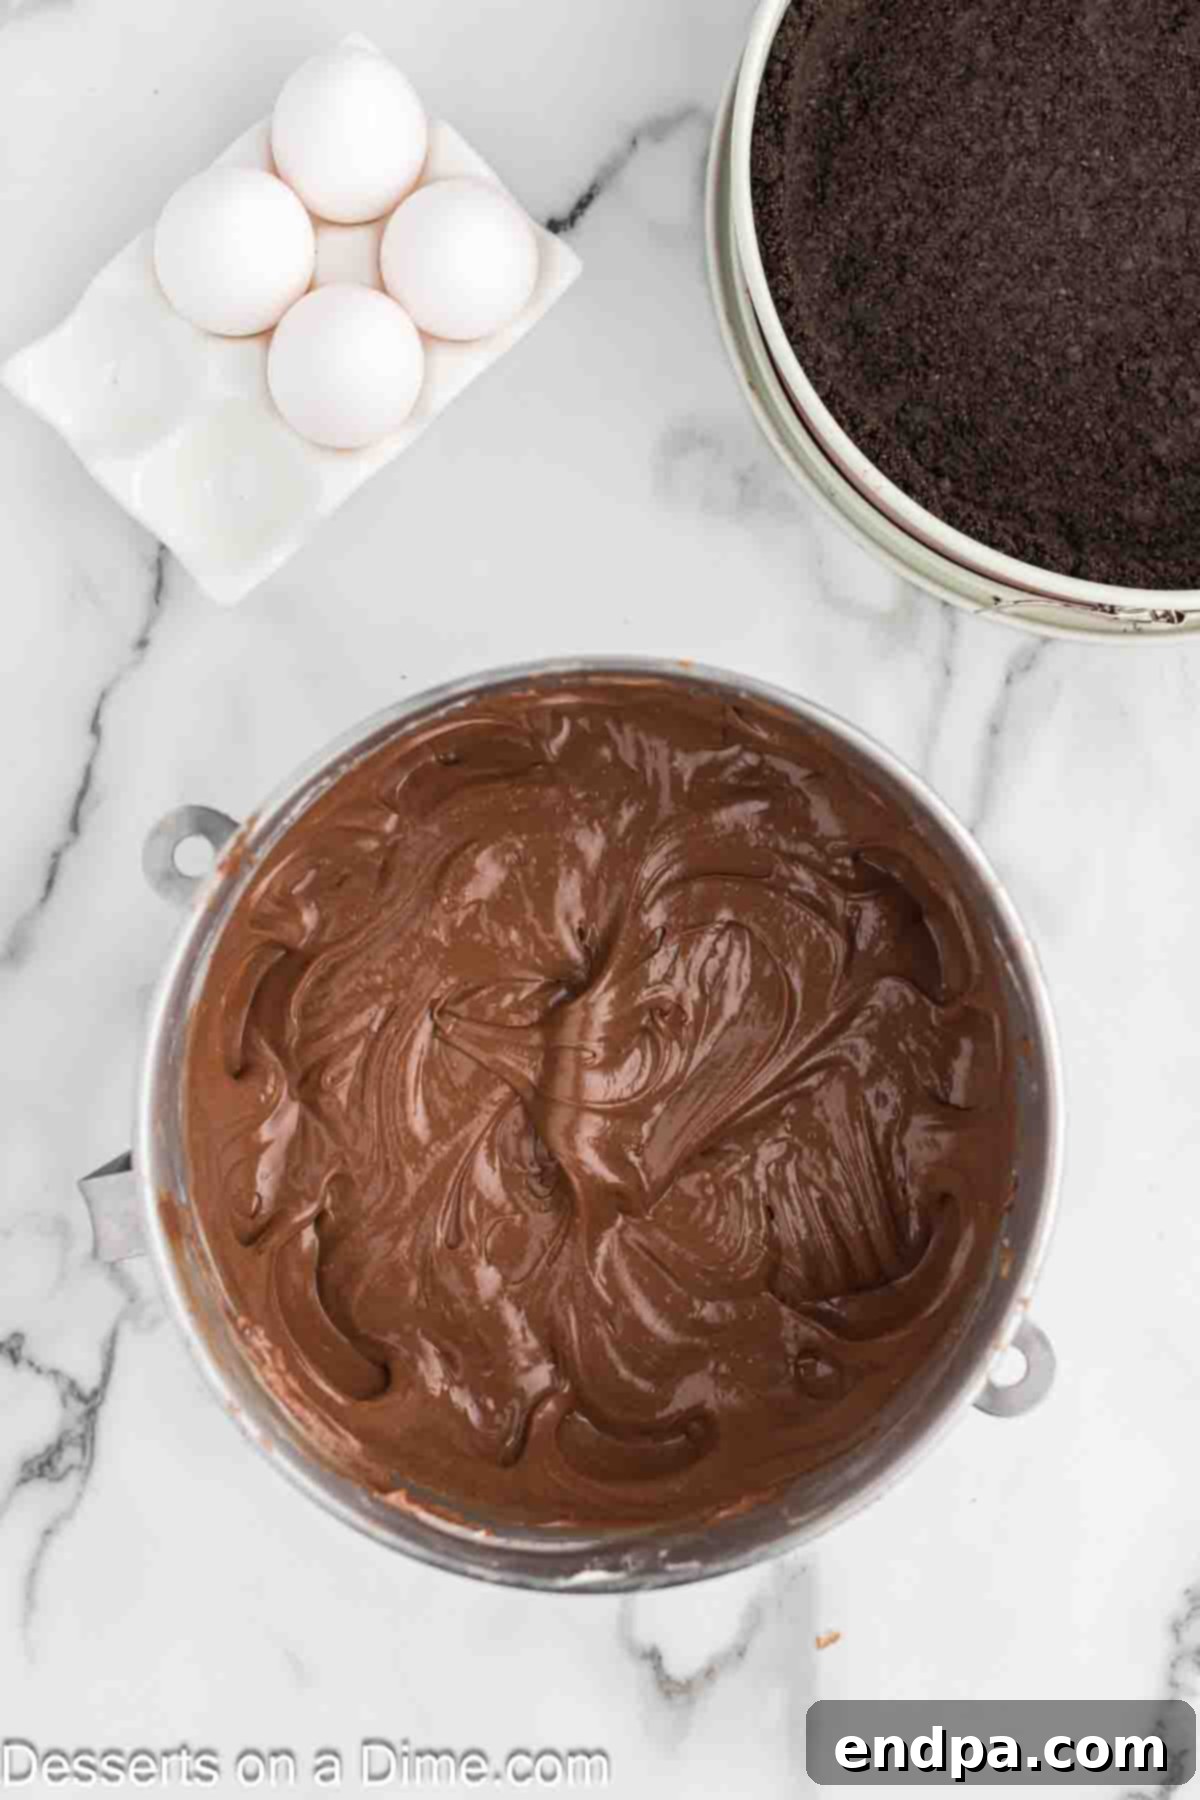
Step 5: Incorporate the Eggs. Add the large eggs to the cream cheese mixture one at a time. Mix on low speed *just until combined* after each addition. It’s vital not to overmix the eggs, as incorporating too much air can cause the cheesecake to puff up too much during baking and crack as it cools. Scrape down the sides of the bowl as needed to ensure everything is well incorporated.
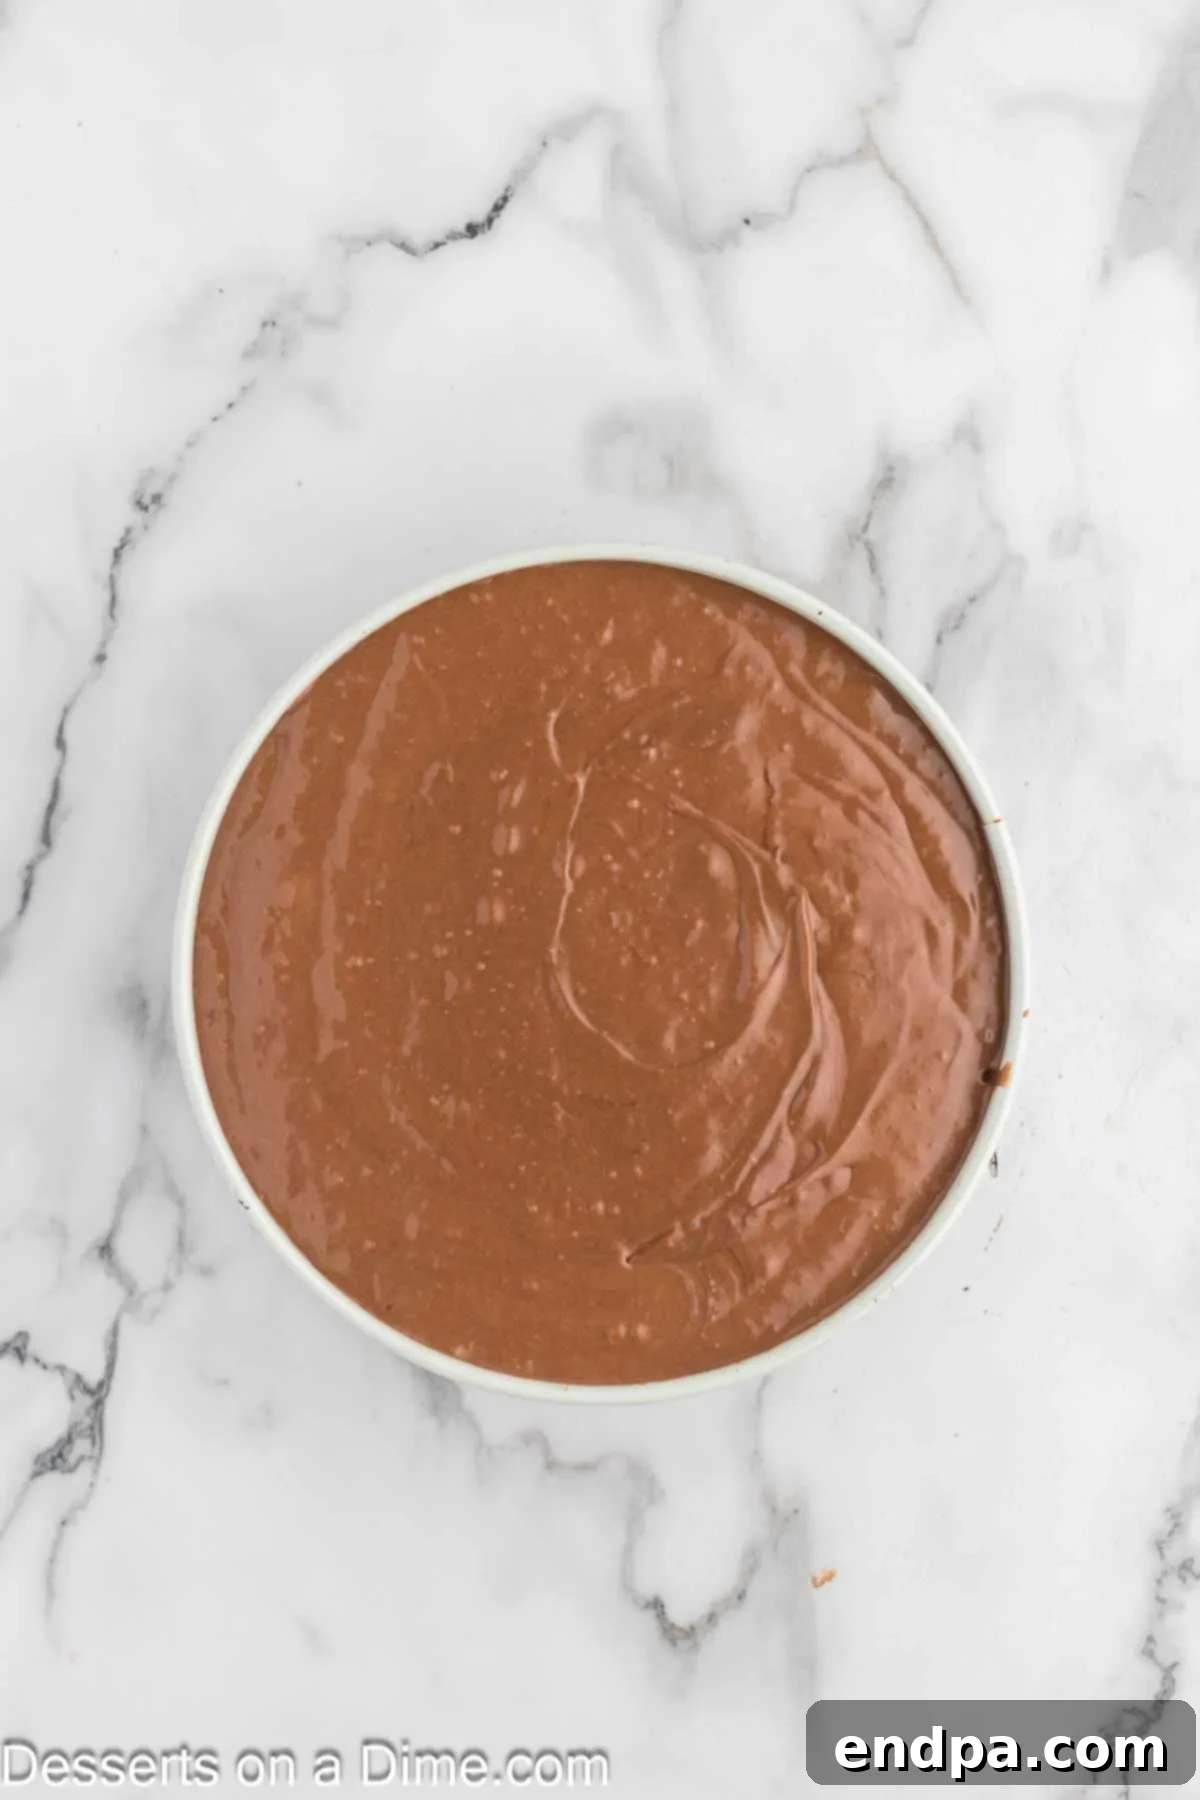
Step 6: Fill the Crust and Prepare for Baking. Gently pour the creamy Nutella cheesecake batter into your completely cooled Oreo crust. Once the batter is in the pan, gently tap the pan on the countertop a few times. This helps to release any trapped air bubbles, which can also contribute to cracks in your finished cheesecake. Ensure the surface is as smooth as possible.
- Step 7: Initial Bake. Place the springform pan with the cheesecake in the center of your preheated oven. Bake at 350 degrees Fahrenheit (175°C) for an initial 15 minutes. This higher temperature helps the edges to set quickly.
- Step 8: Reduce Heat and Continue Baking. Without removing the cheesecake from the oven, reduce the oven temperature to a much lower 200 degrees Fahrenheit (95°C). Continue to bake for an additional 1 hour and 20 to 30 minutes. The cheesecake is done when the edges are set and firm, but the very center (about a 2-inch circle) still has a slight jiggle when you gently shake the pan. Over-baking will result in a dry and cracked cheesecake.
- Step 9: Cool in the Oven. Once the baking time is complete, turn off the oven but *do not remove the cheesecake*. Crack the oven door open slightly (you can use a wooden spoon to keep it ajar) and let the cheesecake cool gradually inside the oven for 15-20 minutes. This slow cooling process is vital for preventing temperature shock, which is a common cause of cracks in cheesecakes.
- Step 10: Final Cooling and Chilling. After the oven cooling period, carefully transfer the cheesecake to a wire rack to cool completely to room temperature. This will take several hours. Once it has reached room temperature, cover the cheesecake loosely with plastic wrap and refrigerate for at least 4 hours, though overnight chilling is highly preferred. Chilling allows the cheesecake to firm up, making it easier to slice and ensuring its signature dense, creamy texture.
Crafting the Perfect Nutella Cheesecake Glaze
A glossy, smooth Nutella glaze is the crowning jewel of this magnificent dessert. Here’s how to make it:
- Step 1: Release from Pan. Once your cheesecake has completely chilled and set, carefully run a thin knife or offset spatula around the edge of the pan before releasing and removing the sides of the springform pan. This ensures a clean release.
- Step 2: Prepare for Glazing. Place the chilled cheesecake, still on its base, onto a wire rack. Position the wire rack over a baking sheet lined with parchment paper. This will catch any excess glaze and make cleanup effortless.
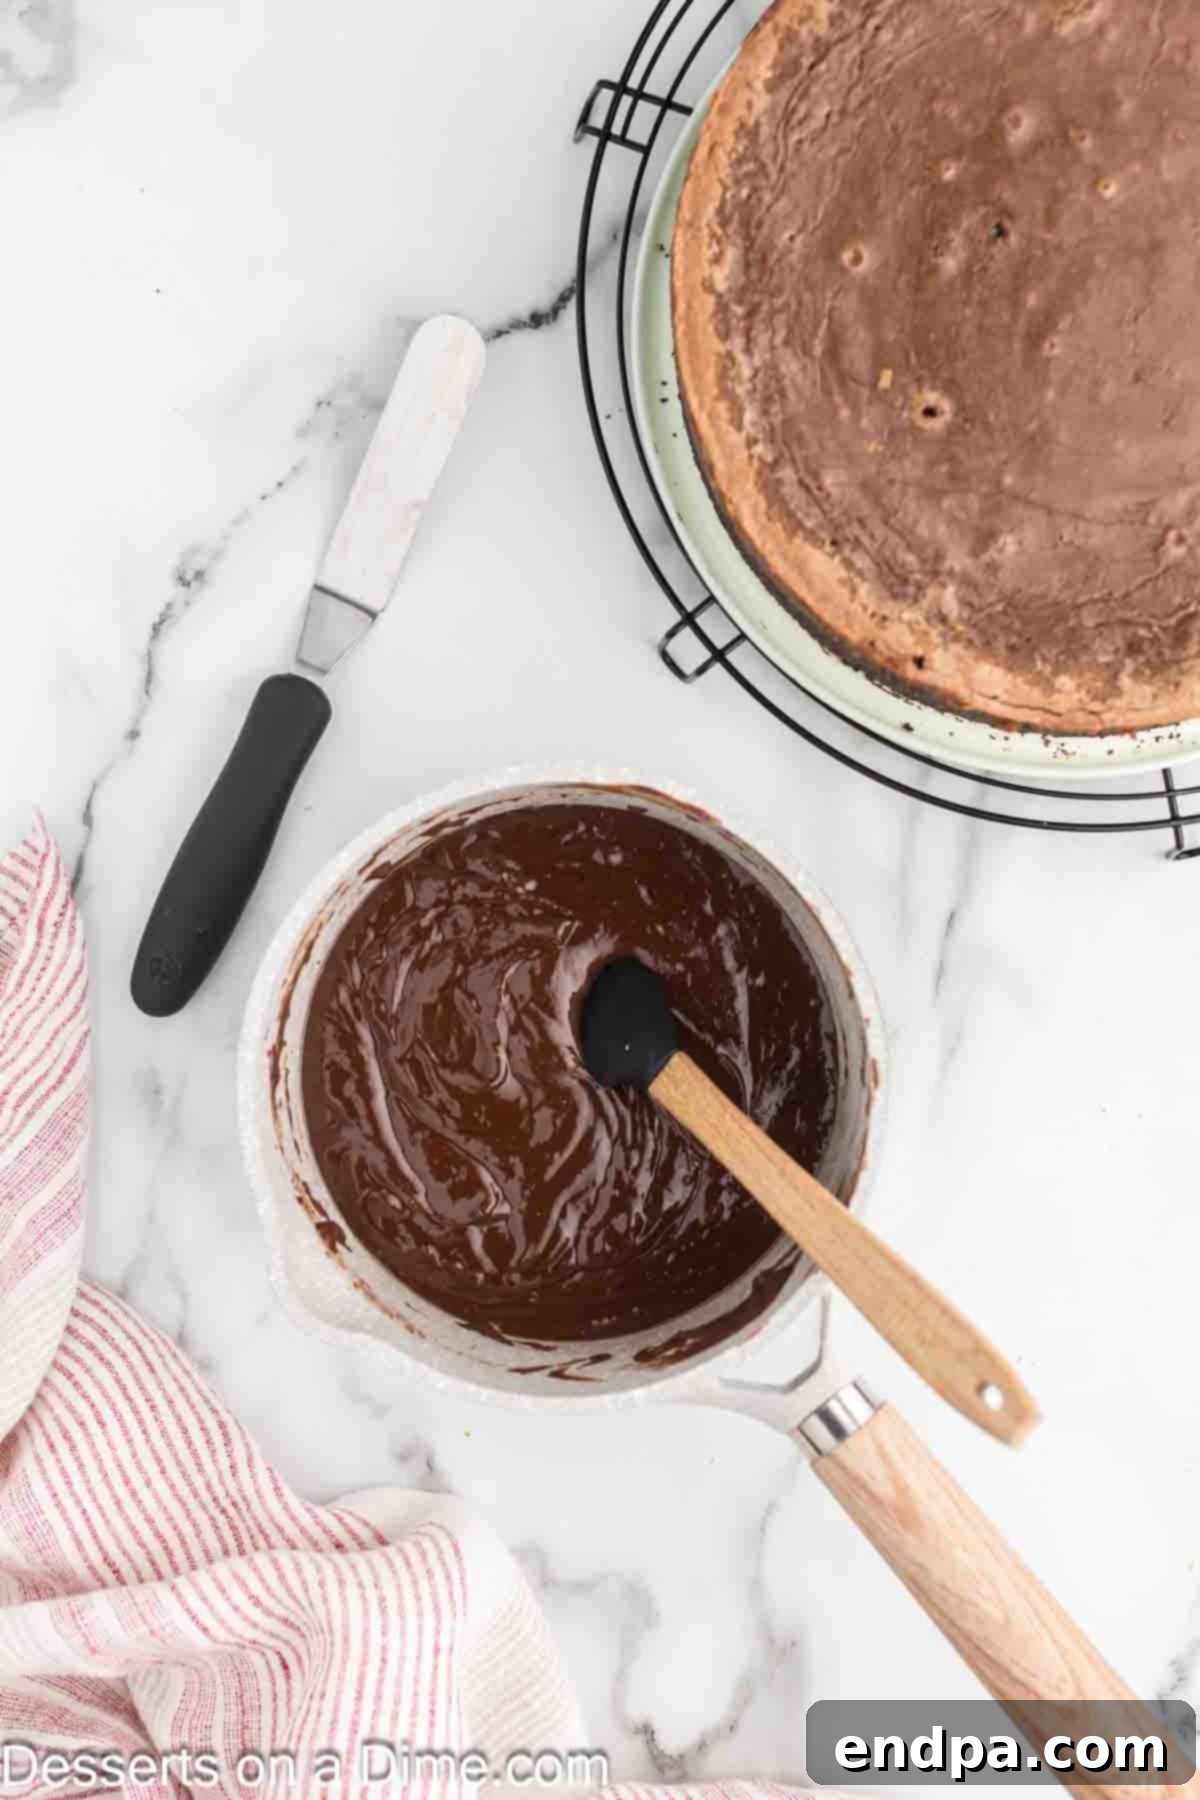
Step 3: Combine Glaze Ingredients. In a small saucepan, gently heat the heavy whipping cream over medium-low heat. Bring it to a gentle simmer, just until small bubbles appear around the edges. Do not let it boil vigorously. Remove the saucepan from the heat and immediately stir in the additional cup of Nutella. Whisk continuously until the Nutella is fully melted and incorporated, resulting in a smooth, rich, and glossy glaze.
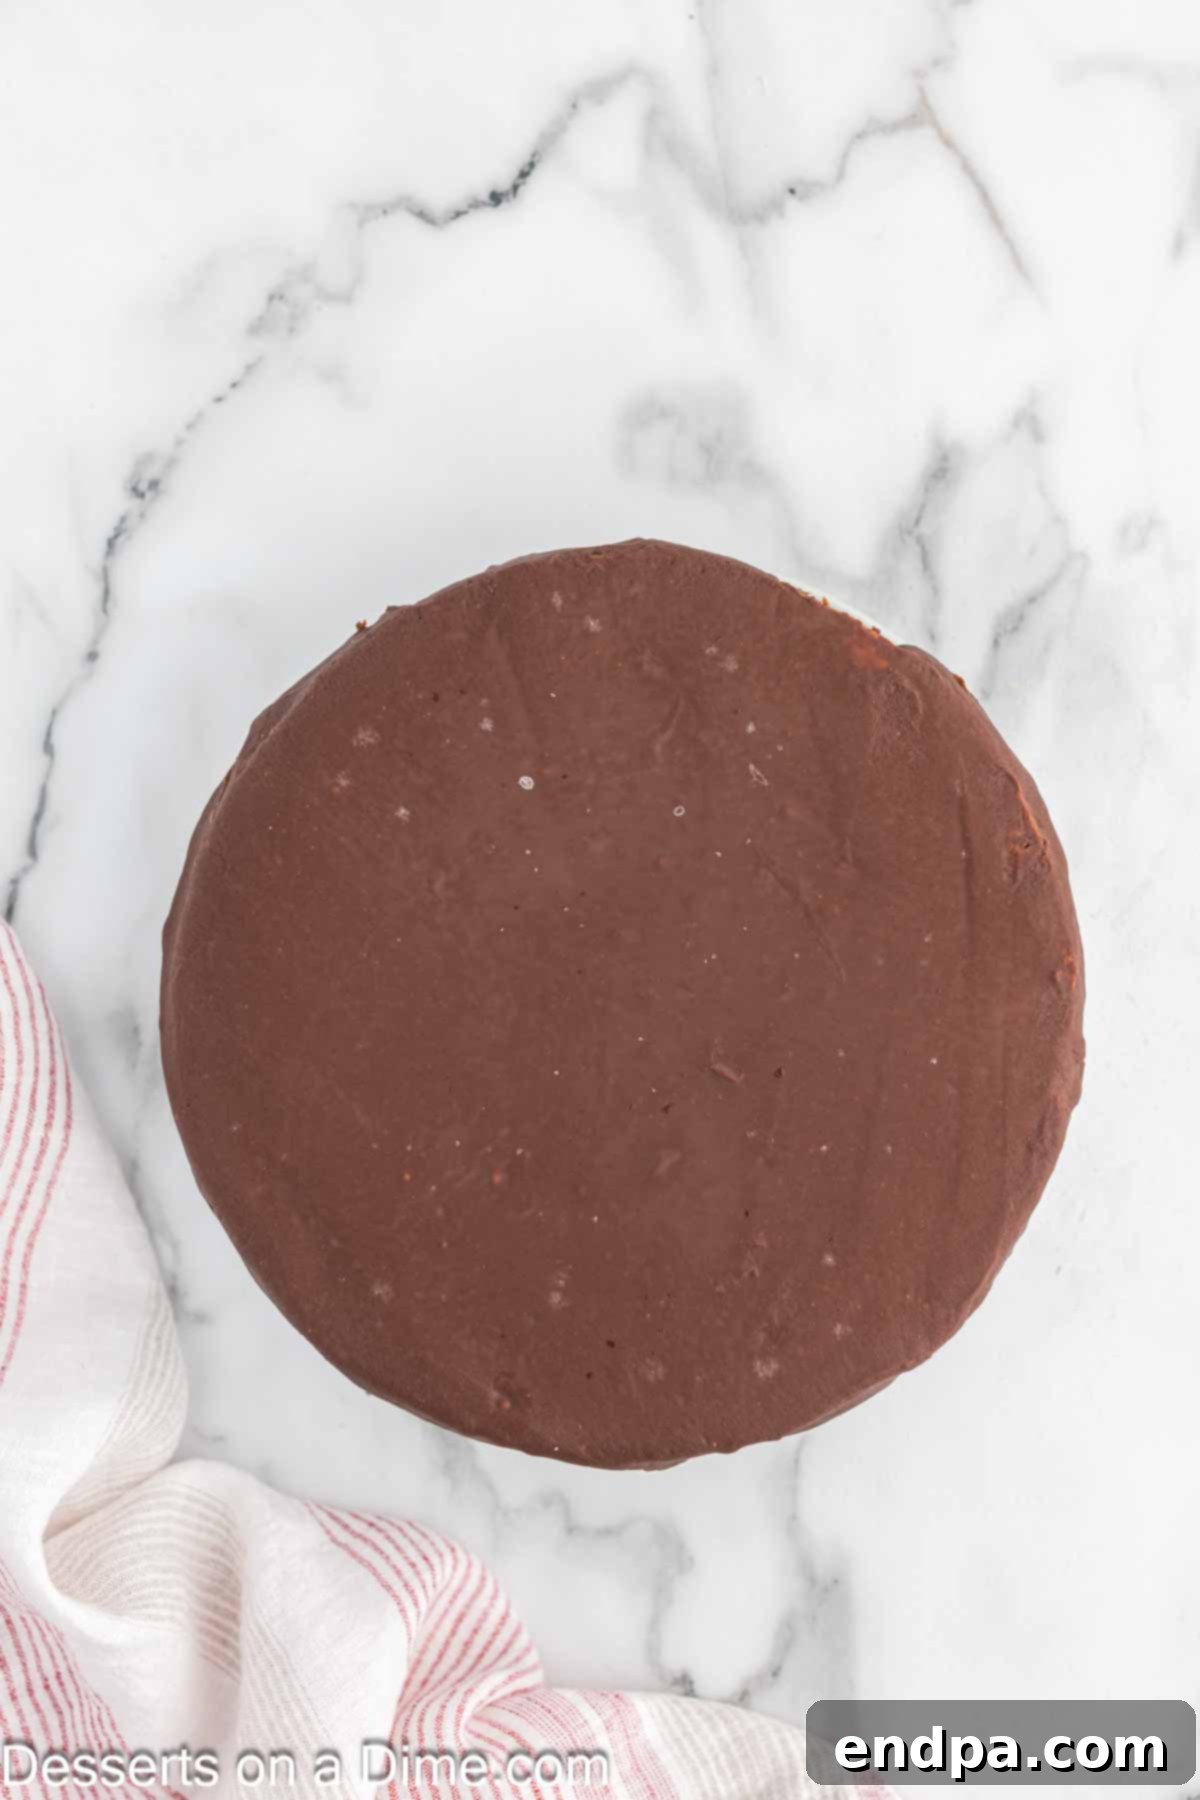
Step 4: Glaze the Cheesecake. As soon as the glaze is smooth, immediately pour it over the top of your chilled cheesecake. Working quickly, use an offset spatula or the back of a spoon to gently spread the glaze evenly across the entire surface. Allow some of the glaze to drip gracefully down the sides and edges of the cheesecake, creating a beautiful drip effect. This adds to the visual appeal and ensures every slice is coated in deliciousness.
- Step 5: Set the Glaze. Carefully transfer the cheesecake back to the refrigerator for at least 1 hour, or until the Nutella glaze has fully set. You can loosely cover it with plastic wrap once the glaze starts to firm up to prevent any odors from the fridge from being absorbed.
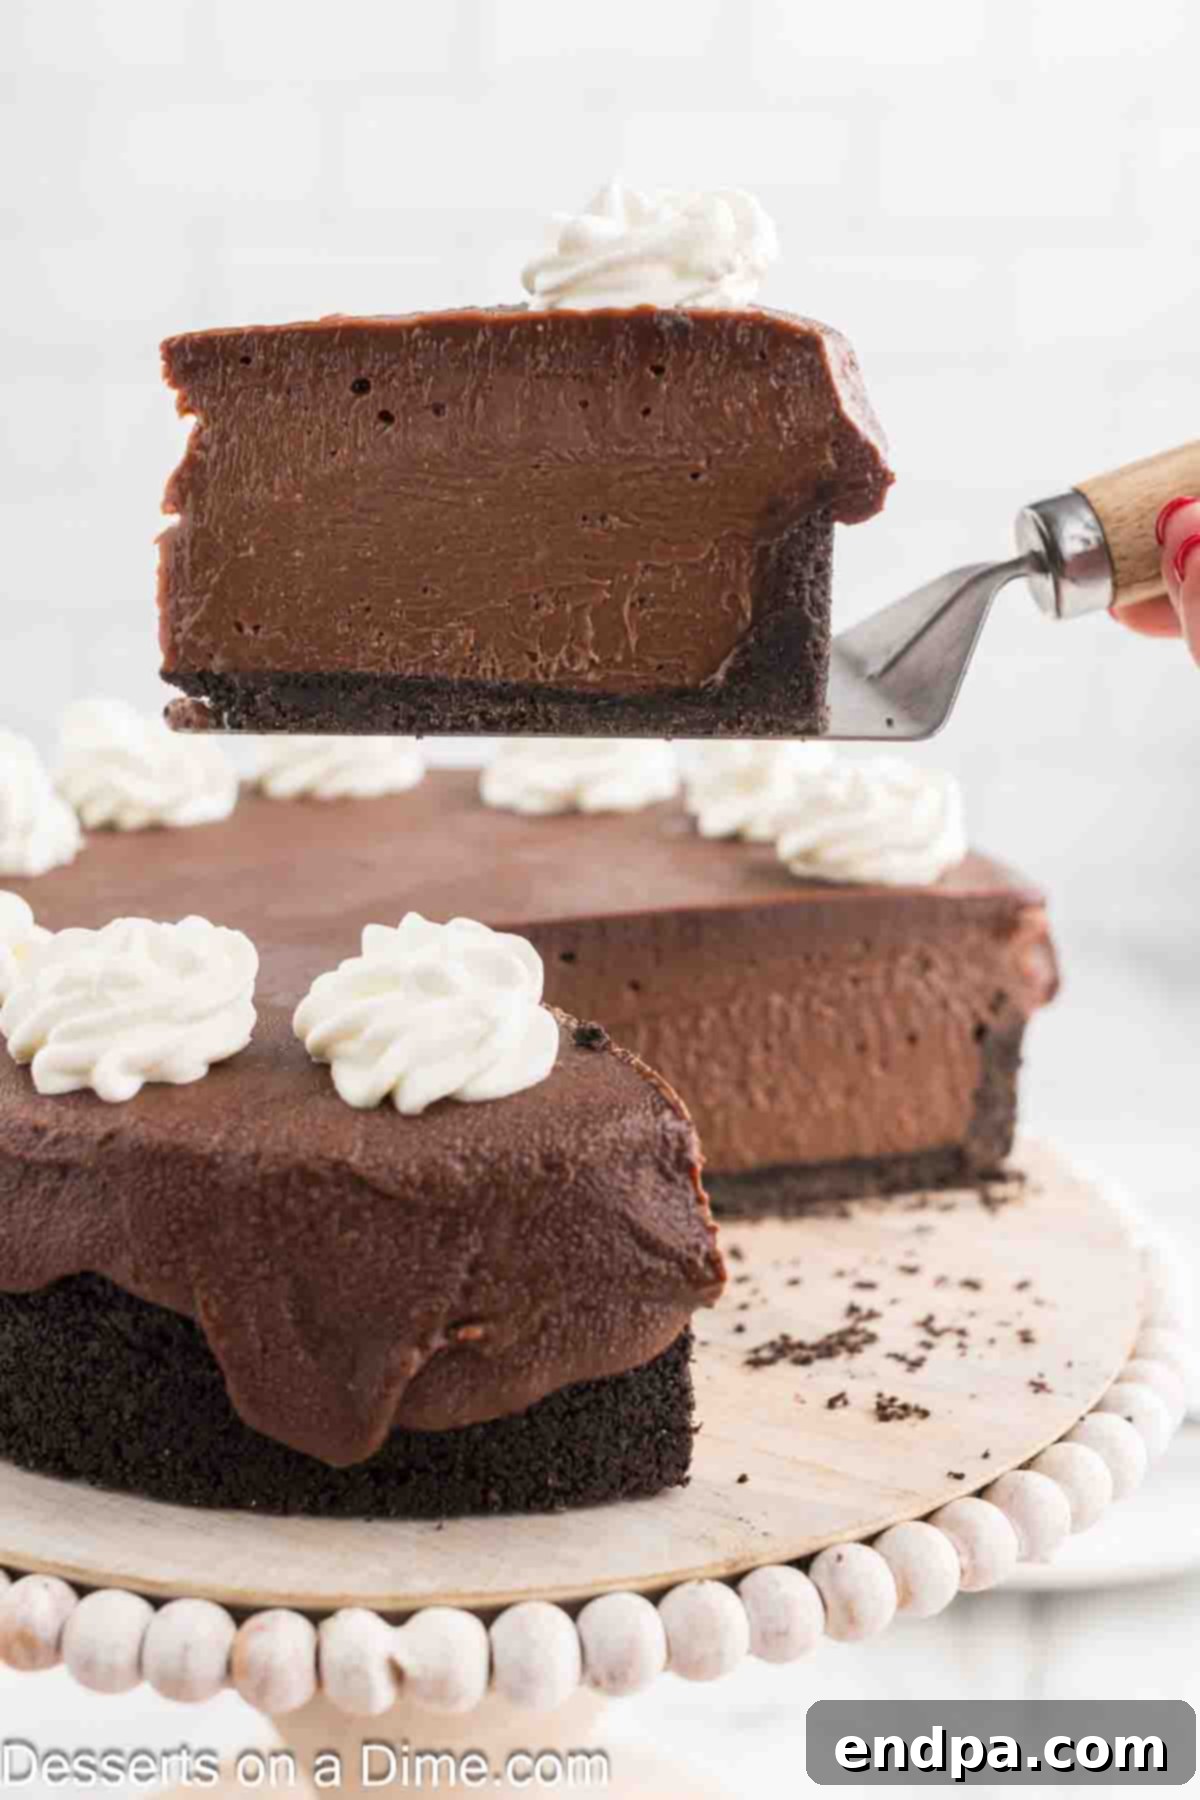
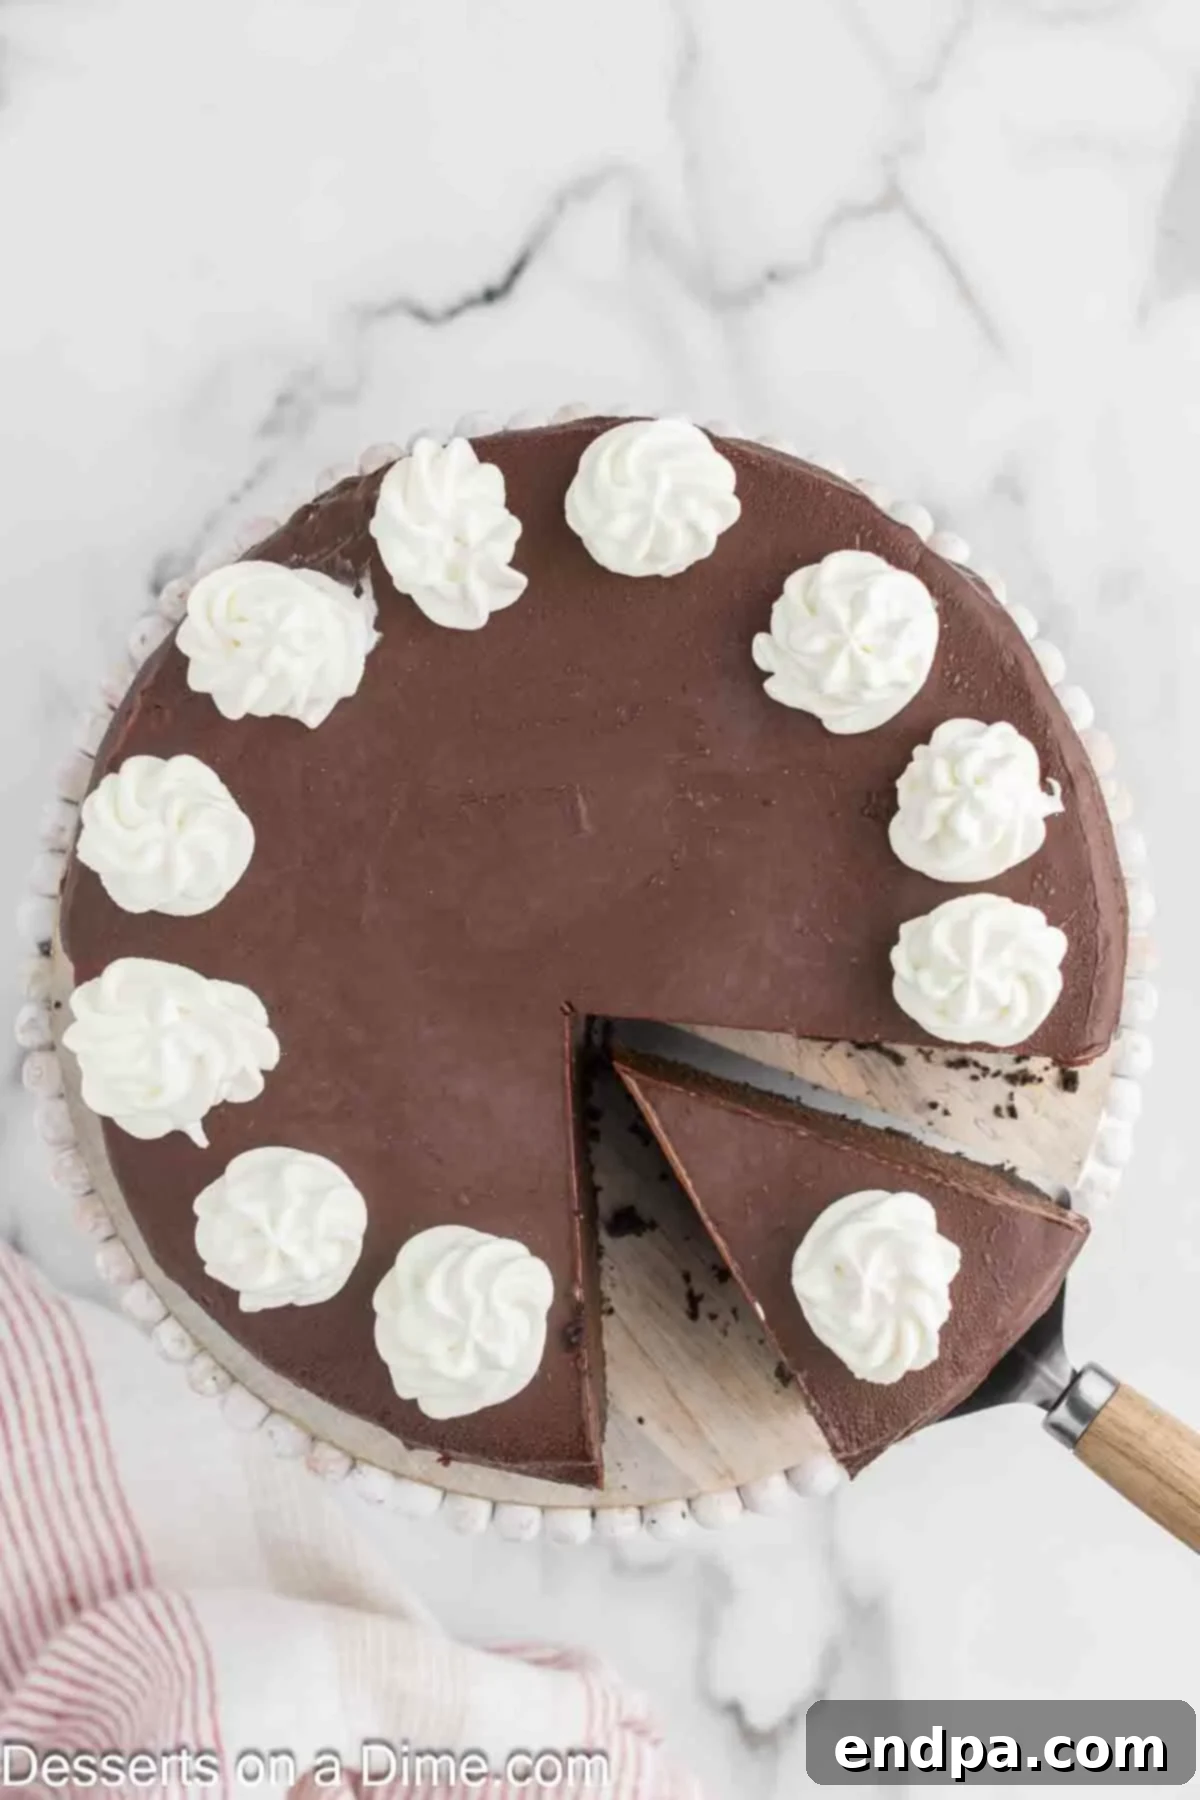
- Step 6: Slice, Serve, and Savor. Once the glaze is set, your magnificent **Nutella Cheesecake** is ready to be served! Use a sharp, thin knife (wiped clean between each slice) to cut neat portions. Garnish each slice with an optional dollop of whipped cream, a sprinkle of chopped hazelnuts, or extra Oreo crumbs for added texture and visual appeal. Then, enjoy this incredibly rich and satisfying dessert!
Expert Recipe Tips for a Flawless Cheesecake
Achieving a perfect **homemade Nutella cheesecake** is all about attention to detail. These expert tips will help you avoid common pitfalls and ensure a smooth, creamy, and crack-free dessert:
- Room Temperature Cream Cheese and Eggs: This is arguably the most crucial tip! Ensure your cream cheese blocks and eggs are softened to room temperature before you begin. Cold cream cheese will result in a lumpy batter, no matter how much you mix, and cold eggs can cause the mixture to seize. Room temperature ingredients blend smoothly and evenly, creating that signature silky-smooth cheesecake texture. Take them out of the fridge at least 1-2 hours before you start baking.
- Proper Springform Pan Preparation: Always line the bottom of your 9-inch springform pan with parchment paper. This prevents the crust from sticking and makes it much easier to transfer the cheesecake later. Lightly grease the sides of the pan as well. Some bakers even lightly flour the greased sides or use a non-stick cooking spray for extra insurance.
- Perfecting the Oreo Crust: When crushing your Oreos, aim for fine, uniform crumbs. A food processor works best for this. Ensure the melted butter is thoroughly combined with the crumbs so that every bit is moistened. This allows the crust to press firmly and bake into a stable base. Press the mixture firmly into the bottom and slightly up the sides of the pan. Baking and then *fully cooling* the crust before adding the filling is essential; a warm crust can make the cheesecake batter greasy.
- Gentle Mixing for the Filling: When combining the cream cheese filling ingredients, use a stand mixer with a paddle attachment or an electric hand mixer on *low speed*. Overmixing, especially after adding the eggs, incorporates too much air into the batter. This air expands during baking, causing the cheesecake to rise rapidly, then deflate and crack as it cools. Mix just until ingredients are combined and smooth.
- The Art of Baking Cheesecake: Cheesecake benefits from a gradual baking process. Starting at a slightly higher temperature helps set the edges, while reducing the temperature to a lower heat allows the center to cook gently. The “jiggly center” test is key: it should still have a slight wobble, as it will continue to cook and set as it cools. Avoid opening the oven door unnecessarily during baking to maintain a stable temperature.
- Immediate Glaze Application: Once your Nutella glaze is ready, pour and spread it over the *chilled* cheesecake immediately. The glaze should be warm enough to pour smoothly but not so hot that it melts the cheesecake surface. Working quickly helps achieve an even, glossy finish before the glaze starts to set.
- Plan Ahead for Chilling: This **rich Nutella dessert** absolutely needs ample chilling time. While 4 hours is the minimum, an overnight chill (8+ hours) is highly recommended. This allows the cheesecake to fully set, develop its rich flavors, and achieve its dense, creamy texture, making it much easier and cleaner to slice. It’s an ideal make-ahead dessert for parties and special occasions.
- No Water Bath Needed: Unlike some traditional cheesecake recipes, this specific **baked Nutella cheesecake** recipe does not require a water bath. The gradual reduction in oven temperature and the controlled cooling process are sufficient to prevent cracks and ensure a creamy consistency.
The Art of Cooling Your Cheesecake
Properly cooling your cheesecake is just as critical as the baking itself, perhaps even more so for preventing dreaded cracks. Cheesecake is sensitive to sudden temperature changes, which can cause its delicate structure to contract too quickly and result in unsightly fissures across the surface. Our cooling method is designed to be gentle and gradual, mimicking the natural setting process for a perfectly smooth top.
After your **Nutella cheesecake** has finished baking and has that characteristic slight jiggle in the center, the first stage of cooling happens directly in the oven. Turn off the oven, but do not open the door fully. Instead, crack it open slightly – often a wooden spoon placed in the door hinge does the trick. Allow the cheesecake to remain in the cooling oven for approximately 15 to 20 minutes. This period allows the internal temperature of the cheesecake to decrease slowly and evenly, preventing a sudden shock that could lead to cracking.
Once this initial oven cooling is complete, carefully remove the cheesecake from the oven and transfer it to a wire rack. It’s important to let it cool completely to room temperature on the wire rack. This allows air to circulate around the pan, facilitating even cooling. Do not rush this step; depending on your kitchen’s temperature, this could take several hours. Only once the cheesecake has reached full room temperature should you cover it and transfer it to the refrigerator for its final, extended chill. This comprehensive cooling regimen guarantees a beautiful, crack-free surface and a wonderfully creamy consistency throughout your **decadent cheesecake**.
Frequently Asked Questions About Nutella Cheesecake
Here are some common questions you might have about making and enjoying your **Nutella Cheesecake**:
Any leftover **creamy Nutella cheesecake** should be stored in an airtight container or tightly covered with plastic wrap in the refrigerator. It will keep beautifully for up to 4 days. This makes it an excellent dessert to prepare in advance for parties, special occasions, or simply to enjoy throughout the week. The flavors often deepen and meld even more after a day or two in the fridge.
Yes, this **rich Nutella dessert** freezes exceptionally well! To freeze, first ensure the cheesecake is completely cool and chilled, and preferably *without* the Nutella glaze or any other fresh toppings. Wrap the plain cheesecake securely in several layers of plastic wrap, then wrap it again in aluminum foil. Place it inside a freezer-safe, airtight container or a large freezer bag to prevent freezer burn. It can be frozen for up to 6 weeks. When you’re ready to serve, transfer the frozen cheesecake to the refrigerator and allow it to thaw overnight. Once thawed, you can then prepare and apply the glaze and garnish with whipped cream or your favorite toppings as usual. This is a fantastic way to extend its shelf life or prepare for future events.
Cheesecake cracks are typically caused by sudden temperature changes or overmixing the batter. Overmixing incorporates too much air, which expands rapidly in the oven and then collapses, causing cracks. Sudden cooling (like pulling it straight from a hot oven into a cold kitchen) also causes the cheesecake to contract too quickly. Our recipe’s gentle mixing instructions and two-stage cooling process (in the oven, then at room temperature) are designed to prevent this, ensuring a smooth, beautiful top.
More Irresistible Cheesecake Recipes
If you’ve fallen in love with making cheesecakes, be sure to explore more of our delicious recipes. There’s a cheesecake for every occasion and every flavor preference:
- Reese’s Cheesecake
- Pecan Pie Cheesecake Recipe
- Banana Cream Cheesecake
- Butter Pecan Cheesecake
- Turtle Cheesecake
- Cheesecake Bars
We absolutely love hearing from our community! If you try this **Nutella Cheesecake Recipe**, please take a moment to leave us a comment and a star review below. Your feedback is invaluable and helps other bakers discover amazing desserts!
Nutella Cheesecake Recipe
This Nutella Cheesecake is the perfect thick and creamy dessert, baked to perfection with a delightful Oreo crust and topped with a luscious Nutella glaze. It’s guaranteed to be a hit!
Prep Time: 30 mins
Cook Time: 1 hr 45 mins
Chill Time: 4 hrs (preferably overnight)
Total Time: Approximately 6 hrs 15 mins (including minimum chill time)
Yields: 15 servings
Cuisine: American
Course: Dessert
Calories: 906 kcal per serving (estimated)
Author: Carrie Barnard
Ingredients
For the Crust:
- 35 Oreo Cookies (whole)
- 5 Tablespoons Butter, melted
For the Filling:
- 32 ounces Cream Cheese, softened (four 8-ounce blocks)
- 1 cup Granulated Sugar
- 1 Tablespoon Vanilla Extract
- 1 container Nutella (32 ounces)
- 4 Large Eggs, room temperature
For the Luxurious Glaze and Toppings:
- 1 cup Nutella
- ½ cup Heavy Whipping Cream
- Whipped Cream (optional, for serving)
Instructions
For the Crust:
- Preheat the oven to 350 degrees Fahrenheit (175°C). Line a 9-inch springform pan with parchment paper on the bottom and lightly grease the sides.
- Crush the Oreo Cookies finely in a food processor or blender. Transfer crumbs to a mixing bowl. Add the melted butter and mix until well combined and moistened.
- Press the mixture firmly into the bottom of the prepared pan and slightly up the sides to form the crust.
- Bake the crust for 7 minutes. Remove from oven and let cool completely at room temperature while preparing the filling.
How to Make the Cheesecake Filling:
- In a large mixing bowl, beat together the softened cream cheese and granulated sugar using an electric hand mixer or stand mixer until smooth and well combined (avoid overmixing).
- Mix in the vanilla extract and the 32-ounce container of Nutella until just combined and smooth.
- Add the large eggs one at a time, mixing on low speed just until combined after each addition. Do not overmix.
- Pour the smooth Nutella cheesecake mixture into the completely cooled Oreo crust.
- Gently tap the pan on the countertop a few times to release any trapped air bubbles from the batter.
- Place the cheesecake in the center of the oven and bake at 350 degrees Fahrenheit (175°C) for 15 minutes.
- Without removing the cheesecake, reduce the oven temperature to 200 degrees Fahrenheit (95°C).
- Continue baking for an additional 1 hour and 20 to 30 minutes, or until the edges are set and the center still has a slight jiggle (about a 2-inch circle).
- Turn off the oven and crack the oven door open (using a wooden spoon to keep it ajar). Allow the cheesecake to cool slowly in the oven for 15-20 minutes.
- Remove the cheesecake from the oven and transfer it to a wire rack to cool completely to room temperature.
- Once at room temperature, cover loosely with plastic wrap and chill in the refrigerator for at least 4 hours, but preferably overnight, until thoroughly set.
How to Make the Cheesecake Glaze:
- Once the cheesecake is fully chilled, carefully run a thin knife around the edge of the pan and remove the springform pan sides.
- Place the cheesecake on a wire rack positioned over a baking sheet (lined with parchment paper for easy cleanup).
- In a small saucepan, heat the ½ cup heavy whipping cream over medium-low heat until it is simmering gently. Remove from heat and immediately stir in the additional 1 cup Nutella. Whisk until smooth and completely combined.
- Immediately pour the warm glaze over the top of the chilled cheesecake. Use an offset spatula or the back of a spoon to gently spread it evenly across the top, allowing some to drip artfully down the sides.
- Refrigerate the cheesecake again for at least 1 hour, or until the glaze has fully set.
- Carefully slice and serve, optionally topped with extra whipped cream, chopped nuts, or Oreo crumbs. Enjoy!
Recipe Notes
Store any leftover Nutella Cheesecake, covered, in the refrigerator for up to 4 days. This cheesecake also freezes well; wrap plain cheesecake (without glaze) tightly and freeze for up to 6 weeks. Thaw overnight in the refrigerator before glazing and serving.
Nutrition Facts (Estimated per serving)
- Calories: 906 kcal
- Carbohydrates: 87g
- Protein: 11g
- Fat: 58g
- Saturated Fat: 41g
- Polyunsaturated Fat: 2g
- Monounsaturated Fat: 10g
- Trans Fat: 0.2g
- Cholesterol: 124mg
- Sodium: 381mg
- Potassium: 499mg
- Fiber: 5g
- Sugar: 71g
- Vitamin A: 1112IU
- Vitamin C: 0.05mg
- Calcium: 165mg
- Iron: 7mg
