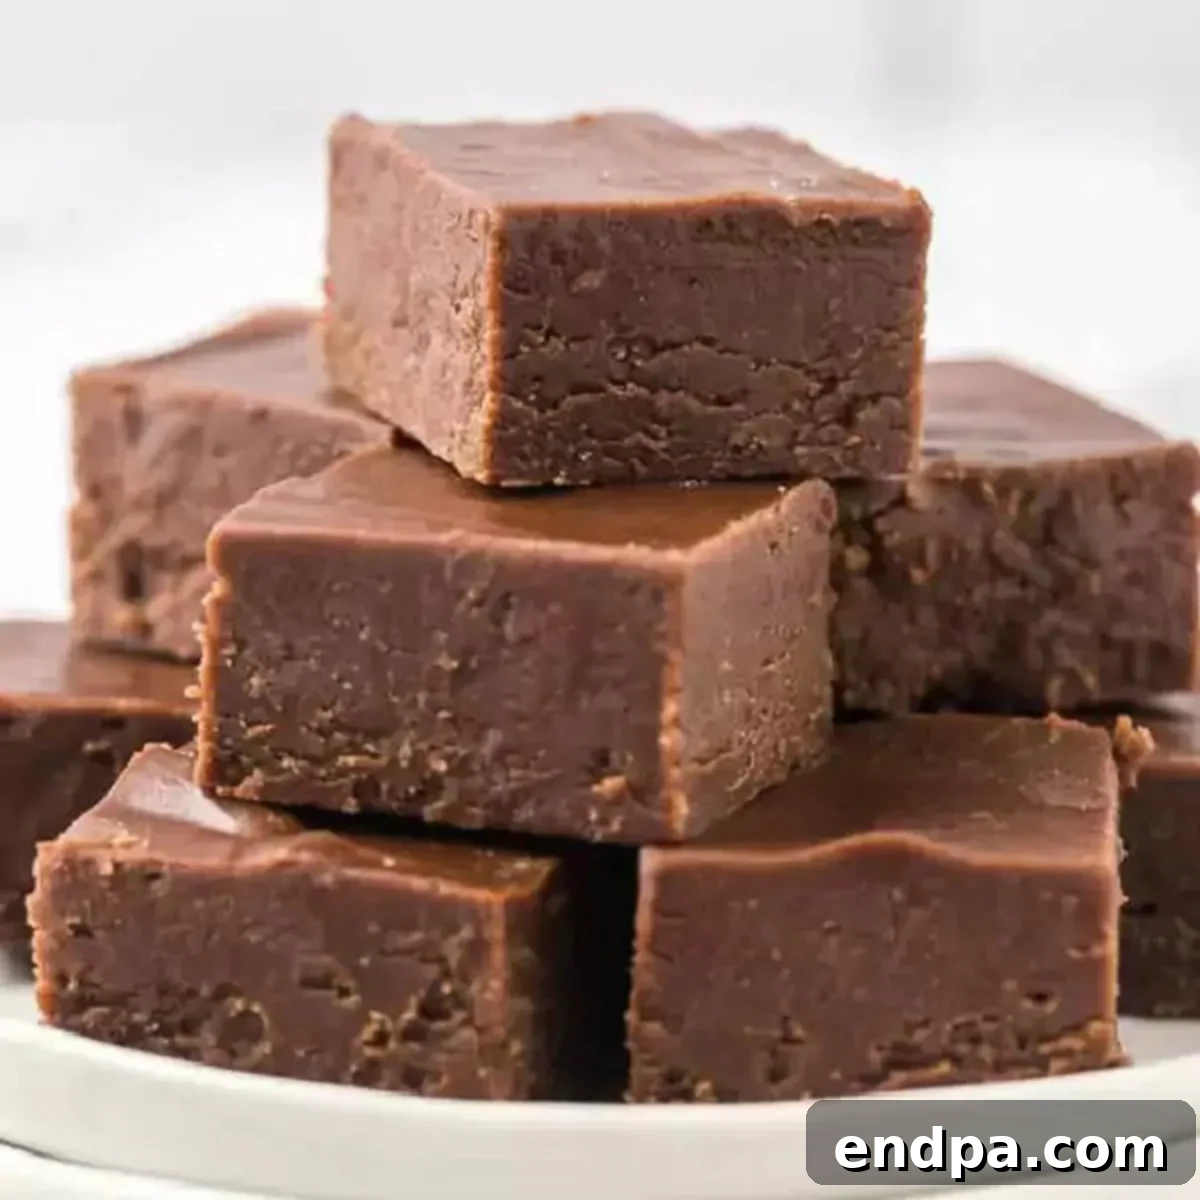
Unlock the secret to an incredibly decadent, smooth, and rich fudge that comes together with astonishing ease. Introducing our celebrated 2-Ingredient Chocolate Peanut Butter Fudge – a homemade delight that effortlessly combines the classic flavors of chocolate and peanut butter into a melt-in-your-mouth treat. Whether you’re craving a quick dessert, preparing a thoughtful gift, or simply looking to satisfy your sweet tooth without the fuss, this recipe is your ultimate go-to.
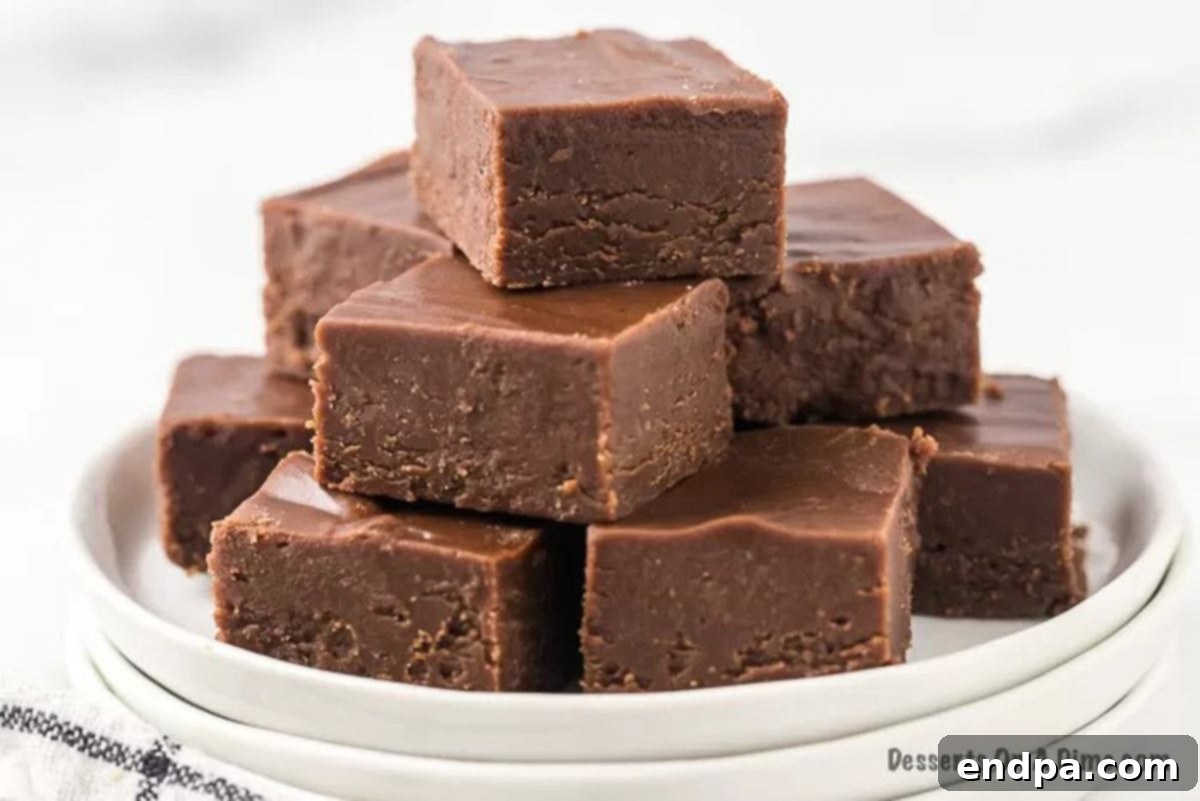
The timeless pairing of chocolate and peanut butter creates a symphony of flavors that few can resist. This Chocolate Peanut Butter Fudge recipe elevates that beloved combination into a truly luxurious confection. Its velvety smooth texture and deep, satisfying taste make it an ideal choice for any occasion, from casual snacks to elegant dessert spreads, or as a delightful treat to share with cherished friends and family. Imagine the joy of indulging in this rich creation, knowing it took minimal effort to achieve such impressive results.
What makes this fudge truly exceptional is its remarkable simplicity. Unlike traditional fudge recipes that often demand precise temperatures, constant stirring, and a lengthy cooking process, our 2-ingredient version comes together quickly with just a handful of basic ingredients. This means less time in the kitchen and more time enjoying your delicious creation. Beyond its inherent deliciousness, this fudge is incredibly versatile. You can easily personalize it with various mix-ins such as chopped nuts for added crunch, mini chocolate chips for extra chocolatey goodness, or even colorful candy pieces to match a festive theme. Once prepared and set, it slices beautifully into neat squares, making it perfect for elegant presentation, thoughtful gifting, or simply savoring straight from the pan – we won’t tell!
For those who adore fudge but find themselves short on time, this 2-ingredient method is an absolute game-changer. It eliminates the need for complex techniques and specialized equipment, making it accessible to even the most novice bakers. While many people associate homemade fudge with holiday baking, particularly Christmas, the simplicity of this recipe allows you to enjoy this delightful treat year-round. Dive into the world of easy fudge creations, from the sweet and salty allure of a Salted Caramel Fudge Recipe to the visually stunning layers of a Tiger Butter Fudge Recipe, the possibilities for effortless fudge are truly boundless. This particular chocolate peanut butter variation stands out for its unparalleled convenience and universally loved flavor profile.
Table of Contents
- The Irresistible Charm of Chocolate Peanut Butter Fudge
- Why You’ll Adore This Recipe
- Key Ingredients: The Dynamic Duo
- Essential Kitchen Equipment
- Unleash Your Creativity: Delicious Variations
- Crafting Your Fudge: Step-by-Step Guide
- Proper Storage for Lasting Freshness
- Mastering Fudge: Expert Tips for Success
- Frequently Asked Questions (FAQ)
- Beyond Chocolate Peanut Butter: More Easy Fudge Recipes
The Irresistible Charm of Chocolate Peanut Butter Fudge
Fudge has long been a beloved confection, cherished for its rich, dense texture and intense flavor. While its origins are debated, fudge as we know it today gained popularity in the late 19th century, often made in home kitchens. The combination of chocolate and peanut butter is a relatively more modern phenomenon, but it quickly captured hearts across America. There’s something inherently comforting and satisfying about the blend of deep cocoa notes with the creamy, nutty goodness of peanut butter. This particular recipe streamlines the process, bringing that irresistible charm to your home with unprecedented ease. It’s a testament to how simple ingredients can create extraordinary taste experiences, proving that you don’t need a culinary degree to whip up something truly special.
Why You’ll Adore This Recipe
- Unforgettable Decadent Flavor: The harmonious blend of rich chocolate and creamy peanut butter creates a taste sensation that is both deeply satisfying and perfectly balanced, capable of satiating even the most intense sweet cravings. Each bite is a luxurious experience.
- Remarkably Easy to Make: Forget complicated steps and lengthy ingredient lists. With just two primary components, this fudge comes together in mere minutes, requiring minimal effort and no advanced culinary skills. It’s truly fool-proof.
- Endlessly Customizable: This recipe serves as a fantastic base for your creativity. Feel free to incorporate your favorite additions like crunchy nuts, extra chocolate chips, or colorful candy pieces to personalize the fudge to your exact taste preferences or for seasonal themes.
- Perfect for Thoughtful Gifting: Once set and neatly sliced into squares, this homemade fudge makes a stunning and heartfelt gift. Package it in decorative boxes or bags for holidays, birthdays, or as a simple token of appreciation for friends, teachers, or neighbors.
- Ideal for Any Occasion: Its versatile appeal makes it suitable for a wide array of events. Serve it as a delightful dessert at holiday gatherings, birthday parties, potlucks, or simply enjoy it as a special indulgence during a quiet evening at home. It always impresses!
Key Ingredients: The Dynamic Duo
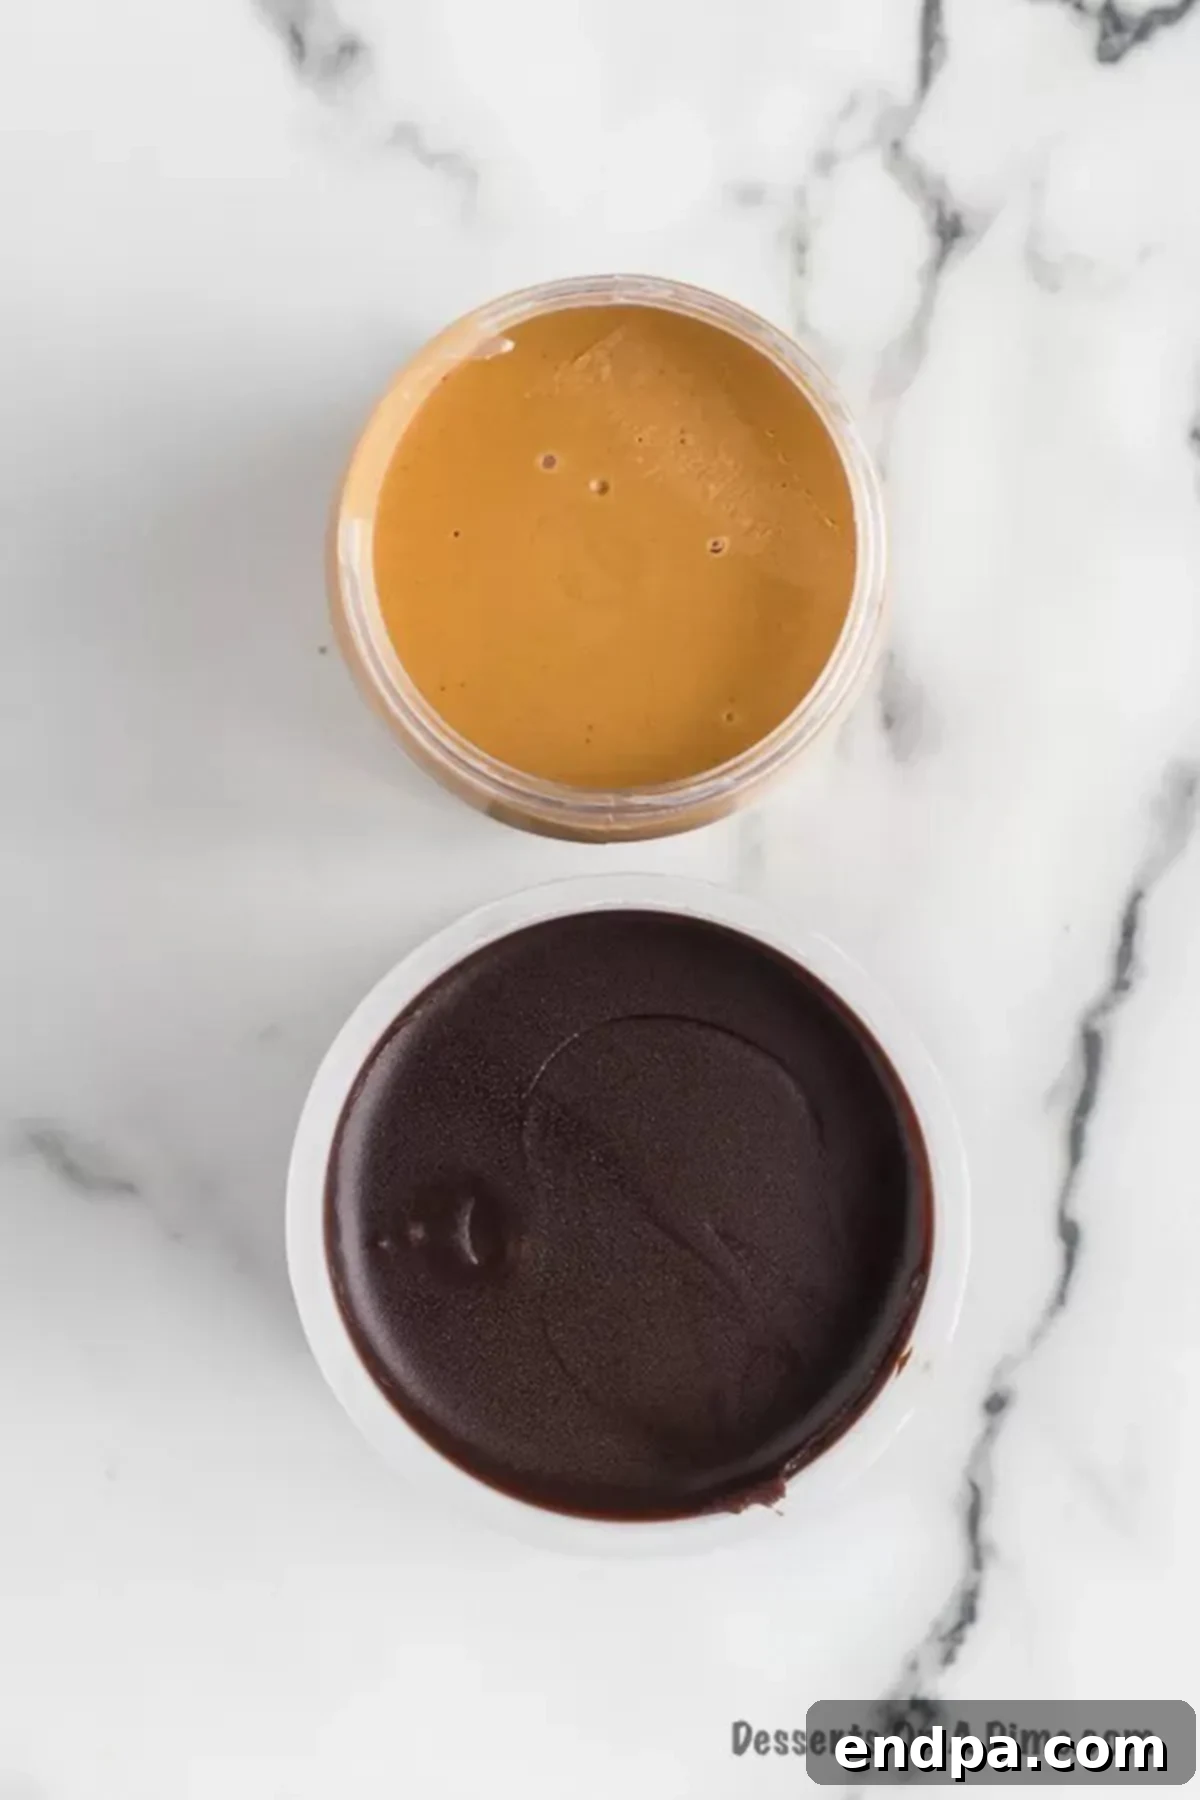
The magic of this recipe lies in its incredibly short ingredient list. You only need two items, but choosing the right kind will make all the difference in achieving that perfect fudge texture and flavor.
- Creamy Peanut Butter (16 oz jar): For the smoothest, most cohesive fudge, opt for creamy, processed peanut butter (like Jif or Skippy). Natural peanut butters, which often separate oil, can result in a greasier or more crumbly texture. The stable emulsion in processed creamy peanut butter ensures a consistently smooth blend with the frosting, contributing significantly to the fudge’s luxurious mouthfeel.
- Chocolate Frosting (16 oz jar): The key here is to use a traditional, pre-made chocolate frosting in a tub, not a whipped variety. Whipped frostings contain more air and will not yield the dense, rich consistency required for fudge. Look for a standard chocolate fudge or milk chocolate frosting. The frosting acts as both the sweetener and the primary chocolate component, and its pre-stabilized nature eliminates the need for cooking sugars to precise temperatures.
While the full instructions and ingredient list are provided in the recipe card below, understanding these foundational ingredient choices will set you up for success in creating this delightful chocolate peanut butter fudge.
Essential Kitchen Equipment
One of the many benefits of this simple fudge recipe is that it requires very little specialized equipment. Most of these items are likely already in your kitchen, making preparation even easier.
- Microwave-Safe Bowl: A medium to large bowl suitable for heating in the microwave. Glass or ceramic bowls work best.
- Spatula or Sturdy Spoon: For thoroughly mixing the ingredients until smooth.
- 9×9 Inch Square Baking Pan: A standard baking dish is perfect for setting the fudge. A glass or metal pan will work equally well.
- Parchment Paper or Aluminum Foil: Essential for lining your baking pan, which makes removing and cutting the fudge incredibly easy and mess-free.
- Cooking Spray: A light spray over the parchment paper or foil ensures absolutely no sticking.
- Sharp Knife (Plastic Recommended): While any sharp knife works, a plastic knife often yields cleaner cuts without dragging the fudge, especially if wiped between slices.
Unleash Your Creativity: Delicious Variations
While the classic 2-ingredient chocolate peanut butter fudge is perfect as is, it also serves as a fantastic base for experimentation. Here are some exciting ways to customize your fudge and create new flavor experiences:
- Alternative Nut Butters: For those with a peanut allergy or simply looking for a different flavor profile, creamy almond butter or cashew butter can be substituted for peanut butter. The texture may vary slightly, but the method remains the same, offering a delightful twist.
- Crunchy Peanut Butter for Texture: If you enjoy a textural contrast in your sweets, swap creamy peanut butter for crunchy peanut butter. This will introduce delightful pockets of peanut pieces throughout the fudge, giving it a satisfying bite and a more rustic feel.
- Vanilla Peanut Butter Fudge: Transform this recipe into a pure peanut butter delight by substituting vanilla frosting for the chocolate frosting. This variation highlights the rich, nutty flavor of peanut butter beautifully and is incredibly delicious in its own right.
- Add Your Favorite Nuts: Enhance the nutty flavor and add a pleasant crunch by mixing in chopped walnuts or pecans to the fudge mixture before it sets. You can stir them directly into the melted mixture or sprinkle them generously on top for a visually appealing finish.
- Fun Mix-ins: The possibilities are endless when it comes to mix-ins! Consider adding mini M&M’s for a pop of color and chocolate, Reese’s Pieces for an extra burst of peanut butter candy flavor, mini marshmallows for a softer bite, or peanut butter chips to intensify the peanut butter experience.
- A Hint of Extract: For an added layer of flavor complexity, stir in 1 teaspoon of vanilla extract, almond extract, or even a touch of coffee extract (for a mocha twist) to the melted fudge mixture.
- Decorative Toppings: Elevate the visual appeal by sprinkling the top of the fudge with various toppings before it hardens. Sprinkles are fantastic for festive occasions like birthdays or holidays. Chopped nuts, a drizzle of melted chocolate, or even a light dusting of sea salt can add gourmet flair.
- Play with Shapes: Instead of traditional squares, use small cookie cutters to create fun shapes once the fudge has hardened slightly but is still pliable. Hearts for Valentine’s Day, stars for patriotic holidays, or Christmas trees for the winter season can make your fudge extra special and memorable.
Crafting Your Fudge: Step-by-Step Guide
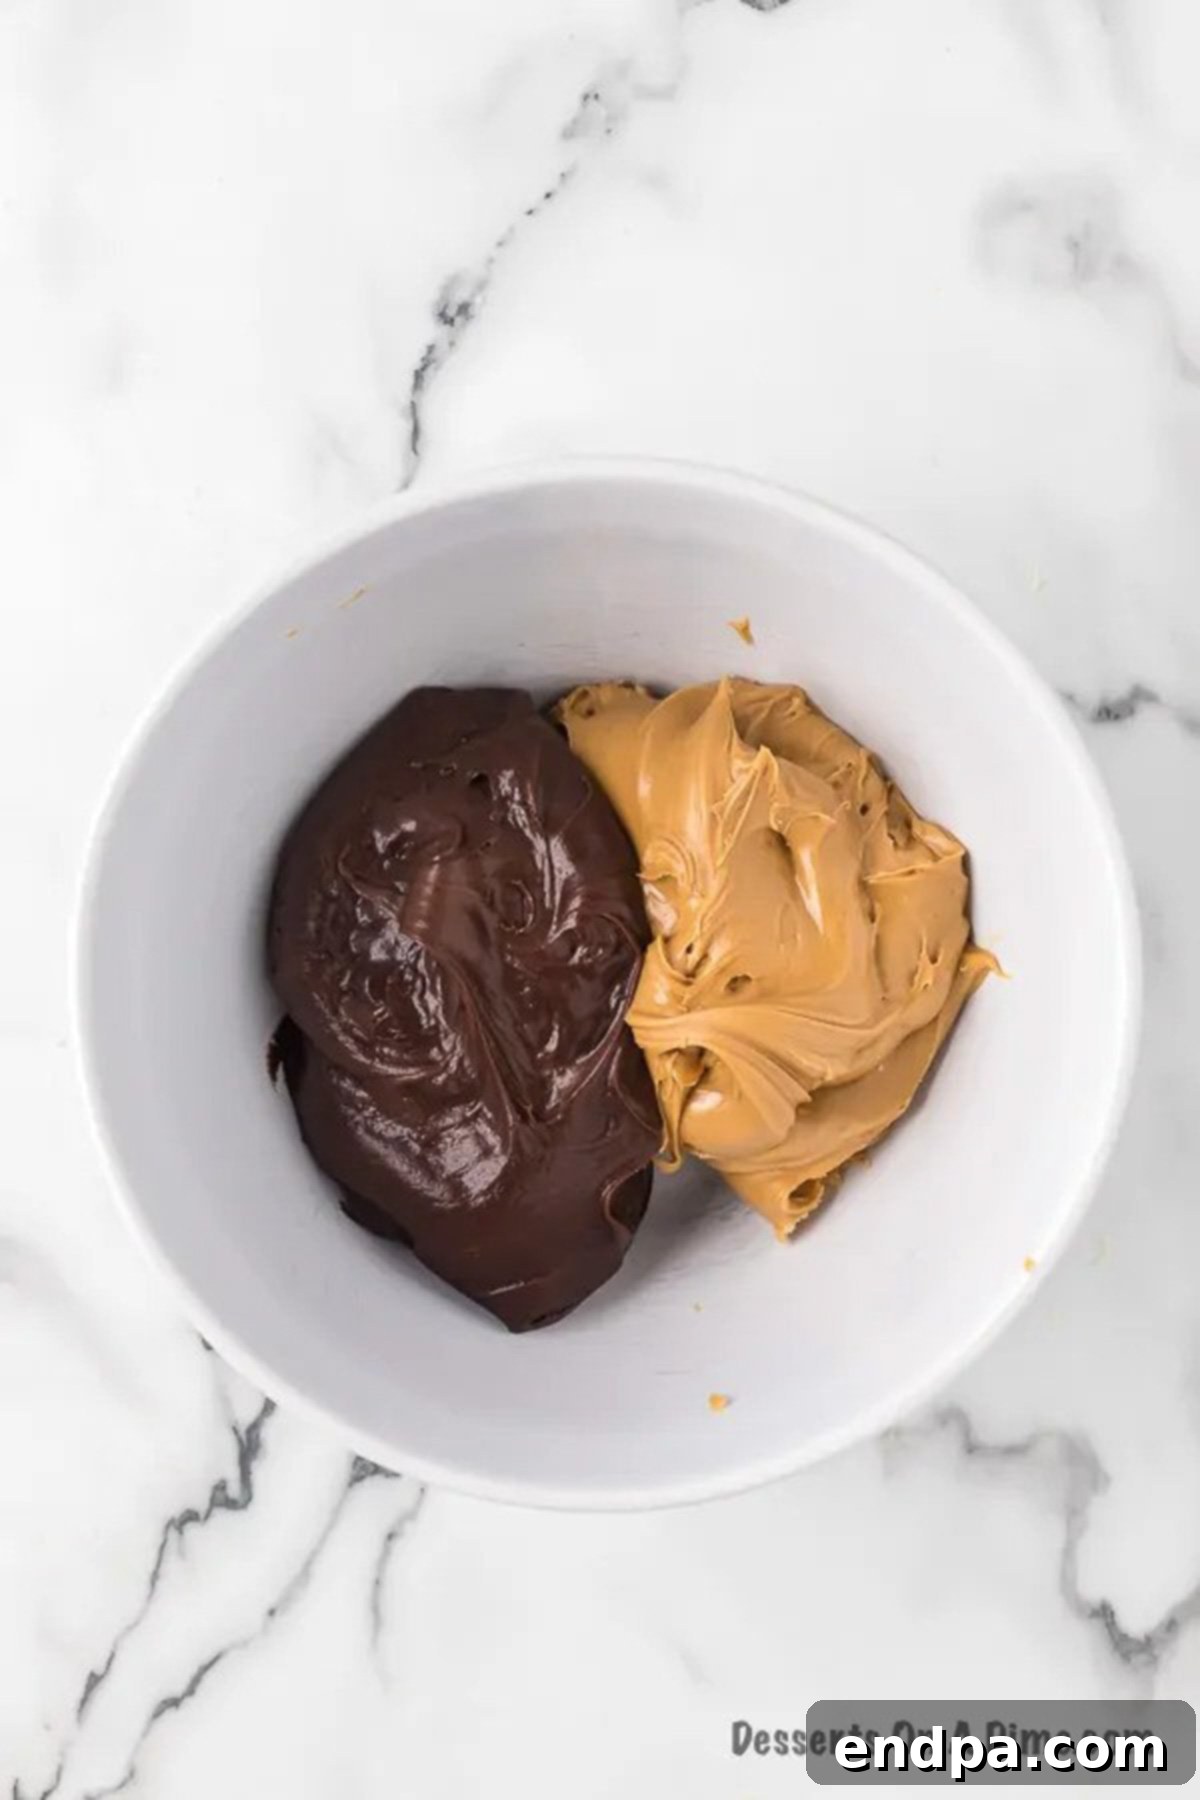
Step 1: Combine and Heat. Begin by selecting a generously sized, microwave-safe bowl. Carefully scoop the entire jar of creamy peanut butter and the entire jar of traditional chocolate frosting into the bowl. Place the bowl into your microwave and heat on high for exactly one minute. This initial heating will begin to soften the ingredients, making them easier to combine.
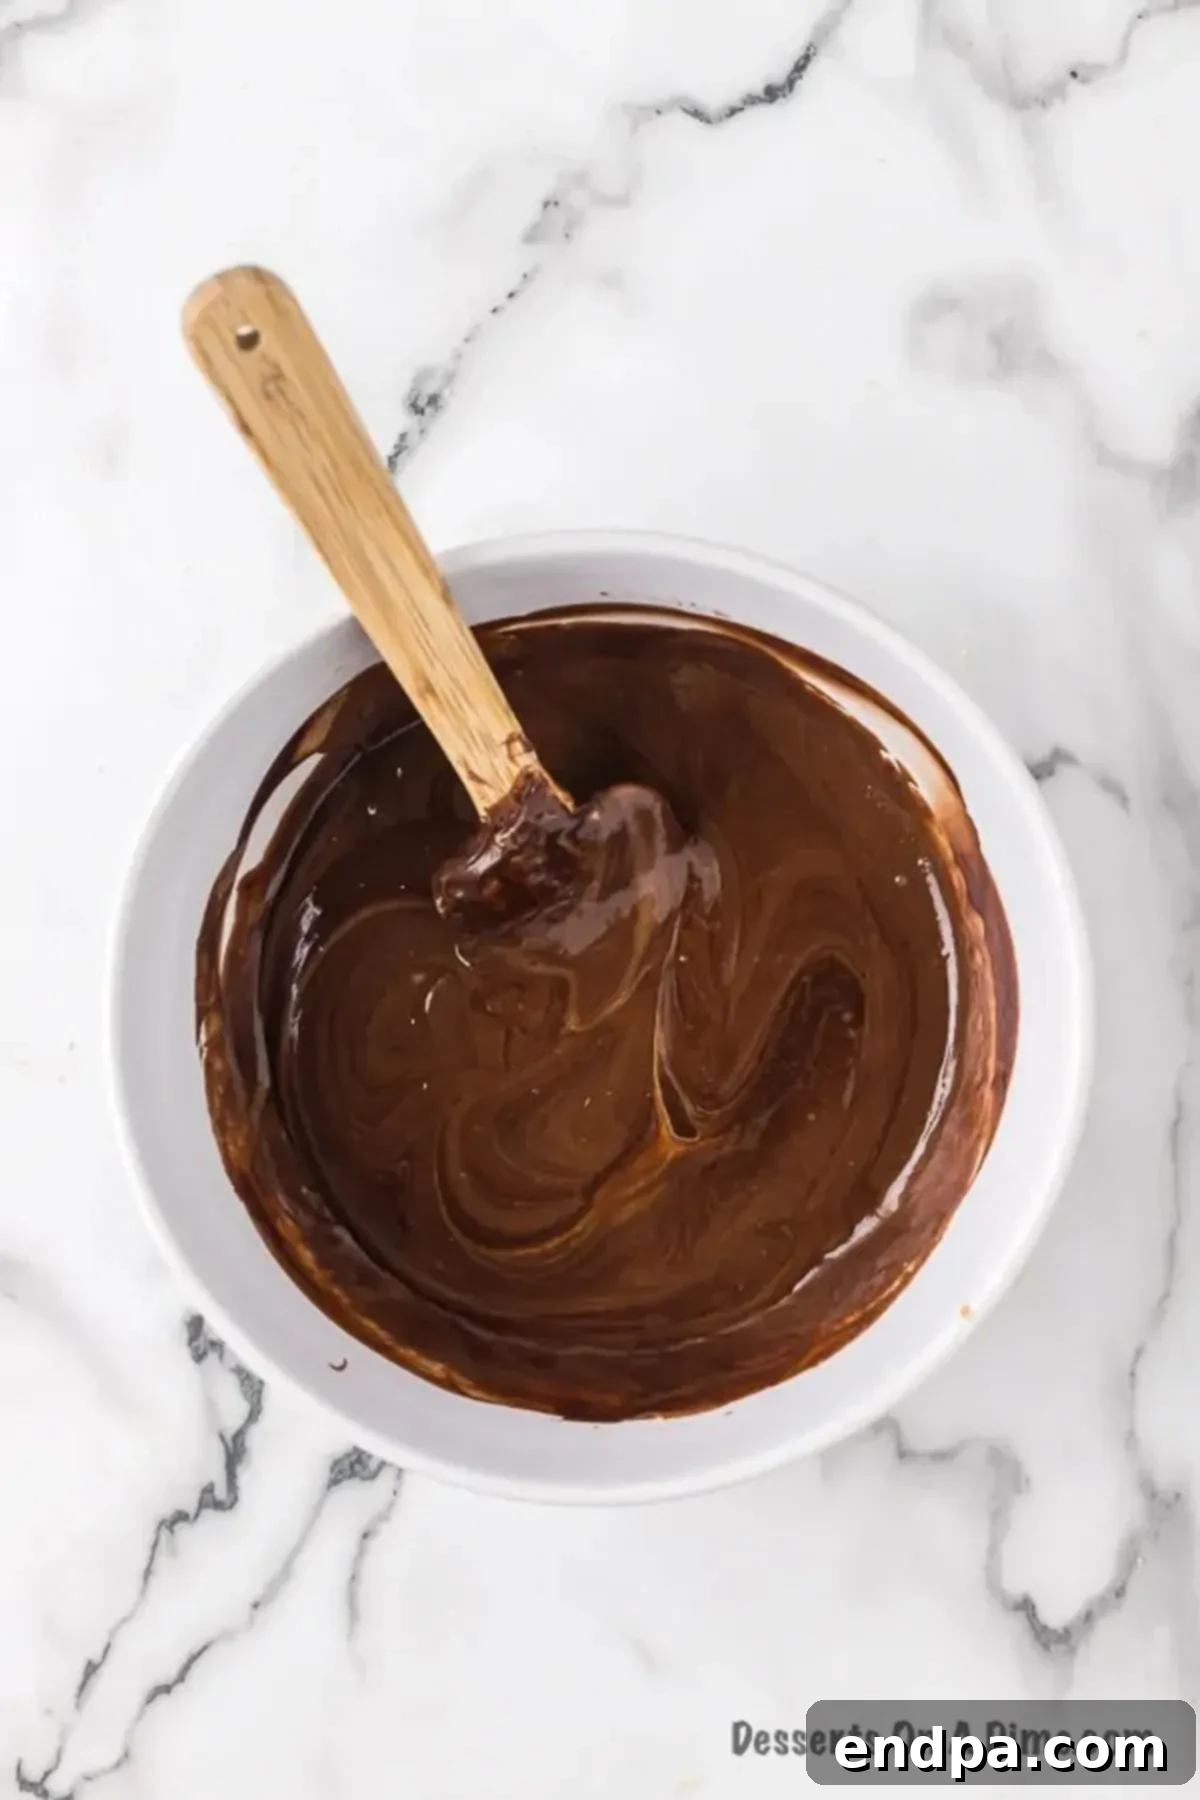
Step 2: Stir Until Silky Smooth. Immediately after the first minute of heating, remove the bowl from the microwave. Using a sturdy spatula or spoon, stir the mixture vigorously. You’ll notice the peanut butter and frosting beginning to melt and combine. Return the bowl to the microwave for another minute. After this second heating, continue to stir until the mixture is completely smooth, glossy, and thoroughly combined, with no streaks of unmixed ingredients remaining. The consistency should be thick but pourable.
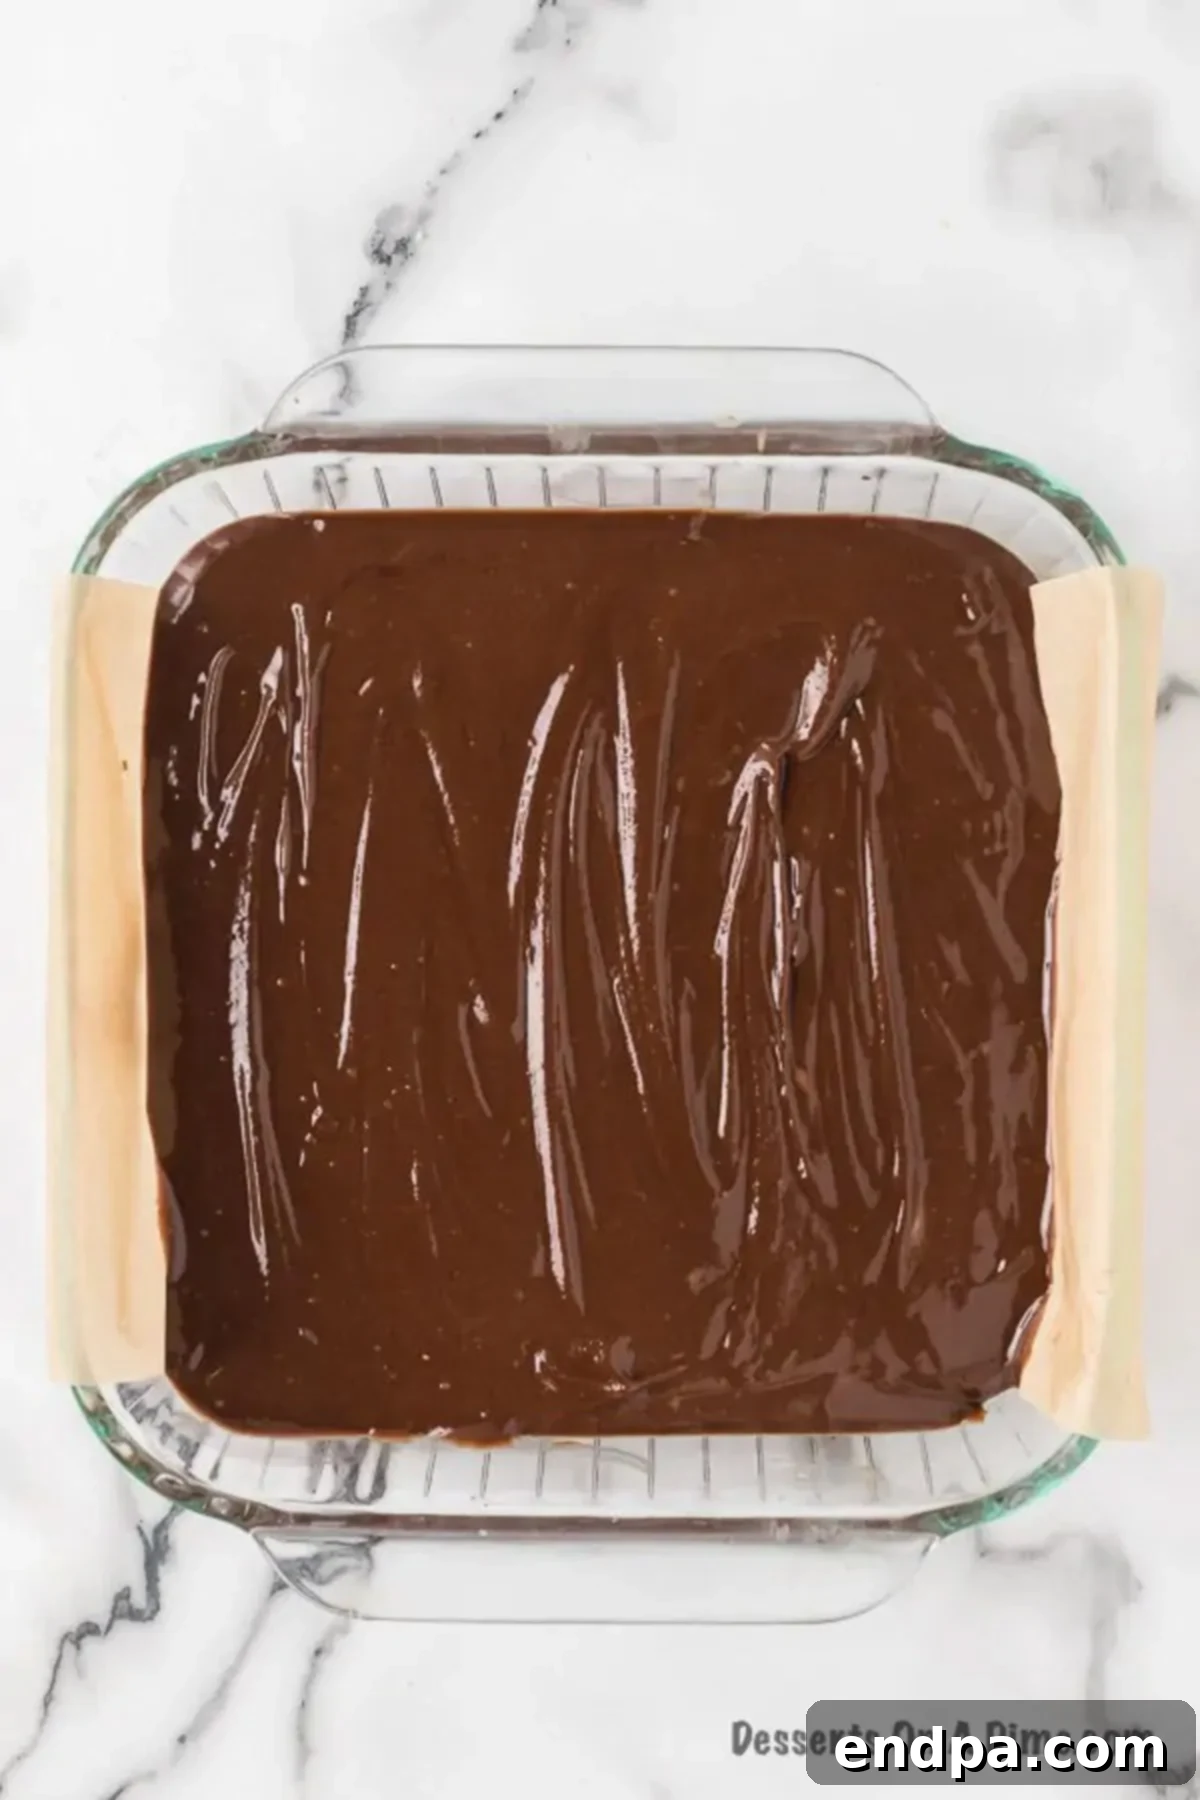
Step 3: Prepare the Pan and Pour. Before you start melting, prepare your 9×9 inch baking dish. Line the pan with either parchment paper or aluminum foil, making sure to leave an overhang on the sides. This overhang will act as handles, allowing you to easily lift the hardened fudge out of the pan. For extra insurance against sticking, lightly spray the lined pan with cooking spray. Once your fudge mixture is smooth, carefully pour it into the prepared baking dish.
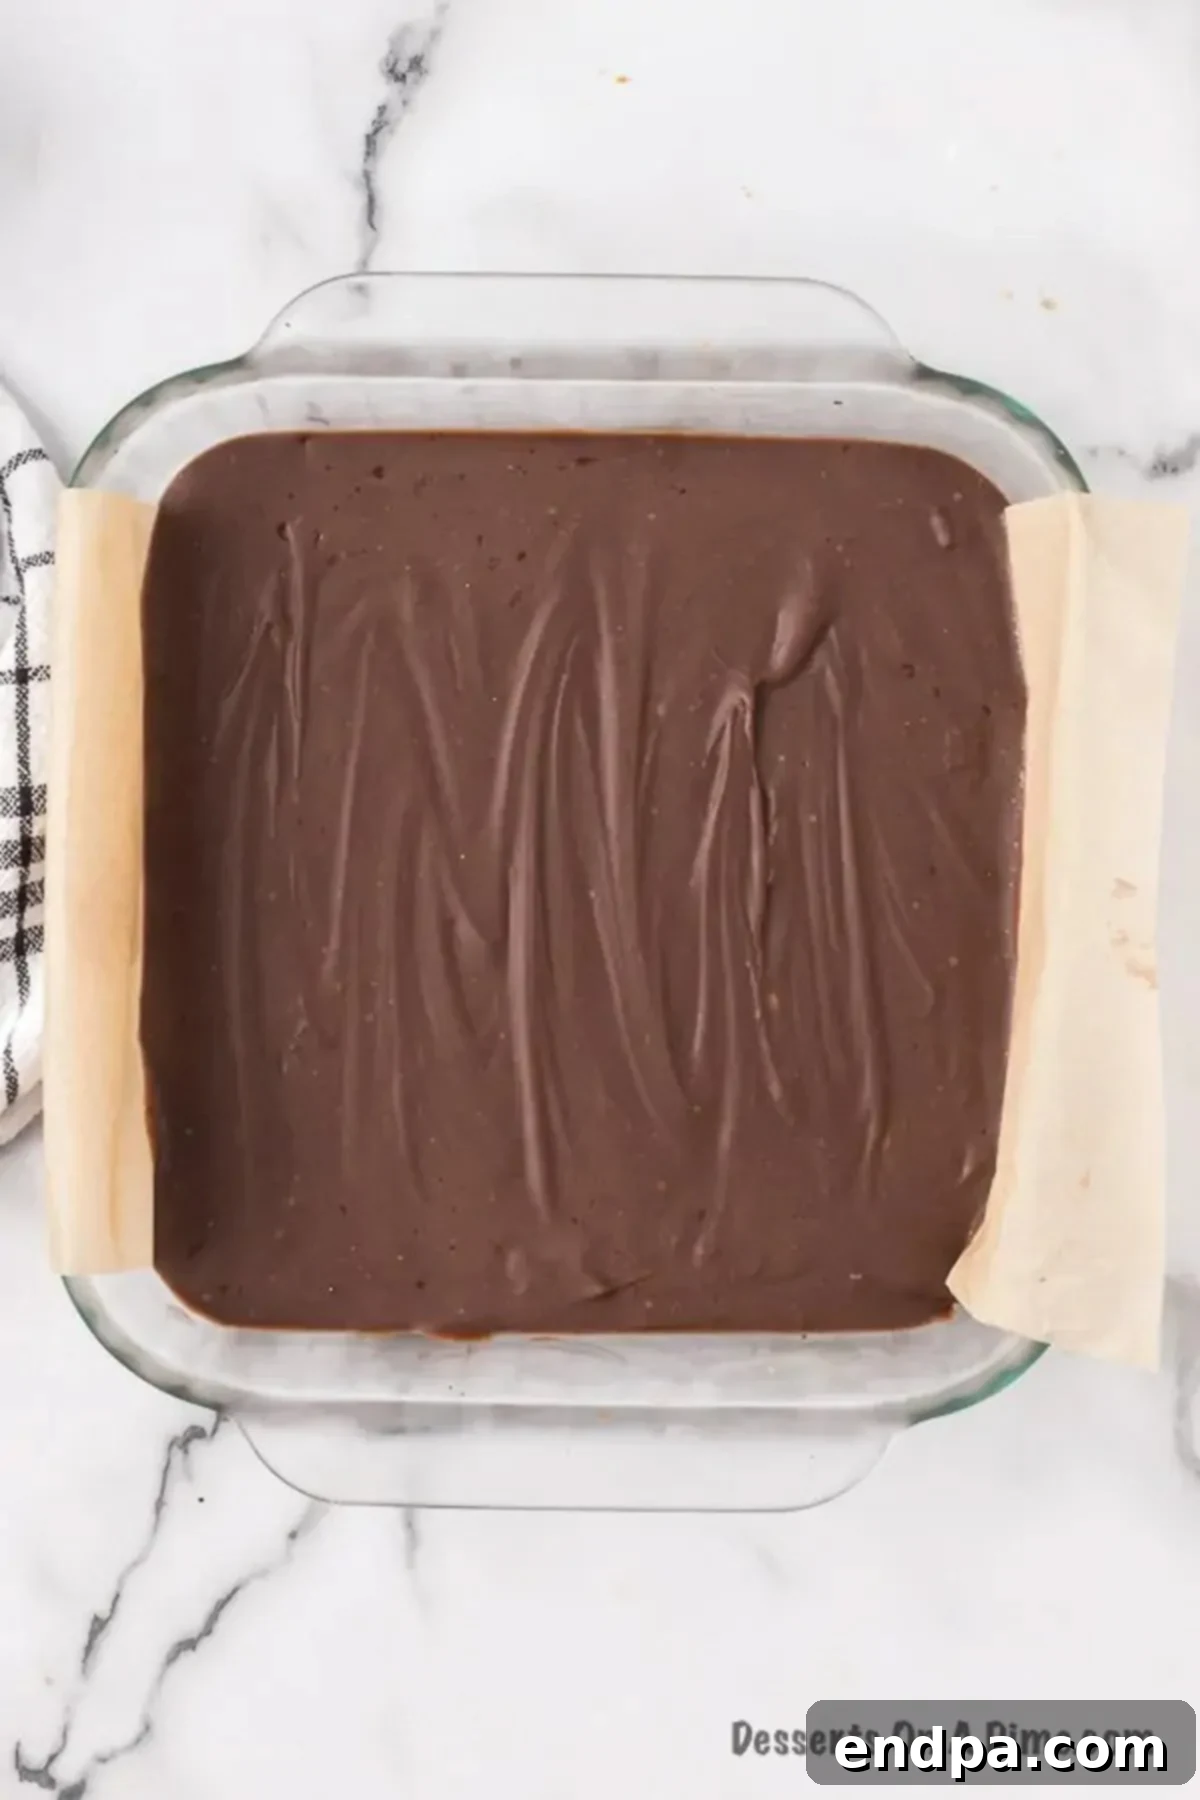
Step 4: Smooth and Chill to Perfection. After pouring the fudge mixture into the pan, use your spatula to gently spread and smooth the top evenly across the entire surface. Once the fudge is smooth, place the baking pan into the refrigerator. Allow it to chill undisturbed until it is completely firm and hardened. This typically takes about one hour, but it can vary depending on your refrigerator’s temperature. Once solid, use the parchment paper or foil overhang to lift the fudge block out of the pan, place it on a cutting board, and slice into your desired serving sizes.
Proper Storage for Lasting Freshness
To ensure your delicious chocolate peanut butter fudge stays fresh and retains its perfect texture, proper storage is key. Here’s how to keep your homemade treat at its best:
- Airtight Container: Always store your fudge in an airtight container. This is crucial for preventing it from drying out, absorbing odors from other foods, or becoming stale. A good seal will lock in its moisture and flavor.
- Room Temperature Storage: For immediate enjoyment or short-term storage, fudge can be kept at cool room temperature (around 68-72°F or 20-22°C) for up to one week. Place it in an airtight container on your countertop, away from direct sunlight or heat sources.
- Refrigeration for Extended Freshness: If you need to store the fudge for a longer period, refrigeration is recommended. Stored in an airtight container in the refrigerator, it will stay fresh and firm for up to two weeks. The colder temperature will make the fudge firmer, so consider the serving tips below.
- Freezing for Long-Term Enjoyment: Fudge freezes exceptionally well, allowing you to make large batches ahead of time. To freeze, first wrap the individual squares or entire block of fudge tightly in plastic wrap, then an additional layer of aluminum foil. Place the well-wrapped fudge in a freezer-safe container or heavy-duty freezer bag. It can be stored in the freezer for up to three months. When ready to enjoy, simply thaw the fudge at room temperature for several hours before serving to restore its optimal texture.
Mastering Fudge: Expert Tips for Success
Achieving perfect fudge every time is simple with a few insider tricks. These pro tips will help you get the most out of your 2-ingredient chocolate peanut butter fudge, ensuring ideal texture and presentation:
- Achieve Firmer Fudge: If you prefer a particularly firm fudge, or if you live in a warmer climate where fudge tends to soften quickly, place the hardened fudge in the freezer for 30 minutes just before serving. This will make it extra firm and easier to handle.
- Serve at Room Temperature for Best Flavor: While refrigeration helps with storage, fudge truly shines at room temperature. The flavors are more pronounced, and the texture becomes wonderfully creamy and melt-in-your-mouth. Remove the fudge from the refrigerator about 15-30 minutes before you plan to serve it.
- Patience is Key: Allow Fudge to Fully Set: Resist the urge to cut into your fudge too early! It’s crucial to let the fudge fully set and harden in the refrigerator (for at least an hour, or until completely firm) before attempting to slice it. Cutting too soon can result in a messy, uneven texture and sticky squares.
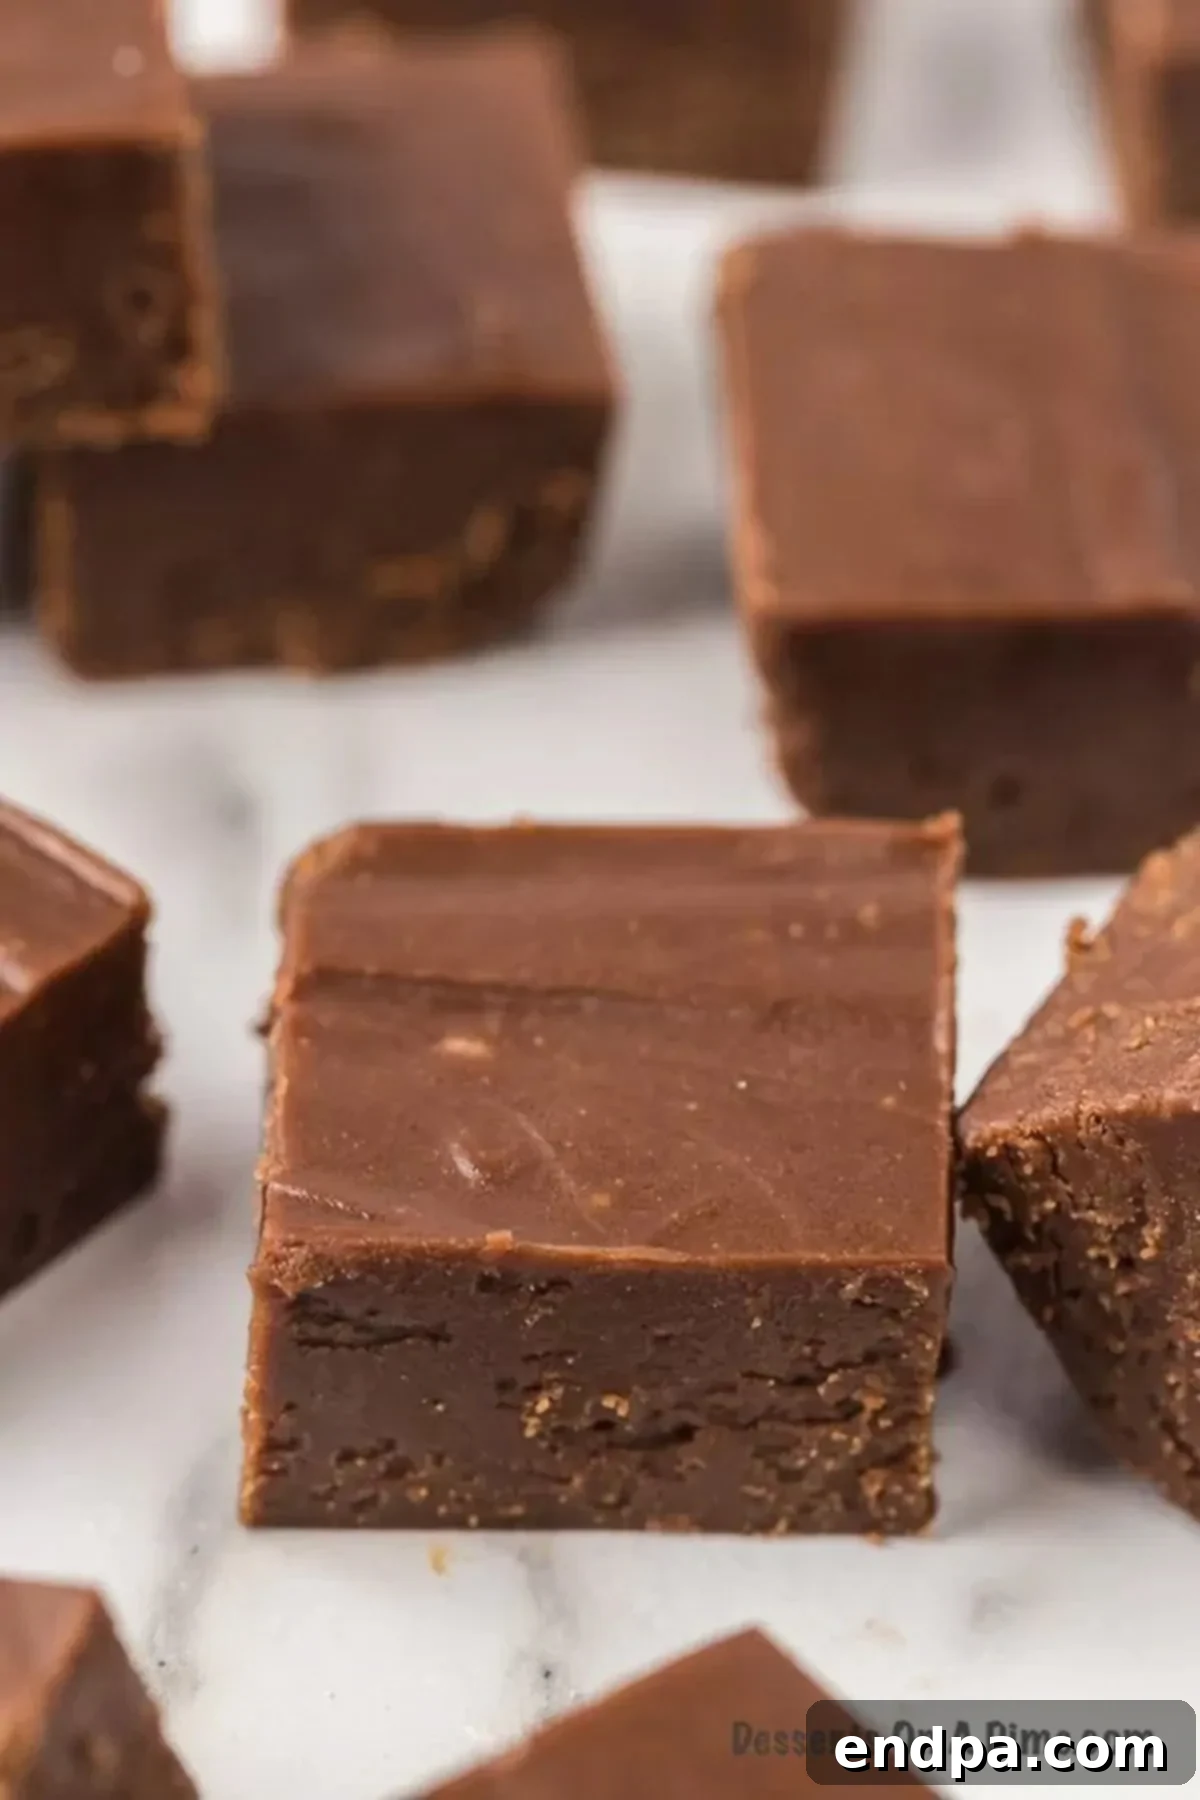
- The Secret to Clean Cuts: Use a Plastic Knife: For impeccably clean edges and perfectly defined squares, try using a plastic knife instead of a metal one. The plastic glides through the fudge more smoothly, reducing sticking and crumbling. For even neater slices, wipe the knife clean with a damp cloth after each cut.
- Mind Your Portions: Adjust Serving Size: This fudge is incredibly rich and sweet, so a little goes a long way. Consider cutting it into smaller, bite-sized portions (e.g., 1-inch squares) to allow everyone to enjoy a taste without feeling overwhelmed. Smaller pieces are also great for sharing and gifting.
- Don’t Overheat: When melting the peanut butter and frosting, adhere to the recommended microwave times. Overheating can sometimes cause the mixture to become grainy or seize up. If it’s not fully smooth after the second minute, stir well and microwave in 15-second increments, stirring after each, until just combined.
- Line the Pan Perfectly: Ensure your parchment paper or foil covers the bottom and goes up the sides of your baking pan. Leaving an overhang is essential for easily lifting the entire block of fudge out once it’s set, preventing any struggles or damage to your perfect squares.
Frequently Asked Questions (FAQ)
Here are answers to some common questions you might have about making this delicious chocolate peanut butter fudge:
- Can I use natural peanut butter?
While technically possible, natural peanut butter, especially the kind that separates, is not recommended for this recipe. It often results in a greasier fudge with a more crumbly texture due to the oil separation. Creamy, processed peanut butter (like Jif or Skippy) works best for a smooth, consistent result.
- What if my fudge doesn’t harden?
If your fudge isn’t hardening, it likely needs more time in the refrigerator. Ensure your fridge is cold enough and give it at least 1-2 hours, or even longer if necessary. Make sure you used traditional frosting and not whipped, as whipped frosting has too much air and won’t set properly.
- Can I make this fudge on the stovetop?
Yes, you can! Combine the peanut butter and chocolate frosting in a saucepan over low heat. Stir constantly until the mixture is fully melted and smooth. Be careful not to scorch it. Once smooth, proceed with pouring it into the prepared pan and chilling.
- How do I get clean cuts?
The best way to get clean cuts is to ensure the fudge is completely cold and firm. Use a sharp, thin knife (a plastic knife often works wonders). For professional-looking squares, wipe your knife clean with a warm, damp cloth after each cut to prevent sticking and dragging.
- Can I use a different flavor frosting?
Absolutely! Using vanilla frosting will give you a delicious peanut butter fudge. You can also experiment with cream cheese frosting for a tangy twist, or even mint frosting for a seasonal flavor. Just ensure it’s a traditional, not whipped, frosting.
Beyond Chocolate Peanut Butter: More Easy Fudge Recipes
If you’ve fallen in love with the simplicity and deliciousness of this 2-ingredient fudge, you’ll be thrilled to discover the many other easy fudge recipes available. Expand your repertoire and try these delightful variations:
- Vanilla Fudge Recipe
- Oreo Fudge Recipe
- Peanut Butter Chocolate Chip Fudge
- Peppermint Fudge Recipe
- Maple Fudge
Don’t hesitate any longer – make this incredibly easy and decadent chocolate peanut butter fudge recipe today! You’ll be amazed at how quickly you can create such a rich and satisfying treat. Once you’ve tried it, please remember to leave a star recipe rating and share your comments below. Your feedback helps others discover the joy of this simple indulgence!
Chocolate Peanut Butter Fudge
10 minutes
1 hour
1 hour
10 minutes
24
American
Dessert
186
Carrie Barnard
Ingredients
-
1
jar
peanut butter (16 oz.) -
1
jar
chocolate frosting (16 oz.)
Instructions
- In a microwave safe bowl, melt the peanut butter and frosting together for one minute.
- Stir and heat for one more minute.
- Pour mixture into a prepared 9×9 glass baking pan. (I like to line my baking pan with foil or parchment paper)
- Smooth, then refrigerate fudge until hard.
- It will take About an hour.
- Remove from pan, and cut into bite size pieces
Nutrition Facts
Calories
186
kcal
,
Carbohydrates
16
g
,
Protein
5
g
,
Fat
13
g
,
Saturated Fat
3
g
,
Polyunsaturated Fat
3
g
,
Monounsaturated Fat
6
g
,
Sodium
121
mg
,
Potassium
160
mg
,
Fiber
1
g
,
Sugar
13
g
,
Vitamin A
1
IU
,
Calcium
10
mg
,
Iron
1
mg
Pin This Now to Remember It Later
Pin Recipe
