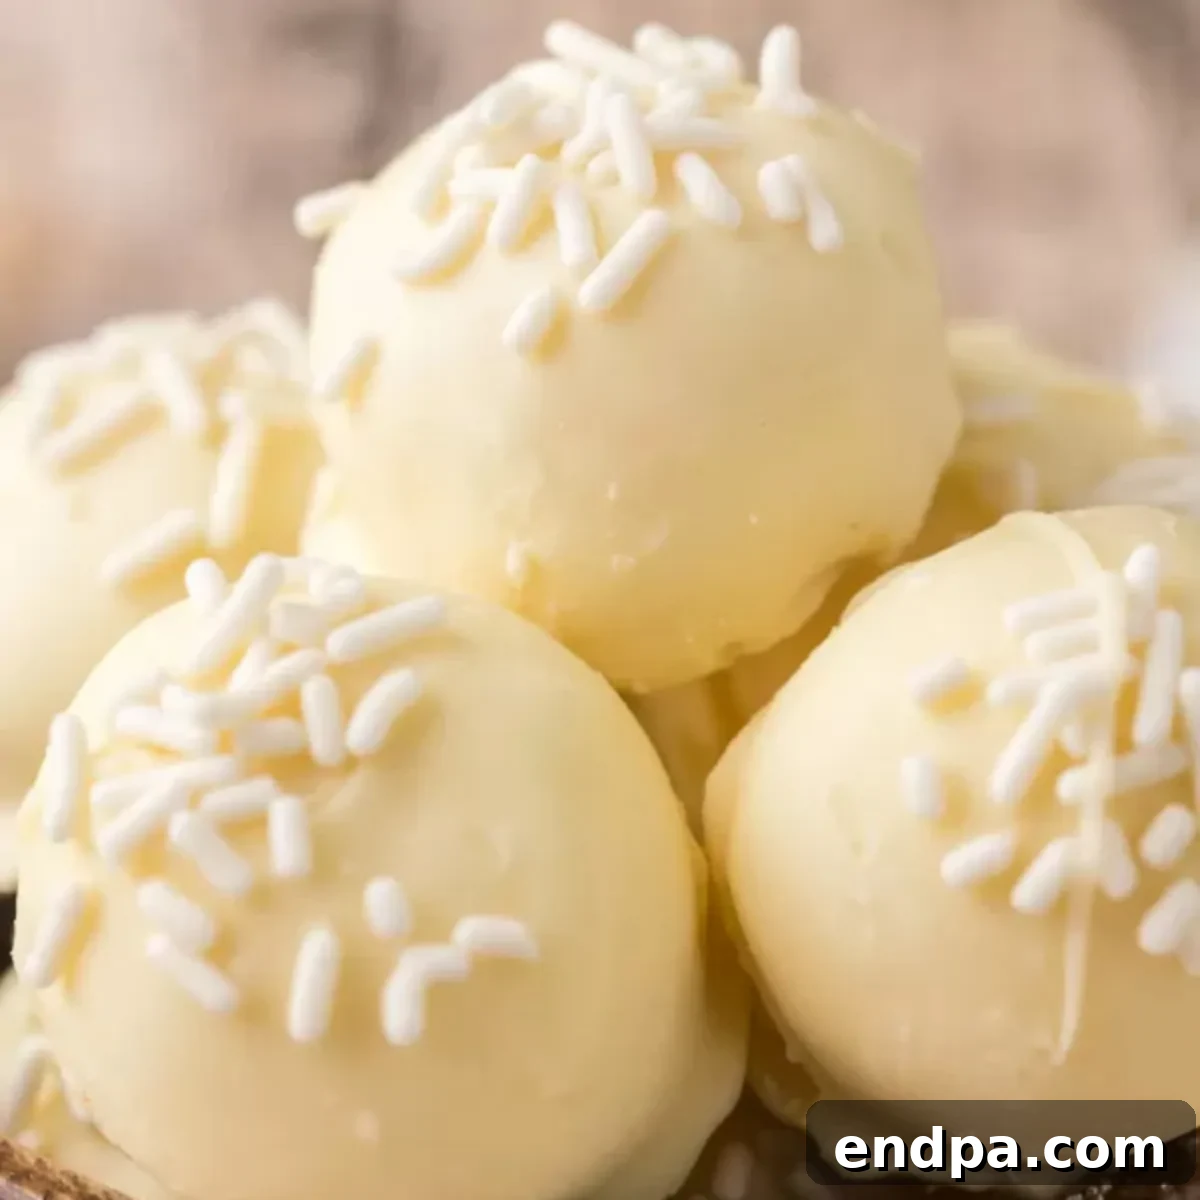
Indulge in the exquisite simplicity of homemade White Chocolate Truffles. This remarkable recipe calls for just four basic ingredients, yet it delivers a truly luxurious and unforgettable treat. Each bite offers a creamy, smooth texture that melts in your mouth, making them an ideal dessert for any occasion, from casual gatherings to elegant celebrations. These truffles are not only delightfully decadent but also surprisingly easy to prepare, perfect for novice and experienced home bakers alike.
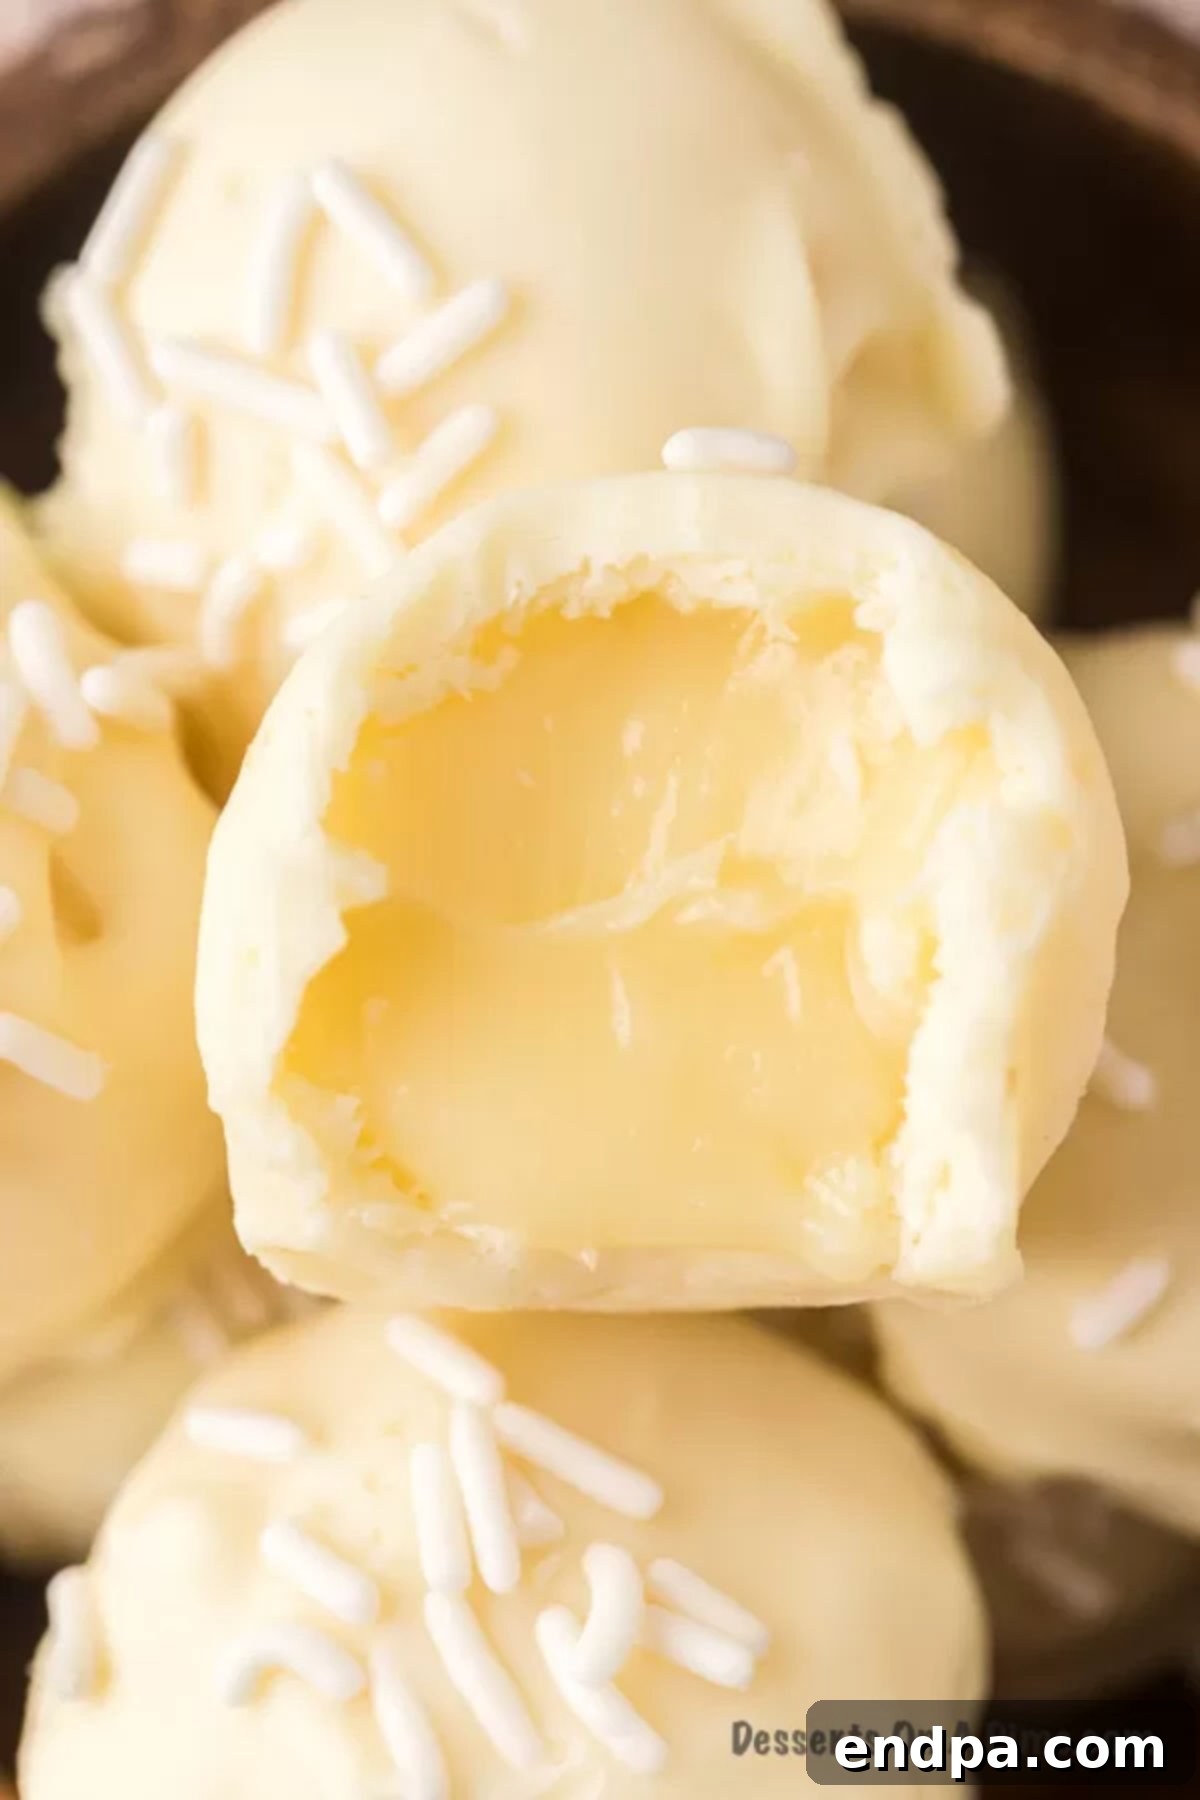
The allure of white chocolate truffles lies in their rich, buttery flavor and velvety consistency. It’s almost unbelievable that such a gourmet-quality confection can be achieved with so few components, one of which is simply decorative sprinkles! Beyond being a fantastic personal indulgence, these truffles make a thoughtful and impressive gift for friends, family, or hosts. Packaged beautifully, they convey elegance and homemade charm.
Looking for more effortless dessert ideas? This recipe is a fantastic no-bake dessert, making it ideal for when you want a delightful treat without turning on the oven. If you enjoy the truffle experience, be sure to explore our other popular variations like the delightful Sugar Cookie Truffle Recipe, the zesty Lemon Truffles, and the fruity Strawberry Truffles. For more white chocolate inspiration, don’t miss our creamy White Chocolate Fondue and the irresistible White Chocolate Covered Oreos.
Table of Contents
- Why We Love This Recipe
- Essential Ingredients
- Delicious Variations to Try
- How to Make White Chocolate Truffles: A Step-by-Step Guide
- Tips for Perfect Truffles Every Time
- Proper Storage for Freshness
- Frequently Asked Questions
- More Irresistible Easy Desserts to Explore
Why We Love This Recipe
There are countless reasons to fall in love with these simple yet sophisticated white chocolate truffles. They quickly become a go-to for many home cooks and dessert enthusiasts:
- Minimal Ingredients: With a mere four components, this recipe minimizes shopping and simplifies the process. It proves that you don’t need a lengthy ingredient list to create something truly spectacular.
- Unmistakably Rich and Delicious: The combination of quality white chocolate, rich cream, and butter creates a ganache base that is incredibly smooth, creamy, and packed with decadent flavor. It’s a taste experience that truly satisfies.
- Effortless Instructions: Forget complicated techniques or specialized equipment. The steps are straightforward and easy to follow, making this an accessible recipe for cooks of all skill levels. You’ll be amazed at how quickly you can create these gourmet-style treats.
- Versatile for Any Occasion: Whether you need an elegant dessert for a dinner party, a sweet bite for a holiday gathering, or a charming homemade gift, these truffles fit the bill perfectly. Their universally appealing flavor and beautiful appearance make them a crowd-pleaser every time.
- Customization Potential: As you’ll see in our variations section, these truffles serve as a fantastic canvas for your creativity, allowing you to easily adapt them to different tastes and seasons.
- No-Bake Convenience: Ideal for warm weather or when your oven is occupied, these truffles require no baking, making them a cool and convenient option for dessert.
Essential Ingredients
The secret to these sensational truffles lies in the quality of your ingredients. While the list is short, selecting good quality items will significantly elevate the final taste and texture.
- White Chocolate Baking Bars: Opt for high-quality white chocolate baking bars or blocks rather than white chocolate chips. Baking bars typically contain more cocoa butter and fewer stabilizers, allowing them to melt much more smoothly and create a superior ganache. Look for brands that list cocoa butter as a primary ingredient. You will need a total of 16 ounces, divided.
- Heavy Whipping Cream: This is a crucial element for the truffle’s creamy texture. Ensure you use full-fat heavy whipping cream (at least 36% milk fat) and that it is cold before you begin. The fat content is essential for achieving the right consistency and richness. You will need 1/3 cup plus 2 tablespoons.
- Unsalted Butter: Real butter adds a wonderful richness and helps create that luxurious mouthfeel. Using unsalted butter allows you to control the overall saltiness of your dessert. You will need 1 tablespoon.
- White Sprinkles (Optional): While optional, white sprinkles add a delightful visual appeal and a slight textural contrast, making your truffles look professionally finished. Feel free to get creative with other toppings!
For precise measurements and detailed instructions, refer to the full recipe card below.
Delicious Variations to Try
These white chocolate truffles are fantastic on their own, but they also serve as an excellent base for experimentation. Here are some exciting ways to customize your truffles:
- Dark or Milk Chocolate Truffles: Easily substitute the white chocolate with an equal amount of good quality dark chocolate or milk chocolate baking bars. The richness and flavor profile will change, offering a completely different but equally delicious experience. Adjust sweetness levels as desired.
- Nutty Crunch: Before the outer chocolate coating sets, roll the truffles in finely chopped nuts like pecans, walnuts, almonds, or pistachios. This adds a lovely crunch and a rich, earthy flavor that complements the sweet chocolate beautifully.
- Tropical Coconut Delight: For a tropical twist, sprinkle shredded coconut (toasted or untoasted) over the freshly dipped truffles. The texture and flavor of coconut pair wonderfully with white chocolate.
- Flavorful Extracts: Incorporate a few drops of food-grade extract into the truffle ganache after it’s removed from the heat. Vanilla bean paste, almond extract, peppermint extract, or orange extract can add a delightful aromatic dimension.
- Liqueur-Infused Truffles: For an adult treat, add a tablespoon or two of your favorite liqueur to the ganache mixture. Options include Grand Marnier (orange), Kahlua (coffee), Bailey’s Irish Cream, or various fruit brandies. Reduce the heavy cream slightly to maintain consistency if adding a significant amount of liquid.
- Colorful Coatings: Melt colored candy melts or use food coloring specifically designed for chocolate (oil-based) to tint your white chocolate coating. This is perfect for themed parties or holidays.
- Roll in Cocoa Powder: For a more classic truffle look and a hint of bitterness to balance the sweetness, skip the outer chocolate coating and roll the chilled ganache balls in unsweetened cocoa powder.
- Crushed Cookie Topping: Crush your favorite cookies (like Oreos, graham crackers, or shortbread) and roll the freshly dipped truffles in the crumbs for a textural and flavor boost.
How to Make White Chocolate Truffles: A Step-by-Step Guide
Creating these delightful white chocolate truffles is simpler than you might imagine. Follow these detailed steps for a perfect batch every time:
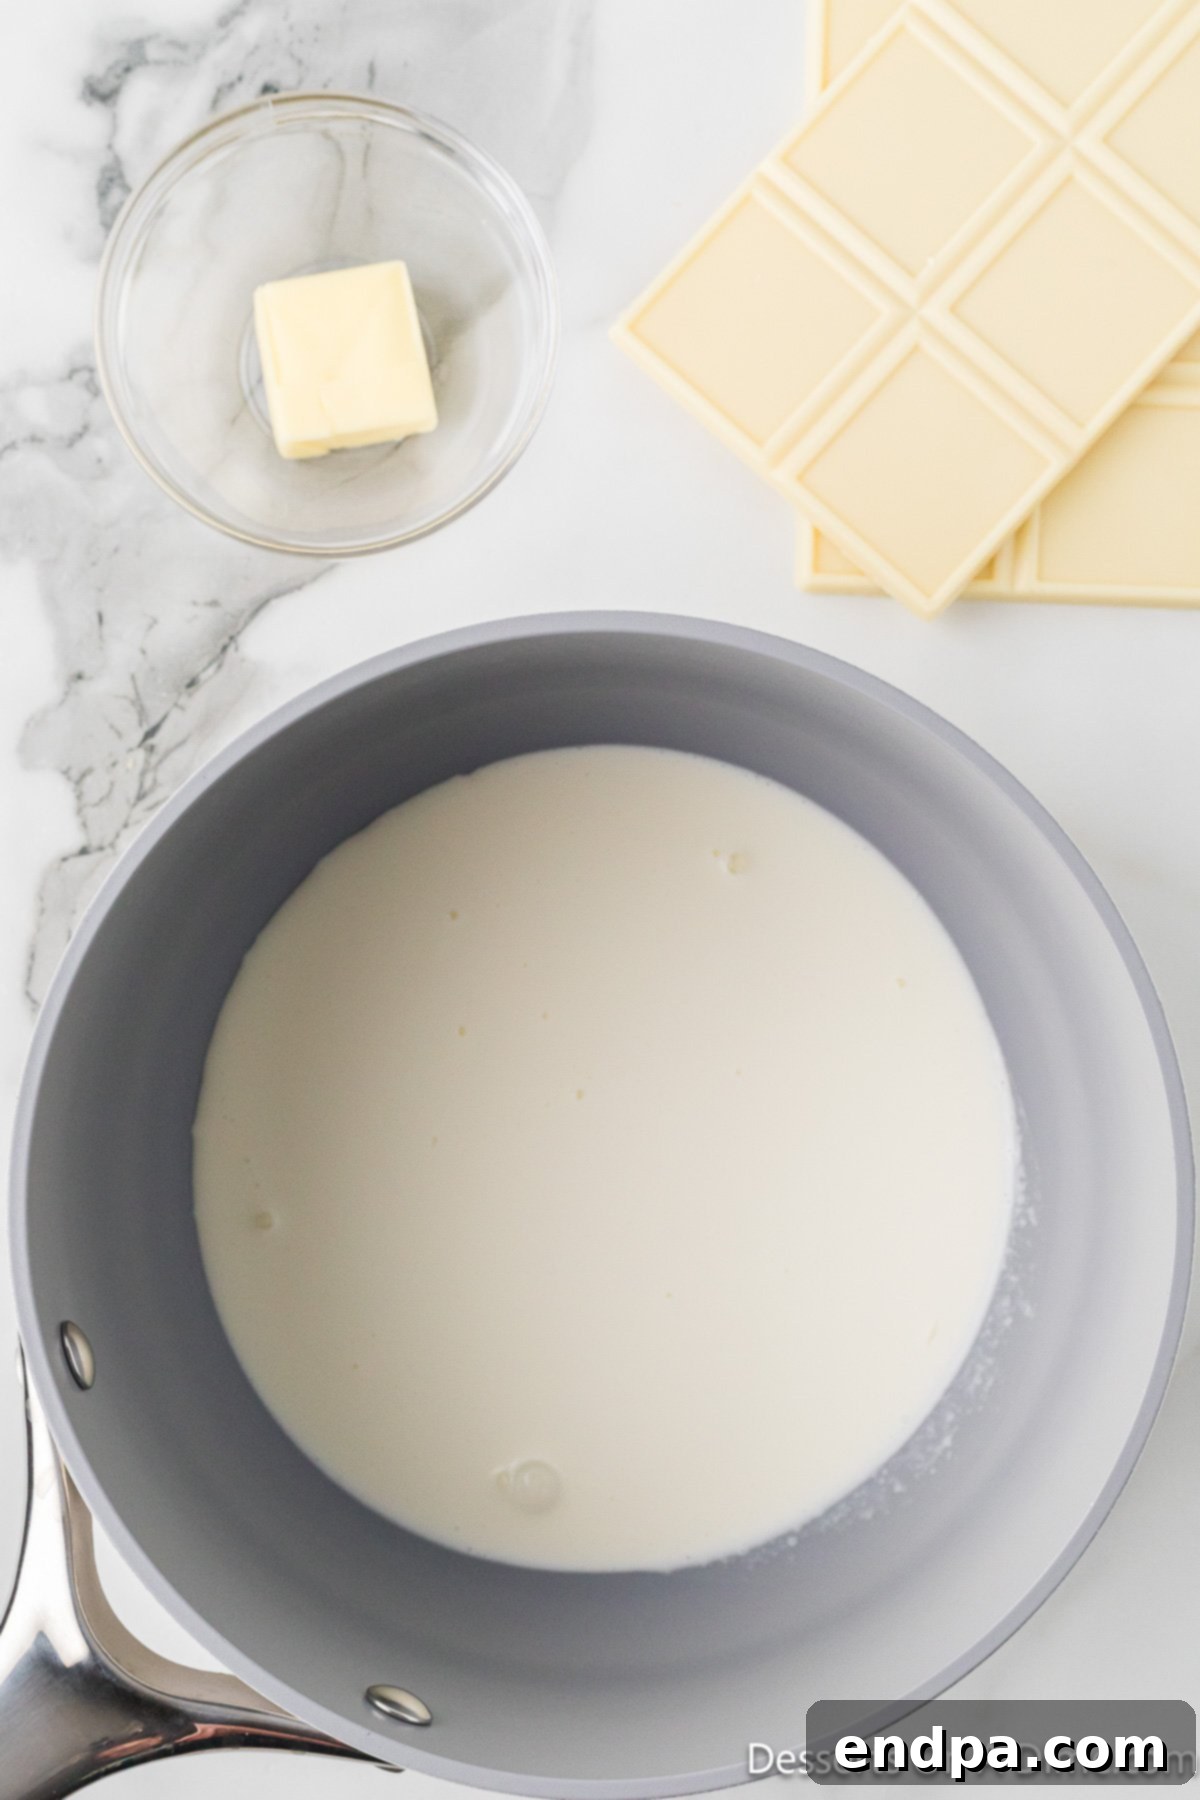
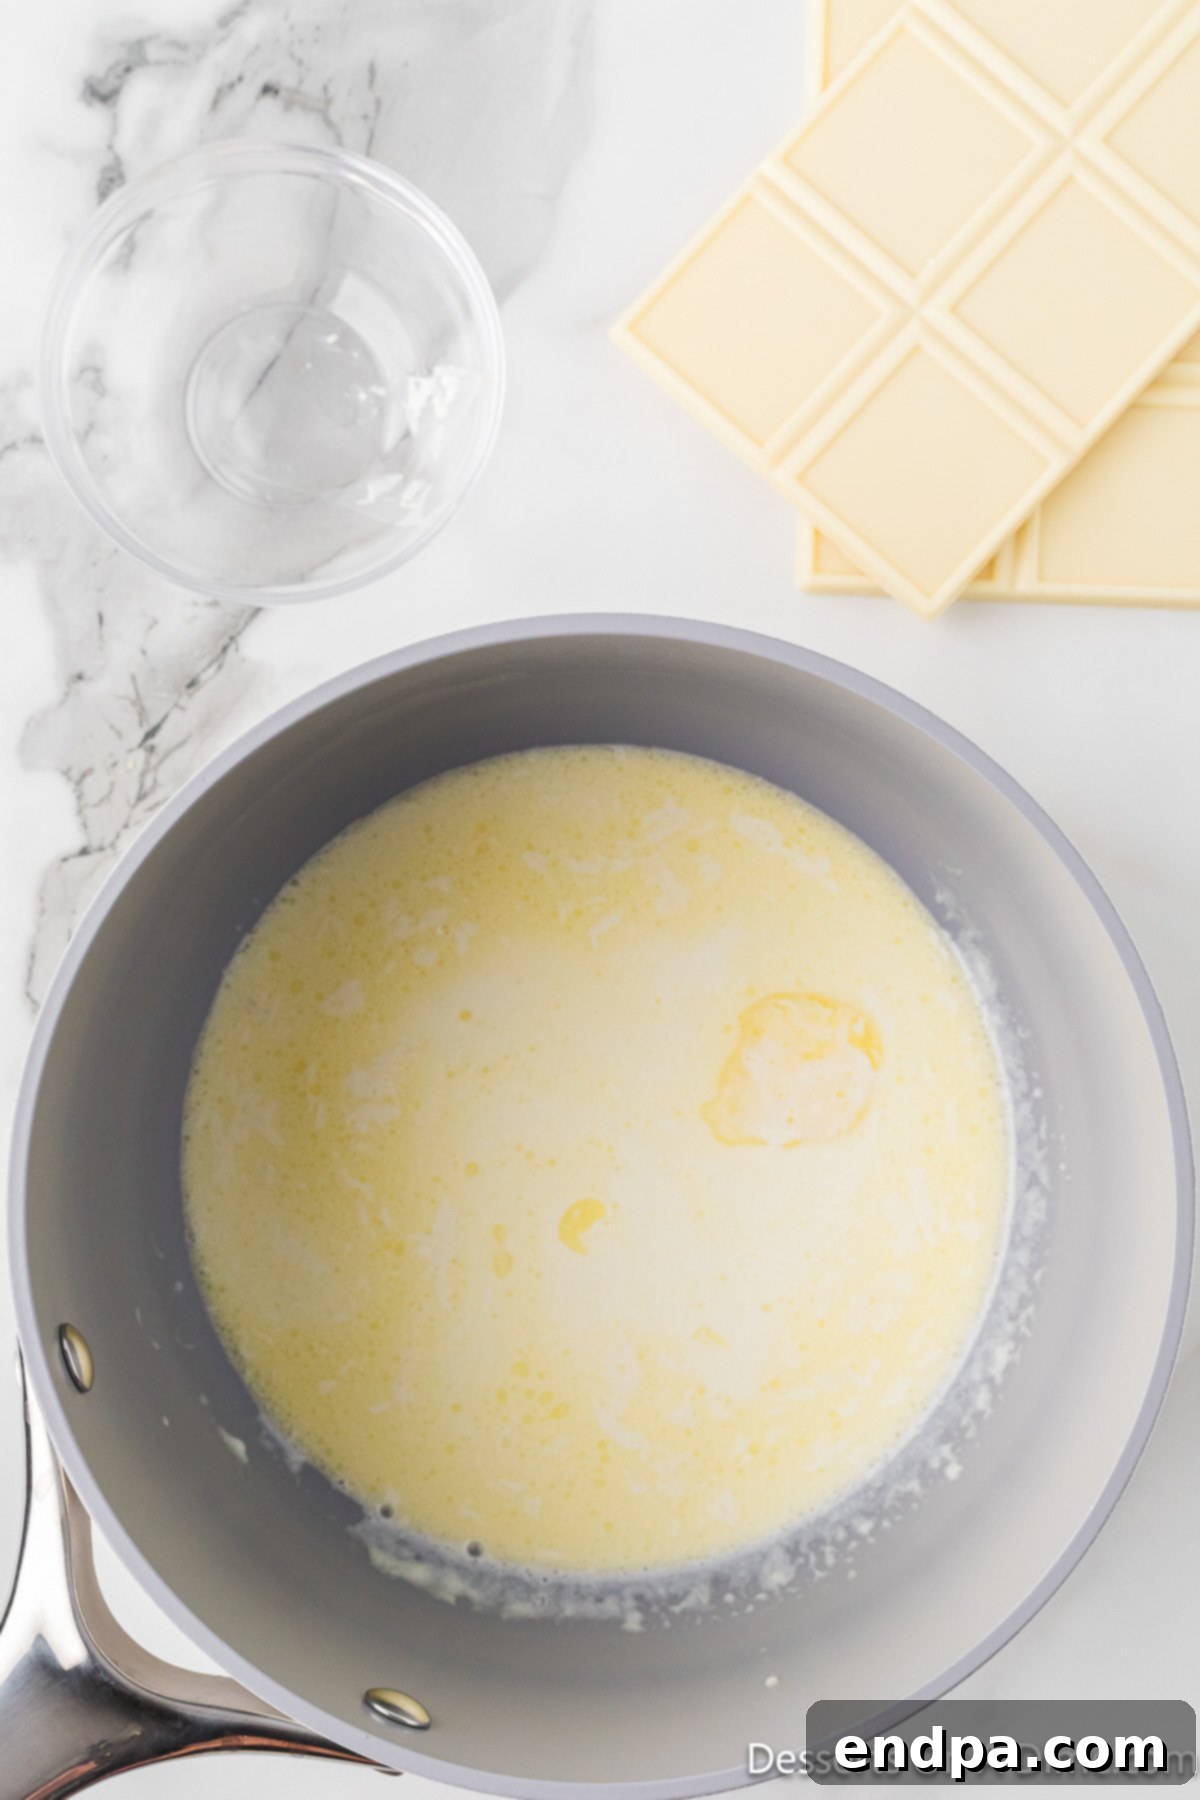
Prepare the Cream Base: Begin by pouring the heavy whipping cream into a small, sturdy saucepan. Place the saucepan over medium-low heat. Stir the cream constantly to prevent scorching. You’re looking for it to just reach a gentle simmer, where tiny bubbles begin to form around the edges of the pan. Do not bring it to a rolling boil.

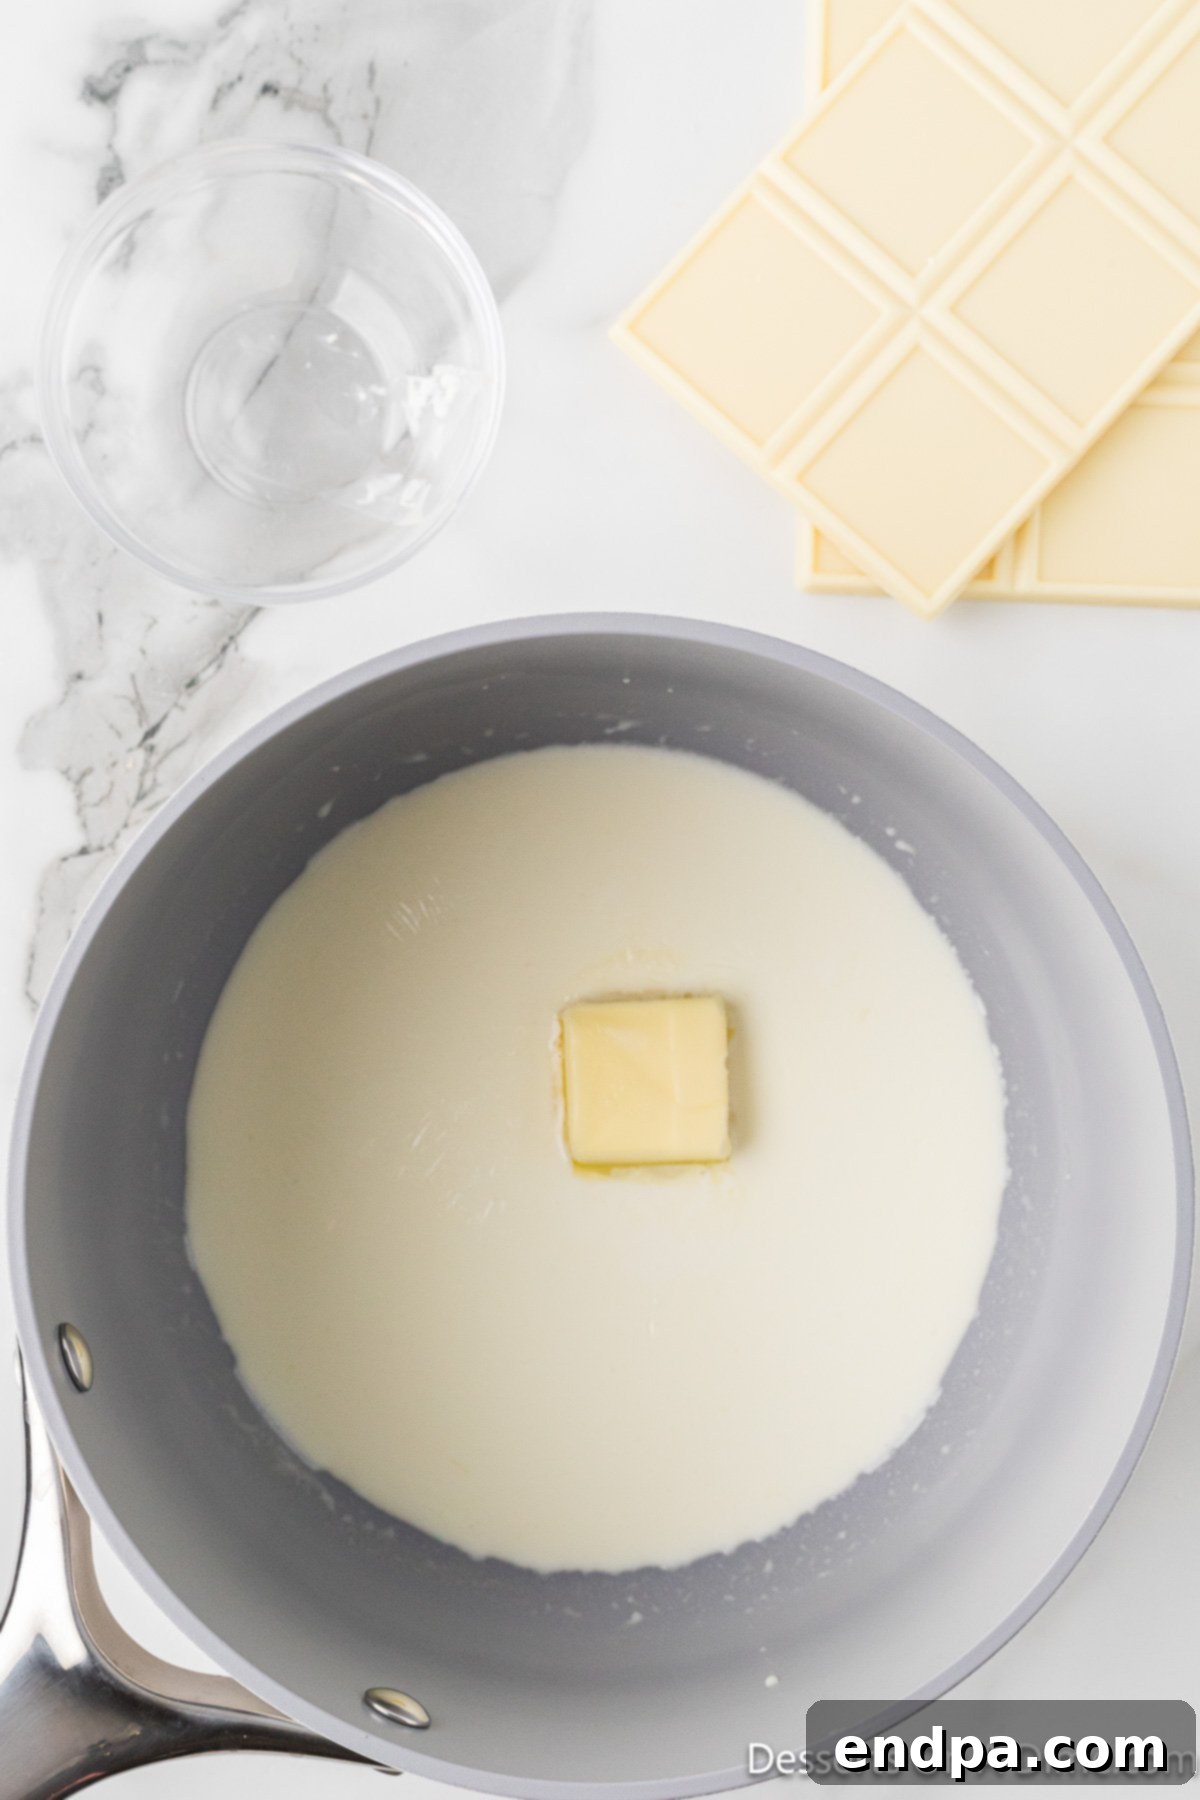
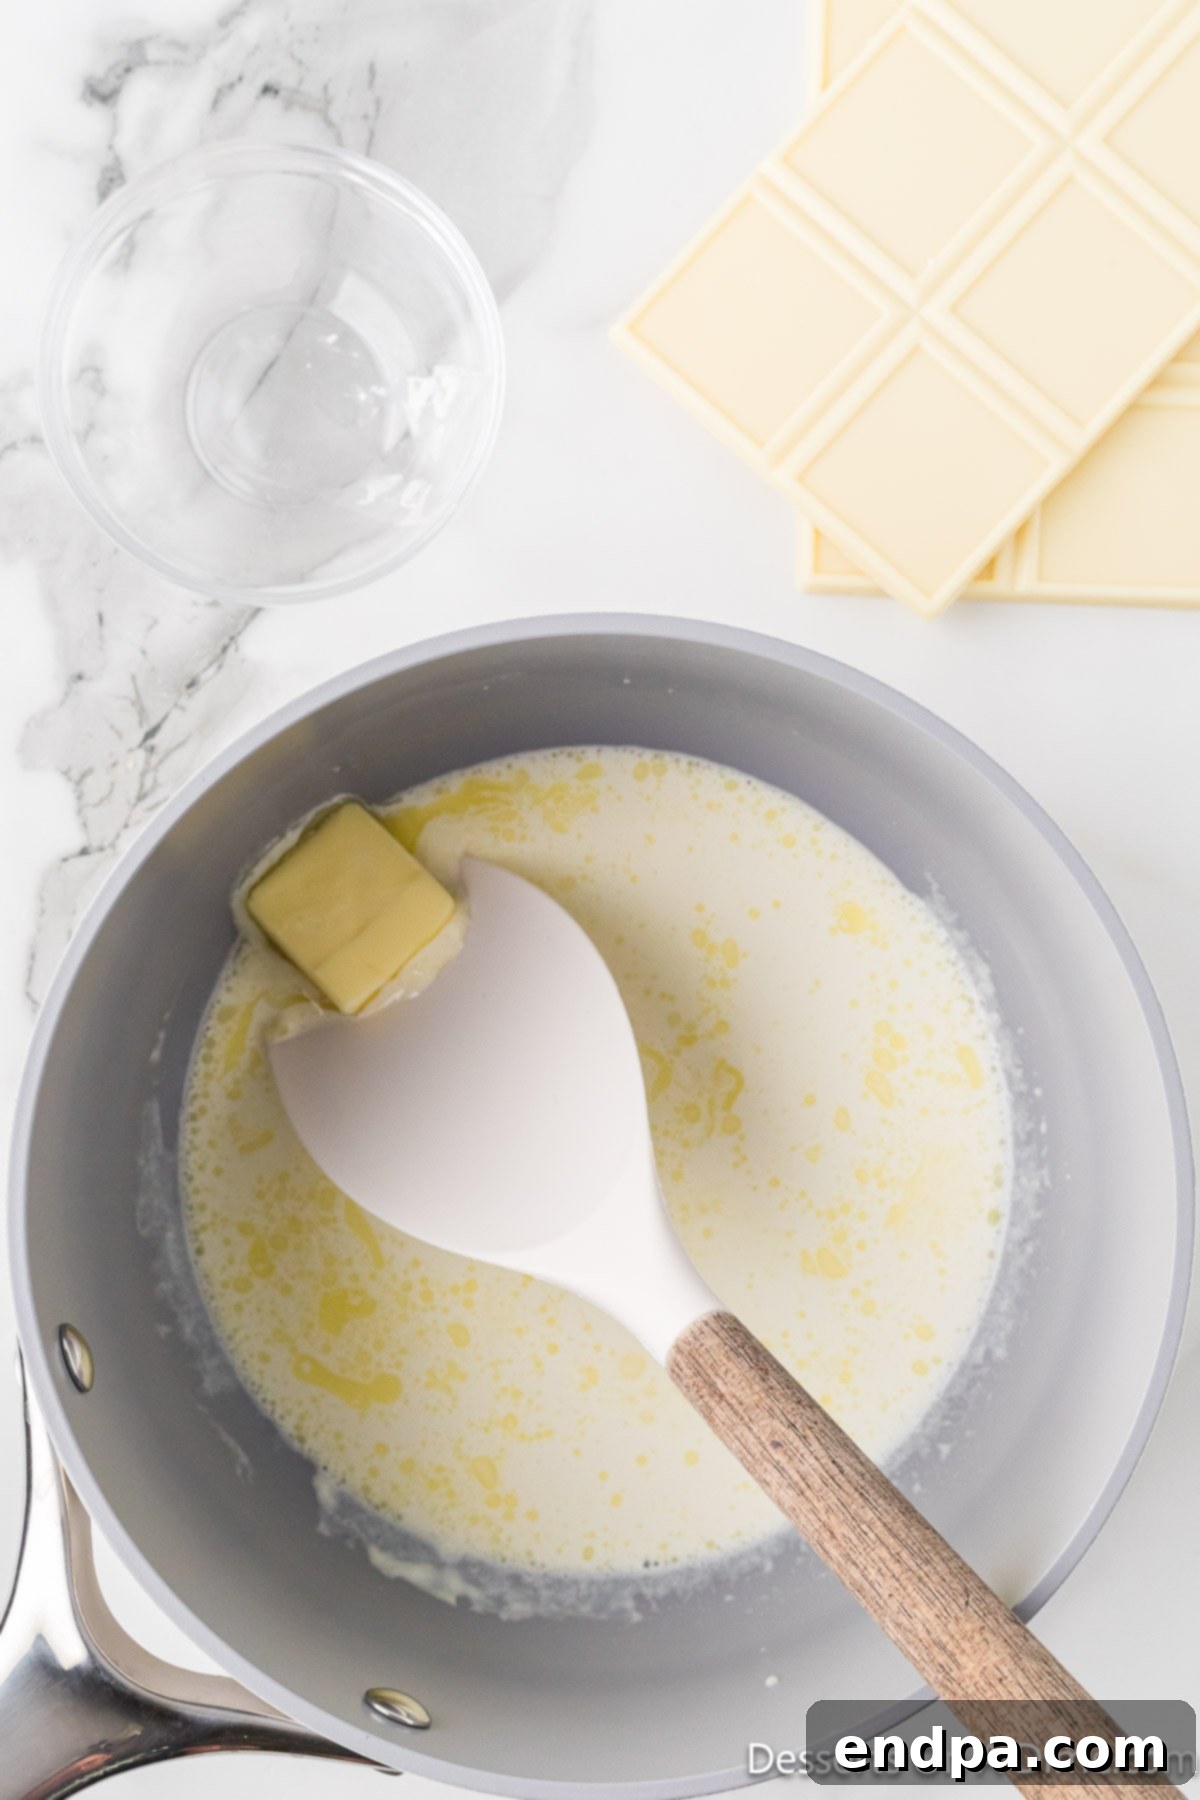
Incorporate the Butter: Once the cream is simmering, remove the pan from the heat and immediately add the tablespoon of unsalted butter. Stir gently until the butter is completely melted and fully incorporated into the warm cream. This adds richness and a silky texture to the ganache.


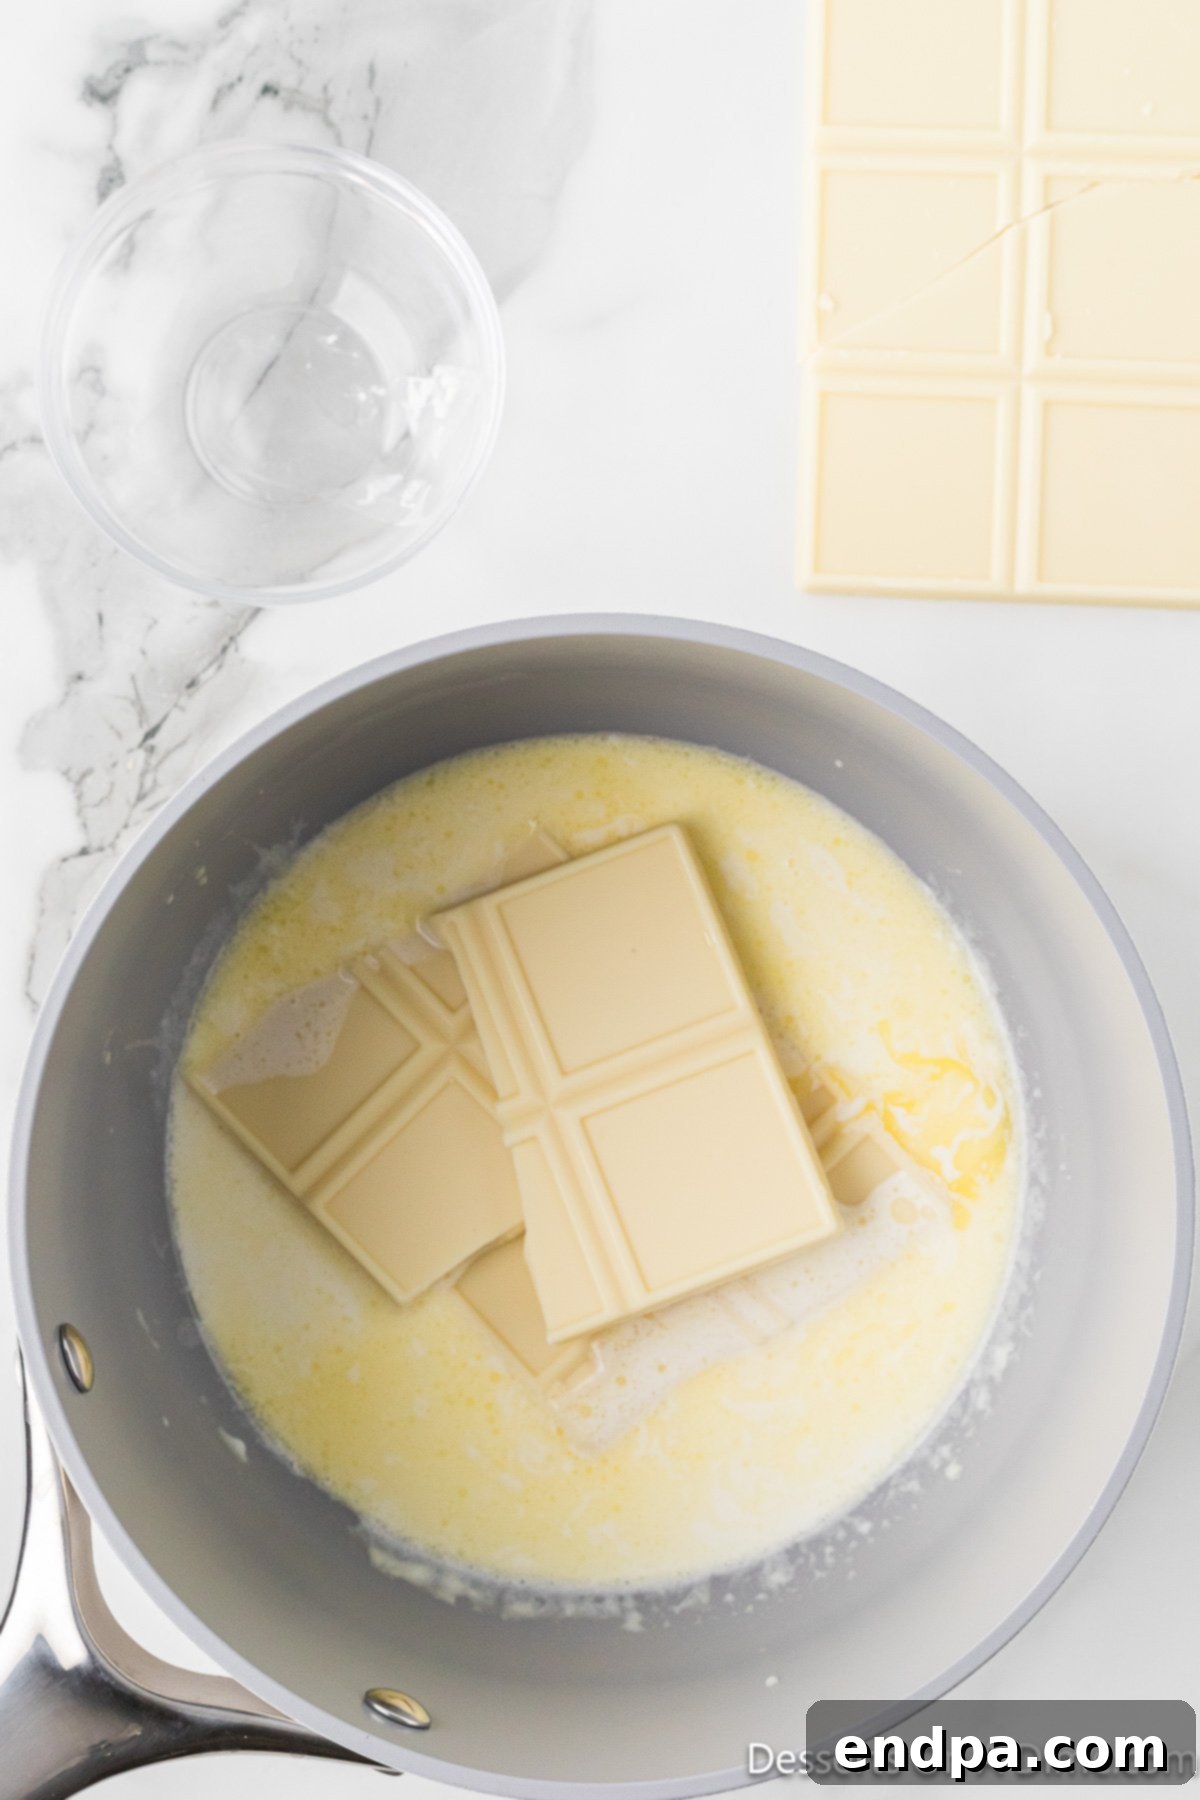
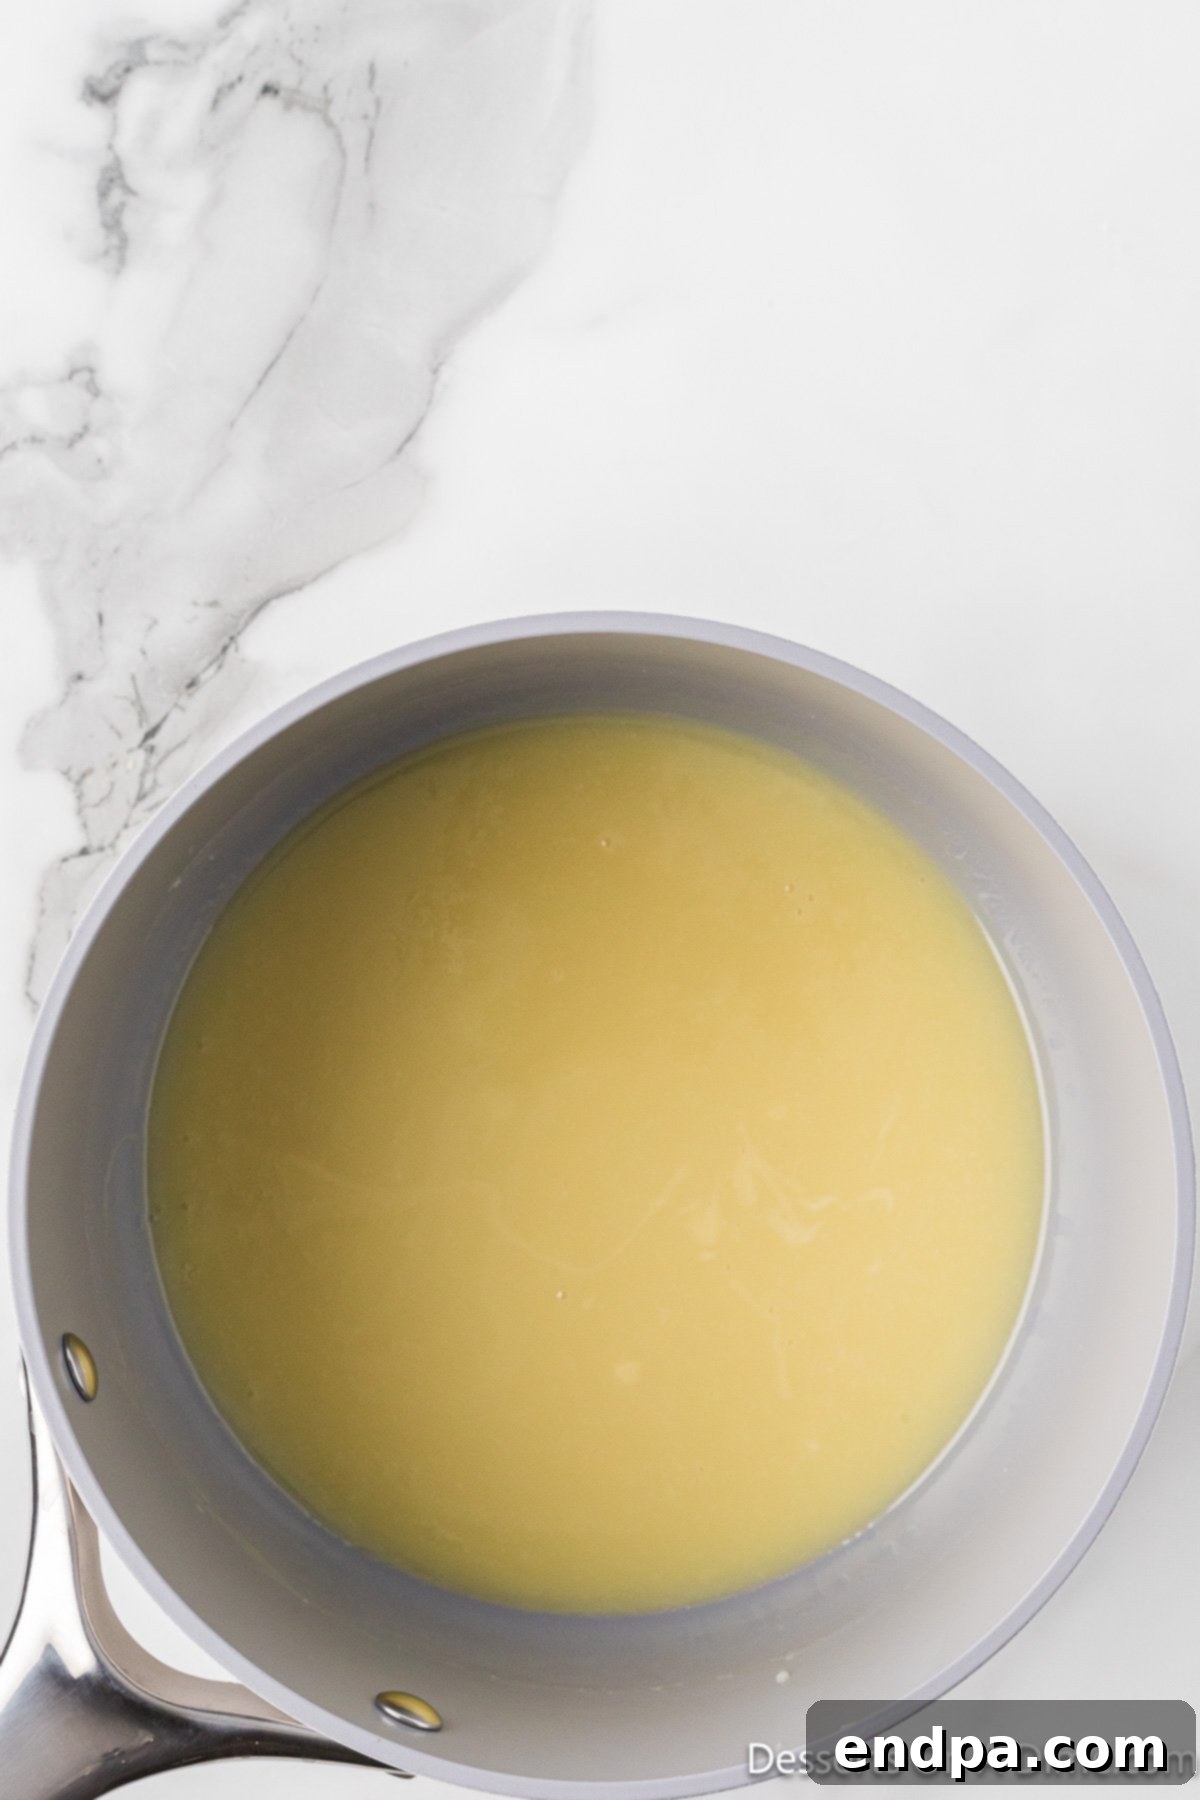
Melt the White Chocolate: Now, it’s time for the star ingredient. Add 8 ounces of the white chocolate baking bars (roughly half of your total) to the warm cream and butter mixture in the saucepan. Continue to stir gently and consistently until the white chocolate is completely melted and you have a smooth, homogeneous ganache. The residual heat from the cream and butter should be sufficient to melt the chocolate without overcooking it.


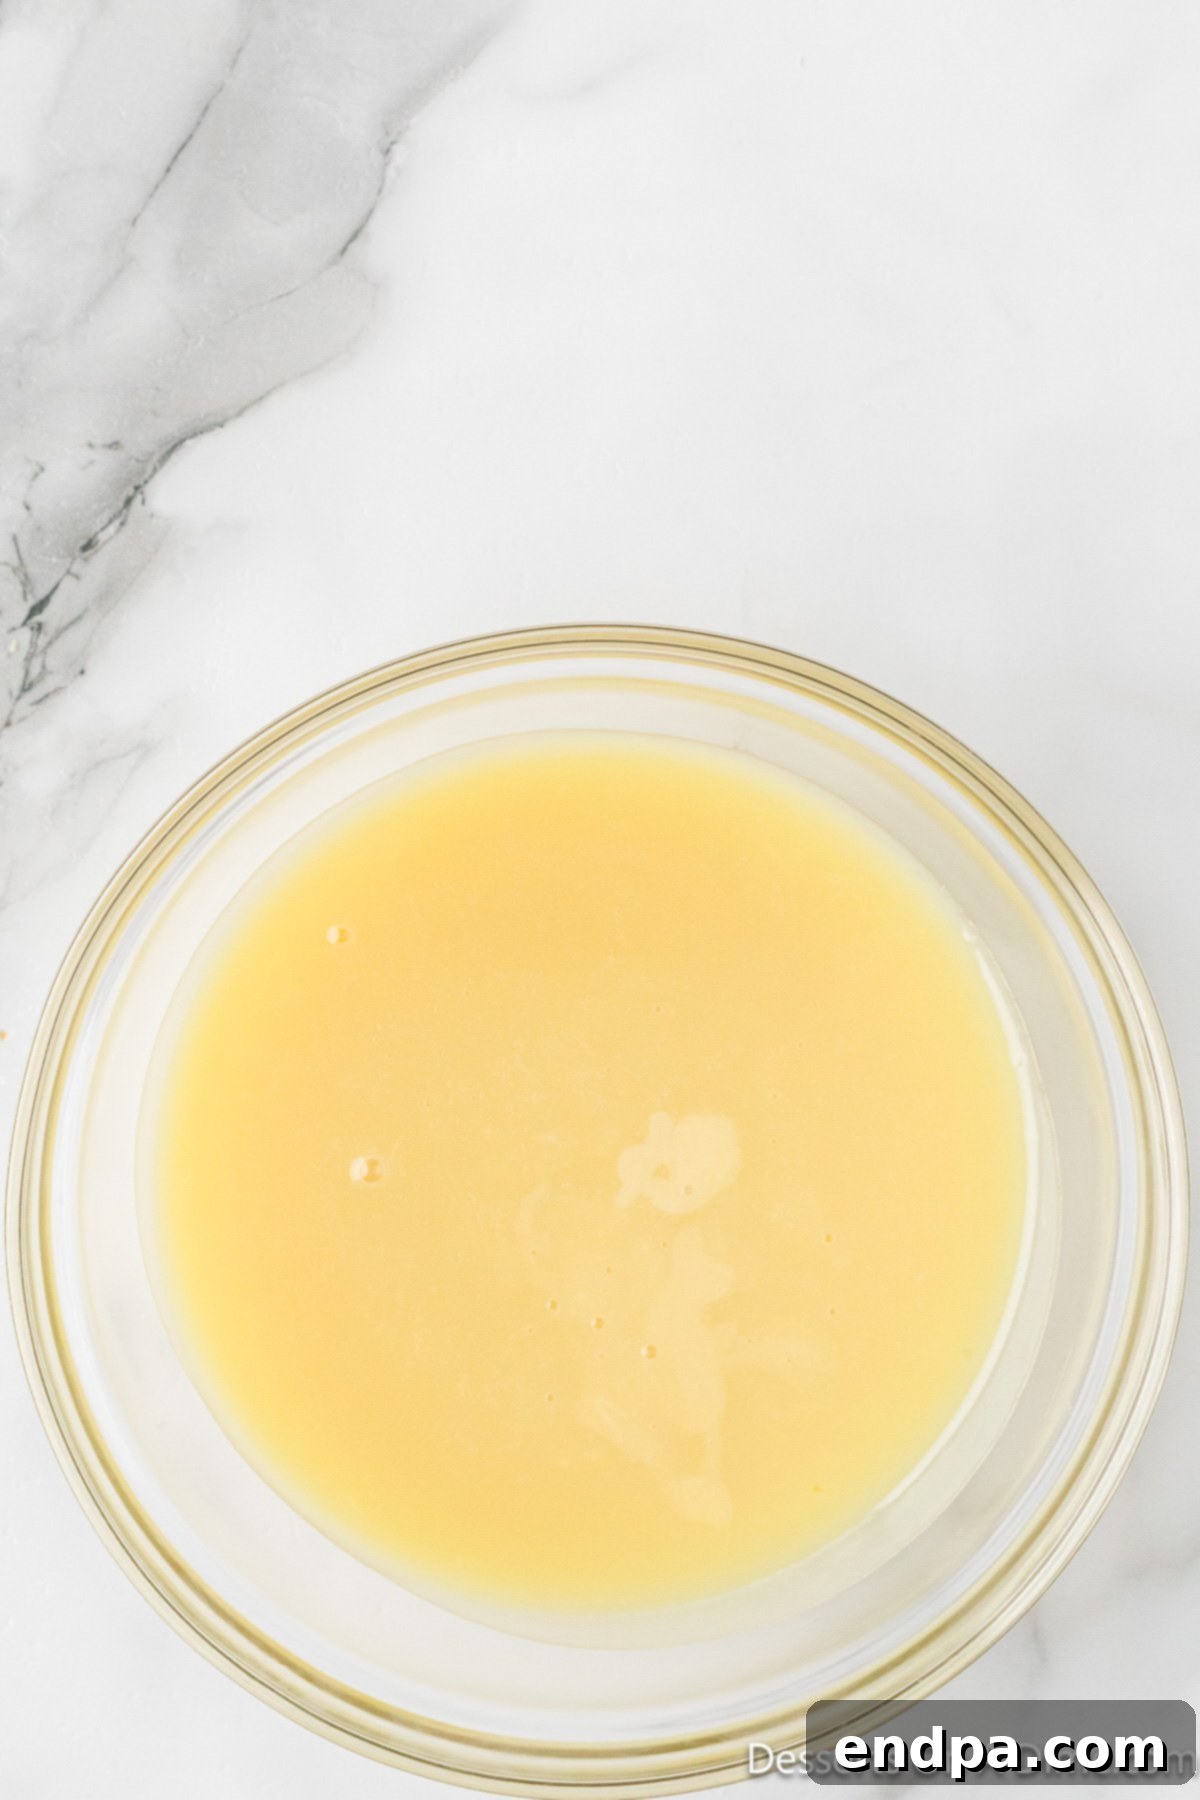
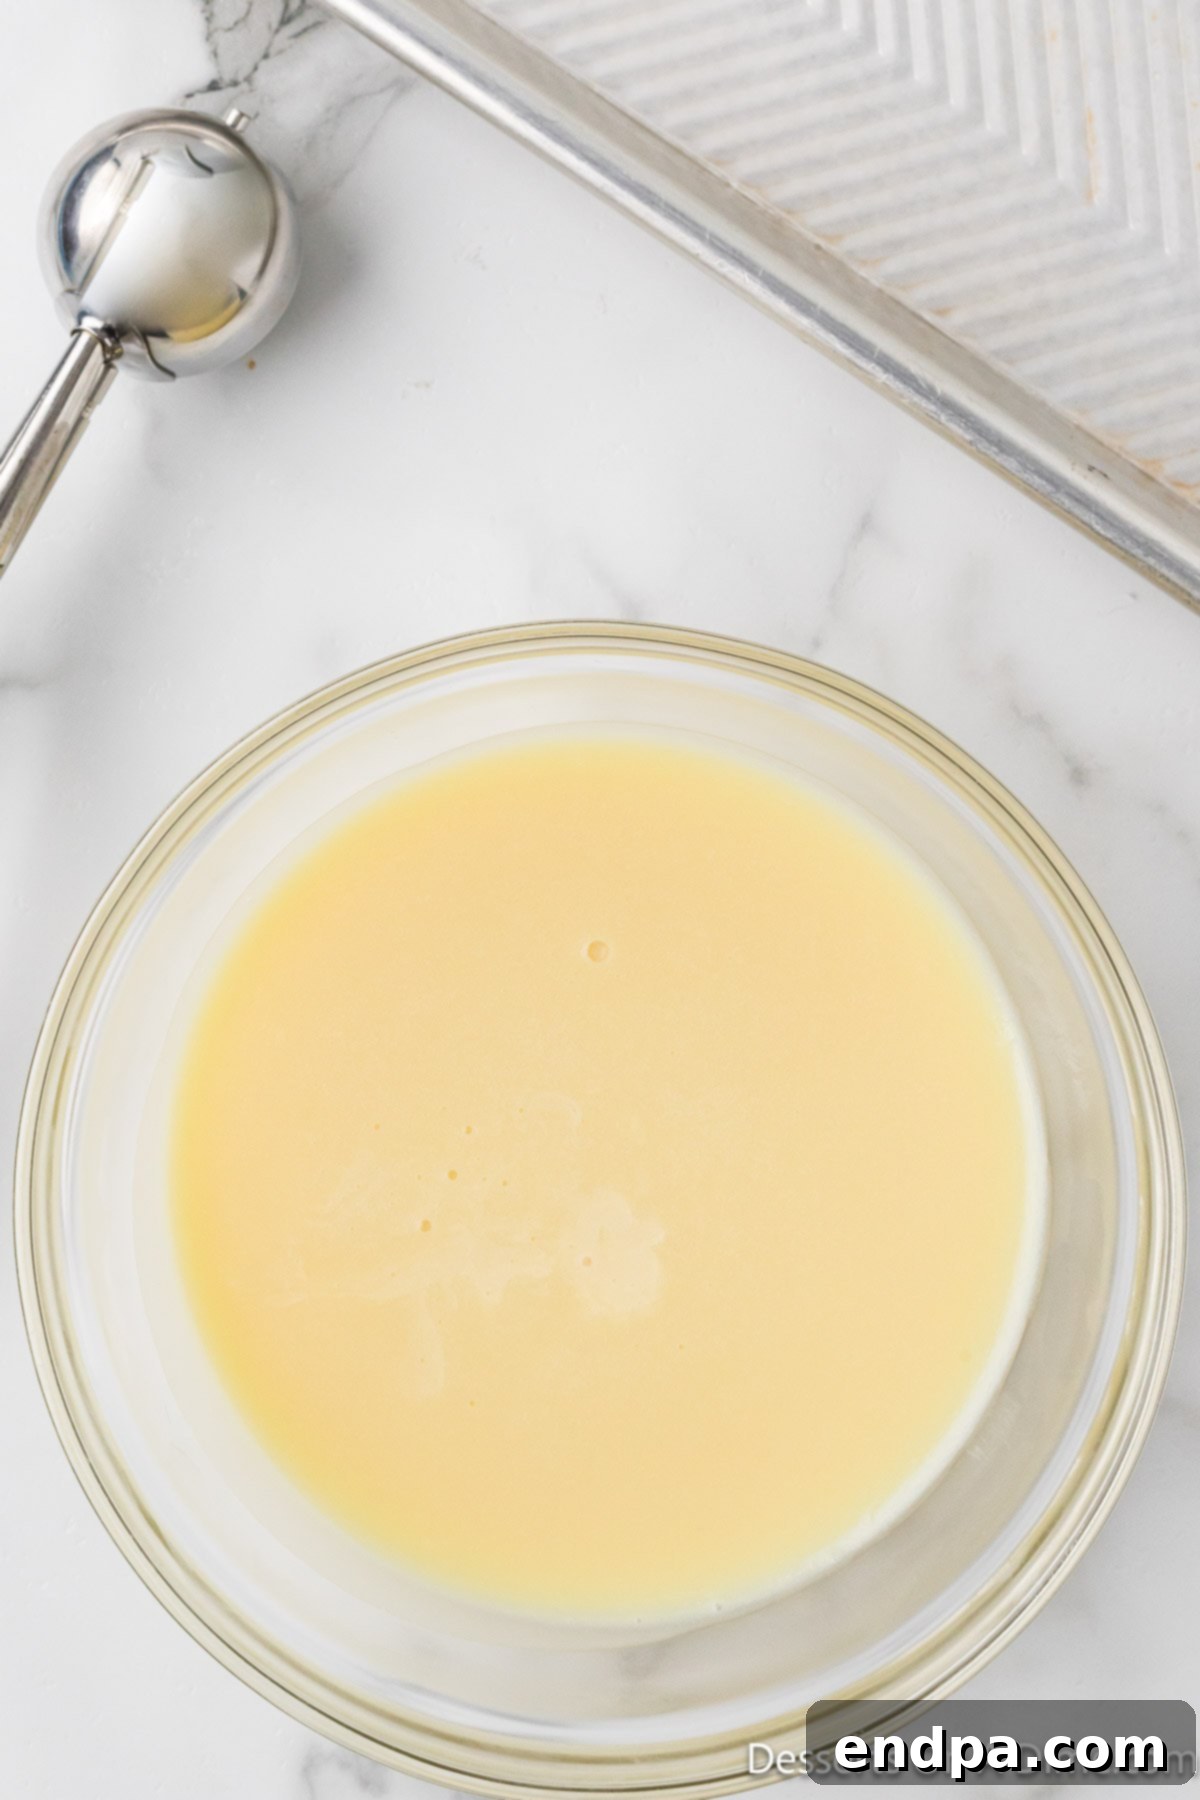
Cool and Chill the Ganache: Once the ganache is smooth, remove the saucepan from the heat entirely. Pour the warm mixture into a small glass bowl. Allow it to cool down to room temperature on your counter. After it has cooled, transfer the bowl to the refrigerator. It needs to chill until it becomes firm enough to handle and roll, which typically takes about 2 hours. This chilling step is essential for perfectly scoopable truffles.


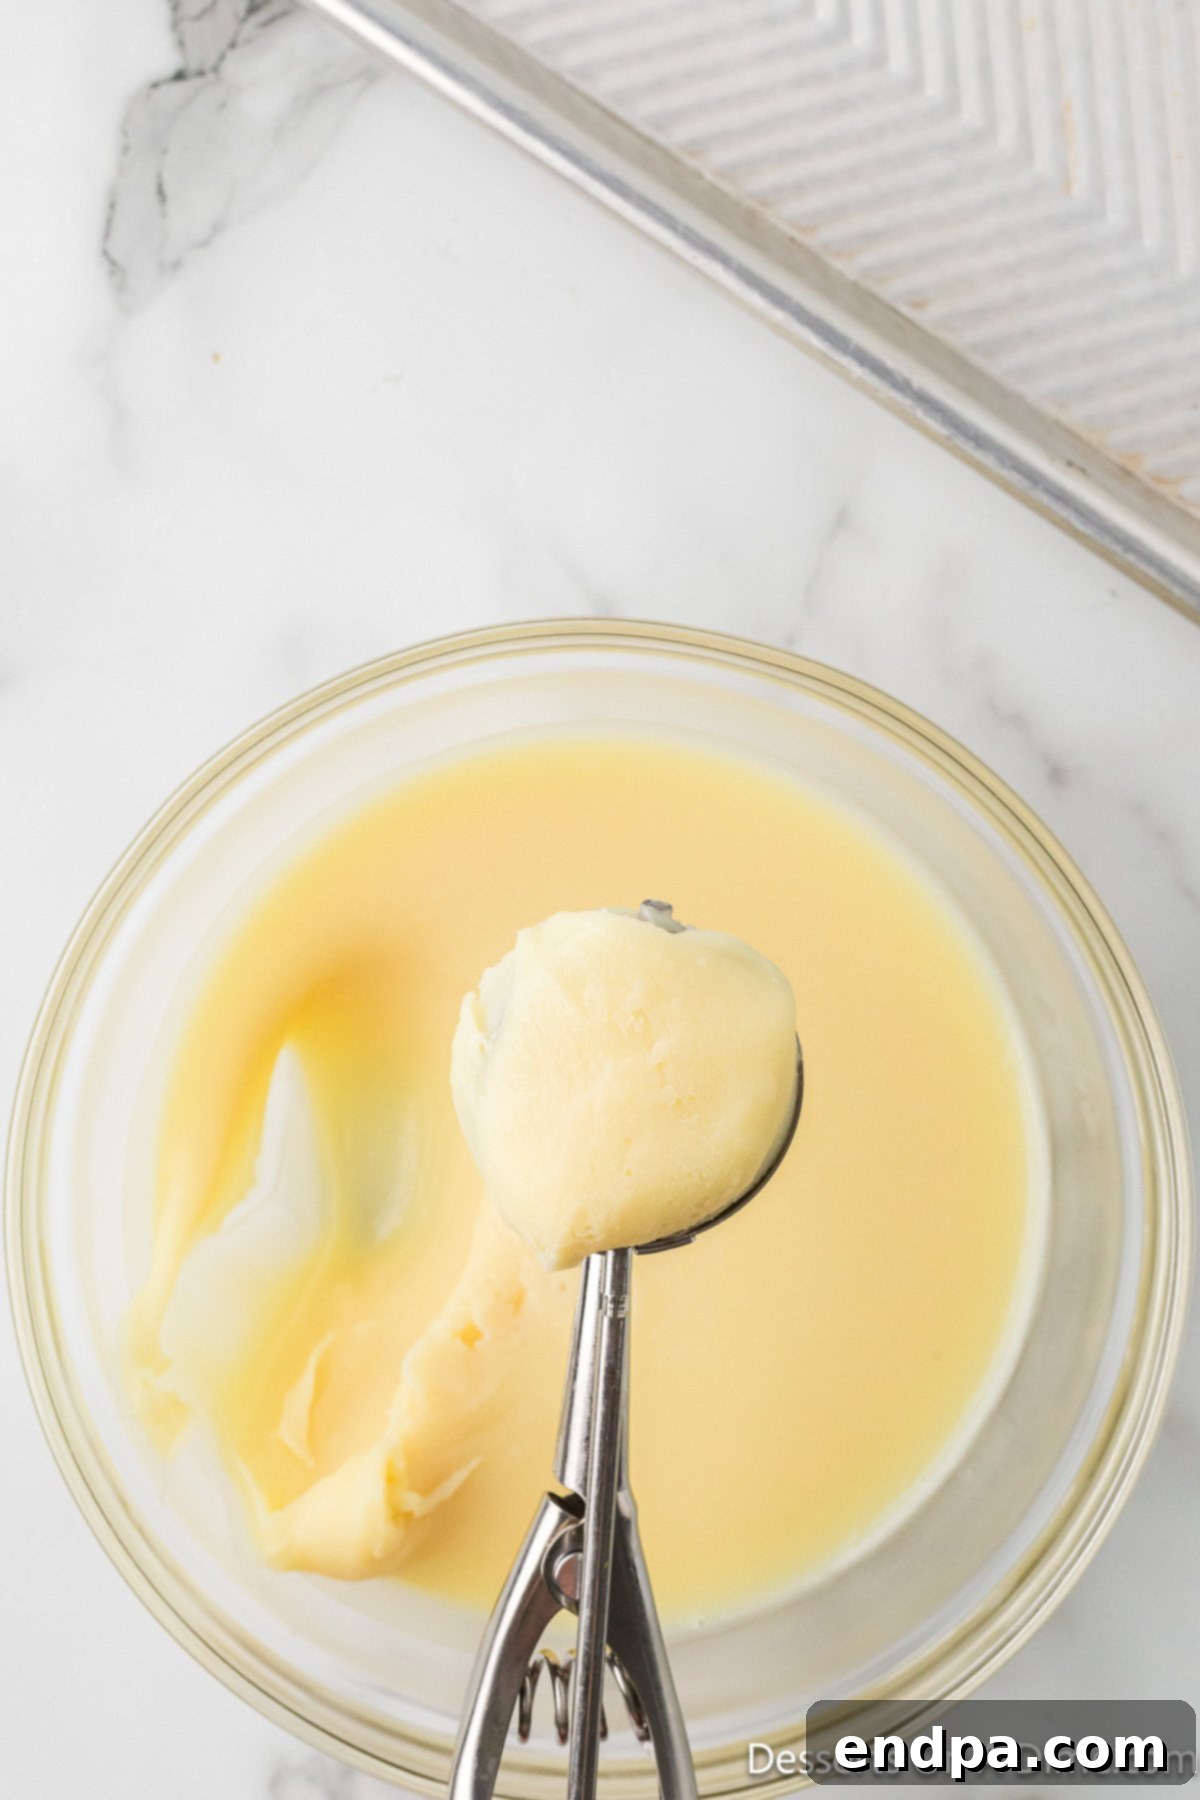
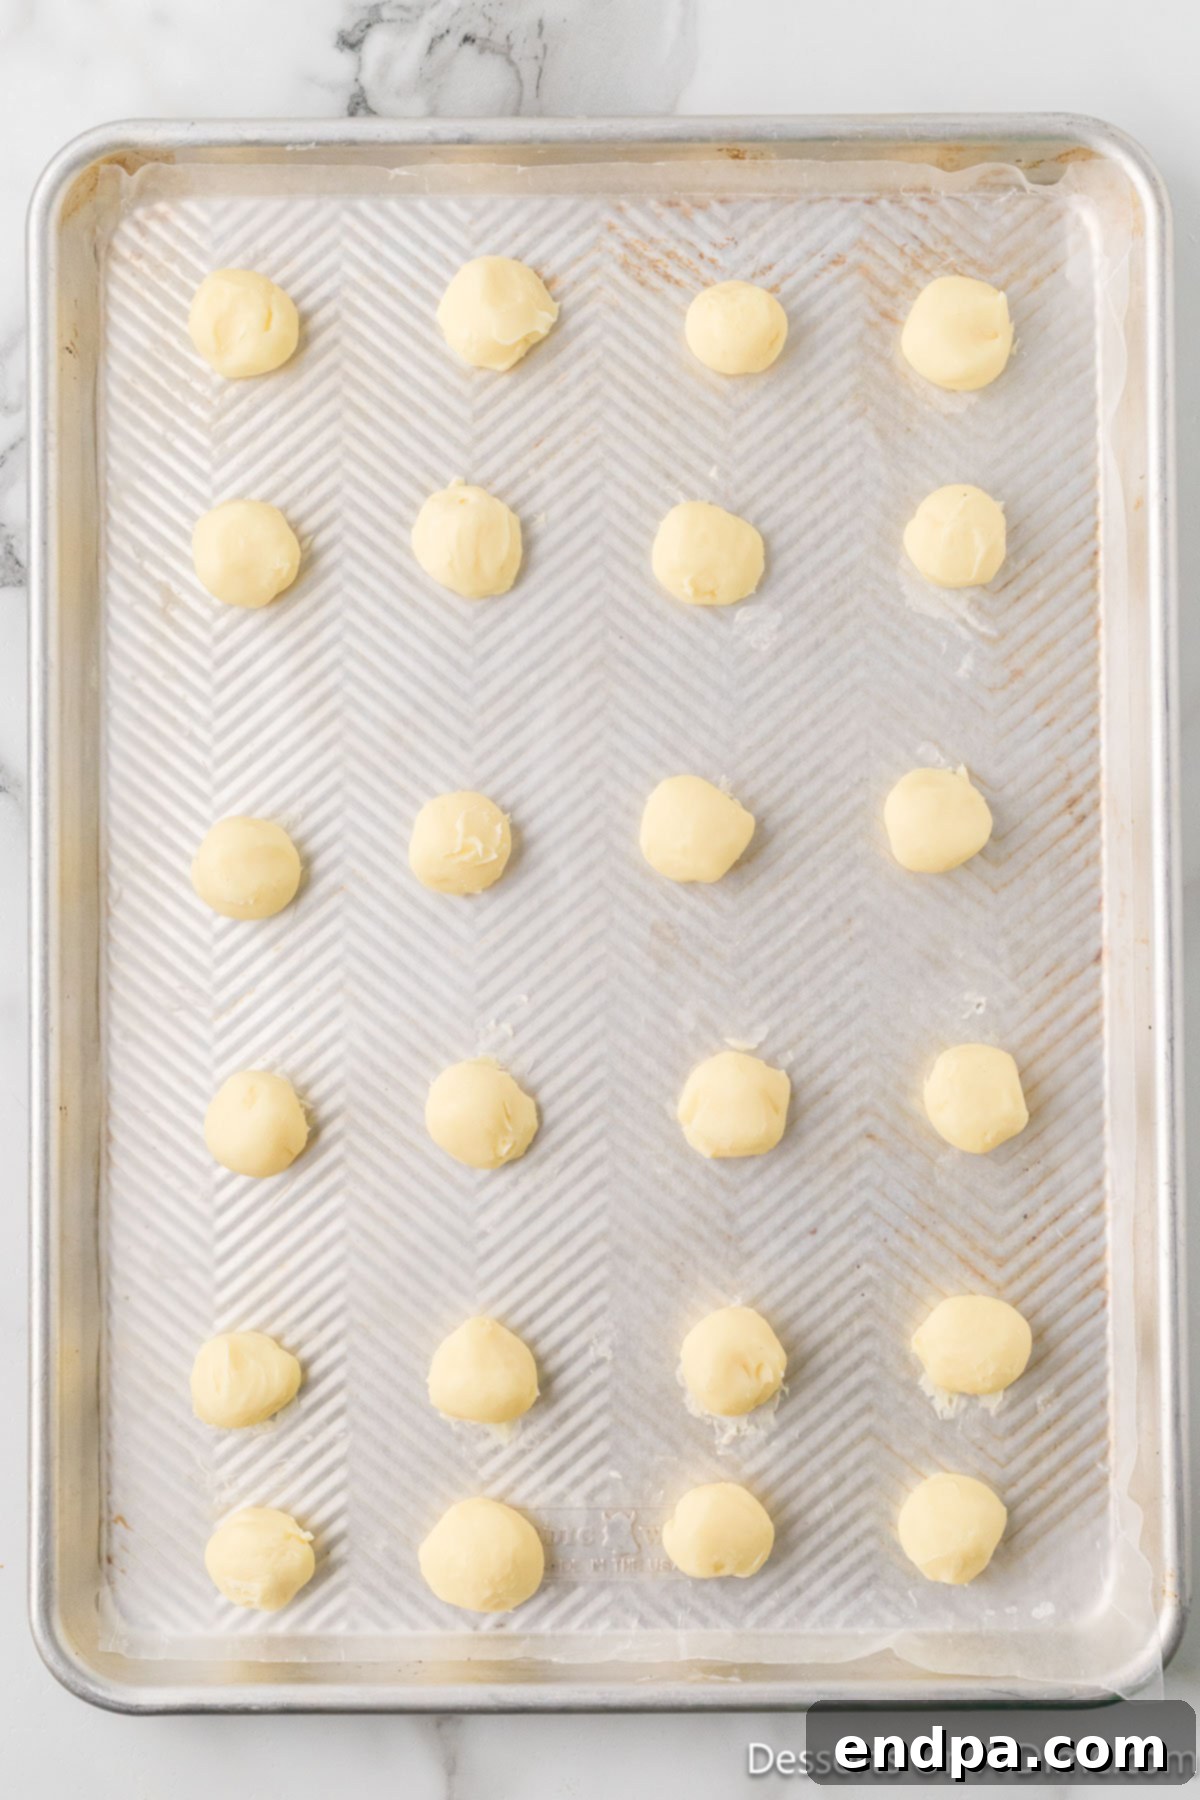
Shape the Truffles: Once the ganache is firm, remove it from the refrigerator. Using a small cookie scoop (about 1-inch diameter), portion out the mixture and roll each portion into a smooth, uniform 1-inch ball. A cookie scoop is highly recommended as it makes this process incredibly quick and ensures all your truffles are consistently sized, contributing to a professional appearance. Place each shaped truffle onto a baking sheet lined with parchment paper.


Firm Up in the Freezer: Transfer the baking sheet with the rolled truffles to the freezer for about 30 minutes. This quick chill will help them firm up further, making them easier to dip and ensuring they hold their shape during the coating process. Using a baking sheet is practical for easy placement and removal from the freezer, keeping the truffles stable.

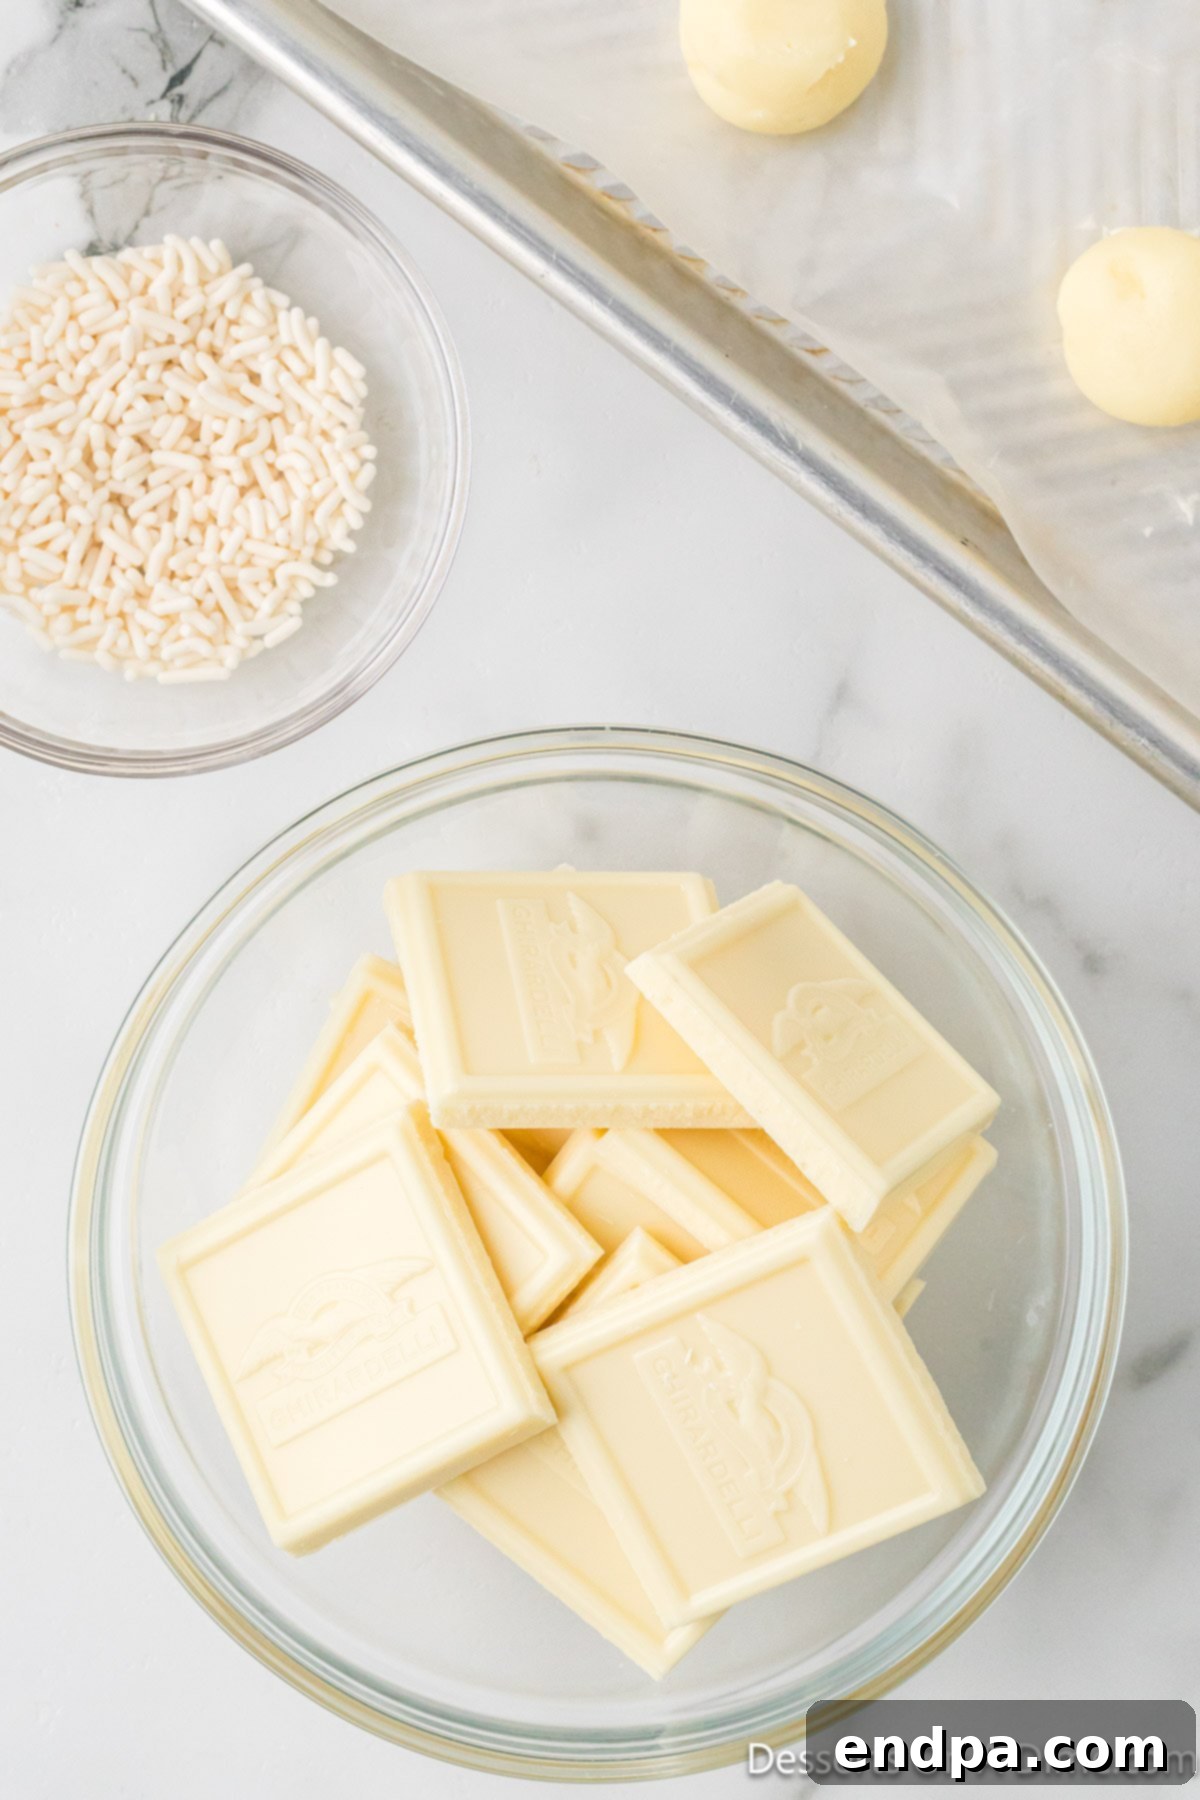
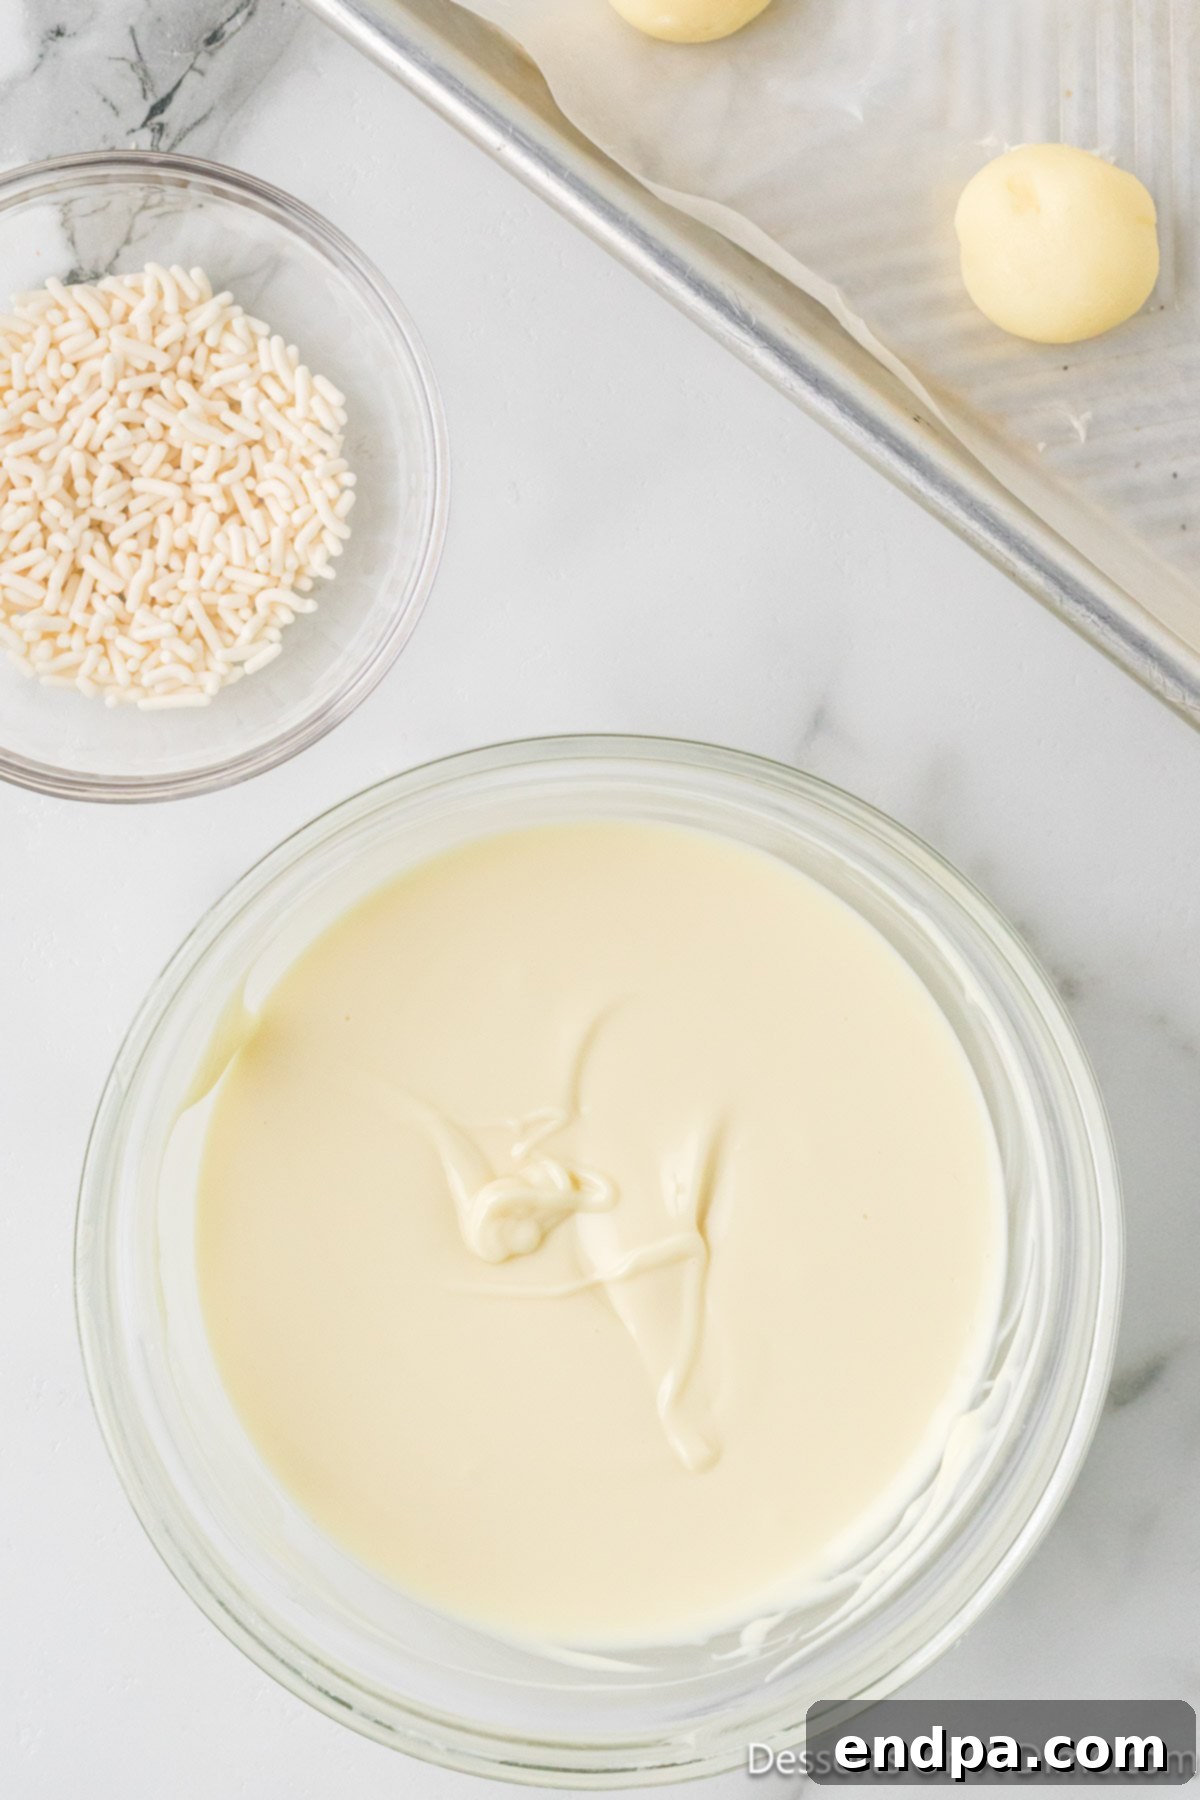
Melt the Remaining White Chocolate for Coating: While the truffles are chilling, take the remaining 8 ounces of white baking chocolate and place it in a small, microwave-safe bowl. Microwave the chocolate in 30-second intervals, stirring thoroughly after each interval. Continue this process until the chocolate is completely melted and smooth. Be vigilant during this step, as white chocolate can seize or burn easily if overheated. Stirring frequently helps distribute the heat evenly.


Keep a very close eye on the melting chocolate and adhere strictly to the 30-second intervals to prevent burning or seizing, which can ruin your coating.
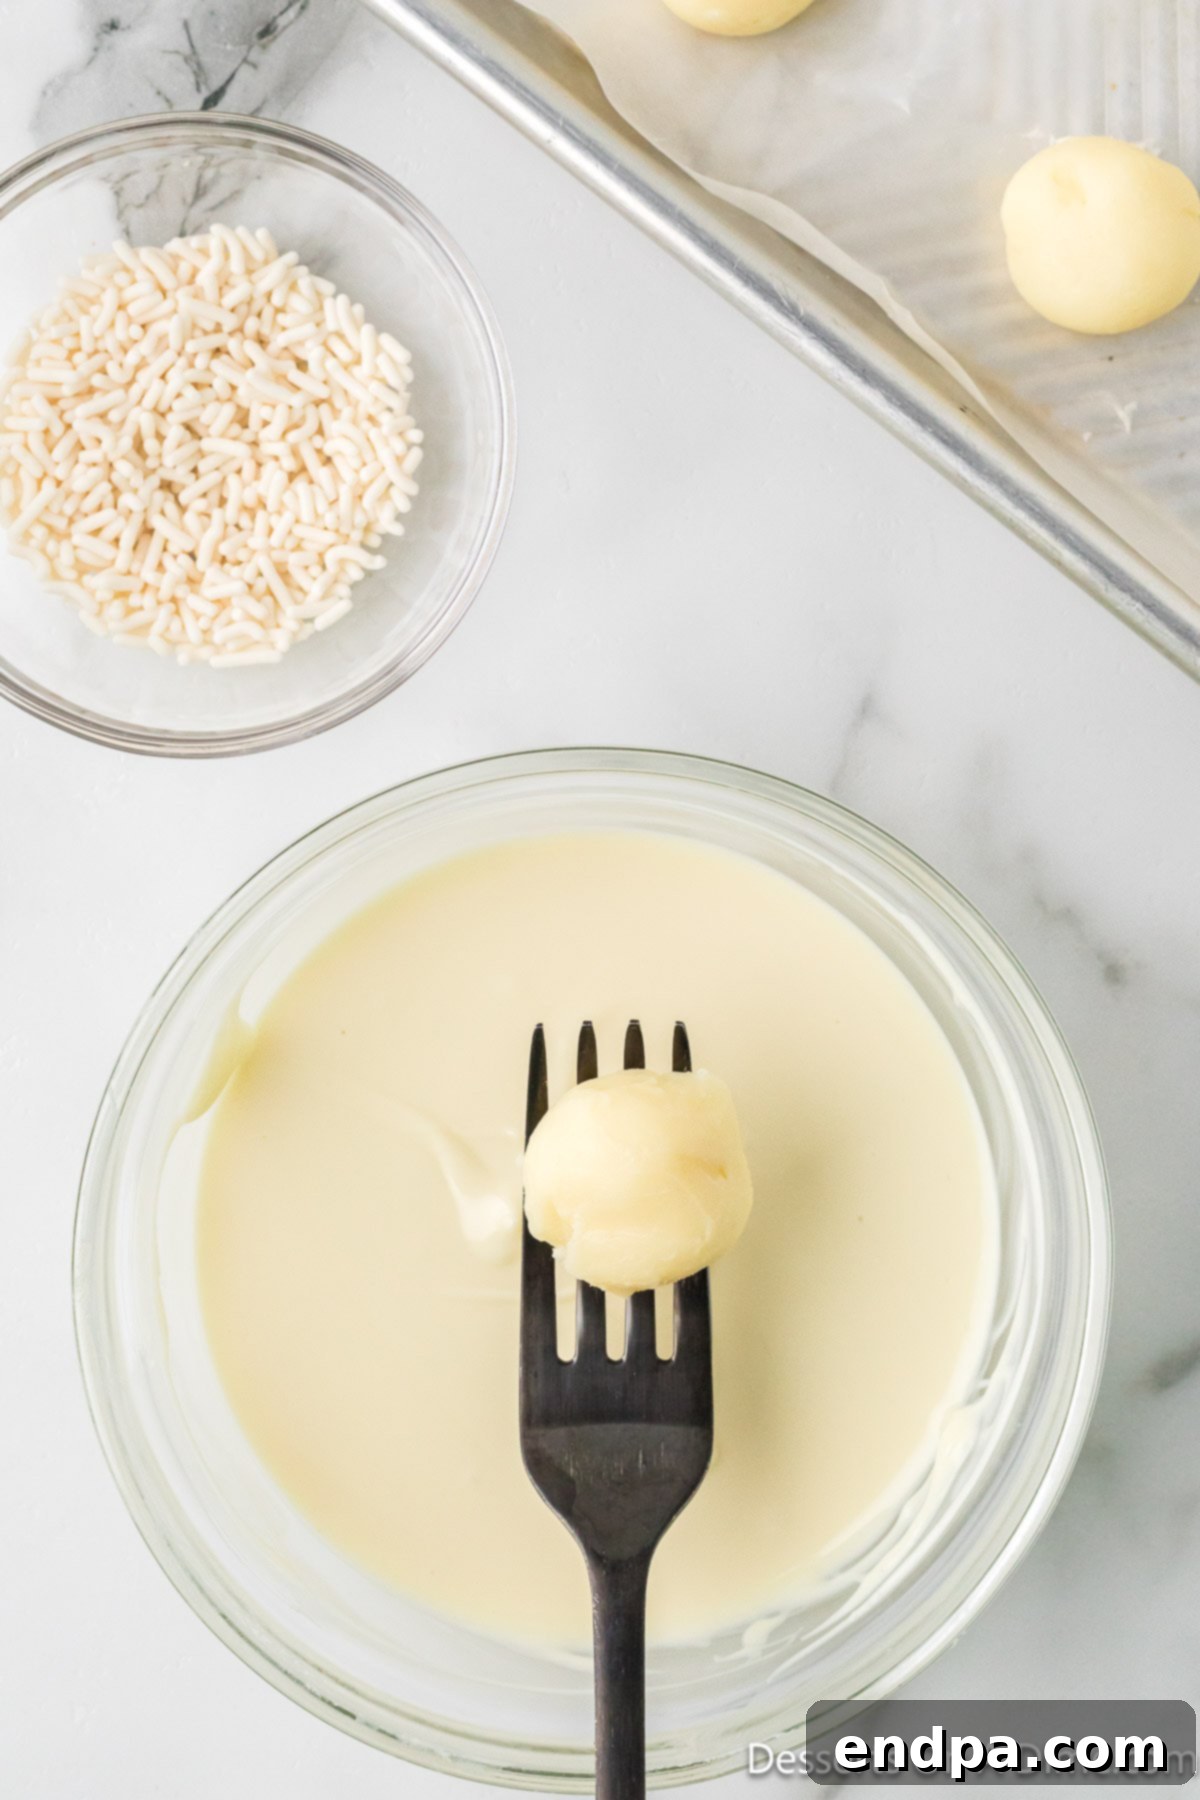
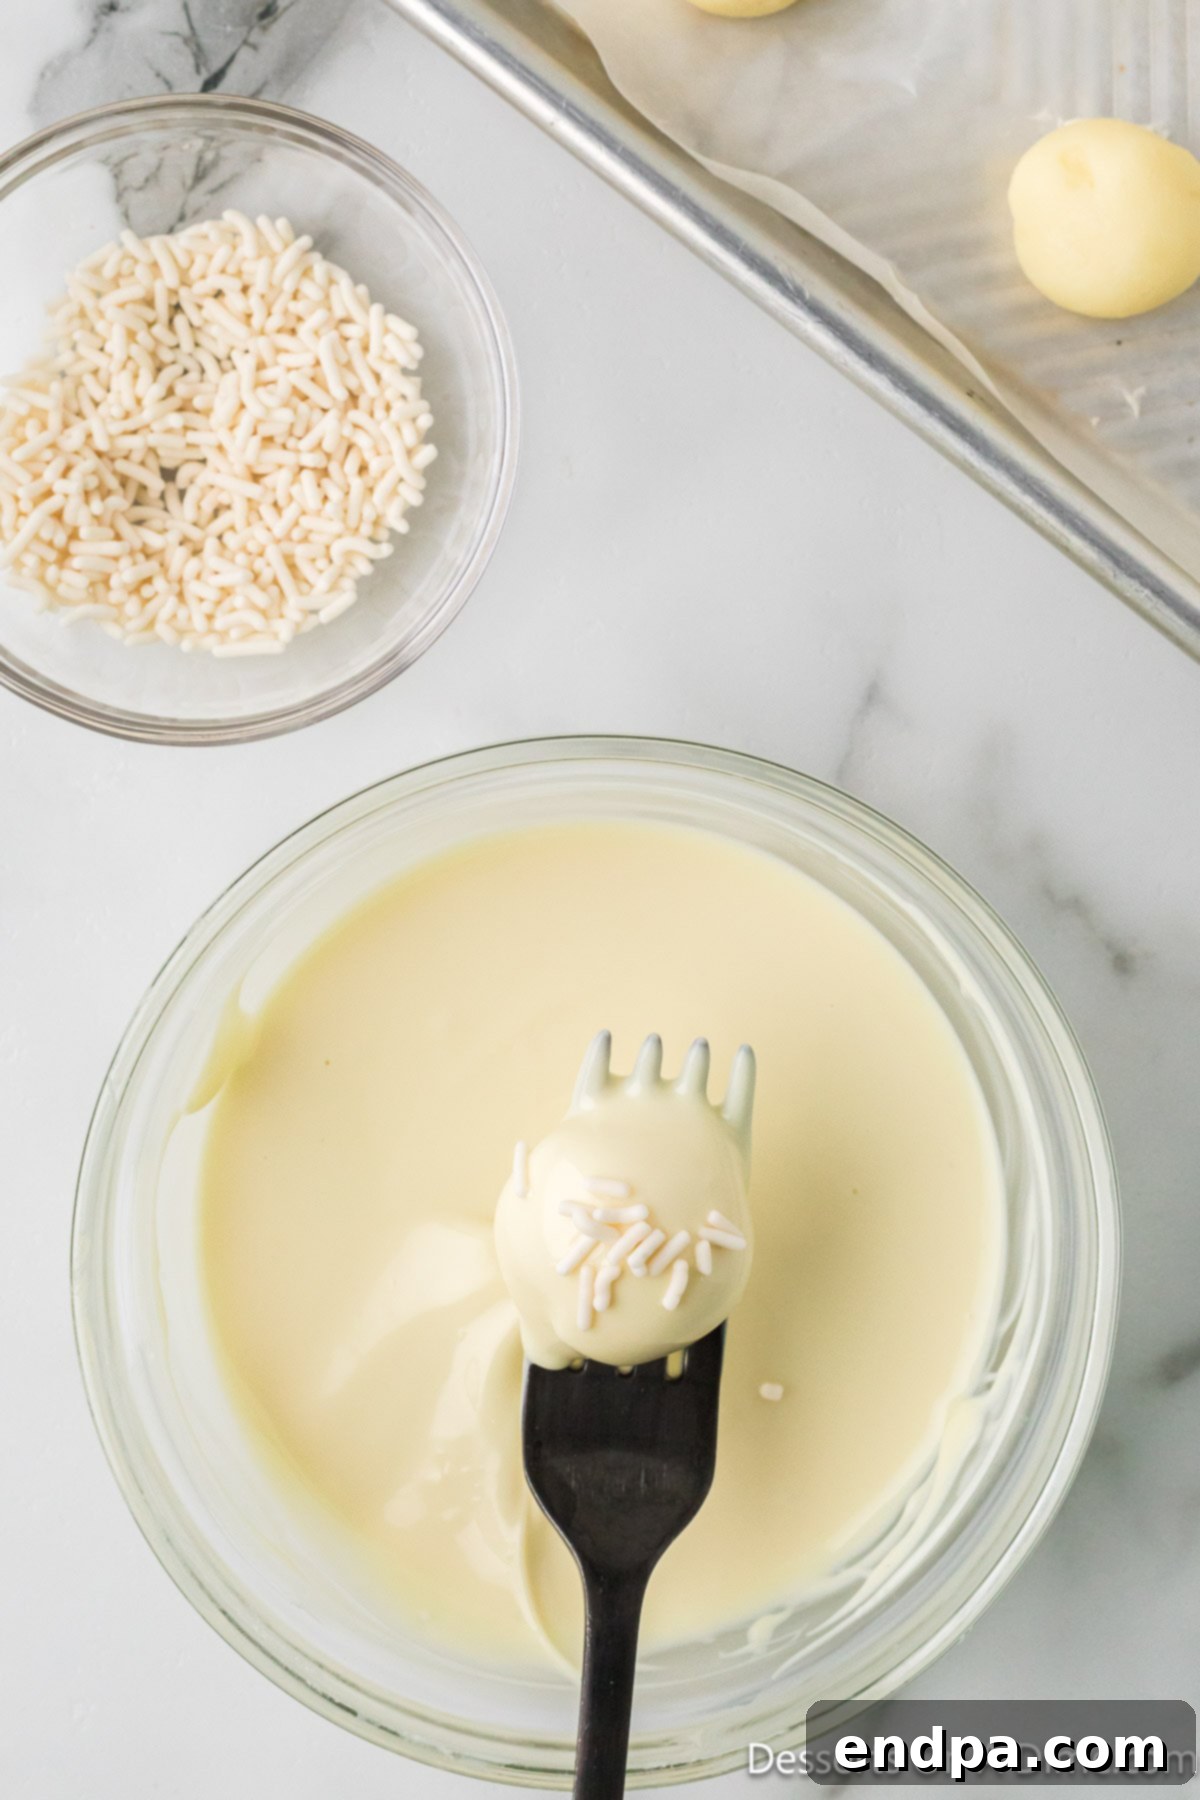
Dip and Decorate: Remove the chilled truffle balls from the freezer. Using a fork or a dipping tool, gently dip each truffle into the melted white chocolate, ensuring it’s fully coated. Lift the truffle, allowing any excess chocolate to drip off, then place it back onto the parchment paper. Immediately sprinkle with white sprinkles or your chosen topping before the chocolate sets. Work quickly, as the cold truffles will cause the melted chocolate to harden relatively fast.


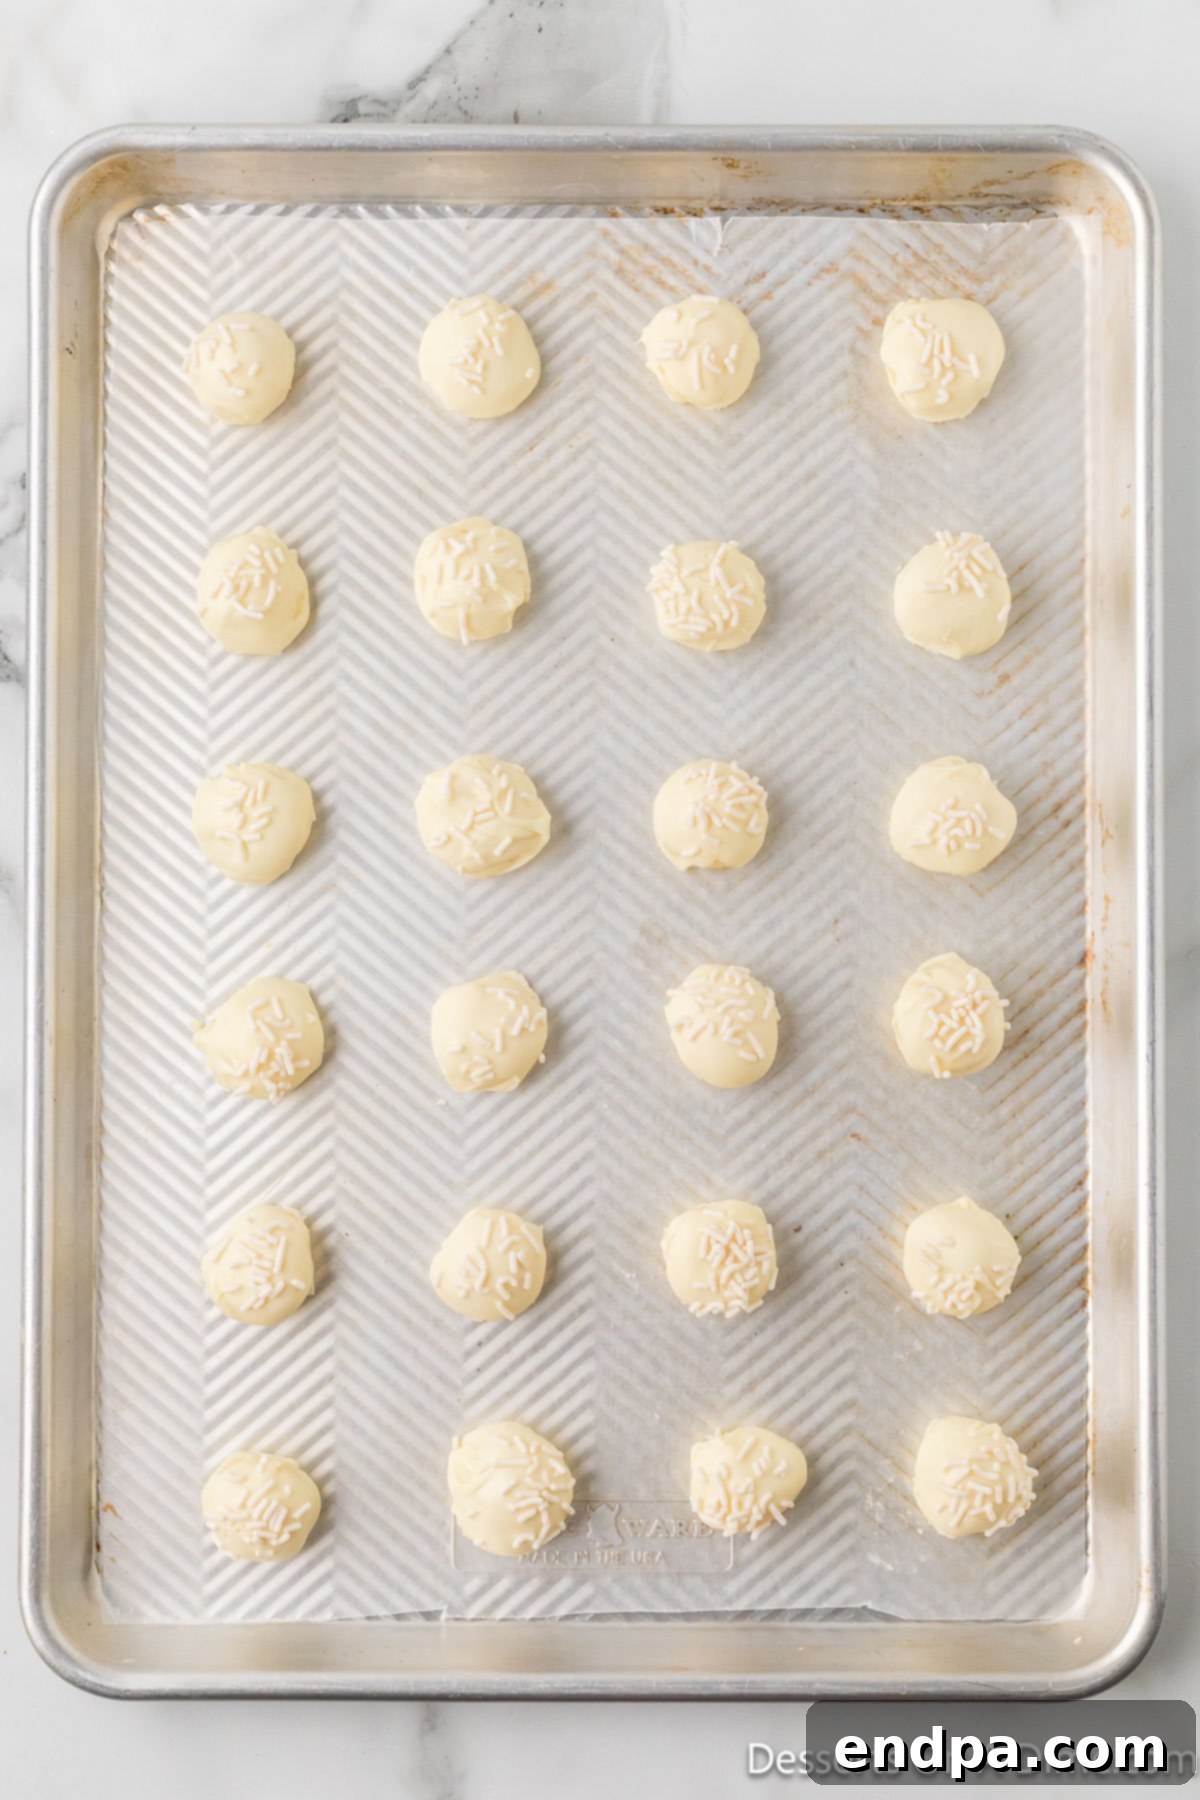
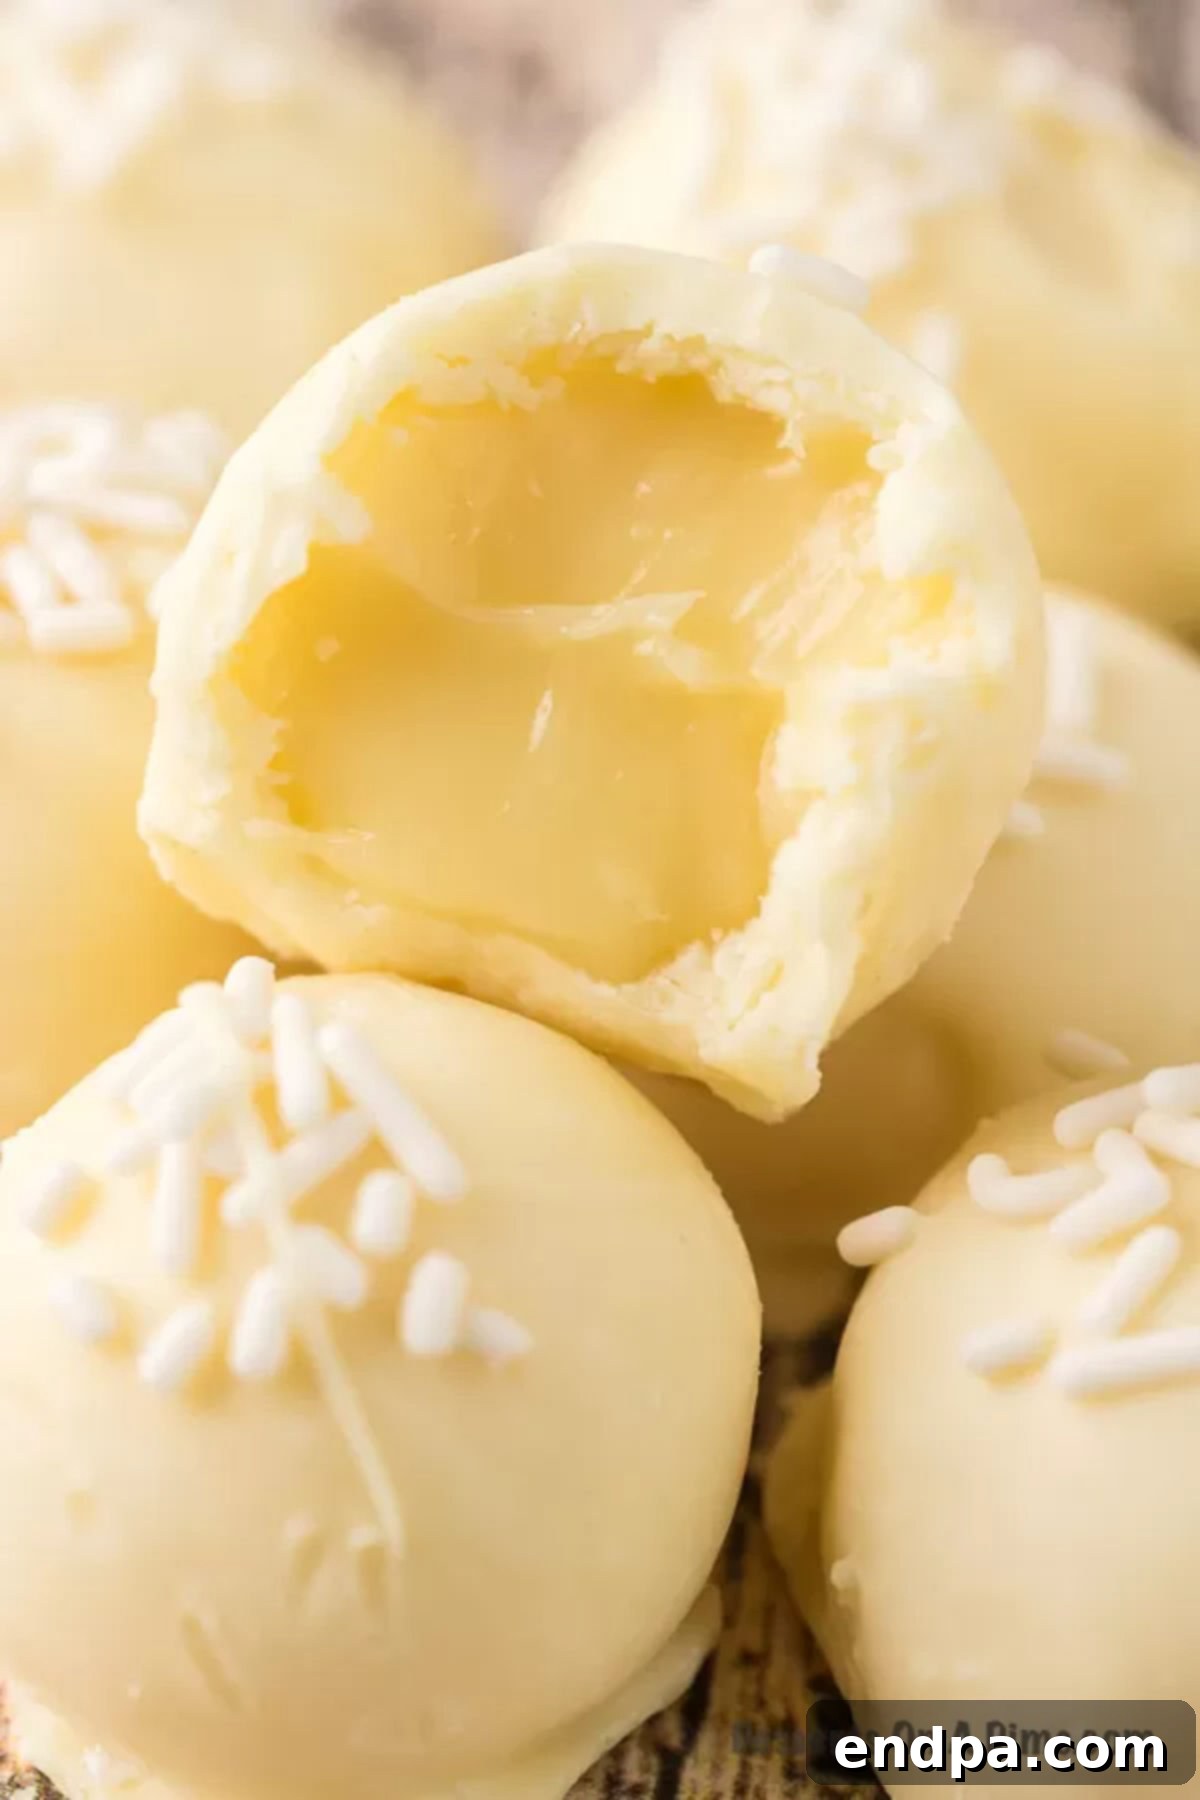
Final Chill: Once all truffles are dipped and decorated, place the baking sheet back into the refrigerator to allow the outer chocolate coating to fully harden. This usually takes about 15-30 minutes. Once firm, they are ready to enjoy!
It’s genuinely that simple to create these gourmet-quality white chocolate truffles right in your own kitchen!
Tips for Perfect Truffles Every Time
- Quality Matters: As mentioned, using high-quality white chocolate is paramount. Cheap chocolate chips often contain less cocoa butter and more emulsifiers, which can result in a grainy or difficult-to-melt consistency.
- Avoid Water: Chocolate is very sensitive to water. Ensure all your equipment (saucepans, bowls, spoons) is completely dry before you start. Even a single drop of water can cause melted chocolate to seize and become thick and unusable.
- Patience with Chilling: Don’t rush the chilling process for the ganache. It needs to be sufficiently firm to roll, otherwise, your truffles will be sticky and difficult to shape. If it’s too soft, put it back in the fridge for a bit longer.
- Uniformity is Key: Using a small cookie scoop helps create uniformly sized truffles, which not only looks professional but also ensures even coating and presentation.
- Work Efficiently with Coating: When dipping the truffles, try to work relatively quickly, especially if your kitchen is warm. The melted chocolate will set faster on the cold truffle balls, so have your sprinkles ready before you start dipping.
- Double Boiler Option: If you’re nervous about melting chocolate in the microwave, a double boiler is a great alternative. Simply place a heatproof bowl over a saucepan of simmering water (ensure the bottom of the bowl doesn’t touch the water) and stir until the chocolate is melted.
Proper Storage for Freshness
To maintain their exquisite taste and texture, proper storage is essential for your white chocolate truffles. Due to the heavy cream content, these truffles must be refrigerated.
Place the finished truffles in an airtight container in the refrigerator. Layer them with parchment or wax paper in between to prevent sticking. Stored correctly, white chocolate truffles will remain fresh and delicious for up to 1-2 weeks. This makes them an ideal make-ahead dessert for parties, holidays, or any event where you want to minimize last-minute prep. Just pull them out of the fridge about 15-30 minutes before serving to allow them to come closer to room temperature for the best flavor and texture.
Frequently Asked Questions
Yes, white chocolate truffles freeze beautifully! To freeze them, arrange the hardened truffles in a single layer on a baking sheet and flash freeze for about an hour until solid. Then, transfer them to a freezer-safe airtight container or heavy-duty freezer bags. For best results, place layers of parchment or wax paper between the truffles to prevent them from sticking together. Properly stored, frozen truffles can last for up to 6 months.
When you’re ready to enjoy them, thaw the truffles in the refrigerator overnight or for several hours. Thawing them slowly in the fridge helps prevent condensation from forming on their surface, which can cause the chocolate coating to bloom or become sticky. Keep them covered until they are fully thawed and then serve at room temperature for the best experience.
Unfortunately, no. The full-fat heavy whipping cream is absolutely essential for this recipe. The high fat content in heavy cream is what gives the truffles their rich, creamy texture and provides the necessary structure to hold them together when chilled. Reduced-fat milk or half-and-half will not yield the same firm yet smooth consistency, and your truffles may end up too soft or runny.
Yes, refrigeration is mandatory for these truffles. Because they are made with heavy whipping cream and butter, they are quite soft at room temperature and need to be kept cold to maintain their shape and prevent spoilage. Always store them in an airtight container in the refrigerator.
Absolutely! Topping with finely chopped nuts is a fantastic variation. Feel free to sprinkle chopped pecans, walnuts, almonds, or even pistachios on the freshly dipped truffles. The nutty crunch provides a wonderful contrast to the smooth, sweet white chocolate.
White chocolate can seize (become grainy and clumpy) for a couple of reasons: it was overheated, or it came into contact with even a tiny amount of water. To prevent this, always melt white chocolate slowly, using short intervals if microwaving, and stir frequently. Ensure your bowl and any utensils are completely dry before you start.
The best way to achieve perfectly round truffles is to use a small cookie scoop for portioning. After scooping, gently roll the portions between your palms, applying even pressure, until they form a smooth sphere. If the ganache gets too warm from your hands, pop it back into the fridge for a few minutes to firm up again.
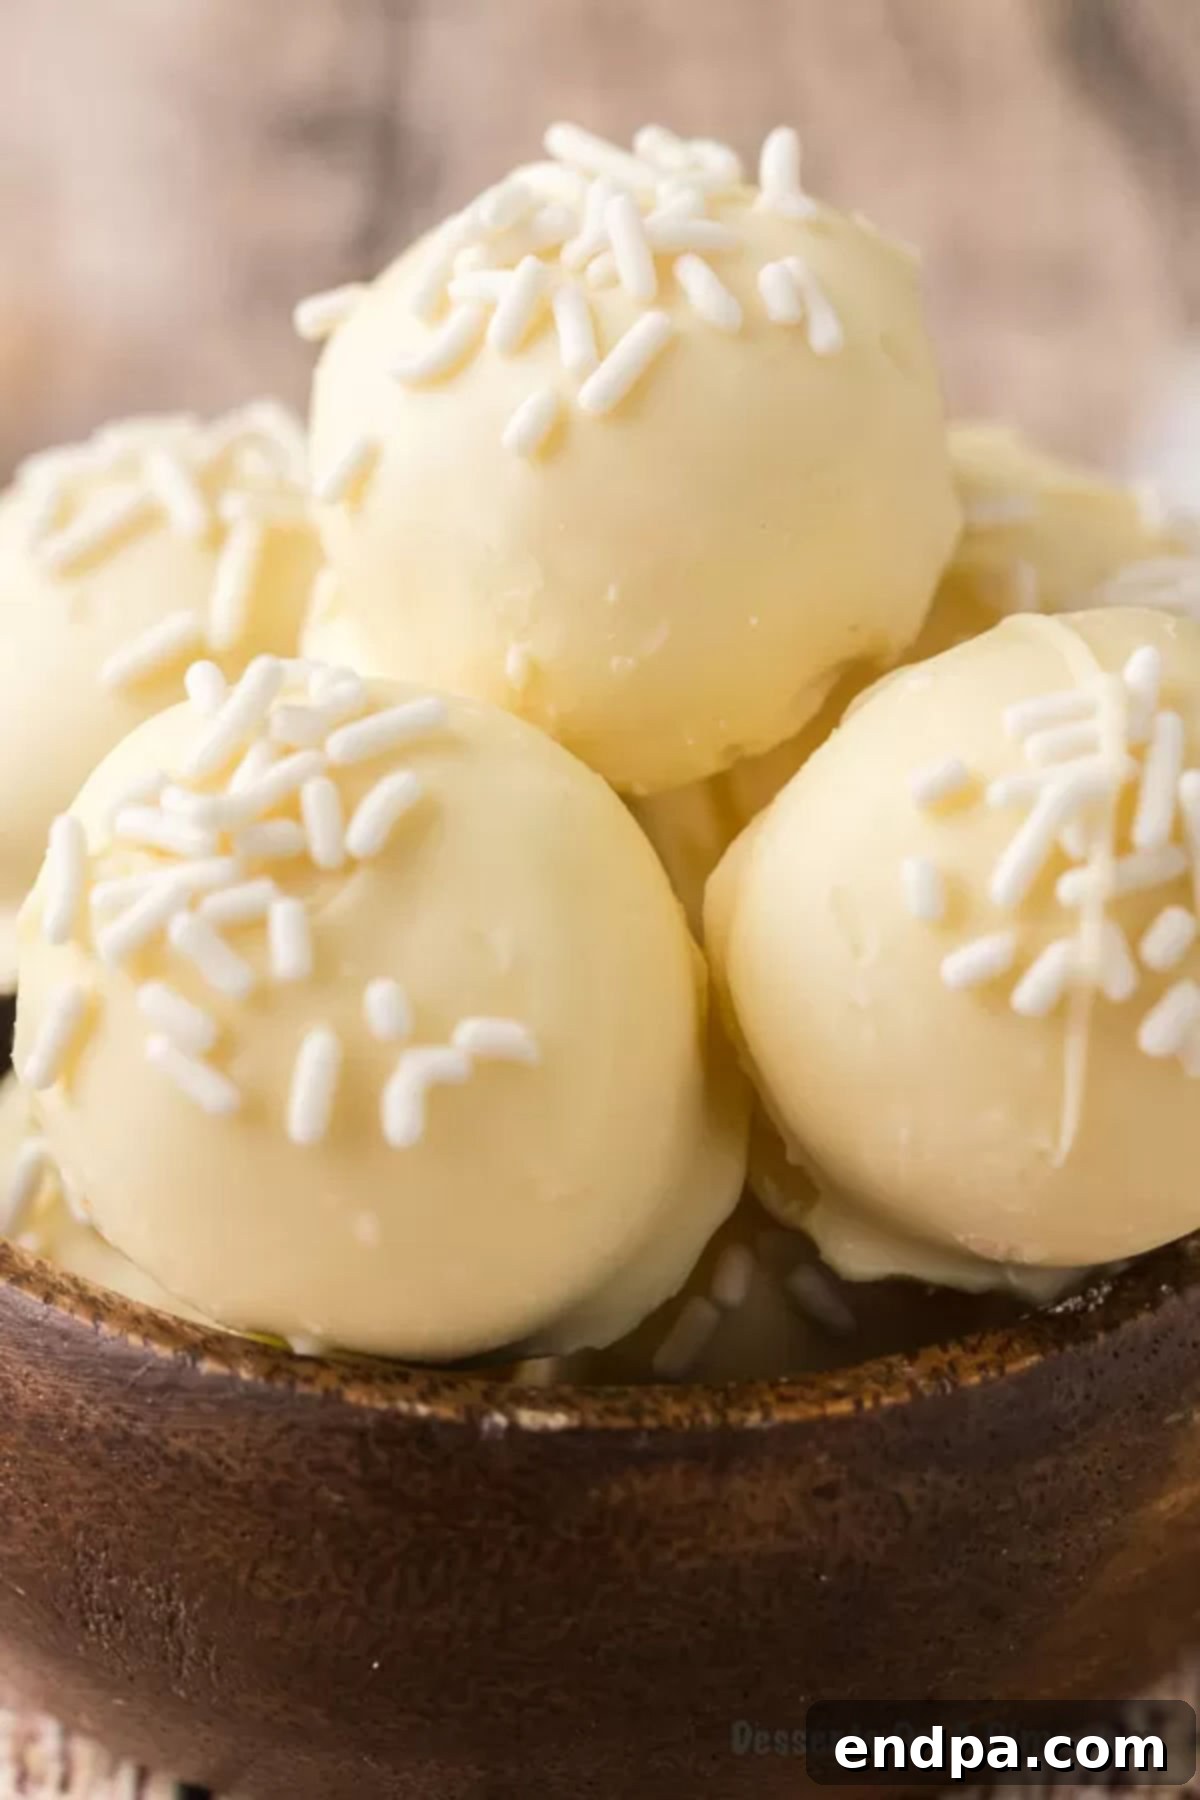
More Irresistible Easy Desserts to Explore
If you loved the simplicity and deliciousness of these white chocolate truffles, you’ll definitely want to try some of our other easy dessert recipes:
- Carrot Cake Truffles: All the delicious flavors of carrot cake in a delightful bite-sized truffle.
- Red Velvet Cake Balls Recipe: Rich red velvet cake mixed with cream cheese frosting, then coated in chocolate.
- Oreo Truffles: A classic favorite, these simple truffles are made with crushed Oreos and cream cheese.
- Divinity Candy: A light, airy, and fluffy Southern confectionery, perfect for holidays.
- Cream Puffs Recipe: Delicate pastry shells filled with luscious whipped cream.
- Christmas Truffles Recipe: Festive and fun truffles perfect for holiday entertaining and gifting.
We encourage you to embark on this delightful culinary journey and create your own batch of easy white chocolate truffles. Once you do, please share your experience by leaving a comment below. We love hearing about your kitchen adventures!
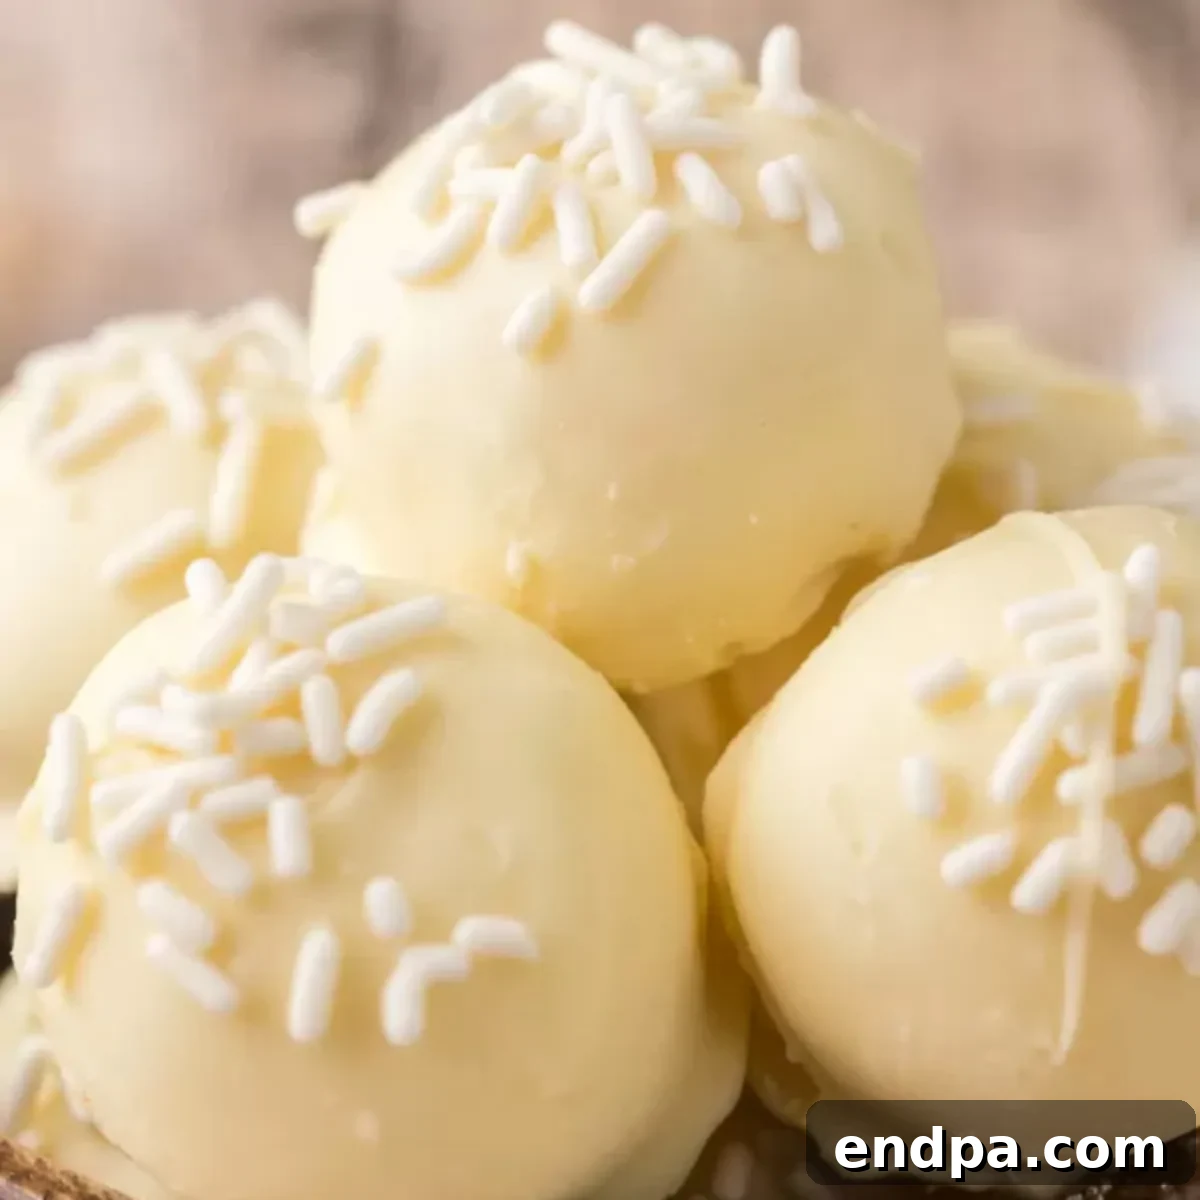
White Chocolate Truffles
Make these decadent White Chocolate Truffles with just 4 simple ingredients. This treat does not disappoint and tastes delicious.
Prep Time: 15 mins
Refrigerate Time: 2 hrs
Total Time: 2 hrs 15 mins
Servings: 24 truffles
Cuisine: American
Course: Dessert
Author: Carrie Barnard
Ingredients
- 16 oz white chocolate baking bars, divided
- 1/3 cup plus 2 tablespoons heavy whipping cream
- 1 tablespoon butter
- white sprinkles, optional
Instructions
- In a small saucepan, combine heavy whipping cream and simmer over medium-low heat, stirring constantly, until tiny bubbles just begin to form around the edges. Do not boil.
- Remove the saucepan from the heat and stir in the butter until completely melted and incorporated.
- Add 8 ounces of white chocolate baking bars to the warm cream mixture. Stir continuously until the chocolate is completely melted and the mixture is smooth and uniform.
- Pour the ganache into a small glass bowl. Allow it to cool completely at room temperature, then refrigerate for about 2 hours, or until firm enough to roll.
- Once firm, remove from the refrigerator. Using a 1-inch cookie scoop, portion out the ganache and roll each portion into a smooth 1-inch ball. Place the shaped truffles on a baking sheet lined with parchment paper.
- Transfer the baking sheet to the freezer for 30 minutes to further firm up the truffles.
- While the truffles are chilling, melt the remaining 8 ounces of white baking chocolate. Place it in a small microwave-safe bowl and microwave in 30-second intervals, stirring thoroughly after each interval, until completely melted and smooth. Be careful not to overheat.
- Remove truffles from the freezer. Dip each truffle into the melted white chocolate, ensuring it is fully coated. Allow excess chocolate to drip off, then place the truffle back onto the parchment paper. Immediately sprinkle with white sprinkles (if using) before the chocolate sets.
- Refrigerate the truffles again until the outer chocolate coating is completely hardened, about 15-30 minutes. Serve chilled or at room temperature.
Nutrition Facts
Calories: 117 kcal, Carbohydrates: 11g, Protein: 1g, Fat: 8g, Saturated Fat: 5g, Trans Fat: 1g, Cholesterol: 10mg, Sodium: 22mg, Potassium: 57mg, Fiber: 1g, Sugar: 11g, Vitamin A: 69IU, Vitamin C: 1mg, Calcium: 40mg, Iron: 1mg
Pin This Now to Remember It Later
Pin Recipe
