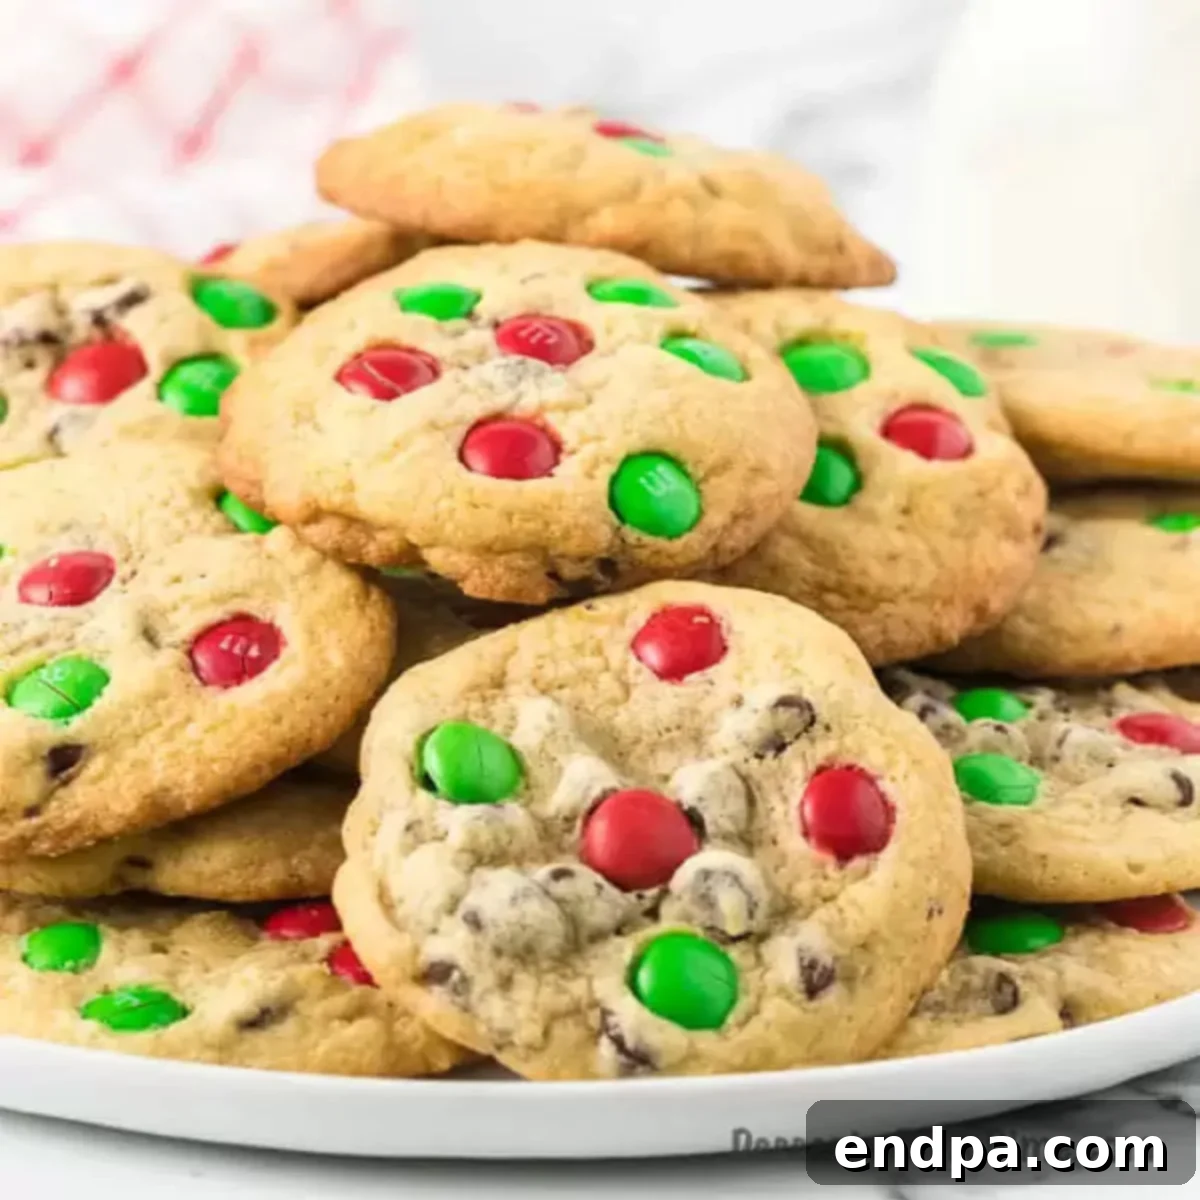
Get ready to create some holiday magic with this irresistibly easy and utterly delicious Santa Cookies recipe! Bursting with rich chocolate chips and vibrant red and green M&M’s, these festive treats are not just cookies; they’re an essential part of the Christmas Eve tradition. If you’re searching for the ultimate cookies to leave for Santa, your search ends here. This recipe promises perfectly chewy cookies with delightful crispy edges, ensuring Santa (and your family!) will be begging for more.
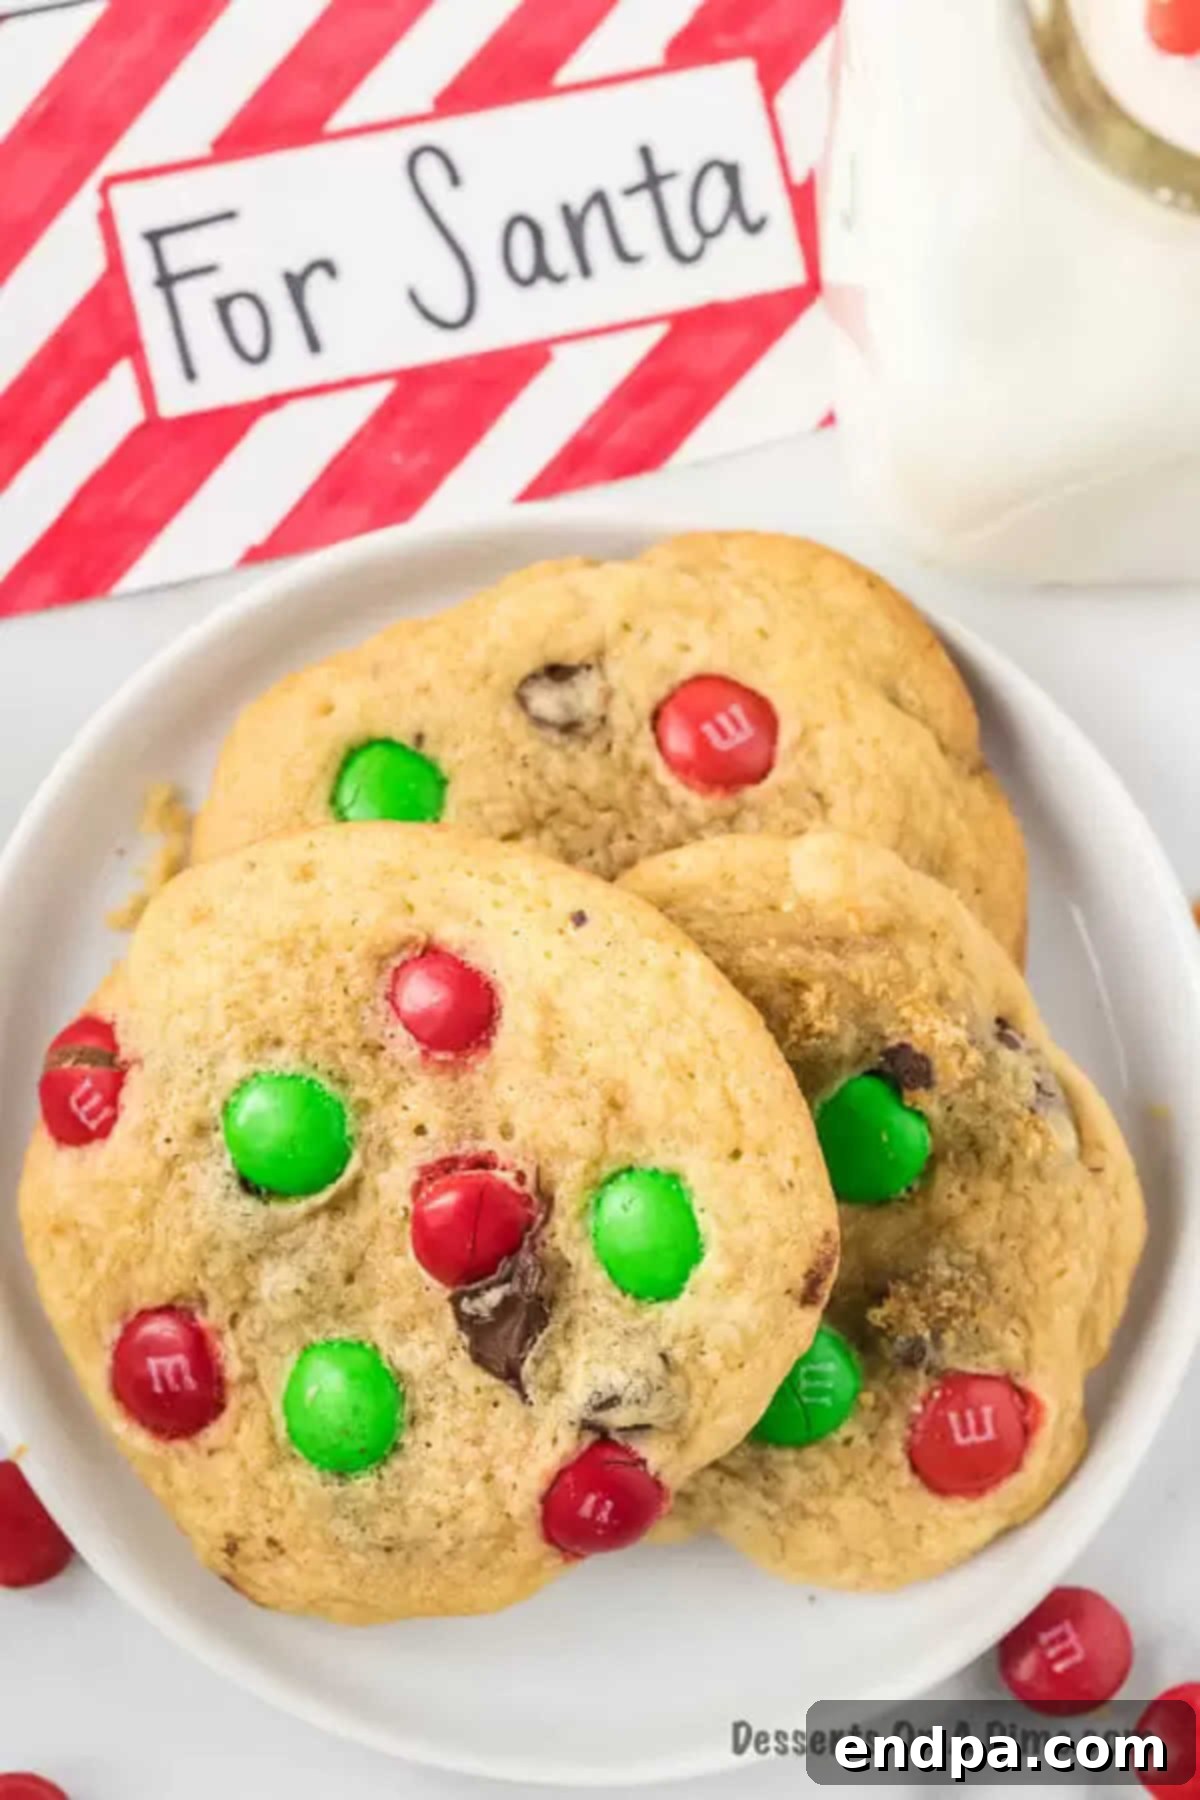
Christmas is a season filled with wonder, and for many families, one of the most cherished rituals is baking special cookies for Santa’s arrival. There’s something truly magical about little hands carefully placing homemade treats on a plate, anticipating the jolly visitor. While classic chocolate chip cookies are always a hit, our enhanced Santa Cookies recipe takes this beloved tradition to a whole new level of festive delight. They are designed to be extra special, vibrant, and packed with flavor, making them the perfect offering for the big man himself.
Imagine the excitement as your children prepare the plate, eagerly awaiting Christmas morning. These vibrant cookies are also wonderfully versatile, making them a fantastic addition to any holiday dessert spread. They pair beautifully with other festive treats like Nutter Butter Reindeer Cookies and Christmas Chocolate Covered Strawberries, creating an enchanting display that captures the spirit of the season. Plus, they’re so simple to make, even young bakers can get involved, fostering precious family memories year after year. If you happen to have extra M&Ms, don’t let them go to waste – whip up a festive M&M Cookie Cake!
Why These Santa Cookies Are Unforgettable
What makes these Santa Cookies truly extraordinary and a guaranteed favorite? It’s a combination of irresistible flavors and perfect textures, crafted to bring ultimate joy to your holiday celebrations:
- Double the Chocolate Delight: We don’t just use chocolate chips; we generously load these cookies with both classic chocolate chips AND festive red and green M&M’s. This ensures a delightful burst of chocolate in every single bite, satisfying even the most ardent chocolate lovers.
- Visually Festive & Appealing: The vibrant colors of the Christmas M&M’s make these cookies incredibly appealing and perfectly match the joyous holiday aesthetic. They look absolutely stunning on any Christmas platter, adding a pop of color and cheer.
- Melt-in-Your-Mouth Texture: Each cookie boasts that coveted texture – a delightfully crispy edge that gives way to a soft, chewy, and gooey center. This ideal combination is what truly elevates them, making them a pleasure to eat.
- Effortless Preparation: Despite their gourmet taste and festive appearance, these cookies are surprisingly easy to make. They rely on simple, readily available pantry ingredients, meaning you won’t need to hunt for exotic items. Perfect for busy holiday schedules!
- Perfect for Gifting & Sharing: Whether you’re leaving them for Santa, sharing with neighbors, bringing them to a potluck, or serving at your own holiday gathering, these cookies are always a welcome treat. Their deliciousness and festive look make them ideal for spreading cheer.
Table of Contents: Your Guide to Perfect Santa Cookies
- Why These Santa Cookies Are Unforgettable
- Gather Your Ingredients for Festive Santa Cookies
- Customizing Your Christmas Creation: Santa Cookies Variations
- How to Make the Best Santa Cookies: A Step-by-Step Guide
- Expert Tips for Flawless Holiday Baking with Santa Cookies
- Frequently Asked Questions about Santa’s Favorite Treat
- More Festive Treats for Your Holiday Table
- The Full Santa Cookies Recipe Card
Gather Your Ingredients for Festive Santa Cookies
Creating these delightful Santa Cookies requires a few basic pantry staples, ensuring a hassle-free and enjoyable baking experience. Here’s what you’ll need to make a batch of Santa’s favorite treats that are sure to impress:
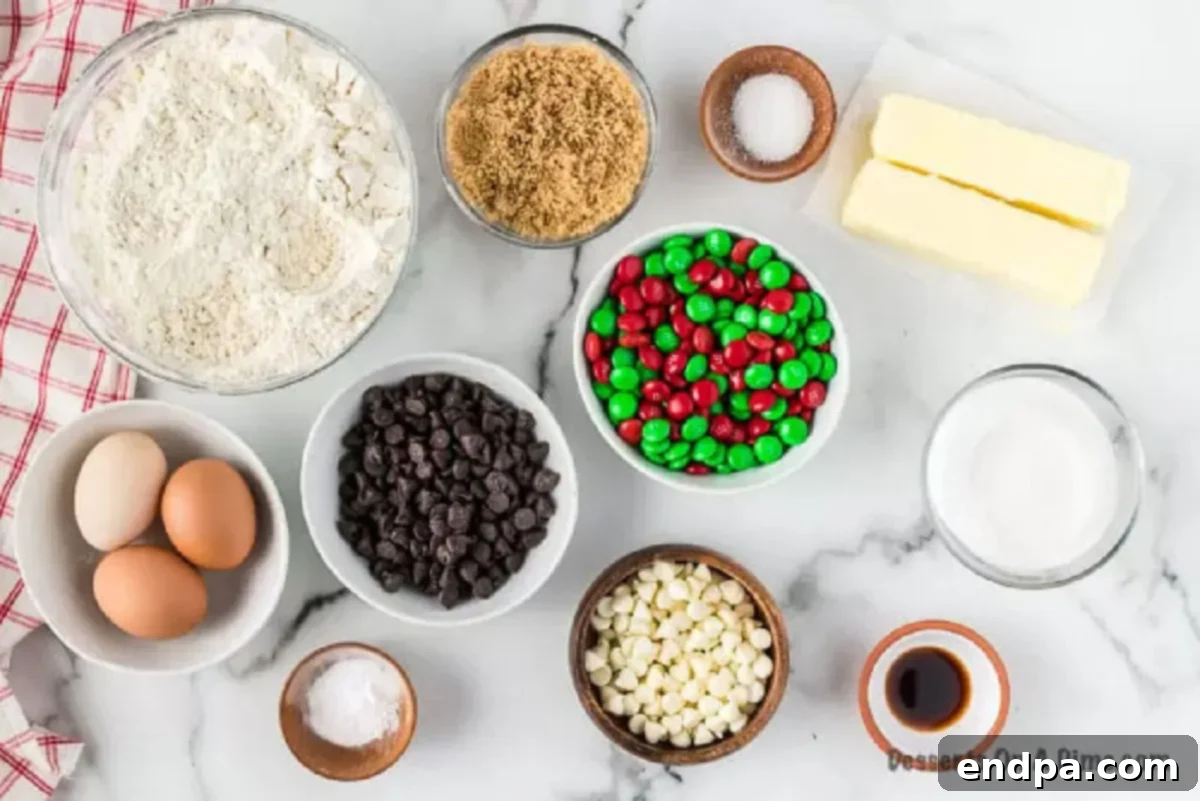
- All-Purpose Flour: This forms the essential structure and foundation of our soft and chewy cookies.
- Unsalted Butter: Crucially, make sure your butter is softened at room temperature. This allows it to cream smoothly with the sugars, creating a light and airy base for your dough.
- Brown Sugar (packed): Adds rich moisture and a wonderful caramel-like depth of flavor, contributing significantly to the cookies’ characteristic chewiness.
- Granulated Sugar: Provides essential sweetness and plays a key role in achieving those desirable slightly crispy edges that contrast beautifully with the soft interior.
- Vanilla Extract: A generous teaspoon of high-quality vanilla extract enhances and harmonizes all the other flavors, making the cookies taste even more inviting.
- Large Eggs & Egg Yolk: Eggs act as binders, holding the dough together, while an extra egg yolk contributes significant richness and helps to keep the cookies exceptionally tender and moist.
- Chocolate Chips: You have options here! Use classic semi-sweet, indulgent milk chocolate, rich dark chocolate, or even a mix of your favorite types for varying levels of chocolatey goodness in every bite.
- Christmas M&M’s: These are more than just candy; they add vibrant, festive holiday colors and an extra layer of chocolatey crunch and fun to each cookie.
- Baking Soda & Salt: Baking soda is our primary leavening agent, ensuring the cookies rise beautifully. Salt is vital for balancing the sweetness and enhancing the overall flavor profile.
Customizing Your Christmas Creation: Santa Cookies Variations
One of the true joys of holiday baking is the ability to personalize your creations and make them uniquely yours. These Santa Cookies are incredibly versatile, allowing you to easily experiment with different flavors and textures to suit your preferences or those of your guests. Here are some delightful substitutions and additions to make your Christmas cookies truly unforgettable:
- Diverse Chocolate Choices: Don’t limit yourself to just semi-sweet chocolate chips! For a creamier, milder flavor, try white chocolate chips. If you prefer an intense cocoa hit, dark chocolate chips are an excellent choice. A thoughtful blend of milk, dark, and white chocolate can create a complex and irresistibly layered flavor profile in every bite.
- Nutty Additions: For an extra layer of flavor, satisfying crunch, and a boost of protein, consider folding in about half a cup of finely chopped nuts. Walnuts and pecans are classic choices that complement chocolate wonderfully, adding warm, earthy notes that are perfect for the holiday season.
- Sparkle with Sprinkles: To boost the festive appeal even further, add a generous amount of Christmas-themed sprinkles. You can mix them directly into the dough for colorful specks throughout, or for an even more eye-catching finish, press them onto the top of the cookie balls just before baking.
- Seasonal Spices: Infuse your cookies with comforting holiday warmth by adding a pinch of ground cinnamon, a dash of nutmeg, or even a tiny amount of ground ginger. These spices pair wonderfully with chocolate and evoke the spirit of Christmas.
- Candy Cane Crunch: For a delightful minty twist, try gently crushing some candy canes and folding them into the dough along with the M&M’s. This not only adds a refreshing flavor but also provides a lovely textural crunch that kids and adults alike will adore.
- Different Candy Mix-ins: Beyond M&M’s, feel free to experiment with other holiday candies. Chopped peppermint patties, mini Reese’s peanut butter cups, or even bits of toffee can add exciting new dimensions to your Santa Cookies.
How to Make the Best Santa Cookies: A Step-by-Step Guide
Baking these festive Santa Cookies is a straightforward and enjoyable process that even novice bakers can master with ease. Follow these simple steps to create a batch of perfectly soft, delightfully chewy, and abundantly chocolate-loaded holiday treats that Santa will absolutely adore:
- Step 1: Prepare Your Workspace (Preheat Oven & Line Baking Sheets)
Begin by preheating your oven to 350°F (175°C). This ensures the oven is at the correct temperature for even baking. Next, line your baking sheets with parchment paper or silicone baking mats. This crucial step prevents the cookies from sticking, promotes uniform baking, and makes cleanup incredibly simple. - Step 2: Combine Dry Ingredients (Whisk Flour Mixture)
In a medium-sized mixing bowl, whisk together the all-purpose flour, salt, and baking soda. Make sure these dry ingredients are thoroughly combined. This even distribution helps ensure proper leavening and consistent flavor throughout your finished cookies. Set this bowl aside for now.
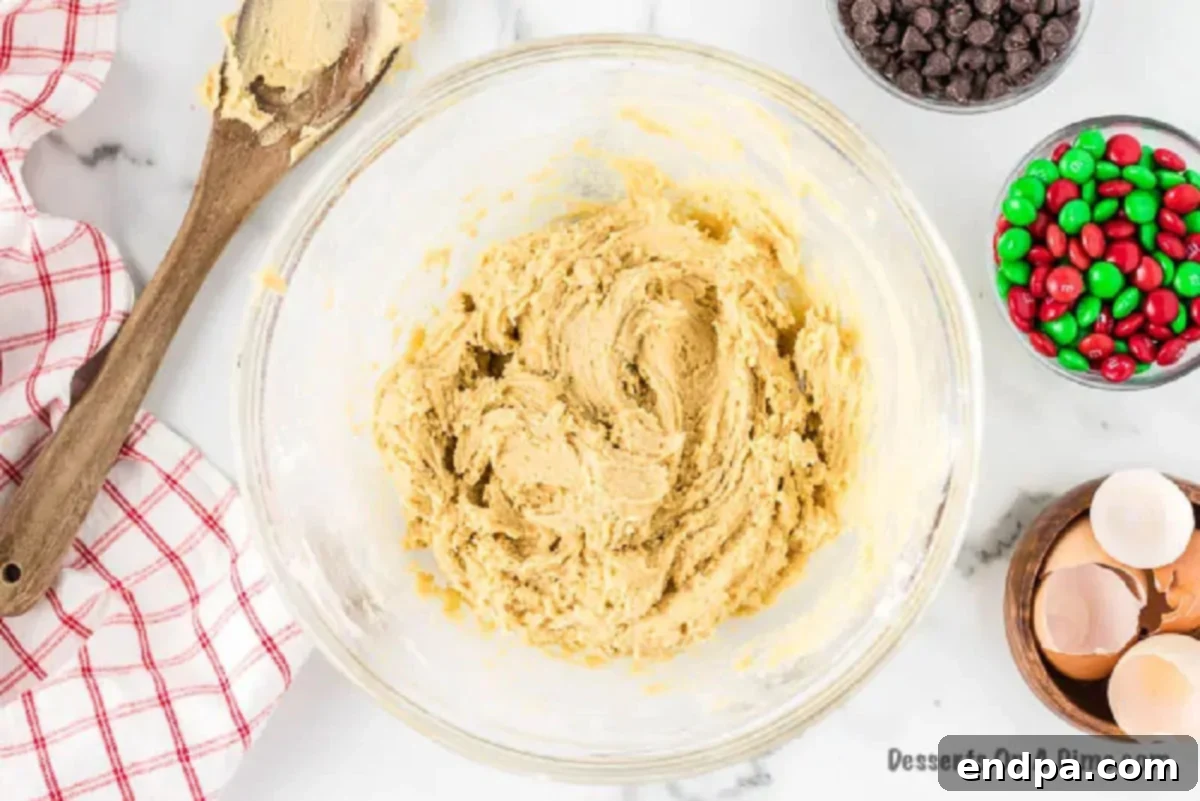
Step 3: Cream Wet Ingredients (Butter, Sugars & Vanilla)
In a large mixing bowl, using an electric mixer (either a sturdy stand mixer or a hand-held mixer), cream together the softened unsalted butter, brown sugar, granulated sugar, and vanilla extract. Beat these ingredients until the mixture is light, fluffy, and noticeably pale in color. This creaming process incorporates essential air, which contributes significantly to the cookies’ wonderful texture. Next, beat in the two large eggs and the extra egg yolk one at a time, ensuring each is fully incorporated into the mixture before adding the next. This step adds richness and helps maintain the cookies’ delightful chewiness.
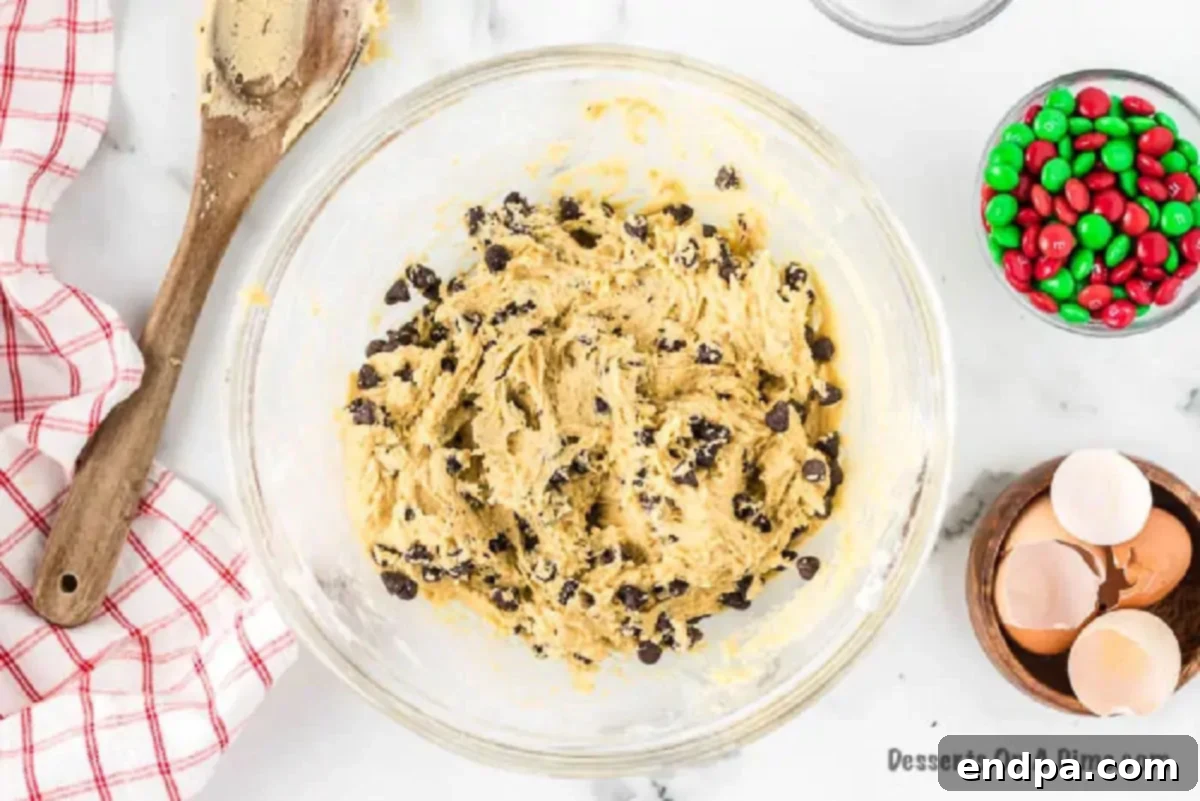
Step 4: Incorporate Dry Ingredients & Fold in Chocolate Chips
Gradually add the whisked dry flour mixture (from Step 2) to the wet ingredients in the large bowl, stirring gently by hand until just combined. Be careful not to overmix the dough, as excessive mixing can develop too much gluten, leading to tough rather than tender cookies. Once the flour is mostly incorporated and no streaks remain, gently fold in the chocolate chips by hand. Remember to save the colorful Christmas M&M’s for the final decoration step!
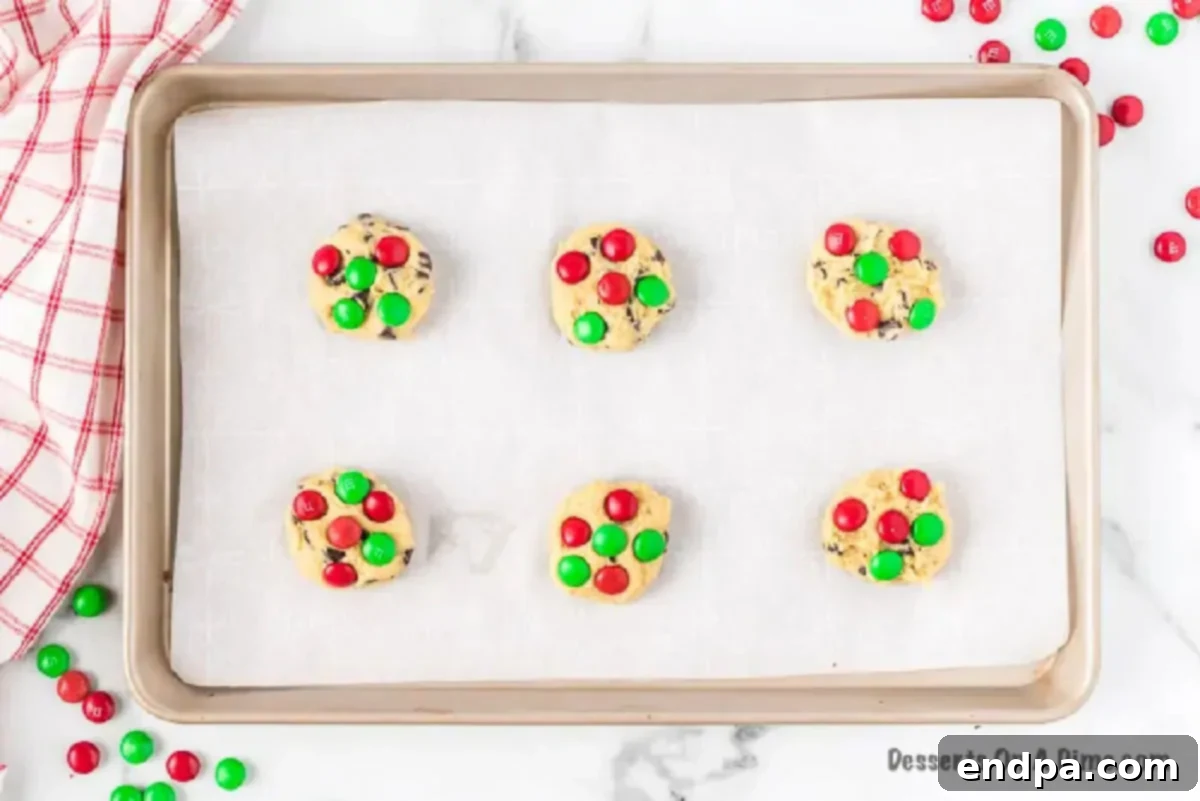
Step 5: Form & Decorate Cookie Dough Balls
Using a cookie scoop (which is highly recommended for achieving uniformly sized cookies!), form the cookie dough into even, consistent balls. Place these dough balls onto your prepared baking sheets, ensuring you leave adequate space between each one to allow for spreading during baking. Lightly press down the top of each dough ball just slightly. Now for the festive touch: gently press the Christmas M&M’s onto the top of each cookie dough ball. This ensures they are prominently visible and wonderfully vibrant once baked, making your Santa Cookies extra special.
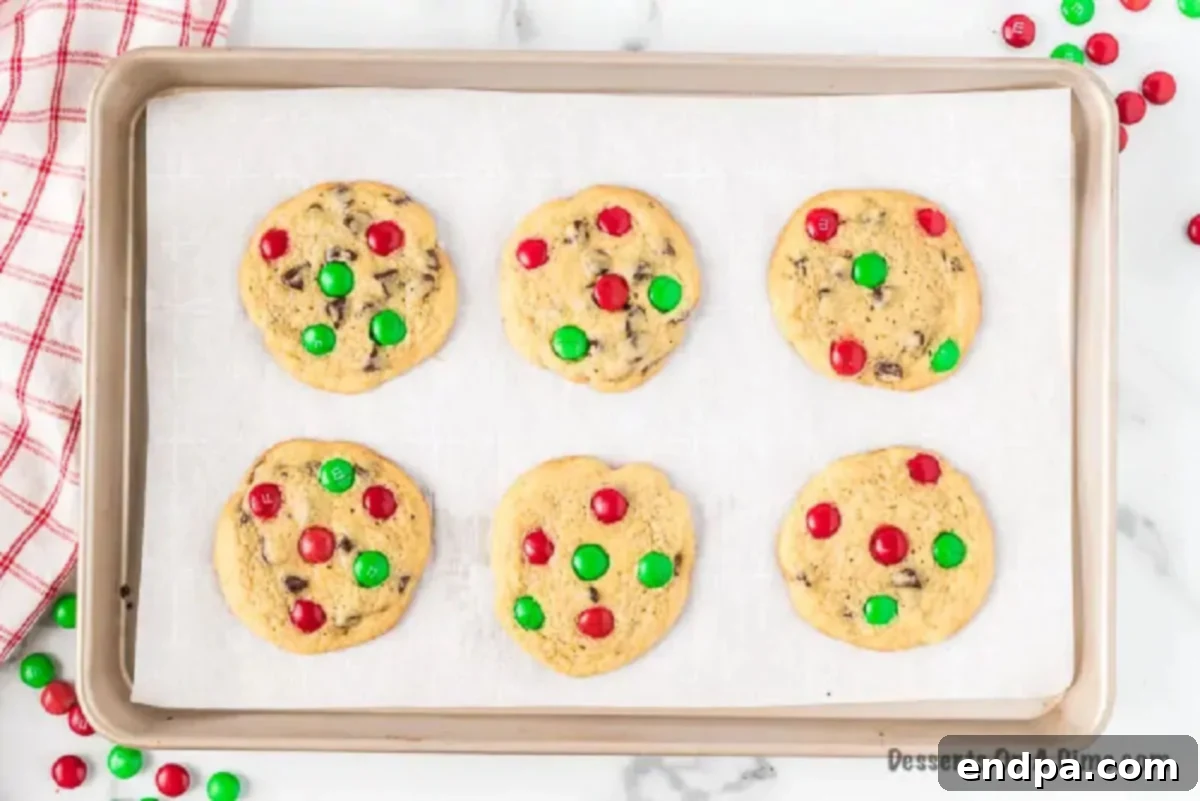
Step 6: Bake & Cool to Perfection
Bake the cookies for approximately 8-10 minutes, or until the edges appear lightly golden brown and the centers still look slightly soft and slightly underdone. The key to achieving wonderfully soft and chewy cookies is to avoid overbaking them! Once baked, remove the baking sheets from the oven and allow the cookies to set on the hot sheets for 5 minutes. This crucial step helps them firm up gently and prevents them from crumbling or breaking when transferred. Finally, carefully transfer the cookies to a wire rack to cool completely. Once fully cool, store them in an airtight container to maintain their freshness, and then enjoy your perfectly baked Santa Cookies!
Expert Tips for Flawless Holiday Baking with Santa Cookies
Achieving bakery-quality Santa Cookies is simpler than you think with a few insider tricks. These expert tips will help ensure your cookies turn out perfectly soft, chewy, and delicious every single time, making your holiday baking stress-free and rewarding:
- The Right Mixer Makes a Difference: While a hand-held mixer will certainly get the job done, a stand mixer is often preferred for creaming butter and sugar until it’s truly light and fluffy. This vigorous creaming process is absolutely crucial for incorporating enough air into the mixture, which directly impacts the light and tender texture of your final cookies. Always mix on medium speed to properly aerate without overworking the dough.
- Don’t Rush the Cooling Process: After baking, resist the urge to immediately transfer your warm cookies to a cooling rack. Allowing them to cool on the baking sheet for at least 5 minutes helps them firm up gently and prevents them from crumbling or breaking when you move them. This step is especially important for warm, delicate cookies that need a little time to set.
- Invest in a Cookie Scoop: A cookie scoop is an absolute game-changer in the kitchen! It ensures that all your cookies are perfectly uniform in size and shape, which guarantees even baking across the entire batch. No more guessing with spoons; simply scoop, drop, and bake. Plus, it significantly speeds up the dough-forming process, saving you precious time.
- Gradual Addition of Dry Ingredients: When combining your wet and dry ingredients, always add the dry mixture gradually, in small portions. I highly recommend adding about one cup at a time and mixing gently until just combined before adding the next portion. This technique prevents overmixing, which can develop too much gluten in the flour and result in tough, dense cookies rather than soft and chewy ones.
- Room Temperature Ingredients are Key: Ensure both your butter and eggs are at proper room temperature before you begin baking. Softened butter creams smoothly and evenly with sugar, creating an ideal airy base. Room temperature eggs also incorporate more evenly into the batter, leading to a consistent, well-emulsified dough that bakes beautifully.
- Chill the Dough (Optional but Recommended): If you have a little extra time, chilling your cookie dough for at least 30 minutes (or even up to an hour) can make a significant difference in the final product. Chilled dough spreads less in the oven, resulting in thicker, chewier cookies. It also allows the flavors to meld and deepen, enhancing the overall taste experience.
- Quality Ingredients Matter: While this recipe relies on simple ingredients, the quality of those ingredients can significantly impact the final taste of your cookies. Use good quality vanilla extract for the best flavor profile, and fresh eggs will always yield superior results.
- Don’t Overbake: This is perhaps the most crucial tip for soft, chewy cookies. Remove them from the oven when the edges are just set and lightly golden, but the centers still look slightly soft or even a little underdone. They will continue to cook slightly on the hot baking sheet.
Frequently Asked Questions about Santa’s Favorite Treat
By long-standing tradition, classic chocolate chip cookies are hands-down the most popular and frequently chosen treat left out for Santa Claus on Christmas Eve. Their universal appeal, comforting familiarity, and delightful taste make them a favorite worldwide. However, our Santa Cookies recipe takes this beloved classic and elevates it further by incorporating festive red and green M&M’s and extra chocolate chips, making them even more special and exciting for the big man himself. These soft, chewy, and visually appealing cookies are designed to be a truly energizing and delicious offering to help Santa through his long night of deliveries!
The secret to maintaining the delightful softness and chewiness of your Santa Cookies lies entirely in proper storage once they have completely cooled. After your cookies have cooled to room temperature, store them in an airtight container. A well-sealed container prevents air from reaching the cookies and drying them out, keeping them wonderfully soft and fresh for up to 4-5 days. Avoid cookie jars with loose-fitting lids, as these will allow moisture to escape quickly, leading to stale and hard cookies. For an extra boost of freshness, you can even place a half-slice of plain bread or a small piece of apple in the container with the cookies; the cookies will absorb moisture from it, helping them stay soft longer (just remember to change the bread or fruit every day or two to prevent mold).
Absolutely! Freezing is an excellent way to prepare these Santa Cookies ahead of time, which is especially helpful during the busy holiday season. For the best results in terms of fresh-baked flavor and texture, we highly recommend freezing the cookie dough rather than already baked cookies. Here’s how you can do it:
- Freezing Dough: Prepare the cookie dough exactly as instructed in the recipe. Once the dough is fully mixed, use your cookie scoop to roll the dough into individual, uniform balls. Place these dough balls on a baking sheet lined with parchment paper, making sure they don’t touch, and flash freeze them for about 1-2 hours, or until they are completely solid.
- Storage: Once the dough balls are frozen solid, transfer them to a freezer-safe zip-top bag or an airtight freezer container. Label the container with the date. They can be stored in the freezer for up to 3 months, making holiday prep a breeze.
- Baking from Frozen: When you’re ready for warm, fresh-baked cookies, simply remove the desired number of dough balls from the freezer. You can bake them directly from frozen (they might need an extra minute or two of baking time compared to the recipe), or you can let them sit at room temperature for 15-20 minutes to slightly thaw before baking as usual. This method ensures you can have warm, freshly baked Santa Cookies ready for Santa (or your family) on Christmas Eve or any time during the holiday season!
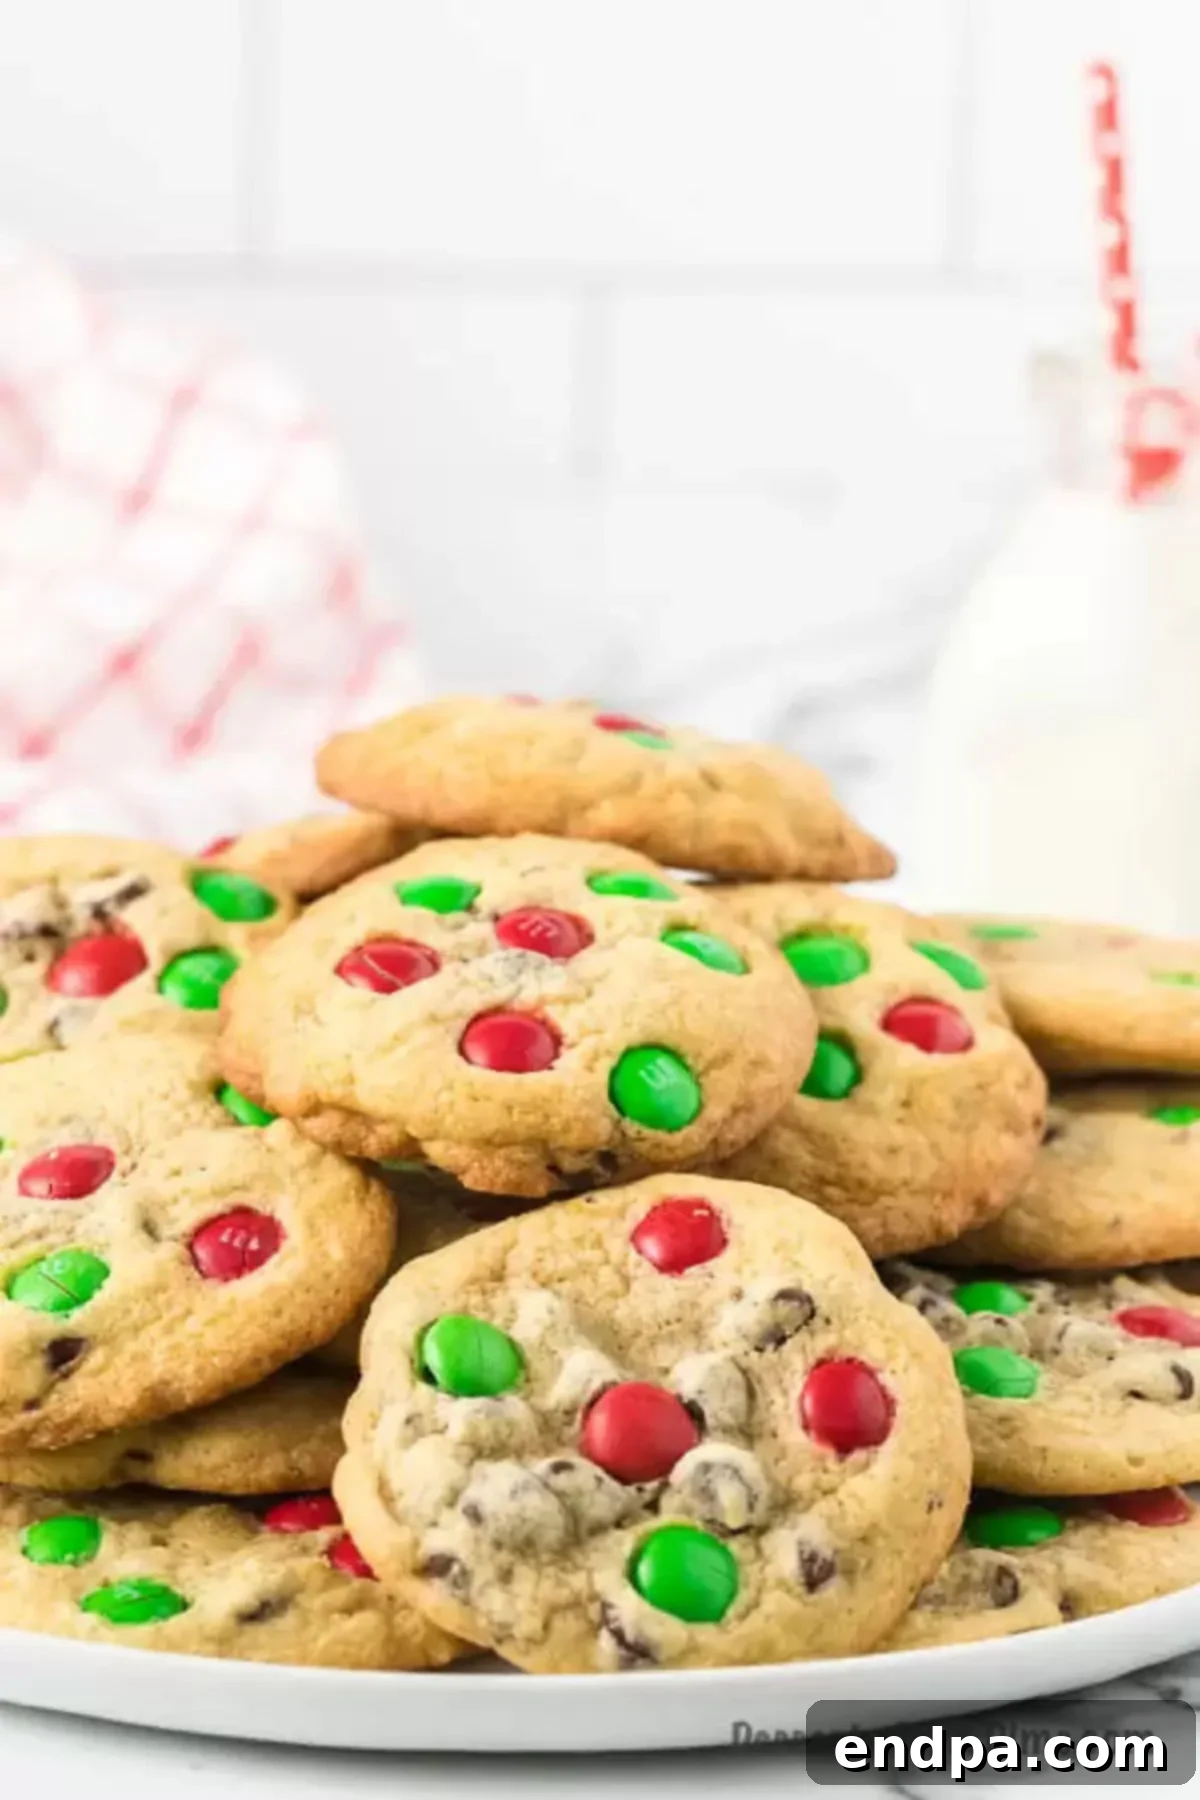
More Festive Treats for Your Holiday Table
The holiday season is all about indulging in delicious homemade goodies and sharing sweet moments with loved ones. If you’re looking for more easy and delightful Christmas cookie recipes to complement your Santa Cookies and expand your festive dessert spread, be sure to try these:
- Candy Cane Kiss Cookies
- How to Make Snowman Cookies
- Christmas Cookies in a Jar
- Soft and Chewy Gingerbread Cookies
We hope you enjoy baking these incredibly delicious Santa Cookies for Santa Claus and your family this Christmas! Once you’ve tried them, please come back and share your experience by leaving a star recipe rating. Your feedback not only helps us but also helps other aspiring bakers find their new favorite holiday tradition!
The Full Santa Cookies Recipe Card
Santa Cookies
This easy Santa cookies recipe is sure to be a hit with lots of chocolate. These are the best cookies for Santa’s plate and so simple, featuring chocolate chips and festive M&M’s for a truly magical Christmas treat.
Prep Time: 10 mins
Cook Time: 10 mins
Cool Time: 5 mins
Total Time: 25 mins
Servings: 24 cookies
Cuisine: American
Course: Dessert
Author: Carrie Barnard
Ingredients
- 2 ¼ cups all-purpose flour
- 1 teaspoon salt
- 1 teaspoon baking soda
- 2 sticks unsalted butter, softened at room temperature
- ¾ cup packed brown sugar
- ¼ cup granulated sugar
- 1 teaspoon vanilla extract
- 2 large eggs
- 1 large egg yolk
- 1 cup chocolate chips (semi-sweet, milk, or a mix)
- 1 cup Christmas M&Ms
Instructions
- Preheat oven to 350°F (175°C). Line baking sheets with silicone mats or parchment paper.
- In a medium bowl, combine flour, salt, and baking soda. Whisk well until thoroughly combined and set aside.
- In a large bowl, using an electric mixer, cream together the softened butter, brown sugar, granulated sugar, and vanilla extract until the mixture is light, fluffy, and pale in color.
- Beat in the 2 large eggs and 1 egg yolk, one at a time, ensuring each is fully incorporated before adding the next.
- Gradually stir in the dry flour mixture (from step 2) by hand until just smooth and combined. Be careful not to overmix the dough.
- Gently fold in the chocolate chips by hand until evenly distributed.
- Using a cookie dough scoop, divide the dough and roll into uniform balls. Place them on the prepared baking sheets, leaving enough space between each cookie. Lightly press down the top of each dough ball.
- Gently press the Christmas M&Ms onto the top of each cookie dough ball for a festive appearance once baked.
- Bake for 8-10 minutes, or until the edges are lightly golden brown and the centers still look slightly soft. Do not overbake to ensure chewy cookies.
- Allow the cookies to set on the baking sheet for 5 minutes after removing from the oven. This helps them firm up and prevents breaking.
- Carefully transfer the cookies to a wire rack to cool completely.
- Store cooled cookies in an airtight container at room temperature to maintain freshness and enjoy for up to 4-5 days!
Nutrition Facts (per serving)
The nutritional information provided is an estimate based on standard ingredient values and 24 servings. Actual values may vary depending on ingredients used and preparation methods.
- Calories: 234 kcal
- Carbohydrates: 29g
- Protein: 3g
- Fat: 12g
- Saturated Fat: 7g
- Cholesterol: 44mg
- Sodium: 162mg
- Potassium: 29mg
- Fiber: 1g
- Sugar: 19g
- Vitamin A: 302 IU
- Vitamin C: 1mg
- Calcium: 31mg
- Iron: 1mg
