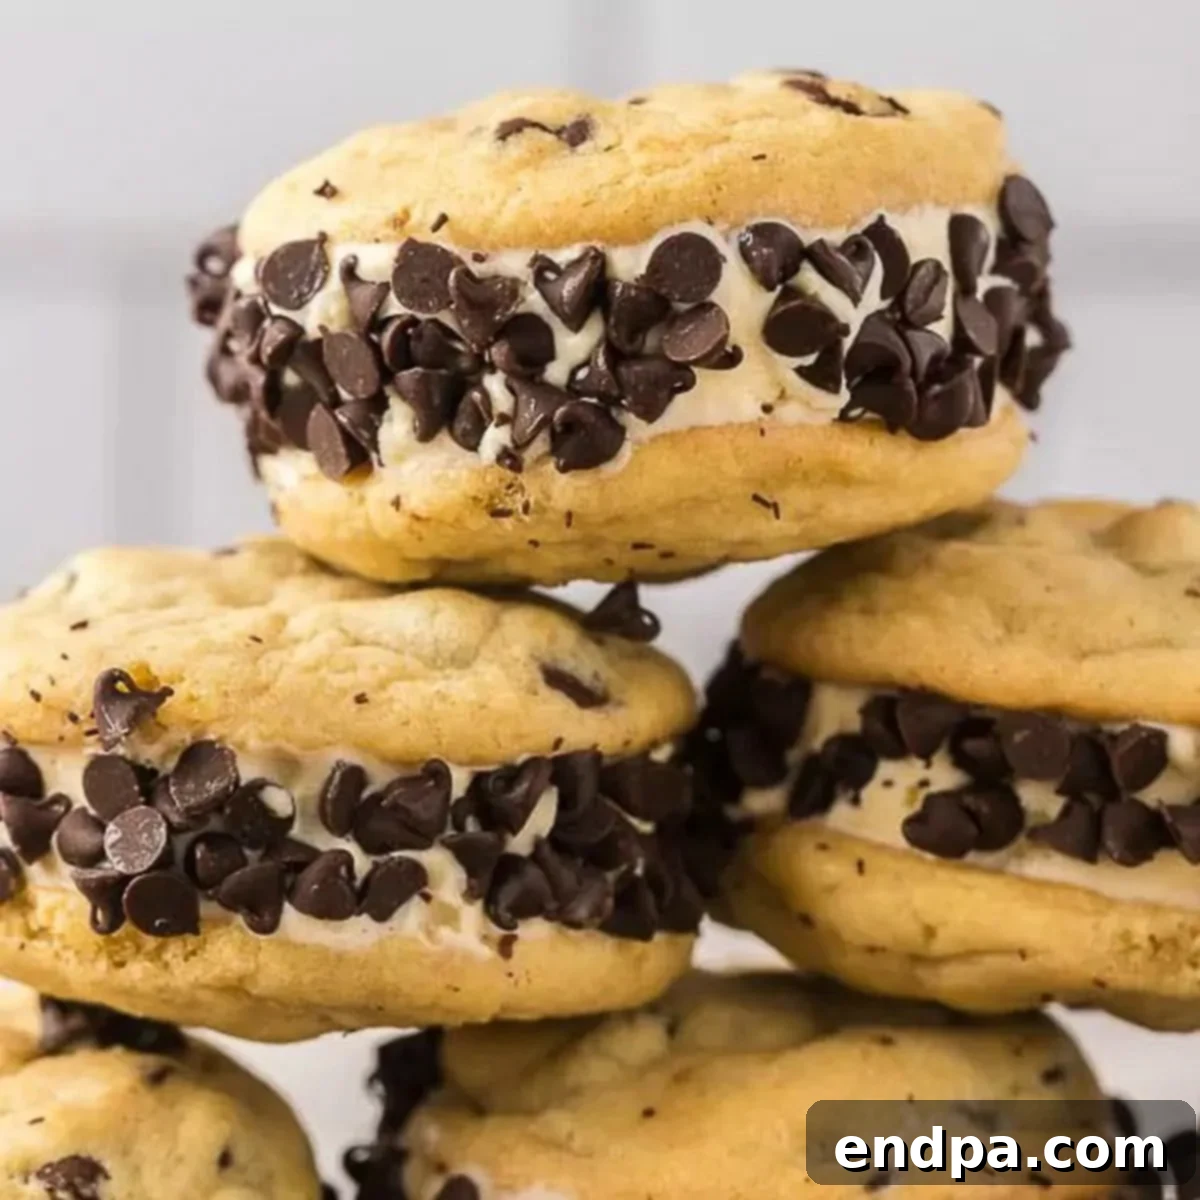
Decadent Homemade Chipwich: The Ultimate Ice Cream Sandwich Recipe
Prepare to create the most incredible dessert experience right in your own kitchen with these decadent Homemade Chipwich Ice Cream Sandwiches. Forget the store-bought versions; nothing compares to the blissful combination of freshly baked, chewy chocolate chip cookies embracing a generous scoop of creamy vanilla ice cream, all rolled in extra chocolate chips for that perfect, satisfying crunch. This recipe promises a treat that will delight everyone, becoming an instant favorite for family and friends alike.

Homemade ice cream sandwiches, especially the iconic Chipwich, are a delightful indulgence and among the very best ice cream recipes you can master. The beauty of crafting your own lies in its incredible simplicity and the freedom to customize. While our recipe features classic Vanilla Ice Cream, you can easily experiment with any ice cream flavor your heart desires. This guide will walk you through every step, ensuring your homemade Chipwiches are nothing short of perfection.
Table of Contents
- What Exactly is a Chipwich?
- Chipwich vs. Ice Cream Sandwich: A Sweet Distinction
- Gather Your Ingredients: The Building Blocks of Bliss
- For the Irresistible Chocolate Chip Cookies
- For the Dreamy Ice Cream Sandwiches
- Crafting Your Homemade Chipwich: A Step-by-Step Guide
- Frequently Asked Questions (FAQs)
- Expert Tips for Chipwich Perfection
- More Delightful Ice Cream Recipes
What Exactly is a Chipwich?
At its core, a Chipwich is a truly decadent and satisfying dessert. It’s an ice cream sandwich taken to the next level, featuring a generous scoop of rich, creamy vanilla ice cream nestled between two soft, chewy chocolate chip cookies. But what truly sets it apart is the signature touch: the entire sandwich is then rolled in a cascade of mini chocolate chips, adding an extra layer of chocolatey goodness and a delightful textural contrast that elevates it beyond a simple cookie and ice cream combination. If you’ve never had the pleasure of tasting this iconic chocolate chip cookie ice cream sandwich, you are in for an absolute treat. The original Chipwich is a beloved classic, and learning to make a homemade version allows you to experience its magic with the unparalleled taste of fresh, quality ingredients.
Chipwich vs. Ice Cream Sandwich: A Sweet Distinction
Yes, fundamentally, a Chipwich is a type of ice cream cookie sandwich, but it’s often regarded as the gold standard of the category. While any two cookies can technically sandwich ice cream, the Chipwich specifically refers to the classic combination of vanilla ice cream with chocolate chip cookies, typically rolled in additional chocolate chips. This recipe truly elevates the concept by using fresh, homemade chocolate chip cookies, which provides an absolutely incomparable base for your frozen dessert. The soft, slightly warm chewiness of a freshly baked cookie, cooled just enough to hold its shape, makes all the difference, creating a dessert that feels luxurious and comforting. You’ll truly appreciate being able to enjoy this amazing treat, customized to your preference, right from your home freezer.
Gather Your Ingredients: The Building Blocks of Bliss
Creating the perfect Chipwich starts with selecting the right ingredients. Each component plays a vital role in achieving that signature taste and texture, from the chewiness of the cookies to the creaminess of the ice cream. Below, you’ll find everything you need to assemble these delightful frozen treats. For your convenience, the complete ingredient list with precise measurements is provided at the bottom of the page in the recipe card.
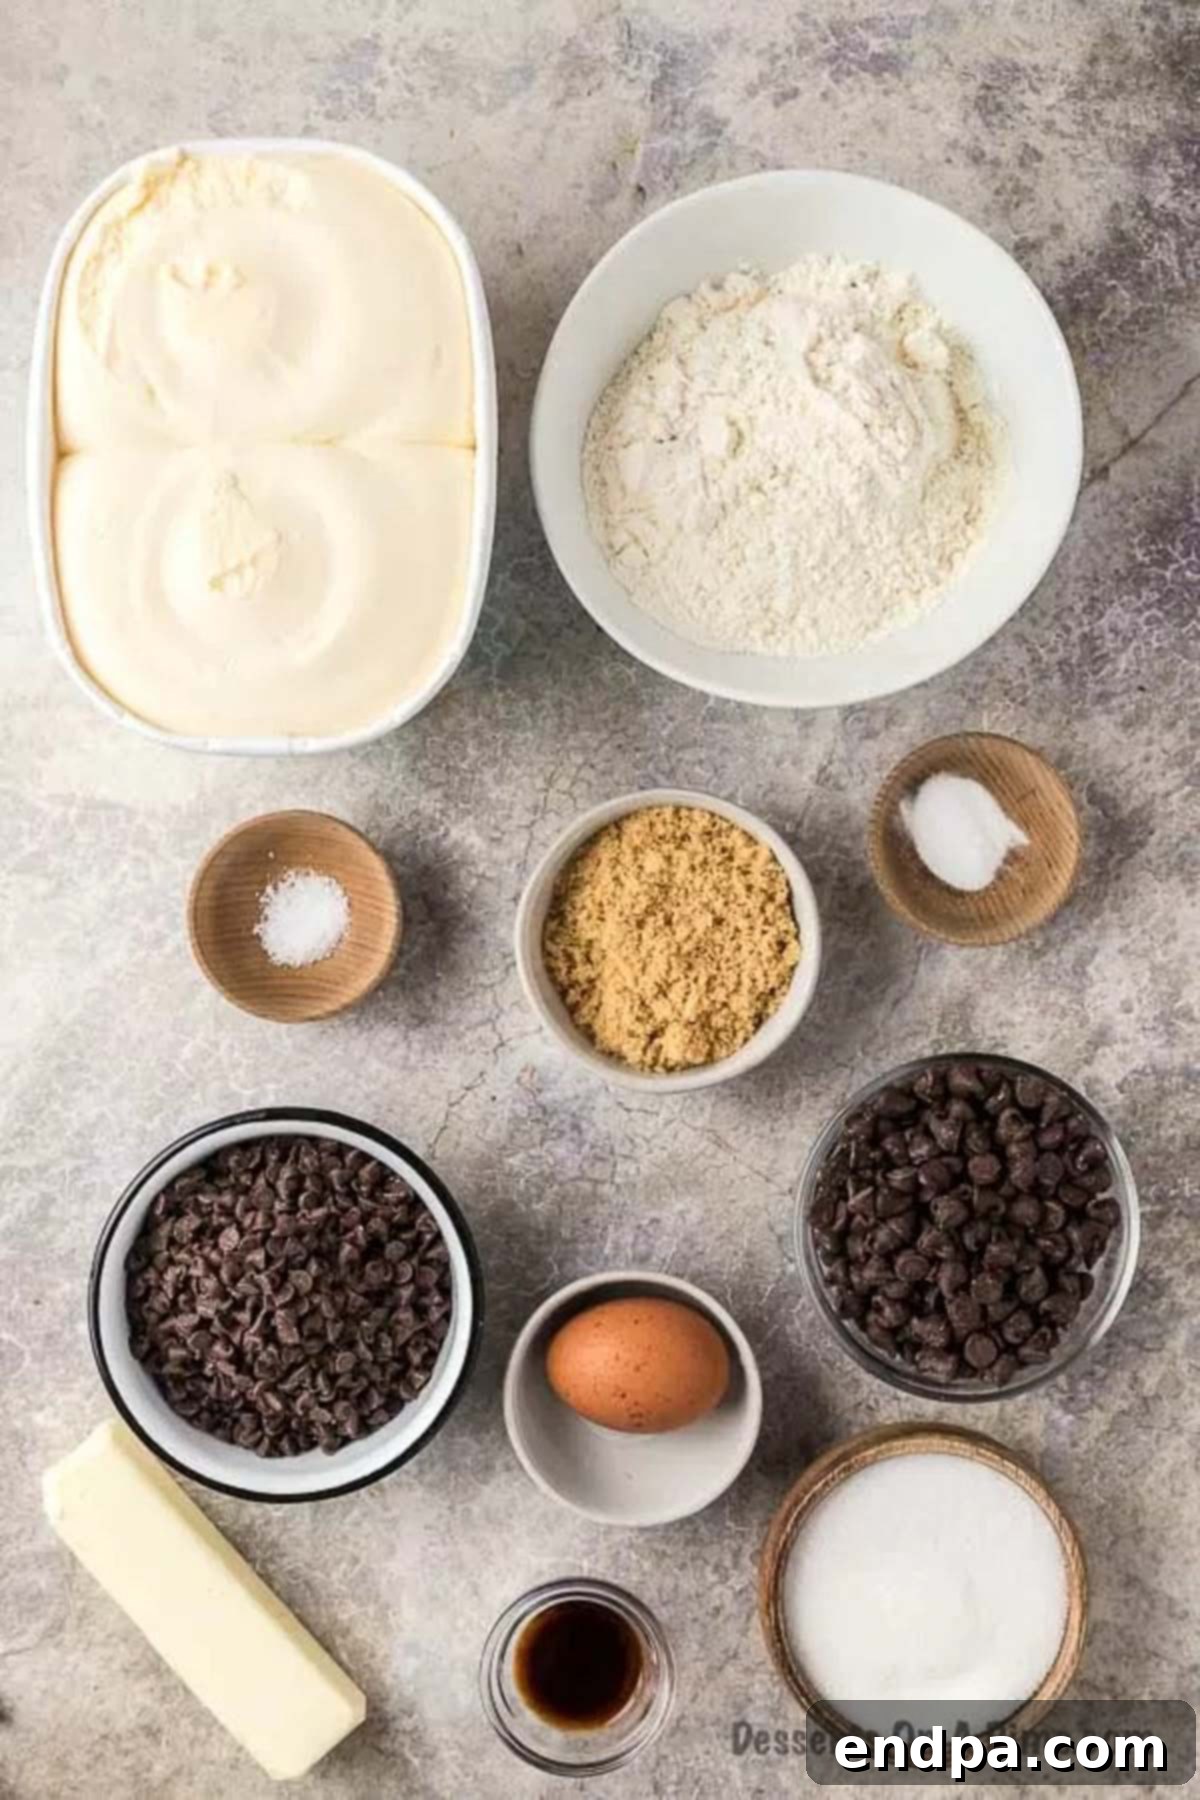
For the Irresistible Chocolate Chip Cookies
- Unsalted Butter: Ensure it’s softened at room temperature. This is crucial for proper creaming with the sugars, creating a light and airy base for your cookies. Unsalted butter allows you to control the total salt content in the recipe.
- Granulated Sugar: Provides sweetness and contributes to the crispness around the edges of the cookies.
- Brown Sugar: Adds a deeper, molasses-rich flavor and ensures your cookies are wonderfully soft and chewy. Using a combination of both sugars yields the best texture.
- Large Egg: Acts as a binder, adding richness and helping the cookies maintain their structure.
- Vanilla Extract: Essential for enhancing the overall flavor profile of your chocolate chip cookies. A good quality vanilla makes a noticeable difference.
- All-Purpose Flour: The primary structural component of your cookies. Make sure to measure it correctly, preferably by weight or by spooning into a measuring cup and leveling.
- Baking Soda: A leavening agent that helps the cookies rise slightly and contributes to their soft texture.
- Salt: Balances the sweetness and brings out the flavors of the chocolate and vanilla.
- Semi-Sweet Chocolate Chips: The star of the cookies! Use a brand you love for the best flavor.
For the Dreamy Ice Cream Sandwiches
- Vanilla Ice Cream: The classic choice for a Chipwich. Allow it to soften slightly before scooping for easier assembly. Feel free to substitute with your favorite flavor!
- Mini Chocolate Chips: These are for rolling the edges of your assembled sandwiches, creating the iconic Chipwich look and adding a delightful chocolatey crunch. Mini chips adhere better to the ice cream than standard-sized ones.
Crafting Your Homemade Chipwich: A Step-by-Step Guide
Making your own Chipwich ice cream sandwiches is a rewarding experience, and with these detailed steps, you’ll achieve perfect results every time. Remember to read through all instructions before you begin, and gather your tools and ingredients in advance for a smooth process.
- Step 1: Prepare Your Oven and Baking Sheets. First, preheat your oven to 350°F (175°C). Line several baking sheets with parchment paper or silicone baking mats. This crucial step prevents the cookies from sticking and ensures easy removal, making cleanup a breeze.
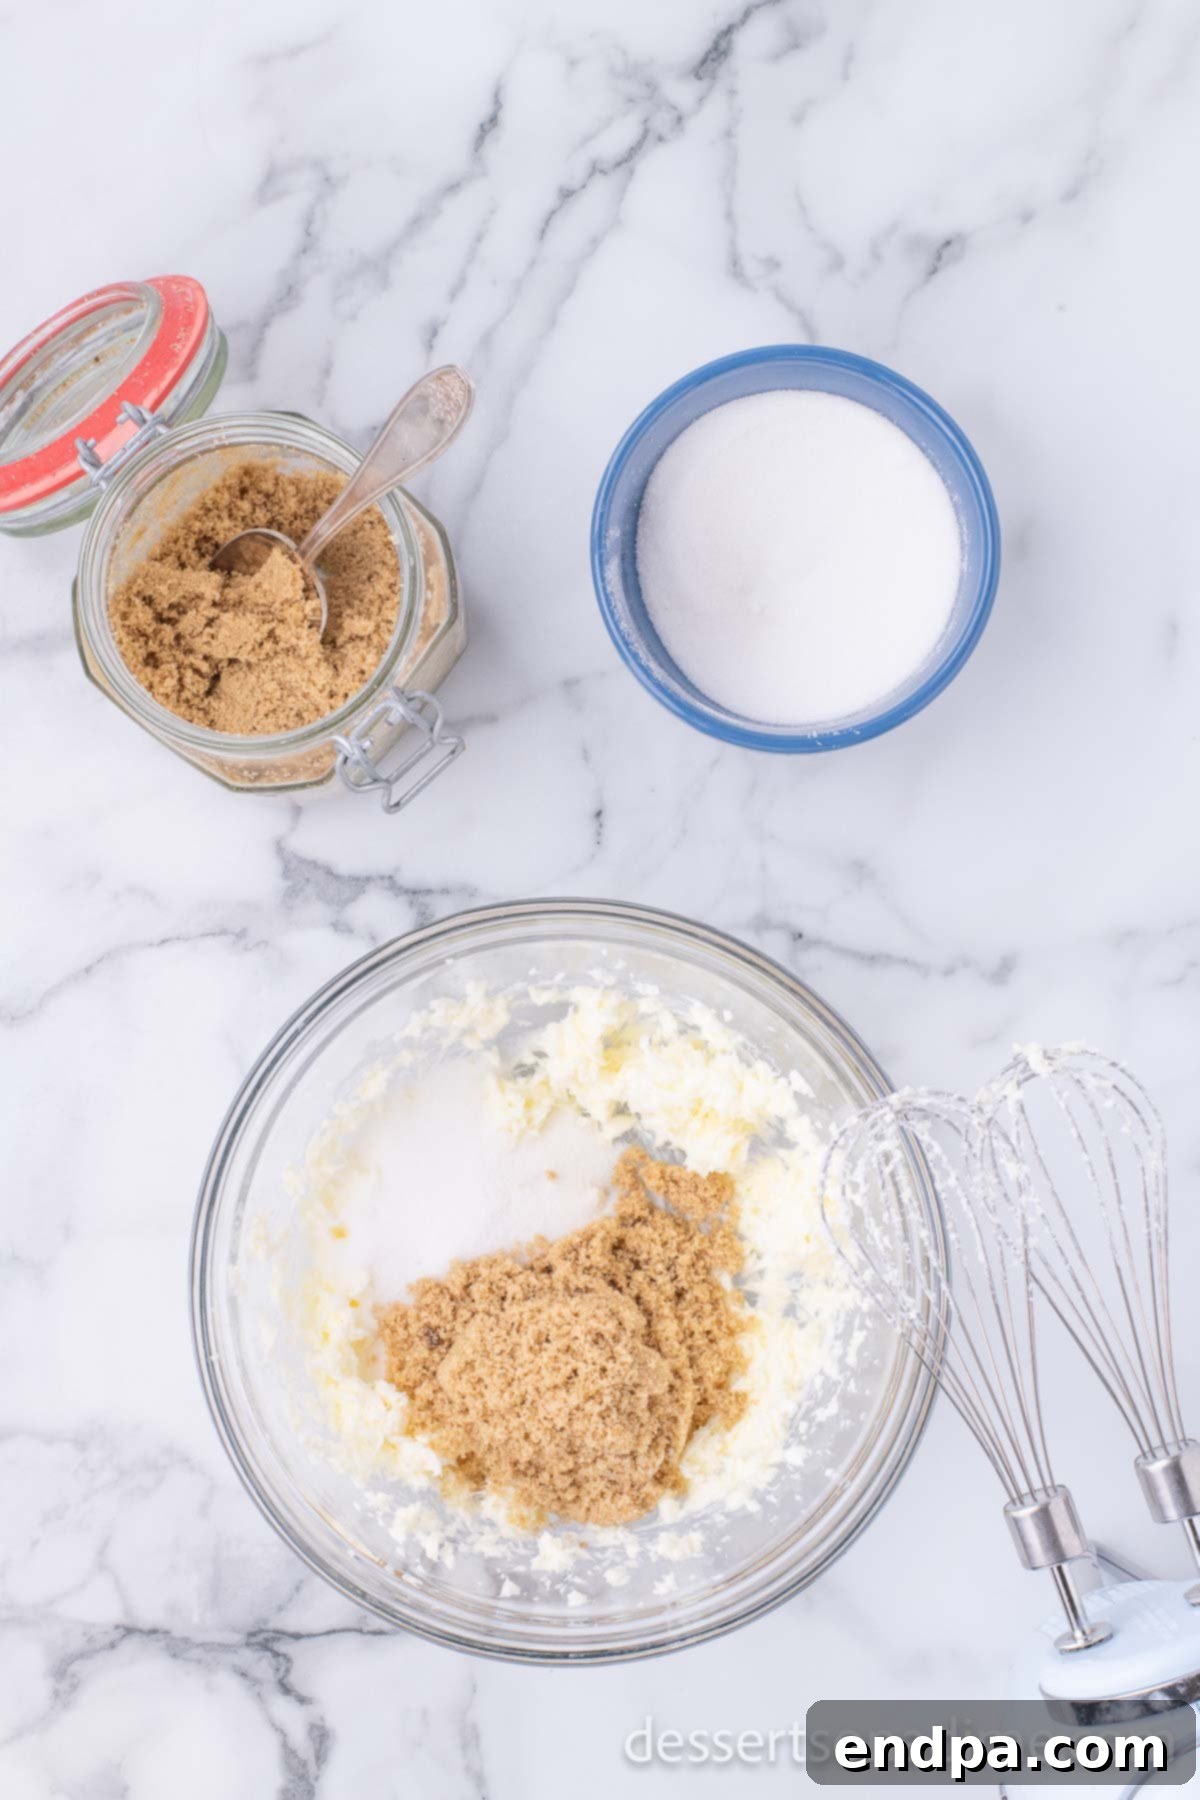
Step 2: Cream Butter and Sugars. While the oven is warming up, take a large mixing bowl or the bowl of a stand mixer fitted with the paddle attachment. Add the softened unsalted butter, granulated sugar, and brown sugar. Beat these ingredients together on medium speed for 2 to 3 minutes. Continue mixing until the mixture becomes light, fluffy, and visibly creamy. This process incorporates air, which is vital for the cookies’ texture.
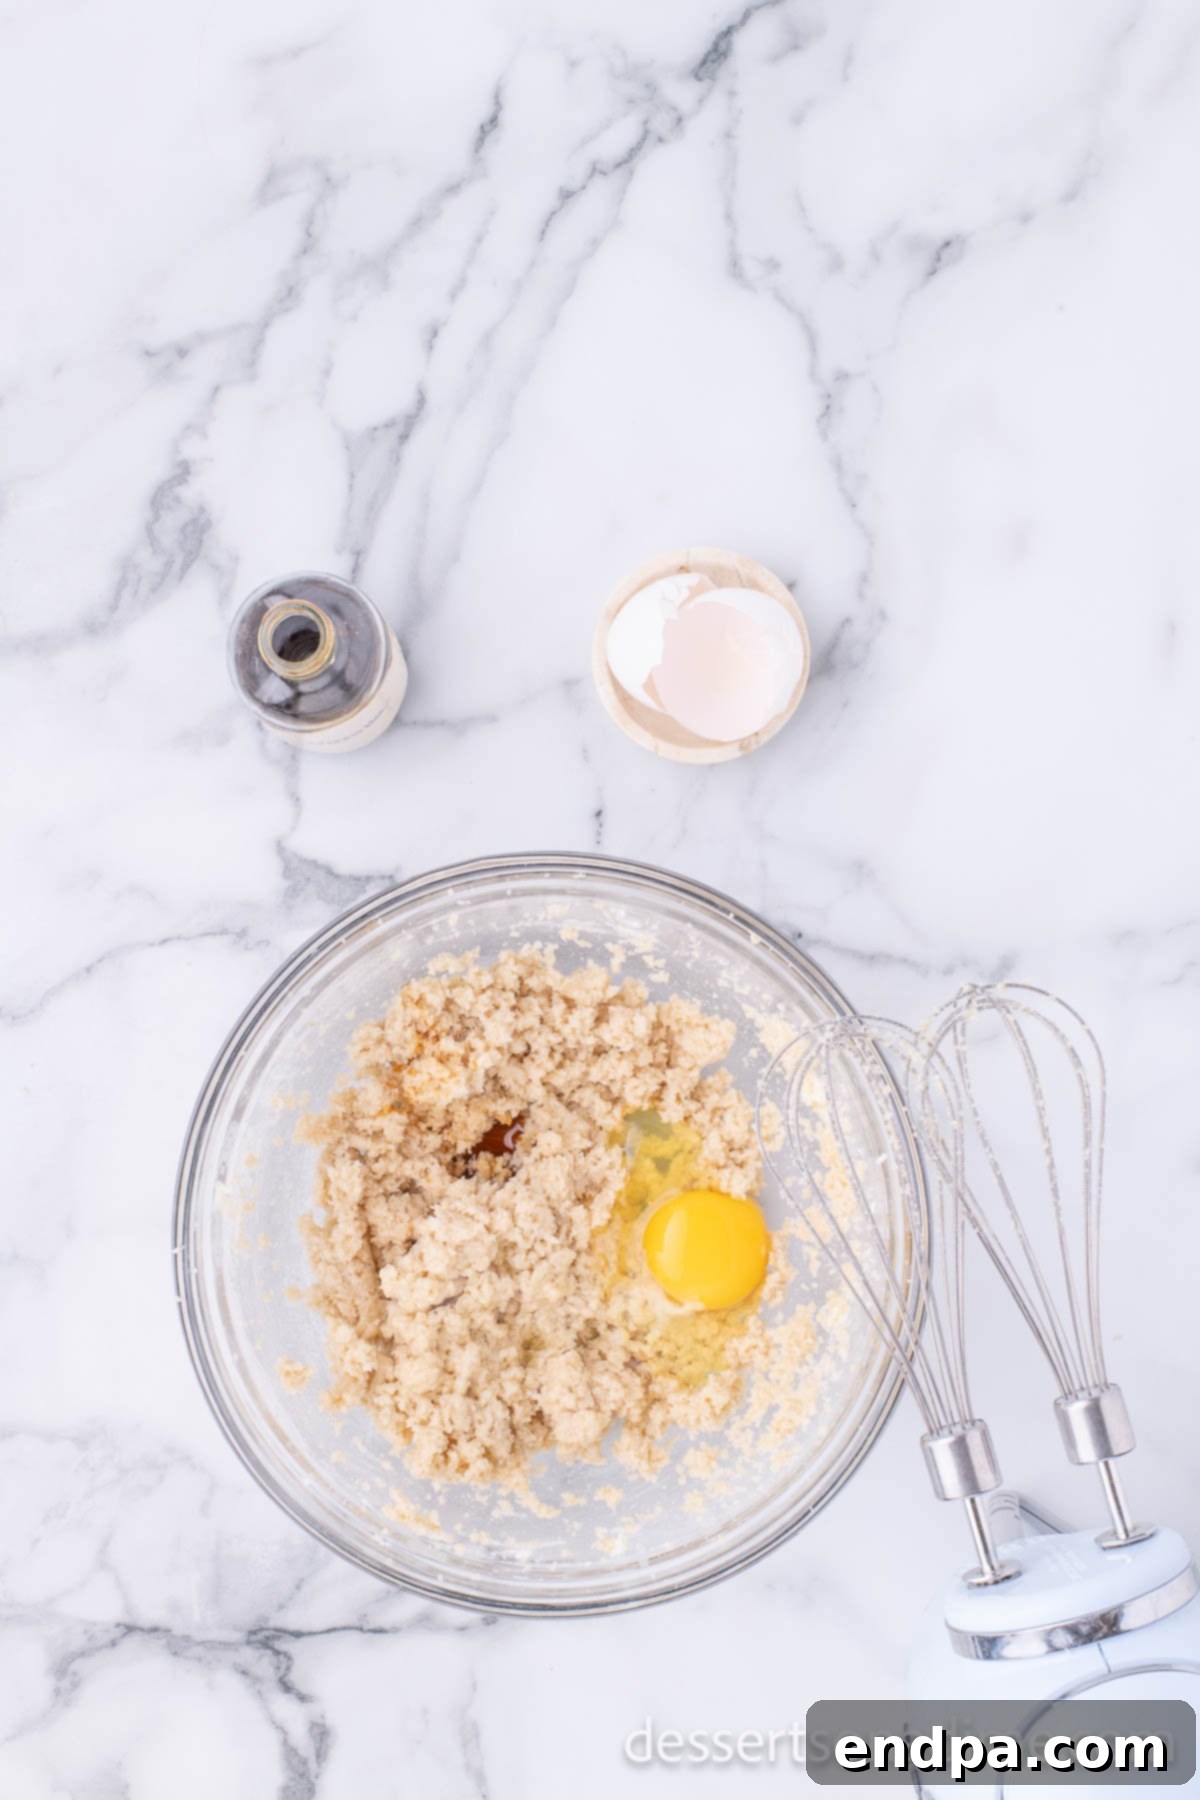
Step 3: Incorporate Wet Ingredients. Next, use a rubber spatula to scrape down the sides of the bowl, ensuring all the butter and sugar are fully incorporated. Add the large egg and vanilla extract to the mixture. Continue to mix on medium speed until all the ingredients are thoroughly combined and the mixture is smooth. Scrapping down the bowl again ensures consistency.
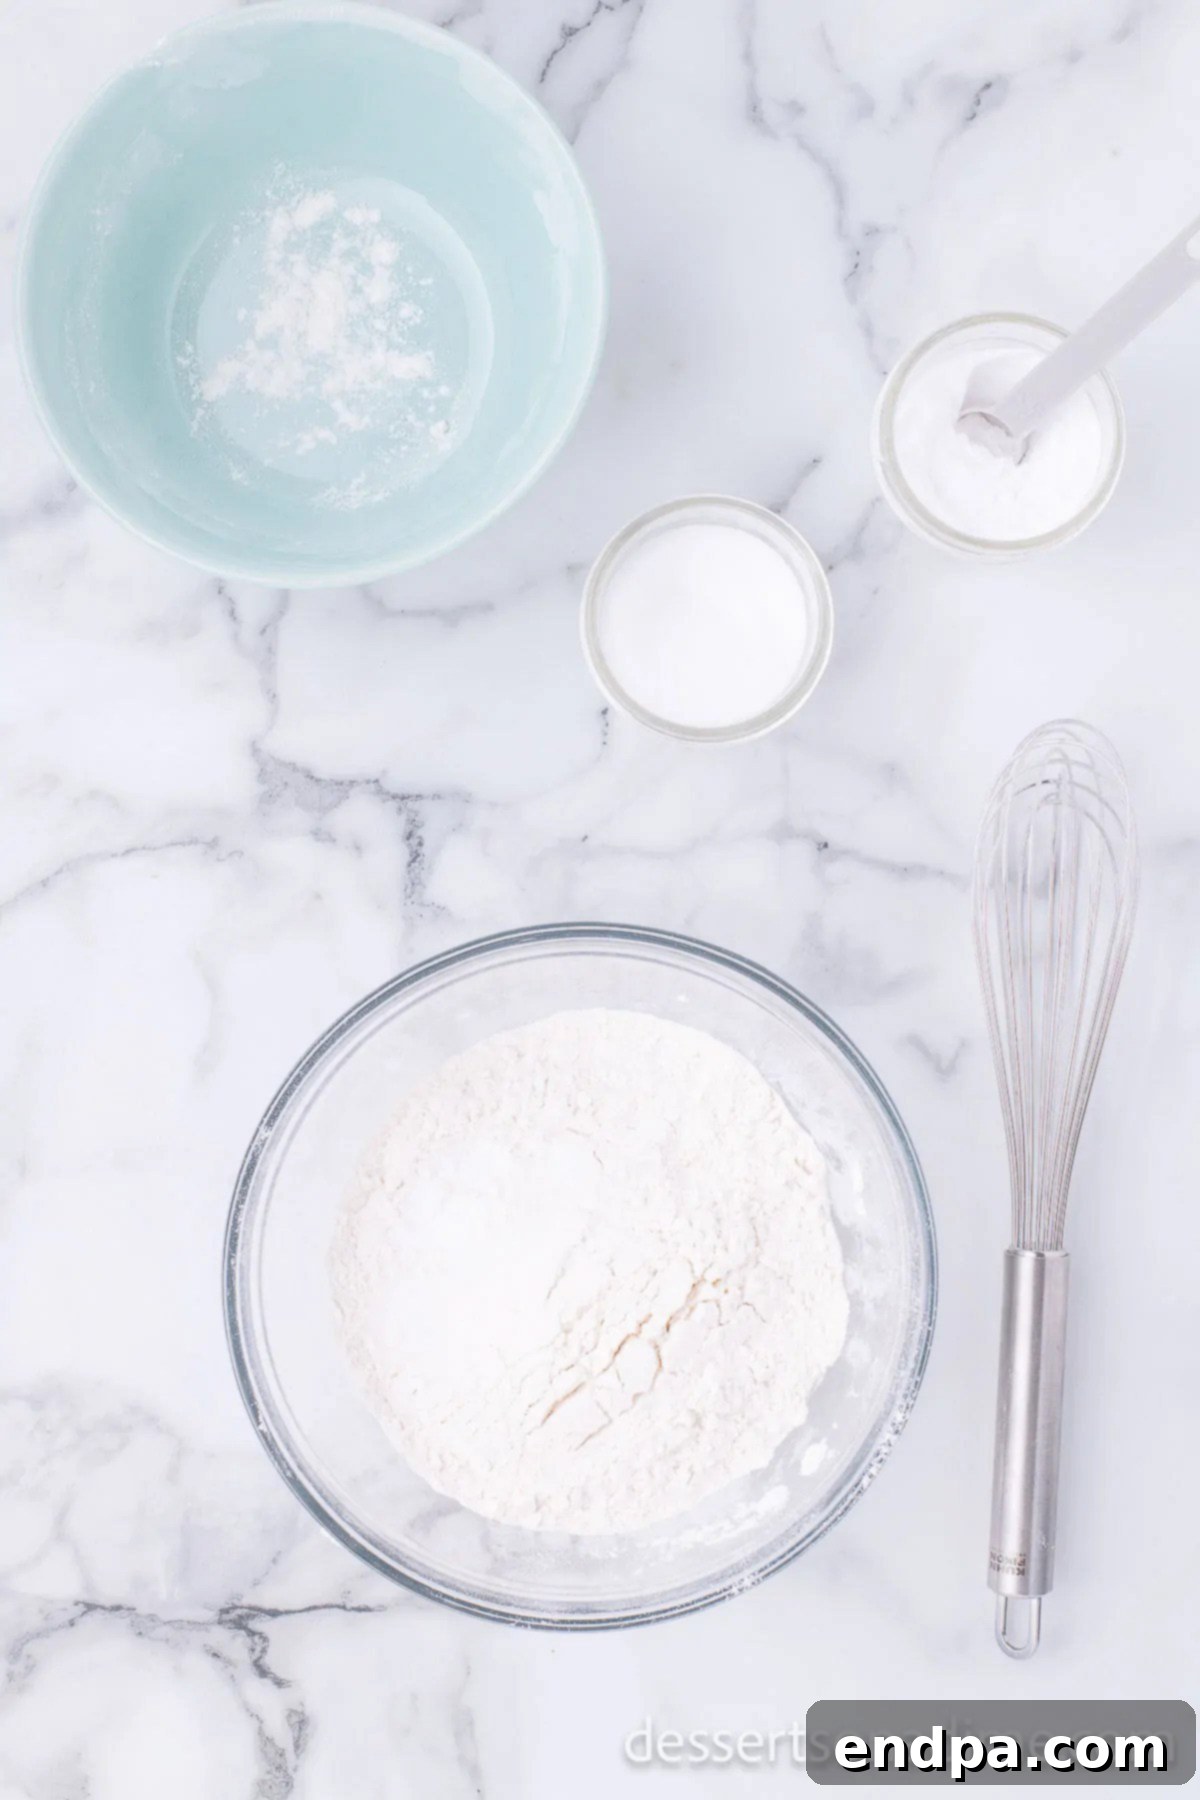
Step 4: Combine Dry Ingredients. You will need another bowl for this step. In this separate bowl, combine the all-purpose flour, baking soda, and salt. Use a whisk to thoroughly blend these dry ingredients together. This ensures the leavening agent and salt are evenly distributed throughout the flour, leading to uniform cookie texture.
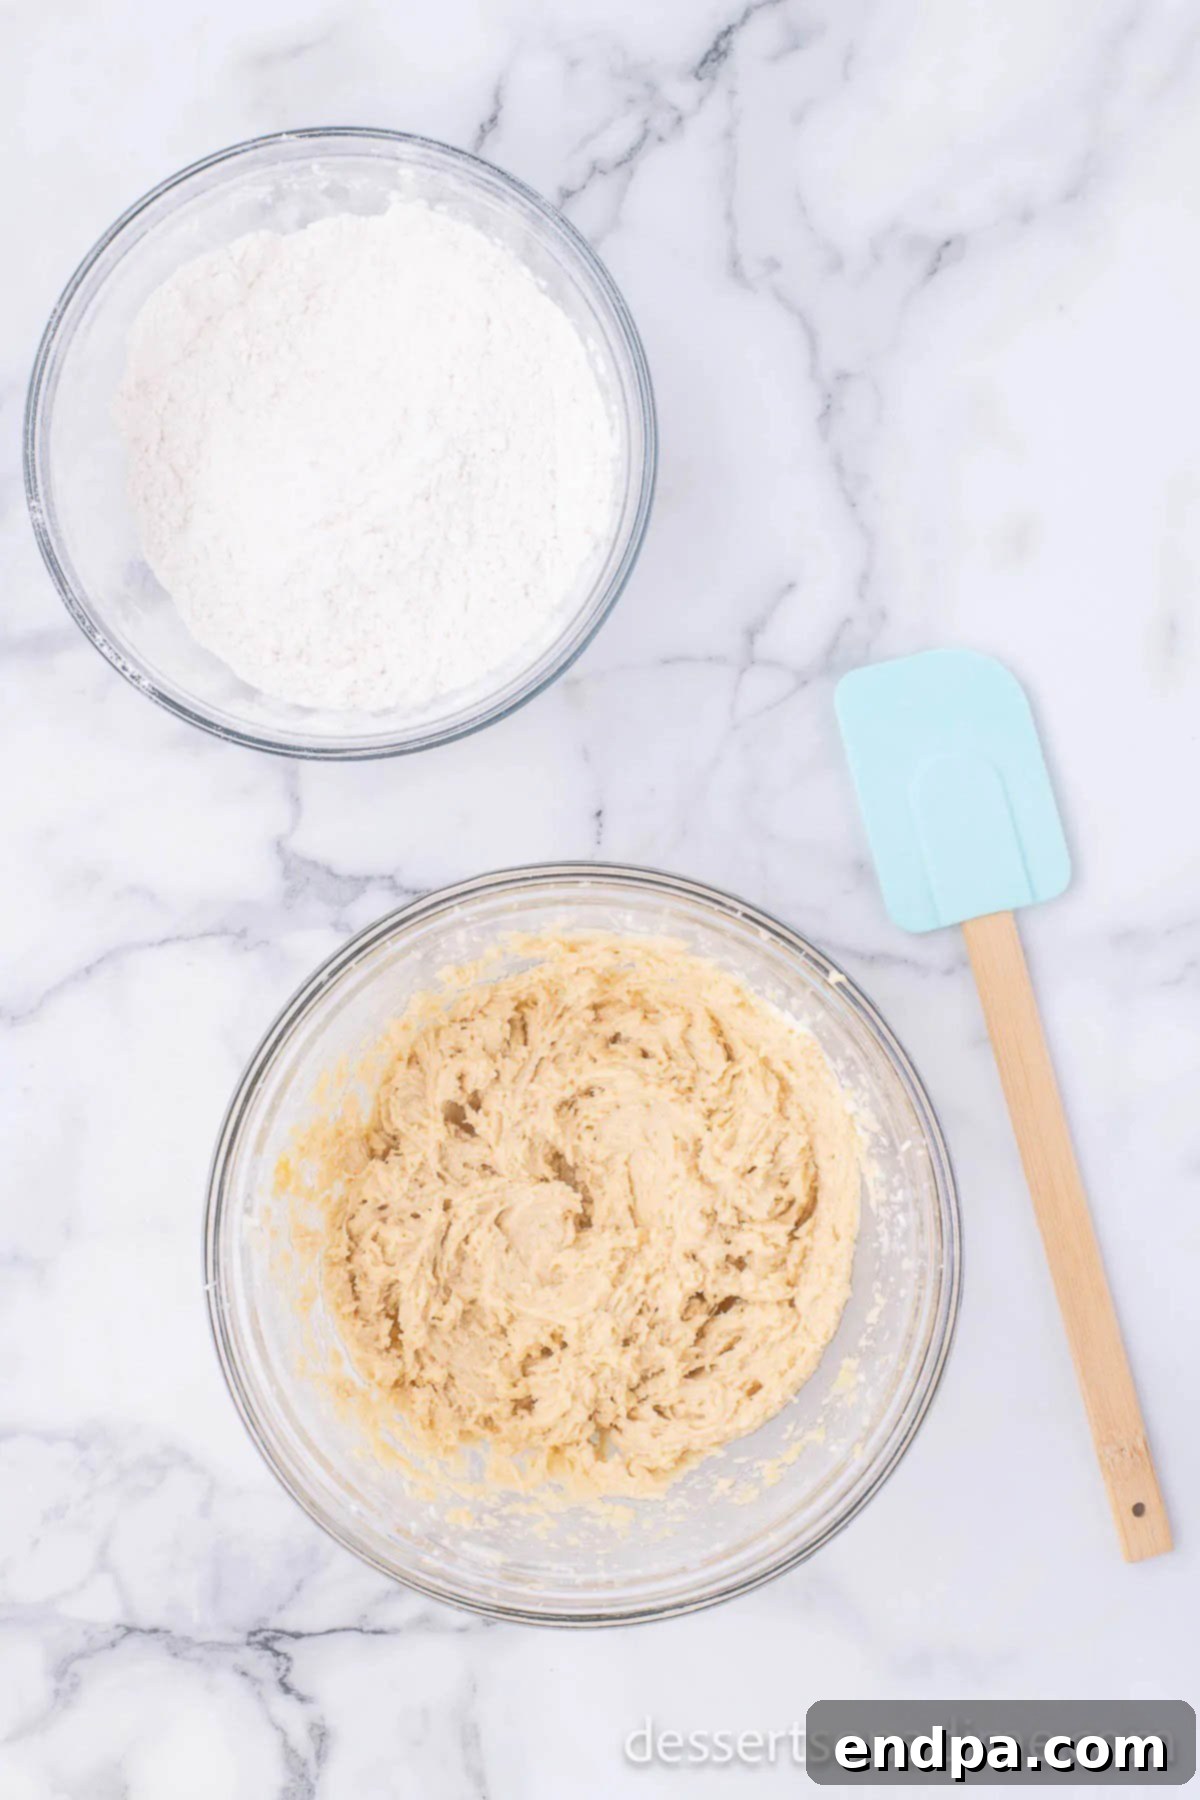
Step 5: Mix Wet and Dry Ingredients. Now, gradually add the bowl of dry ingredients into the wet ingredients mixture. For this part, it is highly recommended to mix by hand using a sturdy spatula or wooden spoon. This helps prevent overmixing the dough, which can develop too much gluten and result in tough, rather than chewy, cookies. Stir until the flour streaks have just disappeared and the mixture is combined.
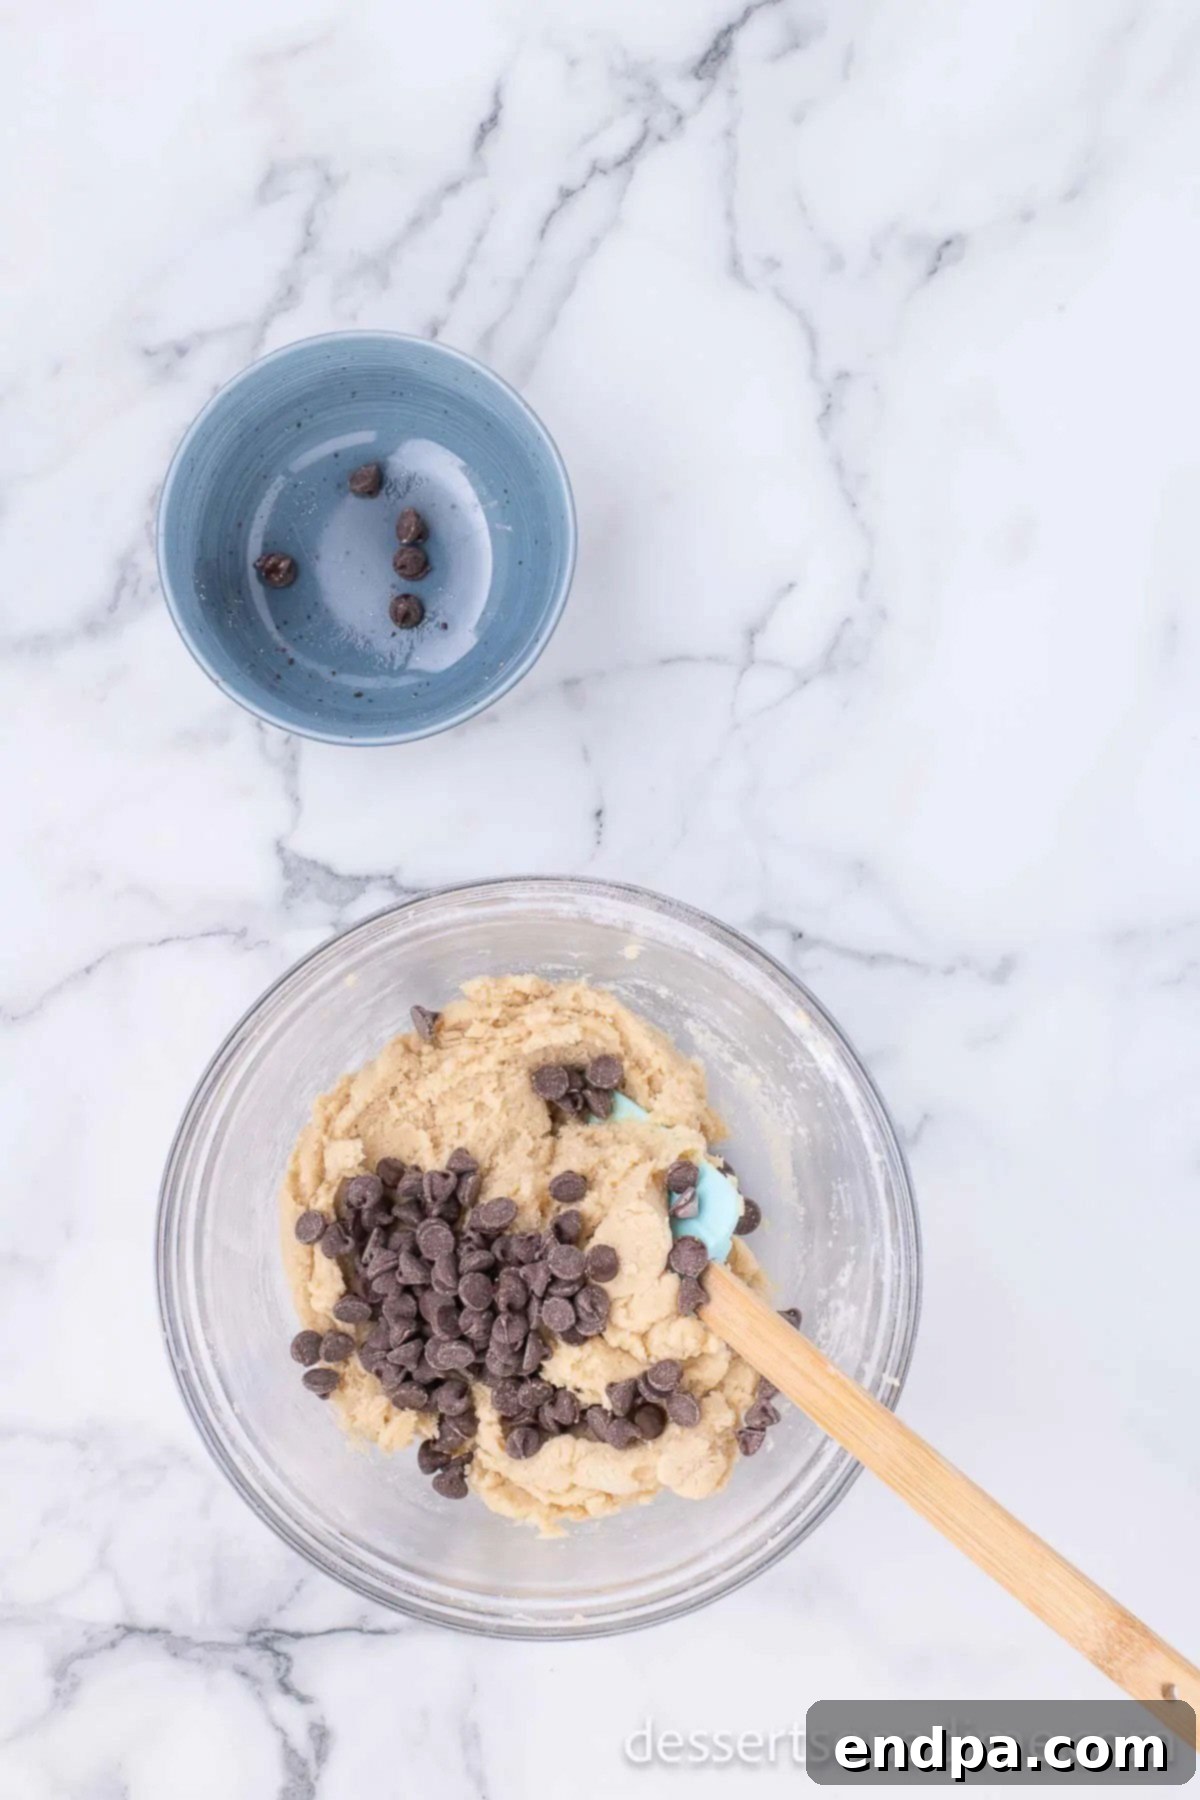
Step 6: Fold in Chocolate Chips. Once the dough is just combined, gently stir in the semi-sweet chocolate chips by hand. Distribute them evenly throughout the dough without overworking it. This ensures every bite of your cookie will have a perfect amount of chocolate.
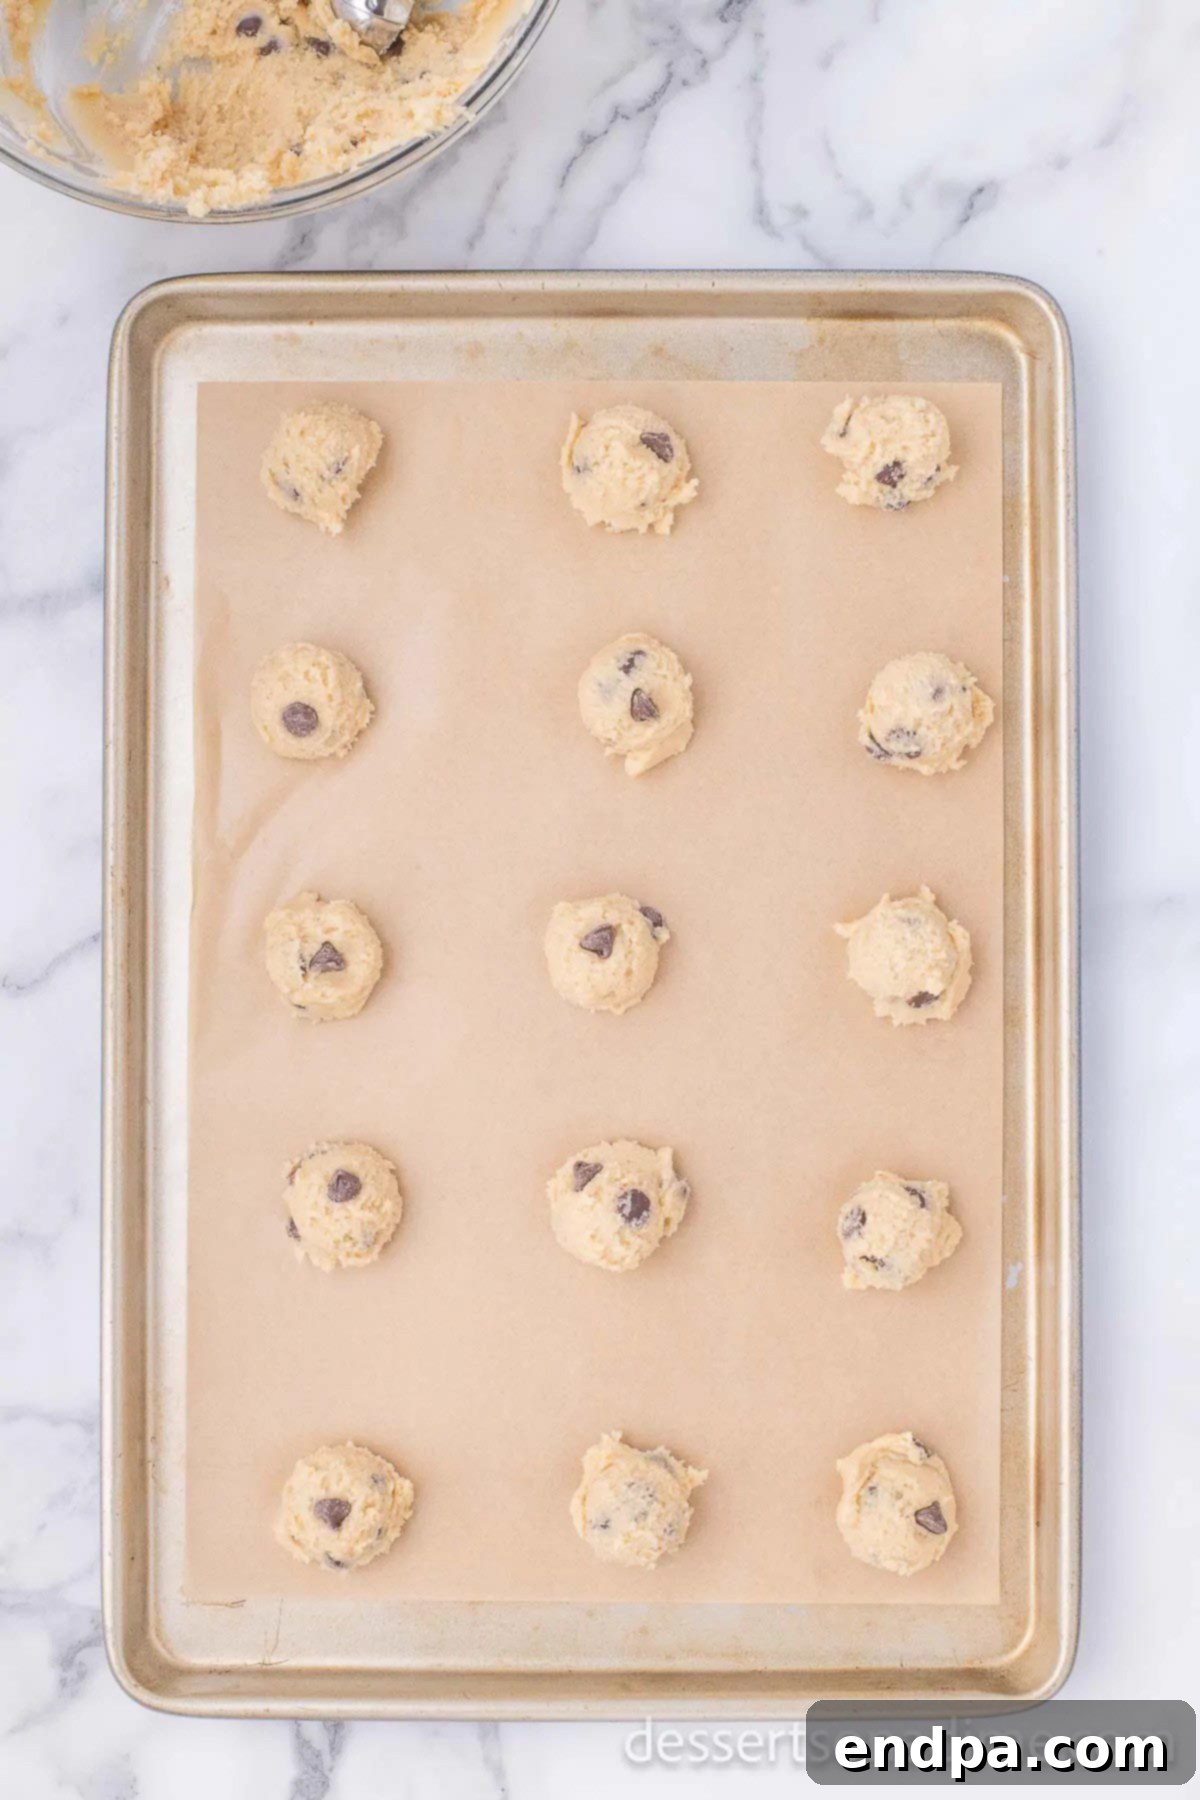
Step 7: Portion and Bake Cookies. Using a cookie scoop (approximately 1.5 tablespoon amounts) or two spoons, drop the cookie dough onto your prepared baking sheets, ensuring they are about 2 inches apart. This spacing allows the cookies to spread without touching. Bake for 10 to 12 minutes, or until the edges are lightly golden brown and the centers are still soft. Do not overbake; slightly underbaked cookies will be chewier.

Step 8: Cool Cookies Completely. After the cookies have finished baking, allow them to cool on the baking sheet for 5 minutes. This gives them time to firm up before you move them. Then, carefully transfer the cookies to a wire rack to cool completely. Cooling is absolutely essential before proceeding to the next step, as warm cookies will melt the ice cream.
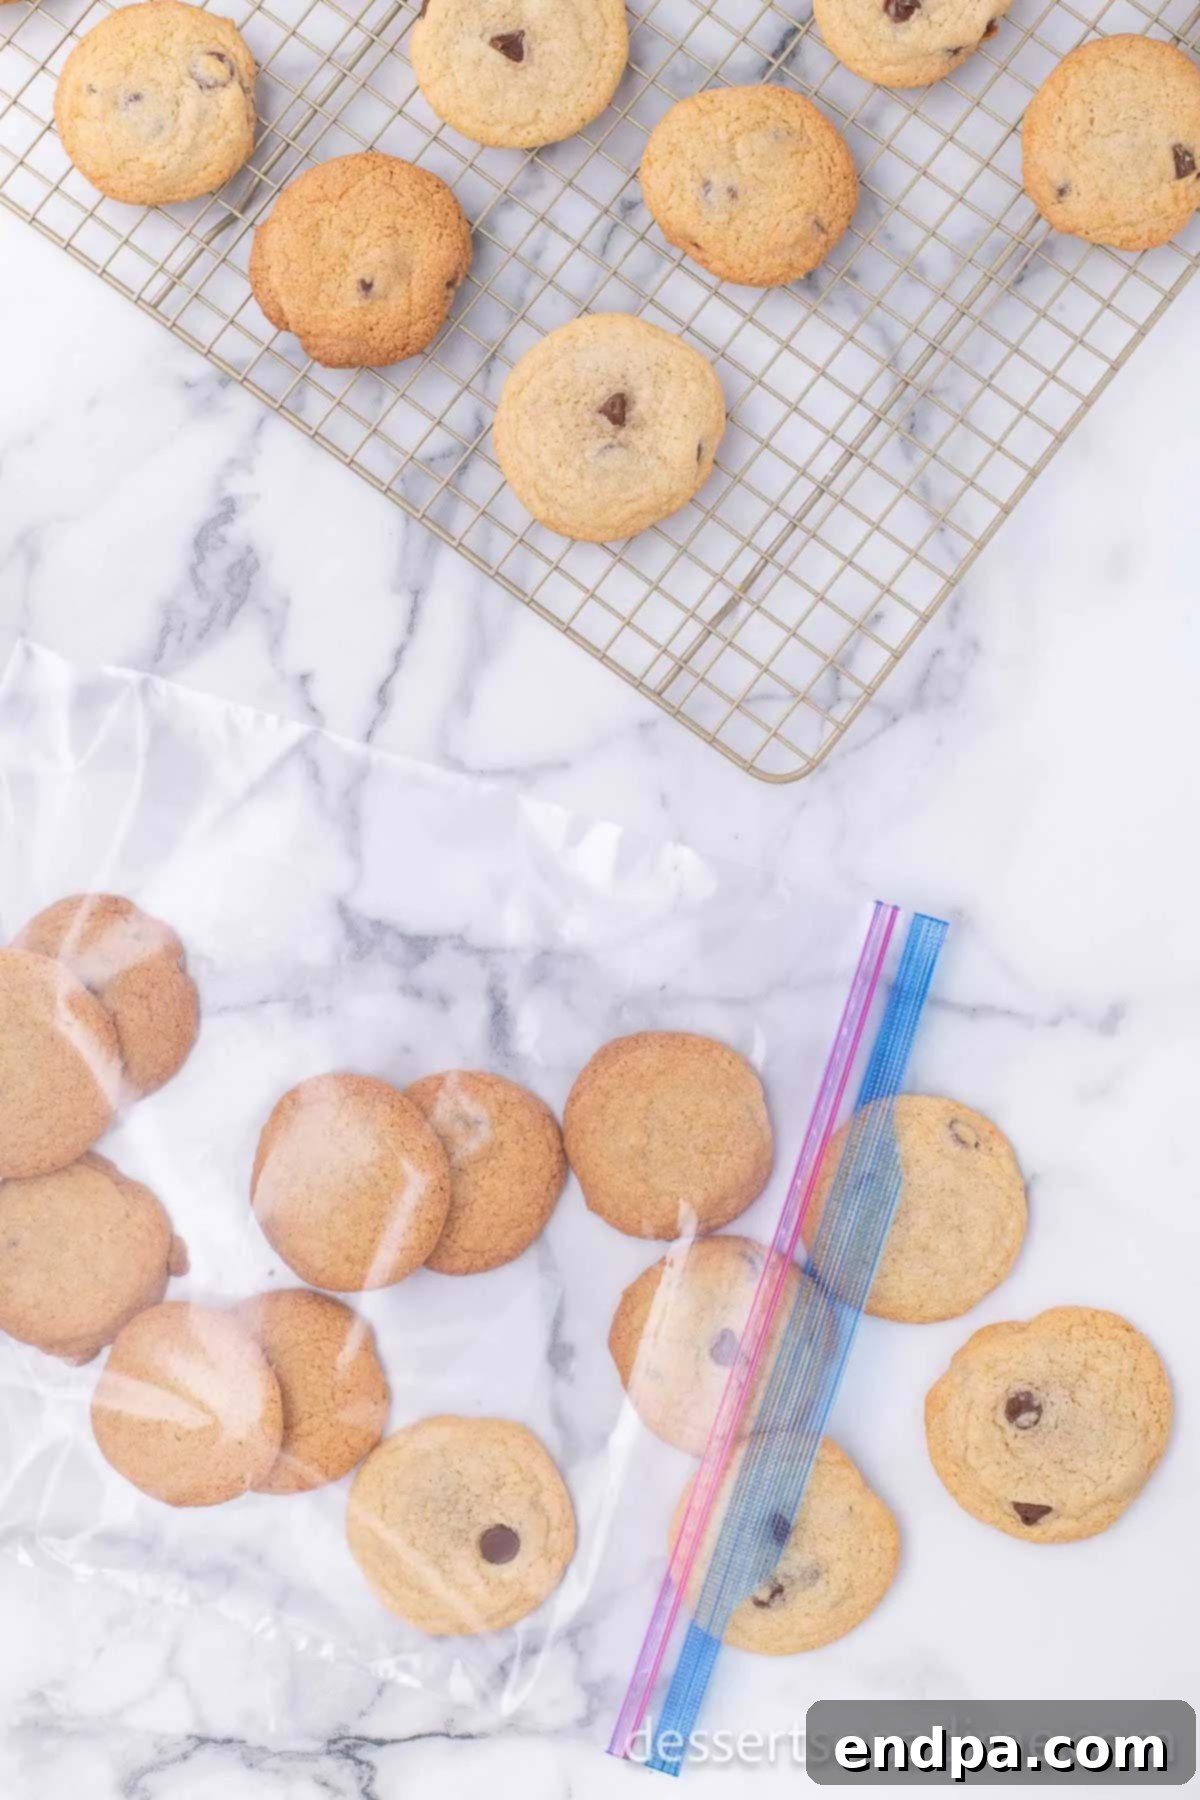
Step 9: Freeze the Cookies. Once the cookies are completely cool, place them in a freezer-safe bag or an airtight container. Transfer them to the freezer for 20 to 30 minutes. This step is crucial! Chilled cookies will be firm enough to handle and won’t crumble when you press the ice cream between them, ensuring a neat and sturdy Chipwich.
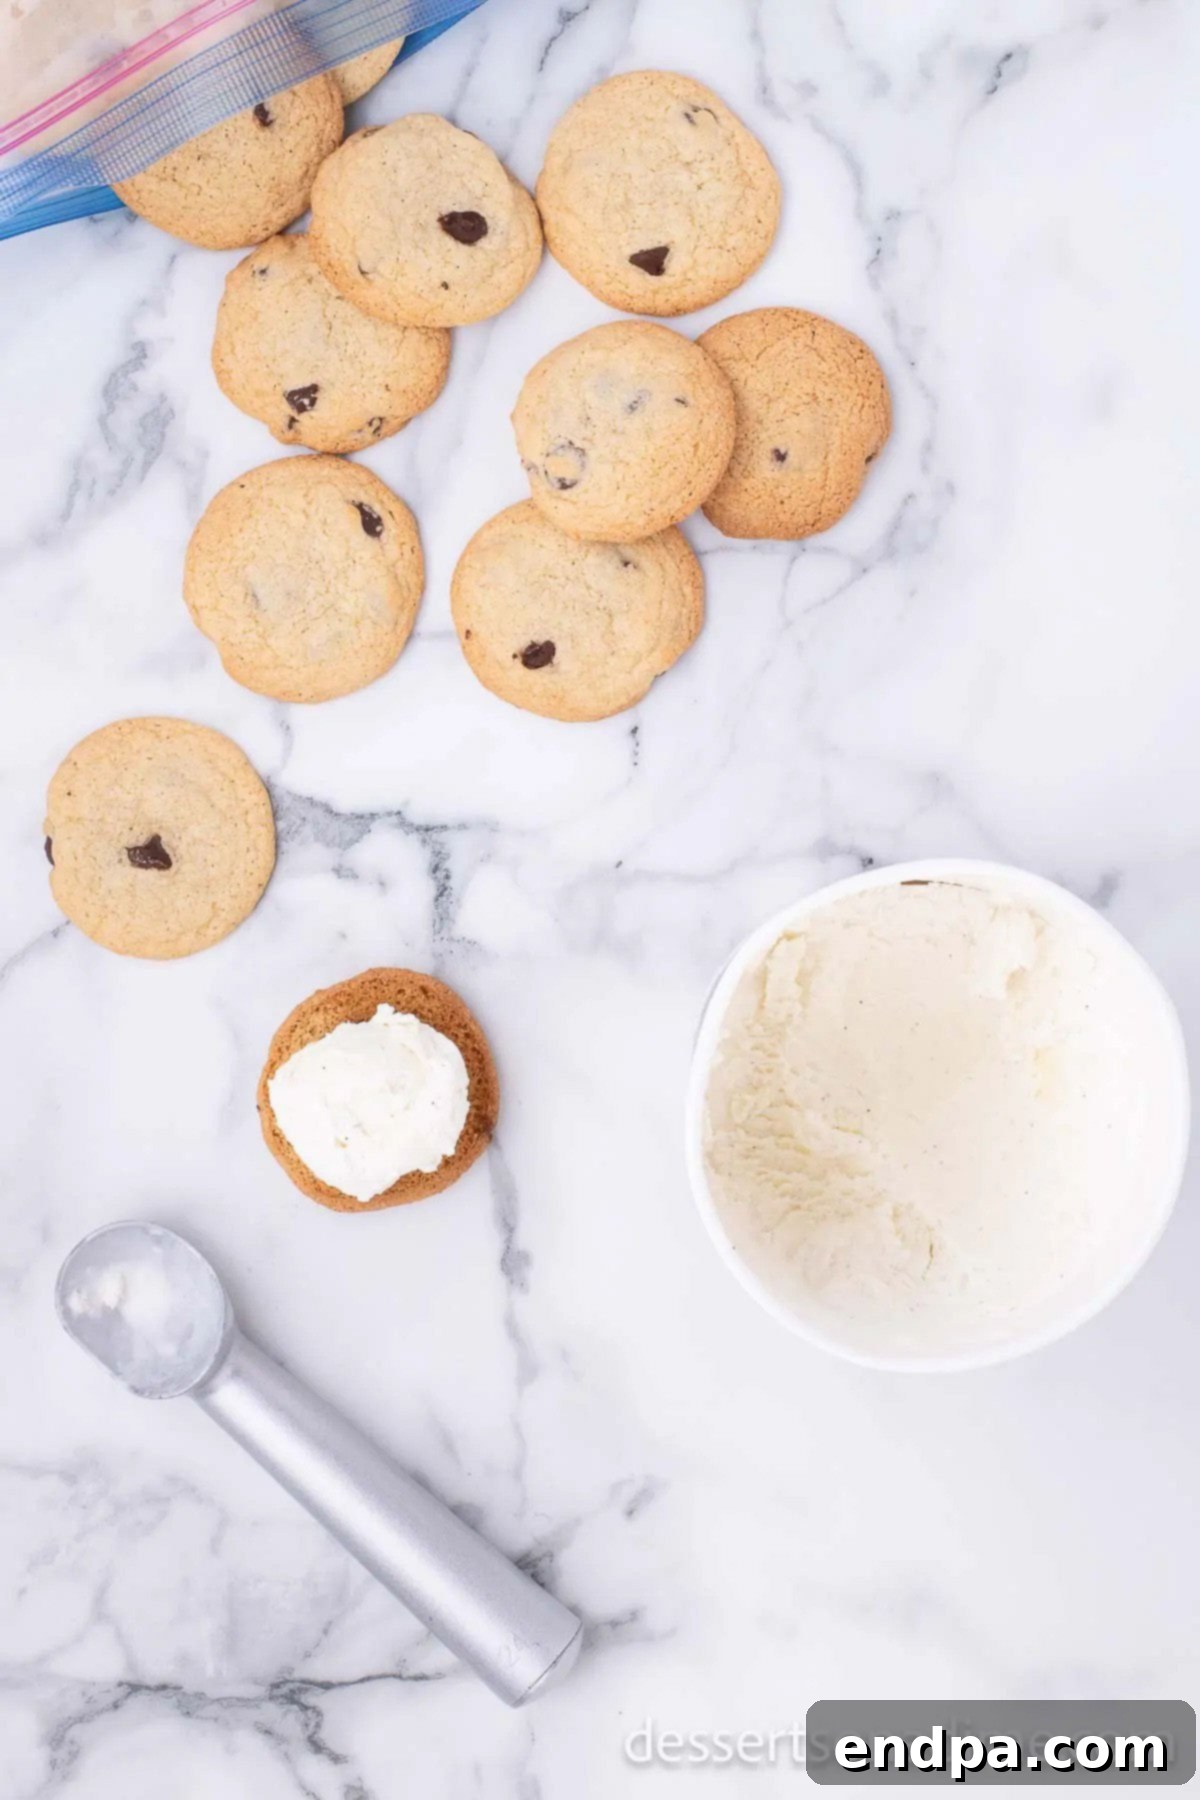
Step 10: Begin Assembling the Sandwiches. Take the chilled cookies out of the freezer. Select one cookie and, working efficiently, use an ice cream scoop to place a generous scoop of slightly softened vanilla ice cream onto the flat side of the cookie. Ensure the ice cream is softened just enough to scoop easily but not so much that it’s melting.
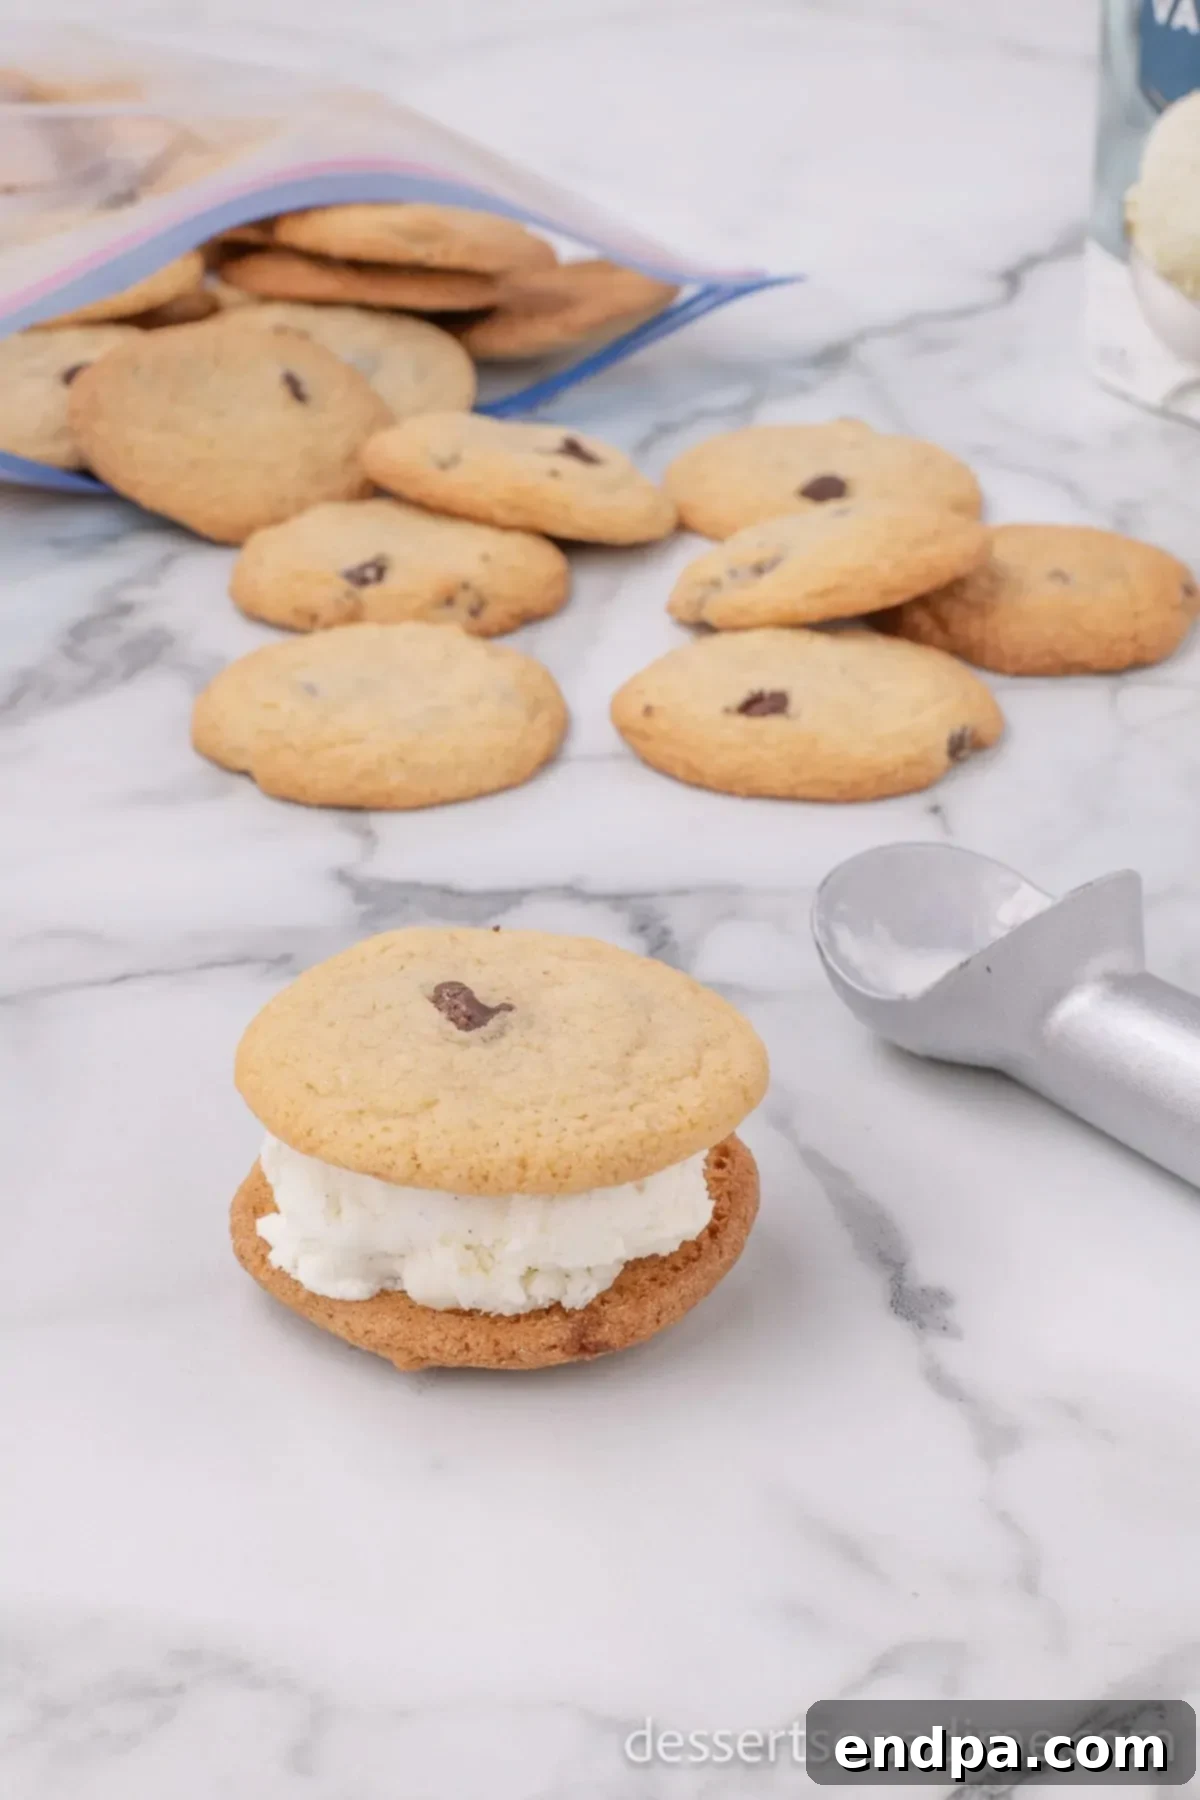
Step 11: Top with a Second Cookie. Gently place a second cookie on top of the ice cream, pressing down lightly but firmly enough to form a sandwich. Be careful not to press too hard, or the ice cream will squeeze out the sides. The chilled cookies will hold their shape beautifully.
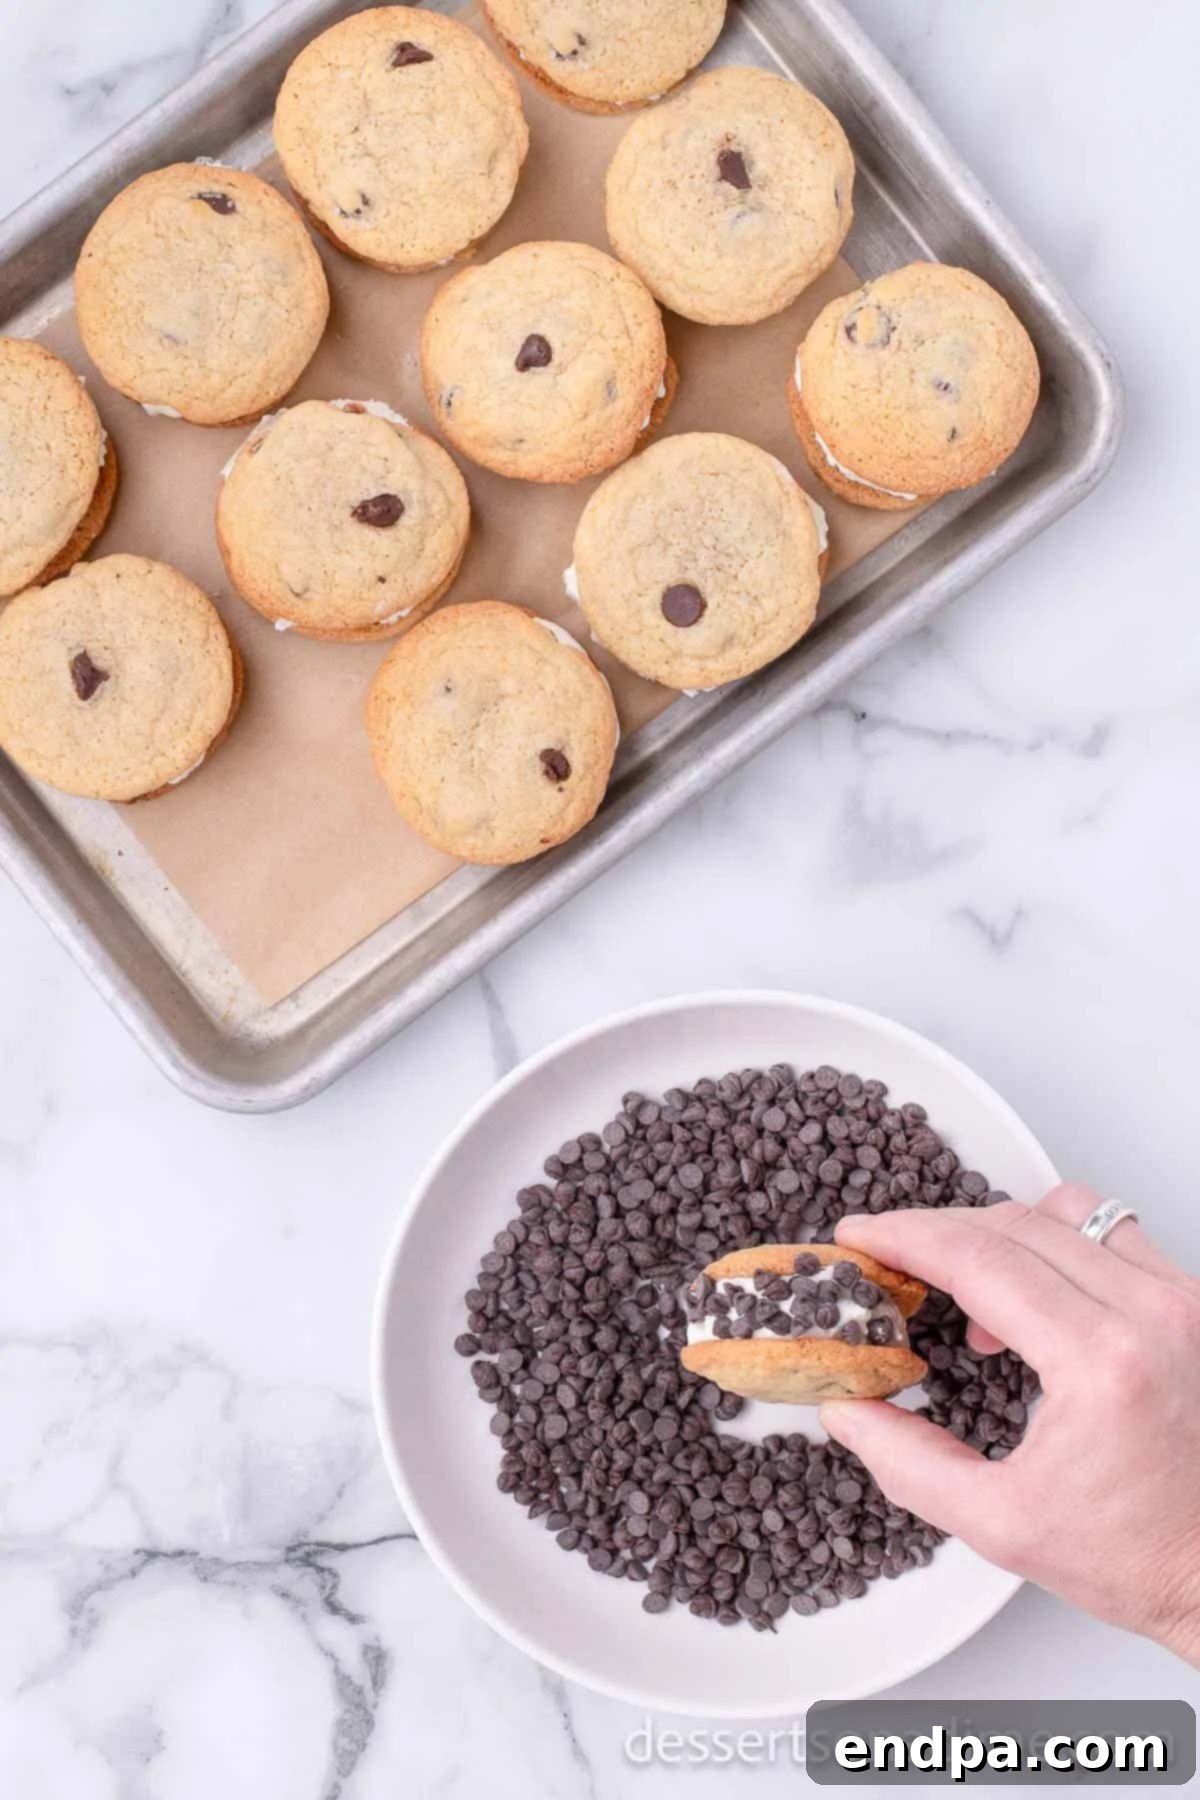
Step 12: Roll in Mini Chocolate Chips. Pour the mini chocolate chips into a large, wide-mouthed bowl. Immediately after assembling each sandwich, carefully roll its edges in the mini chocolate chips. Gently press to ensure an even and thorough coating, making sure the chocolate chips stick to the exposed ice cream. This creates the signature Chipwich look and adds a delightful extra crunch.

Step 13: Serve or Store. Your homemade Chipwiches are now ready to be enjoyed! Serve them immediately for the freshest experience. If you plan to enjoy them later, wrap each Chipwich individually in plastic wrap, then place them in a freezer-safe bag or an airtight container. Freeze for at least 30 minutes to firm up before serving, or store them for up to 2-3 months for a convenient and delightful treat.

Frequently Asked Questions (FAQs)
Here are some common questions to help you perfect your homemade Chipwich experience:
For optimal freshness and to prevent freezer burn, it’s essential to wrap each Chipwich individually. Use plastic wrap, ensuring it’s sealed tightly around the entire sandwich. Once wrapped, place them in a larger freezer-safe bag or an airtight container. This method not only keeps them fresh but also makes it much easier to grab a single treat whenever a craving strikes.
When stored properly as described above, your homemade Chipwiches can be frozen and enjoyed for up to 2 to 3 months. Beyond this period, they might start to lose some of their freshness and texture, but they will generally remain safe to eat.
Absolutely! While classic vanilla ice cream and chocolate chip cookies define the traditional Chipwich, feel free to get creative. Experiment with mint chocolate chip, strawberry, or even coffee-flavored ice cream. For cookies, you could try oatmeal raisin, peanut butter, or snickerdoodle for unique flavor combinations. Just ensure your chosen cookies are soft and chewy enough to avoid crumbling when frozen.
The mini chocolate chips are classic, but you can customize the outer coating. Consider rolling the edges in sprinkles for a festive look, chopped nuts (like pecans or walnuts) for added texture, shredded coconut, or even crushed candies (like crushed toffee bits or M&M’s) for extra flavor and visual appeal.
Expert Tips for Chipwich Perfection
Achieving the perfect homemade Chipwich is all about a few key techniques. Follow these expert tips to ensure your ice cream sandwiches turn out flawlessly every time:
- Don’t Skip the Freezer for Cookies: It is critically important to allow your baked cookies ample time in the freezer—at least 20-30 minutes—before you begin assembling each Chipwich. This step is not optional! Freezing the cookies causes them to firm up significantly, which prevents them from crumbling when you press the ice cream between them. Warm or even room-temperature cookies will be too fragile and will immediately melt the ice cream, resulting in a messy and unappeisfactory sandwich.
- Choose Quality Ice Cream: Since the ice cream is a star component of your Chipwich, make sure to use a good quality brand. A richer, creamier ice cream will provide a superior texture and flavor, making a big difference in the final product. Allow it to soften slightly on the counter for about 5-10 minutes before scooping, making it easier to work with without being fully melted.
- Wrap Individually with Parchment Paper: While plastic wrap is good, an extra layer of parchment paper wrapped around each ice cream sandwich before the plastic wrap can make a huge difference. Parchment paper helps to prevent the cookies from sticking to the plastic wrap, making them much easier to unwrap and enjoy. It also offers an additional layer of protection against freezer burn.
- Maintain Consistent Cookie Size: When portioning your cookie dough, strive for consistent sizes. This will ensure that your sandwiches are uniform in shape and easier to assemble, with the cookies perfectly matching up. A cookie scoop is an invaluable tool for this.
- Avoid Overmixing the Dough: After combining your wet and dry ingredients, mix only until the flour is just incorporated. Overmixing develops the gluten in the flour, leading to tough, dense cookies instead of the soft, chewy texture desired for a perfect Chipwich.
- Work Swiftly During Assembly: Ice cream melts quickly! Have all your components ready—chilled cookies, slightly softened ice cream, and your bowl of mini chocolate chips—before you start assembling. Work one or two sandwiches at a time, moving them back to the freezer quickly if they start to get too soft.
More Delightful Ice Cream Recipes
If you loved making these homemade Chipwiches, you’re sure to enjoy exploring more of our easy and delicious ice cream recipes:
- Ice Cream Charcuterie Board
- Homemade Rolled Ice Cream Recipe
- Melted Ice Cream Cake
- No-Churn Peach Ice Cream
- Copycat Dairy Queen Cake
Go ahead and make this incredible dessert today. You’ll be amazed at how simple it is to create such a show-stopping treat. Once you’ve tried it, please leave a comment and a star rating to share your experience!
Homemade Chipwich: The Ultimate Ice Cream Sandwich
Indulge in the nostalgic delight of a homemade Chipwich. These decadent ice cream sandwiches feature rich, chewy chocolate chip cookies generously filled with creamy vanilla ice cream, then rolled in extra mini chocolate chips for an irresistible crunch. A perfect treat for any occasion, offering a superior flavor and texture experience compared to store-bought versions.
Ingredients
For the Cookies:
- 1/2 cup Unsalted Butter, softened at room temperature
- 1/2 cup Granulated Sugar
- 1/2 cup Brown Sugar, packed
- 1 Large Egg
- 1 tsp Vanilla Extract
- 1 1/2 cups All-Purpose Flour
- 1/2 tsp Baking Soda
- 1/4 tsp Salt
- 1/2 cup Semi-Sweet Chocolate Chips
For the Sandwiches:
- 1/2 Gallon Vanilla Ice Cream, slightly softened
- 1 cup Mini Chocolate Chips, for rolling
Instructions
- Preheat your oven to 350°F (175°C). Prepare baking sheets by lining them with parchment paper for easy cleanup and to prevent sticking.
- In a large mixing bowl or the bowl of a stand mixer fitted with the paddle attachment, cream together the softened unsalted butter, granulated sugar, and brown sugar on medium speed for 2-3 minutes until the mixture is light, fluffy, and well combined. This step incorporates air, contributing to the cookies’ texture.
- Scrape down the sides of the bowl with a spatula to ensure all ingredients are incorporated. Add the large egg and vanilla extract, then continue mixing until thoroughly combined.
- In a separate medium-sized bowl, whisk together the all-purpose flour, baking soda, and salt. This ensures even distribution of the leavening agent and salt throughout the cookie dough.
- Gradually add the dry ingredients mixture into the wet ingredients. Mix on low speed, or preferably by hand with a sturdy spoon or spatula, until just combined. Be careful not to overmix, as this can lead to tough cookies.
- Gently fold in the semi-sweet chocolate chips by hand until they are evenly distributed throughout the dough.
- Using a cookie scoop (approximately 1.5 tablespoon size) or two spoons, drop rounded portions of cookie dough onto the prepared baking sheets, ensuring they are about 2 inches apart to allow for spreading.
- Bake for 10-12 minutes, or until the edges are lightly golden brown and the centers are still soft. Avoid overbaking for chewy cookies.
- Allow the freshly baked cookies to cool on the baking sheet for 5 minutes before carefully transferring them to a wire rack to cool completely. This prevents them from breaking.
- Once completely cool, place the cookies in a freezer-safe bag or airtight container and transfer them to the freezer for 20-30 minutes. This crucial step helps the cookies firm up, making them less prone to crumbling during assembly and providing a stable base for the ice cream.
- Remove the chilled cookies from the freezer. Take one cookie and, working quickly, use an ice cream scoop to place a generous scoop of slightly softened vanilla ice cream onto the flat side of the cookie.
- Gently top the ice cream with a second cookie, pressing down lightly to create a sandwich. Do not press too hard, or the ice cream will squeeze out.
- Pour the mini chocolate chips into a wide, shallow bowl. Immediately roll the edges of each assembled ice cream sandwich in the mini chocolate chips, ensuring the chips adhere to the exposed ice cream layer.
- Serve your homemade Chipwich immediately for the freshest experience, or wrap them individually in plastic wrap, place in a freezer-safe bag and freeze for at least 30 minutes to firm up before serving, or store for up to 2-3 months for a convenient treat.
Nutrition Facts
Per serving (approximate): Calories 322kcal, Carbohydrates 40g, Protein 4g, Fat 16g, Saturated Fat 10g, Polyunsaturated Fat 1g, Monounsaturated Fat 4g, Trans Fat 1g, Cholesterol 53mg, Sodium 153mg, Potassium 197mg, Fiber 1g, Sugar 31g, Vitamin A 479IU, Vitamin C 1mg, Calcium 119mg, Iron 1mg.
For more delicious dessert ideas and to stay updated with our latest recipes, be sure to explore our website and consider bookmarking this page!
