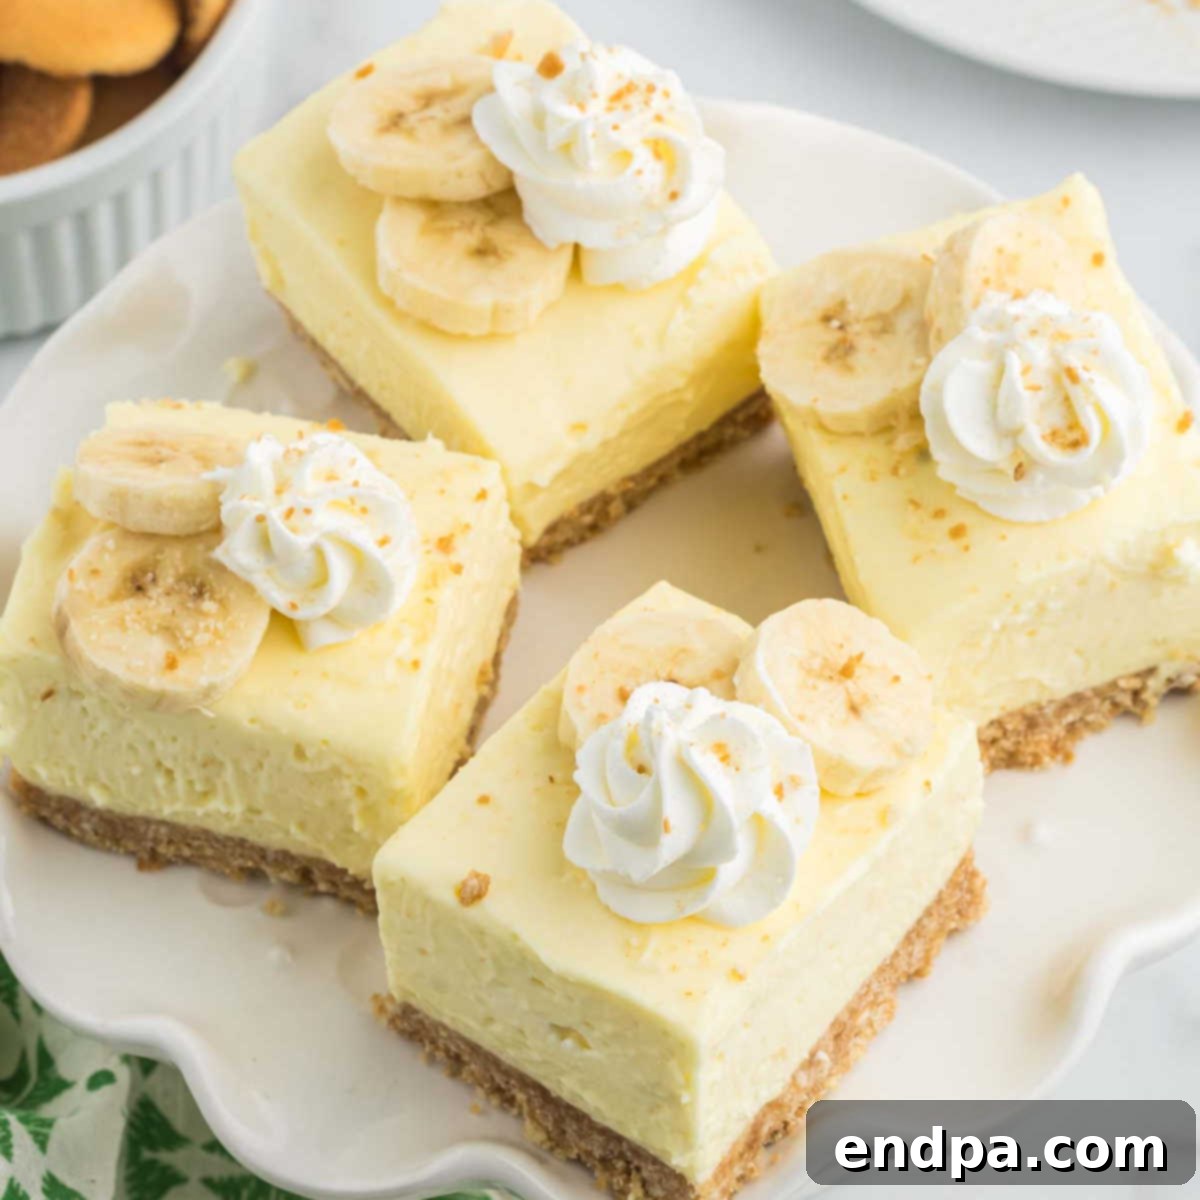
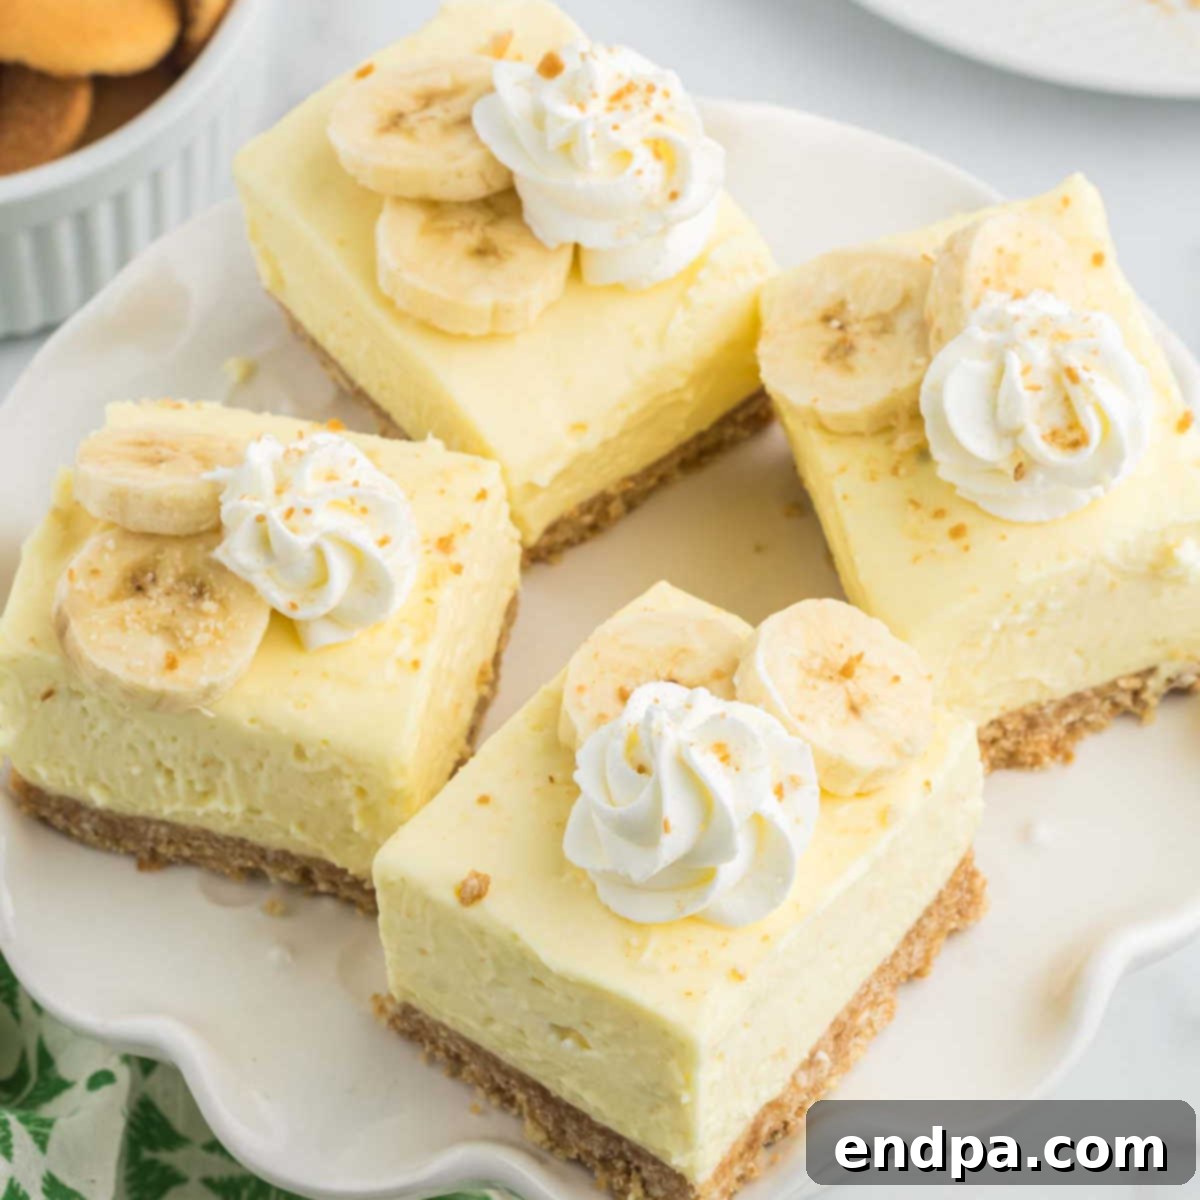
Banana Cream Cheesecake Bars offer a delightful escape into a world of creamy indulgence and vibrant banana flavor. This impressive no-bake dessert features a rich, velvety cheesecake filling, generously infused with the natural sweetness of ripe bananas, all resting atop a luxurious, buttery cookie crust. Crowned with fluffy whipped topping and fresh banana slices, every single bite promises a delectable experience that’s simply irresistible.
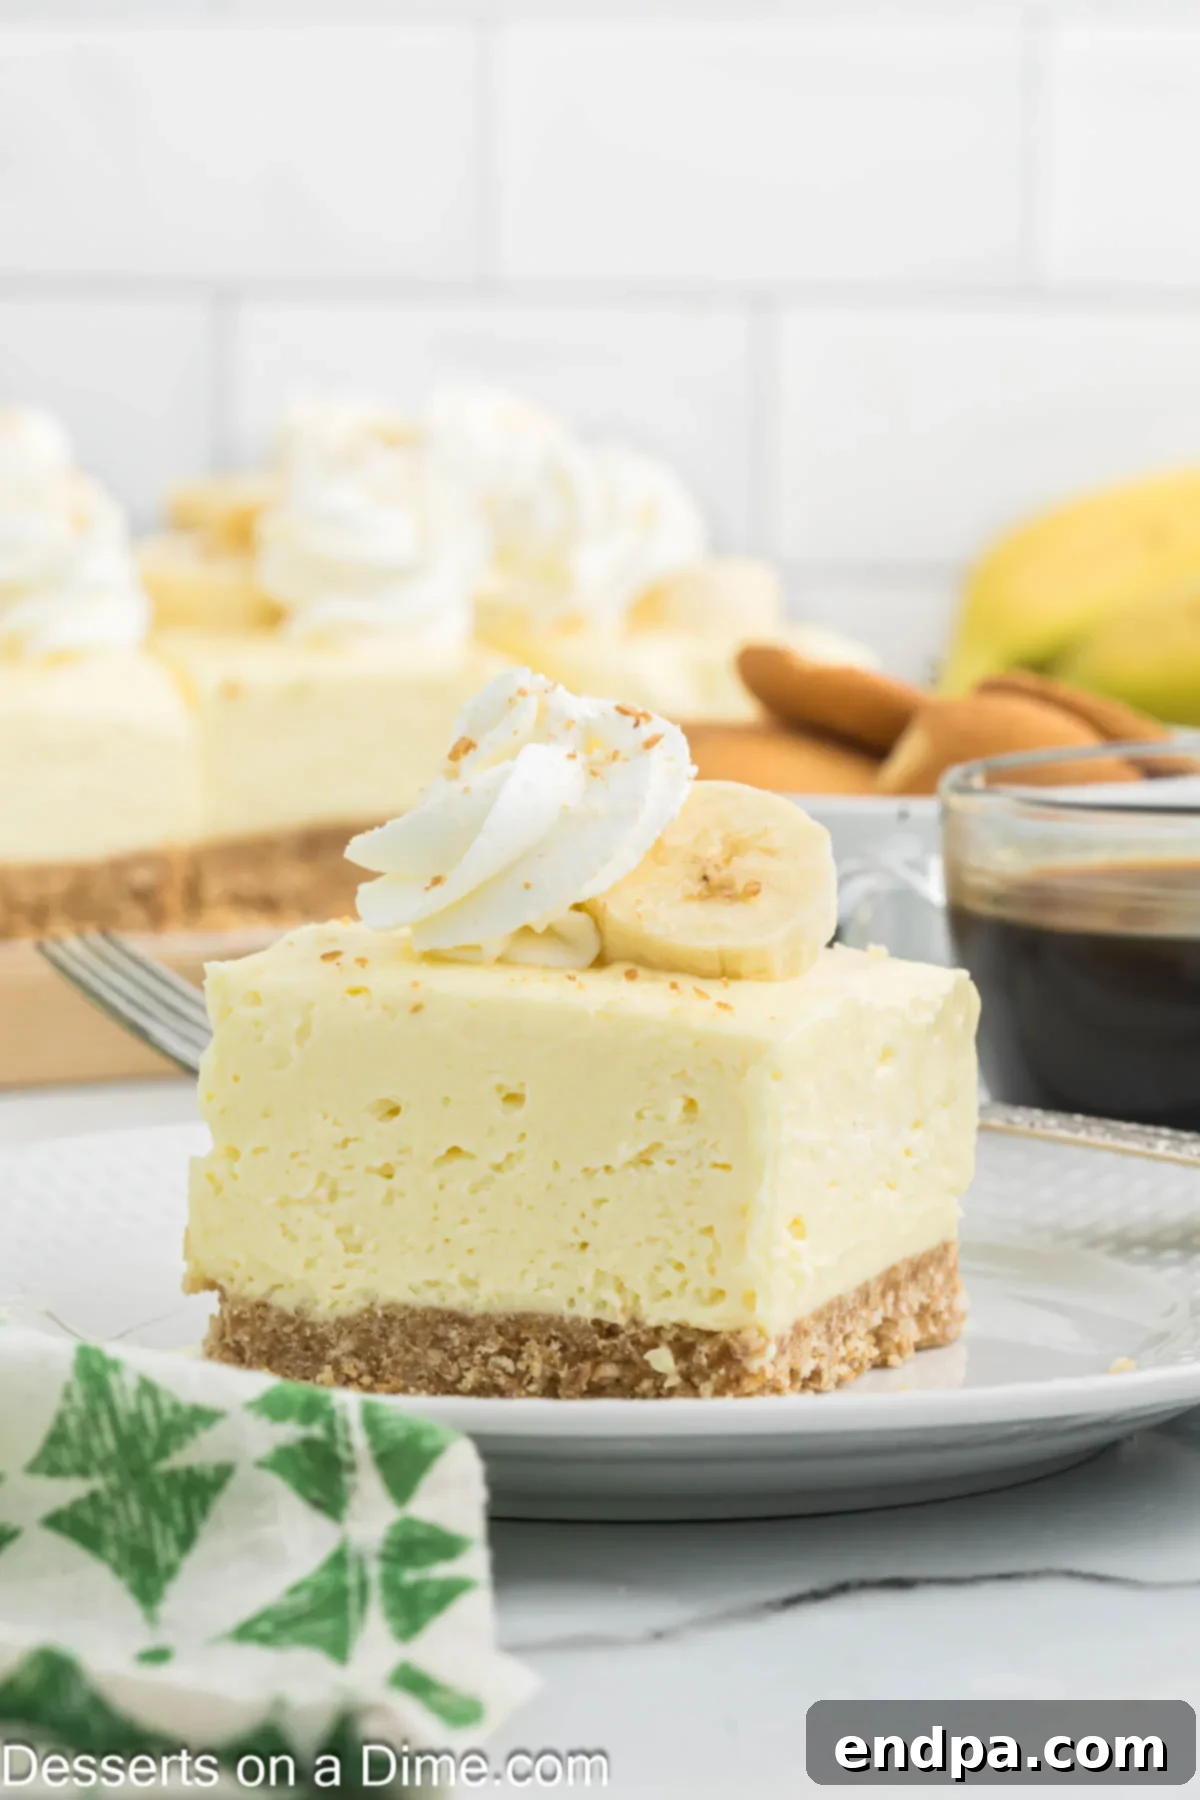
Craving an effortlessly elegant dessert? This no-bake dessert recipe is a true game-changer, delivering an incredibly creamy texture and an explosion of classic banana pudding and rich cheesecake flavors. If you’re a fan of easy no-bake cheesecakes, then these Banana Cream Cheesecake Bars are your next must-try! They are perfect for anyone seeking a luscious treat without the hassle of turning on the oven.
These bars quickly became one of our favorite easy banana desserts due to their simple preparation and mouthwatering taste. Imagine the nostalgic charm of classic banana pudding, gracefully swirled into a smooth, decadent cream cheese mixture. It’s the ultimate combination of comfort and sophistication, making it an ideal dessert for any occasion, from casual family dinners to festive gatherings.
Table of Contents
- Why We Love This Recipe
- Ingredients
- Crust
- Filling
- Topping
- Step-By-Step Instructions
- Storage
- Can You Freeze?
- Expert Tips
- Frequently Asked Questions
- Delicious Variations to Try
Why We Love These Banana Cream Cheesecake Bars
These Banana Cream Cheesecake Bars aren’t just a dessert; they’re a celebration of simplicity and flavor. Here’s why this recipe deserves a prime spot in your culinary collection:
- Effortless No-Bake Preparation: Forget the complexities of baking! This simple recipe requires absolutely no oven time, making it perfect for hot summer days, busy schedules, or when you just want a delicious treat without the fuss. The lack of baking also minimizes potential errors, making it a foolproof dessert even for novice cooks.
- Simple, Wholesome Ingredients: You won’t need any obscure or hard-to-find items for these bars. With just a handful of basic, readily available ingredients, you can whip up a dessert that tastes gourmet. This straightforward approach ensures that anyone can create these stunning bars with ease, without the stress of ingredient hunting.
- Incredibly Creamy and Irresistibly Delicious: Prepare for a sensory delight! The texture of these No-Bake Banana Cheesecake Bars is exceptionally smooth and creamy, melting in your mouth with every bite. The harmonious blend of tangy cream cheese and sweet, aromatic banana pudding creates a flavor profile that is both comforting and sophisticated. It’s a guaranteed crowd-pleaser that will leave everyone asking for more.
- Perfect Make-Ahead Dessert: Planning a party or simply want to have a delightful treat ready when a craving strikes? These cheesecake bars are ideal for making ahead! They require a minimum of 8 hours of chilling, but taste even better when refrigerated overnight, allowing the flavors to meld beautifully and the texture to set perfectly.
- Versatile for Any Occasion: Whether it’s a backyard barbecue, a holiday feast, a potluck, or just a sweet ending to a weeknight meal, these banana cream cheesecake bars fit right in. Their appealing presentation and universally loved flavors make them a hit with guests of all ages.
Essential Ingredients for Banana Cream Cheesecake Bars
Crafting these delectable no-bake cheesecake bars starts with selecting the right ingredients. Each component plays a crucial role in achieving the perfect texture and unforgettable banana flavor.
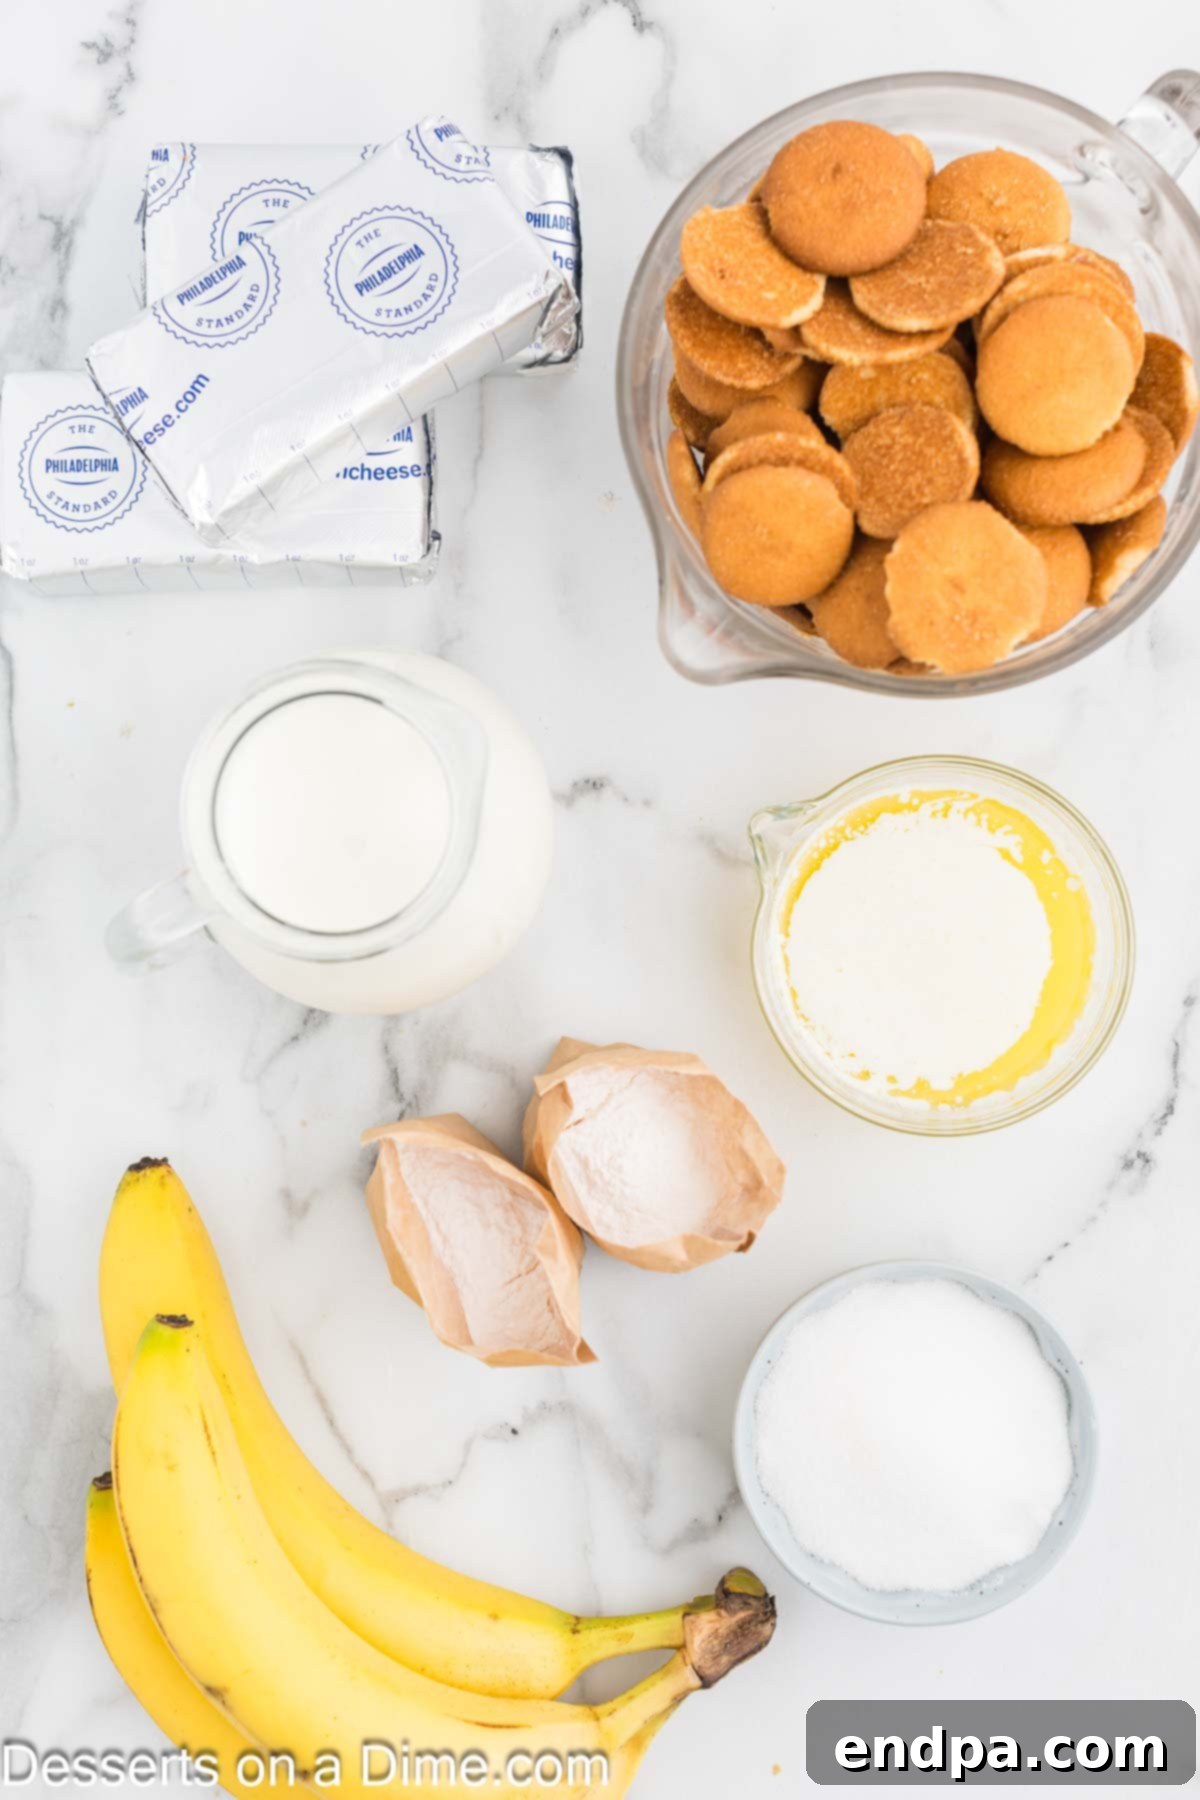
For the Luxurious Crust:
-
Nilla Wafer Cookies: These classic vanilla wafers provide a delicate, slightly sweet base that complements the creamy filling beautifully. When crushing them, aim for a texture that has some small pieces for a satisfying bite, rather than a fine powder. This adds a lovely textural contrast.
Substitution Tip: For a different flavor profile, you can easily substitute Nilla wafers with graham crackers, Golden Oreo cookies for an extra vanilla kick, Biscoff cookies for a spiced touch, or even gingersnaps for a warm, zesty note.
-
Melted Butter: Unsalted melted butter binds the crushed cookies together, creating a firm yet tender crust that holds its shape. It also adds a rich, comforting flavor that makes the base truly luxurious.
Pro Tip: Ensure the butter is fully melted and thoroughly combined with the crumbs to avoid a dry or crumbly crust.
For the Velvety Filling:
-
Cold Heavy Whipping Cream: This is key to achieving that light, airy, and incredibly creamy texture in your filling. It must be very cold to whip properly into stiff peaks, which will give the cheesecake its structure and richness.
Expert Advice: Chill your mixing bowl and whisk attachment in the freezer for 10-15 minutes before whipping for the best results.
- Granulated Sugar: Plain white granulated sugar provides the perfect amount of sweetness to balance the tanginess of the cream cheese and enhance the banana flavor, creating a harmoniously sweet profile without being overpowering.
-
Softened Cream Cheese: Full-fat cream cheese is essential for that signature rich, tangy, and smooth cheesecake texture. It’s crucial that the cream cheese is softened at room temperature; this ensures it blends seamlessly with the other ingredients, preventing lumps and creating a perfectly smooth filling.
Remember: Take your cream cheese out of the fridge at least an hour before you plan to mix to ensure it reaches the ideal consistency.
-
Instant Banana Cream Pudding Mix: This ingredient is the star of the show for intense banana flavor and helps to stabilize and thicken the no-bake cheesecake filling. Make sure to use an “instant” variety, as cook-and-serve puddings will not yield the same results.
Flavor Boost: Using instant banana cream pudding mix amplifies the banana notes, giving you that authentic banana pudding experience in cheesecake form.
For the Delightful Topping:
-
Fresh Sliced Bananas: Thinly sliced fresh bananas add a beautiful garnish and a burst of natural banana flavor and soft texture to each bar. They’re a classic complement to the cheesecake.
Serving Suggestion: Slice bananas just before serving to prevent browning. You can toss them lightly in lemon juice if preparing them slightly in advance, though fresh is always best for presentation.
-
Whipped Topping: Whether you opt for a store-bought whipped topping for convenience or prefer to make your own light and fluffy homemade whipped cream, this airy finish adds a final touch of sweetness and creamy texture that completes the experience.
Homemade Whipped Cream Tip: For homemade whipped cream, combine 1 cup cold heavy cream with 1-2 tablespoons powdered sugar and 1/2 teaspoon vanilla extract, then whip until soft or stiff peaks form.
Step-By-Step Guide: Crafting Your Banana Cream Cheesecake Bars
Follow these detailed instructions to create flawless, irresistible Banana Cream Cheesecake Bars that will impress everyone.
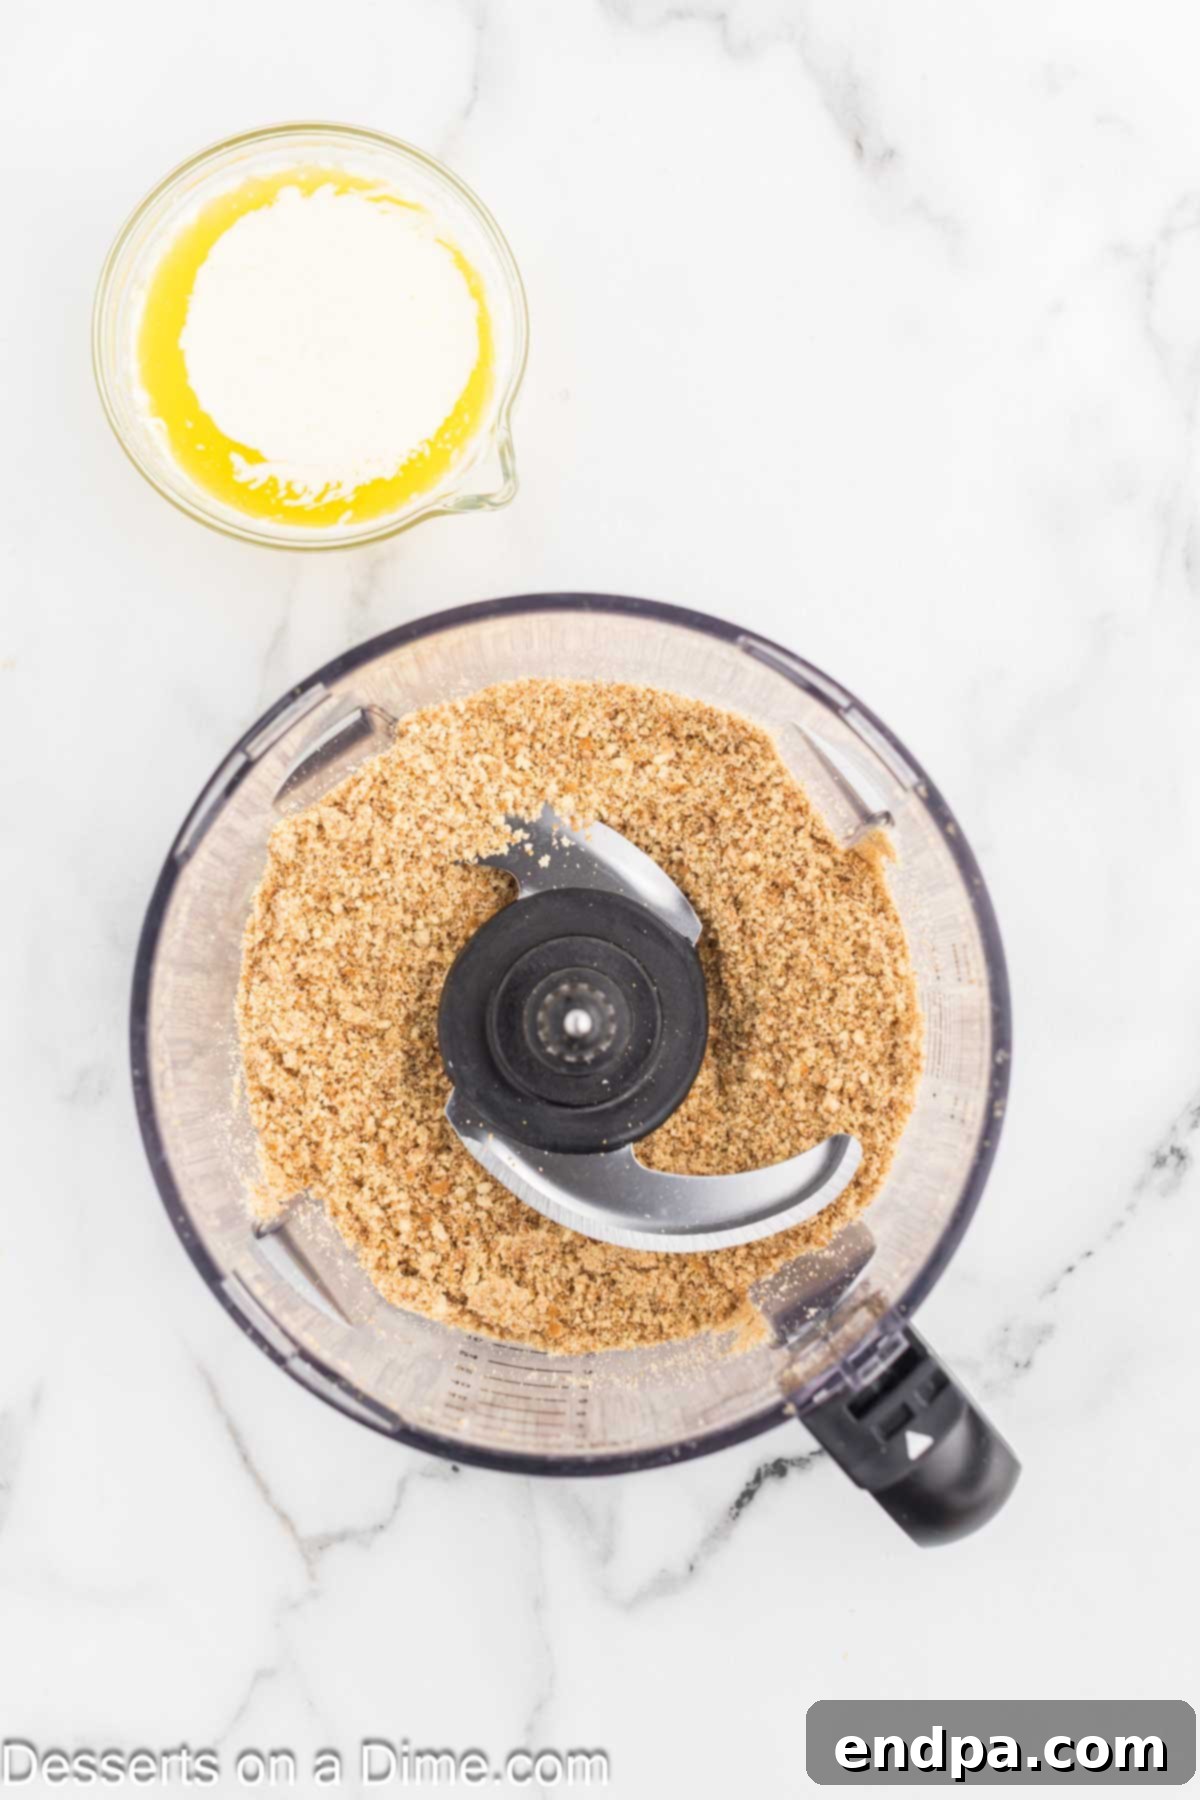
Step 1: Prepare the Cookie Crumbs. Begin by placing the Nilla wafer cookies into a food processor. Pulse until the cookies are crushed into fine crumbs with a few small, delightful chunks remaining. Avoid over-processing into a fine dust; a little texture adds to the crust’s charm. If you don’t have a food processor, you can place the cookies in a large Ziploc bag and crush them with a rolling pin.
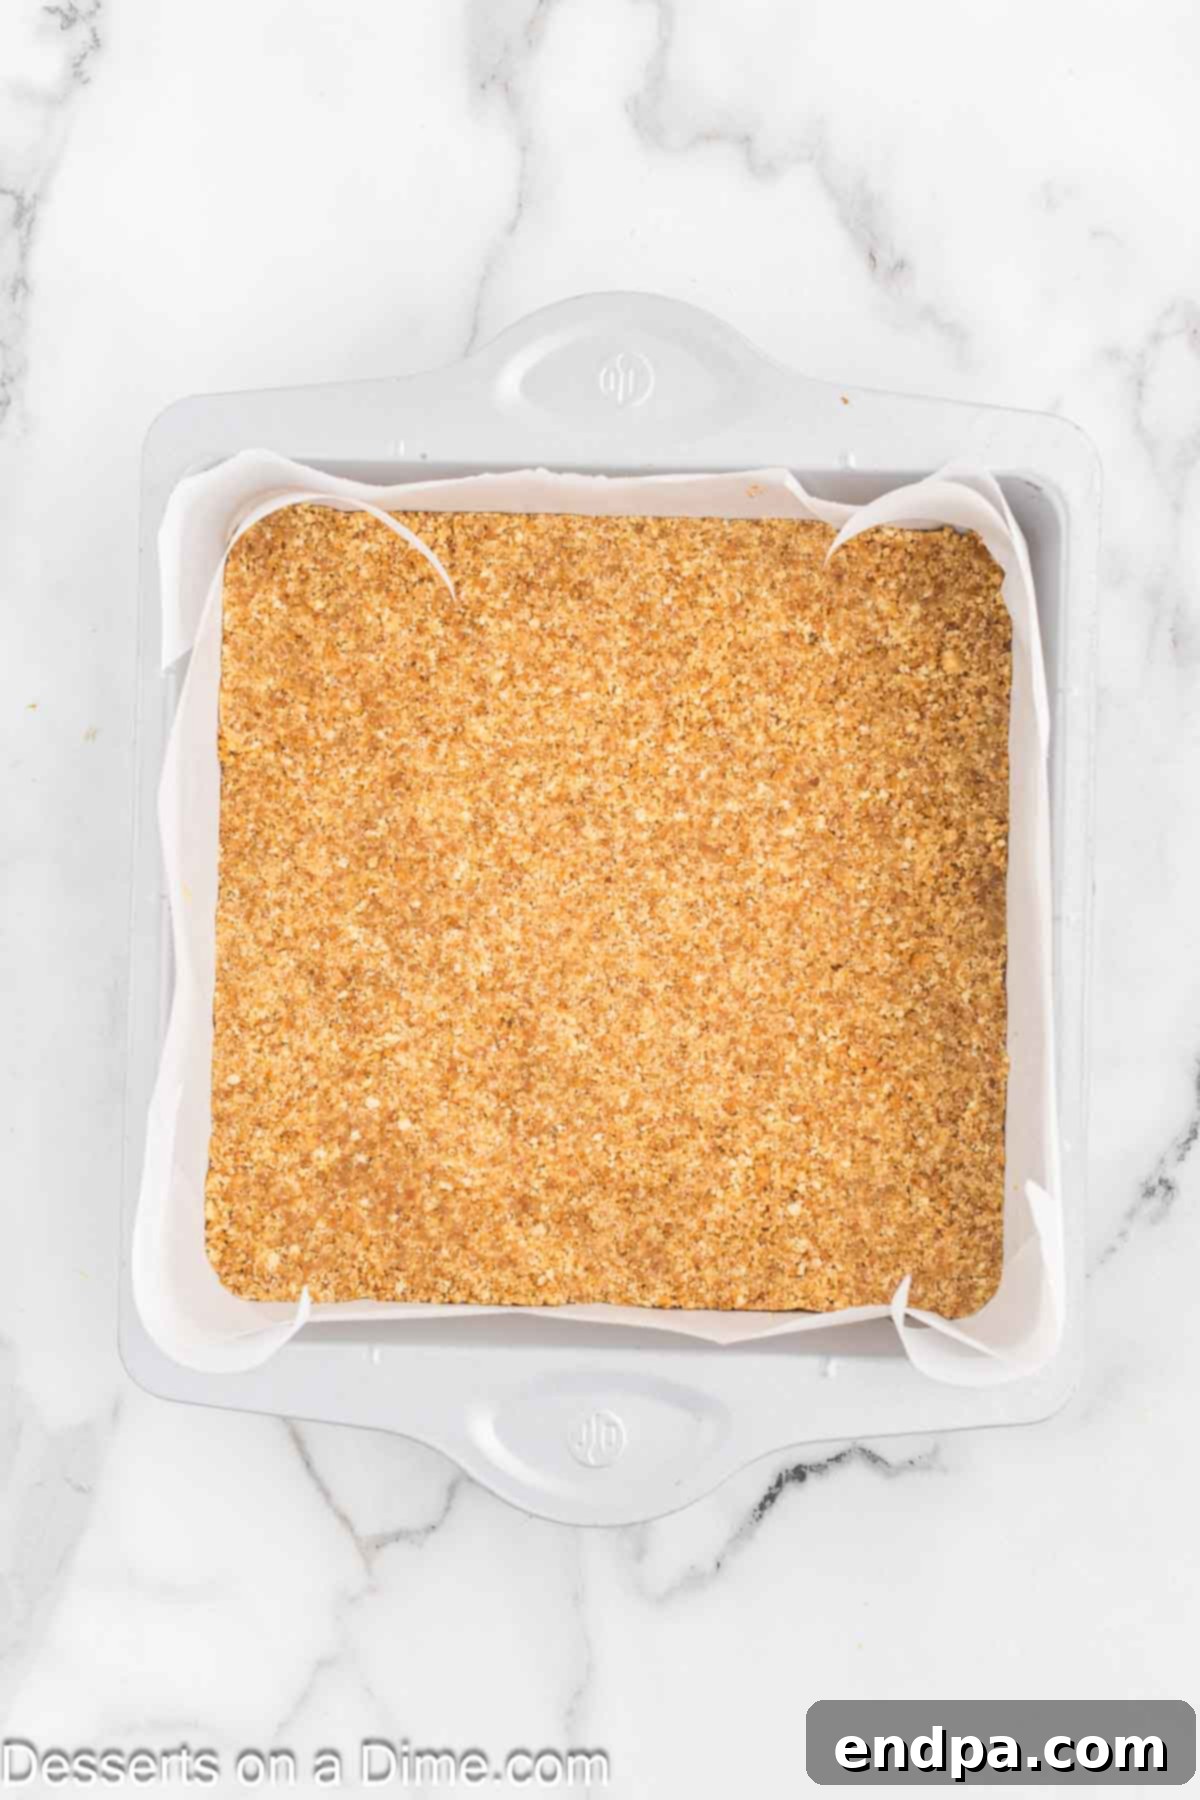
Step 2: Form the Crust. In a medium bowl, combine the crushed cookie crumbs with the melted butter. Mix thoroughly until all crumbs are moistened and resemble wet sand. Line a 9×9 inch baking pan (or an 8×8 inch pan for thicker bars) with parchment paper, leaving an overhang on the sides to easily lift the bars later. Press the cookie mixture firmly and evenly into the bottom of the prepared pan. Place the pan in the freezer to chill while you prepare the filling. This helps the crust set and prevents it from crumbling.
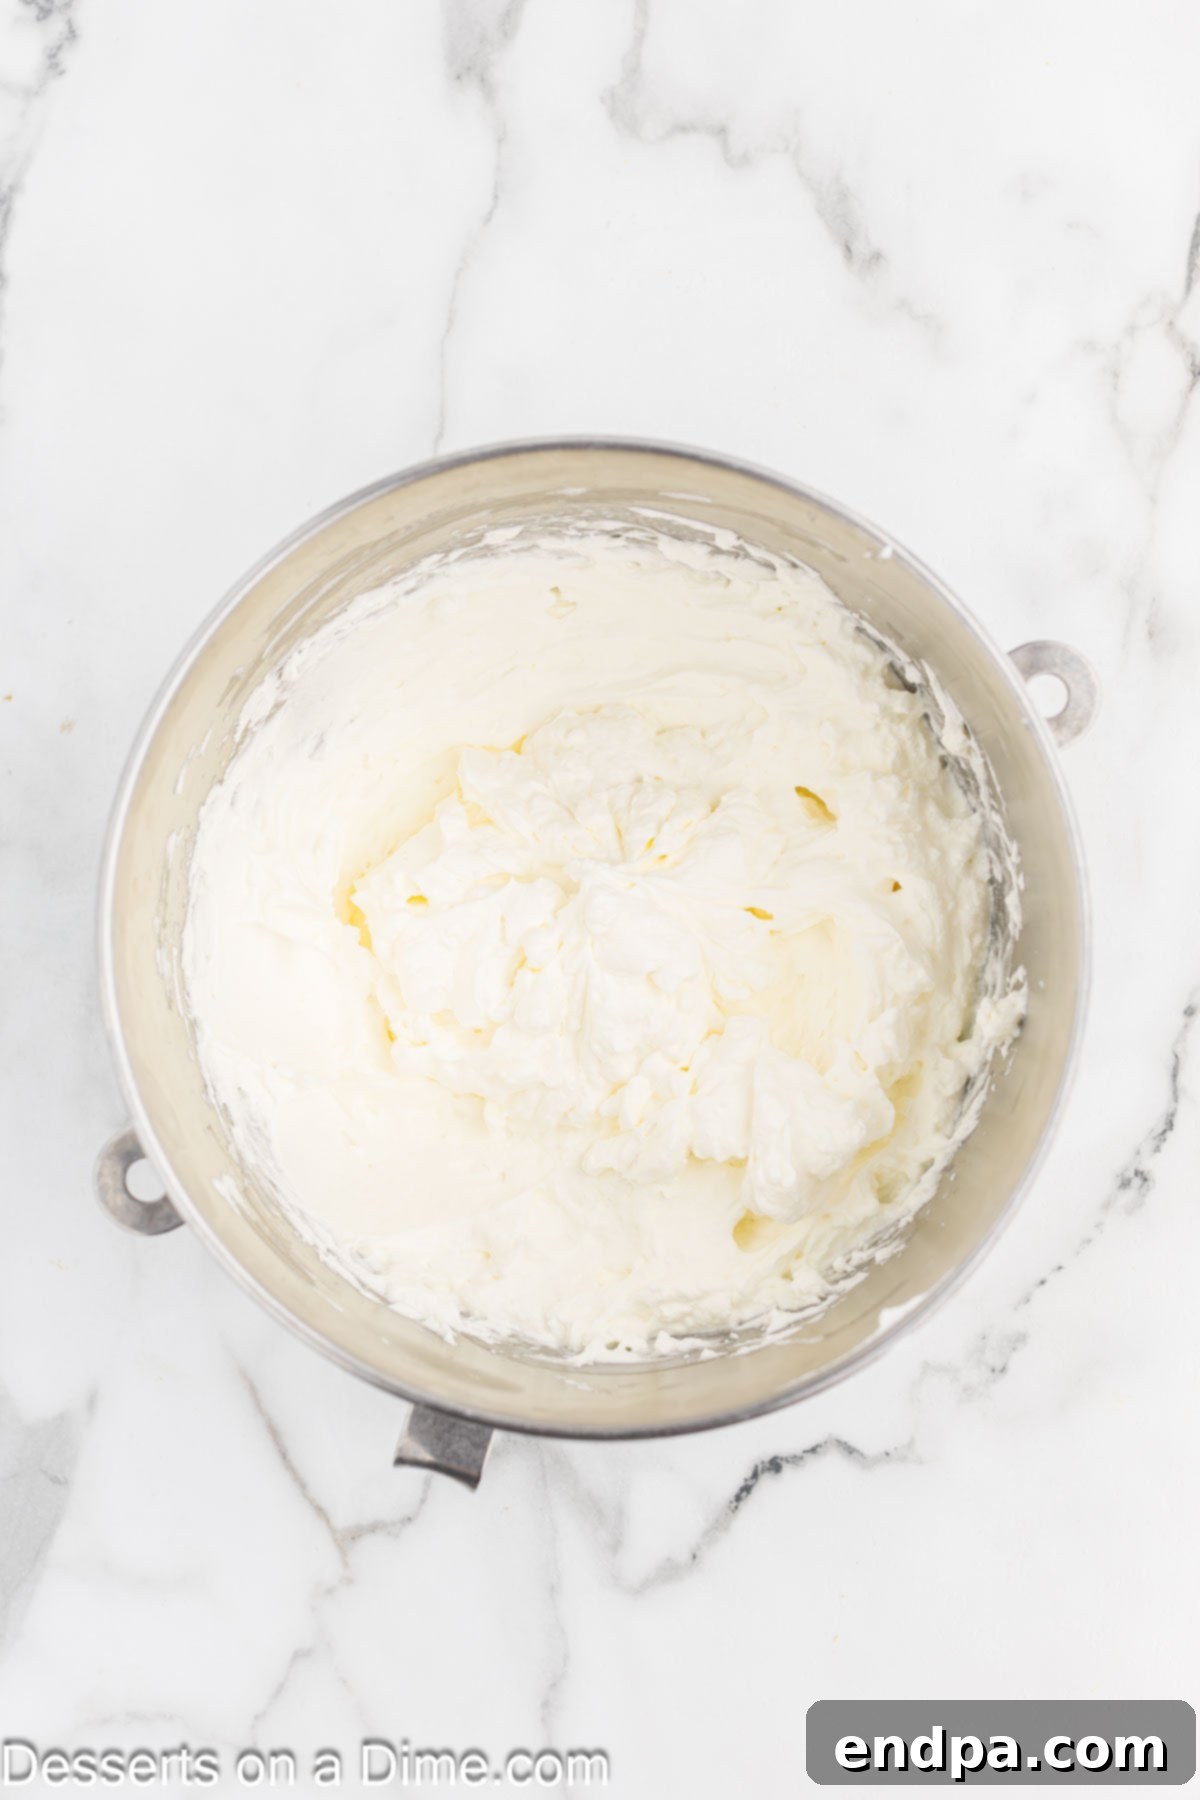
Step 3: Whip the Heavy Cream. Grab a large mixing bowl, preferably one that has been chilled in the freezer for about 10-15 minutes. Pour in the very cold heavy whipping cream and add the granulated sugar. Using an electric mixer (either a stand mixer with a whisk attachment or a hand mixer), beat the mixture on medium-high speed until stiff peaks are formed. The cream should be thick and hold its shape. Be careful not to over-beat, or it might turn into butter. Once done, set the whipped cream aside.
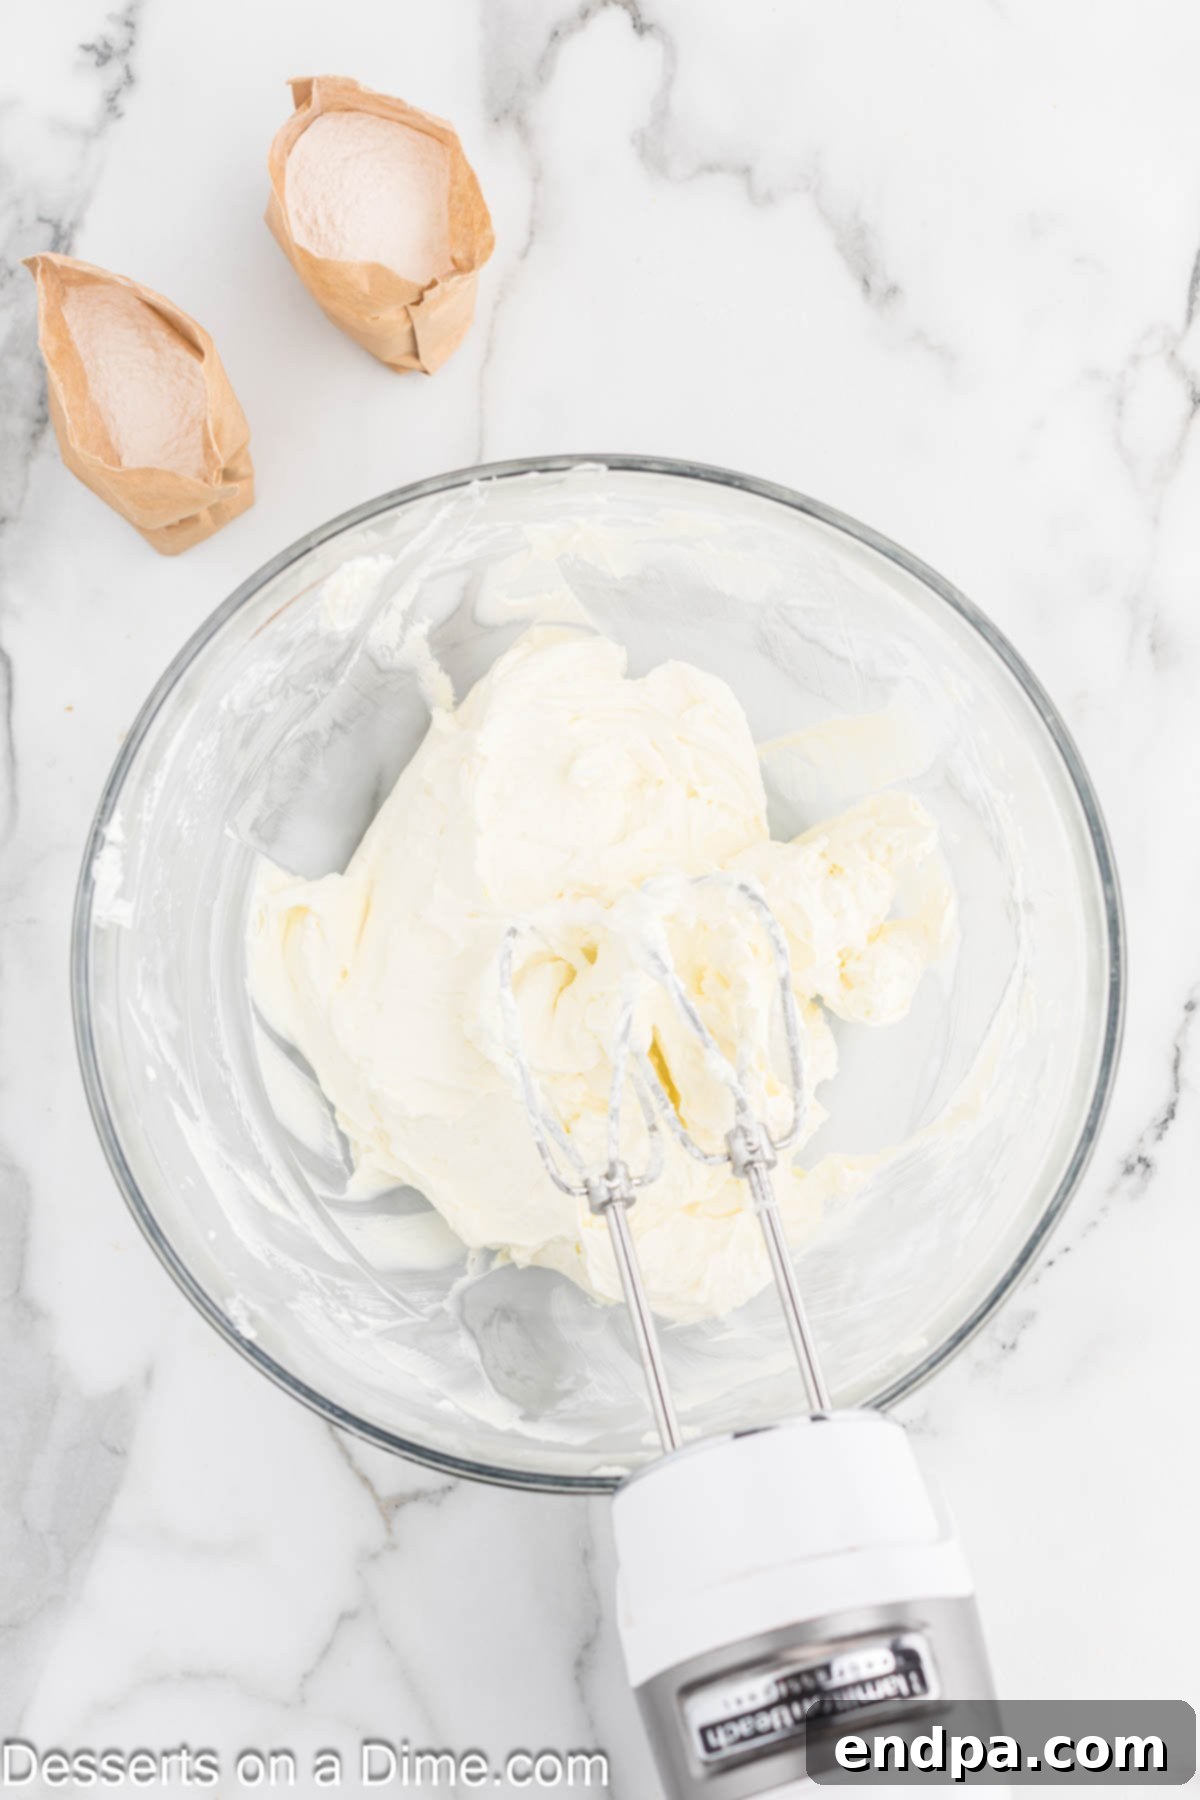
Step 4: Prepare the Cream Cheese Base. In a separate medium bowl, place the softened cream cheese. Using your electric hand mixer (or a paddle attachment on a stand mixer), beat the cream cheese on medium speed until it’s wonderfully light, fluffy, and completely smooth, with no lumps remaining. This step is crucial for a silky cheesecake filling.
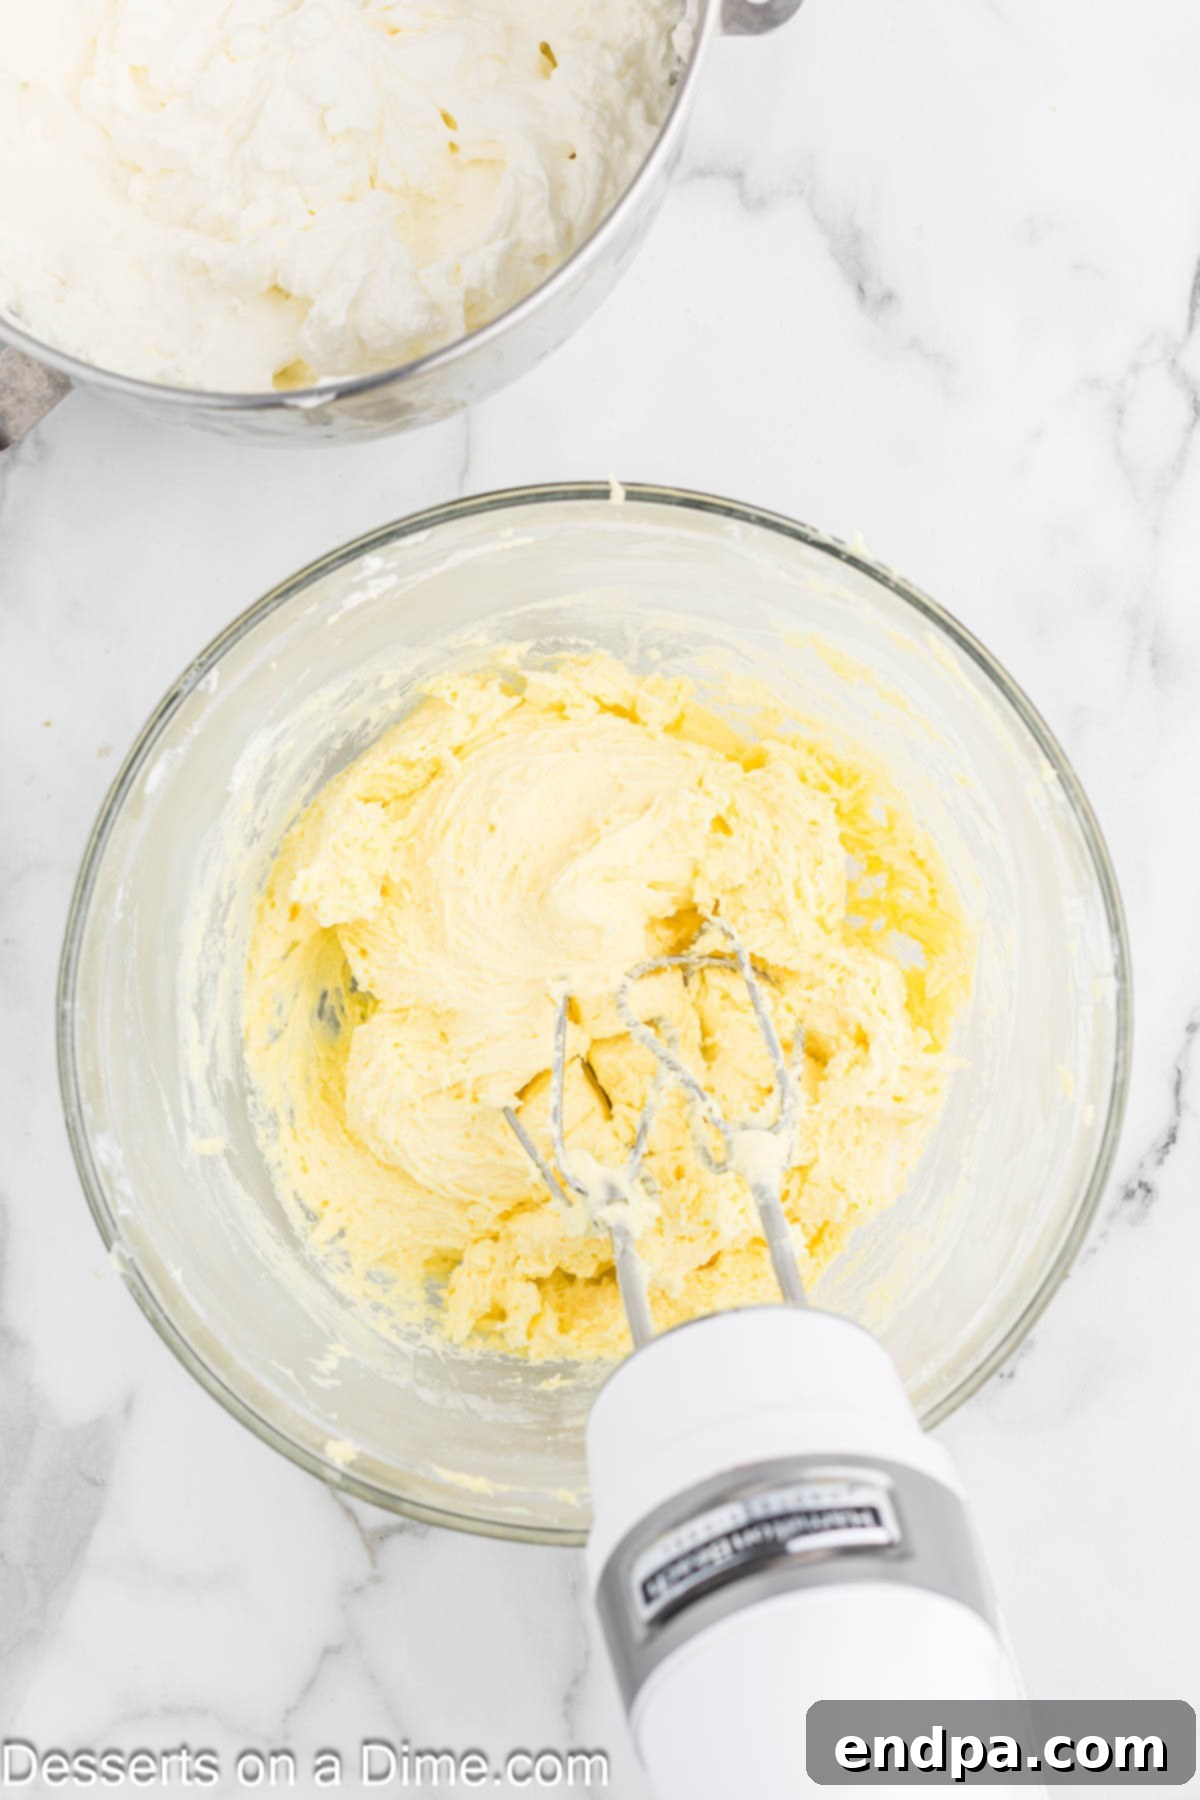
Step 5: Incorporate the Pudding Mix. With the cream cheese mixture smooth, gradually add in both packages of instant banana cream pudding mix. Mix on low speed until the pudding mix is fully incorporated and the mixture is smooth and slightly thickened. Scrape down the sides of the bowl to ensure everything is well combined.
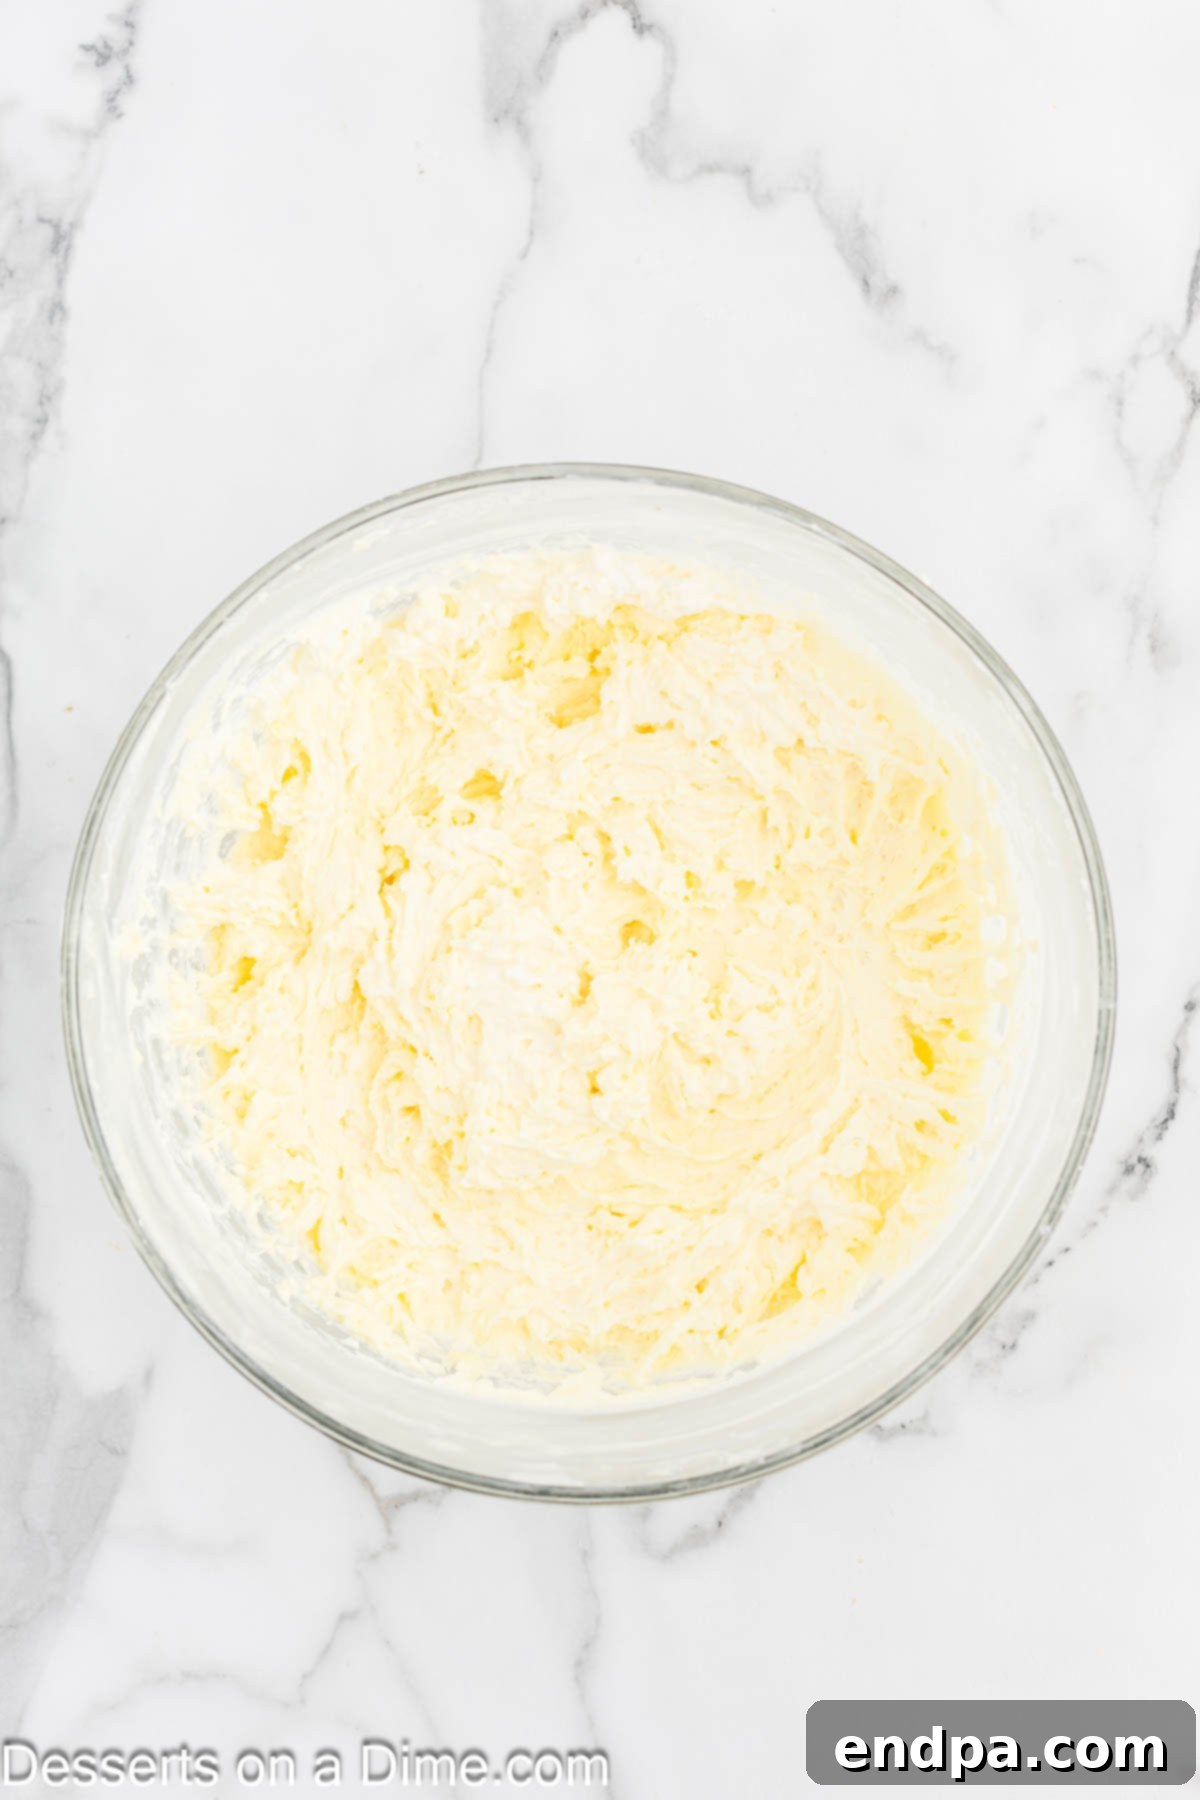
Step 6: Fold in the Whipped Cream. Gently fold the reserved whipped cream mixture into the banana cream cheese and pudding mixture. Use a spatula and a gentle hand, folding until just combined. The goal is to keep as much air as possible in the whipped cream, so avoid overmixing, which can deflate the mixture and result in a denser cheesecake.
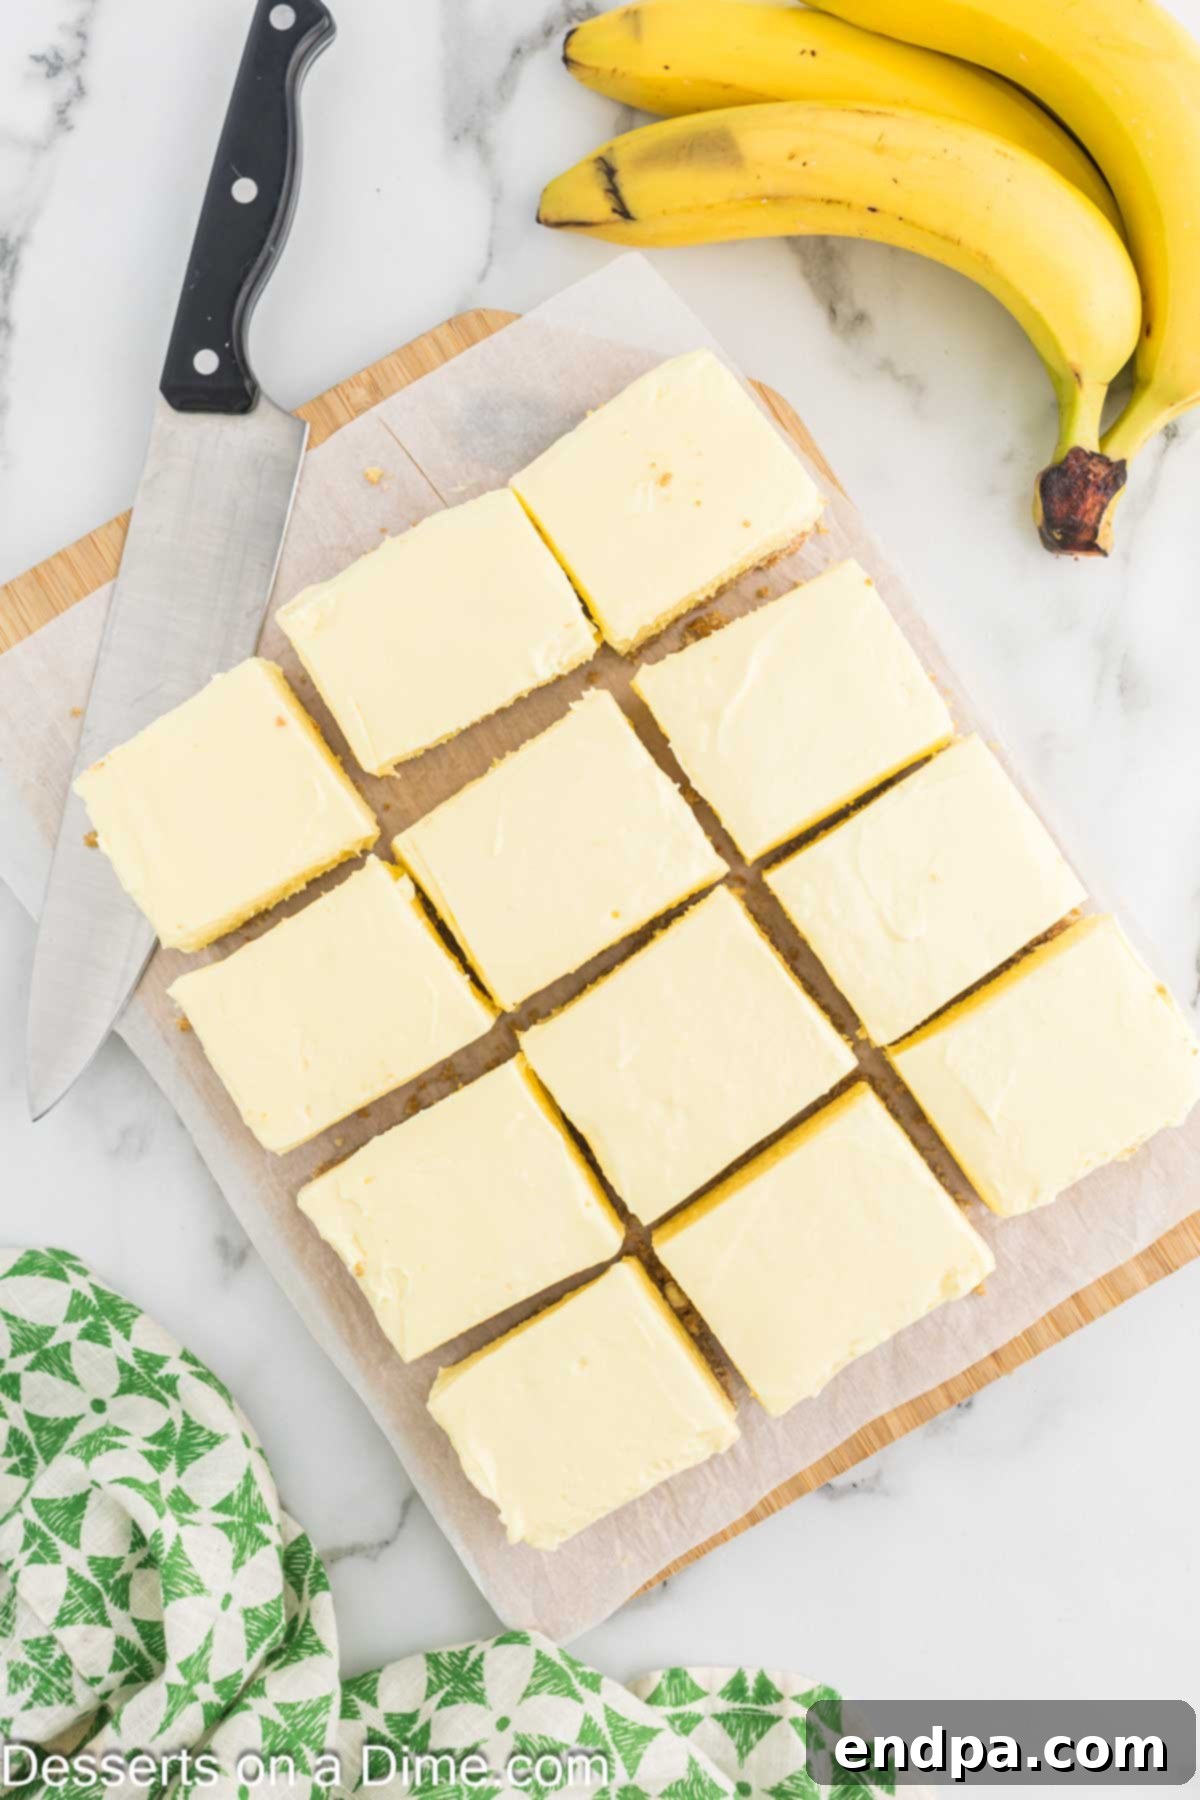
Step 7: Chill the Cheesecake. Retrieve your chilled crust from the freezer. Pour the prepared cheesecake filling evenly over the crust in the baking pan, spreading it gently with a spatula to create a smooth top. Cover the pan tightly with plastic wrap or aluminum foil. Refrigerate the bars for a minimum of 8 hours, though overnight chilling is even better. This crucial step allows the cheesecake to set completely, ensuring clean, firm slices.
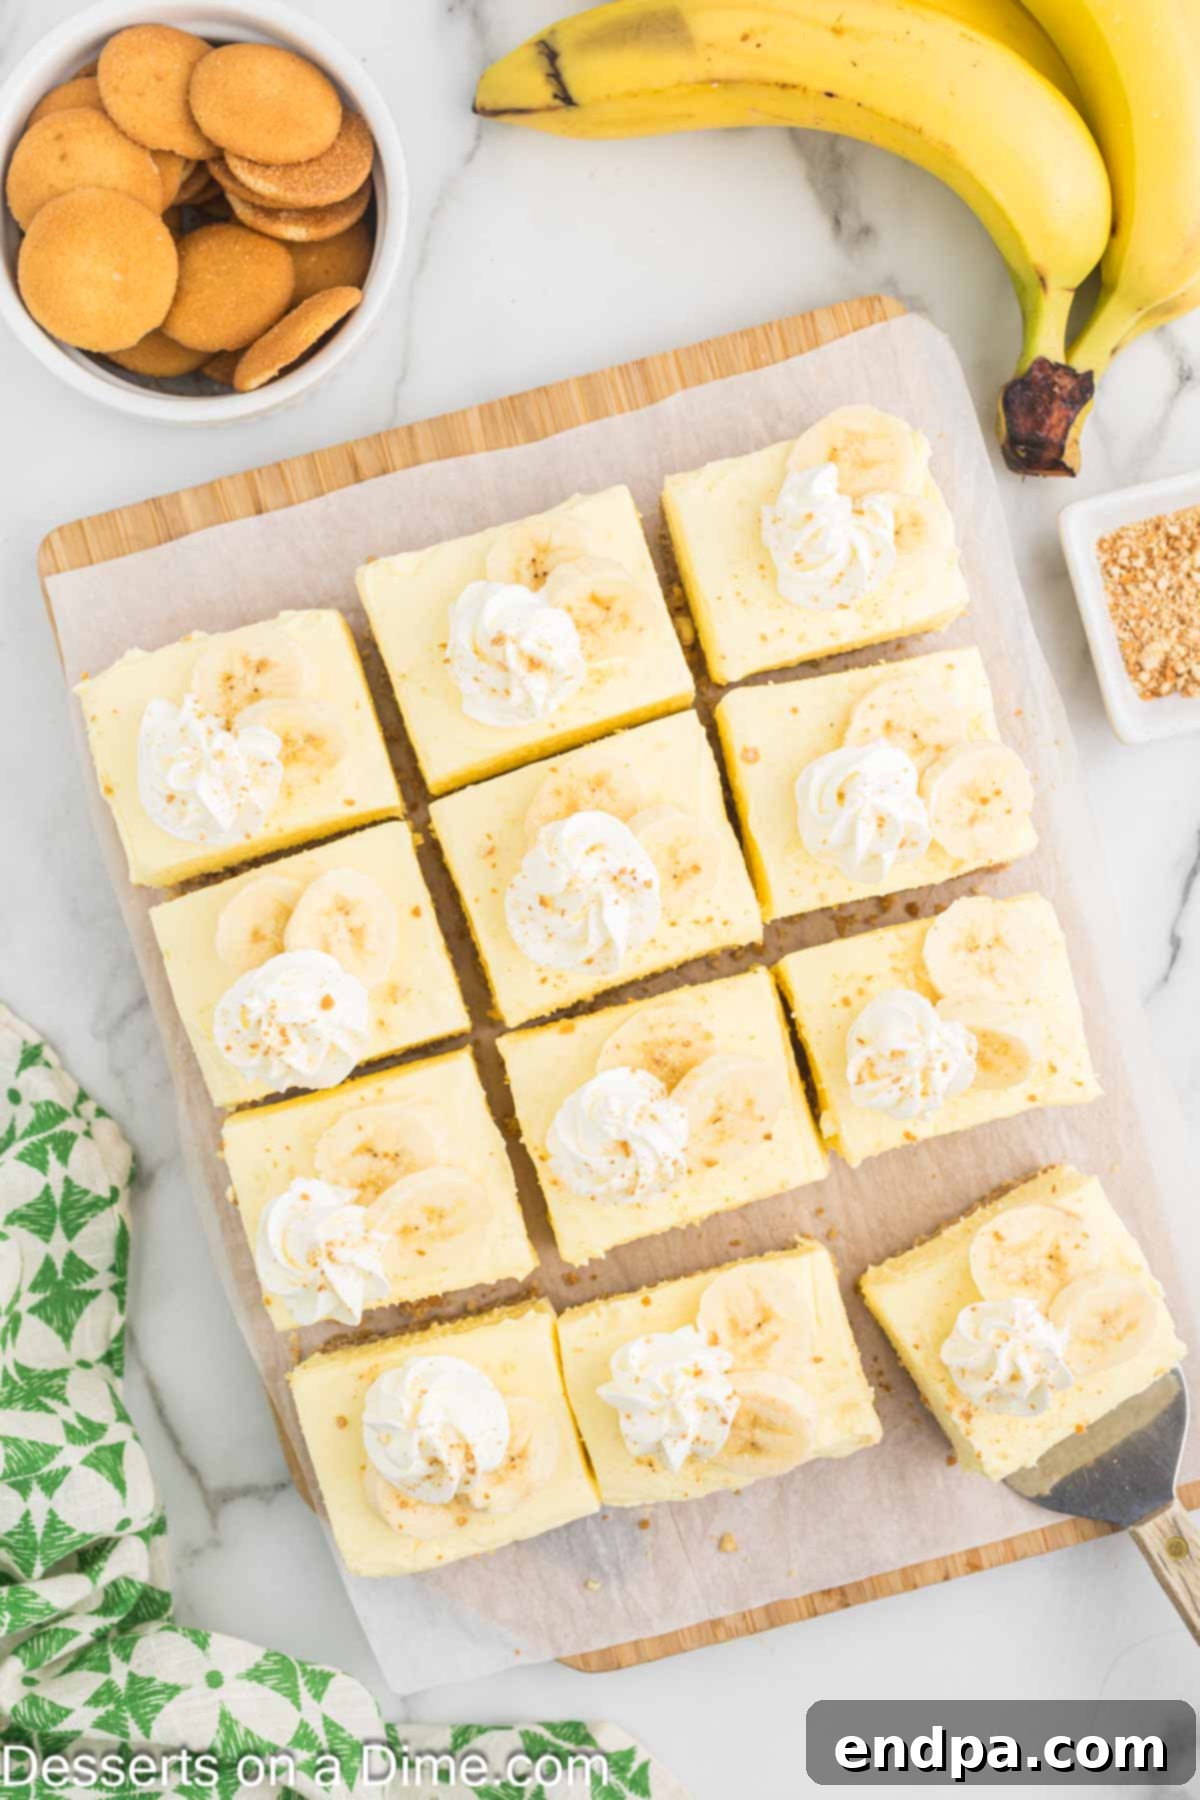
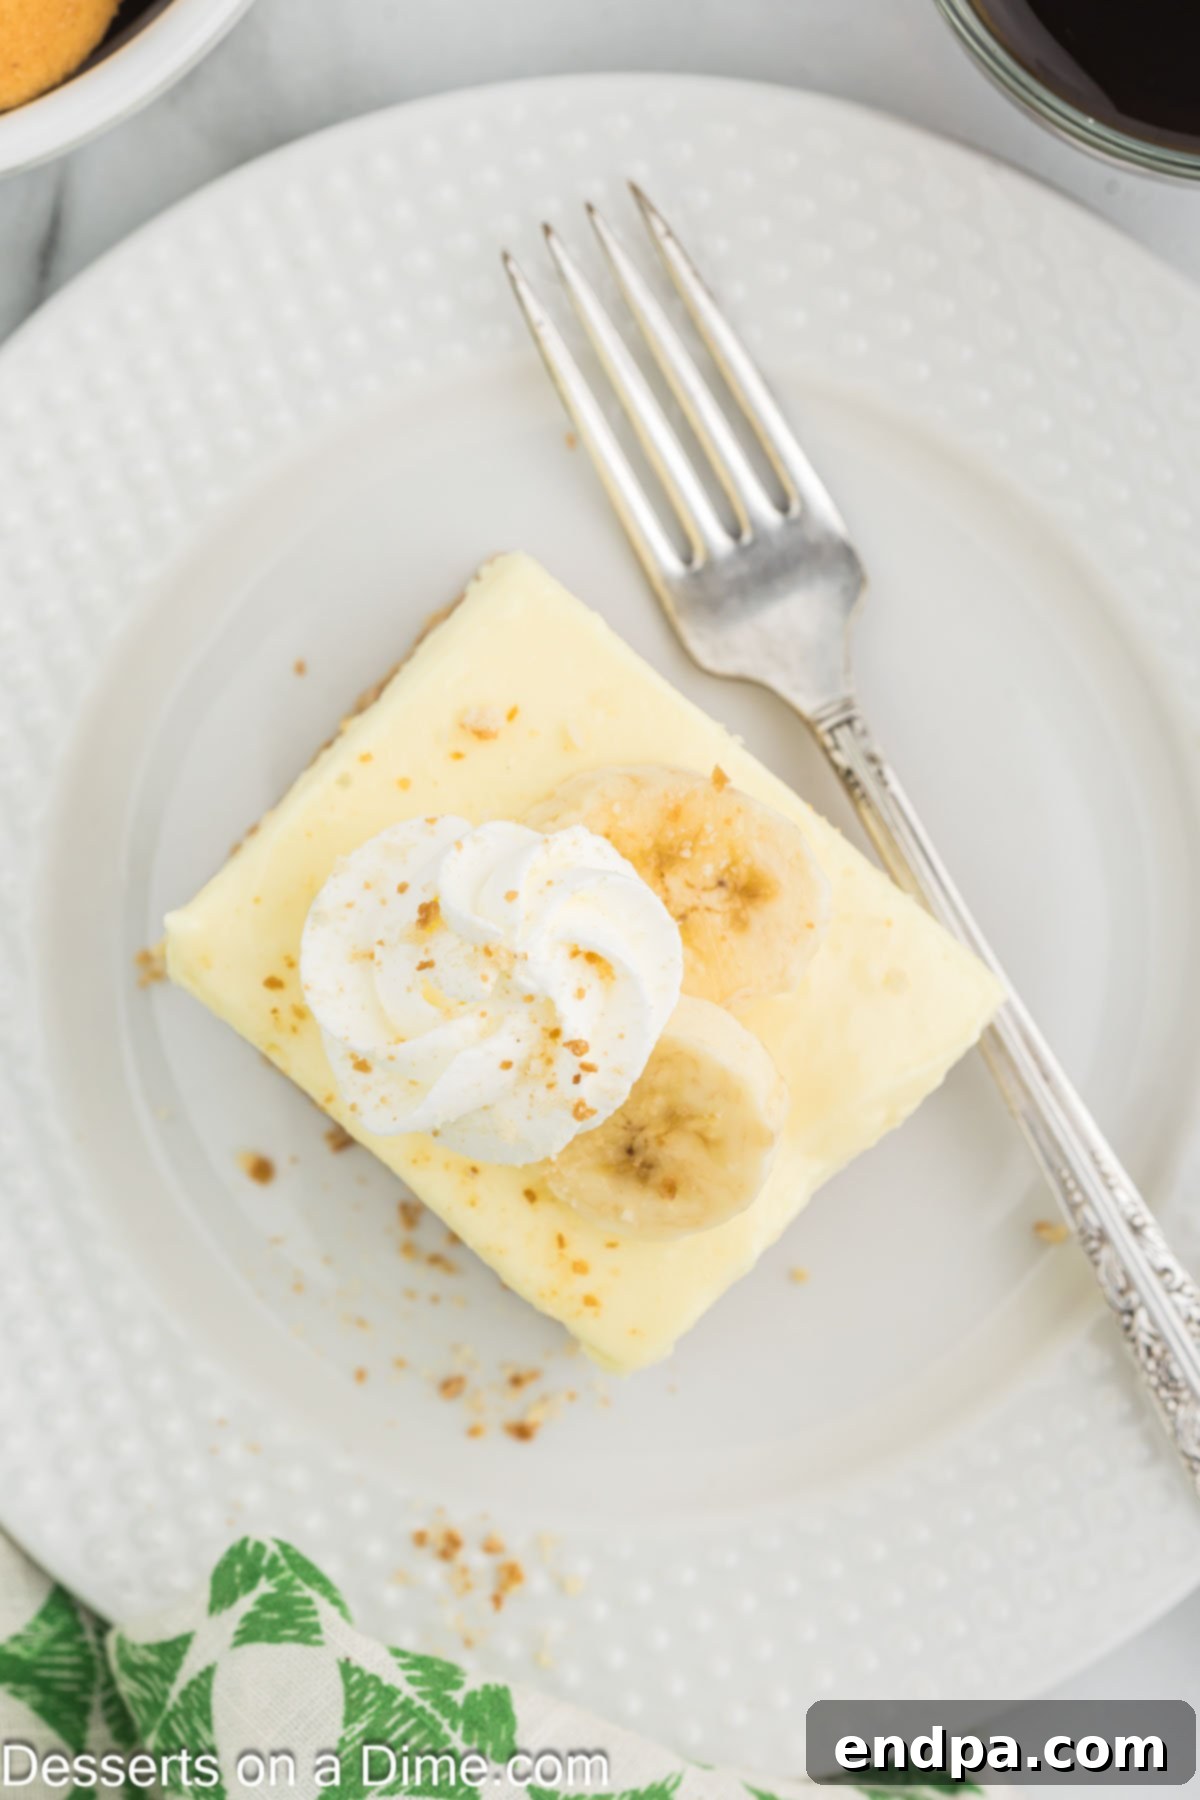
Step 8: Slice and Serve. Once thoroughly chilled, carefully lift the entire cheesecake from the pan using the parchment paper overhang. Place it on a cutting board. For clean slices, use a sharp knife that has been warmed under hot water and wiped clean between each cut. Cut the cheesecake into desired bar sizes. Garnish each bar with a dollop of whipped cream and a few fresh banana slices just before serving to ensure the bananas remain vibrant and fresh. Enjoy your homemade, delightful Banana Cream Cheesecake Bars!
Proper Storage for Optimal Freshness
To keep your Banana Cream Cheesecake Bars tasting their best, proper storage is essential. Store any leftover bars in an airtight container in the refrigerator. When stored correctly, these delicious bars will maintain their quality and freshness for up to 4-5 days. It’s important to note that if you plan to add whipped topping or fresh banana slices, always wait until just before serving. Fresh bananas tend to brown quickly when exposed to air, and whipped cream can weep and lose its airy texture over time in the fridge. By adding toppings at the last minute, you ensure the most appealing presentation and freshest taste.
Can You Freeze These Banana Cream Cheesecake Bars?
Yes, these delightful cheesecake bars are freezer-friendly, making them a fantastic make-ahead dessert! To freeze, ensure the bars are fully set and cooled. Do not add any toppings (whipped cream or fresh bananas) before freezing. Wrap individual bars tightly in plastic wrap, then place them in a freezer-safe bag or an airtight container. They can be stored in the freezer for up to 3 months.
When you’re ready to enjoy them, simply transfer the frozen bars to the refrigerator and allow them to thaw overnight. Thawing slowly in the fridge helps maintain their creamy texture and prevents condensation. Avoid thawing them in the microwave, as this can alter the texture of the cheesecake and make it watery. Once thawed, you can add your desired toppings and serve them chilled, as fresh and delicious as the day they were made!
Expert Tips for Flawless Banana Cream Cheesecake Bars
Achieving bakery-quality Banana Cream Cheesecake Bars is easy with these insider tips:
- Room Temperature Ingredients are a Must: For the filling, it’s absolutely crucial that your cream cheese is at room temperature. This ensures that it blends smoothly and evenly with the other ingredients, preventing lumps and creating a perfectly uniform, velvety texture. Cold cream cheese will result in a lumpy filling.
- Cold Bowl for Whipping Cream: To achieve stiff peaks quickly and efficiently with your heavy whipping cream, chill your mixing bowl and whisk attachment in the freezer for about 10-15 minutes before you start. The cold environment helps the fat globules in the cream stabilize faster, leading to perfectly whipped cream.
- The Importance of Chilling Time: Do not skimp on the refrigeration! The bars need to chill for at least 8 hours, but ideally overnight. This allows the cheesecake filling to fully set and firm up, making it much easier to cut into neat, clean slices. Rushing this step will result in a softer, less defined bar.
- Achieve Clean Slices with a Warm Knife: For beautifully presented bars, dip a sharp knife into warm water, then wipe it clean with a paper towel before each cut. The warmth helps the knife glide through the cheesecake cleanly, preventing sticking and creating smooth edges. Repeat this process for every slice.
-
Creative Crust Alternatives: While Nilla wafers are a classic choice, don’t be afraid to experiment with your crust!
- Golden Oreo cookies: For an extra vanilla and chocolate twist.
- Biscoff cookies: Adds a delightful spiced, caramelized flavor.
- Gingerbread cookies or Gingersnaps: Perfect for a festive, warming touch.
- Golden honey graham crackers: A traditional and equally delicious option.
- Chocolate graham crackers: For a banana and chocolate flavor pairing.
Each substitute offers a unique flavor dimension to complement the banana.
- Vary Your Toppings: While whipped cream and fresh bananas are traditional, consider adding other elements to your bars. A drizzle of caramel sauce or chocolate syrup adds extra decadence. A sprinkle of toasted coconut flakes provides a tropical crunch. You can also incorporate other fresh fruits like thinly sliced strawberries, blueberries, or even a few raspberries for a pop of color and tartness, especially if serving right away.
- Prevent Banana Browning: If you must slice bananas ahead of time for garnishing, toss them very lightly in a small amount of lemon juice or a fruit preservative like Fruit-Fresh. This will help prevent them from browning, keeping them looking appealing longer. However, for the best presentation, slice just before serving.
- Don’t Overmix the Filling: When folding in the whipped cream into the cream cheese mixture, be gentle. Overmixing can deflate the whipped cream, leading to a denser, less airy cheesecake texture. Mix just until combined for that perfect light and fluffy consistency.
Frequently Asked Questions About Banana Cream Cheesecake Bars
Here are some common questions about making and enjoying these delightful no-bake cheesecake bars:
-
Can I use fresh bananas in the cheesecake filling itself?
While instant banana pudding mix provides a consistent and strong banana flavor for the filling, adding fresh bananas directly into the cream cheese mixture can sometimes introduce too much moisture, potentially affecting the set of the no-bake cheesecake. For best results, it’s recommended to stick to the instant pudding mix for the primary banana flavor within the filling. Fresh bananas are best reserved for garnishing right before serving. -
How can I prevent the fresh banana slices on top from browning?
The best way to keep fresh banana slices from browning is to add them just before serving. If you need to prepare them a little in advance, you can toss them gently in a very small amount of lemon juice or pineapple juice. This acid helps to slow down the oxidation process. However, this may slightly alter the banana’s taste, so always aim for last-minute slicing when possible. -
What if I don’t have a 9×9 inch baking pan? What other sizes can I use?
A 9×9 inch baking pan is ideal for the specified thickness. You can use an 8×8 inch pan for thicker bars, but adjust the chilling time to ensure they are fully set. A 9×13 inch pan can also work, but your bars will be thinner, and the recipe might yield more servings. Always line with parchment paper for easy removal, regardless of pan size. -
Can I make this recipe dairy-free or gluten-free?
Converting this recipe to be completely dairy-free or gluten-free requires careful substitutions. For dairy-free, you would need dairy-free cream cheese, heavy cream alternatives (like full-fat coconut cream or store-bought dairy-free whipping cream), and dairy-free butter. For gluten-free, use gluten-free vanilla wafers or graham crackers for the crust, and ensure your instant pudding mix is certified gluten-free. Always check all ingredient labels carefully. -
Can I use homemade banana pudding instead of instant mix?
While homemade banana pudding is delicious, it typically has a different consistency than instant pudding mix, especially in a no-bake cheesecake setting. Instant pudding contains stabilizers that help the cheesecake firm up properly. Substituting with homemade pudding may result in a softer, less stable filling. If you wish to try, ensure your homemade pudding is very thick and well-chilled, but be aware the texture might vary.
Delicious Variations to Enhance Your Bars
While the classic Banana Cream Cheesecake Bars are fantastic as is, don’t hesitate to get creative with these exciting variations:
- Chocolate Drizzle Delight: Melt some dark or milk chocolate chips with a tiny bit of coconut oil or butter, then drizzle it generously over the chilled bars before serving. Banana and chocolate are a match made in heaven!
- Caramel Swirl: For an extra layer of sweetness and richness, gently warm some store-bought caramel sauce and swirl it into the cheesecake filling before chilling, or drizzle it over the finished bars. A pinch of sea salt can elevate the caramel flavor even further.
- Nutty Crunch: Add some finely chopped toasted pecans, walnuts, or almonds into your cookie crust mixture for an added crunch and nutty flavor. You can also sprinkle them on top of the whipped cream for garnish.
- Coconut Tropical Twist: Toast some shredded coconut flakes and sprinkle them over the top of the bars, either mixed with the whipped cream or as a standalone garnish. This adds a wonderful tropical aroma and texture.
- Espresso Kick: For coffee lovers, dissolve a teaspoon of instant espresso powder into a tablespoon of hot water, let it cool, and then add it to the cream cheese mixture with the banana pudding. This adds a subtle, sophisticated depth that pairs beautifully with banana.
- Different Pudding Flavors: While banana cream is key, consider using other instant pudding flavors for a different take. Vanilla, butterscotch, or even chocolate pudding could create interesting flavor combinations, though they wouldn’t be “banana cream” cheesecake bars anymore!
- Pie Form: Instead of bars, press the crust into a 9-inch pie plate and follow the rest of the instructions. You’ll have a stunning No-Bake Banana Cream Cheesecake Pie!
More Easy Cheesecake Recipes
All Recipes Dessert
German Chocolate Cheesecake Bars
Bars
Snickerdoodle Cheesecake Bars
Bars
Chocolate Chip Cheesecake Bars
We hope you are inspired to create these incredibly luscious Banana Cream Cheesecake Bars! Their rich flavor and delightful texture make them a perfect dessert for any occasion, and the no-bake method ensures a stress-free experience. If you make this recipe, please share your thoughts and a star rating. We love hearing from you and seeing your wonderful creations!
Banana Cream Cheesecake Bars
Banana Cream Cheesecake Bars feature a rich no-bake cheesecake filling brimming with irresistible banana flavor. The luxurious cookie crust and fluffy whipped topping make every bite a truly delectable experience.
Prep Time: 20 mins
Refrigerate: 8 hrs
Total Time: 8 hrs 20 mins
Servings: 12 bars
Cuisine: American
Course: Dessert
Calories: 512 kcal
Author: Carrie Barnard
Ingredients
For the Crust:
- 1 box Nilla Wafer Cookies (approximately 11 ounce box), crushed
- 1/2 cup Butter, melted
For the Filling:
- 2 cups Heavy Whipping Cream, cold
- 3/4 cup Granulated Sugar
- 24 ounces Cream Cheese, softened at room temperature
- 2 pkgs Instant Banana Cream Pudding Mix (3.4 ounces each)
For the Topping:
- Sliced Bananas, for garnish
- Whipped Topping, or homemade whipped cream
Instructions
- Crush the Nilla wafer cookies into crumbs in a food processor or blender until fine with a few small pieces remaining.
- Mix the cookie crumbs with the melted butter in a medium bowl until fully combined.
- Line a 9×9 inch baking dish with parchment paper, leaving an overhang on the sides. Press the crust mixture firmly and evenly into the bottom of the pan. Place in the freezer to chill while you prepare the filling.
- In a large chilled mixing bowl, combine the cold heavy whipping cream and the granulated sugar. Using an electric mixer, beat until stiff peaks are formed. Set aside.
- In a separate medium bowl, beat the softened cream cheese with an electric mixer until light and fluffy. Add in the instant pudding mixes and mix until combined and smooth.
- Gently fold the whipped cream mixture into the pudding and cream cheese mixture until just combined. Be careful not to overmix to maintain the airy texture.
- Pour the cheesecake mixture on top of the chilled crust in the prepared pan, spreading it into an even layer with a spatula.
- Cover the pan tightly with plastic wrap or aluminum foil and refrigerate for at least 8 hours (or preferably overnight) to allow the cheesecake to set completely.
- Once thoroughly chilled, use the parchment paper overhang to carefully lift the cheesecake from the pan. Place on a cutting board, slice into bars with a warm, sharp knife, and serve topped with whipped cream and fresh banana slices. Enjoy!
Recipe Notes
Refrigerate any leftover bars in an airtight container for up to 4-5 days. It’s best to add whipped cream and fresh banana slices just before serving to maintain freshness and presentation.
Ensure all filling ingredients, especially the cream cheese, are at room temperature for the best results and to ensure everything mixes together evenly and smoothly. For the heavy whipping cream, ensure it is very cold for proper whipping.
Nutrition Facts
Calories: 512 kcal
Carbohydrates: 32g
Protein: 5g
Fat: 42g
Saturated Fat: 25g
Polyunsaturated Fat: 2g
Monounsaturated Fat: 11g
Trans Fat: 0.3g
Cholesterol: 122mg
Sodium: 355mg
Potassium: 118mg
Fiber: 0.1g
Sugar: 29g
Vitamin A: 1581 IU
Vitamin C: 0.2mg
Calcium: 84mg
Iron: 0.1mg
