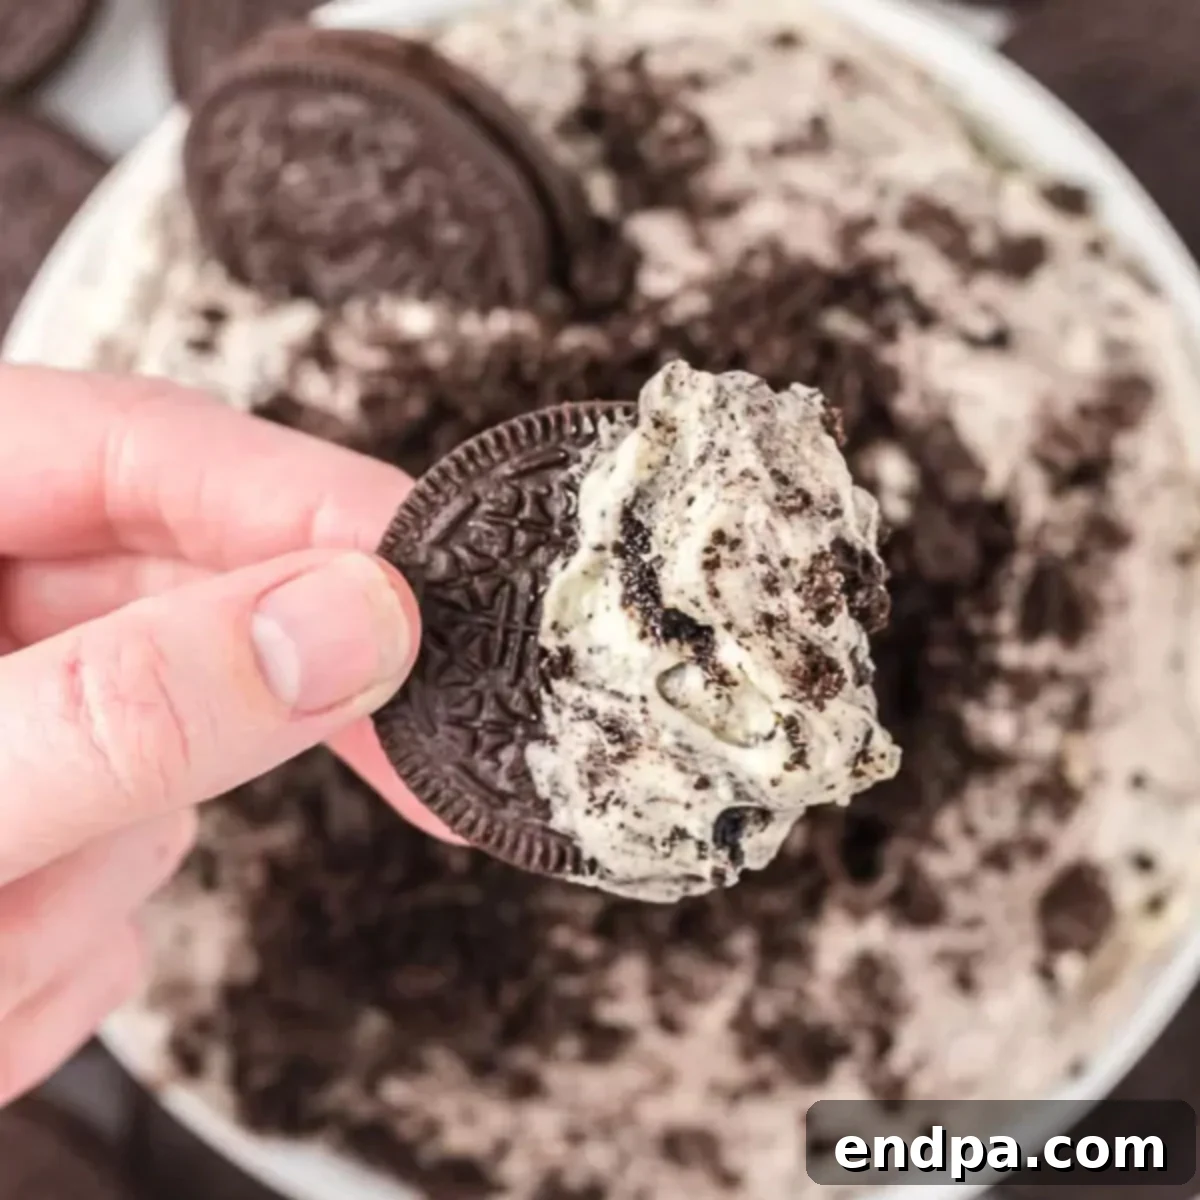
Craving a delightful dessert that requires minimal effort but delivers maximum satisfaction? Look no further than this incredibly easy and luxuriously creamy Oreo Fluff Recipe. Imagine layers of light, airy whipped cream, rich instant pudding, and perfectly crushed Oreo cookies coming together in a harmonious blend of textures and flavors. This is not just any dessert; it’s a no-bake masterpiece that calls for just four simple ingredients, making it an absolute lifesaver for last-minute gatherings, festive parties, casual potlucks, or simply as a quick, indulgent treat for your family.
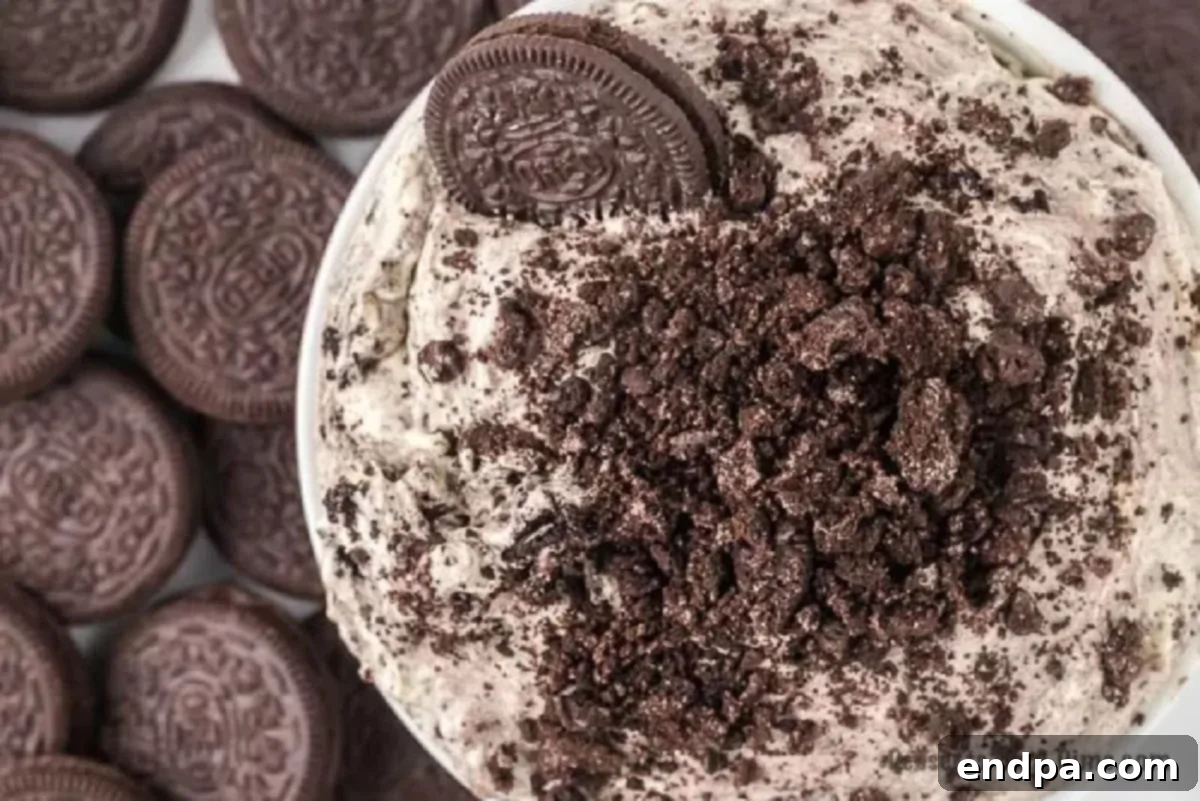
The beauty of this Oreo Fluff lies in its simplicity and versatility. It’s a dessert that effortlessly combines convenience with an irresistible taste, proving that you don’t need to spend hours in the kitchen to create something truly spectacular. Every spoonful offers a perfect balance of smooth, melt-in-your-mouth creaminess and the beloved crunch of America’s favorite cookie. This makes it an instant hit with both children and adults, ensuring it vanishes quickly from any dessert table.
Whether you’re a seasoned baker or a complete novice, this recipe is designed for success. Its straightforward steps and readily available ingredients mean you can whip it up in minutes, then simply chill and serve. If you’re passionate about Oreo desserts, this fluffy creation is bound to become a new favorite, joining the ranks of other crowd-pleasers like No Bake Oreo Balls.
Table of Contents
- Why This Oreo Fluff Is A Must-Try
- Ingredients for Your Perfect Oreo Fluff
- Essential Equipment You’ll Need
- Creative Variations to Customize Your Oreo Fluff
- Step-by-Step Guide to Making Oreo Fluff
- Serving Suggestions for Oreo Fluff
- Storage and Make-Ahead Tips
- Pro Tips for the Best Oreo Fluff
- Frequently Asked Questions About Oreo Fluff
- More Irresistible Oreo Dessert Recipes
Why This Oreo Fluff Is A Must-Try
This delightful Oreo Fluff isn’t just a dessert; it’s a testament to how effortlessly you can create something truly memorable. Here’s why this recipe deserves a permanent spot in your culinary repertoire:
- Effortlessly Quick & Easy: Forget about preheating ovens or complex baking steps. This is a genuinely no-bake dessert that comes together in mere minutes, making it the ideal choice for spontaneous cravings or when you need a fantastic dessert in a flash. It’s perfect for busy weeknights or unexpected guests.
- Irresistibly Creamy & Light: The combination of whipped cream and instant pudding creates a texture that is wonderfully smooth, airy, and literally melts in your mouth. It’s rich without being overly heavy, leaving you feeling satisfied but not weighed down.
- Delightful Chocolatey Crunch: The star of the show, crushed Oreo cookies, adds an incredible textural contrast. Each bite delivers that signature chocolatey goodness with a satisfying crunch that makes this dessert utterly addictive. The balance between soft and crisp is simply perfect.
- Unbelievably Versatile: From elegant individual servings at a dinner party to a casual scoop for a movie night, this Oreo Fluff adapts to any setting. It’s a guaranteed crowd-pleaser for birthdays, holidays, summer BBQs, or simply as a comforting after-dinner treat at home.
- Universally Kid-Friendly: Let’s be honest, who doesn’t love Oreos? This dessert leverages that universal appeal, making it a surefire hit with children. Its fun layers and familiar flavors make it a joyful dessert experience for all ages, often becoming a fond memory for kids.
- Minimal Ingredient List: With just four core ingredients, grocery shopping is a breeze, and you might even have most of them on hand already. This simplicity ensures a stress-free preparation process from start to finish.
Ingredients for Your Perfect Oreo Fluff
The magic of this Oreo Fluff lies in its short and sweet ingredient list. Each component plays a crucial role in creating the irresistible flavor and texture. Here’s what you’ll need:
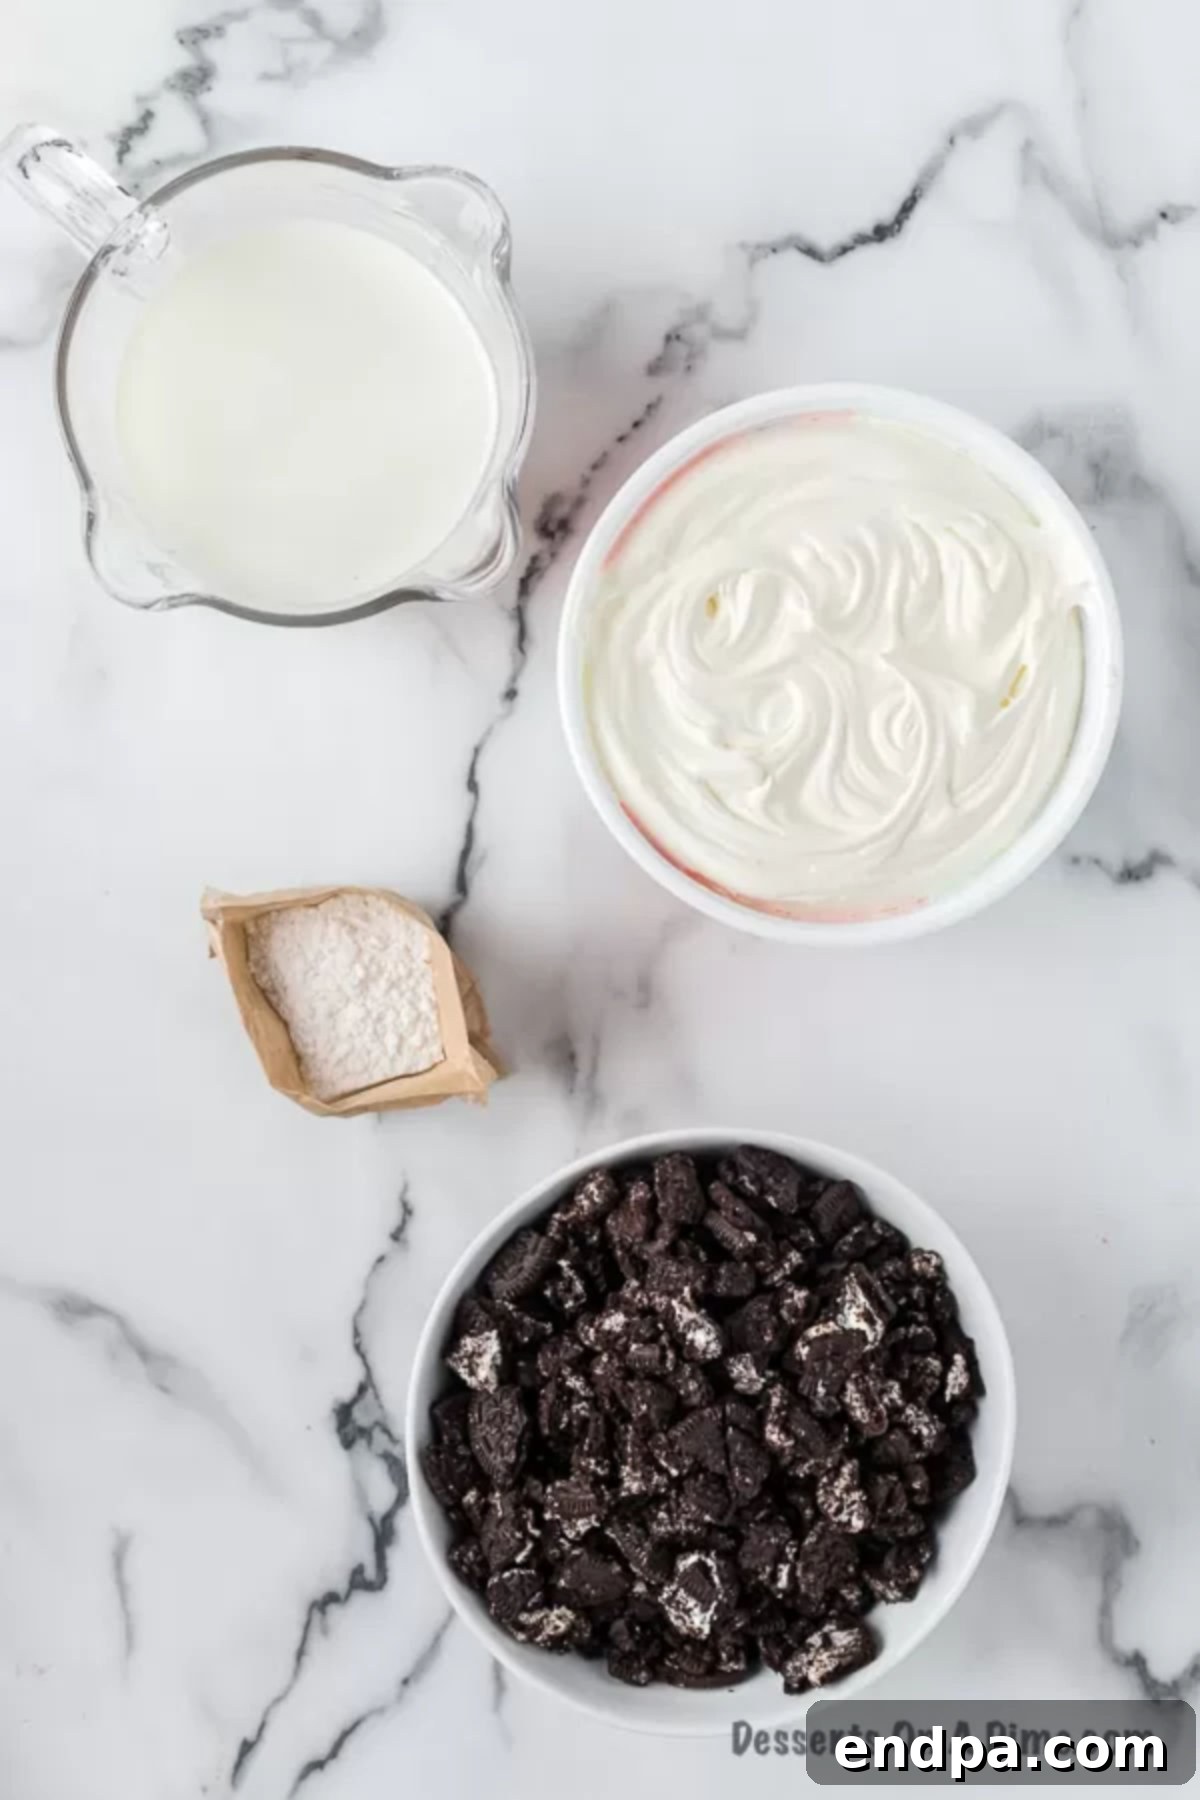
- Instant Vanilla Pudding Mix (3.4 oz box): This is the creamy base that brings everything together. While vanilla offers a classic and versatile flavor, don’t hesitate to experiment! Cheesecake flavored instant pudding works wonderfully, giving the fluff a delightful tang that truly evokes the taste of Oreo cheesecake. Chocolate pudding can also be used for an extra chocolatey punch. Be sure to use instant pudding, as cook-and-serve varieties will yield a different consistency.
- Milk (1 ½ cups): For the richest and creamiest fluff, whole milk is highly recommended. Its fat content contributes to a luscious texture. However, if you prefer a lighter dessert, 2% milk can also be used. Skim milk might make the fluff a bit thinner, so adjust accordingly. The coldness of the milk is important for the pudding to set properly.
- Cool Whip (1 large 8 oz container, thawed): This pre-made whipped topping provides instant lightness and stability to the dessert. Ensure it’s fully thawed in the refrigerator before use to achieve the best, smoothest consistency. If you prefer to make your own whipped cream, you’ll need about 2 cups of heavy whipping cream, whipped to stiff peaks, but be aware it might be slightly less stable than Cool Whip. Light Cool Whip can also be used to reduce calories without significantly impacting the taste.
- Oreo Cookies (approximately 30, crushed): The iconic component! Regular Oreo cookies are ideal for this recipe, providing the perfect balance of chocolate cookie and cream filling. Crush them to your desired consistency – some prefer fine crumbs, while others enjoy larger chunks for more bite. Avoid using Double Stuffed Oreos, as the extra cream can make the mixture too sweet or affect the texture. A good way to crush them is by placing them in a zip-top bag and gently pounding them with a rolling pin, or using a food processor for a finer crumb.
Essential Equipment You’ll Need
Making Oreo Fluff is incredibly simple, and you won’t need a lot of fancy kitchen gadgets. Here’s a quick list of what will make the process even easier:
- Large Mixing Bowl: You’ll need ample space to combine your ingredients and fold everything together without spills.
- Hand Mixer or Whisk: A hand mixer will make quick work of thickening the pudding, but a good old-fashioned whisk can also get the job done with a little more elbow grease.
- Rubber Spatula: Essential for gently folding in the whipped cream and crushed Oreos, ensuring a light and airy texture.
- Measuring Cups and Spoons: For accurate ingredient proportions.
- Airtight Container with Lid: For chilling and storing your delicious Oreo Fluff.
- (Optional) Food Processor or Ziploc Bag & Rolling Pin: For efficiently crushing your Oreo cookies to your desired consistency.
Creative Variations to Customize Your Oreo Fluff
While the classic Oreo Fluff is undeniably delicious, this recipe is highly adaptable, inviting you to experiment and personalize it to your taste. Here are some exciting variations to try:
- Oreo Cookie Flavors: Don’t limit yourself to just plain Oreos! The market is full of exciting Oreo flavors that can transform this dessert. Consider using Golden Oreos for a vanilla-forward twist, Birthday Cake Oreos for a festive and colorful presentation, Red Velvet Oreos for a rich and tangy depth, or Peanut Butter Oreos for an irresistible nutty kick. Seasonal flavors like Mint Oreos during the holidays can also create a unique experience.
- Pudding Mix Adventures: The choice of pudding mix profoundly impacts the overall flavor profile.
- Chocolate Lovers: Swap vanilla pudding for instant chocolate pudding mix for an intensely chocolatey version. Dark chocolate or milk chocolate pudding can both create decadent results.
- Cheesecake Delight: As mentioned, cheesecake-flavored instant pudding adds a lovely tanginess that mimics a no-bake Oreo cheesecake.
- Other Flavors: Consider banana, pistachio, or even butterscotch pudding for unique and unexpected twists.
- Marshmallow Magic: For an extra layer of sweetness and a soft, chewy texture, toss in a handful of mini marshmallows. Add them along with the crushed Oreos. Remember to combine this by hand to maintain the fluffiness of the mixture; an electric mixer might deflate the whipped cream.
- Cream Cheese Richness: For a denser, richer, and more “dessert salad” or “dirt cake”-like texture, incorporate softened cream cheese. Add 4-6 ounces of cream cheese (softened to room temperature) to the pudding and milk mixture before whipping. Blend until smooth and fully incorporated, then proceed with adding the Cool Whip and Oreos. This adds a delightful tang and a more substantial feel.
- Low-Calorie Option: If you’re looking to enjoy this treat with fewer calories, simple substitutions can make a big difference. Use light Cool Whip, skim milk, and sugar-free instant pudding mix. To further lighten the dessert, consider serving it with a generous portion of fresh fruit like sliced strawberries, raspberries, or blueberries, which add natural sweetness and vitamins.
- Add-Ins Galore: Beyond Oreos, consider stirring in mini chocolate chips, white chocolate chips, chopped nuts (like pecans or walnuts), or even a drizzle of caramel or hot fudge sauce into the mixture before chilling.
Step-by-Step Guide to Making Oreo Fluff
Creating this delightful Oreo Fluff is incredibly simple. Just follow these easy steps for a perfect no-bake treat every time:
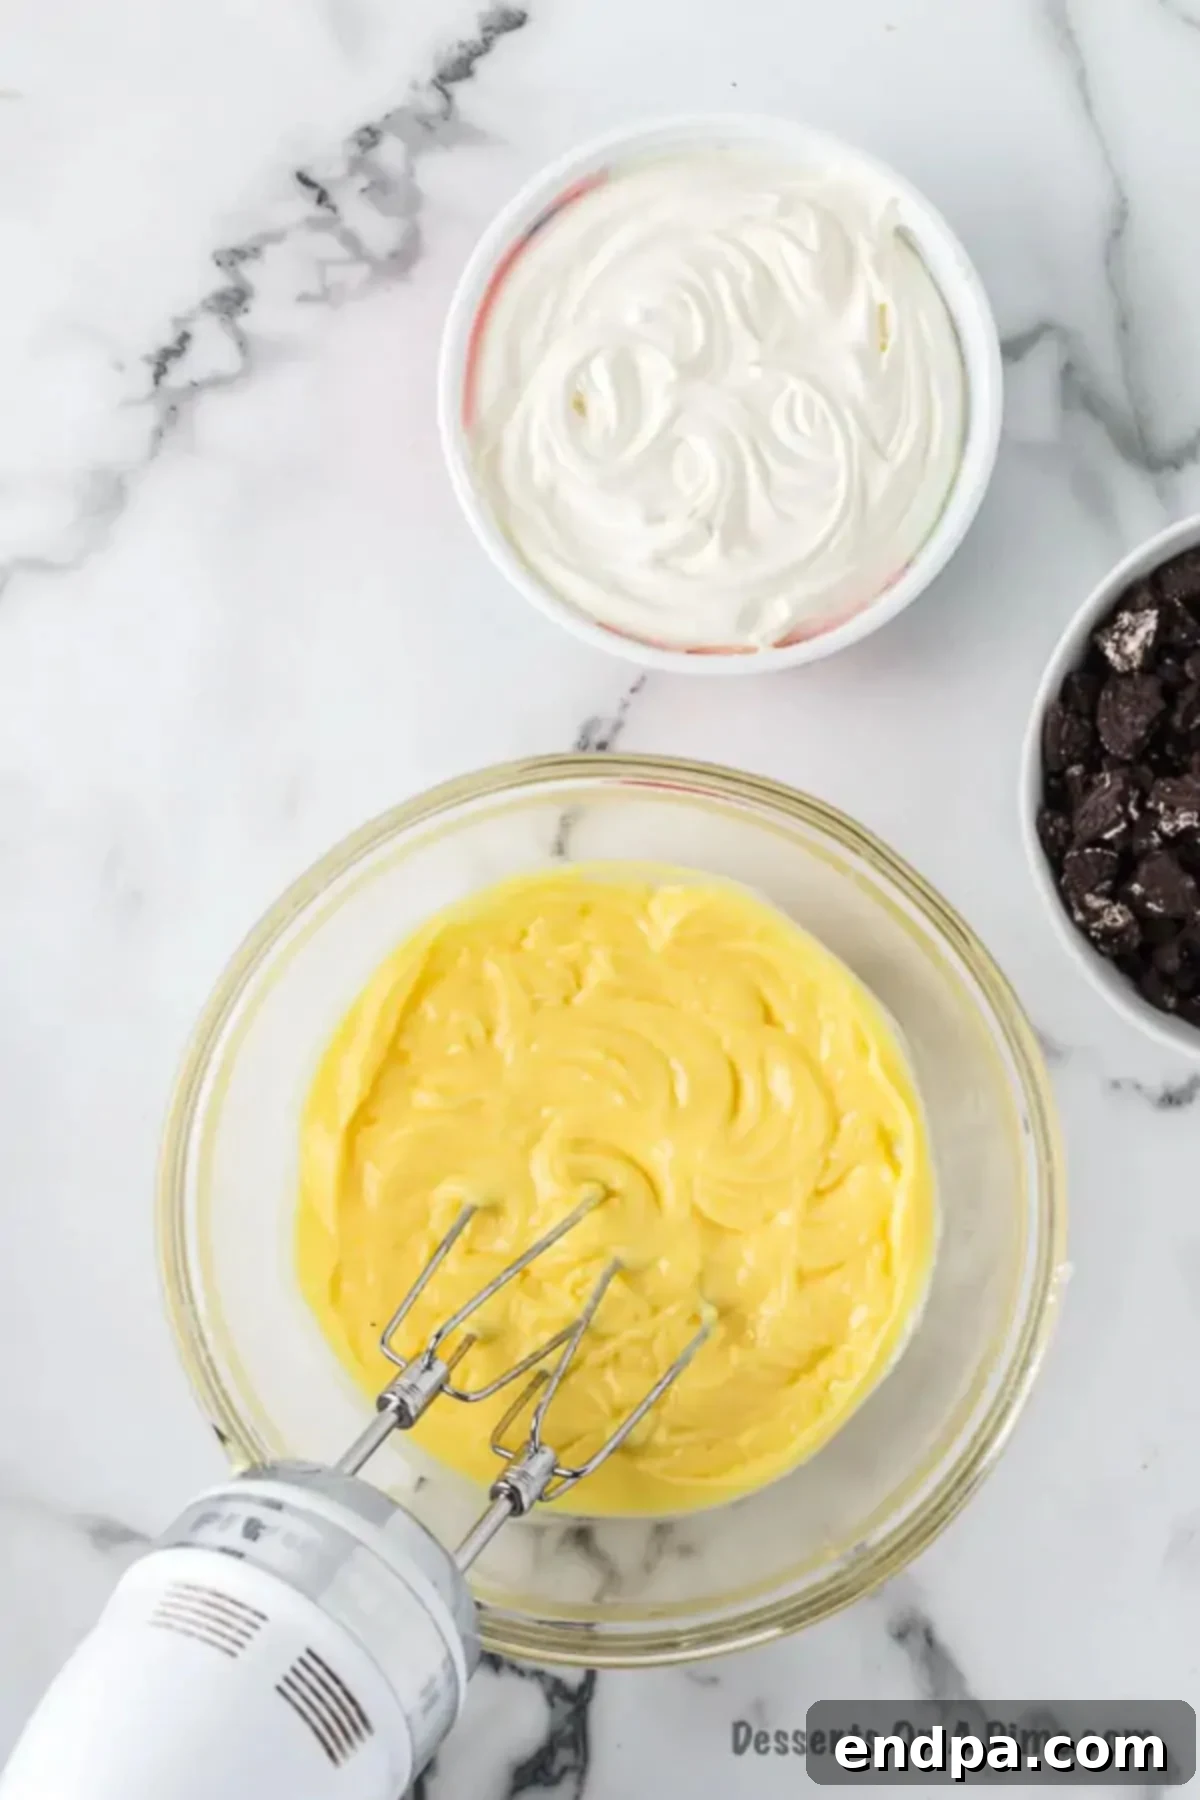
Step 1: Prepare the Pudding Base. Get out a medium-sized mixing bowl. Pour in the instant pudding mix and the cold milk. Using an electric hand mixer, beat the mixture for about 2 minutes. Continue mixing until the pudding visibly starts to thicken and achieves a smooth, lump-free consistency. This is your creamy base.
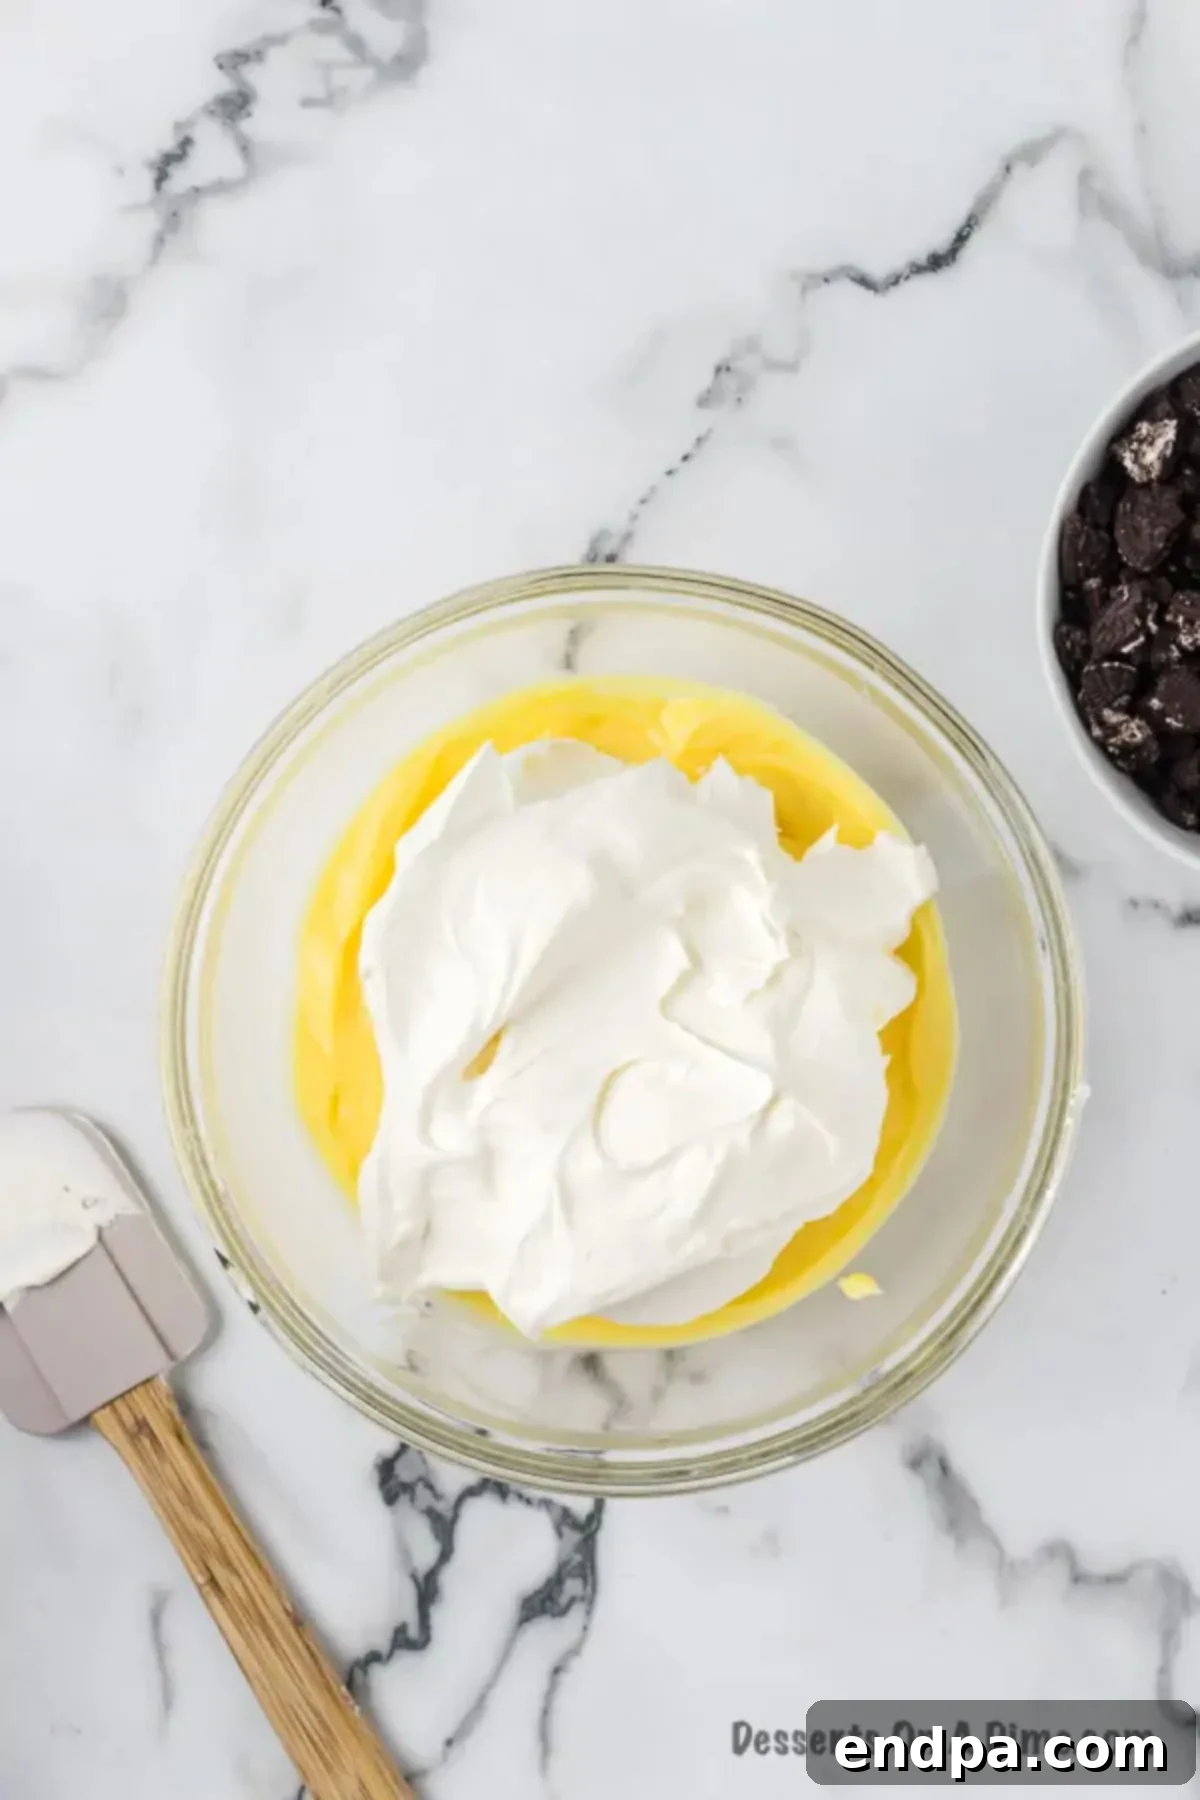
Step 2: Fold in the Whipped Topping. Once your pudding mixture has thickened, it’s time to add the thawed whipped cream or Cool Whip. This step is crucial for achieving that signature light and airy “fluff” texture. Using a rubber spatula, gently fold the whipped topping into the pudding mixture. Do this by hand, rather than with the electric mixer, to avoid deflating the air from the whipped cream. Continue folding until the two mixtures are just combined, without overmixing.
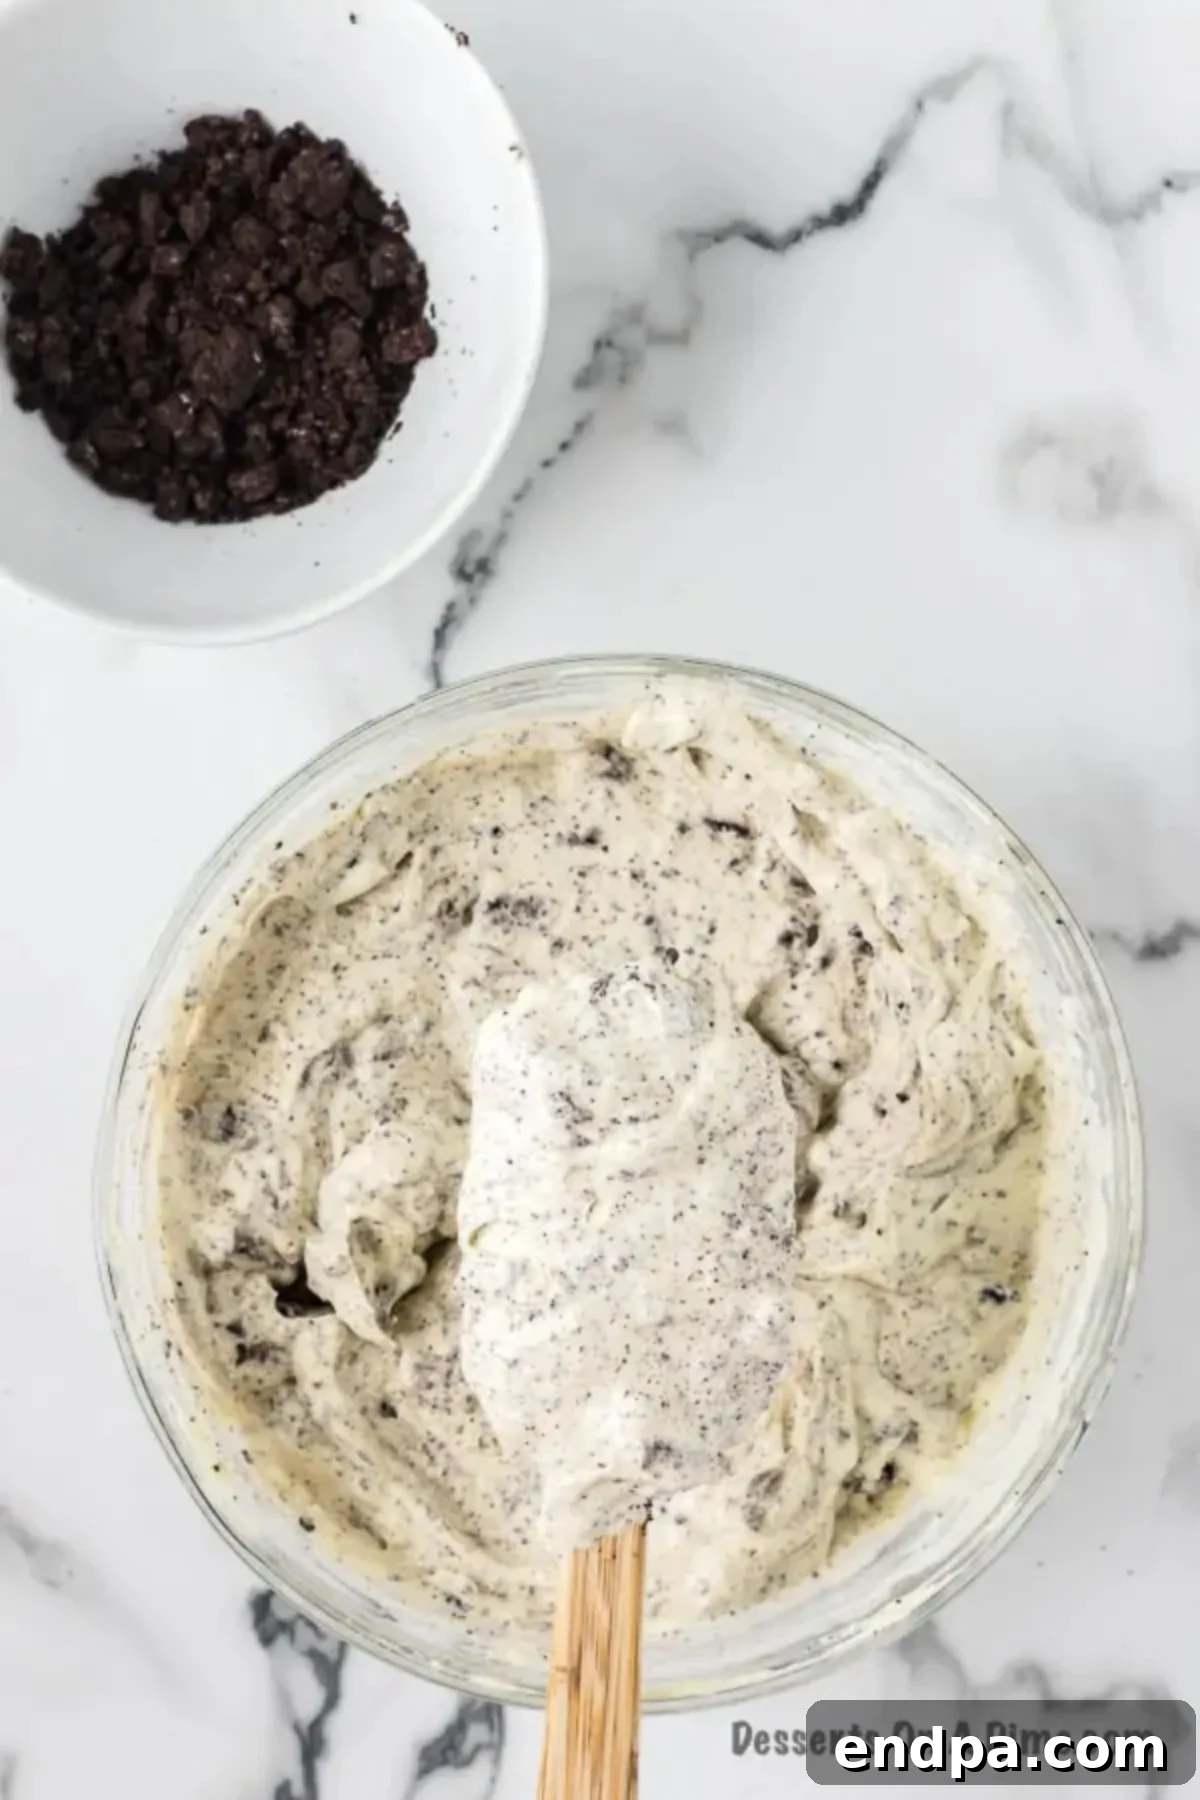
Step 3: Add the Crushed Oreos. Now for the star ingredient! Take your crushed Oreo cookies and gently fold most of them into the pudding and whipped cream mixture. Reserve a small amount (about ¼ cup) of crushed Oreos for garnishing just before serving. Again, use a spatula and fold gently to evenly distribute the cookies without crushing them further or deflating the fluff. The goal is to have those delightful crunchy bits throughout your dessert.
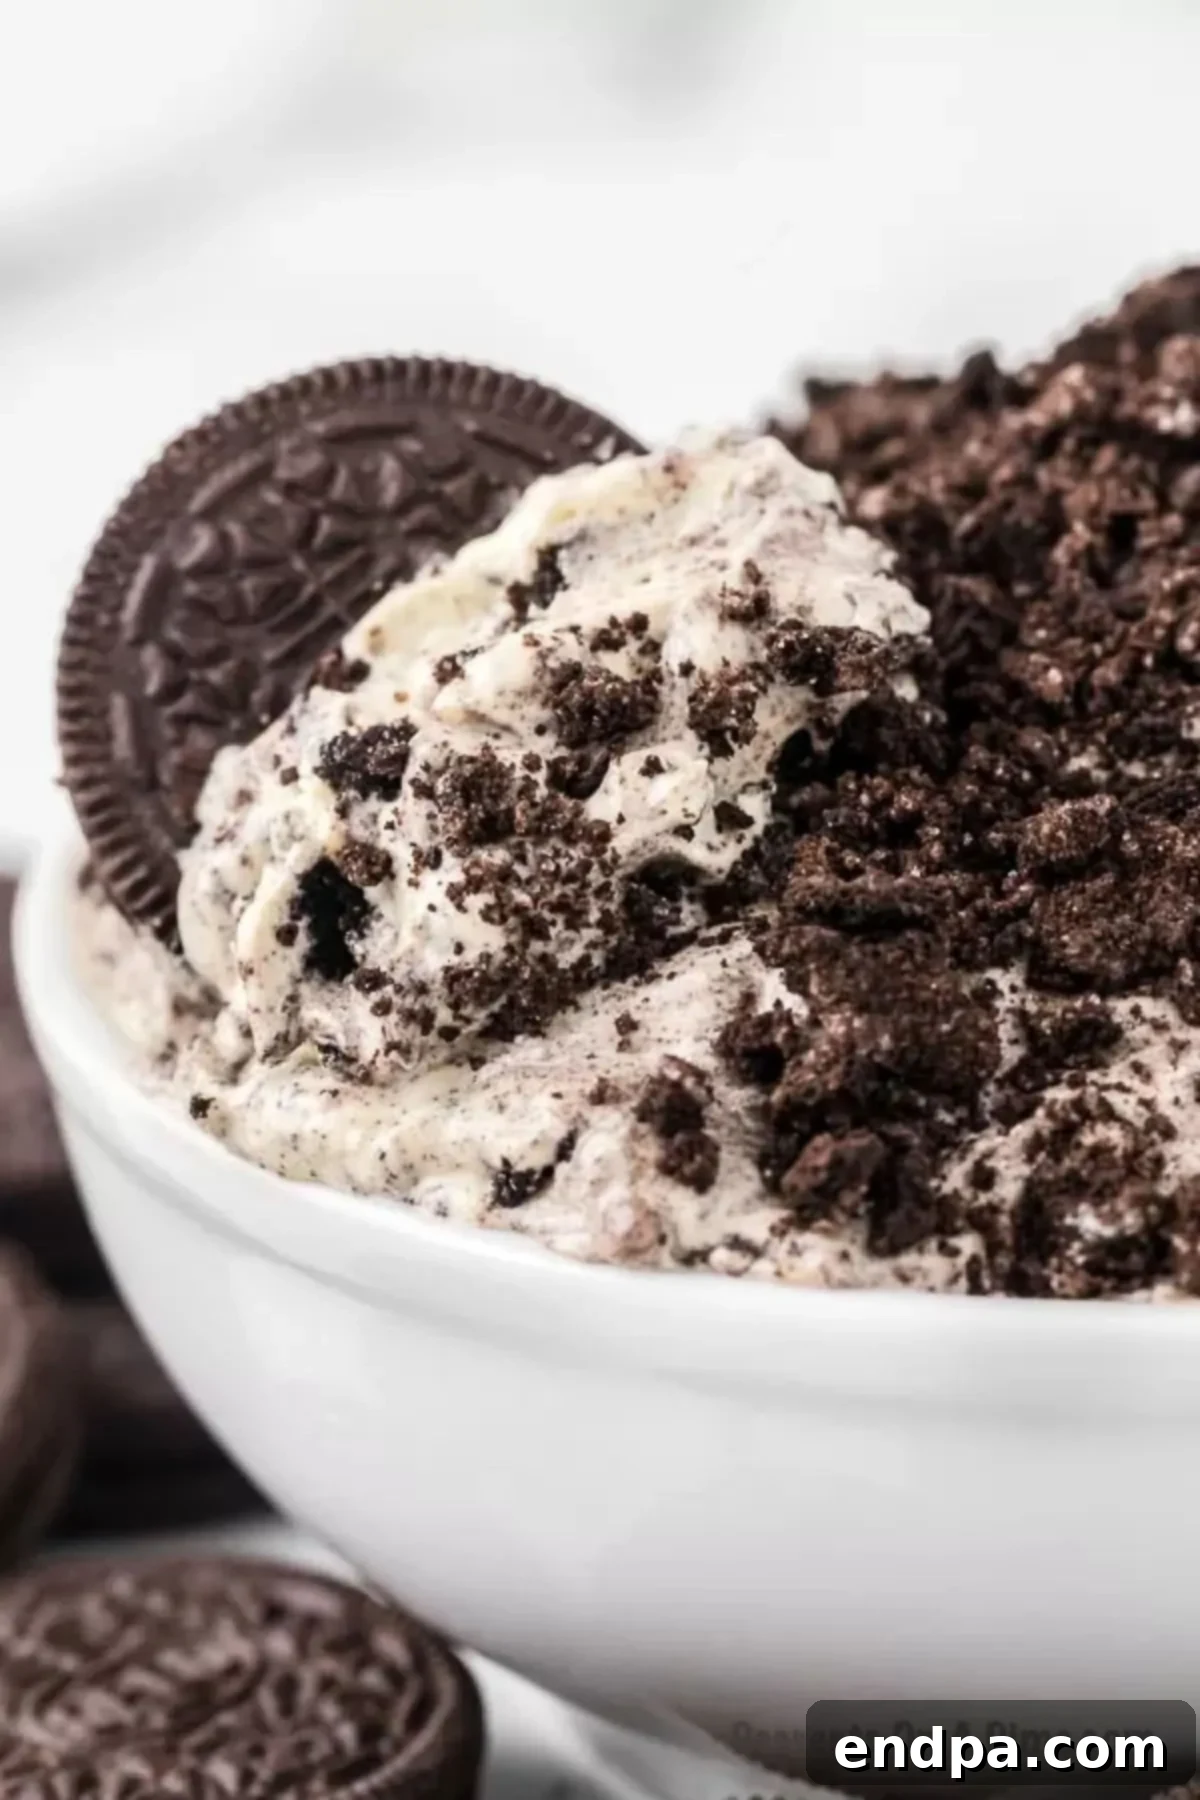
Step 4: Chill and Garnish. Once all ingredients are incorporated, cover the bowl tightly with a lid or plastic wrap. Place the Oreo Fluff in the refrigerator and allow it to chill for at least one hour. This chilling time is essential for the flavors to meld beautifully and for the dessert to set properly, resulting in the perfect fluffy consistency. Before serving, sprinkle the remaining crushed Oreos on top for an appealing presentation and an extra burst of crunch.
Serving Suggestions for Oreo Fluff
Oreo Fluff is delicious on its own, but its presentation can elevate the experience. Here are some creative ways to serve this versatile dessert:
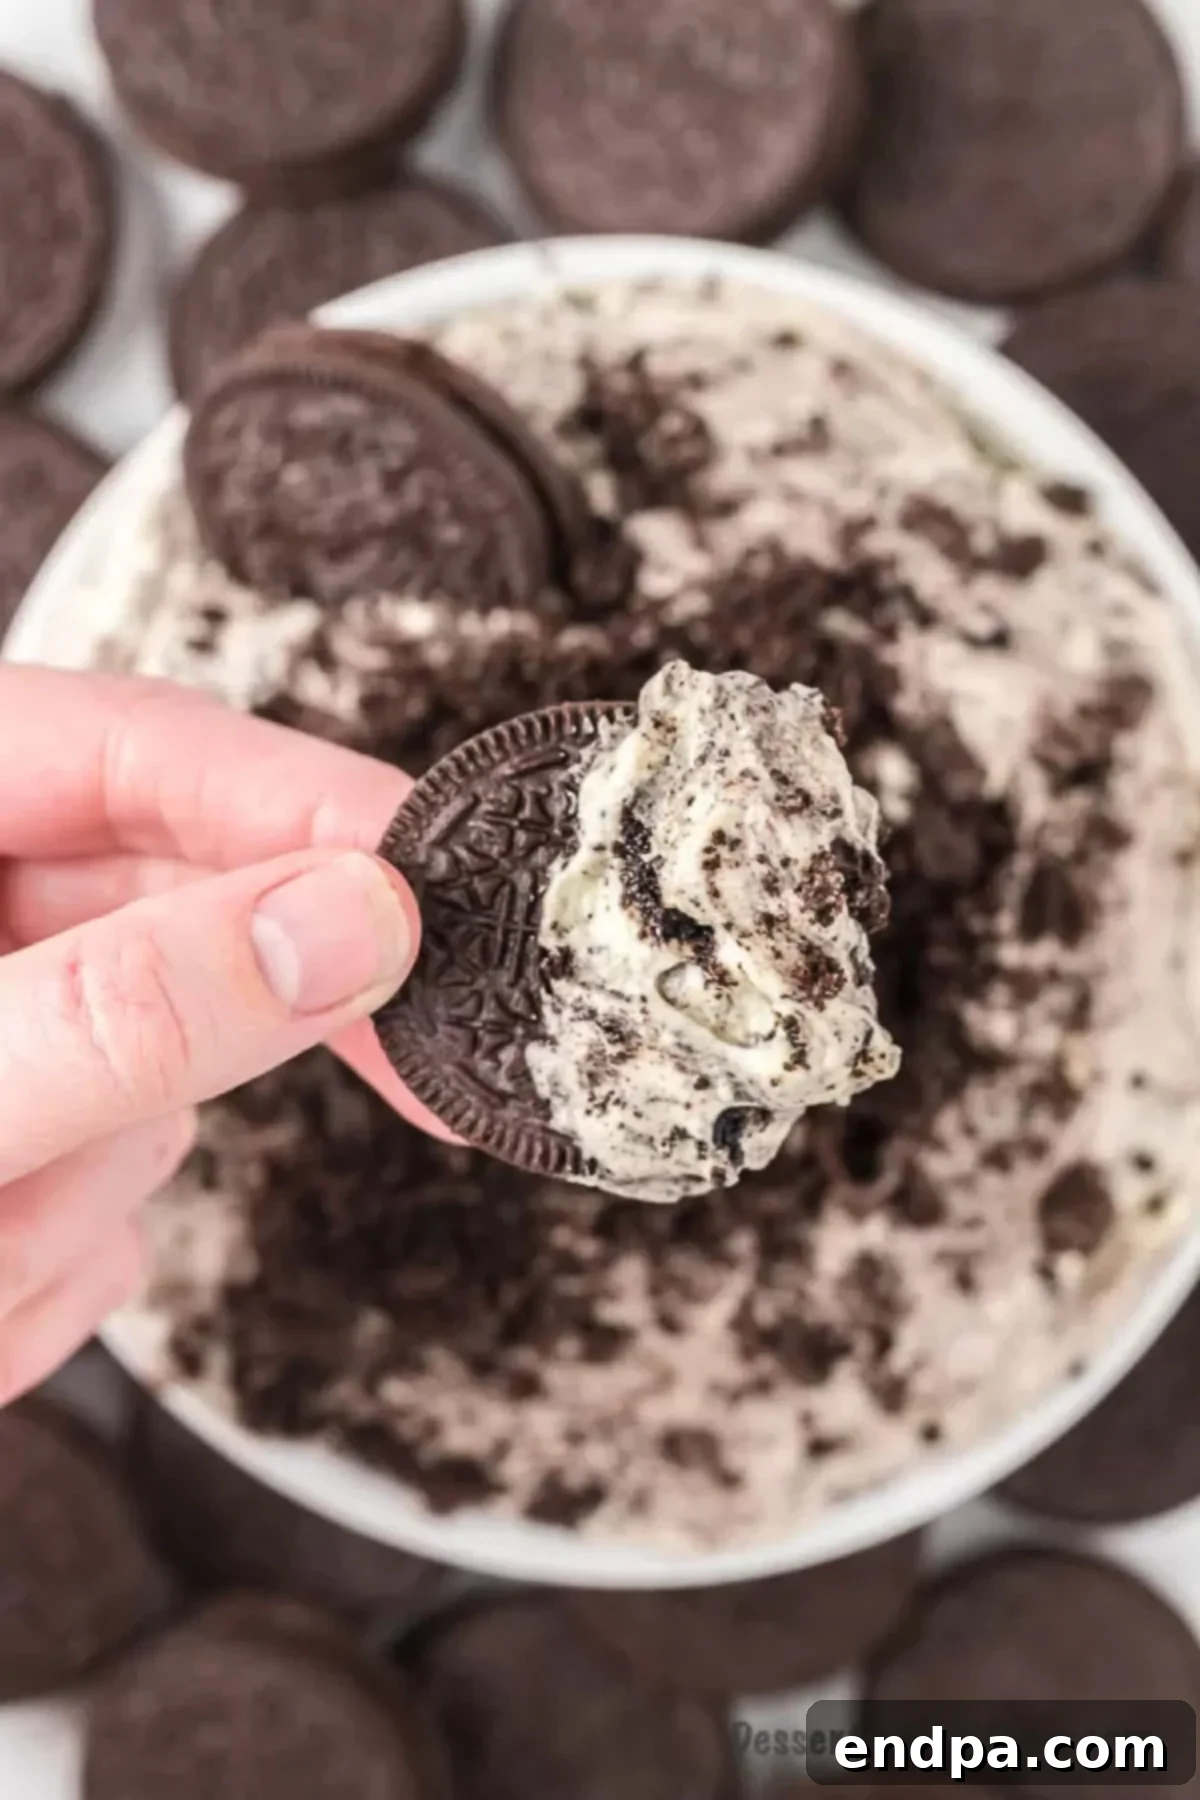
- Elegant Individual Cups: For effortless portioning and a visually appealing presentation, serve the Oreo Fluff in small glass cups, dessert bowls, or even mason jars. This is perfect for parties or when serving guests. You can even layer it with a few whole or half Oreos for a dramatic effect. It also works wonderfully as a dip, served with extra whole Oreos, graham crackers, or vanilla wafers for dipping.
- Layered Trifle Delight: For a more decadent and impressive dessert, create a trifle. Alternate layers of Oreo Fluff with additional crushed cookies, chocolate pudding, or even brownie chunks in a large glass trifle bowl. This creates a stunning centerpiece that’s as delicious as it is beautiful.
- Topped with Extras: Enhance the visual appeal and flavor by garnishing your fluff. Besides the reserved crushed Oreos, consider adding a whole Oreo cookie or a half-cookie to each serving. Mini chocolate chips, white chocolate shavings, a drizzle of chocolate syrup, or even a dollop of extra whipped cream can add a gourmet touch.
- Frozen Treats: For a refreshing twist on a hot day, chill individual servings of Oreo Fluff in the freezer for about 30-60 minutes. It won’t freeze solid due to the whipped cream, but it will become a cool, slightly firmer, and incredibly refreshing dessert, similar to soft-serve ice cream.
- Fresh Fruit Pairing: Balance the sweetness and add a pop of color by serving Oreo Fluff with fresh berries. Strawberries, raspberries, and blueberries not only provide a hint of tartness but also make the dessert feel a little lighter and more vibrant.
Storage and Make-Ahead Tips
One of the many benefits of Oreo Fluff is that it can be made in advance, making it perfect for entertaining. Here’s how to store it properly to keep it fresh and delicious:
- Refrigerator Storage: Store any leftover Oreo Fluff in an airtight container in the refrigerator. When properly covered, it will remain fresh and delightful for up to 3-4 days. The airtight seal prevents it from absorbing other odors from your fridge and keeps the whipped cream and pudding at their best consistency.
- Avoid Freezing: While tempting, freezing Oreo Fluff is generally not recommended. The texture of both the whipped cream and the pudding can become watery, grainy, or separate when thawed, diminishing the delightful fluffiness that makes this dessert so appealing. It’s best enjoyed chilled, not frozen.
- Proper Covering is Key: Always ensure your Oreo Fluff is tightly covered with plastic wrap directly touching the surface of the dessert, or in a container with a very snug lid. This prevents a skin from forming on top and keeps the dessert from drying out.
- Make-Ahead: This dessert is an excellent candidate for making ahead. You can prepare it completely up to 24 hours in advance. Just remember to reserve some crushed Oreos for sprinkling on top right before serving to ensure they stay crunchy and don’t get soggy. The flavors will actually deepen and meld beautifully after a few hours in the fridge.
Pro Tips for the Best Oreo Fluff
Achieving the perfect Oreo Fluff is simple, but a few expert tips can elevate your dessert from great to absolutely outstanding:
- Crush Oreos Evenly: The consistency of your crushed Oreos can significantly impact the overall texture. For uniform pieces and a consistent crunch, use a food processor for a quick and easy method. If you don’t have one, place the cookies in a sturdy zip-top bag and crush them with a rolling pin or the bottom of a heavy glass. Aim for a mix of fine crumbs and small chunks for the best bite.
- Fold Gently, Not Mix: When incorporating the whipped cream (Cool Whip) into the pudding mixture, and then adding the crushed Oreos, always fold gently using a rubber spatula. Avoid using an electric mixer at this stage. Overmixing or vigorous stirring will deflate the air from the whipped cream, resulting in a denser, less “fluffy” dessert. The goal is to retain as much air as possible for that light, airy texture.
- Chill Thoroughly Before Serving: Patience is a virtue, especially with this dessert. Allow your Oreo Fluff to chill in the refrigerator for at least 1-2 hours, or even longer (up to 4 hours or overnight) for the best results. This allows the pudding to fully set, the flavors to meld together, and the entire dessert to achieve its ideal fluffy and cohesive texture. A properly chilled fluff is far more enjoyable.
- Use Cold Milk and Thawed Cool Whip: Ensure your milk is very cold when mixing with the instant pudding. Cold temperatures help the pudding set quickly and achieve the right consistency. Similarly, make sure your Cool Whip is completely thawed in the refrigerator (not at room temperature or in the microwave) to ensure it’s smooth and easily incorporated without lumps.
- Taste and Adjust Sweetness (Optional): While the recipe is balanced, you can always adjust the sweetness to your preference. If you like it sweeter, a tablespoon of powdered sugar can be folded into the whipped cream before combining it with the pudding. If you prefer it less sweet, consider a sugar-free pudding mix.
- Presentation Matters: A simple garnish goes a long way. Always reserve some crushed Oreos to sprinkle on top just before serving. This adds visual appeal and signals the deliciousness within. You can also add a whole Oreo, a few chocolate chips, or a sprig of mint.
Frequently Asked Questions About Oreo Fluff
Here are answers to some common questions you might have about making and enjoying this easy Oreo Fluff:
- Can I use homemade whipped cream instead of Cool Whip?
Yes, you absolutely can! If you prefer homemade, whip about 2 cups of heavy cream with 2-3 tablespoons of powdered sugar and ½ teaspoon of vanilla extract until stiff peaks form. However, note that homemade whipped cream might make the fluff slightly less stable than Cool Whip, which contains stabilizers. - Why isn’t my pudding thickening?
This can happen for a few reasons. Ensure you are using *instant* pudding mix, not the “cook and serve” variety. Also, make sure your milk is very cold, and check the expiration date on your pudding mix. Using whole milk helps with thickening more than skim milk. - Can I make this dessert ahead of time?
Absolutely! Oreo Fluff is a fantastic make-ahead dessert. You can prepare it up to 24 hours in advance. Just keep it covered tightly in the refrigerator and add the final garnish of crushed Oreos just before serving to maintain their crunch. - How do I crush the Oreos without a food processor?
The easiest way is to place the cookies in a large, sturdy zip-top bag, seal it (removing most of the air), and then use a rolling pin, meat mallet, or the bottom of a heavy glass to crush them into your desired consistency. - Can I add other ingredients?
Definitely! This recipe is very forgiving. Mini marshmallows, chocolate chips (mini, white, or milk chocolate), chopped nuts (like pecans or walnuts), or even a drizzle of caramel sauce can be folded in with the Oreos for added flavor and texture. - Is this dessert gluten-free or dairy-free?
As written, this recipe is not gluten-free or dairy-free. To make it gluten-free, you would need to find gluten-free sandwich cookies (some brands mimic Oreos) and ensure your pudding mix is gluten-free. For dairy-free, you would need dairy-free milk, a dairy-free whipped topping alternative (like coconut whipped cream), and dairy-free sandwich cookies.
More Irresistible Oreo Dessert Recipes
If you’re an Oreo enthusiast, you’re in for a treat! Explore these other fantastic recipes that celebrate the classic cookie:
- Mini Oreo Cheesecake Recipe: Individual cheesecakes featuring an Oreo crust and creamy filling.
- 2-Ingredient Oreo Mug Cake: The quickest and simplest warm chocolate dessert you can imagine.
- Best Dirt Cups Recipe: A fun, nostalgic dessert perfect for kids and adults alike, layered with pudding, whipped topping, and crushed Oreos.
- Football Dirt Cups: A themed version of the classic dirt cups, great for game day parties.
- Oreo Rice Krispie Treats: A crunchy, chewy twist on a beloved classic, made even better with Oreos.
With its simple preparation and irresistible taste, this creamy Oreo Fluff dessert is sure to become a cherished recipe in your household. It’s the ultimate quick, no-bake dessert that everyone will adore. Give it a try today and experience the magic of four ingredients transforming into a heavenly treat!
Pin
Oreo Fluff Recipe
Rated 4.83 out of 5 from 39 votes
10 mins
1 hr
1 hr 10 mins
12
American
Dessert
221
Carrie Barnard
Ingredients
- 3.4 ounce instant vanilla pudding
- 1 1/2 cups milk
- 1 8 ounce container cool whip thawed
- 30 Oreo cookies crushed
Instructions
- In a medium sized bowl, add the instant vanilla pudding mix and cold milk. Mix together with a hand mixer for 2 minutes until it is thickened and smooth.
- Gently fold in the thawed Cool Whip by hand using a rubber spatula until just combined.
- Fold in most of the crushed Oreo cookies, reserving about ¼ cup for garnish.
- Cover the bowl tightly with plastic wrap or a lid and refrigerate for at least one hour (or up to 4 hours for best results). Top with the remaining crushed Oreos just before serving.
Nutrition Facts
Calories 221kcal
,
Carbohydrates 35g
,
Protein 3g
,
Fat 8g
,
Saturated Fat 3g
,
Polyunsaturated Fat 1g
,
Monounsaturated Fat 3g
,
Trans Fat 1g
,
Cholesterol 6mg
,
Sodium 217mg
,
Potassium 129mg
,
Fiber 1g
,
Sugar 24g
,
Vitamin A 87IU
,
Calcium 64mg
,
Iron 3mg
Pin This Now to Remember It Later
Pin Recipe
