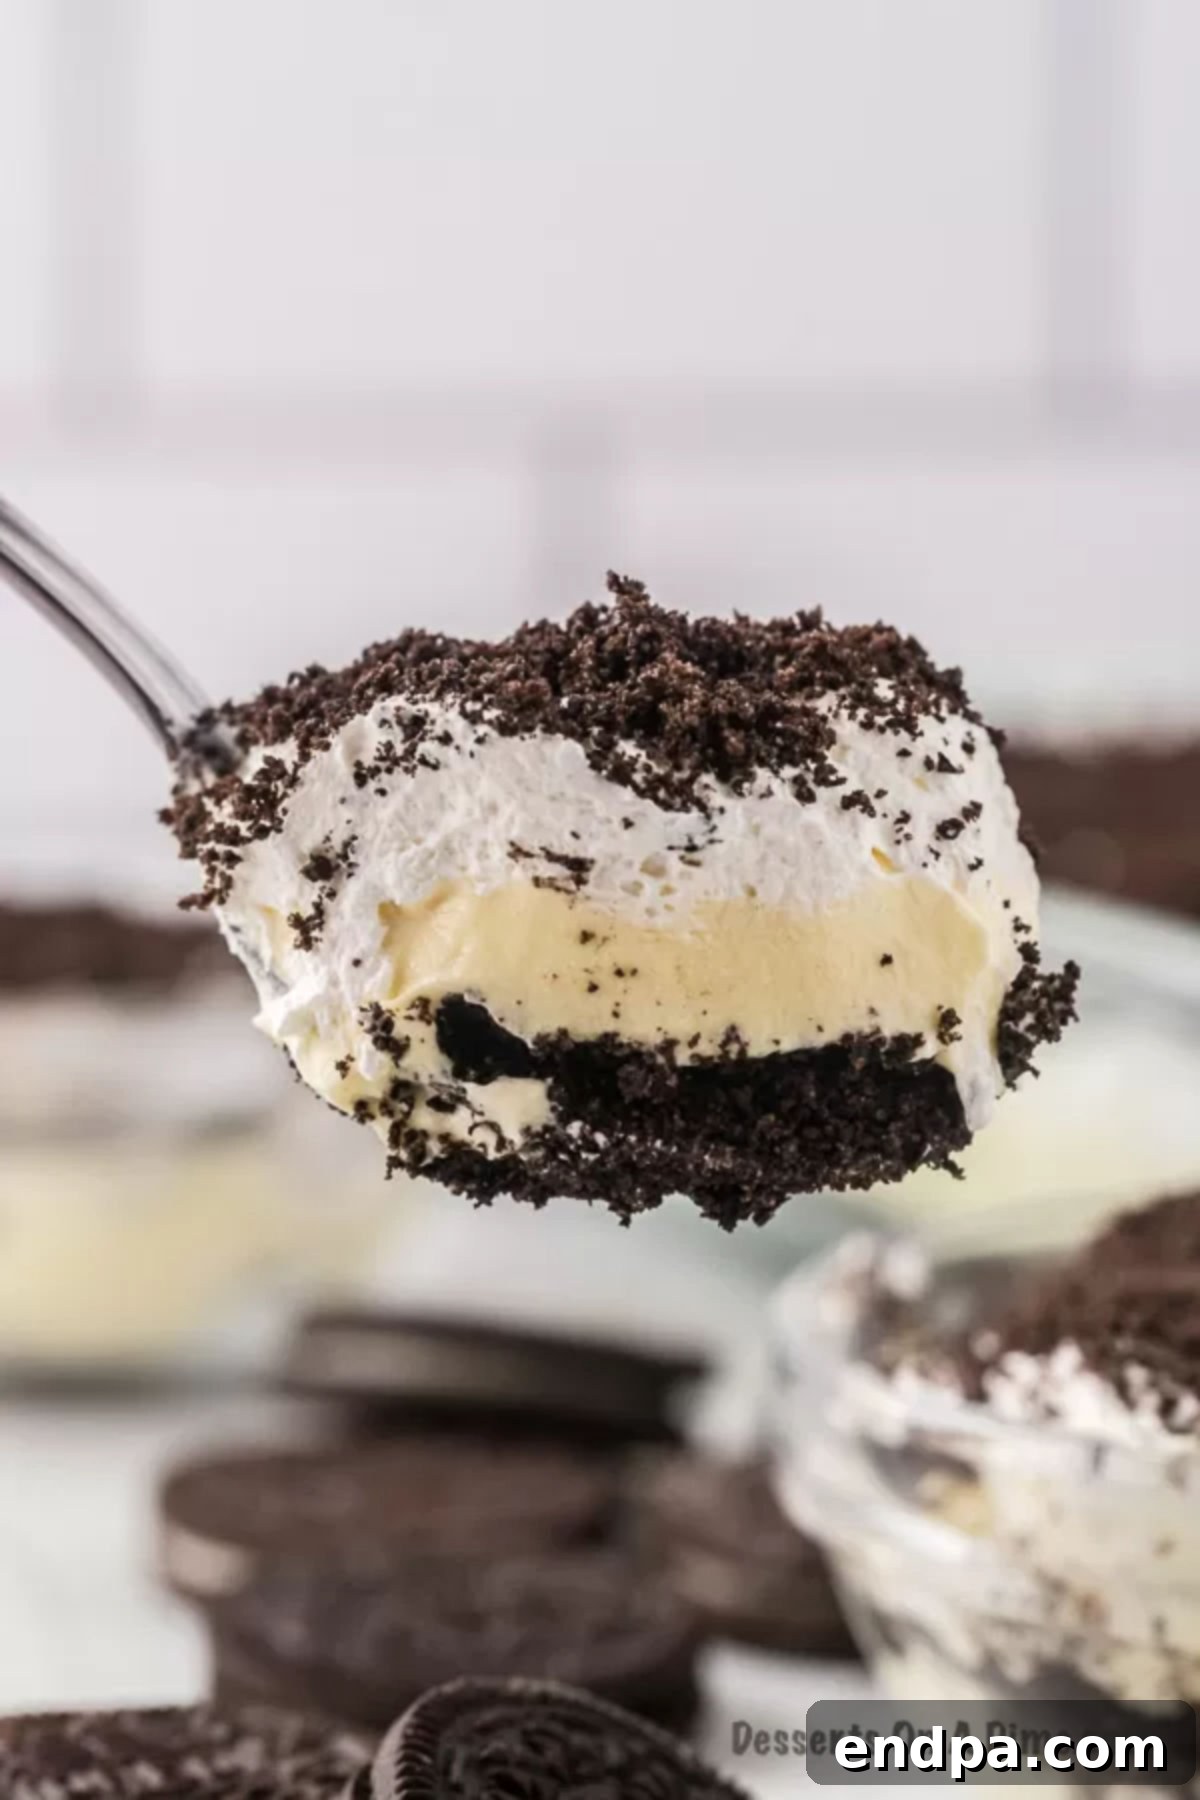
Dirt Cake Recipe Without Cream Cheese: A Decadent No-Bake Delight
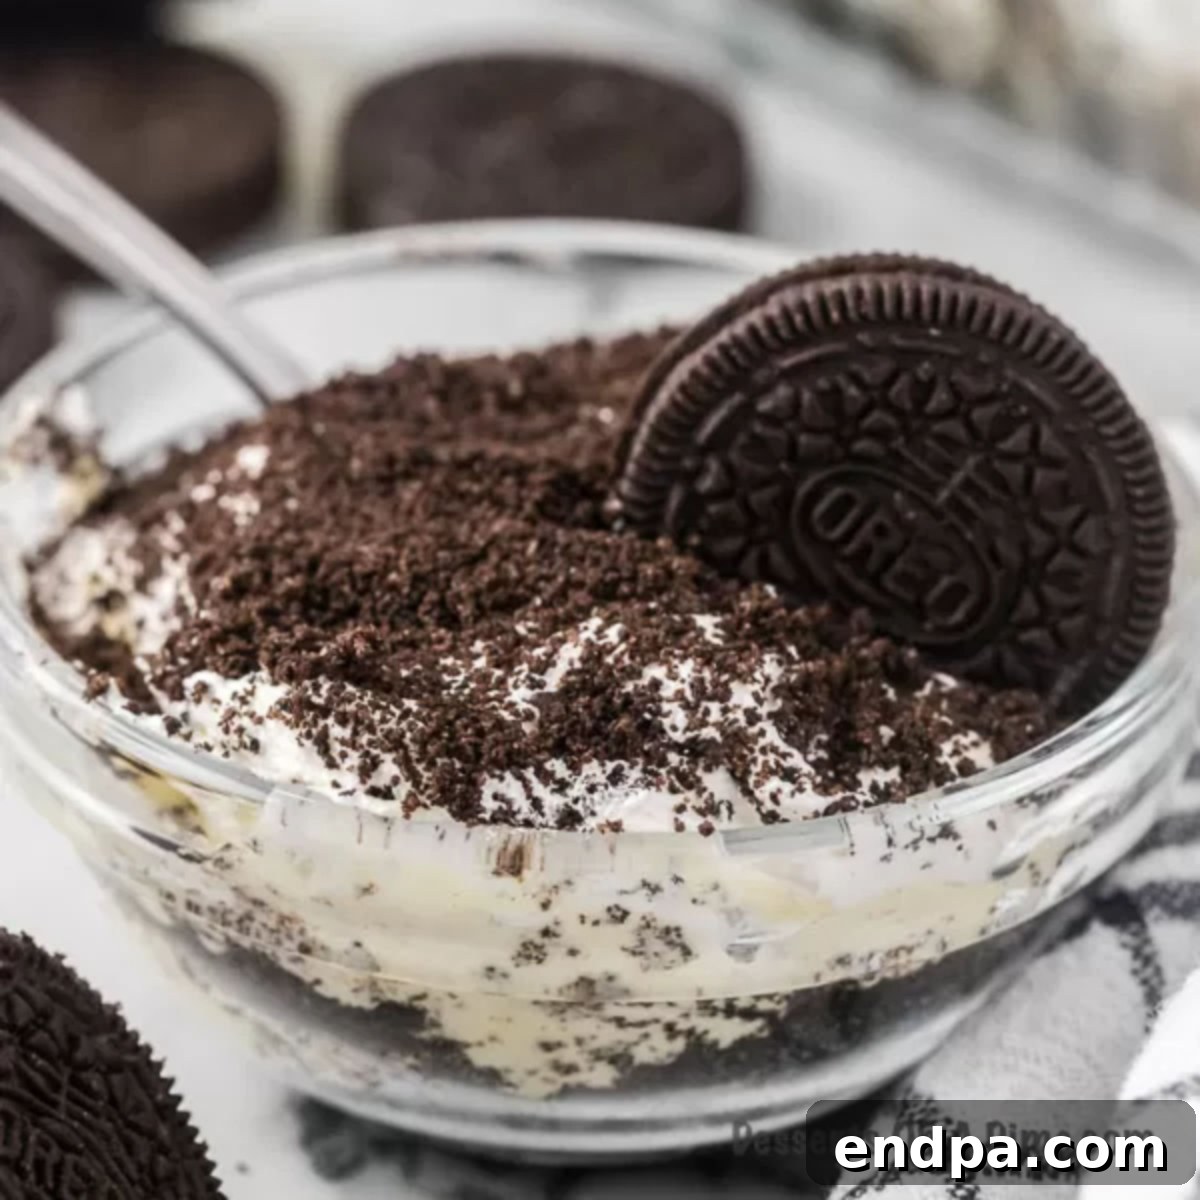
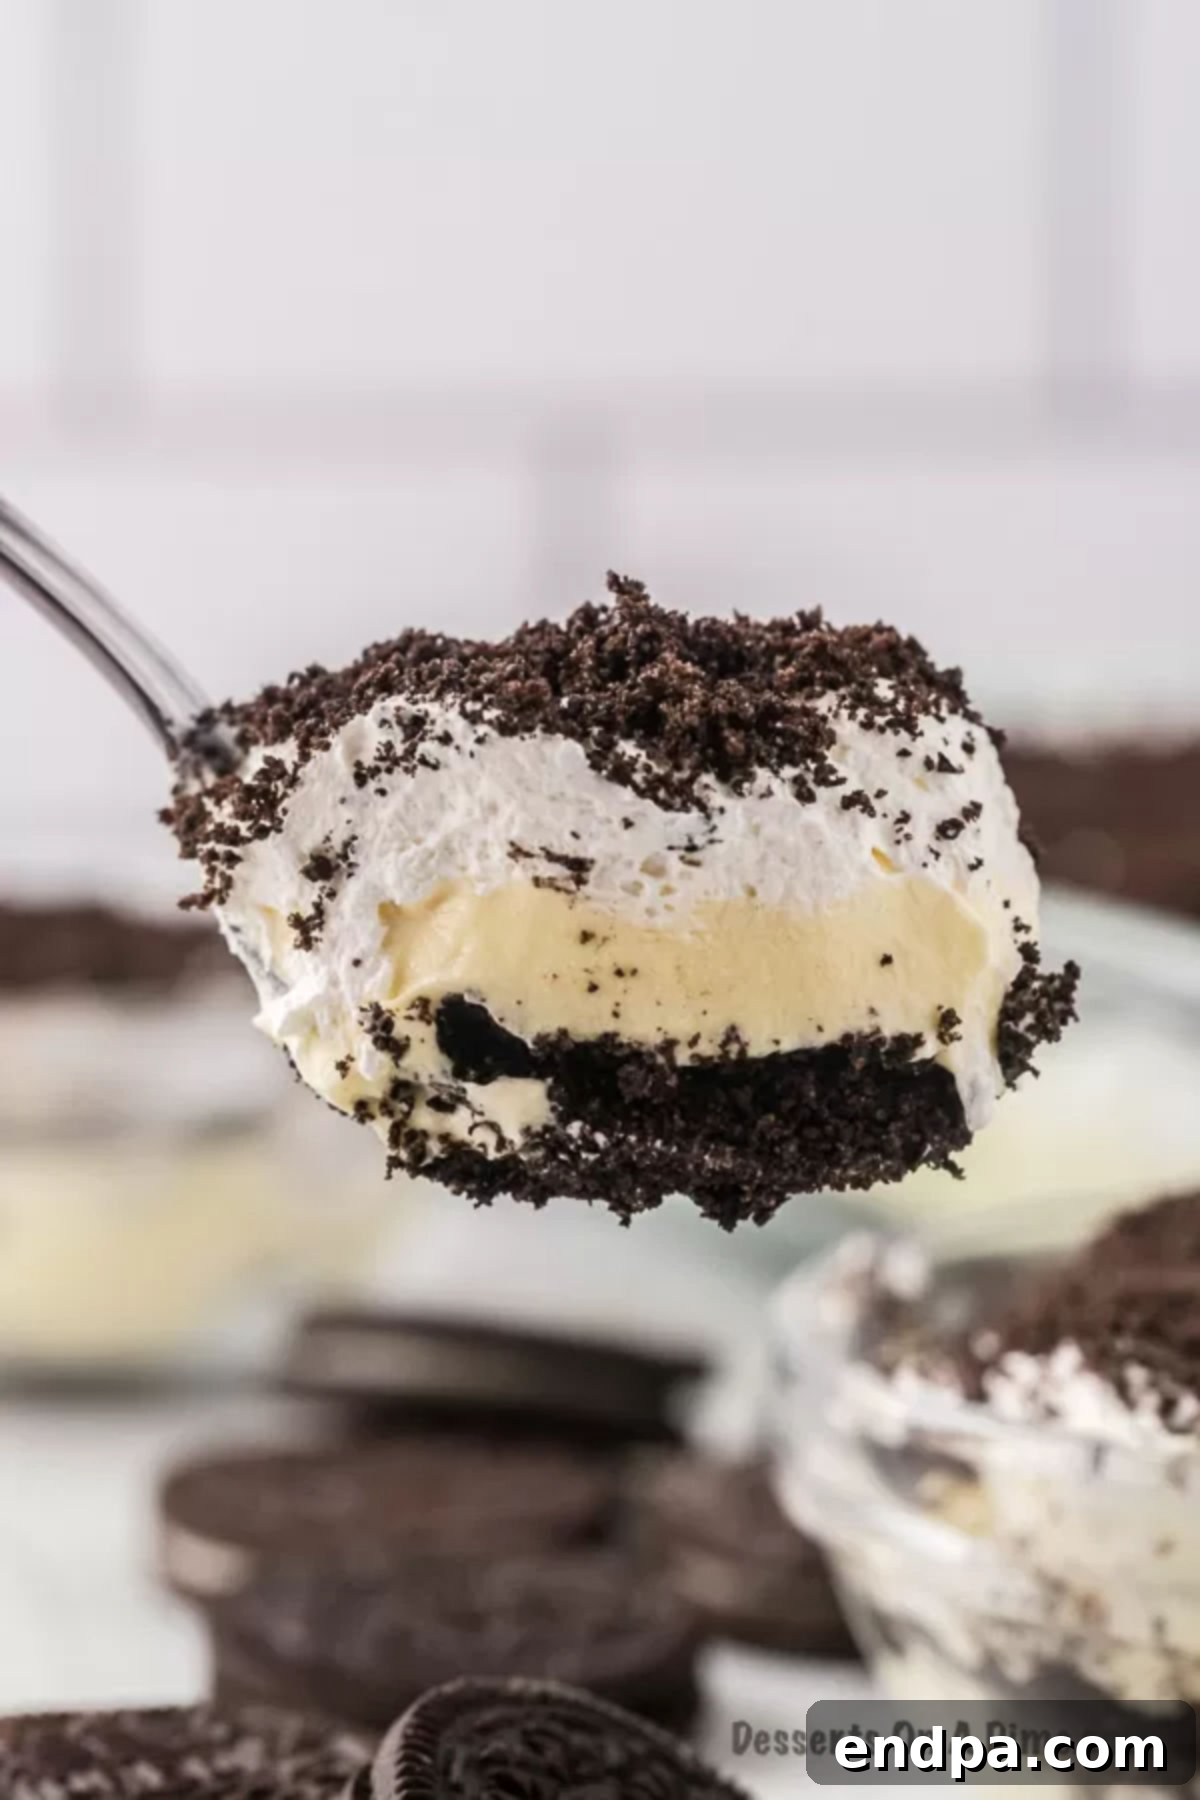
Are you craving a classic Dirt Cake but prefer to skip the cream cheese? Look no further! This incredible Dirt Cake Recipe without Cream Cheese delivers all the rich, creamy goodness and iconic “dirt” layers you love, using just a handful of simple ingredients. It’s a delightful, no-bake dessert that’s perfect for any occasion, offering a beloved taste and texture without the tangy notes of cream cheese.
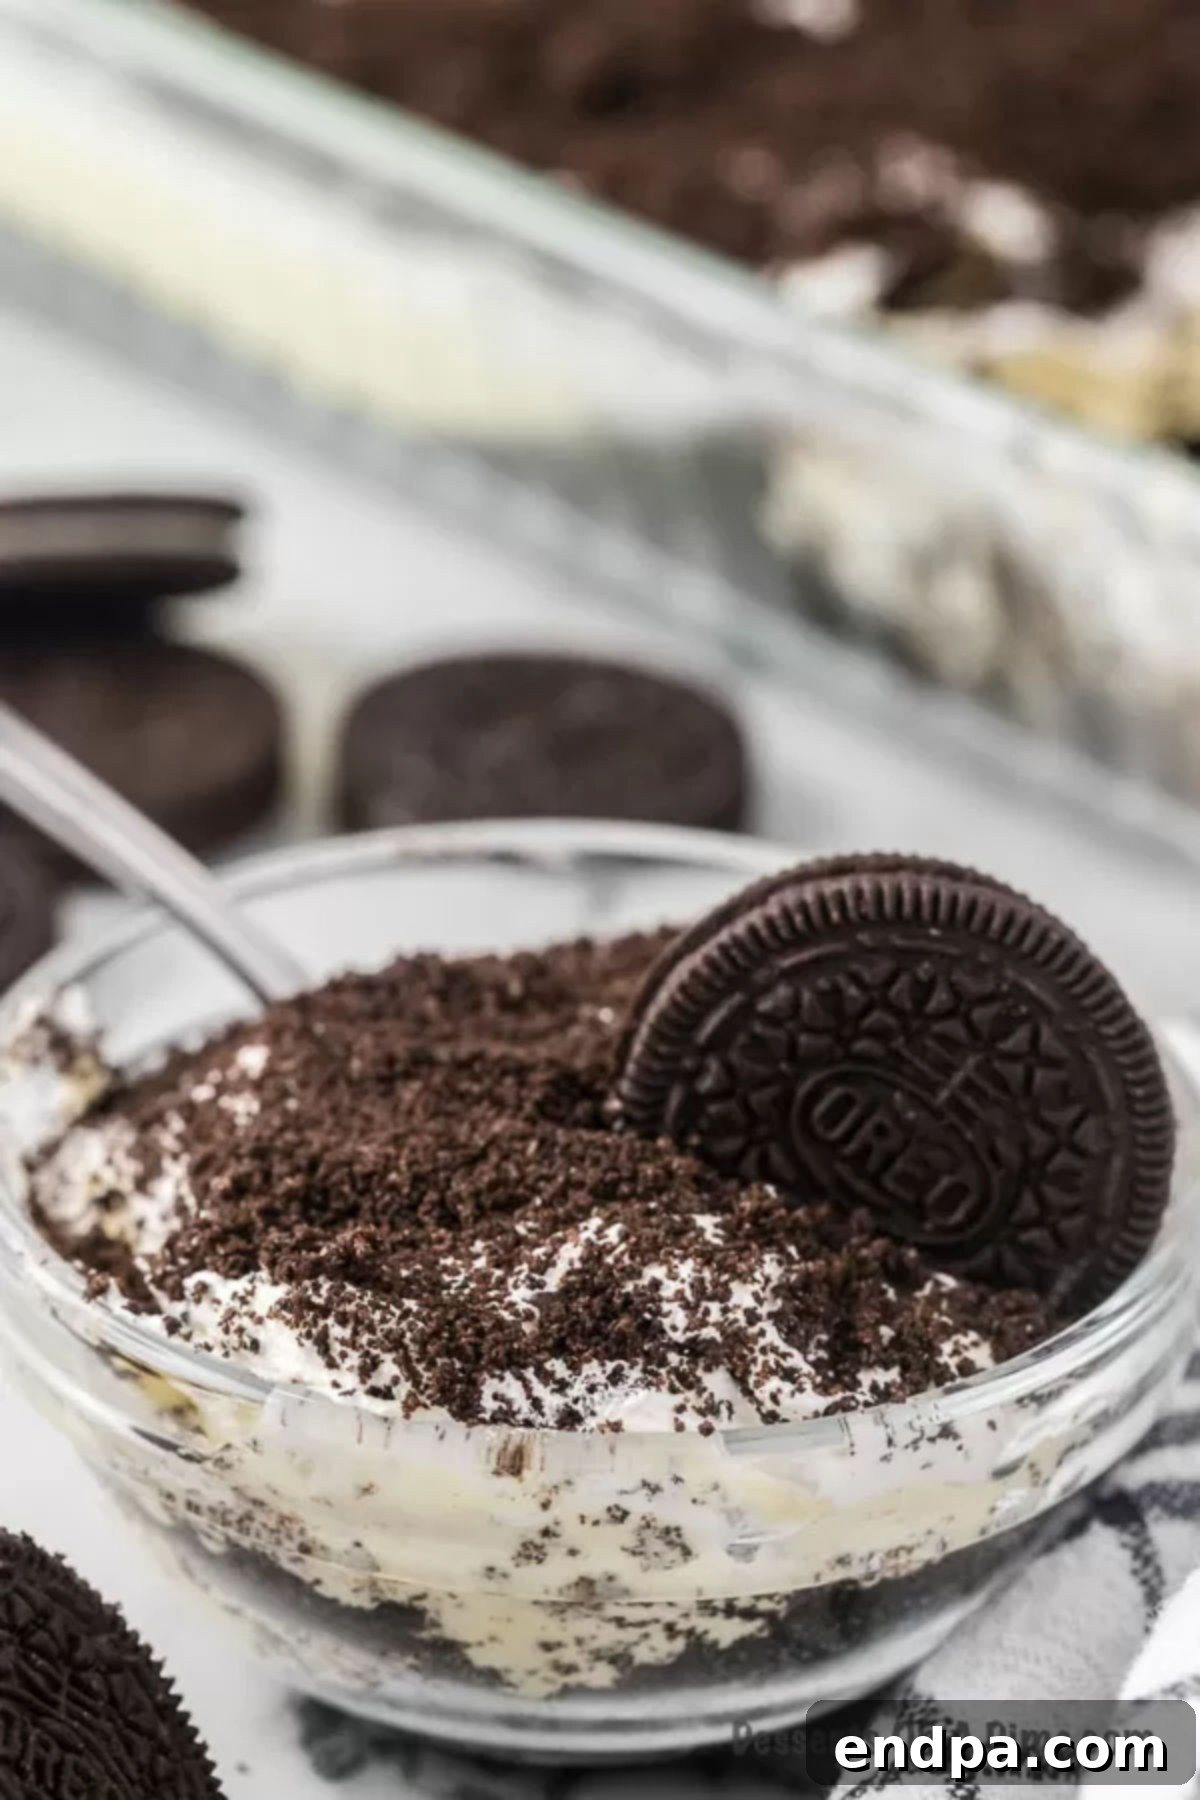
This recipe ensures you enjoy every delicious spoonful of traditional Dirt Cake, complete with its characteristic layered appearance and delightful flavor profile, minus the distinct taste or texture of cream cheese. Crafted with only 6 essential ingredients, this easy dessert is a fantastic addition to any menu, especially if you’re seeking a quick and satisfying No-Bake Oreo Dessert. It’s an ideal choice for gatherings, potlucks, or simply a sweet treat at home, promising rave reviews every time.
Table of Contents
- Why This Dirt Cake Is a Must-Try
- Essential Ingredients for Your Cream Cheese-Free Dirt Cake
- Creative Variations and Substitutions
- Step-by-Step Guide to Making Dirt Cake Without Cream Cheese
- Expert Tips for the Perfect Dirt Cake
- Frequently Asked Questions (FAQs)
- More Irresistible Oreo Desserts to Explore
Why This Dirt Cake Is a Must-Try
Dirt Cake has long been a crowd-favorite dessert, instantly recognizable by its crushed cookie “dirt” layers and rich, creamy filling. It’s often the first dish to disappear at any potluck or family gathering. However, for those who aren’t fond of cream cheese – whether due to its tangy flavor, dense texture, or dietary preferences – traditional Dirt Cake recipes can be a non-starter. This simplified version solves that dilemma, offering an equally delicious and satisfying alternative.
Our cream cheese-free Dirt Cake recipe stands out for several compelling reasons:
- Irresistible Flavor Without the Tang: You get all the beloved chocolatey and vanilla notes, combined with the signature creamy texture, but without the slight tang that cream cheese can impart. This makes it a hit even with the pickiest eaters.
- Effortless No-Bake Preparation: Say goodbye to hot ovens! This dessert requires no baking, making it perfect for warm weather or when you need a quick, impressive treat without much fuss. The simplicity of assembly means anyone can make it.
- Minimal Ingredients, Maximum Impact: With just six core ingredients, this recipe proves that you don’t need a pantry full of exotic items to create something truly special. These readily available ingredients ensure convenience and accessibility.
- Kid-Friendly and Fun: The playful “dirt” theme, especially when adorned with gummy worms or other fun toppings, makes this dessert incredibly appealing to children. It’s a fantastic recipe to involve little helpers in the kitchen.
- Perfect for Any Occasion: From casual backyard barbecues to festive holiday meals, this Dirt Cake fits right in. Its visual appeal and universally loved flavors make it a reliable choice for any event.
- Cost-Effective: Using basic, affordable ingredients, this recipe offers a delicious dessert option that won’t break the bank, allowing you to feed a crowd without excessive expense.
- Make-Ahead Convenience: As it needs ample chilling time, this Dirt Cake is an ideal make-ahead dessert, freeing up your time on the day of your event. The flavors meld beautifully as it chills, creating a more cohesive and delightful experience.
If you’re looking for a dessert that’s easy to make, universally loved, and avoids cream cheese, this recipe is guaranteed to become a cherished favorite in your household.
Essential Ingredients for Your Cream Cheese-Free Dirt Cake
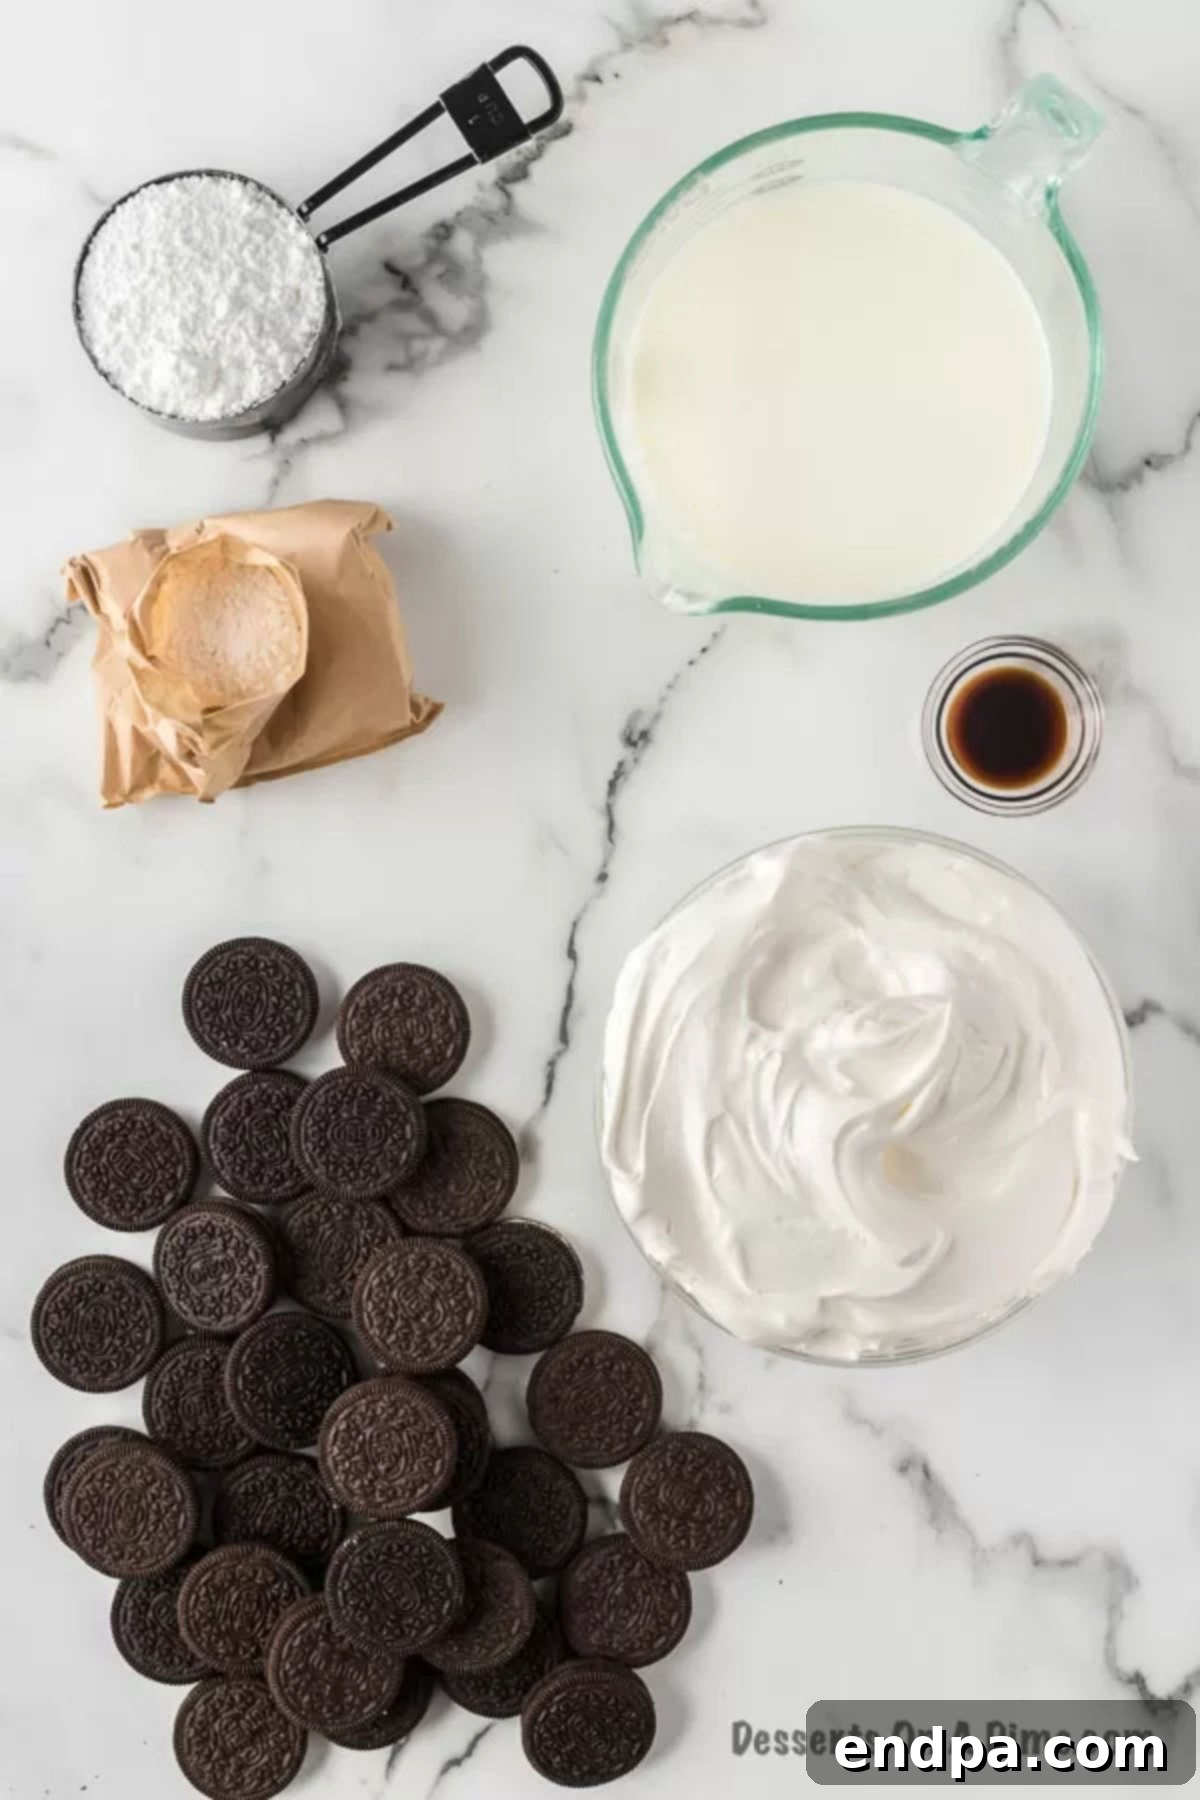
Creating this delightfully simple Dirt Cake requires only a few key ingredients. Each plays a crucial role in building the irresistible layers and creamy texture that make this dessert so popular. Here’s a closer look at what you’ll need and why specific choices matter:
- Oreo Cookies: These are the star of our “dirt” layers. For the best texture and appearance, we recommend using regular Oreo cookies, not double-stuffed. The ratio of cookie to cream in regular Oreos provides the perfect crumbly texture once crushed, mimicking rich soil. They also offer that iconic chocolate flavor that pairs perfectly with the creamy filling.
- Vanilla Instant Pudding Mix: This ingredient forms the creamy base of our dessert. It’s essential to use instant pudding mix, specifically the vanilla flavor, as it sets without cooking. Cook & Serve pudding varieties will not yield the desired consistency for this no-bake recipe. Vanilla pudding provides a smooth, sweet, and comforting flavor that complements the Oreos beautifully.
- Milk: The liquid component for our pudding, milk helps create a rich and creamy filling. While any milk can technically work, using whole milk will result in a noticeably richer and more decadent pudding layer. Its higher fat content contributes to a silkier texture and fuller flavor, enhancing the overall creaminess of the Dirt Cake.
- Powdered Sugar: Also known as confectioners’ sugar, this fine sugar blends seamlessly into the pudding mixture, adding sweetness without any granular texture. It helps to thicken the pudding slightly and contributes to the smooth, melt-in-your-mouth consistency of the filling.
- Cool Whip (Whipped Topping): This light and airy ingredient is what gives the Dirt Cake its signature fluffy and ethereal creaminess. It’s folded into the pudding mixture and also used as a topping, adding volume and a delightful sweetness. Ensure it’s thawed before use for easy incorporation.
- Vanilla Extract: A touch of pure vanilla extract elevates the flavor profile of the pudding mixture. It enhances the sweetness and adds a warm, aromatic depth that makes the creamy layers even more inviting. Don’t skip this for that extra layer of deliciousness.
These ingredients, when combined correctly, create a harmonious blend of textures and flavors – crunchy cookie crumbs, velvety smooth pudding, and light whipped topping – all coming together in a dessert that truly lives up to its classic reputation, without the need for cream cheese.
Creative Variations and Substitutions
While this cream cheese-free Dirt Cake recipe is perfect as is, it’s also incredibly versatile, lending itself beautifully to a variety of creative twists and seasonal themes. Don’t hesitate to experiment and make it your own!
- Embrace a Beach Theme: Transform your Dirt Cake into a sandy beach scene! Instead of traditional Oreos, use Golden Oreo cookies. Once crushed, they create a light, sandy color that’s perfect for a summer vibe. Top your “beach” with tiny tropical umbrellas, candy seashells, or even blue edible glitter to mimic the ocean. This makes for a festive and visually stunning warm-weather dessert.
- Amp Up the Chocolate Factor: If you’re a true chocoholic, swap the vanilla instant pudding mix for chocolate instant pudding. This simple change will intensify the chocolate flavor throughout the creamy layers, creating an even more decadent experience that perfectly complements the Oreo crumbs. You could even use chocolate whipped topping if you can find it!
- Delightful Fun Toppings: This is where you can let your imagination run wild, especially if kids are involved!
- Gummy Worms: The quintessential Dirt Cake topping, gummy worms “crawling” out of the “dirt” are always a hit.
- Fake Flowers: Small, clean plastic flowers can be poked into the top layer to create a charming “flower pot” effect.
- Chocolate Chips: Sprinkle mini chocolate chips or chocolate shavings over the top layer of whipped topping for added texture and chocolatey bursts.
- Candy Rocks: Find chocolate-covered candy rocks or small malted milk balls to resemble pebbles.
- Sprinkles: Add colorful sprinkles for a festive touch, especially for birthdays or themed parties.
- Crushed Candy Bars: Chop up your favorite candy bars (like Snickers, Heath, or Reese’s) and sprinkle them over the top for an extra layer of indulgence.
- Unique Serving Dishes: Break away from the traditional baking dish for a more thematic presentation.
- Sand Bucket or Flower Pot: For a truly immersive experience, assemble the Dirt Cake inside a brand new, food-safe sand bucket or a clean, unused flower pot. Use a small garden shovel (also new and food-safe) as the serving utensil. This is especially fun for outdoor parties or gardening enthusiasts.
- Mason Jars: Layer the dessert in individual mason jars for a rustic, portable, and charming presentation.
- Individual Servings: For perfectly portioned and elegant presentations, create individual dirt pudding cups. Use small clear plastic cups or glasses and layer each cup exactly as the recipe directs. This is excellent for parties, potlucks, or simply to control portion sizes. They’re also easier for guests to grab and enjoy.
- Experiment with Oreo Flavors: The world of Oreos offers a rainbow of possibilities! Consider trying different limited-edition or permanent flavors to completely change the dessert’s profile. Tasty ideas include:
- Red Velvet Oreos: For a subtly sweet and visually striking red crumb layer.
- Peanut Butter Oreos: To add a rich, nutty flavor dimension.
- Mint Oreos: Perfect for a refreshing, cool twist, especially around holidays.
- Caramel or Birthday Cake Oreos: For extra sweetness and unique flavor notes.
- Substitute Whipped Topping: If Cool Whip isn’t available or preferred, you can make your own homemade whipped cream. Just be aware that homemade whipped cream tends to be less stable and may soften faster, so serve immediately or keep very chilled.
- Add a Fruity Layer: For a surprising burst of freshness, you can add a layer of fresh berries (like sliced strawberries or raspberries) in between the pudding and whipped topping layers. This adds a lovely contrast to the richness.
These variations allow you to customize your Dirt Cake to suit different tastes, occasions, and dietary needs, ensuring this dessert remains a versatile and beloved treat.
Step-by-Step Guide to Making Dirt Cake Without Cream Cheese
Crafting this delightful cream cheese-free Dirt Cake is a straightforward and enjoyable process. Follow these detailed steps to ensure a perfect, creamy, and irresistible dessert every time.
- Step 1: Prepare the Oreo Crumbs.
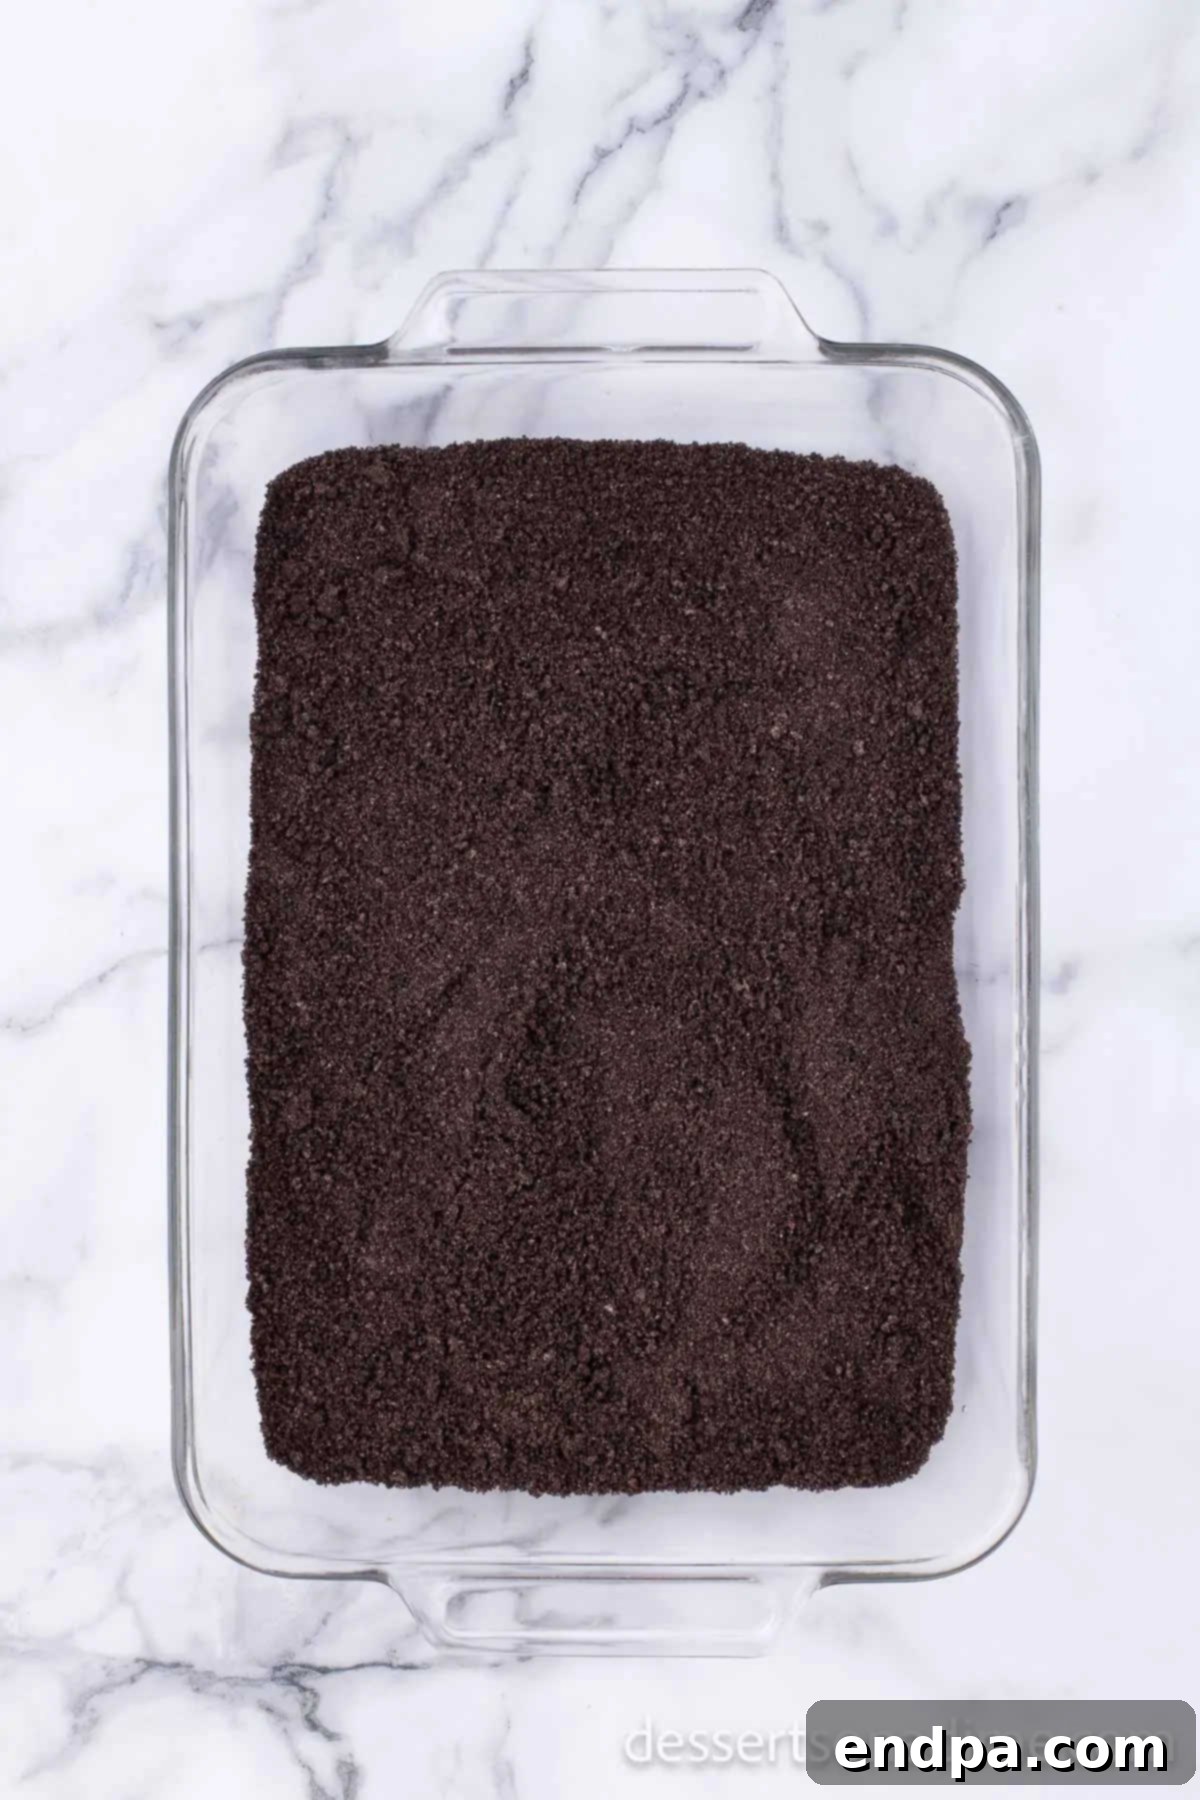
The first crucial step is to transform your Oreo cookies into fine “dirt” crumbs. The quickest and most efficient way to achieve this is by using a food processor. Place the entire package of regular Oreo cookies (no need to remove the cream filling) into the food processor. Pulse until the cookies are finely crushed, resembling moist soil. Ensure there are no large chunks remaining, as a fine crumb texture is essential for the “dirt” effect. If you don’t have a food processor, you can place the cookies in a large, sturdy zip-top bag, seal it tightly (removing excess air), and crush them using a rolling pin or the bottom of a heavy glass. Once crushed, measure out two-thirds of the Oreo crumbs and evenly spread them across the bottom of a 9×13 inch baking dish. Gently press them down to form a compact base. Reserve the remaining one-third of the crumbs for the top layer.

Step 2: Create the Pudding Base.

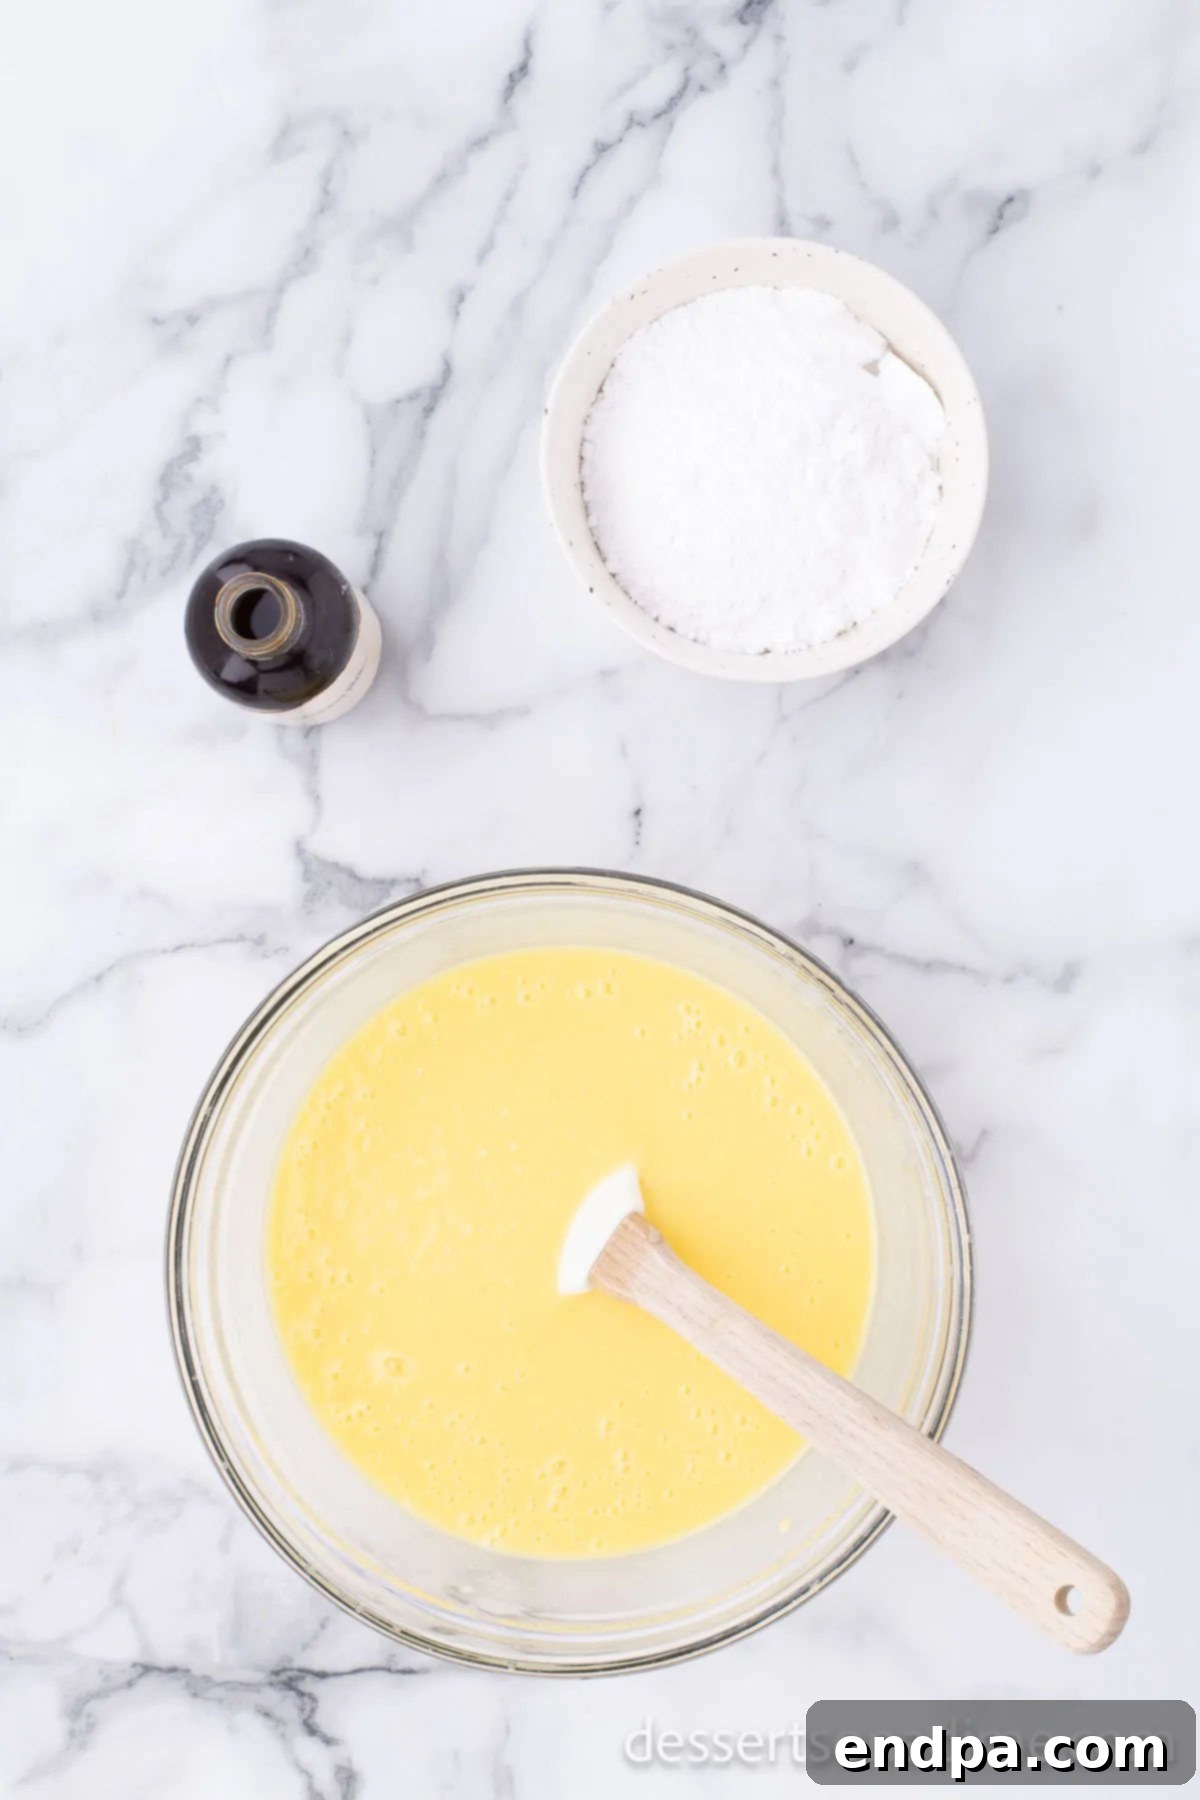
In a large mixing bowl, combine the two boxes of instant vanilla pudding mix with the cold milk. It’s crucial that the milk is cold, as this helps the pudding set properly and quickly. Whisk these ingredients together thoroughly for about 2-3 minutes, or until the mixture begins to thicken and no dry pudding mix remains. The mixture will still be a bit loose at this stage, but it will continue to set as you add the other ingredients.

Step 3: Sweeten and Fold in Whipped Topping.

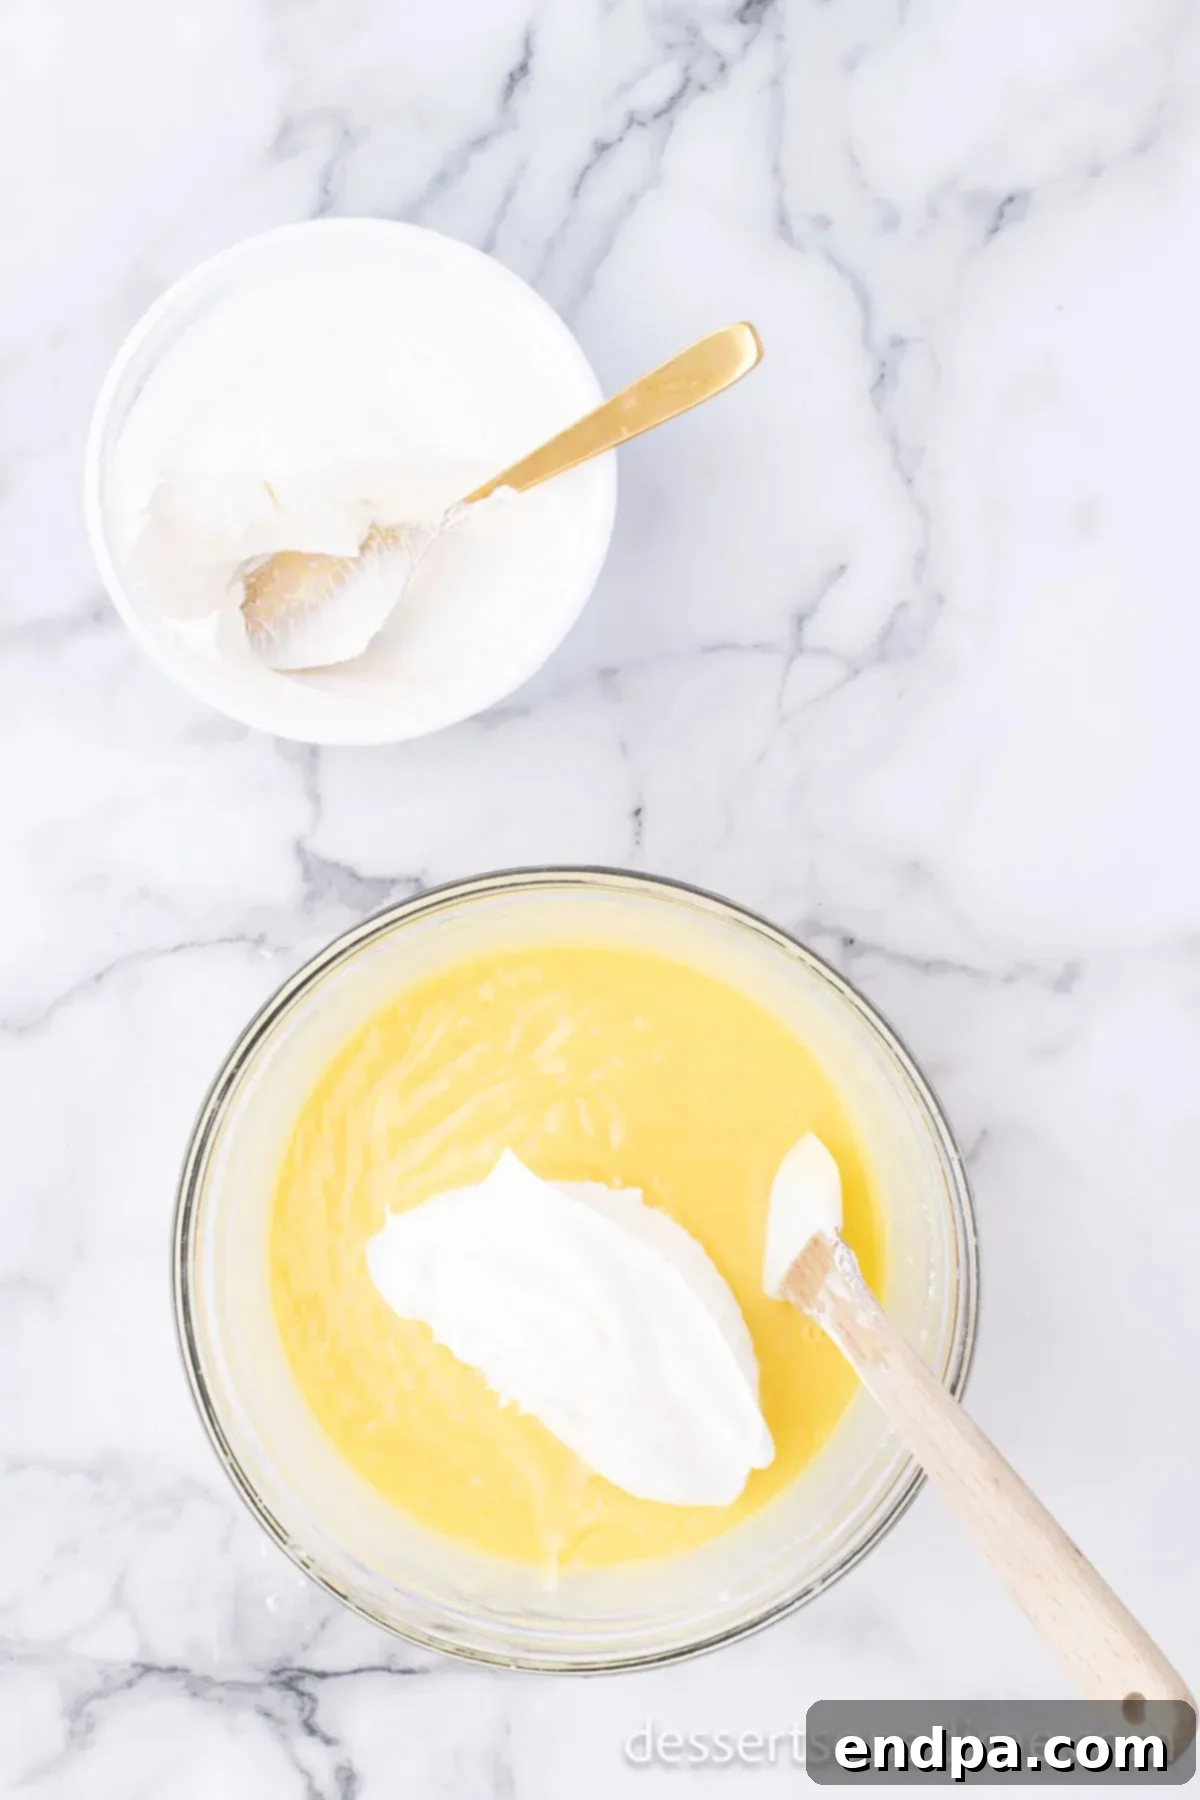
To the thickened pudding mixture, add the powdered sugar and vanilla extract. Stir well until these ingredients are fully incorporated and the mixture is smooth. Next, gently fold in half of the thawed whipped topping. Use a spatula to carefully fold, lifting from the bottom of the bowl and incorporating the whipped topping without deflating it too much. Continue folding until the mixture is uniform and airy. This creates the signature creamy, light, and sweet filling that forms the core of your Dirt Cake.

Step 4: Layer and Top.

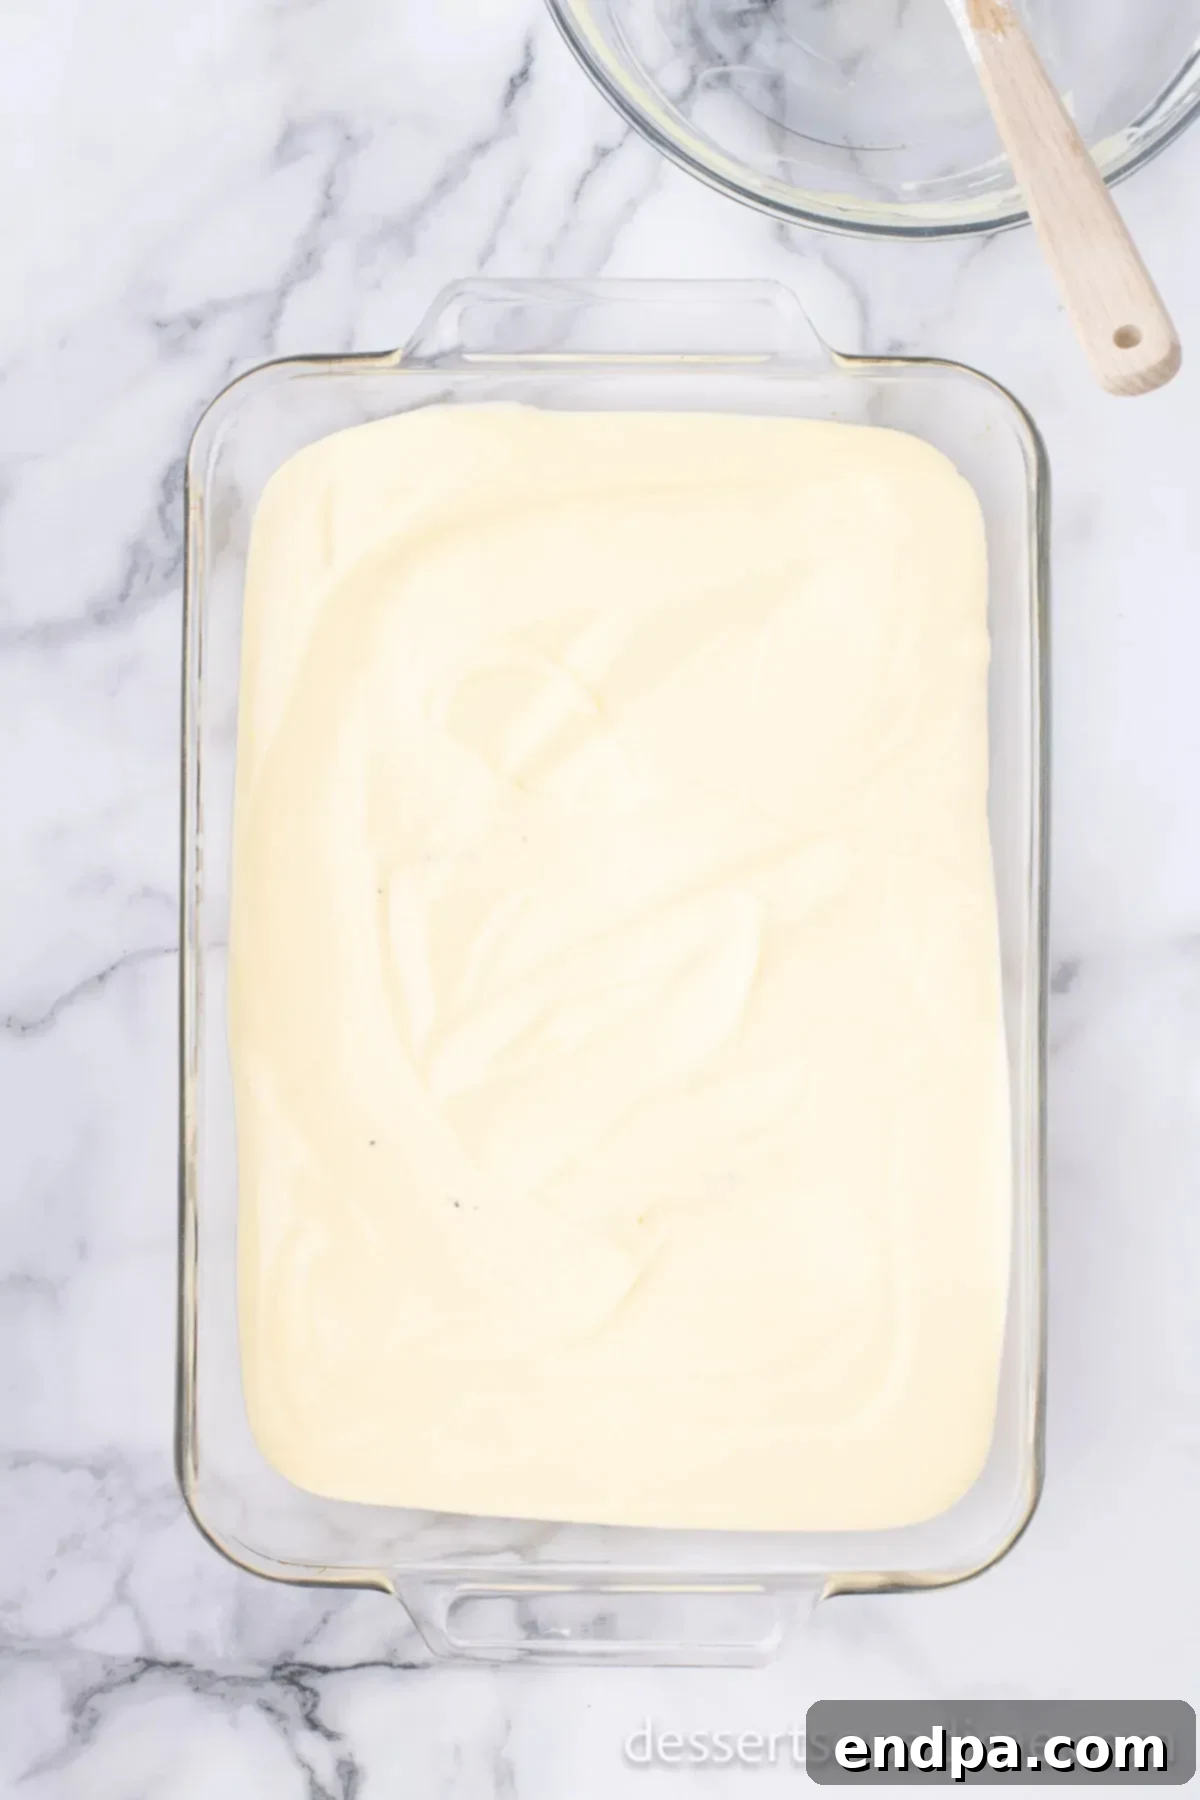
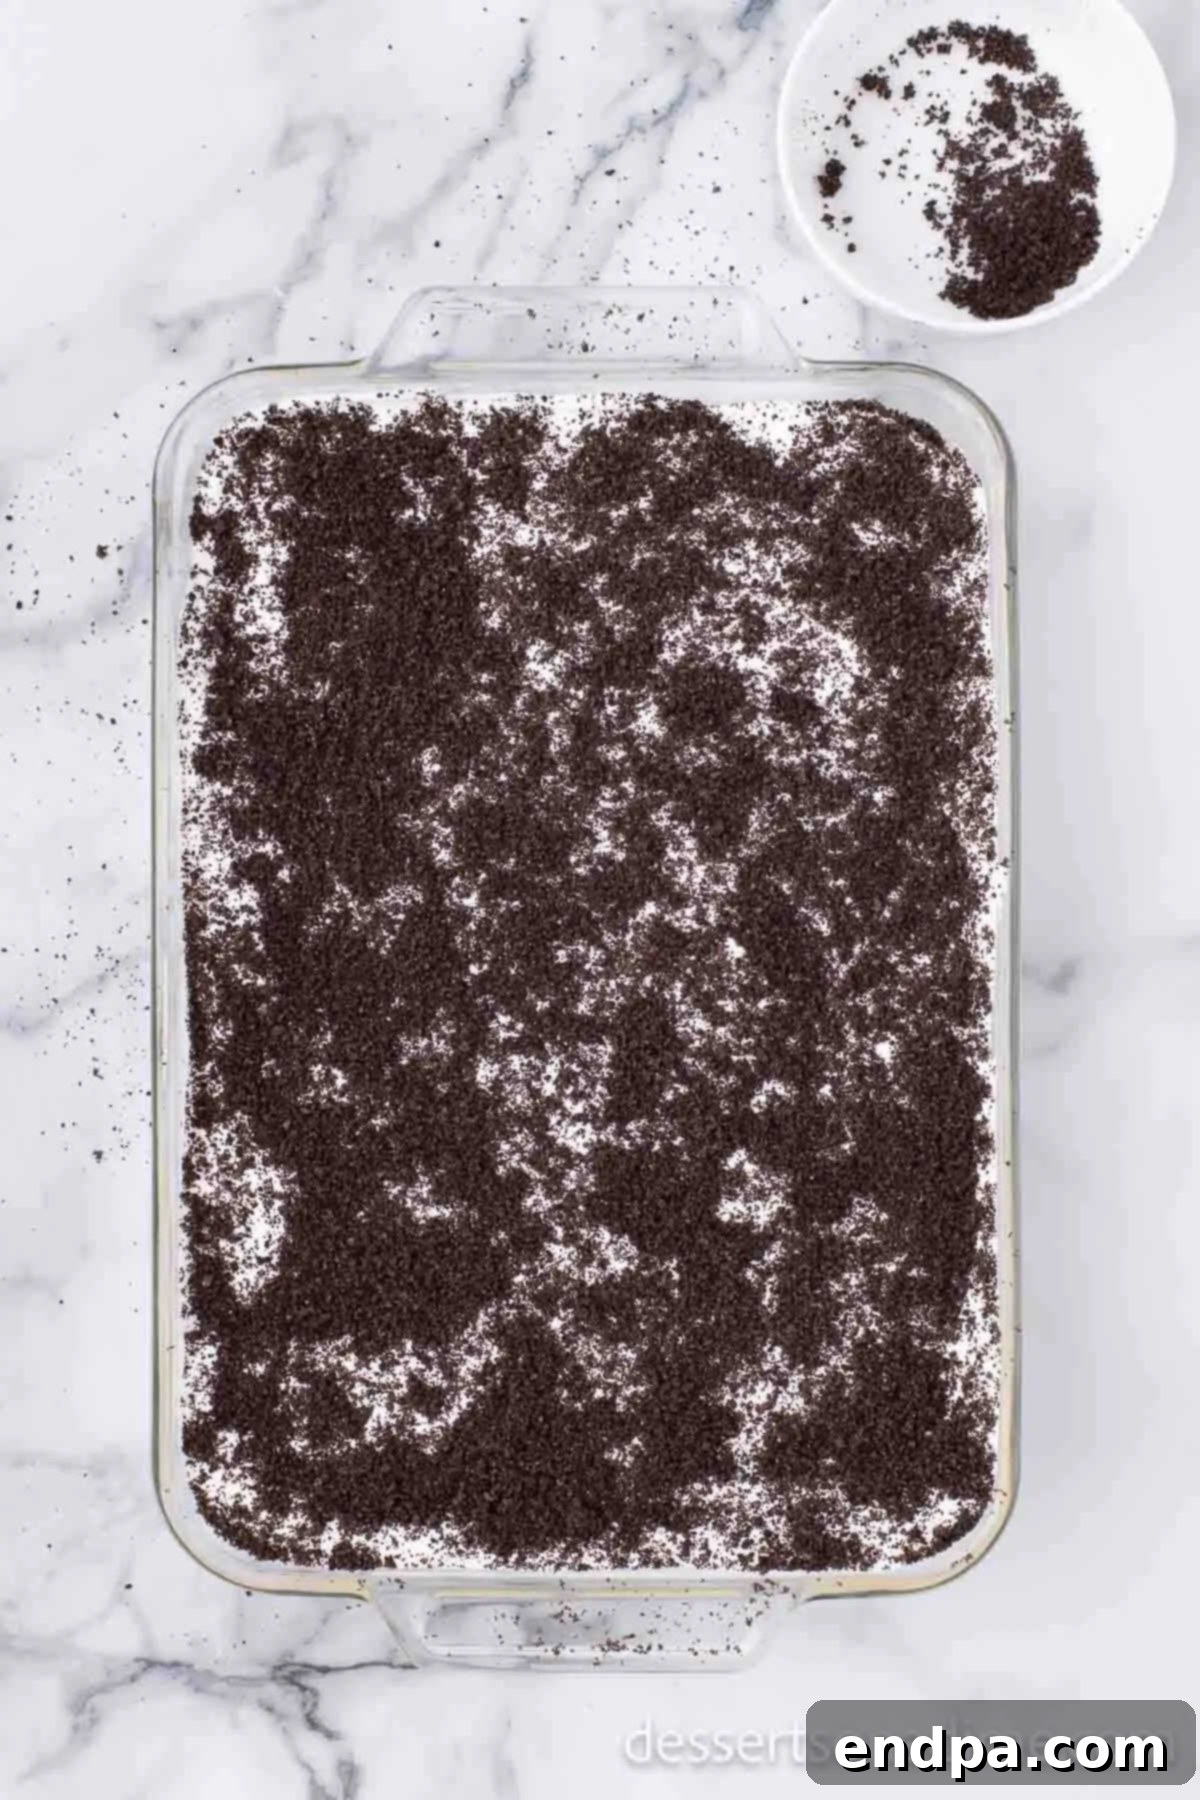
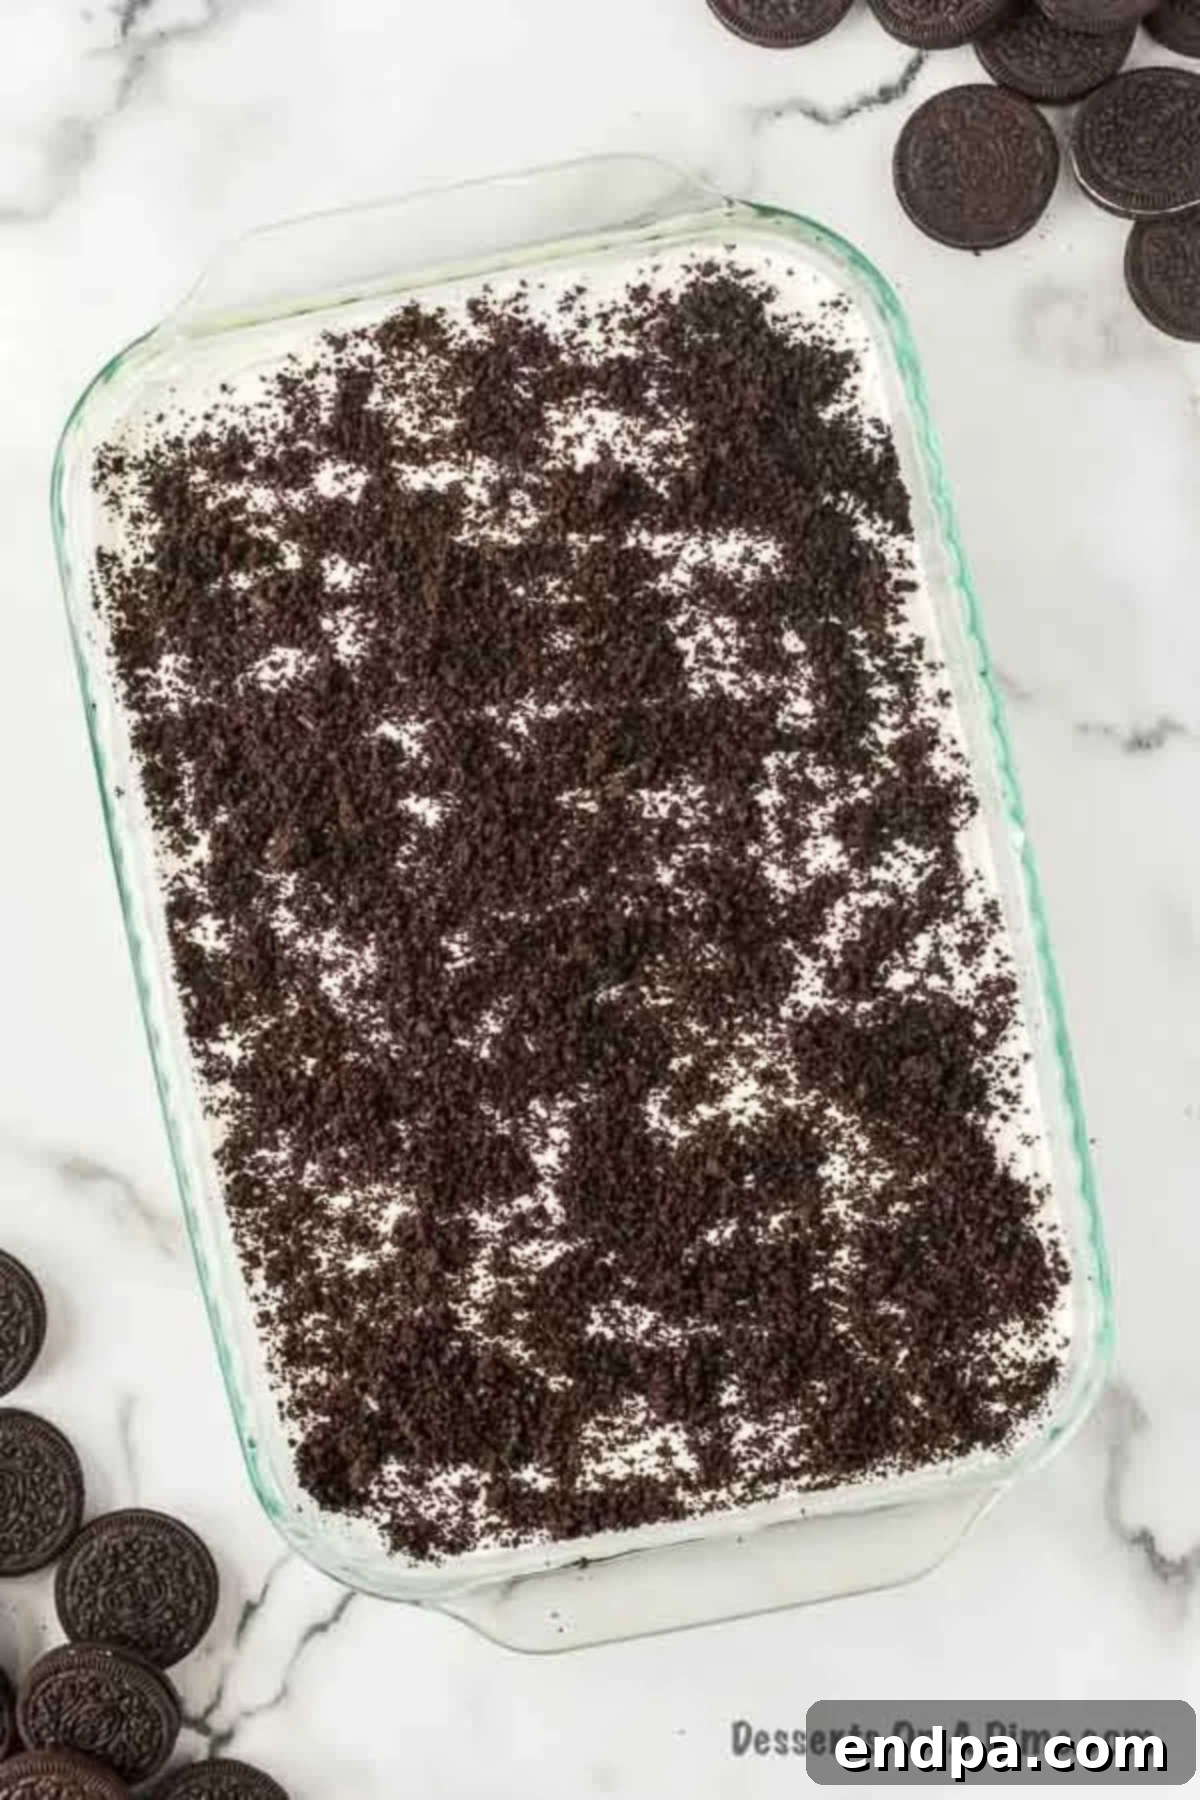
Carefully pour the creamy pudding mixture over the Oreo crumb base in your baking dish. Use a spatula to gently spread it into an even layer, ensuring it reaches all corners of the pan. Once the pudding layer is smooth, top it with the remaining half of the whipped topping. Spread this evenly across the pudding. Finally, sprinkle the reserved one-third of crushed Oreo cookies generously over the entire surface. This creates the iconic “dirt” top layer, completing the visual appeal of your dessert.

Expert Tips for the Perfect Dirt Cake
- Chilling is Key: The most important step for this no-bake dessert is adequate chilling. The dirt cake needs to set for at least 4 hours in the refrigerator before serving. Ideally, chilling it overnight yields the best results. Do not rush this step, as sufficient chilling allows the pudding to fully set, the layers to meld, and the flavors to deepen, resulting in the desired creamy and stable consistency.
- Ensure Cool Whip is Thawed: For a smooth, lump-free filling, make sure your whipped topping (Cool Whip) is completely thawed but still cold. If it’s frozen, it won’t mix properly; if it’s too warm, it might separate or make the mixture too runny.
- Don’t Over-Mix the Pudding: Whisk the pudding and milk just until thickened. Over-mixing can sometimes make instant pudding less firm.
- Gentle Folding: When incorporating the whipped topping into the pudding mixture, use a gentle folding motion with a spatula. This helps maintain the light and airy texture of the whipped topping, contributing to the overall fluffiness of the dessert.
- Cover Tightly: While chilling, cover the baking dish tightly with plastic wrap. This prevents the top layer of whipped topping and pudding from drying out or absorbing refrigerator odors.
- Serving Temperature: Serve the Dirt Cake chilled. It holds its shape best when cold and offers a refreshing experience.
Frequently Asked Questions (FAQs)
How long can you store Dirt Cake?
This delightful dessert must be kept refrigerated. When properly covered, it will last for up to 3 days in the refrigerator. While it can technically last a bit longer, the Oreo crumbs tend to get quite soggy after 3 days, which can alter the desired texture. We usually find it’s eaten much faster than that! To ensure freshness and prevent it from drying out or absorbing other food odors, make sure to cover the dish properly. If your baking dish doesn’t come with a lid, heavy-duty plastic wrap pressed directly onto the surface of the cake works perfectly to create an airtight seal.
Can you make Dirt Cake ahead of time?
Absolutely, this is an excellent dessert to prepare in advance! We recommend making it up to 24 hours before you plan to serve it. Typically, I assemble this cake the night before an event. This allows ample time for the pudding layers to set firmly and for all the flavors to fully meld together, resulting in an even more delicious and cohesive dessert. Plus, it significantly reduces stress on the day of your gathering.
If you need to prepare it 48 hours in advance, that’s generally fine. However, a key tip for longer make-ahead times is to wait to add the final top layer of Oreo cookie crumbs until just before you’re ready to serve. This prevents the top crumbs from becoming overly soft or soggy, ensuring they retain their delightful crunch for the best eating experience. Always cover the dish tightly with plastic wrap or a lid to keep the pudding from forming a skin or absorbing unwanted flavors.
How do you crush Oreos effectively?
Crushing Oreos to the perfect “dirt” consistency is simple with a few methods:
- Food Processor: This is by far the quickest and easiest method. Simply place the whole Oreo cookies (including the cream filling) into your food processor. Pulse a few times, then process continuously until you achieve fine, even crumbs that resemble moist soil. It takes minimal effort to get them super fine.
- Rolling Pin: If you don’t have a food processor, a rolling pin works wonderfully. Place the Oreo cookies into a large, sturdy zip-top bag. Seal the bag tightly, ensuring all excess air is removed. Then, use a rolling pin or the bottom of a heavy skillet to crush the cookies into fine crumbs. This method can be quite therapeutic!
- Blender: A blender can also be used, functioning very similarly to a food processor. Add the cookies to the blender jar and pulse until they are transformed into fine crumbs. Be careful not to over-blend, which could turn them into a paste if mixed for too long.
- Wooden Spoon (Kid-Friendly): If you have young children eager to help in the kitchen, give them a sturdy zip-top bag filled with cookies and a wooden spoon. They can use the back of the spoon to gently crush the cookies, making it a fun and engaging activity for them.
No matter which method you choose, aim for a fine, consistent crumb for the best “dirt” texture in your cake.

More Irresistible Oreo Desserts to Explore
If you’ve fallen in love with the simplicity and deliciousness of this cream cheese-free Dirt Cake, you’re in for a treat! Oreos are incredibly versatile and form the base for countless other easy and delightful desserts. Here are a few more Oreo-centric recipes that you might enjoy trying:
- Easy Oreo Fluff: A light, airy, and incredibly simple dessert requiring just 4 ingredients. It’s fluffy, creamy, and packed with Oreo goodness.
- Homemade Oreo Recipe: For those who love a baking project, learn to make your own iconic chocolate sandwich cookies from scratch.
- No Bake Oreo Pie Recipe: A rich, creamy pie with an Oreo crust and a decadent Oreo filling, perfect for any occasion.
- Mini Oreo Cheesecake Recipe: Individual cheesecakes featuring an Oreo crust and creamy filling, ideal for portion control and elegant serving (this one does include cream cheese, but it’s too good not to mention!).
- Easter Dirt Cups: Fun individual servings of Dirt Cake, often decorated with Easter-themed candies like Peeps and jelly beans.
- Easter Dirt Cake: A festive version of the classic Dirt Cake, adorned with spring and Easter decorations, perfect for holiday gatherings.
Each of these recipes brings its own unique spin to the beloved Oreo cookie, ensuring there’s always a new way to enjoy this classic treat. Happy baking (or no-baking)!
We encourage you to try this decadent Oreo Dirt Cake recipe without cream cheese. We’re confident it will become a new family favorite. Once you’ve made it, we’d love to hear your thoughts and see your creations!
Dirt Cake Recipe (with no cream cheese)
If you are looking for a Dirt Cake Recipe without Cream Cheese, give this a try. Enjoy all the creamy layers of this classic dessert with a few easy ingredients.Prep Time
15
Refrigerate
4
Total Time
4
15
Servings
12Cuisine
AmericanCourse
DessertCalories
351Author
Carrie BarnardIngredients
- 1 package Oreos 14 oz
- 1 cup Powdered Sugar
- 16 oz Cool Whip
- 2 Boxes Instant Vanilla Pudding Mix 3.4 oz each
- 3 cups Milk
- 1 tsp Vanilla Extract
Instructions
- Crush the Oreos in a food processor until fine crumbs. Place 2/3 of the crushed Oreos in the bottom of a 9×13 pan and gently press to form a base. Set aside the remaining crumbs.
- In a large mixing bowl, whisk together the instant pudding mix and cold milk for 2-3 minutes until it begins to thicken. Then stir in the powdered sugar and vanilla extract until fully combined. Gently fold in half of the thawed Cool Whip.
- Pour this creamy pudding mixture evenly over the Oreo crumb base in the 9×13 pan.
- Spread the remaining half of the Cool Whip over the pudding layer. Finally, sprinkle the reserved crushed Oreos evenly over the top.
- Cover the dish tightly with plastic wrap and refrigerate for at least 4 hours, or preferably overnight, to allow the cake to set completely.
- Keep refrigerated until ready to serve. Enjoy your delicious, creamy Dirt Cake!
Nutrition Facts
Calories 351kcal, Carbohydrates 61g, Protein 5g, Fat 10g, Saturated Fat 4g, Polyunsaturated Fat 1g, Monounsaturated Fat 4g, Trans Fat 1g, Cholesterol 12mg, Sodium 311mg, Potassium 196mg, Fiber 1g, Sugar 46g, Vitamin A 166IU, Calcium 118mg, Iron 3mg
