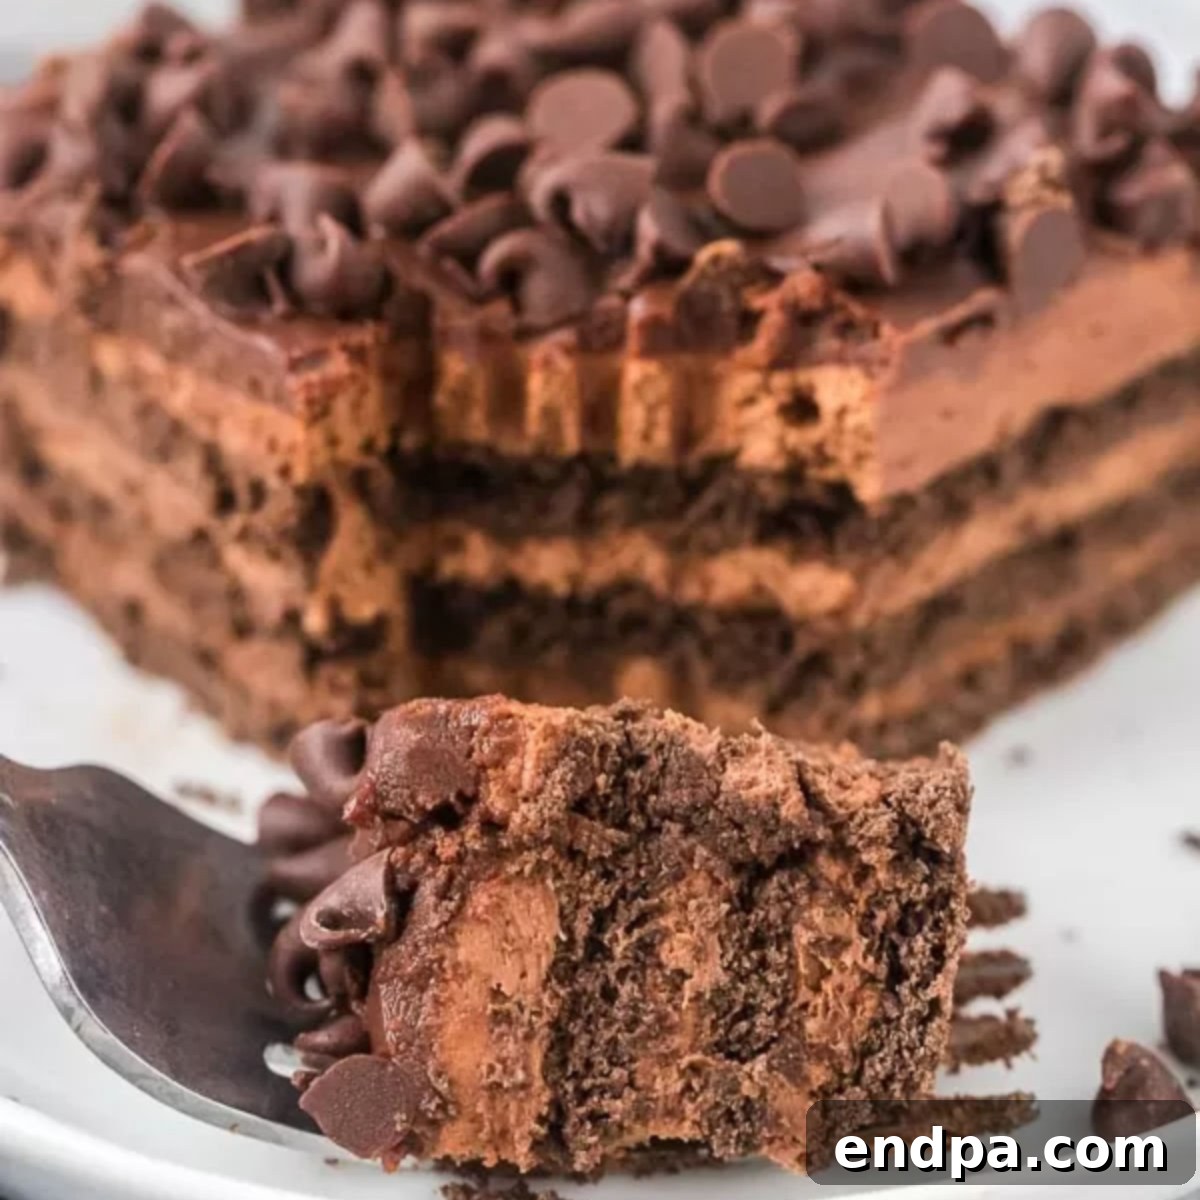
Welcome to the world of effortless indulgence with our incredibly rich and utterly delicious Chocolate Icebox Cake, crowned with a silky ganache topping. This no-bake masterpiece is designed to be incredibly easy to prepare, ensuring that everyone, from novice bakers to seasoned dessert enthusiasts, will go absolutely wild for it. Imagine layers of decadent chocolate, creamy filling, and a luscious chocolate finish, all coming together without ever needing to turn on your oven. It’s the ultimate hassle-free dessert that promises maximum flavor with minimal effort.
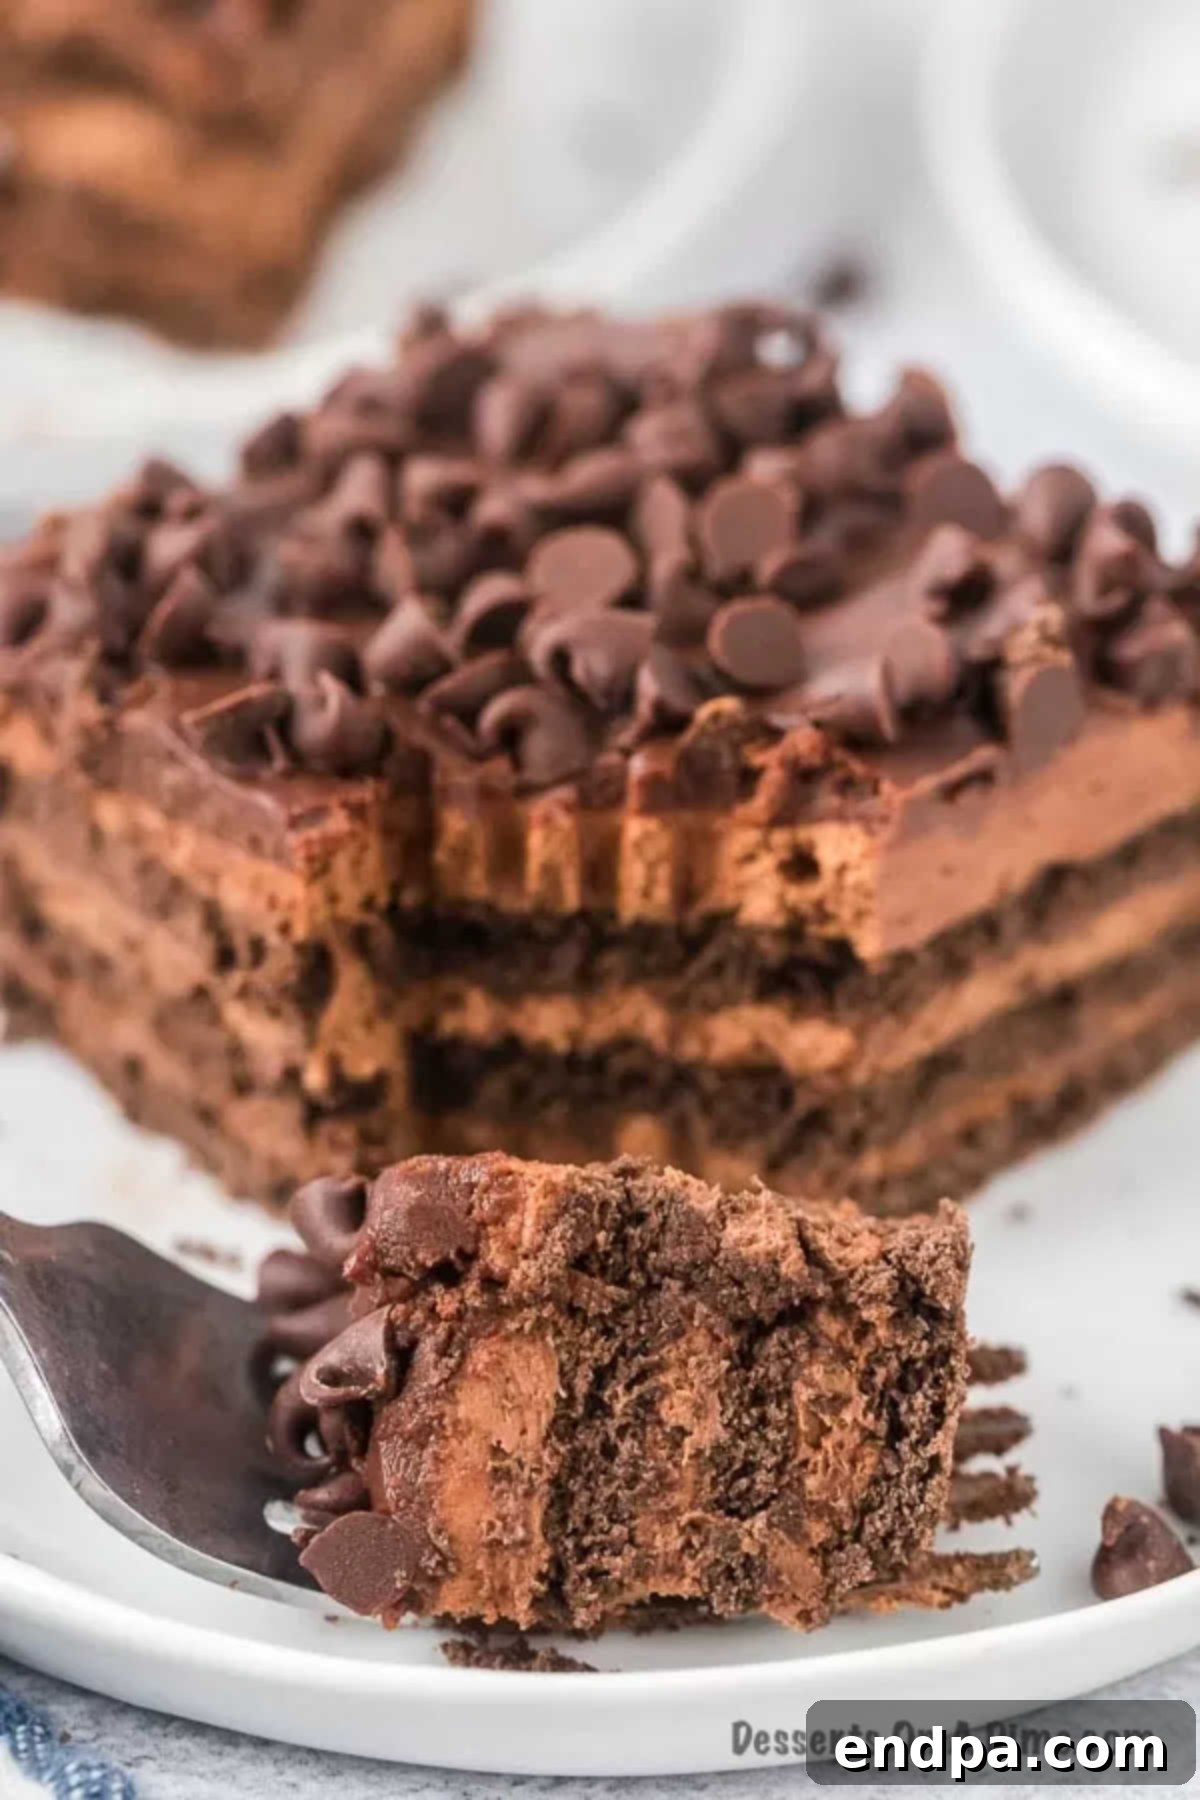
This dessert is a true chocolate lover’s dream, featuring layers upon layers of rich, chocolatey goodness that melt in your mouth. It stands proudly among the Best Chocolate Desserts you can create. If you’ve previously enjoyed our Oreo Icebox Cake Recipe, then you are in for a delightful treat with this chocolate version. Its simplicity and robust flavor make it an instant classic that you’ll want to revisit again and again. We also highly recommend exploring other variations such as our delightful Peanut Butter Icebox Cake and the festive Red White and Blue Icebox Cake for different occasions.
Table of contents
- What is an Icebox Cake?
- Why This Chocolate Icebox Cake is a Must-Try
- Essential Ingredients for Your Chocolate Icebox Cake
- Icebox Cake Layers and Filling
- Luscious Ganache Topping
- Delightful Optional Toppings
- How to Make the Ultimate Chocolate Icebox Cake
- Storage and Make-Ahead Tips
- Pro Tips for Icebox Cake Perfection
- Frequently Asked Questions
- More Irresistible No-Bake Dessert Recipes
What is an Icebox Cake?
Before we dive into the delicious details, let’s understand what makes an “icebox cake” so special. Originating in the early 20th century, particularly popular during the Great Depression, icebox cakes were a clever way to create delicious desserts without using an oven, relying instead on the “icebox” (an early term for refrigerator) to set and meld flavors. These cakes typically feature layers of cookies or wafers, whipped cream, and other delightful fillings that soften and meld together as they chill, creating a cake-like texture. They are the epitome of simple ingenuity, perfect for hot summer days or any time you want a fantastic dessert without the fuss of baking. Our chocolate icebox cake honors this tradition, offering a modern twist on a classic favorite that’s as convenient as it is delectable.
Why This Chocolate Icebox Cake is a Must-Try
There are countless reasons to fall in love with this Chocolate Icebox Cake. First and foremost is its incredible ease of preparation. With minimal steps and simple ingredients you likely already have on hand, you can whip up this show-stopping dessert in minutes. It’s the perfect solution for busy schedules, impromptu gatherings, or simply when you crave something sweet without the stress. The beauty of this recipe lies in its “no-bake” nature, liberating you from the oven and making it an ideal choice for any season, especially during warmer months.
Beyond its simplicity, the flavor profile is truly exceptional. Each bite delivers a harmonious blend of rich chocolate layers and a light, airy whipped topping, all elevated by the indulgent chocolate chips. It’s a symphony of textures and tastes that satisfies even the most discerning sweet tooth. This cake is not just delicious; it’s a crowd-pleaser that consistently receives rave reviews. Consider making it for special occasions like Father’s Day Desserts, birthdays, or any gathering where you want to impress with minimal effort.
Essential Ingredients for Your Chocolate Icebox Cake
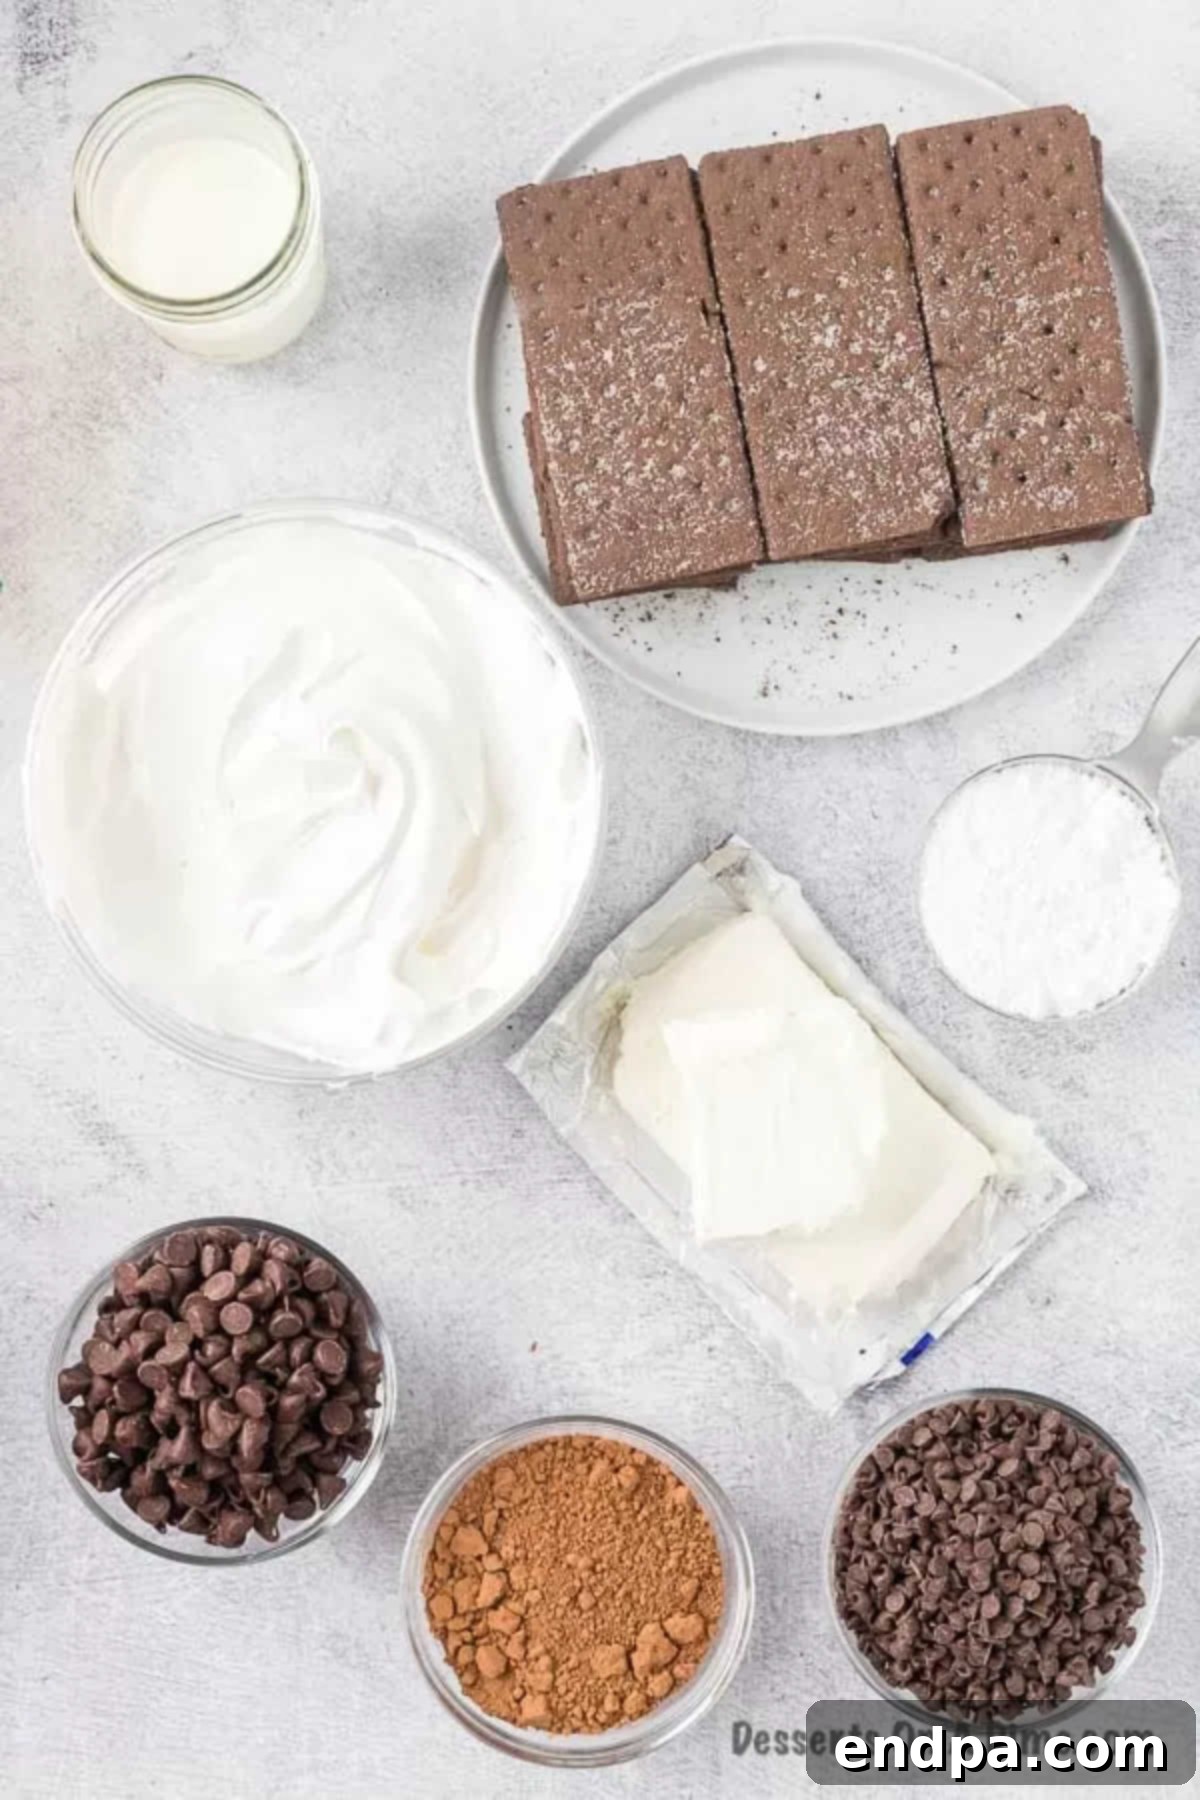
Crafting this incredible dessert begins with selecting the right ingredients. Each component plays a vital role in achieving the perfect balance of flavor and texture. Here’s a detailed look at what you’ll need:
Icebox Cake Layers and Filling
- Chocolate Graham Crackers: These form the foundational layers of your cake, absorbing the creamy filling and softening to a tender, cake-like consistency. For an even more intense chocolate flavor and a slightly different texture, you can also opt for classic Nabisco Chocolate Wafers.
- Cream Cheese: Crucial for the rich and tangy base of our filling. Ensure your cream cheese is softened at room temperature before mixing. This allows it to blend smoothly without lumps, creating a uniform and luxurious texture.
- Powdered Sugar: The sweetener for our creamy filling. Sifting the powdered sugar is a simple but essential step to prevent clumps and ensure your filling is wonderfully smooth and airy.
- Cocoa Powder: Adds an extra layer of deep chocolate flavor to the cream cheese mixture, intensifying the overall richness of the cake.
- Cool Whip: This provides the light and fluffy element to the filling. While store-bought Cool Whip is incredibly convenient, you can also make homemade whipped cream with heavy whipping cream and a whisk attachment for a fresh, customized touch.
Luscious Ganache Topping
- Heavy Whipping Cream: The essential liquid component for making our rich and velvety ganache. When heated with chocolate, it transforms into a smooth, pourable, and utterly decadent topping.
- Chocolate Chips: The star of the ganache. For the best flavor and texture, we recommend using high-quality chocolate chips. The better the chocolate, the more luxurious your ganache will be. Semi-sweet or dark chocolate chips work beautifully to balance the sweetness of the cake.
Delightful Optional Toppings
- Mini Chocolate Chips: While optional, sprinkling mini chocolate chips on top adds an attractive finish and an extra burst of chocolatey goodness. Regular-sized chocolate chips can also be used if that’s what you have on hand. Feel free to experiment with other toppings like chocolate shavings, a dusting of cocoa powder, or even a drizzle of caramel for added flair.
A complete list of specific quantities for each ingredient can be found in the detailed recipe card below.
How to Make the Ultimate Chocolate Icebox Cake
Creating this decadent Chocolate Icebox Cake is a straightforward and enjoyable process. Follow these step-by-step instructions to assemble your no-bake masterpiece:
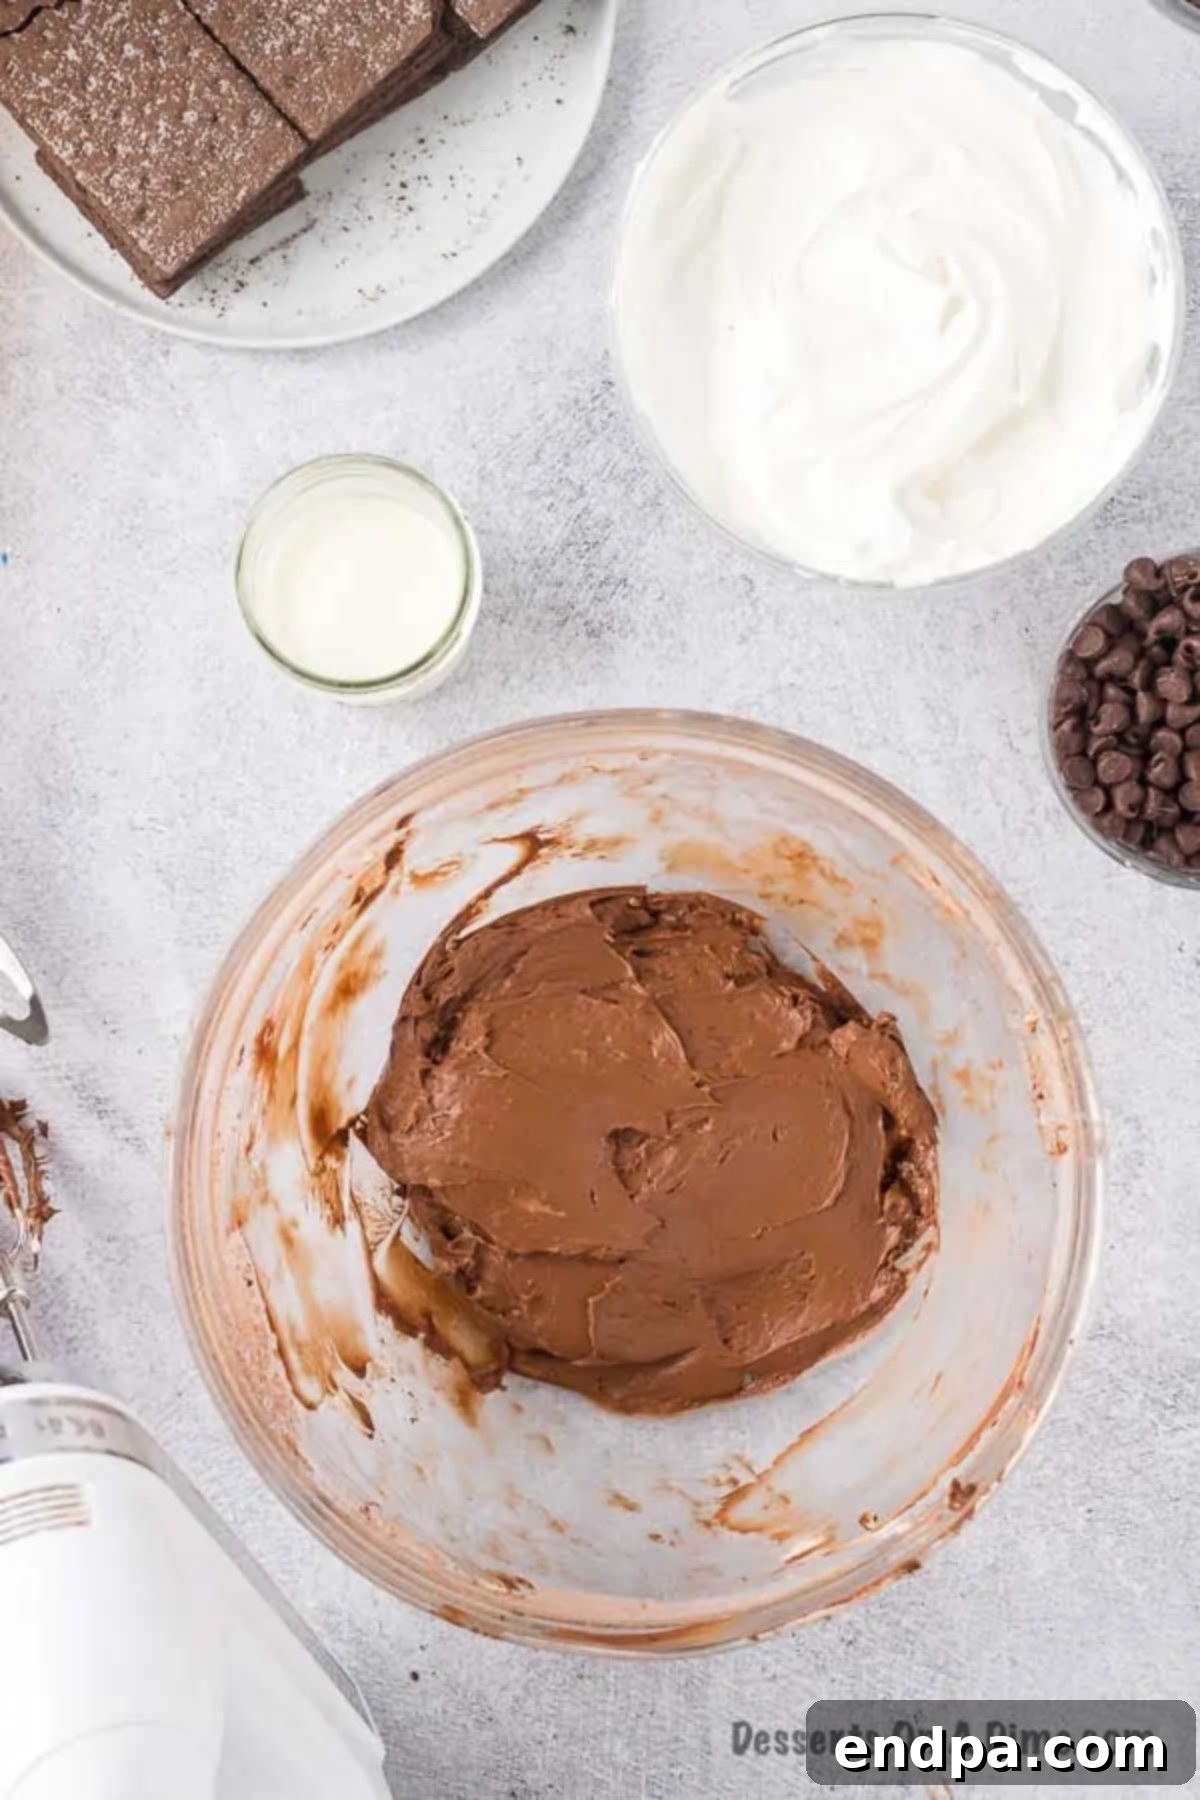
Step 1: Prepare the Cream Cheese Mixture. In a large mixing bowl, combine the softened cream cheese, sifted powdered sugar, and cocoa powder. Using a stand mixer with a paddle attachment or a hand mixer, beat the ingredients together on medium speed until the mixture is completely smooth, light, and fluffy. Ensure there are no lumps of cream cheese remaining for the creamiest texture.
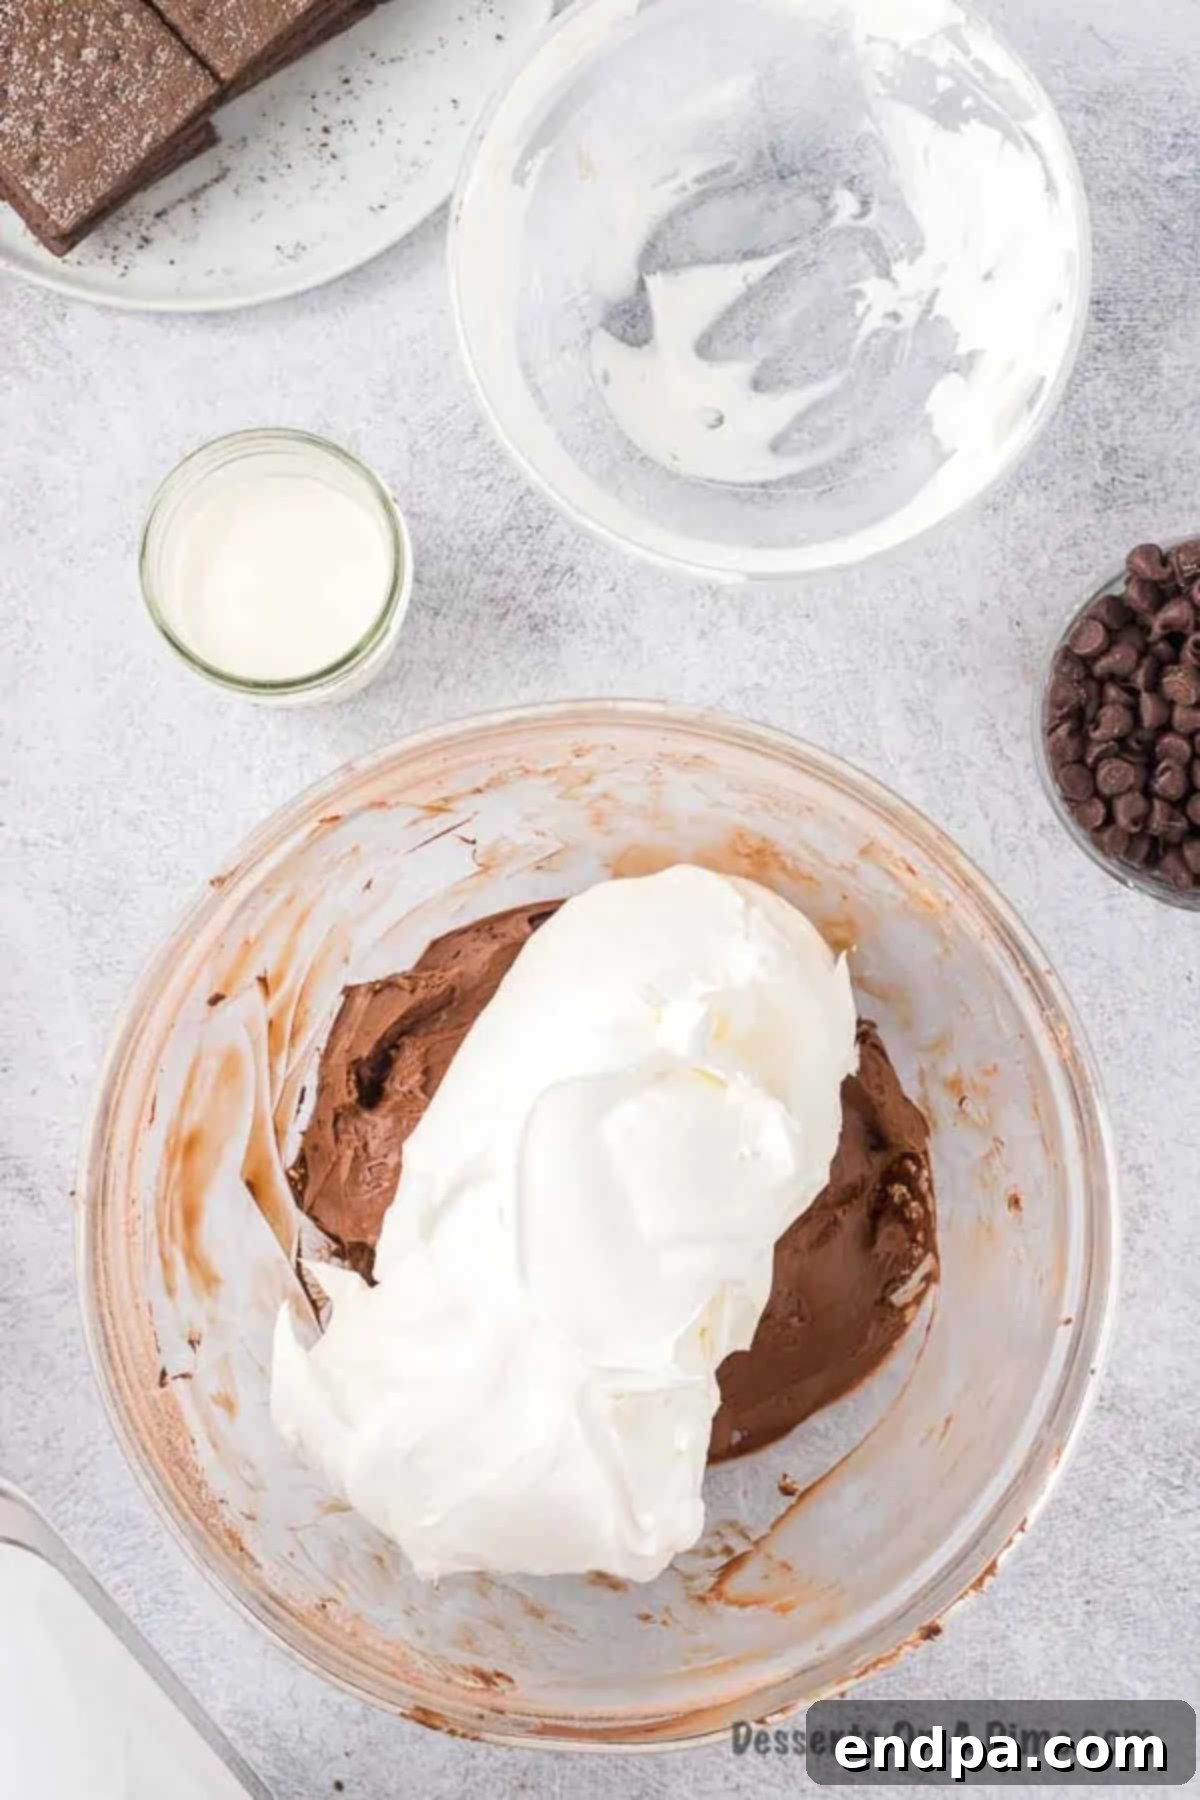
Step 2: Fold in the Whipped Cream. Once your cream cheese mixture is perfectly smooth, gently fold in the thawed Cool Whip. Use a spatula to incorporate it carefully, preserving the airy texture. Mix just until combined; overmixing can deflate the whipped cream.
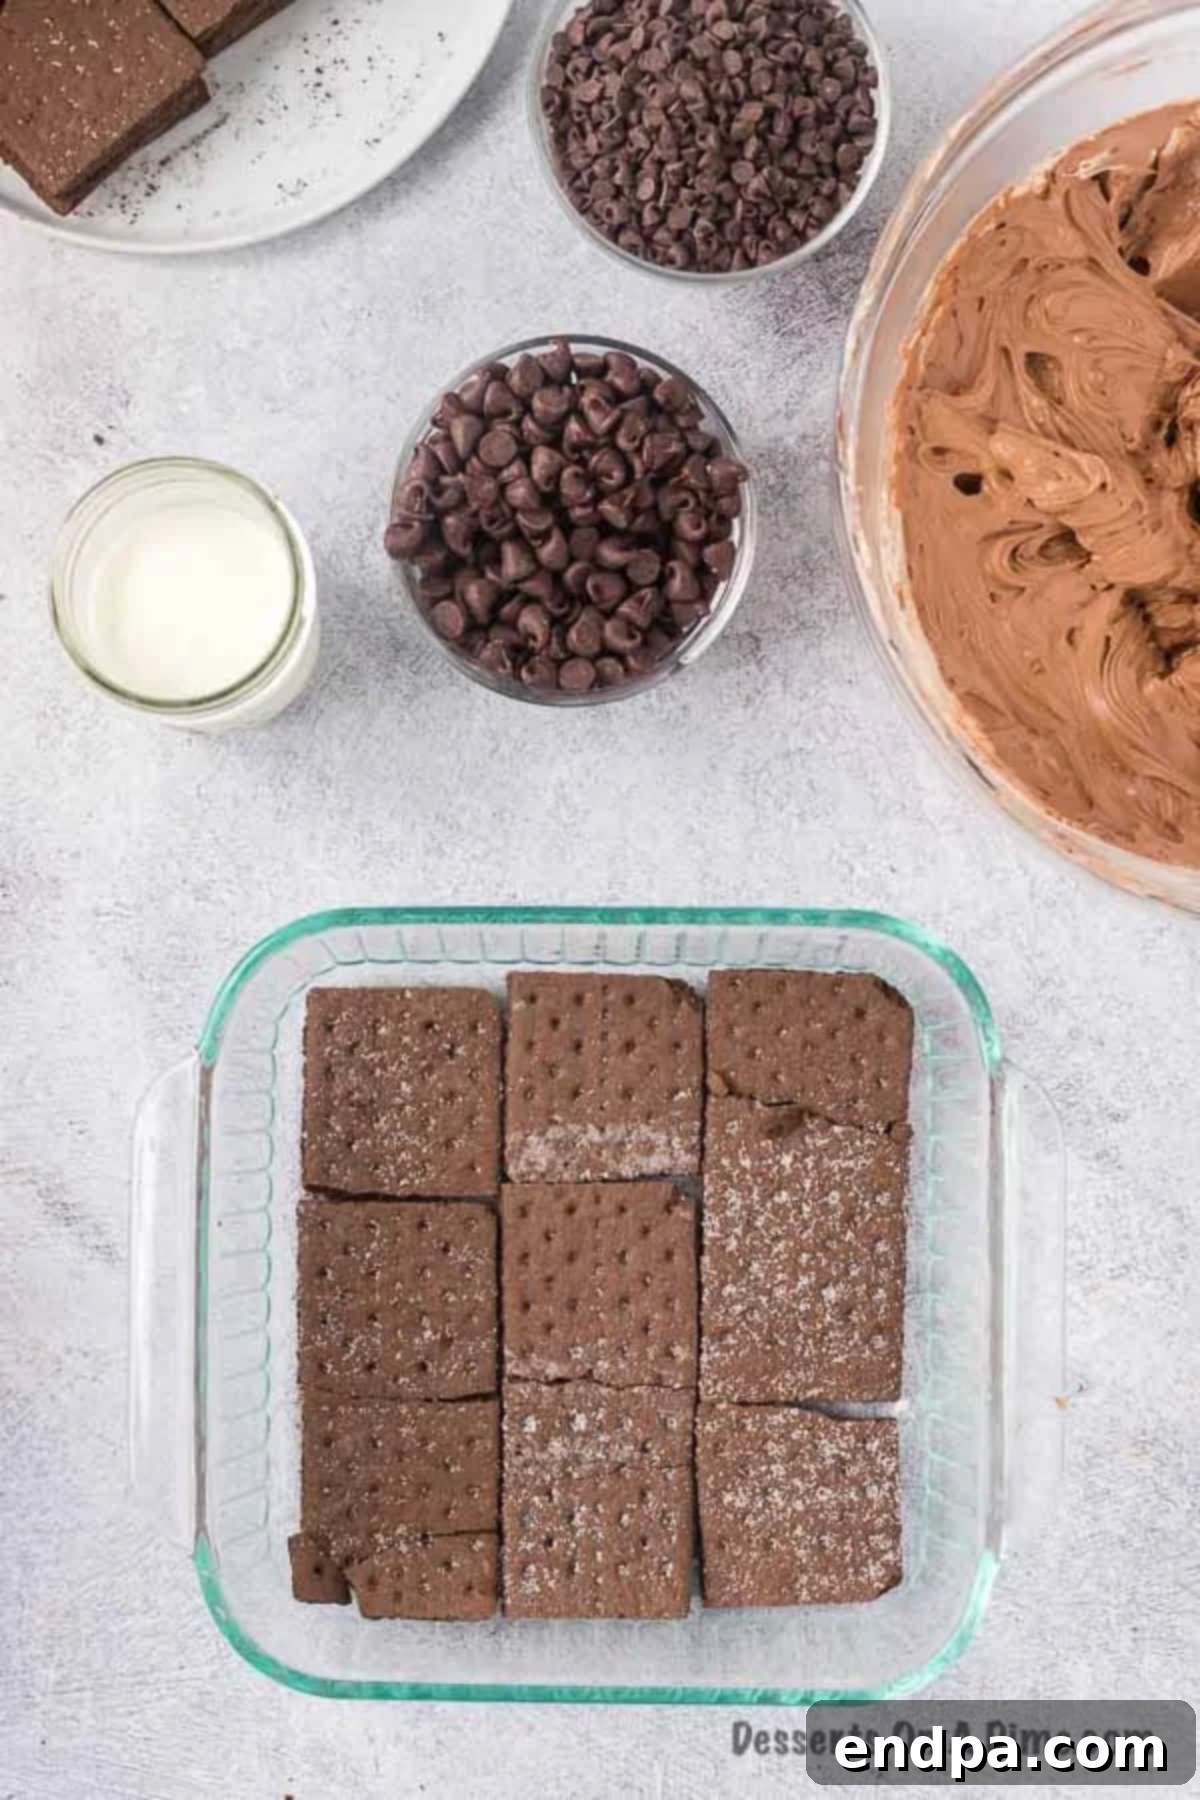
Step 3: Begin Layering the Cake. Select an 8×8-inch or 9×9-inch baking pan. You can also use a loaf pan for a taller, narrower cake. Arrange a single layer of chocolate graham crackers at the bottom of the pan, breaking them as needed to fit snugly and cover the entire base.
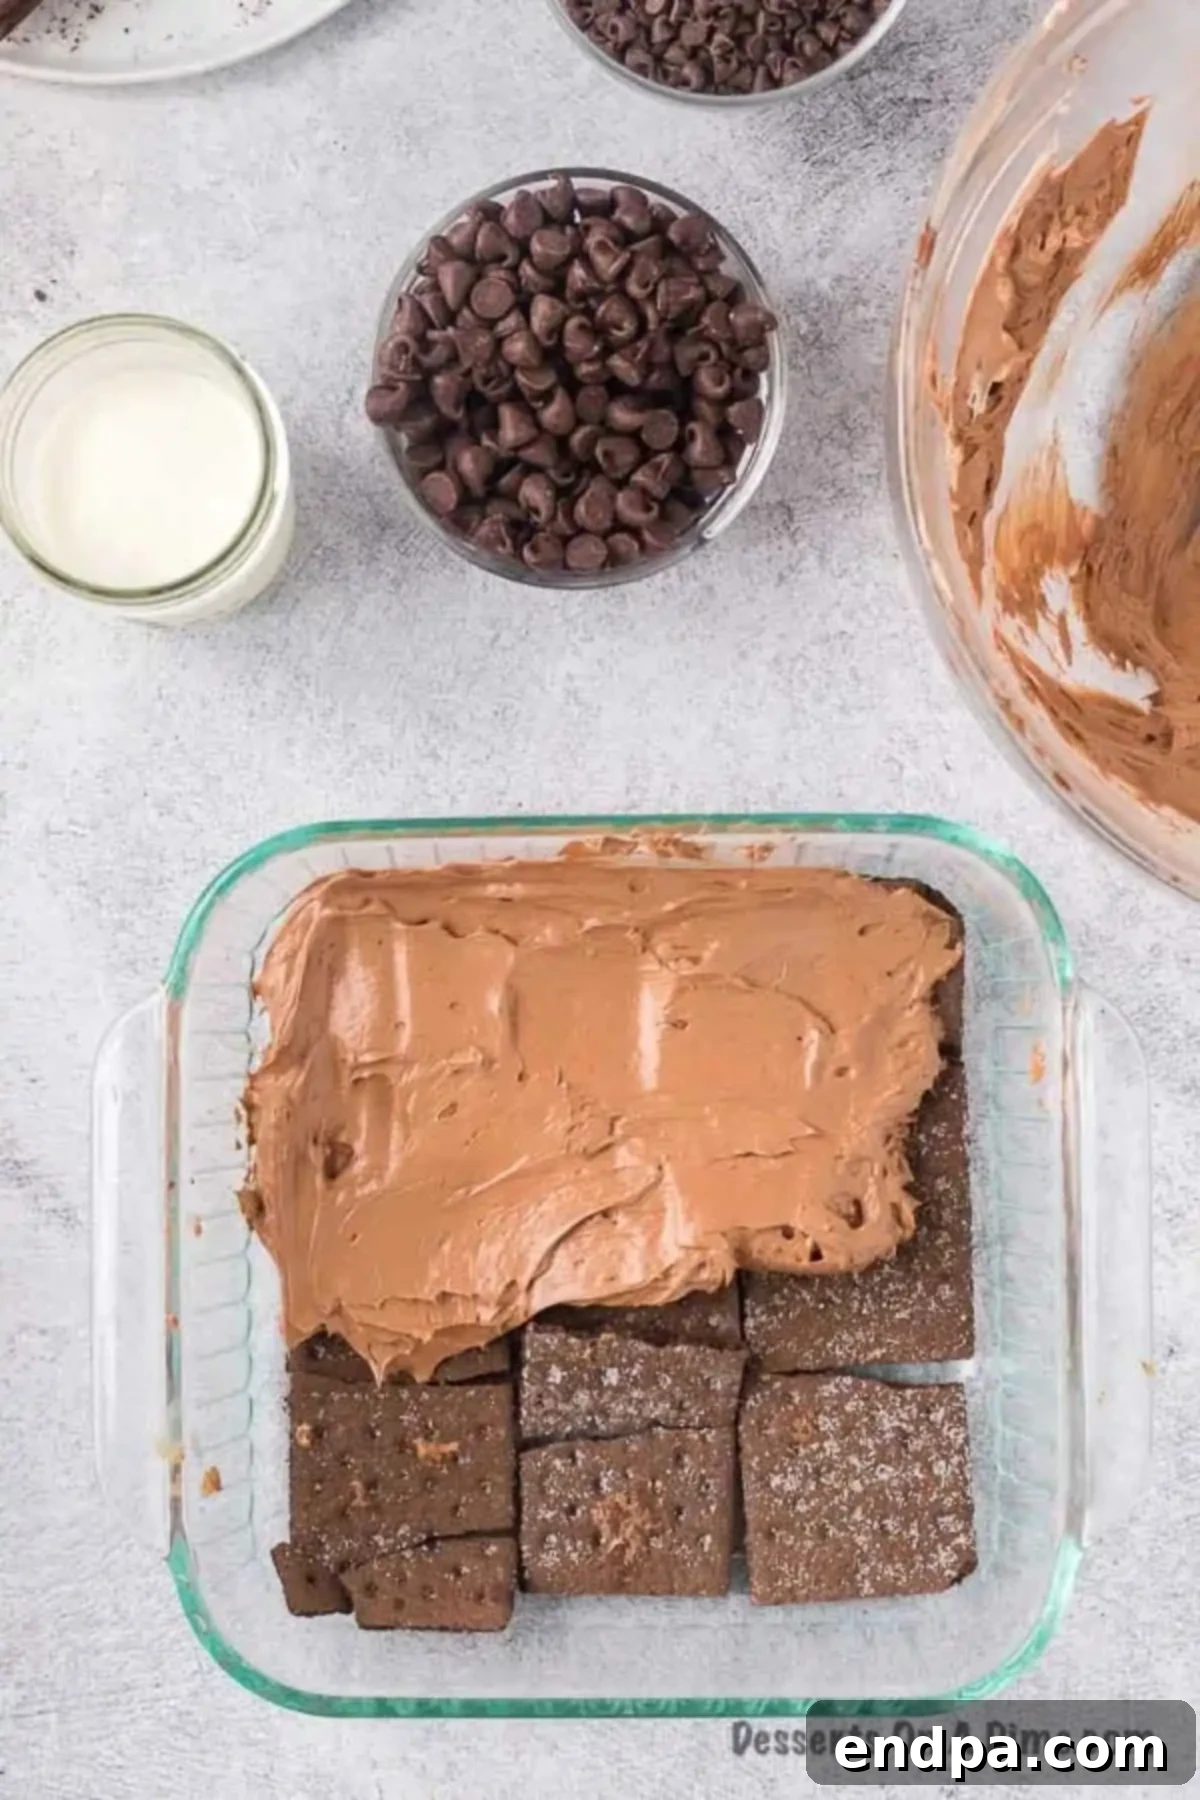
Step 4: Create Creamy Layers. Generously spread one-third of the cream cheese mixture evenly over the graham cracker layer, extending all the way to the edges. Repeat this layering process two more times: a layer of graham crackers, followed by a layer of cream cheese mixture, until all the ingredients are used, finishing with a layer of the creamy mixture.
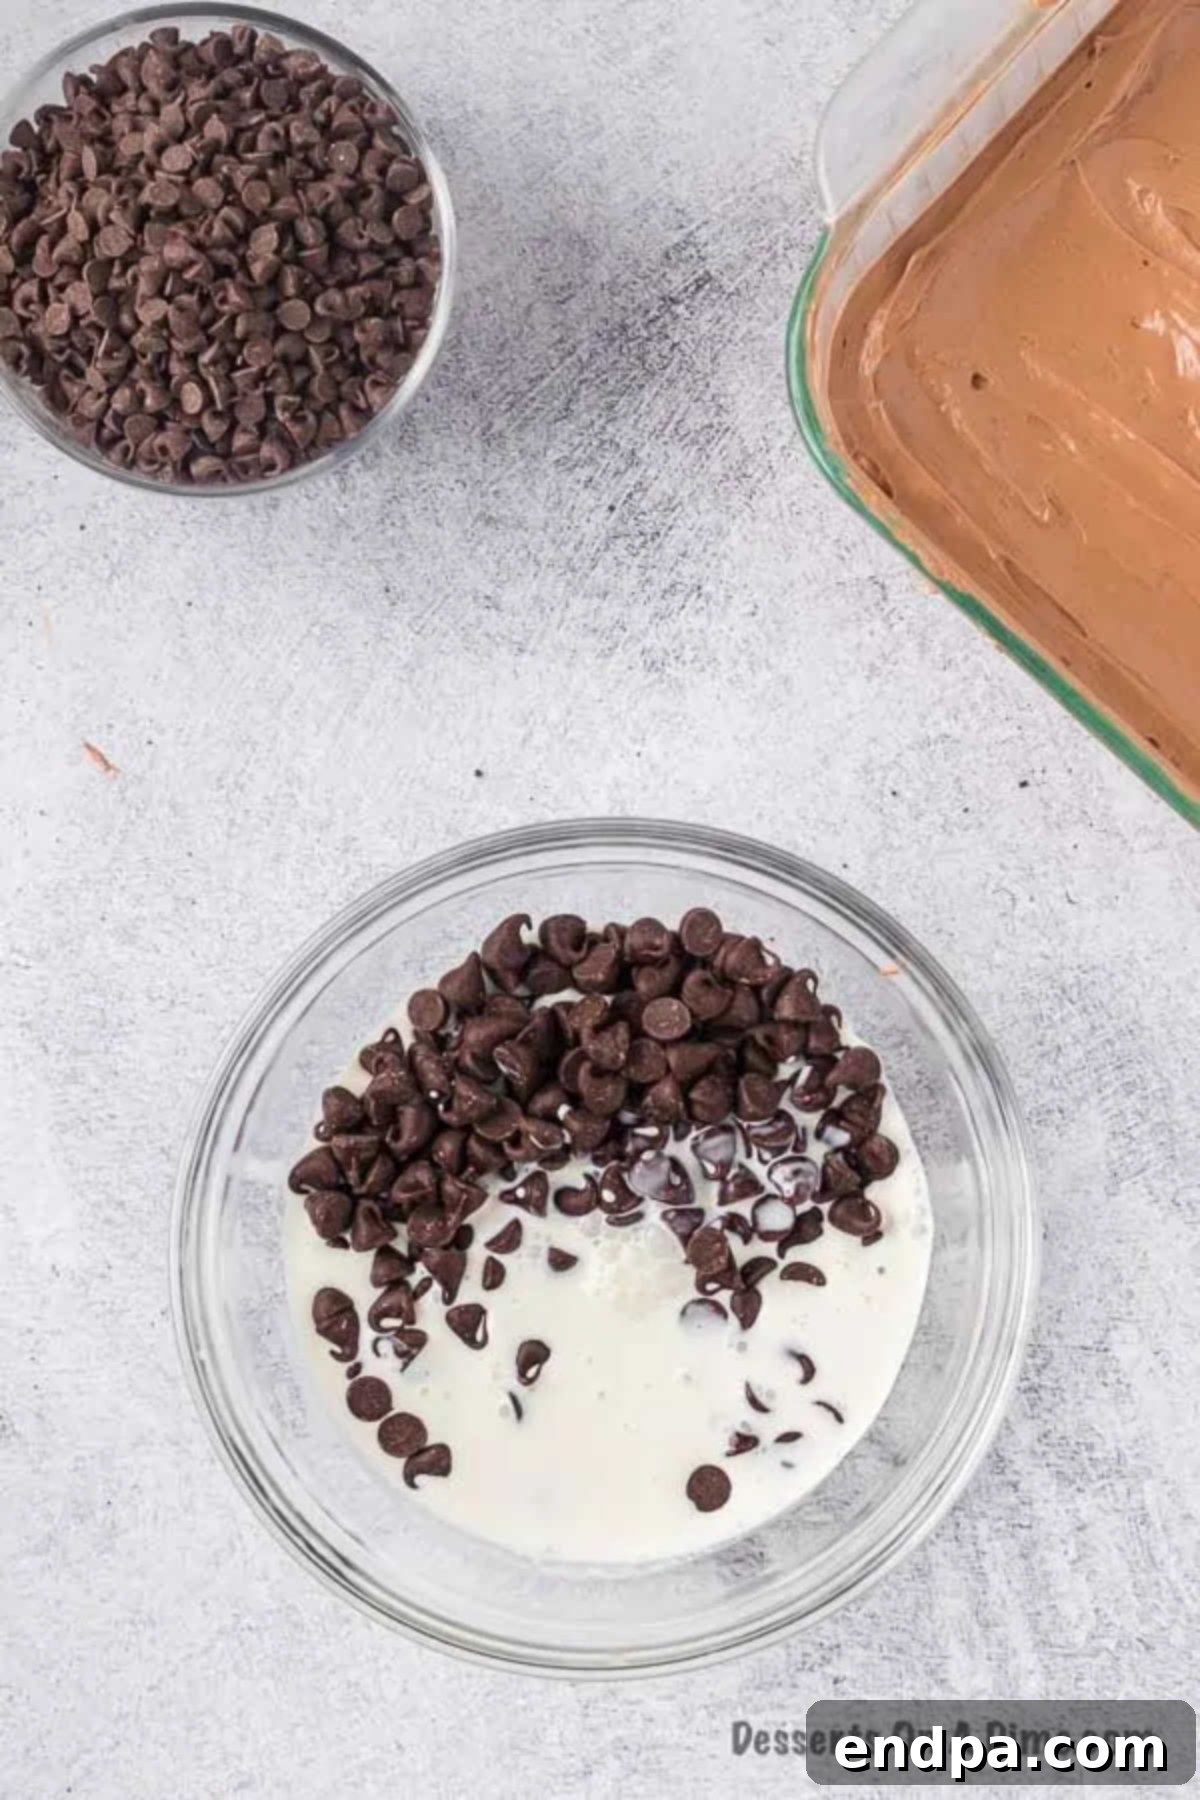
Step 5: Prepare the Ganache Topping. In a microwave-safe bowl, combine the heavy whipping cream and chocolate chips. Heat this mixture in 30-second intervals, stirring thoroughly between each interval. Continue heating and stirring until the chocolate chips are fully melted and the mixture is smooth, glossy, and well combined. Be careful not to overheat the chocolate to prevent burning.
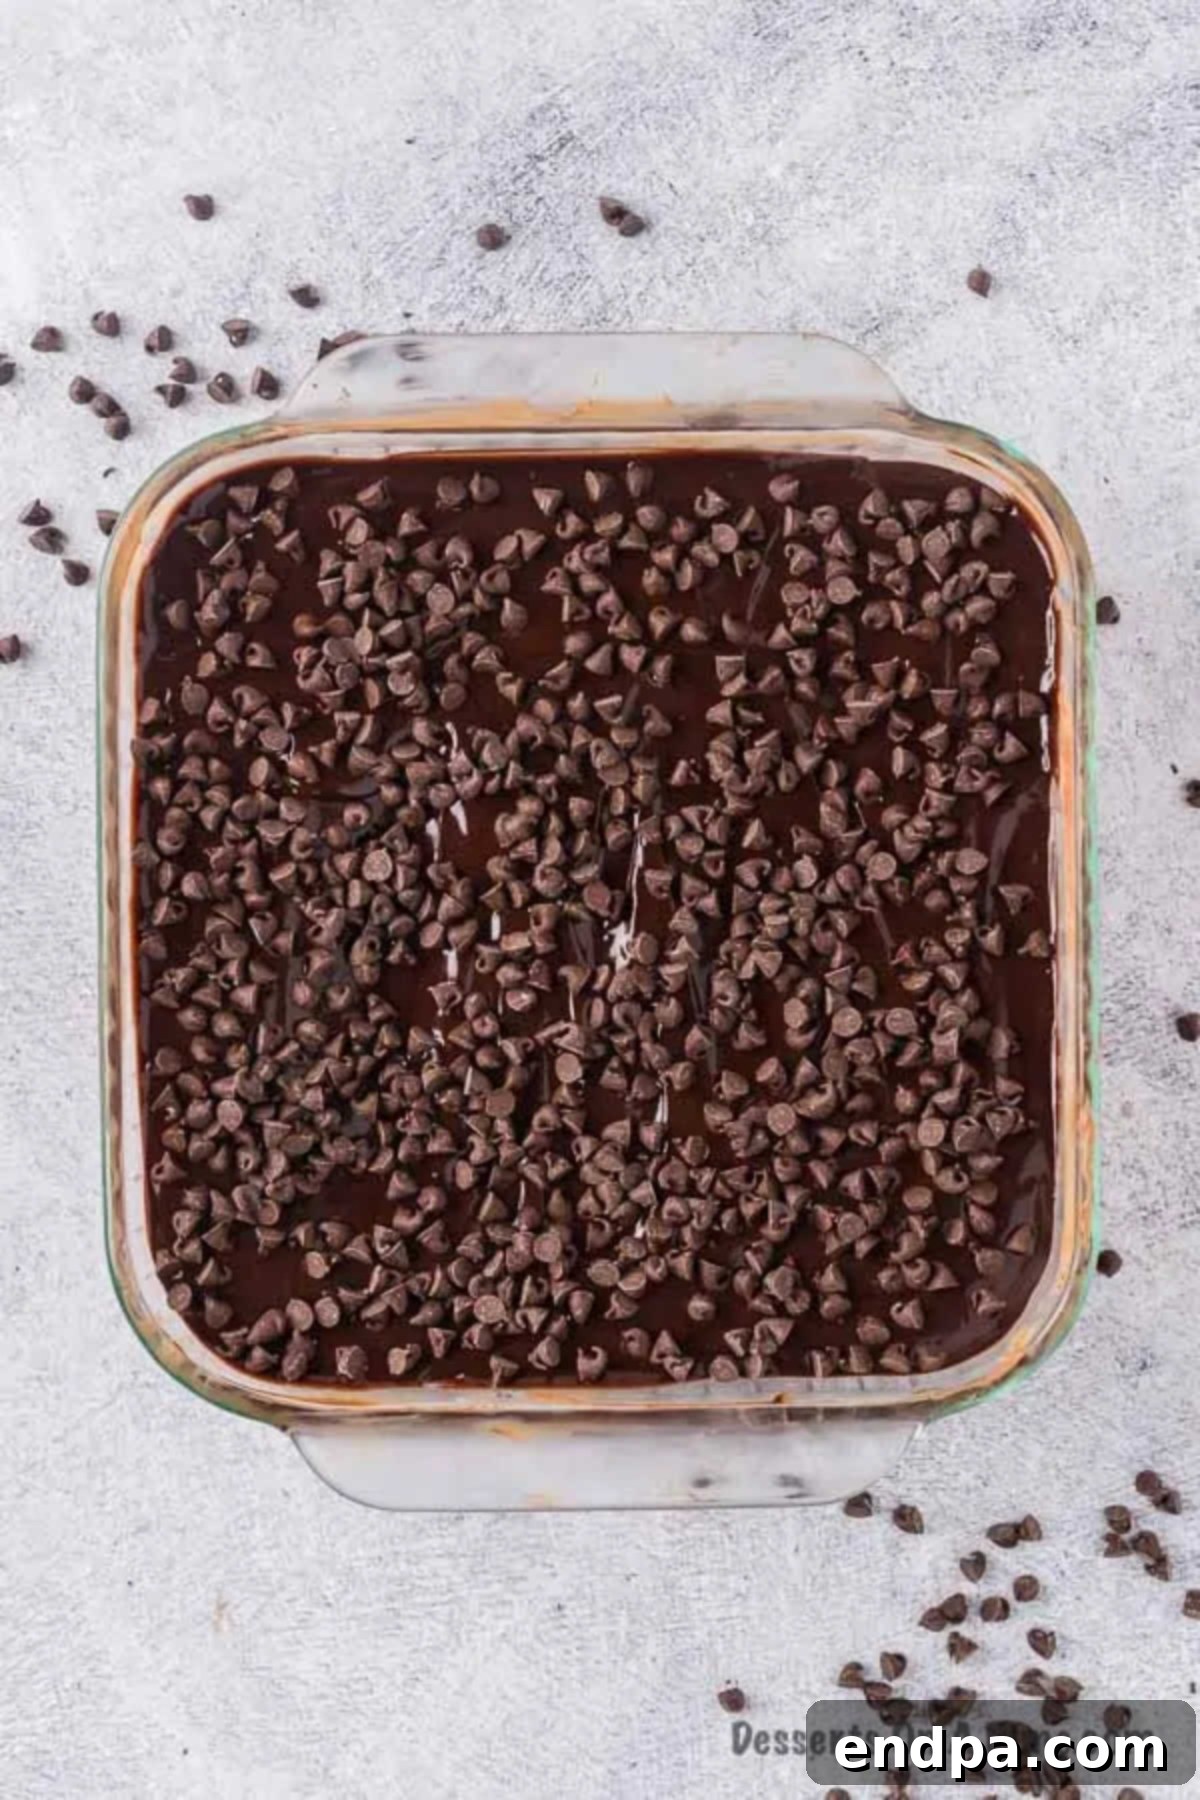
Step 6: Finish and Chill. Once the ganache is ready, pour it evenly over the top layer of your assembled cake, spreading it gently to cover the surface. If desired, sprinkle with mini chocolate chips or chocolate shavings for an appealing garnish. Cover the cake tightly with plastic wrap and refrigerate for at least 4-5 hours, or preferably overnight, to allow the graham crackers to soften and the flavors to meld. Slice and serve your perfectly chilled chocolate icebox cake!
Storage and Make-Ahead Tips
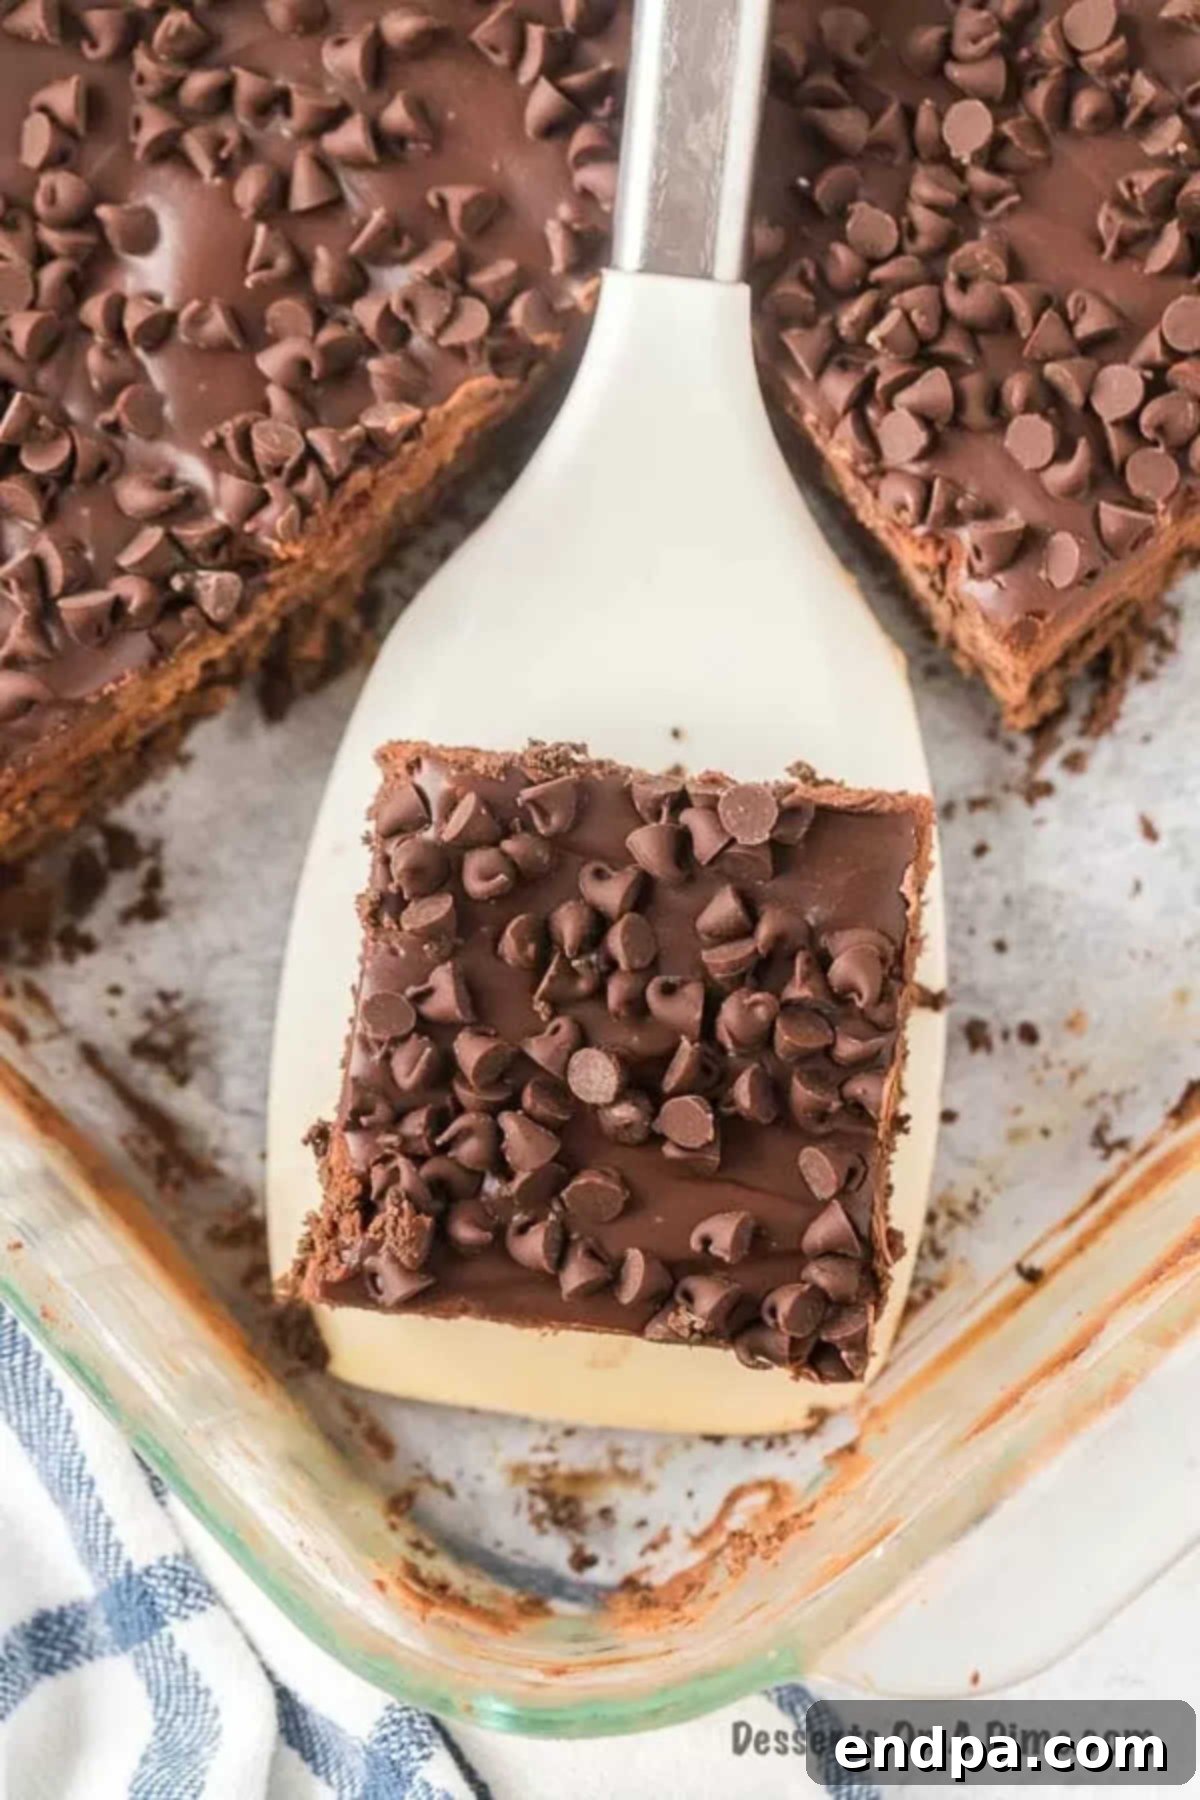
This Chocolate Icebox Cake is not only delicious but also incredibly convenient for make-ahead preparations. To store, simply cover the pan tightly with plastic wrap to prevent it from drying out or absorbing refrigerator odors. It will keep beautifully in the refrigerator for up to 3 days. For best results, we highly recommend making this cake the day before you plan to serve it. Allowing it to chill overnight in the fridge is key, as this extended time ensures the chocolate graham crackers soften perfectly, transforming them into a tender, cake-like texture that truly makes this dessert shine.
Pro Tips for Icebox Cake Perfection
Elevate your Chocolate Icebox Cake from simply delicious to absolutely unforgettable with these expert tips:
- Optimal Chilling Time is Key: While 4-5 hours of refrigeration will work in a pinch, allowing your icebox cake to chill overnight is truly ideal. This extended period gives the graham crackers ample time to fully absorb the moisture from the creamy filling, resulting in a wonderfully soft, cake-like texture that’s crucial to the icebox cake experience. Patience is a virtue when it comes to this dessert!
- Choose Your Pan Wisely: An 8×8-inch or 9×9-inch pan is standard for this recipe, yielding nicely sized slices. However, if you prefer a thicker, narrower cake, a loaf pan works beautifully. For ultimate convenience, especially when taking your dessert to a potluck or cookout, consider using a disposable foil pan. This allows for easy transport and clean-up – simply toss the pan when you’re done!
- Embrace Flavor Variations: While the mini chocolate chips are a fantastic classic topping, don’t shy away from experimenting! Consider adding white chocolate chips for a striking contrast, peanut butter chips for a nutty twist, or dark chocolate shavings for an intense, sophisticated flavor. These simple additions can dramatically alter the cake’s profile.
- Add a Hint of Coffee: For an incredible depth of flavor that complements chocolate beautifully, try adding espresso powder to your cream cheese mixture. Start with one heaping spoonful and taste as you go, adjusting the amount to achieve your preferred level of coffee intensity. Coffee enhances chocolate without overpowering it, creating a truly gourmet experience.
- Cookie Alternatives: If chocolate graham crackers aren’t available, or you’re looking for a slightly different texture, Nabisco Chocolate Wafers are an excellent substitute. They are thinner and offer a more uniform layer, resulting in a very delicate, melt-in-your-mouth cake.
Frequently Asked Questions
For the best results, refrigerate your chocolate icebox cake overnight. This allows ample time for the graham crackers to fully soften and for all the flavors to meld beautifully. If you’re short on time, a minimum of 4 to 5 hours of chilling will work, but the texture will be even better with a longer refrigeration period. The goal is to achieve a tender, cake-like consistency from the graham cracker layers.
The name “icebox cake” comes from the historical term for a refrigerator, an “icebox.” These desserts were traditionally created to be assembled and then chilled in the icebox to set, eliminating the need for an oven. This method made them popular during times when ovens were less common or when people sought a cool, refreshing dessert without heating up the kitchen. It’s a testament to simple, no-bake ingenuity!
Absolutely! While chocolate graham crackers or chocolate wafers are traditional for this recipe, you can certainly experiment with other cookies. Oreo cookies (crushed or whole), shortbread cookies, or even vanilla wafers could provide interesting flavor and texture variations. Just be aware that different cookies may absorb moisture at different rates, potentially affecting the chilling time needed for optimal softness.
Making this cake dairy-free or gluten-free is possible with appropriate substitutions. For a dairy-free version, look for dairy-free cream cheese alternatives, plant-based whipped toppings (like coconut whip), dairy-free chocolate chips, and dairy-free heavy cream substitutes. For a gluten-free version, use gluten-free chocolate graham crackers or wafers. Always check ingredient labels carefully to ensure all components meet your dietary requirements.
More Irresistible No-Bake Dessert Recipes
If you love the ease and deliciousness of this Chocolate Icebox Cake, you’ll be thrilled to discover more fantastic no-bake dessert recipes that are just as simple and satisfying:
- No Bake Cheerios Bars Recipe: A quick and crunchy treat perfect for kids and adults alike.
- Oreo Truffles: Decadent, bite-sized delights that require only a few ingredients and no baking.
- Pretzel No Bake Cookie Recipe: A salty-sweet combination that’s incredibly addictive.
- No Bake Cinnamon Corn Flake Cereal Bars: A nostalgic and flavorful bar that’s ready in minutes.
- Quick and Easy Fruity Pebble Bars: Bright, colorful, and fun bars that are a hit with everyone.
- No Bake Cherry Cheesecake Recipe: A creamy, fruity, and refreshing dessert that’s effortlessly elegant.
Do yourself a favor and make this unforgettable Chocolate Icebox Cake recipe, featuring delightful layers of chocolate wafers, a rich and creamy filling, and a luscious ganache topping. It’s a dessert experience that truly delivers on both taste and convenience. Once you’ve tried it, please come back and leave a comment and a star rating!
Chocolate Icebox Cake
Ingredients
- Icebox Cake Ingredients:
- 1 Package of Chocolate Graham Crackers 16 oz.
- 12 oz Cream Cheese
- 1/2 cup Powdered Sugar
- 1/2 cup Cocoa Powder
- 8 oz Cool Whip thawed
- Ganache Topping Ingredients:
- 1/2 cup Heavy Whipping Cream
- 1 cup Chocolate Chips
- Optional Topping:
- Mini Chocolate Chips
Instructions
- In a mixing bowl, beat together the cream cheese, powdered sugar and cocoa powder until the mixture is smooth and fluffy.
- Then gently fold in the cool whip.
- Then layer the chocolate graham crackers in a single layer in the bottom of an 8X8 or 9X9 pan.
- Then top with ⅓ of the cream cheese mixture spreading it evenly over the top.
- Repeat this process 2 more times.
- Then make the ganache topping. Place the topping ingredients in a microwave safe bowl and heat in 30 second intervals (stirring between each interval) until the chips are melted and well combined.
- Pour the ganache topping evenly over the cake.
- Refrigerate for 4-5 hours (overnight is preferred) until the graham crackers have softened.
- Top with the mini chocolate chips if preferred. Serve and enjoy!
Nutrition Facts
Pin This Now to Remember It Later
Pin Recipe
