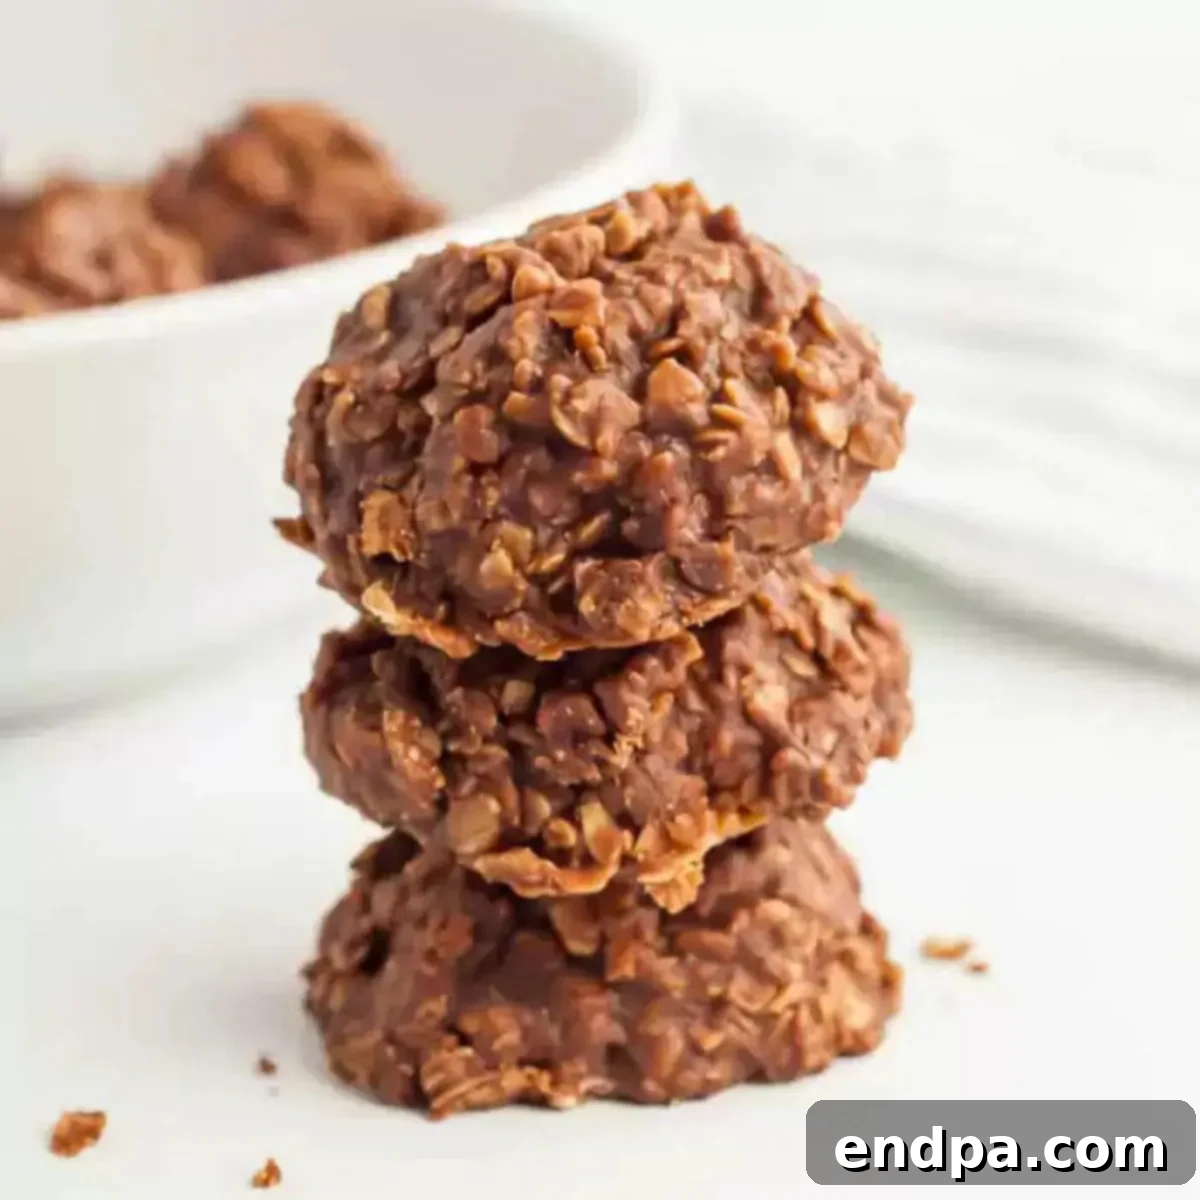
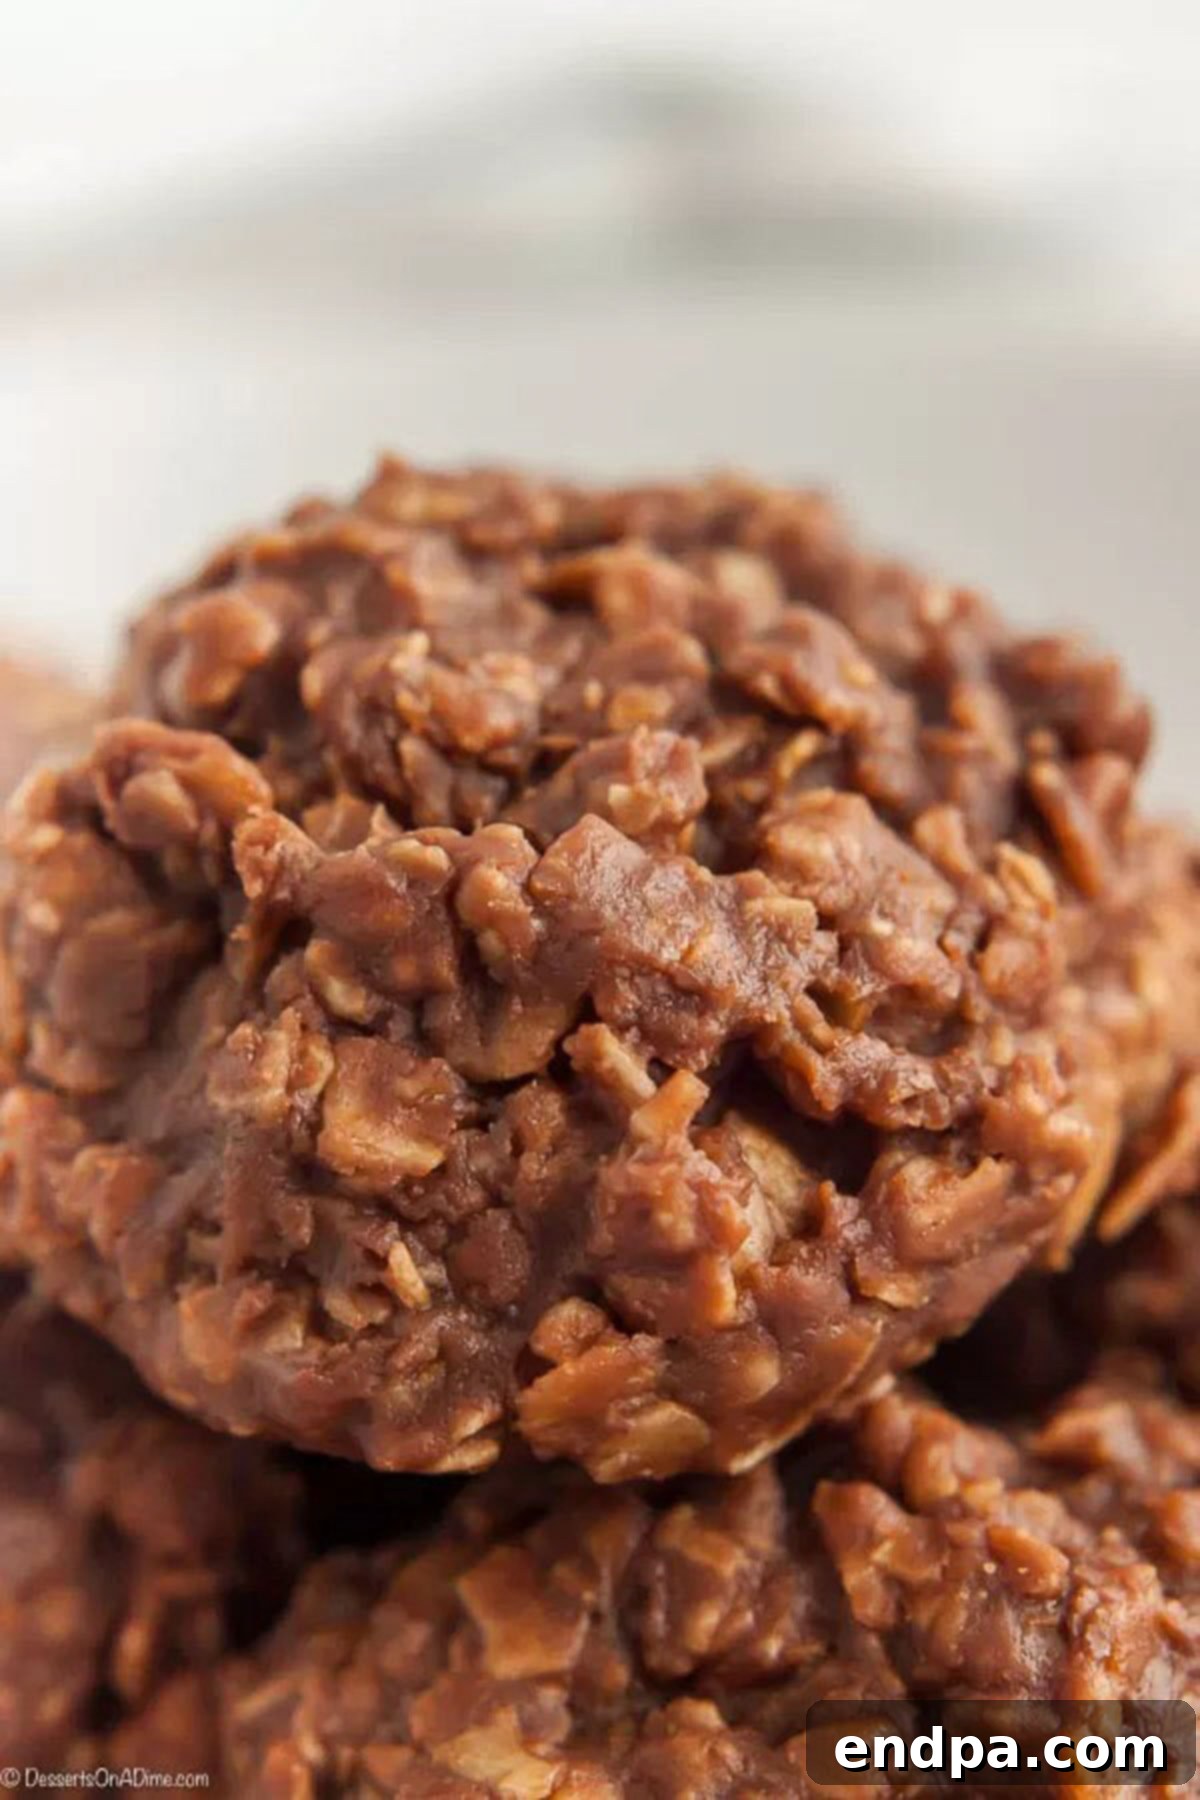
Welcome to the ultimate guide for creating the most irresistible and effortless dessert – the Easy No Bake Cookies Recipe! This classic treat, cherished across generations, brings together the beloved duo of creamy peanut butter and rich chocolate in a symphony of flavors and textures. Forget the oven and tedious baking processes; this recipe is designed for speed, simplicity, and pure deliciousness. Whether you’re a seasoned baker or a complete novice, these no-bake wonders will quickly become your go-to for satisfying sweet cravings.
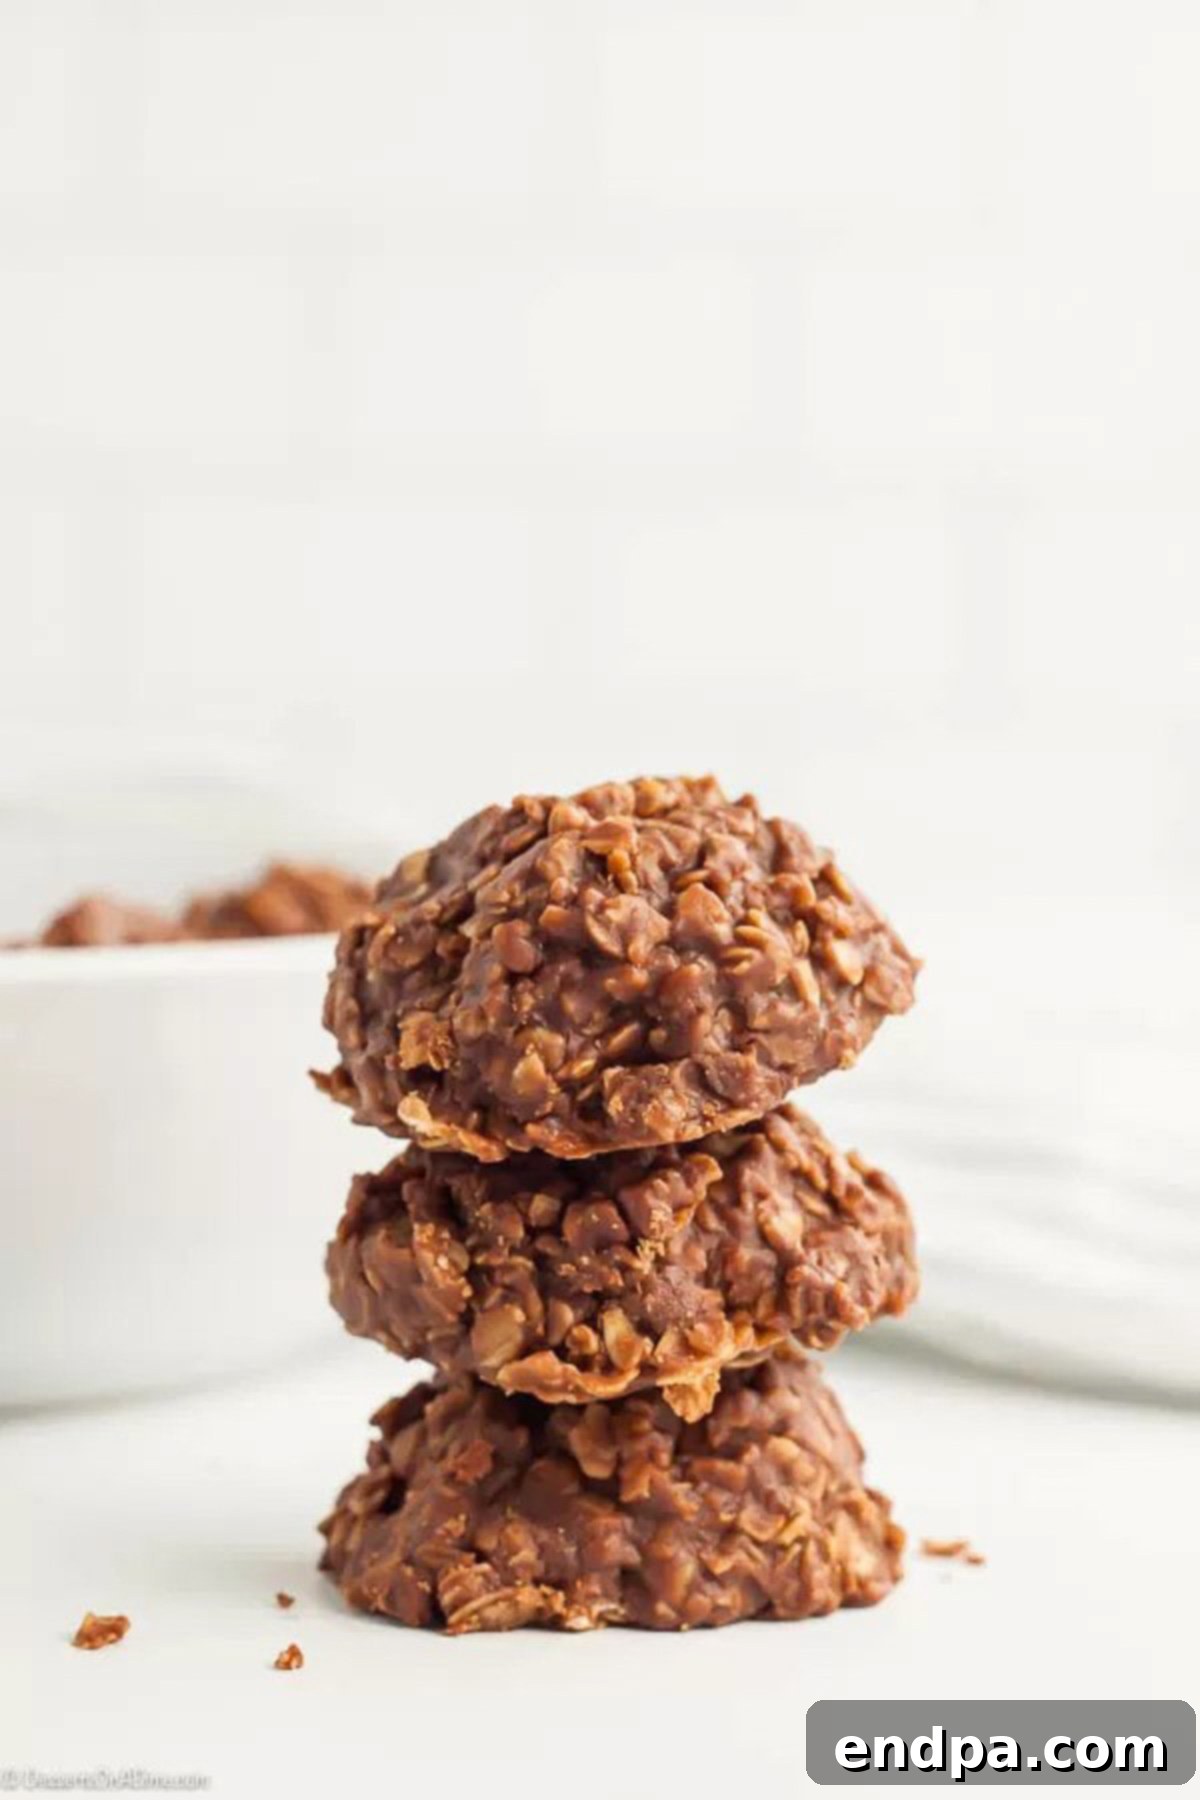
Growing up, these were a staple in our household, a sweet tradition passed down through the years. Now, my own children delight in every single bite of these perfectly balanced cookies. The combination of wholesome oats, rich peanut butter, and decadent chocolate creates an unparalleled texture and flavor profile that makes each mouthful an absolute dream. It’s the kind of nostalgic treat that evokes happy memories while creating new ones.
The beauty of this recipe lies in its sheer simplicity: everything comes together on the stovetop, eliminating the need to preheat an oven or even use one at all. This makes it an incredibly convenient option for hot summer days, busy weeknights, or anytime you crave a quick, satisfying dessert without the fuss. This is truly one of the easiest cookie recipes you will ever encounter, making it perfect for last-minute gatherings or a spontaneous treat. Beyond this classic, we’ve also experimented with delightful variations like Nutella No Bake Cookies, which offer a rich, hazelnut-chocolate twist on the original. For those who enjoy seasonal flavors, our Pumpkin No Bake Cookies provide a cozy, spiced option that’s perfect for autumn.
Table of Contents
- The Irresistible Appeal of No Bake Cookies
- Mastering the Ingredients for Perfect No Bake Cookies
- Step-by-Step Guide: How to Make Easy No Bake Cookies
- Optimal Storage for Maximum Freshness
- Frequently Asked Questions About No Bake Cookies
- Expert Tips for No-Bake Cookie Perfection
- Creative Variations and Serving Suggestions
- Explore More No Bake Recipes
The Irresistible Appeal of No Bake Cookies
What makes these no-bake cookies so special? It’s their incredible ease and lightning-fast preparation. In under 30 minutes, you can have a batch of these delectable treats ready, with the majority of that time dedicated to allowing them to set and harden. This means you can whip up a batch on a whim, satisfying those sudden sweet cravings without any long waits or complicated steps. The most challenging part of this entire process is patiently waiting for them to cool down enough so you can enjoy that first heavenly bite! Their simple charm and delightful taste have made them a beloved staple for generations, a testament to their timeless appeal.
Whenever a quick dessert is needed, especially when time is of the essence, this recipe stands out as our ultimate favorite. It delivers an incredibly rich and satisfying flavor with minimal effort, freeing you from the commitment of heating up your kitchen. This makes them ideal for any time of year, particularly beneficial during warmer months when turning on the oven is less appealing. The ability to create such a delicious treat so effortlessly is truly a game-changer for anyone who loves homemade sweets but has a busy lifestyle. Beyond just cookies, we’re big fans of easy, no-bake solutions for all desserts, including festive options like our No Bake 4th of July Desserts.
Mastering the Ingredients for Perfect No Bake Cookies
Crafting the perfect no-bake cookie starts with understanding the role of each key ingredient. While the full list is available in the recipe card below, let’s delve into some essential components and why specific choices make a difference for these chocolate peanut butter delights:
- Butter: We highly recommend using salted, real butter. The salt helps to balance the sweetness of the cookies and enhances the overall flavor profile. Unsalted butter can be used, but you might want to add a pinch of salt to the mixture.
- Granulated Sugar: This provides the primary sweetness and plays a critical role in the texture of the cookies. When boiled, it creates a syrup that helps the cookies set properly.
- Cocoa Powder: Unsweetened cocoa powder is crucial for achieving that deep, rich chocolate flavor without making the cookies overly sweet. It balances beautifully with the sugar and peanut butter.
- Milk: You have flexibility here! Whole milk, skim milk, or even non-dairy alternatives like almond milk or oat milk can be used. The milk adds moisture and helps to create the liquid base for the chocolate mixture.
- Vanilla Extract: Pure vanilla extract is always best. It enhances the other flavors and adds a warm, inviting aroma that truly elevates the cookies.
- Peanut Butter: For a smooth, creamy texture that melts in your mouth, creamy peanut butter is the preferred choice. Natural peanut butter, with its oil separation, can sometimes alter the final consistency, making it less predictable for setting. If you love a little crunch, a good quality crunchy peanut butter can be a delightful addition, just be aware it will change the texture slightly.
- Quick Oats: This is a non-negotiable ingredient! Quick oats (also known as instant oats) are essential because their smaller, thinner flakes absorb moisture more quickly and uniformly than old-fashioned (rolled) oats. Using old-fashioned oats will result in a chewier, potentially looser cookie that may not set as well.
Having these pantry staples on hand ensures you’re always just minutes away from a batch of these glorious no-bake treats.
Step-by-Step Guide: How to Make Easy No Bake Cookies
Follow these simple steps to create your perfect batch of peanut butter chocolate no-bake cookies. Precision in boiling time is key for that ideal, firm-yet-chewy texture!
- Step 1 – Prepare Your Workspace: Begin by lining two baking sheets with parchment paper. This prevents sticking and makes cleanup incredibly easy. Alternatively, you can arrange approximately 29 cupcake liners on your baking sheets, which is a great way to ensure uniform cookie size and easy handling.
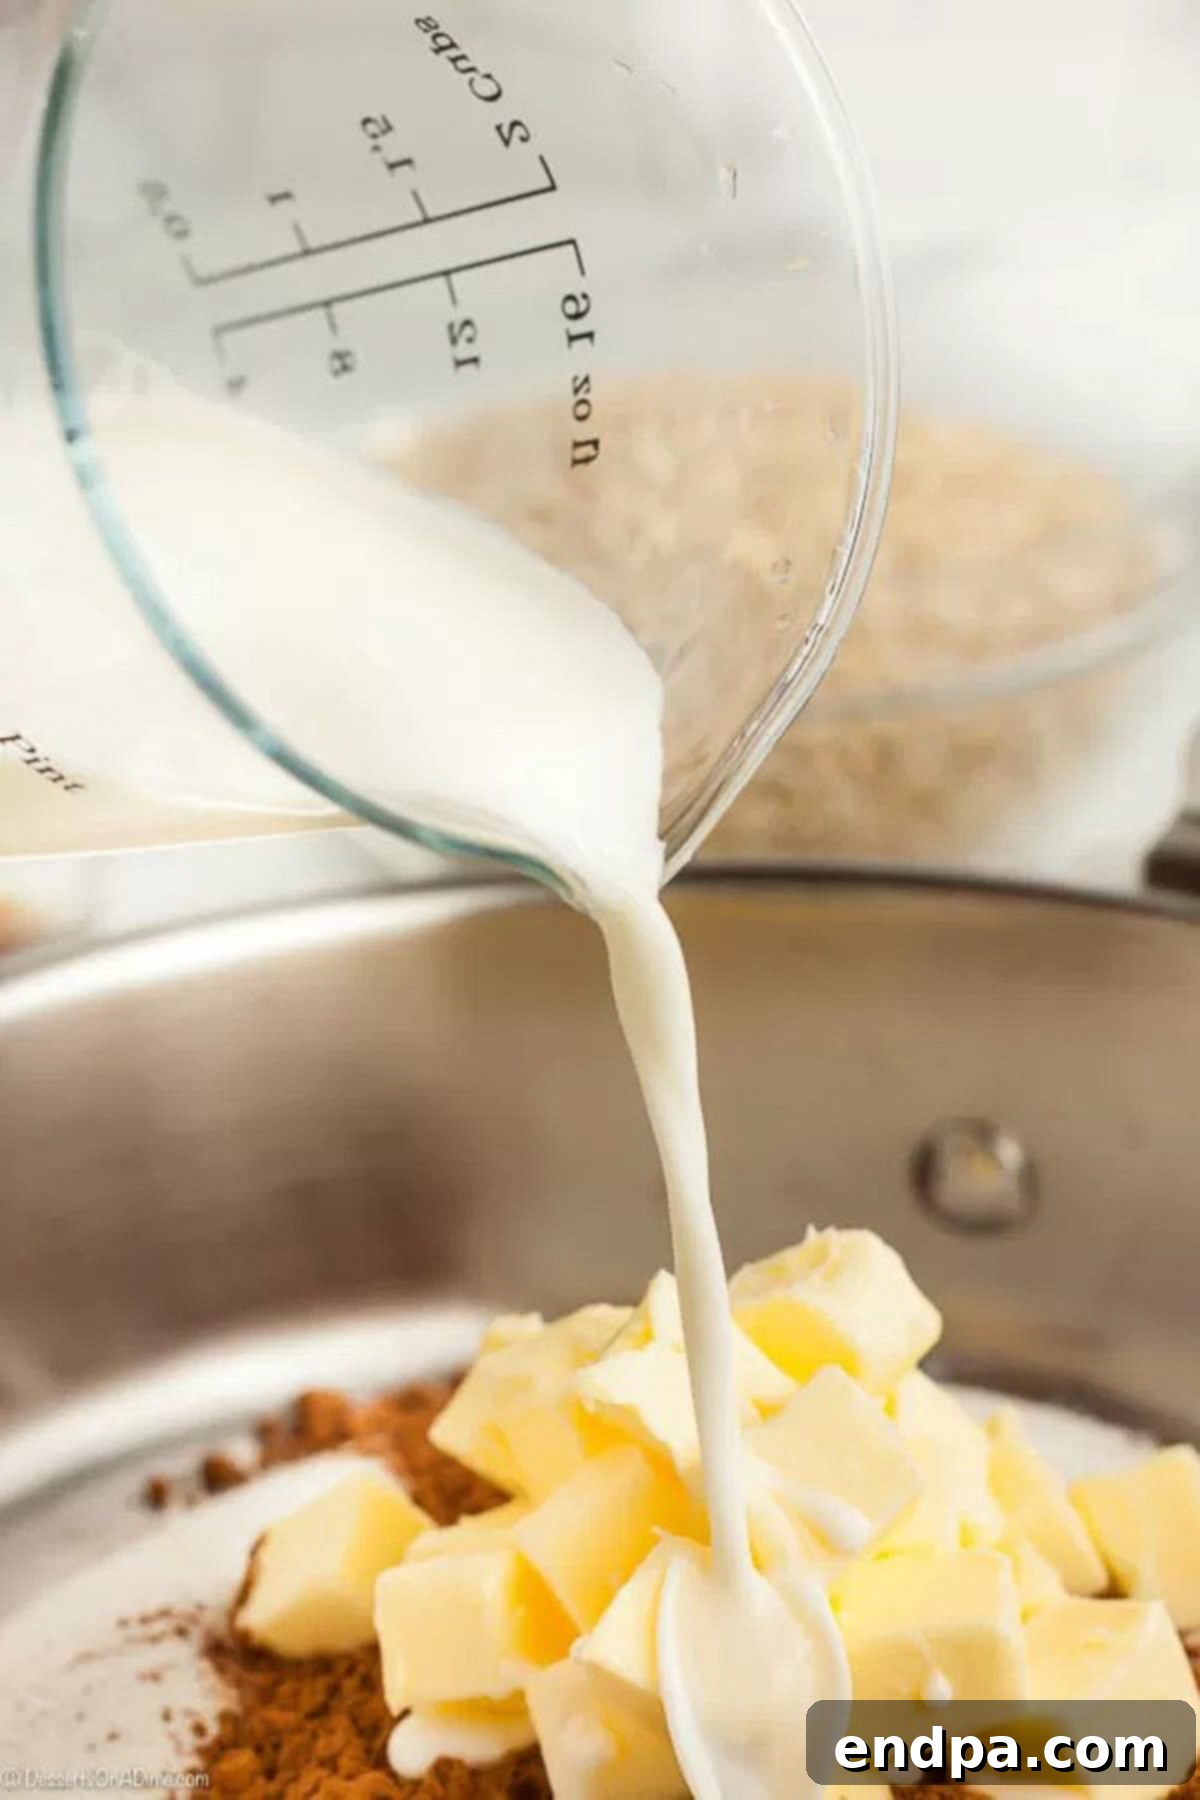
Step 2 – Create the Chocolate Base: In a medium saucepan (preferably 2.5 to 3 quart size), combine the butter, granulated sugar, unsweetened cocoa powder, and milk. Place the saucepan over medium heat. Cook the mixture, stirring frequently and consistently, until all the ingredients are well combined, the sugar has fully dissolved, and the mixture reaches a full, rolling boil. Once it reaches a full boil, allow the mixture to continue boiling for exactly 60 seconds without stirring. This minute is crucial for the sugar to reach the correct temperature, ensuring your cookies will harden properly. Set a timer to be precise!
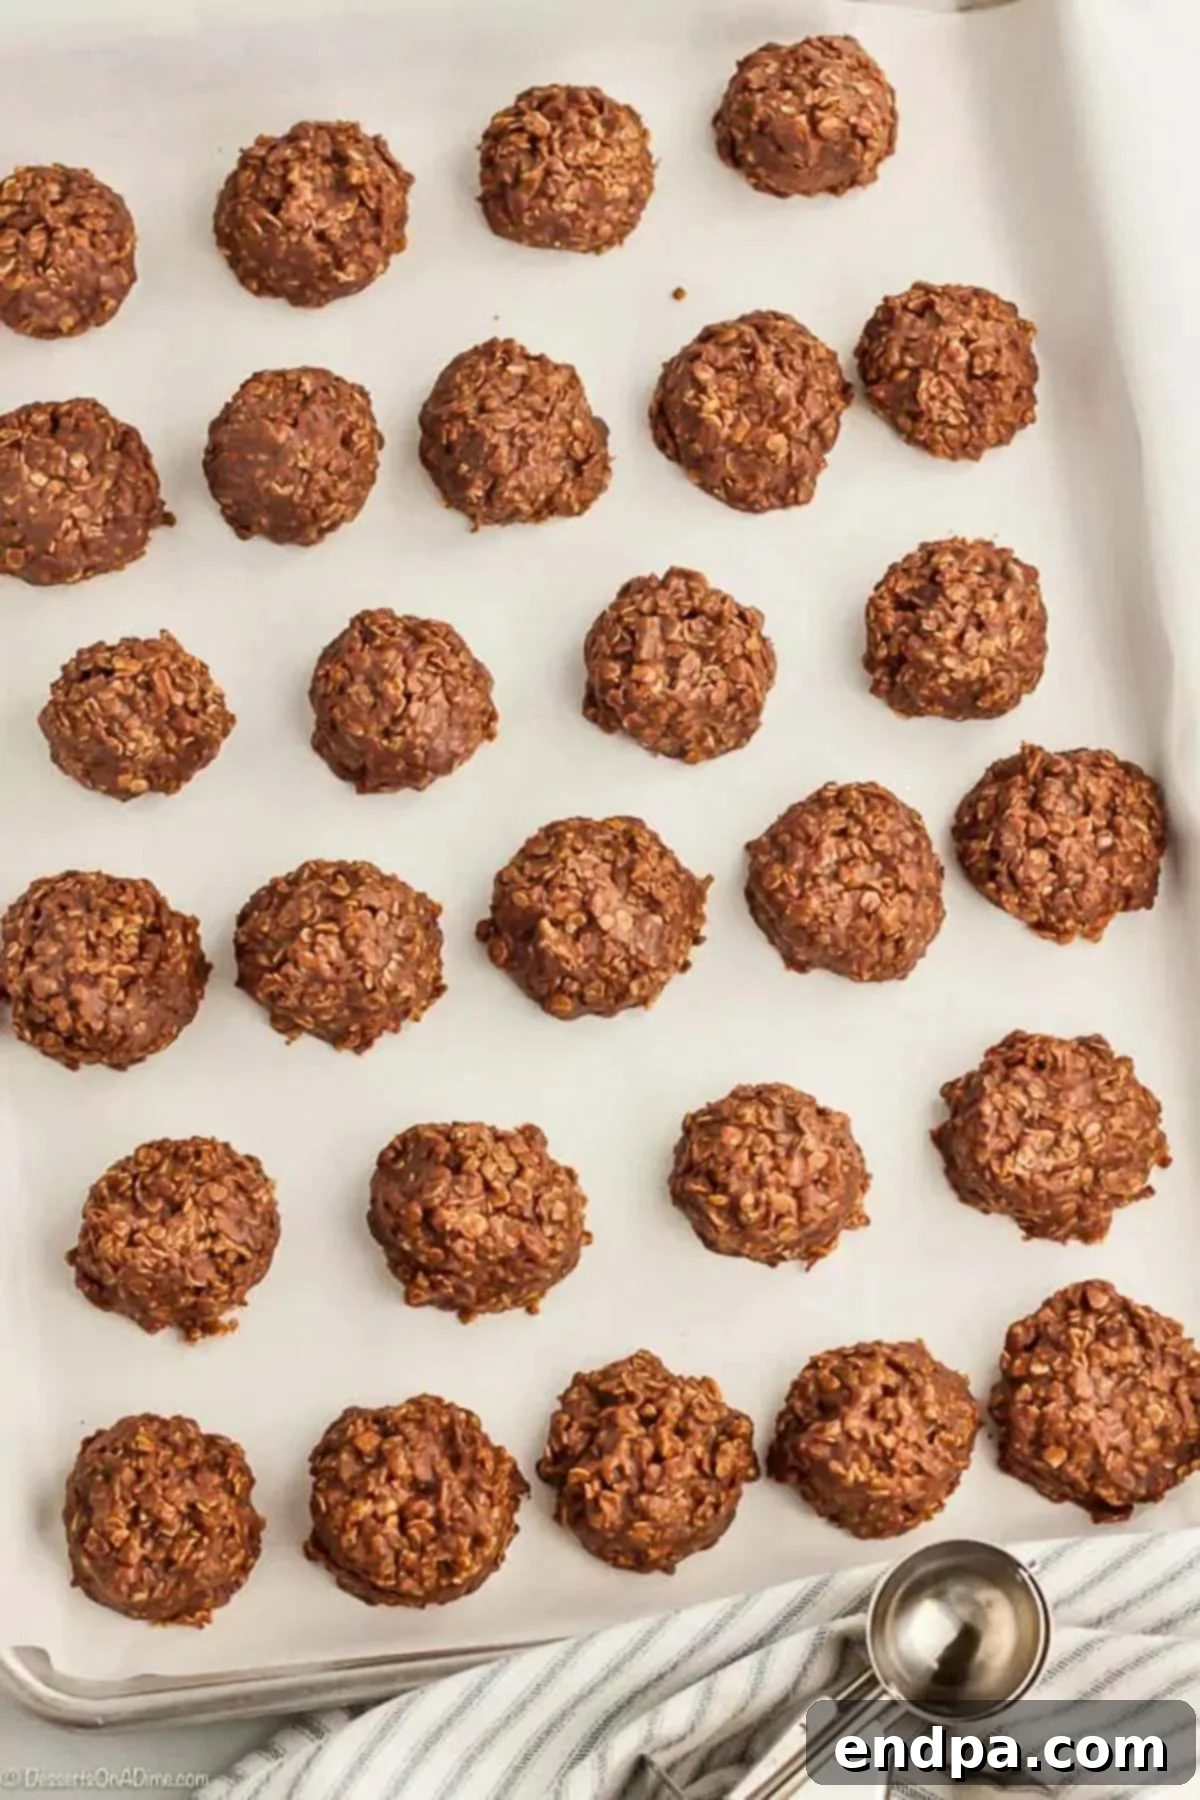
Step 3 – Finish and Set: As soon as the 60-second boil is complete, remove the saucepan from the heat immediately. Stir in the vanilla extract, creamy peanut butter, and quick oats. Mix vigorously until all ingredients are thoroughly combined and the oats are fully coated. Working quickly, use a medium cookie scoop (about 2 tablespoons) or two spoons to drop portions of the mixture onto your prepared baking sheets or into the cupcake liners. Allow the cookies to rest at room temperature until they are fully set and firm, which typically takes about 20-30 minutes. If you’re in a hurry and need them to set faster, you can place the baking sheets in the refrigerator for about 10-15 minutes, but be cautious not to over-chill them.
Optimal Storage for Maximum Freshness
Proper storage is key to maintaining the delicious taste and texture of your Peanut Butter No Bake cookies. Once the cookies have fully set, transfer them to an airtight container or a heavy-duty ziplock bag. Both options work effectively, but I personally prefer using a rigid container. Containers help the cookies retain their original shape and prevent them from being crushed, which can sometimes happen in a bag, especially if they are stacked.
Store these delightful treats at room temperature for up to one week. If you live in a particularly warm or humid climate, or simply prefer a firmer cookie, you can refrigerate them. When refrigerated, they will remain fresh and delicious for up to two weeks. Just be sure they are completely cooled before storing to prevent condensation from forming inside the container, which can lead to sogginess. Regardless of where you store them, keeping them away from direct sunlight and heat sources will help extend their freshness and preserve their perfect consistency.
Frequently Asked Questions About No Bake Cookies
When stored properly in an airtight container at room temperature, these cookies will typically last for up to a week. However, in our experience, they rarely last that long in our house because everyone loves to gobble them up so quickly! Their creamy texture and perfect combination of chocolate and peanut butter make them an irresistible snack. If refrigerated, they can extend their freshness for up to two weeks, though their texture might become slightly firmer.
The most common reason for no-bake cookies not hardening or remaining gooey is insufficient boiling time. The mixture needs to reach a full, rolling boil and maintain it for exactly 60 seconds. This step is crucial because it allows the sugar to reach a specific temperature and density, enabling it to crystallize and bind the ingredients together as it cools. If the mixture is not boiled long enough, the sugar won’t reach the proper stage, resulting in a soft, unset cookie. Conversely, boiling for too long can make the cookies crumbly or overly dry.
If your cookies are a bit too soft, you can try placing them in the refrigerator or even the freezer for a short period. This will help them firm up and take shape better. While chilling can temporarily improve their consistency, it won’t fully correct a batch that was under-boiled. The ideal texture is achieved during the initial boiling process, so while chilling helps, it’s not a complete fix for a mixture that didn’t boil long enough to properly crystallize the sugar.
Absolutely, no-bake cookies are excellent for freezing! To freeze them, prepare the cookies as instructed and allow them to fully set on a baking sheet. Once firm, place the entire baking sheet into the freezer for about an hour to flash-freeze the individual cookies. After they are firm, transfer the frozen cookies to a heavy-duty ziplock freezer bag or an airtight freezer-safe container, layering them with parchment paper if needed to prevent sticking. They will stay fresh in the freezer for approximately 3 months. When you’re ready to enjoy them, simply take them out and let them thaw at room temperature for a quick, delicious treat. For more detailed tips on freezing, you can refer to our dedicated guide: Can you freeze no bake cookies.
Expert Tips for No-Bake Cookie Perfection
Achieving perfectly set and consistently delicious no-bake cookies is simple with these expert tips:
- Baking Liners or Parchment Paper: A crucial step for easy cleanup and preventing sticking. While parchment paper is a great disposable option, reusable silicone baking liners are an eco-friendly and equally effective alternative. We use them constantly, and they prove to be incredibly durable and versatile.
- Precise Boiling Time: The 60-second boil is the most critical step in this recipe. Ensure the mixture reaches a full, rolling boil (not just a simmer) and then set a timer for exactly one minute. Boiling for too short a time will result in gooey cookies that won’t set, while boiling for too long can make them dry and crumbly.
- Quick Cooking Oats Only: Do not substitute old-fashioned (rolled) oats for quick oats. Quick oats are pre-cooked and rolled thinner, allowing them to absorb moisture faster and create the desired firm texture. Old-fashioned oats will result in a chewier, looser cookie that may not set properly.
- Follow the Recipe Exactly: For best results, adhere strictly to the ingredient measurements and cooking times. Any significant deviation can affect the final consistency and setting of the cookies.
- Peanut Butter Consistency: For the classic smooth texture, creamy peanut butter is recommended over natural peanut butter, which tends to be oilier and can sometimes lead to an inconsistent set. If you enjoy a textural contrast, crunchy peanut butter can be used, adding a delightful bite to each cookie.
- Work Quickly: Once you remove the mixture from the heat and add the remaining ingredients, stir everything together thoroughly and begin scooping the cookies onto your prepared sheets as quickly as possible. The mixture will start to set as it cools, making it harder to scoop if you delay.
- Room Temperature Setting: While refrigeration can speed up the setting process, allowing the cookies to set at room temperature often yields a creamier, more consistent texture. Only refrigerate if you’re truly short on time.
- Ingredient Quality: Using good quality butter, cocoa, and vanilla can significantly impact the overall flavor of your cookies, making them even more irresistible.
Creative Variations and Serving Suggestions
While the classic peanut butter and chocolate combination is a crowd-pleaser, these no-bake cookies are incredibly versatile and open to creative customizations. Here are a few ideas to inspire you:
Exciting Variations:
- Nut Butter Alternatives: Experiment with almond butter, cashew butter, or even sunflower seed butter for a different flavor profile or for allergy-friendly options.
- White Chocolate Delight: Instead of cocoa powder, try adding white chocolate chips or a few tablespoons of melted white chocolate to the hot mixture for a sweeter, creamier cookie.
- Mint Chocolate Twist: Add a few drops of mint extract along with the vanilla for a refreshing mint chocolate flavor, perfect for holidays.
- Coconut Boost: Stir in a half cup of shredded coconut with the oats for added texture and tropical flavor.
- Extra Crunch: Fold in chopped nuts like walnuts or pecans, mini chocolate chips, or even some crushed pretzels for an interesting salty-sweet crunch.
- Seasonal Sprinkles: Add a festive touch by mixing in colorful sprinkles or decorating the tops of the still-wet cookies before they set.
- Espresso Kick: A teaspoon of instant espresso powder added with the cocoa can deepen the chocolate flavor beautifully.
Delightful Serving Suggestions:
- Classic Pairing: Enjoy these cookies with a tall glass of cold milk or a warm cup of coffee for the perfect snack.
- Dessert Platter: Arrange them on a dessert platter alongside other treats for parties or gatherings. Their unique texture stands out.
- Ice Cream Topping: Crumble a few cookies over a scoop of vanilla or chocolate ice cream for an instant sundae upgrade.
- Edible Gift: Package them in pretty tins or bags for a homemade gift that’s sure to be appreciated.
Explore More No Bake Recipes
If you’ve fallen in love with the ease and deliciousness of no-bake desserts, you’re in luck! There’s a whole world of treats waiting to be discovered that don’t require an oven. Expand your repertoire with these fantastic no-bake recipes:
- No Bake Cinnamon Corn Flake Cereal Bars Recipe: A crispy, sweet, and spiced treat that comes together in minutes.
- No Bake Cheerios Bars Recipe: Perfect for breakfast or a snack, these bars are a wholesome and quick delight.
- Cornflake Cookies Recipe: Another classic that delivers a satisfying crunch and sweet flavor without any baking.
- Avalanche Cookies: A delightful blend of peanut butter, white chocolate, marshmallows, and crispy rice cereal.
- Quick and Easy Fruity Pebble Bars Recipe: Colorful, fun, and incredibly easy, these bars are a hit with kids and adults alike.
- Rolo Pretzel Sandwich Recipe: A simple yet addictive sweet and salty combination that’s perfect for a quick indulgence.
We hope this comprehensive guide inspires you to make these easy No Bake Oatmeal Cookies for a quick, satisfying, and utterly delicious dessert. We invite you to try this recipe, savor every chocolate-peanut butter bite, and then share your experience! Leave a comment below with your thoughts and a star rating to let us know how much you loved them!
Pin
Easy No Bake Cookies Recipe
Ingredients
- 1/2 cup salted butter
- 1 3/4 cups granulated sugar
- 1/3 cup unsweetened cocoa powder
- 1/2 cup milk
- 1 tsp vanilla extract
- 1/2 cup creamy peanut butter
- 3 cups quick oats (don’t use old fashioned oats)
Instructions
- Line two baking sheets with parchment paper or set out approximately 29 cupcake liners. This step ensures easy removal and quick cleanup.
- In a 2.5 to 3 quart medium saucepan, combine the butter, sugar, cocoa, and milk. This creates the foundational chocolate base.
- Place the saucepan over medium heat, stirring frequently. Continue stirring until the mixture reaches a full, rolling boil. Consistent stirring prevents scorching and ensures sugar dissolves evenly.
- Once at a full boil, allow the mixture to boil for precisely 60 seconds without stirring. This minute is critical for the cookies to set properly.
- Remove the saucepan from the heat immediately after the 60 seconds. Quickly stir in the vanilla extract, creamy peanut butter, and quick oats.
- Stir the mixture until it is well combined and the oats are fully incorporated. Using a medium (2 Tbsp) cookie scoop or two spoons, promptly drop portions of the mixture onto the lined baking sheets or into the cupcake liners. Work quickly as the mixture will begin to thicken.
- Allow the cookies to rest and set at room temperature until firm, which typically takes about 20 – 30 minutes. To speed up the setting process, you can refrigerate them for about 10-15 minutes, but avoid over-chilling.
Recipe Notes
Nutrition Facts
Pin This Now to Remember It Later
Pin Recipe
