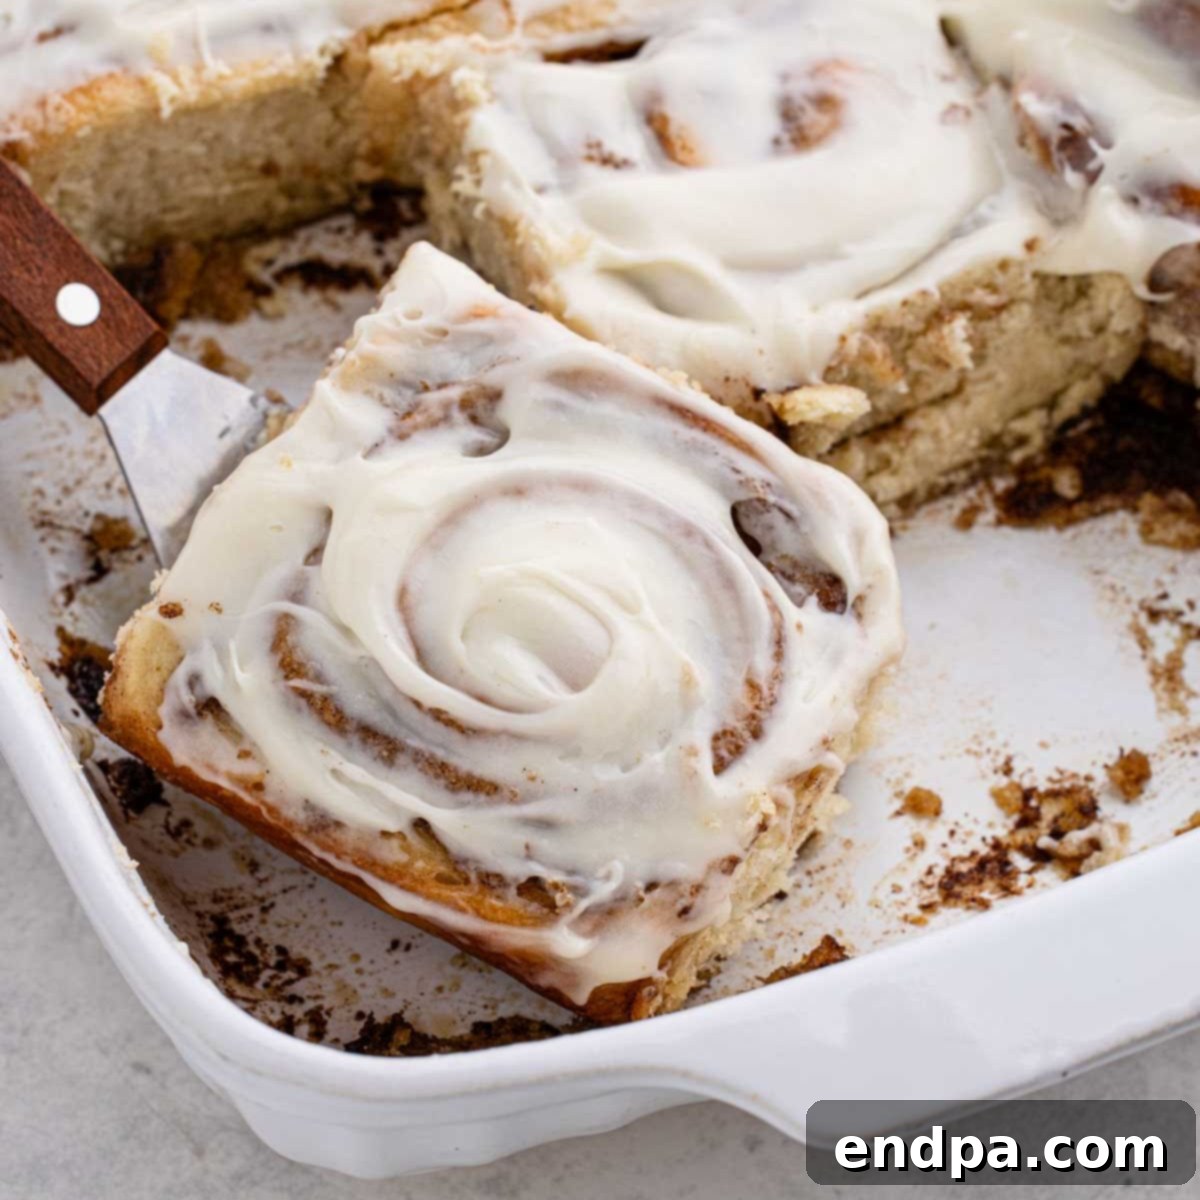
There’s an undeniable magic to a batch of freshly baked, homemade cinnamon rolls, especially when they’re generously crowned with a velvety, rich cream cheese icing. This isn’t just a recipe; it’s an invitation to experience warmth, comfort, and pure indulgence right in your own kitchen. Forget the sometimes-dry, often-overpriced bakery versions; with this incredibly simple and straightforward guide, anyone can create soft, gooey, and utterly irresistible cinnamon rolls from scratch. Perfect for a lazy weekend brunch, a special holiday breakfast, or simply to satisfy a sweet craving, these rolls are guaranteed to become a family favorite.
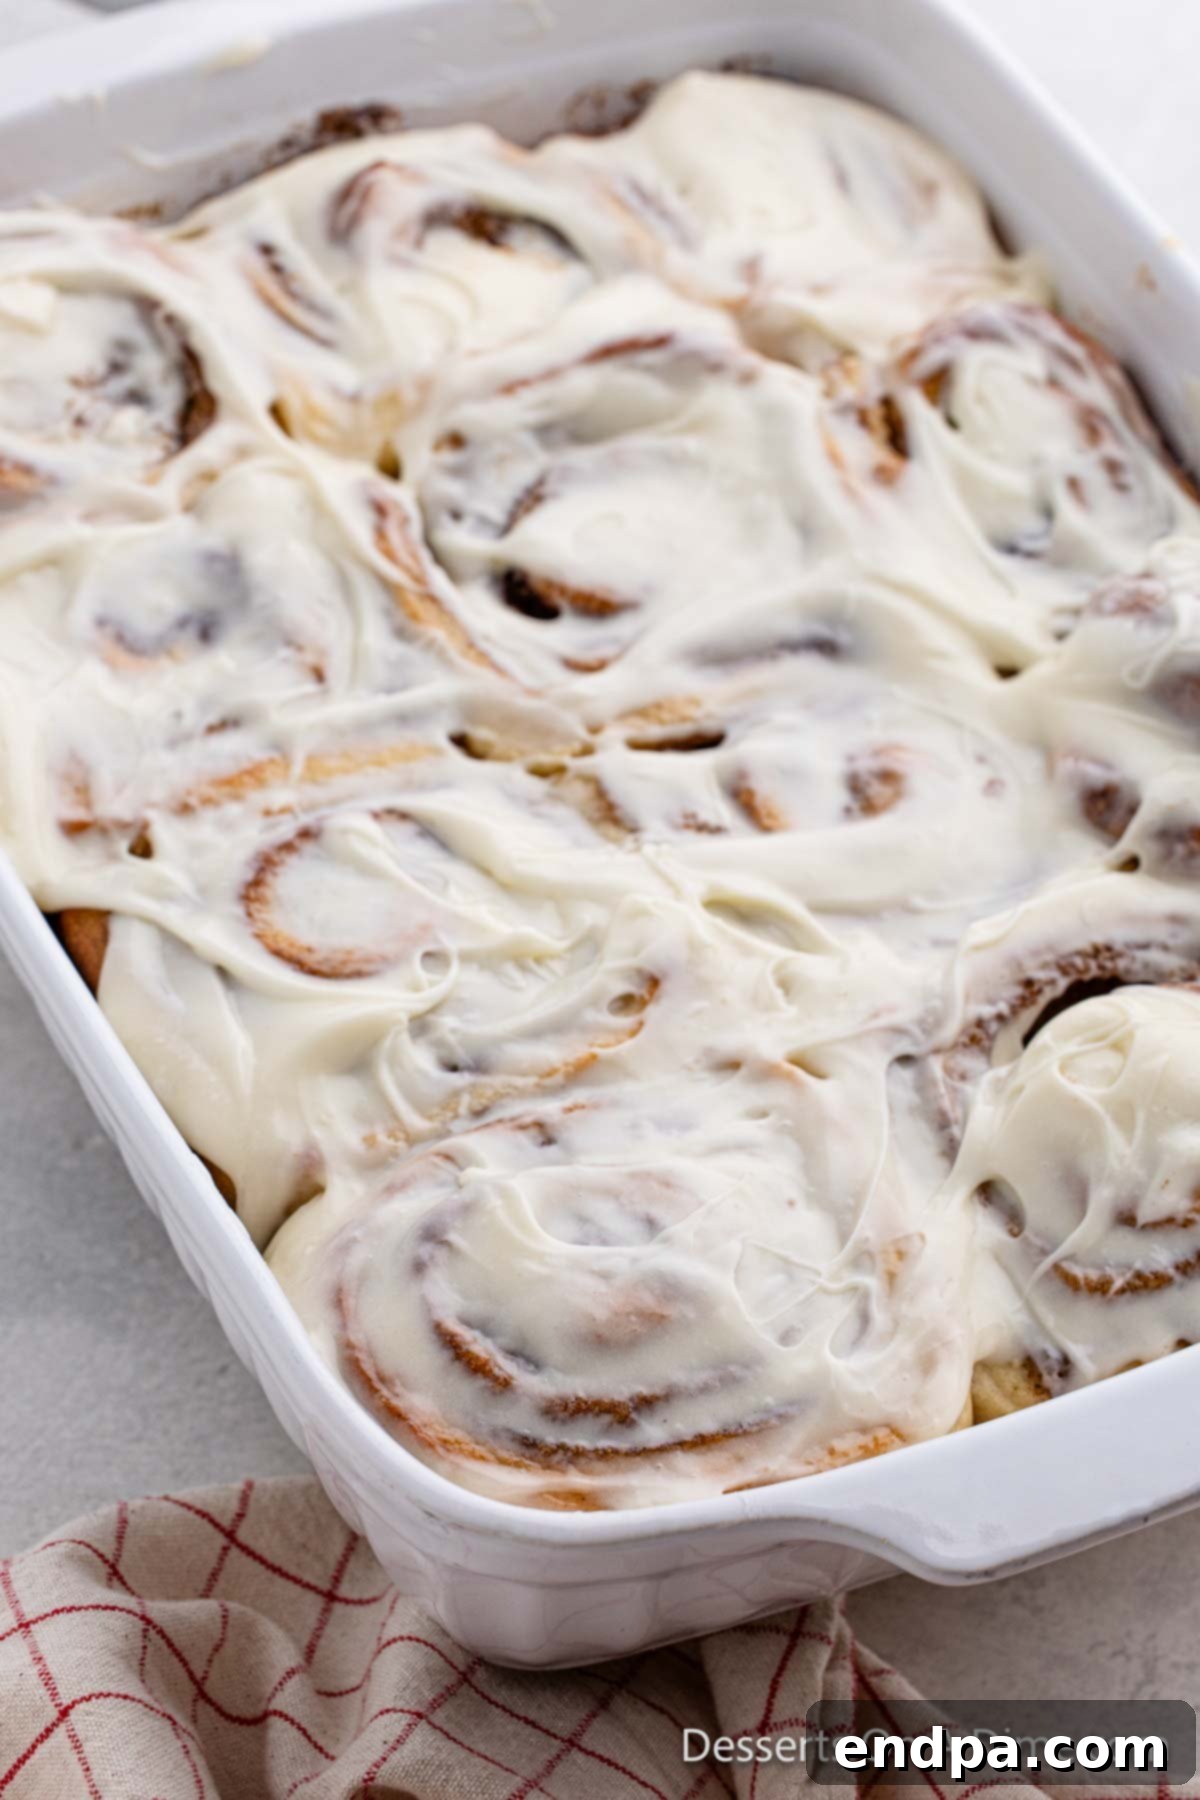
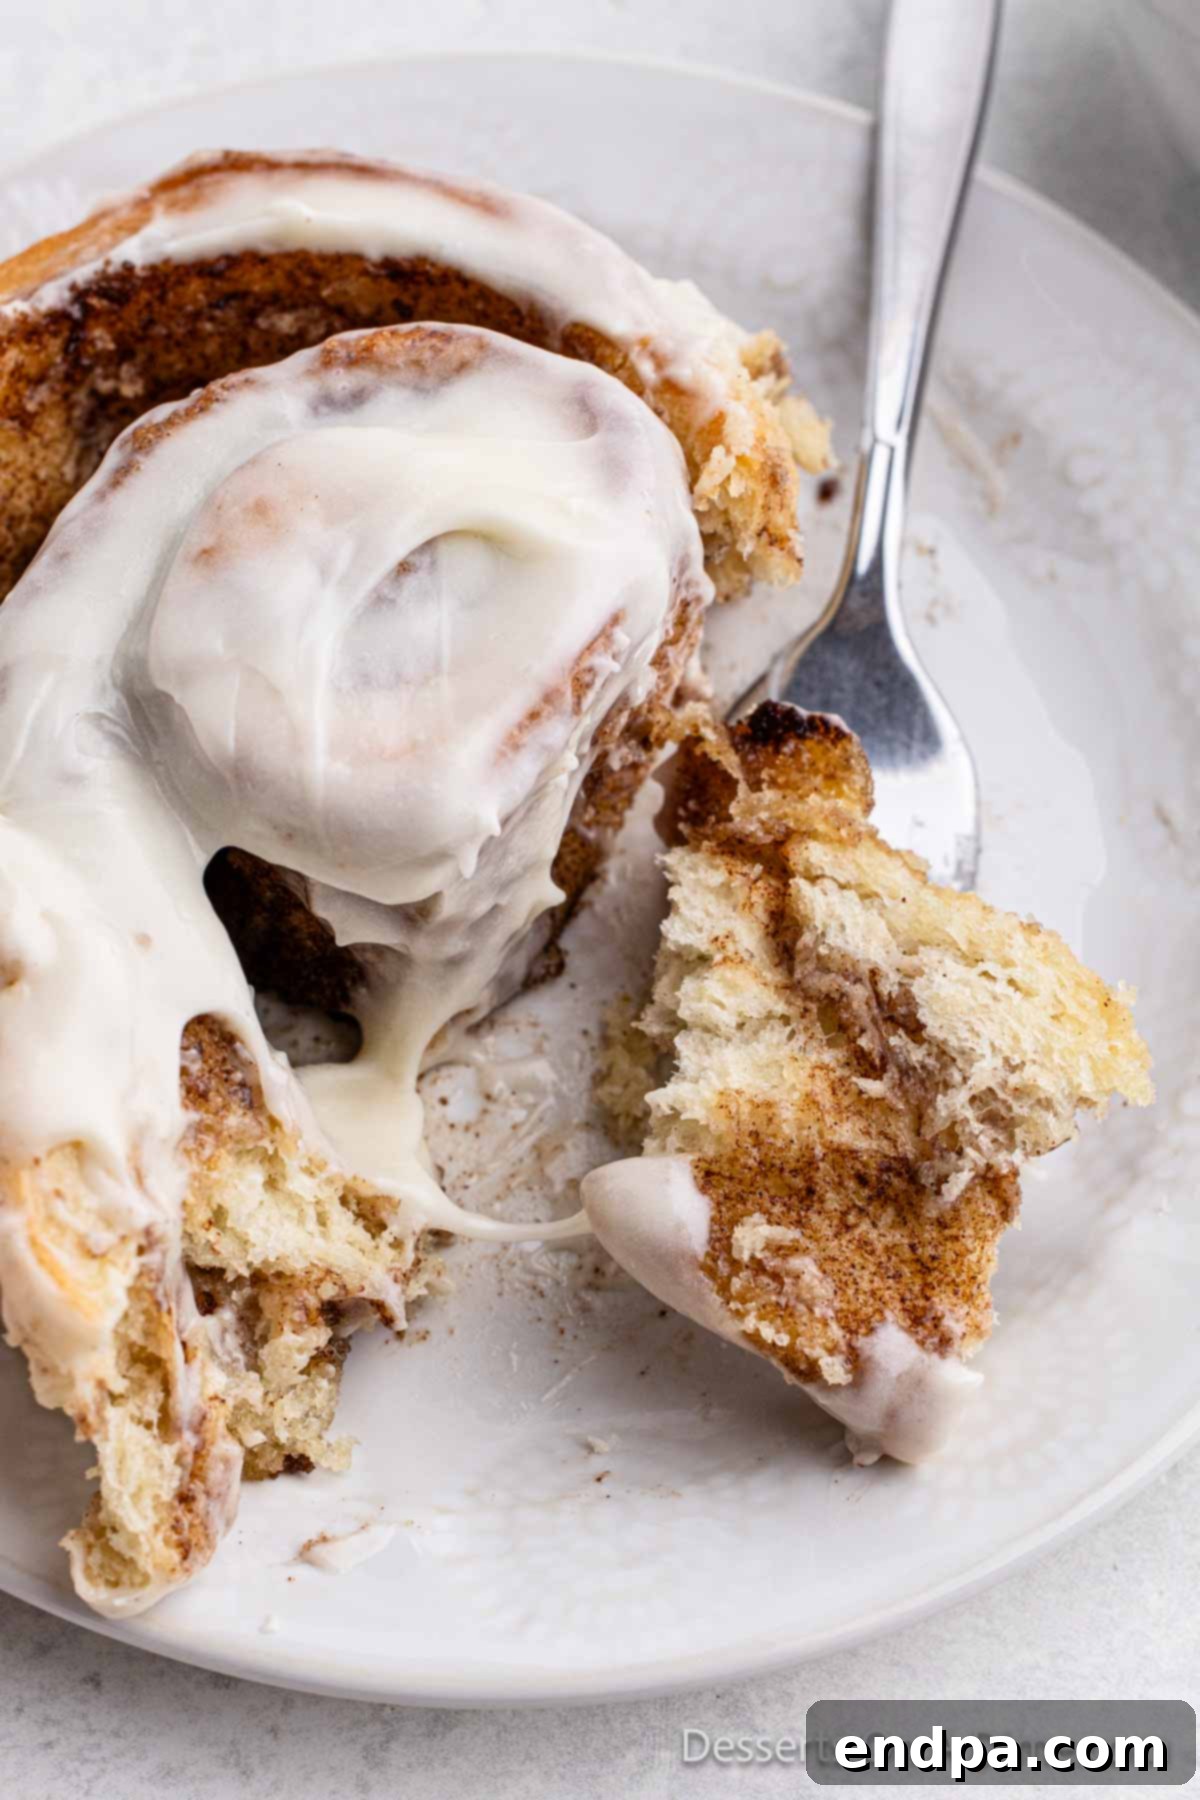
The moment that sweet, spicy aroma of cinnamon and baking dough begins to waft through your home is truly enchanting. It promises something wonderful, and these homemade cinnamon rolls deliver every time. Each bite offers a delightful combination of soft, fluffy dough, a gooey cinnamon-sugar swirl, and the tangy sweetness of the cream cheese frosting. It’s a sensory experience that brings joy to any occasion. This particular recipe stands out not only for its incredible taste but also for its accessible steps, making it one of our most cherished and easy-to-follow brunch recipes. Once you master these, you’ll wonder why you ever bought them ready-made!
For those who enjoy venturing beyond the traditional, we also encourage you to explore unique variations. If you’re a fan of sweet and savory combinations, you might be interested in our exciting recipe for Bacon Cinnamon Rolls, offering a delightful twist that adds a smoky, salty contrast to the classic sweetness.
What You’ll Discover in This Comprehensive Guide: Easy Homemade Cinnamon Rolls
- Why This Cinnamon Roll Recipe Is a Must-Try
- The Simple Ingredients Behind Extraordinary Cinnamon Rolls
- Your Step-by-Step Journey to Homemade Cinnamon Rolls
- Pro Tips for Flawless Cinnamon Rolls Every Time
- Frequently Asked Questions About Baking Cinnamon Rolls
- Expand Your Baking Horizons: More Cinnamon Roll Inspirations
- The Ultimate Homemade Cinnamon Rolls Recipe
Why This Cinnamon Roll Recipe Is a Must-Try: Unbeatable Flavor & Effortless Execution
What truly sets these cinnamon rolls apart is their incredible balance of textures and flavors. Each individual roll boasts a tender, airy crumb that practically melts in your mouth, generously infused with a warm, spicy cinnamon-sugar swirl. But the crowning glory is, without a doubt, the rich and utterly decadent cream cheese icing. It’s not just a topping; it’s an integral part of the experience, offering a delightful tangy counterpoint to the sweet, spiced dough. We’re not exaggerating when we say this icing is so good, you’ll be tempted to eat it straight from the bowl – and it’s surprisingly straightforward to whip up!
For many, the thought of baking cinnamon rolls from scratch can seem daunting, often associated with complicated yeast doughs and lengthy processes. This recipe is designed to demystify homemade baking, breaking down every step into simple, manageable instructions. There’s no need to be an experienced baker; if you can follow a few easy steps, you can create these magnificent cinnamon rolls. We’ve meticulously crafted this guide to ensure that anyone, from a novice baker to a seasoned pro, can achieve soft, fluffy, and perfectly spiced rolls that rival any bakery’s offering. Get ready to impress your family and friends with your newfound baking prowess!
The Simple Ingredients Behind Extraordinary Cinnamon Rolls
The secret to incredible homemade cinnamon rolls lies in a few basic, high-quality ingredients. You’ll find most of these staples readily available in your pantry, making this recipe incredibly convenient to tackle whenever a craving strikes.
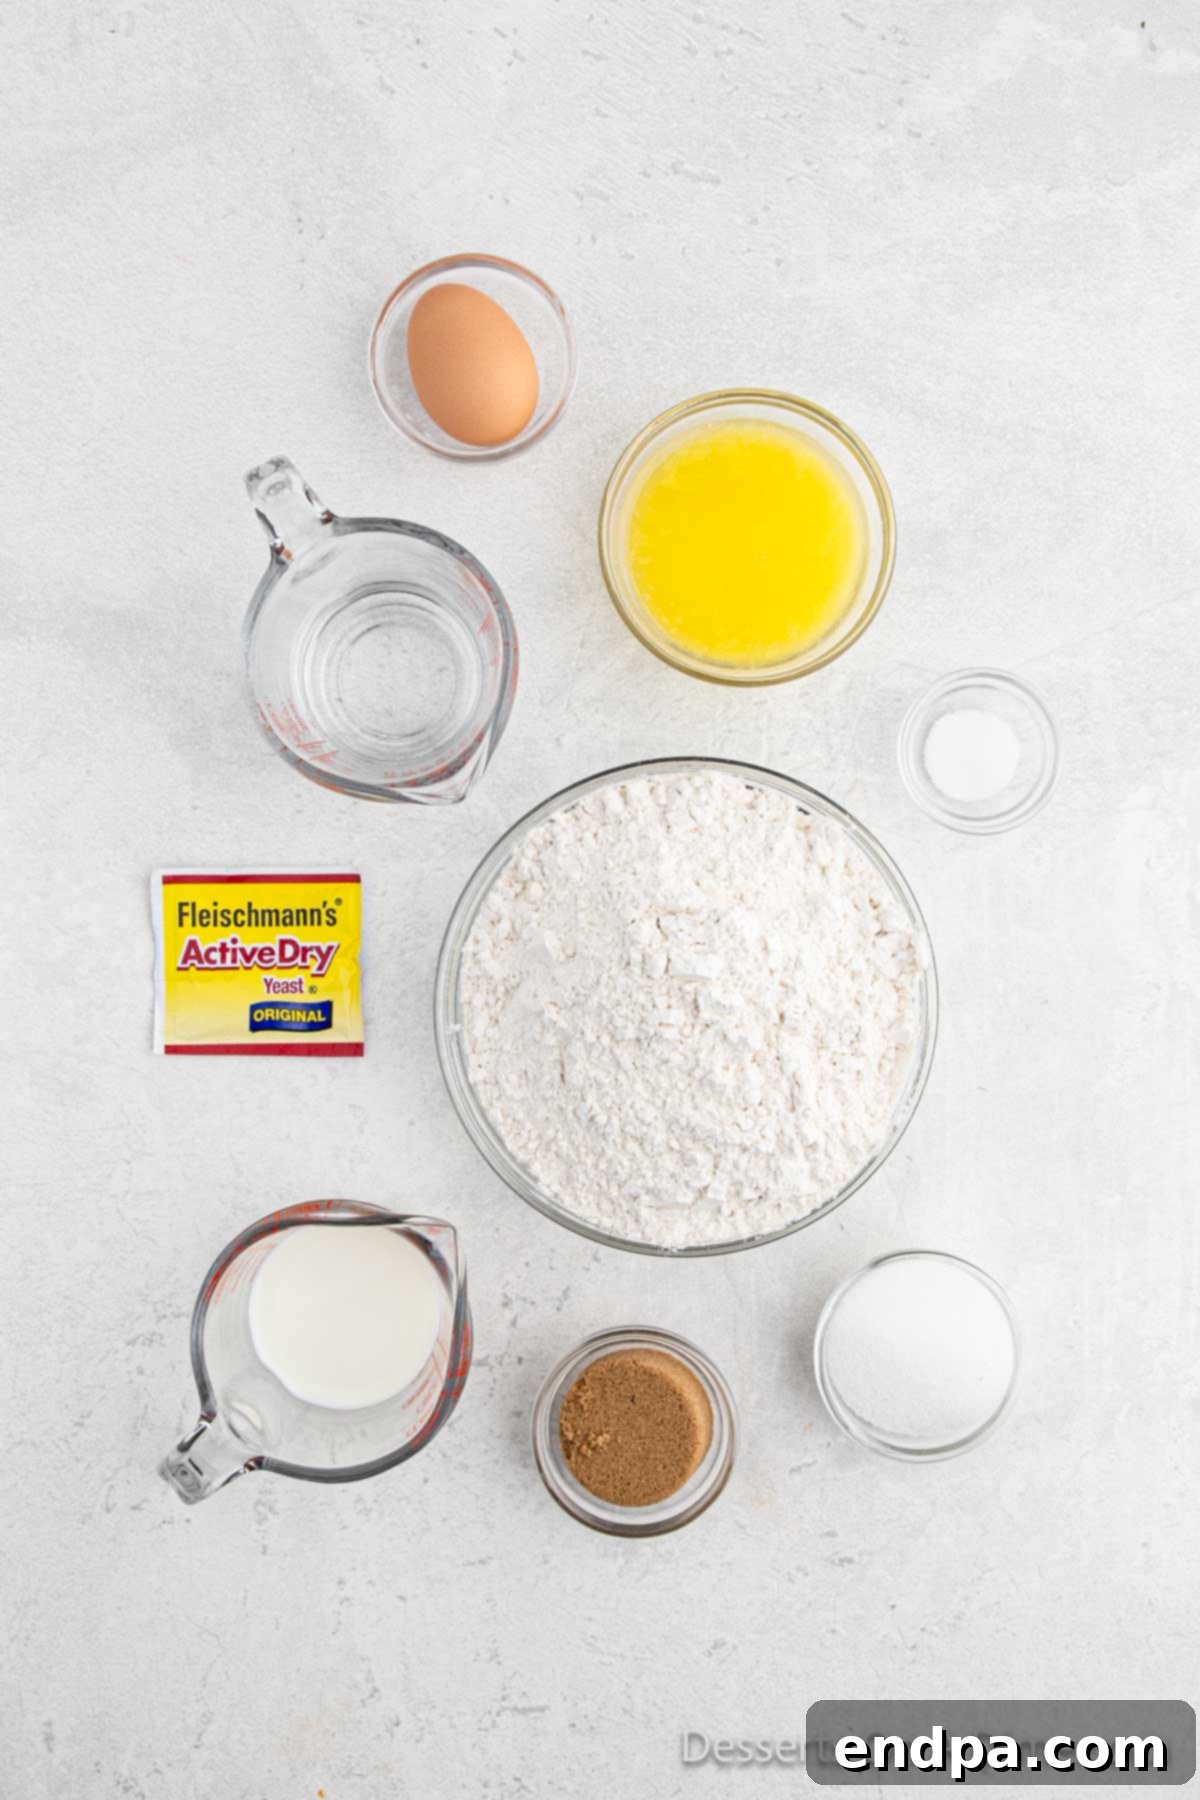
For the Velvety Dough:
- Warm Water: Not too hot, not too cold! This is essential for awakening your active dry yeast. Aim for a temperature between 105-115°F (40-46°C).
- Active Dry Yeast: The leavening agent that gives our rolls their signature light and airy texture. Always check the expiration date to ensure it’s fresh and potent.
- Milk: Adds richness, moisture, and a tender quality to the dough. Whole milk will yield the most luxurious results.
- Melted Unsalted Butter: Contributes to the soft texture and wonderful flavor of the dough. Make sure it’s melted but has cooled slightly; hot butter can kill the yeast.
- Granulated Sugar: A touch of sweetness for the dough itself, and vital for feeding the yeast.
- Salt: Balances the sweetness and enhances the overall depth of flavor in the dough. Don’t skip it!
- Egg: Adds richness, helps bind the dough, and contributes to a beautiful golden crust.
- All-Purpose Flour: The foundation of our dough. Proper measurement is key; spoon the flour into your measuring cup and level it off with a straight edge for accuracy.
For the Gooey Cinnamon Filling:
- Melted Butter: Acts as the delicious glue, binding the sugar and cinnamon mixture to the dough and creating that wonderful gooey layer.
- Brown Sugar: Provides a deep, molasses-rich sweetness and contributes to the moistness of the filling. Both light and dark brown sugar work beautifully.
- Ground Cinnamon: The star spice! Use a good quality, fresh ground cinnamon for the most aromatic and flavorful results.
For the Dreamy Cream Cheese Frosting:
- Cream Cheese (softened): Bring it to room temperature before mixing to ensure a smooth, lump-free frosting. Full-fat cream cheese is recommended for the best texture and flavor.
- Butter (softened): Also softened to room temperature, it adds richness and helps create that irresistible creamy consistency.
- Powdered Sugar (Confectioners’ Sugar): Provides the perfect sweetness and contributes to the silky-smooth texture of the icing. Sifting it can help prevent lumps.
- Vanilla Extract: A touch of pure vanilla extract elevates all the flavors in the frosting, adding a layer of aromatic depth.
- Milk: A small amount helps achieve the ideal spreadable consistency. Add gradually until you reach your preferred thickness.
Your Step-by-Step Journey to Homemade Cinnamon Rolls
Follow these detailed, easy-to-understand steps, complete with visual aids, to bake cinnamon rolls that are truly a cut above the rest. Precision and patience are your best friends here!
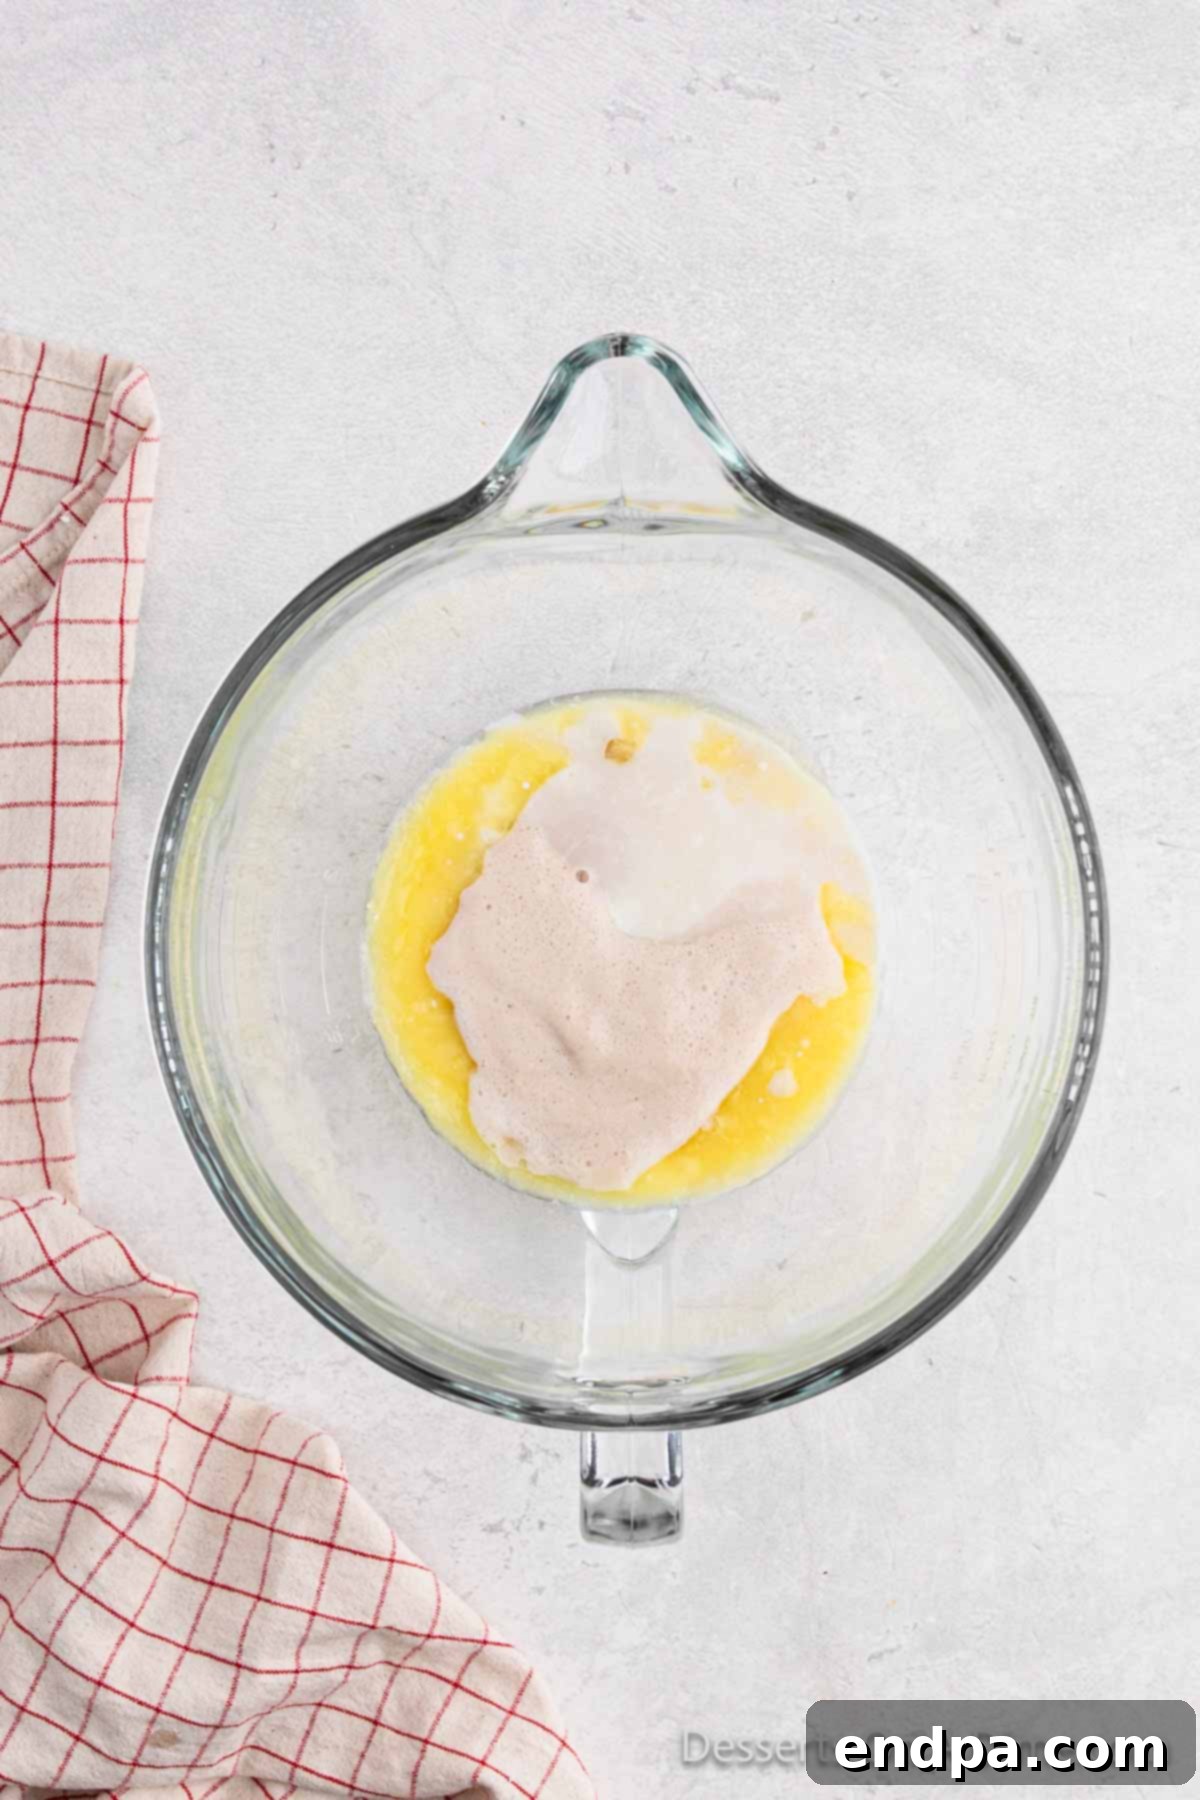
Step 1: Awaken the Yeast. In a small bowl or liquid measuring cup, combine the warm water and the active dry yeast. Give it a gentle stir. This crucial step, known as “blooming” the yeast, ensures that it is alive and ready to leaven your dough. Allow the mixture to sit undisturbed for approximately 10 minutes. During this period, the yeast will begin to hydrate and activate.
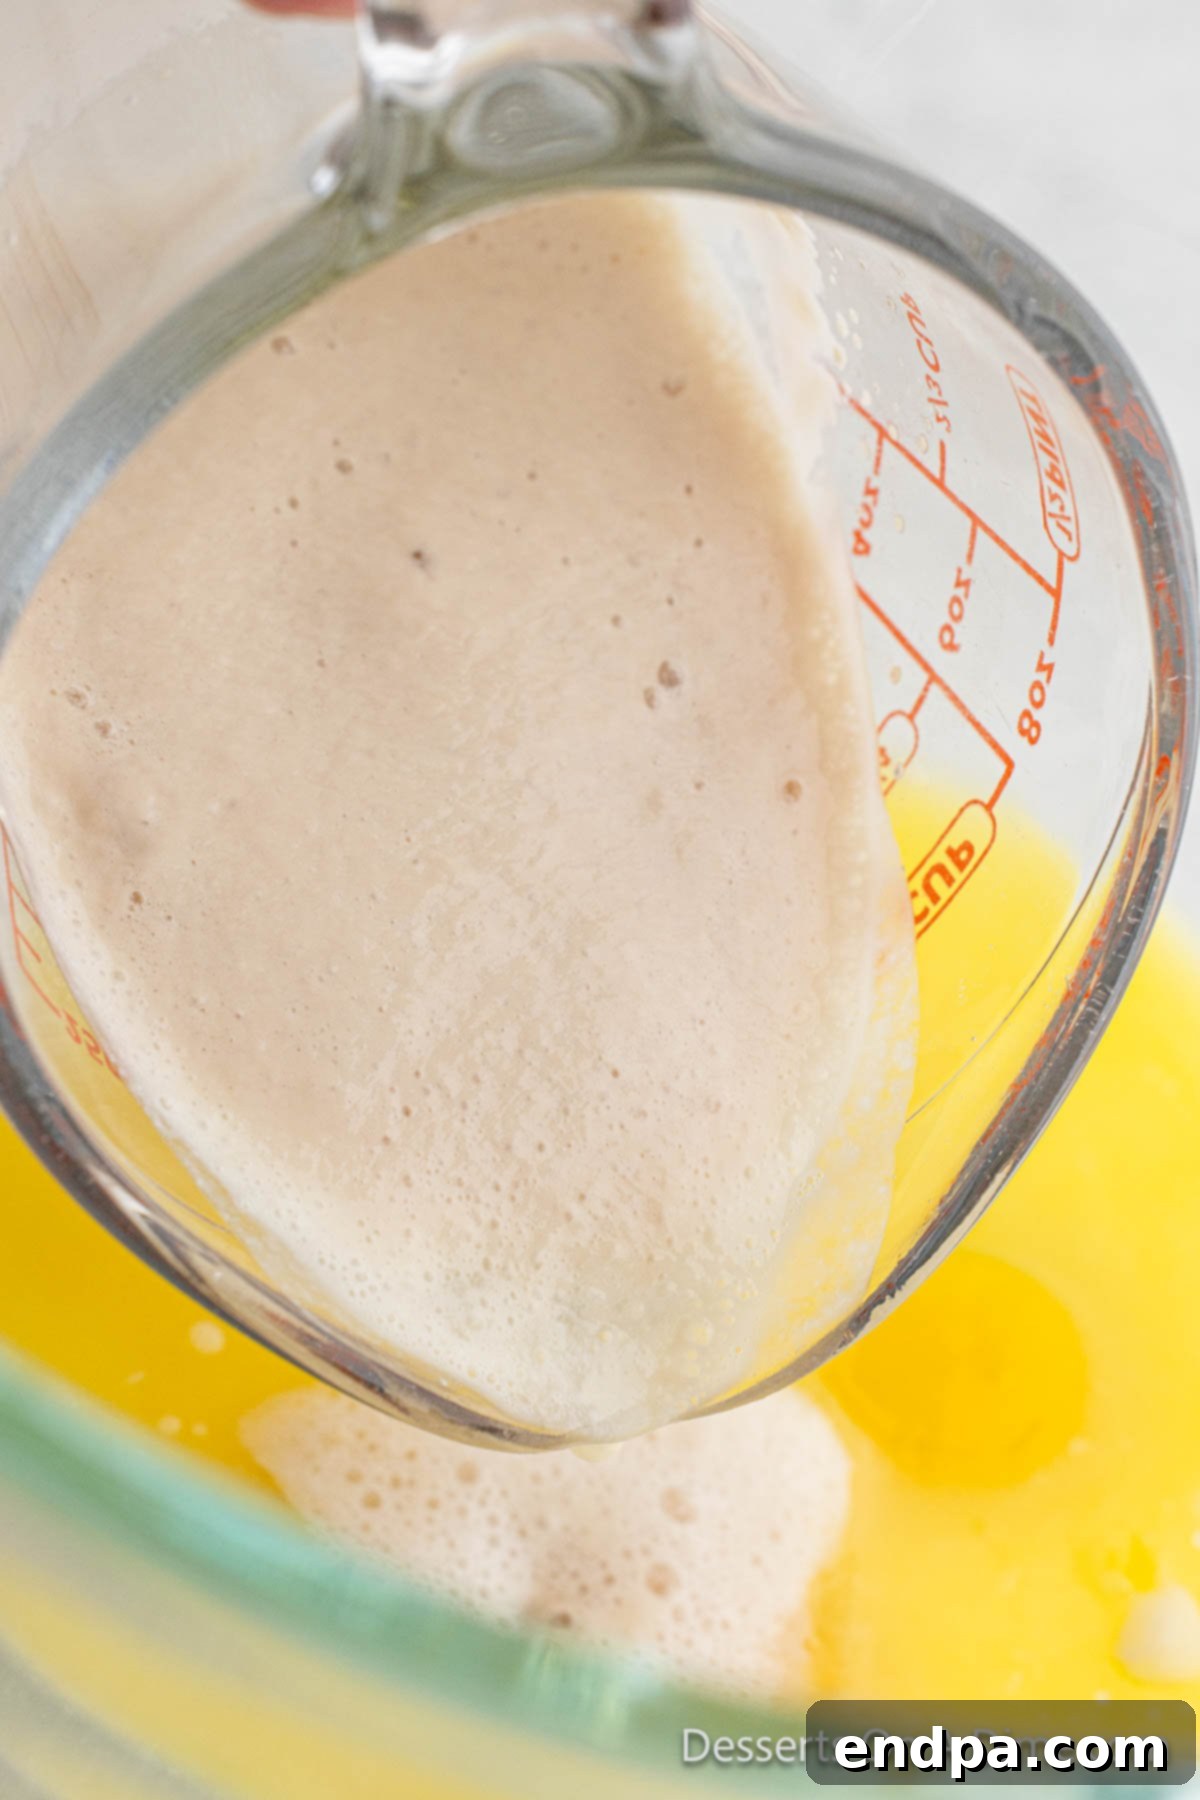
Step 2: Confirm Yeast Activity. After the waiting period, visually inspect your yeast mixture. You should observe a foamy layer of tiny bubbles forming on the surface, and the liquid itself may appear slightly thicker. These are clear signs that your yeast is active and thriving. If your mixture remains flat and lacks bubbles, it’s best to discard it and restart with fresh yeast and properly tempered water.
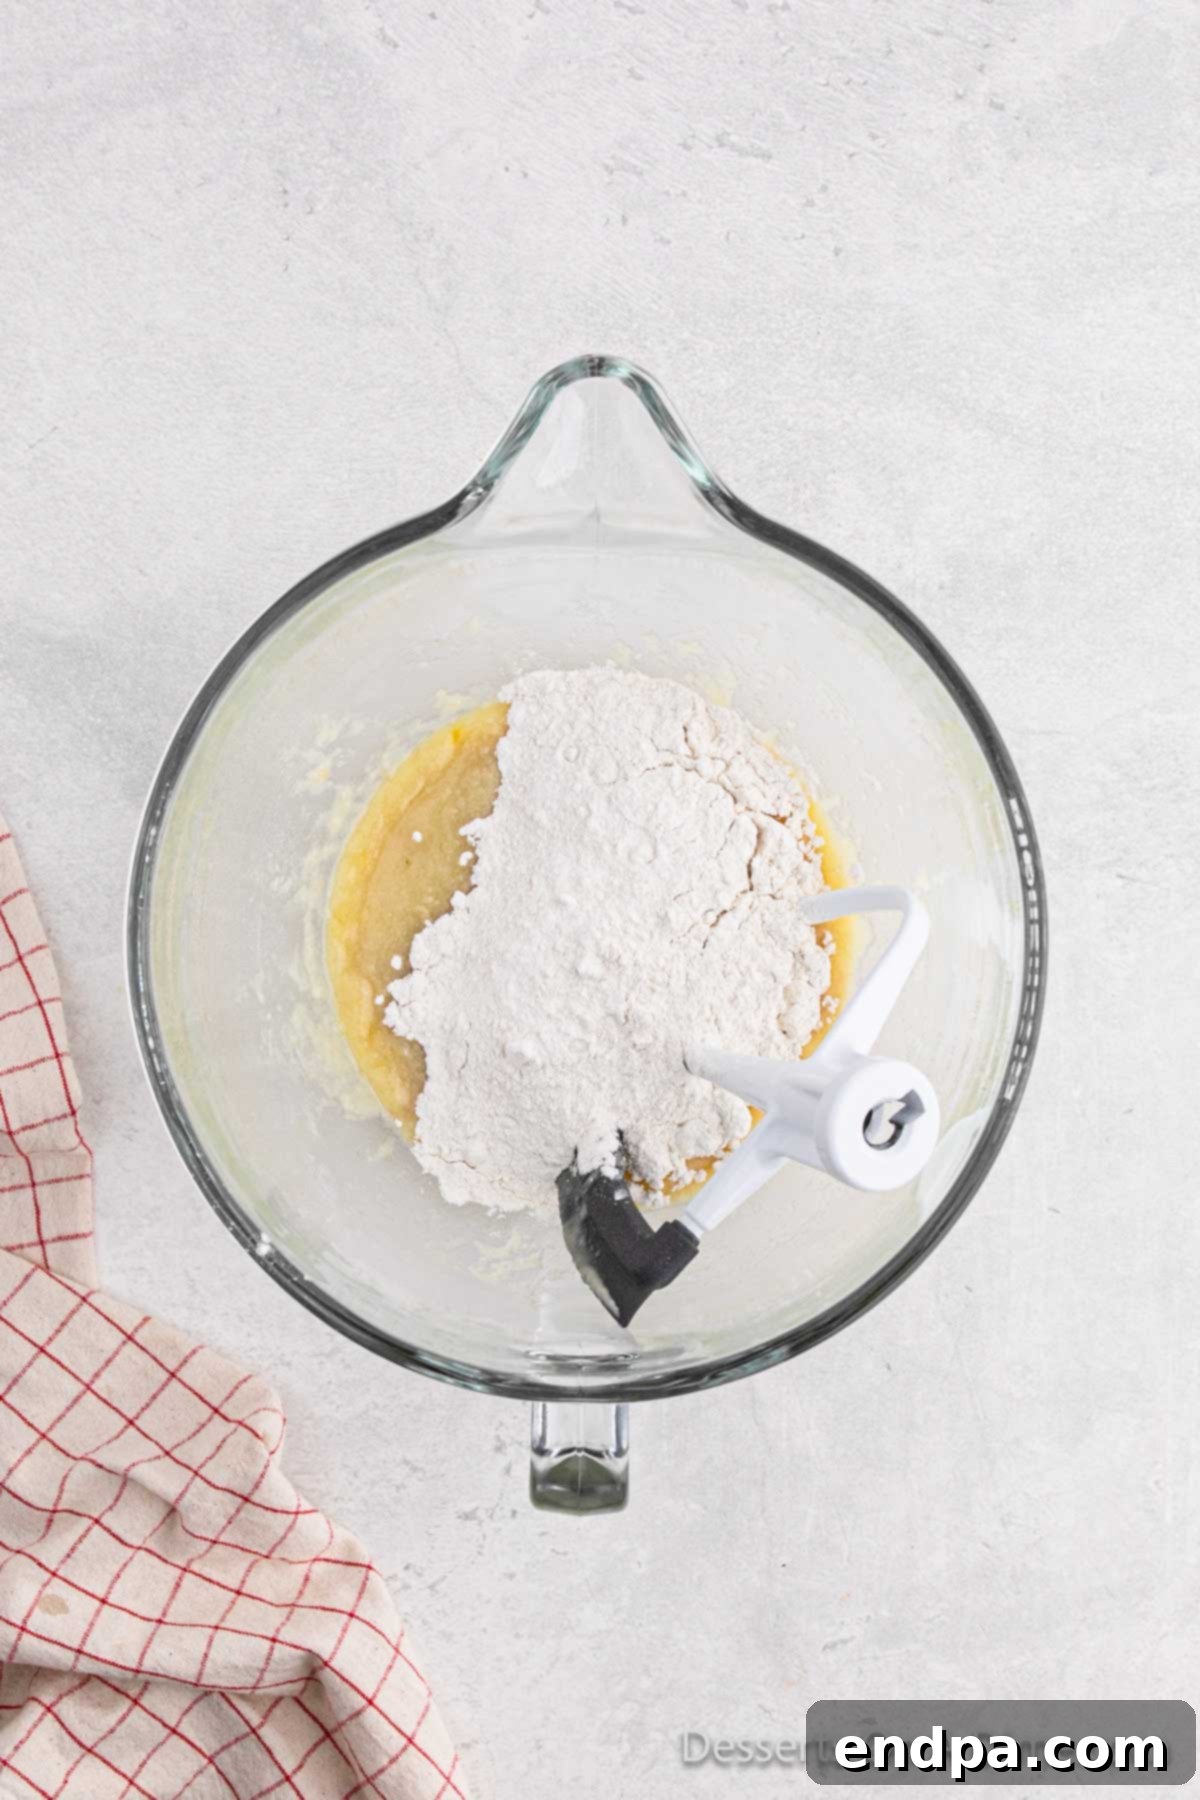
Step 3: Mix the Dough. Transfer your bloomed yeast mixture into the bowl of a stand mixer. Add the milk, cooled melted unsalted butter, granulated sugar, salt, and egg. Begin mixing on low speed with a paddle attachment (or dough hook) as you gradually incorporate the all-purpose flour, adding it about a cup at a time. Continue mixing until all ingredients are just combined and a shaggy dough forms.
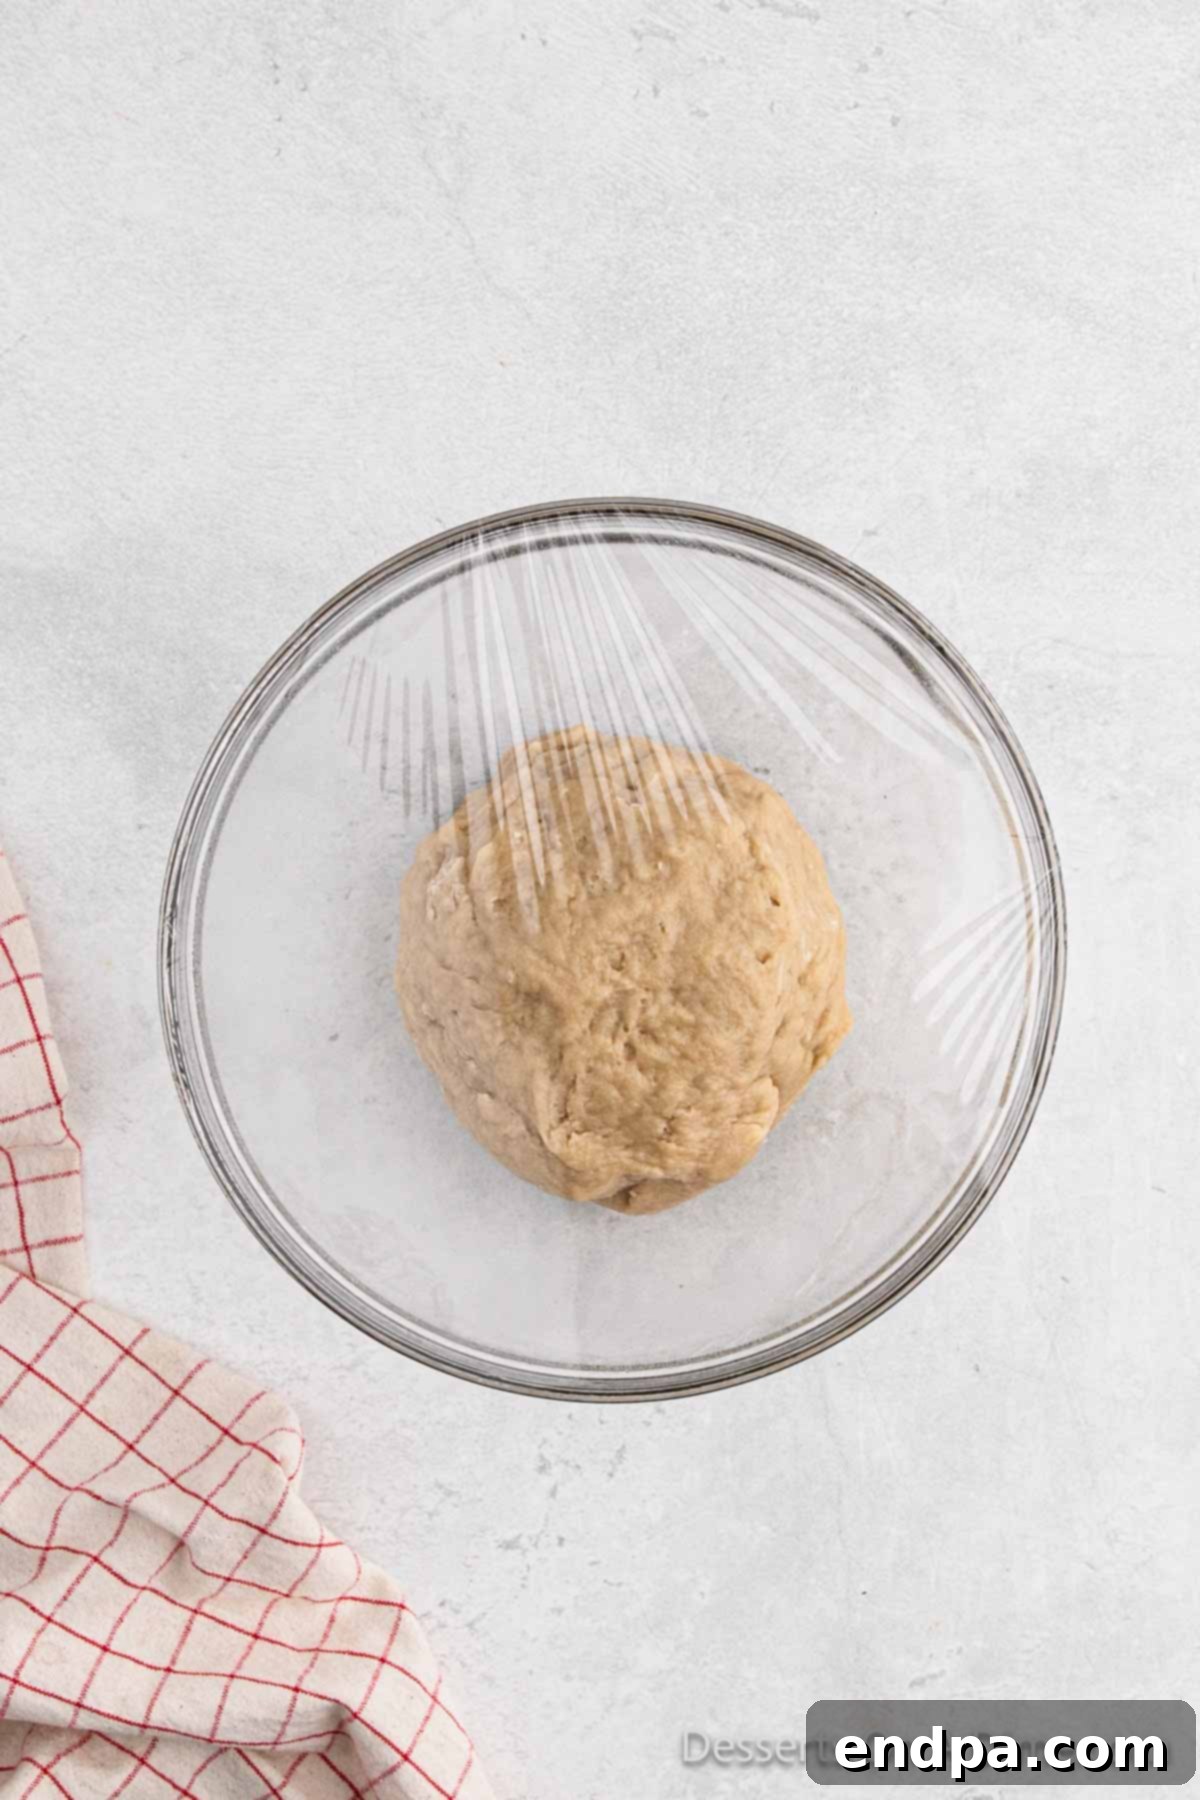
Step 4: Knead and Prepare for First Rise. Increase the mixer speed to medium-low and continue mixing for 5-7 minutes, until the dough is soft, smooth, and elastic. It should pull away cleanly from the sides of the bowl. If it’s too sticky, add a teaspoon of flour at a time. Lightly grease a large bowl with cooking spray or oil. Transfer the dough to this bowl, turning it once to coat its surface. Cover the bowl tightly with plastic wrap to prevent a skin from forming and place it in a warm, draft-free location.
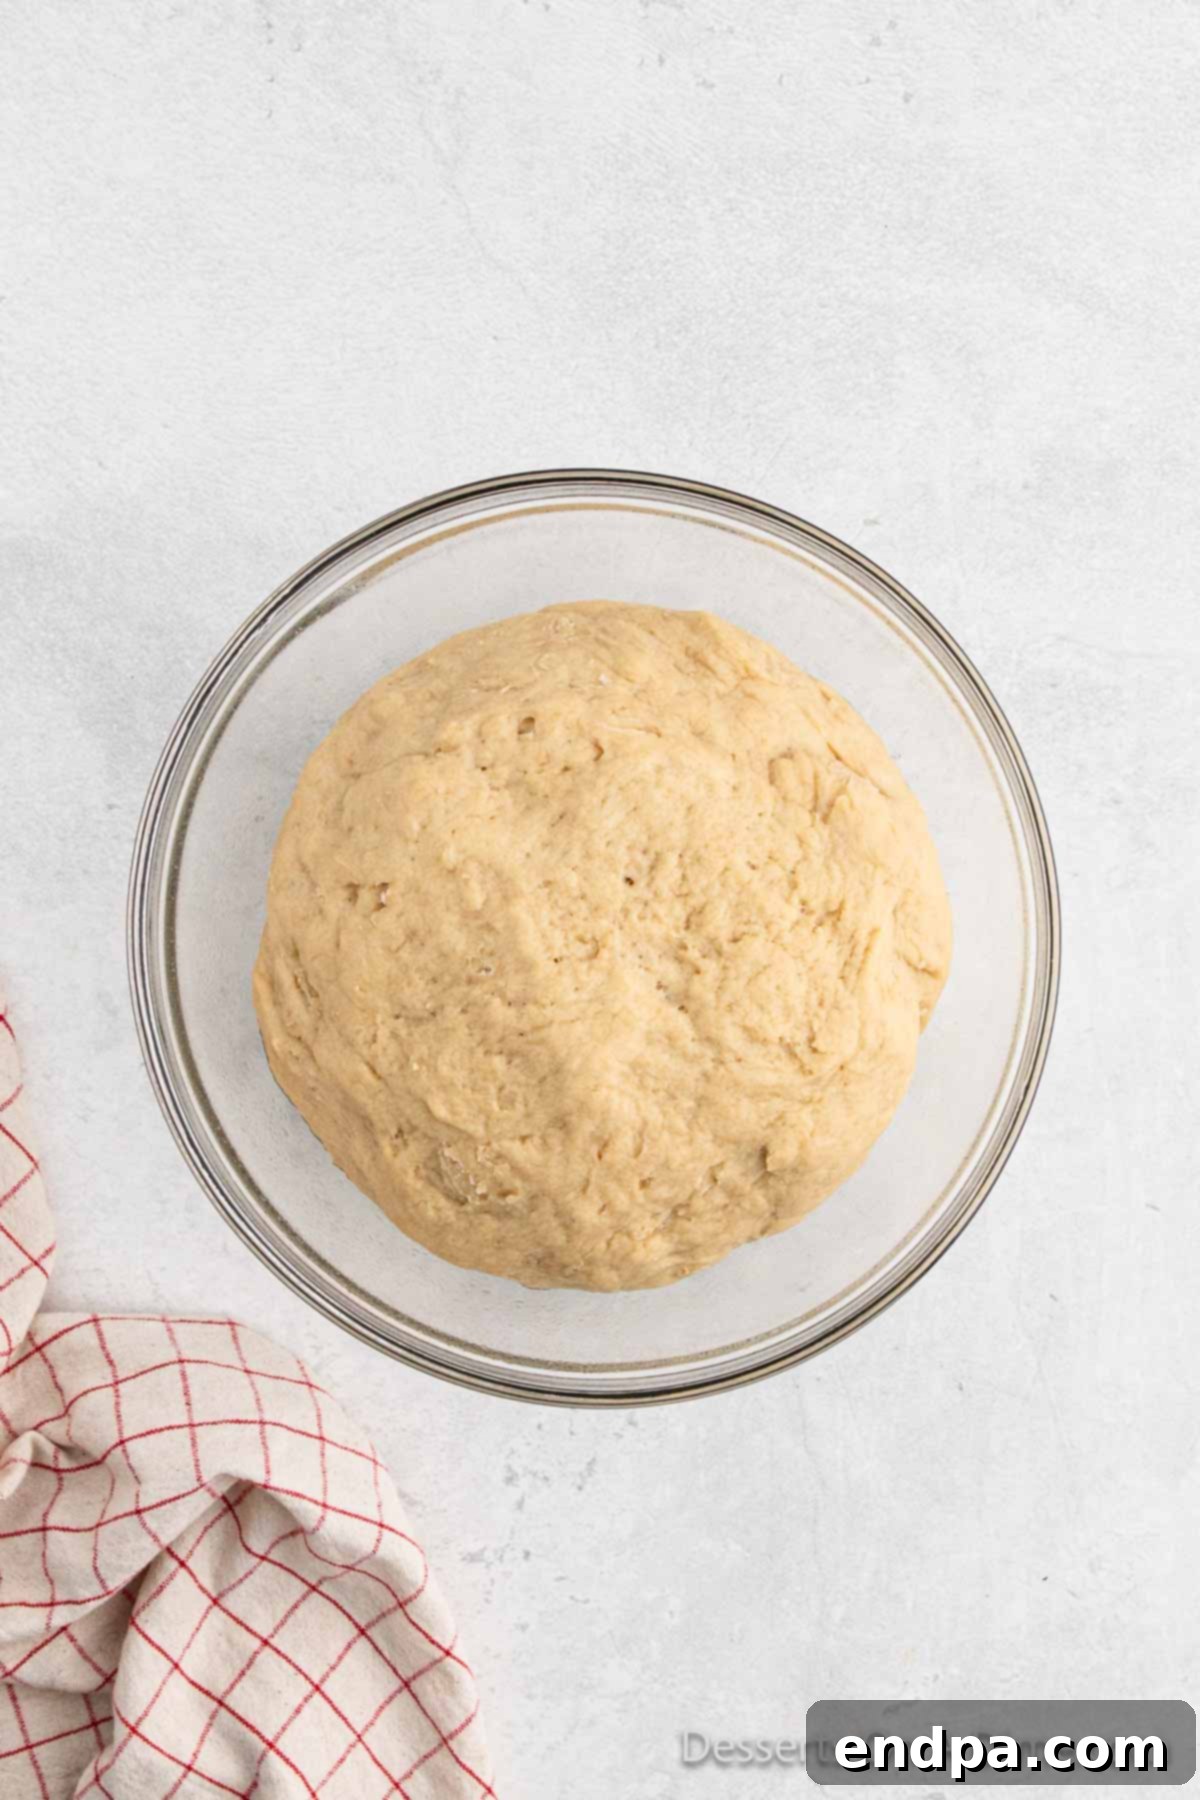
Step 5: First Proofing. Allow the dough to undergo its first rise (proofing) until it has doubled in size. This process typically takes between 1 to 1.5 hours, depending on the warmth of your environment. A good test for readiness is to gently poke the dough with a floured finger; if the indentation remains, it’s ready. This crucial step develops the dough’s flavor and contributes significantly to the rolls’ ultimate texture.
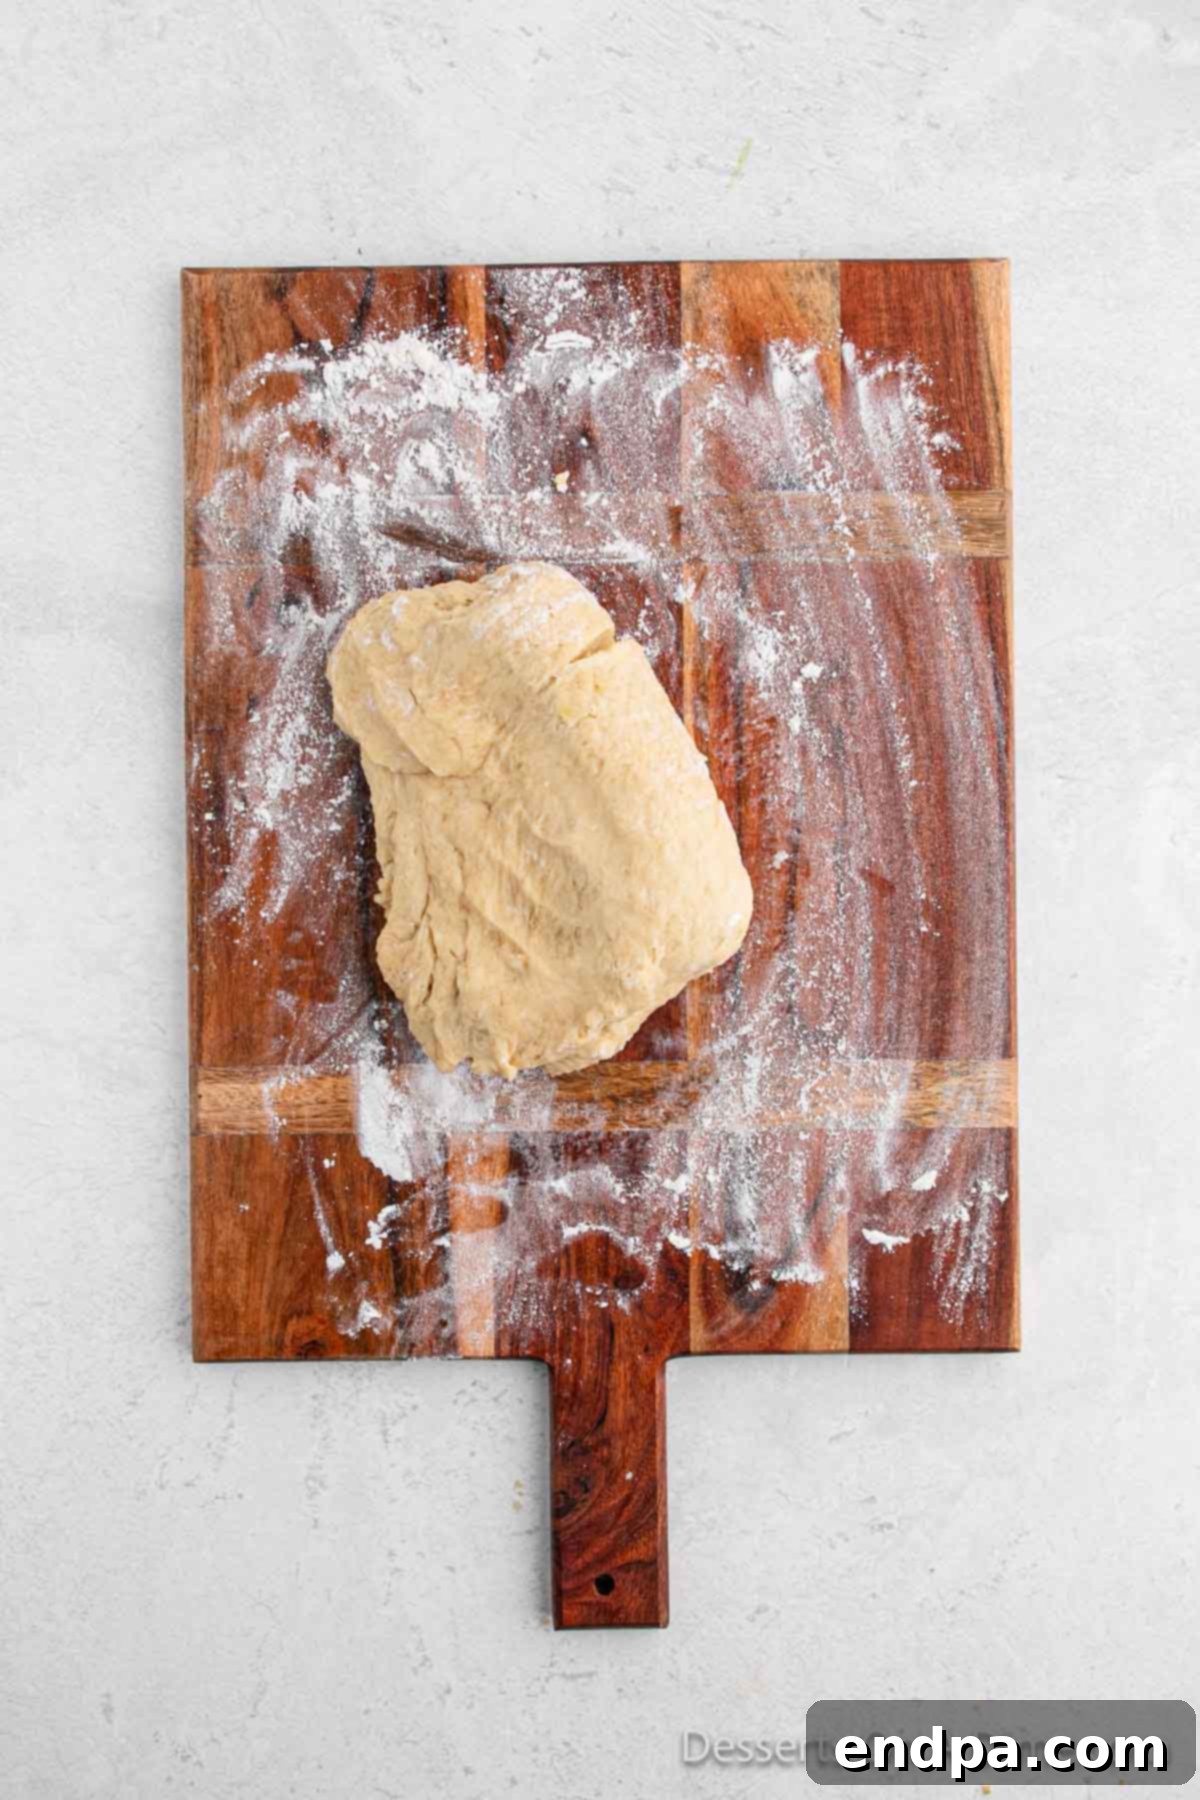
Step 6: Shape the Dough. Once the dough has doubled, gently punch it down to release the accumulated air. Turn the dough out onto a lightly floured countertop or pastry mat. Briefly knead for about 1-2 minutes until it is smooth and easy to handle. Using a rolling pin, roll the dough into a large rectangle, aiming for dimensions of approximately 24 inches by 15 inches. Strive for an even thickness across the entire rectangle for uniformly baked rolls.
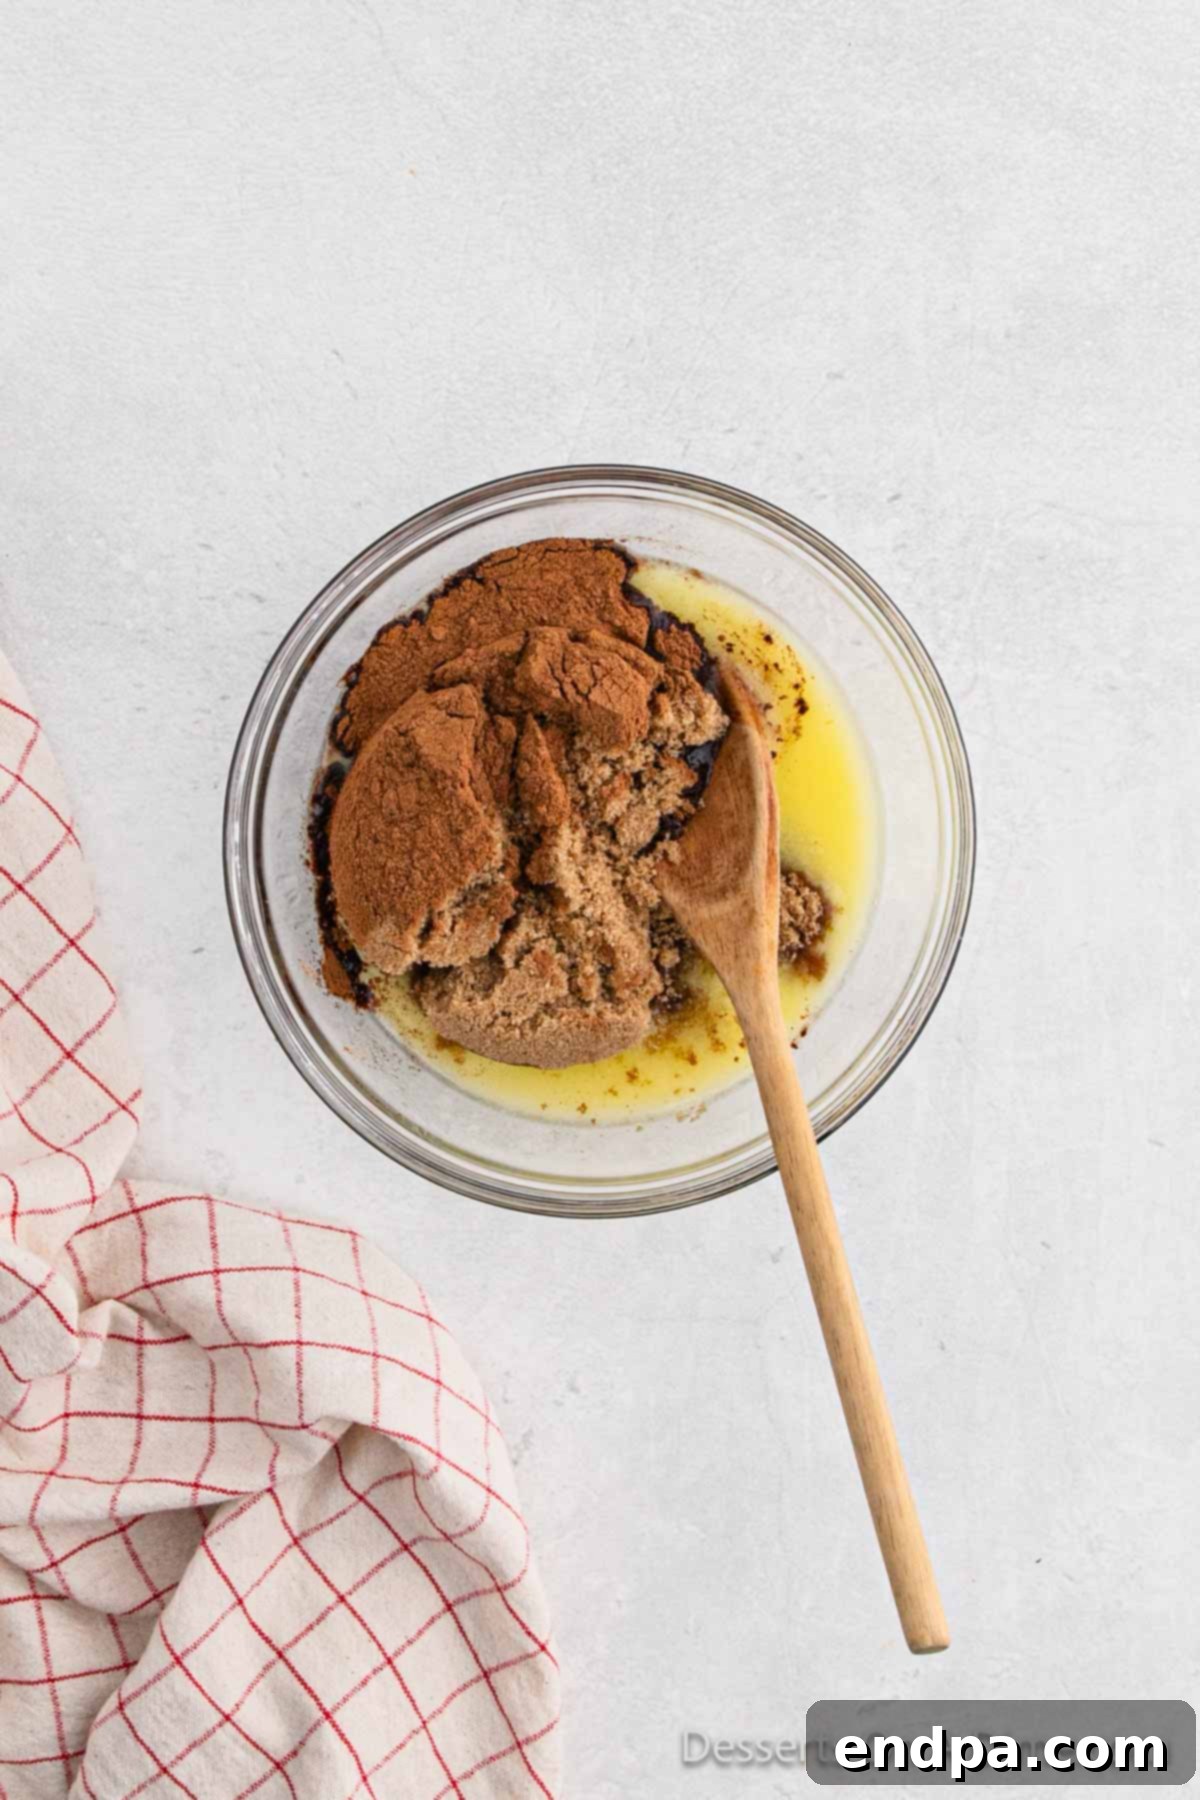
Step 7: Prepare the Irresistible Cinnamon Filling. In a separate medium bowl, combine the melted butter, brown sugar, and ground cinnamon. Stir these ingredients thoroughly until they form a thick, fragrant paste. The melted butter in this mixture is key; it helps the sugar and spice adhere beautifully to the dough and creates that signature gooey layer in your baked rolls. You can easily melt the butter in the microwave for speed.
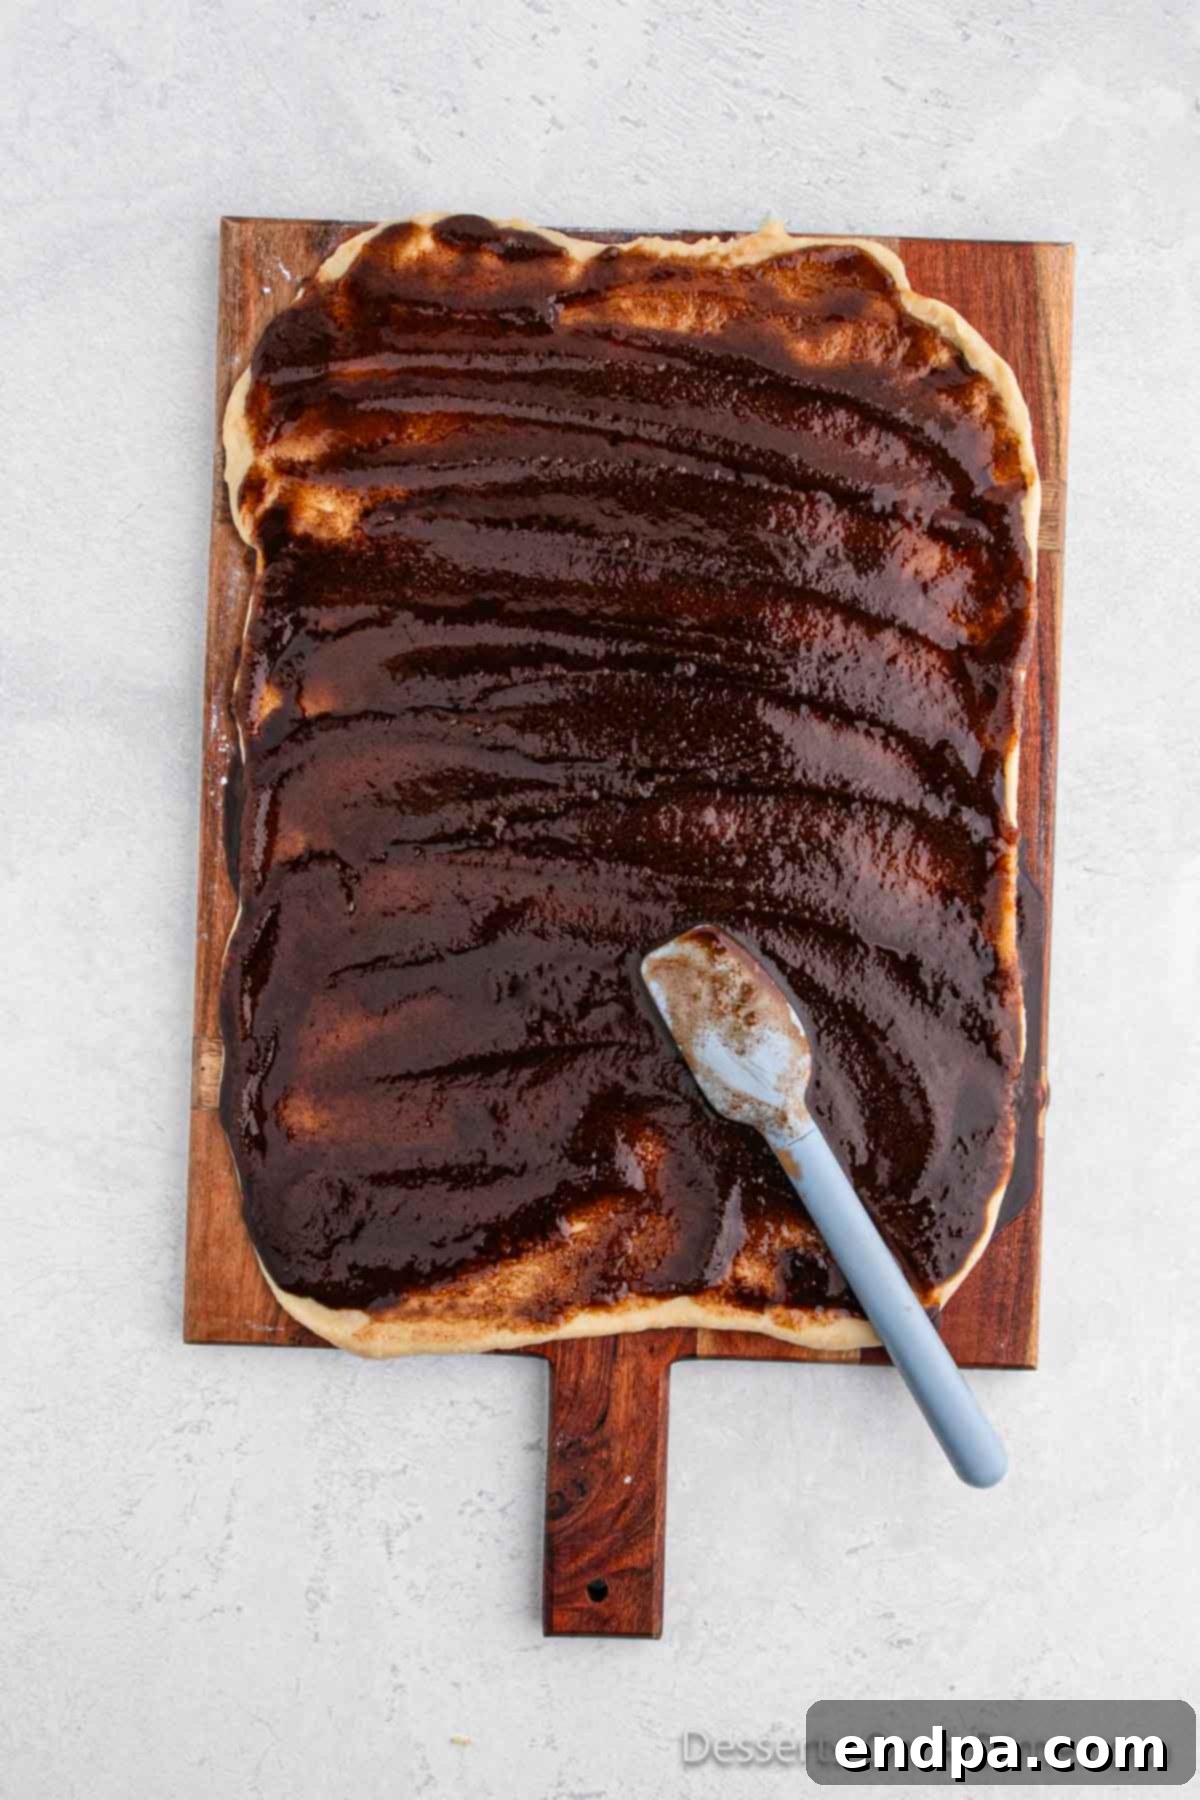
Step 8: Spread the Filling. Carefully and evenly spread the prepared cinnamon filling over the entire surface of your rolled-out dough rectangle. Make sure to extend the filling to all edges, except for one of the long edges where you should leave about a half-inch border clean. This clean strip will act as a seal, ensuring your roll stays tightly closed during the rolling and baking process. Generosity with the filling is encouraged for maximum flavor!
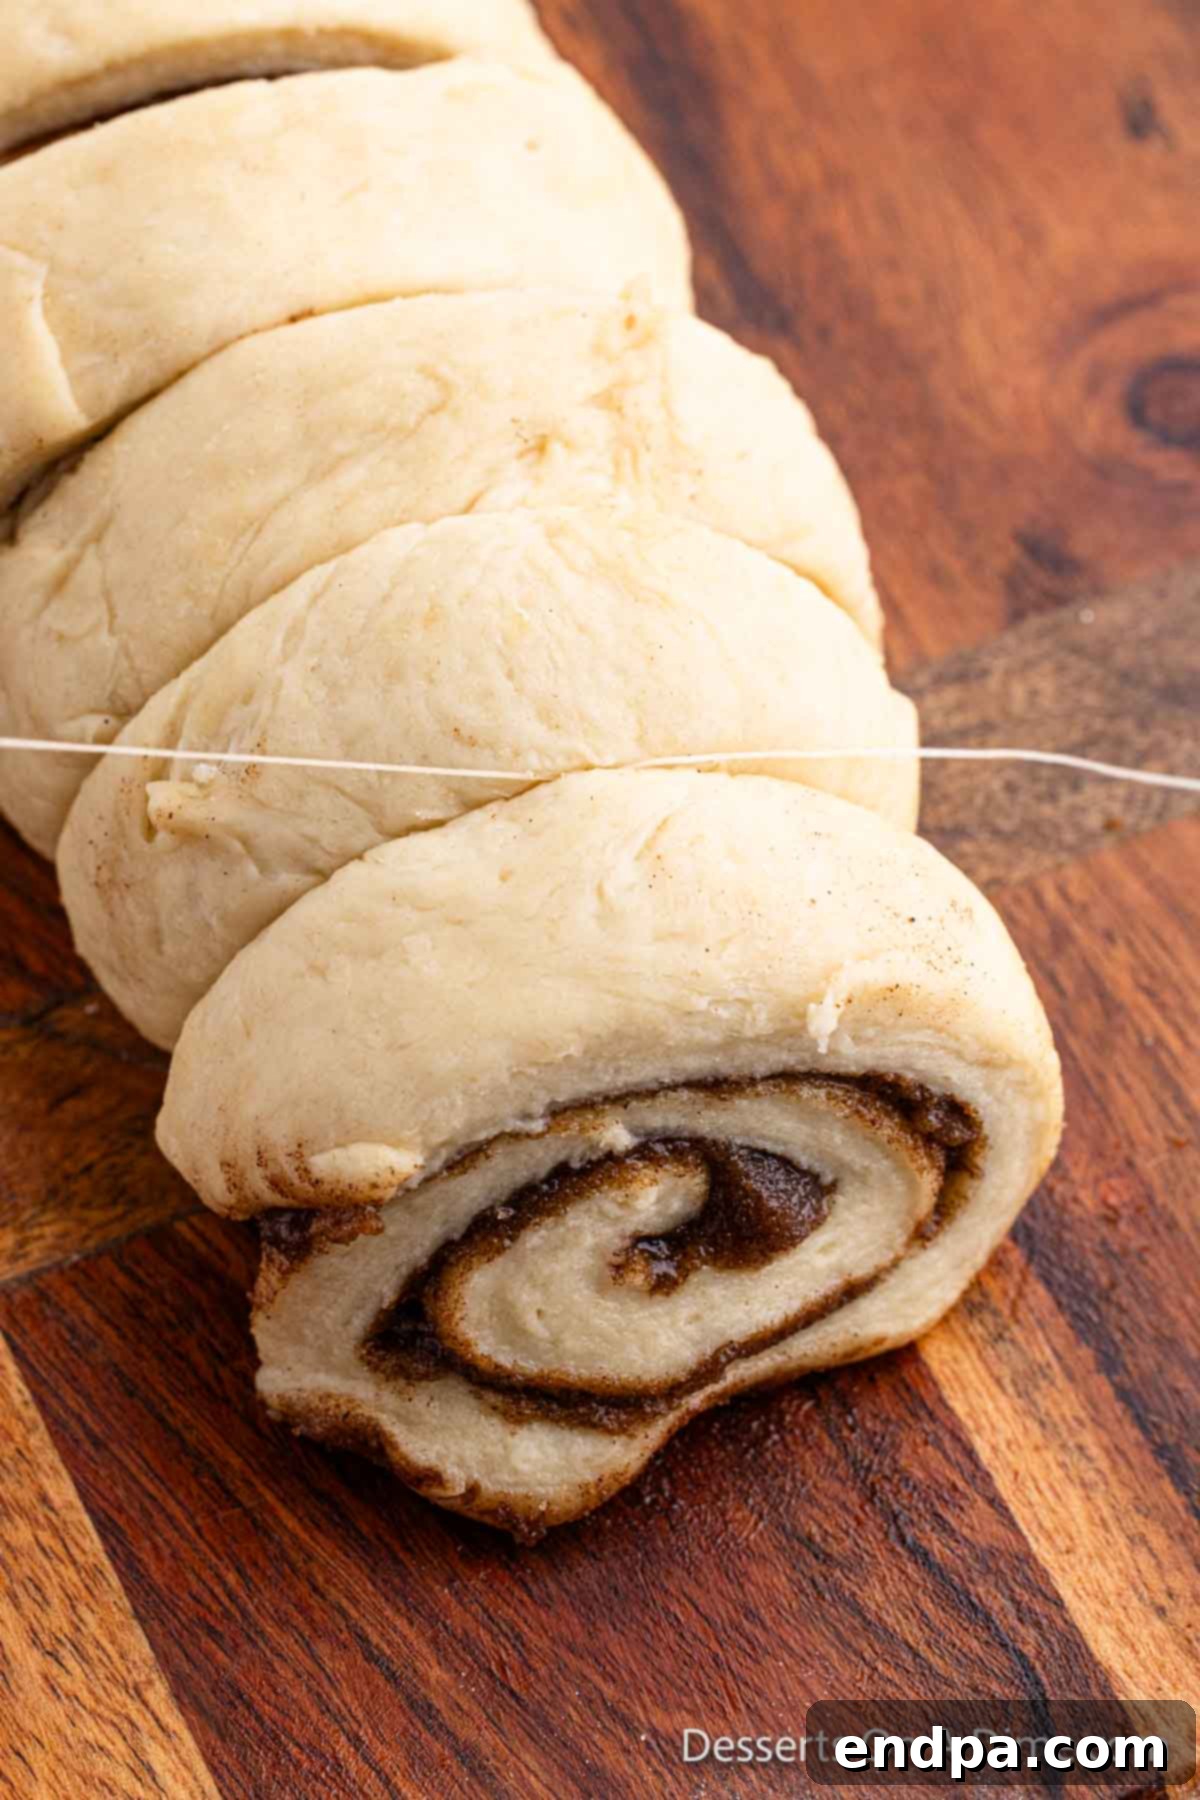
Step 9: Roll and Slice. Starting from the long edge opposite the clean border, tightly roll the dough into a snug log. Once rolled, gently transfer the log so the seam side is down. Now, for perfectly shaped individual rolls, use unscented dental floss. Slide a long piece of floss under the roll where you want to make a cut. Cross the ends of the floss over the top of the roll and pull them firmly in opposite directions. This method creates beautifully clean, non-squished slices, preserving the distinct layers of cinnamon and dough.
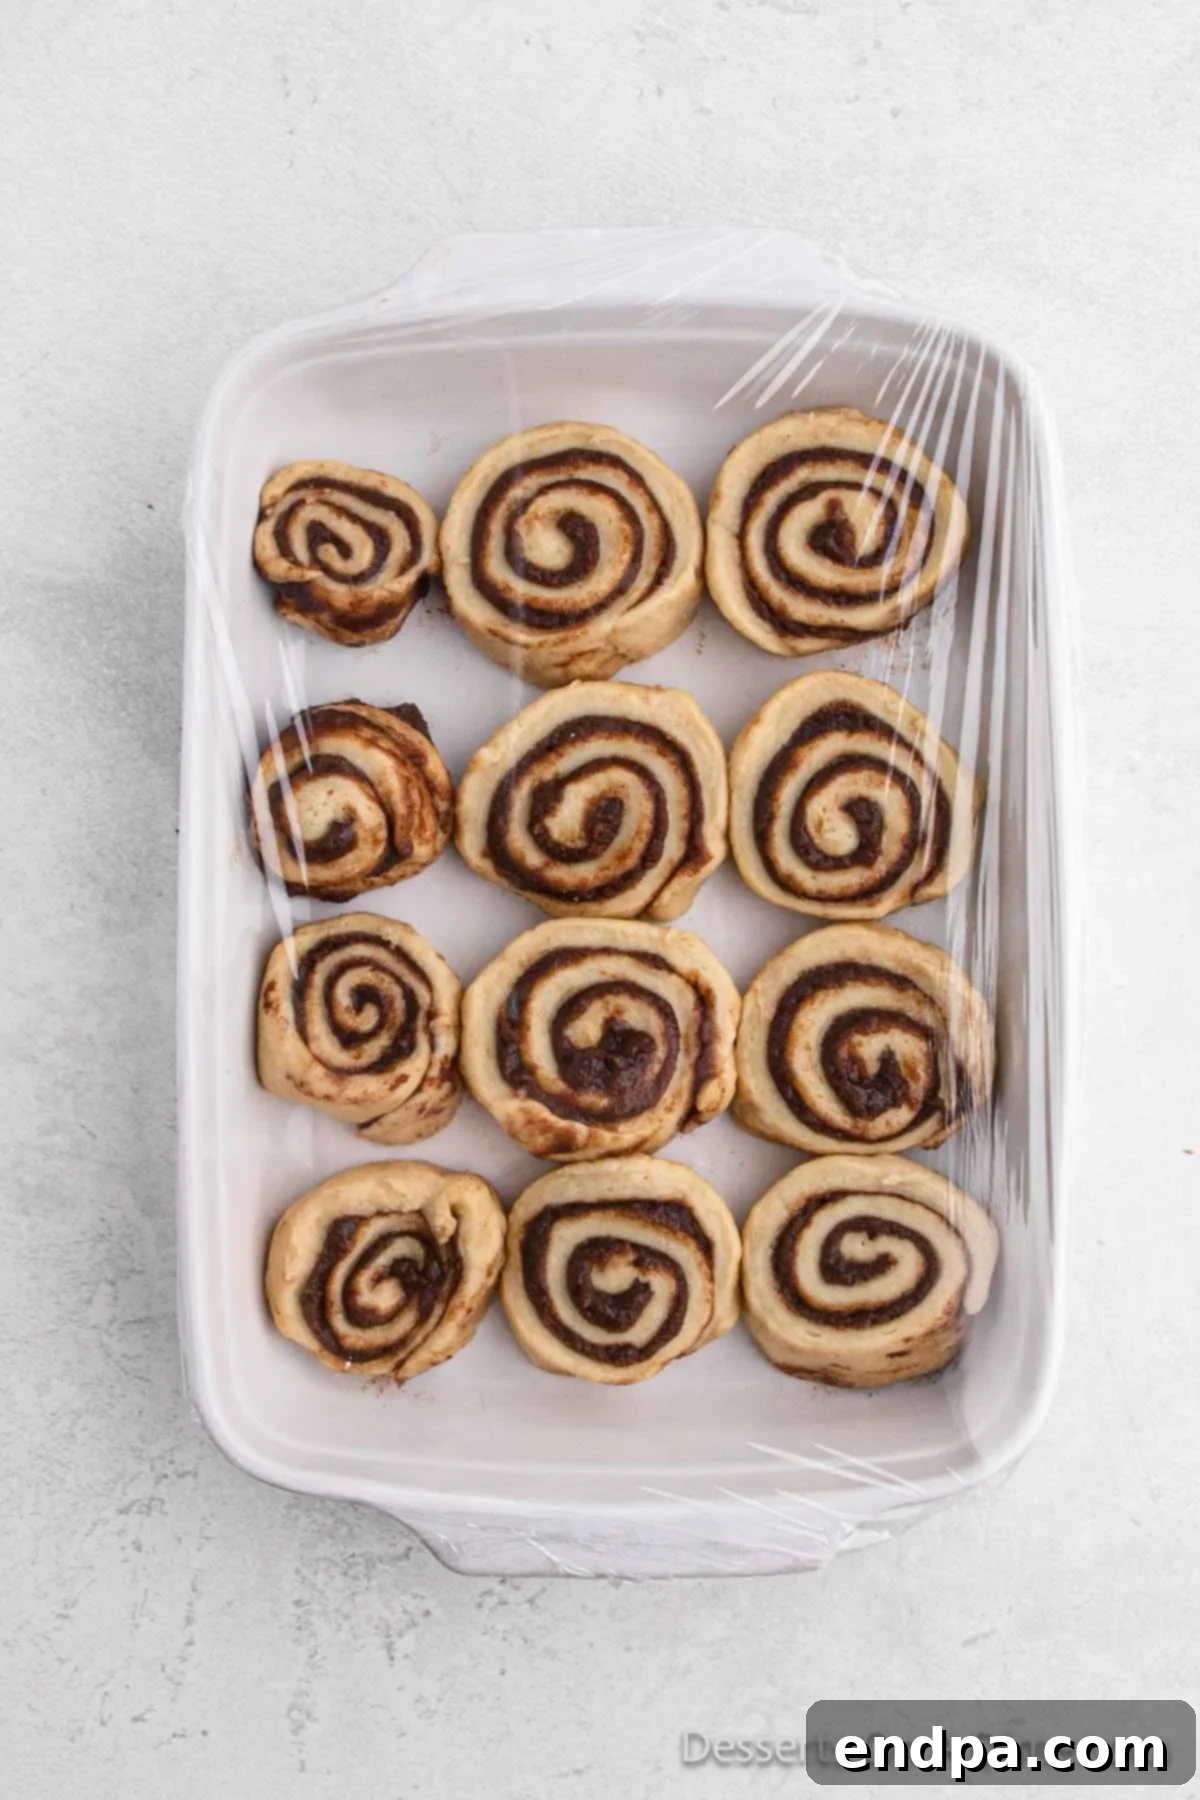
Step 10: Arrange for Second Proofing. Continue slicing the entire dough log into approximately 12 to 15 individual cinnamon rolls, each about 1.5 to 2 inches thick. Lightly spray a 9×13 inch glass baking dish with cooking spray to prevent sticking. Carefully arrange the sliced rolls in the prepared pan. They should be placed close enough so they are somewhat snug, which encourages them to rise upwards and creates those wonderfully soft, tender sides when baked.
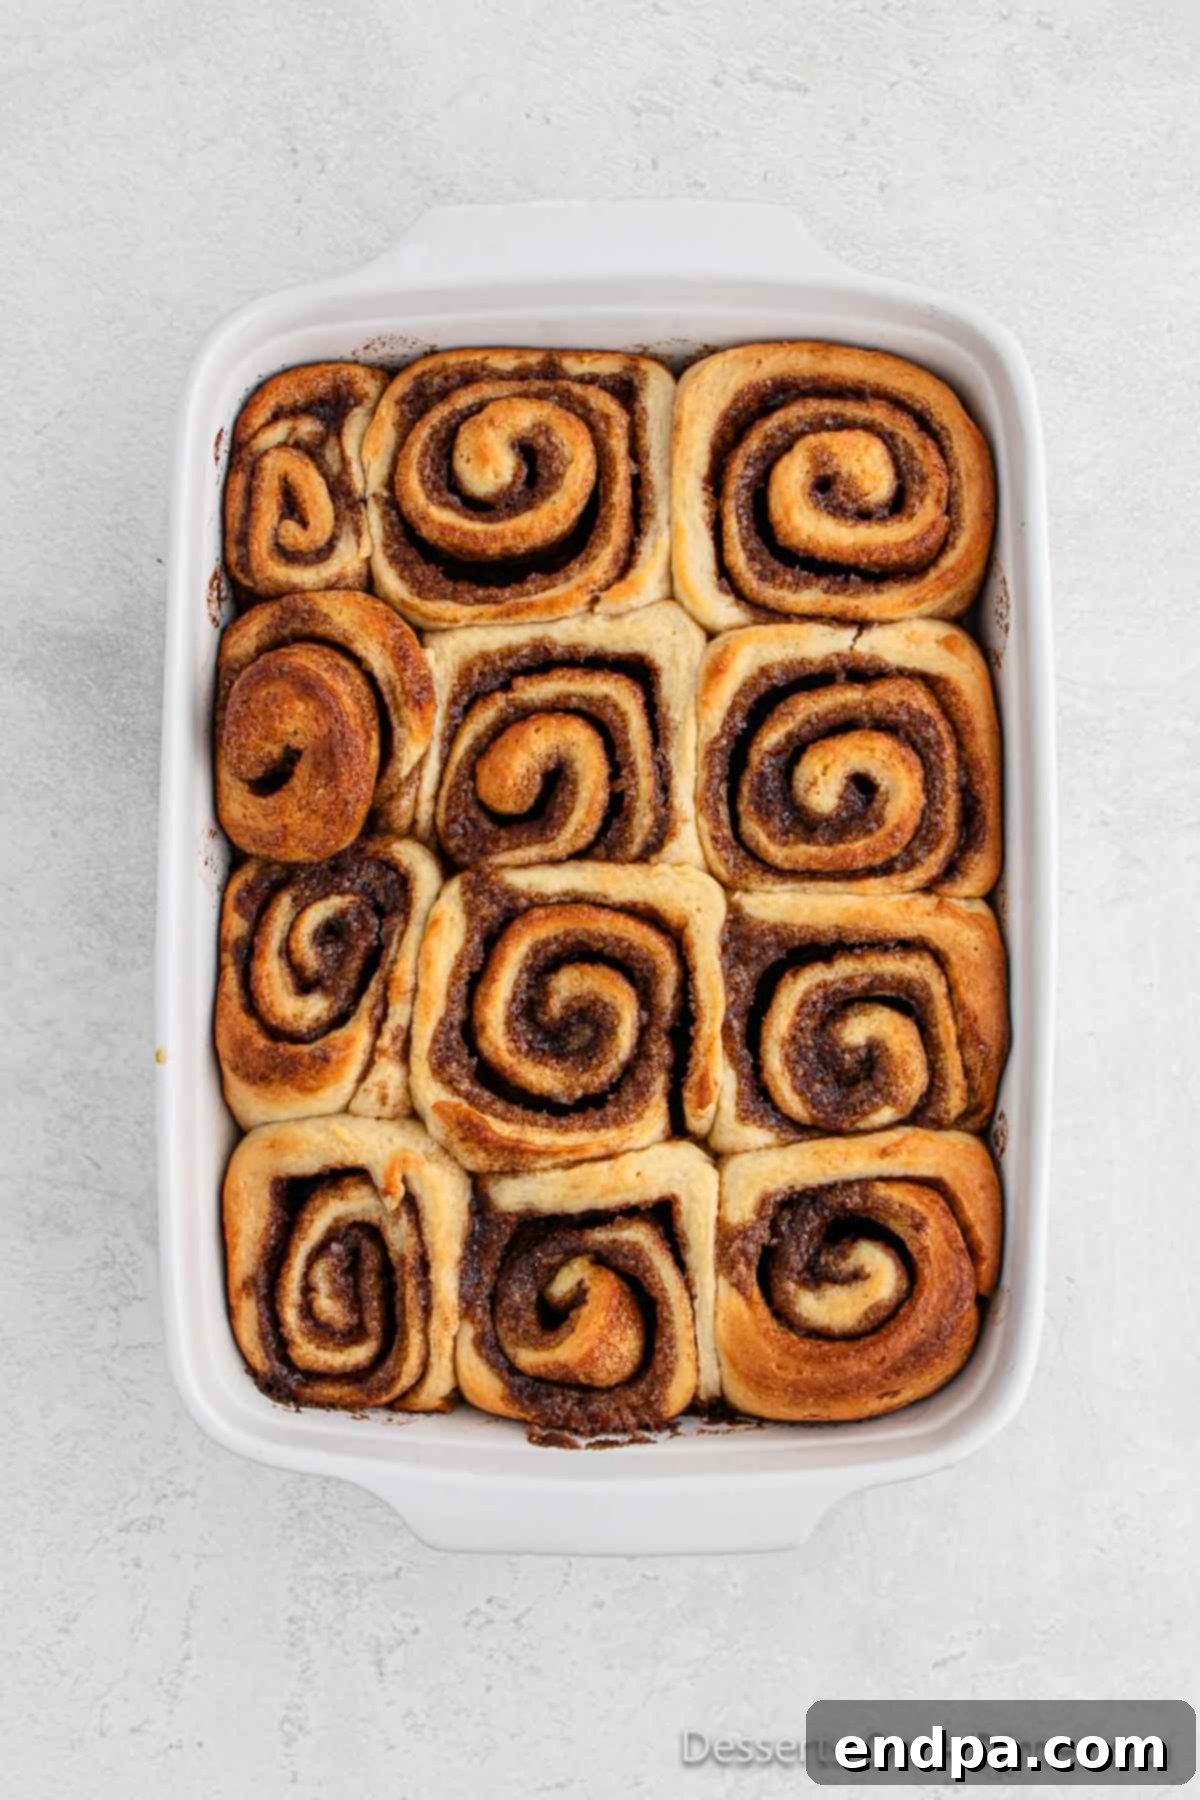
Step 11: Second Rise & Bake to Perfection. Cover the baking dish containing the arranged rolls with plastic wrap or a clean kitchen towel. Allow them to rise for a second time in a warm, draft-free place until they have nearly doubled in size, typically 30-60 minutes. Meanwhile, preheat your oven to 375°F (190°C). Bake the cinnamon rolls for approximately 20 to 25 minutes, or until their tops are beautifully golden brown and the centers are cooked through and spring back when lightly pressed. If the tops brown too quickly, loosely tent the pan with aluminum foil.
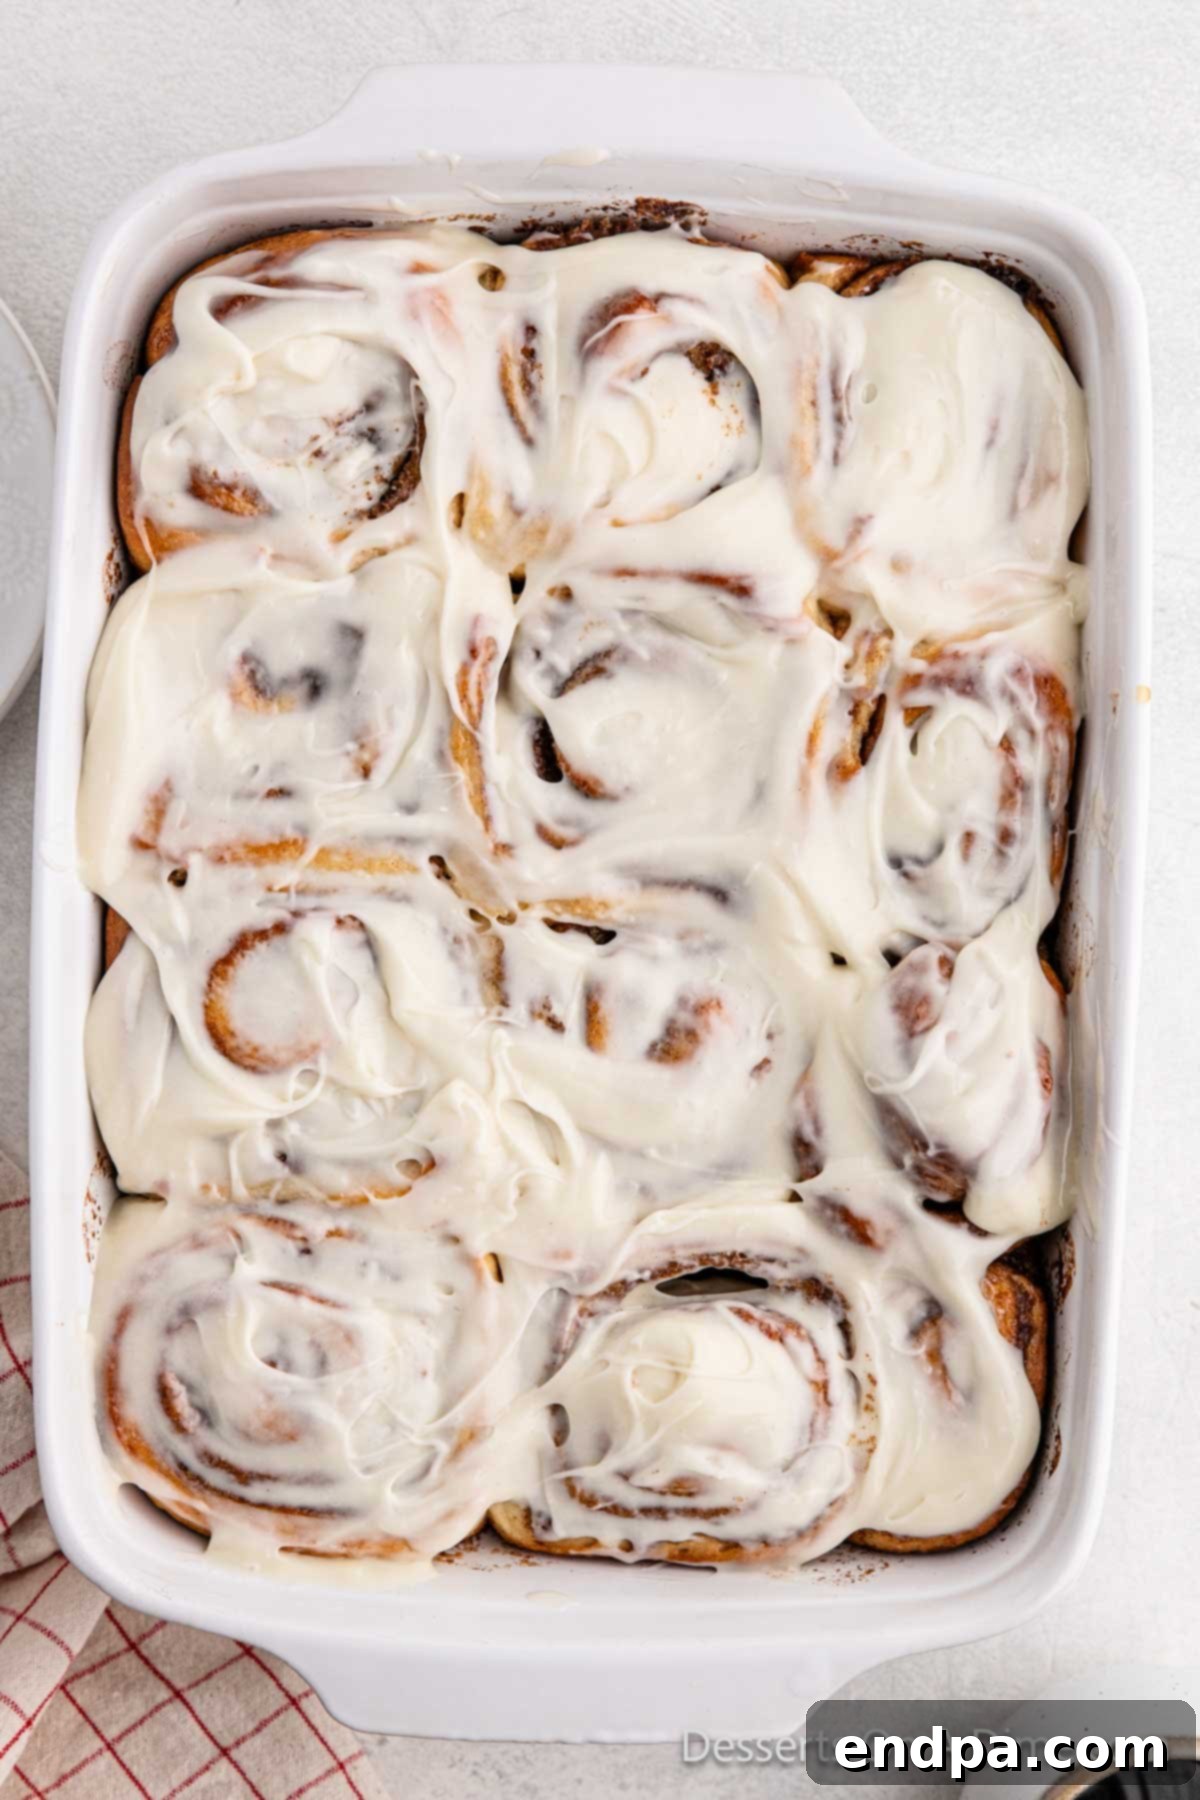
Step 12: Prepare the Frosting & Serve Warm. While your glorious cinnamon rolls are baking or cooling slightly, it’s time to prepare the luxurious cream cheese icing. In a medium bowl, simply combine all the frosting ingredients: softened cream cheese, softened butter, powdered sugar, vanilla extract, and milk. Beat or stir until the mixture is completely smooth and creamy, with no lumps. Once the rolls are out of the oven and have cooled for about 5-10 minutes (they should still be warm), generously spread the prepared icing over their tops. Serving these homemade cinnamon rolls warm ensures the ultimate soft, gooey, and utterly delightful texture. Enjoy every sweet bite!
Pro Tips for Flawless Cinnamon Rolls Every Time
Even though this recipe is designed to be easy, a few expert tips can elevate your homemade cinnamon rolls from great to absolutely extraordinary. Pay attention to these details for consistently perfect results:
- The Dental Floss Secret for Perfect Slices: As demonstrated in the steps, unscented dental floss is a game-changer for cutting your cinnamon rolls. Unlike a knife, which can compress the soft dough and squeeze out the filling, floss glides through cleanly, giving you beautifully defined spirals and uniform rolls every single time. It’s a simple trick that makes a huge difference in presentation!
- Understand Your Oven’s Personality: Ovens are notoriously temperamental, and actual temperatures can vary significantly from what the dial indicates. Always keep a close eye on your cinnamon rolls as they bake. If you notice the tops are browning too quickly, but you suspect the centers aren’t fully cooked, simply tent the baking dish loosely with aluminum foil. This will prevent the tops from burning while allowing the interior to finish baking to tender perfection.
- Create a Cozy Rising Environment: Yeast is a living organism that loves warmth! For a consistent and successful rise, find a warm, draft-free spot in your kitchen. This could be a turned-off oven with just the light on (creating a gentle warmth), a sunny windowsill, or a spot near a warm appliance. A stable warm environment ensures your dough doubles effectively, leading to light and fluffy rolls.
- Avoid Overworking the Dough: While initial kneading is necessary to develop gluten, be mindful not to overwork the dough, especially after the first rise. Over-kneading can result in a tough, chewy texture rather than the desired soft and tender crumb. Knead just enough to make it pliable for rolling.
- Temperature Matters for Icing Ingredients: For the smoothest, most lump-free cream cheese icing, ensure both your cream cheese and butter are thoroughly softened to room temperature. This allows them to cream together effortlessly with the powdered sugar, creating that irresistible velvety texture.
- The Gentle Touch for Frosting: Resist the temptation to frost your cinnamon rolls immediately after they come out of the oven. While they should be warm, if they’re too hot, the icing will simply melt and slide off. Allow them to cool in the pan for about 5-10 minutes. They’ll still be wonderfully warm, but the surface will be cool enough for the icing to cling and set beautifully.
Frequently Asked Questions About Baking Cinnamon Rolls
Here are some common questions and helpful answers to ensure your cinnamon roll baking experience is a complete success!
Absolutely! This recipe is perfect for making ahead. You can prepare the rolls the night before right up to the second rise. After you’ve sliced and arranged them in the baking dish, cover the dish tightly with plastic wrap and refrigerate overnight. The next morning, simply remove the rolls from the fridge and let them sit at room temperature for 30 to 60 minutes. This allows them to warm up and complete their final proofing. Once they’ve almost doubled in size, bake them as instructed. Fresh, warm cinnamon rolls are ready with minimal morning effort!
Baked and frosted cinnamon rolls are best stored in an airtight container. Due to the cream cheese icing, they will keep well at room temperature for up to 2 days or in the refrigerator for up to 5 days. For that freshly baked taste and texture, gently warm individual rolls in the microwave for 15-30 seconds before serving. You can also freeze baked, unfrosted rolls for up to 1 month. Thaw at room temperature, then warm and frost. Unbaked rolls can also be frozen: arrange sliced rolls in a foil-lined freezer-safe pan, cover tightly, and freeze. When ready to bake, thaw overnight in the fridge, then let rise at room temperature before baking as usual.
Absolutely! This base recipe is wonderfully versatile and encourages creativity. For added texture and nutty flavor, try sprinkling a handful of chopped pecans or walnuts over the cinnamon filling before rolling. If you enjoy a touch of citrus, incorporate a teaspoon of fresh orange or lemon zest into either the dough or the cream cheese icing. Chocolate lovers might enjoy adding mini chocolate chips alongside the cinnamon sugar. You could also experiment with different spices in the filling, like a pinch of cardamom or nutmeg, for a unique twist.
Several factors can prevent yeast dough from rising effectively. The most common issues include inactive or expired yeast, water that was too hot (killing the yeast) or too cold (slowing down activation), or a cold rising environment. Always ensure your yeast is fresh and your water temperature is within the recommended range. Place your dough in a warm, draft-free spot for proofing. If your dough consistently fails to rise, your yeast might be the culprit, and it’s best to start with a new package.
Expand Your Baking Horizons: More Cinnamon Roll Inspirations
If you’ve fallen in love with the comforting warmth of homemade cinnamon rolls, there’s a whole world of variations waiting to be explored! From different fillings to innovative forms, these recipes offer exciting new ways to enjoy your favorite sweet treat:
- Chocolate Chip Cinnamon Rolls
- Cinnamon Roll Bread
- Easy Cinnamon Roll Apple Pie Cups
- Cinnamon Roll Pie Recipe
- Cinnamon Roll Cheesecake
We hope this detailed guide empowers you to create the most incredible, fluffy cinnamon rolls with cream cheese frosting right in your own kitchen. It’s a truly rewarding baking experience that yields unbelievably delicious results. Go ahead, embark on this sweet culinary adventure! Once you’ve baked and savored your own batch of these irresistible treats, we would love for you to come back and leave a star recipe rating to share your success and inspire other bakers.
Pin
The Ultimate Homemade Cinnamon Rolls
2 hrs 0 mins
25 mins
2 hrs 25 mins
12-15 rolls
American
Breakfast, Dessert
423 kcal
Carrie Barnard
Ingredients
For the Dough:
- 1/4 cup Warm Water
- 1 package active dry yeast
- 1/3 cup milk
- 1/3 cup Melted Butter (melted but not hot)
- 1/4 cup granulated sugar
- 1/2 teaspoon salt
- 1 egg
- 3 1/2 cup all-purpose flour
For the Filling:
- 1/2 cup butter (melted)
- 1 cup brown sugar
- 2 tablespoons ground cinnamon
For the Frosting:
- 6 oz cream cheese (softened)
- 1/4 cup butter (softened)
- 2 cups powdered sugar
- 1 teaspoon vanilla extract
- 1 1/2 teaspoon milk
Instructions
- Mix together the warm water and yeast. Let sit for about 10 minutes. You will see the yeast activate – tiny bubbles will form at the surface and the liquid will thicken slightly.
- In a stand mixer with a paddle attachment, slowly combine yeast mixture with the remaining dough ingredients (milk through flour). Gradually add the flour 1 cup at a time until a soft dough is formed.
- Place the dough in a well-greased bowl and turn to coat. Cover tightly with plastic wrap. Allow to rise until about double in size – about an hour to an hour and a half.
- Remove dough from bowl and knead for 1-2 minutes, adding flour so it doesn’t stick to your hands or the countertop. Roll out into a large rectangle (around 24”X15” is ideal but does not need to be exact). Mix together filling ingredients.
- Spread the cinnamon filling evenly over the top of your rolled-out rectangle. Roll up the dough tightly, starting from the short end. Slice your long roll into individual cinnamon rolls using dental floss for clean cuts. Place the floss under the roll, cross the ends on top, and pull to slice.
- Repeat slicing until you have about 12-15 pieces. Place sliced rolls snugly in a glass 9X13 casserole dish (sprayed with cooking spray).
- Cover with plastic wrap and let rise for another 30-60 minutes, or until almost doubled in size.
- Bake in a 375 F (190°C) oven for 20-25 minutes or until the centers of the rolls are cooked through and the rolls are golden brown.
- For the Cream Cheese Frosting: In a medium bowl, beat together softened cream cheese and softened butter until smooth. Gradually add powdered sugar, mixing until well combined. Stir in vanilla extract and milk until the desired smooth, spreadable consistency is reached.
- Once the cinnamon rolls are baked and have cooled for 5-10 minutes (still warm but not piping hot), generously spread the cream cheese frosting over the warm rolls. Serve immediately and enjoy!
Recipe Notes
Nutrition Facts (per roll, approximate)
Calories: 423 kcal
Carbohydrates: 60 g
Protein: 7 g
Fat: 18 g
Saturated Fat: 11 g
Trans Fat: 1 g
Cholesterol: 59 mg
Sodium: 246 mg
Potassium: 142 mg
Fiber: 3 g
Sugar: 34 g
Vitamin A: 591 IU
Vitamin C: 1 mg
Calcium: 53 mg
Iron: 2 mg
