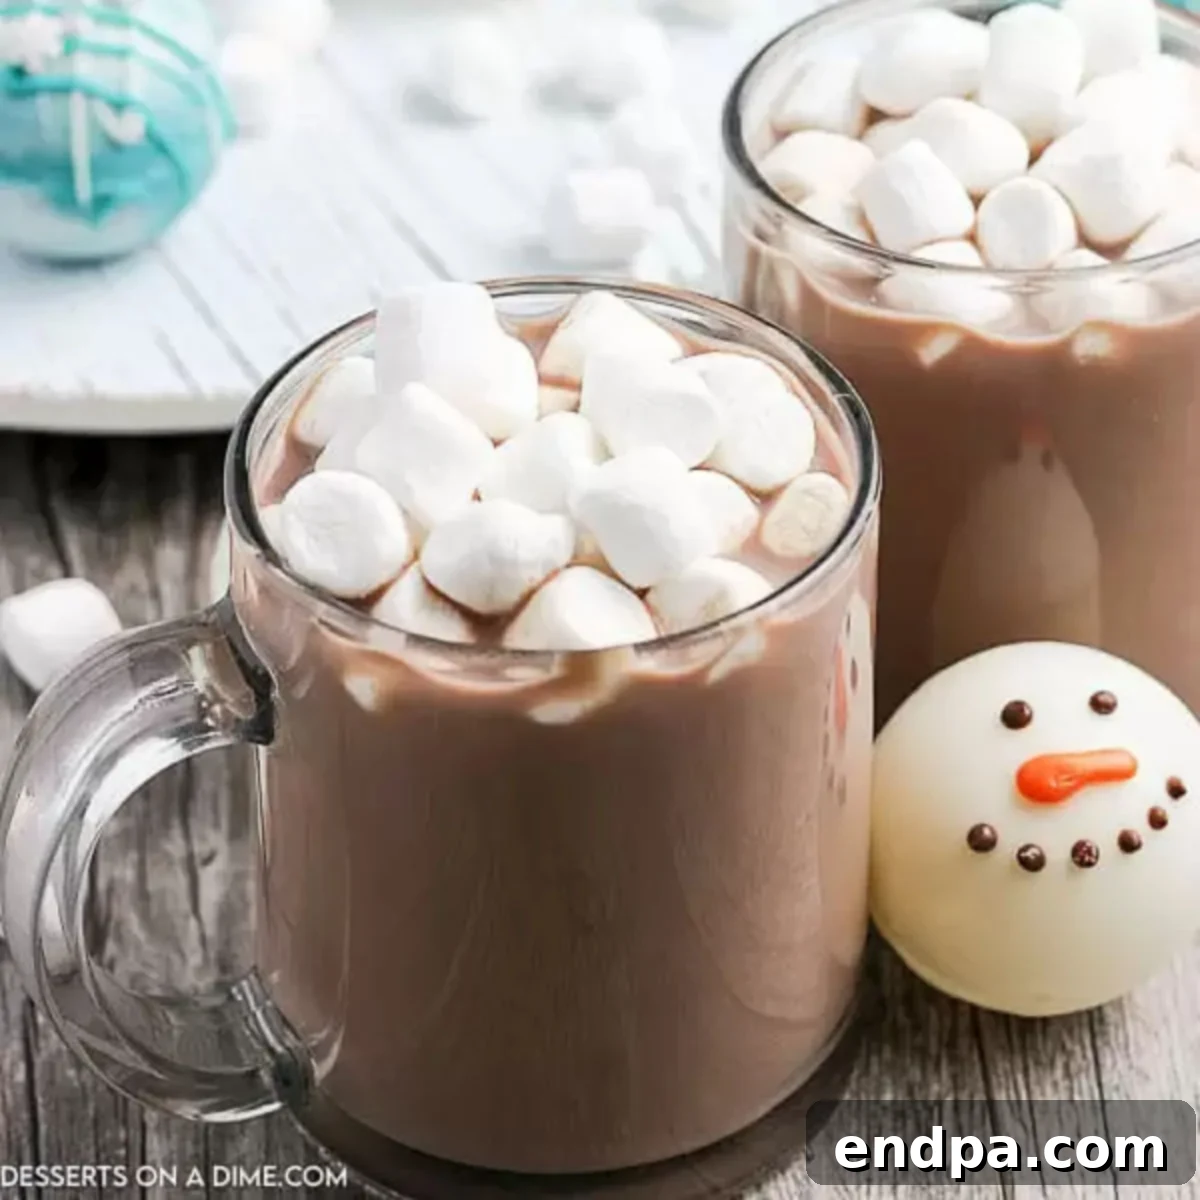
Hot Chocolate Bombs have taken the culinary world by storm, offering a delightful and interactive way to enjoy a classic comforting beverage. These decadent spheres of chocolate, bursting with marshmallows and cocoa mix, are surprisingly **easy to make** at home and promise a ton of fun for all ages. Beyond the sheer enjoyment, crafting your own hot chocolate bombs is also a smart way to **save money** compared to their often-pricy store-bought counterparts, allowing you to indulge without breaking the bank. Get ready to transform your regular hot chocolate routine into an extraordinary experience!
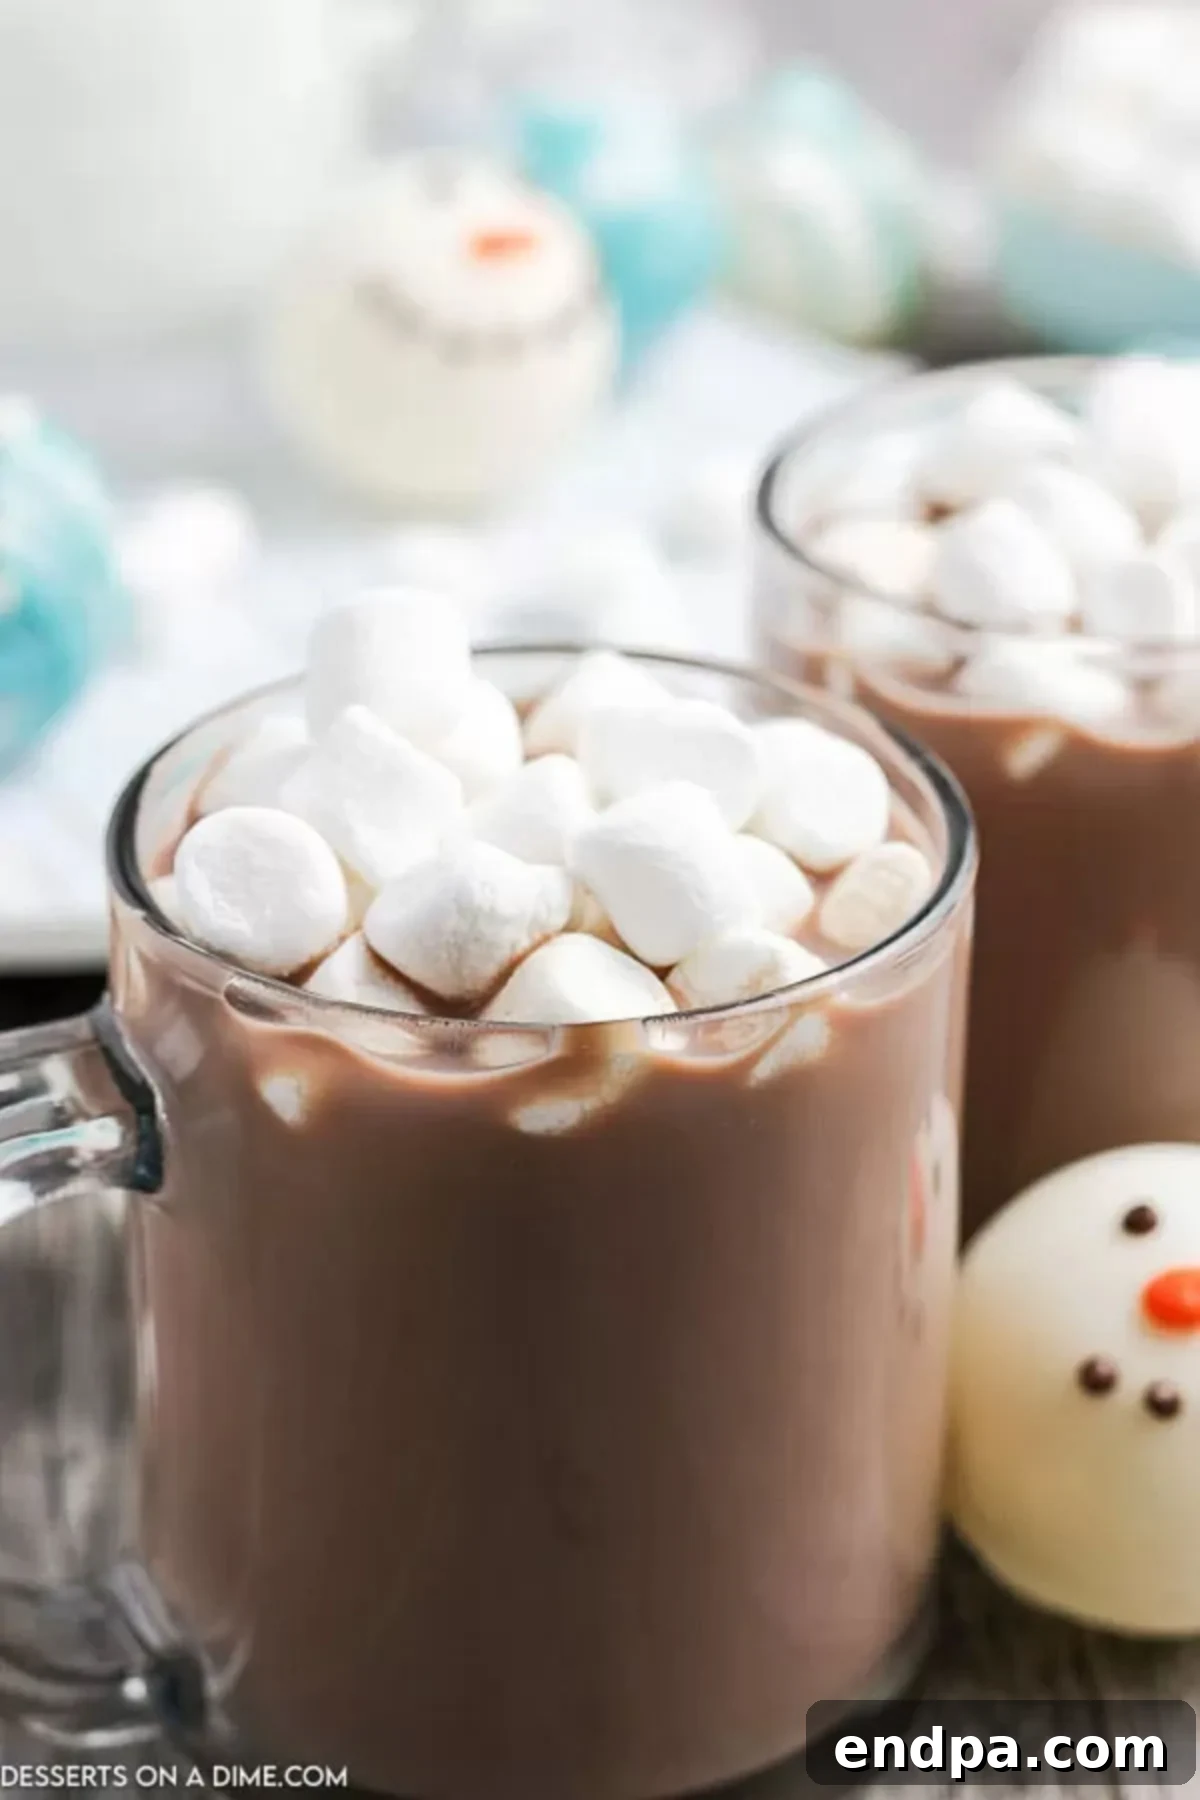
The popularity of hot chocolate bombs is undeniable, seemingly popping up everywhere from artisanal shops to grocery store shelves. While their allure is strong, the cost can quickly add up. The good news is that making this delightful no-bake recipe from scratch is actually quite straightforward. You don’t need to be an experienced baker to achieve impressive results.
We’ve been enjoying these delightful treats for quite some time, exploring various creative iterations. For a festive touch, we’ve even crafted Grinch Hot Chocolate Bombs, perfect for themed celebrations. If you love hot chocolate as much as we do, you might also enjoy other innovative takes like Hot Chocolate on a Stick and Hot Chocolate Popcorn, which offer unique ways to savor your favorite cocoa flavors.
Table of Contents: Hot Chocolate Bomb Recipe Guide
- What is a Hot Chocolate Bomb?
- Ingredients for Hot Chocolate Bombs
- Creative Variations
- How to Make Hot Chocolate Bombs
- Frequently Asked Questions
- Pro Tips for Perfect Hot Chocolate Bombs
- More Hot Chocolate Recipes
- Hot Chocolate Bombs Recipe Card
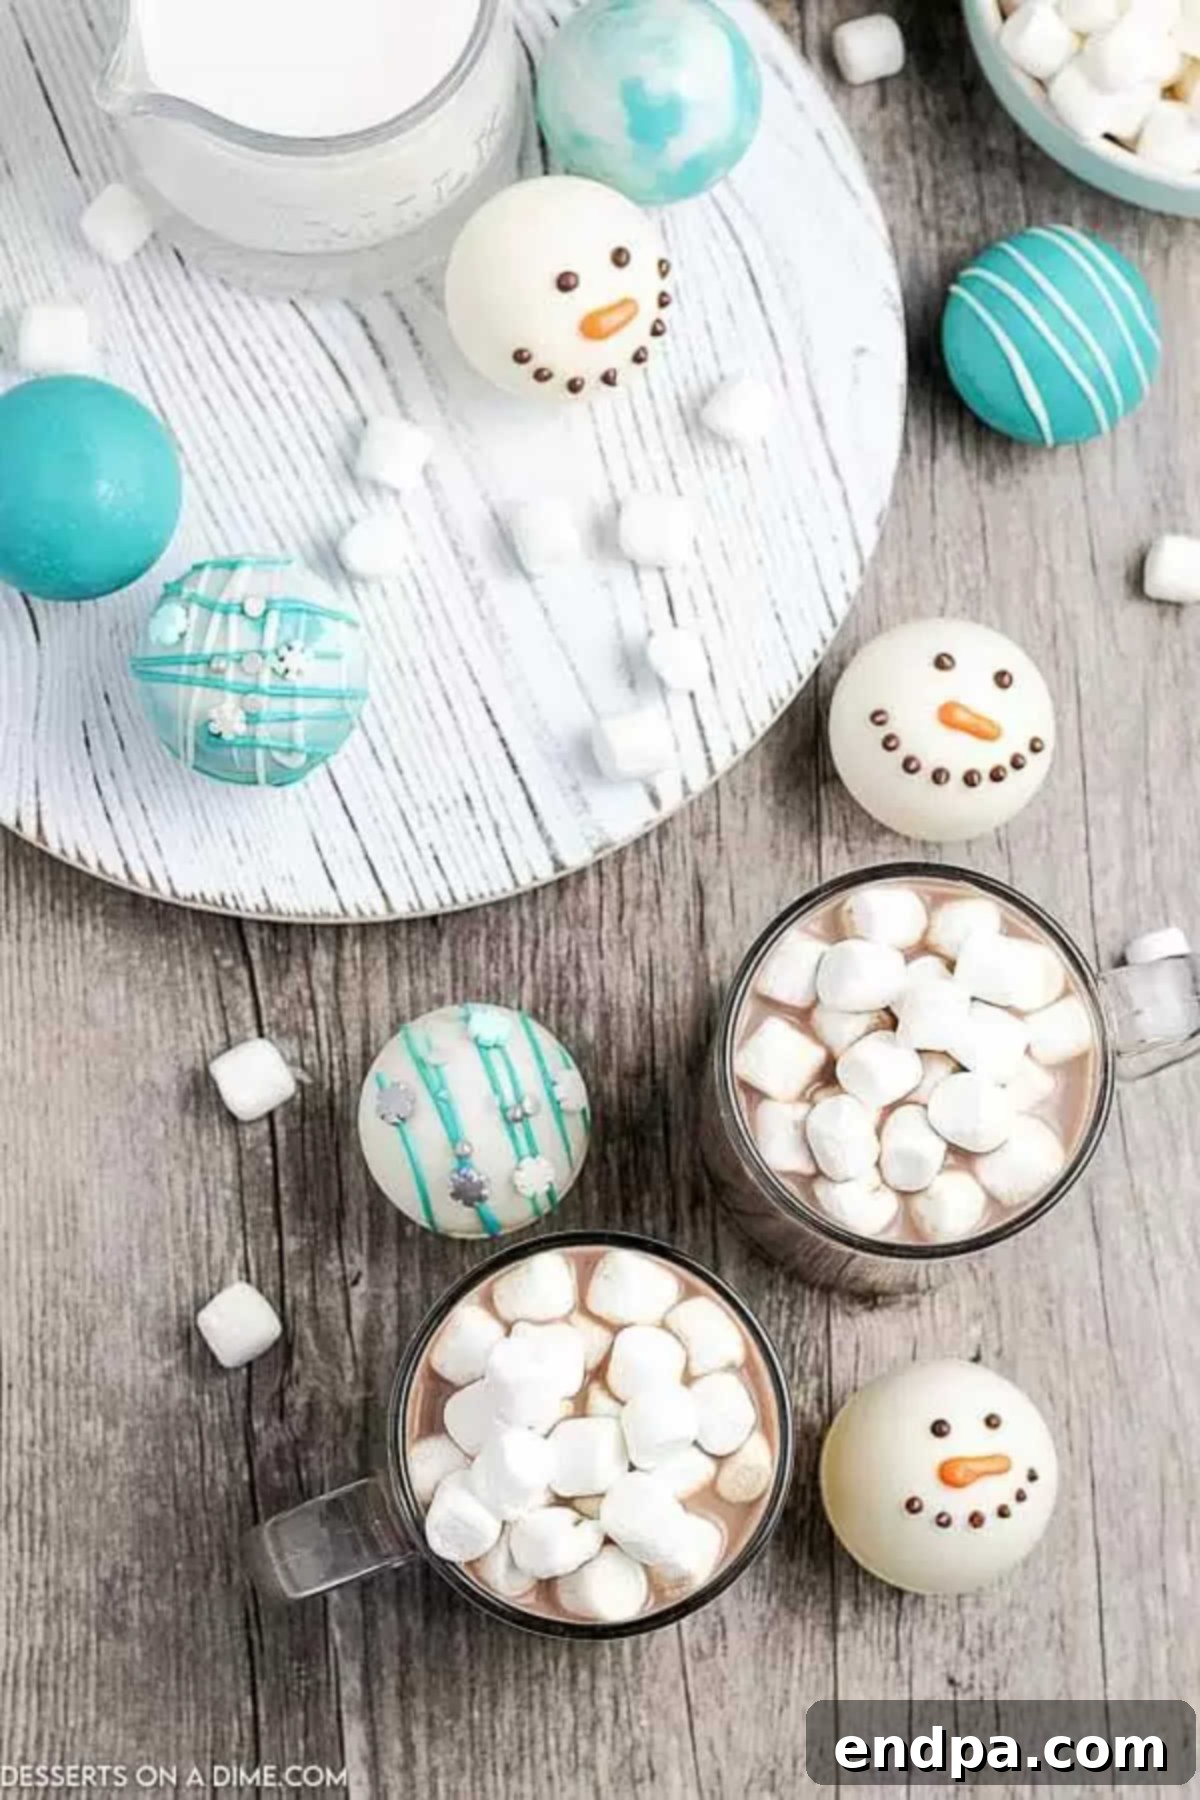
What is a Hot Chocolate Bomb? The Magic Unveiled
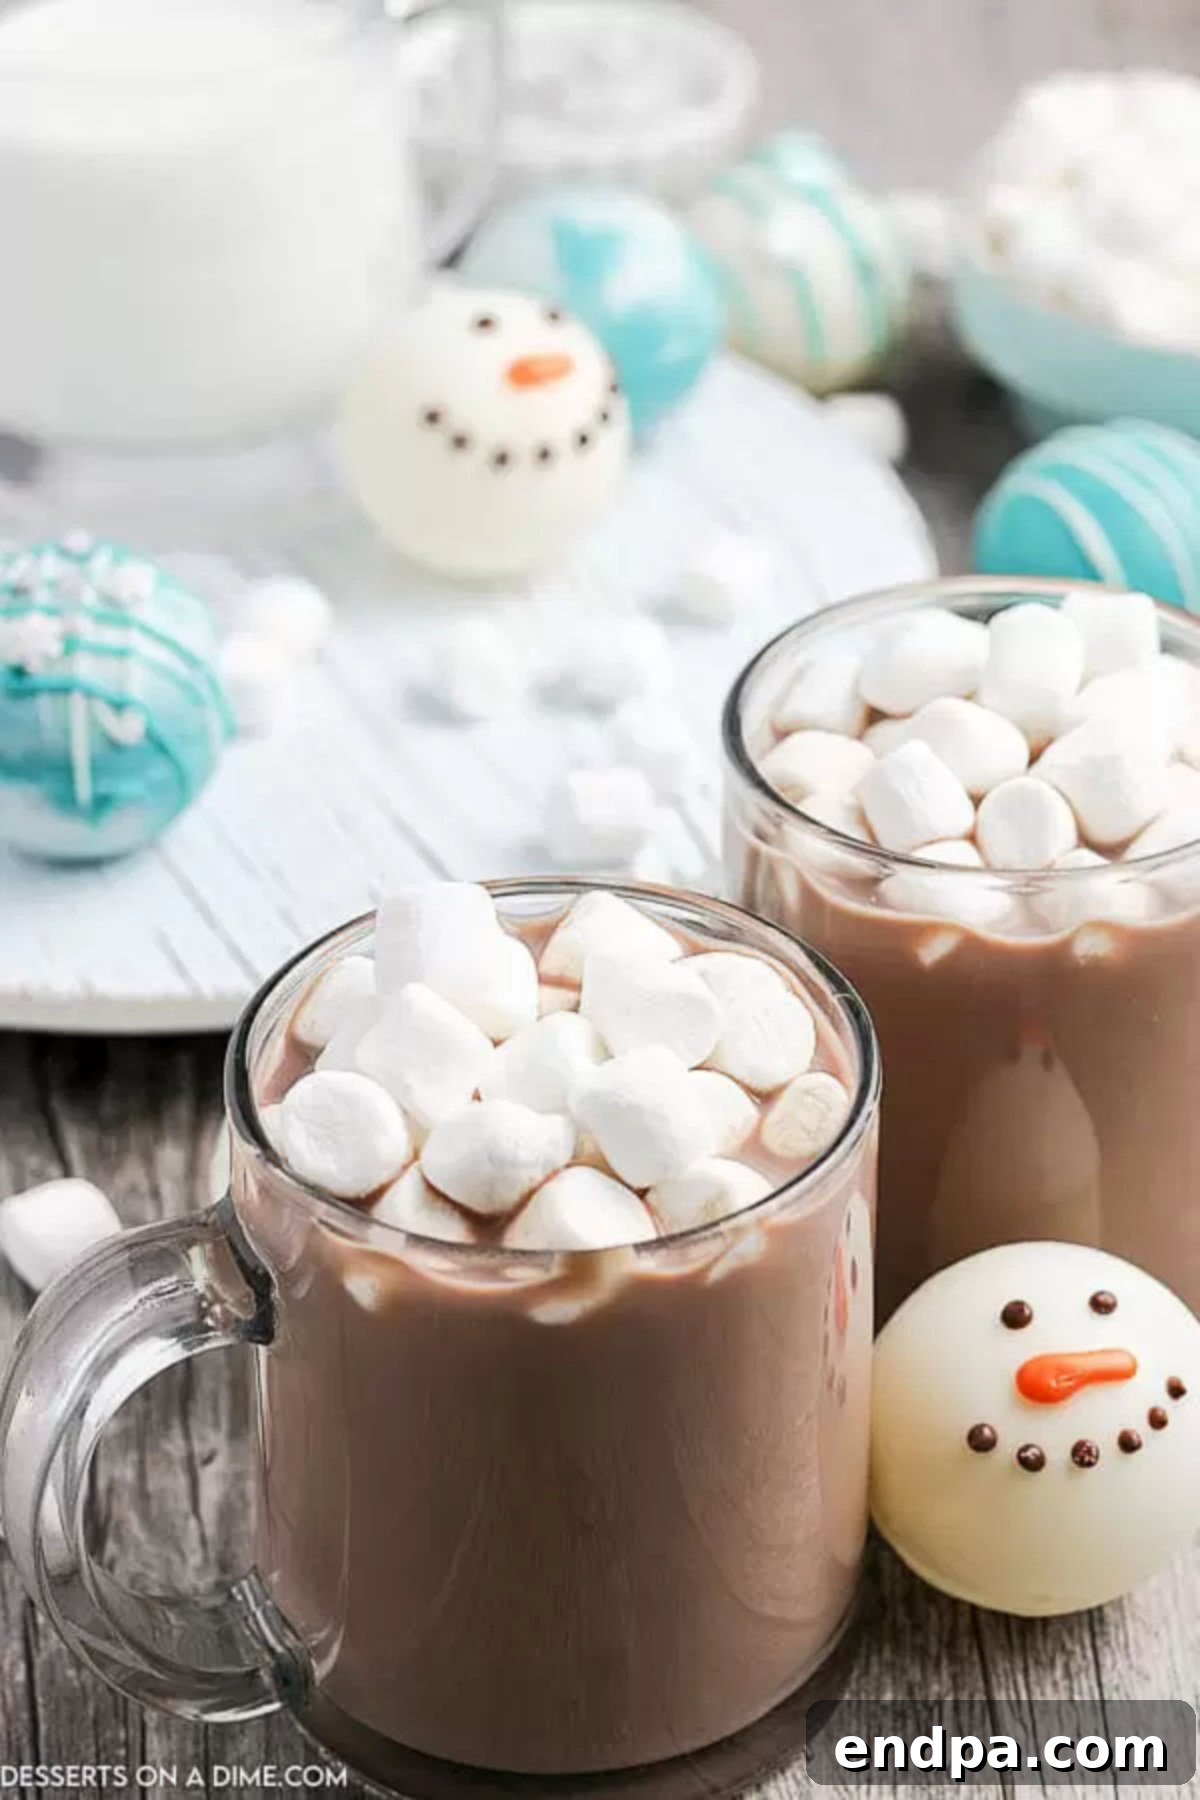
A hot chocolate bomb is essentially a hollow sphere of tempered chocolate, meticulously crafted and then filled with a delightful surprise of hot cocoa mix, mini marshmallows, and often other delicious additions like sprinkles or chocolate chips. The magic truly happens when you place one of these enchanting bombs into a mug and pour steaming hot milk over it. As the warm liquid embraces the chocolate sphere, it gradually melts away, theatrically releasing its contents into the milk, transforming it into a rich, flavorful, and incredibly fun hot chocolate drink. It’s an easy and exciting way to elevate your everyday hot cocoa, making each sip an adventure, especially on a cold winter day or during festive gatherings.
These edible creations offer an interactive and customizable beverage experience. Whether you prefer milk chocolate, dark chocolate, or white chocolate shells, the possibilities for fillings are endless. You can tailor them to specific holidays, personal preferences, or dietary needs, making them a versatile treat for any occasion. The simple act of watching the chocolate melt and reveal the hidden treasures inside adds an element of wonder that captivates both children and adults alike.
Essential Ingredients for Decadent Hot Chocolate Bombs
Crafting delicious hot chocolate bombs requires just a few key ingredients, most of which you likely already have in your pantry. The quality of your chocolate will significantly impact the final taste and texture, so choosing wisely is important. Here’s what you’ll need:
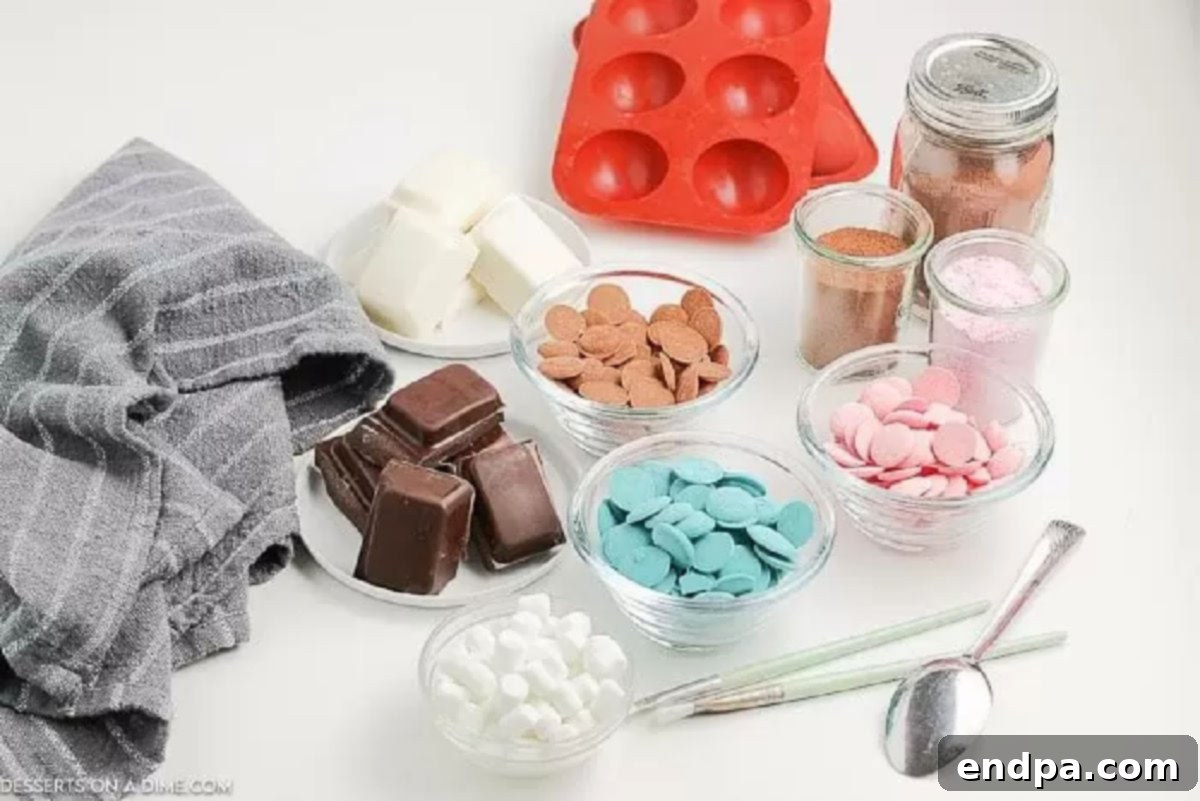
- High-Quality Chocolate: The foundation of your bomb! You can use milk, white, or dark chocolate. Opt for baking chocolate bars, chocolate chips, or candy melts (which are easier to work with as they don’t require tempering). The better the quality, the smoother and creamier your melted bomb will be, avoiding a waxy taste. Approximately 24 ounces will yield a good batch of bombs.
- Mini Marshmallows: These are essential for that classic hot chocolate experience. Mini marshmallows fit perfectly inside the bombs and float beautifully to the top when melted. You’ll need about 40 mini marshmallows per bomb, depending on size.
- Hot Cocoa Mix: The heart of your hot chocolate. Choose your favorite brand or even a homemade mix for the best flavor. Around 2 teaspoons per bomb is a good starting point.
- Dome Silicone Molds: These flexible molds are crucial for creating the perfect spherical shape and for easy removal of the chocolate shells. Various sizes are available, so pick one that suits your desired bomb size.
- Clean Paintbrush: A dedicated food-safe paintbrush is invaluable for evenly spreading the melted chocolate within the molds, ensuring complete coverage and a strong shell. A pastry brush can also work.
Optional Additions to Elevate Your Hot Chocolate Bombs
These extras allow you to customize your bombs, adding flair and unique flavor profiles:
- Candy Melts: Available in a rainbow of colors, candy melts are fantastic for drizzling on top, creating decorative designs, or even making colorful shells for themed bombs. They melt smoothly and set quickly.
- Sprinkles: A quick way to add a festive touch! From classic rainbow sprinkles to themed holiday mixes, they make your bombs visually appealing.
- Strawberry Milk Mix: For a fun twist, a spoonful of strawberry milk mix can create a pink hot chocolate bomb that’s both delicious and visually exciting.
- Crushed Peppermint or Candy Canes: Perfect for mint chocolate lovers, especially during the holiday season. Add directly inside the bomb or sprinkle on top.
- Chocolate Chips: Include a few mini chocolate chips inside for an extra burst of chocolate flavor as the bomb melts.
- Spices: A pinch of cinnamon, nutmeg, or even a tiny dash of cayenne pepper (for Mexican hot chocolate) can add depth and warmth.
Unleash Your Creativity: Hot Chocolate Bomb Variations
The beauty of hot chocolate bombs lies in their incredible versatility. Once you master the basic technique, you can let your imagination run wild with endless flavor combinations and decorations. Here are some ideas to inspire your next batch:
- Change the Chocolate Base: Don’t limit yourself to just milk chocolate. Experiment with rich dark chocolate for an intense cocoa experience or creamy white chocolate for a sweeter, milder flavor. You can even combine different types by drizzling one over another. Making a mix of different chocolate shells adds variety to your treat collection.
- Make Snowman or Character Bombs: Get artistic! Use melted white chocolate or candy melts in a piping bag with a fine tip to draw cute snowman faces, reindeer antlers, or other festive characters on your hardened chocolate spheres. A tiny edible marker can also be used for intricate details.
- Drizzle and Decorate: After assembling your bombs, drizzle contrasting melted chocolate or colorful candy melts over them. Think white chocolate drizzle on a dark chocolate bomb, or red and green drizzles for a Christmas theme. Add sprinkles immediately after drizzling for them to stick.
- Change the Filling: Beyond cocoa mix and marshmallows, the filling options are vast.
- Minty Fresh: Add crushed peppermint candy, candy canes, or a few mini chocolate chips with a drop of food-grade mint extract for a refreshing kick.
- Salted Caramel Delight: Drizzle caramel sauce inside the shell before adding cocoa mix, and sprinkle with a pinch of sea salt.
- Spiced Comfort: Include a tiny pinch of cinnamon, nutmeg, or even chili powder for a Mexican hot chocolate twist.
- Coffee Lover’s Treat: Add a teaspoon of instant coffee or espresso powder to your cocoa mix for a mocha bomb.
- Cookies & Cream: Crush up some Oreo cookies and add them to the filling.
- Seasonal Themes: Adapt your bombs to any holiday or season. Use orange candy melts for Halloween, red and pink for Valentine’s Day, or pastel colors for Easter. Themed sprinkles are your best friend here!
- Adult-Friendly Boozy Bombs: For an adult treat, consider adding a dash of liqueur, such as Baileys Irish Cream, Kahlúa, or a peppermint schnapps, to the hot milk before pouring over the bomb. *Always clearly label these if gifting!*
Step-by-Step Guide: How to Make Perfect Hot Chocolate Bombs
Making hot chocolate bombs is a fun and rewarding process. Follow these detailed steps to create your own delightful cocoa spheres.
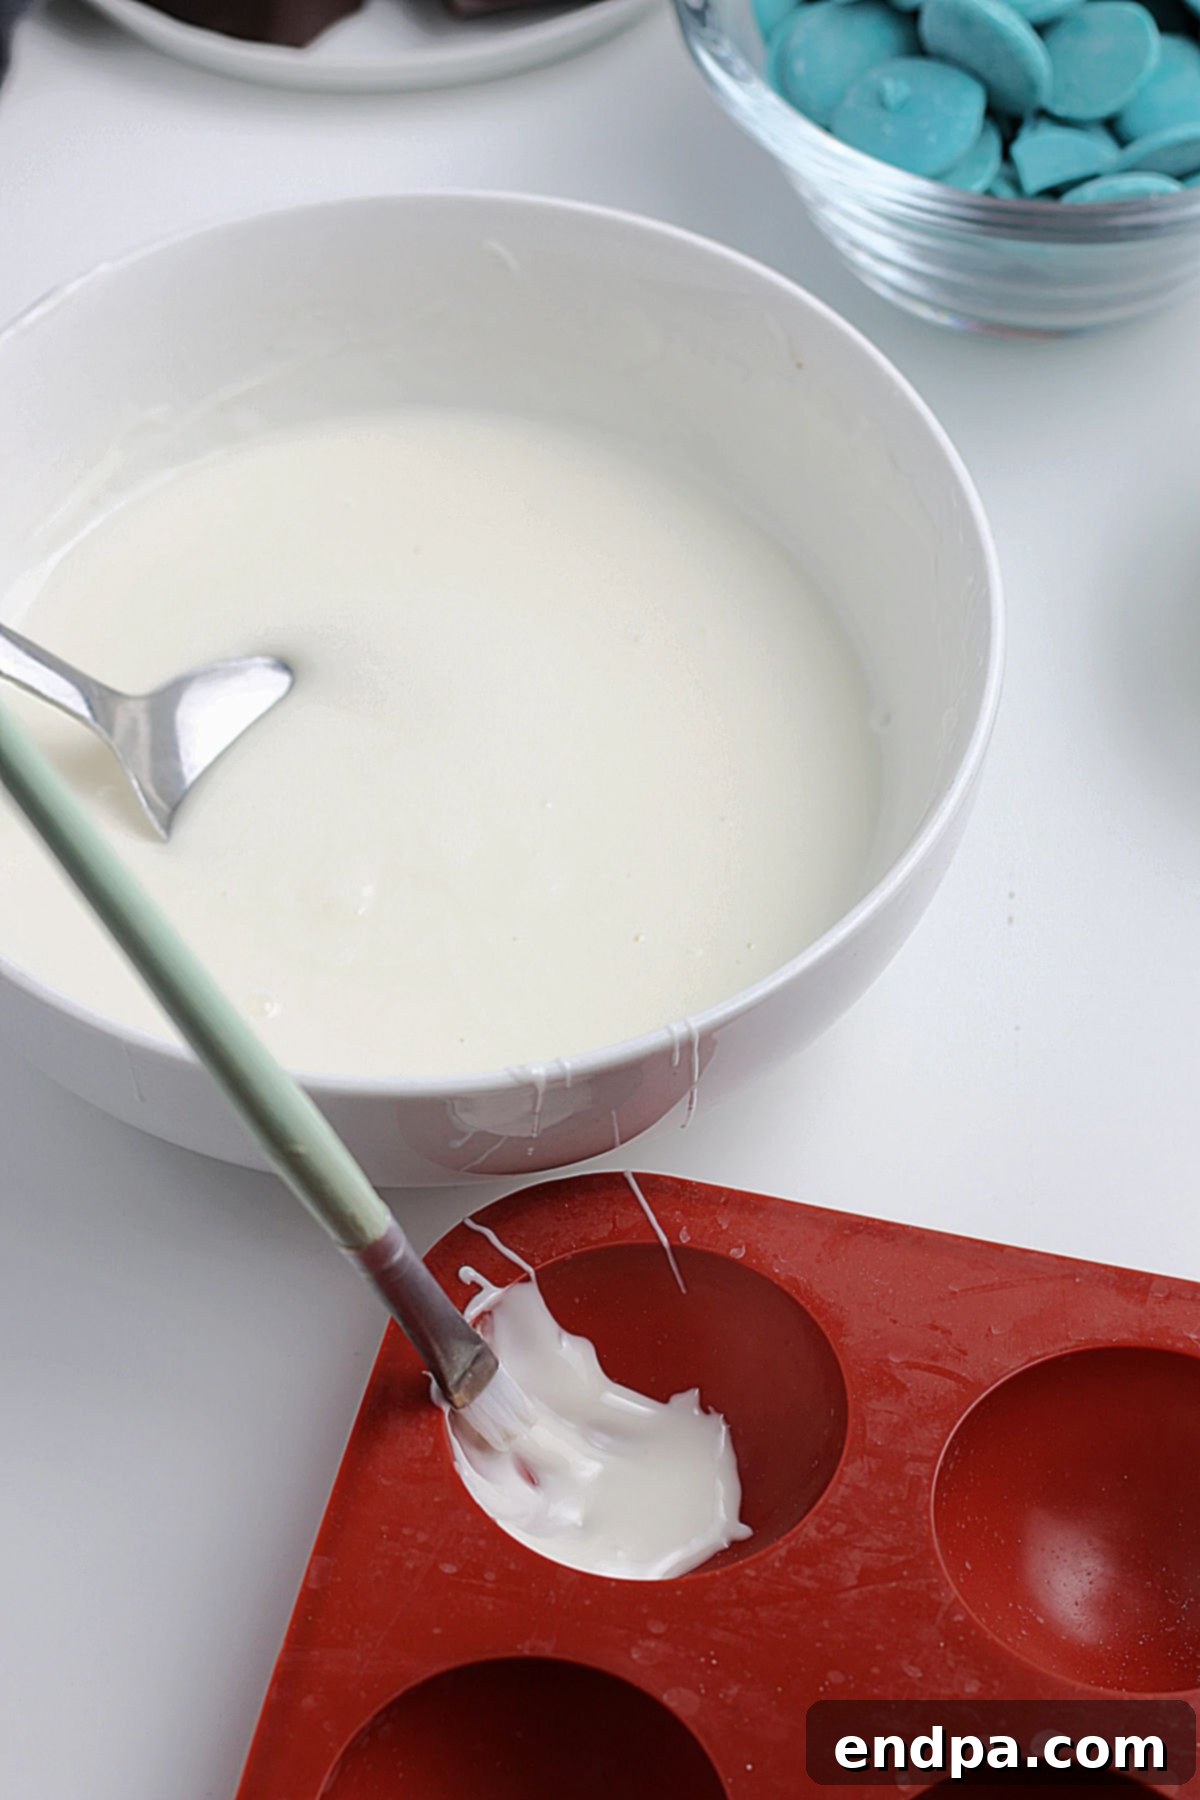
Step 1: Melt Your Chocolate. Begin by melting your chosen chocolate (milk, white, or dark) in a microwave-safe bowl. Heat in 30-second intervals, stirring thoroughly after each, until smooth and fully melted. Alternatively, you can use a double boiler on the stovetop for a more controlled melt. Once melted, pour a small amount into the silicone molds – just enough to coat the interior.
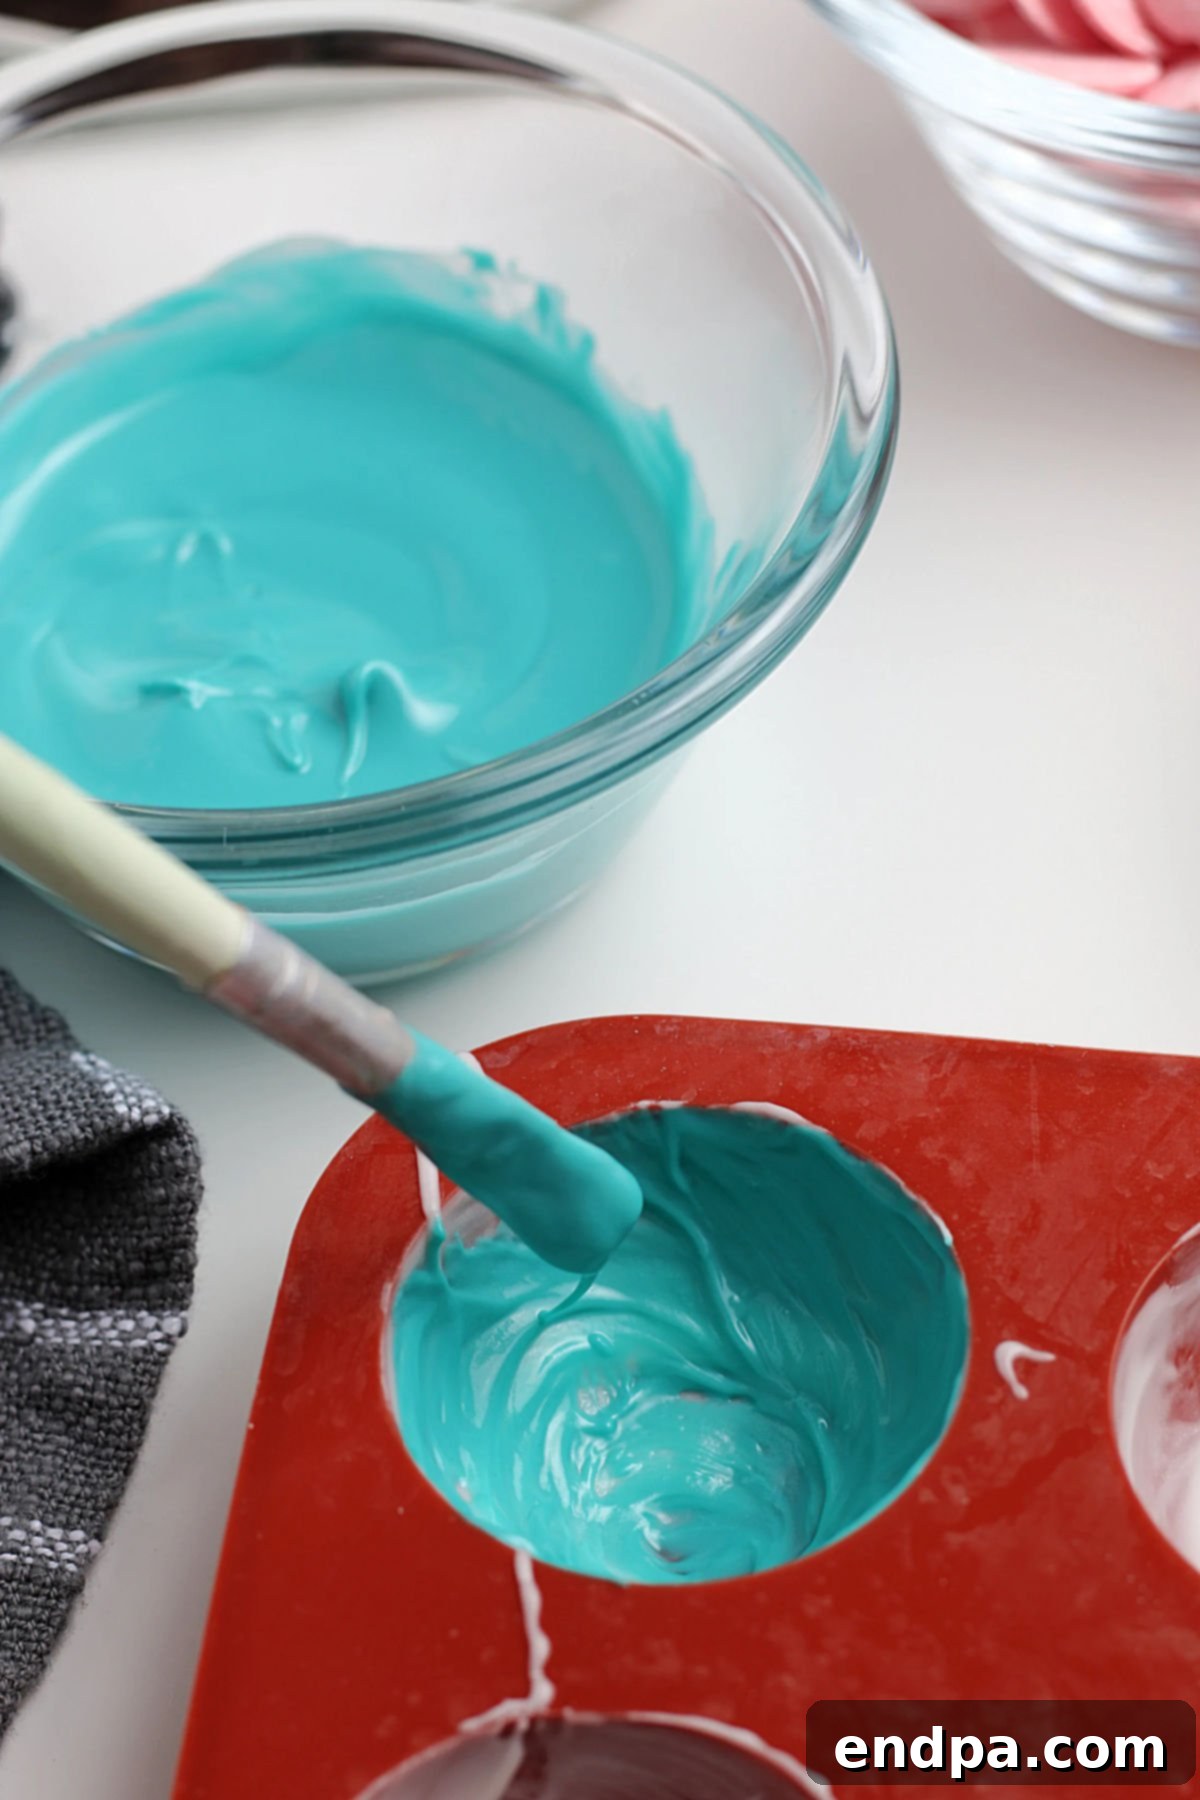
Step 2: Coat the Molds Evenly. Using your paintbrush (or a basting brush), spread the melted chocolate evenly around the inside of each silicone mold. Make sure the chocolate extends all the way to the edges and forms a consistent, thin layer. Check for any thin spots or gaps, as these can cause your shells to break. Repeat this process 3-4 times, allowing each layer to harden in between, to build sturdy chocolate shells.
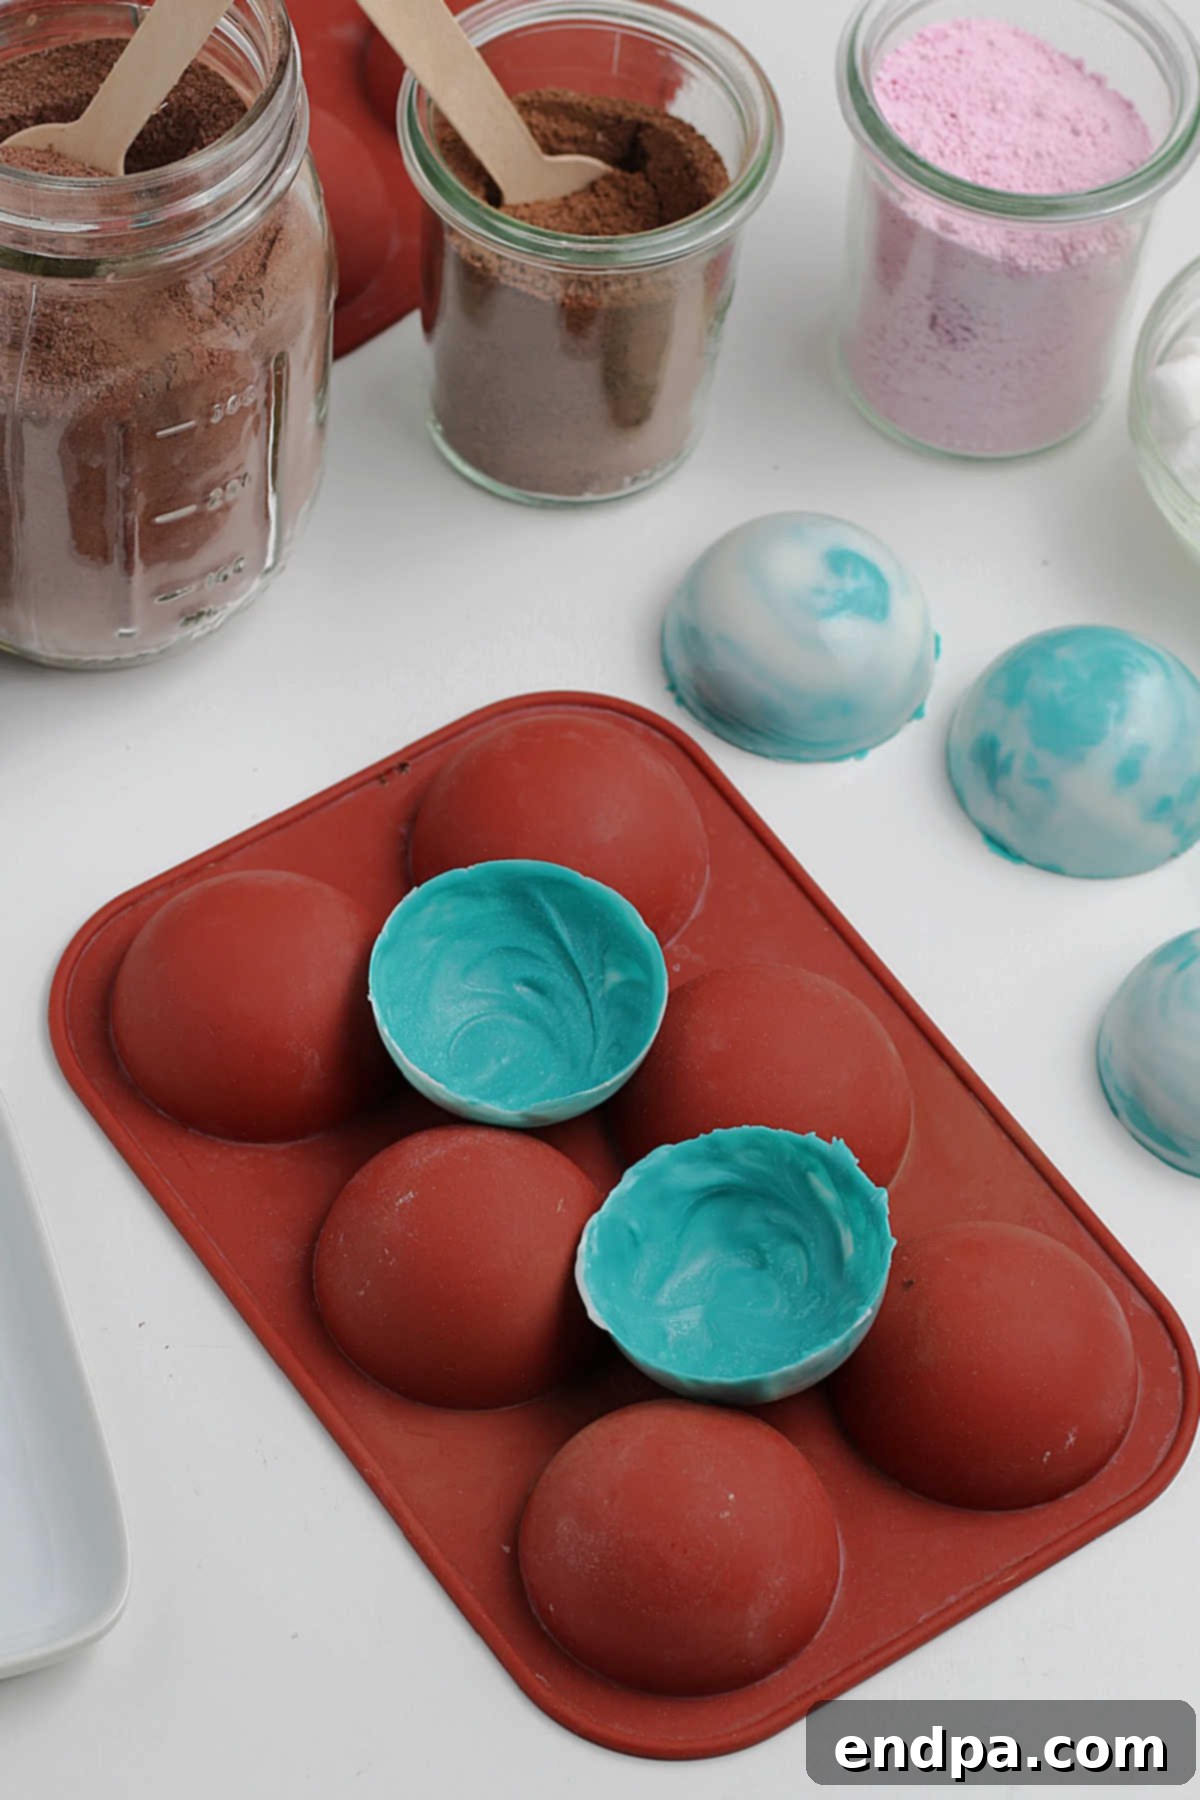
Step 3: Harden and Remove Shells. Allow the chocolate layers to harden completely. This usually takes only a few minutes at room temperature, or you can speed it up by placing the molds in the refrigerator for 5-10 minutes. Once hardened, gently flex the silicone molds to release the chocolate half-spheres. Be careful not to apply too much pressure, as the shells can be delicate.
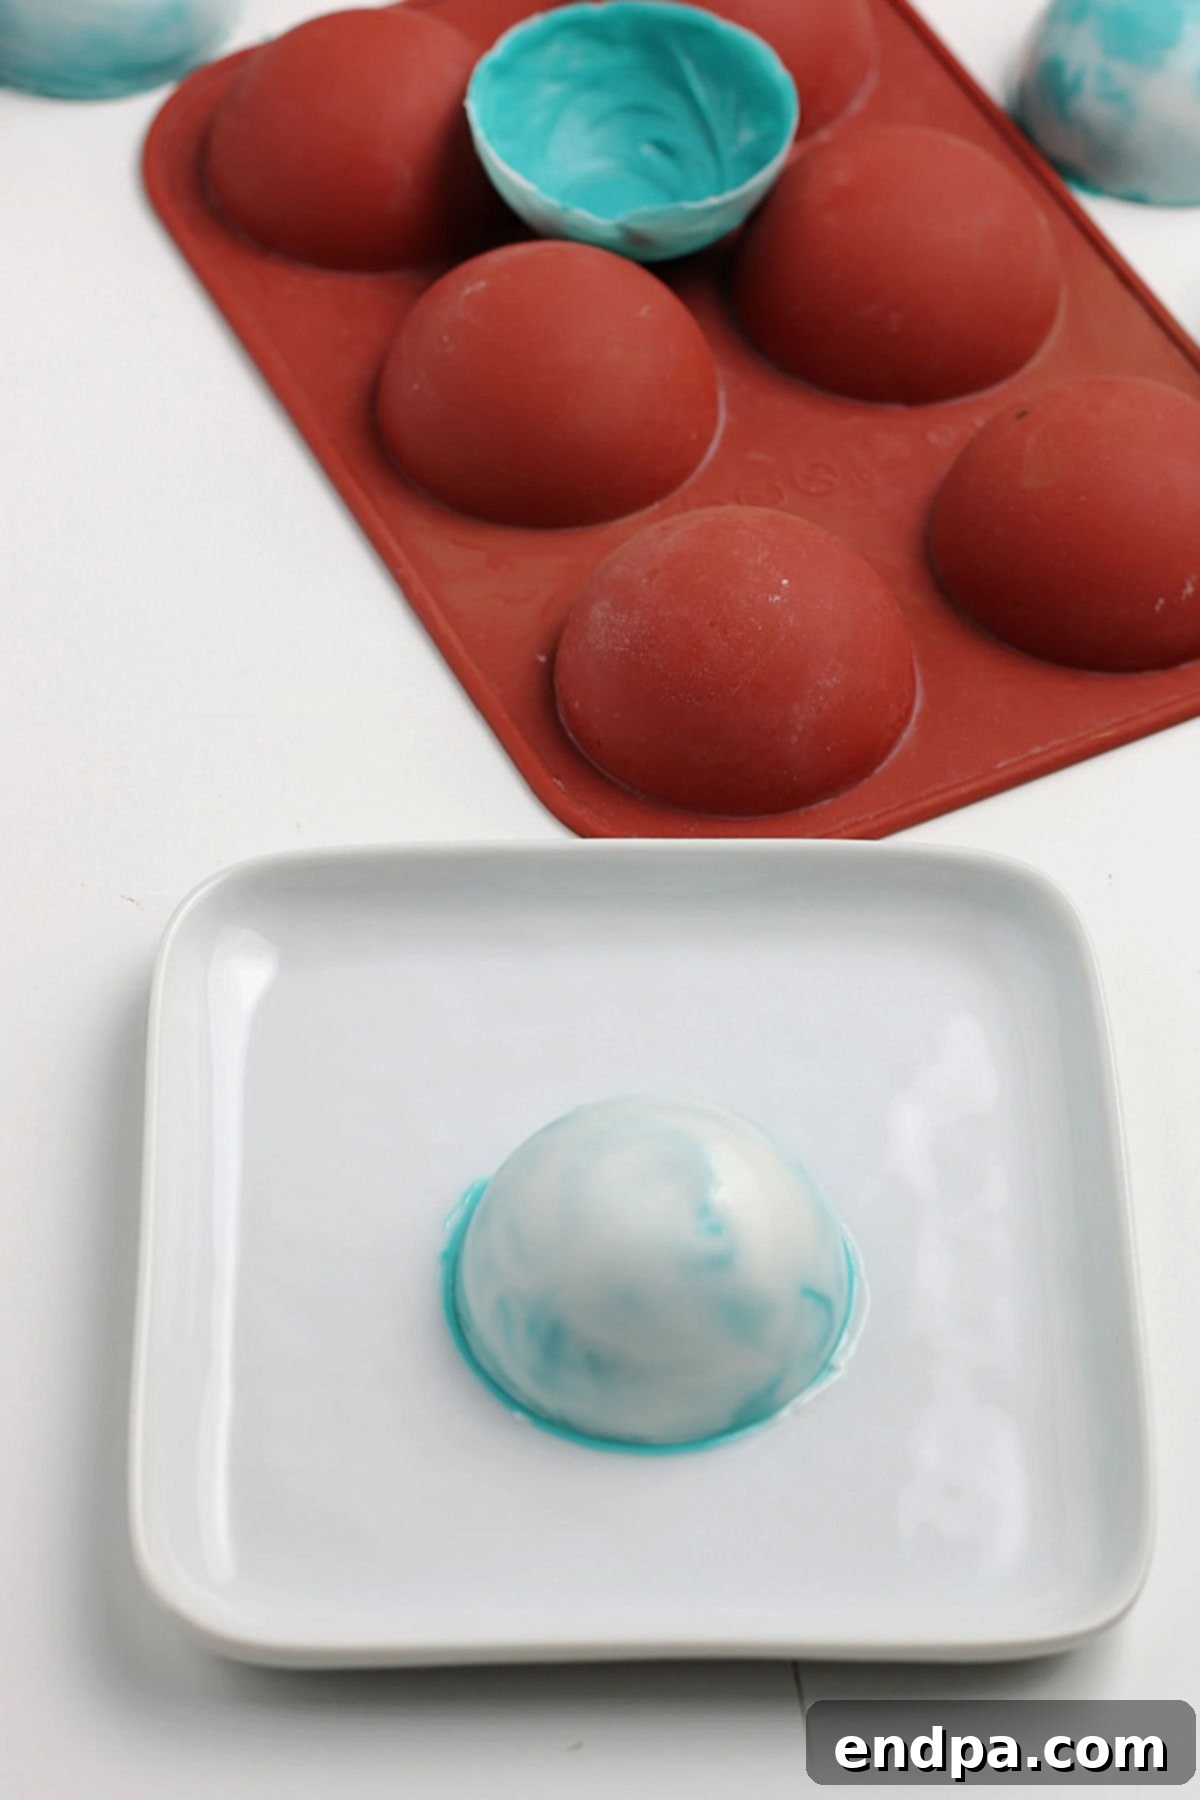
Step 4: Prepare for Sealing. Take a microwave-safe plate and heat it in the microwave for about 30 seconds, until it’s warm to the touch (not hot). Place the rim of one chocolate half-sphere onto the warm plate for just a few seconds. This will slightly melt the edge, creating a smooth surface that will help it adhere to another half.
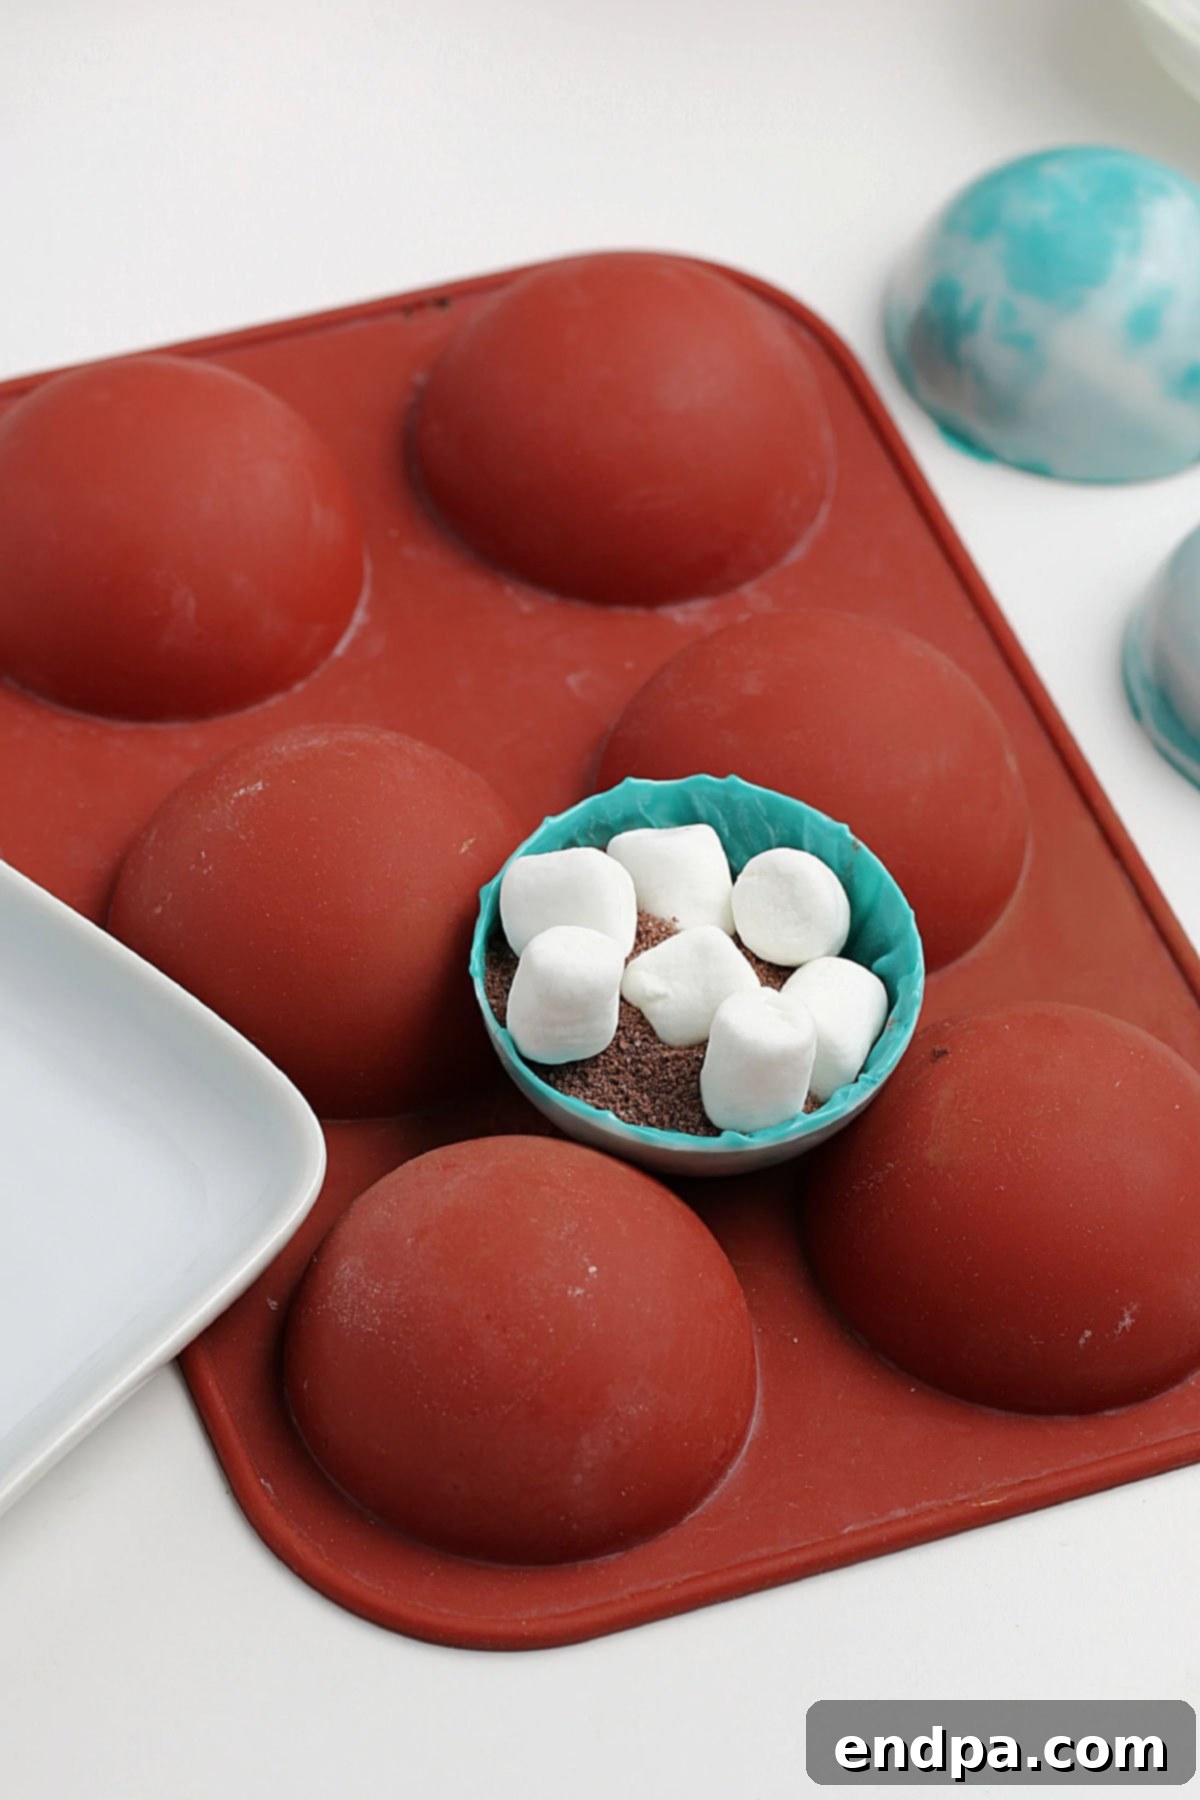
Step 5: Fill Your Bombs. Carefully fill one half of your chocolate shells with about 2 teaspoons of hot cocoa mix and a generous handful of mini marshmallows. This is also the perfect time to add any optional extras like sprinkles, crushed candy, or chocolate chips.
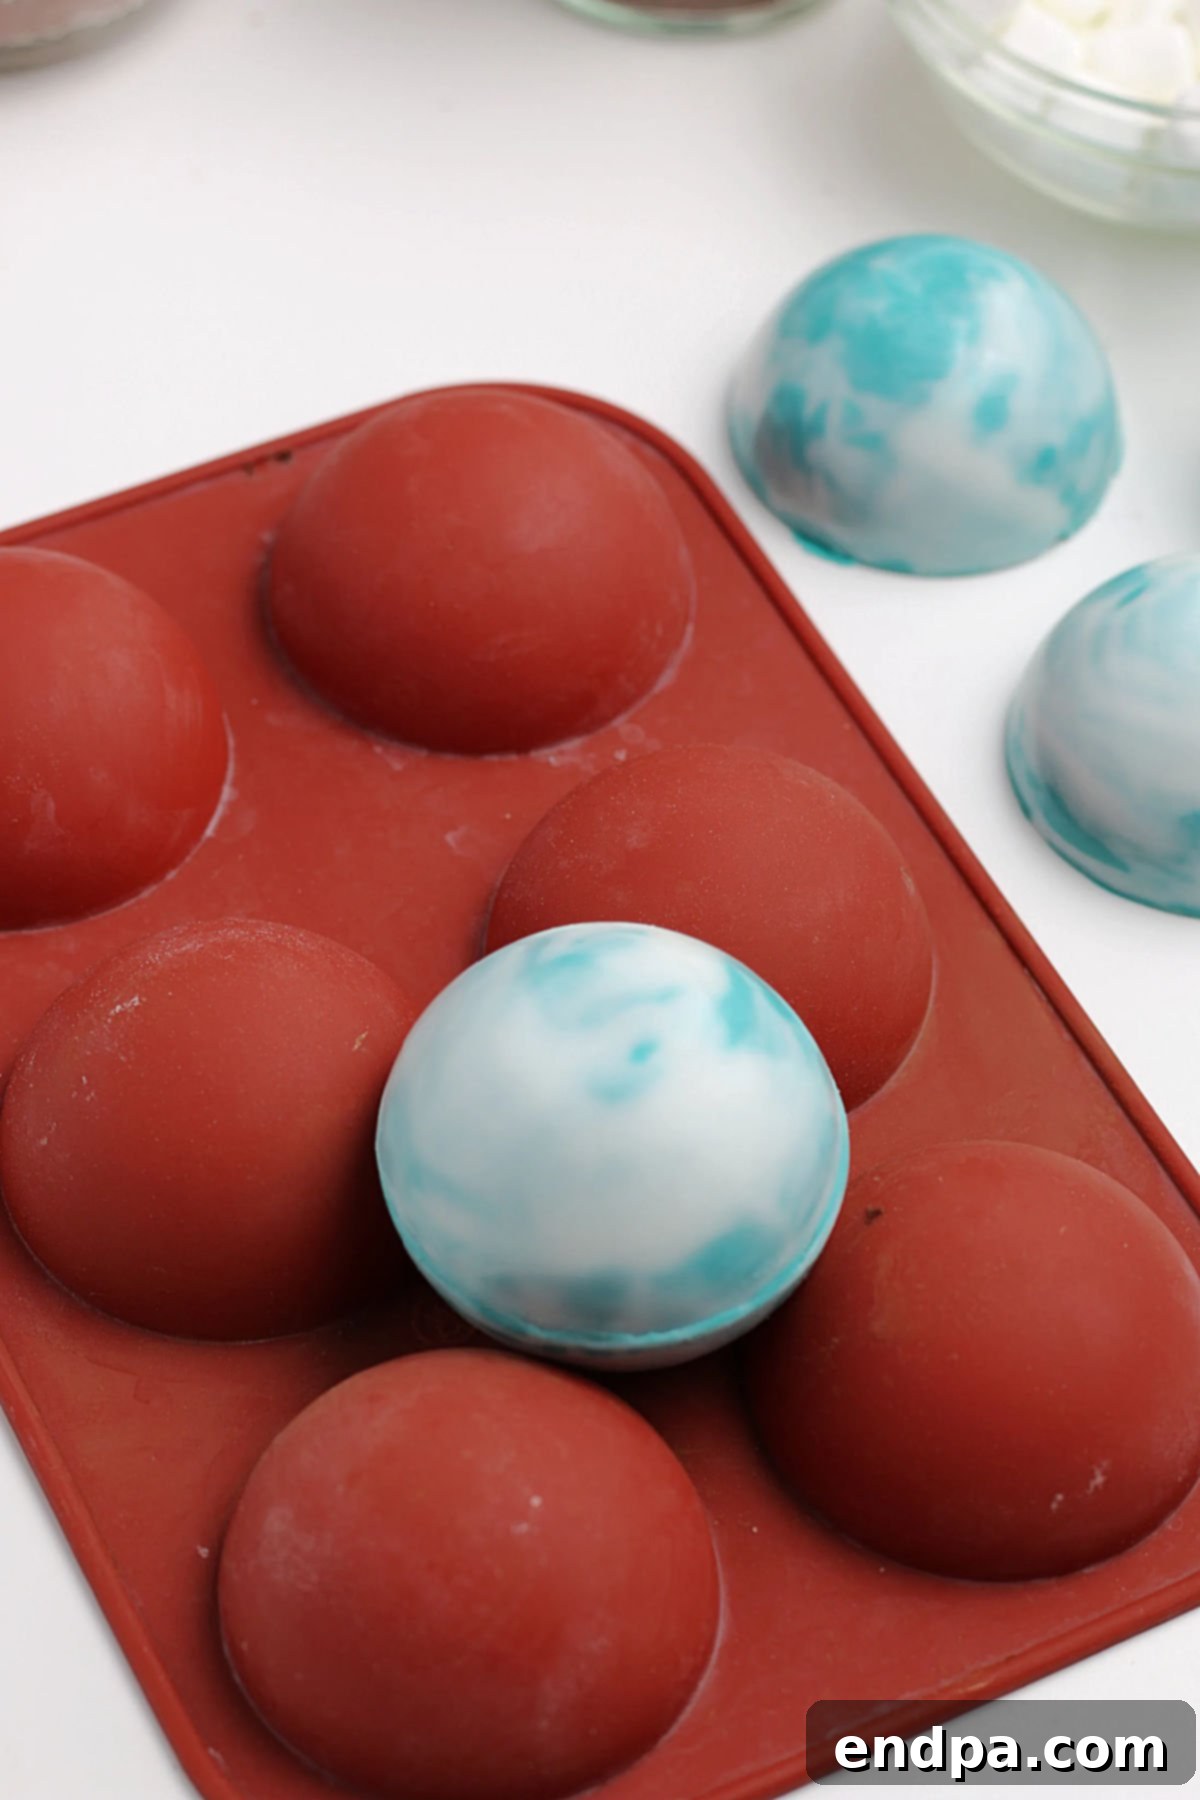
Step 6: Seal and Smooth. Repeat the warming process (Step 4) with a second chocolate half-sphere. Quickly and carefully place the melted rim of this second half onto the filled half, gently pressing them together to create a sealed sphere. Smooth out any excess chocolate around the seam with your finger or the paintbrush for a clean finish. Allow the bomb to set completely before handling further.
Frequently Asked Questions About Hot Chocolate Bombs
For the best results, choose a high-quality chocolate that melts smoothly and has a rich flavor. Baking chocolate bars, couverture chocolate, or good quality chocolate chips are excellent choices. Candy melts are also a great option, especially for beginners, as they are formulated to melt and set easily without requiring precise tempering. Avoid using low-quality chocolate that can taste waxy or seize when melted, as this will significantly impact the final experience. We’ve used various types, including milk, white, and dark chocolate, and even flavored candy melts for different colors and tastes.
Using a hot chocolate bomb is part of the fun! Simply place one bomb into an empty mug. Then, pour about 8-10 ounces of steaming hot milk (or hot water, if preferred, though milk yields a creamier result) over the bomb. As the hot liquid melts the chocolate shell, the cocoa mix and marshmallows will “explode” into your mug, mixing with the milk to create a delicious hot chocolate. This theatrical reveal is always a hit with kids and adults alike! Stir well to ensure all ingredients are combined, and then enjoy. For an extra special touch, serve with Homemade Marshmallows or a dollop of whipped cream.
After your hot chocolate bombs are assembled and fully set, they do not require refrigeration. They should be stored at room temperature in an airtight container, away from direct sunlight and heat, which could cause the chocolate to melt or bloom. Properly stored, hot chocolate bombs will typically last approximately 3 to 6 months. Their exact shelf life depends primarily on the expiration date of the chocolate and other perishable ingredients used in their creation. Make sure your storage area is cool and dry to maintain their integrity and flavor.
Cracking can happen if the chocolate layer is too thin or if the chocolate isn’t fully set before removal. Ensure you apply 2-3 even layers of chocolate, allowing each to set. Also, try chilling the molds in the refrigerator for 5-10 minutes (no longer, to avoid condensation) before gently unmolding. If cracking is still an issue, try using candy melts, which are often more forgiving than traditional chocolate.
Pro Tips for Perfect Hot Chocolate Bombs
Achieving perfectly crafted hot chocolate bombs is easier with a few expert tricks. These tips will help you create beautiful, sturdy, and delicious bombs every time:
- Mastering Chocolate Melting: While microwaving in 30-second intervals and stirring is convenient, a double boiler offers more precise control, preventing your chocolate from burning or seizing. If using a microwave, ensure your bowl is completely dry, as even a tiny drop of water can cause chocolate to seize. Stir constantly until smooth for consistent results. You can use any chocolate, including melted white chocolate, for different looks.
- Creating Sturdy Shells with Layers: Don’t rush the chocolate layering process. Applying 2-3 thin, even layers of chocolate, allowing each to harden completely before adding the next, is crucial. This builds a strong enough shell to hold its shape and contents without being too thick. Use the back of a spoon or a pastry brush to spread the chocolate meticulously into the molds, ensuring full coverage, especially around the edges.
- Seamlessly Combining the Chocolate Halves: The key to a smooth, strong seam is speed and precision. After gently melting the edges of your chocolate halves on a warm plate, you need to quickly press them together. The slight melt on the edges acts as a natural “glue.” If the chocolate hardens too much before joining, it won’t stick, or the seam will be weak. Work efficiently but carefully.
- Smoothing Out the Edges: Once the two halves are joined, you might notice a small amount of excess chocolate around the seam. For a professional finish, you can use your clean paintbrush or even your fingertip (if the chocolate isn’t too hot) to gently smooth out this extra chocolate, blending the seam for a flawless appearance.
- The Art of Gifting: Hot chocolate bombs make exquisite homemade gifts for friends, family, and neighbors, especially during the holidays. To package them beautifully, place each bomb in a clear cellophane bag and tie it with a festive ribbon. Include a small tag with simple instructions on how to use them (e.g., “Place in a mug and pour 8-10 oz of hot milk over for a magical treat!”). It’s a thoughtful and budget-friendly gesture that’s sure to be appreciated.
- Don’t Overfill the Molds: When applying chocolate to the molds, avoid making the shells too thick. While multiple layers are good for strength, an overly thick shell will take longer to melt and might overwhelm the drink’s flavor. Aim for shells that are sturdy but still relatively thin.
- Patience is a Virtue: The most common mistake is rushing the hardening process. Allow the chocolate to fully set at each stage. This ensures easy removal from the molds and strong shells that won’t crack during assembly.
More Delightful Hot Chocolate Recipes to Explore
If you’re a true hot chocolate aficionado, there’s a world of delightful cocoa creations beyond these bombs waiting to be discovered. Expand your repertoire with these other fantastic hot chocolate recipes:
- Crock Pot Hot Chocolate Recipe: Perfect for serving a crowd or keeping warm during a party.
- Homemade Hot Chocolate Mix Recipe: Customize your cocoa blend for the freshest flavor.
- Iced Hot Chocolate Recipe: A refreshing twist for warmer days.
- Hot Chocolate Starbucks Copycat Recipe: Recreate your favorite cafe beverage at home.
- Crock Pot White Hot Chocolate Recipe: A creamy, indulgent alternative to traditional cocoa.
Your journey into the wonderful world of hot chocolate bombs is just beginning! The kids, and adults, will absolutely adore this recipe. Give it a try for a truly fun and memorable treat, and don’t forget to leave a comment once you experience the magic!
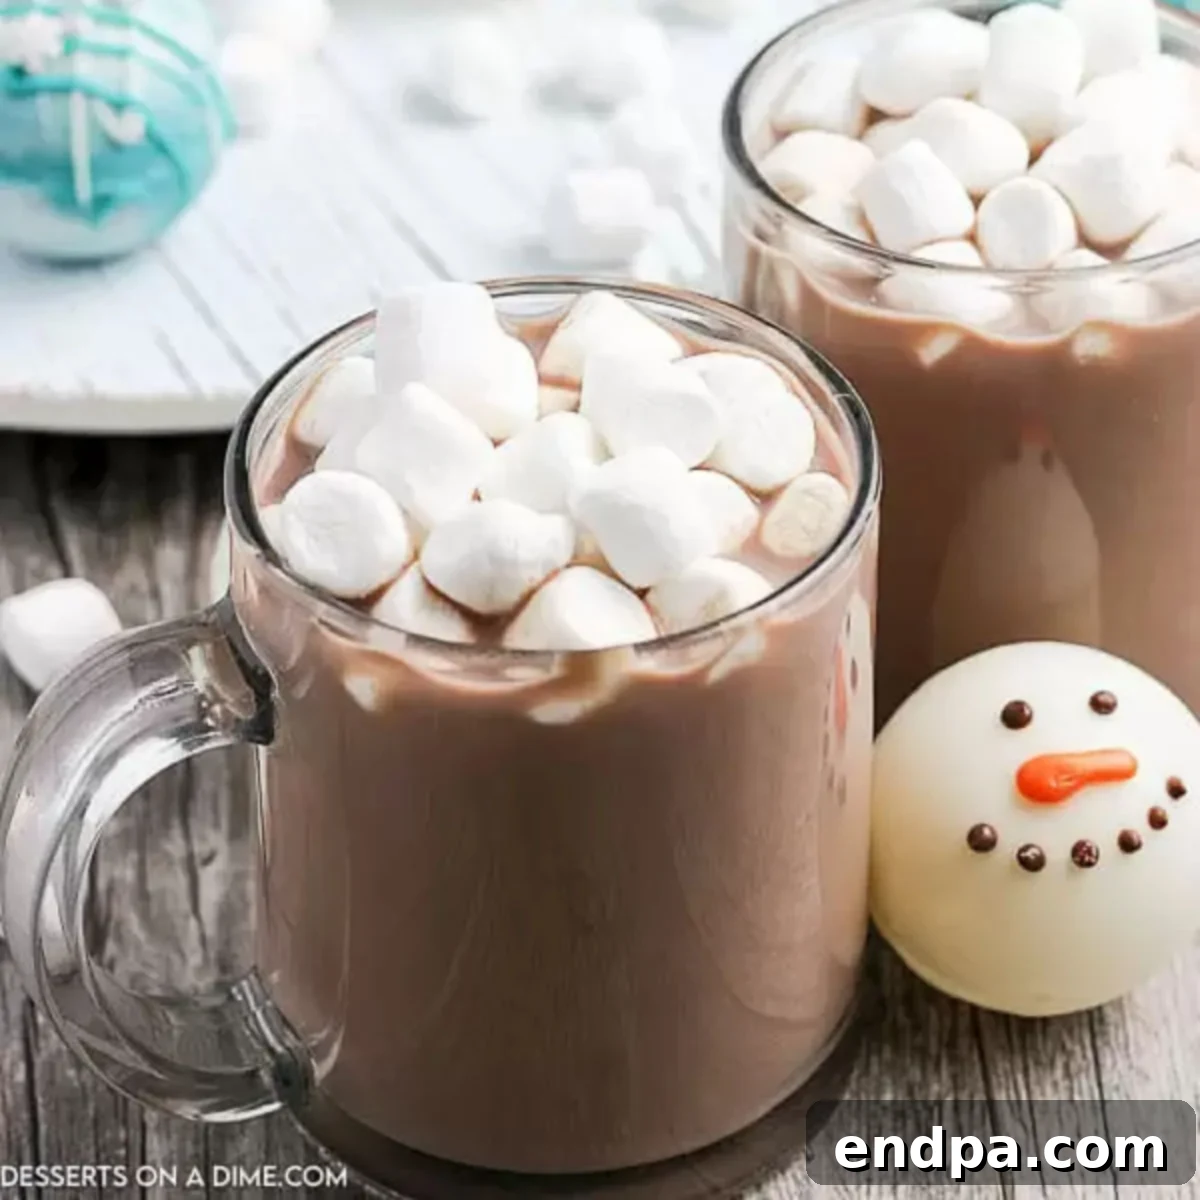
Hot Chocolate Bombs Recipe
Hot chocolate bombs are incredibly easy to make and offer a delightful, interactive experience. Not only are they decadent, but crafting them at home is a fantastic way to save money and enjoy a personalized treat.
15 mins
15 mins
3
American
Dessert
224
Carrie Barnard
Ingredients
- 24 oz. Milk, White or Dark Chocolate
- 40 Mini Marshmallows
- 6 Teaspoons Hot Cocoa Mix
- Dome Silicone Molds
- Paintbrush
- Optional Additions:
- Candy Melts
- Sprinkles
- Strawberry milk mix
Instructions
- Melt the chocolate in a microwave, stirring between 30-second intervals until smooth. Pour a small amount into the silicone mold.
- Use a paintbrush to spread the chocolate evenly in the mold, ensuring it covers all the way up to the edges.
- Allow the chocolate to harden. Repeat the layering process 3-4 more times to build strong chocolate shells.
- Let the chocolate harden completely (about 5 minutes), then gently remove it from the molds.
- Microwave a microwave-safe plate for approximately 30 seconds to warm it. Place half of the chocolate shells onto the warm plate to slightly melt their rims.
- Fill the melted-rimmed chocolate half with 2 teaspoons of hot cocoa mix and mini marshmallows.
- Melt the rims of the second set of chocolate shells by following the same process with the warmed plate.
- Quickly place the two open, melted ends of the chocolate shells together and gently press to seal. Smooth out any extra chocolate around the seam where the two shells join.
- To use, place a hot chocolate bomb in a mug and pour hot milk over the top to melt and reveal the delicious hot chocolate within.
- Enjoy your magical homemade hot chocolate!
Recipe Notes
Once made, these hot chocolate bombs do not need to be refrigerated. Store them at room temperature in an airtight container. They will last approximately 3-6 months, depending on the expiration date of the chocolate you use.
Nutrition Facts
Calories 224kcal, Carbohydrates 29g, Protein 8g, Fat 9g, Saturated Fat 6g, Trans Fat 1g, Cholesterol 23mg, Sodium 224mg, Potassium 300mg, Fiber 1g, Sugar 25g, Vitamin A 369IU, Calcium 271mg, Iron 1mg
