The Ultimate Christmas Cut Out Sugar Cookies Recipe
Step into the festive spirit with our exquisite recipe for Christmas Cut Out Sugar Cookies. These aren’t just any cookies; they are the perfect blend of soft, chewy texture and rich, buttery flavor, designed to be beautifully decorated for the holiday season. Whether you’re a seasoned baker or just starting your festive traditions, this easy-to-follow guide will help you create stunning, bakery-quality cookies that will delight everyone.

Christmas and sugar cookies are an inseparable duo. This recipe for the absolute best cut-out sugar cookies is a cherished family tradition we’ve perfected over many years. It consistently yields perfectly soft, deliciously chewy cookies that hold their shape beautifully, making them ideal for elaborate holiday decorations.
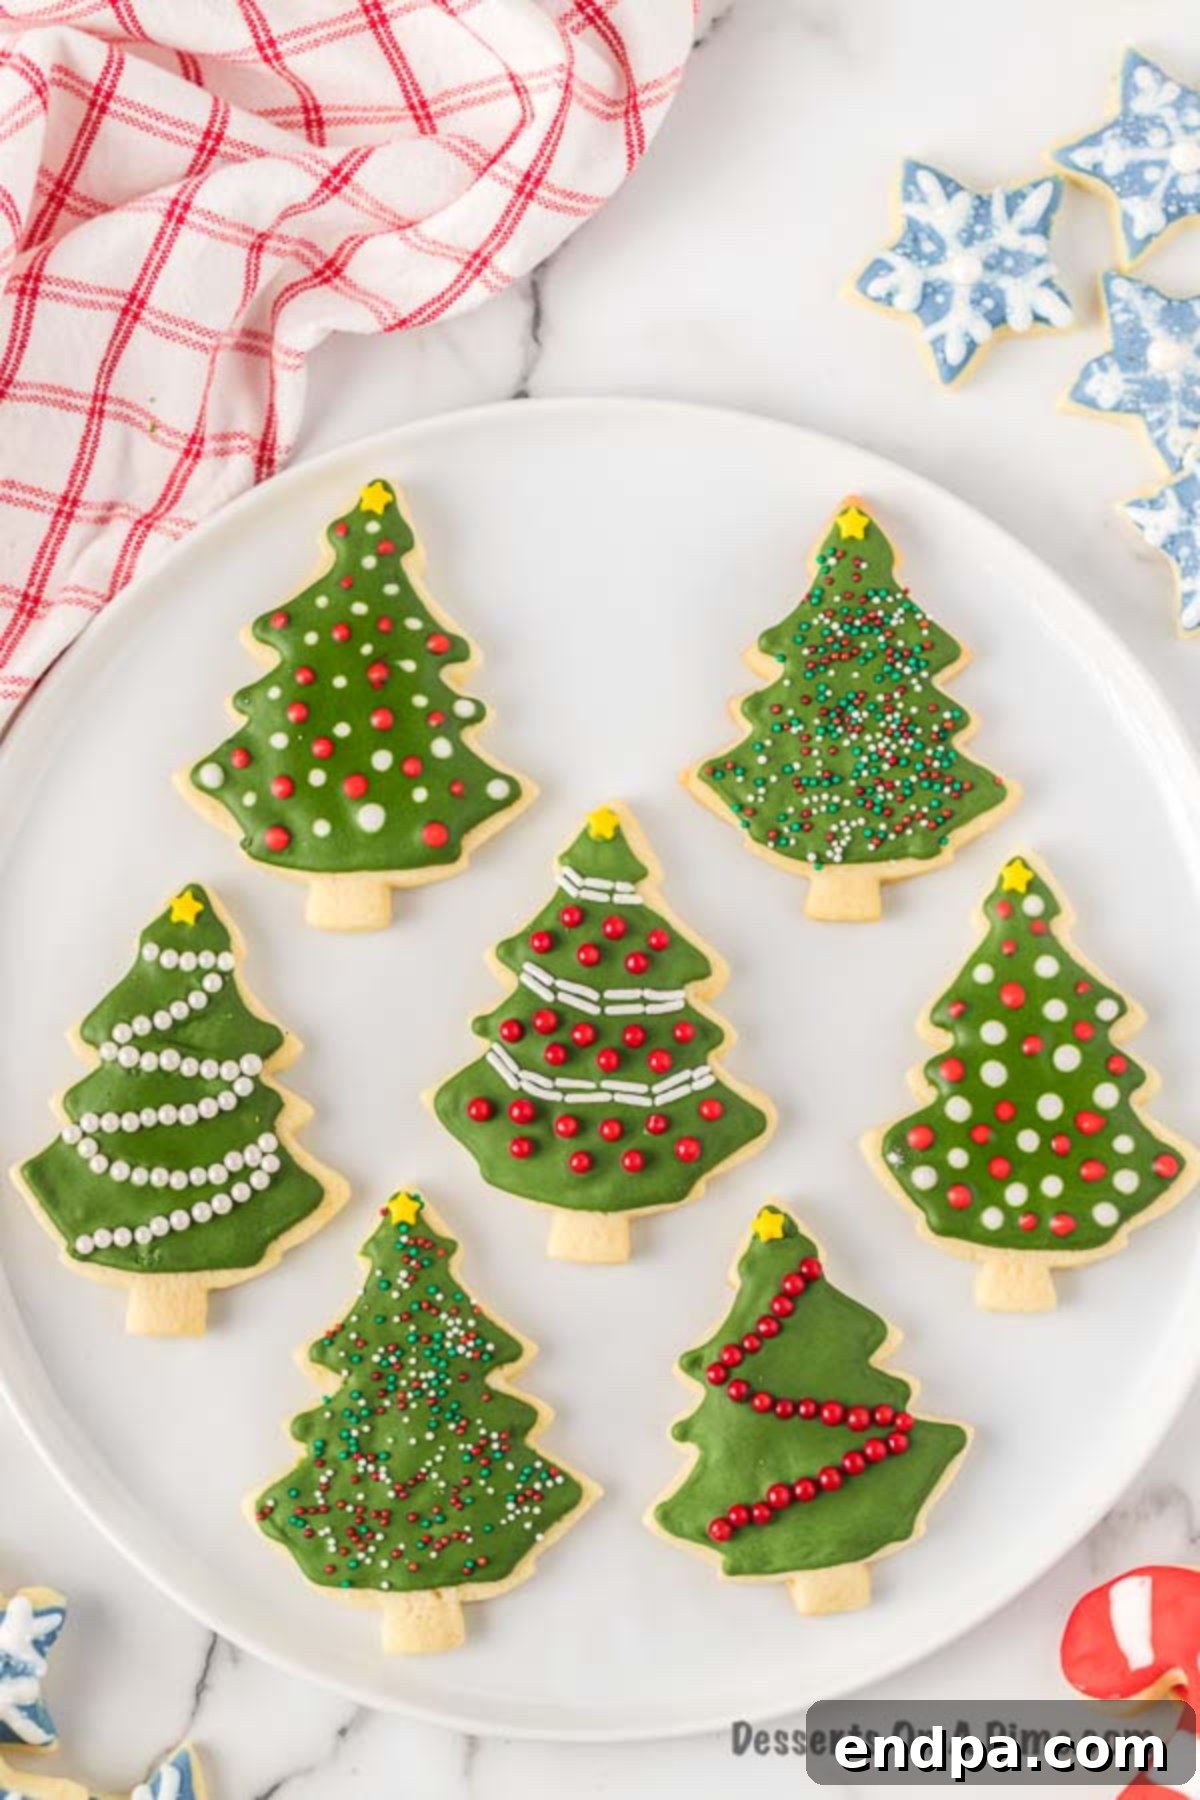
Unleash your creativity by choosing all your favorite holiday cookie cutter shapes—from stars and trees to gingerbread men and snowflakes. The real magic happens with the rich, vibrant royal icing, transforming each cookie into a miniature work of art. For a charming alternative, you might also enjoy making Christmas Tree Sugar Cookies with a delightful sugar cookie frosting.
These festive treats are an absolute hit at Christmas parties, cookie exchanges, and family gatherings. Prepare to receive compliments galore, as friends and family will surely believe these delectable creations came straight from a gourmet bakery. They are not only stunning to look at but also incredibly tasty and will undoubtedly become a highlight of your holiday dessert spread.
What You’ll Find in This Guide: Christmas Cut Out Sugar Cookie Recipe
- Why You’ll Adore This Recipe
- Essential Ingredients for Perfect Sugar Cookies
- Step-by-Step Guide to Baking Christmas Sugar Cookies
- Mastering the Art of Cookie Decorating
- Pro Tips for Sugar Cookie Success
- Can You Freeze Sugar Cookie Dough or Baked Cookies?
- Frequently Asked Questions
- More Irresistible Christmas Cookie Recipes
- Full Christmas Cut Out Sugar Cookies Recipe Card
Why You’ll Adore This Recipe
- Unforgettable Flavor and Texture: These cookies boast a wonderfully soft and chewy center with perfectly crisp edges, creating a truly delightful eating experience. Their rich, buttery flavor is simply amazing, making them an instant holiday favorite.
- Surprisingly Simple to Make: Despite their impressive appearance, these cut-out sugar cookies are incredibly easy to prepare. The dough comes together quickly, and the steps are straightforward, making them accessible for bakers of all skill levels. They’re also wonderfully versatile, easily adapted for other holidays like Valentine’s Day or Easter with different cookie cutters and icing colors.
- Endless Decorating Fun: Get ready for hours of creative enjoyment! Decorating these cookies is arguably the best part. From simple floods to intricate designs, you can customize them with an assortment of vibrant gel food colorings and sprinkles, making each batch uniquely yours.
Essential Ingredients for Perfect Sugar Cookies
Crafting the perfect batch of Christmas sugar cookies starts with understanding your ingredients. Here’s what you’ll need and why each element is crucial for that ideal soft, chewy texture and delicious flavor.
Cookie Ingredients:
- All-Purpose Flour: Use standard plain all-purpose flour. For best results, always spoon the flour into your measuring cup and level it off with a knife, rather than scooping directly from the bag, which can lead to over-measuring and dry cookies.
- Unsalted Butter: It’s essential to use unsalted butter at room temperature. This allows you complete control over the salt content in your dough. Ensure it’s softened, but not melted, for proper creaming.
- Granulated Sugar: Regular white granulated sugar provides the sweetness and helps achieve that classic sugar cookie texture.
- Eggs: Large eggs, at room temperature, help bind the dough and add richness.
- Baking Powder: This leavening agent contributes to the cookie’s slight lift and soft texture.
- Salt: A pinch of salt balances the sweetness and enhances all the flavors in the cookie.
- Vanilla Extract: Pure vanilla extract adds a wonderful depth of flavor, making your cookies truly irresistible.
Icing Ingredients (Royal Icing):
- Egg Whites: These are the base for your royal icing, providing structure and a beautiful sheen. Make sure to separate them carefully from the yolks. The yolks can be saved for other recipes.
- Confectioner’s Sugar (Powdered Sugar): Sifting your powdered sugar is a non-negotiable step for smooth, lump-free royal icing. This ensures your decorations are flawless.
- Cream of Tartar: A small amount helps stabilize the egg whites, giving your royal icing better consistency and shine.
- Gel Food Coloring: We highly recommend using gel food coloring over liquid. Gel colors are highly concentrated, providing vibrant hues without adding excess liquid, which can thin your icing and affect its consistency.
You’ll find the complete, precise ingredient list with measurements and detailed instructions in the recipe card at the very bottom of this post.
Step-By-Step Guide to Baking Christmas Sugar Cookies
Follow these detailed steps to create perfectly baked and beautifully decorated Christmas sugar cookies that will impress everyone.
- Step 1: Preheat Oven and Prepare Dry Ingredients – Begin by preheating your oven to 325°F (160°C). In a medium bowl, whisk together the all-purpose flour, baking powder, and salt. Sifting these ingredients ensures they are well combined and free of lumps, leading to a smoother dough.
- Step 2: Cream Butter and Sugar – In a large mixing bowl, ideally with a stand mixer fitted with a paddle attachment (a hand mixer also works well), cream together the softened, room-temperature unsalted butter and granulated sugar until the mixture is light, fluffy, and smooth to the touch. This should take a few minutes. Avoid any graininess.
- Step 3: Incorporate Wet Ingredients – Add all four eggs to the creamed butter and sugar mixture at once. Continue to mix until just combined. Stir in the vanilla extract, ensuring it’s thoroughly blended into the wet ingredients.

Mastering the Art of Cookie Decorating
Decorating Christmas sugar cookies is a joyful activity that brings out the artist in everyone. Here are some techniques to help you create stunning designs:
- Outline Your Cookie First: For clean and defined edges, start by outlining each cookie with a slightly thicker consistency of royal icing. This creates a “dam” that prevents the thinner flooding icing from overflowing. If you have little ones helping, you might assist with this step, or let them experiment – their unique creations are always charming!
- Fill in with Festive Colors: Once the outline has set for a few minutes, fill the inside of your cookie with a thinner consistency of icing (often called “flood icing”). Use a small squeeze bottle or piping bag with the tip snipped off for easy flooding. Spread evenly with a toothpick or a small brush. Don’t be afraid to use a variety of holiday colors to make your cookies truly shine.
- Utilize Decorating Tips: For intricate details, delicate lines, or to reach those tight corner areas, invest in a set of small piping tips (like PME or Wilton #1 or #2). These are excellent for adding snowflakes, dots, stripes, or personalized messages.
- Add Sprinkles While Wet: If you plan to add sprinkles, sanding sugar, or mini chocolate chips, do so immediately after flooding the cookie, while the icing is still wet. This ensures the decorations adhere firmly and don’t fall off once the icing dries.
- Allow Ample Rest for Setting: Patience is key! After decorating, gently transfer your cookies to a wire rack. It’s crucial to allow the royal icing and any added sprinkles to set and harden completely before moving, stacking, or packaging them. This usually takes 2-3 hours, or even overnight, to prevent smudges and preserve your beautiful designs. This step is especially important if you plan to bag the cookies as gifts.
Pro Tips for Sugar Cookie Success
Achieve bakery-perfect Christmas cut-out sugar cookies every time with these essential tips:
- Don’t Skip the Chill: Chilling the dough is perhaps the most critical step. It prevents the cookies from spreading excessively in the oven, ensuring they maintain their intricate shapes. Allow at least 6 hours, or ideally, overnight, for the dough to firm up properly.
- Always Line Your Baking Sheets: Use parchment paper or a silicone baking mat. This not only prevents sticking but also helps the cookies bake more evenly and contributes to a consistent texture.
- Keep the Dough Cool: Sugar cookie dough performs best when it’s cool. If you’re working in a warm kitchen or taking a break between batches, place the remaining dough back in the refrigerator. Cold dough is easier to handle and less likely to spread.
- Avoid Overmixing the Dough: Overmixing develops the gluten in the flour, leading to tough, dense cookies. Mix until just combined and no streaks of flour remain. A light hand will ensure your cookies are wonderfully soft and tender.
- Use Fresh, Quality Ingredients: The quality of your ingredients directly impacts the taste and texture of your cookies. Always use fresh butter, eggs, and good quality flour for the best possible results.
- Choose the Right Mixer: While a stand mixer with a paddle attachment is ideal for creaming butter and sugar, a hand mixer will also work perfectly. Ensure your butter is properly softened for either method.
- Gel Food Coloring for Vibrant Hues: For the most vibrant and true-to-color icing, always opt for gel food coloring. Unlike liquid food coloring, it won’t dilute your royal icing, maintaining the perfect consistency for decorating.
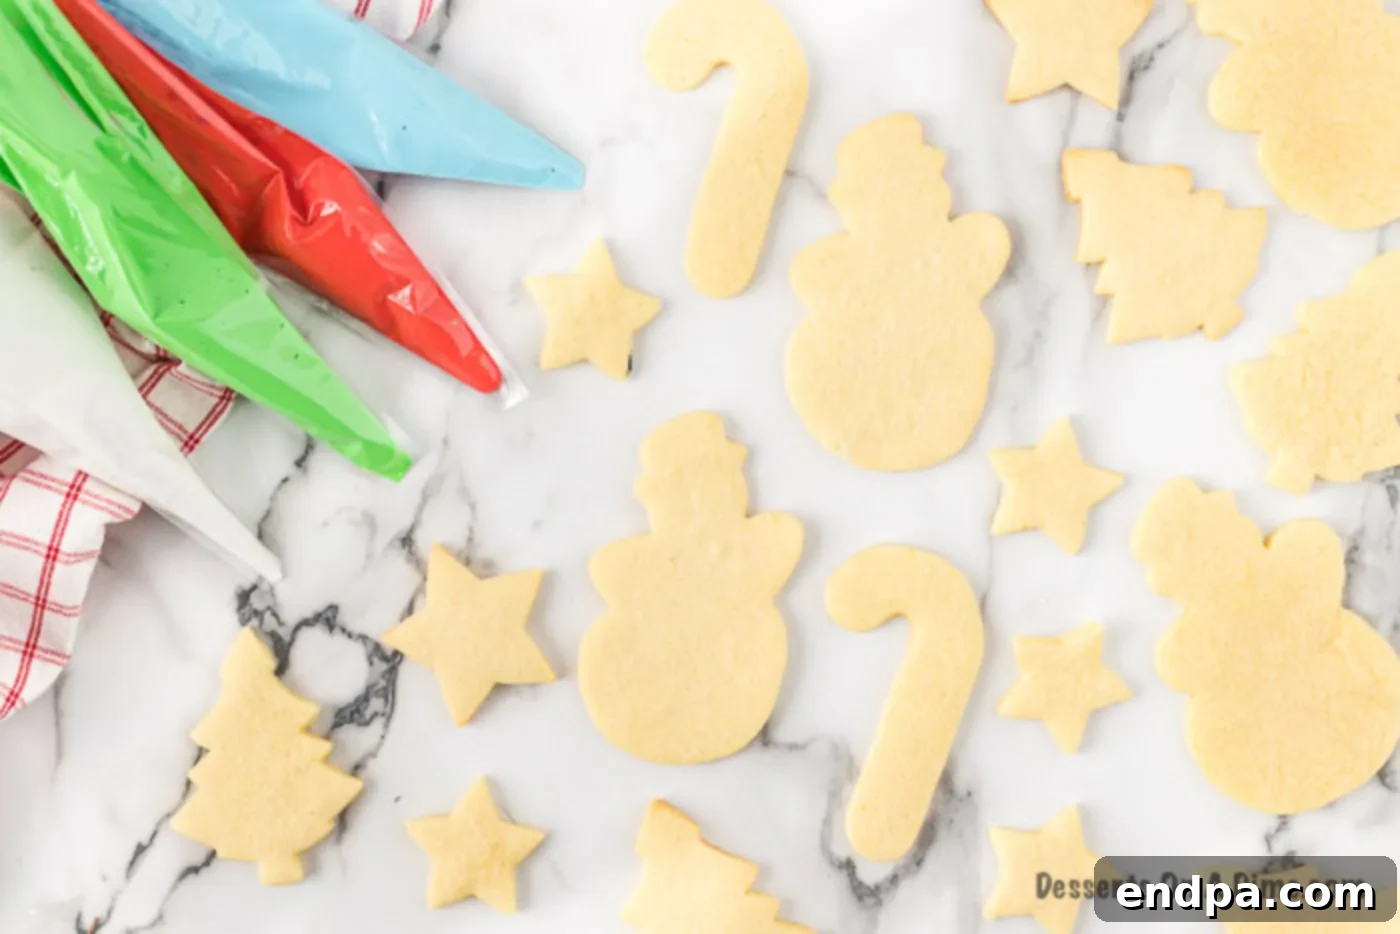
- Utilize Piping Bags for Ease: For precise outlining and smooth flooding, prepare your colored icing in separate piping bags, fitted with appropriate tips. This makes the decorating process much cleaner, easier, and yields professional-looking results.
- Bake Just Until Set: For soft and chewy sugar cookies, bake them just until the edges are barely set and the centers look slightly puffed. They should not be browned. If you bake them until golden brown, they will turn out crunchy. A barely-baked cookie is a soft cookie!
Can You Freeze Sugar Cookie Dough or Baked Cookies?
Absolutely! Freezing sugar cookie dough or even baked cookies is a fantastic way to get a head start on your holiday baking or save extras for later. Here are your options:
Freeze the Dough Uncut: After mixing your dough, shape it into a disc or log and wrap it tightly in several layers of plastic wrap, then place it in a freezer-safe, airtight container or heavy-duty freezer bag. When you’re ready to bake, transfer the dough to the refrigerator to thaw overnight. Once thawed, you can roll it out and cut your cookies as usual.
Freeze Cut-Out Cookies (Unbaked): Roll out your dough and cut it into your desired shapes. Arrange the unbaked cut-outs on a baking sheet lined with parchment paper. Flash freeze them for about 15-30 minutes until firm. Once firm, transfer the frozen cut-outs to an airtight freezer bag or container, separating layers with parchment paper. When baking, you can often bake them directly from frozen, adding a couple of extra minutes to the bake time.
Freeze Baked, Undecorated Cookies: Bake your cookies according to the recipe and let them cool completely. Once cooled, arrange them in a single layer on a baking sheet and flash freeze until solid. Then, transfer them to an airtight freezer container, separating layers with parchment paper to prevent sticking. Thaw at room temperature before decorating.
With these freezing methods, you can enjoy homemade Christmas sugar cookies with minimal effort whenever the craving strikes!
Frequently Asked Questions
For best results, the sugar cookie dough needs to chill for at least 6 hours. We highly recommend making the dough the day before and letting it set in the refrigerator overnight. This extended chill time is crucial for developing flavor and preventing the cookies from spreading too much during baking. Always ensure the dough is completely wrapped to prevent it from drying out.
Decorated or undecorated, these cut-out sugar cookies will stay fresh for about a week when stored in an airtight container at room temperature. After a week, the appearance of the icing may start to change, and the cookie quality might diminish slightly. If you have a heat sealer, individually sealing each cookie can extend their freshness for several weeks, making them ideal for gifting.
After decorating your sugar cookies, it’s essential to allow the royal icing to harden completely. This prevents colors from blending and keeps your designs crisp. We recommend allowing the icing to harden for at least 3 hours, or even overnight, especially if you’ve applied multiple layers or a thick coat.
Once the royal icing has fully hardened, place your decorated cookies in an airtight container. If you need to stack the cookies, place a piece of wax paper or parchment paper between each layer to prevent sticking and protect the decorations. If displaying on a cookie tray, make sure the entire tray is wrapped tightly with plastic wrap to maintain freshness.
Ensure the royal icing on your decorated cookies is completely set and hardened before freezing. Arrange the cookies in a single layer on a baking sheet and flash freeze until solid. Then, transfer them to a freezer-safe container, using parchment paper between each layer to protect the intricate decorations. Properly frozen, these cookies should keep for up to 3 months in the freezer. Thaw them at room temperature before serving.
More Irresistible Christmas Cookie Recipes
Looking for more festive treats to add to your holiday baking list? Explore these other delicious Christmas cookie recipes:
- Easy Christmas Wreath Cookies Recipe
- Christmas Cake Mix Cookies Recipe
- Christmas Pinwheel Cookies Recipe
- Easy Grinch Cookies Recipe
- Christmas Light Cookies
We hope you enjoy making this Christmas Cut Out Cookie Recipe as much as we do! Please leave a comment and rating once you’ve tried it – we love hearing from you!
Pin
Christmas Cut Out Sugar Cookies
6 hrs
15 mins
8 mins
10 mins
6 hrs
33 mins
36
American
Dessert
195
Carrie Barnard
Ingredients
Cookie Ingredients:
- 5 C all-purpose flour
- 2 tsp baking powder
- 1 tsp salt
- 1 1/2 C soft unsalted butter
- 2 C granulated sugar
- 4 large eggs
- 1 tsp vanilla extract
Icing Ingredients (Royal Icing):
- 2 egg whites
- 1 C powdered sugar (confectioner’s sugar)
- ½ tsp cream of tartar
- Gel Food Coloring (assorted colors)
Instructions
- Preheat oven to 325 degrees F (160°C).
- In a large mixing bowl, cream the softened butter with the sugar until the combination is smooth and light, not grainy to the touch.
- Add all 4 eggs at one time and mix until just combined.
- Add the vanilla extract. Continue mixing until fully incorporated.
- In a separate bowl, sift together the flour, baking powder, and salt.
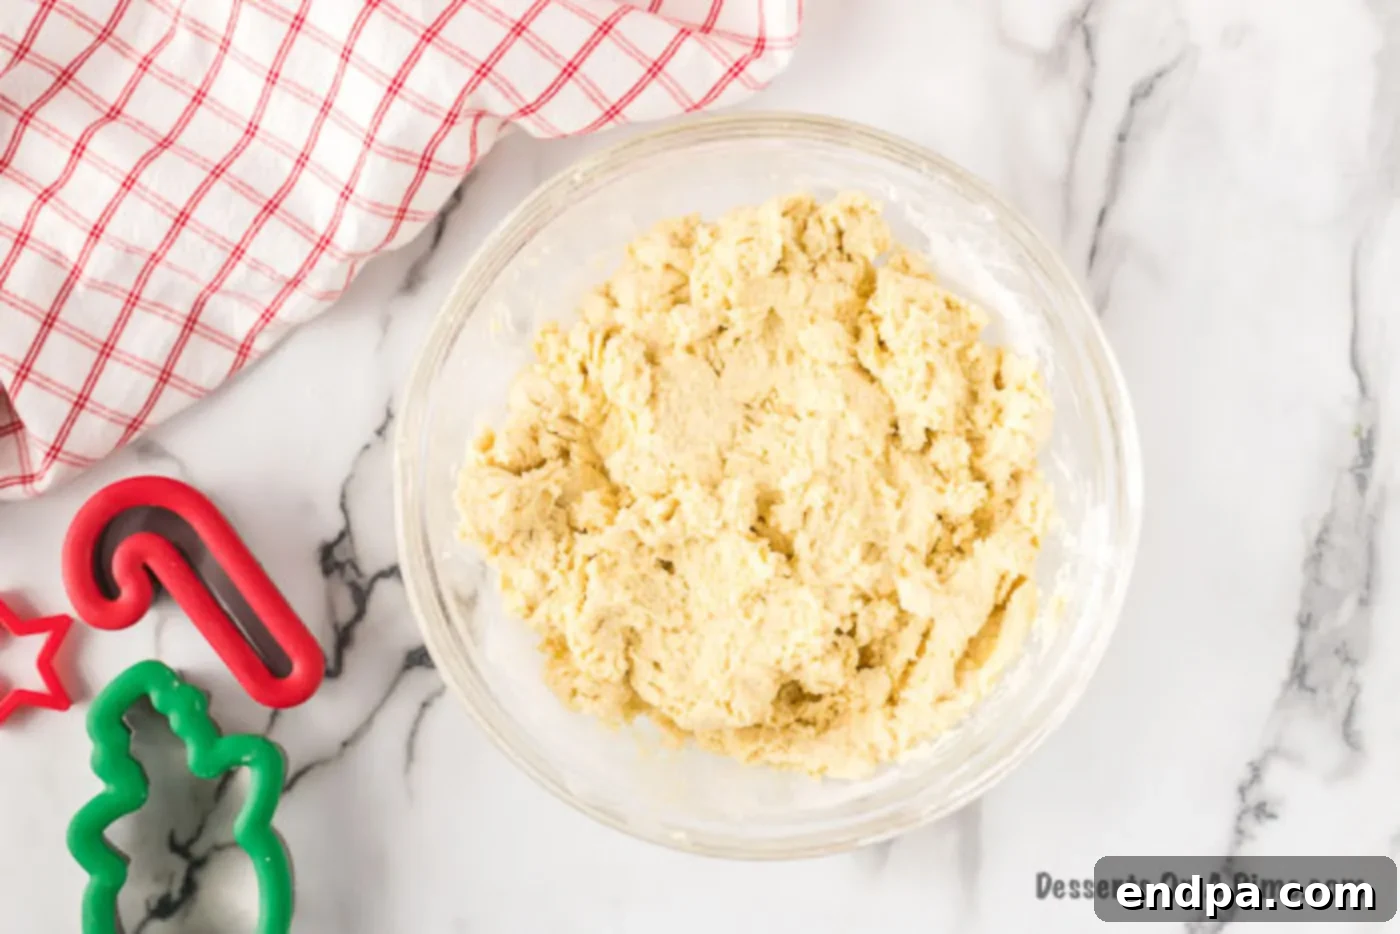
- Gradually add the dry mixture to the wet mixture, mixing on low speed.
- Continue mixing until all ingredients are thoroughly blended and a dough forms. Be careful not to overmix.
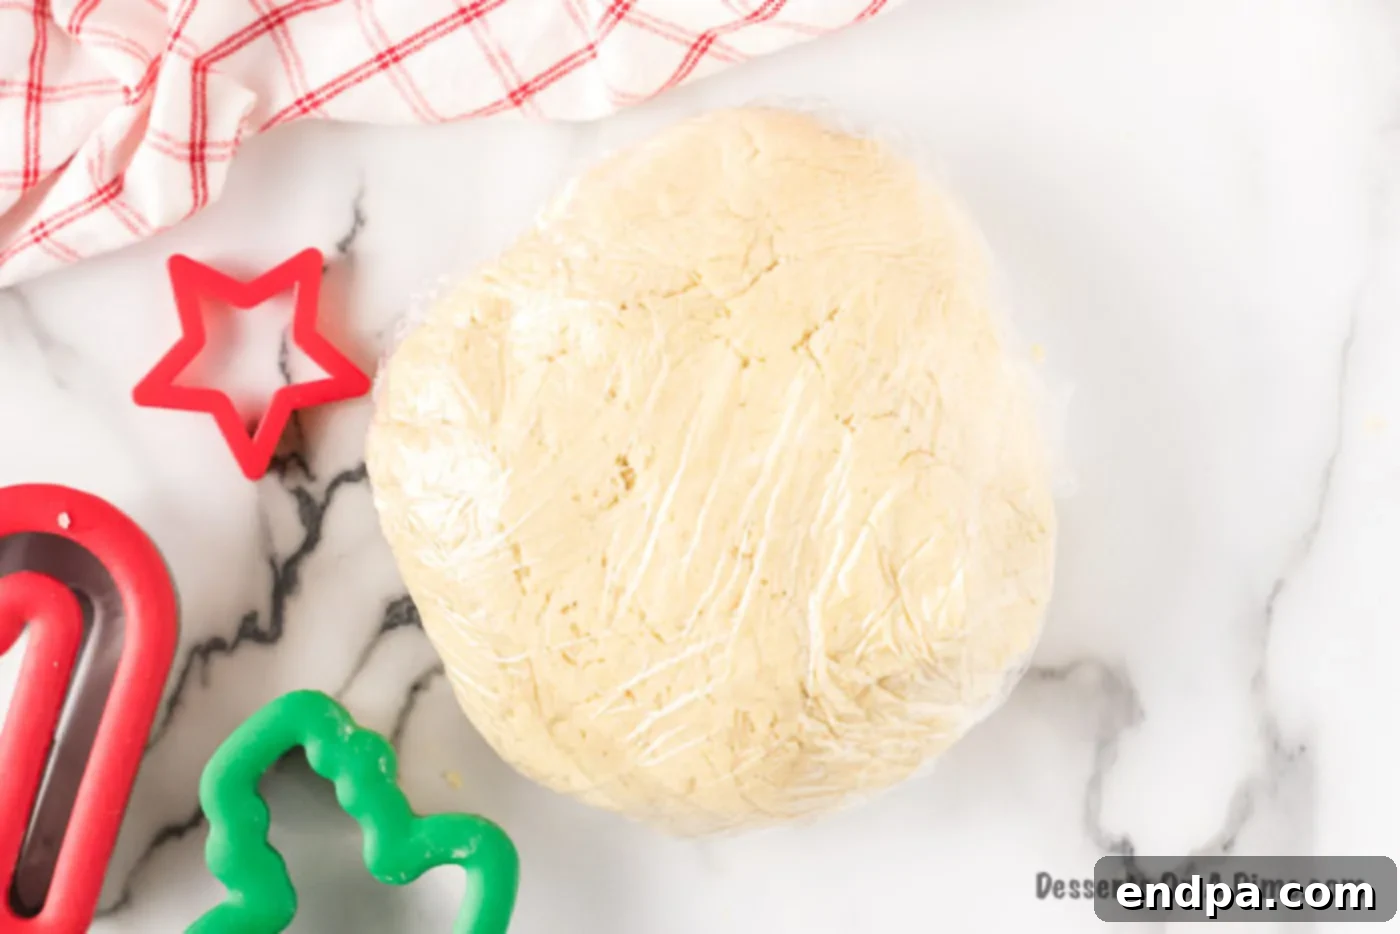
- Form the dough into a ball, wrap it tightly in plastic wrap, ensuring the entire dough ball is covered.
- Refrigerate the dough for about 6 hours or overnight. Ensure the dough is firm before proceeding.
- Remove the cookie dough from the refrigerator and let it sit out for about 10-15 minutes to soften slightly.
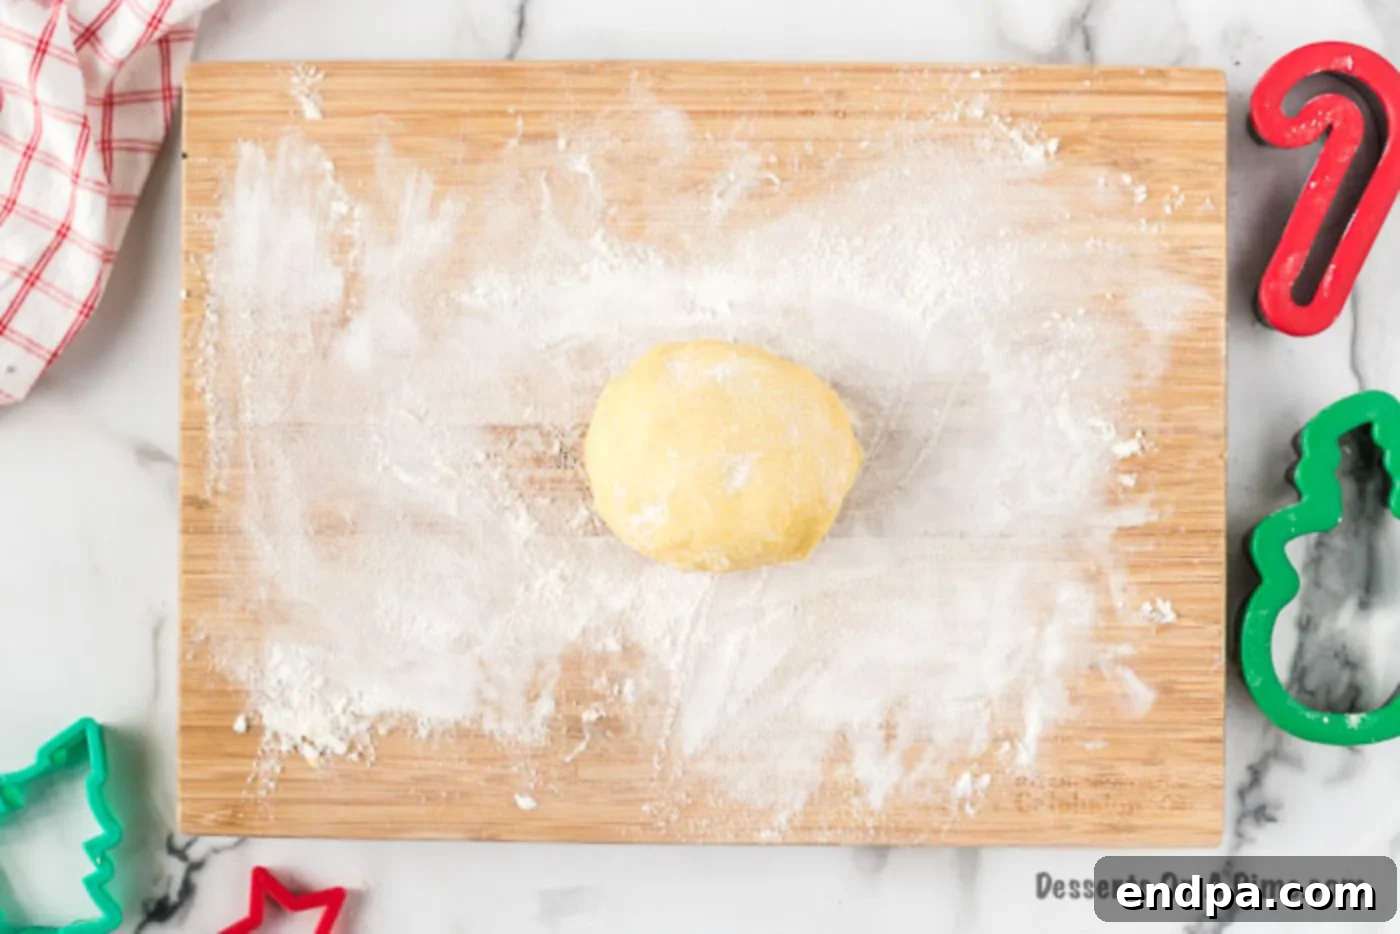
- Lightly flour your work surface (e.g., a wooden cutting board) and your rolling pin. Work some flour into the dough if it feels sticky.
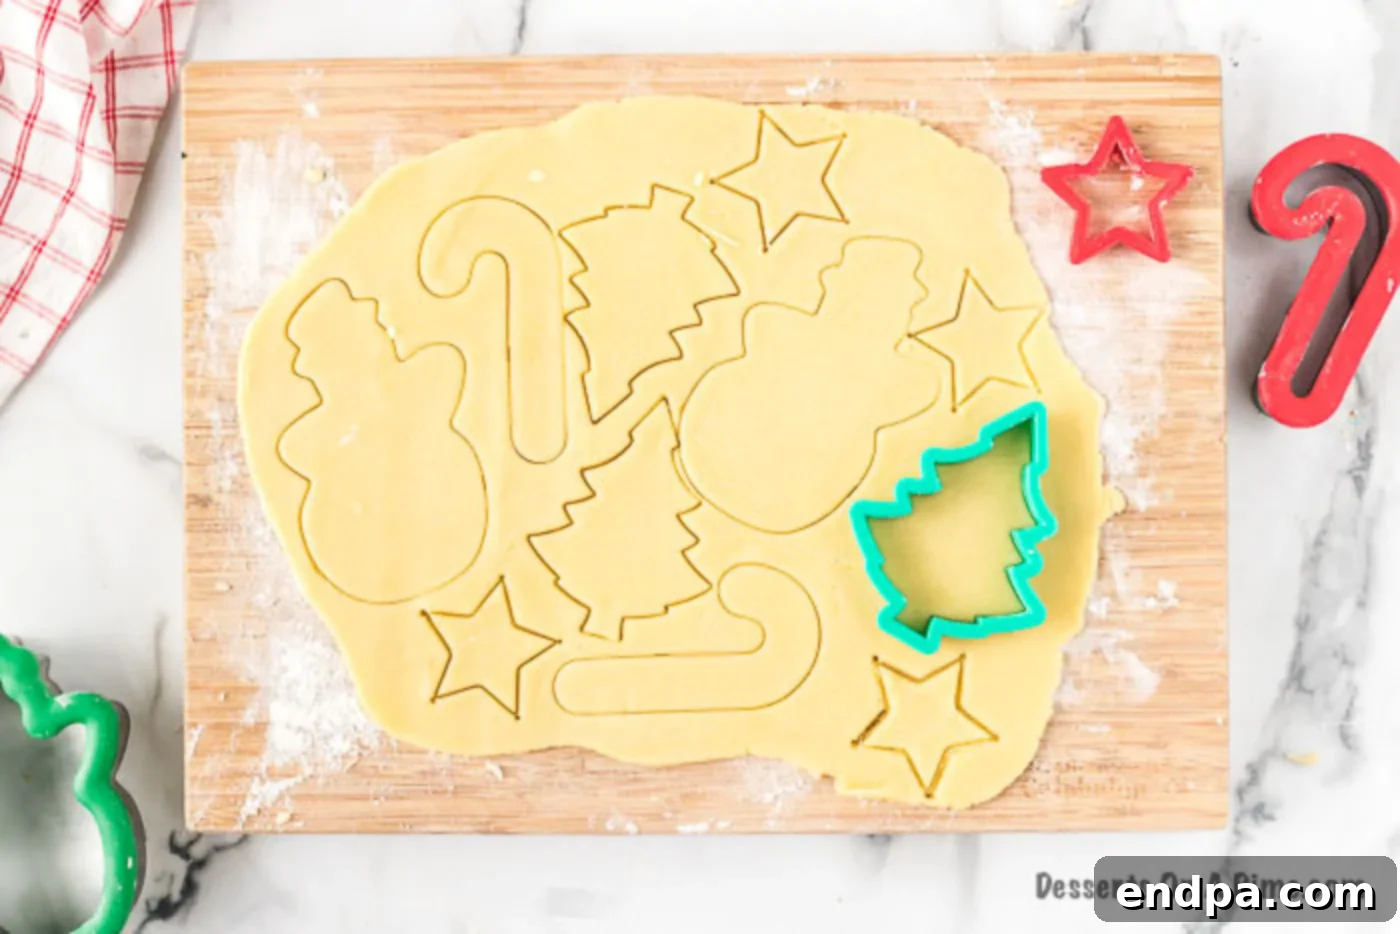
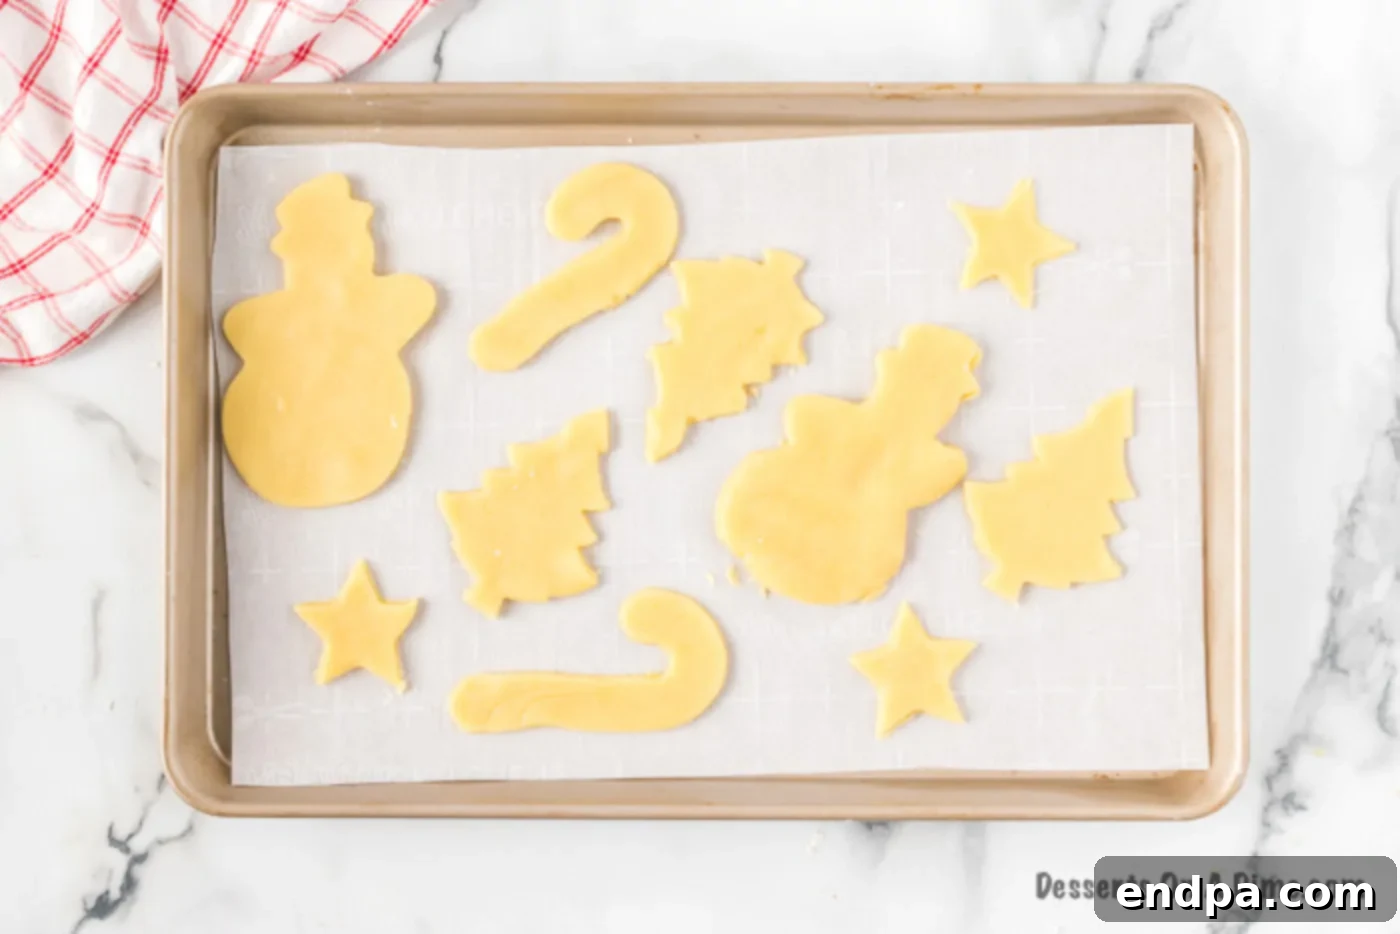
- Roll the dough out on the cutting board to your desired thickness (approx. 1/4 inch). Use your favorite Christmas cookie cutters to make shapes.
- Line a cookie sheet with parchment paper or a silicone mat. Carefully move the cut cookies to the prepared cookie sheet.
- Bake at 325 degrees F (160°C) for 8 minutes, or until the edges are barely set and very lightly golden. Cookies should still be soft.
- Remove cookies from the oven and transfer immediately to a wire rack to cool completely (about 10 minutes).
- Icing Directions:
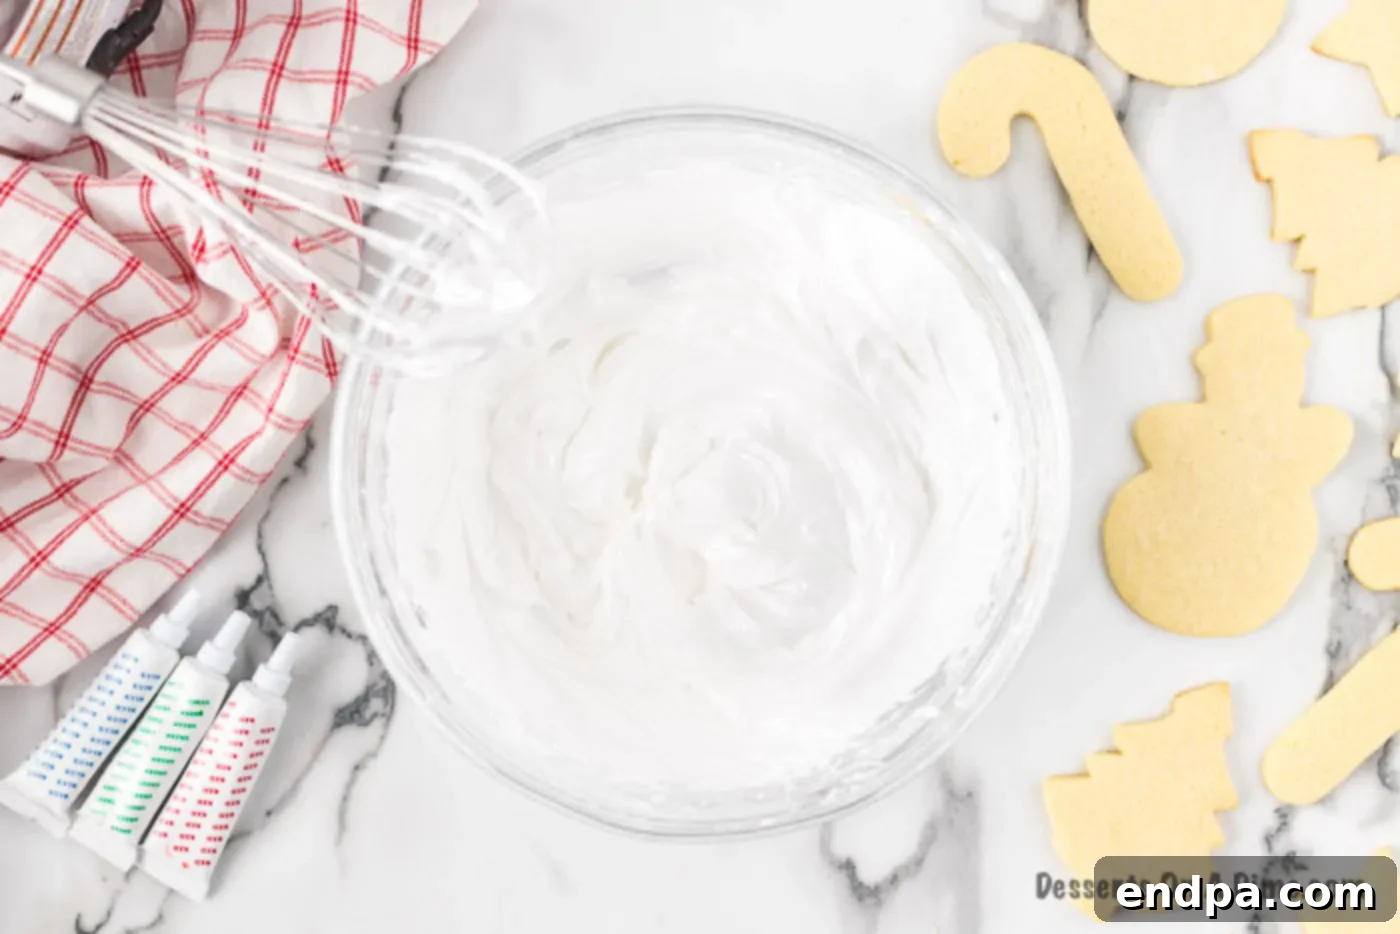
- Combine egg whites, powdered sugar, and cream of tartar in a clean mixing bowl. Mix on medium speed for 4 minutes until smooth and glossy. If the icing is not stiff enough for outlining, add ¼ C more powdered sugar until it reaches a “15-second consistency” (a line drawn with a spatula disappears in about 15 seconds).
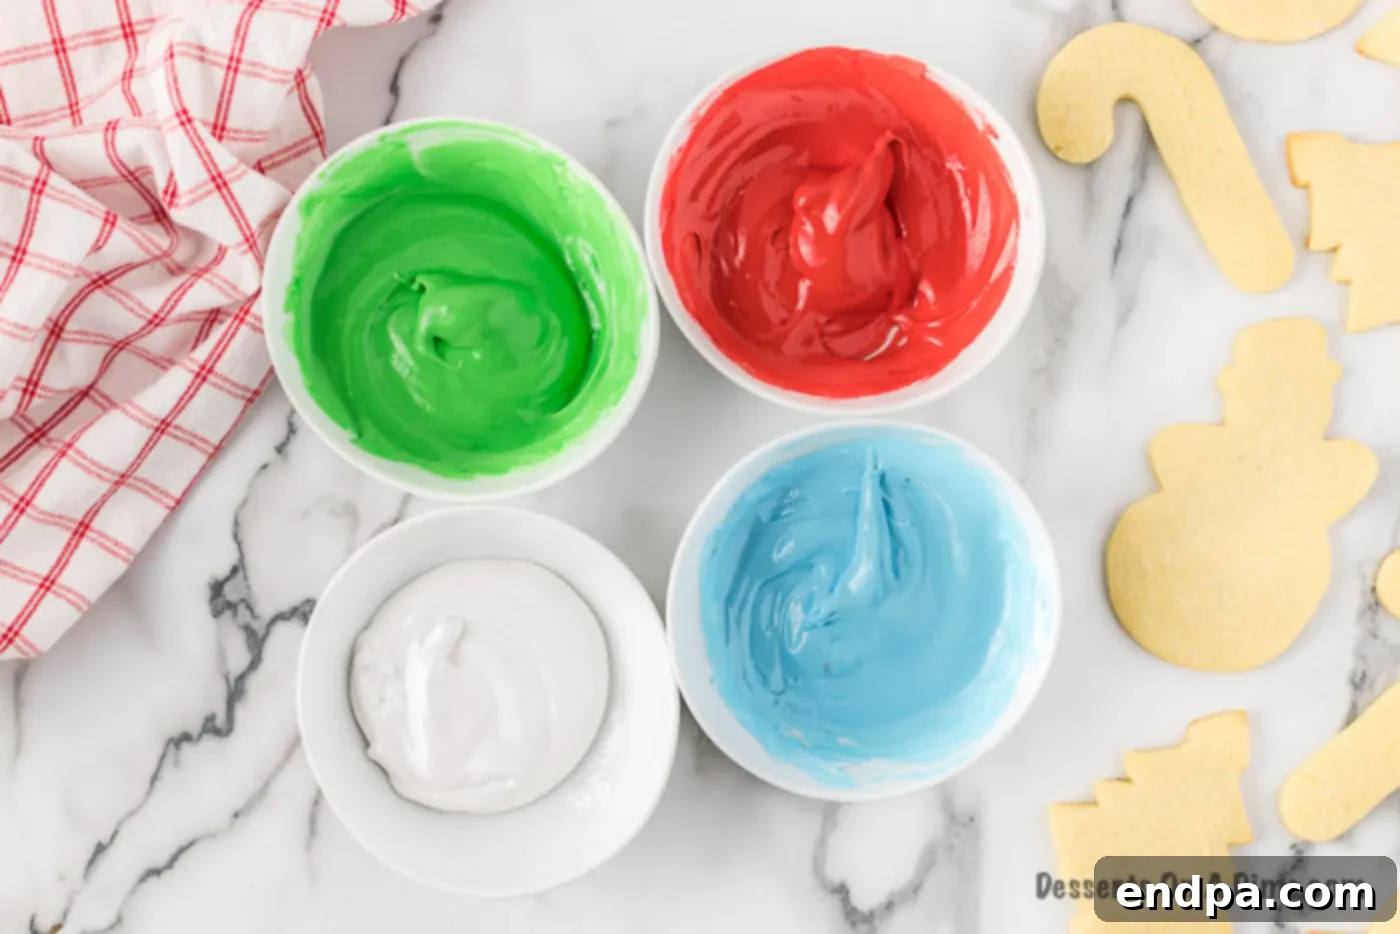
- Divide the icing into separate bowls and mix each portion with your choice of gel food coloring.
- Transfer the colored royal icing into piping bags fitted with small round tips and decorate the cooled cookies as desired.
- Allow the decorated cookies to dry and harden completely on a wire rack for 2-3 hours, or overnight.
Nutrition Facts
Calories
195
kcal
,
Carbohydrates
28
g
,
Protein
3
g
,
Fat
8
g
,
Saturated Fat
5
g
,
Cholesterol
39
mg
,
Sodium
76
mg
,
Potassium
65
mg
,
Fiber
1
g
,
Sugar
14
g
,
Vitamin A
263
IU
,
Calcium
20
mg
,
Iron
1
mg
Pin This Now to Remember It Later
Pin Recipe
