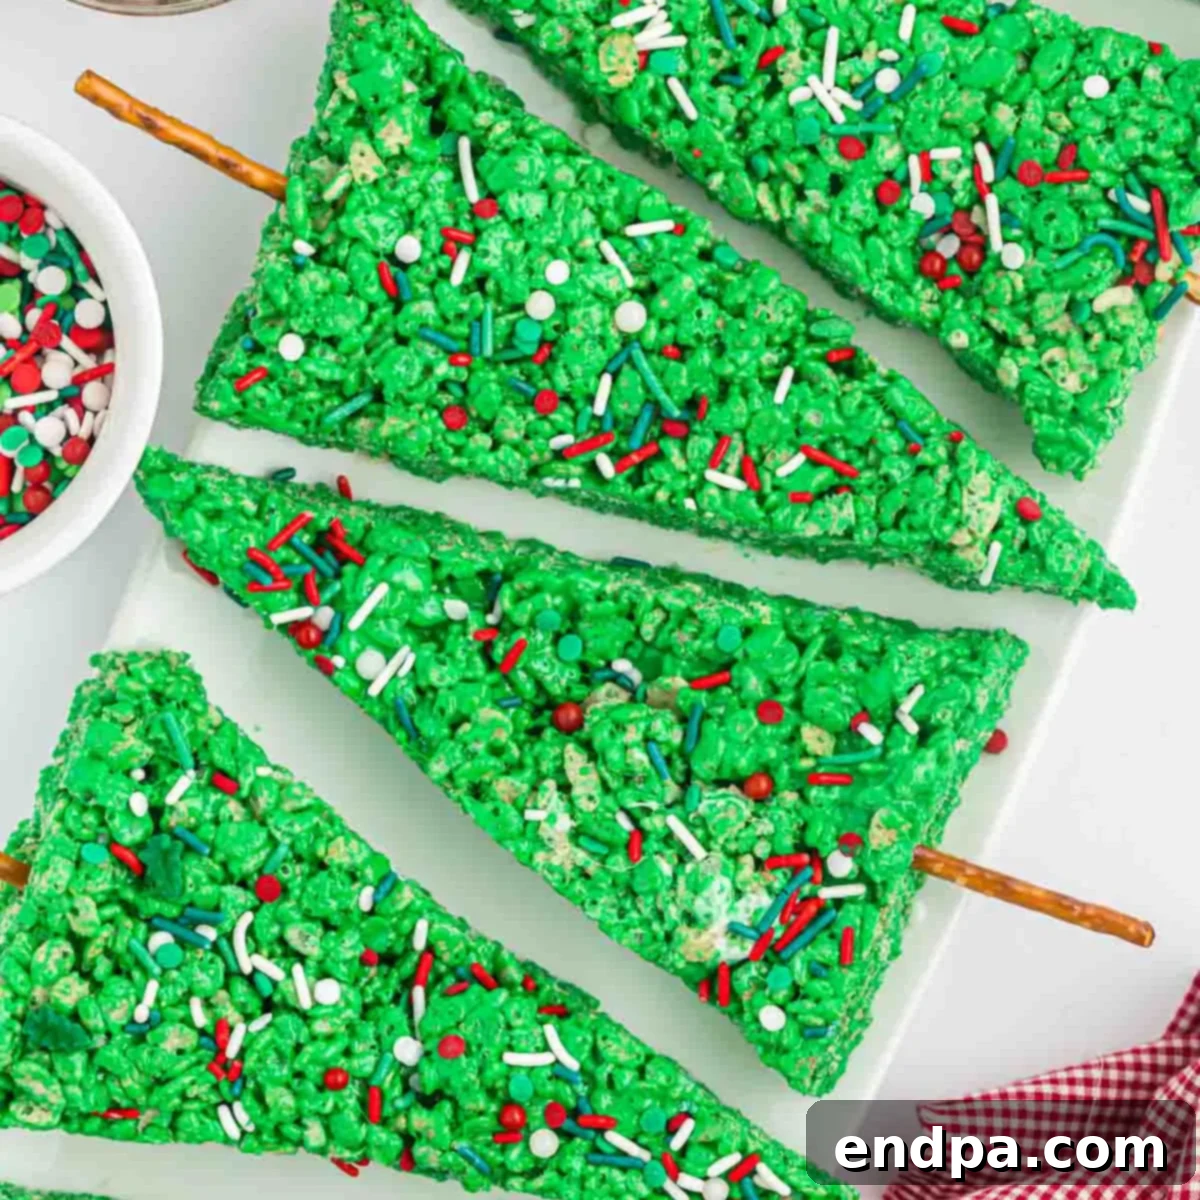
Transform your holiday season into a delightful celebration with these absolutely adorable Christmas Tree Rice Krispie Treats. This festive no-bake dessert is not only incredibly easy to make but also a fantastic activity for the whole family, especially the little ones. Imagine the joy on their faces as they help create these vibrant green, sprinkle-laden edible Christmas trees! They’re perfect for holiday parties, school events, or simply enjoying a cozy evening at home.
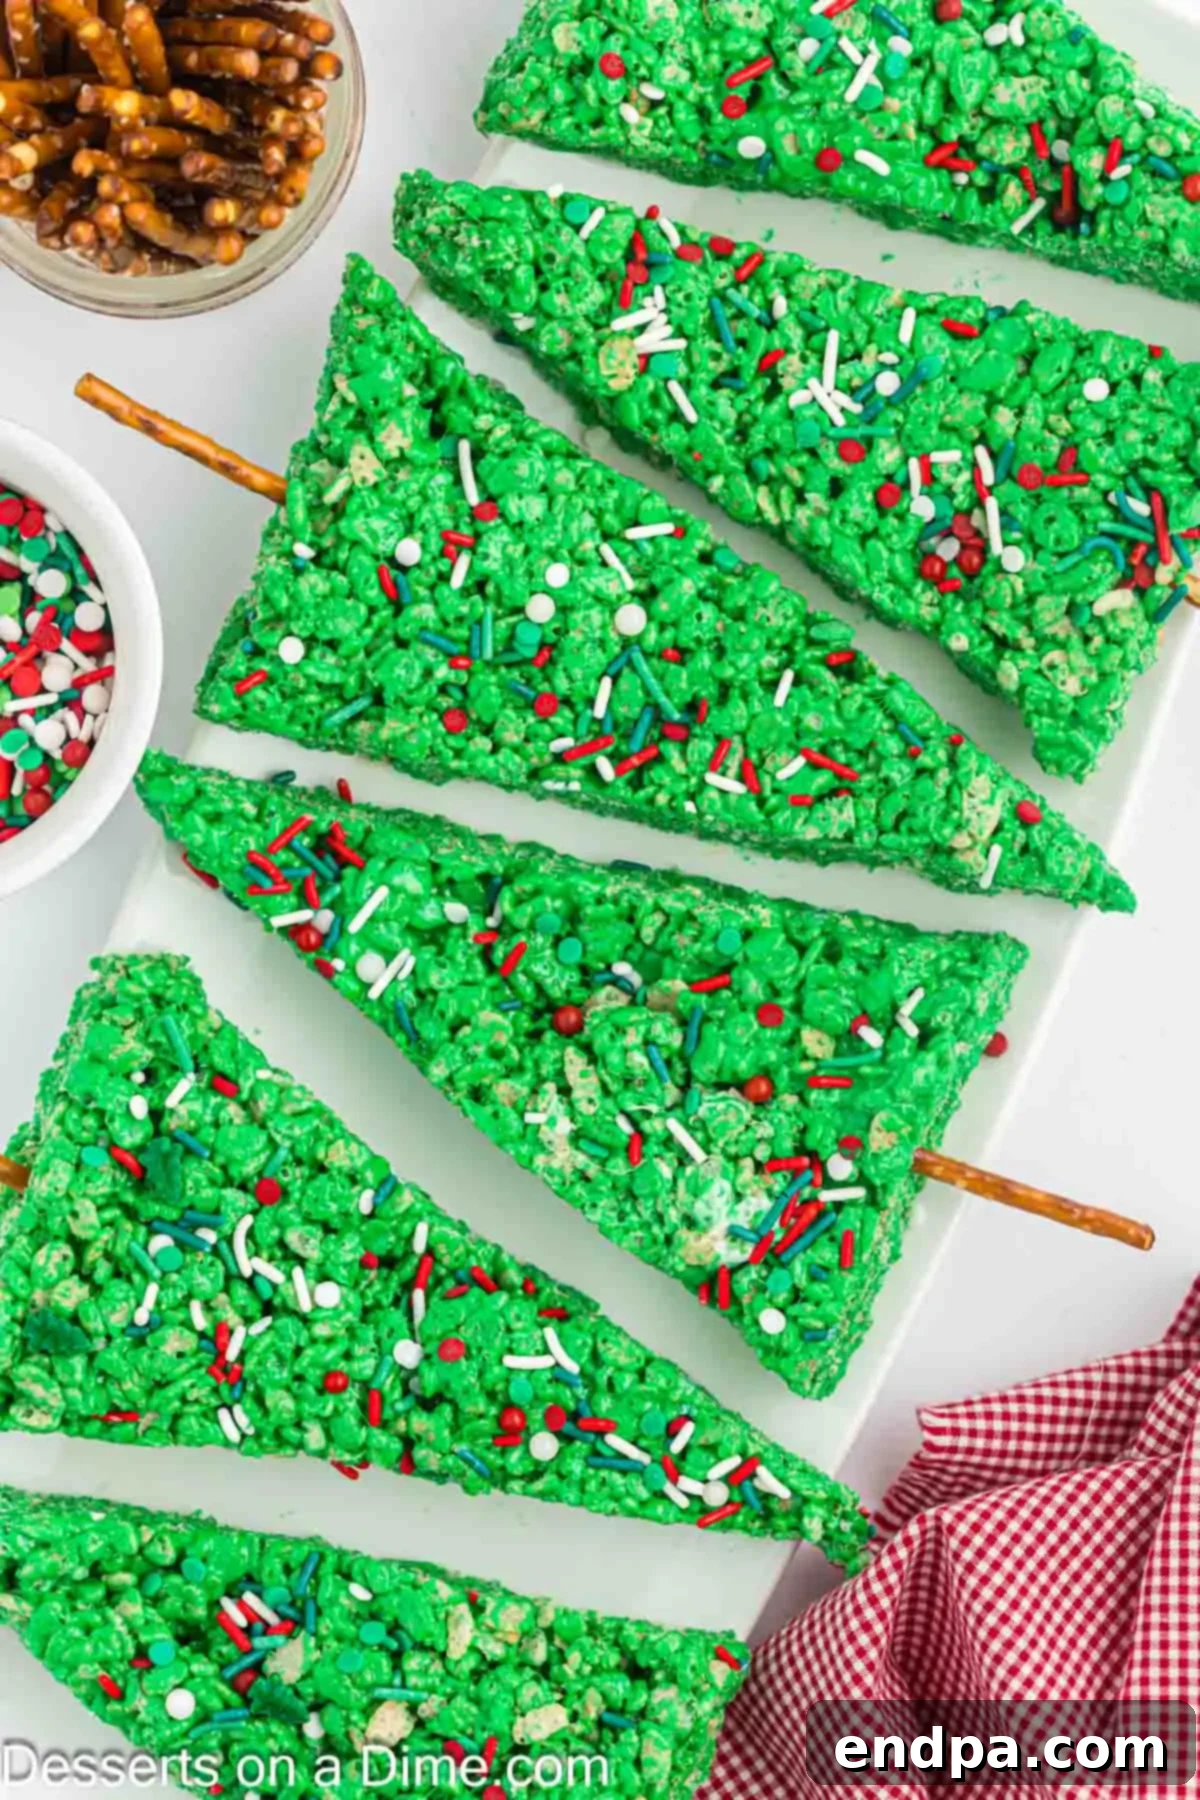
Our family has a deep affection for classic Rice Krispie Treats, which constantly inspires us to discover new and exciting ways to present this beloved no-bake dessert. They represent the ideal combination of convenience and affordability. With just a few basic ingredients, you can whip up a batch of these chewy, gooey delights. This recipe elevates the traditional treat with a whimsical, holiday-themed twist, making it an instant hit at any gathering.
For those eager to master the art of perfect Rice Krispie Treats, dive deeper into our comprehensive guide on how to make them perfectly every time. And if you’re looking for more festive inspiration, don’t miss our easy Christmas Rice Krispie Treats Recipe for other holiday shapes and designs!
Table of contents
- Why You’ll Love These Christmas Tree Rice Krispie Treats
- Essential Ingredients
- Creative Additions and Decorations
- How to Make Christmas Tree Rice Krispie Treats: Step-by-Step
- Pro Tips for Perfect Rice Krispie Trees
- Cutting Rice Krispie Treats Neatly: A Guide for Clean Shapes
- Decorating Your Christmas Tree Krispies
- Storage Tips for Freshness
Why You’ll Love These Christmas Tree Rice Krispie Treats
There are countless reasons to fall in love with these festive Christmas Tree Rice Krispie Treats. First and foremost, their simplicity is unmatched. This super easy recipe promises a stress-free baking experience, making it the perfect Christmas dessert for busy holiday schedules. Even novice bakers can achieve impressive results, ensuring everyone can partake in the joy of creating these delightful holiday snacks.
Beyond their ease, these treats are incredibly budget-friendly, requiring only a handful of common pantry staples. If you’re searching for an inexpensive yet irresistibly cute Christmas recipe, look no further. Their vibrant green color and charming tree shape instantly evoke the holiday spirit, making them an excellent choice for gifting, school parties, or a fun family activity. Plus, their no-bake nature means no oven space required, freeing up your kitchen for other holiday cooking!

Essential Ingredients
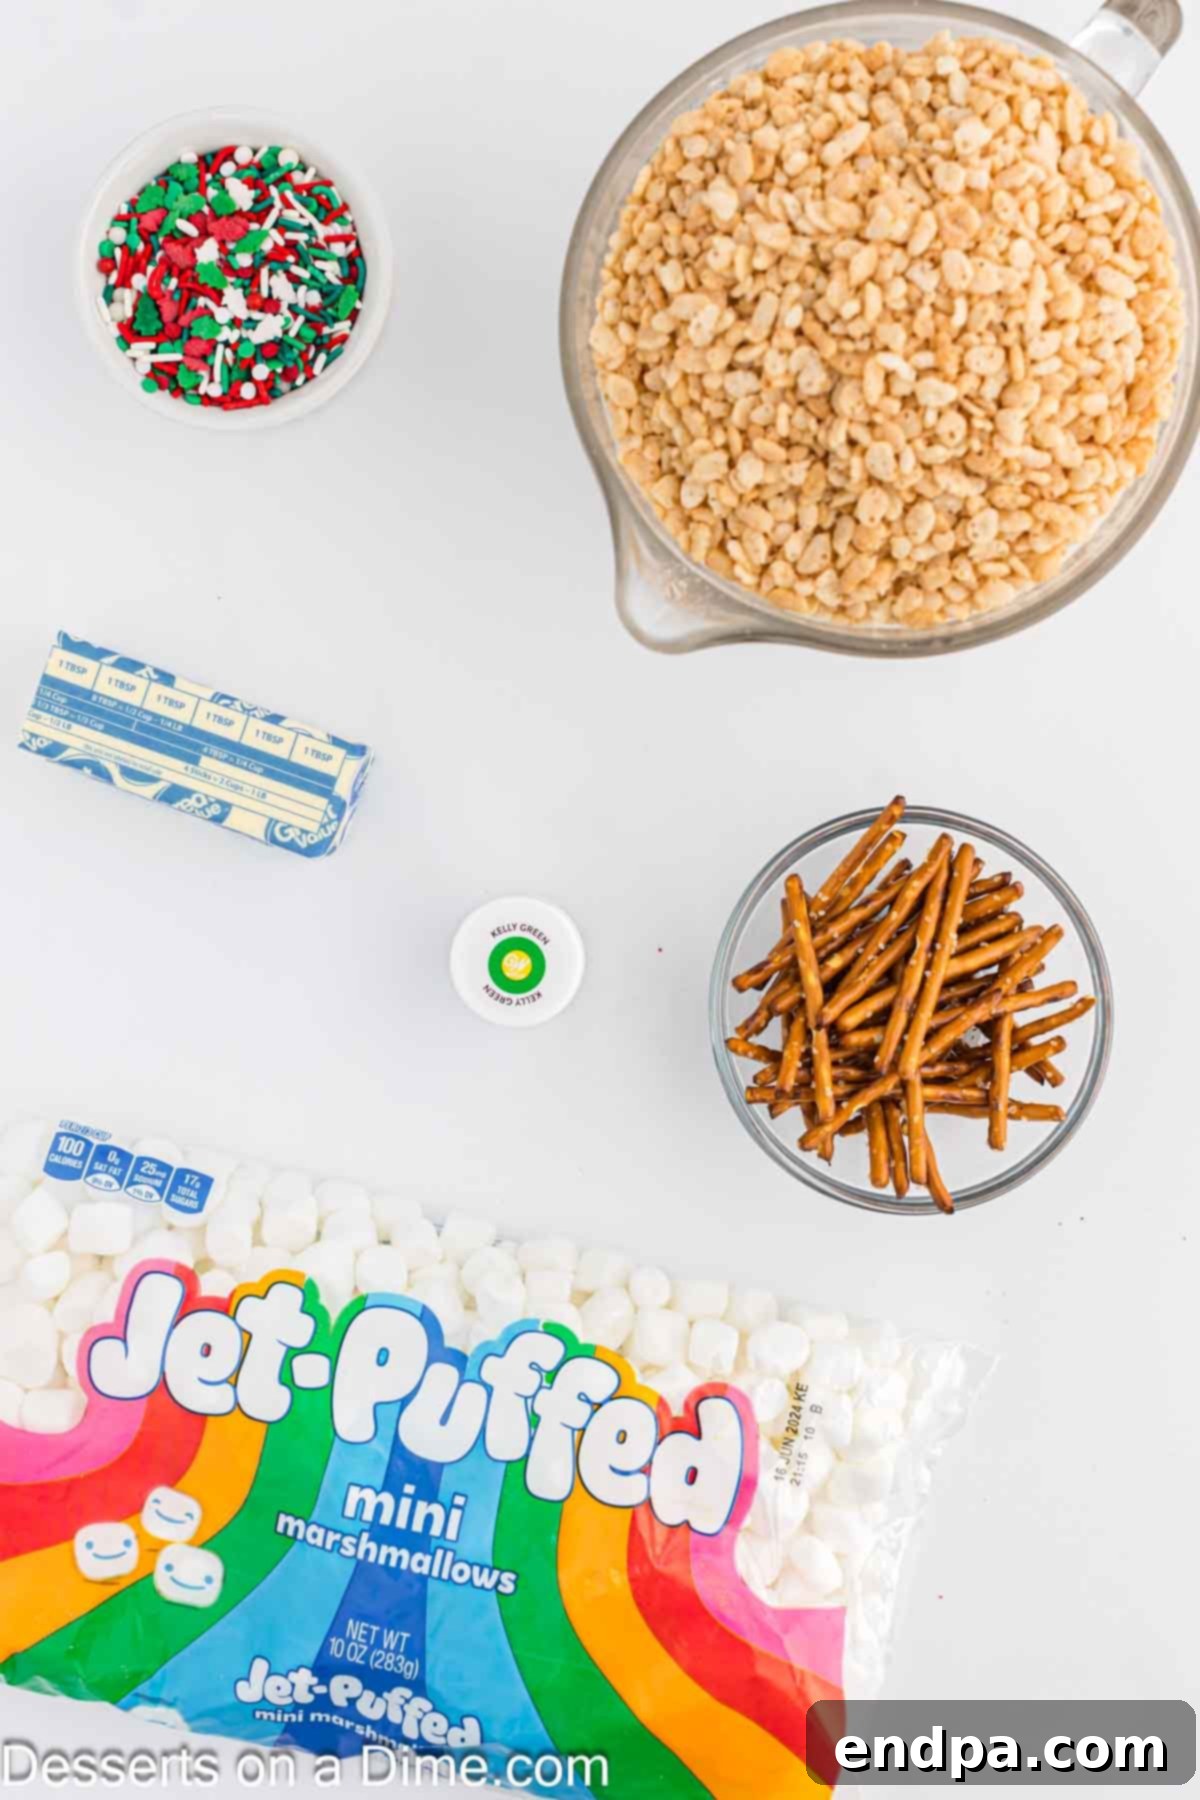
Crafting these festive treats requires just a few simple ingredients, each playing a crucial role in achieving that perfect balance of flavor, texture, and visual appeal:
- Quality Butter: For the best flavor and a rich, creamy base, we highly recommend using real unsalted butter. It creates a smoother, more decadent marshmallow mixture compared to margarine.
- Mini Marshmallows: While regular-sized marshmallows can be used, mini marshmallows are often preferred for their faster and more even melting. This ensures your mixture is perfectly smooth and lump-free, which is key for a consistent texture.
- Vibrant Green Gel Food Coloring: To achieve that iconic Christmas tree hue, gel food coloring is a must. Unlike liquid food coloring, gel provides a much more concentrated pigment, allowing you to get a deep, rich green without altering the consistency of your marshmallow mixture. Start with a small amount and gradually add more until you reach your desired shade.
You’ll find the complete, detailed ingredient list, including precise measurements, at the bottom of this page in the recipe card.
Creative Additions and Decorations
The fun truly begins when it’s time to decorate your Christmas Tree Rice Krispie Treats! Think of each triangle as a tiny canvas waiting to be transformed into a festive masterpiece. Here are some fantastic ideas to spark your creativity and make your treats shine:
- Candy “Ornaments”: Mini M&M’s are perfect for simulating colorful Christmas tree ornaments. You can also use small round candies, candy pearls, or even tiny gumdrops. Gently press them into the still-soft Rice Krispie mixture so they adhere well.
- Pretzel Trunks: Small pretzel rods or even pretzel sticks are essential for forming the tree trunks. Not only do they add a delightful salty crunch, but they also make the treats easier to hold and serve.
- Festive Sprinkles: A generous dusting of Christmas-themed sprinkles, such as stars, snowflakes, or multicolored jimmies, will instantly elevate the holiday spirit. Apply them while the treats are still warm and slightly tacky so they stick without effort.
- Edible Glitter: For an extra touch of sparkle, lightly dust your finished trees with edible glitter. Silver or gold glitter can make them truly magical.
- Royal Icing Garland: Thin lines of royal icing in contrasting colors (like red, white, or gold) can be piped onto the trees to mimic festive garlands. This adds a beautiful, intricate detail.
- Chocolate Drizzle: A drizzle of melted white chocolate or dark chocolate can add another layer of flavor and visual appeal, resembling snow or decorative string lights.
- Edible Stars: Top each tree with a small yellow star-shaped candy or a piped star of royal icing to create a classic tree topper.
How to Make Christmas Tree Rice Krispie Treats: Step-by-Step
Creating these charming Christmas Tree Rice Krispie Treats is a straightforward and enjoyable process. Follow these simple steps for a perfect batch every time:
- Step 1 – Prepare Your Baking Surface: Begin by lightly spraying a large baking sheet (or a 9×13 inch pan, depending on desired thickness) with a non-stick cooking spray. This crucial step prevents the sticky mixture from adhering to the pan and makes for easy removal.
- Step 2 – Melt Butter and Marshmallows: In a large, microwave-safe bowl, combine the butter and mini marshmallows. Microwave the mixture in short 30-second intervals, stirring thoroughly after each interval. Continue this process until the butter and marshmallows are completely melted and form a smooth, gooey liquid. Be careful not to overheat, as this can make the marshmallows hard.
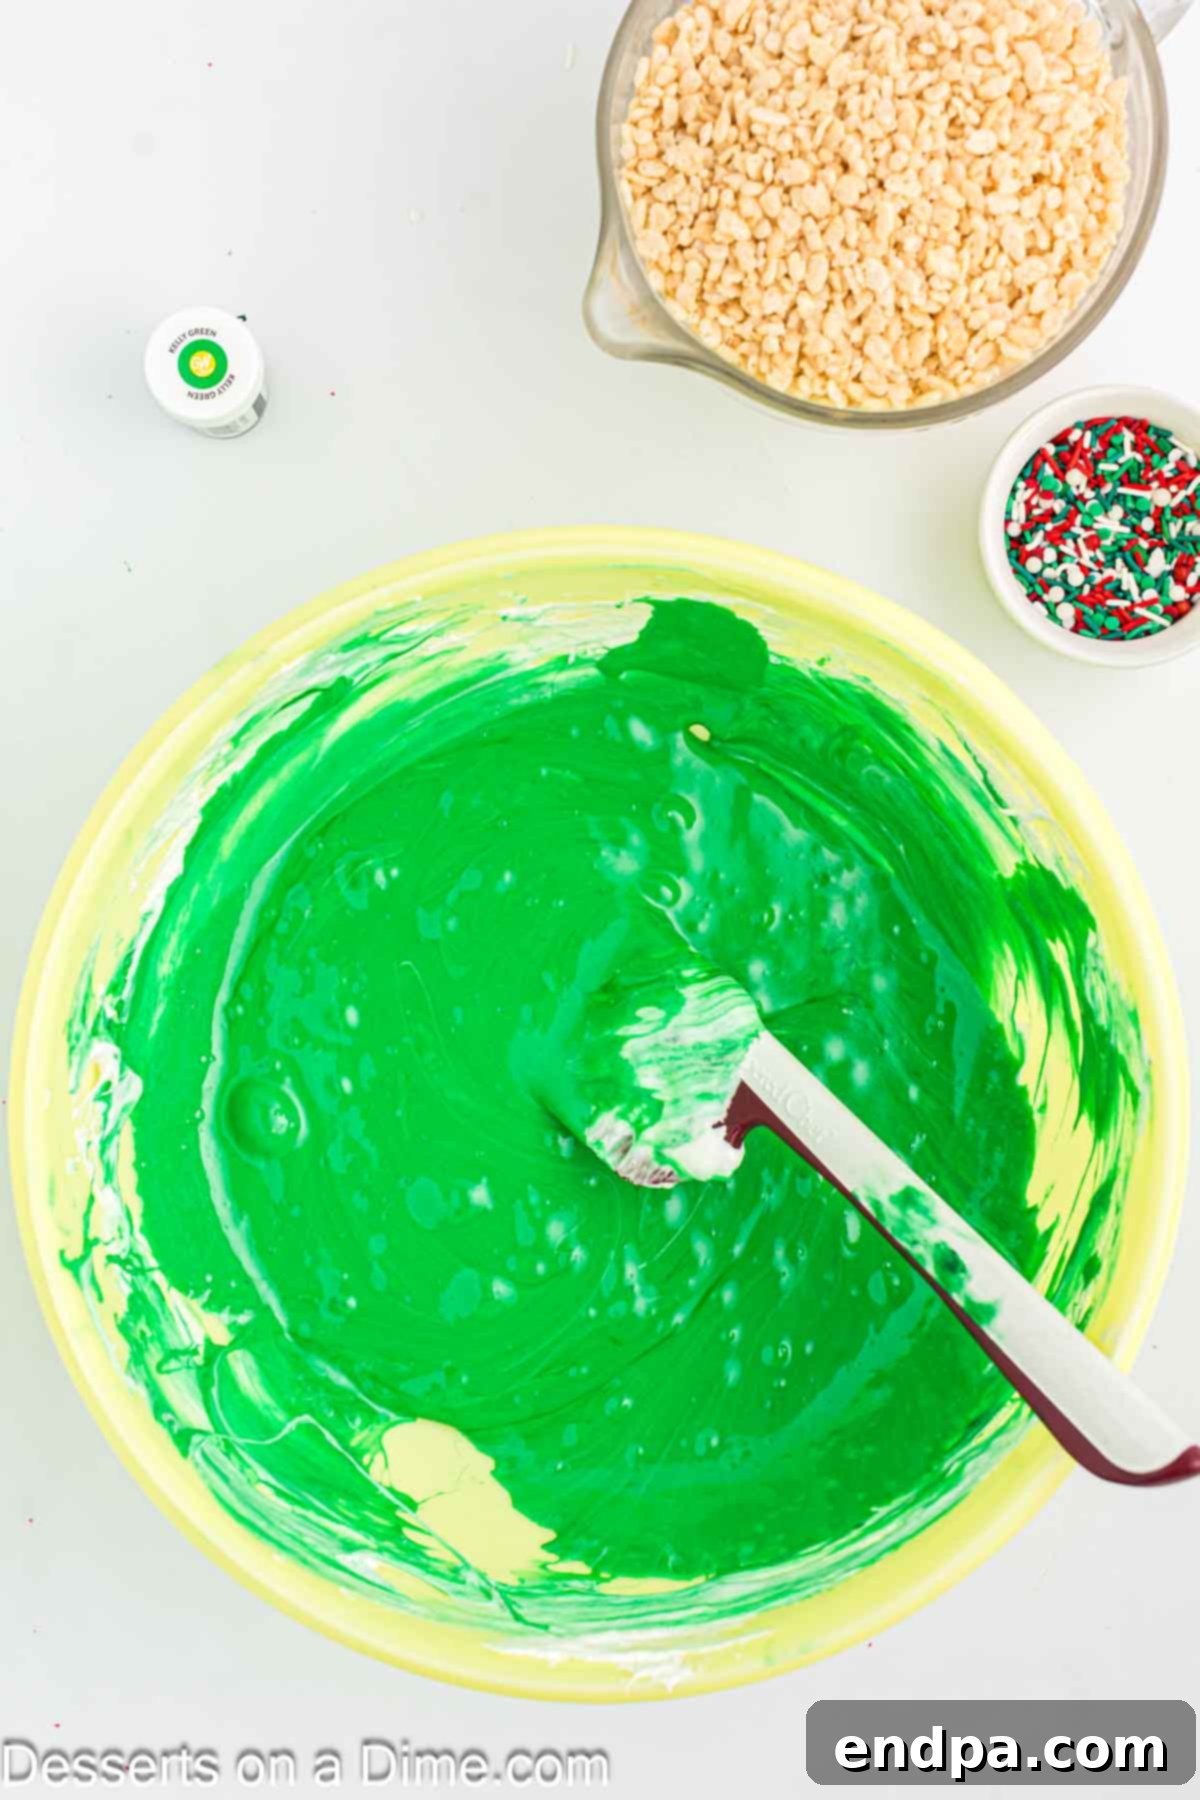
Step 3 – Infuse with Green Color: Once your marshmallow mixture is fully melted, add the green gel food coloring. Stir continuously with a spatula until the color is evenly distributed and you achieve a vibrant, rich green shade. You can adjust the amount of food coloring to your preference for a lighter or darker tree color. Remember, gel food coloring is highly concentrated, so start small!
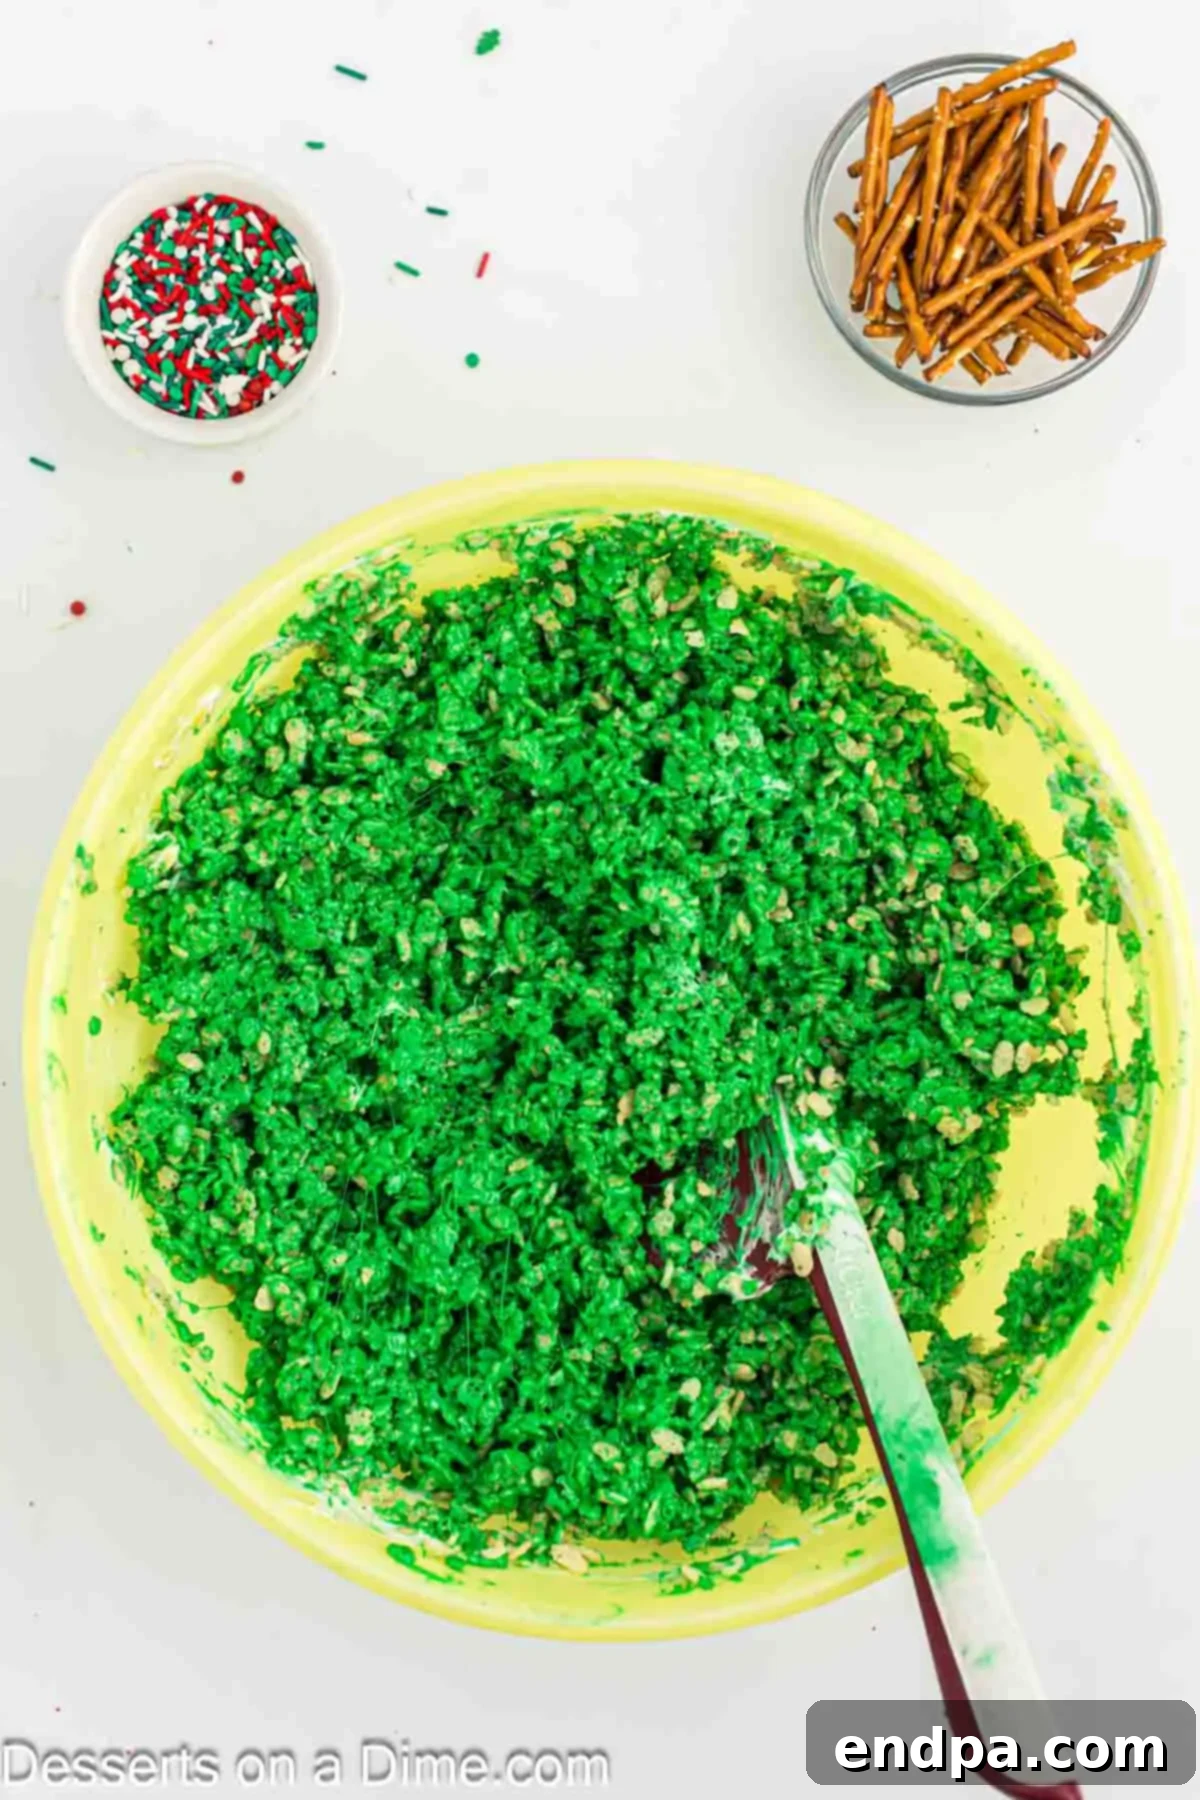
Step 4 – Incorporate the Cereal: Gently fold in the Rice Krispies cereal into the green marshmallow mixture. Continue mixing until every piece of cereal is thoroughly coated. Be careful not to overmix, as this can lead to hard treats.
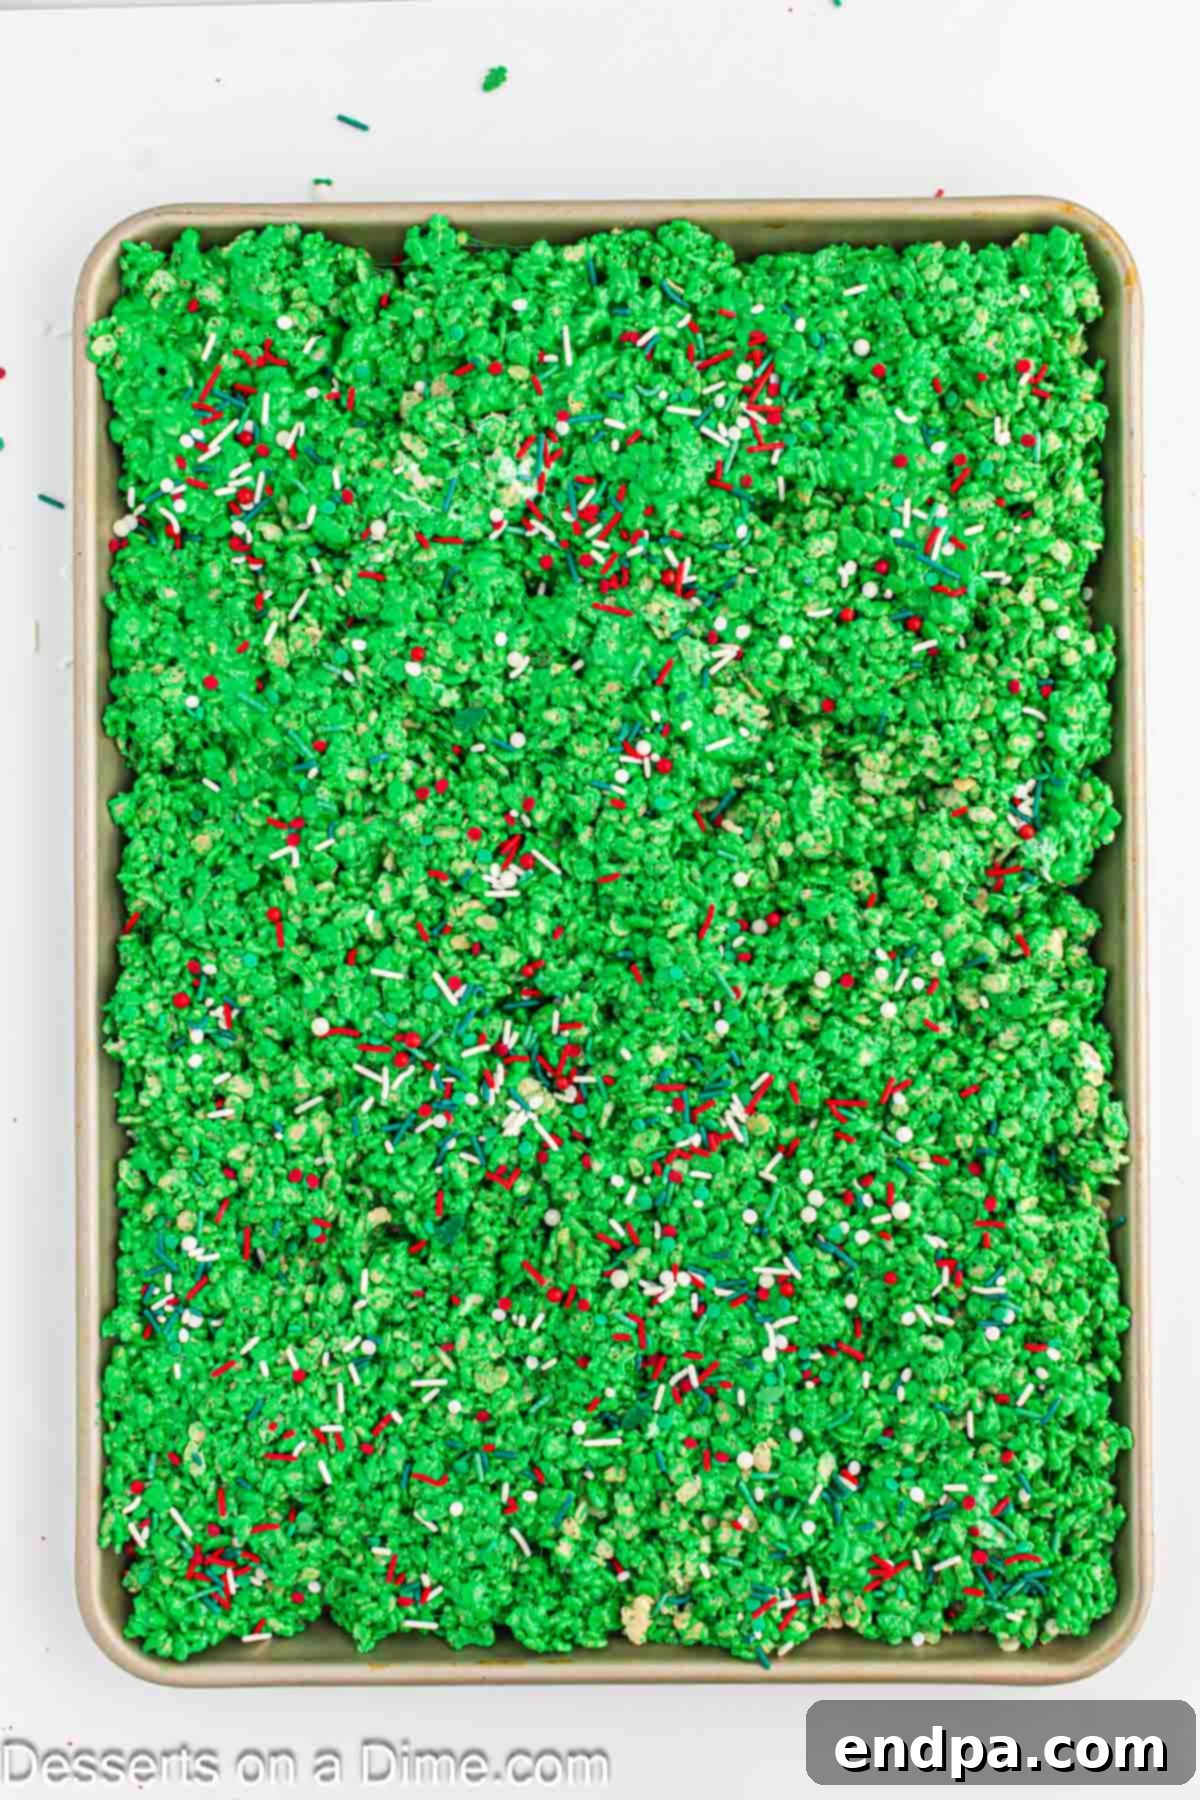
Step 5 – Press into Pan and Add Sprinkles: Quickly transfer the mixture to your prepared baking sheet. Using a piece of wax paper lightly sprayed with non-stick spray, gently press the mixture evenly into the pan. Immediately scatter your desired Christmas sprinkles over the top, pressing them down slightly so they adhere. The mixture is easiest to work with while warm.
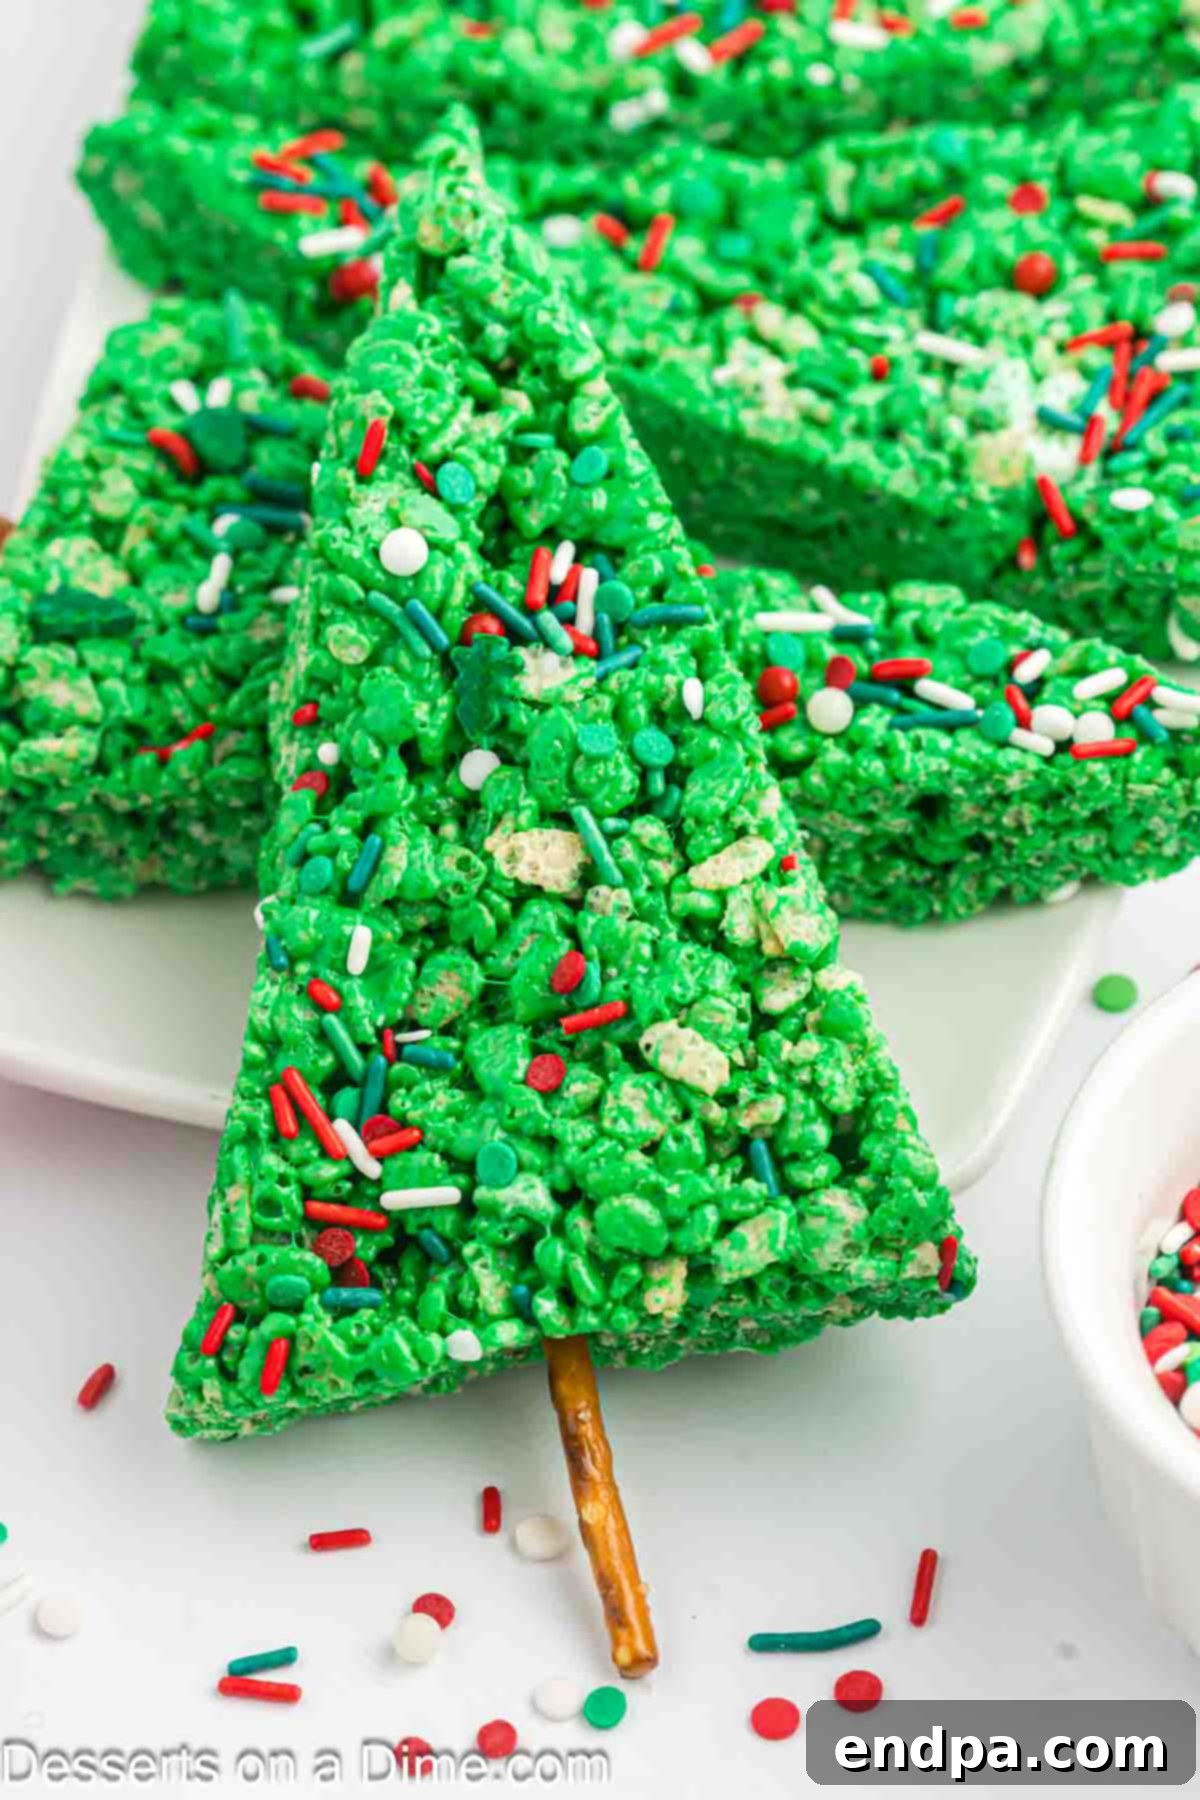
Step 6 – Cool, Cut, and Add Trunks: Allow the entire sheet of Rice Krispie Treats to cool completely at room temperature in the baking dish for at least 1-2 hours. Once set, carefully remove the slab from the pan (it helps if you lined the pan with parchment paper). Use a sharp, buttered knife to cut the mixture into approximately 40 even triangles, resembling Christmas trees. Finally, gently press a small pretzel stick into the bottom of each triangle to form the tree trunk. Your festive treats are now ready to serve and enjoy!
Pro Tips for Perfect Rice Krispie Trees
Achieving perfectly soft, chewy, and beautifully shaped Christmas Tree Rice Krispie Treats is simple with these expert tips:
- Patience is Key for Cutting: Allow your holiday treats to set for at least an hour, or even up to two hours, before attempting to cut them. This crucial cooling time allows the marshmallow and cereal mixture to firm up properly, resulting in cleaner, crisper cuts and preventing the treats from falling apart. Rushing this step often leads to messy edges.
- The Right Pan Size for Optimal Thickness: We highly recommend using a large cookie sheet or a jelly roll pan (roughly 10×15 inches or larger) rather than a deep 9×13 inch baking dish. Spreading the mixture thinner on a larger surface makes it significantly easier to cut into delicate tree shapes. Thinner treats also tend to have a better texture.
- Gentle Mixing Prevents Hardness: When combining the melted marshmallow mixture with the Rice Krispies cereal, mix until just combined. Overmixing can crush the cereal and introduce too much air, which can lead to a harder, denser treat. The goal is a light, airy, and chewy texture.
- Pressing with a Light Touch: Resist the urge to firmly pack the Rice Krispie mixture into the pan. Compacting the ingredients too tightly will press out the air, resulting in bars that are dense and lose their characteristic soft, gooey chewiness. Instead, gently press the mixture into an even layer using a piece of wax paper or your buttered hands, just enough to fill the pan without excessive force.
- Buttered Tools: Always use buttered hands or a spatula (or one sprayed with non-stick spray) when pressing the mixture into the pan. This prevents the sticky marshmallow from adhering to your tools and makes the process much smoother.
Cutting Rice Krispie Treats Neatly: A Guide for Clean Shapes
Achieving clean, precise Christmas tree shapes is essential for the visual appeal of these holiday treats. Here’s how to cut your Rice Krispie Treats neatly and efficiently:
The easiest method for cutting is to remove the entire slab of cooled Rice Krispie Treats from the pan. If you lined your baking pan with parchment paper or wax paper before pressing the mixture, this step will be incredibly simple. Simply lift the paper (and the treats) out of the pan and place the whole sheet onto a sturdy cutting board.
For the best results, use a really sharp knife. A chef’s knife or even a large, sharp serrated knife can work well. Before each cut, spray the knife blade with a non-stick cooking spray or lightly coat it with butter. This prevents the sticky marshmallow from adhering to the blade, ensuring smooth cuts. Remember to wipe the knife clean occasionally to remove any buildup that might drag the cereal or create uneven edges.
An excellent alternative to a knife is a pizza cutter. A clean, sharp pizza cutter can slice through the treats with remarkable ease. Just like with a knife, spraying the pizza cutter with non-stick spray or buttering it will prevent sticking and ensure a clean pass. Simply roll the cutter through the mixture to create straight lines, then angle it to form triangles.
When cutting into triangles, first cut the large rectangle into long strips. Then, cut each strip diagonally, alternating the direction of your cuts to form perfect triangles. Ensure the treats are fully cooled and set before cutting; this is paramount for maintaining their shape and minimizing crumbling. Following these tips will ensure your Christmas Tree Rice Krispies look professionally made and are a joy to behold.
Decorating Your Christmas Tree Krispies
Decorating these Christmas Tree Rice Krispie Treats is where you can truly let your imagination shine and involve everyone in the creative process. Here’s how to make each tree uniquely festive:
- A Spectrum of Sprinkles: While classic red and green Christmas sprinkles are a popular choice, feel free to use any type of sprinkles you desire! Gold stars, silver balls, iridescent flakes, or even a mix of vibrant colors can add a personalized touch. Apply them while the treats are still slightly warm so they adhere properly.
- Elegant Gel Icing “Garlands”: For a sophisticated touch, use thin gel icing (available in tubes with fine tips) to create intricate garland patterns on your Christmas trees. A zigzag line or a swirling design can transform a simple tree into an elegant showpiece. Experiment with white, red, or even metallic gel icings.
- Food Coloring Flexibility: While green is traditional for Christmas trees, don’t feel limited! You can use any color of food coloring to create a fantastical forest of trees. Imagine blue, purple, or even white “snow” trees. Alternatively, you can leave them plain for a more natural, golden hue, which can also be beautiful with the right decorations.
- Shape Shifting with Cookie Cutters: We’ve opted for classic triangle shapes, but you can easily use different Christmas-themed cookie cutters to create a variety of festive shapes. Think stars, gingerbread men, or even tiny reindeer. Simply press the cookie cutter into the cooled Rice Krispie slab, then remove the shapes.
- A Dusting of “Snow”: For a magical winter wonderland effect, lightly dust the finished Christmas trees with powdered sugar. Use a small sieve for an even coating that mimics freshly fallen snow. This adds a delicate sweetness and a charming visual element.
- Mini Candies and Chocolates: Beyond sprinkles, consider pressing mini chocolate chips, tiny hard candies, or small colorful jelly beans into the trees to resemble ornaments. A small candy star at the very top of each tree can be the perfect finishing touch.
Storage Tips for Freshness
To keep your delightful Christmas Tree Rice Krispie Treats perfectly fresh and chewy, proper storage is essential. Follow these guidelines to ensure they remain a delicious holiday treat for as long as possible:
Always store any leftover Rice Krispie Treats in an airtight container at room temperature. When stored correctly, they will maintain their optimal taste and texture for up to one week. An airtight container prevents them from drying out and keeps them wonderfully soft and gooey, just as they should be.
It’s crucial to avoid storing these treats in the refrigerator. While it might seem like a good way to extend shelf life, the cold temperature of the refrigerator causes the marshmallows to harden significantly, resulting in a firm, less appealing texture. These treats are designed to be enjoyed at room temperature, where their signature gooeyness and chewiness are at their best.
Furthermore, we strongly advise against freezing these crispy treats. Freezing and then thawing can fundamentally alter the delicate texture of the marshmallows and cereal, making them tough, crumbly, or overly sticky. For the most enjoyable experience, these festive holiday treats are best made fresh and consumed within a week.
More Christmas Tree Desserts
Cute Christmas Desserts
Christmas Tree Sugar Cookies Recipe
Cute Christmas Desserts
Little Debbie Christmas Tree Dip
Cute Christmas Desserts
Ice Cream Cone Christmas Trees
Cookies
Meringue Christmas Trees
We hope you enjoy making these easy and enchanting Christmas Tree Rice Krispie Treats this holiday season. They are truly a special way to add a touch of festive cheer to any gathering or simply create lasting memories with your family. Please share your thoughts and creations in the comments below – we always love hearing from you!
Pin
Christmas Tree Rice Krispie Treats
Ingredients
- 12 cups Rice Krispie Cereal
- 6 Tablespoons Butter
- (2) 10 oz. package of Marshmallows
- Green Gel Food Coloring
- 40 Small Pretzel Rods
- Christmas Sprinkles
Instructions
- Lightly spray a baking sheet with a non-stick cooking spray to prepare your work surface.
- In a large microwave-safe bowl, combine the butter and marshmallows. Melt by microwaving in 30-second intervals, stirring thoroughly between each interval until the mixture is completely smooth and melted.
- Add the green gel food coloring to the melted marshmallow mixture. Stir continuously until it achieves a vibrant, even green color throughout.
- Gradually add the Rice Krispies cereal to the green marshmallow mixture. Fold gently until all the cereal is completely coated. Avoid overmixing to maintain a soft texture.
- Transfer the mixture to the prepared baking sheet. Using a piece of wax paper sprayed with non-stick cooking spray, gently press the Rice Krispie mixture evenly into the bottom of the pan to create a uniform layer.
- Immediately sprinkle your chosen Christmas sprinkles over the top of the mixture, gently pressing them down slightly so they adhere.
- Allow the treats to cool and set completely at room temperature for 1-2 hours. This ensures they firm up enough for clean cutting.
- Once fully cooled, carefully cut the mixture into approximately 40 even triangle shapes using a buttered knife. Gently press a small pretzel rod into the base of each triangle to form the tree trunk.
- Serve your festive Christmas Tree Rice Krispie Treats and enjoy the holiday cheer!
Nutrition Facts
Pin This Now to Remember It Later
Pin Recipe
