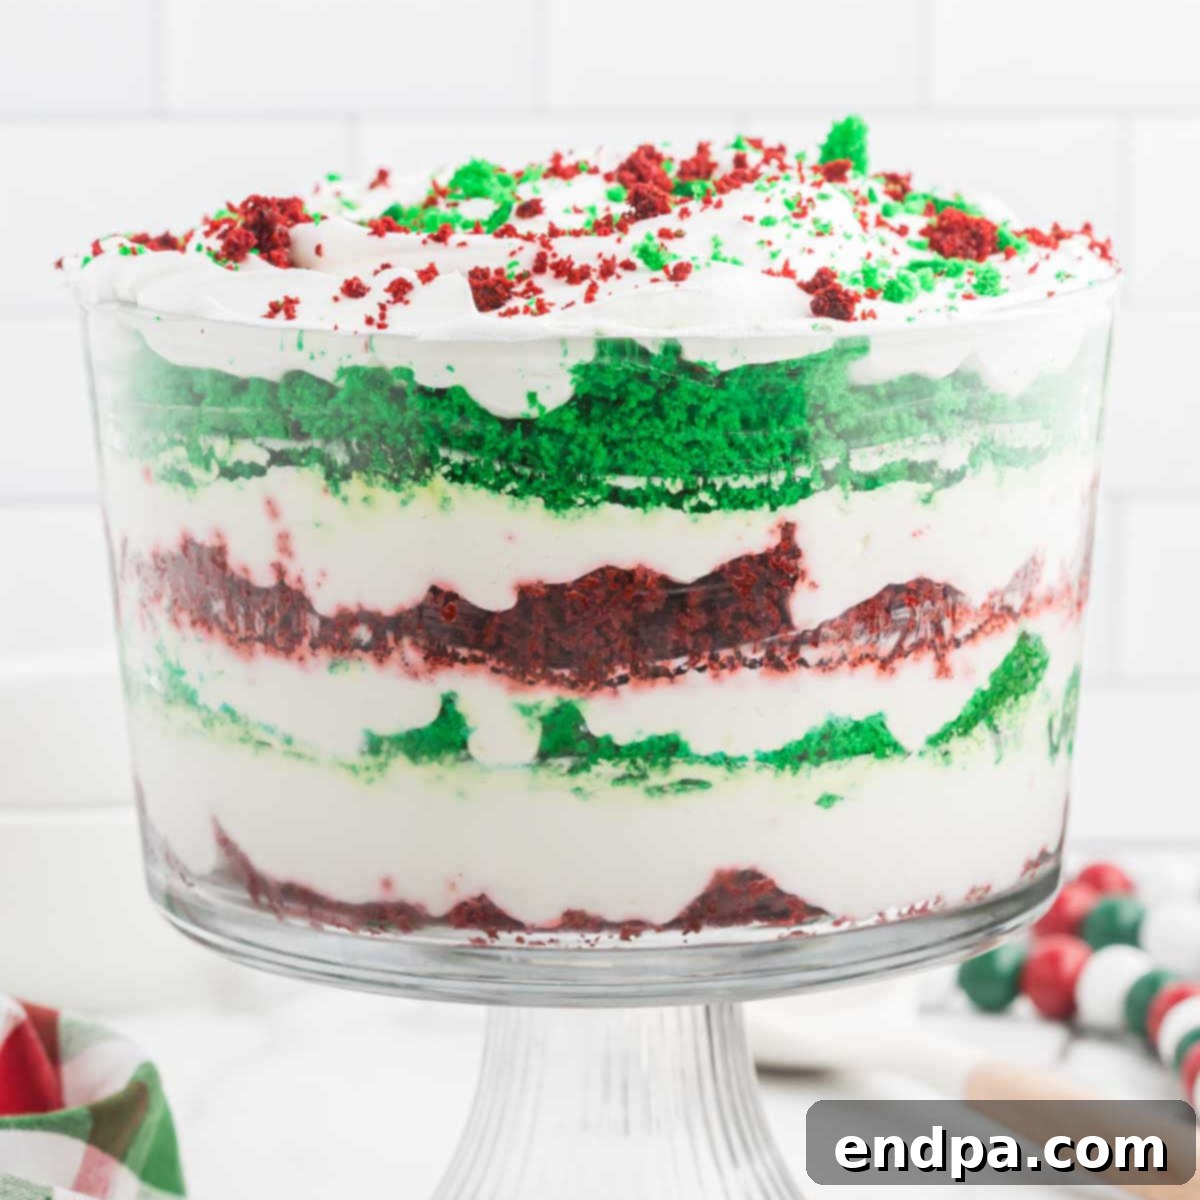
Get ready to impress your holiday guests with this visually stunning and incredibly delicious Christmas Trifle. This festive dessert is a true showstopper, featuring vibrant layers of tender cake, luscious creamy pudding, and light, airy whipped topping. It’s the perfect blend of elegance and simplicity, making it an ideal choice for any Christmas party or gathering. Best of all, it’s a delightful no-bake treat, meaning less time in the kitchen and more time enjoying the holiday cheer!
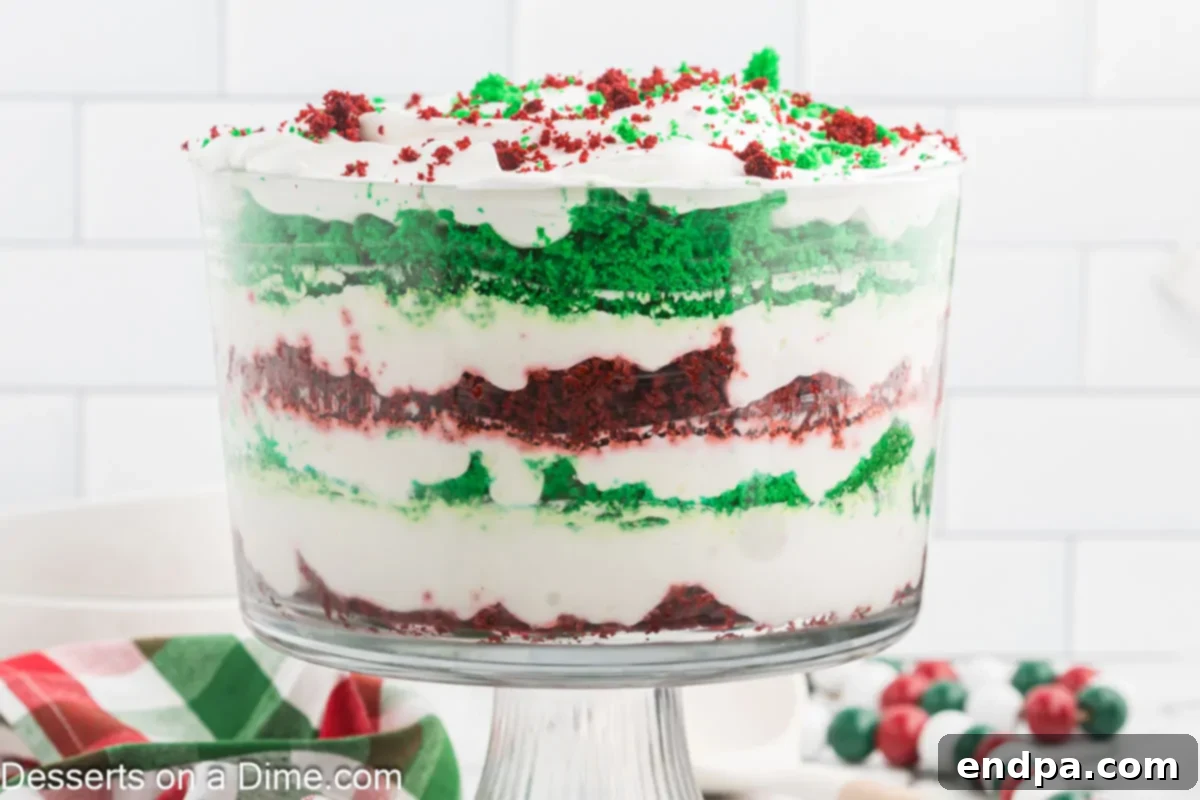
This Christmas Trifle is more than just a dessert; it’s a celebration in a dish. Its bright, festive colors of red and green immediately evoke the spirit of the season, making it a natural centerpiece for your holiday dessert table. Imagine the oohs and aahs as you present this magnificent creation, knowing how little effort it actually took to assemble!
One of the greatest joys of making this trifle is its straightforward preparation. You don’t need any specialized baking skills or intricate techniques. Each component comes together quickly and easily, culminating in a rich, creamy, and undeniably elegant dessert. It’s the ultimate hack for looking like a seasoned baker without the stress. From beginner home cooks to experienced entertainers, anyone can master this beautiful layered dessert.
This stunning Christmas Trifle holds a special place among my favorite Easy Christmas Dessert Recipes. For occasions requiring individual servings, I often prepare Red Velvet Trifle Cups, offering a personal touch while maintaining the beautiful layered aesthetic.
Table of Contents
- Why We Love This Dessert
- Ingredients for a Perfect Trifle
- Creative Variations & Customizations
- Step By Step Instructions: Assembling Your Trifle
- Storage & Make-Ahead Tips
- Pro Tips for Trifle Perfection
Why We Love This Easy Christmas Trifle
There are countless reasons why this Christmas Trifle has become a holiday staple. It’s not just a dessert; it’s a smart solution for festive entertaining:
- Effortlessly Elegant & Easy to Assemble. Despite its impressive appearance, this trifle is surprisingly simple to put together. Layers are built with minimal fuss, making it accessible for even novice dessert makers. You’ll spend less time stressing and more time enjoying the holidays.
- Perfect for Feeding a Crowd. This generously sized dessert is designed to serve many, making it absolutely ideal for large family gatherings, holiday parties, or potlucks. It’s a dessert that stretches beautifully without compromising on flavor or presentation.
- Infinitely Customizable. The beauty of a trifle lies in its adaptability. You can easily switch up the cake flavors, pudding varieties, or add-ins to match your personal preferences, dietary needs, or specific holiday theme. Get creative with your color schemes and flavors!
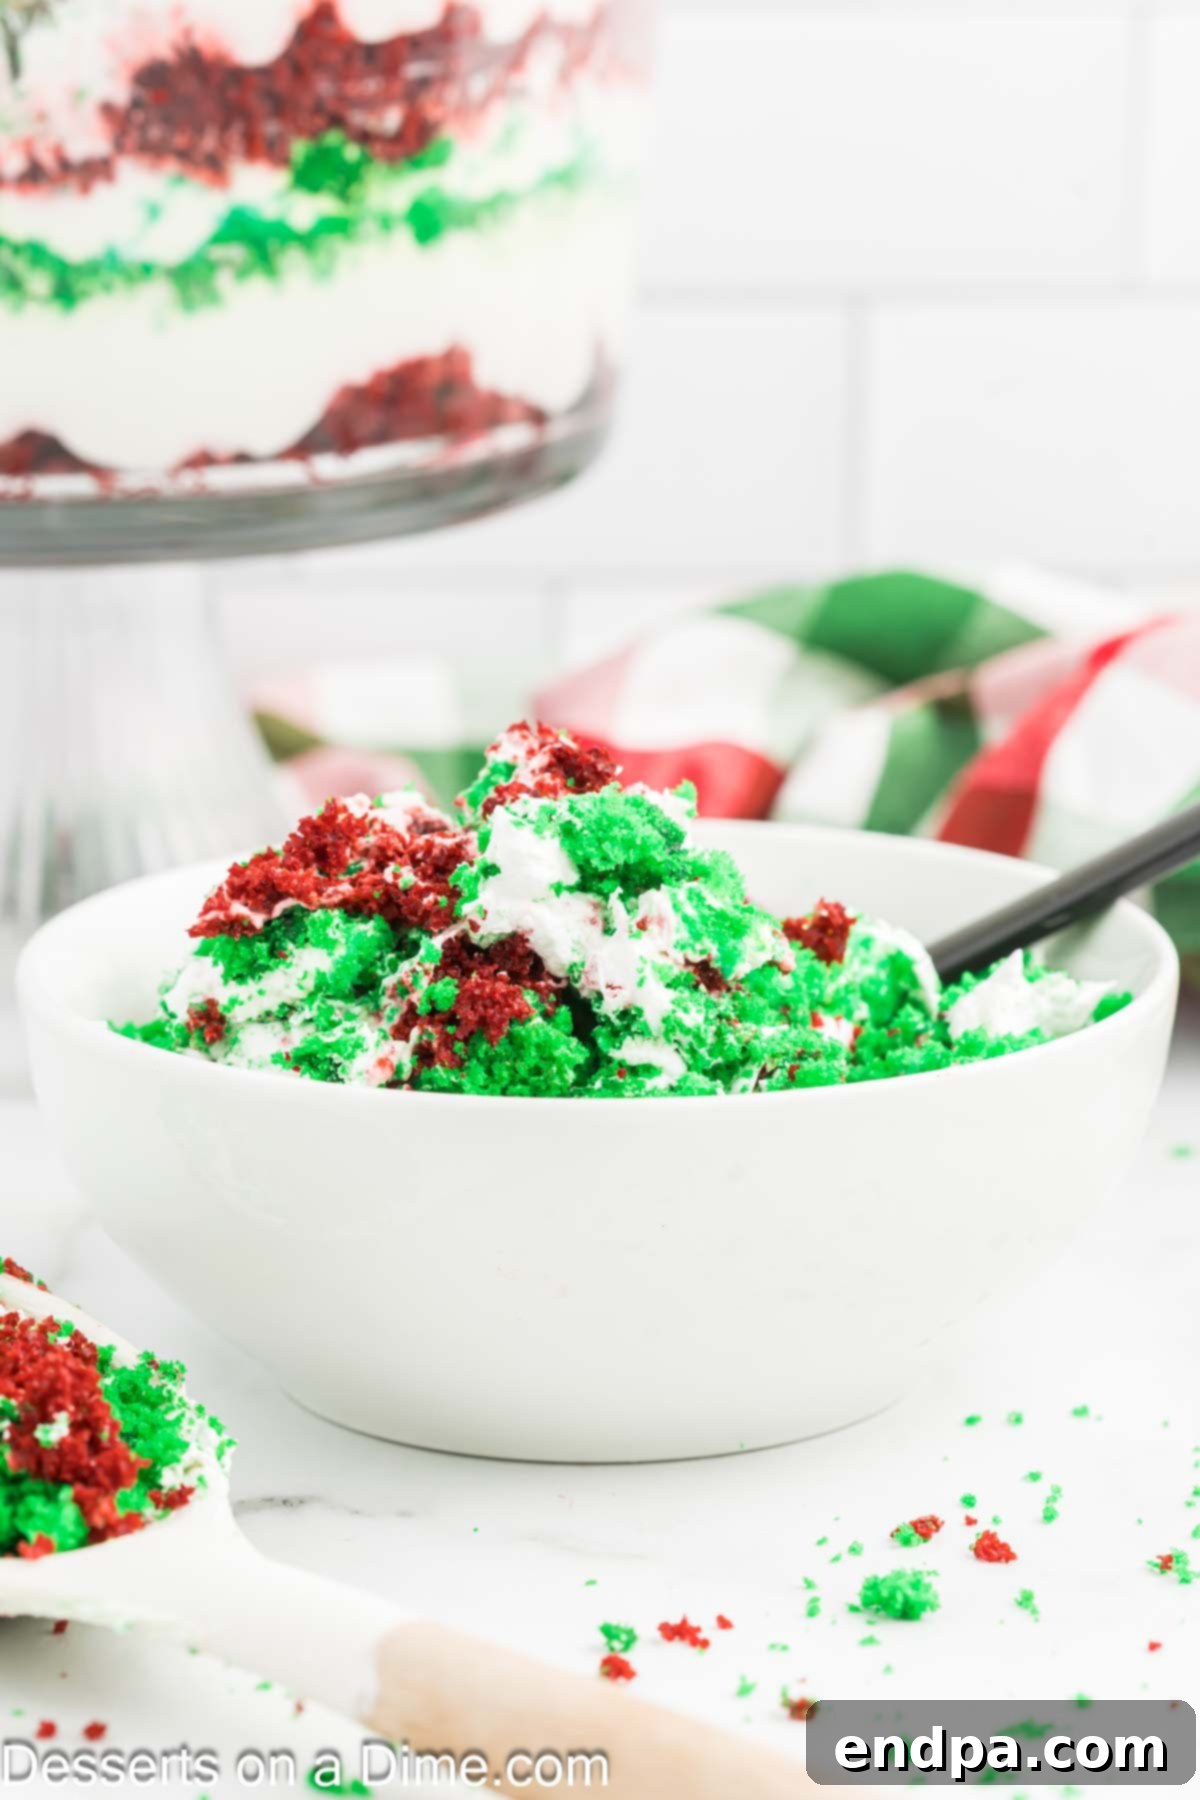
- Visually Stunning & Festively Beautiful. The distinct, colorful layers of red cake, green cake, creamy white pudding, and fluffy whipped topping create a magnificent visual display. It’s a true show-stopping addition that brightens any holiday dessert table.
- Excellent Make-Ahead Option. This trifle actually tastes better the next day! Allowing it to chill for several hours, or even overnight, gives the flavors ample time to meld and deepen, and the cake layers to absorb some of the creamy goodness. This means less last-minute scrambling on the day of your event.
Essential Ingredients for a Festive Trifle
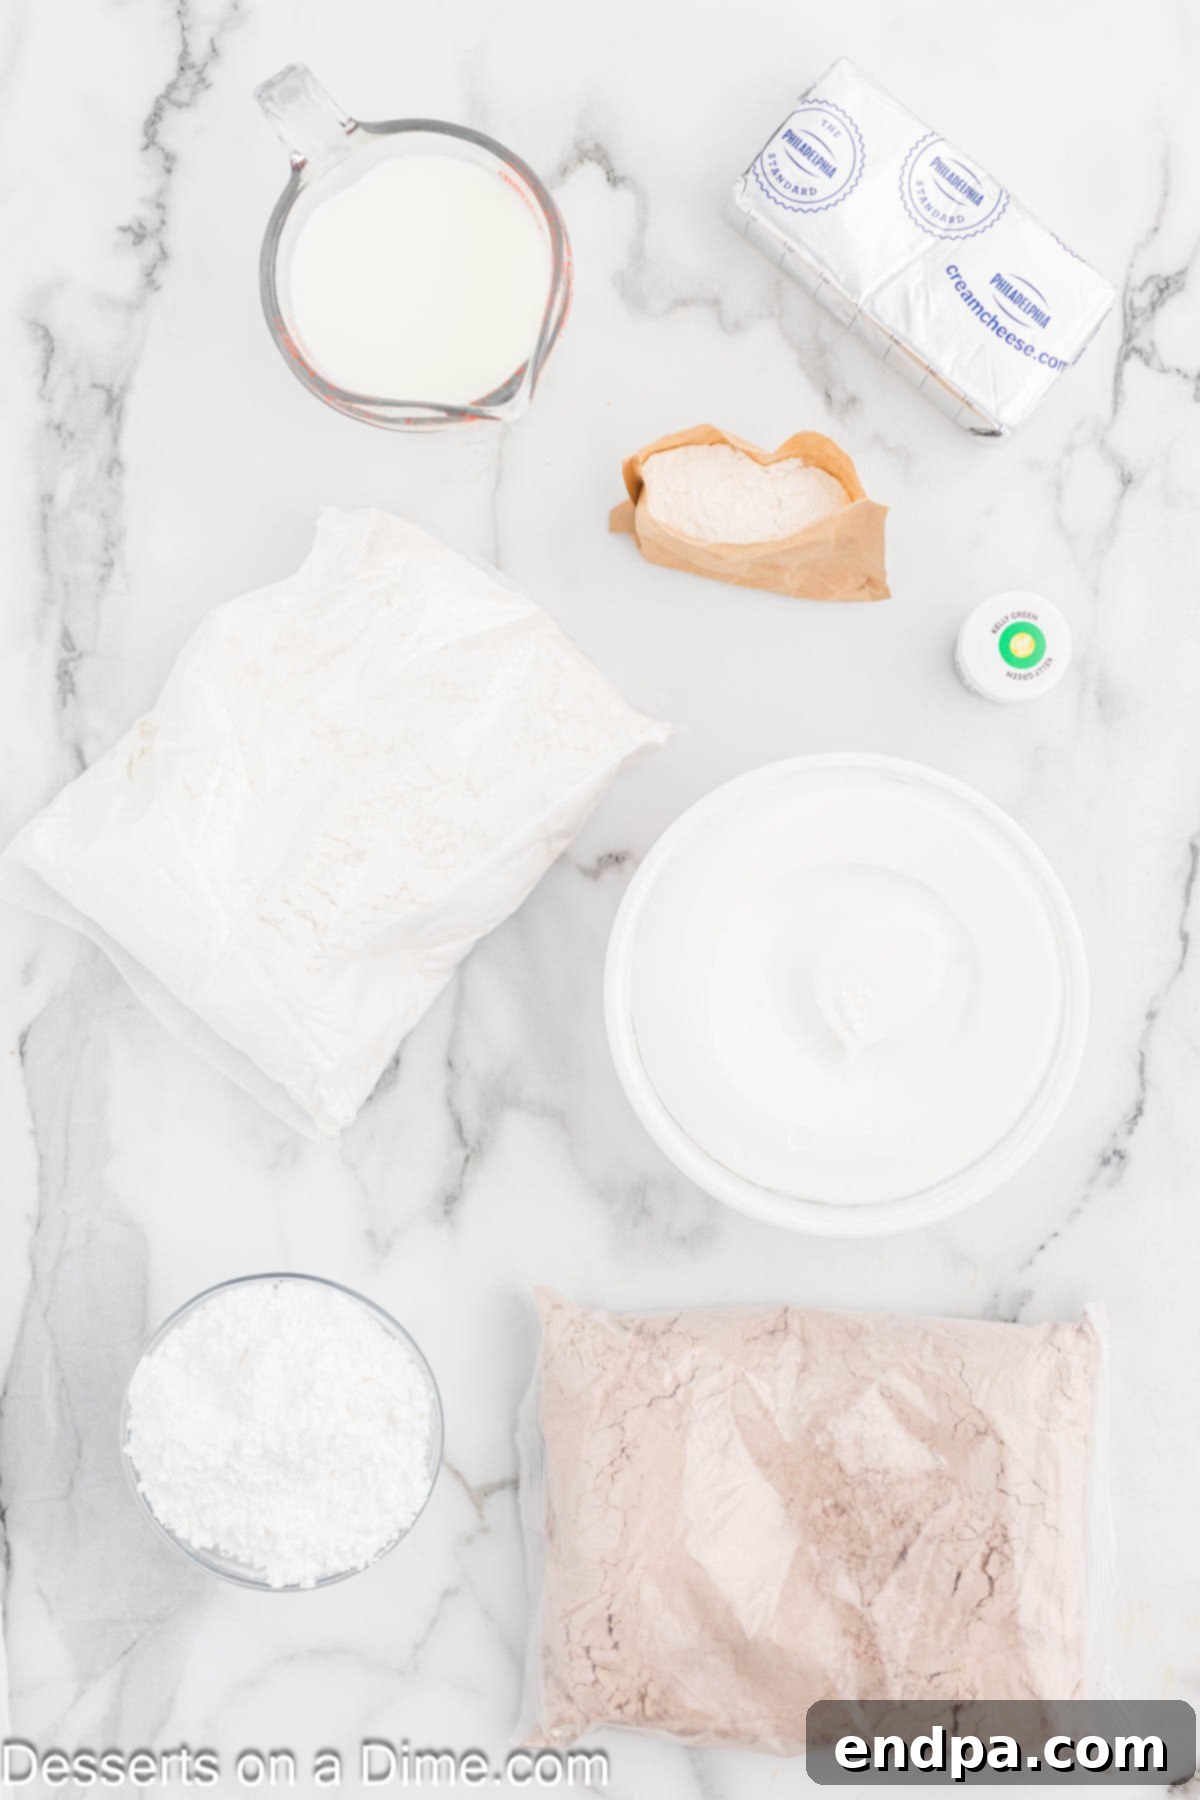
Crafting this delicious Christmas Trifle requires a few simple ingredients, many of which you likely already have on hand. The convenience of using boxed mixes greatly streamlines the process without sacrificing flavor or festive appeal.
- White Cake Mix and Red Velvet Cake Mix: Choose any reliable brand you prefer. These mixes provide a fantastic shortcut, ensuring perfectly moist cake layers every time. Remember, you’ll also need the additional ingredients (like eggs, oil, water) required to prepare both cake mixes according to their package instructions.
- Green Food Coloring: This is the secret to transforming your white cake into a vibrant green layer, creating that unmistakable festive contrast with the red velvet. Gel food coloring often provides a more intense color with less liquid.
- White Chocolate Instant Pudding Mix: Ensure you select instant pudding for quick and easy preparation. The white chocolate flavor adds a rich, complementary sweetness, but you can also opt for cheesecake flavor pudding for a slight tangy twist or even classic vanilla.
- Cold Milk: Whole milk is recommended for the richest, creamiest pudding and cream cheese layers, contributing to a more decadent texture. However, reduced-fat milk can also be used if preferred.
- Cream Cheese: It’s crucial that your cream cheese is softened to room temperature before mixing. This ensures a smooth, lump-free, and fluffy cream cheese layer. Always use full-fat, brick-style cream cheese for the best results in terms of texture and stability.
- Powdered Sugar: Also known as confectioners’ sugar, this ingredient sweetens our creamy layers. Sifting the powdered sugar before adding it is a vital step to prevent lumps, guaranteeing a perfectly smooth and silky filling.
- Cool Whip: This ready-to-use whipped topping provides convenience and a stable, airy texture. For an extra touch of homemade goodness, you can substitute store-bought Cool Whip with Homemade Whipped Cream. If making your own, stabilize it slightly by adding a spoonful of powdered sugar or cream of tartar during whipping.
The complete, detailed list of ingredients with exact measurements can be found in the recipe card towards the end of this page.
Creative Variations & Customizations
One of the best aspects of a trifle is its versatility. Feel free to get creative and customize this Christmas Trifle to your heart’s content! Here are some ideas to inspire your next creation:
- Cake Choices: While red velvet and green-dyed white cake are classic for Christmas, don’t limit yourself! You could use a Green Velvet Cake Recipe directly for the green layer. For a completely homemade touch, try our Red Velvet Cake from scratch. Other fantastic options include chocolate cake, vanilla sponge cake, lemon cake for a brighter flavor, or even a classic pound cake or fudgy brownies, making this dessert suitable for year-round enjoyment.
- Pudding & Creamy Layers: Experiment with different instant pudding flavors such as classic vanilla, rich chocolate, pistachio, or even a festive eggnog-flavored pudding. You could also swirl in a bit of peppermint extract or almond extract into your white chocolate pudding mixture for an extra holiday kick.
- Fruit Additions: To enhance both flavor and visual appeal, incorporate fresh fruit between the layers. Bright red strawberries, raspberries, or pomegranate seeds add a lovely tartness and juicy burst. Green kiwi slices can complement the green cake layer, or even a mix of fresh berries for a vibrant, jeweled effect.
- Liqueur Infusion (Adult Version): For an adult-friendly version, consider drizzling a small amount of complementary liqueur over the cake layers before adding the pudding. Grand Marnier, Kahlua, rum, or even a touch of peppermint schnapps could elevate the flavors beautifully.
- Delicious Toppings: The final garnish can truly make your trifle shine. Beyond the reserved cake crumbs, consider adding festive Christmas sprinkles, chocolate shavings (white or dark), chopped toasted pecans, almonds, or walnuts for added crunch. Candied cranberries, fresh mint leaves, or even a dusting of cocoa powder can provide an elegant finish.
- Individual Trifle Servings: Instead of one large trifle, you can easily adapt this recipe to create stunning individual trifles in small glasses or jars, perfect for personalized portions at a party.
Step By Step Instructions: Assembling Your Perfect Christmas Trifle
Creating this festive Christmas Trifle is a fun and rewarding process. Follow these simple steps to layer your way to a spectacular dessert:
Step 1: Prepare the Green Cake Layer. Begin by preparing the white cake mix according to the package instructions. Once the batter is ready, add several drops of green food coloring, mixing until you achieve a vibrant, uniform green color. Pour the green batter into a 9×13 inch baking pan and bake as directed. Allow the cake to cool completely at room temperature. This is crucial to prevent the creamy layers from melting.
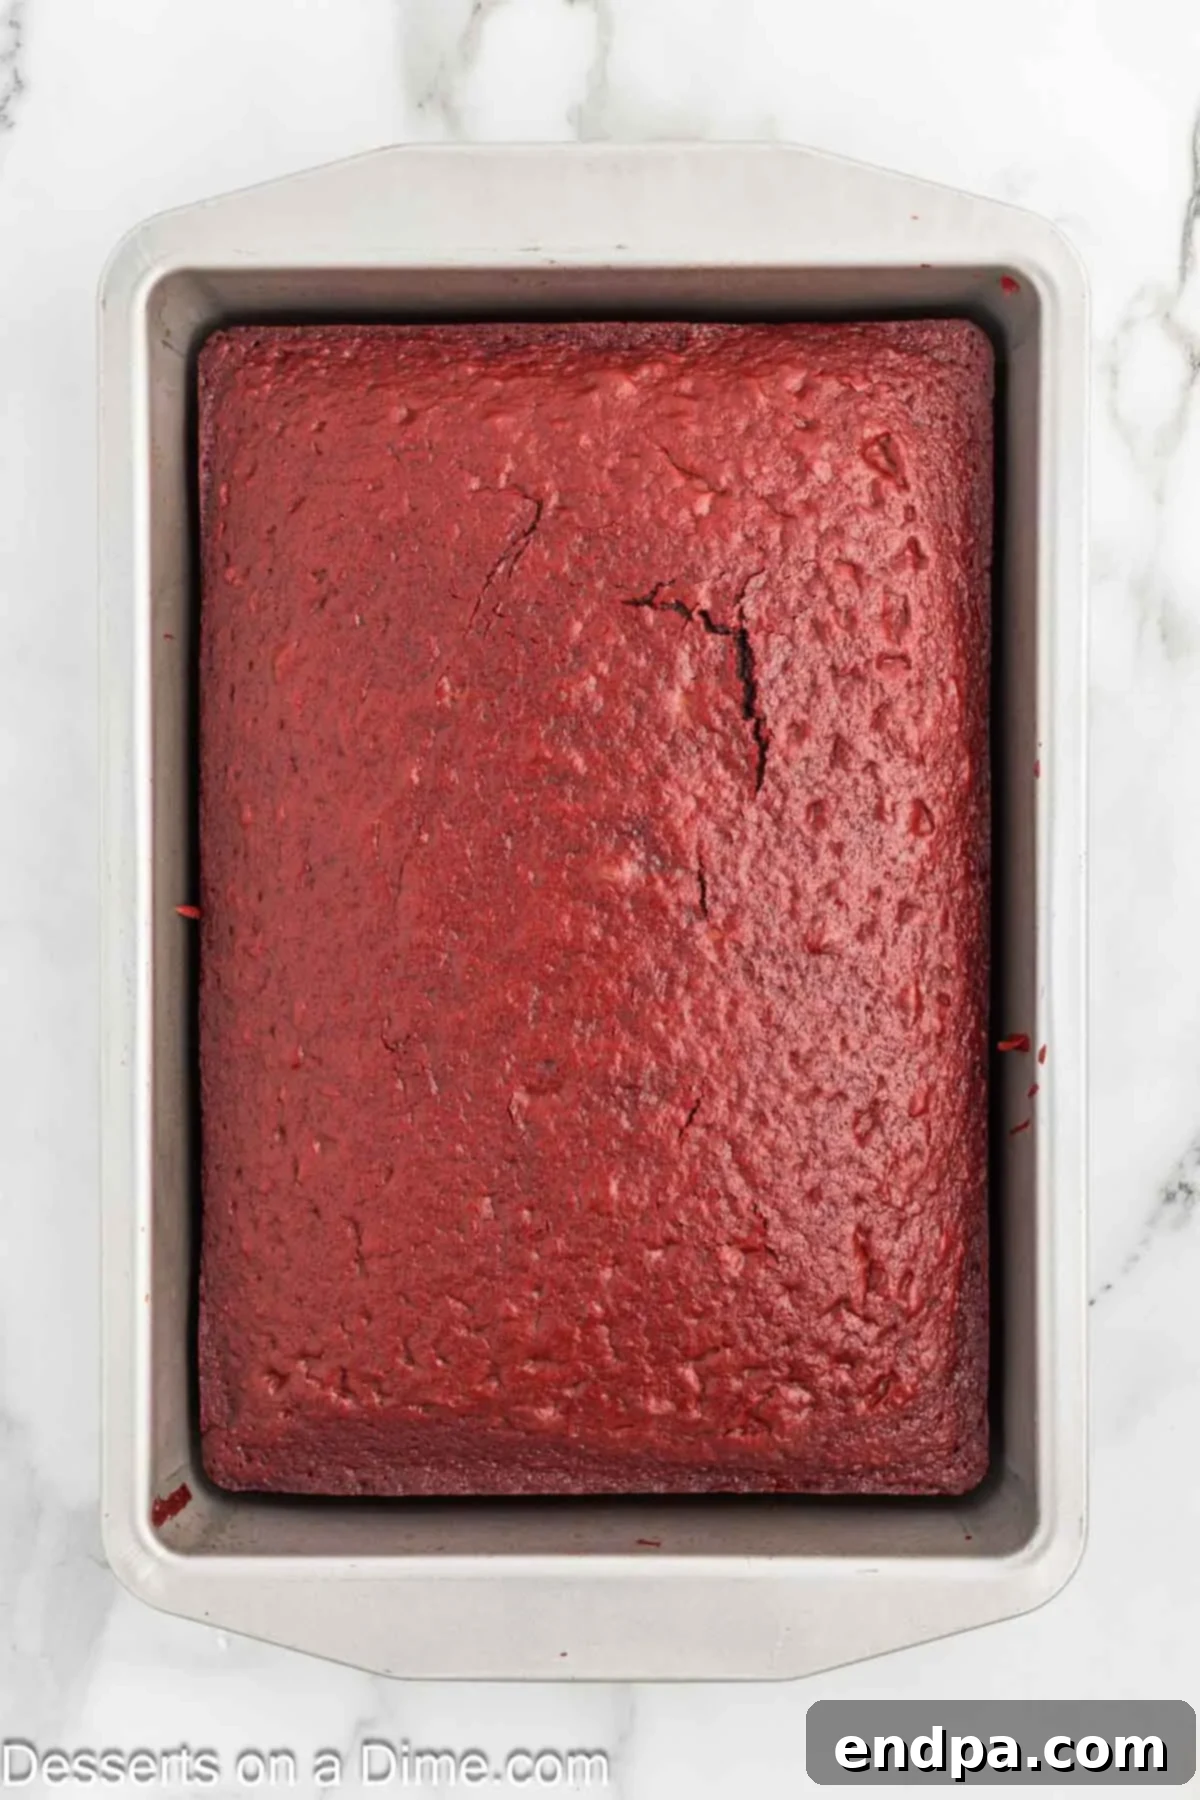
Step 2: Bake the Red Velvet Cake. Next, prepare the red velvet cake mix following its package instructions. Bake it in a separate 9×13 inch pan. Once baked, allow this cake to cool completely as well. Patience here ensures the best results for your trifle.
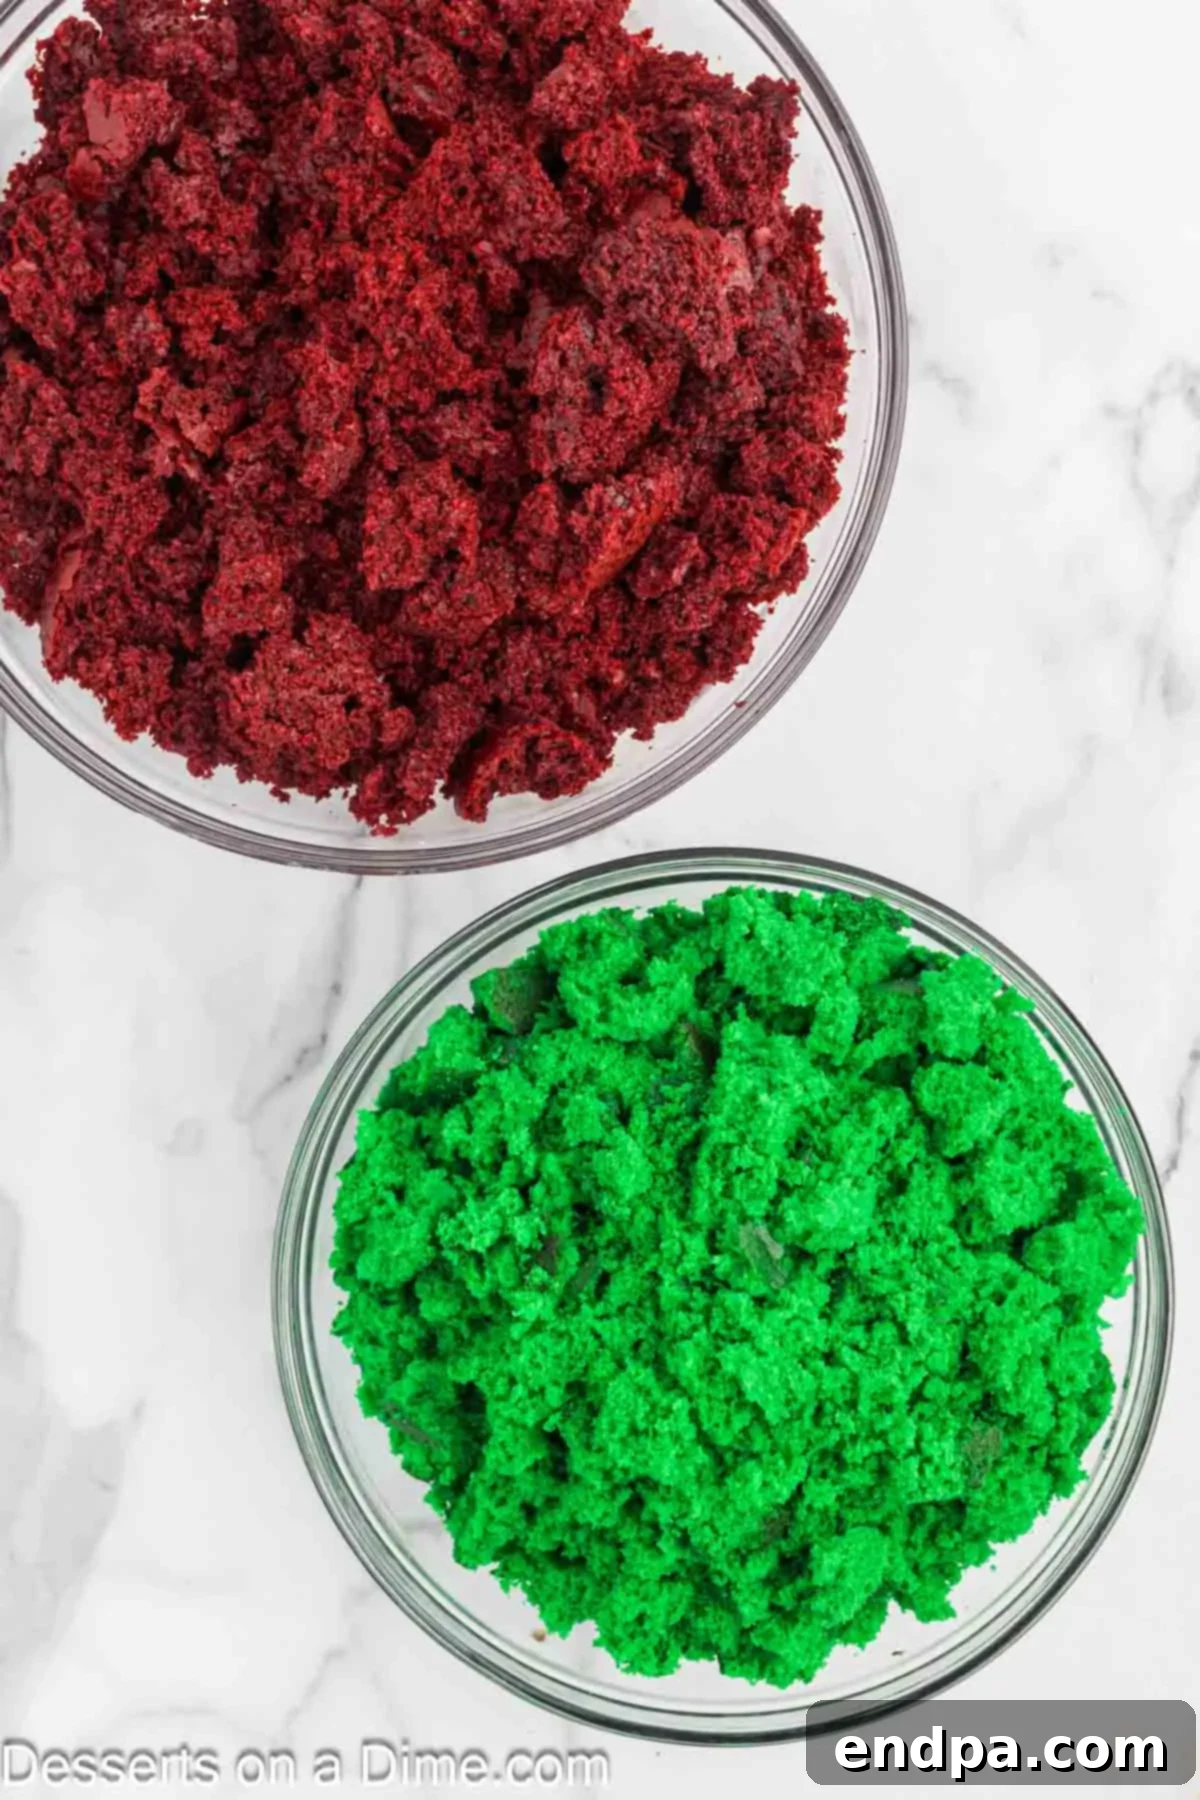
Step 3: Crumble the Cooled Cakes. Once both cakes are completely cool, gently crumble them into bite-sized pieces or small cubes. Keep the red and green cake crumbles in separate bowls. Remember to reserve a small amount of both red and green cake crumbles for the final festive topping.
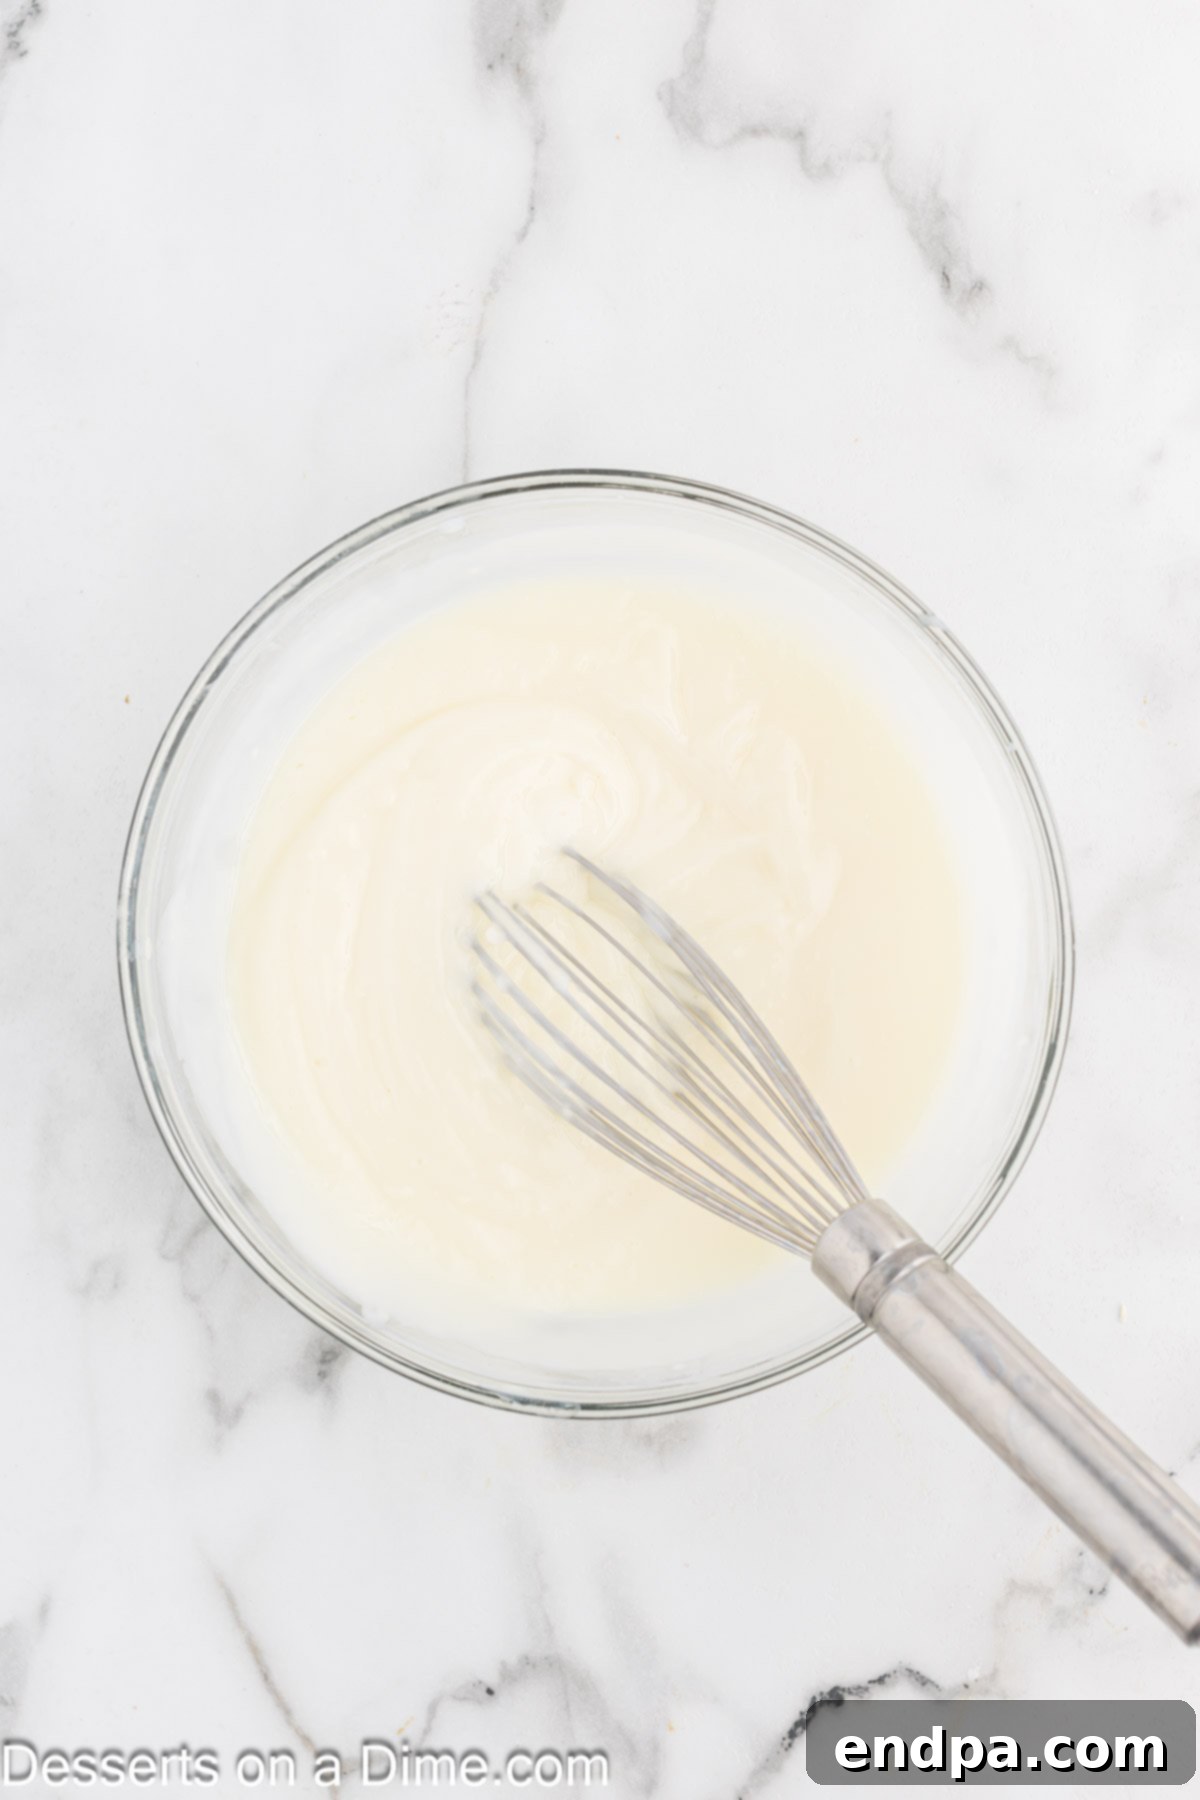
Step 4: Prepare the Pudding. In a medium bowl, whisk together the instant white chocolate pudding mix with the cold milk for exactly two minutes. The mixture will thicken. Set it aside to firm up further while you prepare the cream cheese layer.
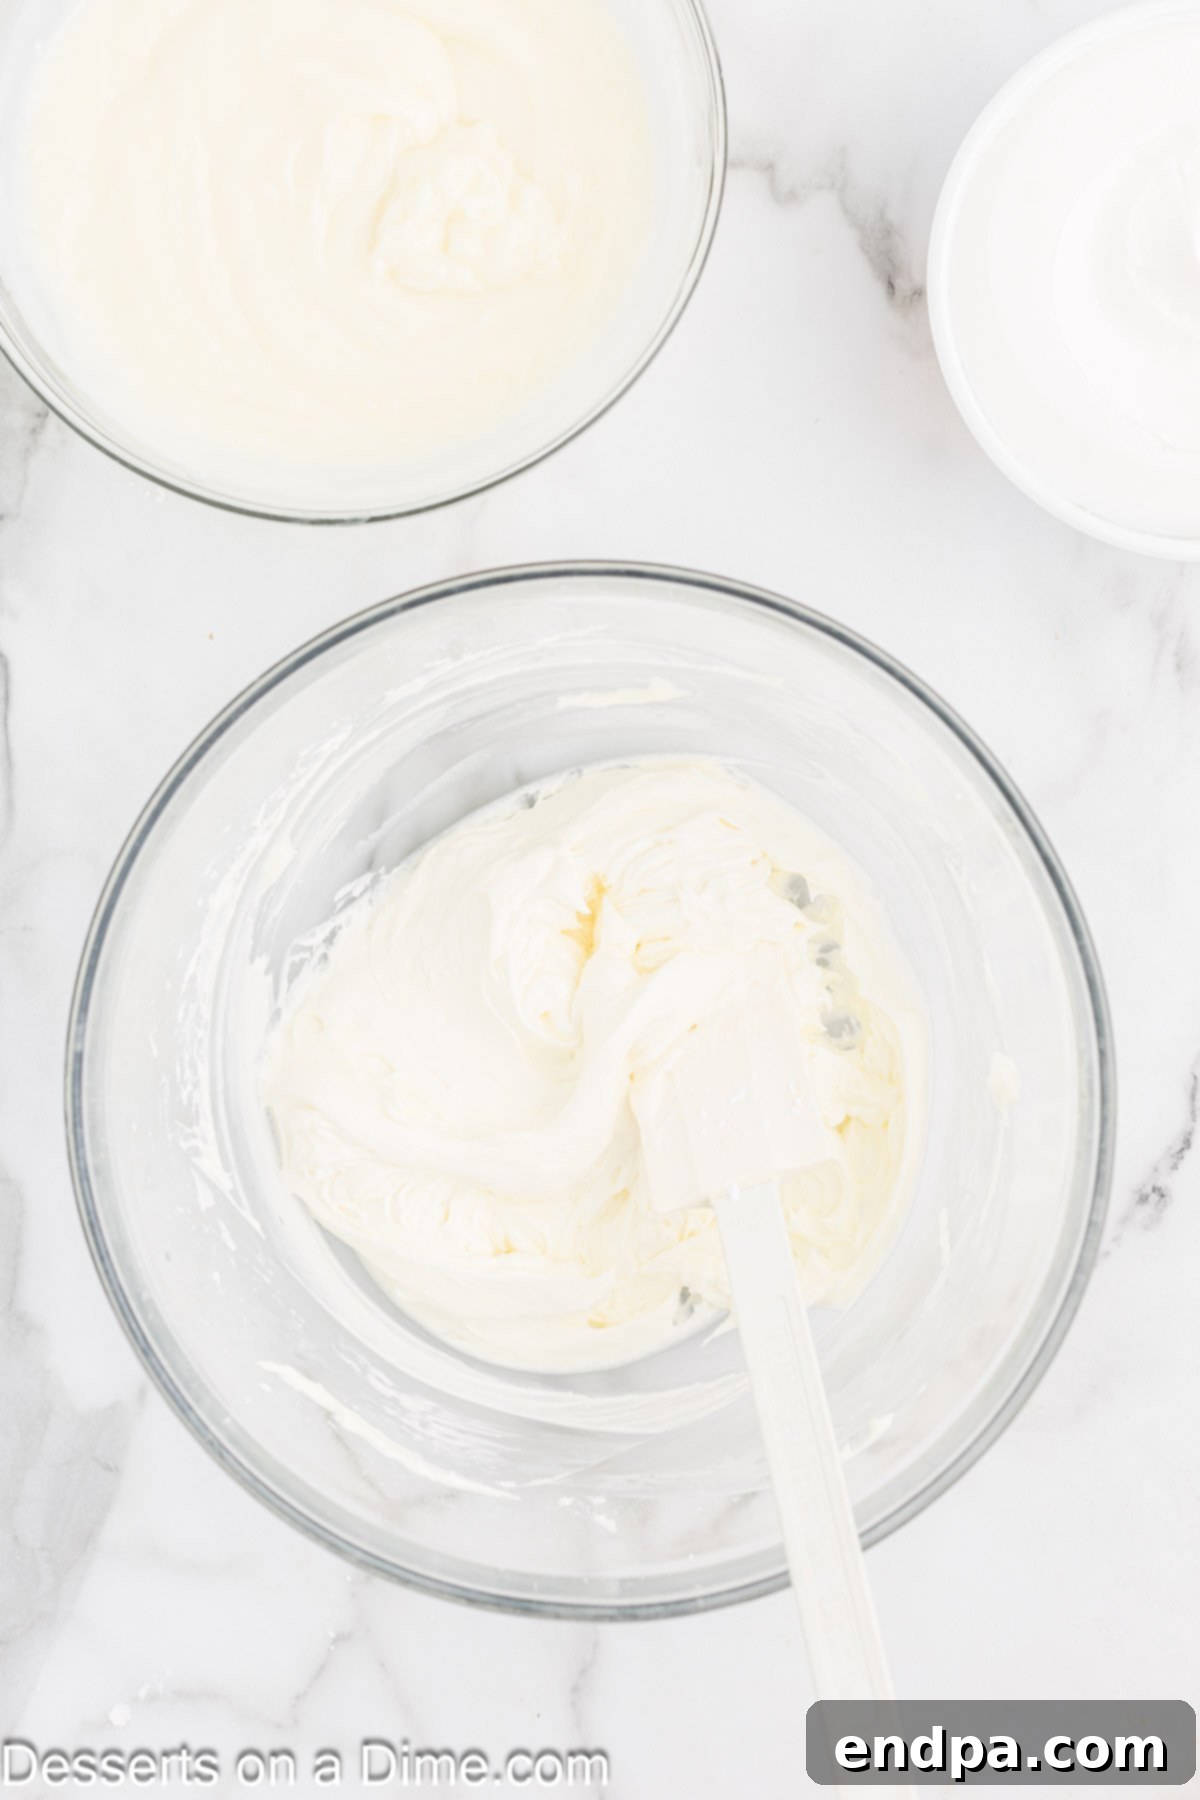
Step 5: Create the Cream Cheese Base. In a separate large mixing bowl, beat the softened cream cheese with a handheld electric mixer for 2-3 minutes until it becomes light, smooth, and fluffy. Reduce the mixer speed to low and gradually add the powdered sugar, ensuring it’s fully incorporated without lumps. Increase the speed to medium and beat for another minute until the mixture is perfectly smooth.
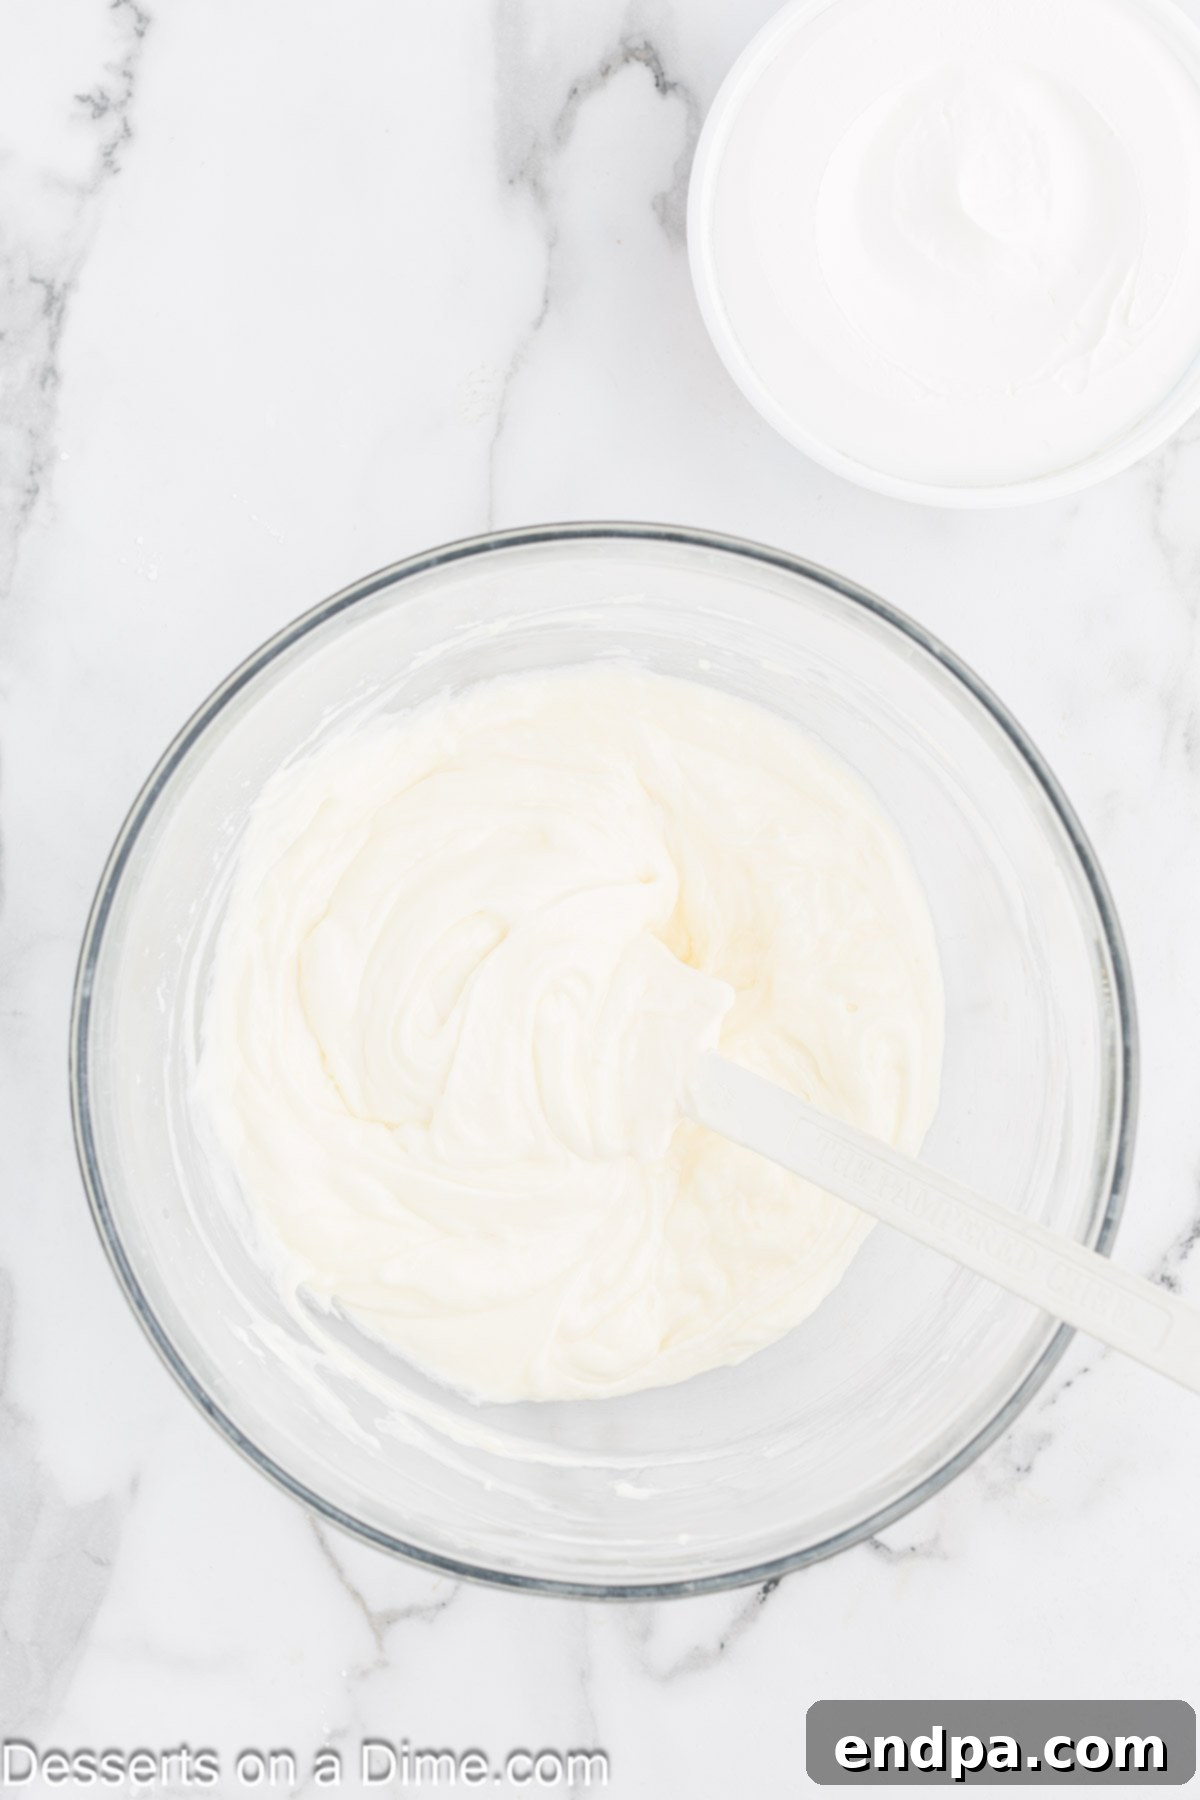
Step 6: Combine for Creamy Custard. Gently add the prepared white chocolate pudding mixture to the fluffy cream cheese mixture. Using a rubber spatula, carefully fold and stir until both are just combined, ensuring no streaks remain. Then, fold in half (8 oz) of the Cool Whip into this creamy custard until fully incorporated, creating a light and airy filling.
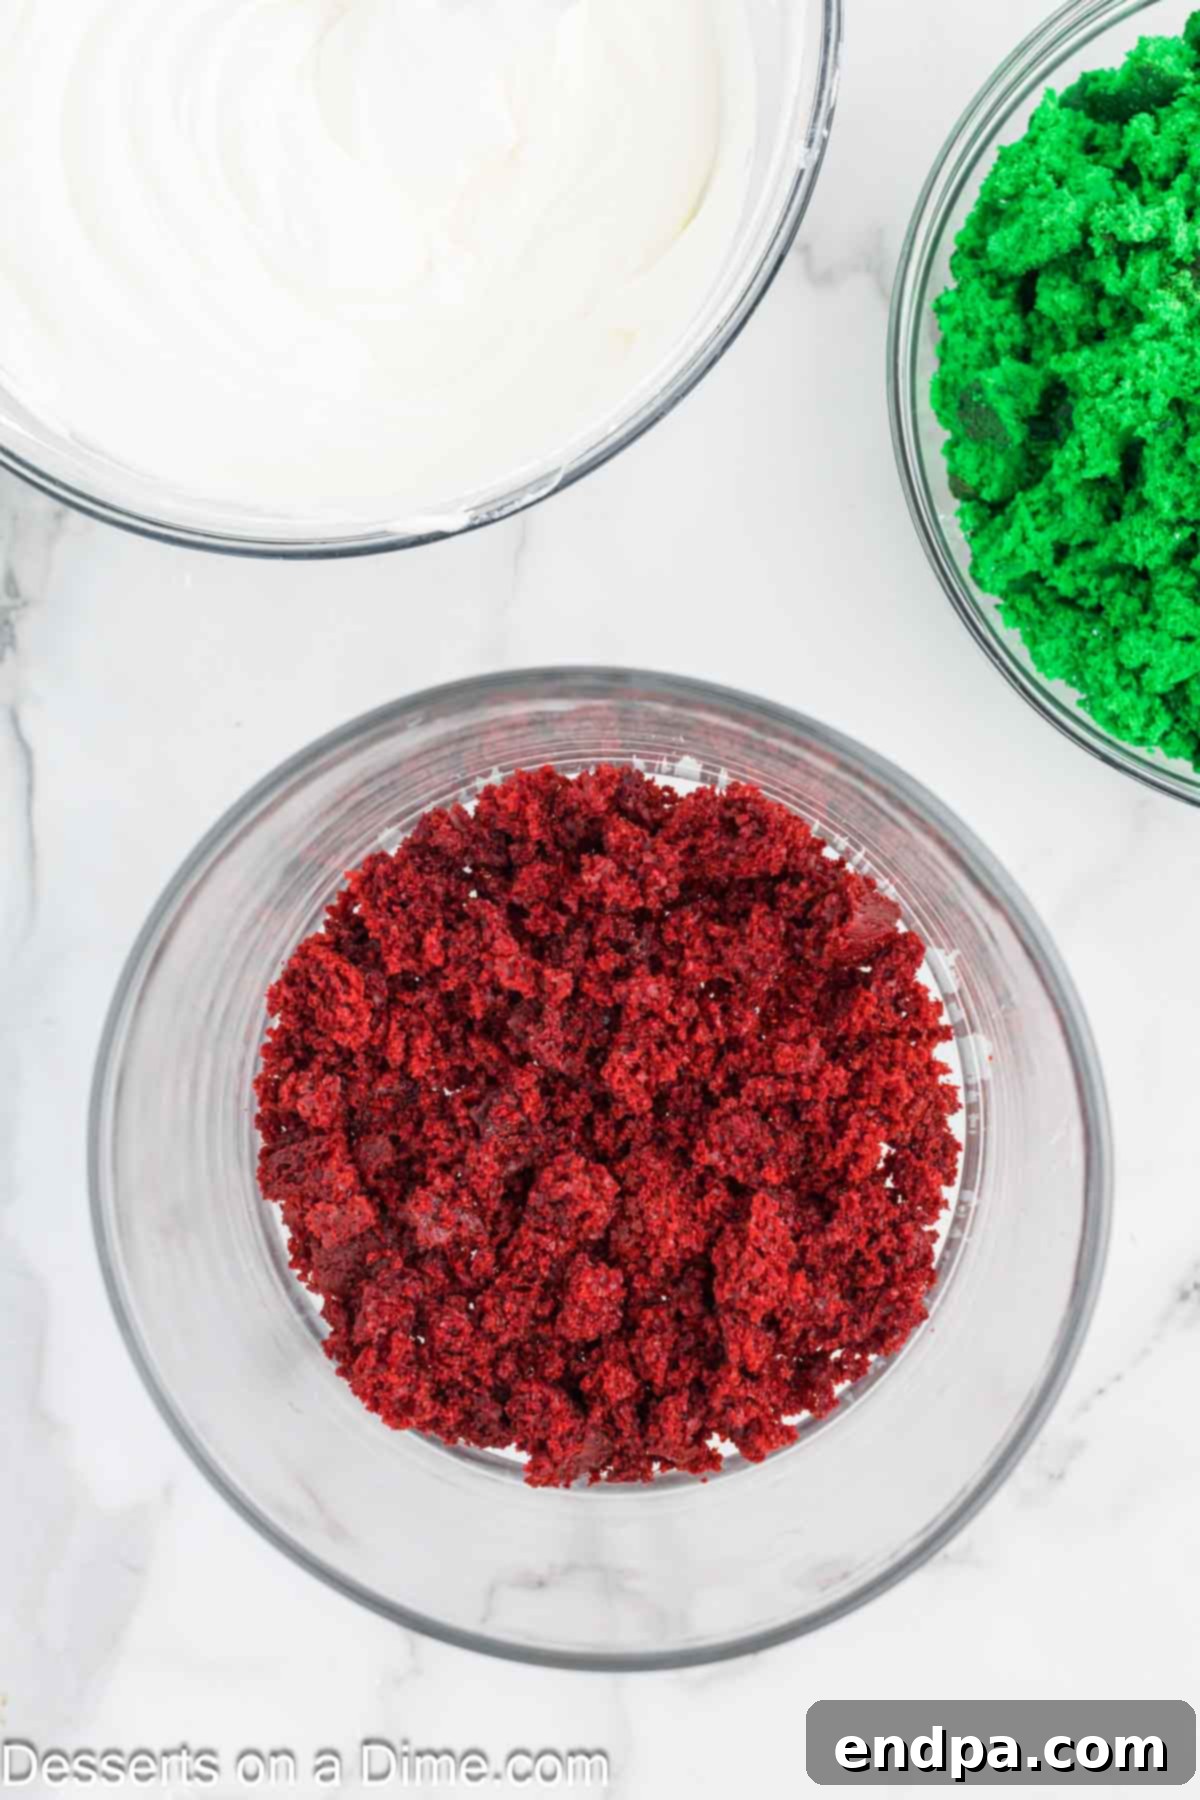
Step 7: Start Layering. Now it’s time to assemble your beautiful trifle! Begin by placing a generous layer of the red velvet cake crumbs at the bottom of a large trifle dish or a clear glass bowl. Spread just enough to evenly cover the base. Next, spoon approximately one-third of the creamy white chocolate custard mixture evenly over the red cake cubes, making sure to cover them completely.
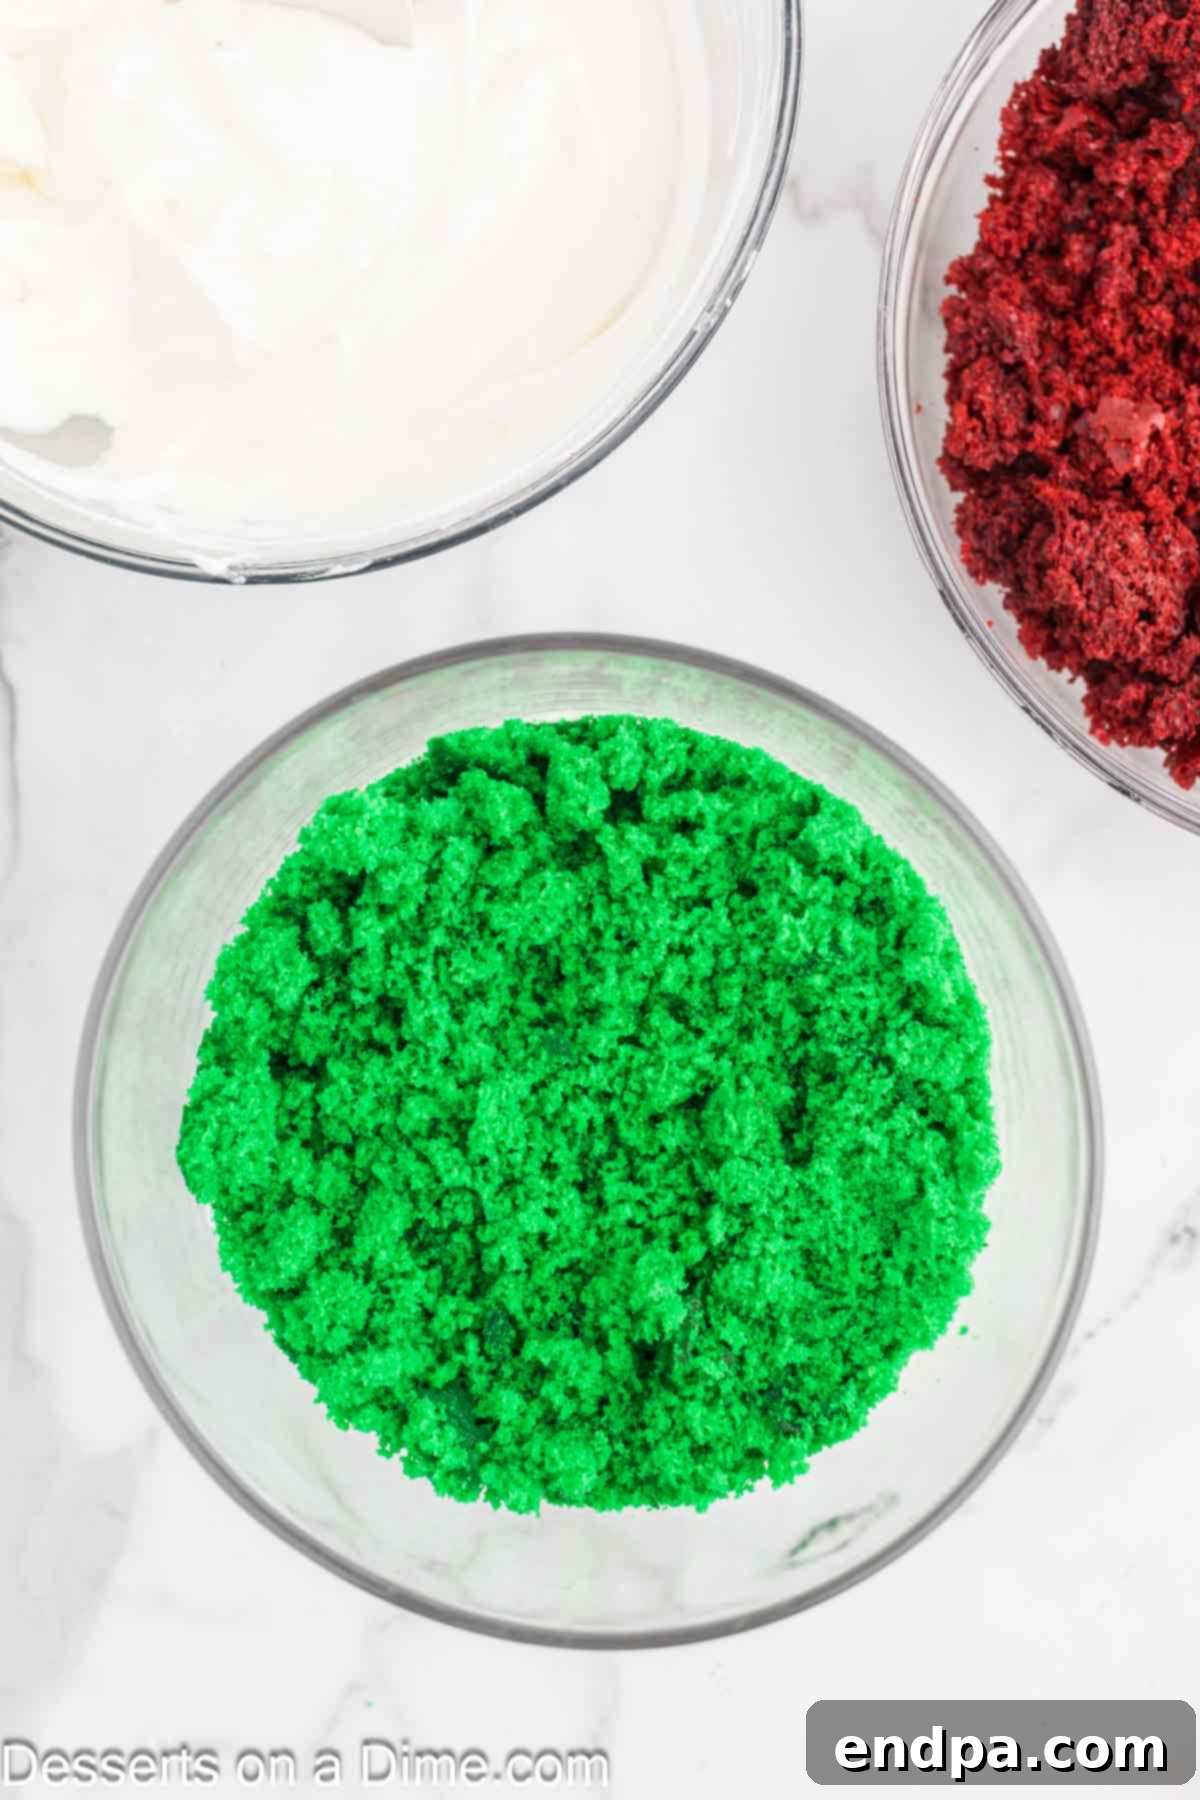
Step 8: Add the Green Layer. Sprinkle an even layer of the green cake crumbs over the white chocolate custard. Follow this with another one-third portion of the creamy pudding mixture, carefully spreading it to cover the green cake layer.
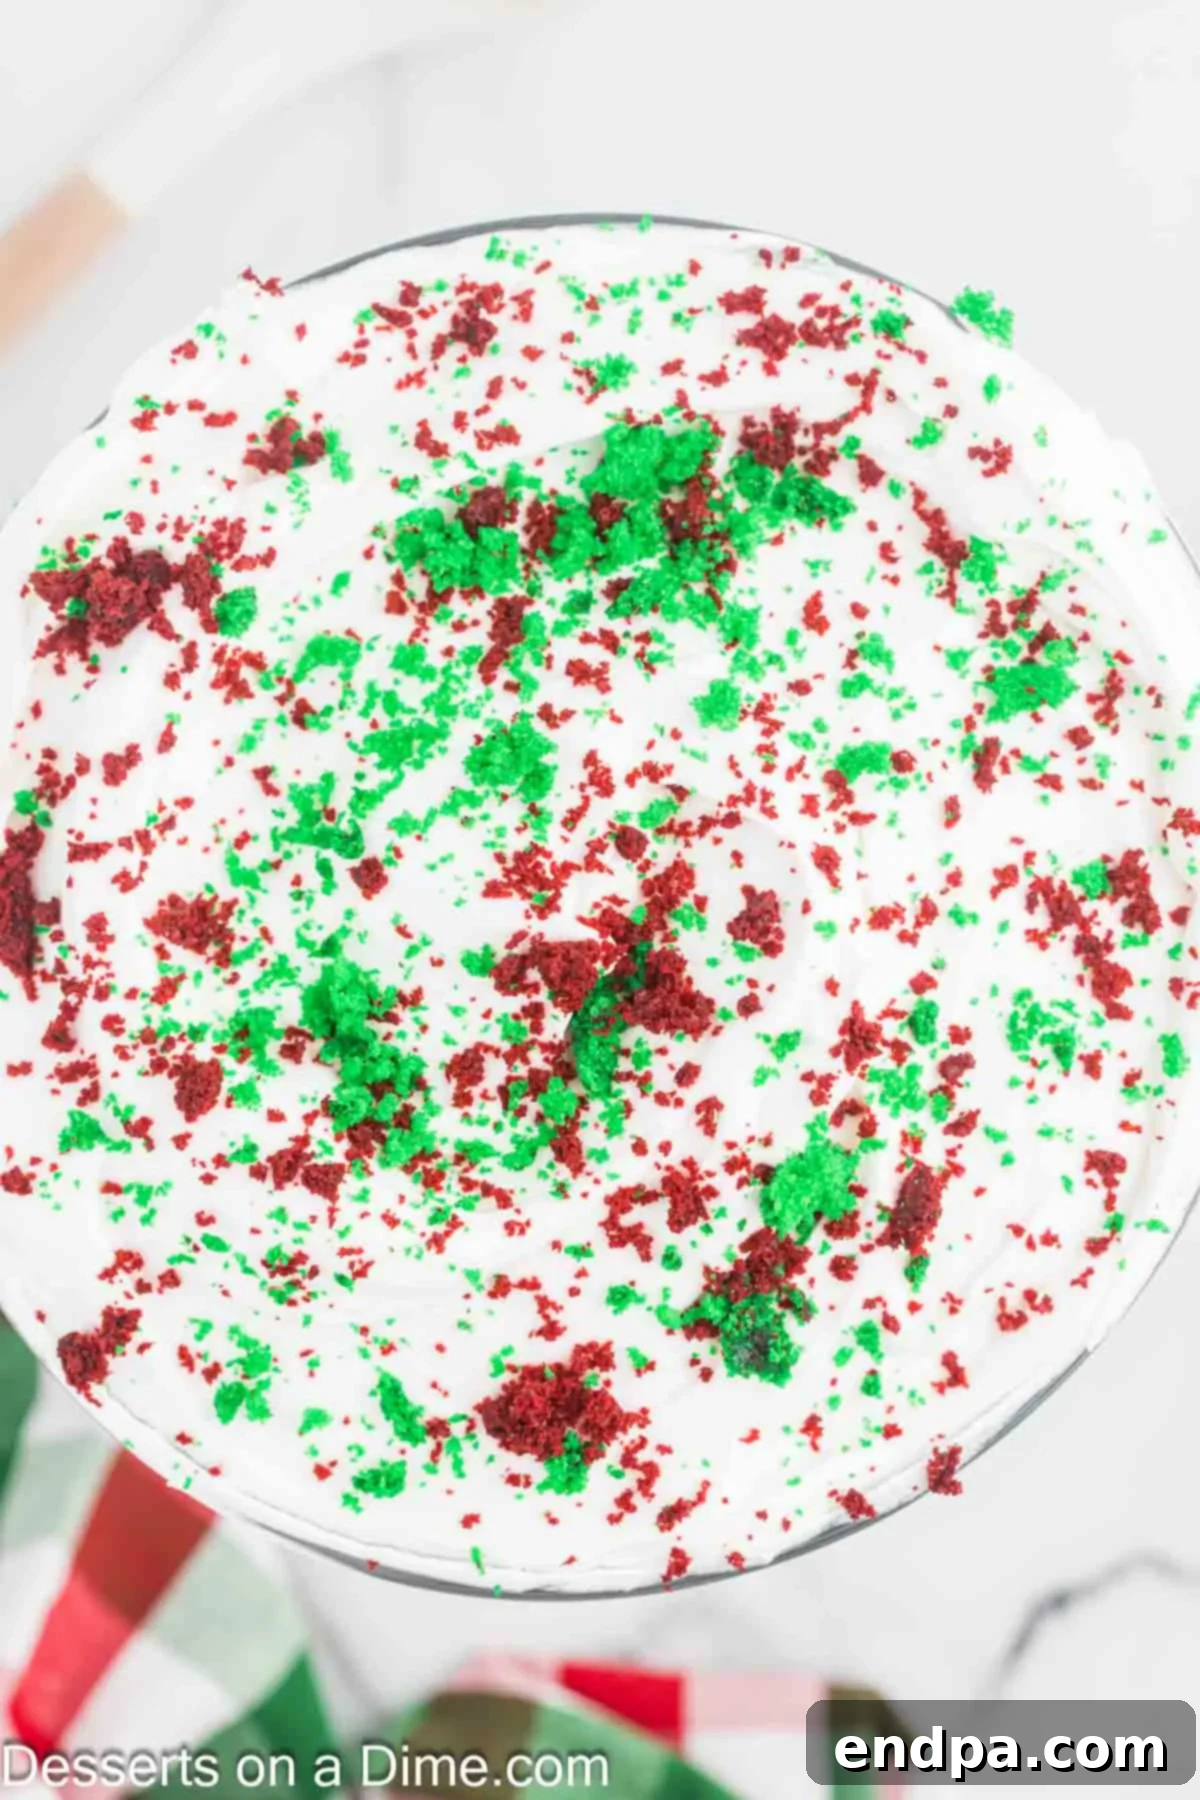
Step 9: Complete the Layers & Garnish. Repeat the layering process, alternating between red cake, creamy custard, green cake, and the remaining custard until all ingredients are used, ending with a layer of the creamy mixture. Finally, top the entire trifle generously with the remaining Cool Whip (the other 8 oz) and artfully garnish with the reserved red and green cake crumbs for a beautifully festive finish. You can also add sprinkles or fresh fruit here.
Once assembled, cover the trifle tightly with plastic wrap and refrigerate for at least 1 hour (preferably 4 hours or overnight) to allow the flavors to meld and the layers to set.
Storage & Make-Ahead Tips for Your Trifle
One of the many benefits of this Christmas Trifle is how wonderfully it stores, making it an ideal make-ahead dessert for busy holiday schedules.
- Refrigerate Properly: To maintain its freshness and texture, cover your assembled trifle tightly with plastic wrap or a secure lid. Store it in the refrigerator for up to 5 days. The airtight seal is key to preventing the cake from drying out and the creamy layers from absorbing refrigerator odors.
- Make Ahead for Best Flavor: This dessert is a dream for meal prepping! You can confidently assemble the entire trifle a day in advance of your event. In fact, many find that the flavors actually deepen and become more harmonious as the trifle chills overnight, creating an even more delightful taste experience.
- Avoid Freezing: Unfortunately, trifles generally do not freeze well. The delicate texture of the whipped cream and pudding layers, along with any fruit inclusions, tends to become watery and separates upon thawing. For the best quality, always prepare and store this trifle in the refrigerator.
Pro Tips for Trifle Perfection
Achieving a show-stopping Christmas Trifle is simple with a few expert tips:
- Choose a Clear Trifle Dish: While any large bowl will work for serving, a beautiful clear glass trifle dish or container is highly recommended. It’s not just for aesthetics; it truly showcases the vibrant, festive layers of your dessert, transforming it into an irresistible centerpiece that draws everyone in.
- Ensure Cakes Are Completely Cooled: This cannot be stressed enough! Make absolutely certain that both your red and green cake layers have fully cooled to room temperature before you begin crumbling and layering. Adding warm cake to the trifle will cause the whipped cream and pudding to melt, resulting in a soggy, soupy mess rather than distinct, creamy layers.
- Chill Before Serving is Essential: After assembling your trifle, it’s crucial to refrigerate it for at least 1-2 hours. Even better is to chill it for 4 hours or overnight. This chilling period allows the pudding and cream cheese layers to fully set, ensures the cake absorbs moisture for a tender texture, and gives all the flavors ample time to meld beautifully together.
- Don’t Overmix the Pudding: When preparing the instant pudding, whisk only for the recommended time (usually two minutes). Overmixing can sometimes cause the pudding to become too thick or gritty.
- Soften Cream Cheese Properly: For a lump-free and silky smooth cream cheese layer, ensure it is truly softened to room temperature. If you’re short on time, you can cut the cream cheese into smaller cubes and let it sit for about 15-20 minutes, or gently warm it in the microwave for 10-15 seconds.
- Layer Evenly for Visual Appeal: Take a moment to spread each layer evenly in your trifle dish. This attention to detail will ensure your trifle looks as good as it tastes, with clean, distinct lines between the cake, pudding, and whipped cream.
More Easy Holiday Desserts You’ll Love
Cute Christmas Desserts
Easy Christmas Dirt Cake Recipe
Cute Christmas Desserts
Christmas Jello Poke Cake
Easy Candy
The Best Christmas Crack Recipe
We hope you enjoy making and sharing this luscious Christmas Trifle Recipe! It truly embodies the spirit of holiday generosity and joy. Once you try it, please feel free to leave a comment and a star rating to share your experience.
Christmas Trifle
Ingredients
- 1 box White Cake Mix
- 1 box Red Velvet Cake Mix
- *Ingredients to prepare both of the cake mixes based on the package instructions.
- Green Food Coloring
- 1 box White Chocolate Instant Pudding Mix (3.4 oz) or Cheesecake flavor
- 2 cups Cold Milk (whole milk recommended)
- 8 oz Cream Cheese, softened at room temperature (full-fat brick style)
- 1 cup Powdered Sugar, sifted
- 16 oz Cool Whip, divided (or homemade whipped cream)
Instructions
- Prepare the white cake mix batter based on the package instructions. Dye the batter vibrant green with food coloring. Bake the cake in a 9×13 inch pan and allow it to cool completely at room temperature.
- Prepare the red velvet cake based on the package instructions in another 9×13 inch pan. Allow this cake to cool completely at room temperature as well.
- Once both cakes have thoroughly cooled, crumble each cake into bite-sized pieces. Reserve a small amount of both the red and green cake crumbles for the topping.
- In a small bowl, combine the white chocolate instant pudding mix with the cold milk. Whisk vigorously for two minutes until thickened, then set aside.
- In a large mixing bowl, beat the softened cream cheese with a handheld mixer for 2-3 minutes until it’s light and fluffy. Reduce the speed to low and gradually add the sifted powdered sugar. Once incorporated, increase the speed to medium and beat for 1 minute until the mixture is smooth.
- Add the prepared pudding to the cream cheese mixture. Gently fold and stir with a rubber spatula until completely combined and smooth.
- Then, carefully fold in 8 oz (half) of the Cool Whip into the pudding and cream cheese mixture until no white streaks remain, creating a luscious, airy filling.
- Begin assembling the trifle: Place a layer of the red velvet cake crumbs in the bottom of a trifle dish or large glass bowl. Use just enough to cover the bottom evenly.
- Spoon approximately one-third of the creamy white chocolate custard mixture over the red cake cubes, ensuring they are fully covered.
- Next, sprinkle an even layer of the green cake crumbs. Follow this with another one-third layer of the pudding mixture.
- Continue layering the remaining red cake crumbs, followed by the last of the creamy pudding mixture, until all ingredients are used.
- Finally, top the entire trifle with the remaining 8 oz of Cool Whip. Garnish beautifully with the reserved red and green cake crumbs for a festive finish.
- Serve immediately for best freshness, or cover tightly and refrigerate for at least 1 hour (preferably 4 hours or overnight) to allow the flavors to deepen and the layers to set. Enjoy this delightful holiday treat!
