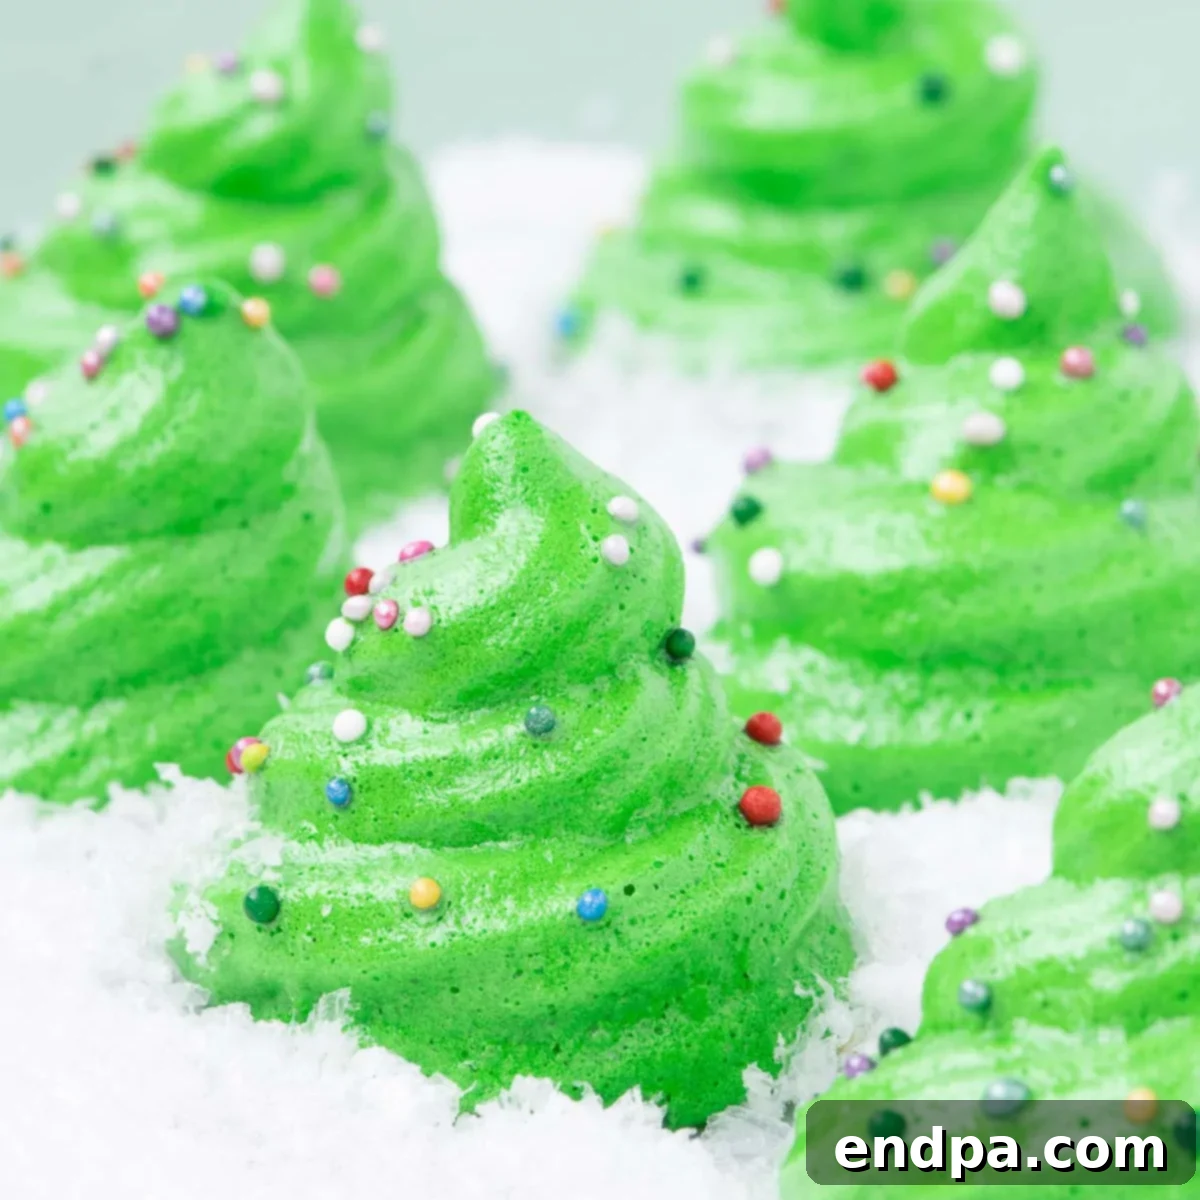
Embrace the magic of the holiday season with these enchanting Meringue Christmas Trees. These light, airy, and incredibly crisp cookies are not just a festive holiday treat; they’re a delightful edible decoration that will add a touch of whimsy to any Christmas gathering. Imagine delicate, sweet trees that simply melt in your mouth, leaving a blissful sugary sensation. This easy-to-follow recipe ensures perfectly crispy meringues, making them ideal for holiday decorating, thoughtful gifting, or simply enjoying with a warm cup of cocoa.
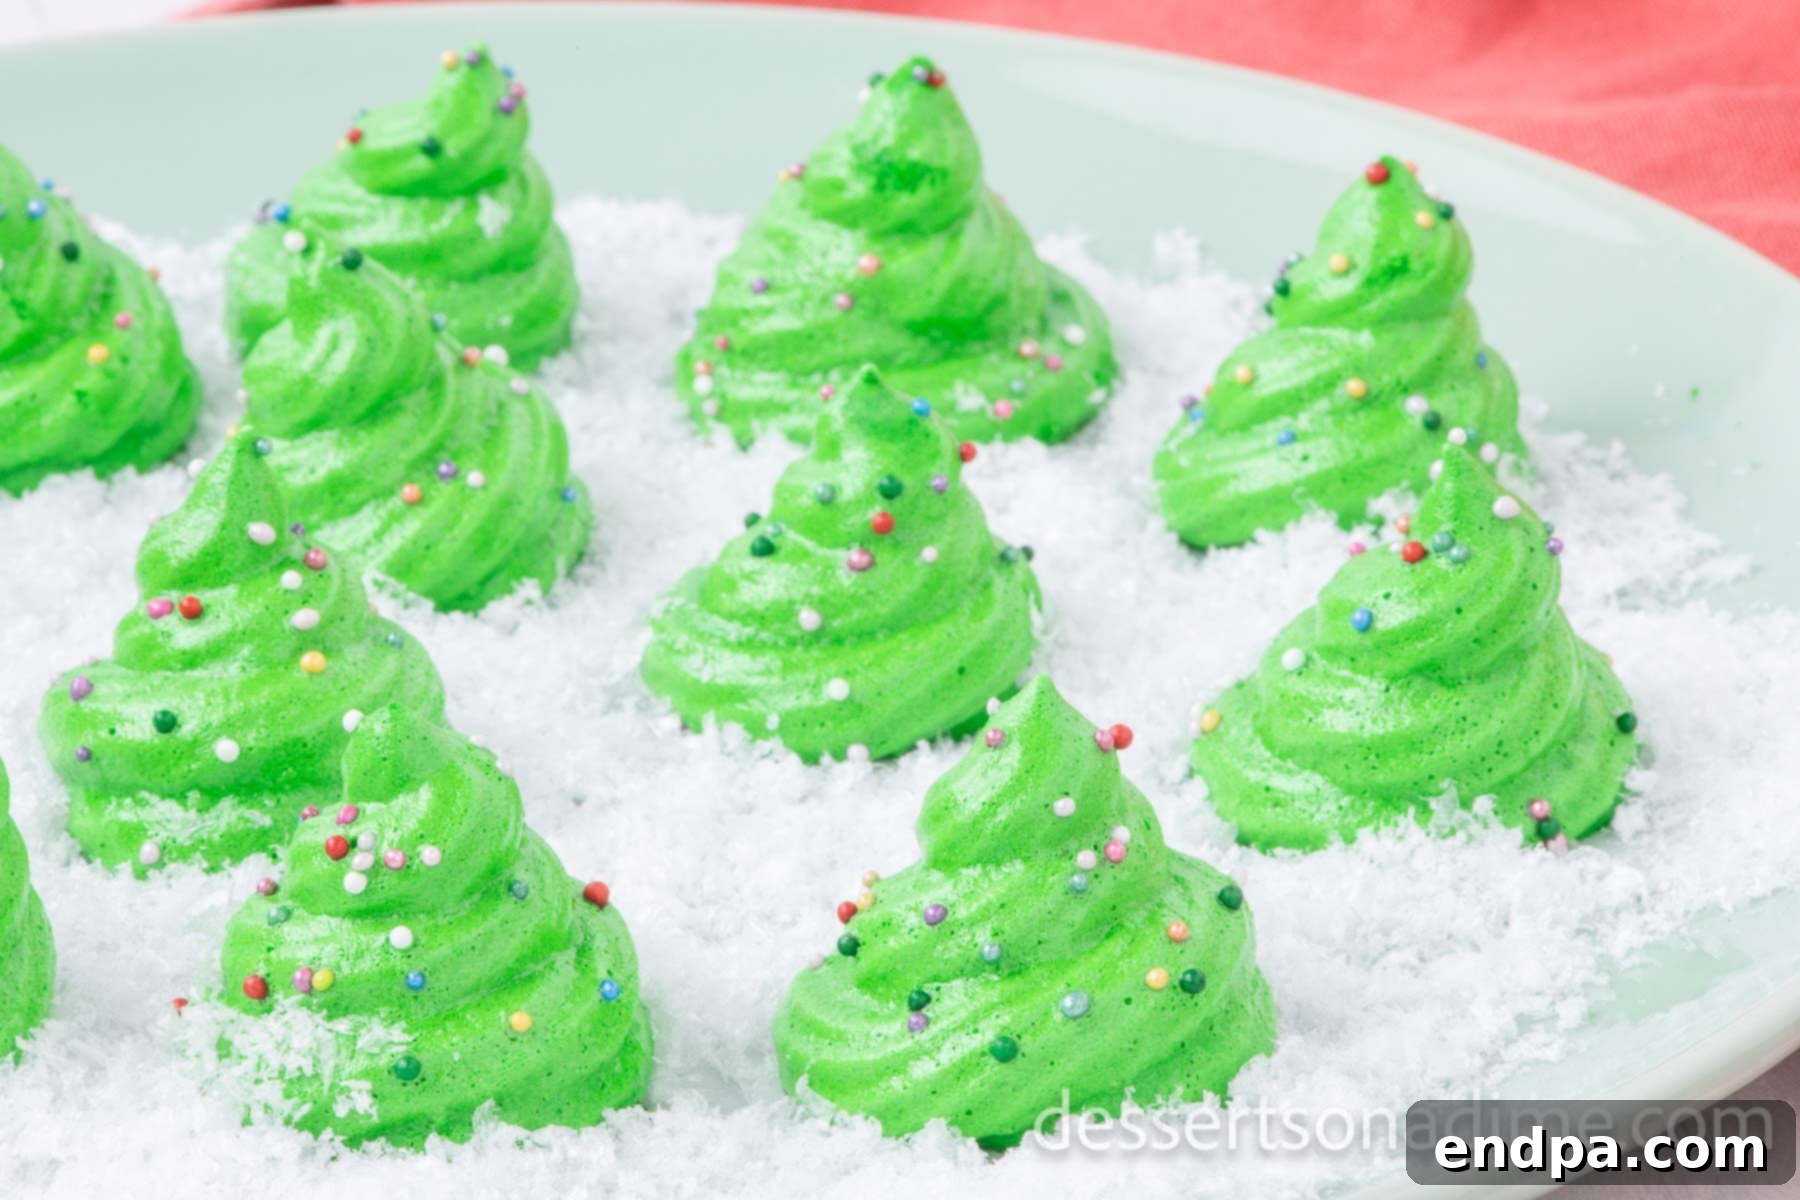
Meringue Christmas Trees are truly a joy to create and an even greater joy to savor. Their delicate, crisp texture and whimsical appearance make them a standout on any dessert table. With just a handful of everyday ingredients, you can transform simple egg whites into a show-stopping holiday masterpiece that will impress family and friends alike. These delightful Christmas meringue cookies are perfect for holiday parties, engaging family baking sessions, or as a charming, festive snack that pairs wonderfully with your favorite hot beverages.
Beyond their irresistible taste and charming look, what makes these meringue trees truly special is how accessible they are to make. Even beginner bakers can achieve beautiful results, adding a homemade touch to their holiday festivities. They are a beloved tradition in many homes, much like our Christmas Tree Sugar Cookies and creative Ice Cream Cone Christmas Trees, which also frequently adorn our holiday table each year. Let’s dive into making these incredible treats!
What’s in this post: Meringue Christmas Trees
- Why You’ll Adore These Meringue Christmas Trees
- Key Ingredients for Perfect Meringue Christmas Trees
- Exciting Variations & Customization Ideas
- Step-By-Step Instructions to Craft Your Trees
- Expert Tips for Meringue Mastery
- Frequently Asked Questions
- More Irresistible Christmas Treats
- Meringue Christmas Trees Recipe Card
Why You’ll Adore These Meringue Christmas Trees
These Meringue Christmas Trees aren’t just another holiday dessert; they’re an experience waiting to happen. Here’s why they deserve a special spot in your festive baking repertoire:
- Unforgettably Light and Airy Texture: Prepare for a delightful crispness that gives way to a melt-in-your-mouth sensation. Unlike heavier cookies, meringues offer a wonderfully light finish to any meal, making them incredibly easy to enjoy without feeling overly full. Each bite is a delicate cloud of sweetness.
- Incredibly Festive and Fun: Their charming Christmas tree shape, vibrant green color, and playful sprinkles instantly evoke holiday cheer. They are perfect for decorating your dessert spread, adding a whimsical touch that guests of all ages will appreciate. They also make fantastic edible gifts, packaged beautifully for neighbors, teachers, or friends.
- Surprisingly Easy to Make: Don’t let their elegant appearance intimidate you! This recipe requires just a few basic ingredients—egg whites, sugar, and cream of tartar—and minimal hands-on time. The process is straightforward, making it an excellent project for even novice bakers looking to create something special.
- Endlessly Customizable: The base meringue provides a perfect canvas for your creativity. Experiment with different colors, sprinkles, edible glitters, or even a delicate chocolate drizzle to match your holiday theme or personal taste. The possibilities for personalization are truly endless, allowing you to make each batch uniquely yours.
- Affordable & Pantry-Friendly: Made with common kitchen staples, these cookies are a budget-friendly option for creating a sophisticated and bountiful holiday treat, especially when you need to bake for a crowd.
Key Ingredients for Perfect Meringue Christmas Trees
Crafting flawless meringue relies on a few simple, high-quality ingredients. Each plays a crucial role in achieving that signature light, crisp texture and festive appearance.
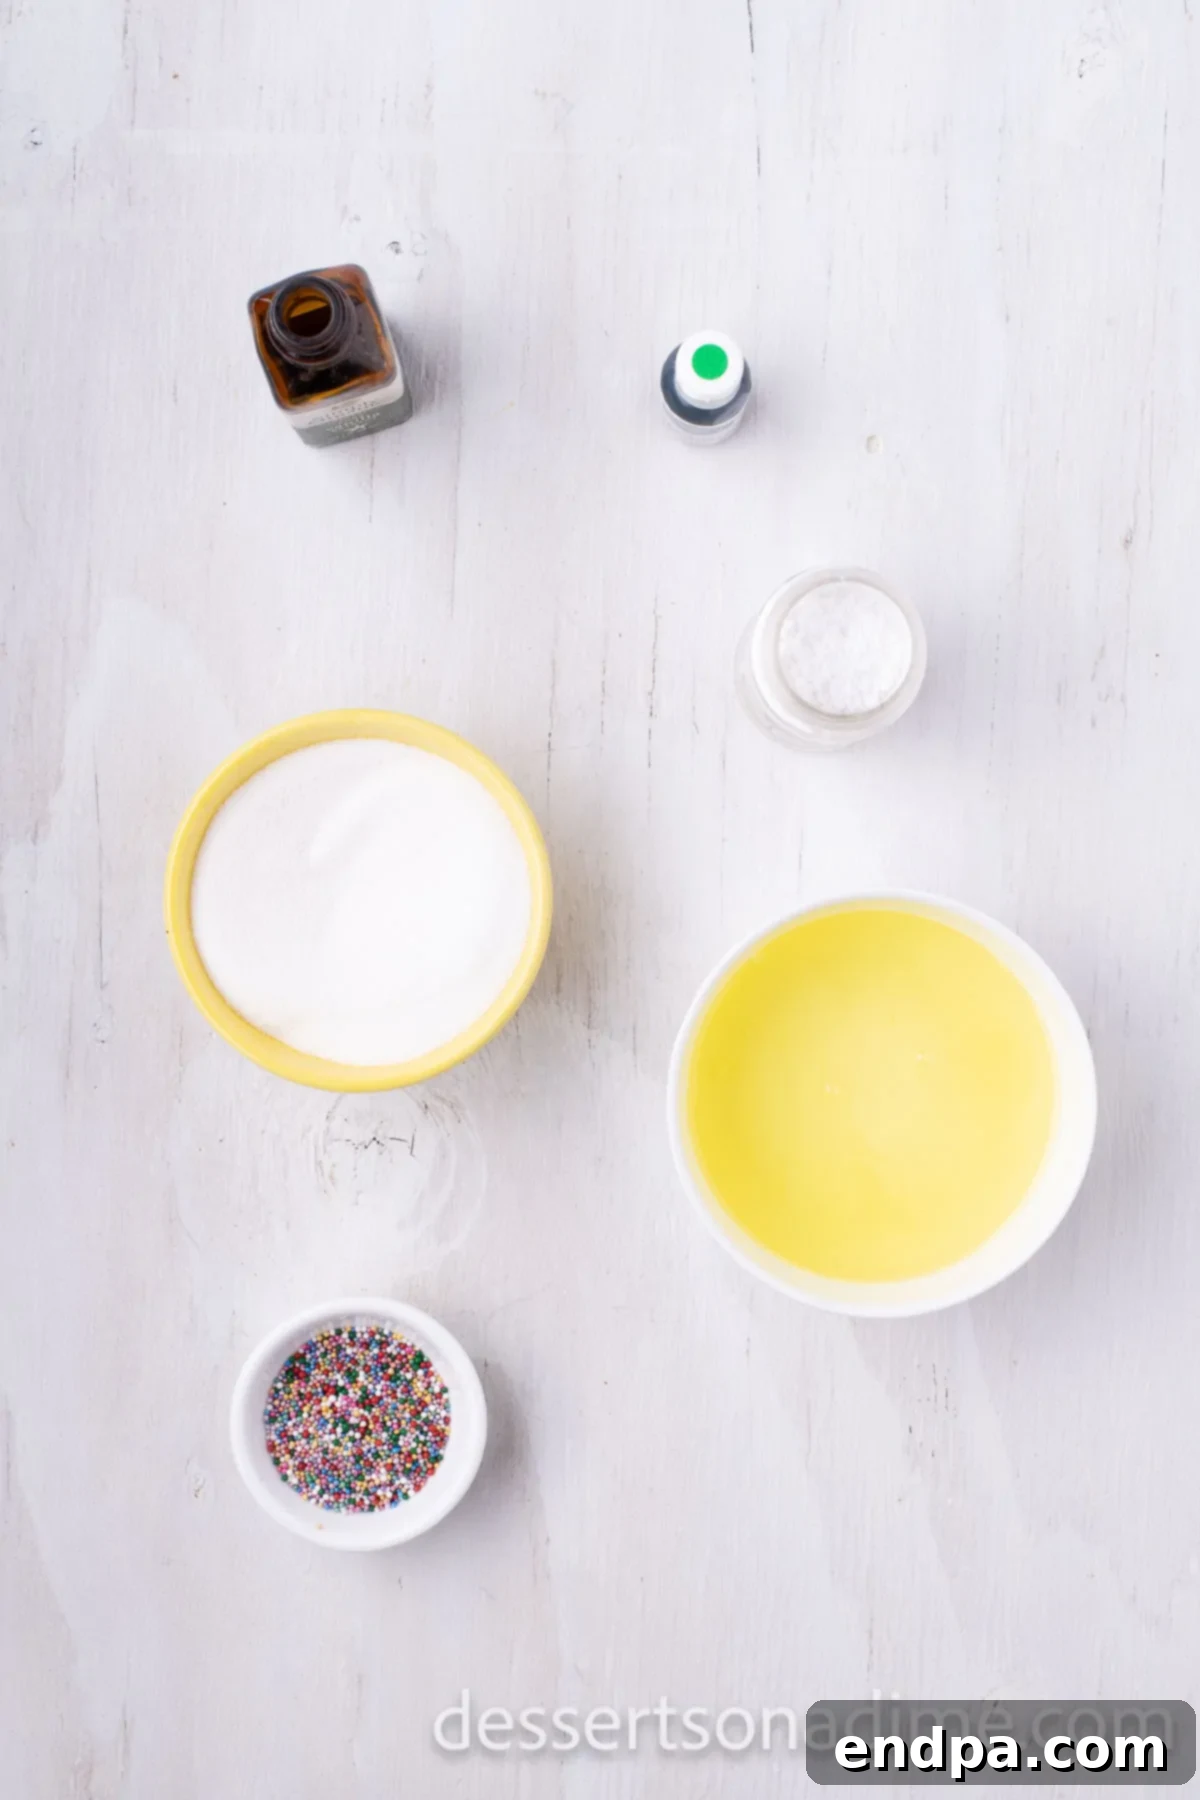
- Large Egg Whites (room temperature): This is the foundation of your meringue. Using room temperature egg whites is absolutely crucial as they whip up more easily and achieve maximum volume, resulting in a lighter, airier, and more stable meringue structure. Cold egg whites will take longer to whip and won’t reach the same fluffy consistency.
- Cream of Tartar: A vital stabilizing agent for egg whites. Cream of tartar helps to create a firmer, more stable foam, preventing the egg whites from collapsing and ensuring your meringues hold their beautiful shape during baking. It also contributes to that desirable glossy finish.
- Granulated Sugar: Not only does sugar sweeten the meringue, but it also plays a critical role in its structure and texture. As the egg whites are whipped, the sugar dissolves, creating a stable, glossy, and crisp meringue. Ensure it’s granulated sugar, as powdered sugar contains cornstarch which can affect the texture.
- Green Food Coloring: To transform your meringues into festive Christmas trees. Gel food coloring is often preferred over liquid as it provides a more vibrant color without adding too much moisture, which can affect the meringue’s stability.
- Multi-Colored Sprinkles: The perfect festive decoration! Sprinkles add a playful touch and a delightful crunch, making each Meringue Christmas Tree sparkle like a tiny ornament. Choose a mix of red, green, and white for a classic holiday look.
- Vanilla Extract (not pictured but essential for flavor): While not explicitly in the visual, a touch of vanilla extract (or your favorite flavor) adds a wonderful aromatic depth to the sweet meringue, enhancing the overall taste.
The complete ingredient list with precise measurements can be found in the detailed recipe card towards the bottom of this post. Gather these essentials, and you’re well on your way to baking holiday magic!
Exciting Variations & Customization Ideas
While classic green Meringue Christmas Trees with sprinkles are undeniably charming, these cookies are incredibly versatile! Feel free to unleash your creativity and customize them to suit your taste or holiday theme:
- Powdered Sugar “Snow”: For an elegant, snowy effect, lightly dust your baked and cooled meringue trees with powdered sugar just before serving. It mimics freshly fallen snow and adds an extra touch of sweetness.
- Flavorful Extracts: Experiment with different extracts to infuse new flavors into your meringues.
- Peppermint Extract: A festive and refreshing choice, perfect for a winter wonderland theme. Use sparingly, as peppermint can be potent.
- Almond Extract: Adds a sophisticated, nutty aroma that pairs beautifully with the sweet meringue.
- Mint Extract: Similar to peppermint but with a slightly softer, cooler taste.
- Lemon or Orange Zest/Extract: For a brighter, citrusy twist that cuts through the sweetness.
- Chocolate Drizzle: Once cooled, melt some white or dark chocolate and drizzle it decoratively over your meringue trees. This adds a lovely contrast in flavor and texture and makes them even more decadent. You can even add a tiny chocolate star on top!
- Edible Glitter or Pearlescent Dust: For extra sparkle, brush or sprinkle edible glitter or pearlescent dust onto the meringues after baking. This gives them a magical, ethereal glow, perfect for a glamorous holiday display.
- Alternative Food Colors: Why stick to just green? Create a forest of varying meringue trees by using different food colorings. Think red, white, blue (for a frosty look), or even a mix of pastels.
- Candy Toppers: Before baking, gently place tiny edible silver balls, nonpareils, or even a small piece of candied cherry (to look like a star or ornament) on top of your piped trees for extra decoration.
Step-By-Step Instructions to Craft Your Meringue Christmas Trees
Creating these delightful Meringue Christmas Trees is a straightforward process, but paying attention to each step will ensure perfect, crisp results. Follow along with these detailed instructions:
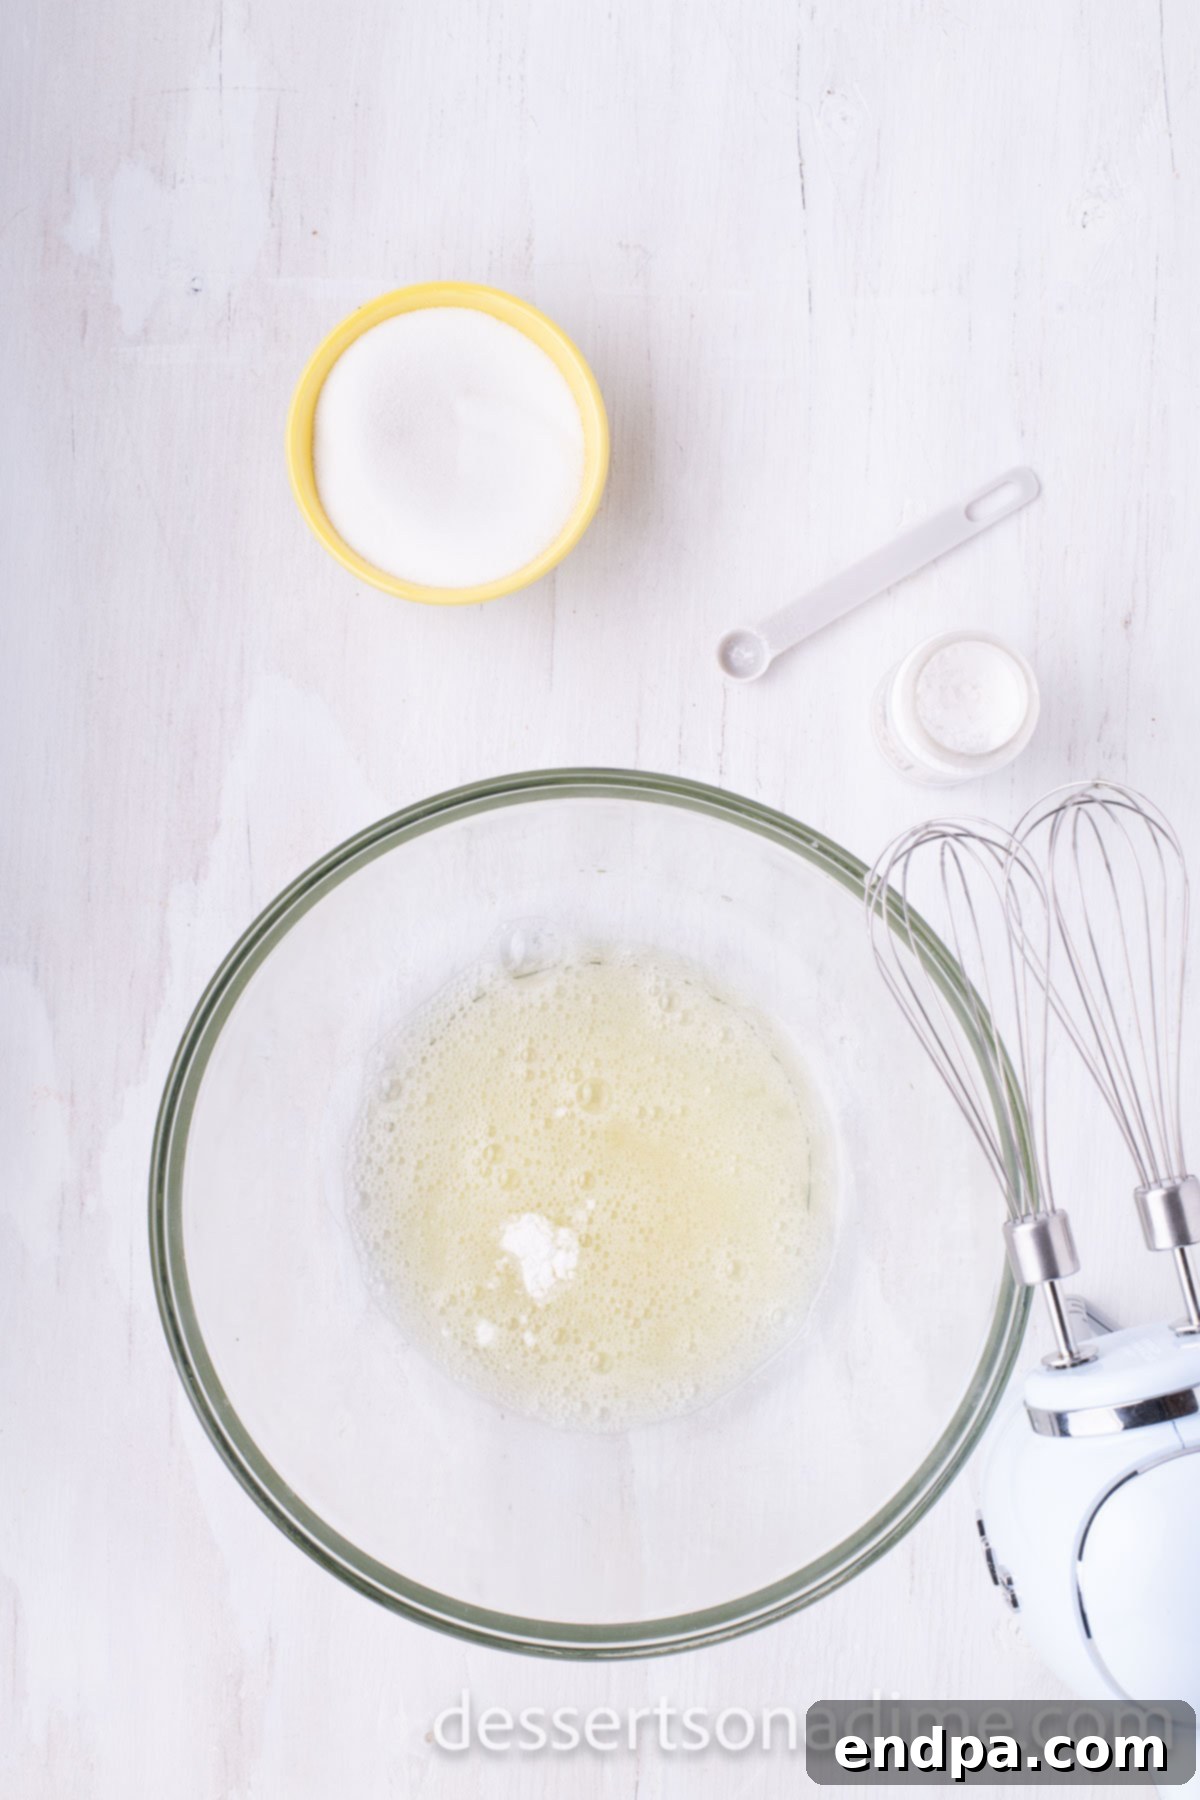
Step 1. Prepare for Baking: First, preheat your oven to a low 175 degrees Fahrenheit (about 80 degrees Celsius). This low temperature is crucial for drying out the meringues rather than baking them, ensuring they remain white and crisp. Line two large baking sheets with parchment paper or silicone baking mats. This prevents sticking and makes cleanup a breeze.
Next, in the clean bowl of a stand mixer (or a large bowl with a hand mixer), combine your room temperature large egg whites and cream of tartar. Beat them on medium speed until the mixture becomes visibly frothy, resembling a light foam. This usually takes about 2-3 minutes, preparing the egg whites to incorporate sugar.
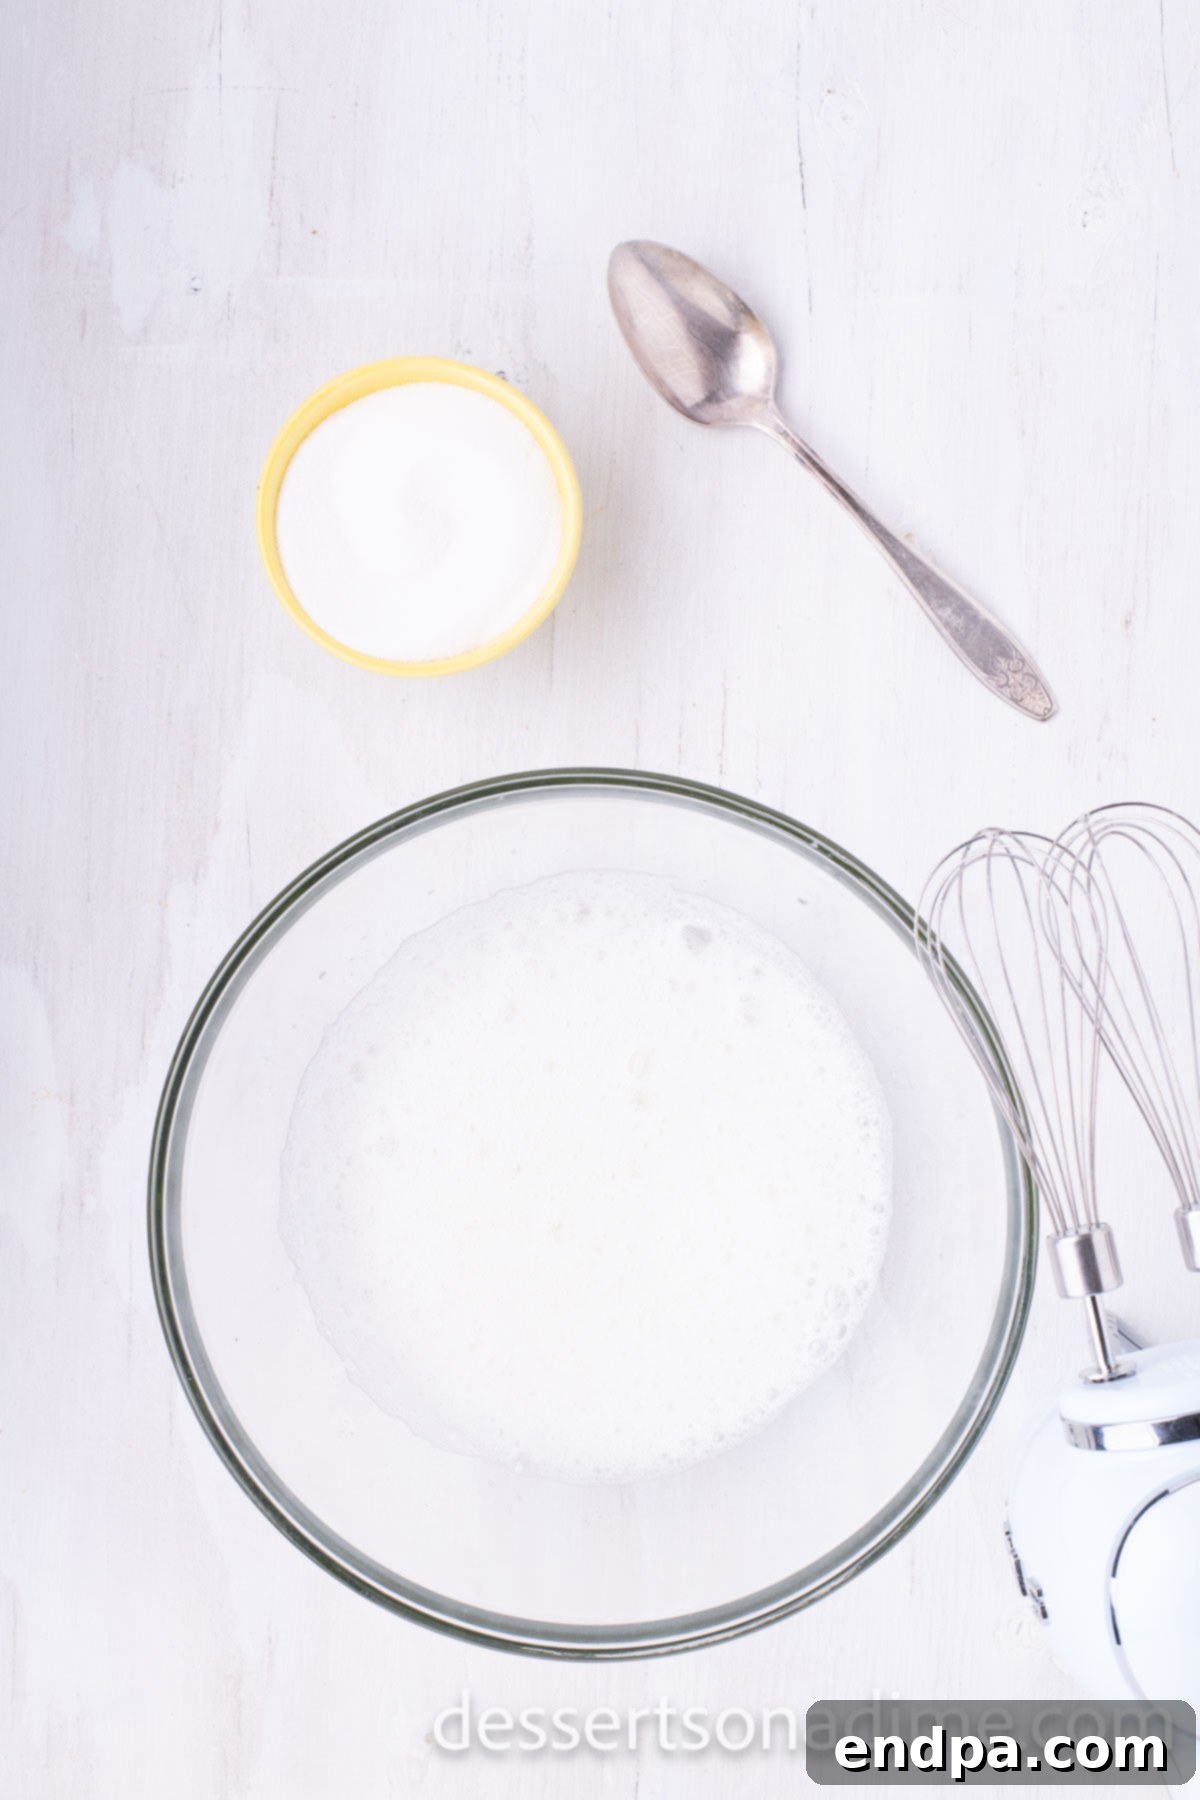
Step 2. Incorporate Sugar for Stiff Peaks: Increase your mixer speed to medium-high. Gradually add the granulated sugar, about one tablespoon at a time, ensuring each addition is fully incorporated before adding more. This slow process allows the sugar to dissolve properly, creating a stable and glossy meringue. Once all the sugar is added, increase the speed to high and continue beating for 4-5 minutes until the meringue forms stiff, shiny peaks. When you lift the whisk, the peaks should stand upright and hold their shape without wilting. The mixture should be thick and glossy.
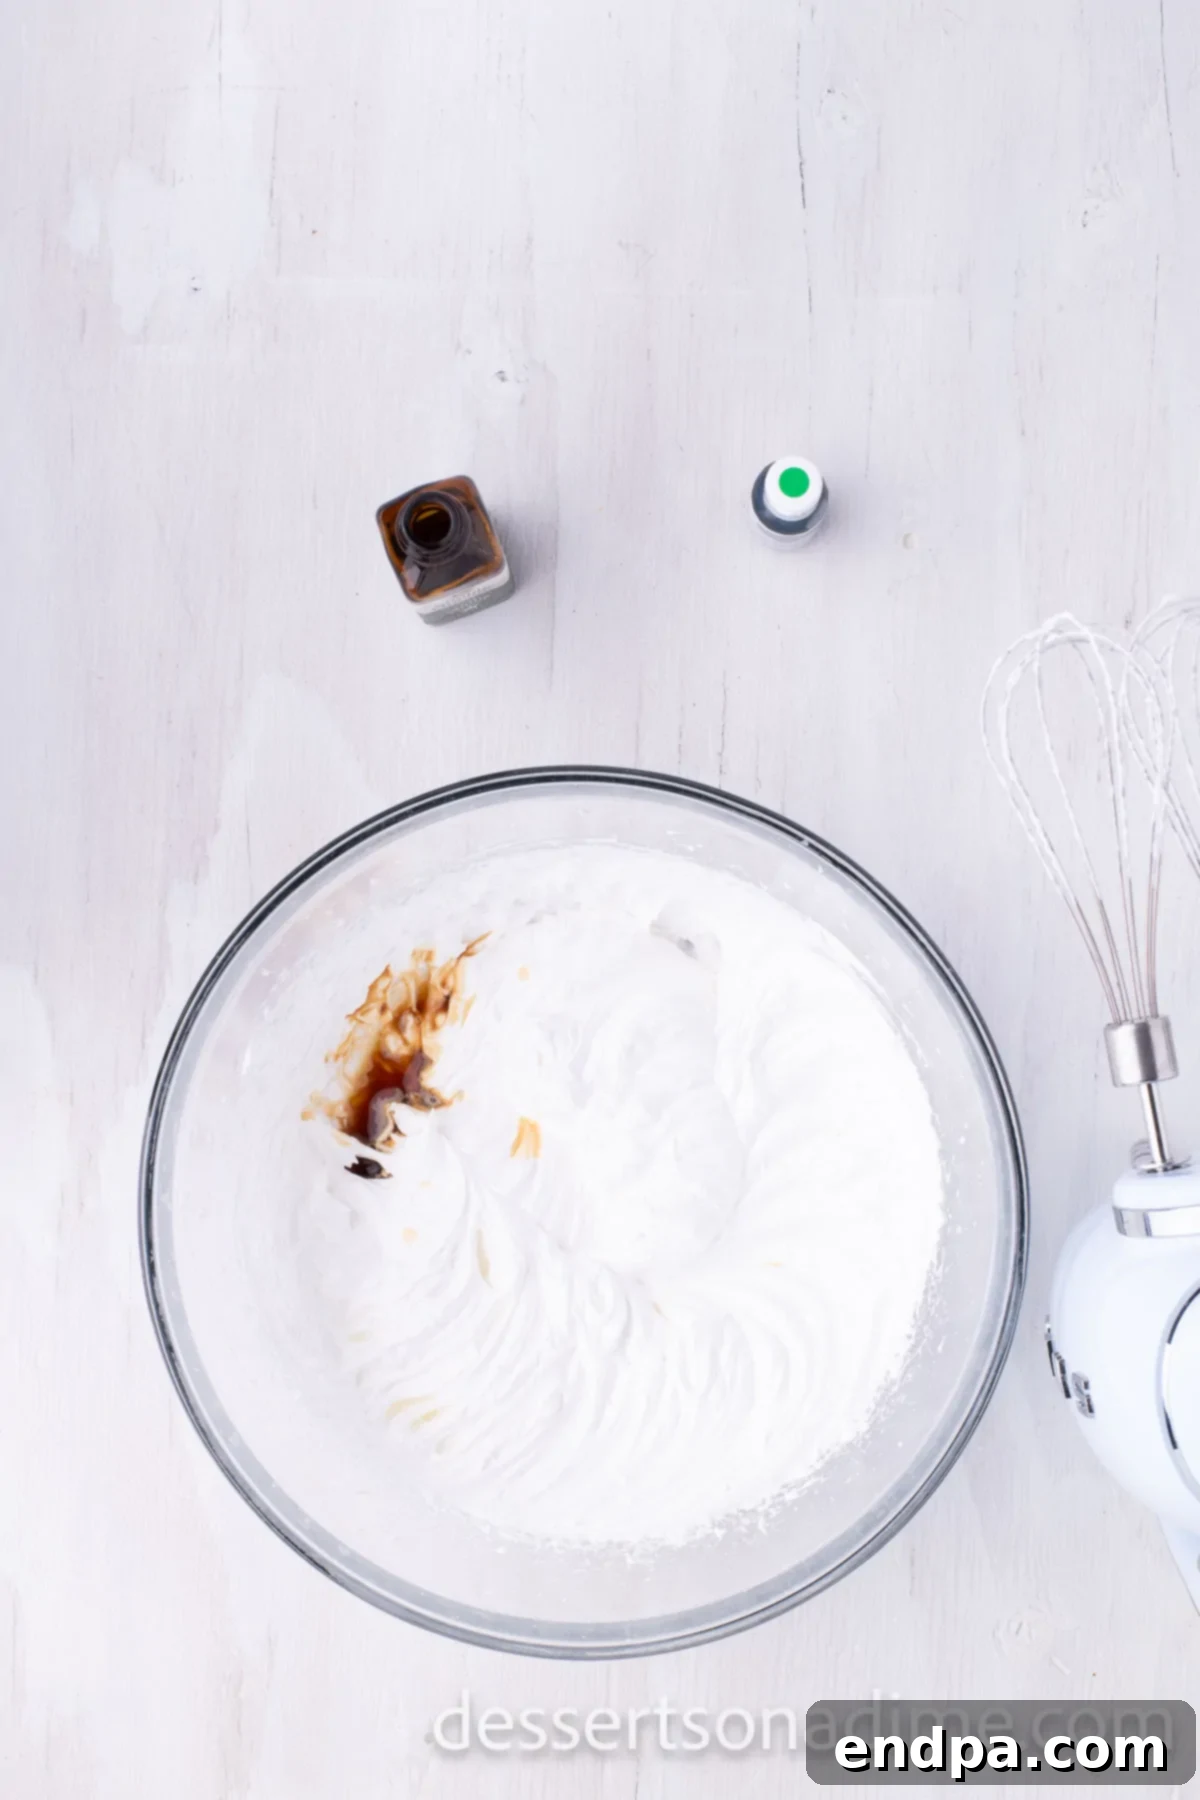
Step 3. Add Flavoring: Lower the mixer speed to a low setting. Carefully pour in the vanilla extract. Mix just until it is combined, being careful not to overmix, which can deflate the meringue. This step introduces a wonderful aroma and enhances the overall sweetness of the meringue.
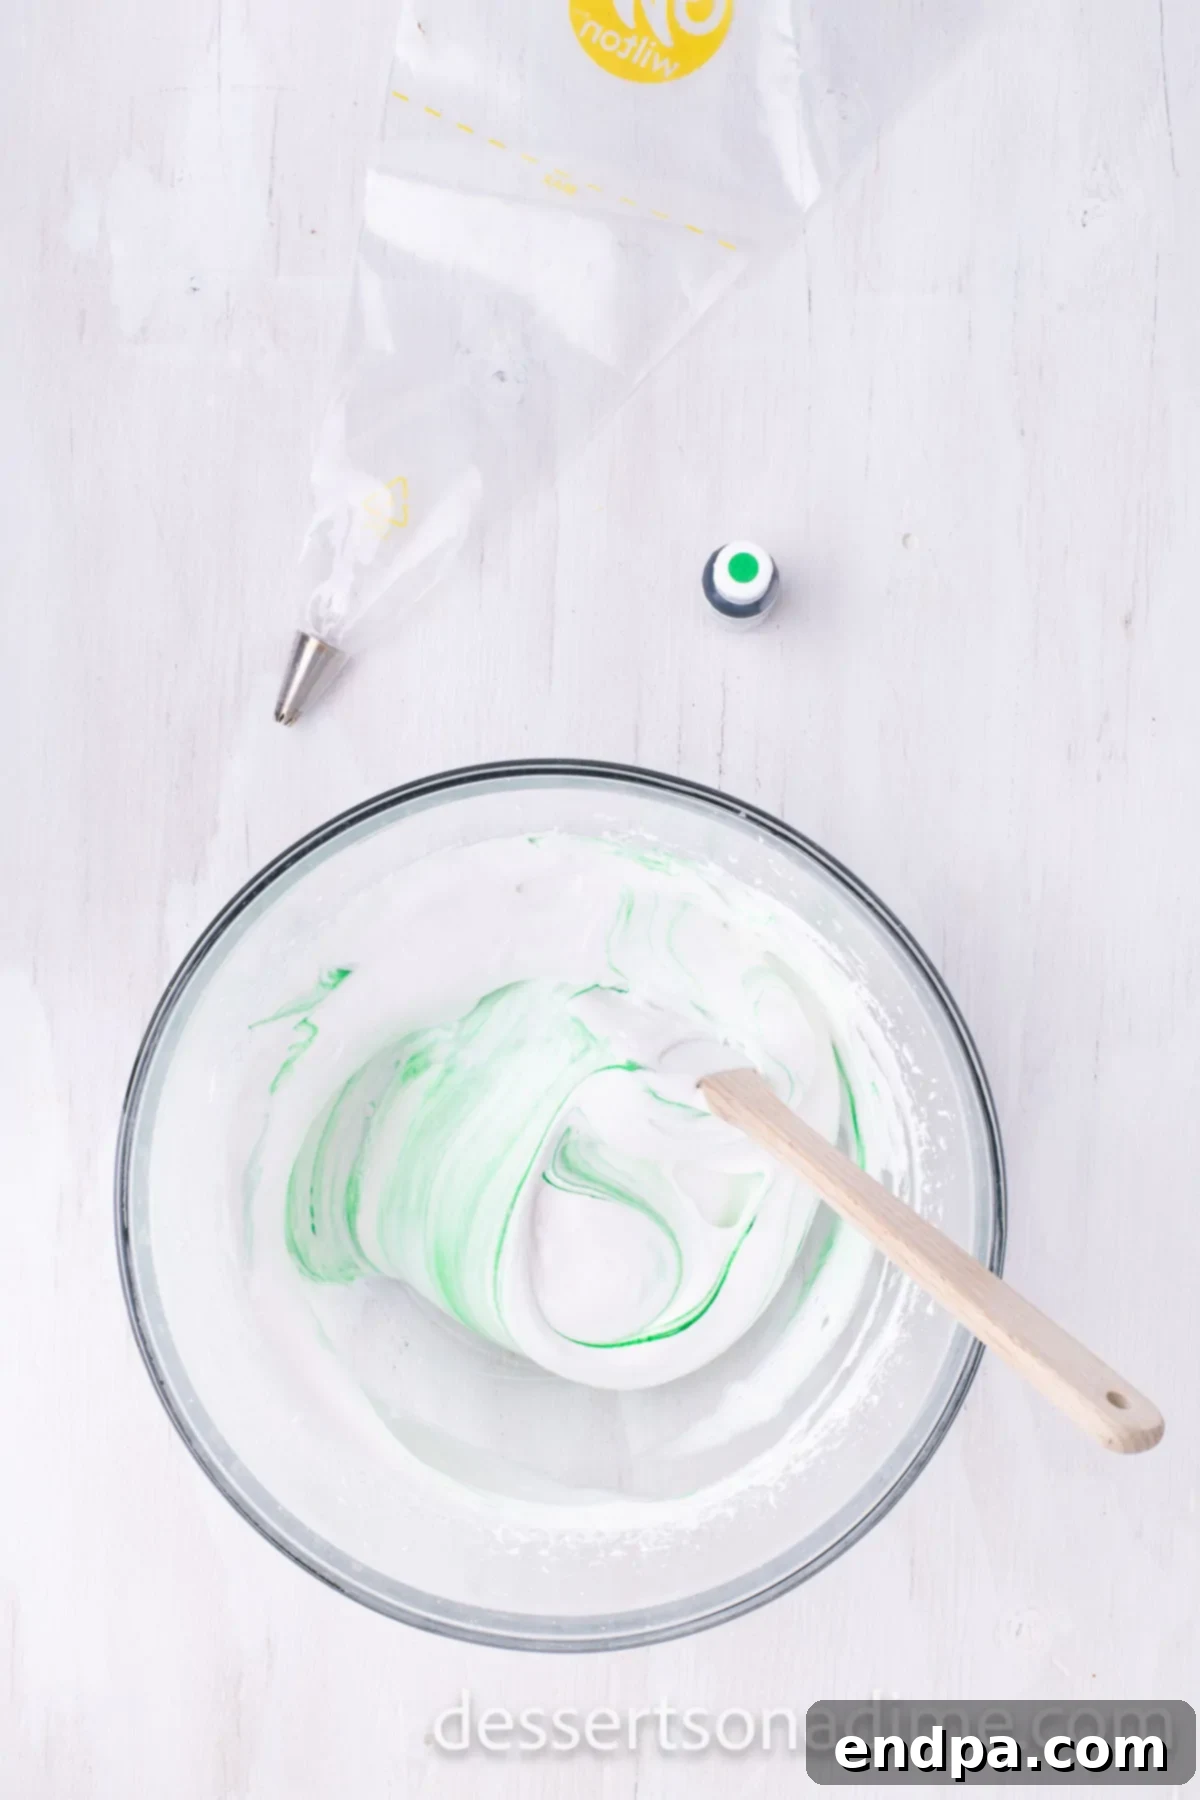
Step 4. Color Your Trees: Add your green food coloring to the meringue. Using a rubber spatula, carefully fold the color into the meringue until it’s uniformly tinted. Be very gentle during this step; excessive mixing can cause the air to escape from the meringue, leading to a flatter, less crisp cookie. Aim for a vibrant, festive green.
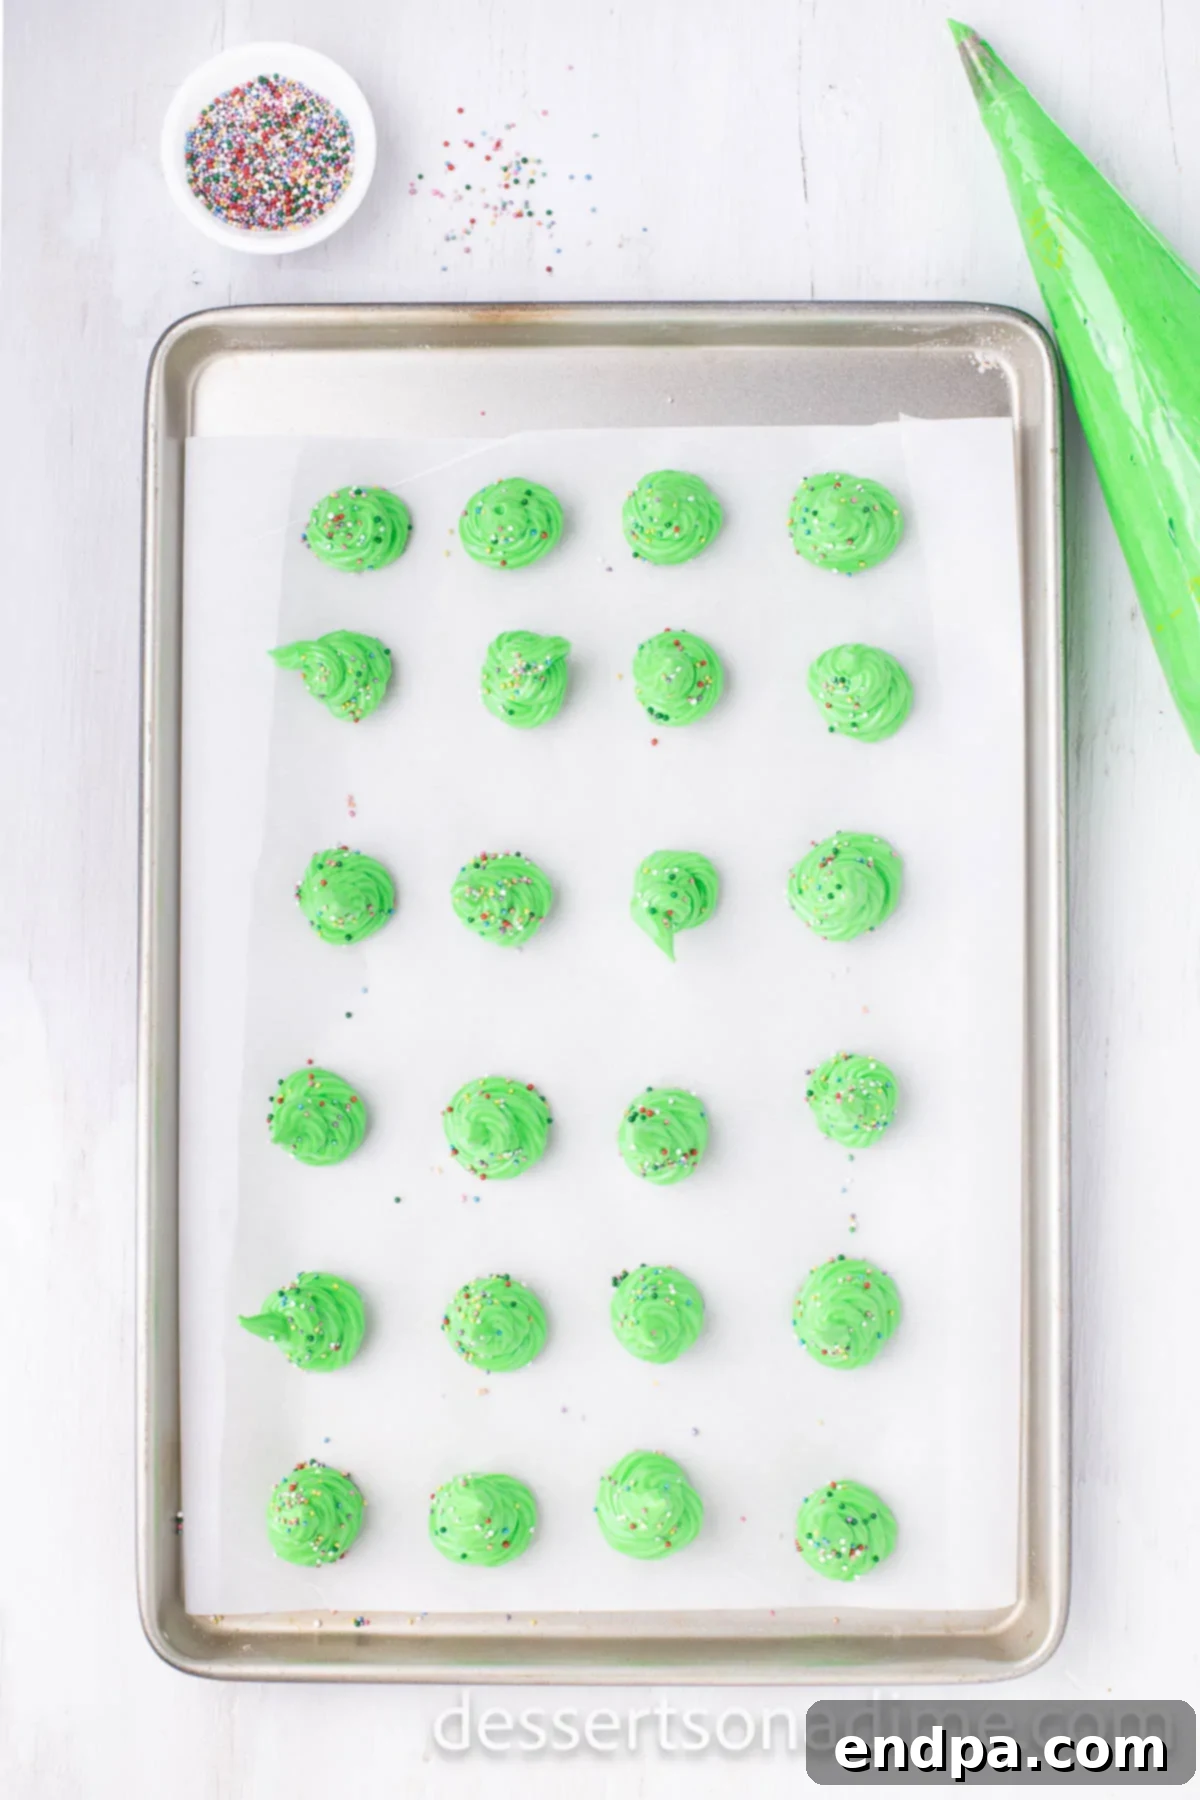
Step 5. Pipe and Decorate: Transfer the green meringue mixture into a piping bag fitted with a small star tip (such as a Wilton 1M or similar). On your prepared baking sheets, pipe Christmas tree shapes directly. Start at the base and pipe upwards in a spiraling motion, gradually making each layer smaller to form a tree. Immediately after piping, gently top each meringue tree with multi-colored sprinkles. The sprinkles will adhere best while the meringue is still moist. Bake the cookies in the preheated oven until they are crisp to the touch but not browned. This slow baking process dries them out perfectly.
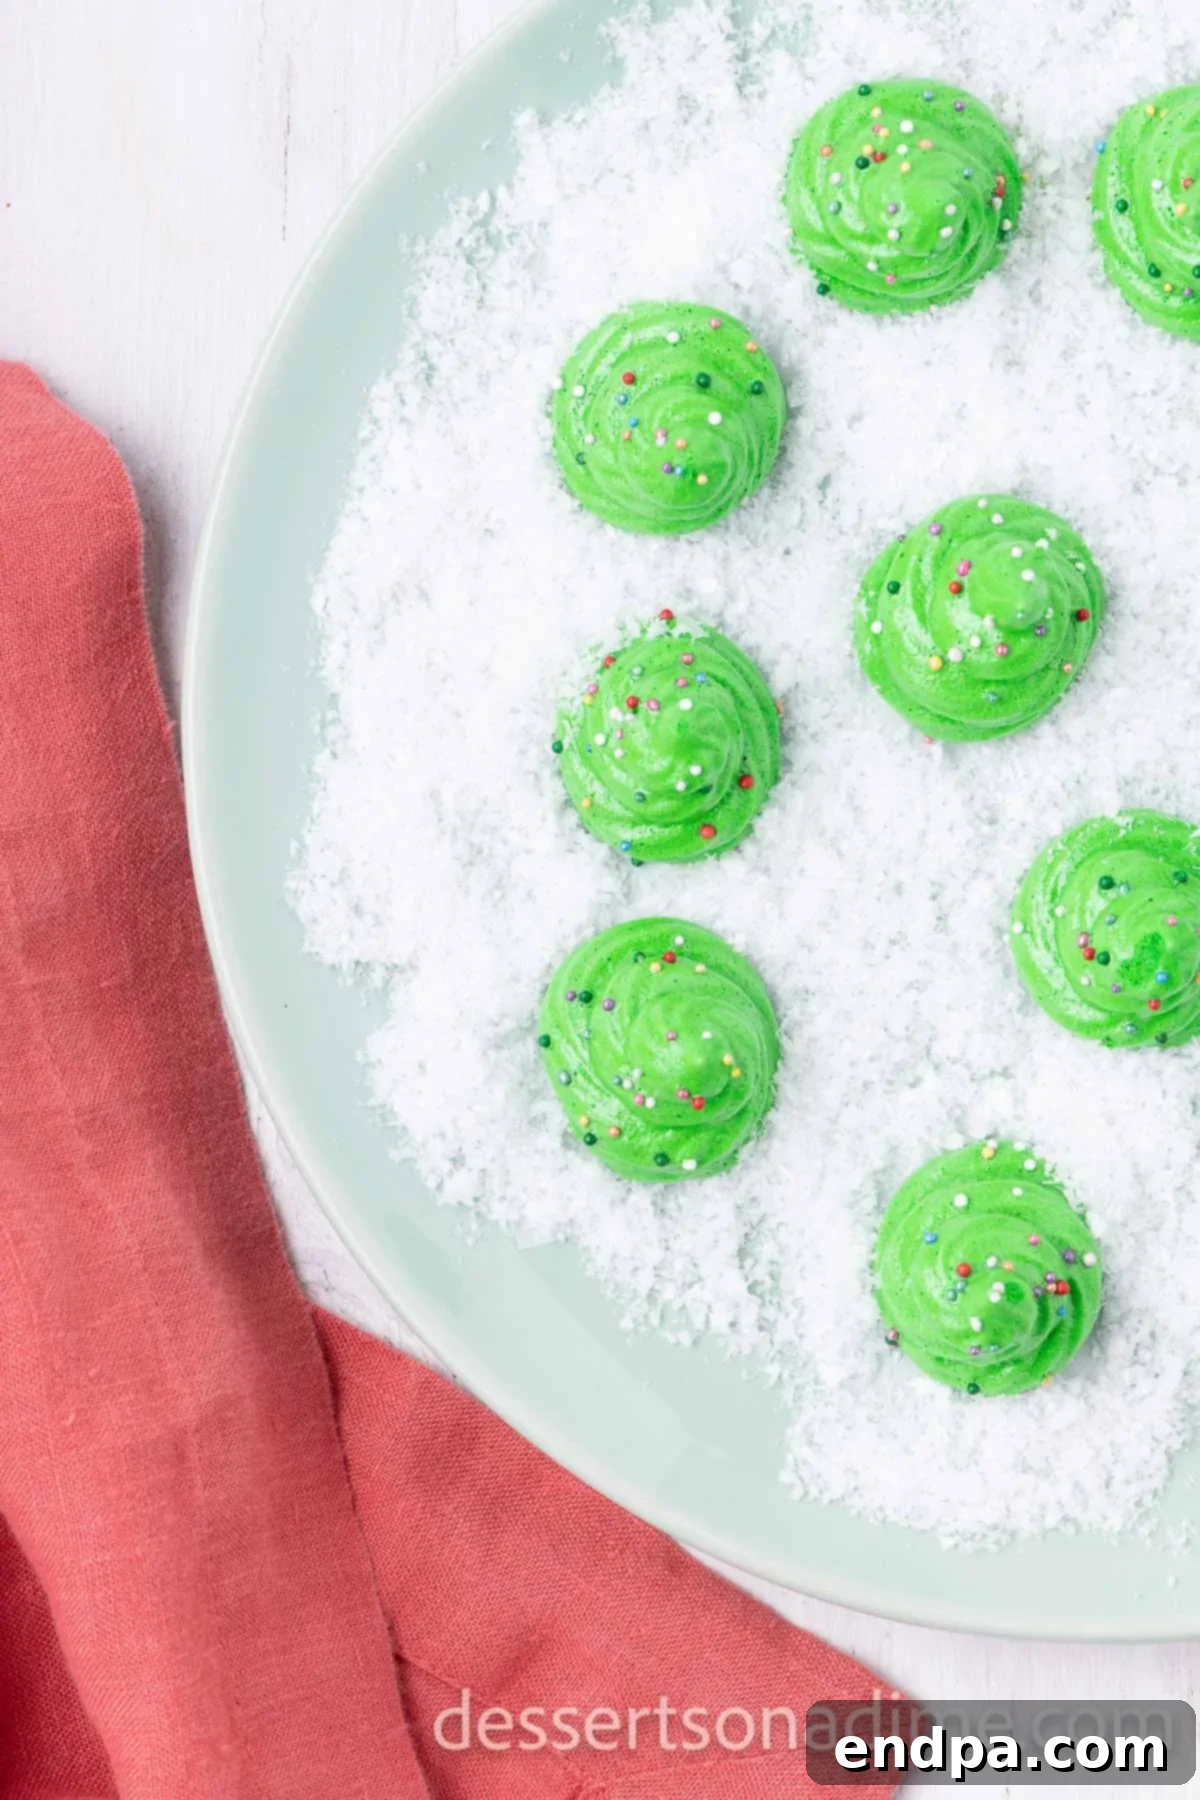
Step 6. Cool and Serve: Once baked, turn off the oven but leave the meringue cookies inside for an additional 30 minutes (or even up to an hour) with the oven door slightly ajar. This allows them to cool down slowly and thoroughly dry out, which is essential for achieving that ultimate crisp texture and preventing them from becoming chewy. Once completely cool, transfer them from the baking sheets to a wire rack. They are now ready to serve and enjoy their delicate, festive crunch!
Expert Tips for Meringue Mastery
Achieving perfect meringue can feel like a delicate art, but with these pro tips, you’ll master these Meringue Christmas Trees in no time. Each tip is designed to help you avoid common pitfalls and ensure your meringues are light, crisp, and beautiful:
- Ensure Impeccably Clean Equipment: Any trace of grease or fat in your mixing bowl or on your beaters can prevent egg whites from whipping up properly. Before you start, thoroughly wash and dry your bowl and whisk attachment. You can also wipe the bowl with a little lemon juice or vinegar to ensure it’s completely grease-free.
- Always Use Room Temperature Egg Whites: This is perhaps the most crucial tip for meringue success. Egg whites at room temperature have less surface tension and can incorporate more air, resulting in a higher volume and a more stable foam. If your eggs are cold, place them in a bowl of warm water for 10-15 minutes to bring them to temperature quickly.
- Whip Carefully, Avoid Overmixing (After Sugar): While you need to beat the egg whites vigorously to achieve stiff peaks, once the sugar is fully incorporated and you’ve added flavorings/color, handle the meringue gently. Overmixing at this stage can deflate the delicate air bubbles you’ve worked so hard to create, leading to dense, flat, and chewy cookies. Fold in color and extracts carefully by hand or on the lowest mixer speed.
- Don’t Skip the Cream of Tartar: This acidic powder is your meringue’s best friend. It acts as a stabilizer, strengthening the egg white proteins and helping them hold air more effectively. This ensures your meringue mixture is firm, glossy, and less likely to weep or collapse during baking, giving you beautifully structured trees.
- Prepare Your Baking Sheets Properly: Always line your baking sheets with parchment paper or a silicone baking mat. Meringues are prone to sticking, and this prevents frustration and makes for easy transfer after baking. Do not grease the pan directly, as fat can inhibit meringue from cooking correctly.
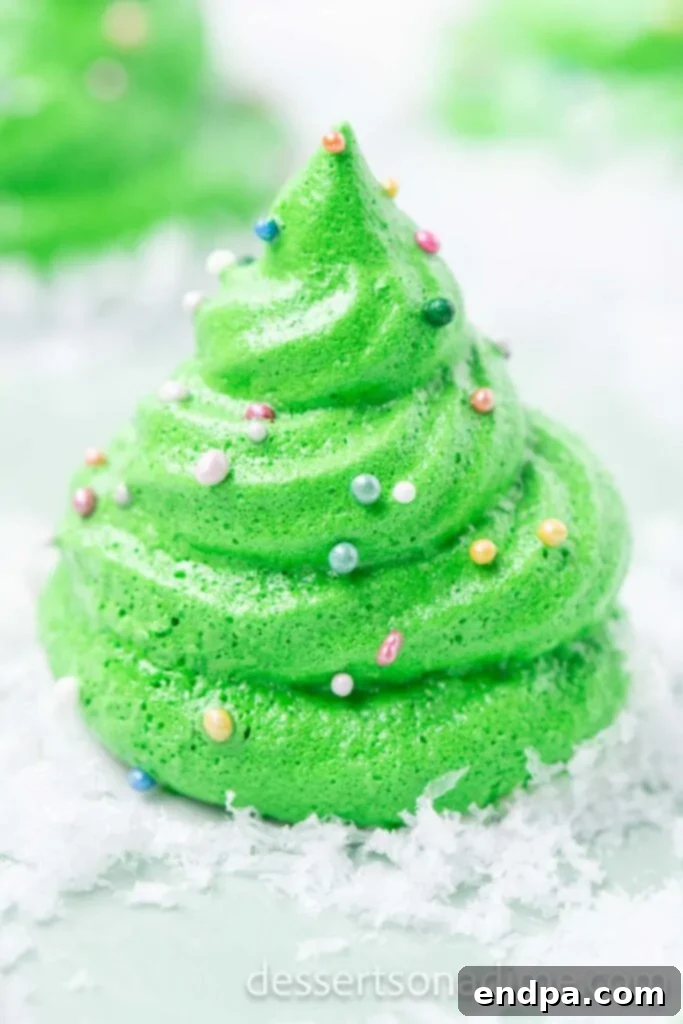
- Master Your Piping Technique: For uniform and attractive Christmas tree shapes, use a piping bag fitted with a star tip (like a Wilton 1M). Practice on a piece of parchment paper first if you’re new to piping. Start at the base, pipe a wider circle, then spiral upwards, making each layer slightly smaller to create a classic tree silhouette.
- Decorate Immediately After Piping: Add your festive sprinkles to the piped meringue trees right away, before they start to dry. This ensures the sprinkles adhere well to the slightly sticky surface and won’t fall off once baked.
- Bake Low and Slow for Dry & Crisp Results: Meringues don’t truly “bake” in the traditional sense; they dry out. A very low oven temperature (175°F/80°C) over an extended period is essential to dehydrate them without browning, preserving their pristine white or pale green color and delicate crispness.
- Cool Completely in the Oven: After the baking time, turn off the oven but leave the meringues inside. Prop the oven door slightly ajar with a wooden spoon. This slow cooling and drying process is vital for preventing cracking, maintaining crispness, and ensuring the meringues are completely set. Resist the urge to open the oven frequently or remove them too soon.
- Monitor Humidity Levels: Meringues are very sensitive to moisture. Try to bake them on a dry day, if possible. High humidity in the air can cause them to become sticky or chewy, even after proper baking. Store them in an airtight container immediately once fully cooled to protect them from moisture.
Frequently Asked Questions About Meringue Christmas Trees
Here are some common questions and helpful answers to ensure your Meringue Christmas Trees turn out perfectly every time.
When stored properly in an airtight container at room temperature, these delightful cookies can last for up to 2-3 weeks. The key is to protect them from moisture, which is their biggest enemy. If they are exposed to humidity, they might lose their crispness and become slightly sticky.
You’ll know they’re perfectly done when they feel completely firm and crisp to the touch, and you can easily lift them off the parchment paper without any resistance or stickiness. They should hold their shape beautifully. If they feel soft or sticky, they need more drying time in the oven. Remember, they should not be browned; the low temperature is meant to dry them out, not color them.
Chewy meringues are typically due to one of two culprits: either they were underbaked (not dried out enough) or they absorbed too much moisture from the air. The good news is, it’s an easy fix! Simply place the chewy cookies back in a low oven (around 175°F/80°C) for another 10-20 minutes, then turn off the oven and let them cool completely inside. This extra drying time should restore their desired crispy texture. Ensure they are stored in an airtight container once fully crisp.
To maintain their crispness and delicate texture, store your Meringue Christmas Trees in an airtight container at room temperature. It’s very important to avoid refrigerating them, as the cold, moist environment of a refrigerator will cause them to absorb moisture and become chewy or sticky. Keep them in a cool, dry place away from direct sunlight.
The most essential pieces of equipment include a stand mixer with a whisk attachment (or a hand mixer with a large mixing bowl), a piping bag, and a star tip (such as Wilton 1M) for creating the tree shapes. You’ll also need parchment paper or silicone baking mats, and at least two baking sheets. An oven thermometer can also be helpful to ensure your oven maintains the correct low temperature.
More Irresistible Christmas Treats to Enjoy
Looking for more festive inspiration to fill your holiday cookie platters or dessert tables? Explore these other delightful Christmas recipes:
- Charming Christmas Wreath Cookies Recipe
- The Best Christmas Crack Recipe
- Creative Christmas Pancakes Ideas
- Easy Hot Cocoa Cookies Recipe
- Adorable Strawberry Santas
- Decadent Christmas Truffles Recipe
I genuinely hope you take the opportunity to make these delicious and beautiful Meringue Christmas Trees this holiday season. They are sure to bring smiles and festive cheer to everyone who tastes them. Once you do, please consider leaving a comment and a star rating on the recipe. Your feedback truly brightens my day, and I love hearing about your baking successes!
Pin
Meringue Christmas Trees
20 minutes
1 hour
45 minutes
30 minutes
2 hours
35 minutes
30
American
Dessert
22
Carrie Barnard
Ingredients
-
4
large Egg Whites
room temperature -
1/4
teaspoon
Cream of Tartar -
3/4
cup
Granulated Sugar -
1
teaspoon
Vanilla Extract - Green Food Coloring
- Multi-Colored Sprinkles
Instructions
- Preheat the oven to 175 degrees Fahrenheit (80°C). Line 2 baking sheets with parchment paper or silicone baking mats.
- Place the egg whites and cream of tartar in a large mixing bowl. Using an electric mixer (stand or hand mixer), beat on medium speed until the egg whites become frothy, about 2-3 minutes.
- Increase the mixer speed to medium-high. Gradually add the granulated sugar, 1 tablespoon at a time, ensuring it fully dissolves into the egg whites after each addition. Once all the sugar is incorporated, turn the speed up to high and beat for 4-5 minutes until stiff, glossy peaks form. The meringue should be thick and hold its shape.
- Lower the mixer speed to low and mix in the vanilla extract just until combined. Be careful not to overmix.
- Add the green food coloring. Gently fold it into the meringue with a rubber spatula or mix on the lowest speed until the color is uniform. Avoid overmixing to prevent deflating the air from the meringue.
- Transfer the meringue mixture into a piping bag fitted with a small star tip.
- Pipe festive Christmas tree shapes directly onto the prepared baking sheets. Immediately after piping each tree, gently top with multi-colored sprinkles.
- Bake the cookies for approximately 1 hour and 45 minutes, or until they are completely crisp and dry but not browned. Then, turn off the oven, prop the door slightly ajar with a wooden spoon, and leave the cookies in the oven for an additional 30 minutes (or longer) to cool slowly and continue drying out. Test a cookie; if it’s still chewy in the middle, return them to the off oven to dry further.
- Once completely cooled and crisp, carefully transfer the Meringue Christmas Trees from the baking sheets to wire racks. They are now ready to serve and enjoy their delicate, festive crunch!
Recipe Notes
Nutrition Facts
Calories
22
kcal
,
Carbohydrates
5
g
,
Protein
0.4
g
,
Fat
0.02
g
,
Sodium
7
mg
,
Potassium
11
mg
,
Sugar
5
g
,
Calcium
0.3
mg
,
Iron
0.01
mg
Pin This Now to Remember It Later
Pin Recipe
