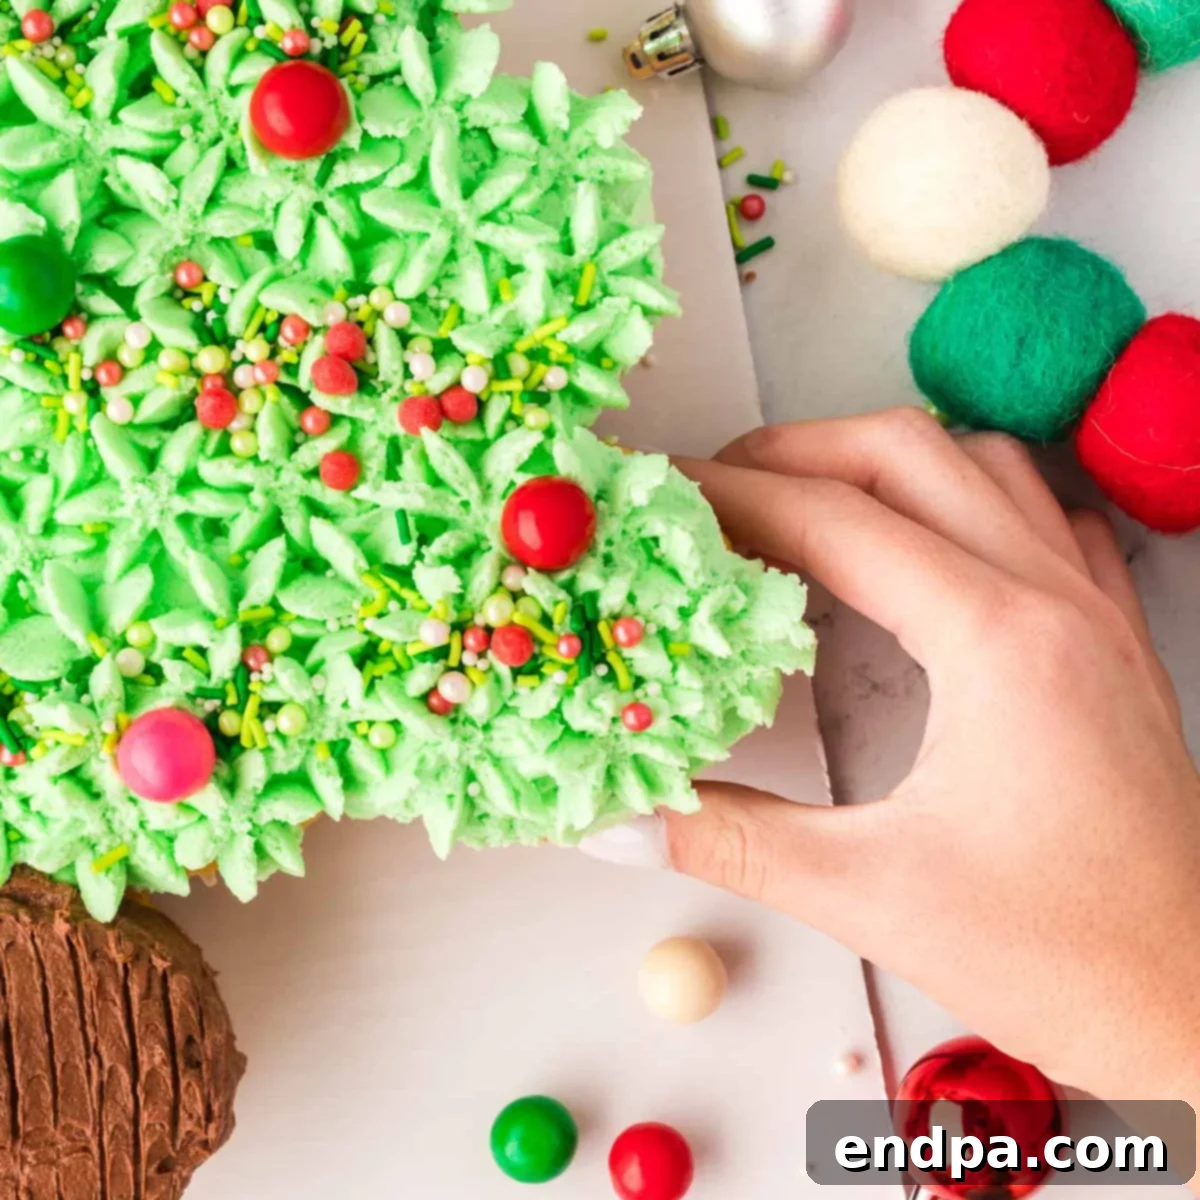
Unleash your holiday spirit and transform a simple batch of cupcakes into a stunning, festive Christmas Tree Cupcake Cake! This delightful dessert is not only incredibly easy to decorate but also a joy to serve, guaranteed to become the centerpiece of your holiday spread and a cherished memory for everyone who tastes it. Say goodbye to complicated baking and hello to effortless holiday magic!
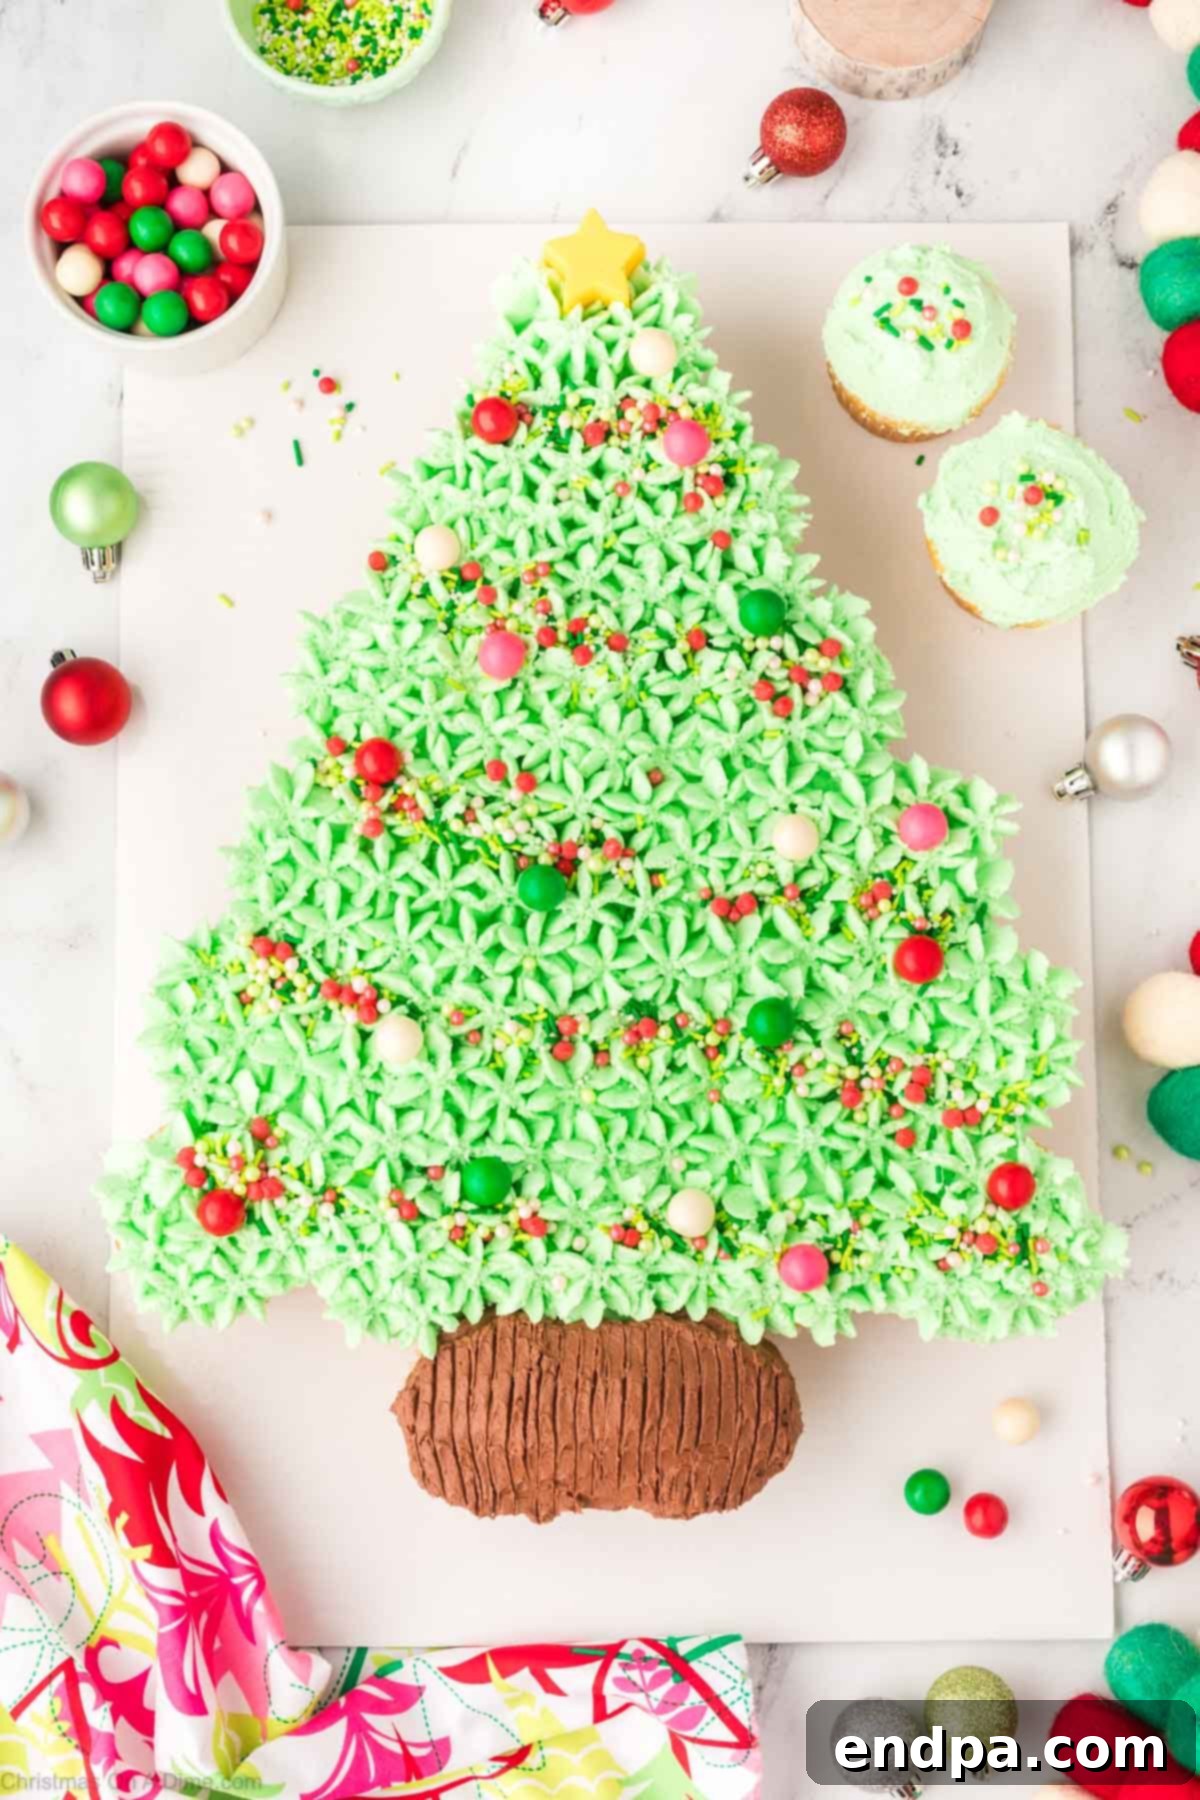
Holiday baking is one of the most heartwarming traditions, and this Christmas Tree Cupcake Cake perfectly encapsulates that joy. It’s truly one of our favorite easy Christmas dessert recipes because it brings everyone together. Kids absolutely adore helping turn basic cupcakes into a magnificent, edible Christmas tree. The sheer simplicity combined with its impressive visual appeal makes it an ideal choice for any holiday gathering, from a casual family dinner to a grand festive party.
Looking for more enchanting Christmas tree-themed desserts? Why not try our whimsical Meringue Christmas Trees, which are light and airy, or get creative with our classic Christmas Tree Sugar Cookies Recipe for a delightful treat that’s perfect for decorating with the little ones?
Table of Contents
- Why We Love This Recipe
- Essential Ingredients
- Step-By-Step Guide
- Storage Tips
- Baking Master Tips
- Frequently Asked Questions (FAQ)
- More Irresistible Festive Desserts
- Christmas Tree Cupcake Cake Recipe Card
Why We Love This Recipe
There are countless reasons why this Christmas Tree Cupcake Cake has earned its spot as a holiday favorite. First and foremost, it offers that coveted “wow” factor without requiring hours of strenuous effort. It appears incredibly elaborate and professionally decorated, yet the process is surprisingly straightforward, making it accessible even for novice bakers. This dessert is perfect for those moments when you want to impress your guests with a cute and festive creation, but simply don’t have the luxury of time for complex baking projects.
Another fantastic aspect of this recipe is its incredible adaptability. You have full creative control over the colors and embellishments. Imagine a shimmering silver tree, a vibrant multi-colored tree, or a classic red and green masterpiece. The decorating process itself is a source of immense fun, providing a wonderful opportunity for family bonding. Gather your loved ones, unleash your creativity, and make some beautiful edible memories together. Whether you’re aiming for a perfectly polished look or a charmingly rustic feel, this cupcake cake allows for endless personalization, ensuring your Christmas tree is as unique as your celebration.
Essential Ingredients
Crafting this enchanting Christmas Tree Cupcake Cake begins with a few simple, high-quality ingredients. Here’s what you’ll need to create perfectly moist cupcakes and rich, flavorful frosting:
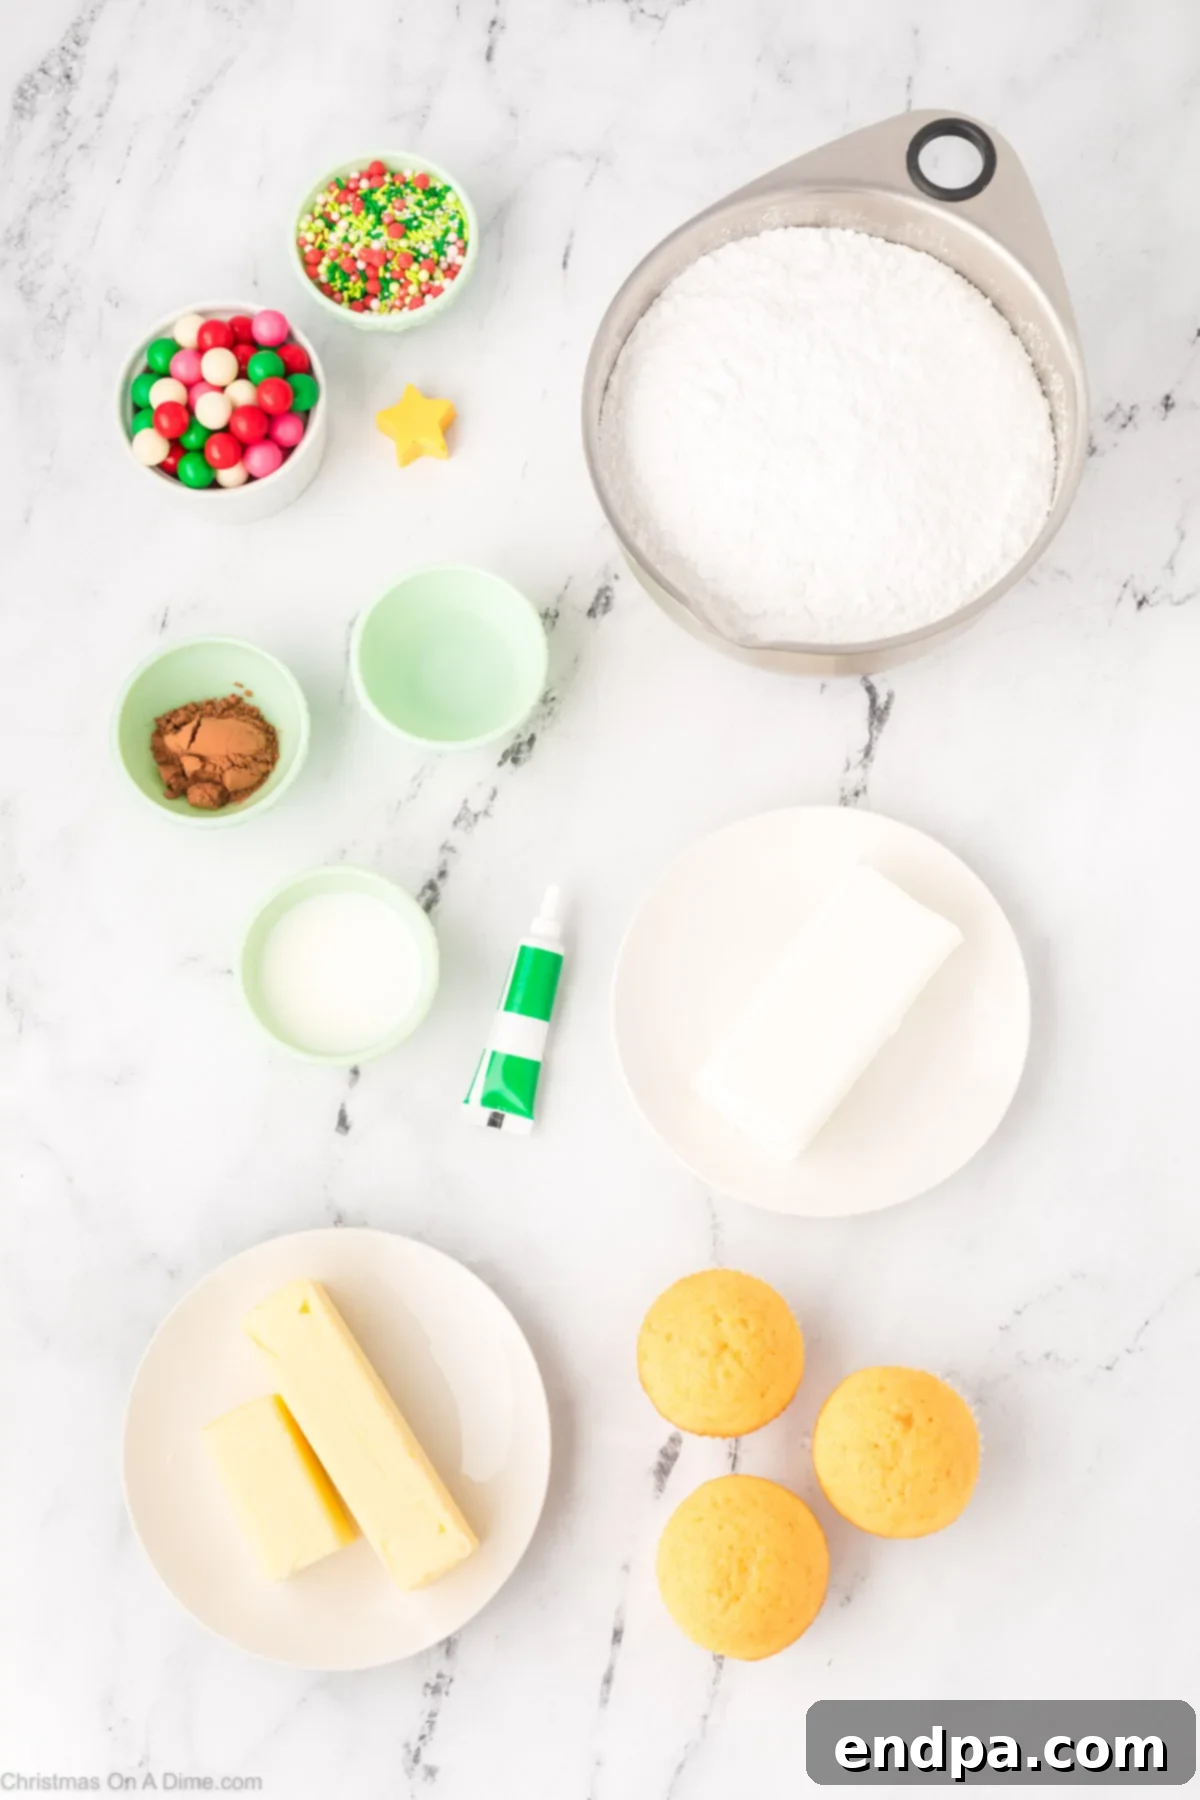
- Vanilla Cupcakes: You will need at least 24 prepared and completely cooled cupcakes. While we prefer the classic vanilla for its versatile flavor base, feel free to use your favorite cupcake flavor. Chocolate, red velvet, or even a spiced gingerbread cupcake would work beautifully, offering a unique twist to your Christmas tree.
- Butter or Margarine: For the frosting, we recommend using softened butter for the richest flavor and creamiest texture. However, margarine can be used as a substitute if preferred. Ensure it’s at room temperature for easier whipping and a smoother frosting consistency.
- Clear Vanilla Extract: This ingredient is key to achieving a vibrant green frosting without any yellow tint. Regular vanilla extract can subtly alter the color, so clear vanilla is highly recommended for the best visual results.
- Confectioners’ Sugar (Powdered Sugar): Also known as icing sugar, this finely milled sugar is essential for a silky-smooth buttercream frosting. Sifting it before use is crucial to remove any lumps, ensuring your frosting is perfectly smooth and easy to pipe.
- Milk: A small amount of milk helps achieve the desired consistency for your frosting. You can use any type of milk you prefer – whole milk for richness, or a dairy-free alternative for dietary needs.
- Green Gel Food Coloring: For the most vibrant and festive green, gel food coloring is superior to liquid food coloring. It provides intense color without adding excess liquid, which could thin out your frosting.
- Cocoa Powder: A small amount of cocoa powder is used to create the brown frosting for the tree trunk. Hershey’s cocoa powder is a great choice for its rich flavor and deep color.
- Sprinkles: This is where the magic happens! Any festive Christmas sprinkles will work wonderfully as “ornaments” for your tree. Think colorful nonpareils, jimmies, edible stars, or even small edible glitter for extra sparkle.
These ingredients form the foundation of a truly magnificent and delicious Christmas Tree Cupcake Cake that will delight everyone at your holiday celebration.
Step-By-Step Guide
Creating your festive Christmas Tree Cupcake Cake is a fun and rewarding process. Follow these detailed steps to assemble your edible masterpiece:
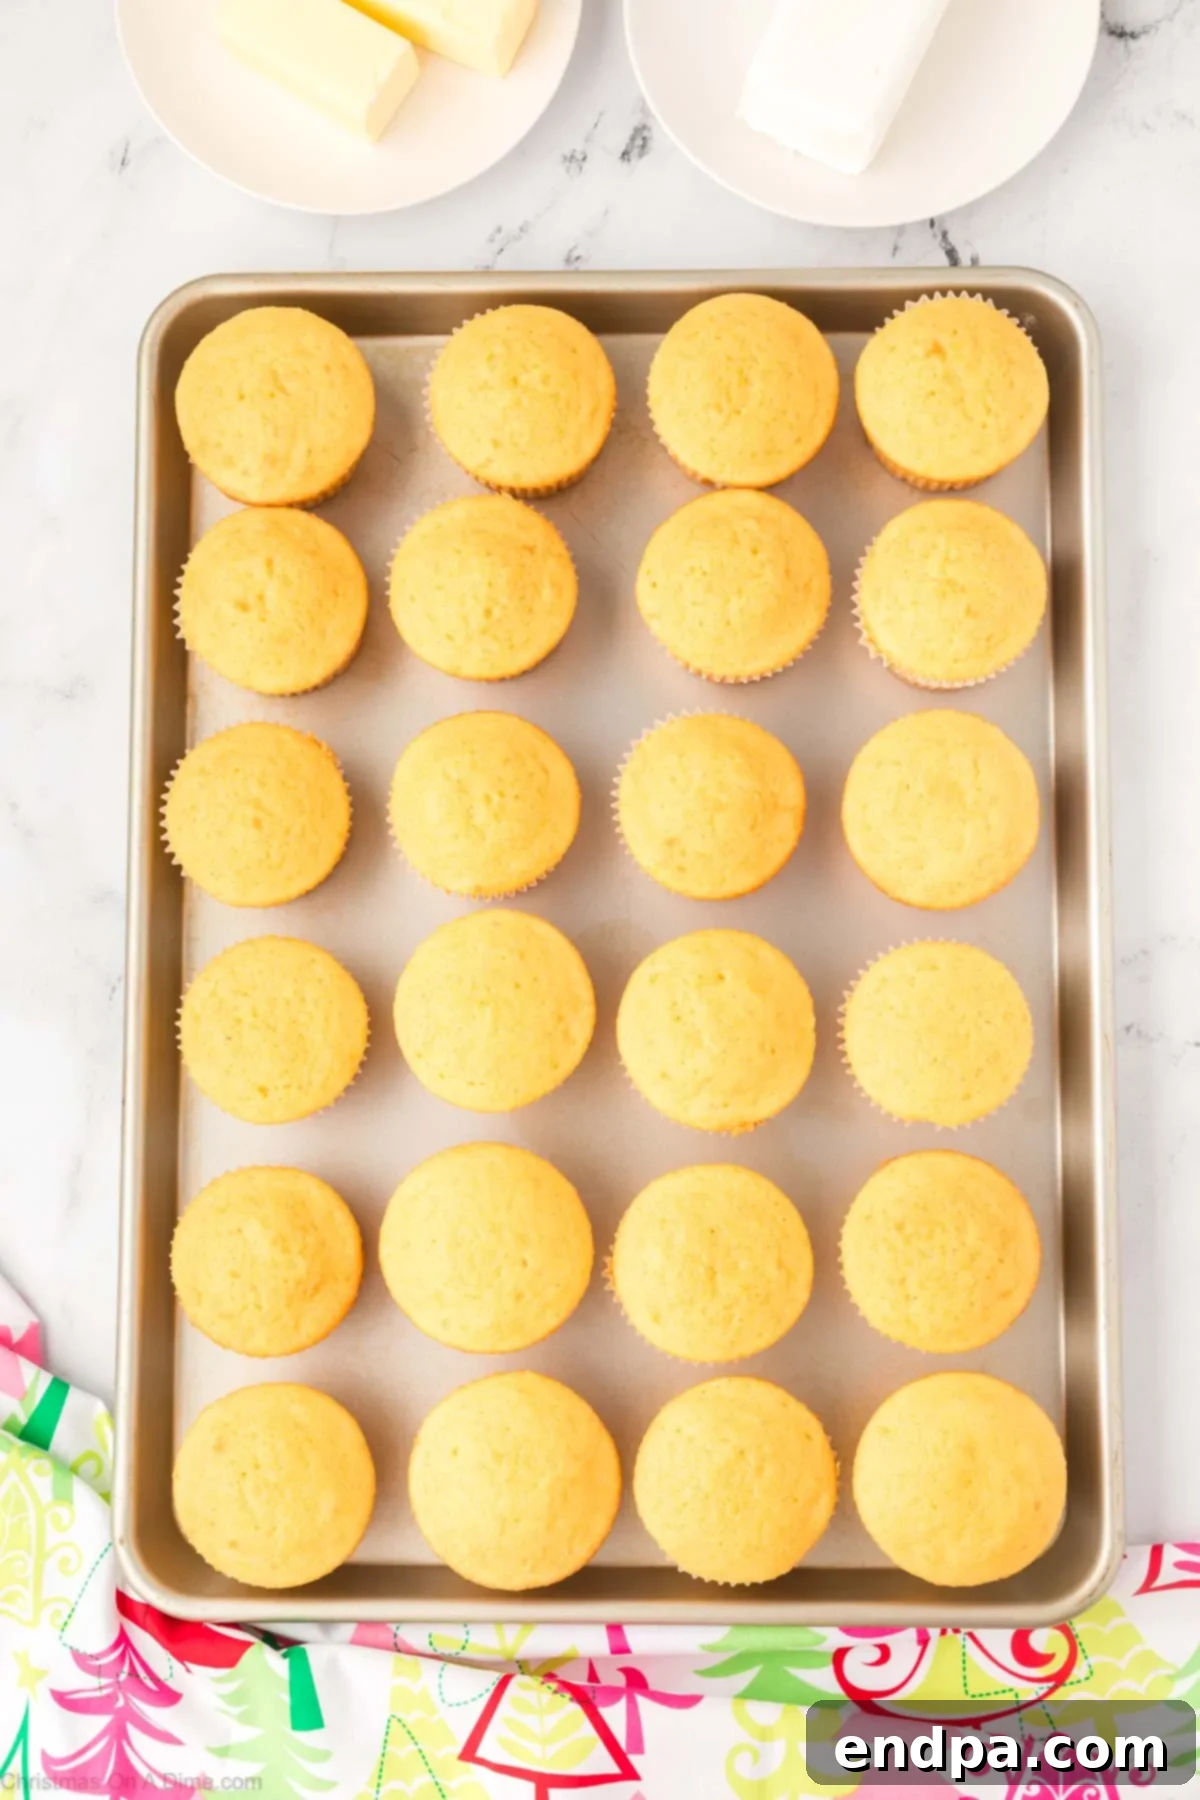
Step 1: Prepare Your Cupcakes. Begin by baking your chosen cupcakes. You’ll need a batch of at least 24 cupcakes. Once baked, transfer them to a wire cooling rack and ensure they cool completely before you start frosting. This prevents the frosting from melting or becoming runny.
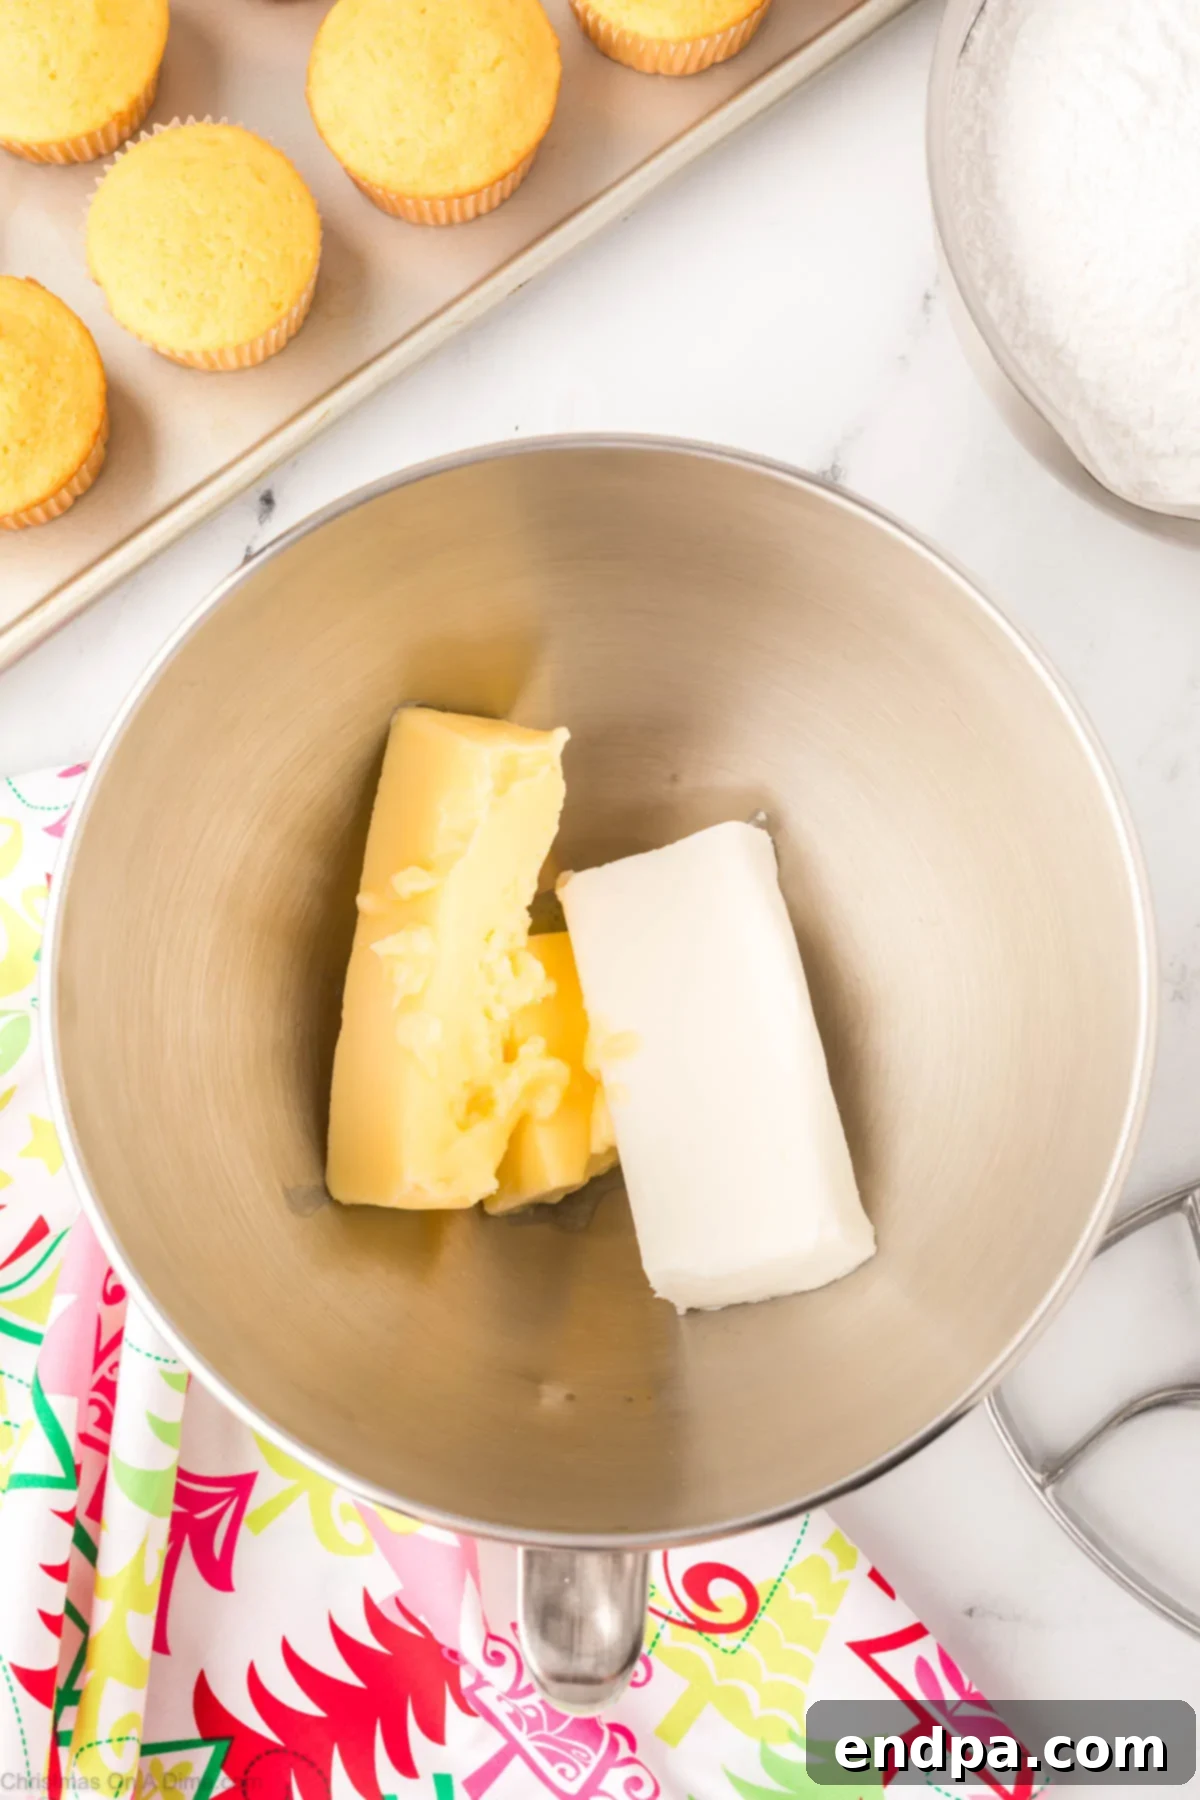
Step 2: Start the Frosting Base. In a large mixing bowl, preferably of a stand mixer fitted with the paddle attachment, combine the softened butter (or margarine) and solid vegetable shortening. Whip these ingredients together on medium-high speed for about 5-7 minutes until the mixture becomes light, fluffy, and noticeably pale. Remember to scrape down the sides of the bowl occasionally to ensure everything is thoroughly incorporated.
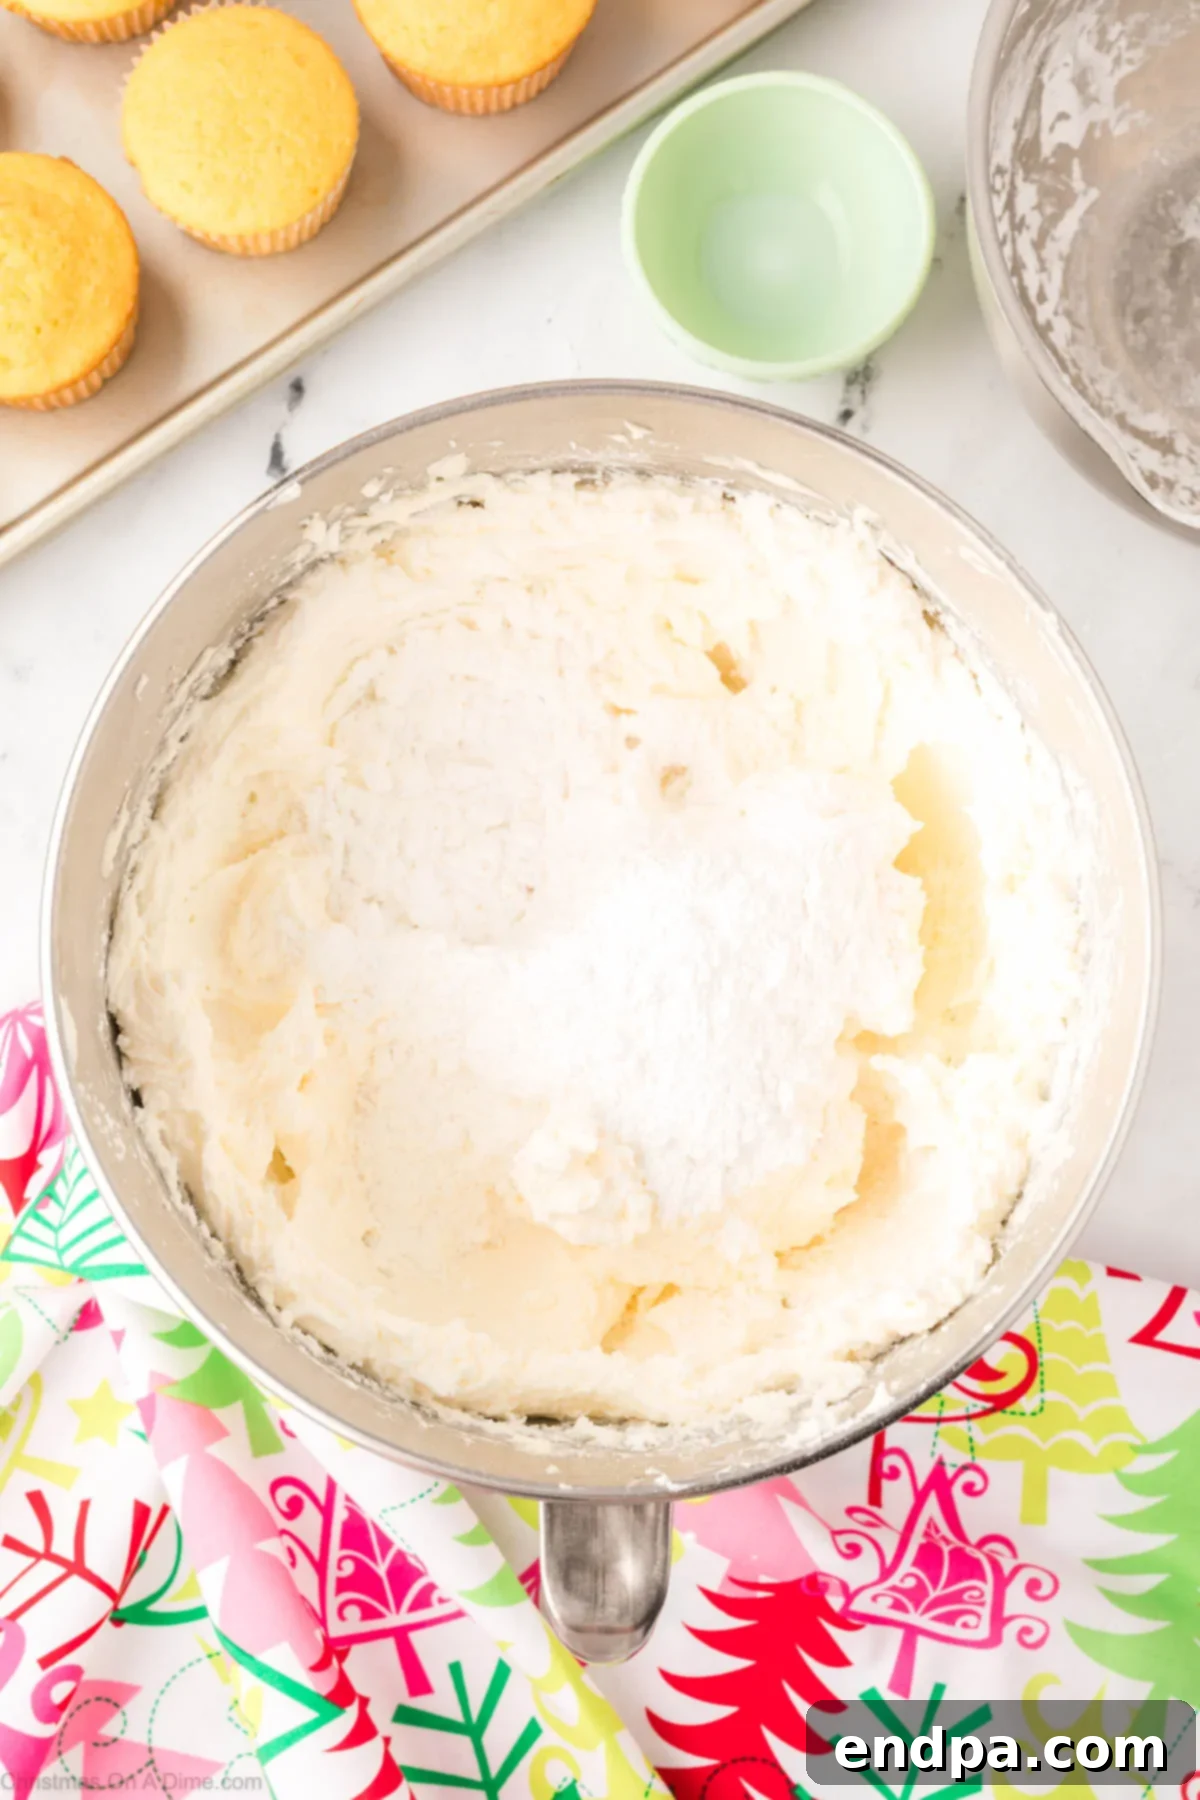
Step 3: Incorporate Sugar and Vanilla. Gradually add the first 3 cups of sifted confectioners’ sugar to the whipped butter mixture. Start by mixing on low speed to prevent a cloud of sugar. Once combined and no dry spots remain, add the clear vanilla extract and mix until just incorporated. Continue beating on low speed for about 60 seconds to ensure everything is well blended.
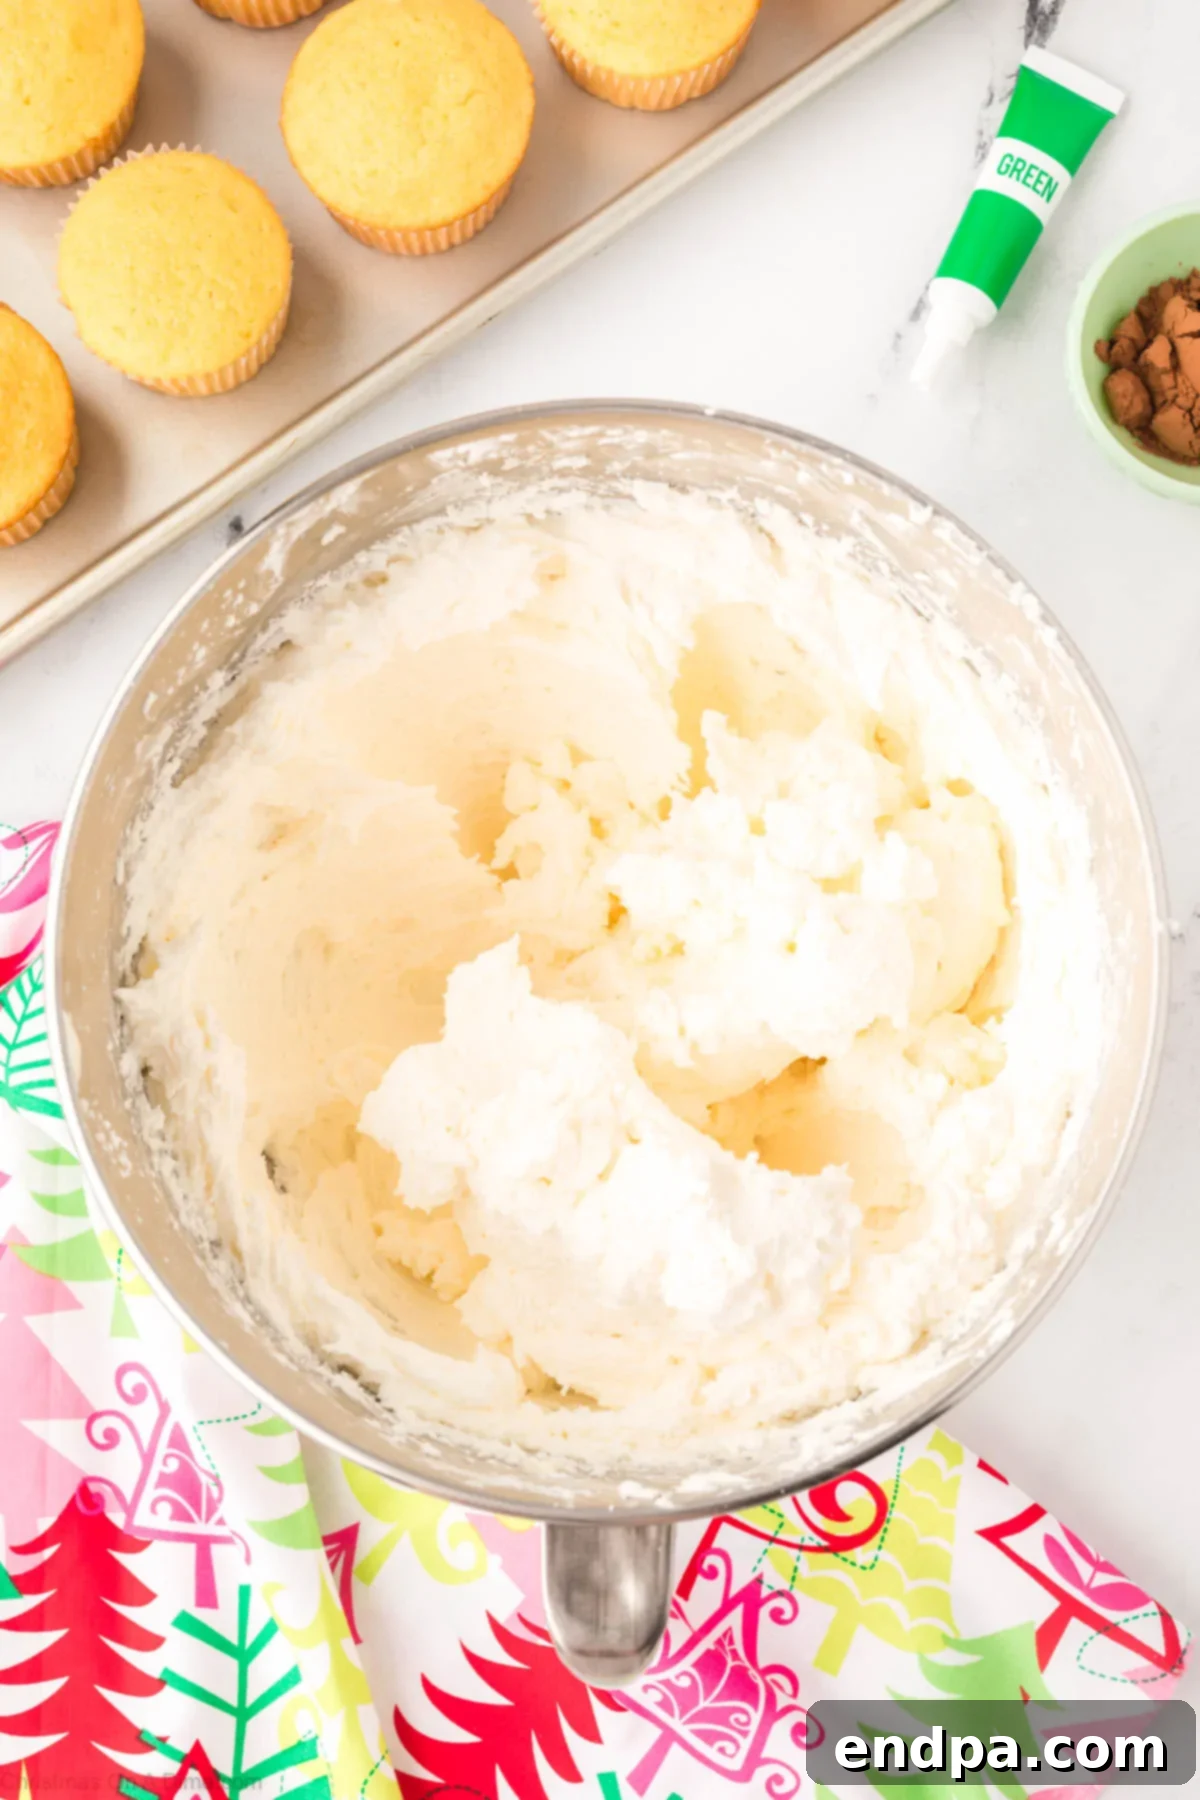
Step 4: Continue Adding Sugar and Milk. Add another 2 cups of powdered sugar, mixing on low speed until fully incorporated. Increase the mixer speed to medium-high and beat for an additional 3 minutes to achieve a light and airy texture. Finally, add the last cup of powdered sugar along with the 2 tablespoons of milk. Mix on low speed until everything starts to come together, then increase to medium-high and beat for another 3-5 minutes to ensure maximum fluffiness and smoothness.
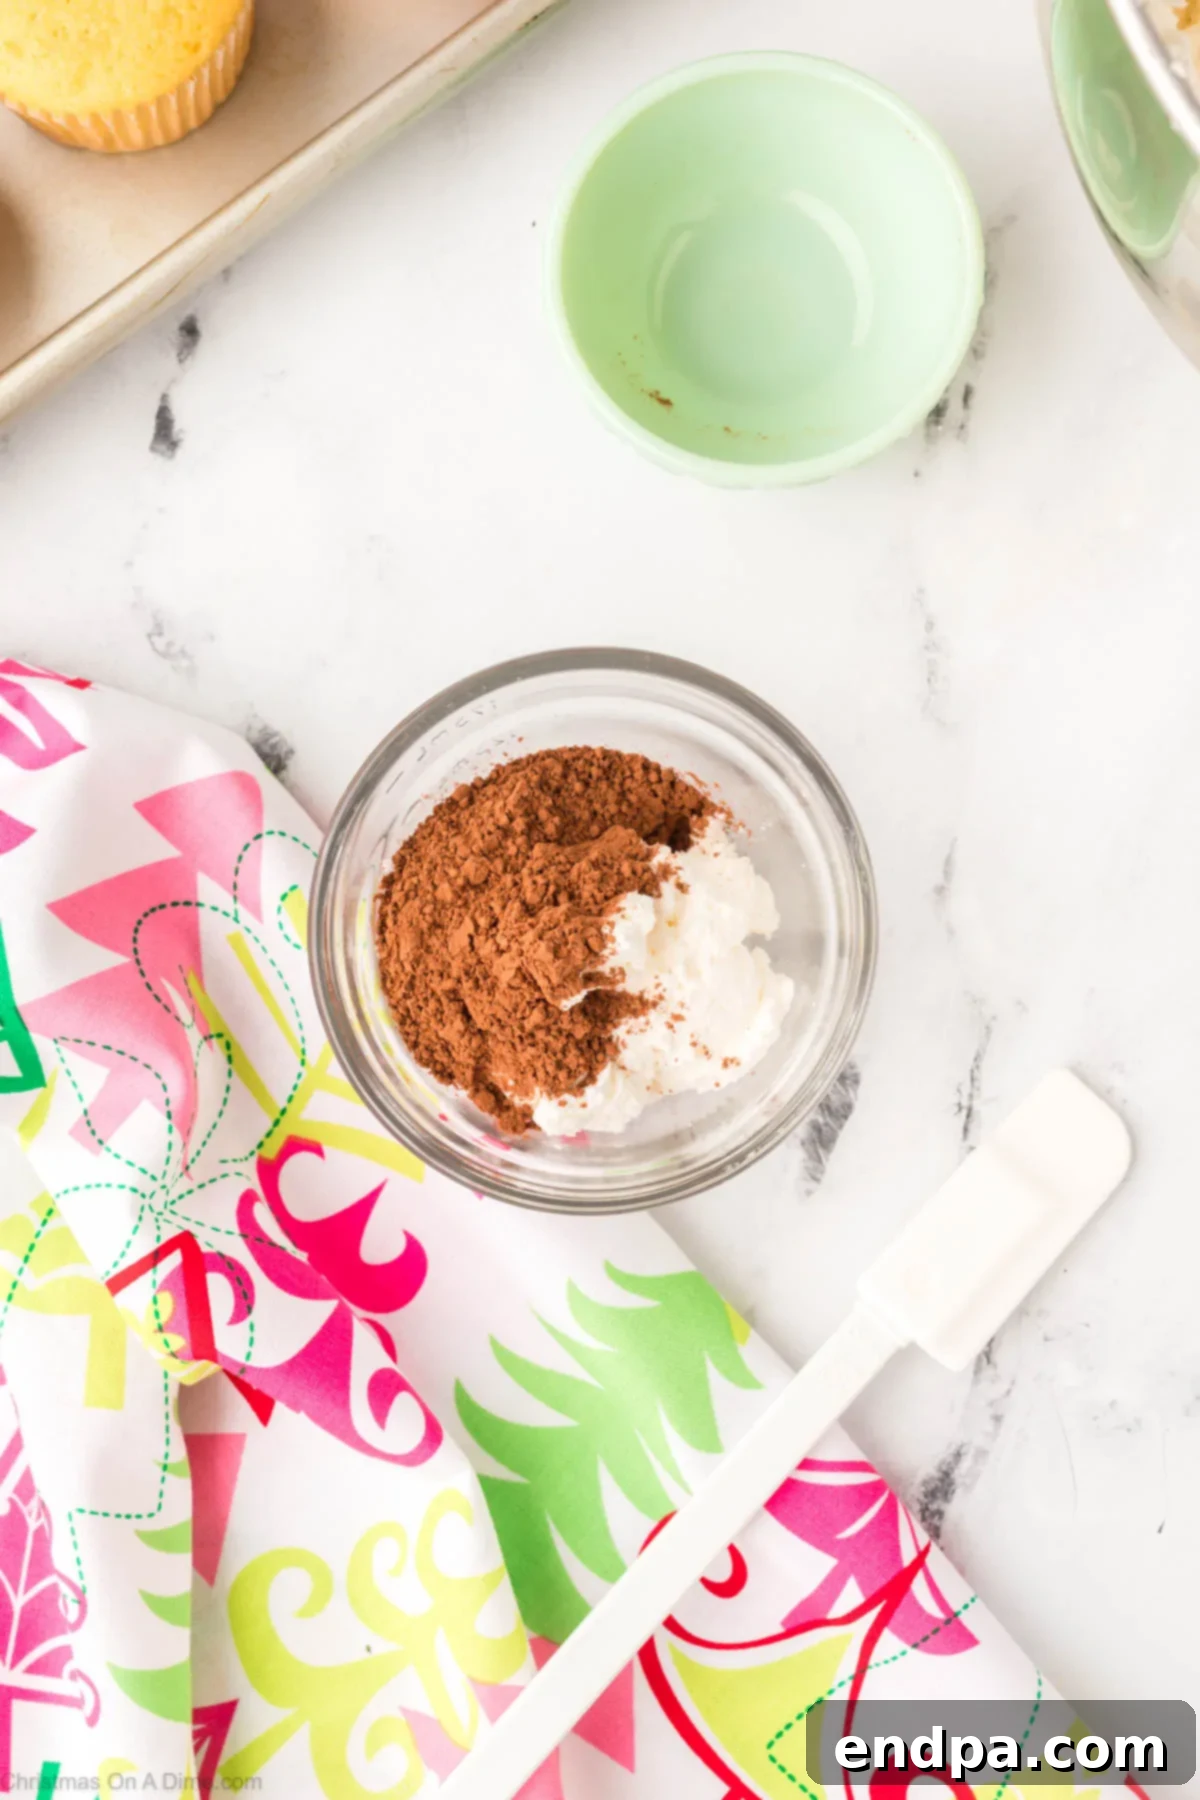
Step 5: Create the Brown Trunk Frosting. Take about ¼ cup of the prepared white frosting and transfer it to a separate small bowl. Mix in 2-3 teaspoons of cocoa powder until a rich brown color is achieved and the powder is fully blended. If the frosting becomes too stiff, add milk a teaspoon at a time until it reaches a spreadable consistency.
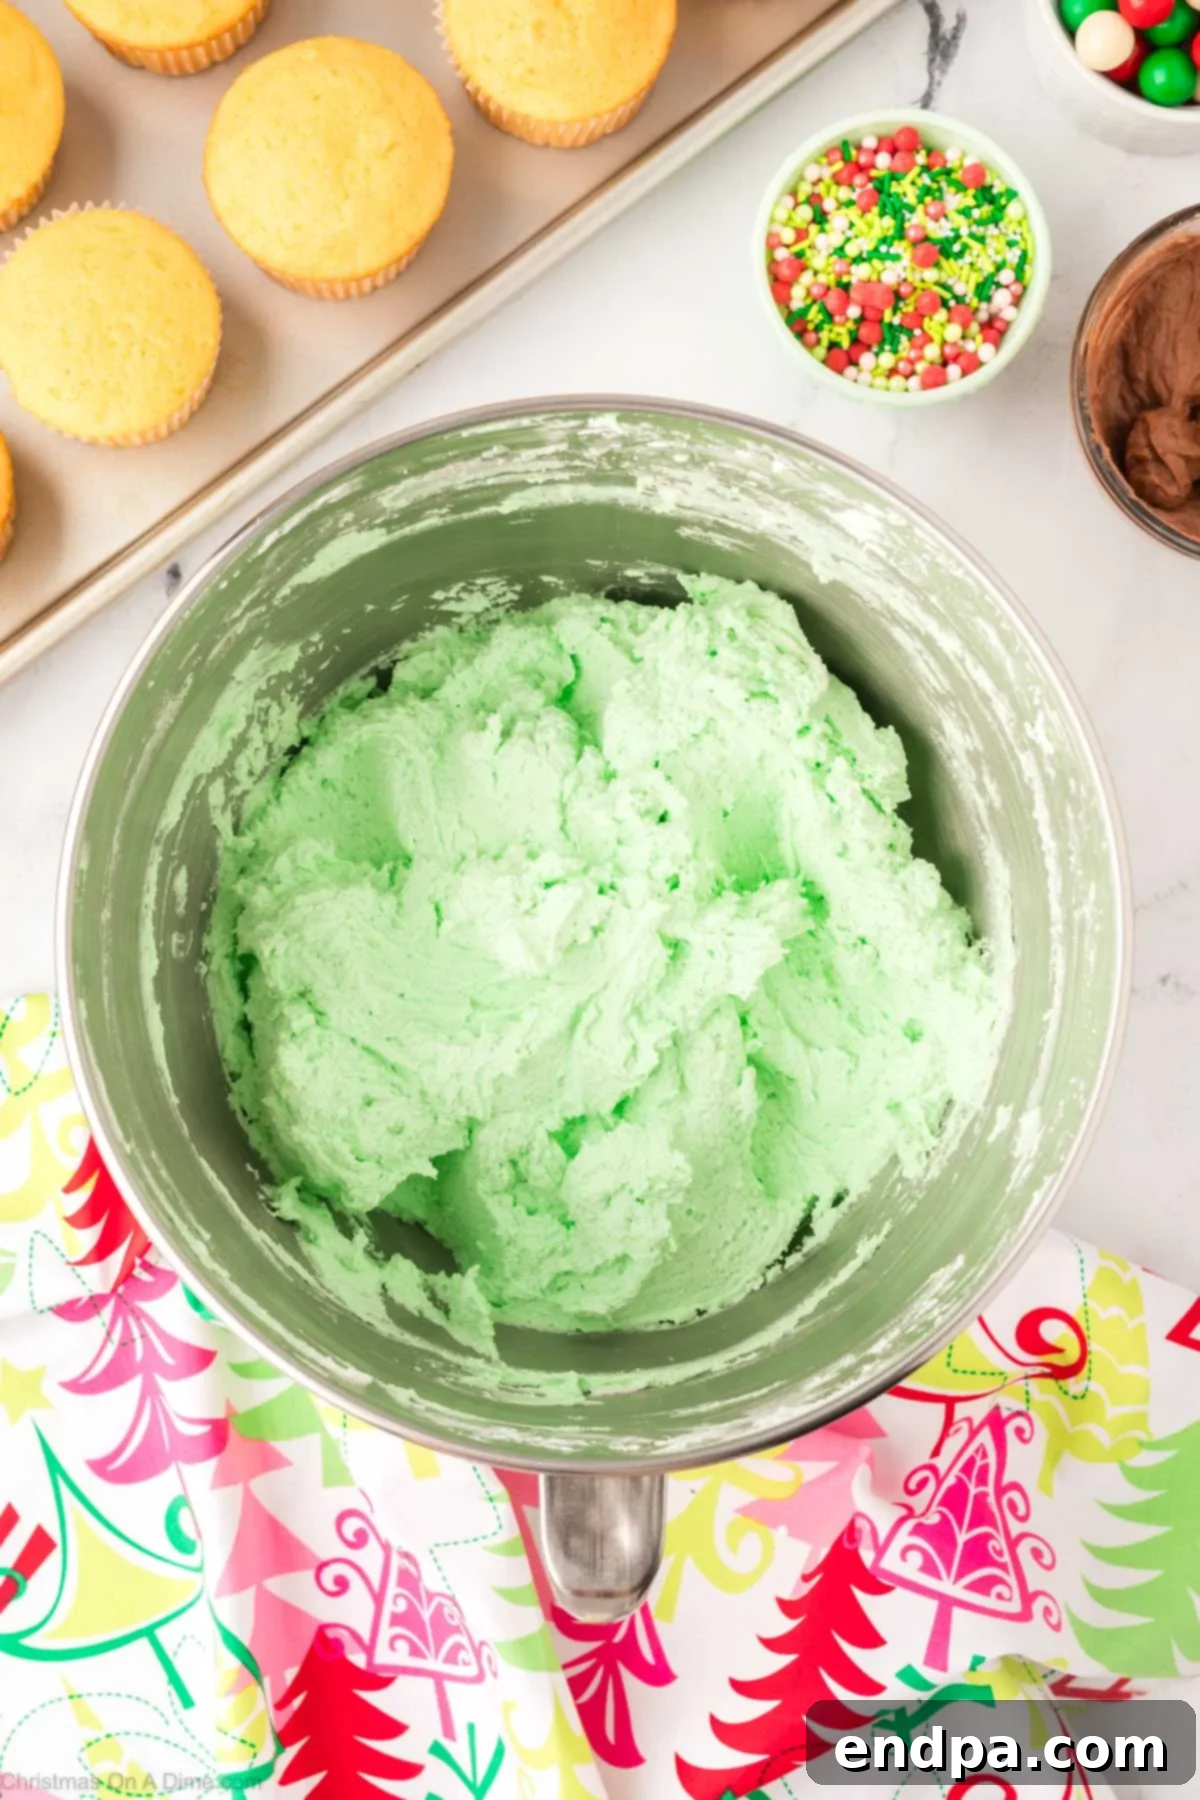
Step 6: Color the Green Frosting. Add green gel food coloring to the remaining larger batch of frosting in the stand mixer. Mix on low speed, gradually adding more coloring until you reach your desired shade of festive green. Gel coloring provides a vibrant hue without altering the frosting’s perfect consistency.
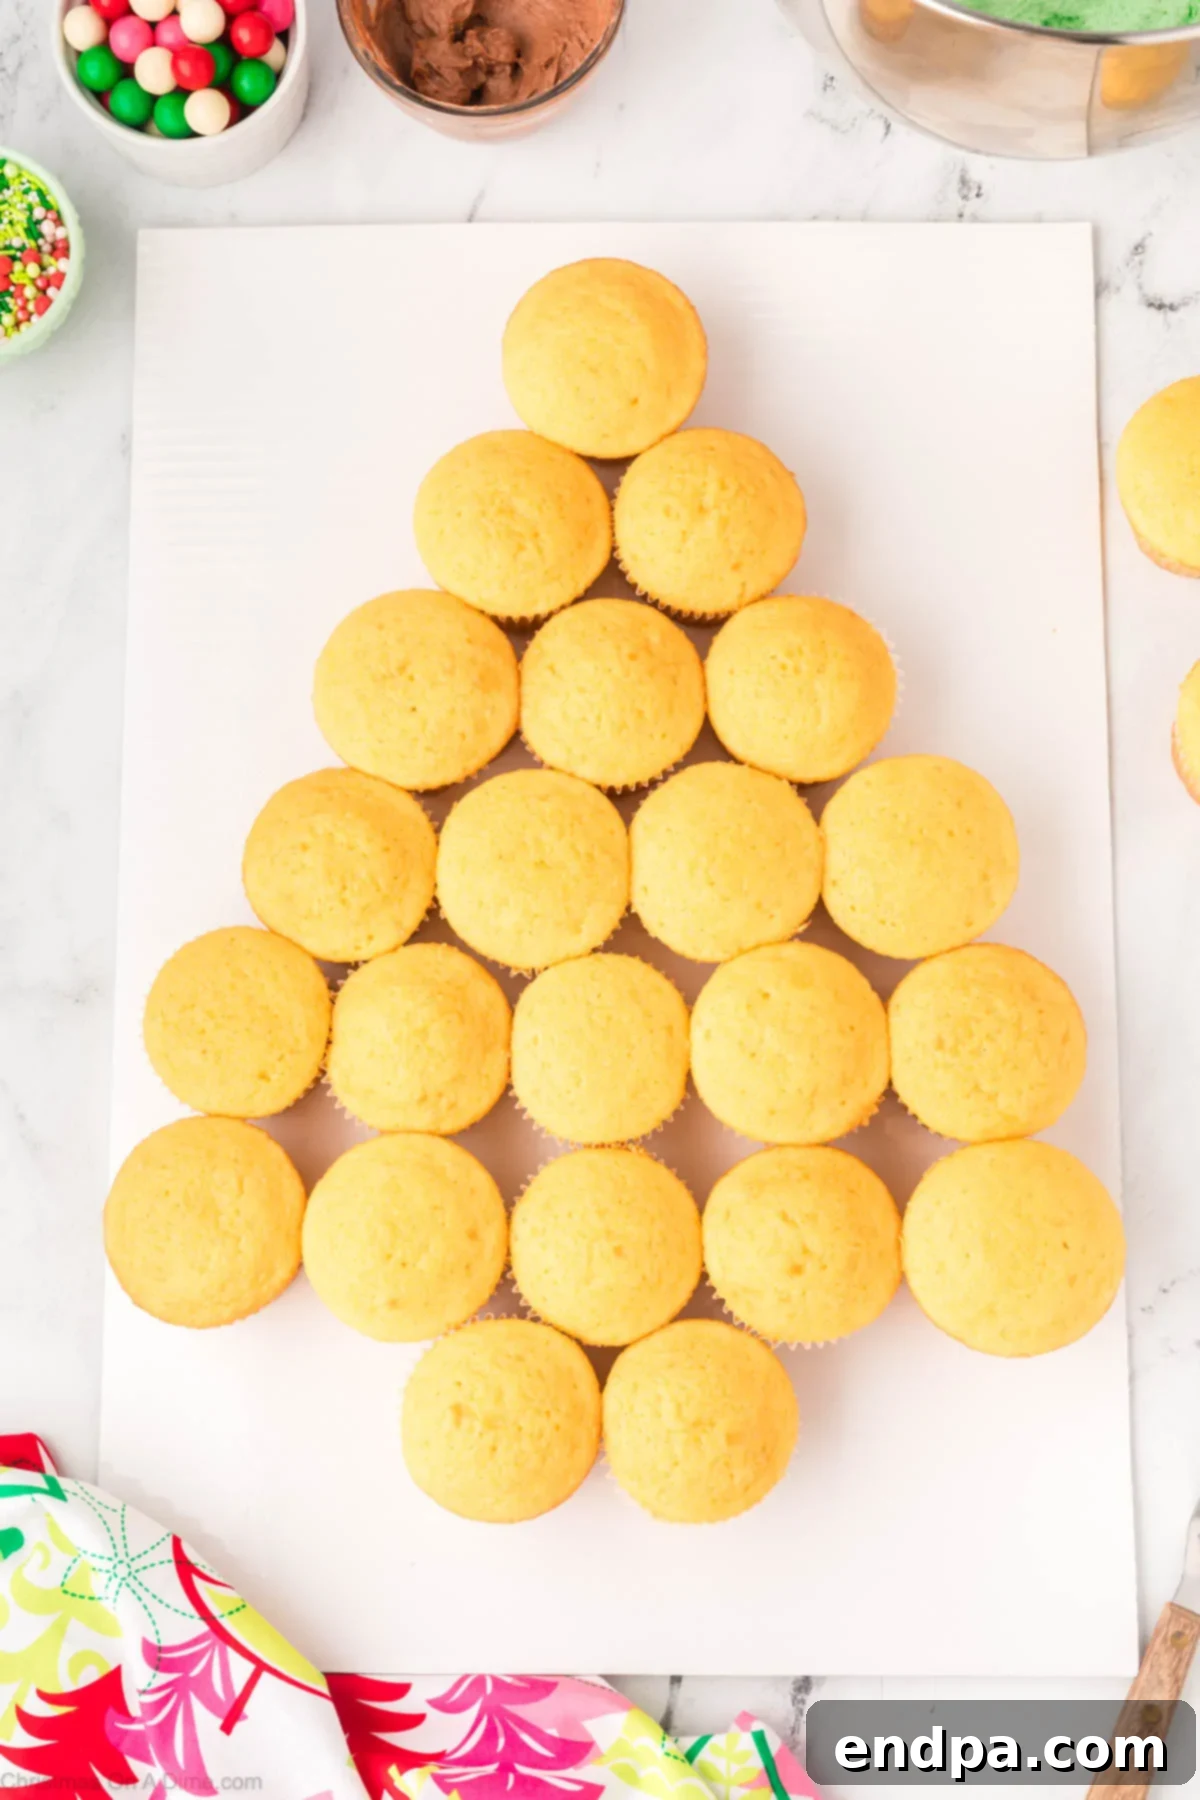
Step 7: Arrange the Cupcakes. On a large platter or serving board, carefully arrange your cooled cupcakes in the shape of a Christmas tree. Start with two cupcakes at the bottom for the trunk, then build up the layers, tapering them to form a tree shape. A common pattern is 2, 4, 5, 4, 3, 2, 1 (from bottom to top layers for a full tree, adjust based on desired size and number of cupcakes).
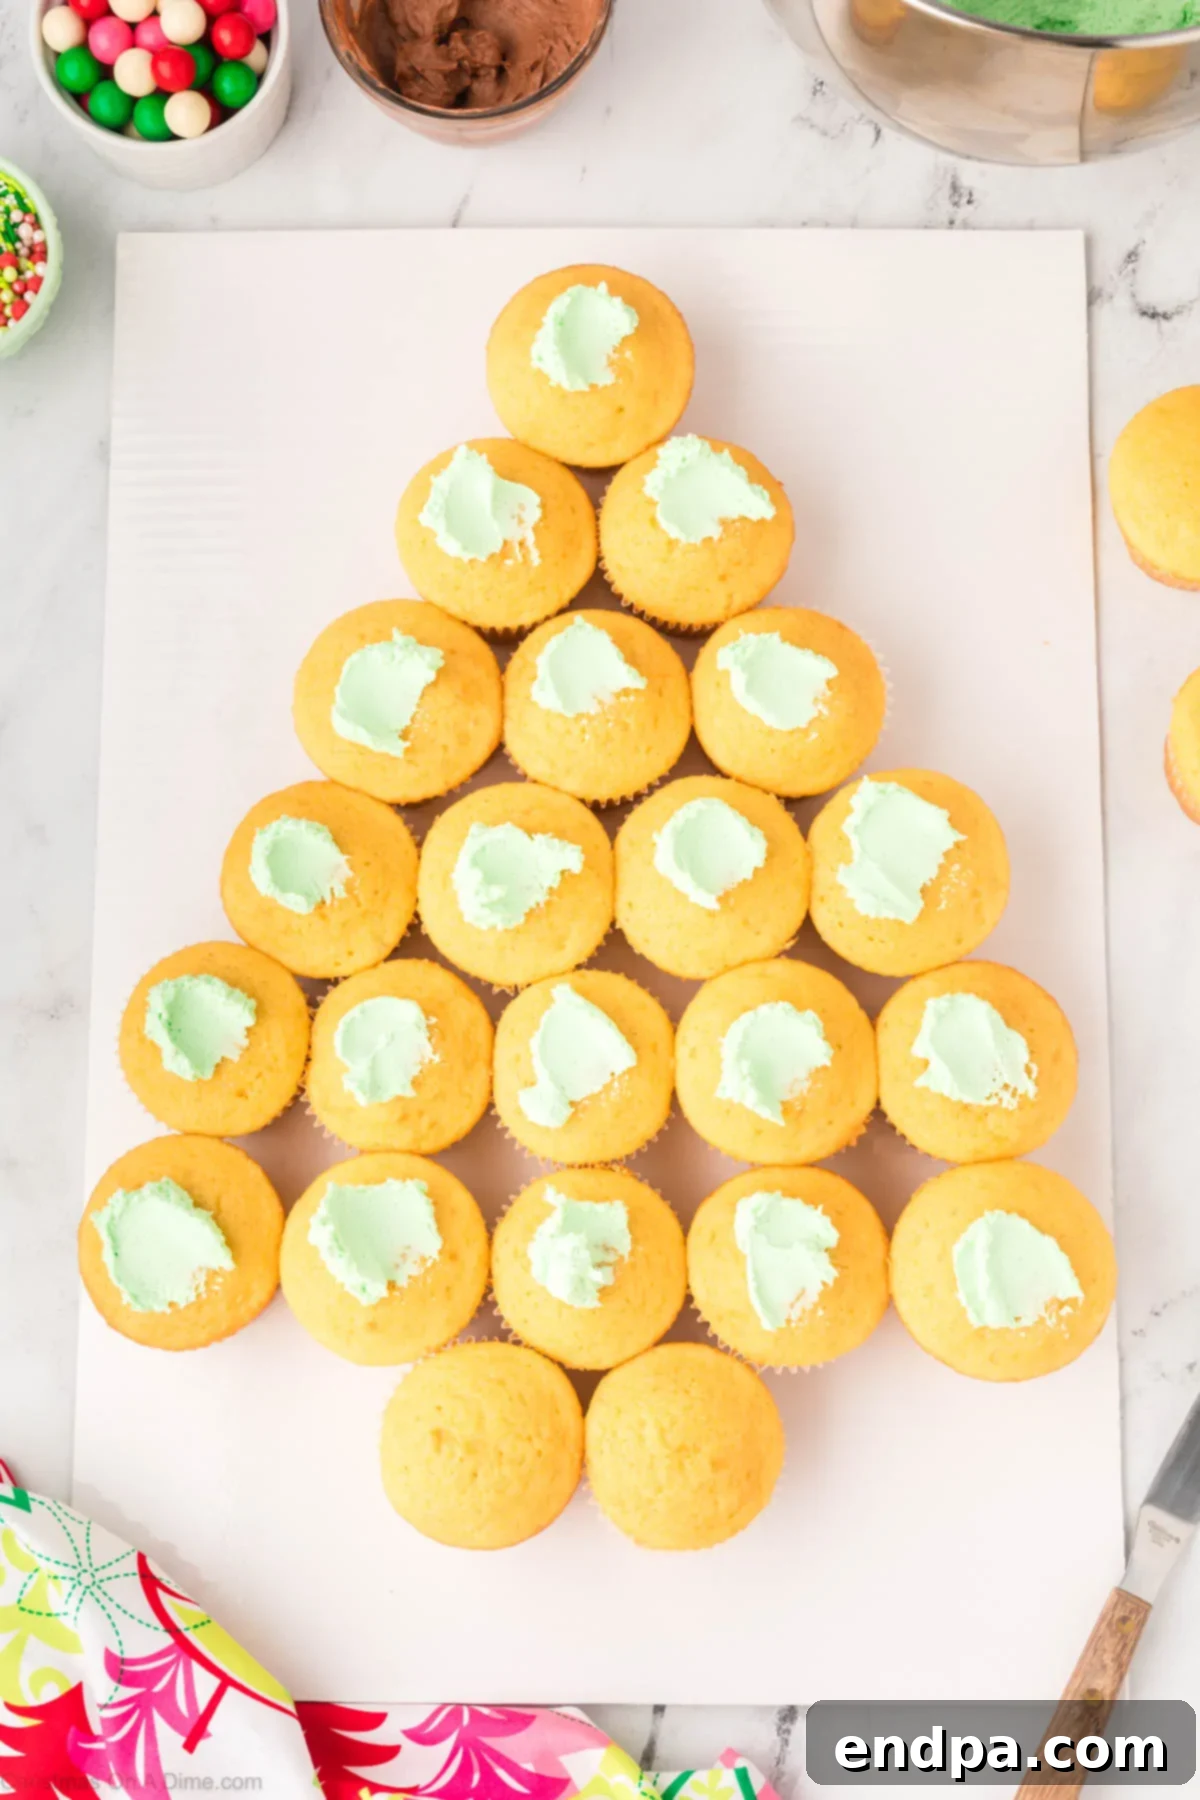
Step 8: Apply the First Layer of Green Frosting. Place a generous dollop of the green buttercream frosting on each cupcake that forms the main body of the tree (all except the two trunk cupcakes). This initial layer will serve as a foundation.
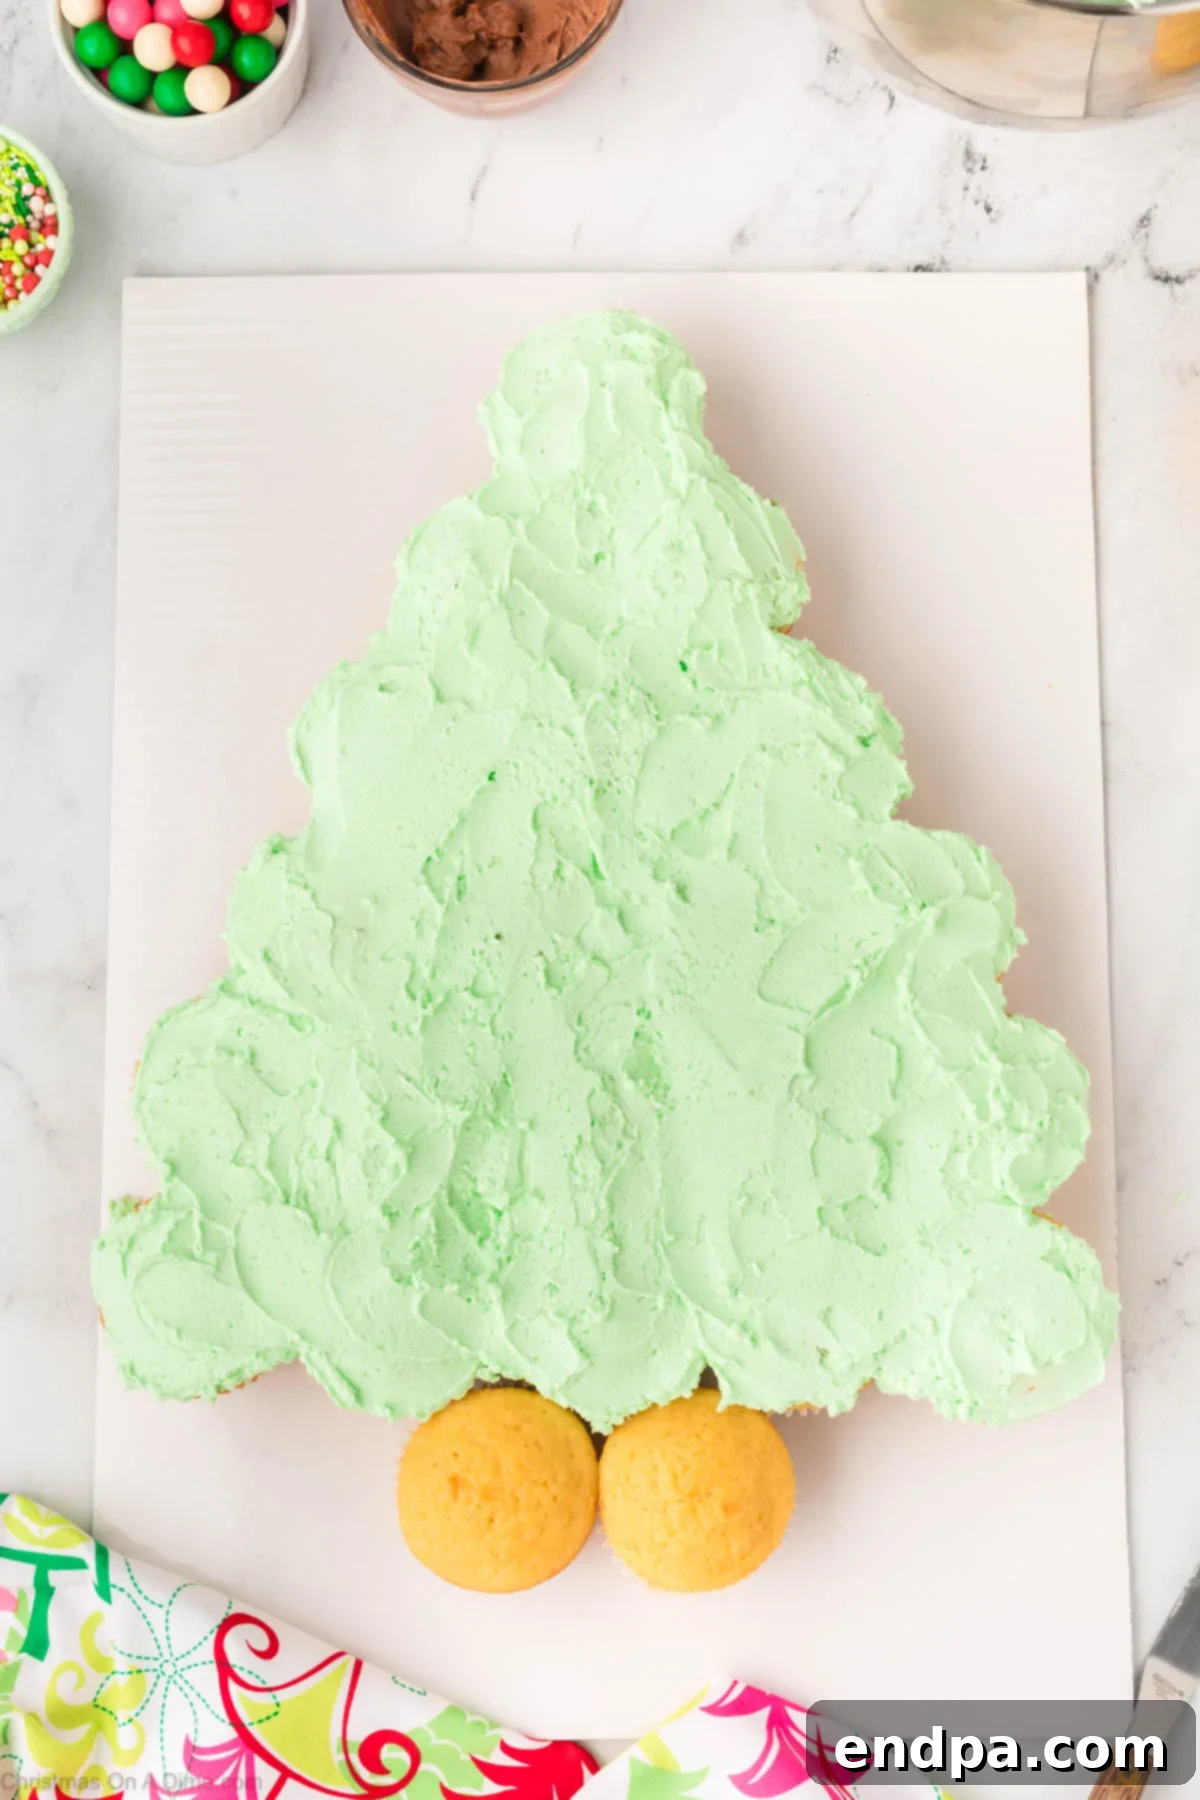
Step 9: Smooth the Green Frosting. Using an angled spatula or a butter knife, gently spread the green frosting evenly across all the “tree” cupcakes. The goal here is to create a seamless surface, making the individual cupcakes appear as one cohesive Christmas tree cake. Don’t worry about perfection; any slight imperfections will be covered in the next step.
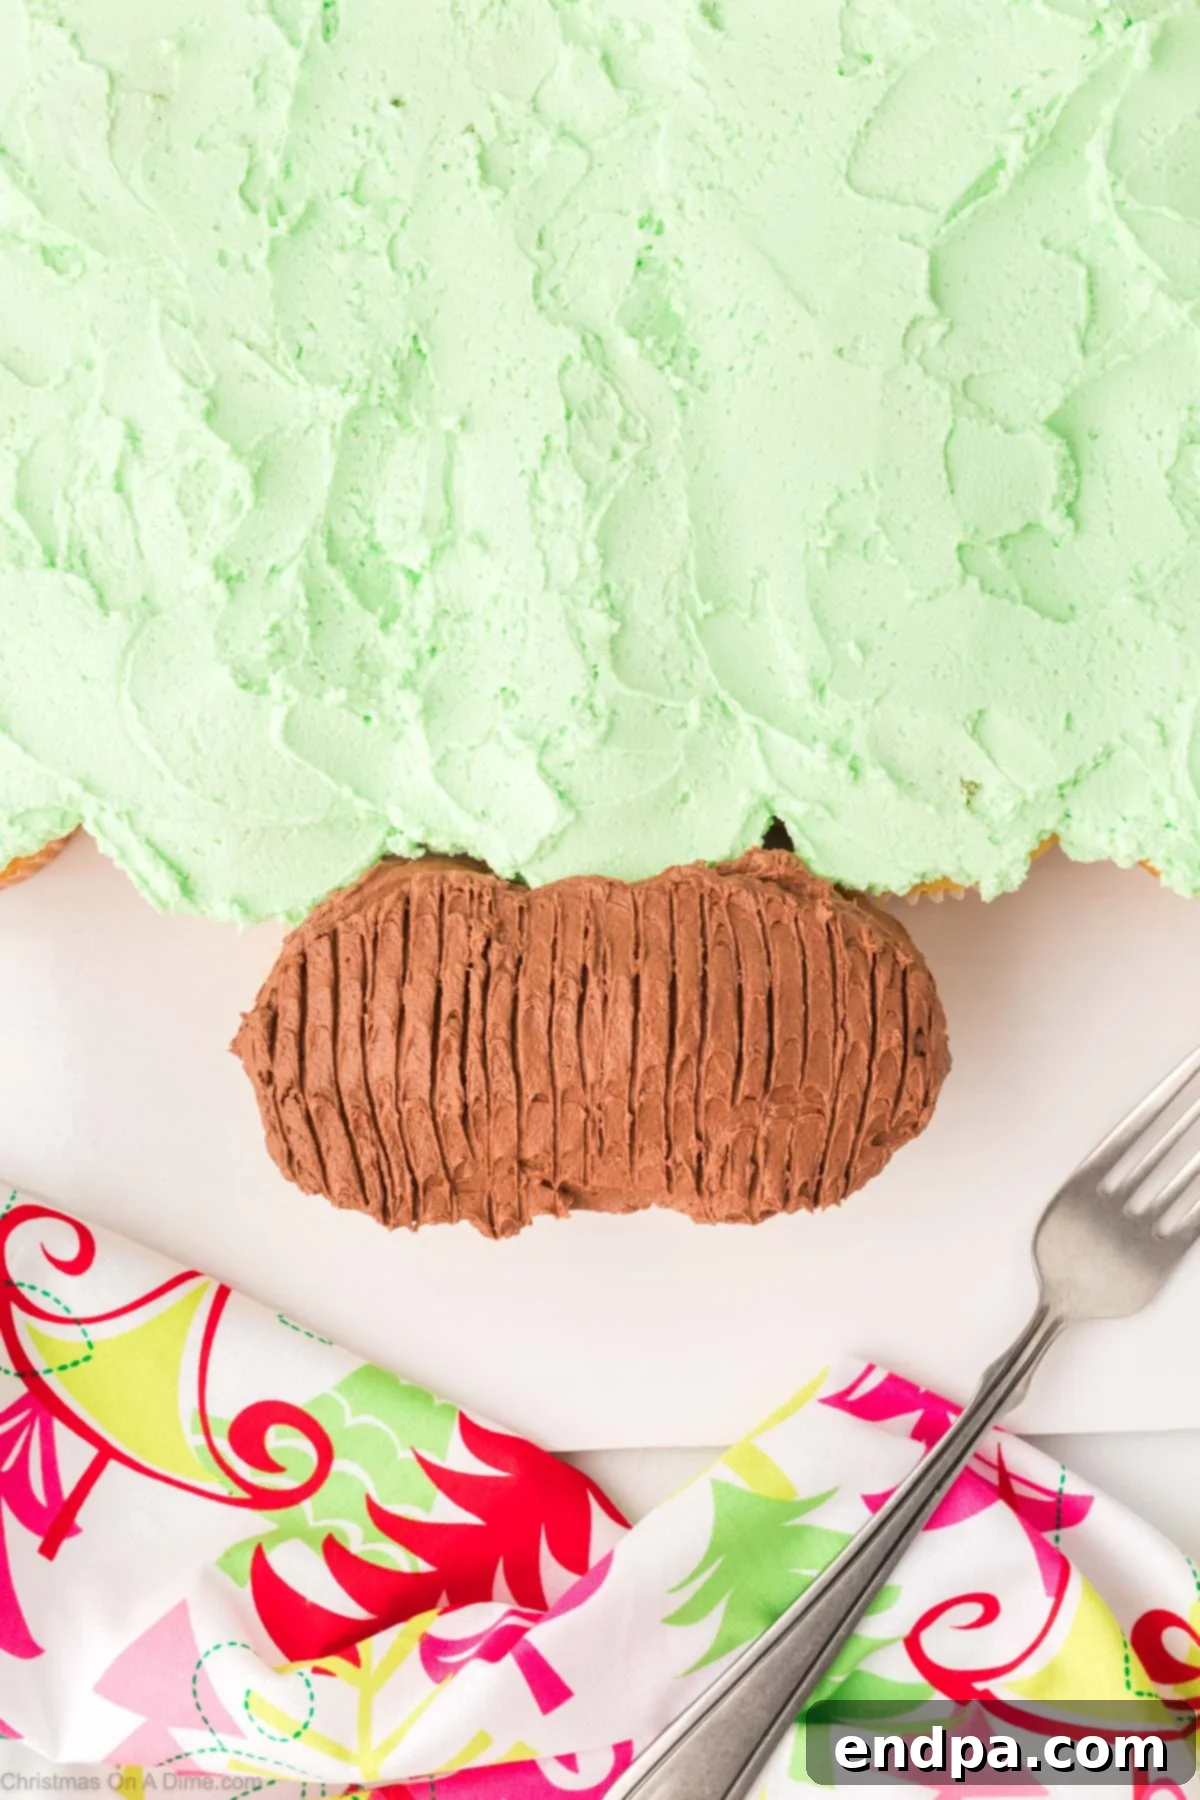
Step 10: Create the Tree Trunk. Spread the brown cocoa frosting onto the two bottom cupcakes designated for the trunk. To add a realistic touch, use the tines of a fork to create downward strokes, mimicking the rough texture of a tree stump or bark. This small detail adds wonderful depth to your design.
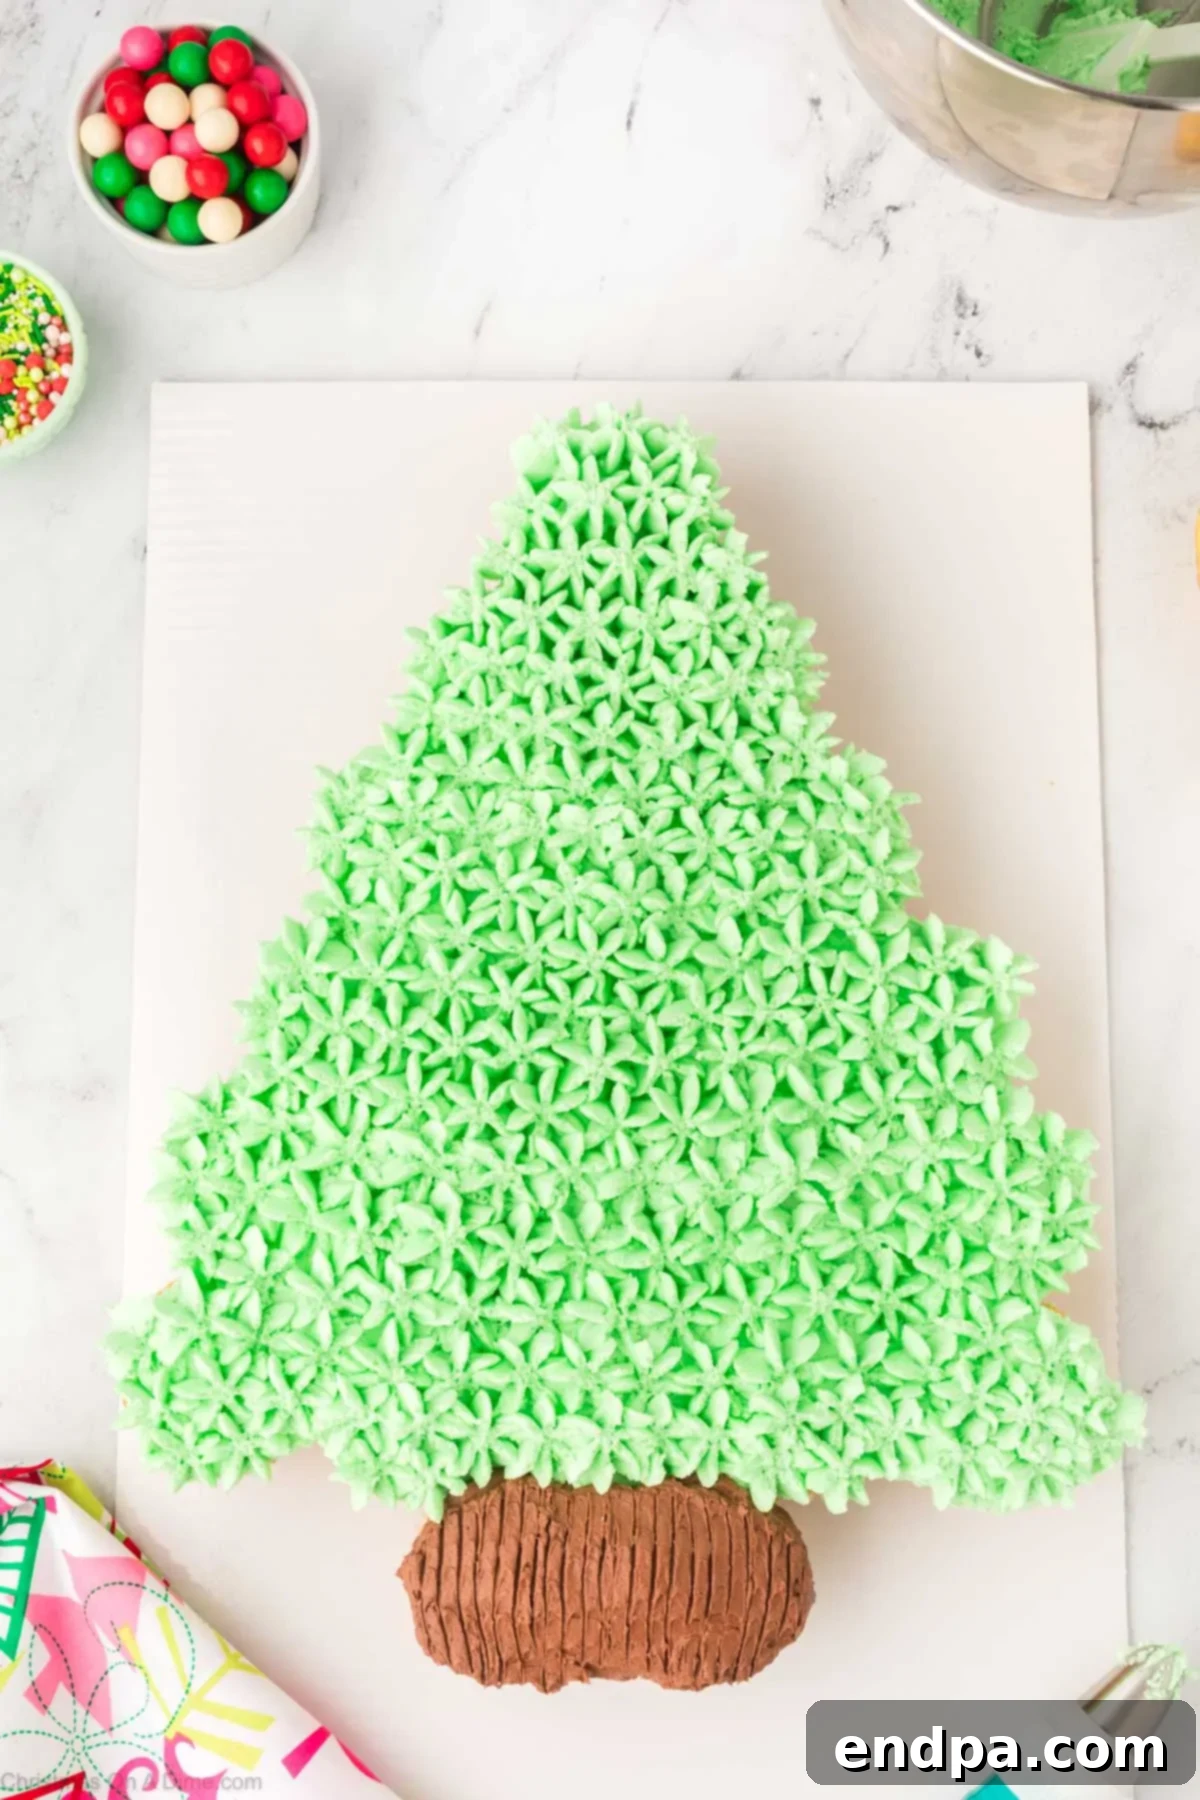
Step 11: Pipe the Festive Detail. Transfer the remaining green frosting into a piping bag fitted with a large star tip (like Wilton 1M or 21). Now, it’s time to pipe decorative stars or rosettes over all the green-frosted cupcakes. Pipe them close together, ensuring there are no visible gaps between the stars or the cupcakes, making it look like a seamless, lush Christmas tree. This step adds texture and volume, truly bringing the tree to life.
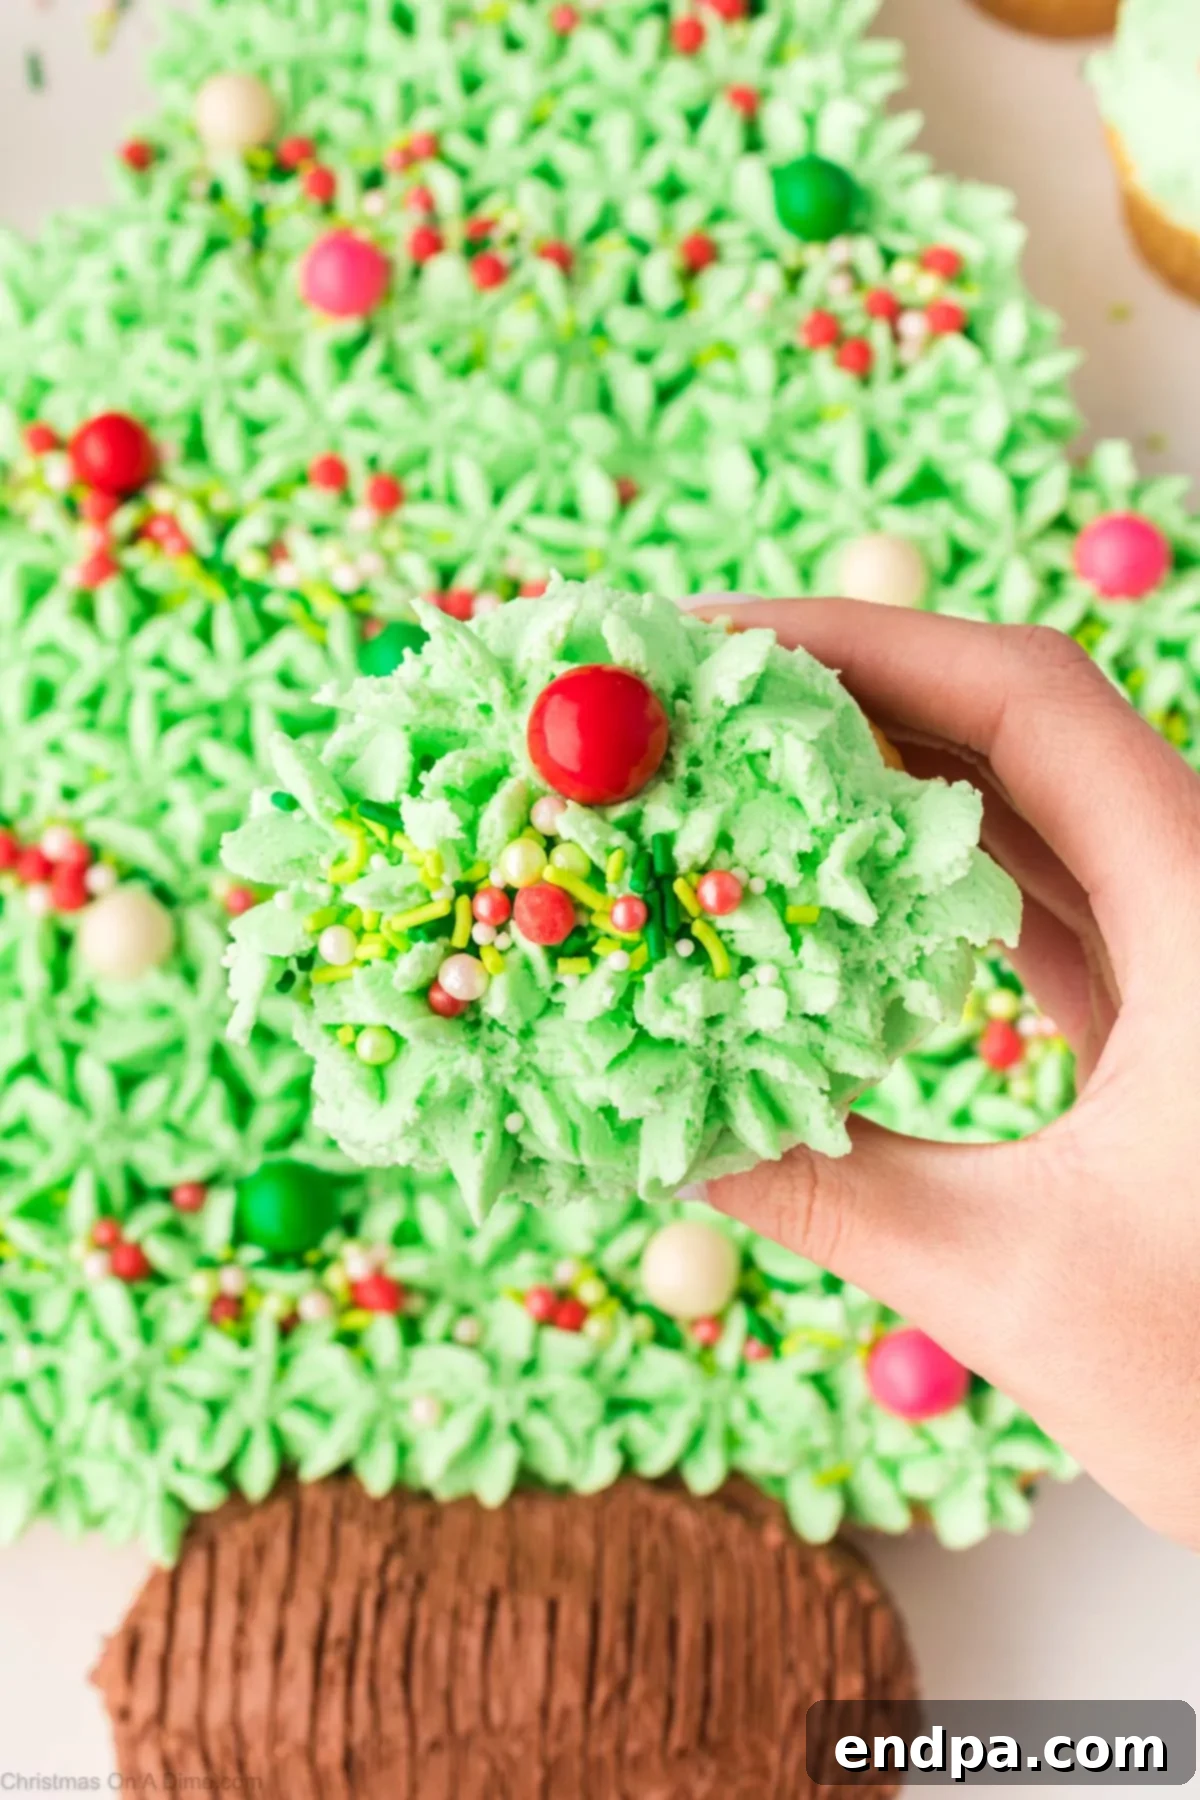
Step 12: Decorate and Serve. The final touch! Generously adorn your Christmas tree with an assortment of Christmas sprinkles, transforming them into colorful ornaments. For extra precision, you can use tweezers to place larger sprinkles. Once decorated, refrigerate the cupcake cake until you are ready to serve. This helps the frosting set. When serving, guests can simply pull apart individual cupcakes, making for an easy and interactive dessert experience!
Storage Tips
Proper storage is essential to keep your Christmas Tree Cupcake Cake fresh and delicious for as long as possible. Here’s how to best store it:
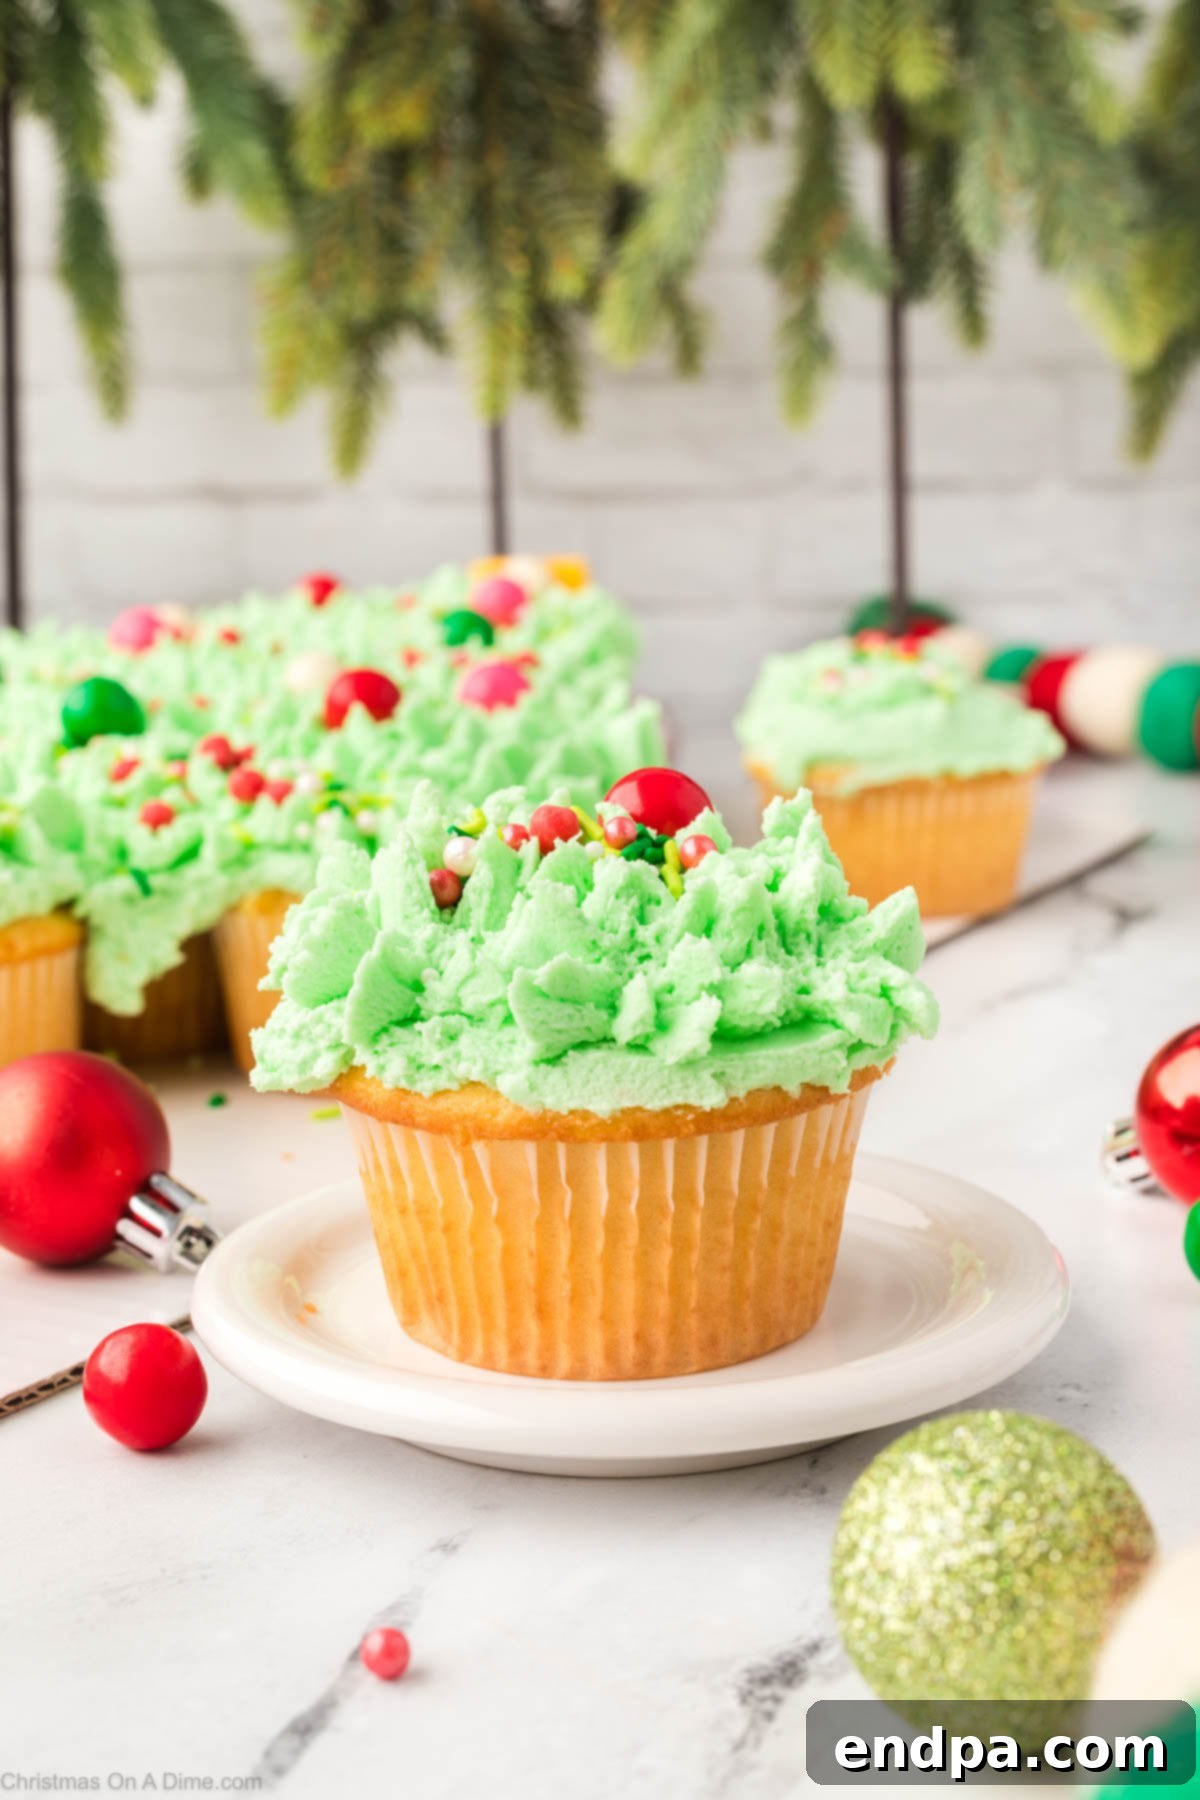
- Room Temperature: If your environment is cool (below 70°F or 21°C) and not humid, the assembled cupcake cake can be stored covered at room temperature for up to 2 days. Make sure it’s kept in an airtight container to prevent drying out and absorb any ambient odors.
- Refrigerator: For longer freshness, particularly if your kitchen is warm or humid, keep the cupcake cake in an airtight container in the refrigerator for up to 4 days. Before serving, allow it to come to room temperature for at least 30-60 minutes. This will ensure the frosting is soft and the cupcakes are moist, providing the best flavor and texture.
- Freezer: For extended storage, it’s best to freeze unfrosted cupcakes. Once completely cooled, wrap each cupcake individually in plastic wrap, then place them in an airtight freezer bag or container. They can be frozen for up to 2 months. Thaw them overnight in the refrigerator, then decorate and assemble your Christmas tree cake just before serving.
Baking Master Tips
Achieving a perfect Christmas Tree Cupcake Cake is easy with these expert tips:
- Choose Gel Food Coloring: Always opt for gel food coloring over liquid versions. Gel colors are highly concentrated, allowing you to achieve vibrant green hues without significantly thinning out your buttercream frosting. This ensures your frosting holds its shape beautifully for piping.
- Assemble the Tree First: Before you even think about icing, arrange your cooled cupcakes on your serving platter in the desired Christmas tree shape. This crucial step helps visualize the final design and makes the frosting process much smoother and more efficient. It ensures all cupcakes are in their proper place before the messy work begins.
- Divide the Icing for Piping: If you’re piping intricate details or using a large quantity of frosting, consider dividing the green frosting into two smaller piping bags. The warmth from your hands can cause the frosting in the bag to soften. By dividing it, you keep a portion cooler, maintaining its ideal consistency for longer and preventing it from becoming too soft to pipe effectively.
- Room Temperature Ingredients are Key: For the smoothest, most luxurious buttercream frosting, ensure your butter (or margarine) is at true room temperature. Softened butter creamed with shortening and sugar will combine effortlessly, resulting in a lighter, fluffier, and more consistent frosting texture that’s a dream to work with.
- Precision with Sprinkles: To achieve a truly polished look for your “ornaments,” use a pair of clean kitchen tweezers to carefully place individual sprinkles or larger decorative candies. This allows for precise placement and helps avoid a messy, haphazard appearance, making your tree truly sparkle.
- Festive Cupcake Liners: Enhance the overall presentation by using festive Christmas-themed cupcake liners. Whether they’re red, green, gold, or patterned with holiday designs, these small details add an extra layer of charm and holiday spirit to your Christmas Tree Cupcakes, even before they’re assembled.
- Don’t Overmix Frosting: While you want your frosting fluffy, overmixing can incorporate too much air, making it less stable or grainy. Beat just until light and creamy, following the timings in the instructions.
- Clean Edges for the Trunk: When applying the brown frosting for the trunk, use a small offset spatula or butter knife to create crisp, clean edges where the brown meets the green. This defines the trunk and enhances the tree shape.
Frequently Asked Questions (FAQ)
Transporting a large Christmas Tree Cupcake Cake can be a bit tricky since it’s typically larger than standard cake carriers. You’ll need to get a little creative if you’re taking it to holiday parties or gatherings. We recommend using a sturdy piece of cardboard, like a flattened moving box or a large cake board, as your base. Cover it beautifully with aluminum foil or festive Christmas wrapping paper to make it look special. Once the cake is assembled on this base, loosely and carefully cover the entire tree with plastic wrap or foil, ensuring it doesn’t touch and smudge the frosting. For added stability, you might place it in a large, flat box for the journey.
Yes, you can certainly prepare some components of this dessert in advance to save time on the day of your event. Both the frosting and the cupcakes can be made ahead. However, we highly recommend assembling and decorating the Christmas tree cupcake cake just before you are ready to serve it. This ensures the freshest taste and most appealing presentation.
The buttercream frosting can be prepared and stored in an airtight container in the refrigerator for up to 7 days, or even frozen for up to 2 months. When you’re ready to use it, let it come to room temperature and then re-whip it with a stand mixer until it’s light and fluffy again. A crucial tip: wait to add the green food coloring until just before assembly, as some colors can deepen or change slightly over time when stored.
The cupcakes can also be baked in advance and frozen for up to 2 months after they have cooled completely. Wrap each cooled cupcake individually in plastic wrap, then place them in a freezer-safe bag or container. When you need them, remove them from the freezer and allow them to thaw overnight in the refrigerator before decorating.
Absolutely! The beauty of this recipe is its versatility. The type of cupcake you use is entirely up to your preference, and the ideas are truly endless! You can use your favorite homemade cupcake recipe for a truly personal touch, or opt for a convenient boxed mix to save time. Both will yield delicious results.
For even more festive Christmas cupcake variations, consider using different flavors. Some of our favorites include rich Red Velvet Cupcakes, charming Green Velvet Cupcakes for an extra pop of color, or classic Chocolate Cupcakes for a deeply satisfying treat. Experiment with different flavors to find your perfect holiday combination!
More Irresistible Festive Desserts
If you’re looking for more delicious treats to complete your holiday menu, explore these other delightful festive desserts:
- Christmas Dirt Cups
- Christmas Tree Brownies
- Christmas Rice Krispie Treats
- Reindeer Brownies
Now it’s your turn to create this spectacular Cupcake Christmas Tree! We’re confident it will bring smiles and holiday cheer to your home. Once you’ve whipped up this festive masterpiece, we’d love to hear about your experience. Please leave a comment and a star rating below. Your feedback helps us and other home bakers find the best recipes!
Christmas Tree Cupcake Cake Recipe Card
Christmas Tree Cupcake Cake
Transform a batch of cupcakes into a festive Christmas Tree Cupcake Cake. It’s easy to decorate, fun to serve and sure to be a hit.
Cook Time: 20 mins
Assembling: 20 mins
Total Time: 40 mins
Servings: 24
Cuisine: American
Course: Dessert
Calories: 400
Author: Carrie Barnard
Ingredients
For the Cupcake Cake:
- 24 vanilla cupcakes (cooked and cooled)
- Sprinkles (any festive Christmas variety)
For the Frosting:
- ¾ cup solid vegetable shortening
- ¾ cup (1 stick) butter or margarine, softened
- 2 teaspoon clear vanilla extract
- 6 cups sifted confectioners’ sugar
- 2 tablespoons milk
- Green gel food coloring
- 2-3 teaspoons cocoa powder
Instructions
- Prepare Cupcakes: Prepare a batch of at least 24 cupcakes and cool them completely on a wire rack.
For the Frosting:
- Whip Fat: Using a stand mixer with the paddle attachment, whip the softened butter and vegetable shortening for 5-7 minutes. Scrape down the bowl occasionally, beating until the mixture is very fluffy and light.
- Add Sugar & Vanilla (First Batch): Add 3 cups of sifted powdered sugar and mix on low speed until fully incorporated. Then add the clear vanilla extract and mix to combine. Beat for about 60 seconds.
- Add Sugar (Second Batch): Next, add an additional 2 cups of powdered sugar and beat on low speed until the sugar is incorporated. Increase speed to medium-high and beat for 3 minutes to aerate the frosting.
- Add Final Sugar & Milk: Add the last 1 cup of powdered sugar along with 2 tablespoons of milk.
- Mix to Combine: Beat on low speed until the ingredients start to mix together and form a cohesive frosting.
- Whip for Fluffiness: Increase speed to medium-high and beat for another 3-5 minutes to whip additional air into the frosting, making it extra light and fluffy.
- Separate and Color Brown: Separate out ¼ cup of the finished white frosting into a small bowl. Mix in 2-3 teaspoons of cocoa powder until well combined and a deep brown color is achieved. If too stiff, add 1 teaspoon of milk to help blend.
- Color Green: Dye the rest of the remaining frosting green using gel food coloring, mixing until you reach your desired festive shade.
Assemble the Christmas Tree:
- Arrange Cupcakes: On a large platter or cake board, arrange your cooled cupcakes in the shape of a Christmas tree. Place two cupcakes at the very bottom for the trunk.
- First Green Frosting Layer: For all the “tree” cupcakes (all except the trunk), place a small dollop of green frosting on each. Spread this frosting evenly across the cupcakes with an angled spatula, trying to make them look like one continuous cake surface.
- Frost the Trunk: For the two bottom trunk cupcakes, spread the brown frosting evenly. Then, use a fork to create downward strokes, giving it the rough texture of tree bark.
- Pipe Details: Transfer the remaining green frosting into a piping bag fitted with a large star tip. Pipe large stars or rosettes over all the green-frosted cupcakes, ensuring to fill in all the gaps. The goal is for the piped frosting to cover the entire tree surface, making it look like a cohesive cake.
- Decorate with Sprinkles: Top your beautiful Christmas tree with an assortment of Christmas sprinkles to resemble festive ornaments.
- Chill and Serve: Refrigerate the assembled cupcake cake until ready to serve. This helps the frosting set. When serving, allow guests to pull apart individual cupcakes to enjoy the delicious treat.
Nutrition Facts
Calories: 400kcal, Carbohydrates: 55g, Protein: 2g, Fat: 20g, Saturated Fat: 7g, Polyunsaturated Fat: 4g, Monounsaturated Fat: 8g, Trans Fat: 1g, Cholesterol: 16mg, Sodium: 188mg, Potassium: 47mg, Fiber: 0.4g, Sugar: 45g, Vitamin A: 202IU, Vitamin C: 0.1mg, Calcium: 60mg, Iron: 1mg
