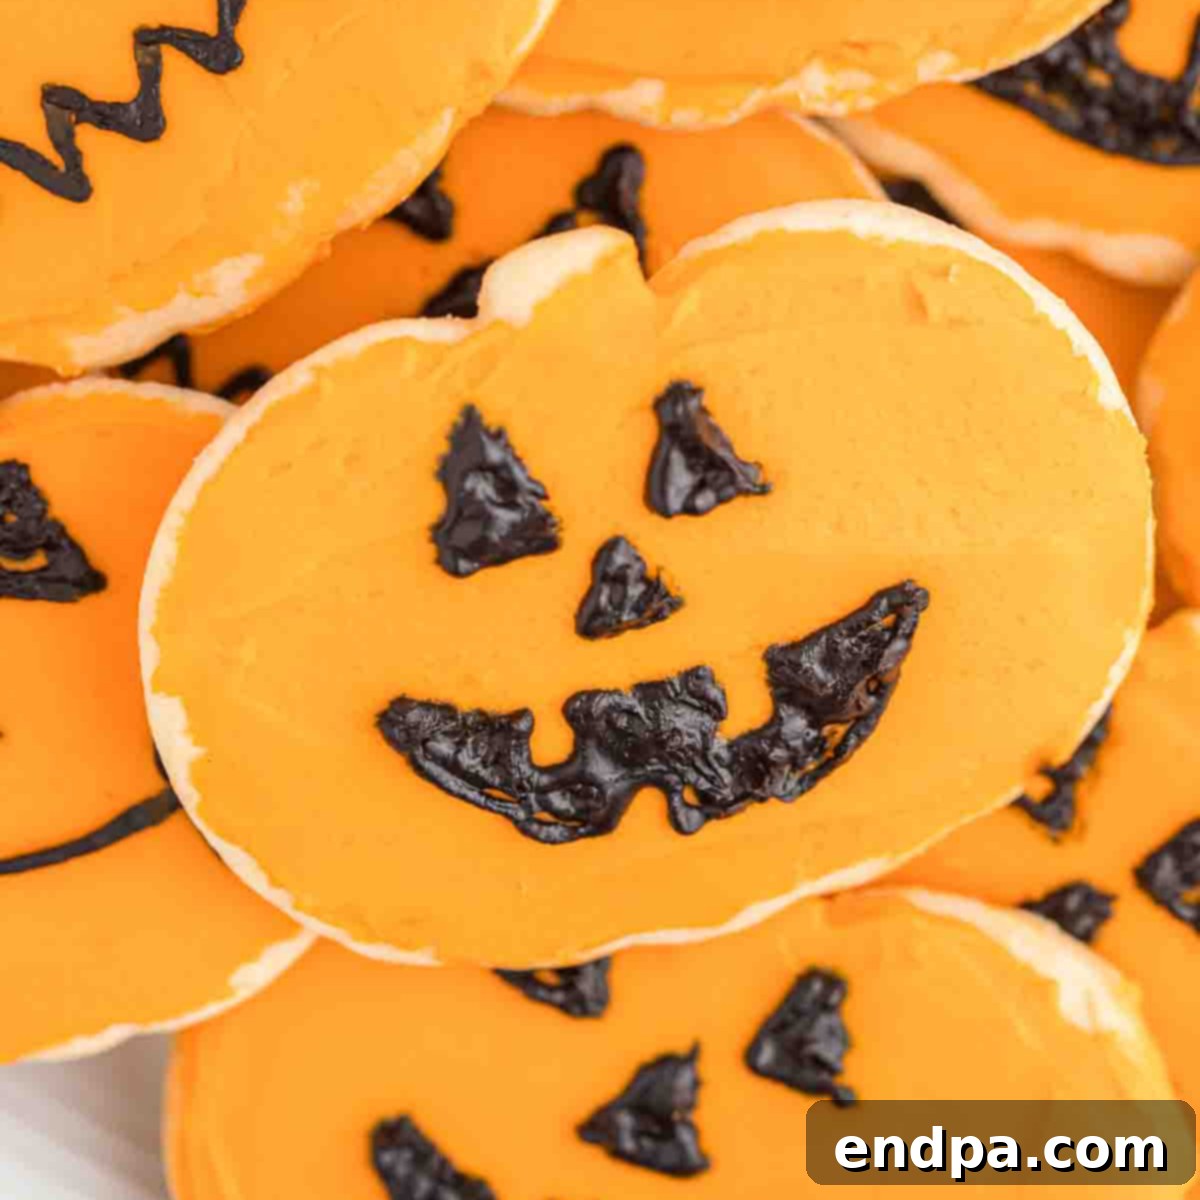
Spooktacular Halloween Sugar Cookie Recipe: Easy & Fun to Decorate!
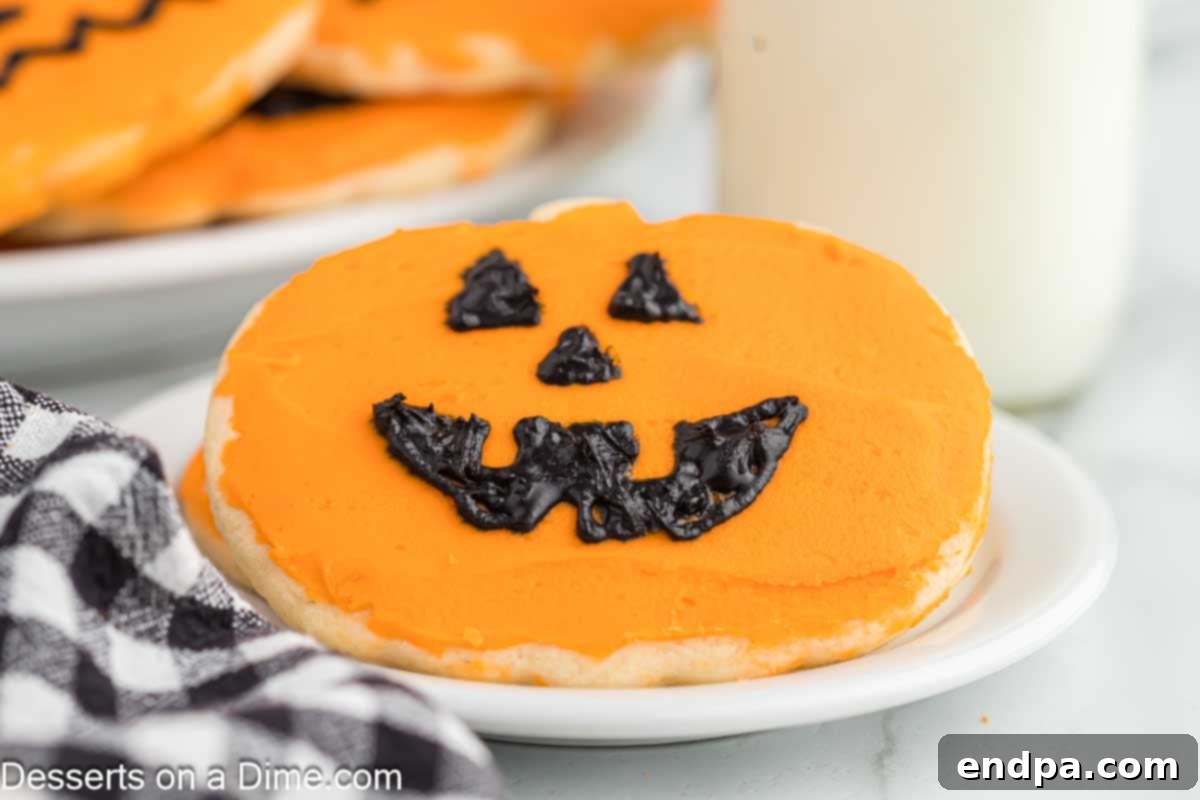
Celebrate the most enchanting time of the year with our irresistibly easy and delightful Halloween Sugar Cookie Recipe! These soft, buttery, and wonderfully sweet cookies are the perfect canvas for your spooky season creativity. Whether you’re planning a ghoulishly good Halloween party, looking for unique homemade treats to gift, or simply want a fun baking activity with the kids, these decorated sugar cookies are guaranteed to bring smiles and deliciousness to everyone. Forget bland and crumbly cookies; our recipe ensures each bite is tender, flavorful, and holds its shape beautifully for intricate decorating with vibrant icing and fun sprinkles.
There’s something truly magical about homemade treats during the fall, and these Halloween sugar cookies capture that spirit perfectly. Imagine the joy of cutting out festive shapes, from classic pumpkins and ghosts to playful bats and spooky spiders, and then bringing them to life with colorful frosting. This recipe isn’t just about baking; it’s about creating memories and adding a personal touch to your holiday celebrations. They are incredibly versatile, making them ideal for school parties, neighborhood trick-or-treaters, or simply enjoying a cozy autumn evening at home.
If you love to get creative in the kitchen for Halloween, you might also enjoy these other festive treats: Halloween Cake Pop Recipes, Spider Web Cupcakes, The Best Monster Cupcakes Recipe, and Monster Donuts. And don’t forget to prepare for the upcoming holidays with a batch of delicious Thanksgiving Sugar Cookies!
Table of contents
- Why We Love This Recipe
- Ingredients
- Cookies
- Frosting
- Variations for Creative Decorating
- Step-by-Step Instructions: Crafting Your Spooky Sugar Cookies
- Mastering Your Halloween Sugar Cookies: Expert Tips & Tricks
- Storing Your Delicious Halloween Sugar Cookies
- Beyond Sugar Cookies: More Spooky Sweet Treats
- Frequently Asked Questions (FAQ)
- Essential Tools You’ll Need
Why We Love This Recipe: A Must-Bake This Halloween
Our Halloween sugar cookie recipe isn’t just another dessert; it’s a delightful experience waiting to happen. Here’s why these cookies will quickly become your favorite spooky season tradition:
- Effortlessly Fun to Decorate – The cookie dough is specially formulated to maintain its shape during baking, meaning your intricate pumpkin, ghost, or bat cutouts will look exactly as intended. This makes them perfect for applying vibrant, colorful icing and an array of sprinkles, turning each cookie into a miniature work of art. It’s an ideal canvas for unleashing your inner pastry artist or simply enjoying simple, festive designs.
- Incredibly Soft and Buttery Texture – Say goodbye to dry, hard sugar cookies! This recipe yields a consistently tender, melt-in-your-mouth texture that is rich with buttery flavor and balanced sweetness. They are a true indulgence, ensuring every bite is as delicious as it is visually appealing.
- A Perfect Kid-Friendly Baking Project – Involving children in the kitchen creates lasting memories, and these cookies are tailor-made for little hands. Kids will absolutely adore pressing out shapes with their favorite cookie cutters and, of course, the highlight: decorating with copious amounts of icing and sprinkles. It’s a fantastic way to engage them in holiday preparations.
- Ideal for Halloween Parties & Festive Gatherings – Whether you’re hosting a haunted house party, contributing to a school bake sale, or simply want to impress friends and neighbors with homemade goodies, these cookies are a crowd-pleaser. Their festive appearance and delightful taste make them a centerpiece at any Halloween event, eliciting “oohs” and “aahs” from all ages.
- Conveniently Make-Ahead Friendly – Planning for a holiday can be hectic, but this recipe offers flexibility. The cookie dough can be prepared in advance and refrigerated, allowing you to bake and decorate at your leisure. This ensures you have fresh, delicious cookies ready exactly when you need them, without the last-minute rush.
Essential Ingredients for Perfect Halloween Sugar Cookies
Crafting the perfect batch of Halloween sugar cookies starts with understanding the role each ingredient plays. Quality ingredients make a noticeable difference in the final taste and texture of your cookies.
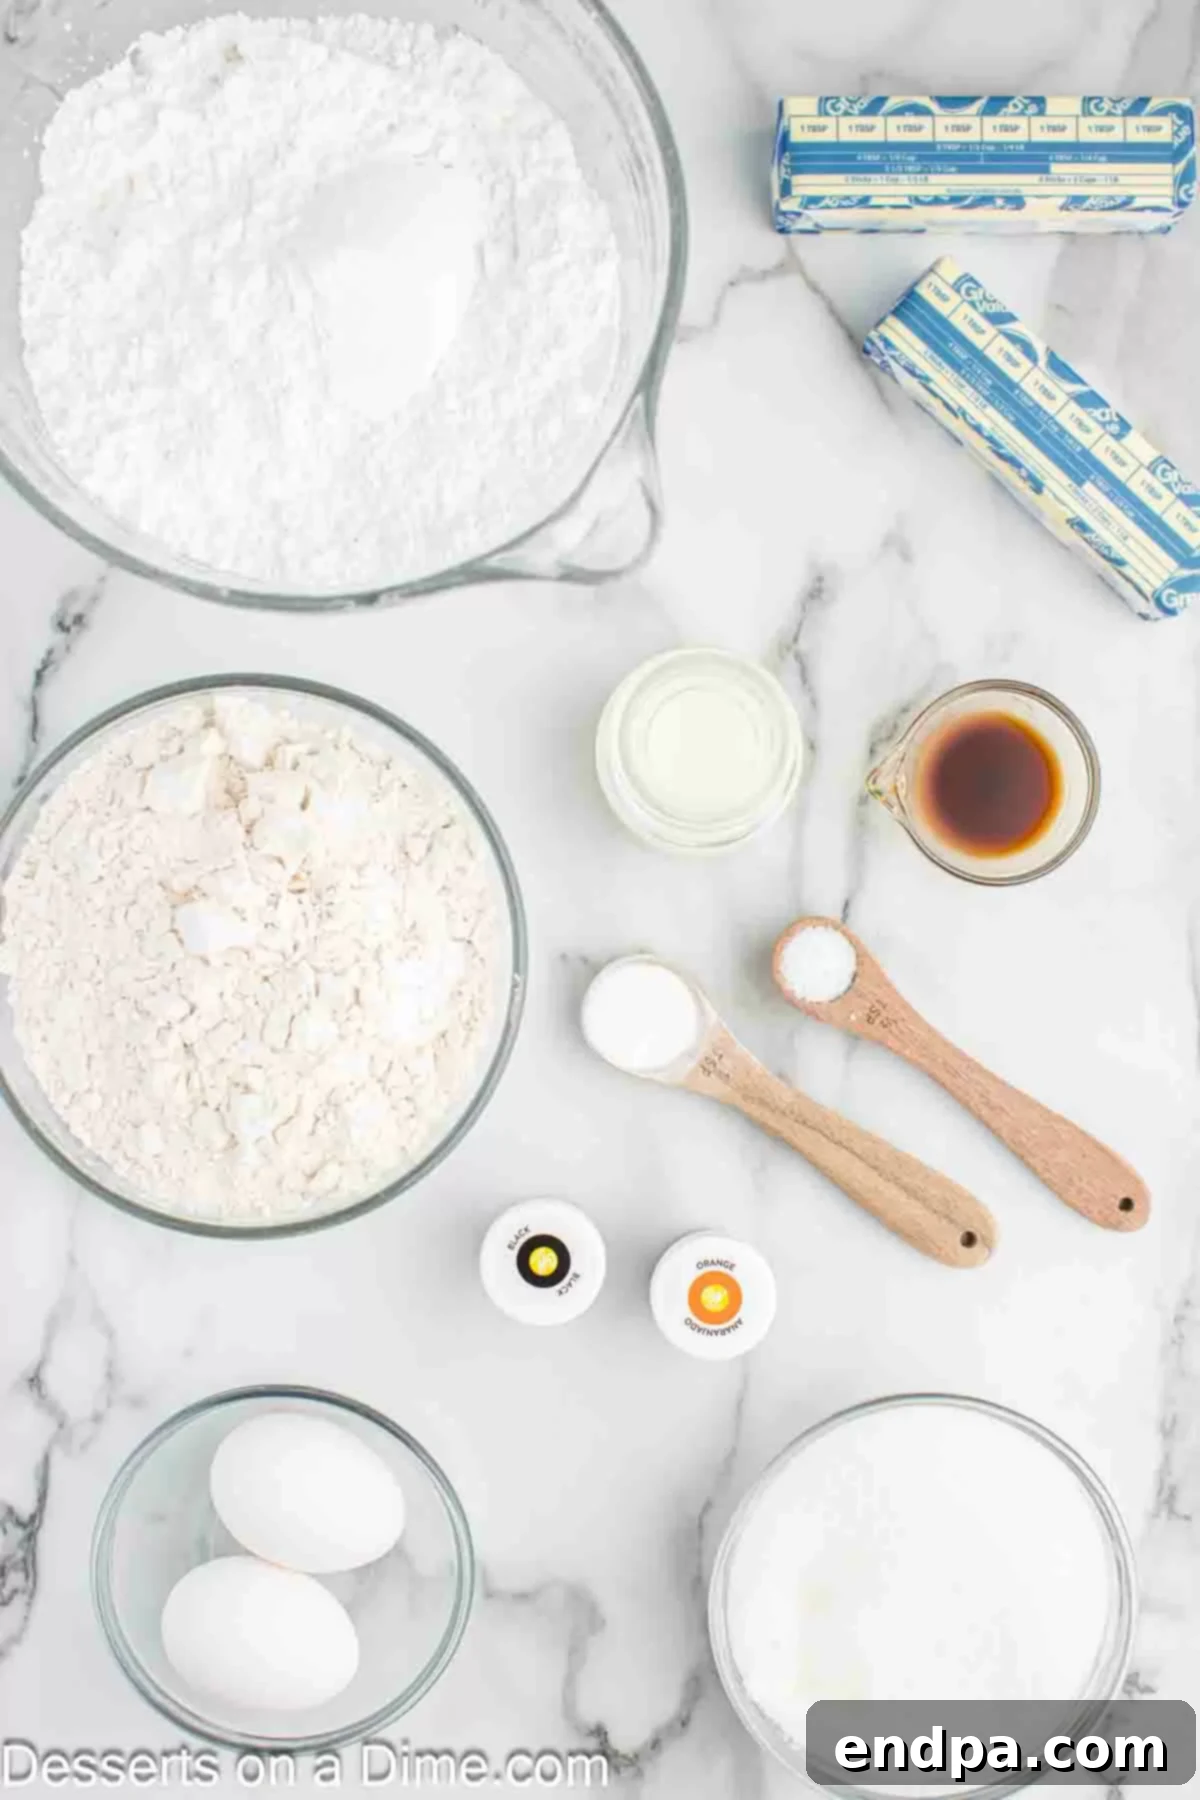
For the Cookies:
- All-Purpose Flour: This is the backbone of your cookie structure. Always use plain, all-purpose flour, not self-rising, to ensure proper consistency and to prevent the cookies from spreading too much.
- Baking Powder: A leavening agent that helps give the cookies a slight lift and tender crumb without causing them to puff up excessively and lose their shape.
- Salt: A pinch of salt is crucial for balancing the sweetness and enhancing the overall flavor profile of the cookies. Don’t skip it!
- Unsalted Butter: Softened to room temperature, butter provides richness, flavor, and helps achieve that wonderfully tender texture. Using unsalted butter allows you to control the total amount of salt in the recipe.
- Granulated Sugar: White granulated sugar sweetens the cookies and helps with crisping the edges while keeping the centers soft.
- Large Eggs: Eggs act as a binder, adding structure and moisture to the dough, ensuring your cookies are firm enough to decorate but still deliciously tender.
- Vanilla Extract: Pure vanilla extract is essential for a classic, comforting flavor. It complements the butter and sugar beautifully, adding depth to your sugar cookies.
For the Festive Frosting:
- Softened Butter: Just like for the cookies, softened butter is key for a smooth, creamy frosting. It forms the base of this delicious buttercream.
- Powdered Sugar (Confectioners’ Sugar): Sifted powdered sugar is vital for lump-free, silky smooth frosting. Its fine texture dissolves easily, creating a perfect consistency for decorating.
- Milk: Whole milk is recommended for a richer frosting, but any milk will work. It helps achieve the desired spreadable consistency. Add it gradually to avoid overly thin frosting.
- Vanilla Extract: Another touch of vanilla enhances the flavor of your frosting, making it as delicious as the cookies themselves.
- Orange Food Coloring: To get that iconic Halloween pumpkin color! Gel food coloring is often preferred for vibrant hues without thinning the frosting too much.
- Black Food Coloring: For creating spooky faces, stems, or intricate details on your orange pumpkins.
For precise measurements and a comprehensive recipe, please refer to the detailed recipe card at the bottom of this article.
Creative Variations to Elevate Your Halloween Treats
While our classic Halloween sugar cookies are fantastic on their own, don’t hesitate to experiment and add your own unique flair! These variations can make your cookie batch even more special and tailored to your festive vision:
- Royal Icing vs. Buttercream: Instead of the buttercream frosting, you can opt for royal icing for decorating. Royal icing dries hard, creating a smooth, professional finish that’s excellent for intricate piping and stacking cookies. It’s often favored for its precise detailing capabilities. Feel free to use either gel food coloring for intense colors or liquid food coloring for softer shades.
- Unleash Your Cookie Cutter Imagination: This versatile dough easily adapts to any shape you desire. While pumpkins are a Halloween staple, the options for cookie cutters are truly endless! Think ghosts, witches’ hats, black cats, bats, skulls, haunted houses, or even candy corn shapes. Mix and match for a diverse and exciting cookie platter.
- Sparkle and Sprinkles Galore: For a dazzling finish, generously top your cookies with sugar sprinkles or a festive mixture of Halloween-themed sprinkles. For best results, apply the sprinkles immediately after frosting with the orange icing, before it has a chance to set. This ensures they adhere firmly and don’t fall off.
- Fun Candy Faces: Get creative with edible candy for faces! Skip the black icing for the eyes and mouth, and instead use candy eyes for a playful, googly look. Green M&M’s or small pieces of green licorice can make perfect pumpkin stems. This adds another layer of texture and fun for kids.
- Spooky Sandwich Cookies: Take your Halloween sugar cookies to the next level by transforming them into delightful sandwich cookies. Simply pipe a generous layer of your favorite frosting (perhaps a cream cheese frosting or even a chocolate ganache) between two baked and cooled cookies. This creates a more substantial and indulgent treat.
- Flavor Boosters: A drop or two of almond extract or even a hint of maple extract can add a wonderful, unexpected twist to your cookie dough or frosting. Consider adding a small amount of orange zest to the cookie dough for a subtle citrus note.
Step-by-Step Instructions: Crafting Your Spooky Sugar Cookies
Follow these detailed steps to create your perfect batch of soft, buttery Halloween sugar cookies, ready for festive decorating.
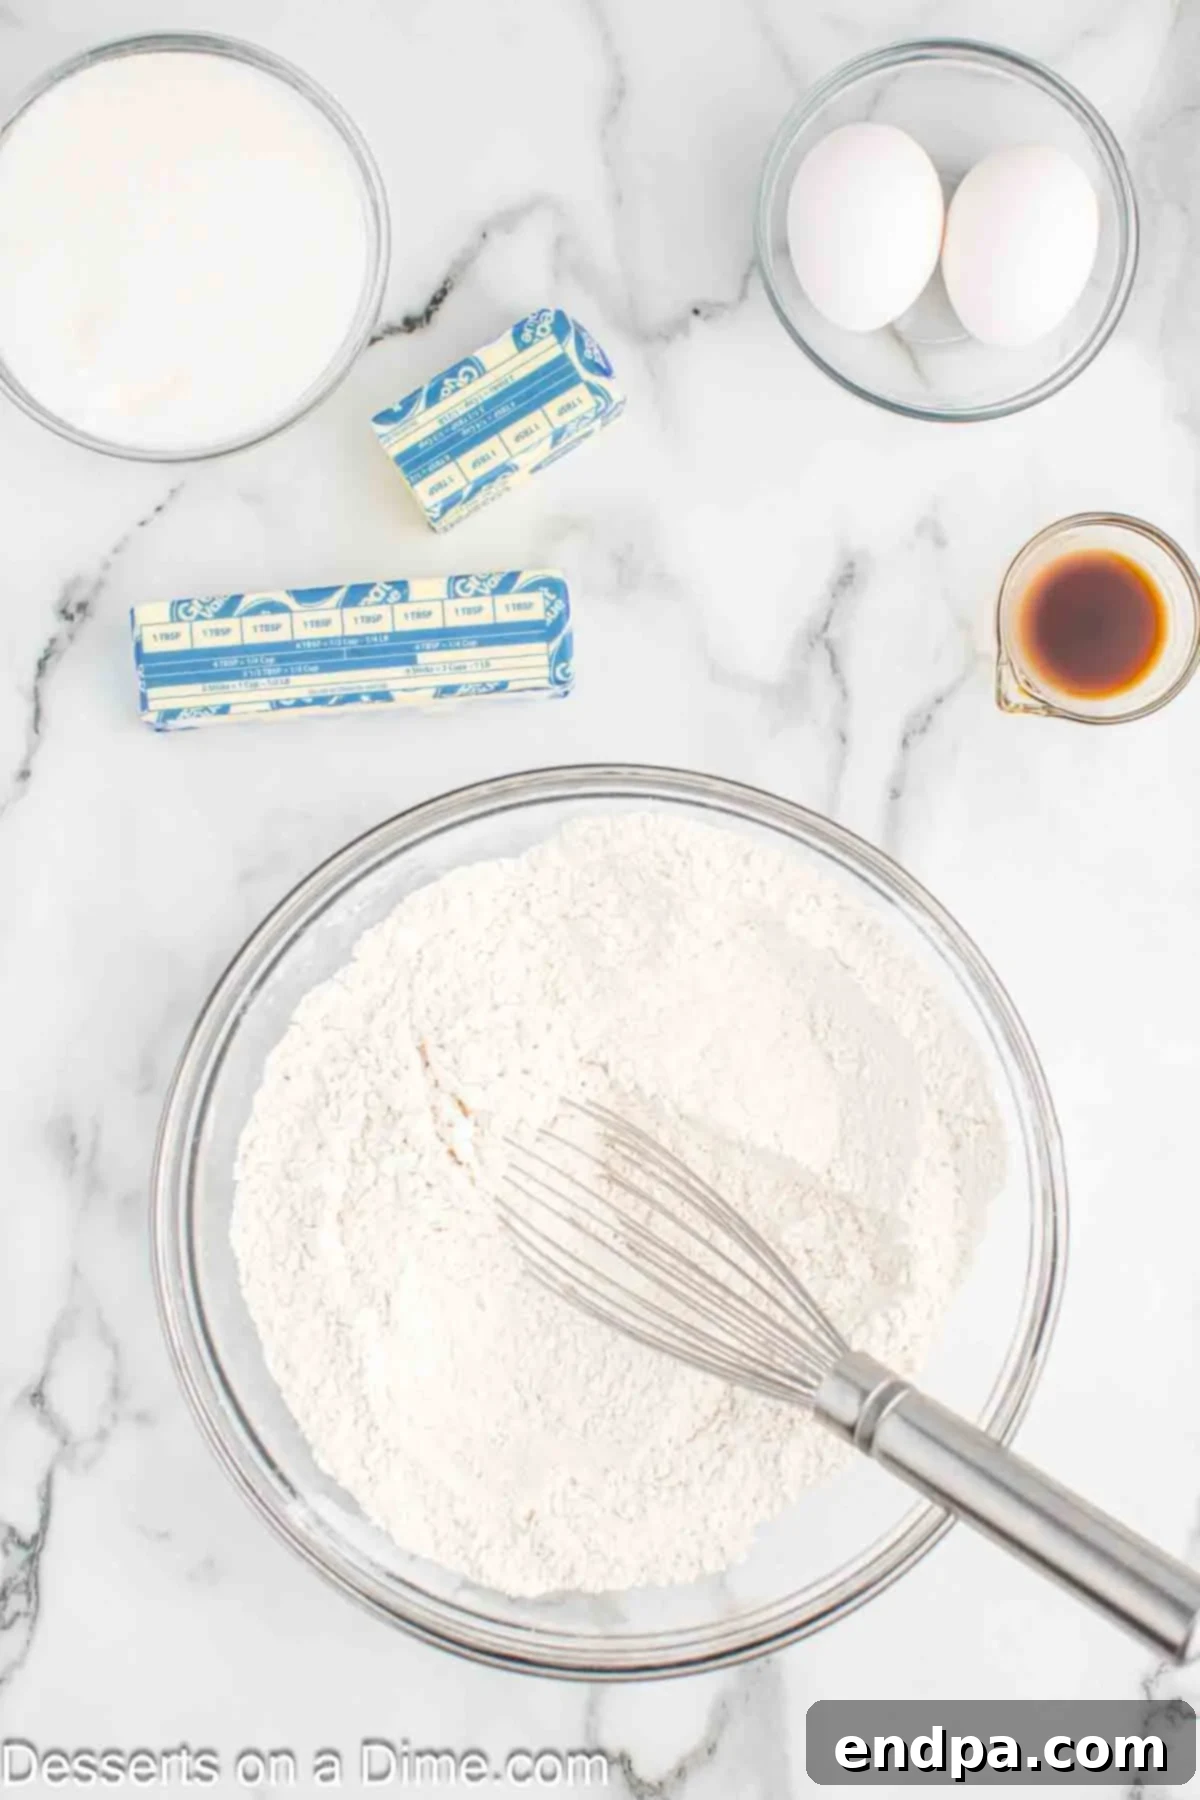
Step 1 – Prepare Dry Ingredients: In a large mixing bowl, combine the all-purpose flour, baking powder, and salt. Whisk them together thoroughly to ensure the leavening agent is evenly distributed. Set this bowl aside for later. This step is crucial for consistent cookie texture.
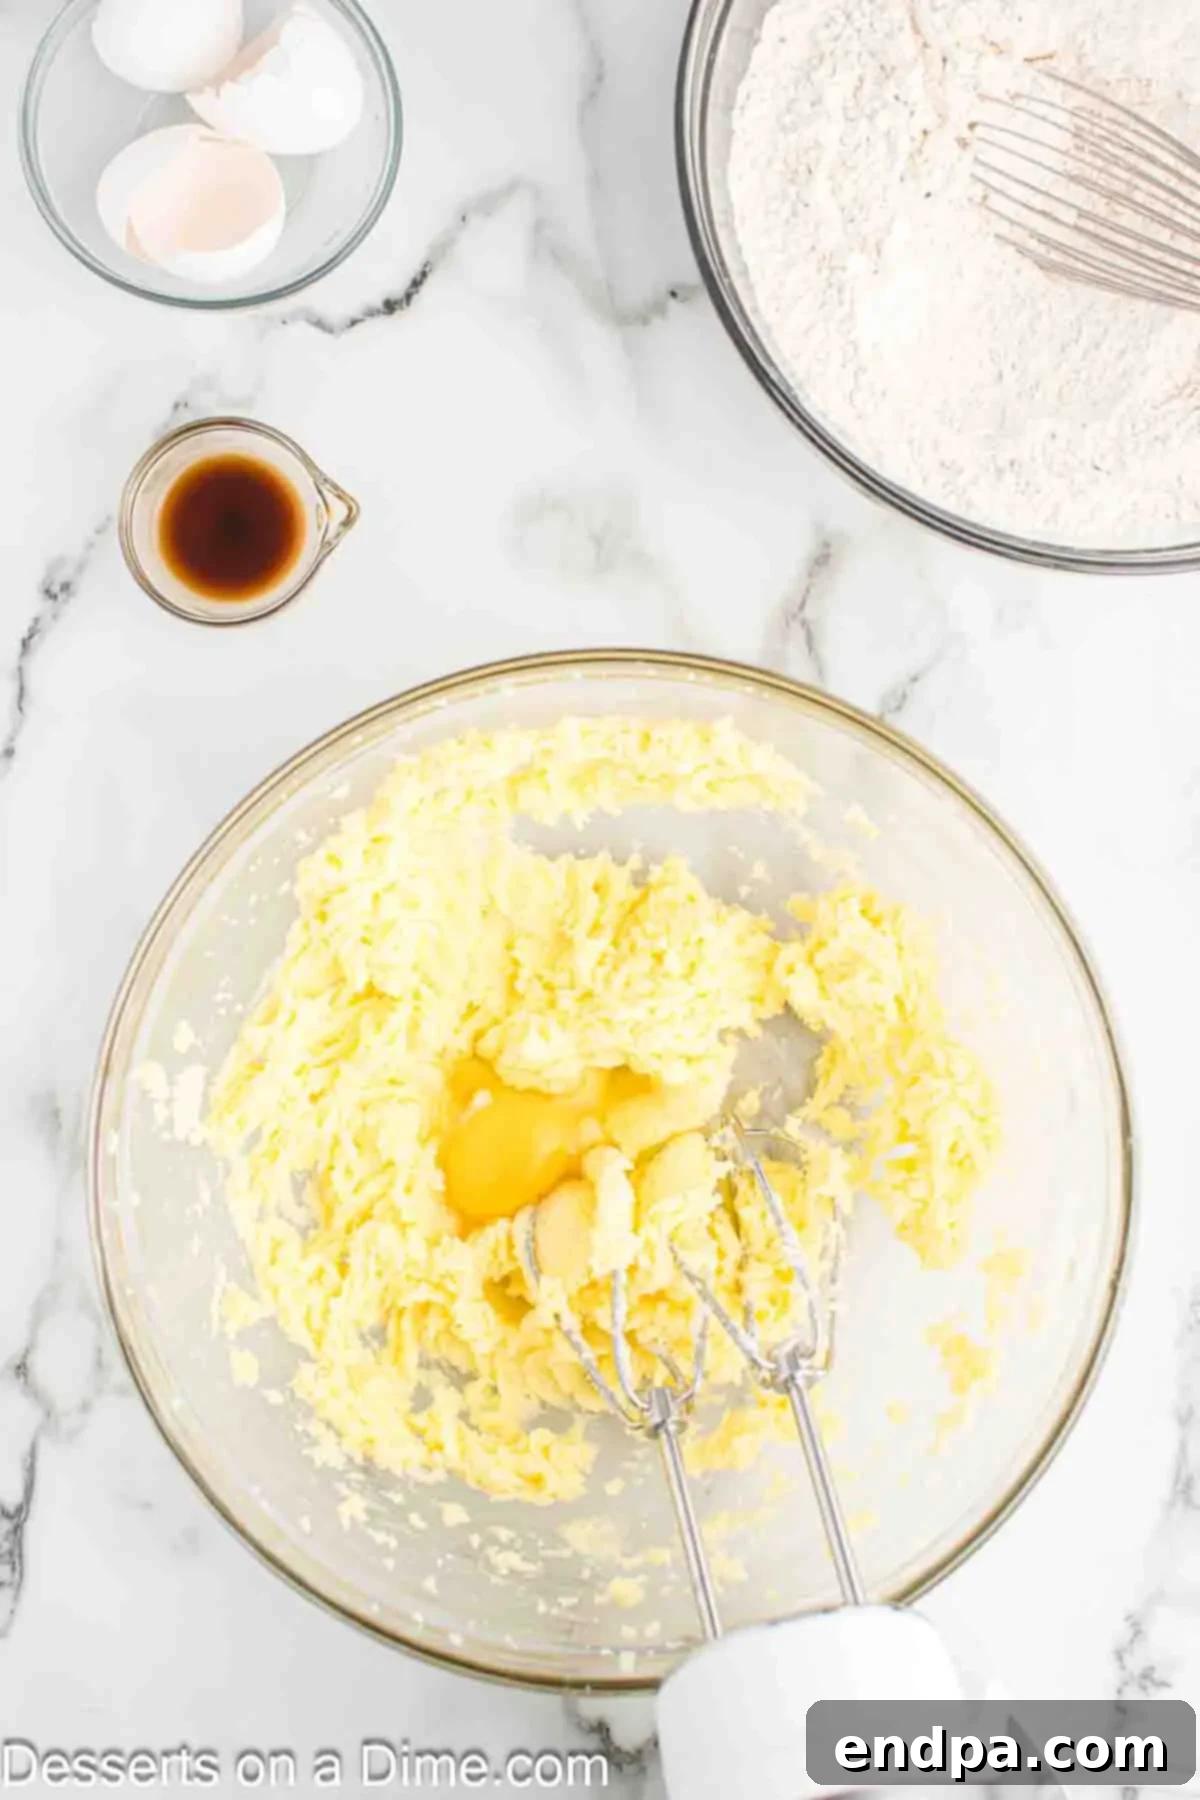
Step 2 – Cream Wet Ingredients: In a separate, larger bowl (preferably using a stand mixer with the paddle attachment or a hand mixer), beat the softened unsalted butter and granulated sugar together. Cream them on medium speed until the mixture is light, fluffy, and pale in color, typically 2-3 minutes. This incorporates air, contributing to the cookies’ softness. Next, add the large eggs one at a time, beating well after each addition until fully incorporated. Finally, stir in the vanilla extract.
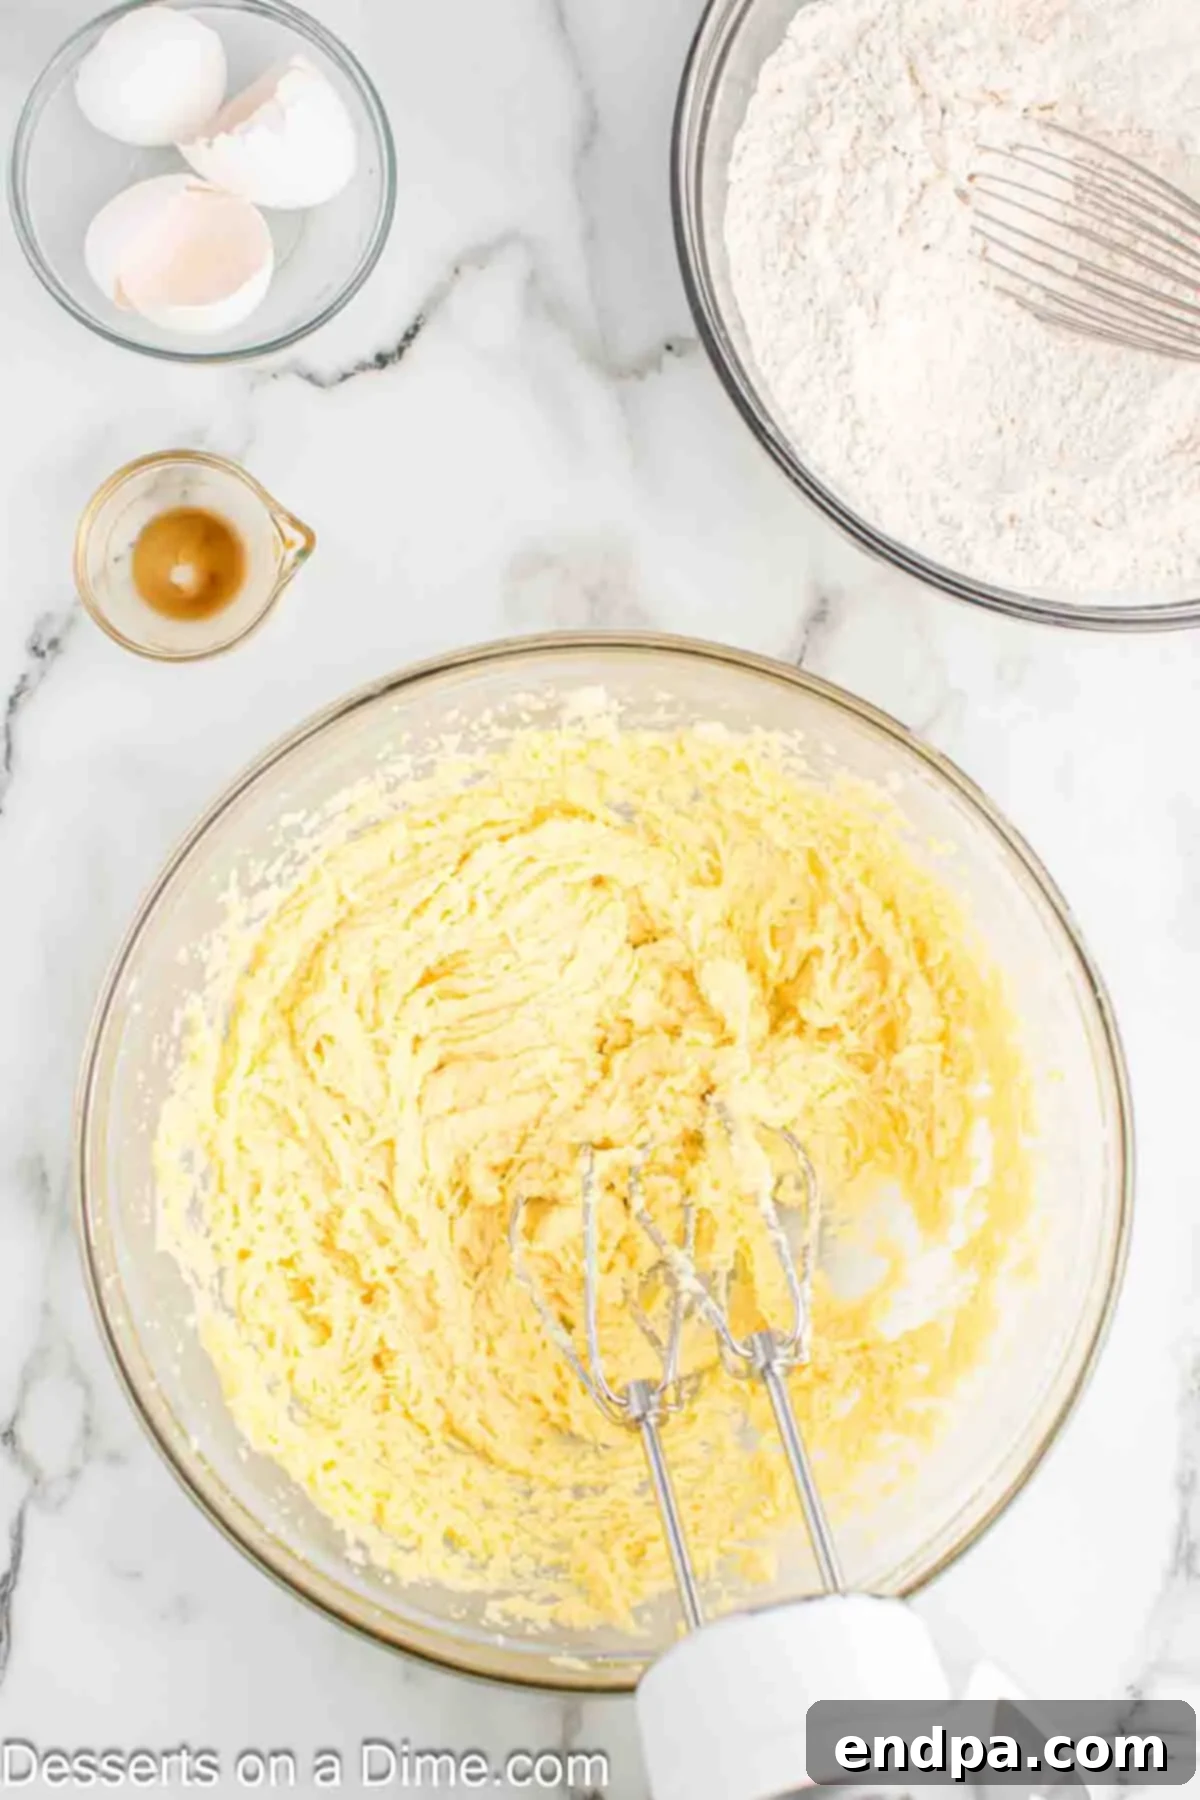
Step 3 – Combine Wet and Dry: Gradually add the dry flour mixture to the wet butter mixture. Mix on low speed until just combined. It’s very important not to overmix the dough, as this can develop the gluten too much, leading to tough cookies. Stop mixing as soon as no dry streaks of flour remain.
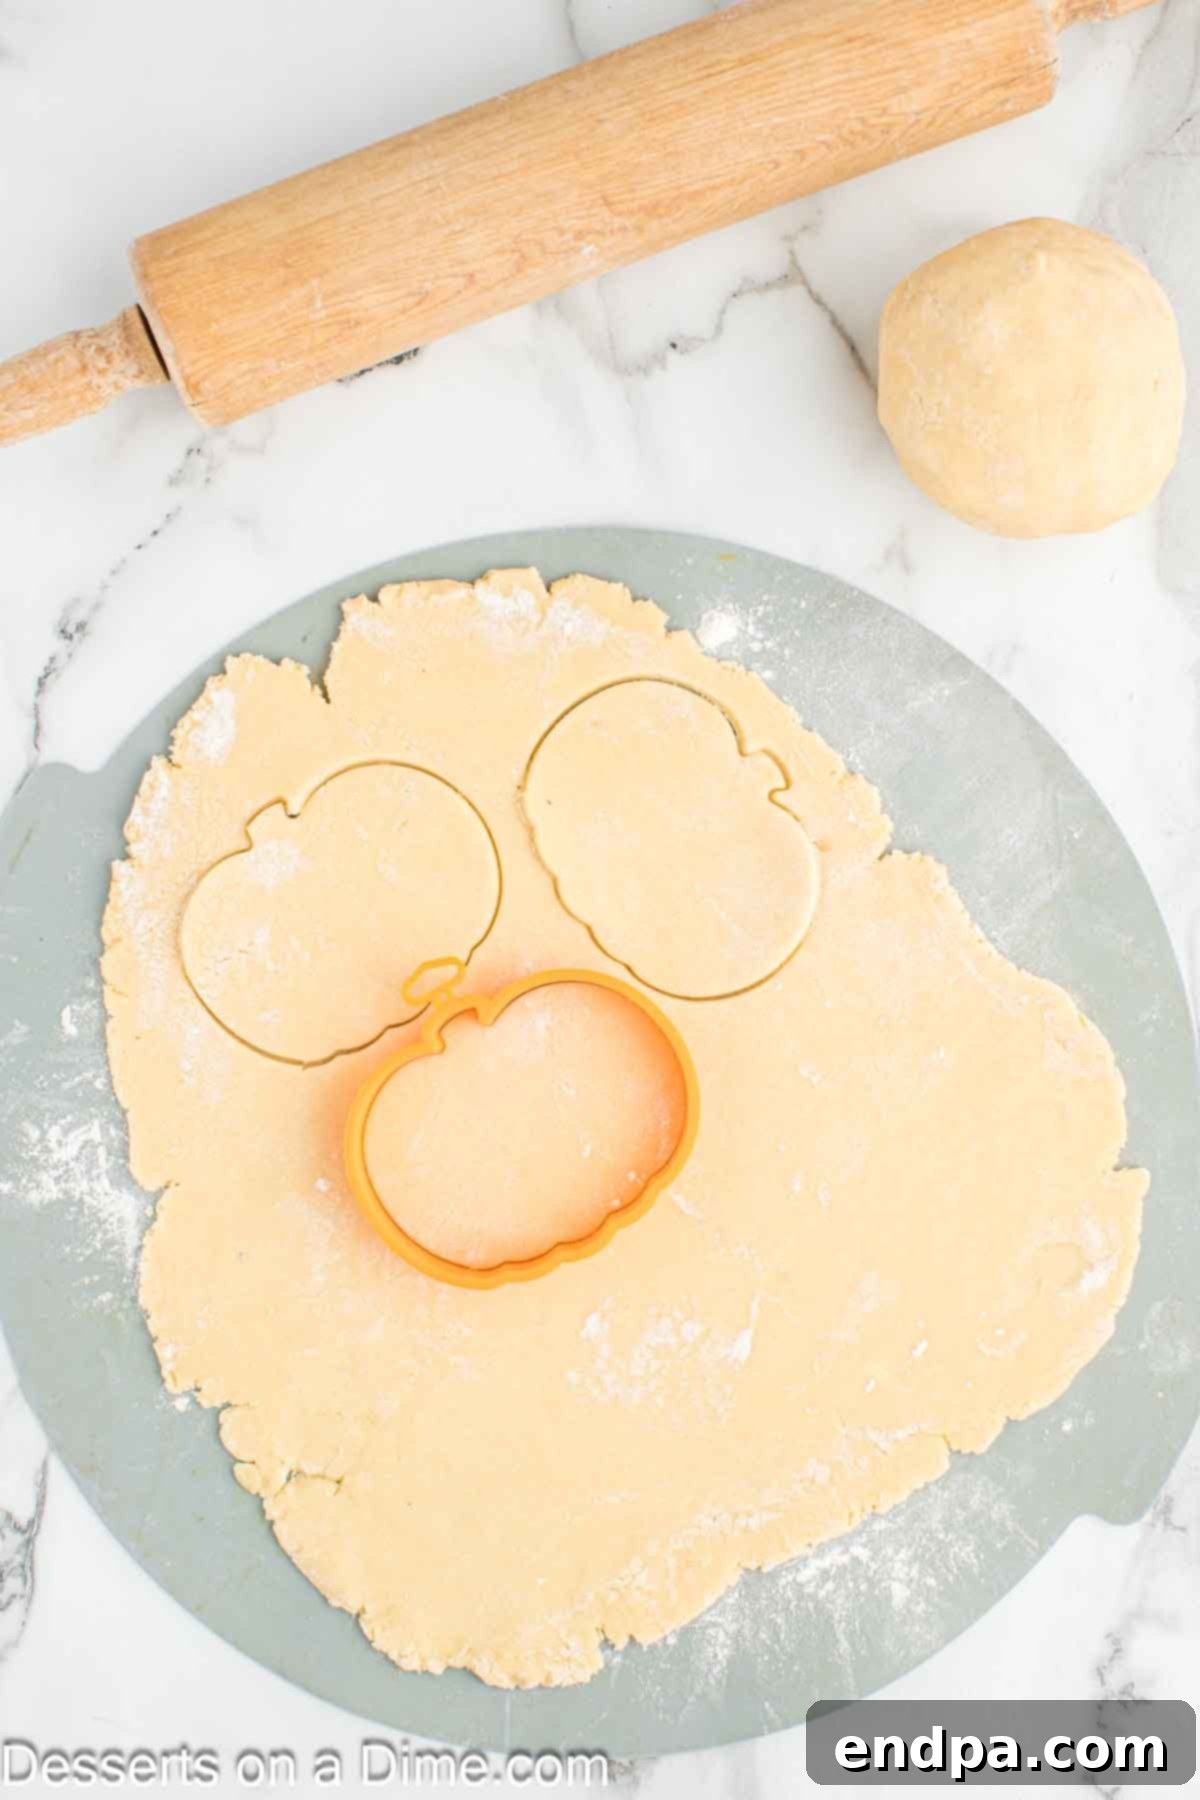
Step 4 – Roll and Cut Cookies: Divide the cookie dough into 2-3 manageable balls. Lightly flour your work surface and a rolling pin. Roll out each dough ball until it is approximately ¼ inch thick. Use your desired Halloween cookie cutters (such as pumpkin shapes) to cut out the cookies. Re-roll any scraps until all the dough is used.
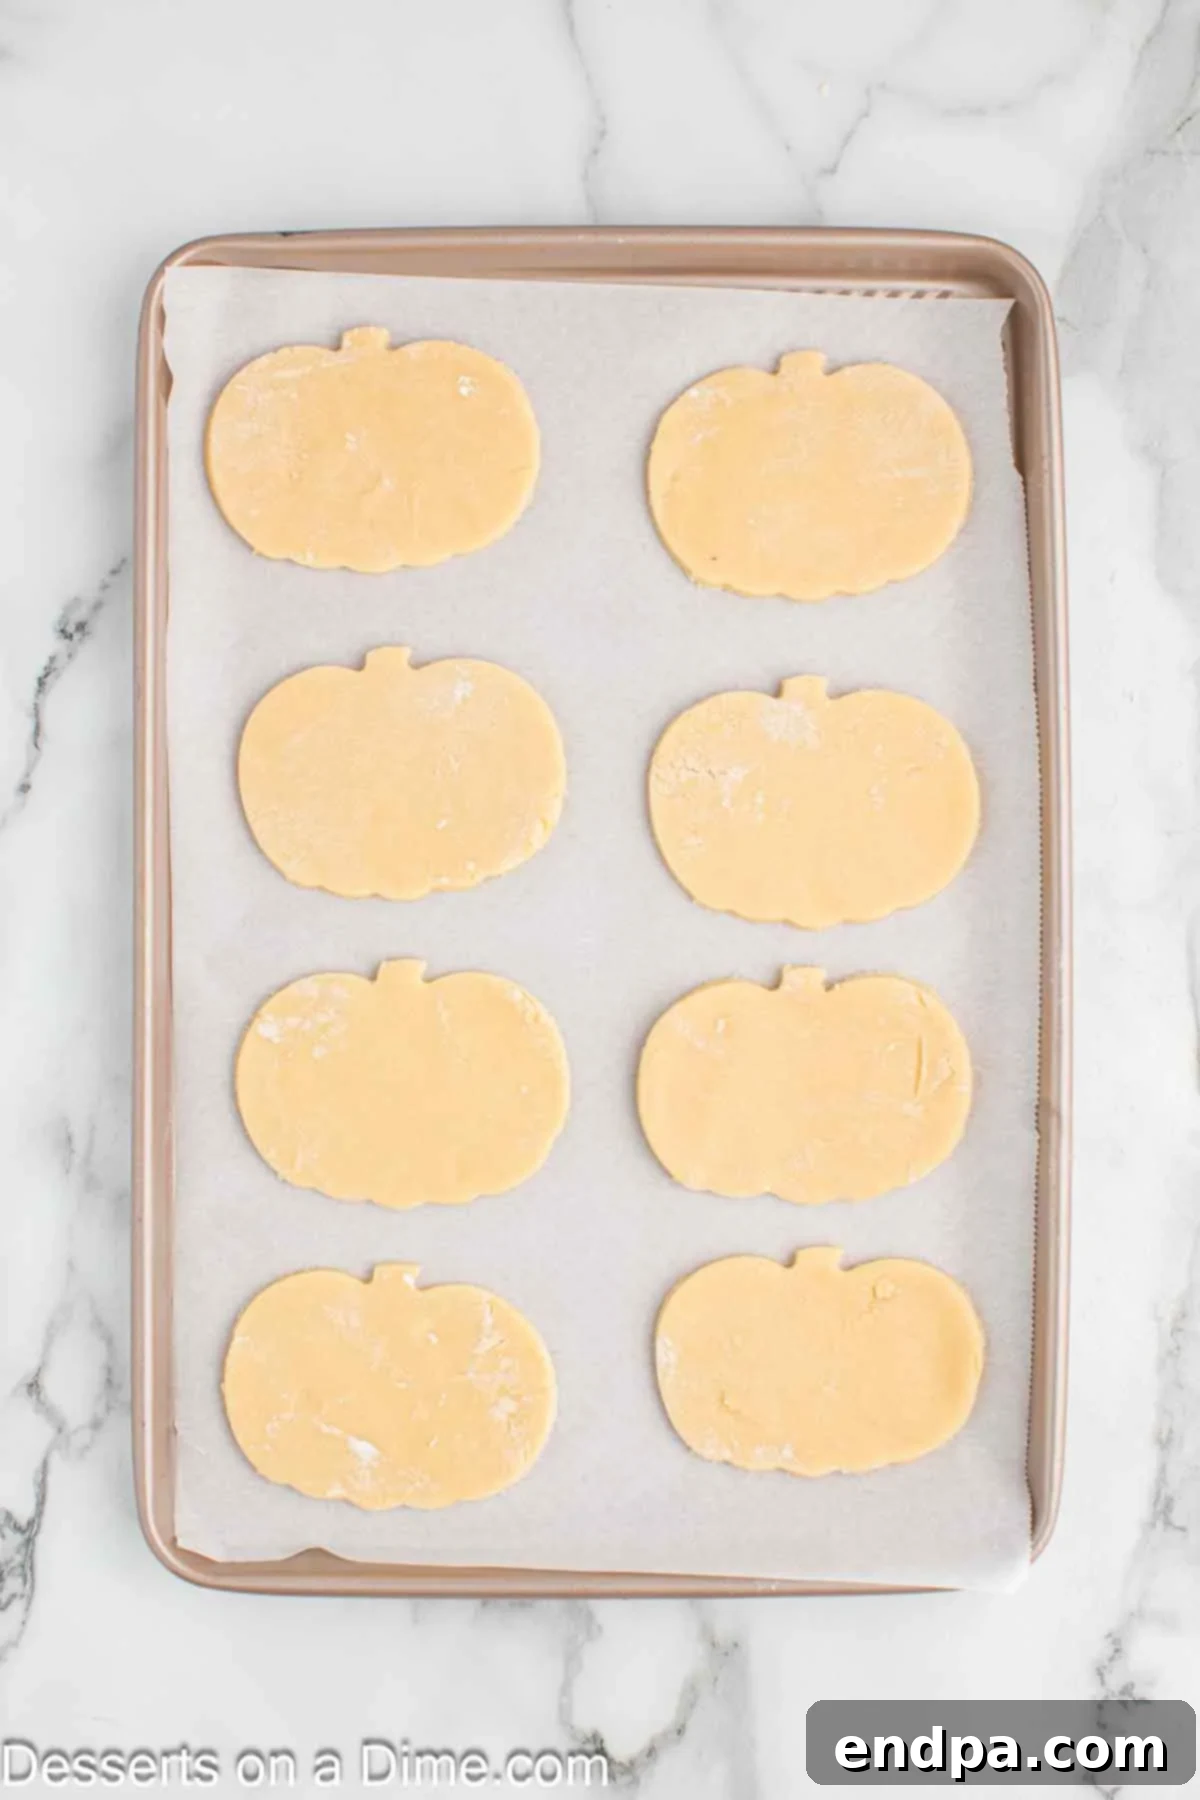
Step 5 – Bake the Cookies: Preheat your oven to 350°F (175°C). Line a cookie sheet with parchment paper to prevent sticking and ensure even baking. Carefully transfer the cut-out cookies to the prepared baking sheet using a metal spatula. Bake for about 7-8 minutes, or until the edges are lightly golden, indicating they are cooked through but still soft. Avoid overbaking to maintain their tender texture.
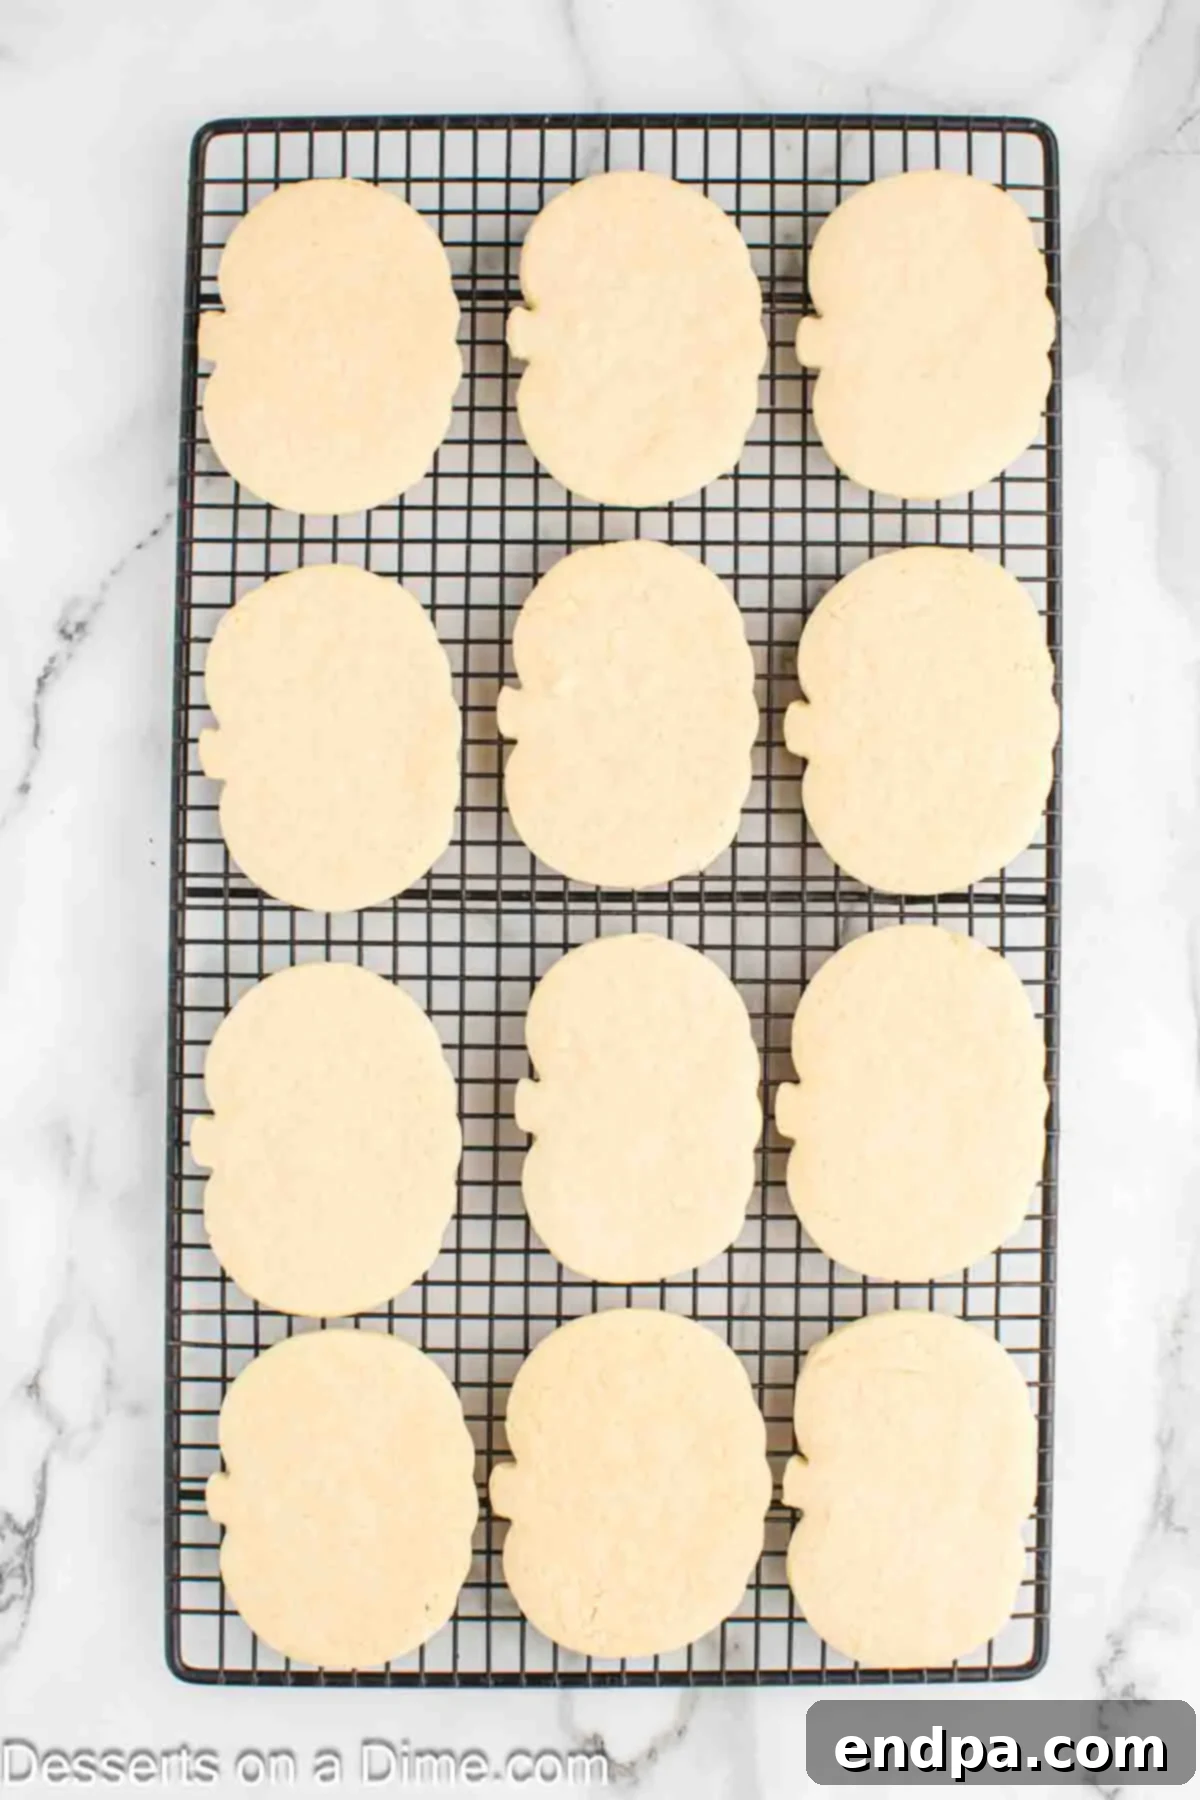
Step 6 – Cool Completely: Once baked, let the cookies cool on the baking sheet for about 5 minutes. This allows them to firm up slightly before you move them. Then, carefully transfer them to a wire rack to cool completely. They must be entirely cool before you begin decorating, otherwise, your frosting will melt and slide off.
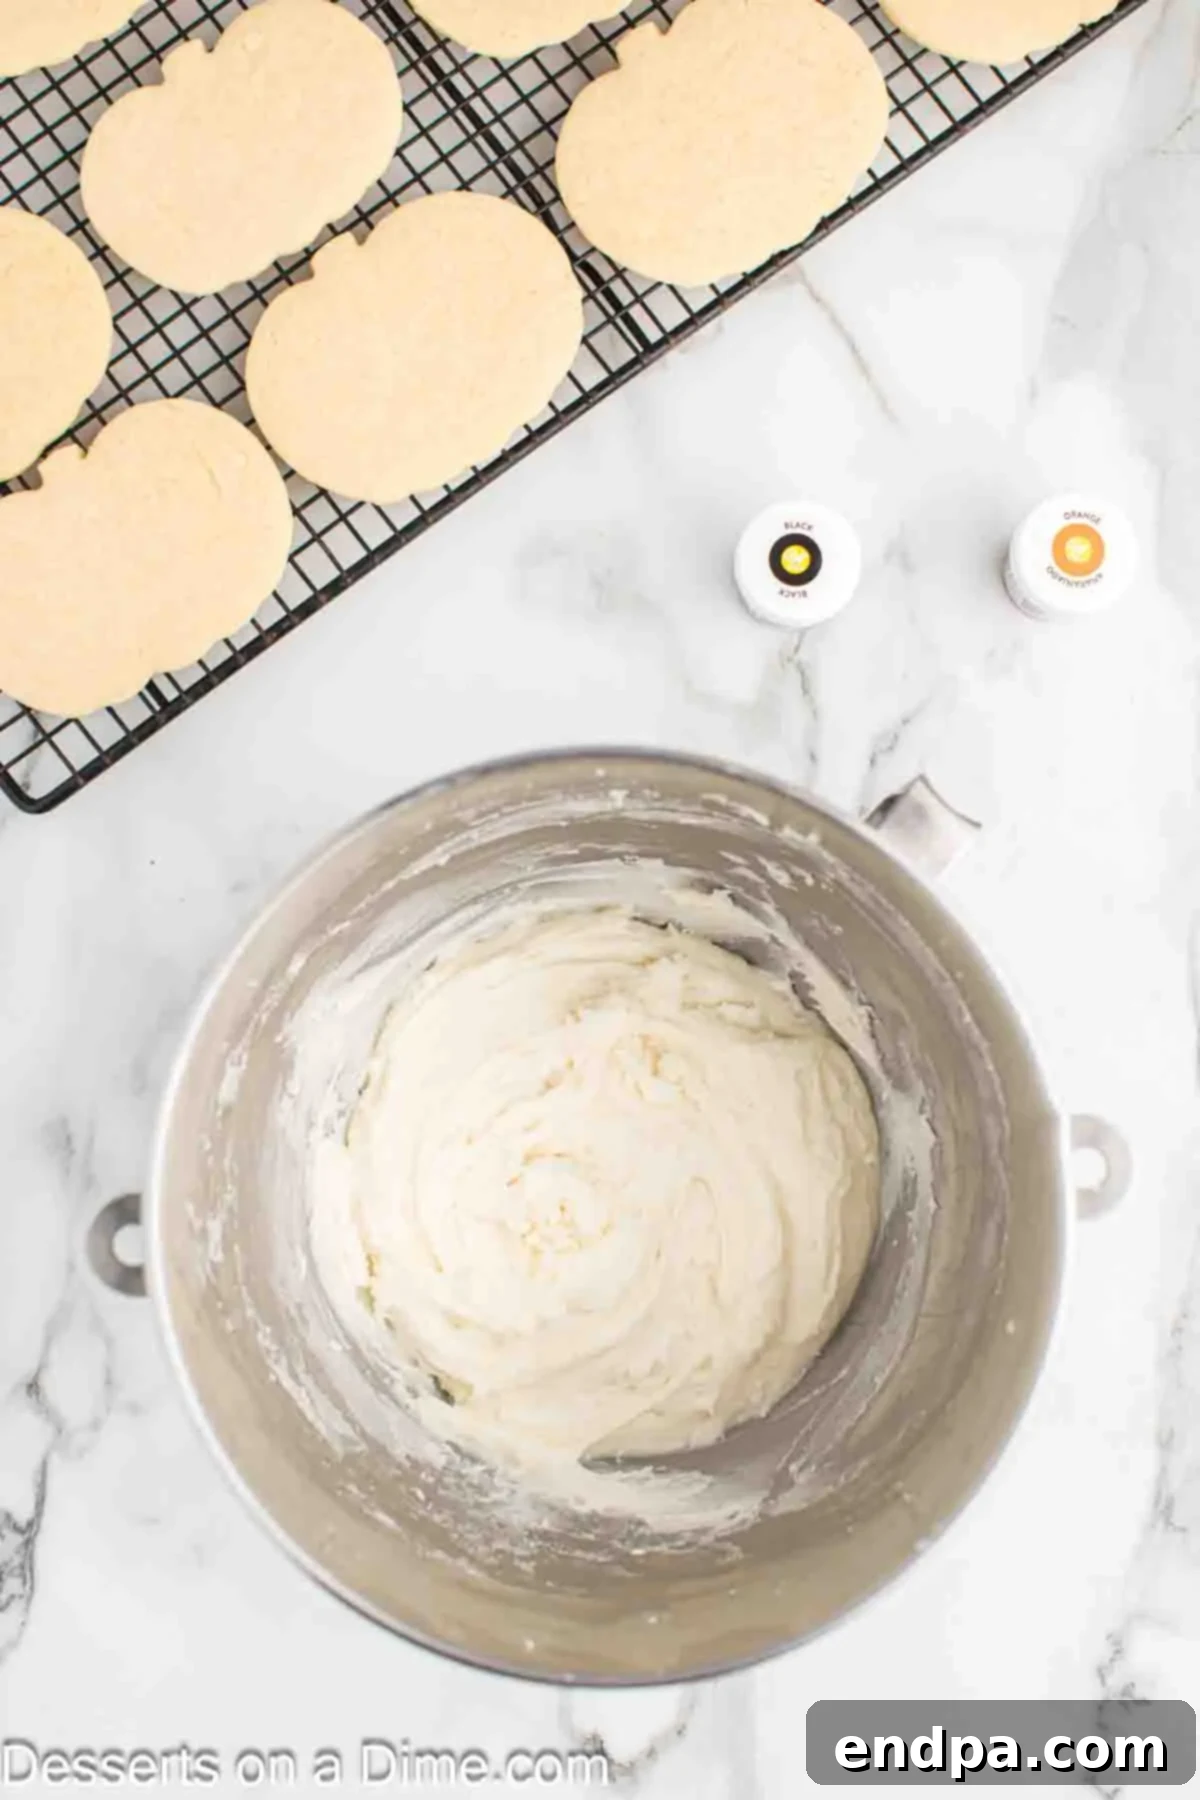
Step 7 – Prepare the Frosting: In a large mixing bowl, combine the softened butter, sifted powdered sugar, milk, and vanilla extract. Beat with a hand mixer or stand mixer until all ingredients are well combined and the frosting is smooth and creamy. If the frosting is too thick, add a tiny bit more milk; if too thin, add more powdered sugar.
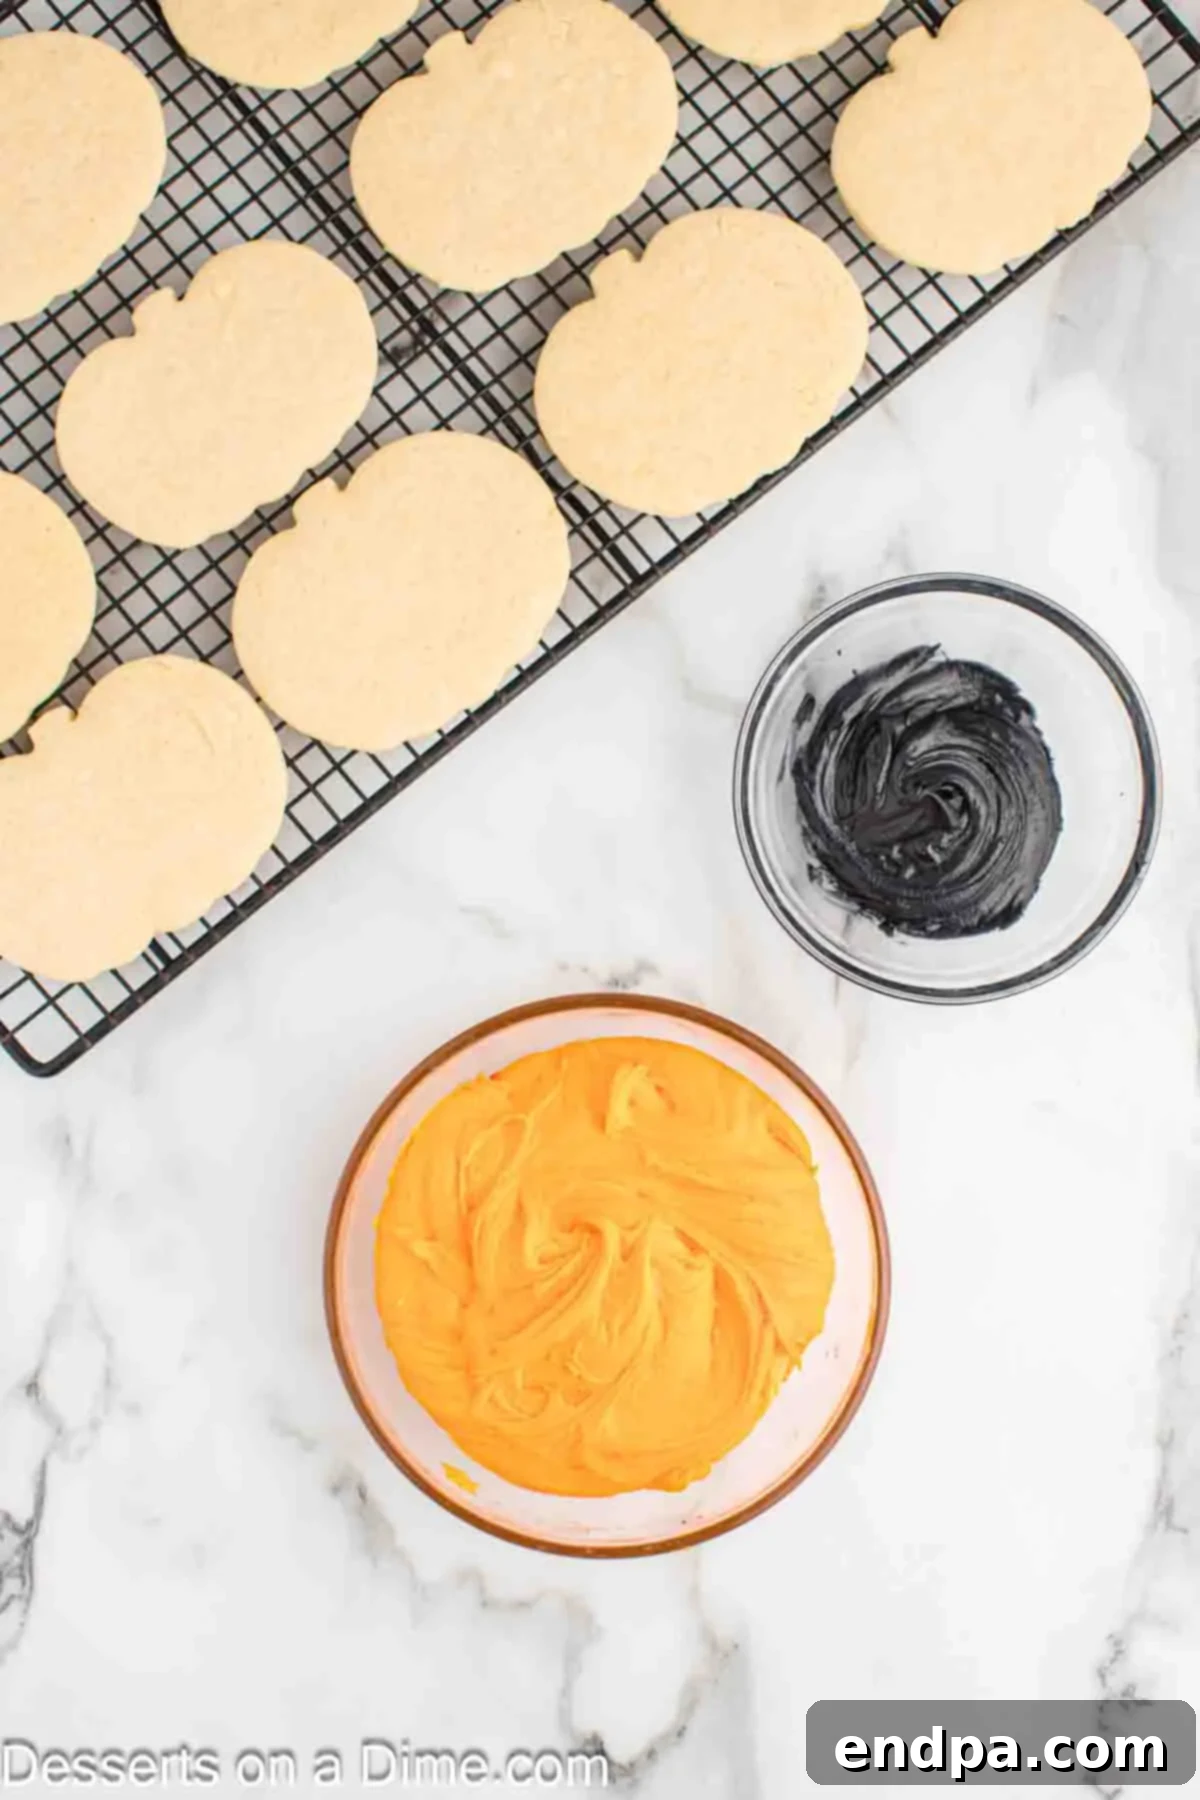
Step 8 – Color the Frosting: Divide the prepared frosting. Place about ¼ of the frosting into a small bowl and dye it black using black food coloring. Use the remaining ¾ of the frosting and dye it vibrant orange with orange food coloring. Stir well to achieve consistent, bold colors.
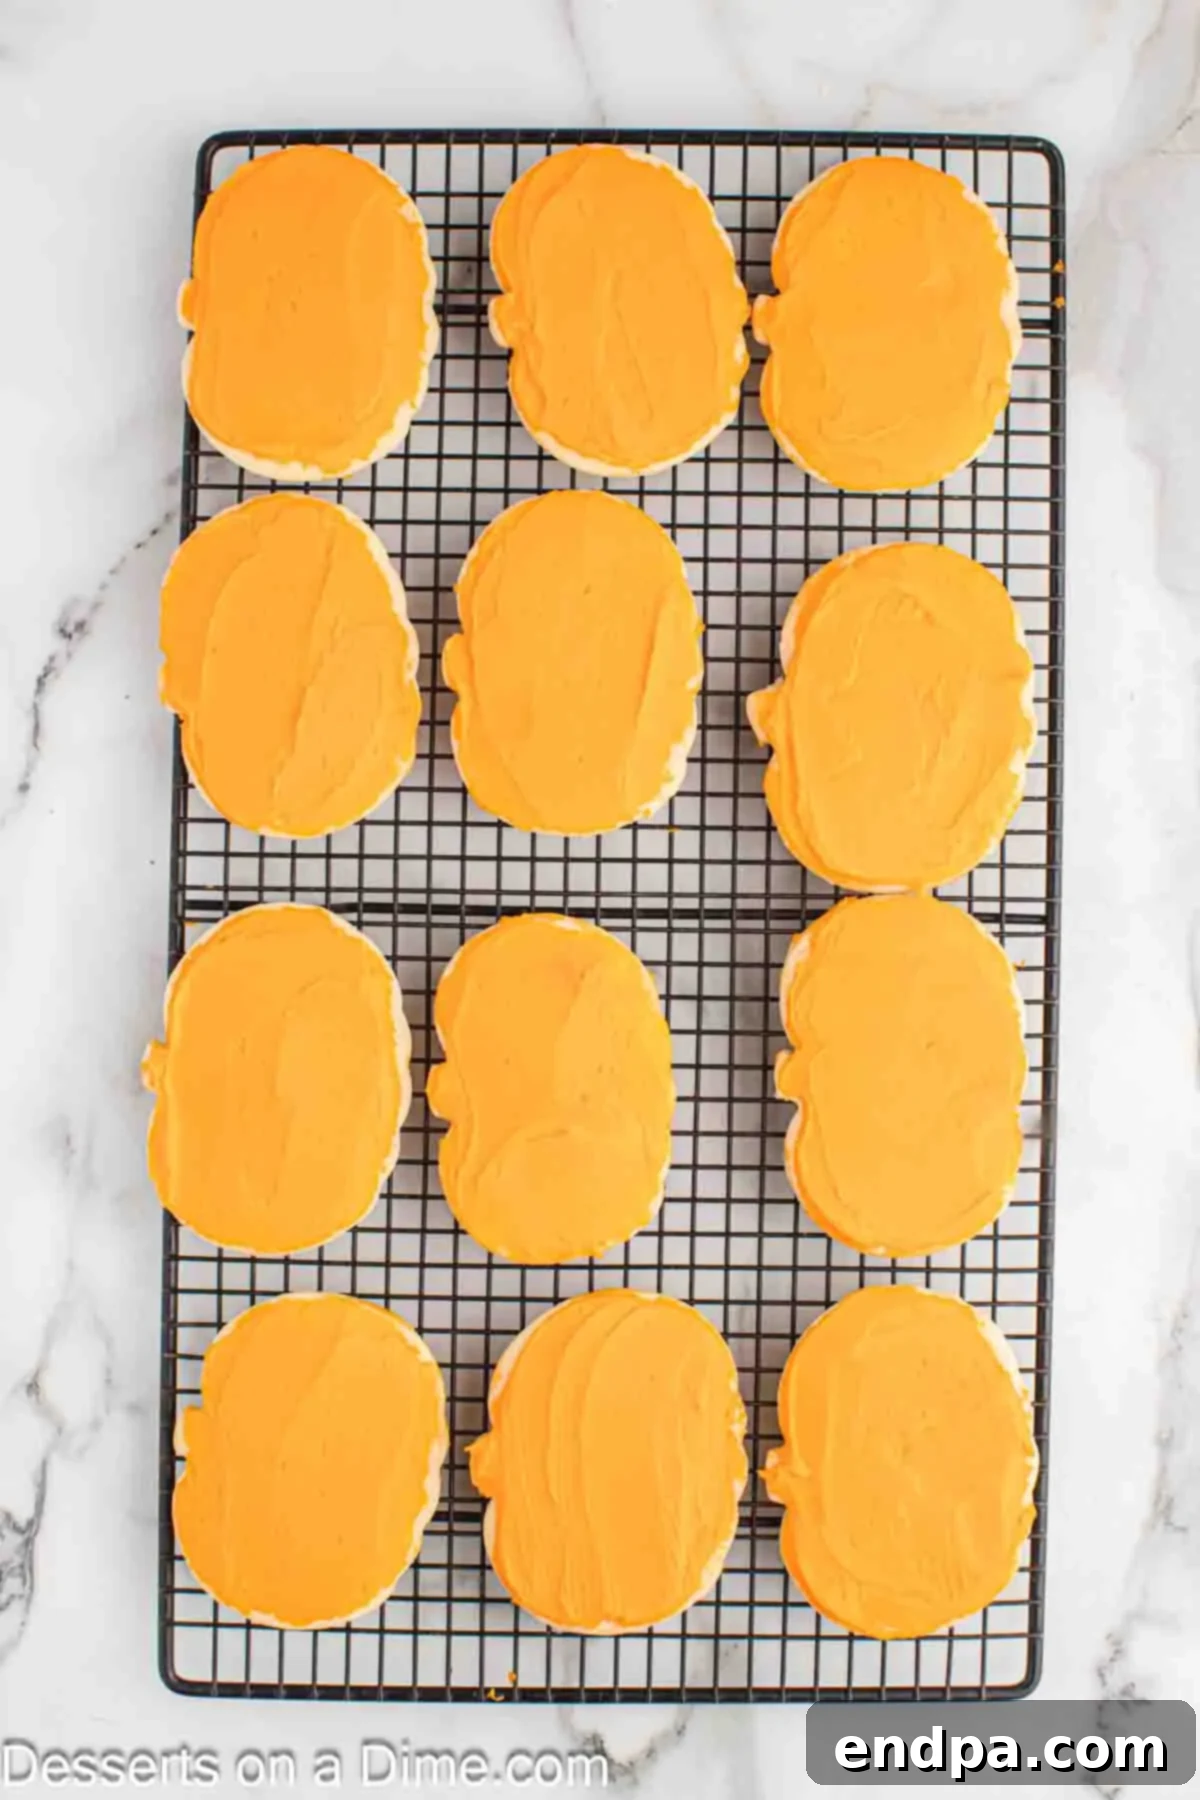
Step 9 – Frost the Base: Once the cookies are completely cool, frost each one with an even layer of the orange frosting. You can use a small offset spatula, a knife, or even dip the top of the cookie into the frosting for a smooth finish. Allow the orange frosting to set slightly before moving to the next step.
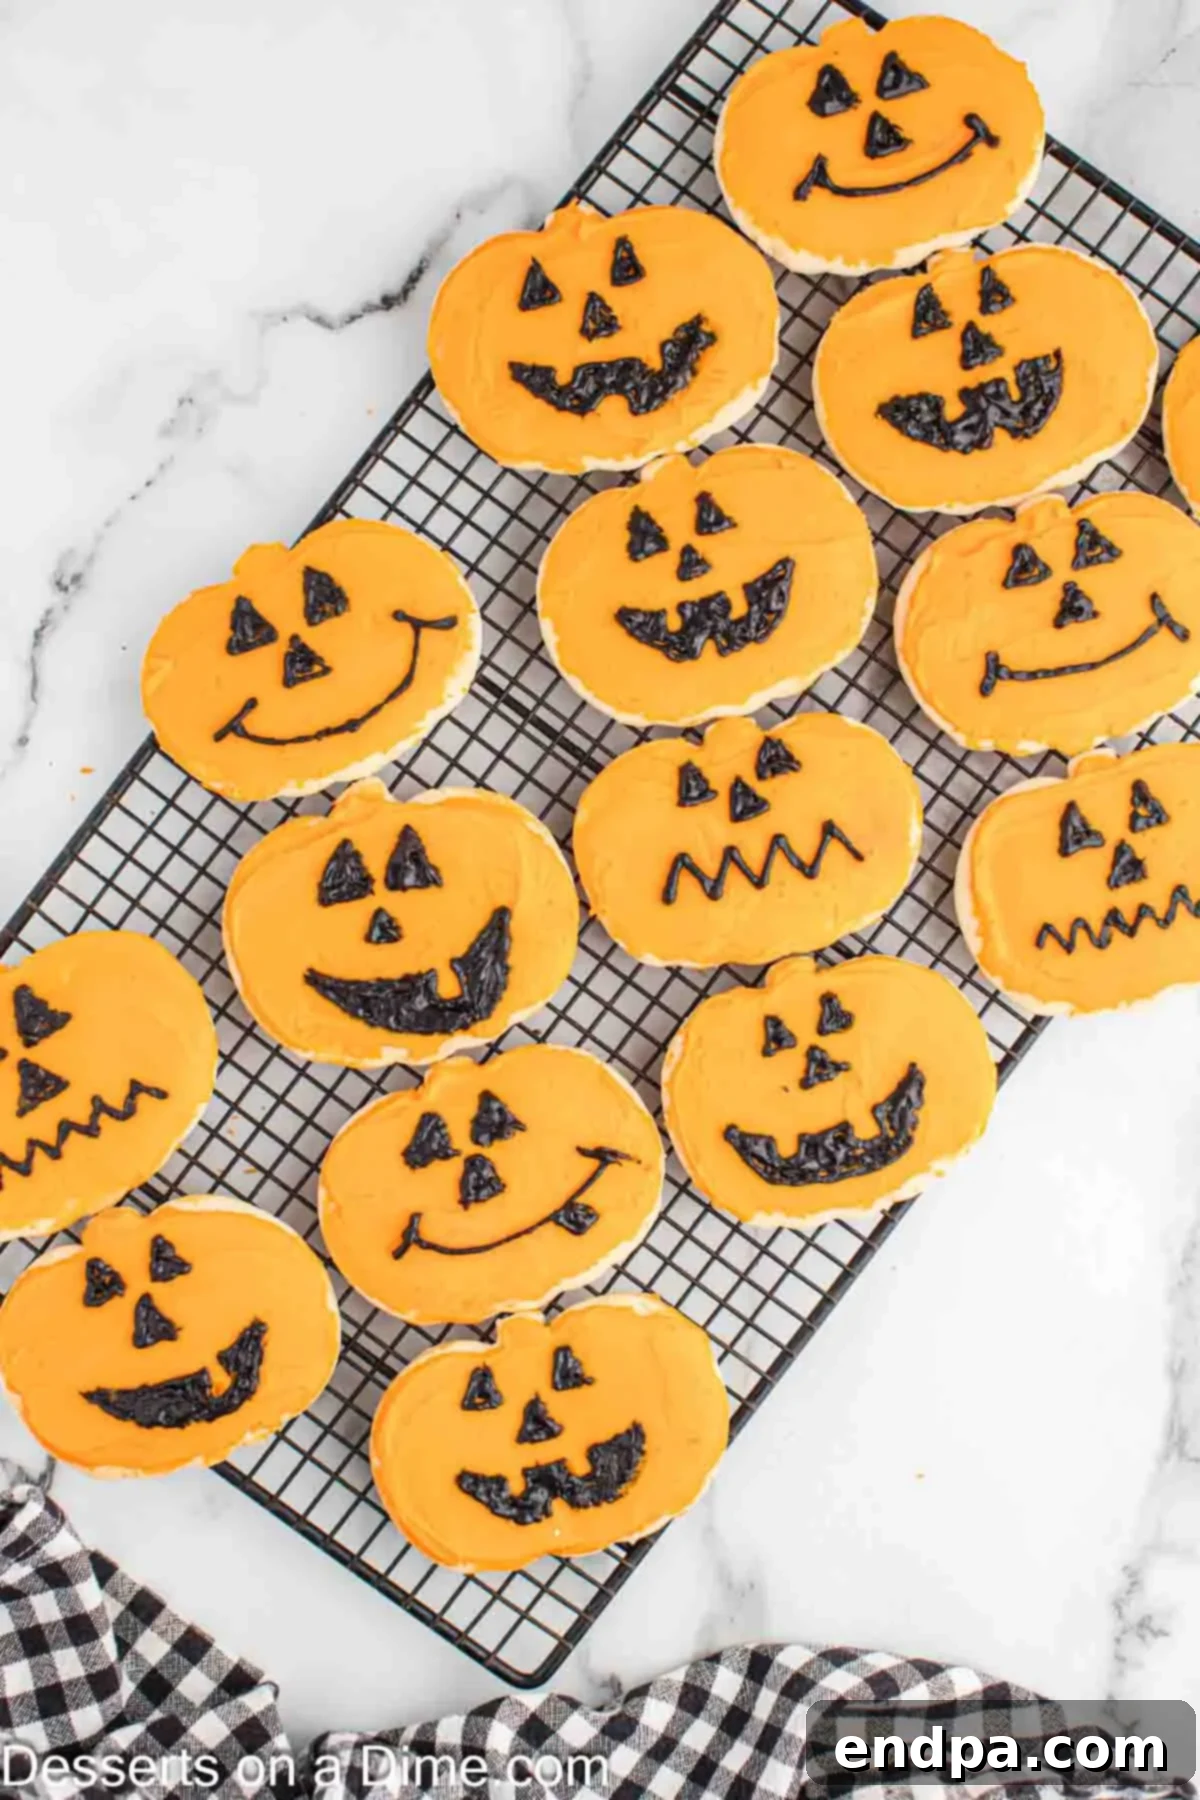
Step 10 – Add Jack-o’-lantern Faces: Transfer the black frosting to a piping bag fitted with a small round tip. Carefully pipe on the classic Jack-o’-lantern faces (triangular eyes and jagged mouths) onto each orange-frosted cookie. Get creative with different expressions! Once decorated, allow the frosting to dry completely before storing or serving to prevent smudging.
Mastering Your Halloween Sugar Cookies: Expert Tips & Tricks
Achieving bakery-quality sugar cookies at home is simpler than you think with these expert tips:
- Patience with Cooling: It’s tempting to start decorating immediately, but patience is key! Always allow your sugar cookies to cool for a few minutes on the baking sheet before gently transferring them to a wire rack. This initial cooling helps them firm up and prevents crumbling when moved. Then, let them cool completely on the wire rack—at least 10-15 minutes—before applying any frosting.
- Do Not Overmix the Dough: This is perhaps the most crucial rule for tender sugar cookies. Mix the dough only until the ingredients are just combined and no dry streaks of flour remain. Overmixing develops the gluten in the flour, resulting in tough, chewy cookies instead of soft, melt-in-your-mouth ones.
- Hydrating Dry Dough: If, after mixing, your dough feels too dry and crumbly to roll, don’t despair! Lightly dampen your hands with a tiny bit of water or milk and gently knead the dough a few times. This can help it come together to the right consistency without adding too much liquid.
- Adjusting Sticky Dough: Conversely, if your dough is too sticky to handle or roll, sprinkle in a small amount of extra flour, about a tablespoon at a time. Mix it in gently until the dough reaches a workable, non-sticky consistency. Be cautious not to add too much, as this can make the cookies dense and dry.
- The Importance of Room Temperature Butter: For both the cookie dough and the frosting, ensure your butter is genuinely at room temperature. It should be soft enough to indent with a finger but not melted. This allows it to cream properly with sugar, incorporating air for a light texture, and creates a smooth, lump-free frosting.
- Chill the Dough: While not strictly required for this recipe, chilling the dough for at least 30 minutes (or even an hour) after mixing can make it much easier to roll out and cut, and further helps prevent the cookies from spreading too much in the oven.
- Even Thickness is Key: When rolling out your dough, aim for an even ¼-inch thickness. This ensures that all your cookies bake uniformly and have a consistent texture. Uneven thickness can lead to some cookies being underbaked and others overbaked.
- Perfect Piping: If you’re new to piping, practice on a piece of parchment paper first. Use steady, even pressure on your piping bag. For small details like Jack-o’-lantern faces, a small round tip (like Wilton 3 or 4) works best.
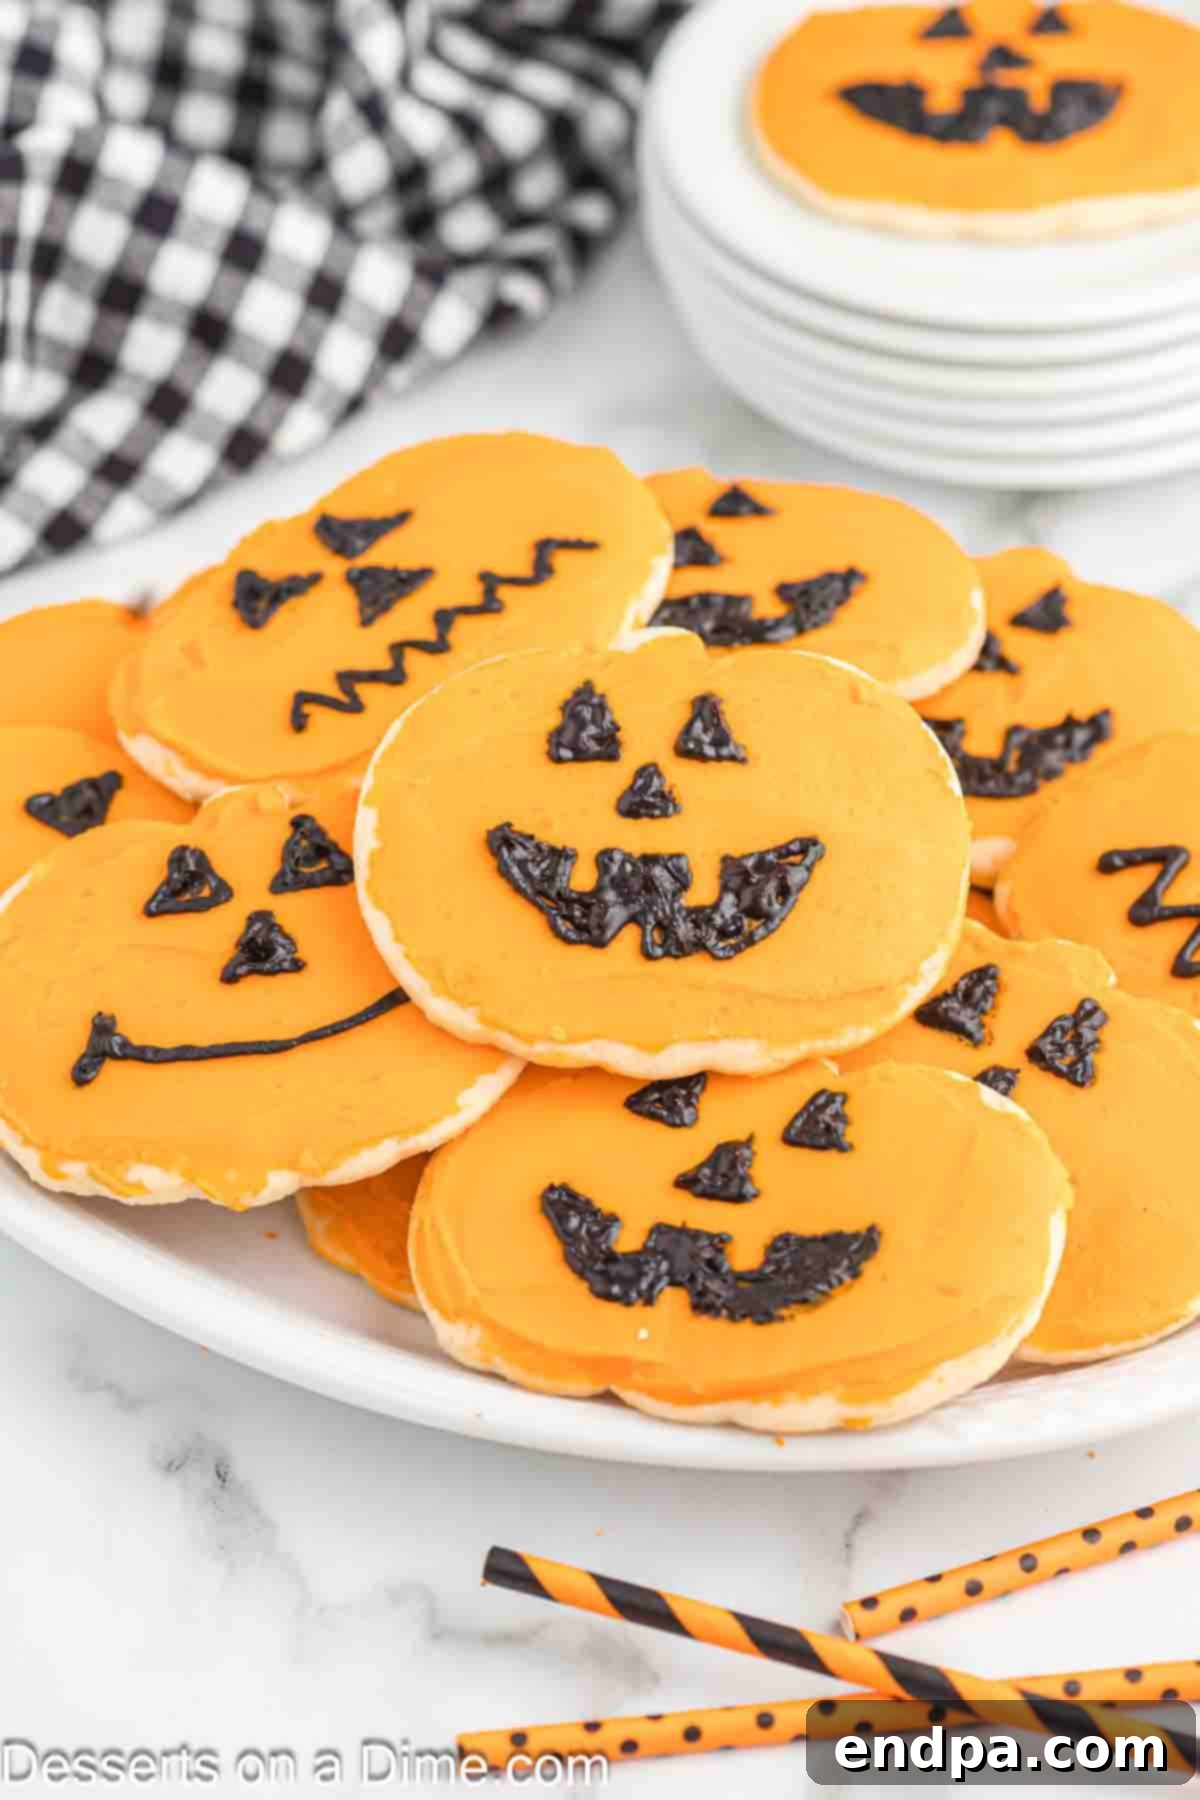
Storing Your Delicious Halloween Sugar Cookies
Proper storage is essential to keep your Halloween sugar cookies fresh, soft, and delicious for as long as possible. Here’s how to store them, frosted or unfrosted:
- Room Temperature (Frosted or Unfrosted): Once your cookies are completely cooled and the frosting has fully set (this is crucial to prevent sticking), store them in an airtight container at room temperature. Layer them with parchment paper between layers to prevent sticking and preserve their delicate decorations. They will stay fresh for up to 5-7 days. Keep the container in a cool, dry place away from direct sunlight.
- Refrigerator (Frosted): While not strictly necessary, you can refrigerate frosted cookies for up to 7 days, especially if your kitchen is warm or if you’re concerned about the frosting melting. Again, store them in an airtight container with parchment paper between layers. Allow them to come to room temperature for about 15-30 minutes before serving for the best texture and flavor.
- Freezer (Unfrosted Cookies): You can easily freeze unfrosted baked cookies. Once completely cooled, place them in a single layer on a baking sheet and freeze until solid. Then, transfer the frozen cookies to a freezer-safe bag or airtight container, separated by parchment paper, for up to 3 months. Thaw them at room temperature for several hours or overnight before decorating.
- Freezer (Frosted Cookies): For frosted cookies, first place them on a baking sheet in a single layer and freeze until the frosting is completely solid (this prevents smudging). Once frozen, transfer them to an airtight freezer-safe container, using parchment paper between layers. They can be frozen for up to 2 months. Thaw in the refrigerator overnight, then bring to room temperature before serving.
Beyond Sugar Cookies: More Spooky Sweet Treats
If you’re hosting a Halloween party or just want to expand your repertoire of spooky delights, consider these other fun and festive recipes:
- Halloween Spider Cookies: Easy, chocolatey cookies topped with adorable (and edible!) spider decorations.
- Frankenstein Rice Krispie Treats: A creative twist on a classic, these green Frankenstein monster treats are always a hit.
- Jack-O-Lantern Cupcakes: Moist cupcakes topped with bright orange frosting and cute pumpkin faces.
- Oreo Spider Cookies: Simple yet impressive cookies made with Oreos and pretzel legs for a realistic spider look.
- Candy Corn Cookies: Fun, tri-colored cookies that capture the iconic look of the classic Halloween candy.
- 55 Delicious Halloween Cupcakes: A fantastic collection of diverse cupcake ideas to inspire your baking.
Frequently Asked Questions (FAQ) About Halloween Sugar Cookies
Here are some common questions you might have when making these festive sugar cookies:
- Q: Can I make the cookie dough ahead of time?
A: Absolutely! The cookie dough can be made 1-2 days in advance. Wrap it tightly in plastic wrap and store it in the refrigerator. When you’re ready to bake, let it sit at room temperature for about 15-20 minutes to soften slightly before rolling. - Q: Why did my cookies spread too much?
A: Several factors can cause cookies to spread. Ensure your butter is softened but not melted, measure your flour accurately (too little flour can cause spreading), and consider chilling your dough for at least 30 minutes before rolling and cutting. An oven that isn’t fully preheated can also contribute to spreading. - Q: How can I achieve vibrant frosting colors?
A: Gel food coloring is highly recommended over liquid food coloring. It provides much more intense and vibrant colors without significantly altering the consistency of your frosting. Add a little at a time until you reach your desired shade. - Q: How long does the frosting take to dry?
A: This depends on the humidity in your kitchen and the thickness of your frosting. Typically, a standard buttercream frosting will take 1-2 hours to set to the touch, and several hours to fully harden. Royal icing dries much faster, often within an hour for a firm finish. - Q: Can I use different extracts for flavor?
A: Yes! While vanilla is classic, feel free to experiment. Almond extract pairs wonderfully with sugar cookies, or you could try a hint of lemon or orange extract for a citrusy twist. Start with a small amount and adjust to taste.
Essential Tools You’ll Need
To make these delightful Halloween sugar cookies, you’ll want to have these basic kitchen tools on hand:
- Large mixing bowls
- Hand mixer or stand mixer
- Whisk
- Measuring cups and spoons
- Rolling pin
- Halloween cookie cutters (e.g., pumpkin shape)
- Baking sheets
- Parchment paper
- Metal spatula
- Wire cooling rack
- Piping bags and round piping tips (for intricate decorating)
If you make these fantastic Halloween Sugar Cookies, we’d love to hear from you! Please leave us a comment and a star review to share your experience. Your feedback helps us and other bakers!
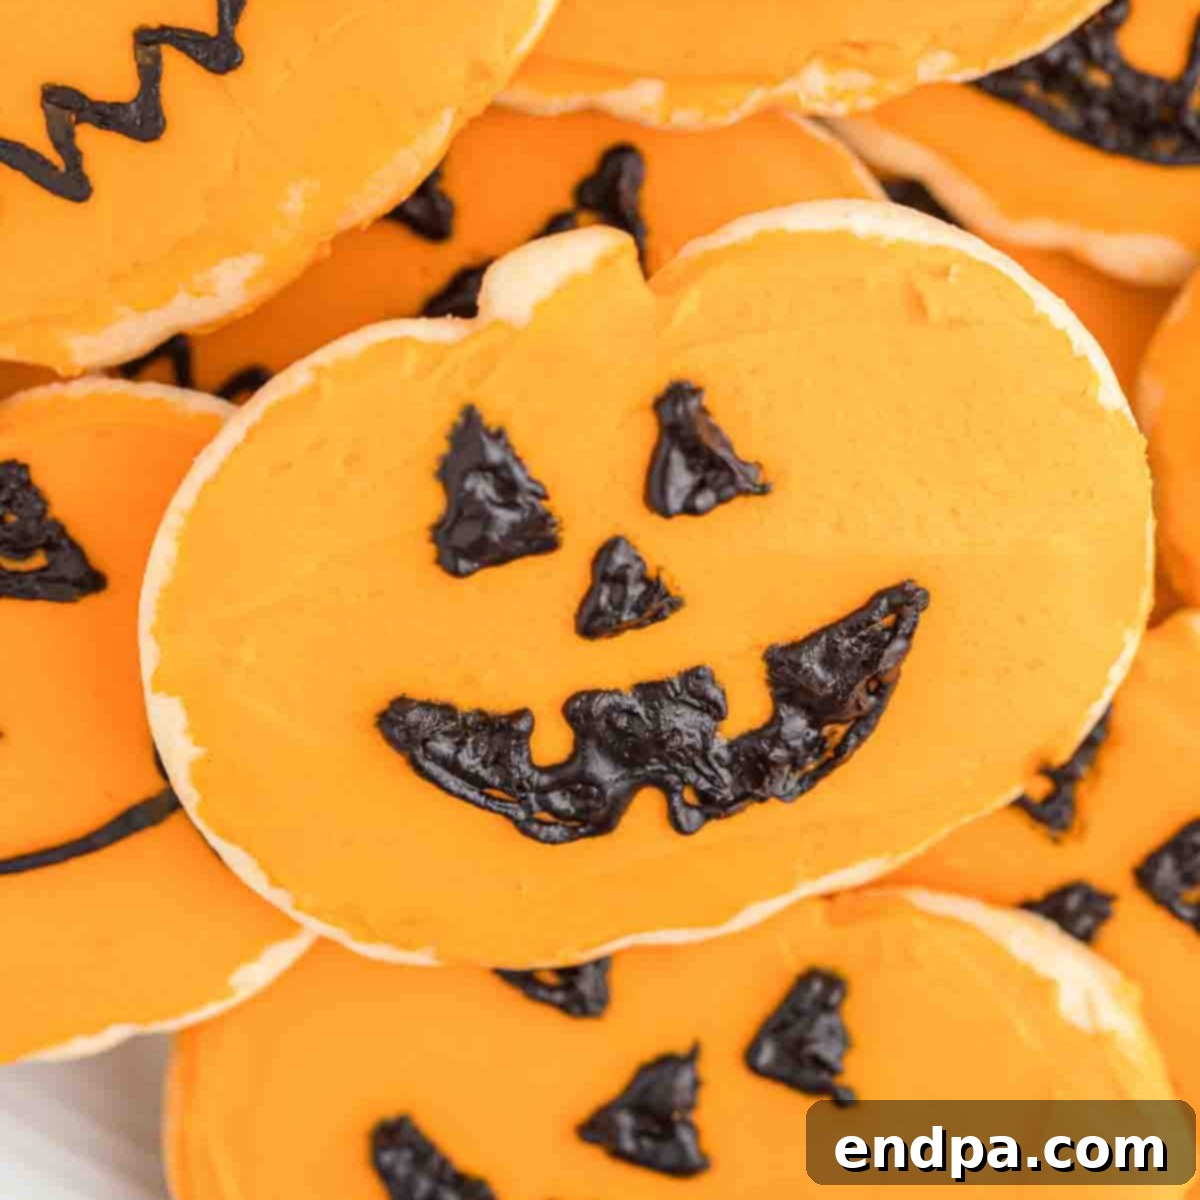
Halloween Sugar Cookies
This easy Halloween Sugar Cookie Recipe makes soft, sweet, and beautifully decorated festive treats, perfect for parties and trick-or-treating.
- Prep Time:
- 15 mins
- Cook Time:
- 8 mins
- Cooling Time:
- 10 mins
- Total Time:
- 33 mins
- Servings:
- 24 cookies
- Cuisine:
- American
- Course:
- Dessert
- Author:
- Carrie Barnard
Ingredients
For the Cookies:
- 2 1/2 cups All-Purpose Flour
- 1 tsp Baking Powder
- 1/2 tsp Salt
- 3/4 cup Unsalted Butter, softened
- 1 cup Granulated Sugar
- 2 Large Eggs
- 1 tsp Vanilla Extract
For the Frosting:
- 1/3 cup Butter, softened
- 4 1/2 cups Powdered Sugar, sifted
- 1/4 cup Milk (whole milk recommended)
- 1/2 teaspoon Vanilla Extract
- Orange Food Coloring (gel recommended)
- Black Food Coloring (gel recommended)
Instructions
For the Cookies:
- Preheat the oven to 350°F (175°C).
- In a medium mixing bowl, whisk together the flour, baking powder, and salt. Set aside.
- In a separate large bowl, beat the softened butter with the granulated sugar until creamy, light, and fluffy (about 2-3 minutes). Add the eggs one at a time, beating well after each. Stir in the vanilla extract.
- Slowly add the dry flour mixture to the butter mixture. Mix on low speed until just combined, being careful not to overmix.
- Divide the cookie dough into 2-3 balls for easier handling.
- On a lightly floured surface, roll out each dough ball until it is approximately ¼ inch thick. Use a pumpkin cookie cutter (or other Halloween shapes) to cut out the cookies. Gather and re-roll any dough scraps until all dough is used.
- Line a cookie sheet with parchment paper. Carefully move the cut-out cookies to the prepared baking sheet using a metal spatula.
- Bake for 7-8 minutes, or until the edges are very lightly browned (just a slight change in color).
- Let the cookies cool on the pan for 5 minutes, then carefully transfer them to a wire rack to cool completely (about 10 minutes) before decorating.
For the Frosting:
- In a large mixing bowl, beat together the softened butter, sifted powdered sugar, milk, and vanilla extract until smooth and creamy.
- Place approximately ¼ of the white frosting into a small bowl and dye it black with food coloring. Dye the remaining ¾ of the frosting orange with orange food coloring.
- Once cookies are completely cool, frost each with an even layer of the orange frosting.
- Transfer the black frosting into a piping bag fitted with a small round tip. Use the piping bag to draw Jack-o’-lantern faces (eyes, nose, mouth) onto each orange-frosted cookie.
- Allow the frosting to dry and set on the cookies before storing or serving. Enjoy your spooktacular treats!
Recipe Notes
Store leftover cookies in an airtight container at room temperature for up to 1 week. Ensure frosting is completely dry before stacking.
Nutrition Facts
Calories: 248 kcal | Carbohydrates: 41g | Protein: 2g | Fat: 9g | Saturated Fat: 5g | Polyunsaturated Fat: 0.4g | Monounsaturated Fat: 2g | Trans Fat: 0.3g | Cholesterol: 36mg | Sodium: 94mg | Potassium: 26mg | Fiber: 0.4g | Sugar: 31g | Vitamin A: 280IU | Calcium: 20mg | Iron: 1mg
