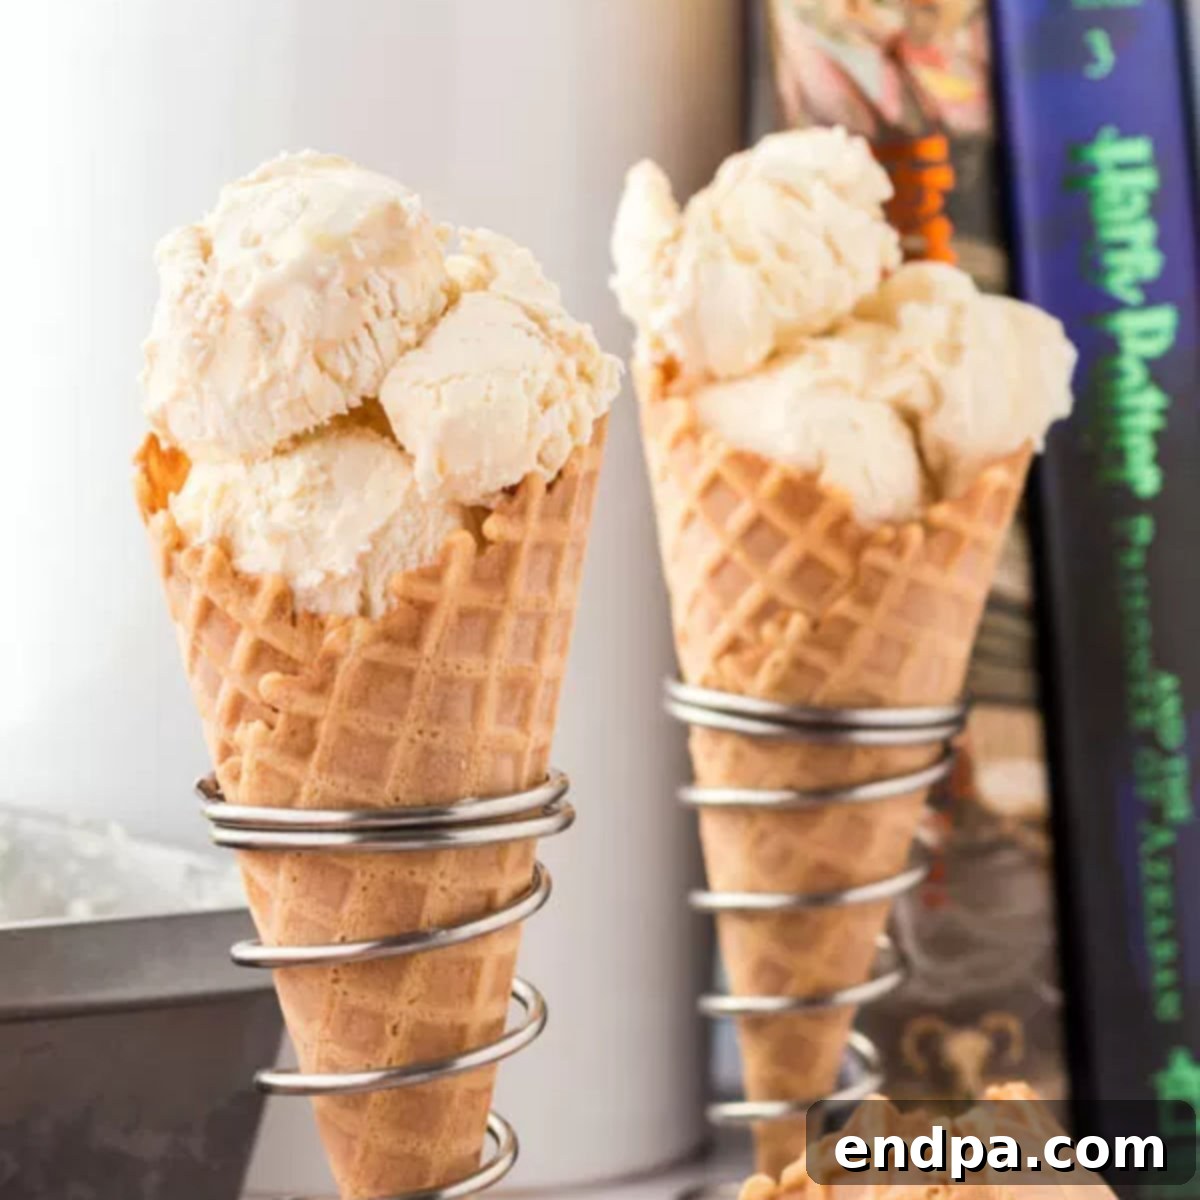
Step into the enchanting world of witchcraft and wizardry with our incredible **Harry Potter Butterbeer Ice Cream** recipe. This delightful treat, inspired by the famous concoction served at Universal Studios, brings the magic of Hogsmeade directly to your home. Indulgently rich and wonderfully creamy, this homemade Butterbeer ice cream is surprisingly simple to make, requiring no special equipment like an ice cream machine. Prepare to enjoy this wizarding delicacy year-round, whenever the craving strikes!
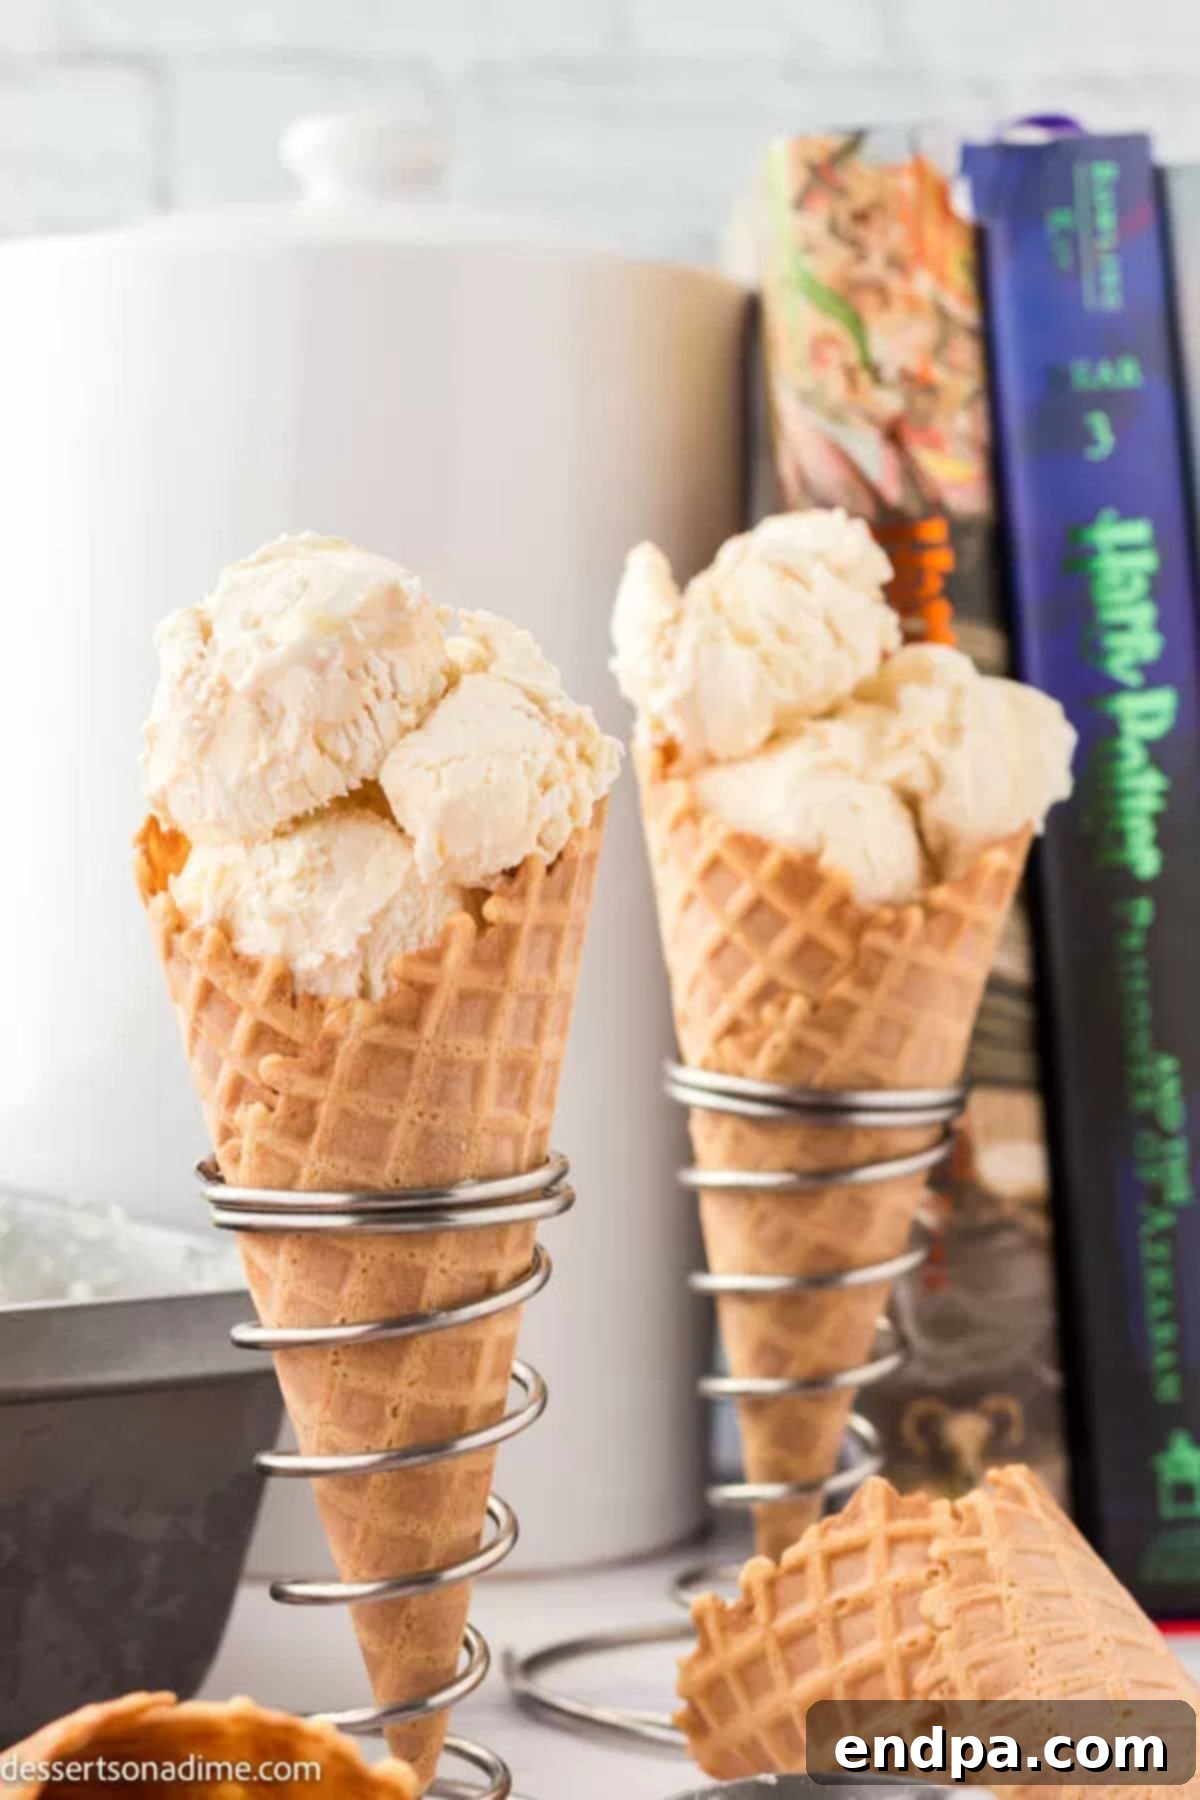
Fans of J.K. Rowling’s iconic wizarding saga will undoubtedly fall head over heels for this easy, no-churn ice cream dessert. Imagine savoring the enchanting flavors of a classic Butterbeer beverage, transformed into a smooth, soft-serve style ice cream. It’s the perfect way to bring a piece of the Wizarding World of Harry Potter into your home without needing an expensive trip or specialized gear. This recipe is designed for maximum flavor and minimal fuss, ensuring a magical experience for every aspiring witch, wizard, or Muggle.
Table of Contents
- Why You’ll Adore This Butterbeer Ice Cream
- What Does Butterbeer Taste Like?
- Essential Ingredients for Your Magical Ice Cream
- How to Craft Your Own Butterbeer Ice Cream
- Serving & Topping Ideas for a Perfect Treat
- Pro Tips for Wizarding Success
- Storage and Make-Ahead Options
- The Universal Studios Inspiration
- Butterbeer Ice Cream: Frequently Asked Questions
- Explore More Harry Potter-Inspired Recipes
- More Homemade Ice Cream Delights
Why You’ll Adore This Butterbeer Ice Cream
While the authentic Butterbeer ice cream experience is a highlight of visiting Universal Studios, this simple recipe allows fans to recreate that magic anytime, anywhere. What makes this particular recipe so beloved? It boils down to a few key factors:
- Simplicity: You only need 5 basic ingredients, most of which you likely already have in your pantry.
- No Special Equipment: Forget about needing an expensive or bulky ice cream maker. This is a true no-churn recipe, relying on common kitchen tools.
- Authentic Flavor: We’ve captured the distinct, enchanting taste of Butterbeer – a delightful blend of cream soda and butterscotch.
- Effortless Process: There are no complicated steps, no need for tempering egg yolks, or any fancy techniques. It’s truly beginner-friendly.
- Accessibility: Enjoy the wizarding world’s most famous frozen treat without traveling to Universal Orlando Resort or Hollywood.
This recipe transforms readily available ingredients into a dessert that tastes like it came straight from Diagon Alley. It’s perfect for Harry Potter movie marathons, themed parties, or simply satisfying a sweet tooth with a touch of magic.
What Does Butterbeer Taste Like?
For those uninitiated in the delights of Butterbeer, imagine a magical blend of flavors that perfectly balances sweet and rich notes. The base flavor is reminiscent of a creamy vanilla or cream soda, smooth and inviting. This is exquisitely complemented by a distinct butterscotch undertone, often described as a warm, caramelly, and slightly buttery taste. When transformed into ice cream, these flavors become even more decadent, creating a dessert that’s both refreshing and deeply satisfying.
It’s a nostalgic taste for many, instantly transporting them to the bustling streets of Hogsmeade or the cozy corners of the Three Broomsticks. Kids and adults alike are captivated by its unique charm and delicious profile. Making it into ice cream takes this iconic beverage to a whole new level of frozen delight, perfect for enjoying while revisiting your favorite Harry Potter book or film.
Essential Ingredients for Your Magical Ice Cream
Creating this enchanting Butterbeer ice cream requires just a handful of straightforward ingredients. The magic truly lies in how these simple components come together to form a rich and complex flavor.

- Heavy Whipping Cream (Chilled): This is the foundation of our no-churn ice cream, providing the necessary fat content for a luscious, creamy texture. Ensure it’s thoroughly chilled before whipping for optimal volume and stability.
- Sweetened Condensed Milk (Chilled): Not only does this add significant sweetness, but it also contributes to the ice cream’s smooth consistency and prevents ice crystals from forming, eliminating the need for an ice cream maker. Chilling it beforehand helps maintain the cold temperature of the mixture.
- Unsalted Butter (Real Butter is Key): Real butter is essential for developing that distinctive, rich butterscotch flavor. It melts beautifully into the sauce, adding depth and a velvety mouthfeel.
- Brown Sugar (Packed): Brown sugar provides the signature caramel notes critical to Butterbeer’s taste. Its molasses content adds moisture and a deeper, more complex sweetness than white sugar. Learn about brown sugar substitutes here.
- Pure Vanilla Extract: A good quality vanilla extract enhances all the other flavors, adding a warm, aromatic finish to both the butterscotch sauce and the overall ice cream. Always opt for pure vanilla for the best taste.
A note on ingredients: while the recipe calls for specific amounts, ensuring your heavy cream and sweetened condensed milk are well-chilled before you begin is a small but crucial step that greatly aids in achieving the perfect fluffy consistency when whipped. The complete, precise measurements are provided in the full recipe card below.
How to Craft Your Own Butterbeer Ice Cream
Creating this magical Butterbeer ice cream is an enjoyable process that yields delicious results. Follow these straightforward steps to bring this wizarding delight to life in your kitchen.
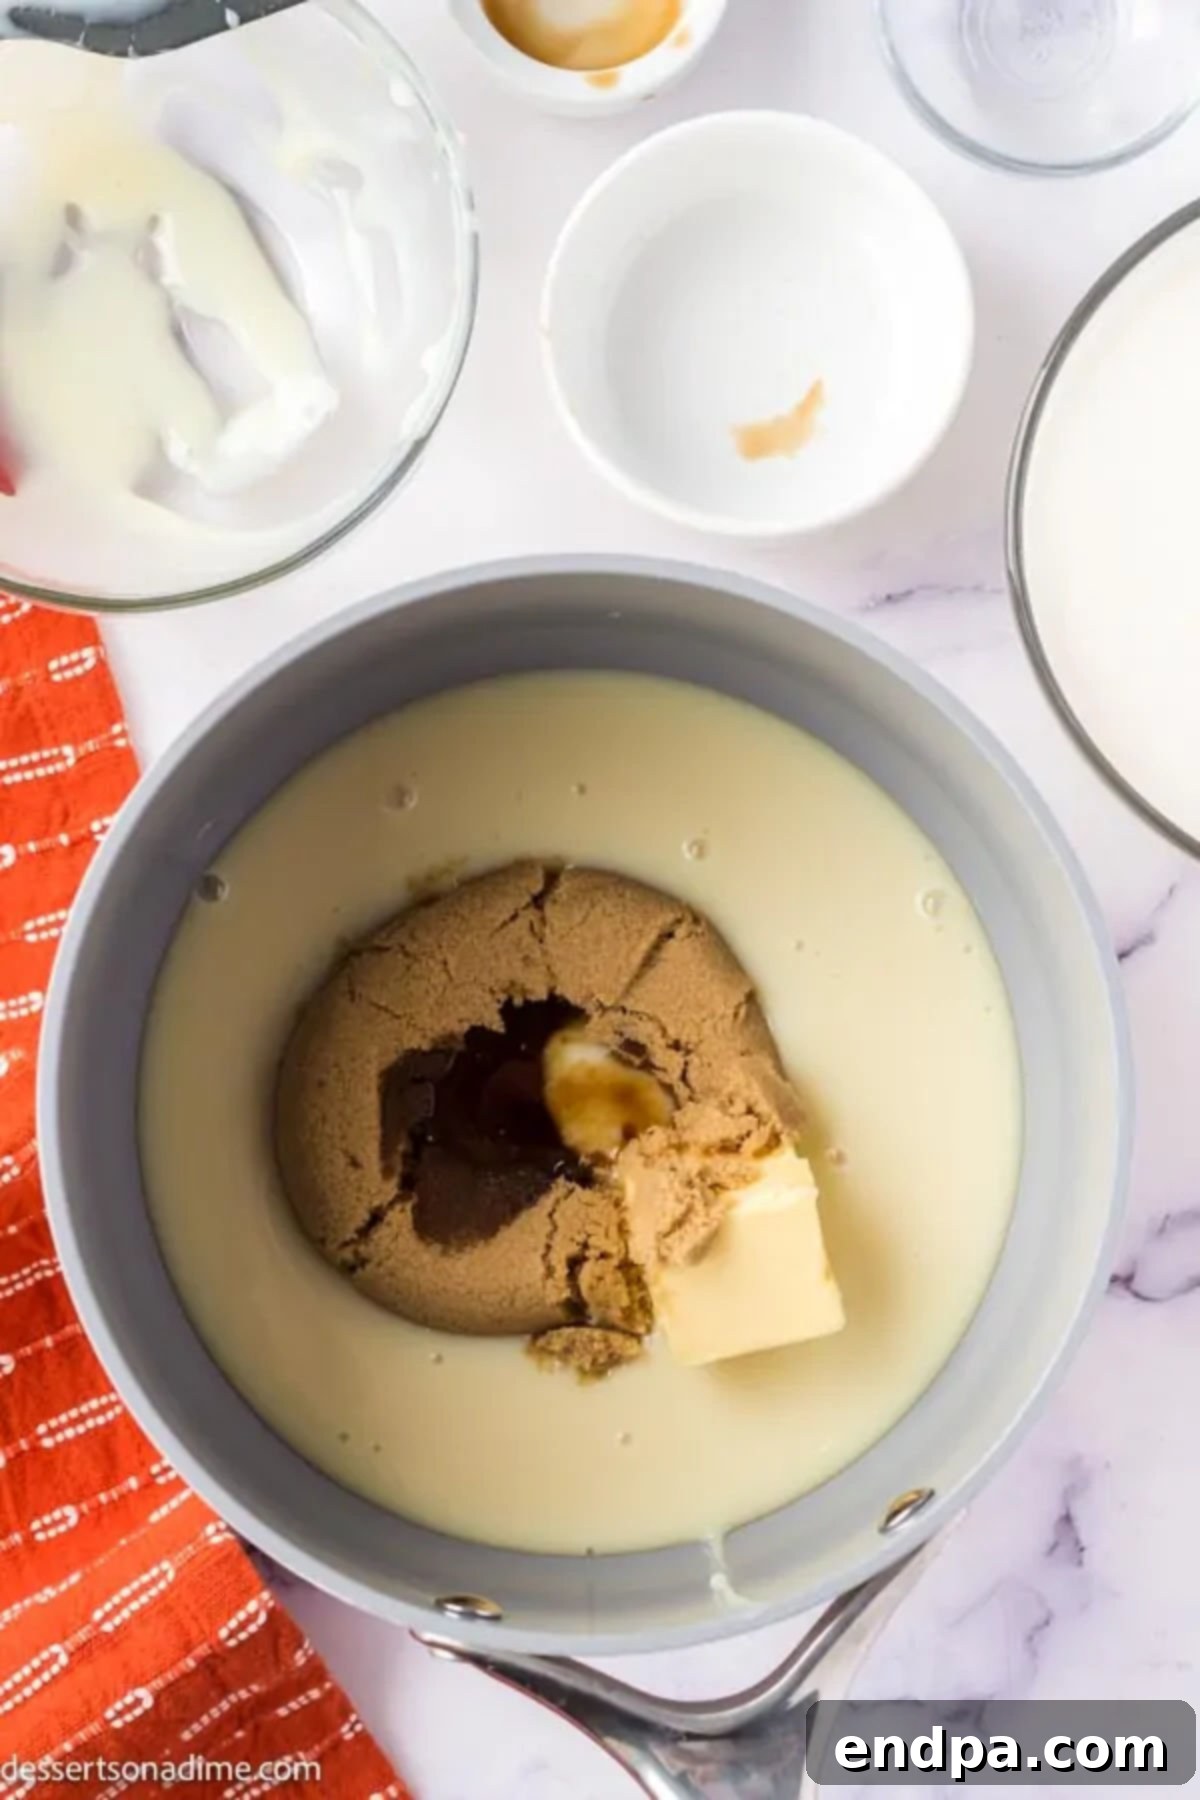
Step 1: Prepare the Butterscotch Sauce. In a small saucepan, combine the butter, brown sugar, vanilla extract, and a quarter cup of the heavy whipping cream. Place the saucepan over low to medium heat. Whisk these ingredients frequently to ensure they melt together smoothly and prevent burning. This mixture will become the rich, butterscotch backbone of your ice cream.
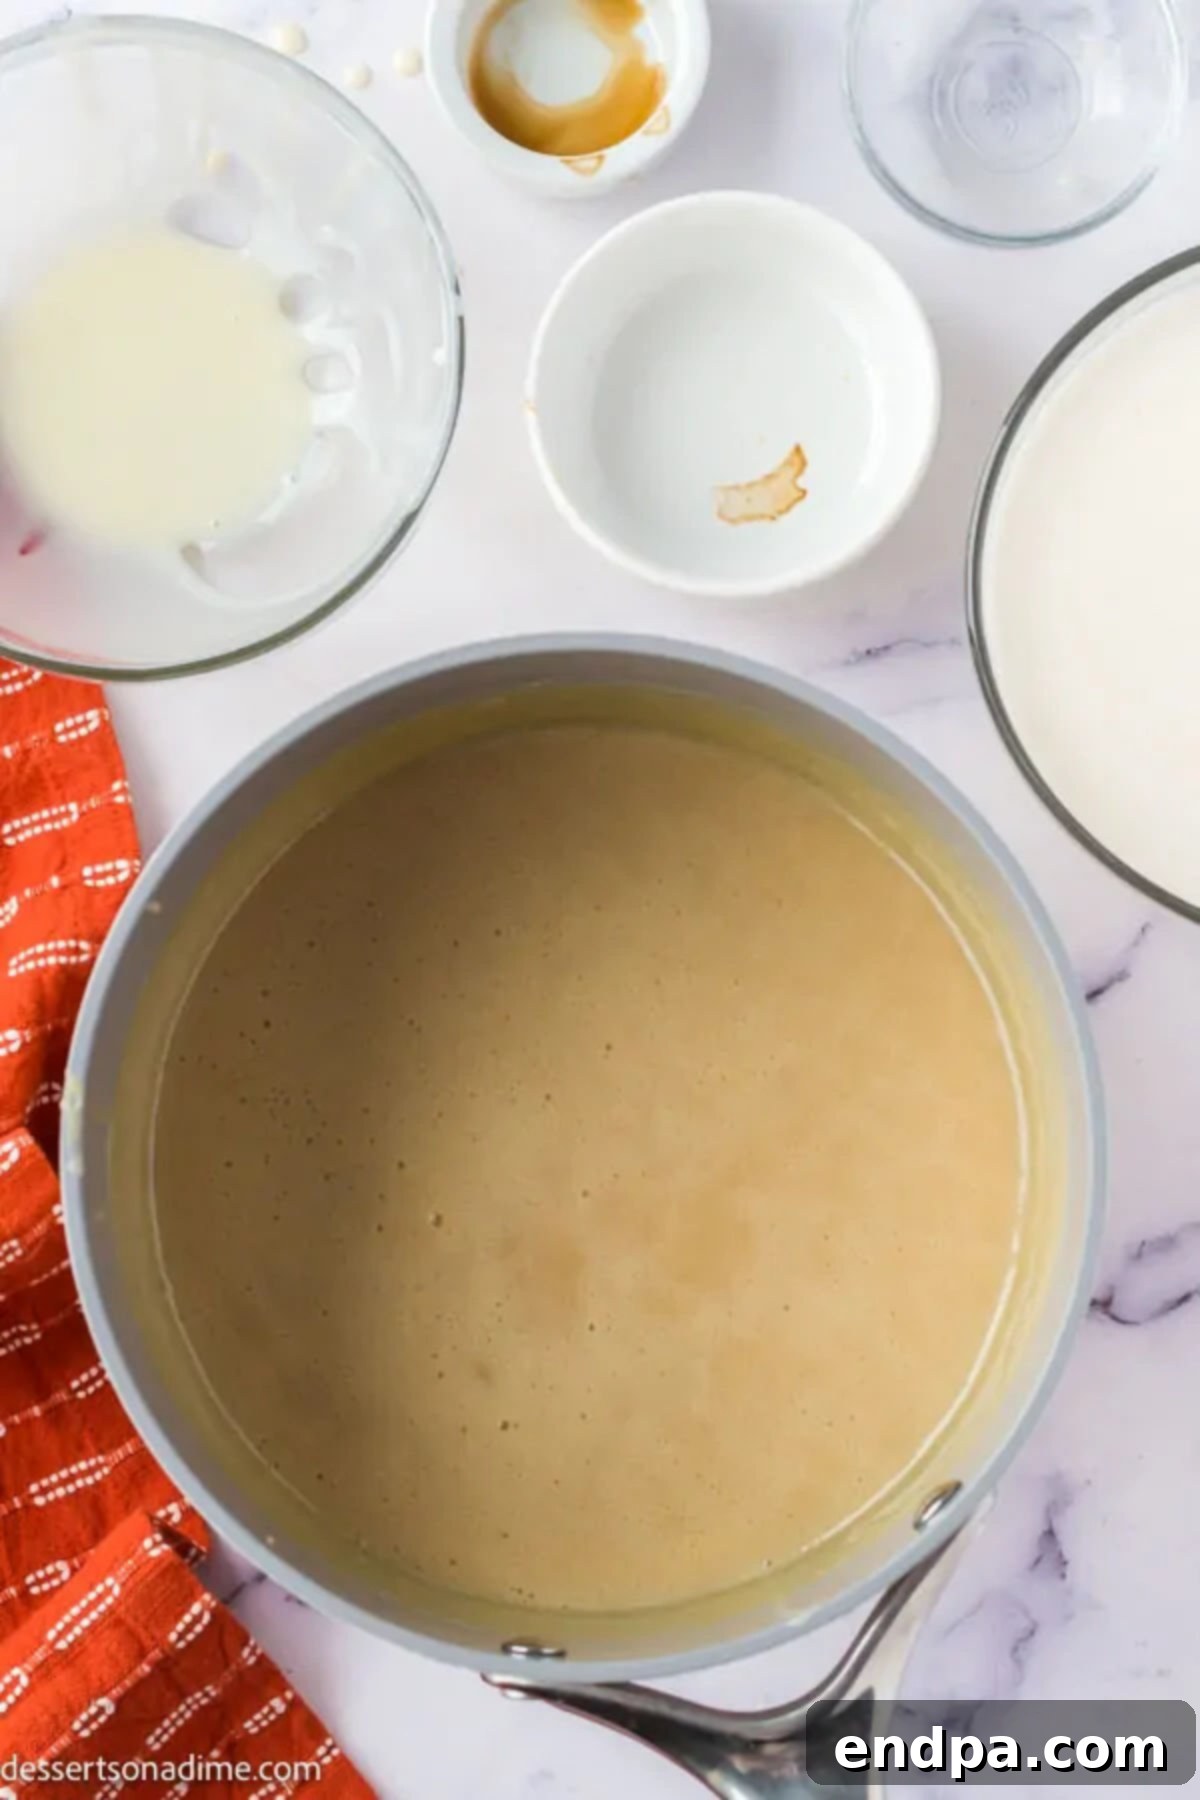
Step 2: Cook and Cool the Sauce. Continue to cook the sauce for approximately 15 minutes, or until it thickens sufficiently to coat the back of a spoon. This cooking time allows the flavors to meld and deepen. Once it reaches the desired consistency, remove the saucepan from the heat and set it aside. It’s crucial to let this butterscotch sauce cool completely to room temperature before adding it to the whipped cream mixture, as warm sauce can cause the cream to deflate.
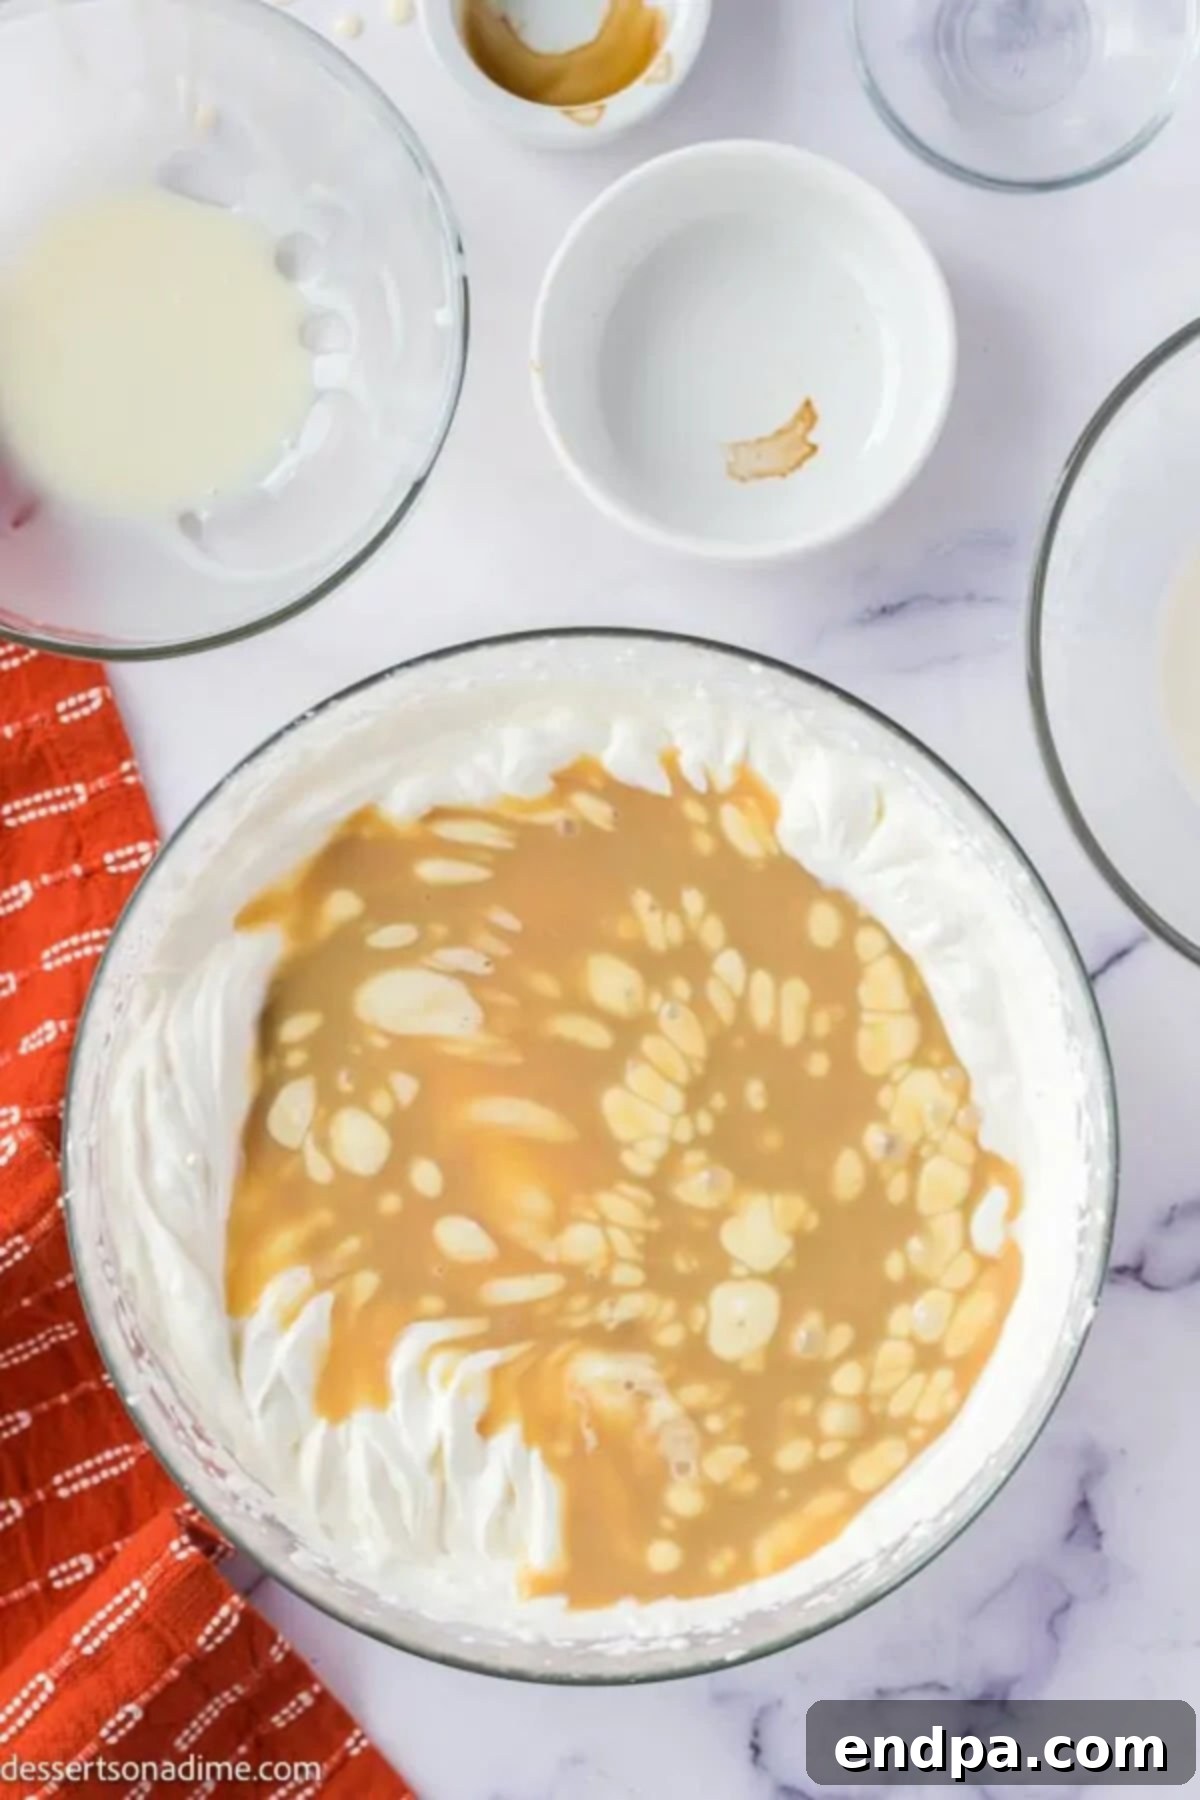
Step 3: Whip the Cream and Combine. In the bowl of a stand mixer (or using a hand mixer), pour the remaining chilled heavy whipping cream. Beat the cream on high speed until it forms stiff peaks. This means when you lift the beaters, the cream stands up firmly. Next, gently fold in the chilled sweetened condensed milk. Continue to beat the mixture until it becomes thick and fluffy. Finally, incorporate the cooled butterscotch sauce (reserving a small amount for drizzling later), whipping until just combined. Be careful not to overmix at this stage.
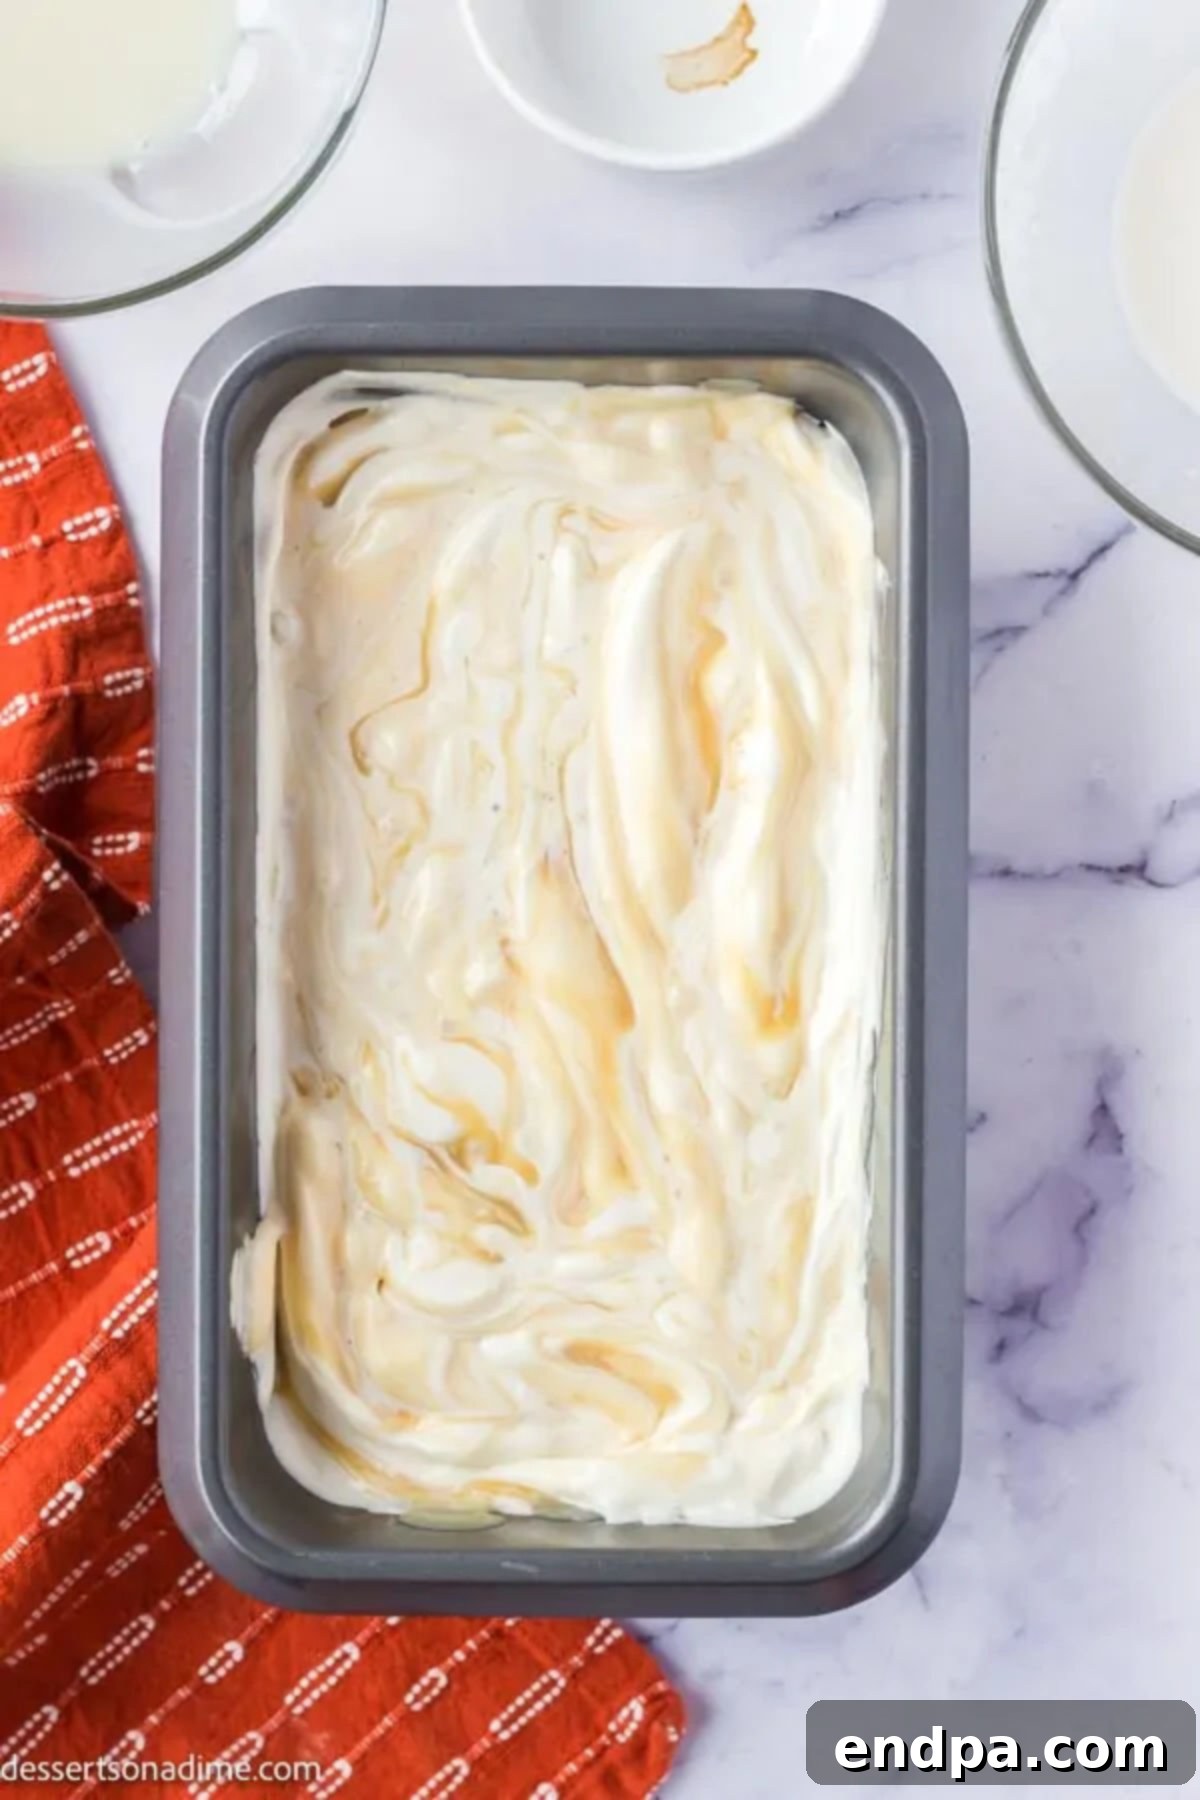
Step 4: Prepare for Freezing. Carefully spread the fluffy ice cream mixture into a standard loaf pan or an airtight freezer-safe container. Take the small amount of butterscotch sauce you reserved and drizzle it artfully over the top of the ice cream. Using a butter knife or skewer, gently swirl the sauce into the ice cream for a beautiful marbled effect, but avoid mixing it in completely. This creates pockets of concentrated butterscotch flavor.
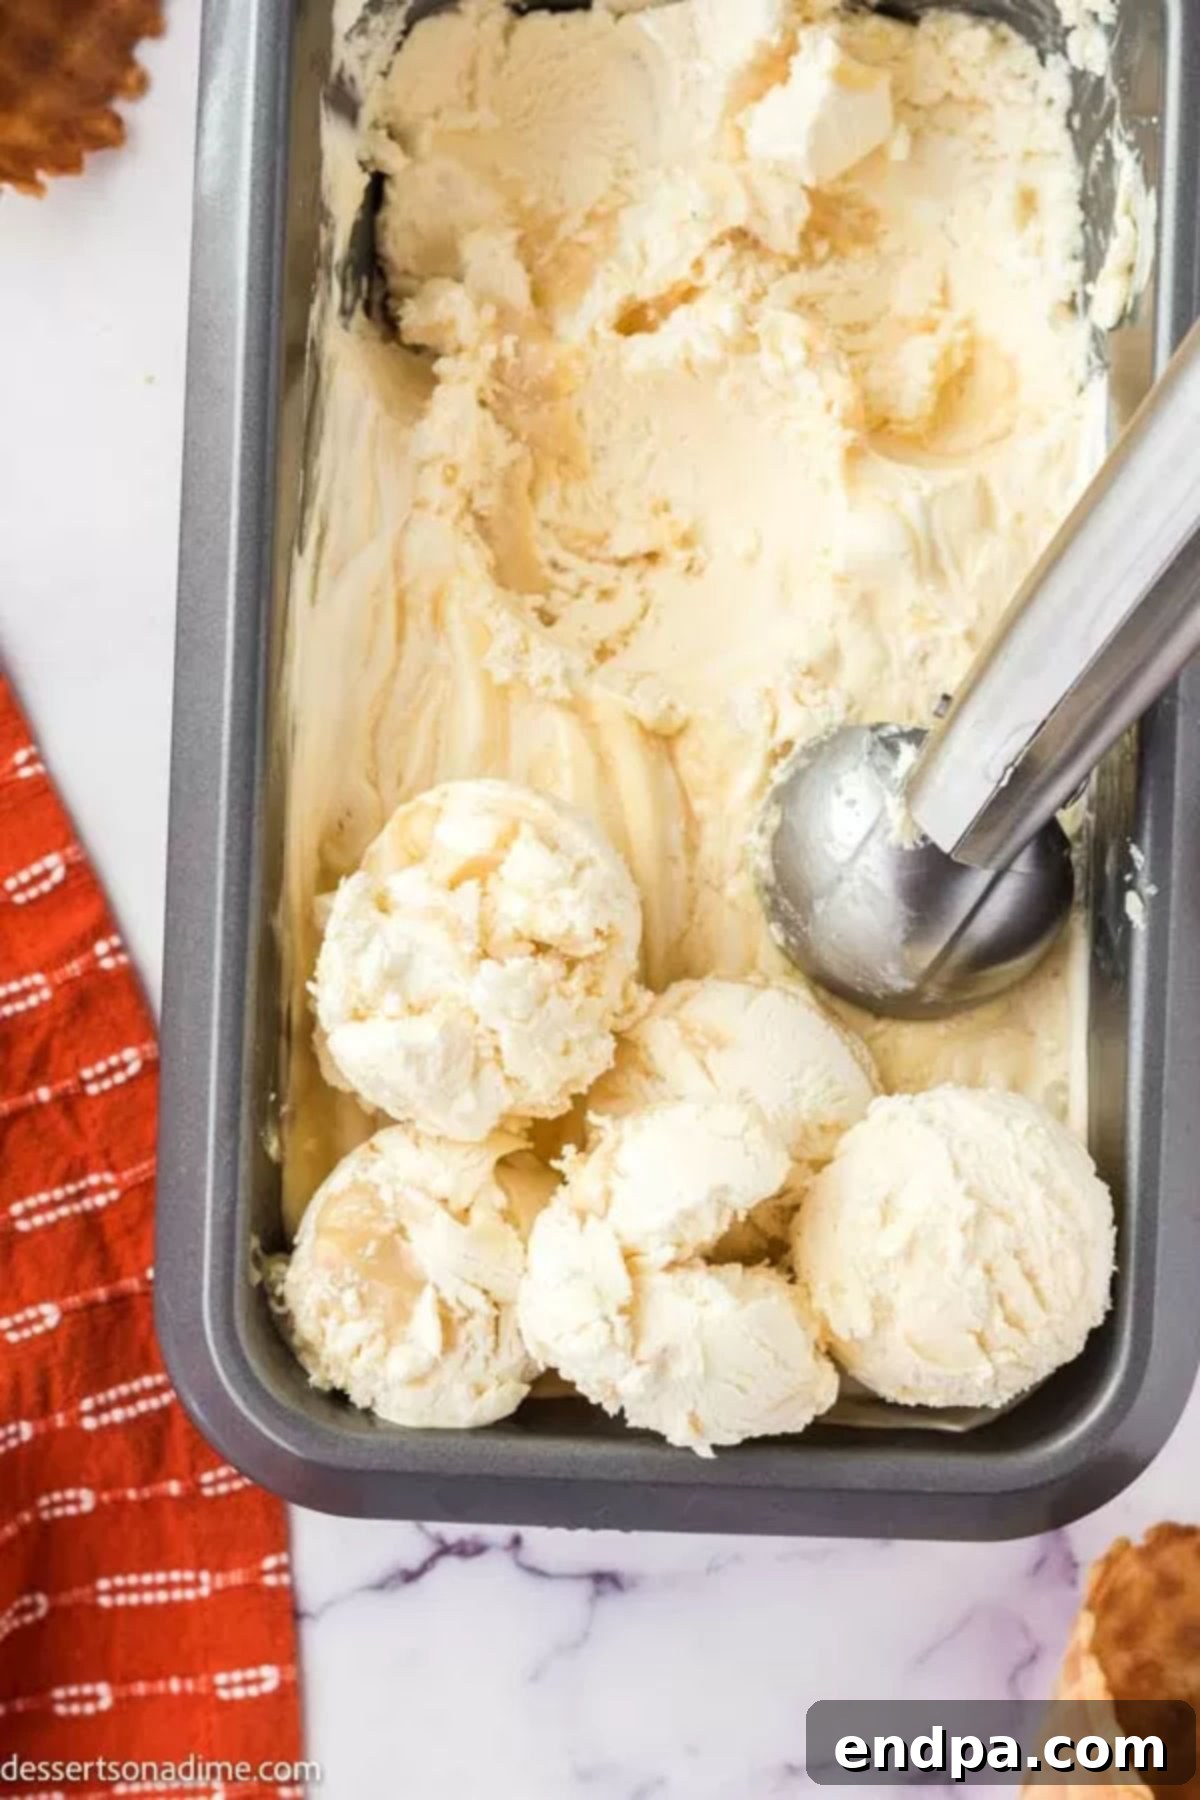
Step 5: Freeze to Perfection. Cover the loaf pan tightly with plastic wrap or a lid. Transfer the pan to the freezer and allow the ice cream to set. For the best texture and firmness, freeze the ice cream for at least 5 hours, but ideally, leave it overnight. The longer freeze time ensures it’s thoroughly chilled and solidified for easy scooping.
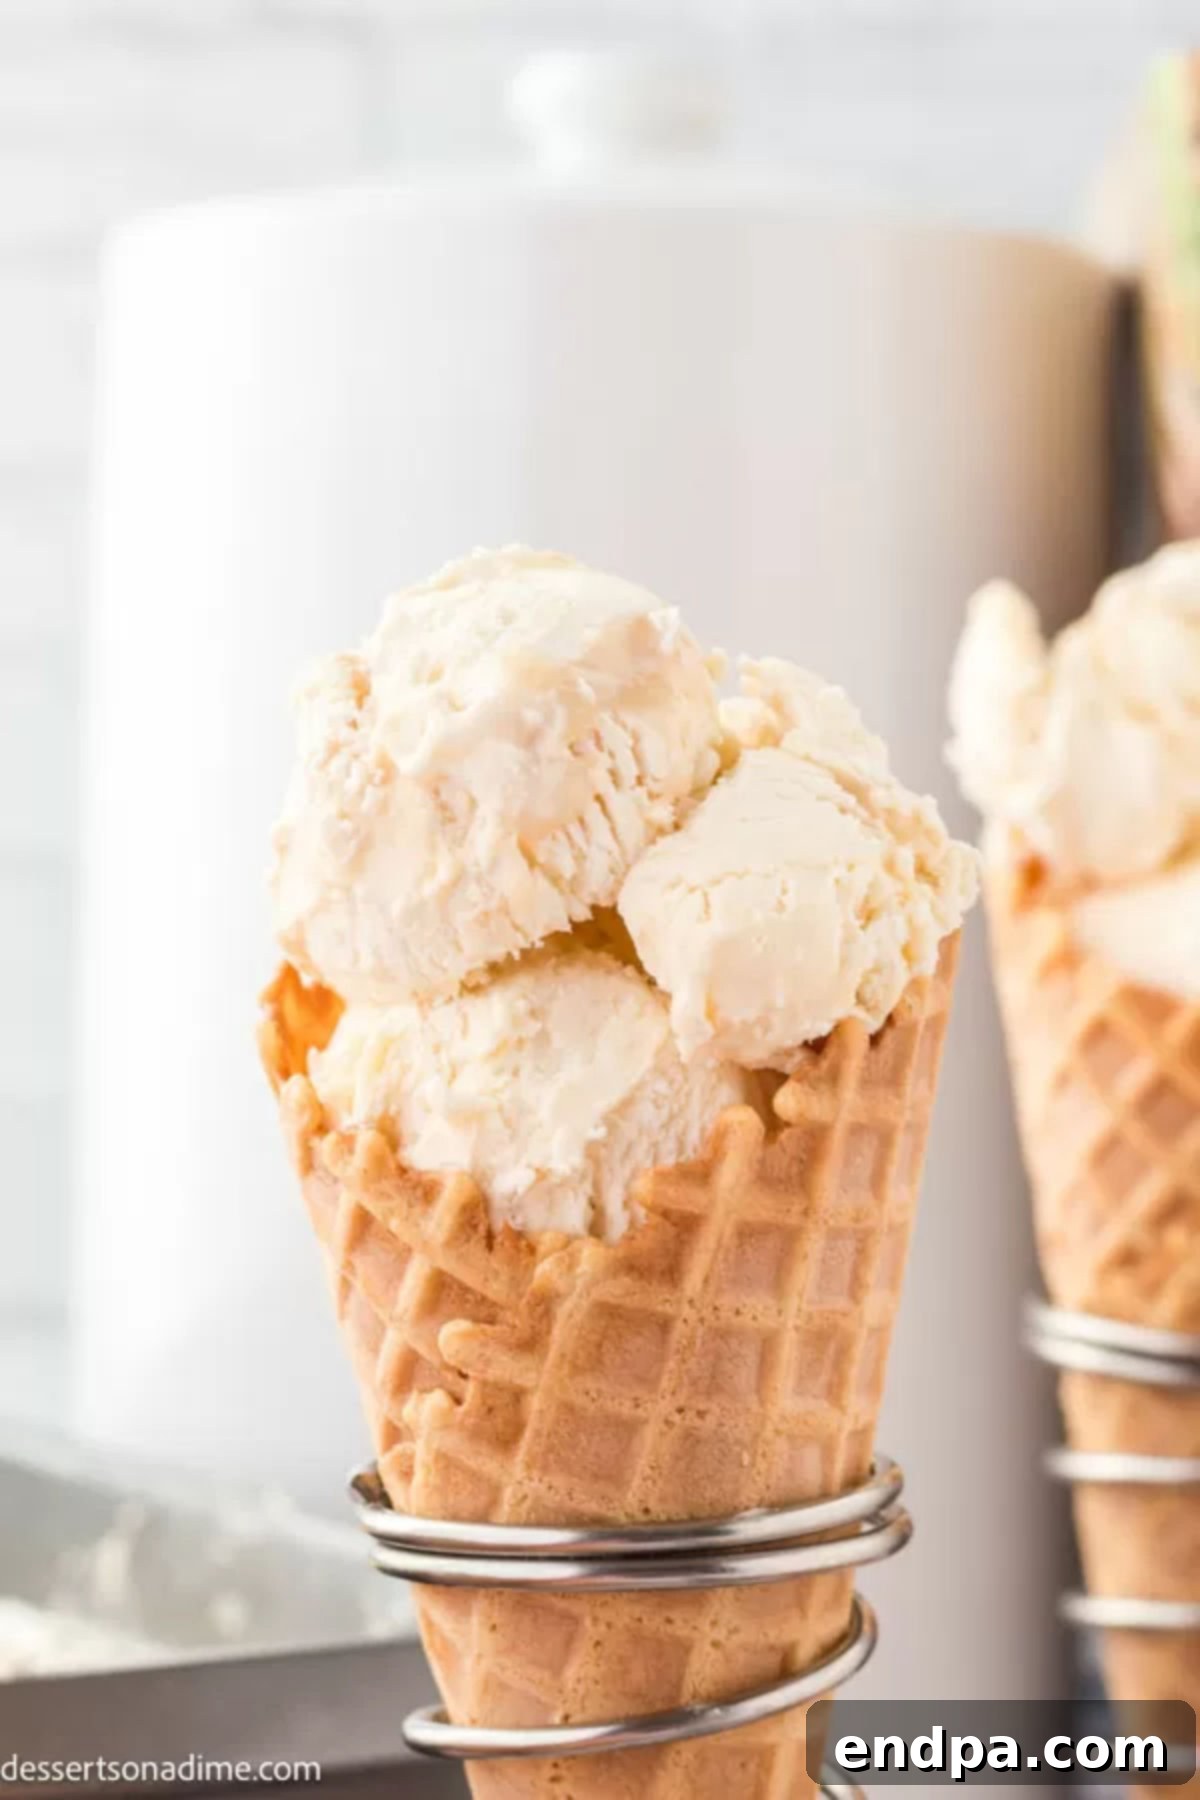
Step 6: Scoop and Serve. Once fully frozen, remove the ice cream from the freezer. Allow it to sit at room temperature for a few minutes to soften slightly, making it easier to scoop. Serve this magical Butterbeer ice cream in cones, bowls, or as part of an elaborate sundae, and prepare for a taste of pure wizarding delight!
Serving & Topping Ideas for a Perfect Treat
While Butterbeer ice cream is absolutely divine on its own, adding a few thoughtful toppings can elevate the experience even further. Get creative and customize your magical dessert!
- Chopped Nuts: A sprinkle of crunchy chopped pecans or walnuts adds a fantastic textural contrast and complements the butterscotch flavor beautifully.
- Whipped Cream: A generous dollop of whipped topping is always a classic ice cream accompaniment. Use store-bought for convenience or make your own homemade whipped cream. For an extra wizarding touch, try flavoring homemade whipped cream with a hint of rum extract (non-alcoholic) or a splash of pure vanilla.
- Chocolate Chips: Whether you prefer mini or regular-sized chocolate chips, they offer a delightful chocolatey bite that pairs surprisingly well with the sweet Butterbeer flavors.
- Extra Butterscotch Syrup: If you’re a true butterscotch enthusiast, an additional drizzle of warm butterscotch syrup will amplify the flavor profile, making for an even more decadent treat.
- A Classic Cherry on Top: Don’t underestimate the simple charm of a maraschino cherry. It adds a pop of color and a touch of traditional ice cream parlor nostalgia.
- More Ideas: For an even wider array of options, explore more ice cream sundae toppings to find your perfect magical combination!
Pro Tips for Wizarding Success
Achieving the perfect creamy, dreamy Butterbeer ice cream is easy with a few insider tricks. Keep these pro tips in mind for consistently magical results:
- Chill Your Mixing Bowl and Whisk: Before you start whipping the heavy cream, place your mixing bowl and whisk attachment in the freezer for 10-15 minutes. A super-chilled environment helps the heavy cream whip up faster and achieve stiffer, more stable peaks. This leads to a lighter, airier ice cream base.
- Do Not Overmix the Cream: Once the heavy whipping cream forms stiff peaks, stop beating. Overmixing can cause the cream to become grainy or even turn into butter, which will negatively affect the texture of your ice cream.
- Ensure Butterscotch Sauce is Fully Cooled: This is critical! Adding warm butterscotch sauce to your whipped cream mixture will cause the cream to deflate, resulting in a less airy and icy ice cream. Allow it to cool completely to room temperature, or even slightly chill it, before incorporating.
- Artful Butterscotch Swirl: For a beautiful presentation and delightful pockets of concentrated flavor, use a butter knife or a skewer to gently swirl the reserved butterscotch topping into the ice cream. Avoid vigorous mixing; you want distinct ribbons, not a fully integrated blend. This creates that lovely marbled appearance.
- Freeze Overnight for Best Texture: While a minimum of 5-6 hours of freezing is sufficient for the ice cream to set, freezing it overnight (10-12 hours) will yield the best, most consistently firm, and creamy texture. Patience truly pays off here.
- Create a Butterbeer Ice Cream Float: For an extra special treat, place a scoop or two of your homemade Butterbeer ice cream into a glass and top it with about one cup of cream soda. The fizz of the soda combined with the melting ice cream creates an irresistible, fizzy, and creamy delight, reminiscent of the original Butterbeer beverage.
Storage and Make-Ahead Options
Proper storage is key to maintaining the creamy texture and delicious flavor of your homemade Butterbeer ice cream. With the right technique, you can enjoy this treat for an extended period.
Always store the ice cream in an airtight, freezer-safe container. To prevent freezer burn and keep it as fresh as possible, I highly recommend placing a layer of plastic wrap directly on the surface of the ice cream before securing the lid. This creates an additional barrier against ice crystals and air exposure.
When stored correctly, your Butterbeer ice cream will maintain its quality for up to 3 months in the freezer. This makes it an excellent make-ahead dessert for parties, special occasions, or simply to have a magical treat on hand whenever the mood strikes.
The Universal Studios Inspiration
The concept of Butterbeer comes directly from the beloved Harry Potter series, where it’s a popular drink among young witches and wizards. When Universal Studios brought the Wizarding World to life, Butterbeer became a tangible, must-try experience for fans. The drink, available in both cold and frozen varieties, quickly became a sensation, prompting many to wonder how they could recreate the magic at home.
This no-churn Butterbeer ice cream recipe is our tribute to that iconic Universal Studios treat. We’ve meticulously crafted it to capture the unique blend of cream soda and butterscotch that makes the original so enchanting. By making it at home, you get to experience the delight and nostalgia of the Wizarding World without leaving your kitchen, offering a delicious, frozen escape for all Harry Potter aficionados.
Butterbeer Ice Cream: Frequently Asked Questions
Here are answers to some common questions about making and enjoying your homemade Butterbeer ice cream:
Can I make this ice cream dairy-free?
Yes, you can! Substitute the heavy whipping cream with full-fat coconut cream (chilled overnight and scoop out the thick cream) and use a dairy-free sweetened condensed milk alternative. Ensure your butter is also dairy-free. The flavor might be slightly different but still delicious.
Why is my ice cream not freezing firm enough?
Several factors could be at play. Ensure your heavy cream was whipped to stiff peaks and all ingredients were thoroughly chilled. Also, make sure your freezer is set to its coldest setting and allow ample time for freezing, preferably overnight. Overmixing the whipped cream can also lead to a less stable, softer set.
Can I add alcohol to this Butterbeer ice cream?
While Butterbeer is traditionally non-alcoholic in the books and at Universal, you could add a very small amount of rum or butterscotch schnapps to the butterscotch sauce while it’s cooling, but be careful not to add too much, as alcohol can inhibit freezing. A rum extract is a safer, non-alcoholic way to add a similar flavor.
What’s the best way to scoop frozen ice cream?
If your ice cream is very firm from freezing overnight, let it sit on the counter for 5-10 minutes before attempting to scoop. You can also run your ice cream scoop under hot water for a few seconds before each scoop to make it glide through more easily.
Explore More Harry Potter-Inspired Recipes
The magic doesn’t have to stop with ice cream! Dive deeper into the culinary wonders of the wizarding world with these other fantastic Harry Potter-themed recipes:
- Harry Potter Butterbeer Fudge Recipe
- Harry Potter Butterbeer Cookies
- Harry Potter Hot Butter Beer Recipe
- Harry Potter Cupcakes
More Homemade Ice Cream Delights
If you’ve enjoyed making this no-churn Butterbeer ice cream, you’ll love exploring other homemade ice cream recipes that are just as easy and delicious:
- Cinnamon Toast Crunch Ice Cream
- Snickerdoodle Ice Cream Recipe
- Homemade S’mores Ice Cream Recipe
- Cookie Monster Ice Cream Recipe
Now it’s your turn to unleash your inner wizard in the kitchen and try this fun and utterly delicious Butterbeer ice cream recipe. We’d love to hear about your magical creations!
Butterbeer Ice Cream
Ingredients
- 2 ¼ cups heavy whipping cream chilled divided
- 14 oz sweetened condensed milk chilled
- 2 oz butter
- ½ cup brown sugar
- ½ tsp vanilla extract
Instructions
- In a small pan over medium-low heat, combine your butter, brown sugar, vanilla extract and ¼ cup heavy whipping cream. Stirring frequently, cook your butterscotch sauce for 15 minutes, or until it coats the back of a spoon. Set aside to cool to room temperature.
- In the bowl of a stand mixer, whip the remaining heavy whipping cream until it holds stiff peaks. Add the sweetened condensed milk and continue whipping until thick and fluffy. Add your cooled butterscotch sauce (leaving a small amount for drizzling over the top) and whip until just combined.
- Pour your butterscotch ice cream into a loaf pan. Drizzle the remaining butterscotch over the top and swirl with a butter knife. Place your ice cream in the freeze and allow to set overnight (or at least 5-6 hours).
