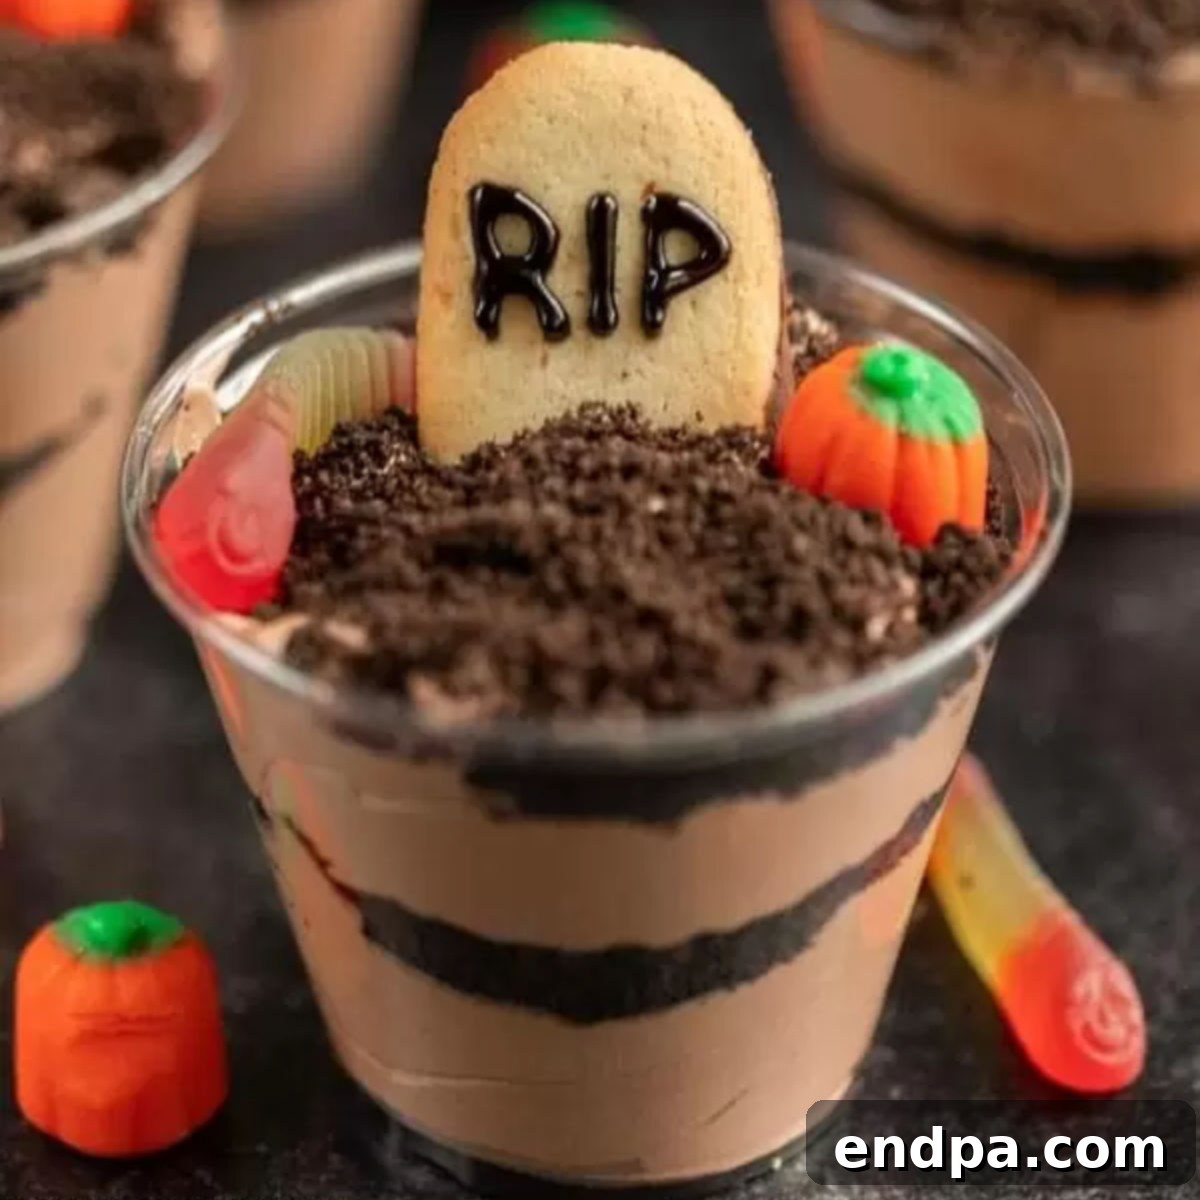
Get ready to conjure up some magic with these incredibly fun and deliciously spooky Halloween Dirt Cups! This no-bake treat is an absolute winner with kids and adults alike, making it the perfect dessert for your next Halloween gathering. Imagine layers of rich, creamy chocolate pudding, “earthy” crushed Oreo cookies, and playful candy decorations that transform a simple cup into a miniature graveyard scene. It’s a simple recipe, yet the visual impact is truly festive and sure to be a hit!
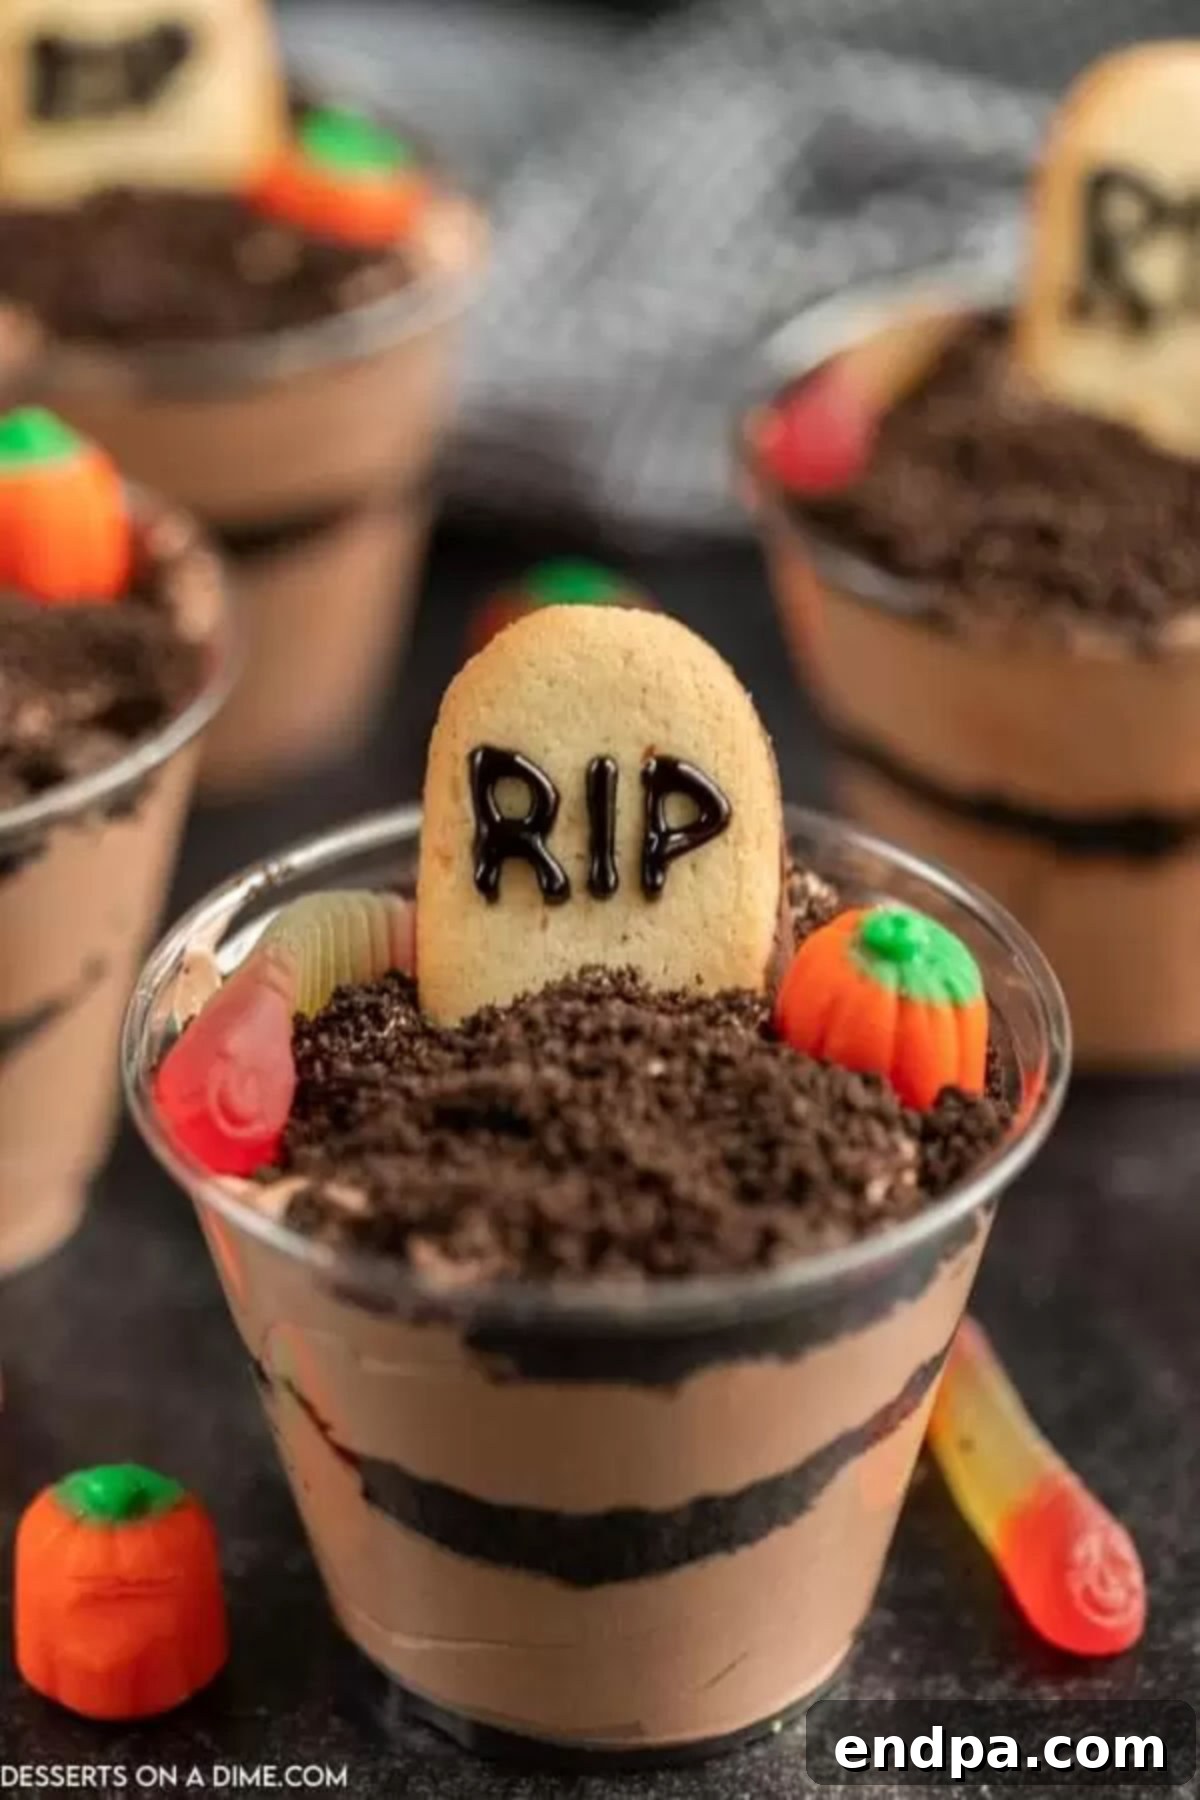
Creating these Halloween-themed delights is surprisingly straightforward, making it an ideal activity to involve the little ones in the kitchen. We recommend using clear cups to showcase the distinct layers, which adds to the overall festive and “graveyard” aesthetic. If you’re a fan of the classic Best Dirt Cups Recipe, you’ll undoubtedly adore this seasonal adaptation. For those looking for a larger, shareable dessert, be sure to also check out our Halloween Dirt Cake Recipe.
Children are especially captivated by the playful gummy worms crawling out of the “dirt” and the vibrant candy pumpkins adorning each cup. We’ve been making these delightful Oreo Dirt Cups for years, tweaking the recipe slightly each season to bring new Halloween magic. Don’t miss our comprehensive list of 49 No Bake Halloween Treats for more effortless spooky ideas!
Our passion for Easy Dessert Cup Recipes extends well beyond Halloween, but this holiday truly brings out the best in fun, individual portions. If you appreciate the simplicity and joy of no-bake Halloween treats, you’ll also love crafting Halloween Popcorn, whimsical Witch Hat Cookies, decadent Halloween Chocolate Covered Strawberries, or the ever-popular Halloween Puppy Chow! Another perennial favorite in our home is the festive Halloween Chocolate Covered Oreos Recipe, offering even more ways to celebrate the season without turning on the oven.
Table of Contents: Halloween Dirt Cups
- Why We Love This Recipe
- Ingredients for Halloween Dirt Cups
- Variations and Additions
- How To Make Halloween Dirt Cups: Step-by-Step Guide
- Storage Tips for Dirt Cups
- Pro Tips for Perfect Halloween Dirt Cups
- More Spooky Halloween Treats
- Halloween Dirt Cups Recipe Card
Why We Love This Recipe: Simple, Spooky, and Sweet!
These Halloween Dirt Cups aren’t just a dessert; they’re an experience! Their charm lies in their simplicity and irresistible appeal, making them a staple for our annual spooky celebrations. Here’s why this recipe consistently earns top marks:
- Perfect for Halloween Parties: Every Halloween party needs a show-stopping dessert, and these dirt cups deliver! They’re individually portioned, making serving a breeze, and their adorable (yet eerie) graveyard theme perfectly complements any Halloween decor. Guests, especially children, will be delighted by the creative presentation and delicious taste. Plus, they’re robust enough to sit out for a while, allowing you to focus on other party preparations.
- Effortlessly Easy to Make: The beauty of this recipe lies in its no-bake nature and minimal prep time. You won’t be slaving over a hot oven, freeing you up to enjoy the festivities. The steps are straightforward, making it an excellent recipe for beginner bakers or for getting kids involved in the kitchen. We absolutely adore No Bake Halloween Treats for their convenience, alongside other fun recipes like Candy Corn Cookies and playful Monster Donuts.
- Kid-Friendly Fun: From crushing the Oreos to strategically placing the gummy worms, this recipe offers plenty of opportunities for kids to help out. Their excitement as they assemble their own “graveyard” is truly a joy to watch, making the process as fun as the final treat!
- Customizable for Any Taste: While chocolate pudding and Oreos are classic, this recipe is incredibly versatile. You can easily switch up flavors or add different candies to suit various preferences, ensuring there’s a spooky treat for everyone.
Ingredients for Halloween Dirt Cups: Gathering Your Graveyard Components
The magic of these Halloween Dirt Cups starts with a handful of readily available ingredients, transforming them into a surprisingly sophisticated and spooky treat. You likely have most of these on hand already, simplifying your Halloween dessert planning.
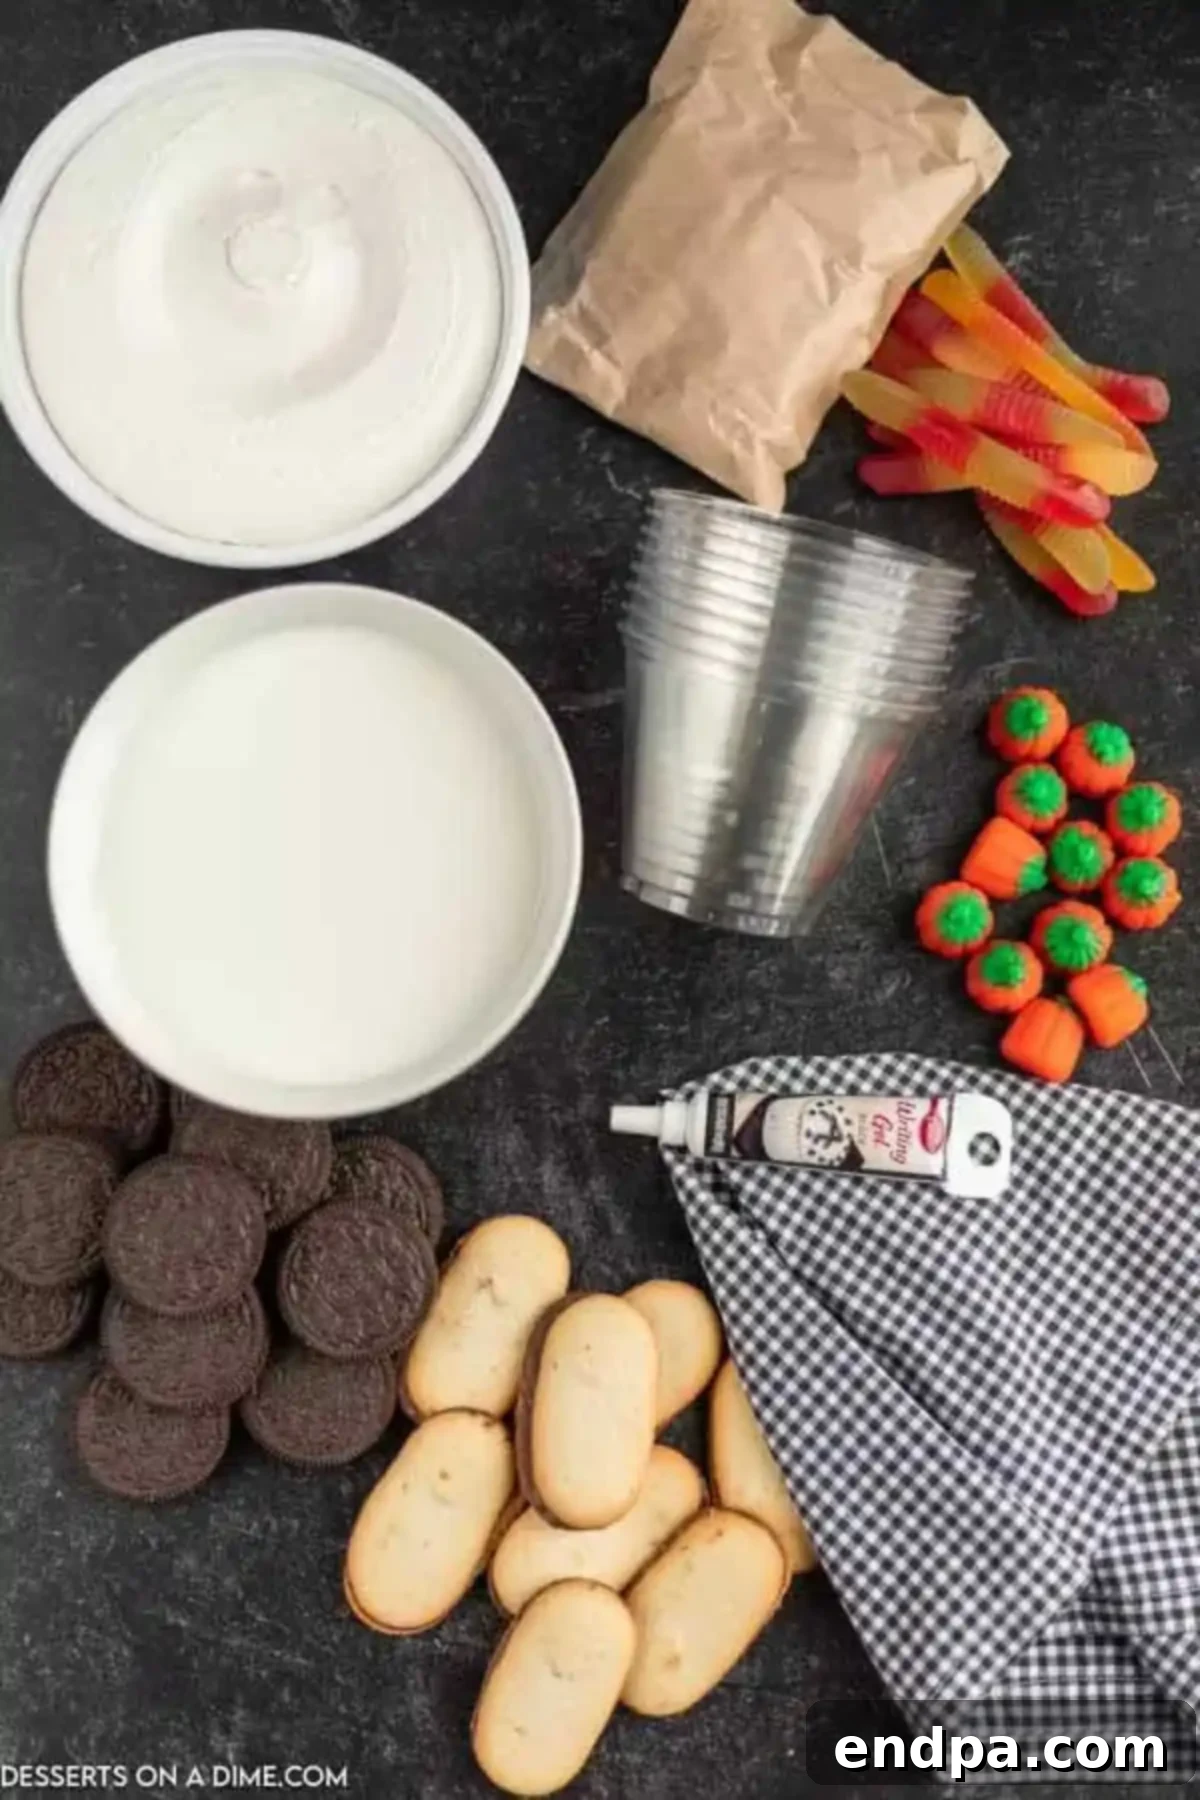
- Oreo Cookies: These iconic chocolate sandwich cookies are essential for creating the dark, crumbly “dirt” layer. Their distinct flavor perfectly complements the chocolate pudding.
- Cool Whip: A light, airy whipped topping that adds a delightful creaminess and helps create a fluffy, ethereal “cloud” layer when folded into the pudding.
- Instant Chocolate Pudding Mix: The base of our creamy dessert. Instant pudding makes this recipe incredibly quick and easy, providing a rich chocolate flavor.
- Milk: Used to prepare the instant pudding, ensuring a smooth and perfectly set consistency.
- Milano Cookies: These elegant, oblong cookies are perfect for transforming into tombstones with a simple “RIP” inscription.
- Gummy Worms and Candy Pumpkins: The fun, spooky decorations that bring the graveyard theme to life! Gummy worms appear to crawl out of the “dirt,” while candy pumpkins add a pop of Halloween color.
- Wilton Black Writing Icing: For meticulously detailing the “RIP” on your Milano cookie tombstones, adding that crucial spooky touch.
You can find the exact measurements and full ingredient list in the detailed recipe card at the very bottom of this post.
Variations and Additions: Customize Your Graveyard Creation
While the classic Halloween Dirt Cups are always a hit, feel free to get creative and personalize your graveyard dessert with these fun variations and additions:
- Festive Sprinkles: Add a burst of color and extra fun by topping each cup with Halloween-themed sprinkles. Look for orange, black, purple, or green sprinkles, or even spooky ghost and bat shapes to enhance the theme.
- Cookie Choices: While Oreos are traditional, don’t hesitate to experiment! You can use store-brand chocolate sandwich cookies, chocolate wafers, or even crushed graham crackers for a slightly different texture and flavor profile, resembling “sand” or lighter colored dirt.
- Candy Corn Delight: For a quintessential Halloween treat, sprinkle candy corn pieces on top of the cups or layer them within the pudding mixture for a sweet, festive surprise.
- Different Pudding Flavors: Not a fan of chocolate? You can easily swap the instant chocolate pudding mix for vanilla, white chocolate, or even pumpkin spice pudding mix for a unique twist.
- Edible Decorations: Beyond gummy worms and candy pumpkins, consider adding candy eyeballs, mini chocolate chips, crumbled brownie pieces, or even small plastic spiders (ensure they are food-safe and clearly distinguishable!) for extra creepiness.
- Cream Cheese Layer: For a richer, tangier pudding, you can fold softened cream cheese into the pudding and whipped topping mixture. This adds a delightful cheesecake-like texture and flavor.
- Chocolate Shavings: Instead of or in addition to crushed cookies, sprinkle a few chocolate shavings on top for a more gourmet look.
- Miniature Cups: For smaller portions or a dessert buffet, consider using shot glasses or mini clear cups for bite-sized graveyard treats.
How To Make Halloween Dirt Cups: Step-by-Step Guide
Creating these delightful Halloween Dirt Cups is a simple and enjoyable process. Follow these easy steps to assemble your spooky graveyard desserts:
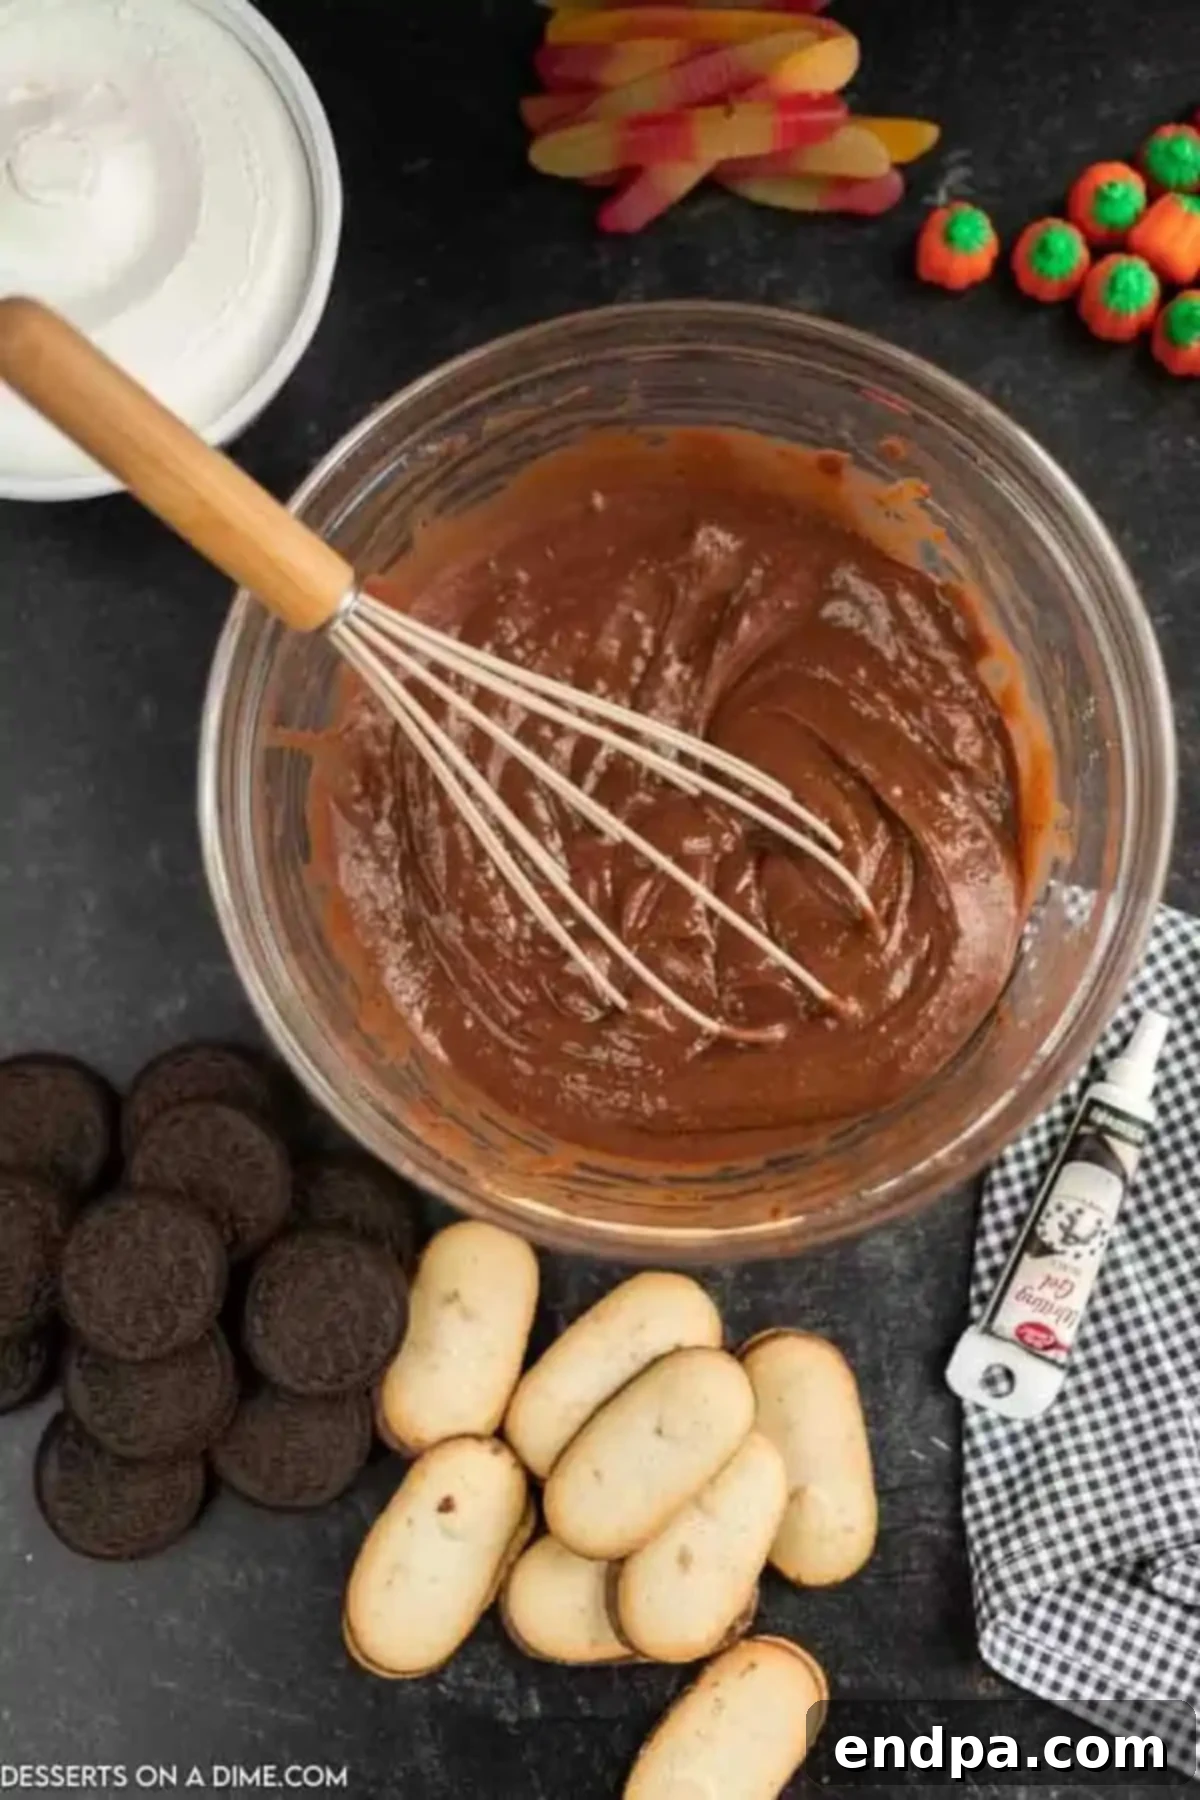
Step 1: Prepare the Pudding Base. In a medium mixing bowl, combine the instant chocolate pudding mix with the cold milk. Whisk vigorously for about 2 minutes until the mixture thickens. Place the bowl in the refrigerator for approximately 10 minutes to allow the pudding to set completely.
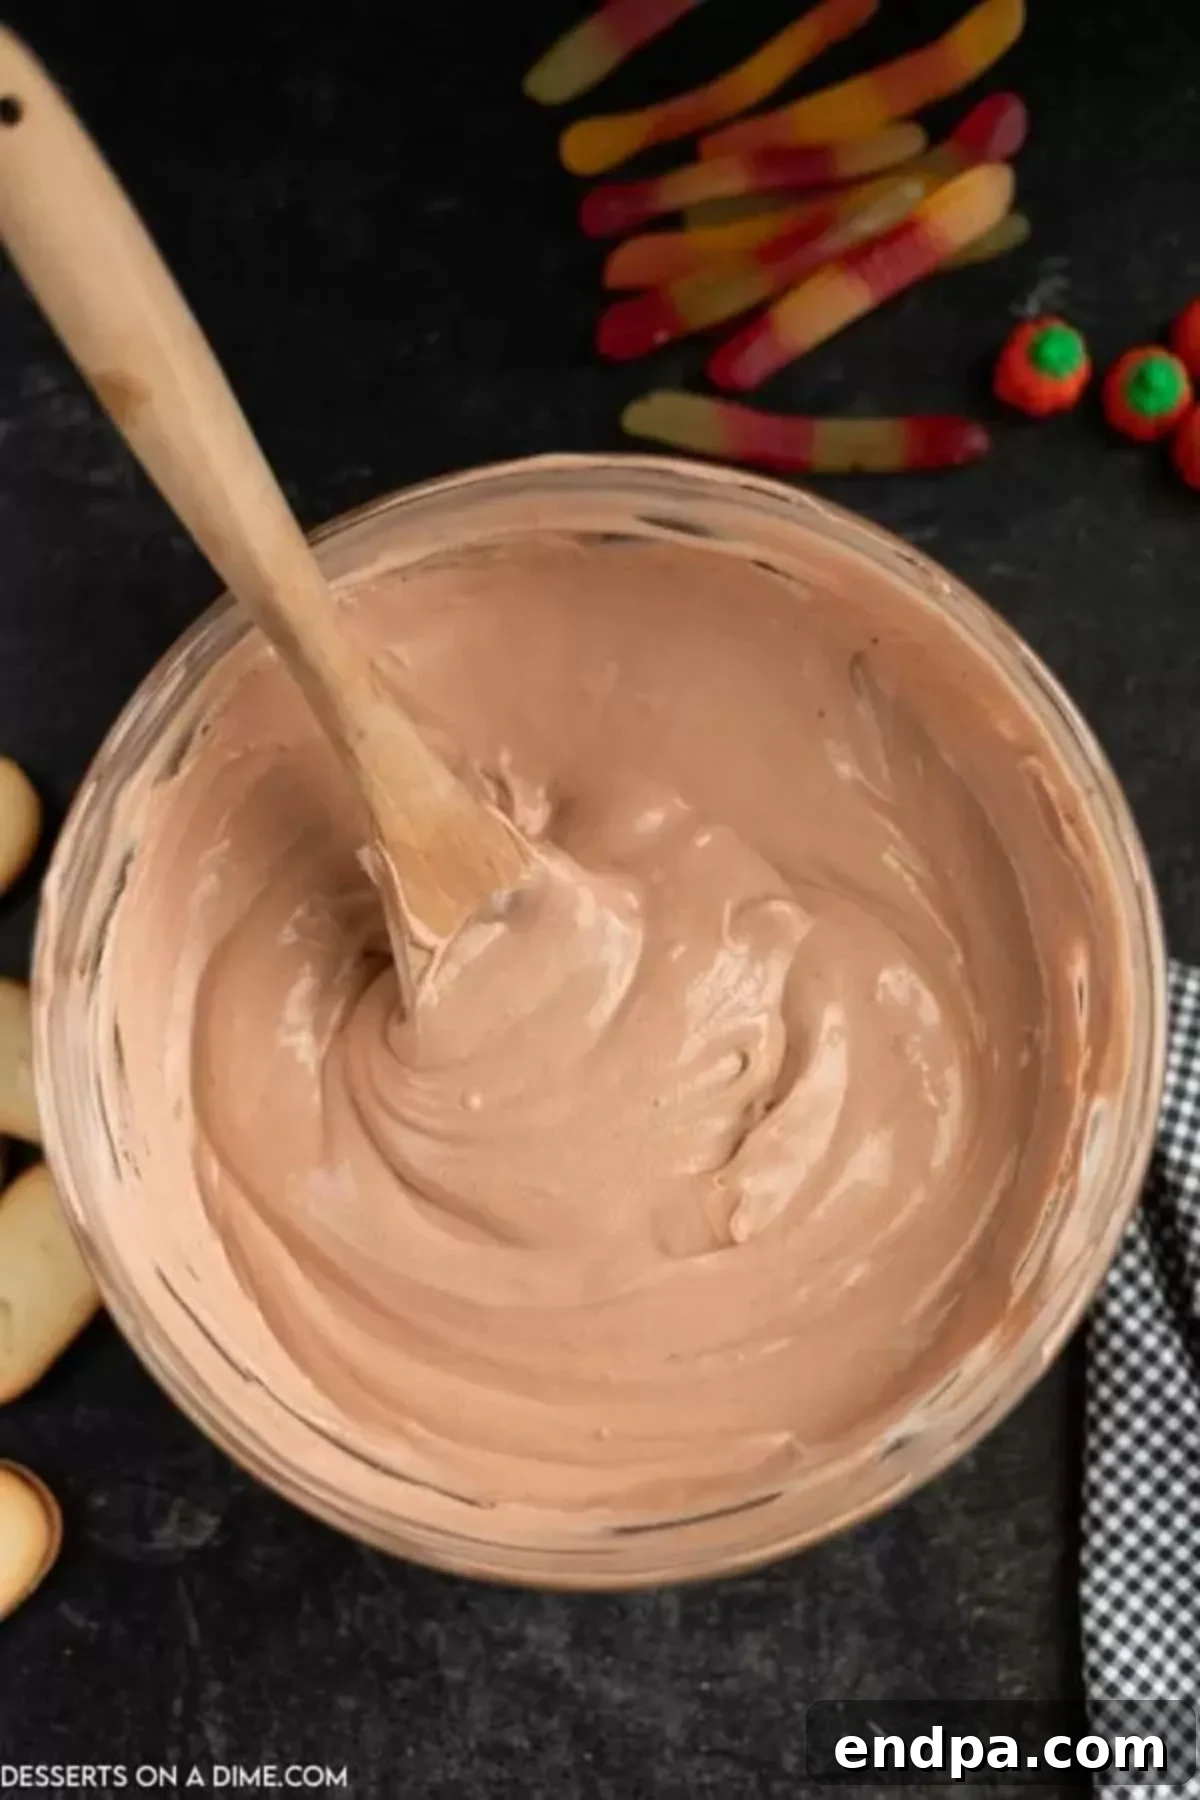
Step 2: Create the Creamy Layer. Once the pudding has set, add the entire container of Cool Whip (whipped topping) to the bowl. Gently fold it into the pudding mixture using a spatula until it is well combined and has a smooth, creamy consistency. Return this mixture to the refrigerator for another 20 minutes to ensure it is thoroughly chilled before assembly.
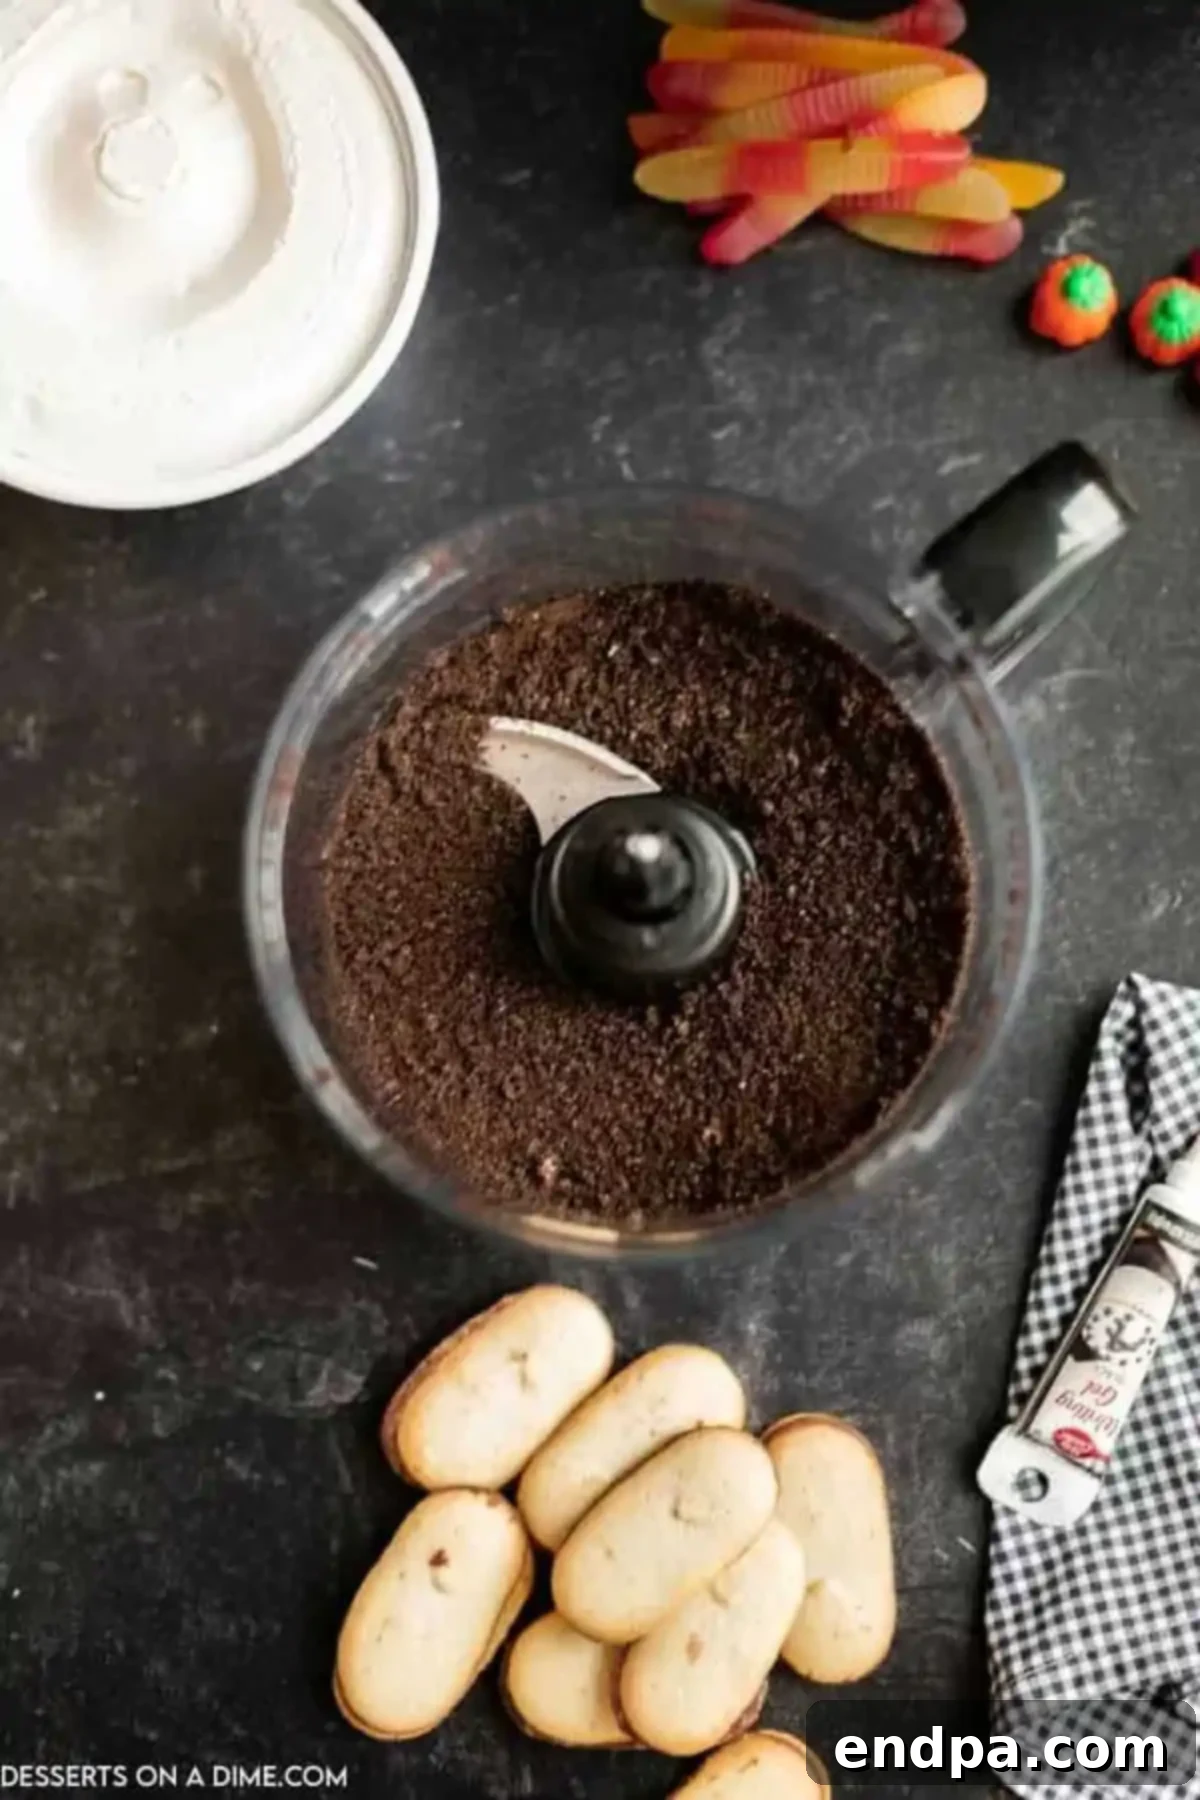
Step 3: Prepare the “Dirt” Crumbs. While your pudding mixture is chilling, take your Oreo cookies and place them in a food processor or blender. Pulse until the cookies are crushed into fine, uniform crumbs, resembling dark, rich soil. If you don’t have a food processor, a resealable bag and a rolling pin will work just as well!
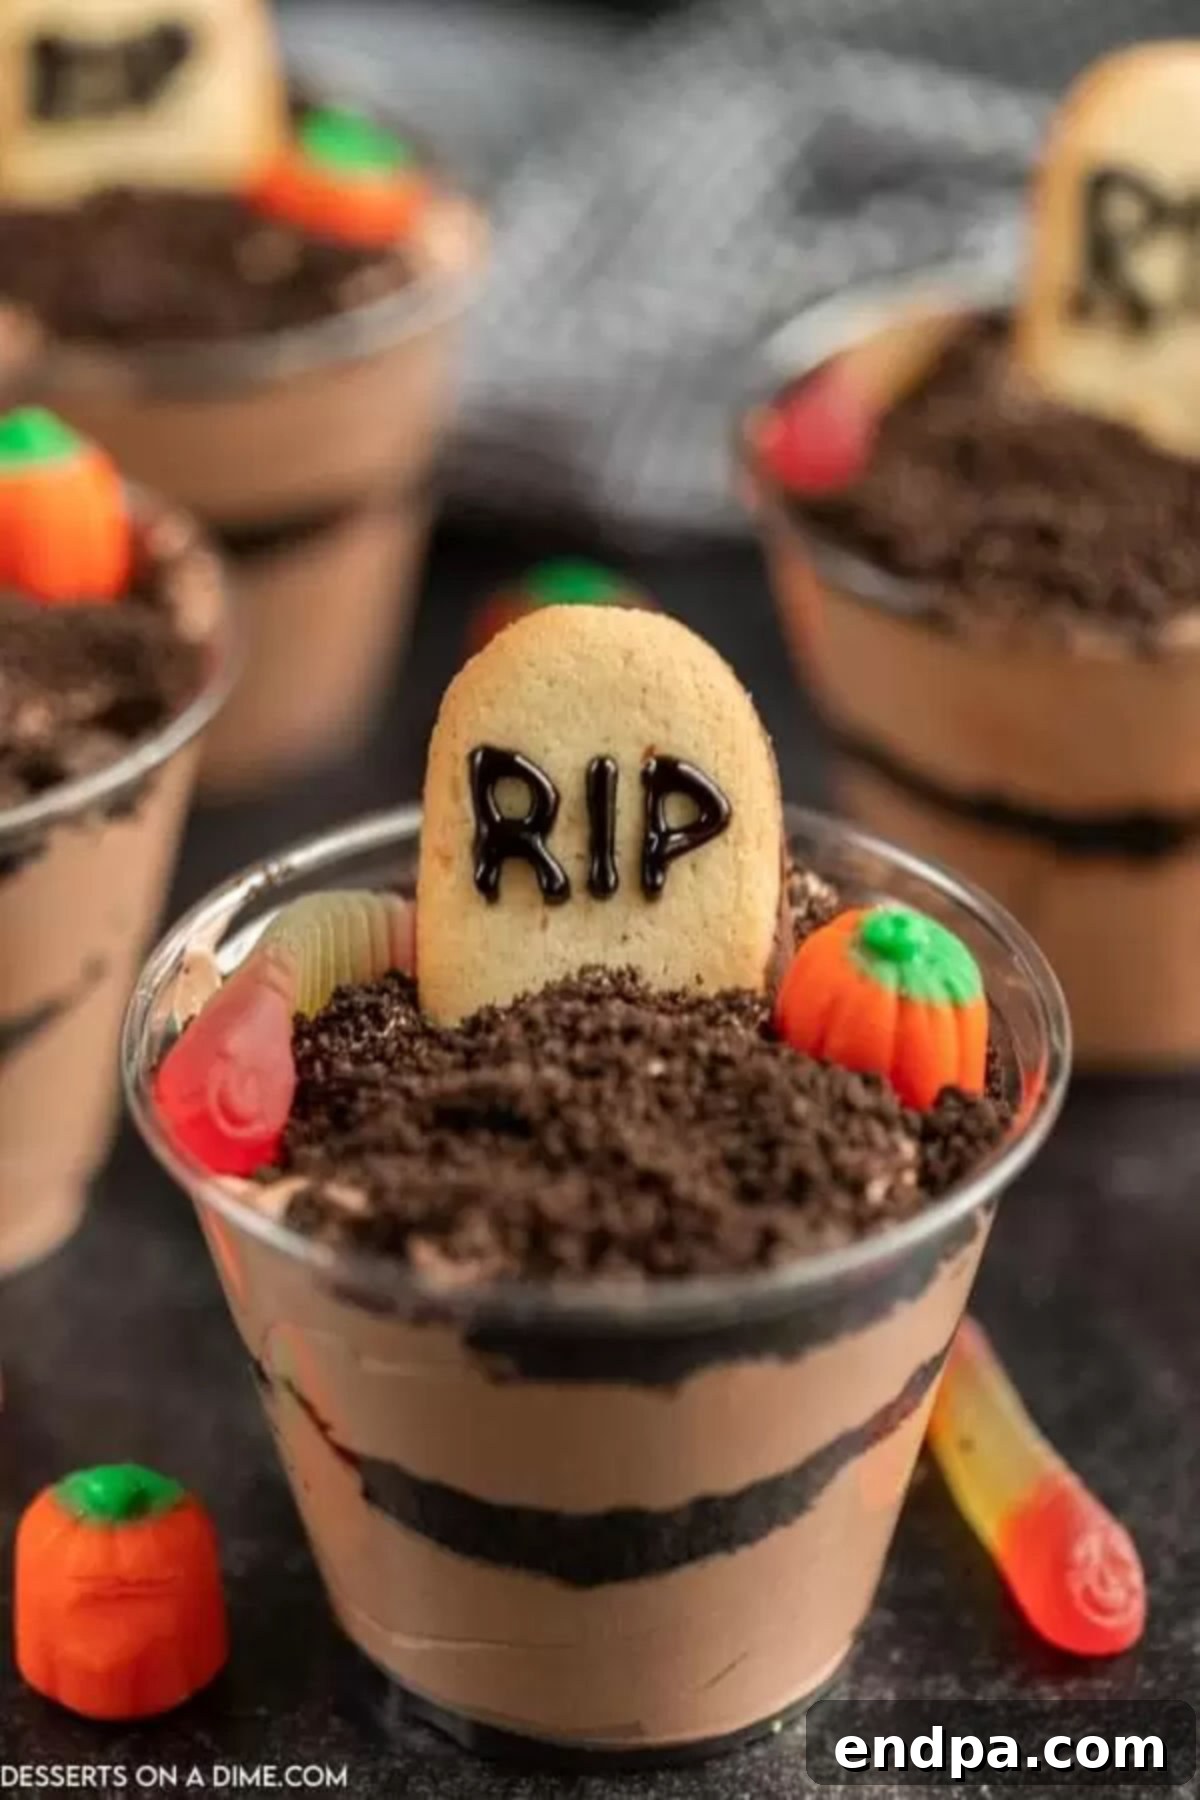
Step 4: Assemble Your Graveyard Cups. Now for the fun part! Get your clear plastic cups ready. Start by spooning a layer of the chocolate pudding mixture into the bottom of each cup, filling it approximately one-third of the way. Next, add a generous sprinkle of the crushed Oreo cookie crumbs. Repeat these layers until the cups are nearly full, ending with a layer of cookie crumbs on top to mimic fresh grave dirt.
Step 5: Decorate the Tombs. Take your Milano cookies and use the Wilton black writing icing to carefully write “RIP” on the top of each cookie. Gently insert these decorated cookies into the top layer of cookie crumbs in each cup, positioning them to resemble miniature tombstones. Finally, arrange gummy worms so they appear to be crawling out of the dirt, and place candy pumpkins for an extra festive touch. Serve immediately and enjoy your spooky creations!
Storage Tips for Dirt Cups: Keep Them Fresh and Spooky
These Halloween Dirt Cups are best enjoyed fresh, but if you have leftovers or want to prepare them slightly ahead of time, proper storage is key to maintaining their deliciousness and spooky appearance.
To store, loosely cover each individual cup with plastic wrap to prevent the pudding from drying out and absorbing odors from the refrigerator. Place them in the fridge, where they will keep well for up to 3 days. We highly recommend adding the Milano cookie tombstones, gummy worms, and candy pumpkins just before you plan to serve. This ensures the cookies stay crisp and the candies retain their vibrant colors and textures, preventing them from becoming soggy or dissolving into the pudding over time.
Pro Tips for Perfect Halloween Dirt Cups: Elevate Your Spooky Treat
Achieving the perfect balance of flavor, texture, and visual appeal in your Halloween Dirt Cups is easy with a few expert tips:
- Customizing Your Flavor Profile: While traditional Oreos and chocolate pudding create a classic dirt cup, feel free to get creative! You can easily change up the flavor by using different types of Oreo cookies (e.g., peanut butter, mint, or even golden Oreos) or by opting for different instant pudding flavors like vanilla, white chocolate, or even a seasonal pumpkin spice. Experiment to find your family’s favorite combination!
- Optimal Leftover Storage: If you find yourself with extra dirt cups (a rare occurrence!), ensure they are covered tightly with plastic wrap before refrigerating. Stored properly, they will maintain their deliciousness for up to 5 days, though the cookies may soften slightly over time.
- Strategic Party Planning: These dirt cups are fantastic for making ahead, which can significantly reduce stress on the day of a party. You can prepare the pudding and cookie layers and assemble the cups a day in advance. Just remember to hold off on adding the Milano cookie tombstones and other candy decorations until just before serving. This prevents the cookies from becoming soft and ensures all your spooky elements look their best when presented.
- No Food Processor? No Problem!: Don’t own a food processor? You can easily crush the Oreos manually. Place the cookies inside a sturdy resealable plastic bag, squeeze out as much air as possible, and seal tightly. Then, use a rolling pin or the back of a heavy wooden spoon to crush them into fine crumbs. It’s a great way to release some stress and get an arm workout!
- Enhancing Creaminess with Cream Cheese: For an even richer and slightly tangier pudding layer, consider adding 4-8 ounces of softened cream cheese to your whipped cream before folding it into the pudding. This creates a denser, more decadent texture akin to cheesecake and adds another layer of flavor. It’s a delightful addition but certainly not essential for a delicious dirt cup.
- Presentation Matters: Use clear cups to showcase the beautiful layers. Consider using various sizes, from small shot glasses for individual servings to larger clear bowls for a centerpiece display that guests can scoop from.
- Get Creative with Gravestones: Beyond Milano cookies, you can use Nutter Butter cookies, shortbread cookies, or even craft edible gravestones from melted chocolate poured into molds.
- Involve the Kids: This recipe is perfect for little helpers! Let them crush the cookies (safely!), layer the ingredients, and most importantly, decorate their own spooky graveyards. It makes the process even more enjoyable and gives them ownership of their delicious creation.
More Spooky Halloween Fun Treats
If you’re looking for more inspiration to make your Halloween celebrations extra special, explore these other fantastic and fun treat ideas:
- Halloween Spider Cookies
- Jack-O-Lantern Cupcakes
- Halloween Marshmallows
- Fast and Easy Halloween Treats
- Mummy Cake Pops
- Halloween Monster Eyeballs
These Halloween Dirt Pudding Cups are guaranteed to bring smiles and spooky delight to your kids and party guests. We encourage you to try them out this season! After you’ve whipped up your own batch of these delightful graveyard dirt cups, please come back and share your experience and comments. We’re confident you’ll love this recipe as much as we do!
Halloween Dirt Cups Recipe Card
Halloween Dirt Cups
Make these fun Halloween dirt cups for a treat the kids will love. Graveyard dirt cups are layered with pudding, cookies and more for an easy no-bake dessert.
Prep Time: 40 mins
Total Time: 40 mins
Yields: 12 servings
Cuisine: American
Course: Dessert
Calories: 200 kcal per serving
Author: Carrie Barnard
Ingredients
- 12 Oreo Cookies
- 16 oz Cool Whip (whipped topping)
- 1 box Instant Chocolate Pudding Mix (3.3 oz)
- 2 cups Milk (cold)
- 8 Milano Cookies
- Gummy Worms and Candy Pumpkins (optional, for decoration)
- Wilton Black Writing Icing
Instructions
- Whisk together the instant chocolate pudding mix and the cold milk in a medium-sized bowl for about 2 minutes. Refrigerate for approximately 10 minutes or until the pudding is set.
- Once the pudding is set, gently fold in the Cool Whip (whipped topping) until it is well combined and smooth. Refrigerate this mixture for another 20 minutes to ensure it is thoroughly chilled.
- While the pudding mixture is chilling, place the Oreo cookies in a food processor or blender. Pulse until the cookies are crushed into fine crumbs, resembling dirt.
- Prepare your clear plastic cups for assembly.
- Fill the bottom of each small cup with a layer of the chocolate pudding mixture, approximately one-third full.
- Top the pudding layer with a small amount of the crushed Oreos. Repeat these layers in all cups until they are nearly full, ending with a layer of Oreo crumbs on top.
- Take your Milano cookies and use the black writing icing to carefully write “RIP” on the top of each cookie. Insert these decorated cookies into the top Oreo layer of each cup to resemble tombstones.
- Finally, decorate your graveyard dirt cups with gummy worms (appearing to crawl out of the dirt) and candy pumpkins for a spooky and festive look.
- Serve immediately and enjoy your delicious Halloween treat!
Recipe Notes
You can easily customize this recipe by using your favorite type of Oreos and instant pudding flavors to change the taste profile based on your preference. For example, vanilla pudding with golden Oreos could offer a different “sandy” look. Leftover Halloween Dirt Cups should be covered tightly and refrigerated for up to 5 days. For best results and to prevent cookies from softening, add decorations just before serving.
Nutrition Facts
Calories: 200kcal
Carbohydrates: 33g
Protein: 4g
Fat: 6g
Saturated Fat: 3g
Trans Fat: 1g
Cholesterol: 26mg
Sodium: 246mg
Potassium: 151mg
Fiber: 1g
Sugar: 19g
Vitamin A: 173IU
Calcium: 94mg
Iron: 1mg
Pin This Now to Remember It Later
Pin Recipe
