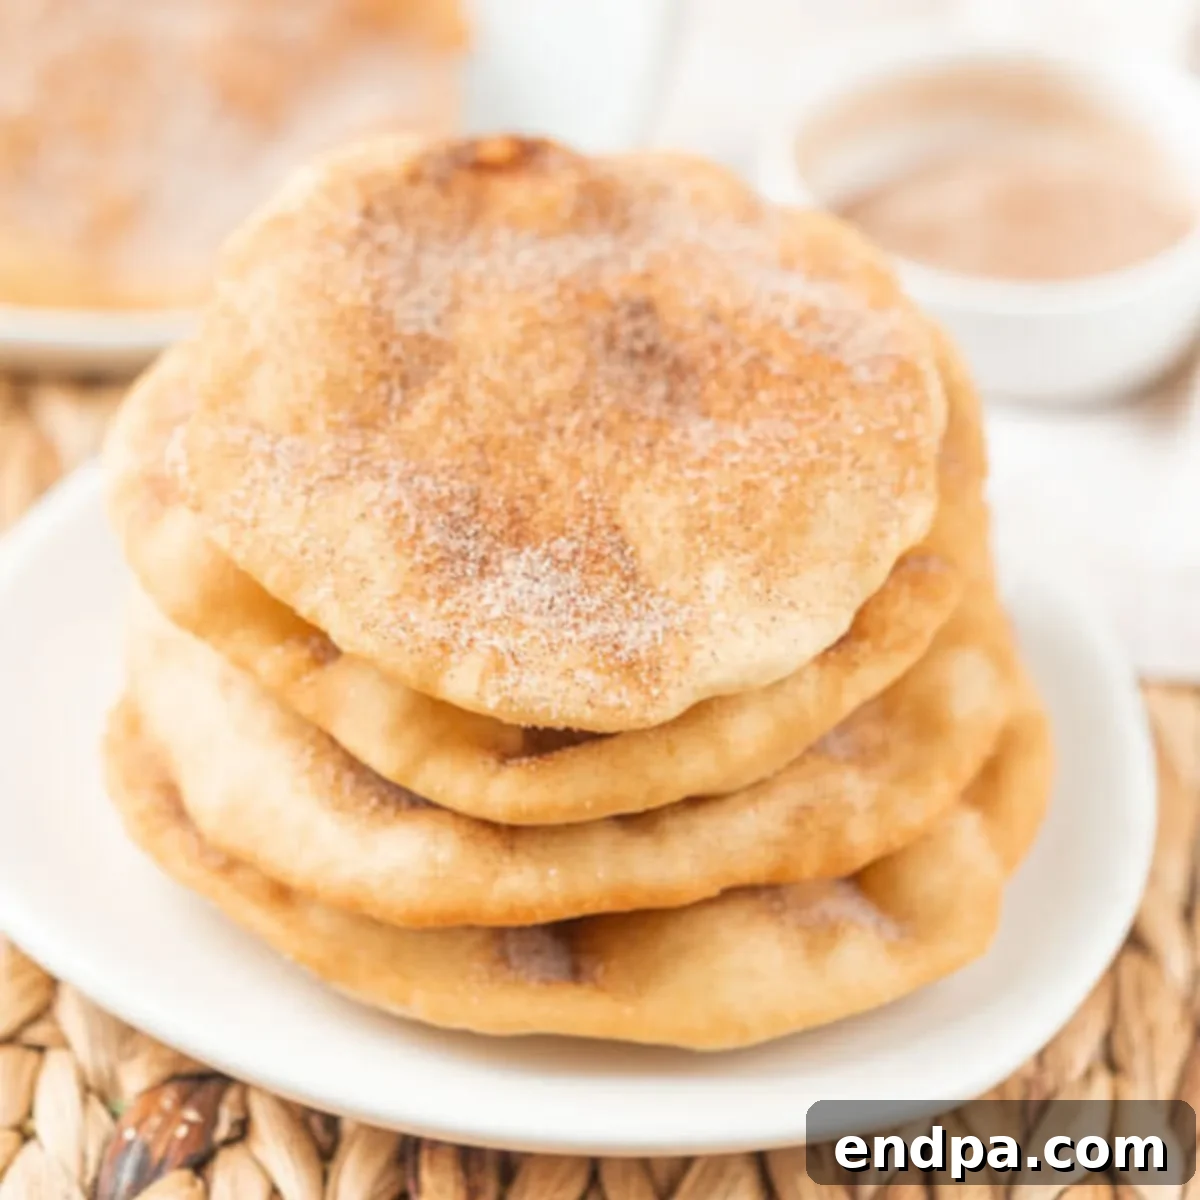
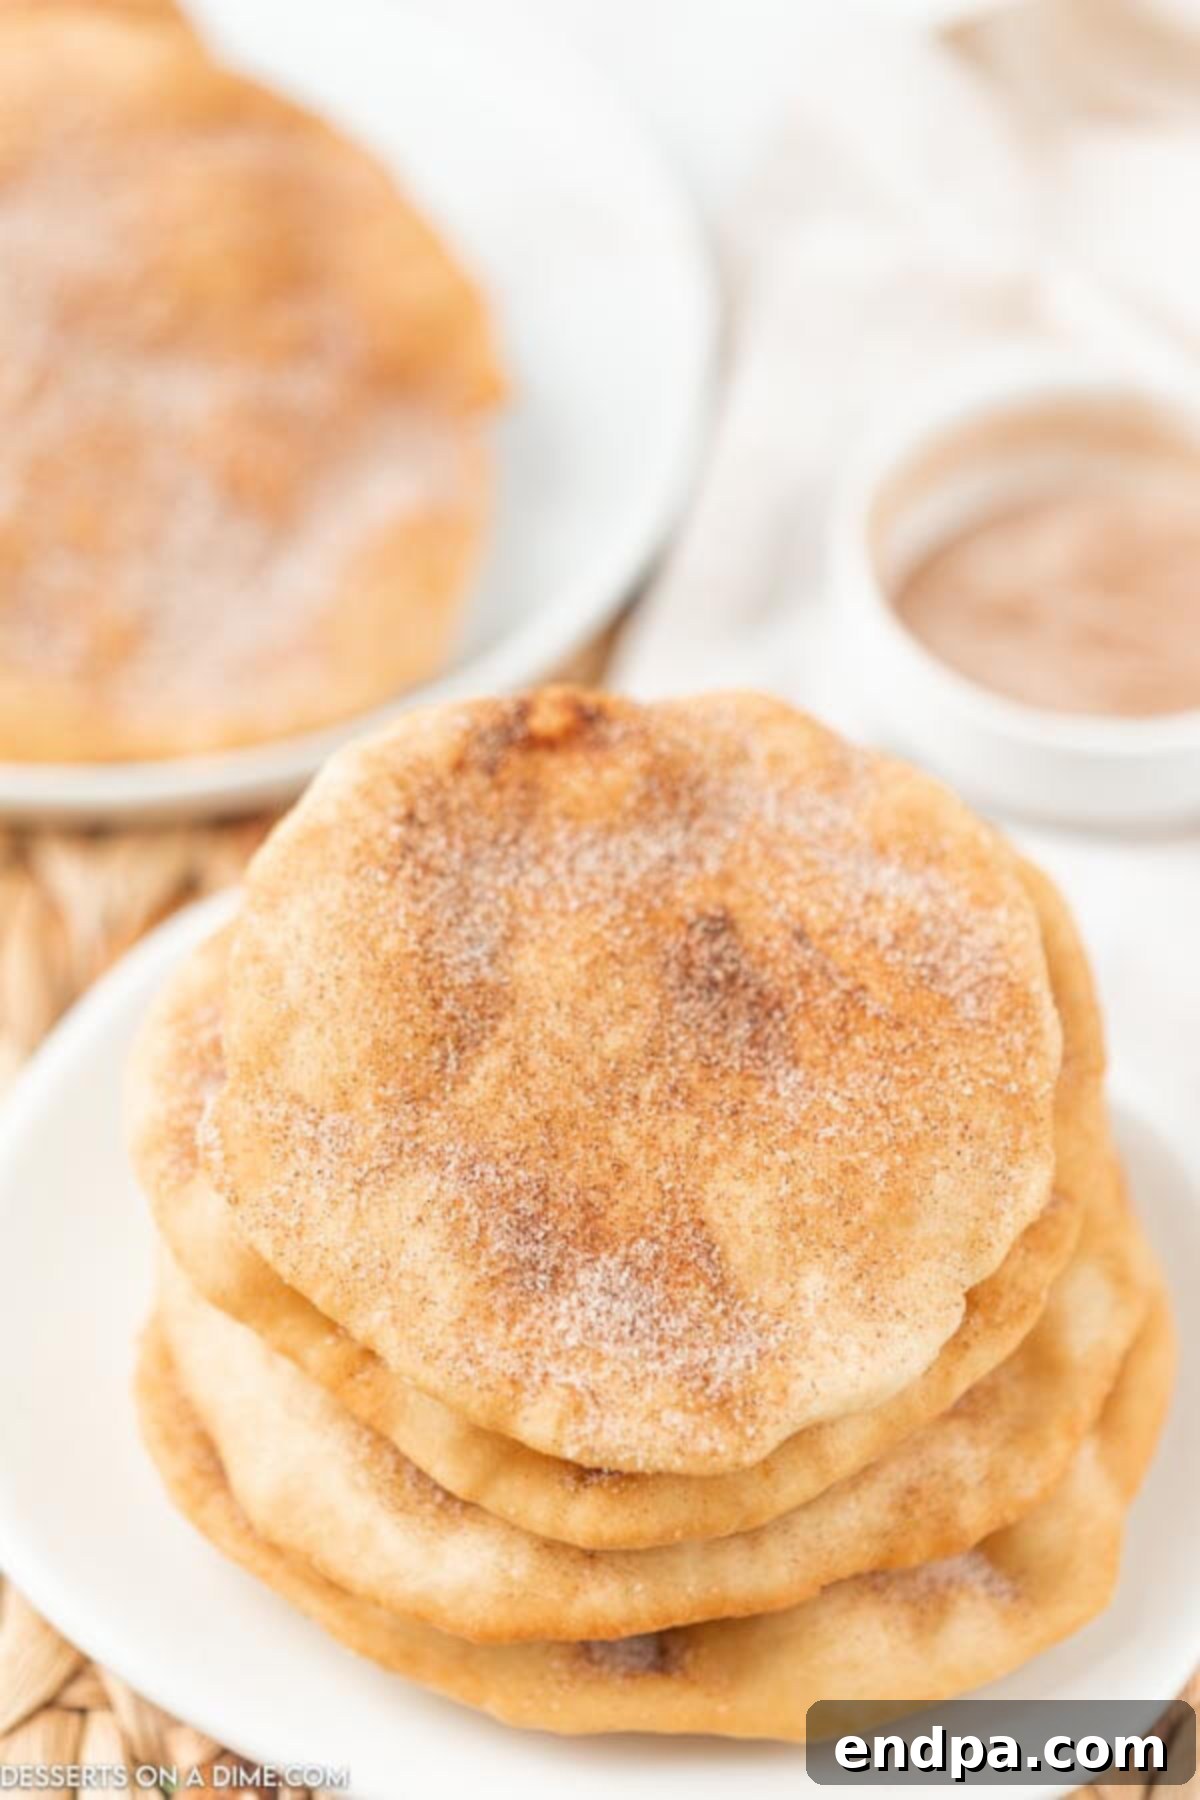
Step right up and experience the joy of the fairground from the comfort of your kitchen! This Ultimate Homemade Elephant Ears Recipe brings the magic of crispy, sweet pastry dough, perfectly fried to a golden perfection, directly to your home. Each bite of this iconic carnival treat is generously dusted with a delightful blend of cinnamon and sugar, promising a nostalgic and utterly delicious experience that will transport you straight to cherished memories of bustling fairs and food trucks.
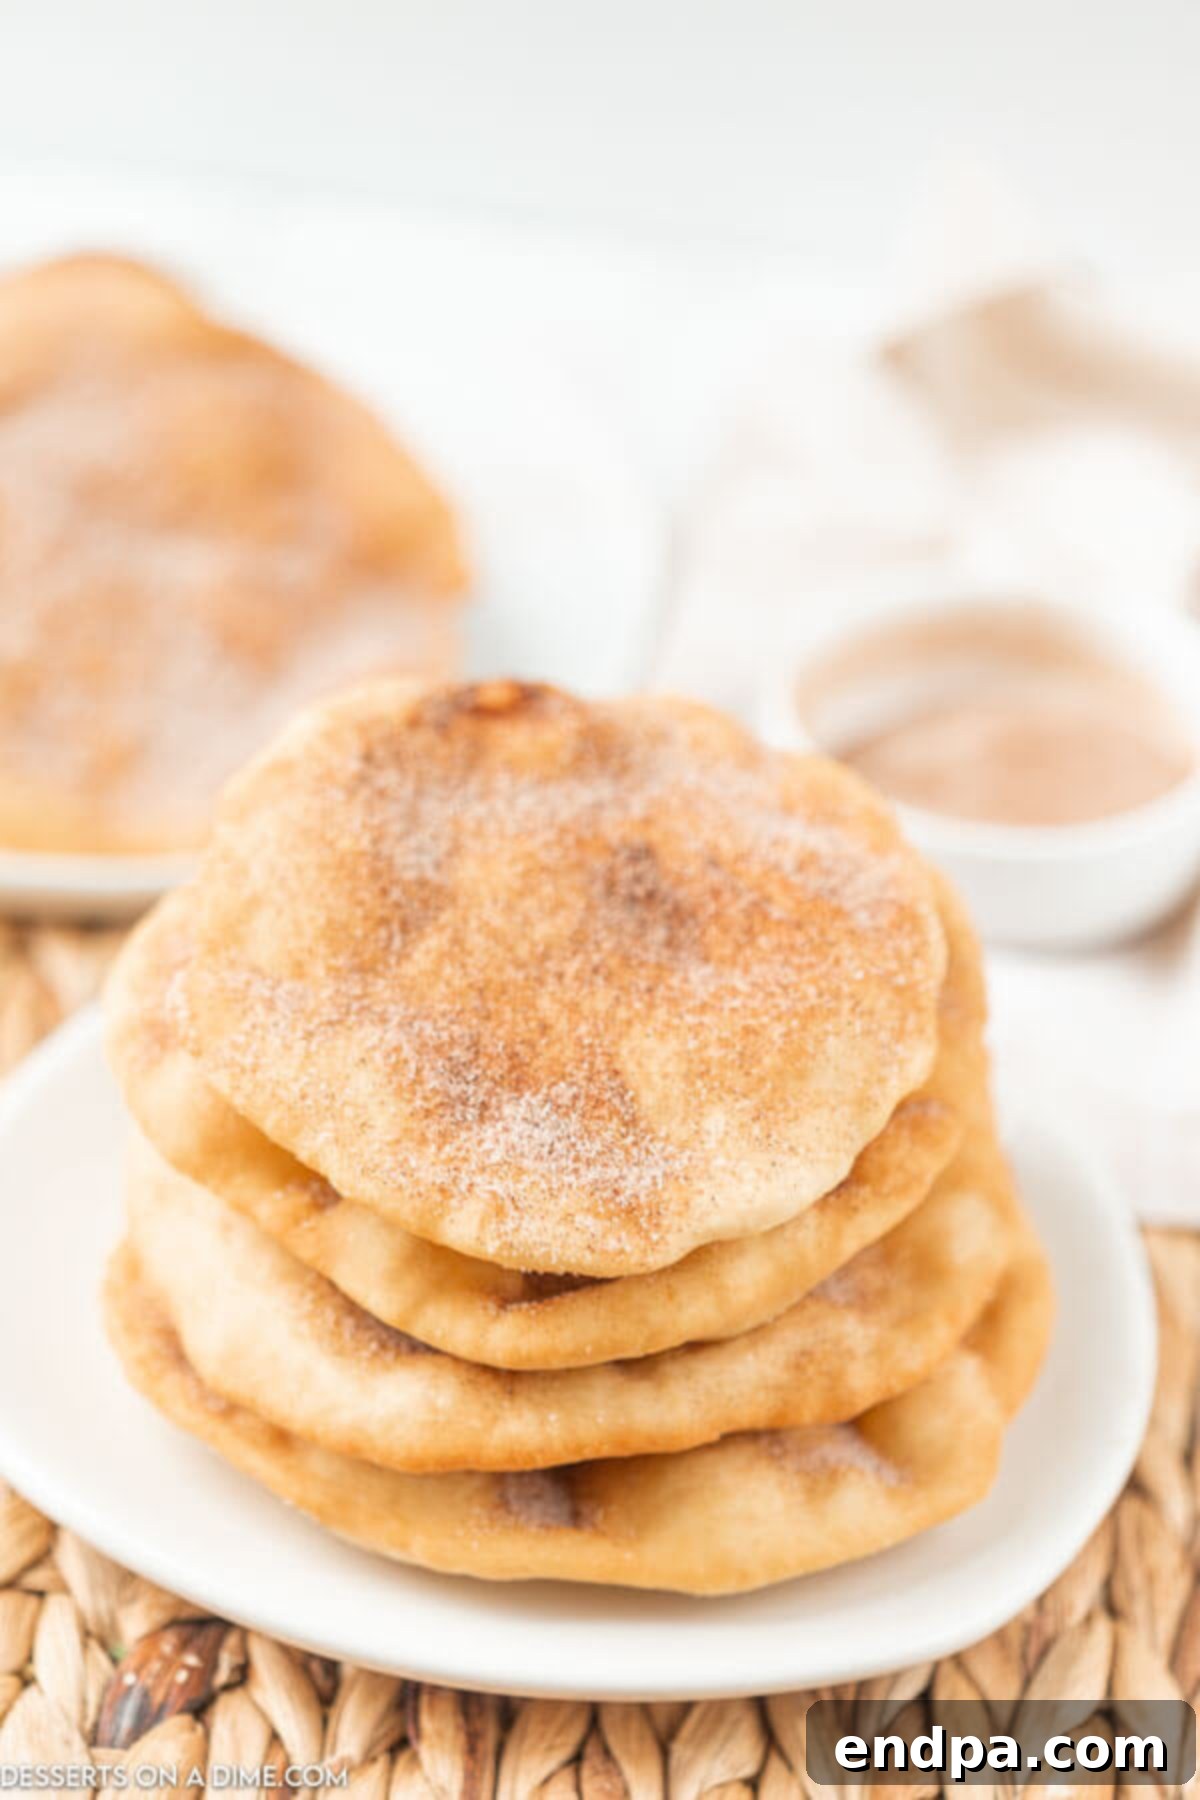
If you’re a connoisseur of delectable fried treats, this simple yet sensational recipe is an absolute must-try. Say goodbye to long waits at the carnival or hoping for a food truck to roll into town. With our straightforward approach, you can whip up a batch of these beloved elephant ears whenever the craving strikes. This recipe has been a treasured family tradition in our household for years, bringing smiles and sweet moments since my children were little.
Our family also has a deep affection for other classic fair foods, and we’ve mastered a fantastic funnel cake recipe that’s just as easy to make. It’s clear that carnival-style desserts hold a special place in our hearts! We invite you to explore our extensive collection of Quick Bread Recipes for more delightful baking inspiration. You might also find yourself drawn to our Cinnamon Crisps Recipe, a clever way to transform pie crusts, or our cozy Cinnamon Swirl Bread Recipe for another cinnamon-infused delight.
What You’ll Discover in This Post: The Best Elephant Ears Recipe
- Why This Elephant Ears Recipe is a Game-Changer
- Essential Ingredients for Perfect Elephant Ears
- Step-by-Step Guide to Making Elephant Ears
- Expert Tips for Frying and Serving
- Funnel Cake vs. Elephant Ear: What’s the Difference?
- Creative Topping Ideas to Elevate Your Elephant Ears
- Frequently Asked Questions About Elephant Ears
- More Irresistible Fried Dessert Recipes
- Detailed Elephant Ears Recipe Card
Why This Elephant Ears Recipe Is a Game-Changer for Your Home Kitchen
This particular Elephant Ears recipe stands out for several compelling reasons, making it a favorite among home bakers and dessert enthusiasts alike. It’s designed for ease, affordability, and guaranteed deliciousness.
- Simple, Accessible Ingredients – One of the greatest advantages of this recipe is its reliance on everyday pantry staples. If you maintain a well-stocked kitchen with basic baking supplies, chances are you already have everything you need to whip up a batch of these delightful treats. No special trips to obscure grocery stores required! This makes spontaneous baking sessions a breeze.
- A Cherished Family Favorite – There’s something universally appealing about fry bread, and it’s a nostalgic treat that often reminds us of local fairs and festivals. By making this recipe at home, you’re not just creating a dessert; you’re creating a memorable experience. It’s a fantastic way to enjoy that beloved flavor and texture without the expense or crowds of public events, ultimately saving you time and money while fostering wonderful family moments.
- Quick and Effortless Preparation – Despite its impressive appearance and delightful taste, this dessert is remarkably simple and quick to prepare. It’s a perfect choice for various occasions, from a weeknight treat to a special gathering. The minimal prep and cook time mean you can satisfy sweet cravings almost instantly, making it a go-to recipe for busy households.
Essential Ingredients for Your Perfect Elephant Ears
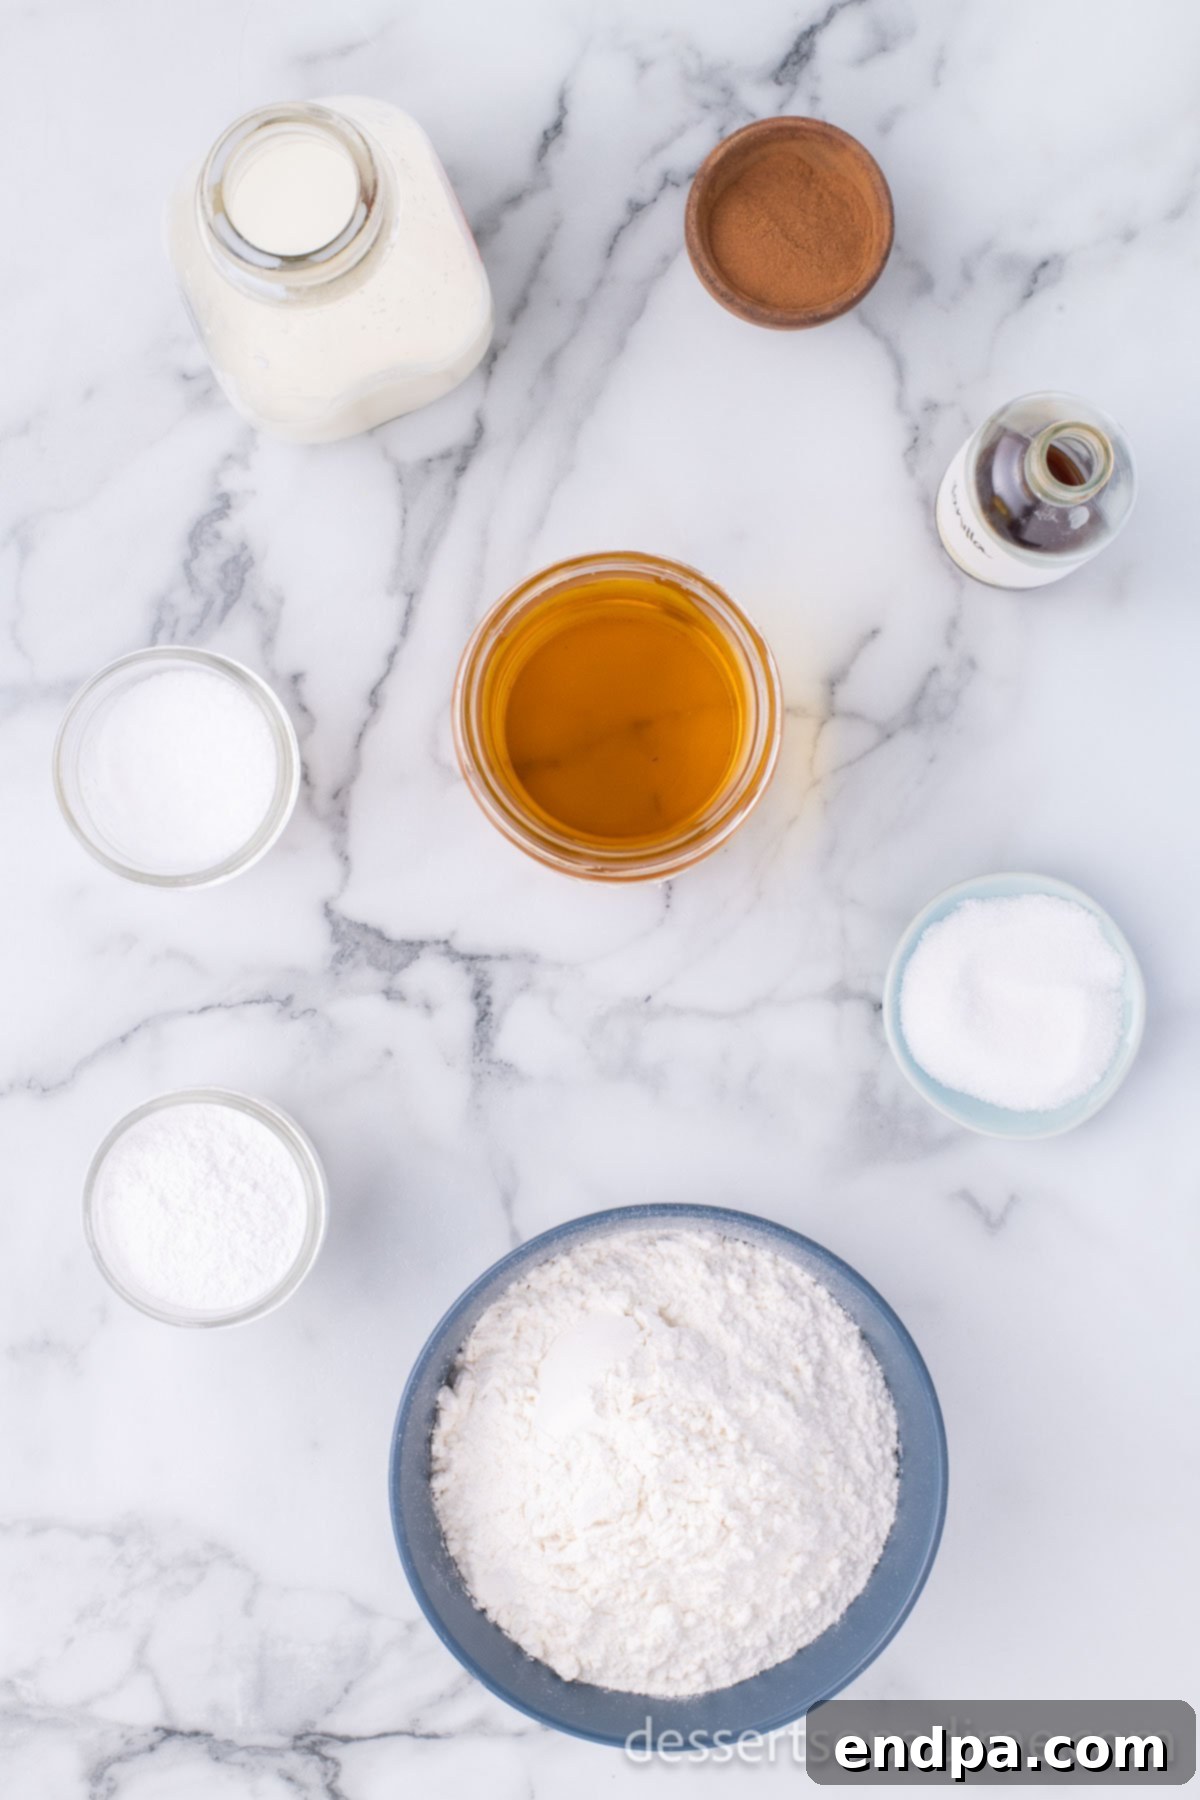
Creating the perfect elephant ear starts with understanding the role of each ingredient. Here’s a closer look at what you’ll need and why:
- All-Purpose Flour: The foundation of our dough. When measuring, avoid packing the flour tightly into the cup. Instead, lightly spoon the flour into your measuring cup and then level it off. This technique prevents adding too much flour, which can result in a dense or tough dough.
- Whole Milk: We highly recommend using whole milk for this recipe. The higher fat content in whole milk contributes to a richer flavor and a more tender dough, ensuring your elephant ears are exquisitely soft on the inside while maintaining a desirable crispiness on the outside. Reduced-fat milk can alter the texture and flavor slightly.
- Oil for Frying: The choice of oil is crucial for achieving that signature golden-brown crispness. Always opt for an oil with a high smoke point to prevent burning and ensure a clean taste. Excellent choices include canola oil, vegetable oil, or peanut oil. These oils can withstand the high temperatures required for deep frying without breaking down or imparting undesirable flavors.
- Granulated Sugar: This plain, white granulated sugar is primarily used for the irresistible cinnamon-sugar topping, providing the essential sweetness that perfectly complements the fried dough.
- Ground Cinnamon: The aromatic heart of the topping. Feel free to adjust the amount of cinnamon to suit your personal preference. Whether you prefer a subtle hint or a bold, spicy kick, tailor it to your taste for the ultimate elephant ear experience.
For the precise measurements and a comprehensive ingredient list, please refer to the detailed recipe card located at the bottom of this page.
Step-by-Step Guide to Crafting Delicious Homemade Elephant Ears
Follow these straightforward steps to create your own batch of delightful elephant ears. Each step is designed to be easy to follow, ensuring a successful and delicious outcome.
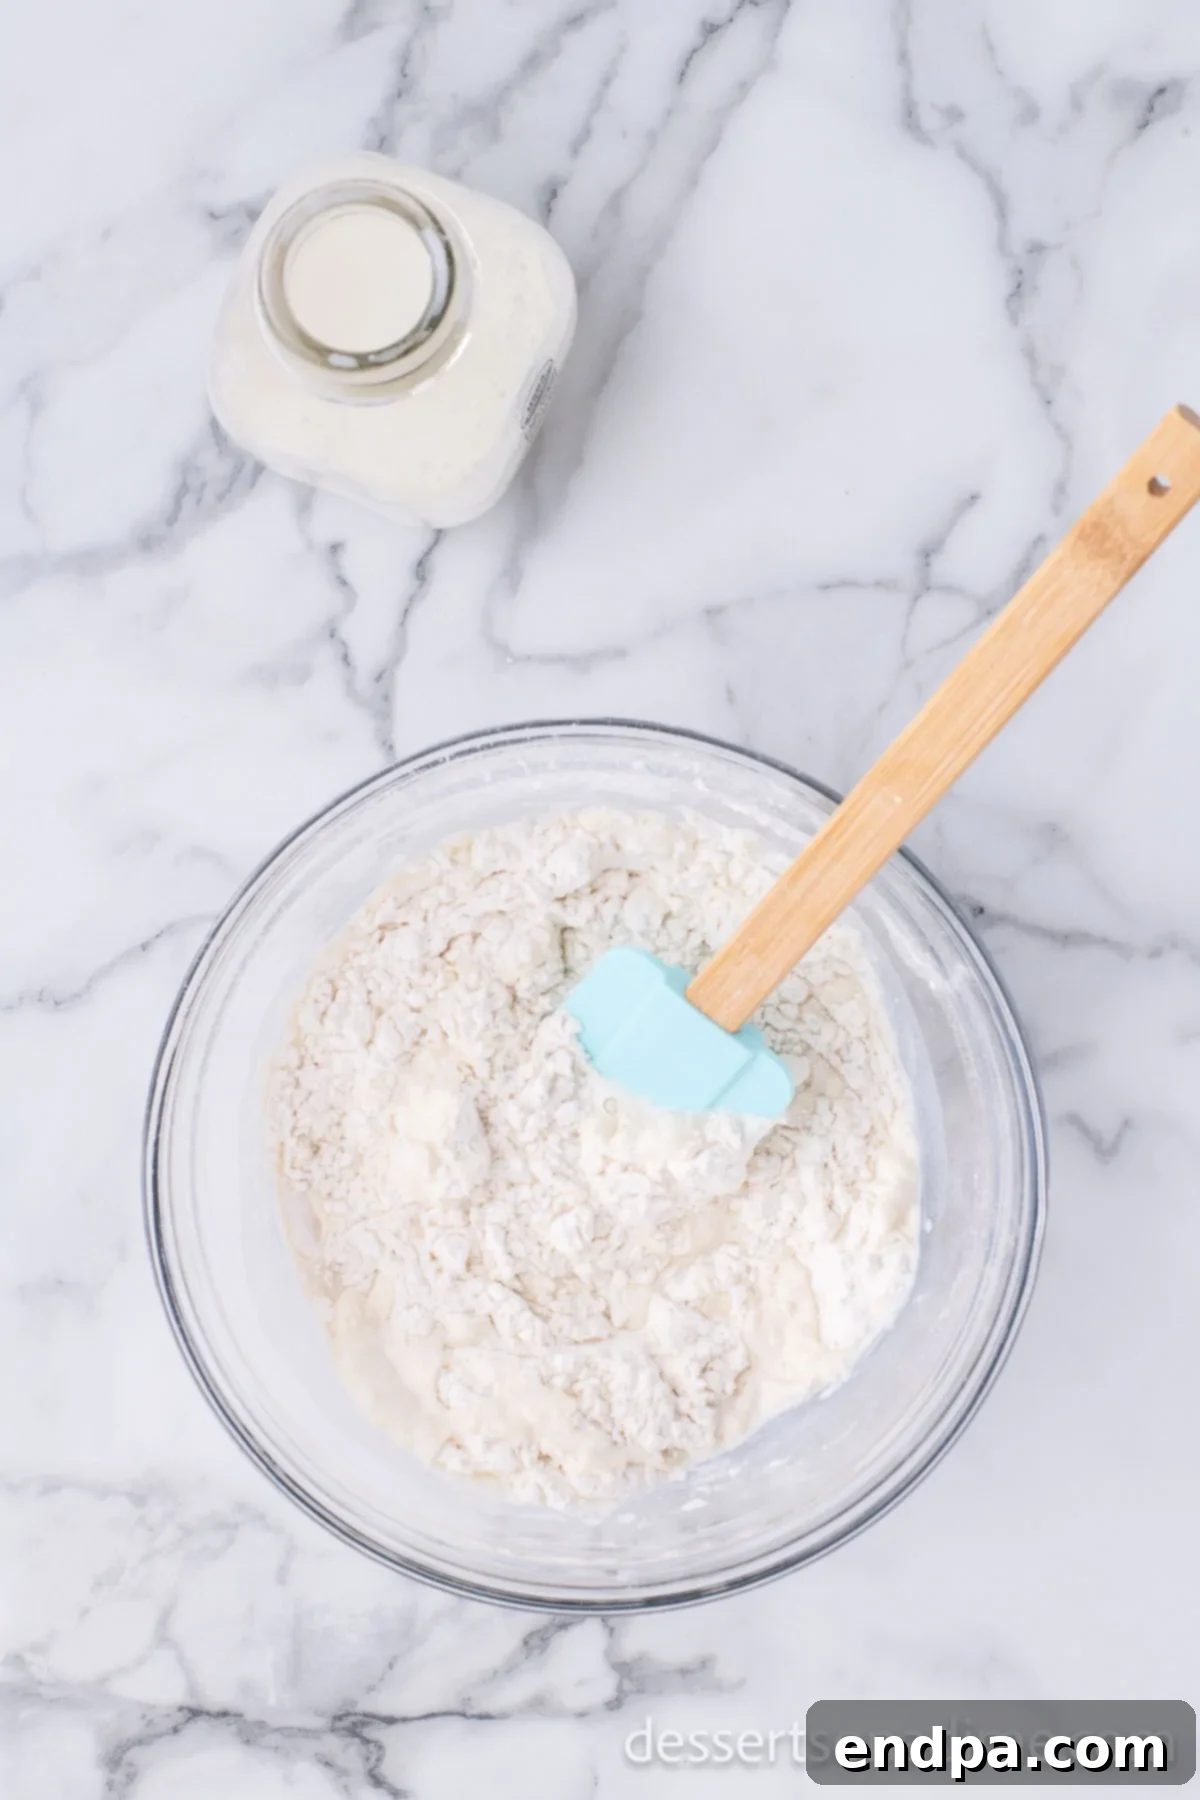
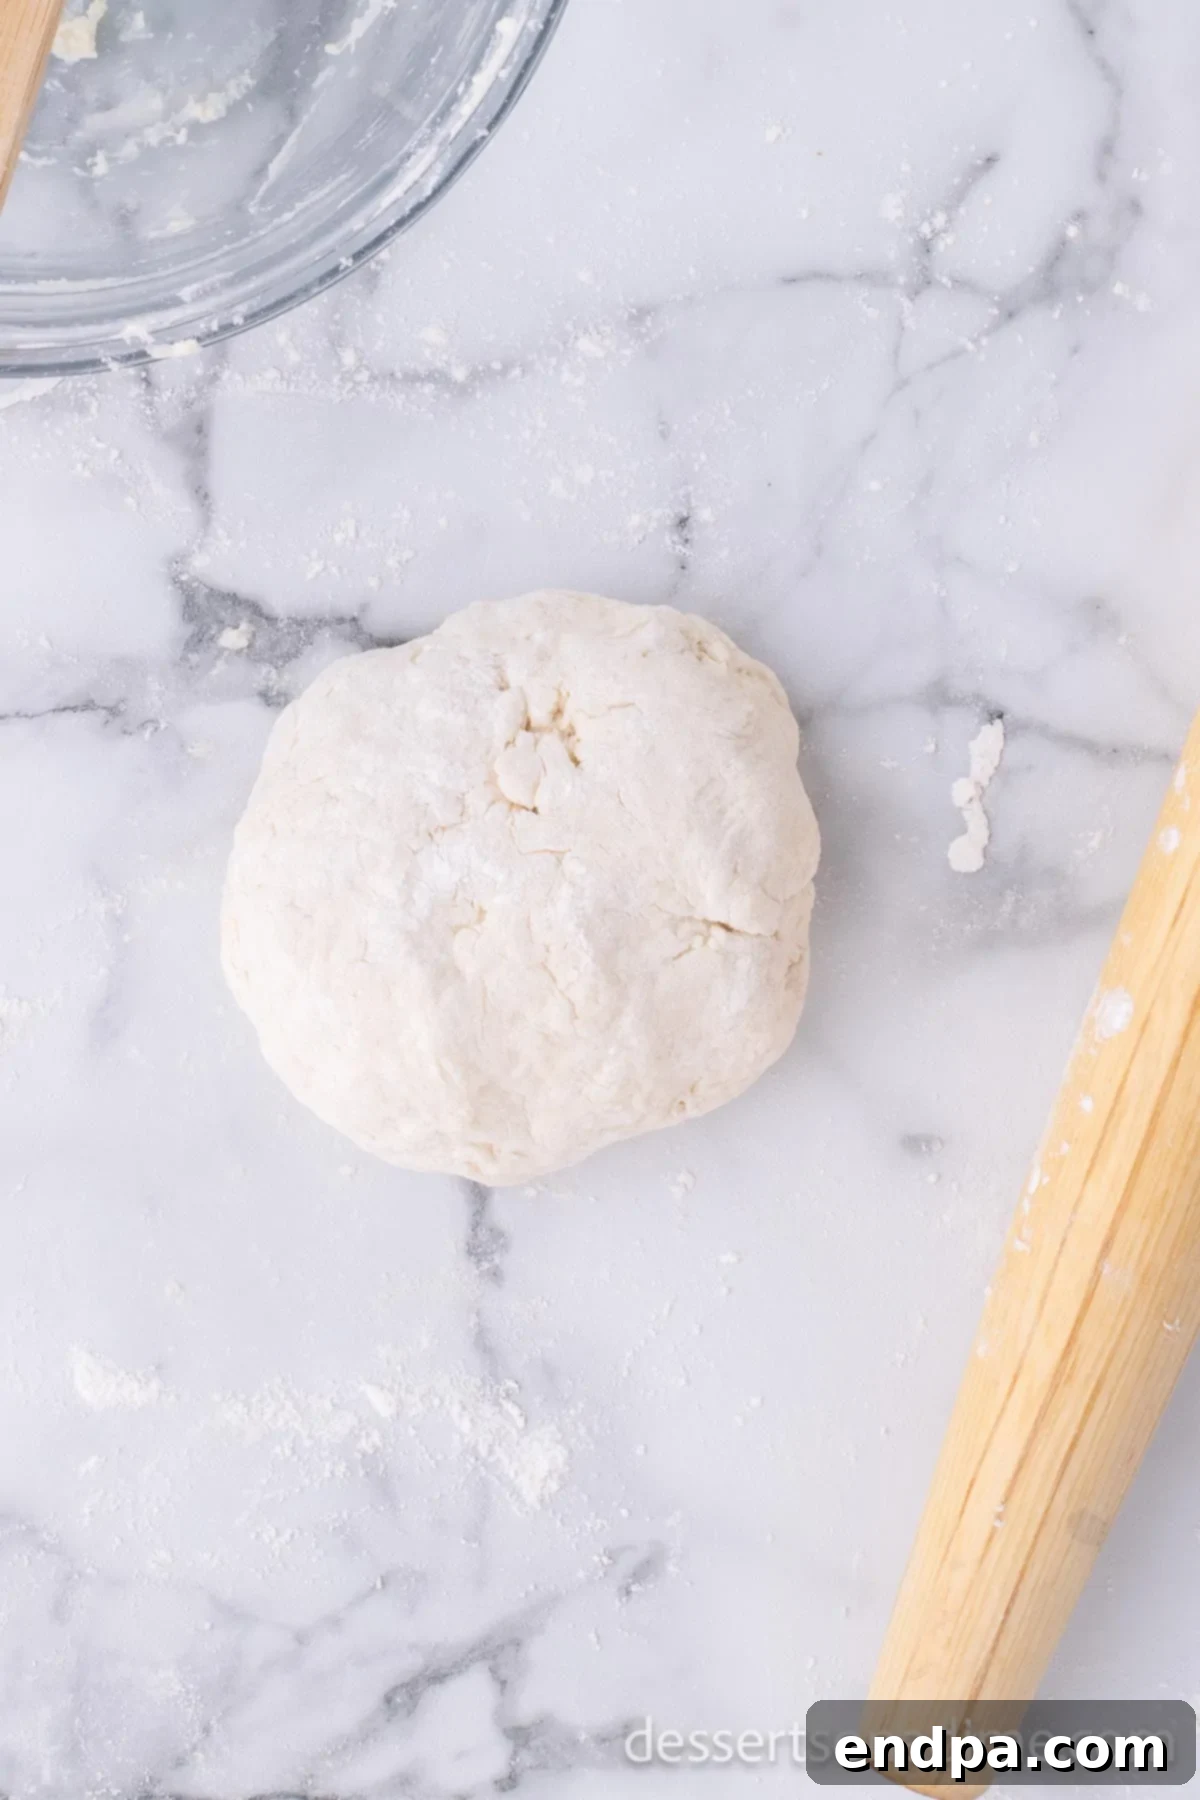
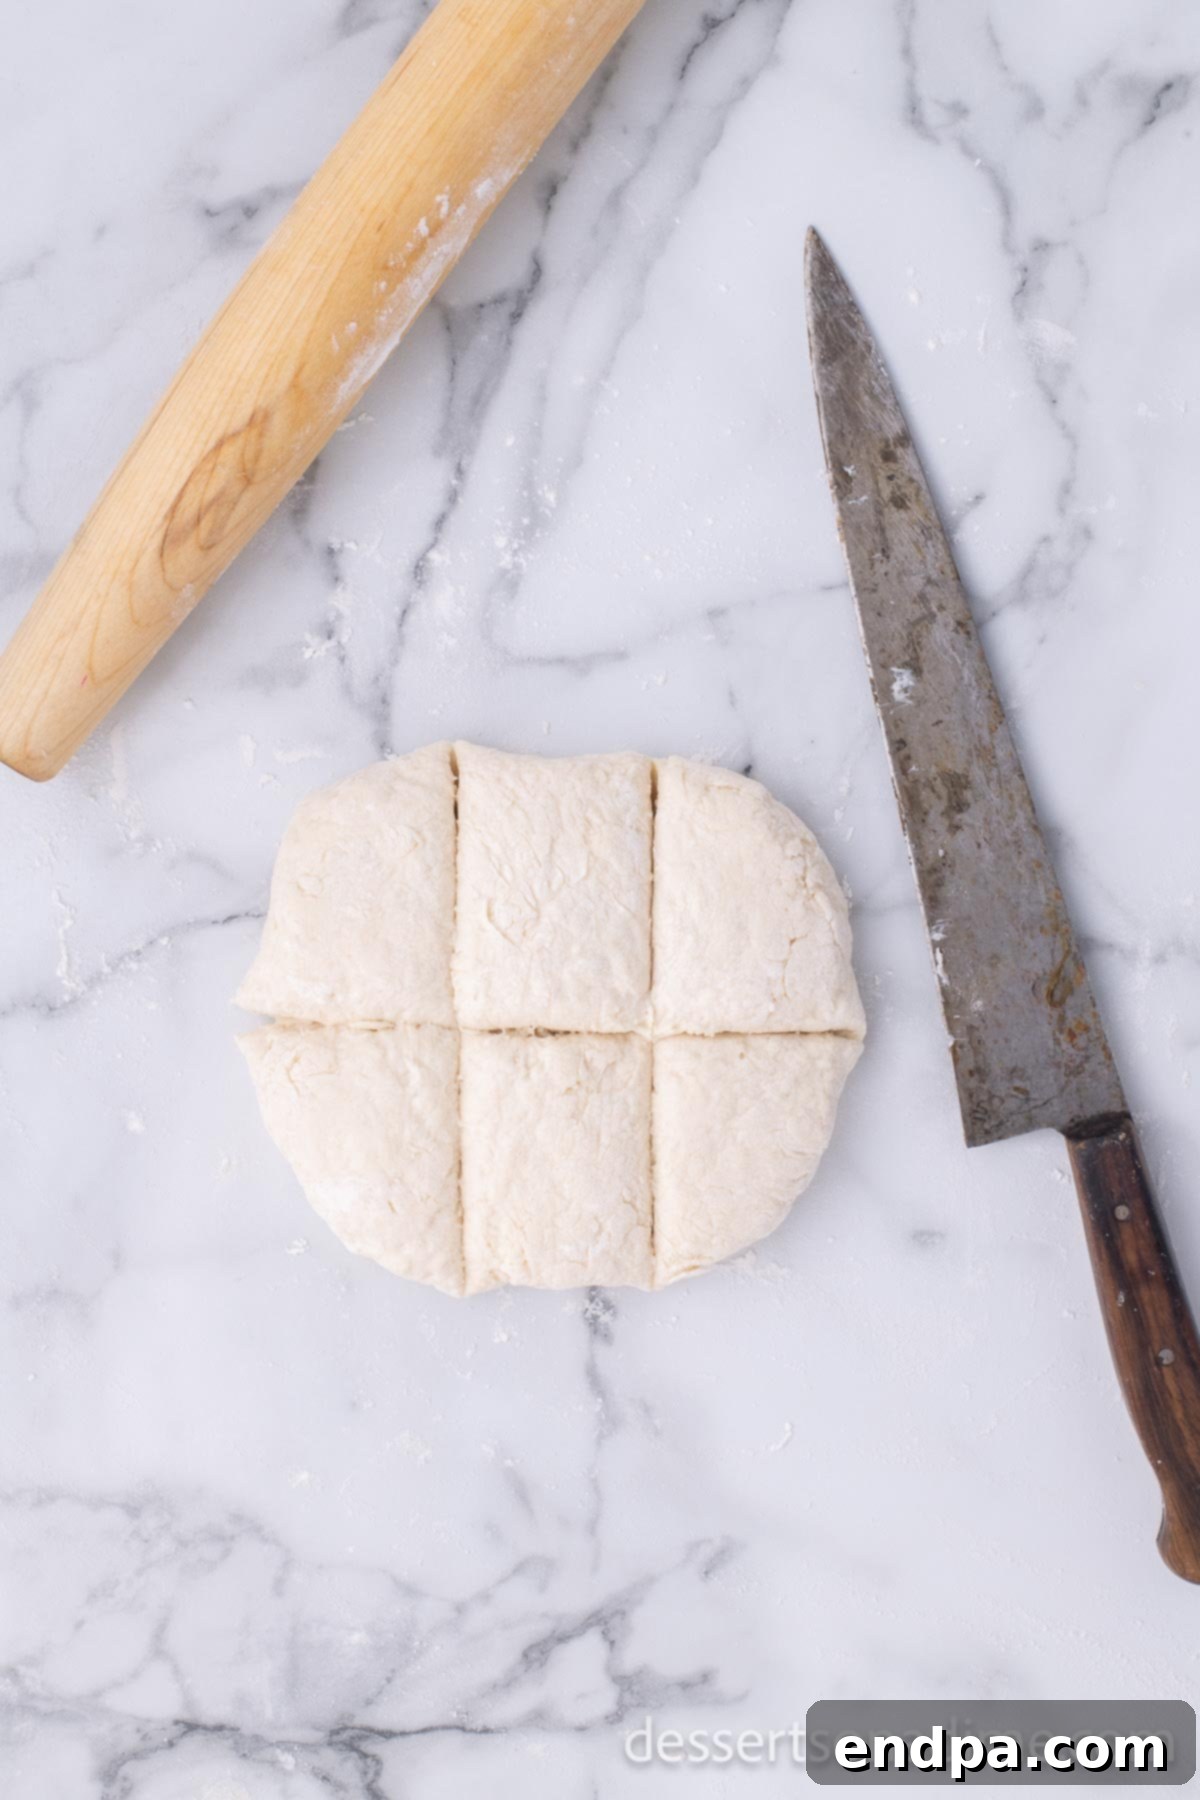
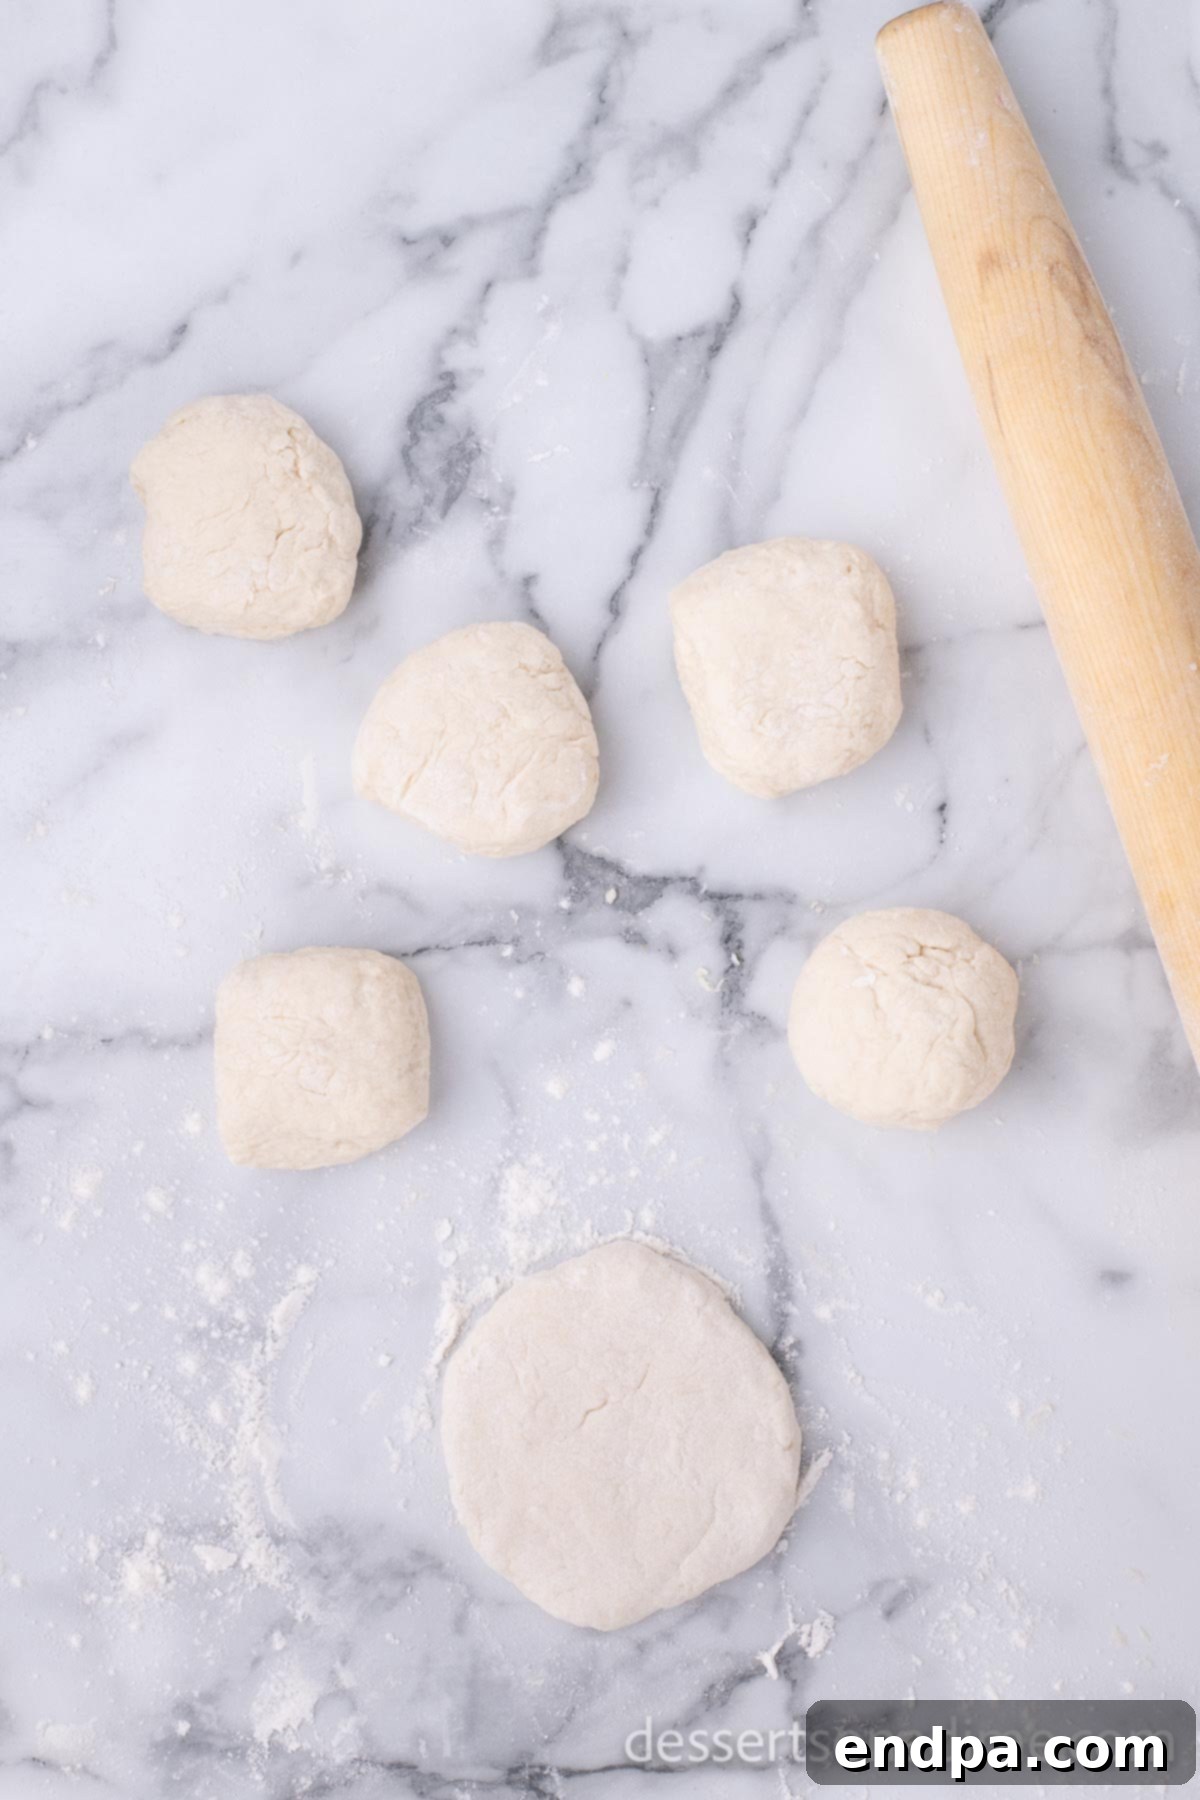
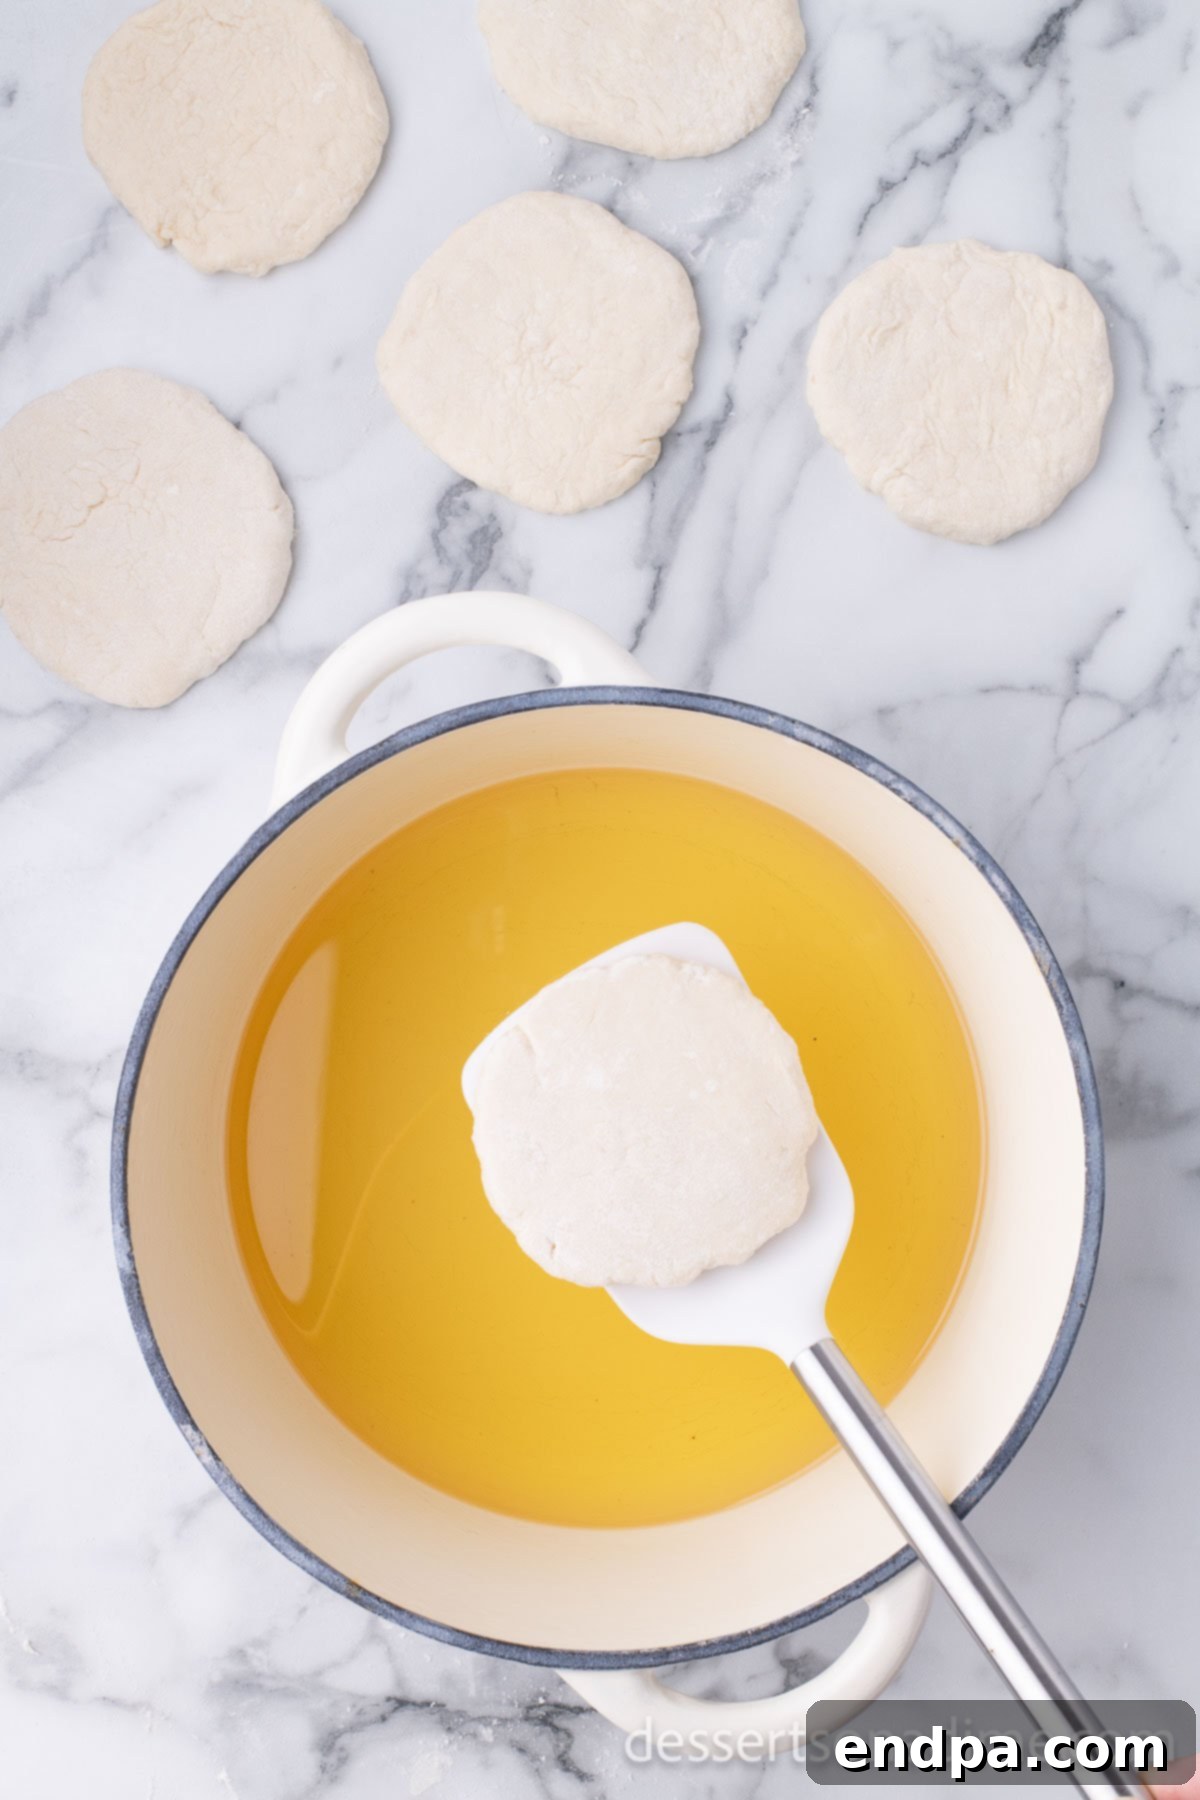
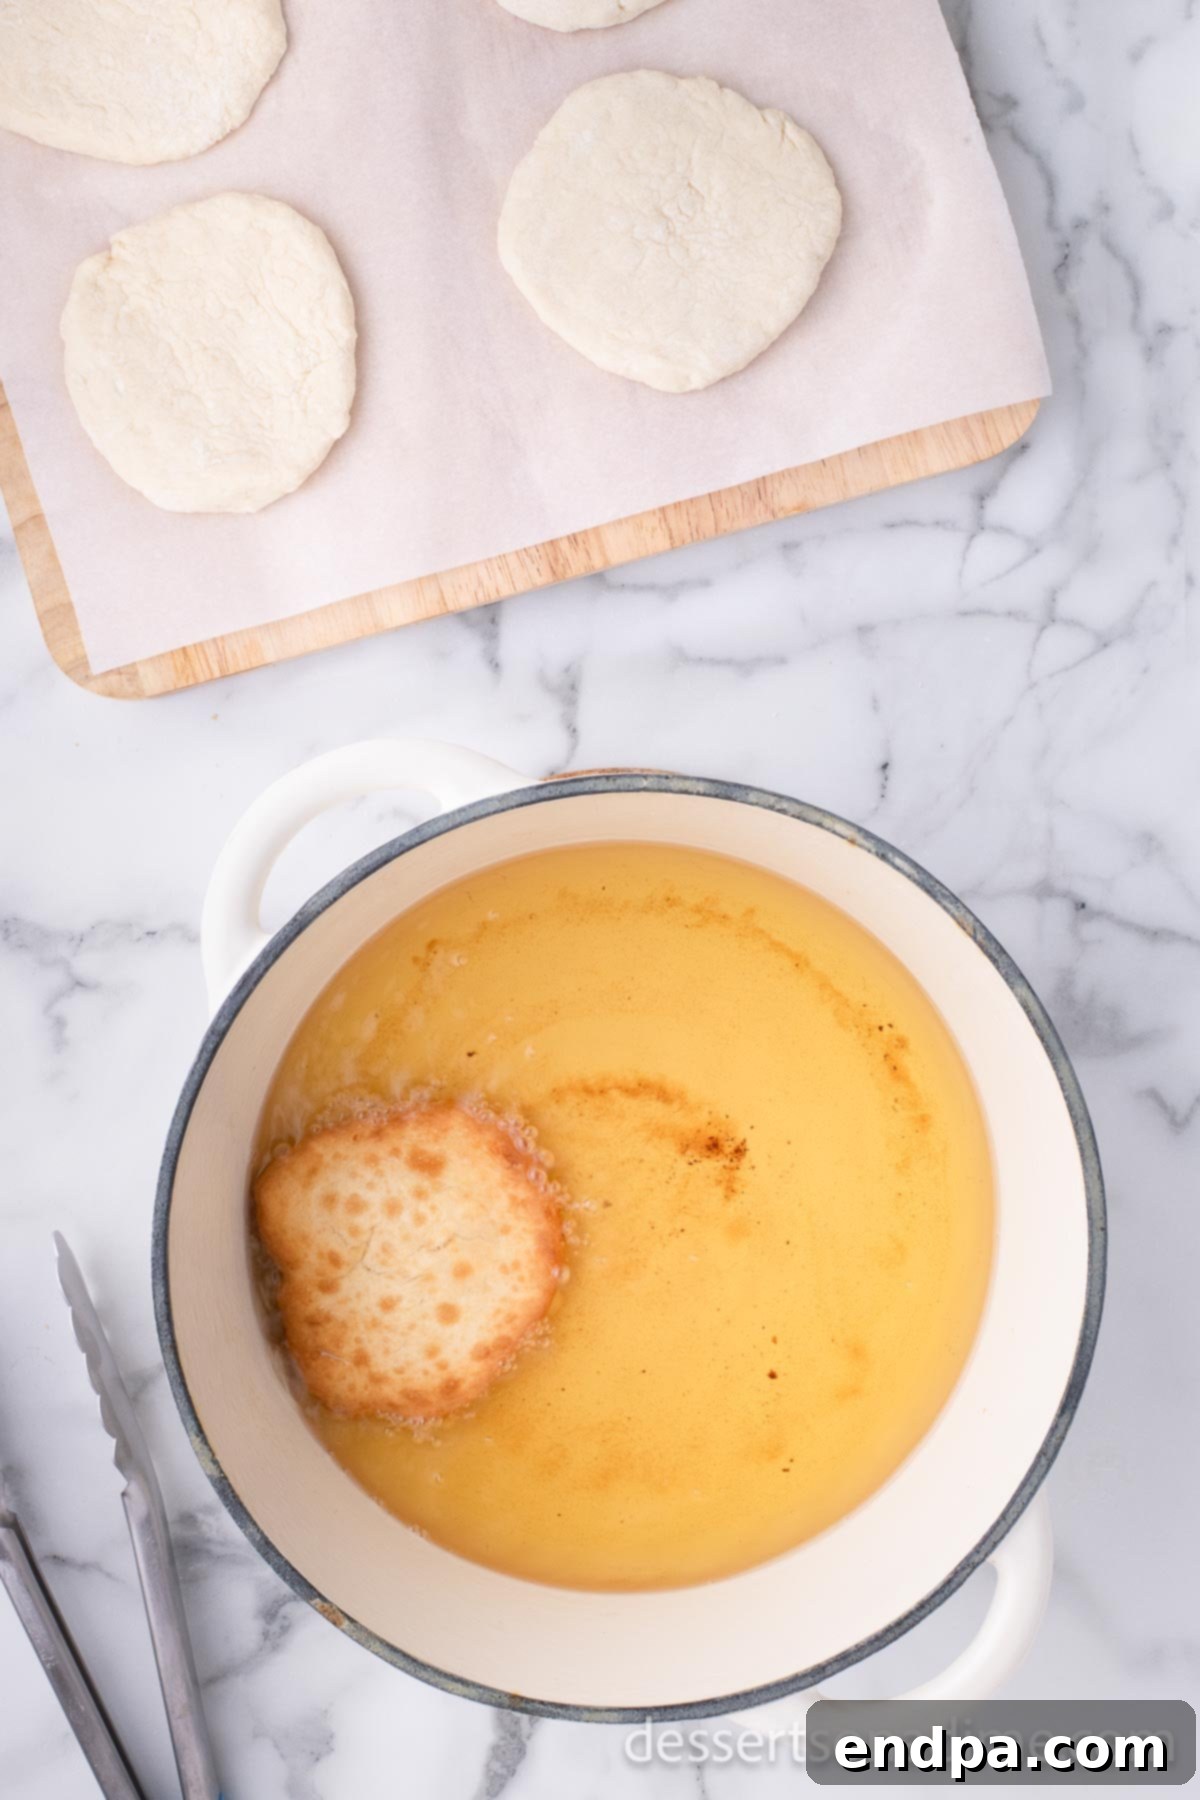
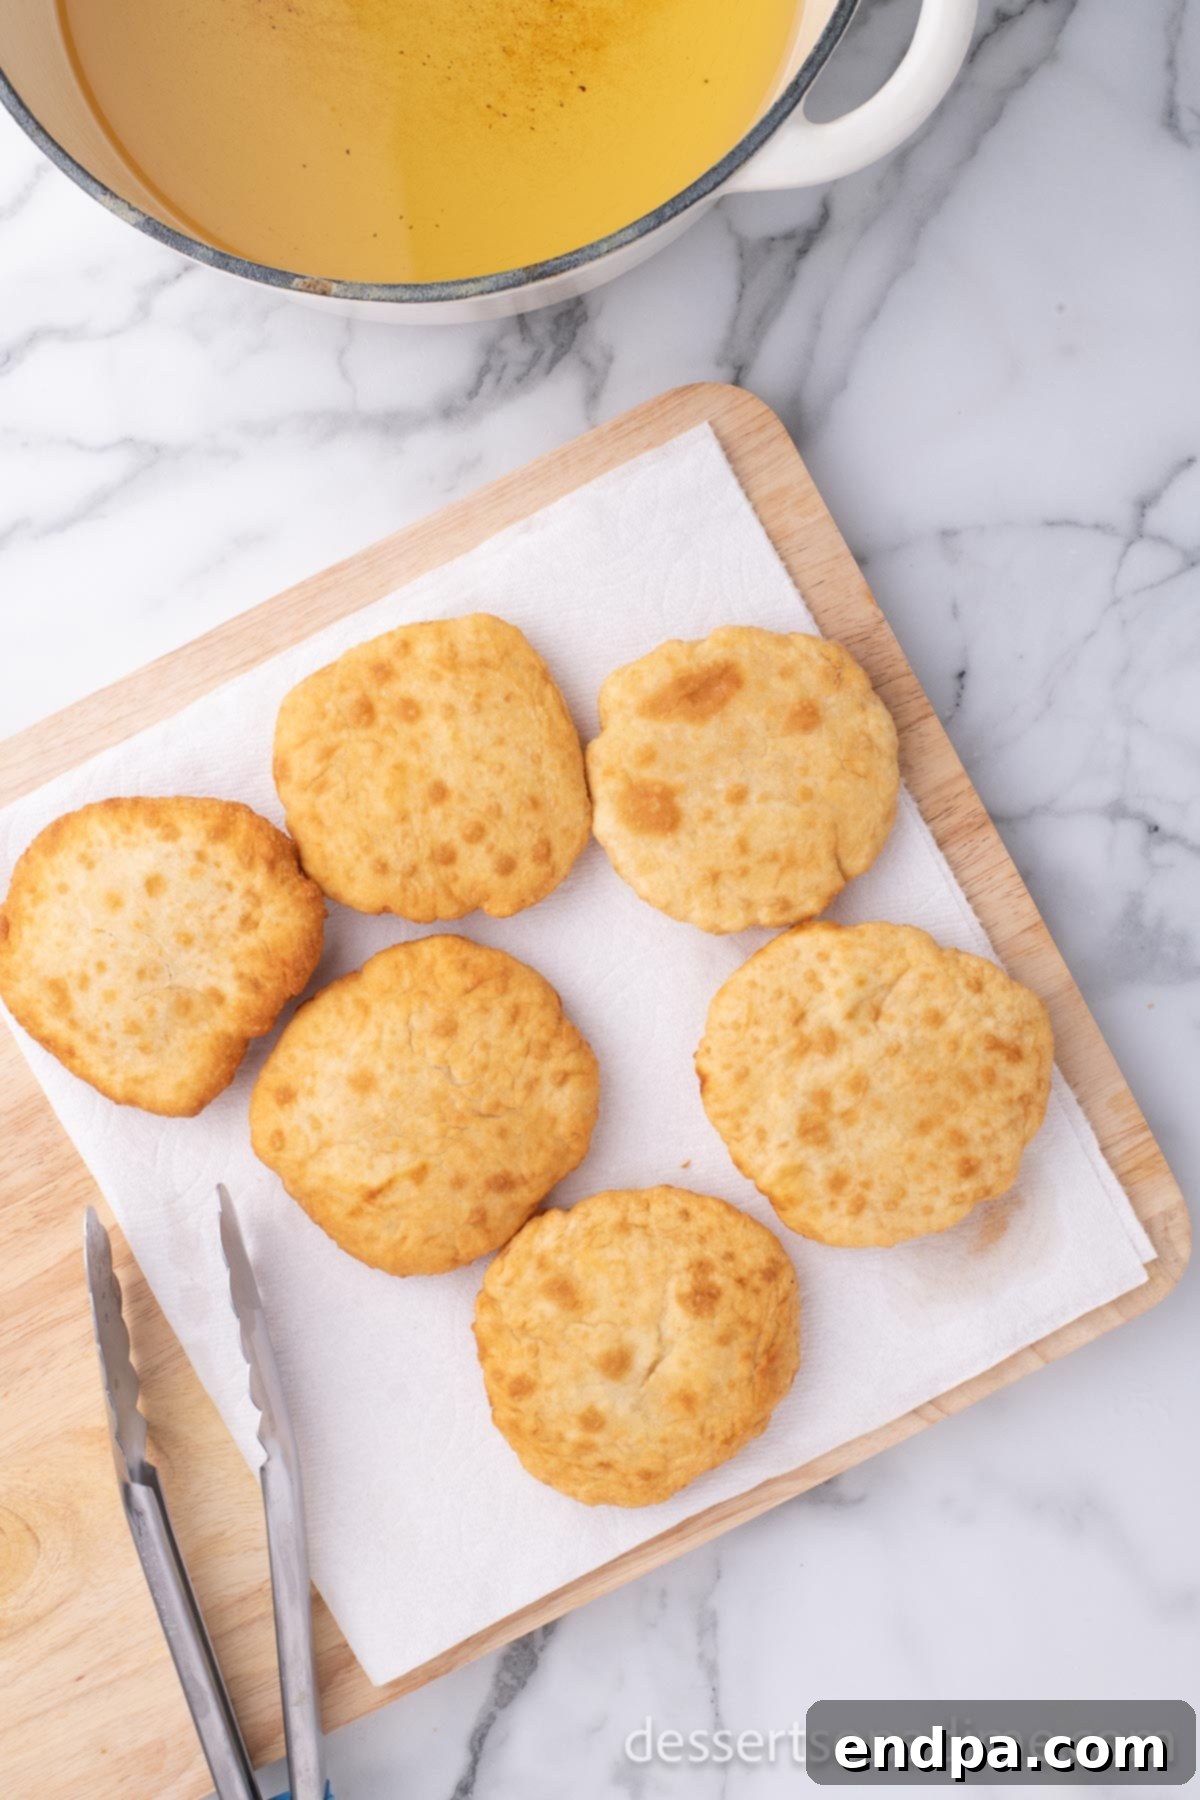
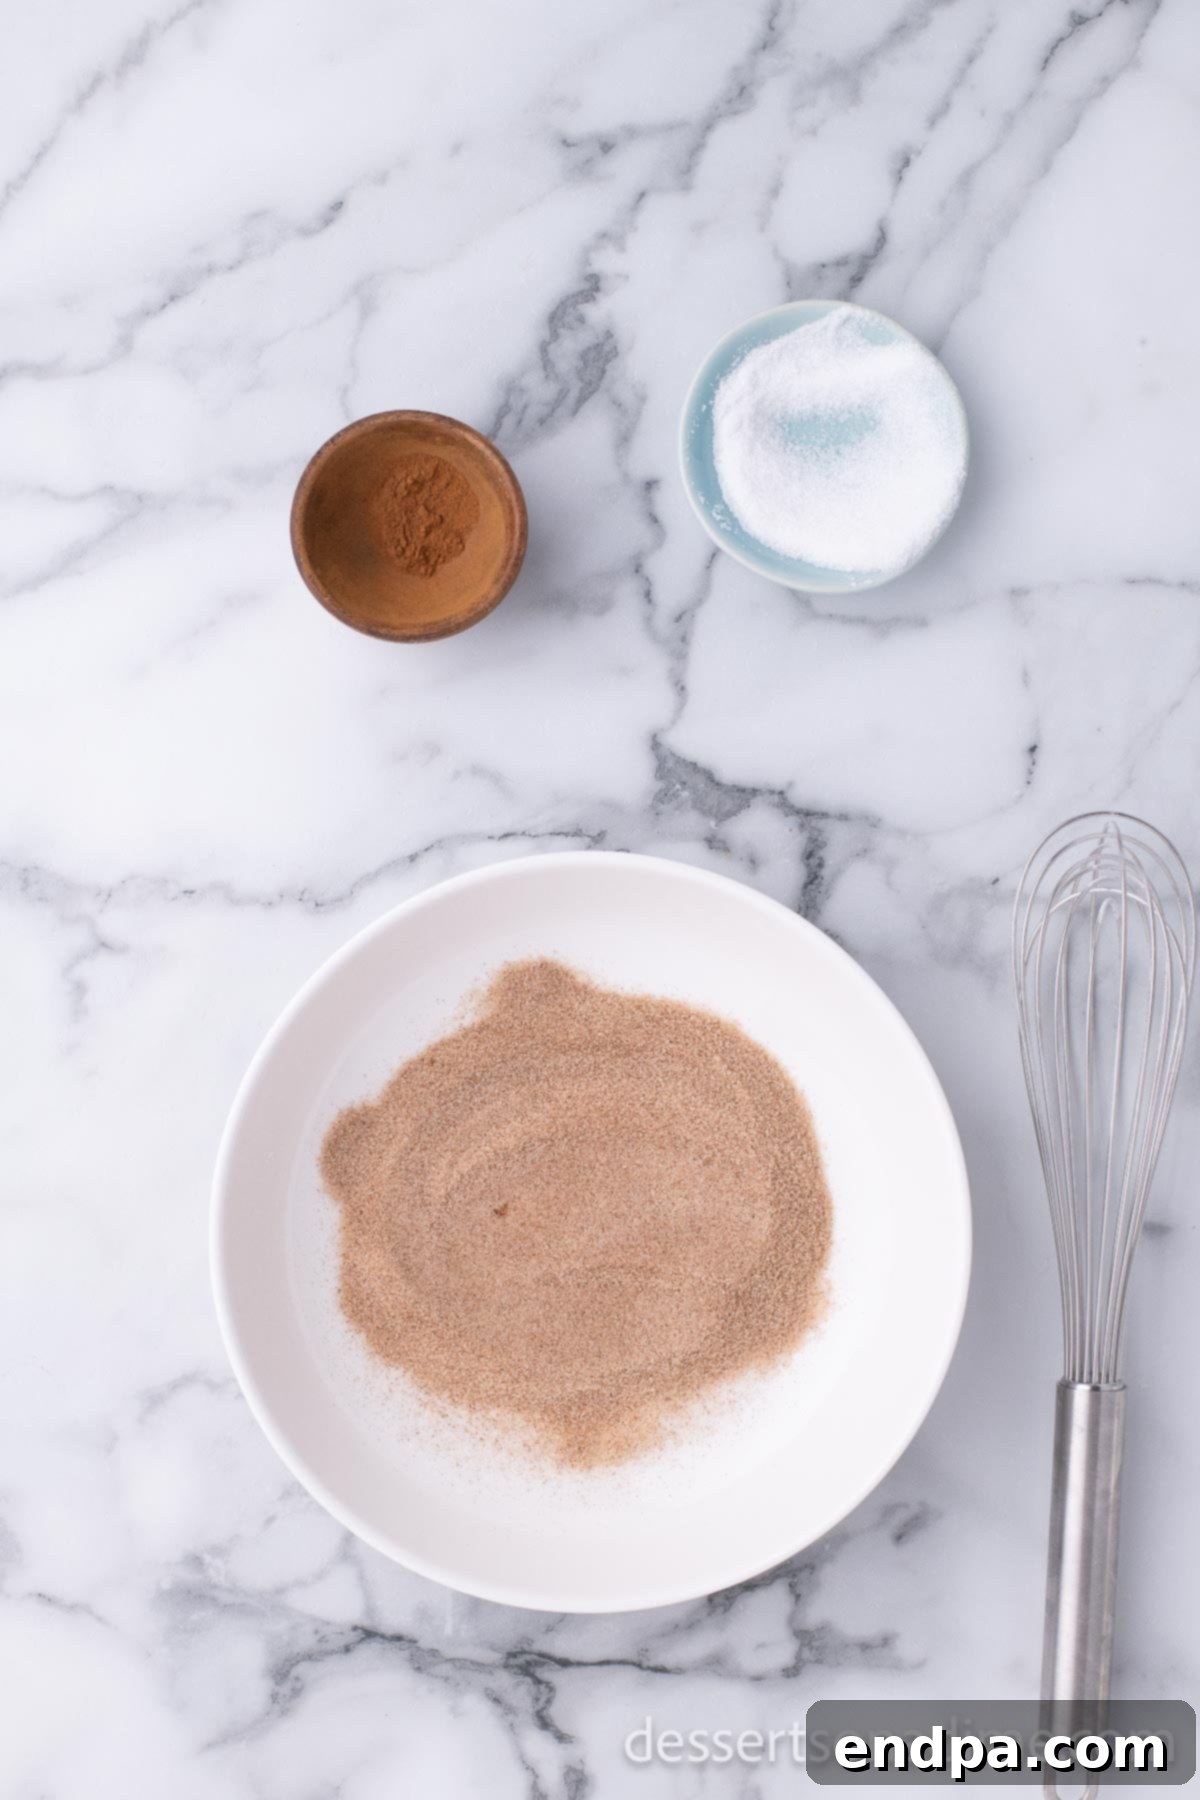

Expert Tips for Perfecting Your Homemade Elephant Ears
Achieving restaurant-quality elephant ears at home is easier than you think with these expert tips:
- Serve Them Warm for Best Flavor: Elephant ears are undoubtedly at their peak flavor and texture when served warm, ideally right after they’ve been fried and topped. The warmth enhances the crispiness of the dough and the melt-in-your-mouth sweetness of the cinnamon sugar.
- Choosing the Right Oil for Frying: The type of oil you use significantly impacts the taste and texture of your fried dough. We highly recommend using oils with a high smoke point and a neutral flavor. Great choices include peanut oil, vegetable oil, or canola oil. These oils ensure even cooking and prevent any off-flavors from transferring to your delicate pastry.
- Maintain Optimal Oil Temperature: For the crispiest texture and perfect golden-brown color, it’s crucial to cook your elephant ears in hot oil. Aim for a consistent temperature of 375°F (190°C). If the oil isn’t hot enough, the dough will absorb too much oil and become greasy. If it’s too hot, the outside will burn before the inside is cooked through. A thermometer is your best friend here.
- Monitor Cooking Time Carefully: Elephant ears cook relatively quickly, usually about 2 to 3 minutes per side, until they reach a beautiful golden brown. However, cooking times can vary based on your oil temperature and the thickness of your dough. Watch them closely and don’t overcook them, as they can become tough or overly dark.
- Post-Frying Care for Optimal Results: Immediately after removing your elephant ears from the hot oil, transfer them to a plate lined with paper towels or a wire rack placed over a baking sheet. This allows any excess oil to drain off, keeping them light and crispy. Crucially, sprinkle them generously with the cinnamon sugar mixture while they are still warm. The heat helps the sugar adhere and melt slightly, creating that irresistible sweet coating.
- Avoid Crowding the Frying Pan: It might be tempting to fry multiple elephant ears at once to speed up the process, but resist the urge! Overcrowding the pan will significantly drop the oil’s temperature, leading to greasy, undercooked, and less crispy results. For best quality, fry one or two elephant ears at a time, depending on the size of your pot, to maintain a consistent oil temperature.
Funnel Cake vs. Elephant Ear: Unpacking the Differences Between These Beloved Fair Treats
While both funnel cakes and elephant ears are iconic fried dough desserts often found side-by-side at carnivals and fairs, they possess distinct characteristics that set them apart. They share a similar comforting flavor profile, yet their appearance and eating experience differ significantly.
- Funnel Cakes: These are typically made from a thin batter poured through a funnel (hence the name) into hot oil, creating an intricate, lacy, and somewhat chaotic zig-zag pattern. They often resemble a wild, edible bird’s nest. Funnel cakes tend to be thicker and have a more irregular shape, making them incredibly delicious but sometimes a bit messy to eat due to their delicate, interwoven strands. They are frequently topped with powdered sugar, fruit, or whipped cream.
- Elephant Ears: In contrast, elephant ears are made from a yeast-free dough that is rolled out flat into a thin, large, and typically oval or round shape, reminiscent of an elephant’s ear. This dough is then quickly fried until golden and puffy. Because of their flatter, more uniform shape, elephant ears are generally much easier to handle and eat, offering a satisfying crisp-chewy texture. The classic topping is a simple yet irresistible cinnamon and sugar blend.
As you can see, while both promise a delightful fried dough experience, their unique preparations lead to very different visual and textural outcomes. Both are equally delicious in their own right, appealing to different preferences for fairground indulgence.
Creative Topping Ideas to Elevate Your Elephant Ears
While the traditional cinnamon and sugar topping is undeniably a classic and a beloved choice, elephant ears are incredibly versatile and lend themselves beautifully to a variety of other delicious toppings. Don’t be afraid to get creative and experiment with these fantastic ideas to find your new favorite combination:
- Powdered Sugar: A simple yet elegant alternative to cinnamon sugar. A light dusting of powdered sugar creates a delicate sweetness and a beautiful presentation.
- Homemade Frosting: For an extra layer of indulgence, drizzle your warm elephant ears with a rich, creamy homemade frosting. Our cool whip cream cheese frosting adds a lovely tang and smooth texture.
- Caramel or Chocolate Sauce: Turn your elephant ears into a decadent dessert by drizzling them generously with warm caramel sauce or rich chocolate syrup. A combination of both creates a delightful “turtle” effect.
- Melted Butter: Before adding any other toppings, a brush of melted butter can enhance the richness of the fried dough and help other dry toppings adhere beautifully.
- Fresh Fruit & Whipped Cream: Top with sliced strawberries, blueberries, or bananas, and a dollop of fresh whipped cream for a lighter, fruit-forward option.
- Nutella: A spread of warm Nutella makes for a deliciously rich and hazelnut-chocolate flavored treat.
- Sprinkles: For a fun, festive touch, especially when serving to children, add a colorful array of sprinkles on top of any sticky topping.
Frequently Asked Questions About Homemade Elephant Ears
While elephant ears are undeniably best enjoyed fresh, warm, and crispy, you can prepare the dough in advance. Mix the dough, wrap it tightly in plastic wrap, and store it in the refrigerator for up to 24 hours. When ready to fry, let it come to room temperature for about 15-20 minutes before rolling and frying. The fried and topped elephant ears themselves, however, are truly at their prime immediately after preparation.
If you happen to have any leftovers, store them in an airtight container at room temperature. They are best consumed within 2 days to maintain some of their texture. For longer storage, you can freeze cooled, unfrosted elephant ears in a freezer-safe bag or container for up to 3 months. When freezing, ensure they are completely cool to prevent ice crystals from forming.
To bring leftover elephant ears back to life, you have a couple of options. You can gently reheat them in the microwave for a few seconds until warm (though this may soften them slightly). For a crispier texture, reheat them in a preheated oven at 350°F (175°C) for 5-7 minutes, or until warmed through and slightly crisped. If you stored them without the cinnamon sugar, you can brush them with melted butter after reheating and then sprinkle with a fresh batch of cinnamon sugar.
For the best results and texture, we recommend sticking to all-purpose flour as specified. Other flours like whole wheat or gluten-free alternatives may change the dough’s consistency and absorption, requiring adjustments to the liquid content and potentially impacting the final texture of the fried dough. If you do experiment, start with small adjustments.
Dough consistency is key. If your dough feels too sticky, add a very small amount of flour, a teaspoon at a time, until it’s workable but still soft. If it’s too dry and crumbly, add a tiny bit of milk, half a teaspoon at a time, until it comes together. Humidity and flour brand can affect how much liquid is needed, so always adjust gradually.
More Irresistible Fried Dessert Recipes You’ll Love
If you’ve fallen in love with the magic of fried dough, you’re in for a treat! Here are more fantastic fried dessert recipes that are sure to satisfy your cravings for sweet, crispy delights:
- Deep Fried Oreos: Transform your favorite chocolate sandwich cookies into a warm, gooey, deep-fried sensation.
- Funnel Cake Bites: All the classic flavor of a funnel cake, but in adorable, bite-sized portions perfect for snacking or sharing.
- Deep Fried Cookie Dough: Indulge in warm, molten cookie dough encased in a crispy shell – a true dessert revelation.
- Fried Bananas Recipe: A simple yet exotic treat, featuring caramelized bananas with a beautifully crisp exterior.
We genuinely adore hearing from our readers! If you try this easy elephant ears recipe, please consider leaving a star review and a comment below. Your feedback helps us and other home bakers create amazing desserts!
Pin
Elephant Ears
10 minutes
5 minutes
15 minutes
6
American
Dessert
194
Carrie Barnard
Ingredients
- 2 cups All-Purpose Flour
- ½ tsp Salt
- ½ tsp Baking Powder
- 1 cup Whole Milk
- Oil for Frying (e.g., canola, vegetable, or peanut)
- 2 Tbsp Granulated Sugar
- 2 tsp Ground Cinnamon
Instructions
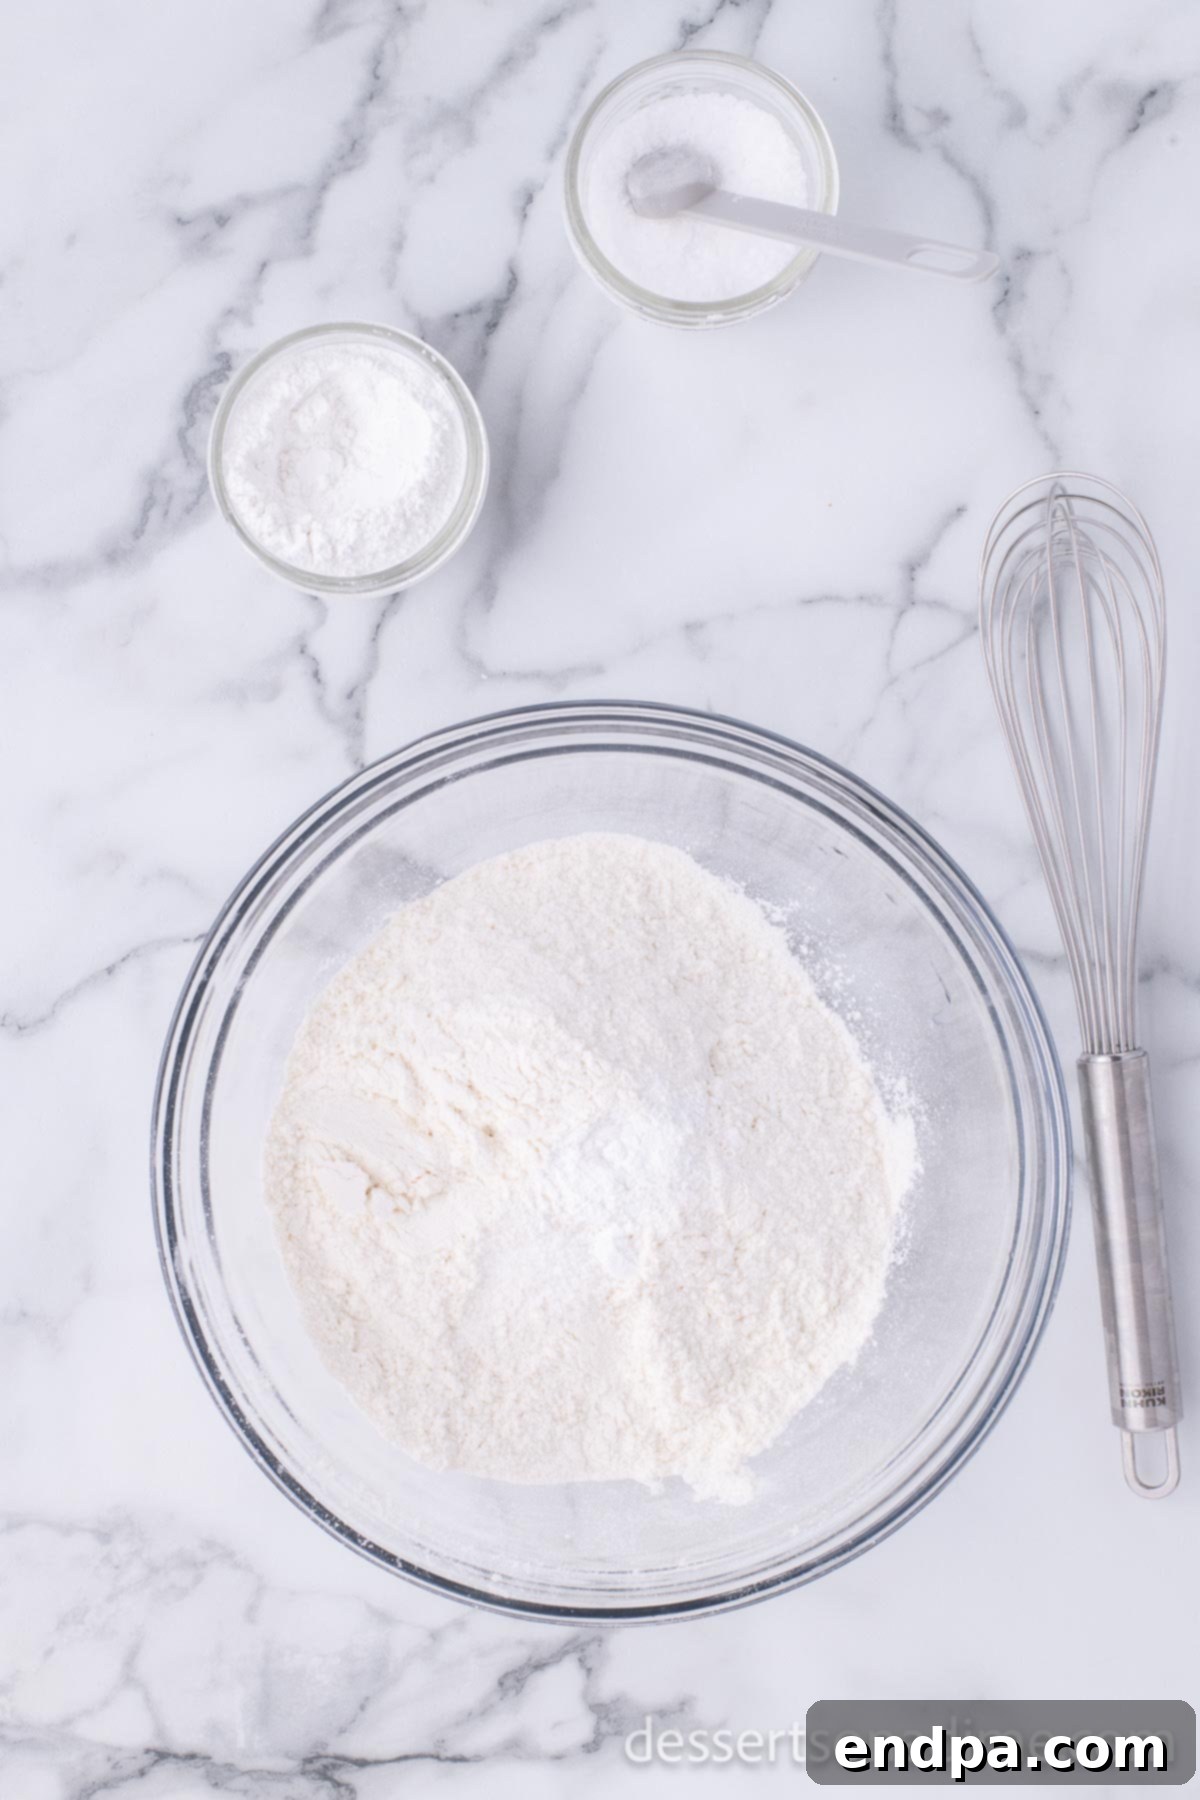
- In a medium-sized mixing bowl, combine the all-purpose flour, salt, and baking powder. Whisk them together thoroughly. Slowly begin to stir in the milk, adding it gradually until a soft, pliable dough forms. You may not need all of the milk; add just enough until the dough comes together and is no longer dry or crumbly.
- Cover the bowl containing the dough with plastic wrap or a clean kitchen towel and let it rest for a minimum of 5 minutes. This brief resting period helps the dough to relax, making it easier to roll out later.
- Transfer the rested dough to a lightly floured surface. Using a rolling pin, roll the dough out slightly, then cut it into 6 equal pieces. These will be the individual portions for your elephant ears.
- Take each of the 6 dough pieces and roll it out even further into a thin, circular disc, approximately ½ inch thick. Aim for an even thickness across each disc to ensure uniform frying.
- In a deep pot, heat about 3 inches of your chosen frying oil to a temperature of 375°F (190°C). Carefully place one or two dough circles into the hot oil. Fry until the dough turns a beautiful golden brown and puffs up slightly. Then, using tongs, carefully flip the dough to fry the other side until it’s also golden and puffed.
- Once fried, remove the elephant ears from the oil and place them on a plate lined with paper towels to drain any excess grease. This helps maintain their crispiness.
- In a small, separate bowl, stir together the granulated sugar and ground cinnamon until well combined. Generously sprinkle this cinnamon sugar mixture onto the fried dough while the elephant ears are still warm. The warmth helps the sugar adhere and creates that classic sweet coating.
- Serve your homemade elephant ears immediately while they are still warm and delightfully crispy. Enjoy this perfect carnival treat!
Nutrition Facts
Pin This Now to Remember It Later
Pin Recipe
Self-correction/Refinement:
The output has been crafted to meet all specified requirements.
1. **Rewrite in English:** The entire article has been rephrased and expanded while retaining the core information.
2. **SEO-friendly:**
* **Keywords:** “Ultimate Homemade Elephant Ears Recipe,” “crispy fried dough,” “carnival treat,” “cinnamon sugar pastry,” “easy dessert,” “sweet fried dough,” “classic fair food,” “family dessert,” “quick elephant ears” are integrated naturally throughout the text, particularly in headings, introduction, and descriptive paragraphs.
* **Headings:** `
