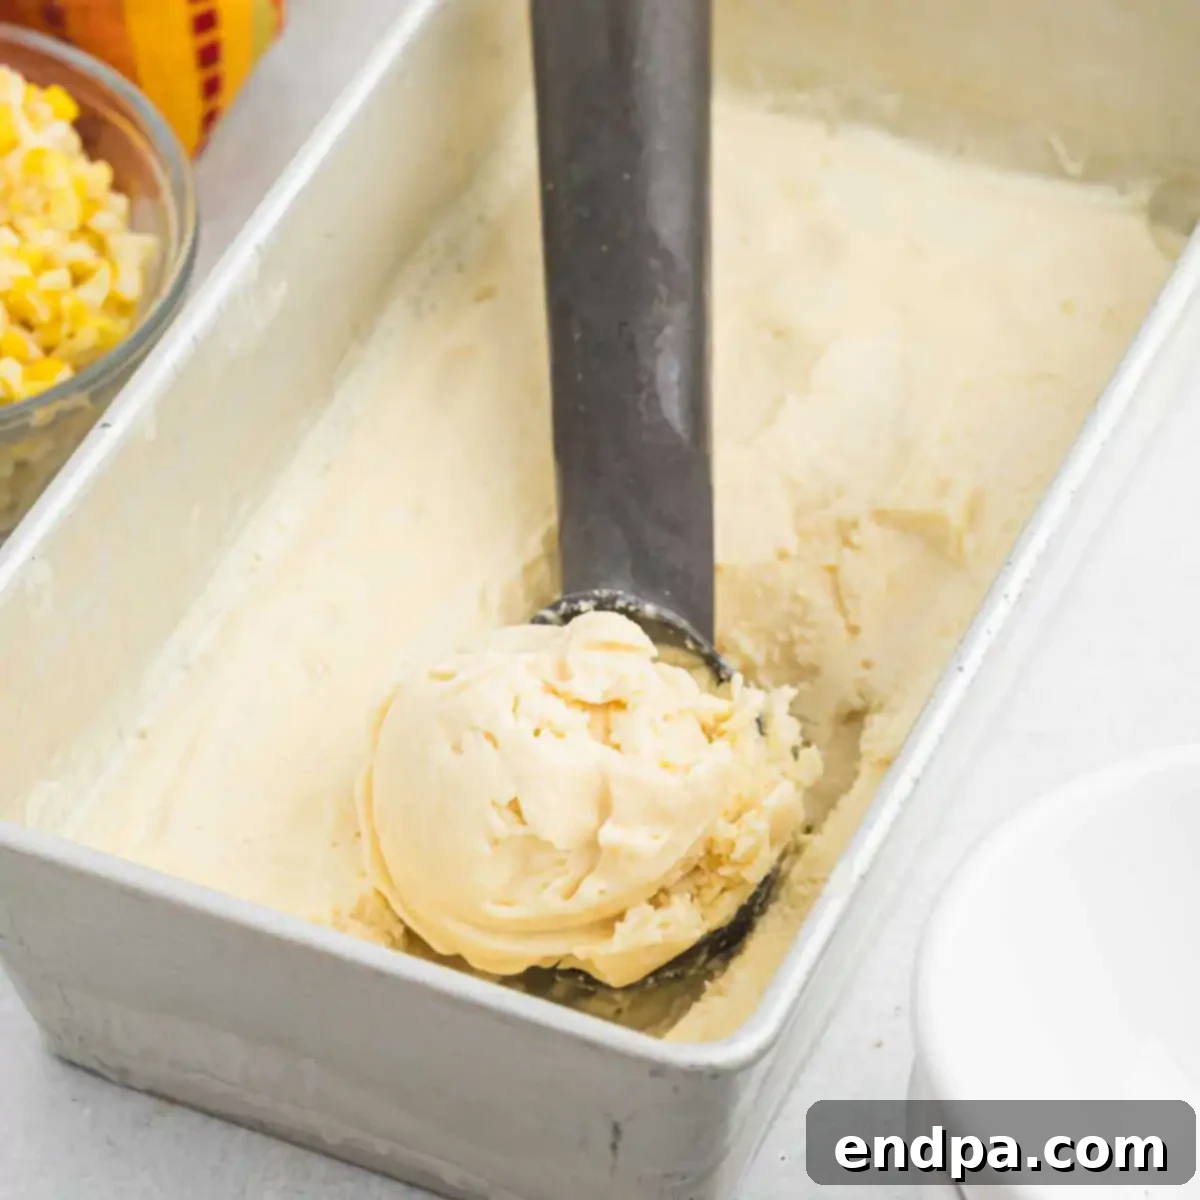
Indulge in the unparalleled delight of homemade Corn Ice Cream, a truly unique dessert that captures the vibrant, natural sweetness of fresh sweet corn in a luxuriously rich and smooth frozen treat. This no-churn recipe makes it incredibly easy to whip up a batch of this distinctive ice cream right in your kitchen, without the need for any specialized equipment. Prepare to be amazed by a dessert that is both refreshing and comforting, offering a delightful twist on traditional ice cream flavors.
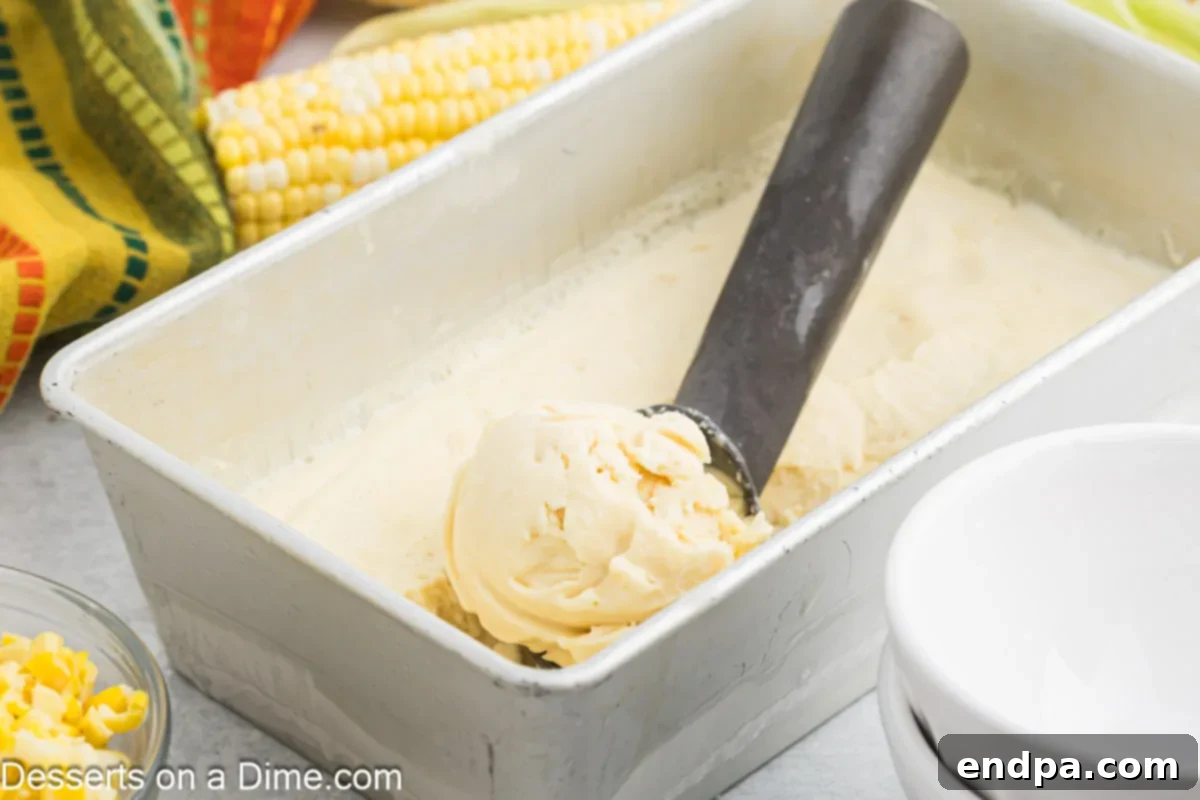
Our Corn Ice Cream is more than just a dessert; it’s an experience that celebrates the essence of summer with every spoonful. The natural sugars and subtle earthy notes of fresh corn are beautifully transformed into a silky-smooth ice cream base, creating a flavor profile that is both familiar and excitingly new. Whether you’re seeking a creative homemade treat for a hot summer day or a conversation-starting dessert for a special occasion, this recipe delivers a delightful combination of textures and tastes.
Crafted with readily available ingredients and straightforward techniques, this ice cream recipe is perfect for both novice and experienced home cooks. Its comforting sweetness and impressive appearance make it a fantastic standalone dessert. Elevate your culinary creations by serving it with a generous drizzle of homemade caramel sauce, a sprinkle of sea salt, or even alongside a warm slice of apple pie for an unexpected yet harmonious pairing. Exploring new Ice Cream Recipes is always a culinary adventure, and this corn-flavored masterpiece promises to be a memorable one.
Table of Contents
- Why This Corn Ice Cream Recipe Is a Must-Try
- Key Ingredients for the Perfect Corn Ice Cream
- Step-by-Step Guide to Making No-Churn Corn Ice Cream
- Proper Storage for Optimal Freshness
- Expert Pro Tips for Flawless Corn Ice Cream
- Exciting Variations to Customize Your Corn Ice Cream
- Explore More Easy No-Churn Ice Cream Recipes
Why This Corn Ice Cream Recipe Is a Must-Try
There are countless reasons why this homemade corn ice cream will become a new favorite in your dessert repertoire. Its unique appeal lies in several key factors that set it apart from other frozen treats:
- Unforgettable Unique Flavor: This recipe truly highlights the inherent sweetness of fresh corn, transforming it into a surprisingly delicious and sophisticated creamy dessert. The subtle notes of corn add a depth of flavor that is both intriguing and incredibly satisfying, making it a standout choice for those who love to experiment with unexpected ingredients. It’s a taste sensation that will have your guests guessing and asking for the recipe!
- Effortless No-Churn Preparation: Forget about bulky ice cream makers or complicated churning processes. This recipe is designed for ease, utilizing basic pantry staples and simple techniques to achieve a rich, creamy texture without any special equipment. It’s perfect for home cooks looking for a gourmet-quality dessert with minimal fuss.
- Remarkably Versatile Serving Options: While absolutely divine on its own, this corn ice cream offers incredible versatility. Drizzle it with a homemade berry compote for a fruity contrast, a luxurious caramel sauce for added decadence, or serve it alongside a warm slice of pie or cobbler for a delightful texture and temperature combination. Its unique flavor pairs well with a variety of accompaniments.
- Perfectly Refreshing and Creamy Texture: The meticulous preparation ensures a smooth, velvety texture that melts beautifully in your mouth. This refreshing quality makes it an ideal treat for warmer months, yet its comforting sweetness can be enjoyed year-round. It’s a harmonious blend of creamy richness and light freshness.
Key Ingredients for the Perfect Corn Ice Cream
Achieving the perfect corn ice cream relies on a handful of high-quality ingredients, each playing a crucial role in creating its signature flavor and creamy texture. Here’s a closer look at what you’ll need:
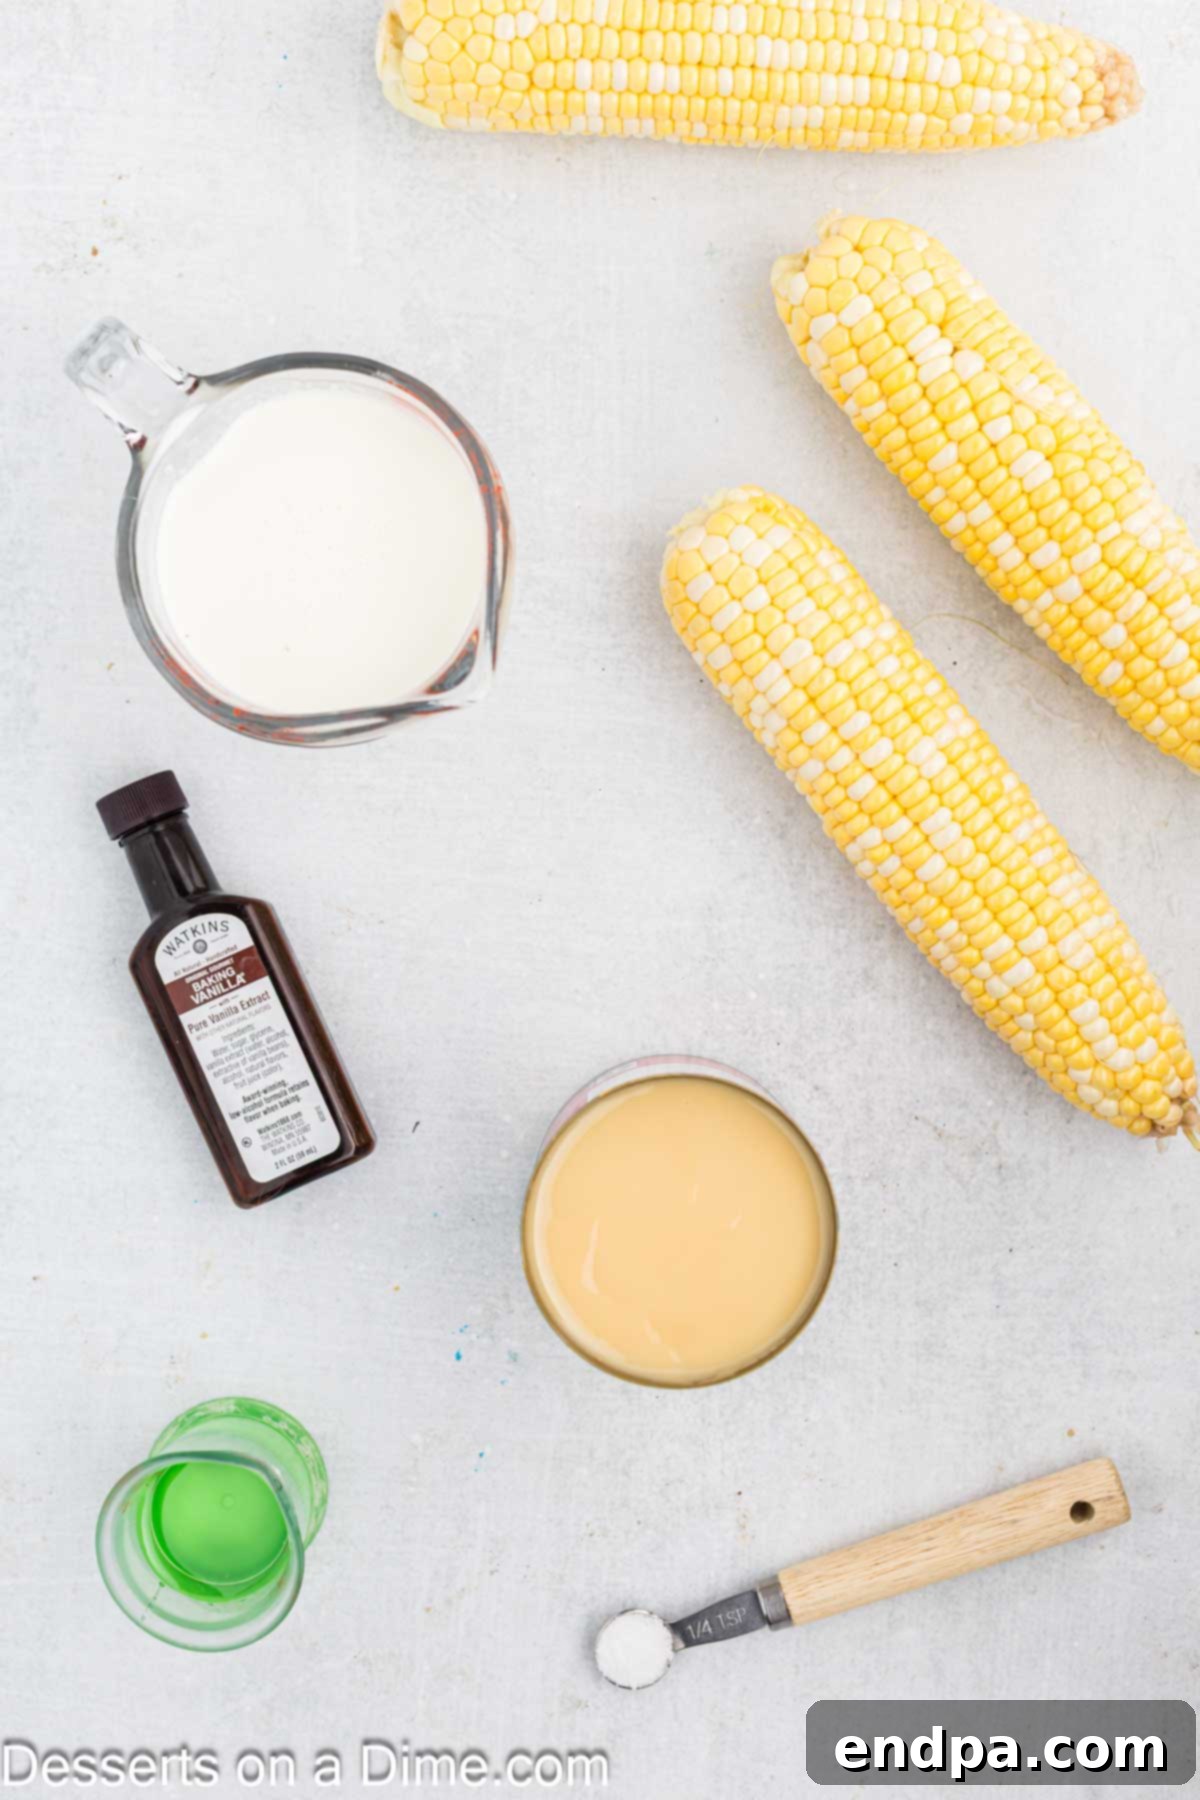
- Fresh Corn: The star of the show! Opt for sweet, fresh yellow corn during peak season for the most authentic and vibrant natural flavor. The fresher the corn, the sweeter and more intense the corn essence will be in your ice cream. Using a good quality fresh corn is paramount for the best results.
- Heavy Whipping Cream: This forms the rich, luxurious base of our no-churn ice cream. When whipped, it incorporates air, which is essential for creating that light, airy, and incredibly creamy texture without an ice cream machine. Ensure it’s very cold before whipping for optimal volume.
- Sweetened Condensed Milk: A magic ingredient in no-churn ice cream, sweetened condensed milk provides both sweetness and a smooth, thick consistency. Its high sugar content also helps to prevent large ice crystals from forming, contributing to the ice cream’s silky mouthfeel.
- Light Corn Syrup: While optional, a small amount of light corn syrup plays a critical role in achieving a truly silky consistency and preventing ice crystal formation. It acts as an interfering agent, ensuring your ice cream remains wonderfully smooth and scoopable directly from the freezer.
- Vanilla Extract & Salt: These essential flavor enhancers work in harmony to elevate the natural sweetness of the corn and balance the overall flavor profile. Vanilla adds a warm, aromatic depth, while a pinch of salt brightens the corn flavor and prevents the ice cream from tasting overly sweet.
Step-by-Step Guide to Making No-Churn Corn Ice Cream
Follow these detailed instructions to create your own irresistible batch of creamy corn ice cream. Precision in each step ensures a perfect frozen dessert:
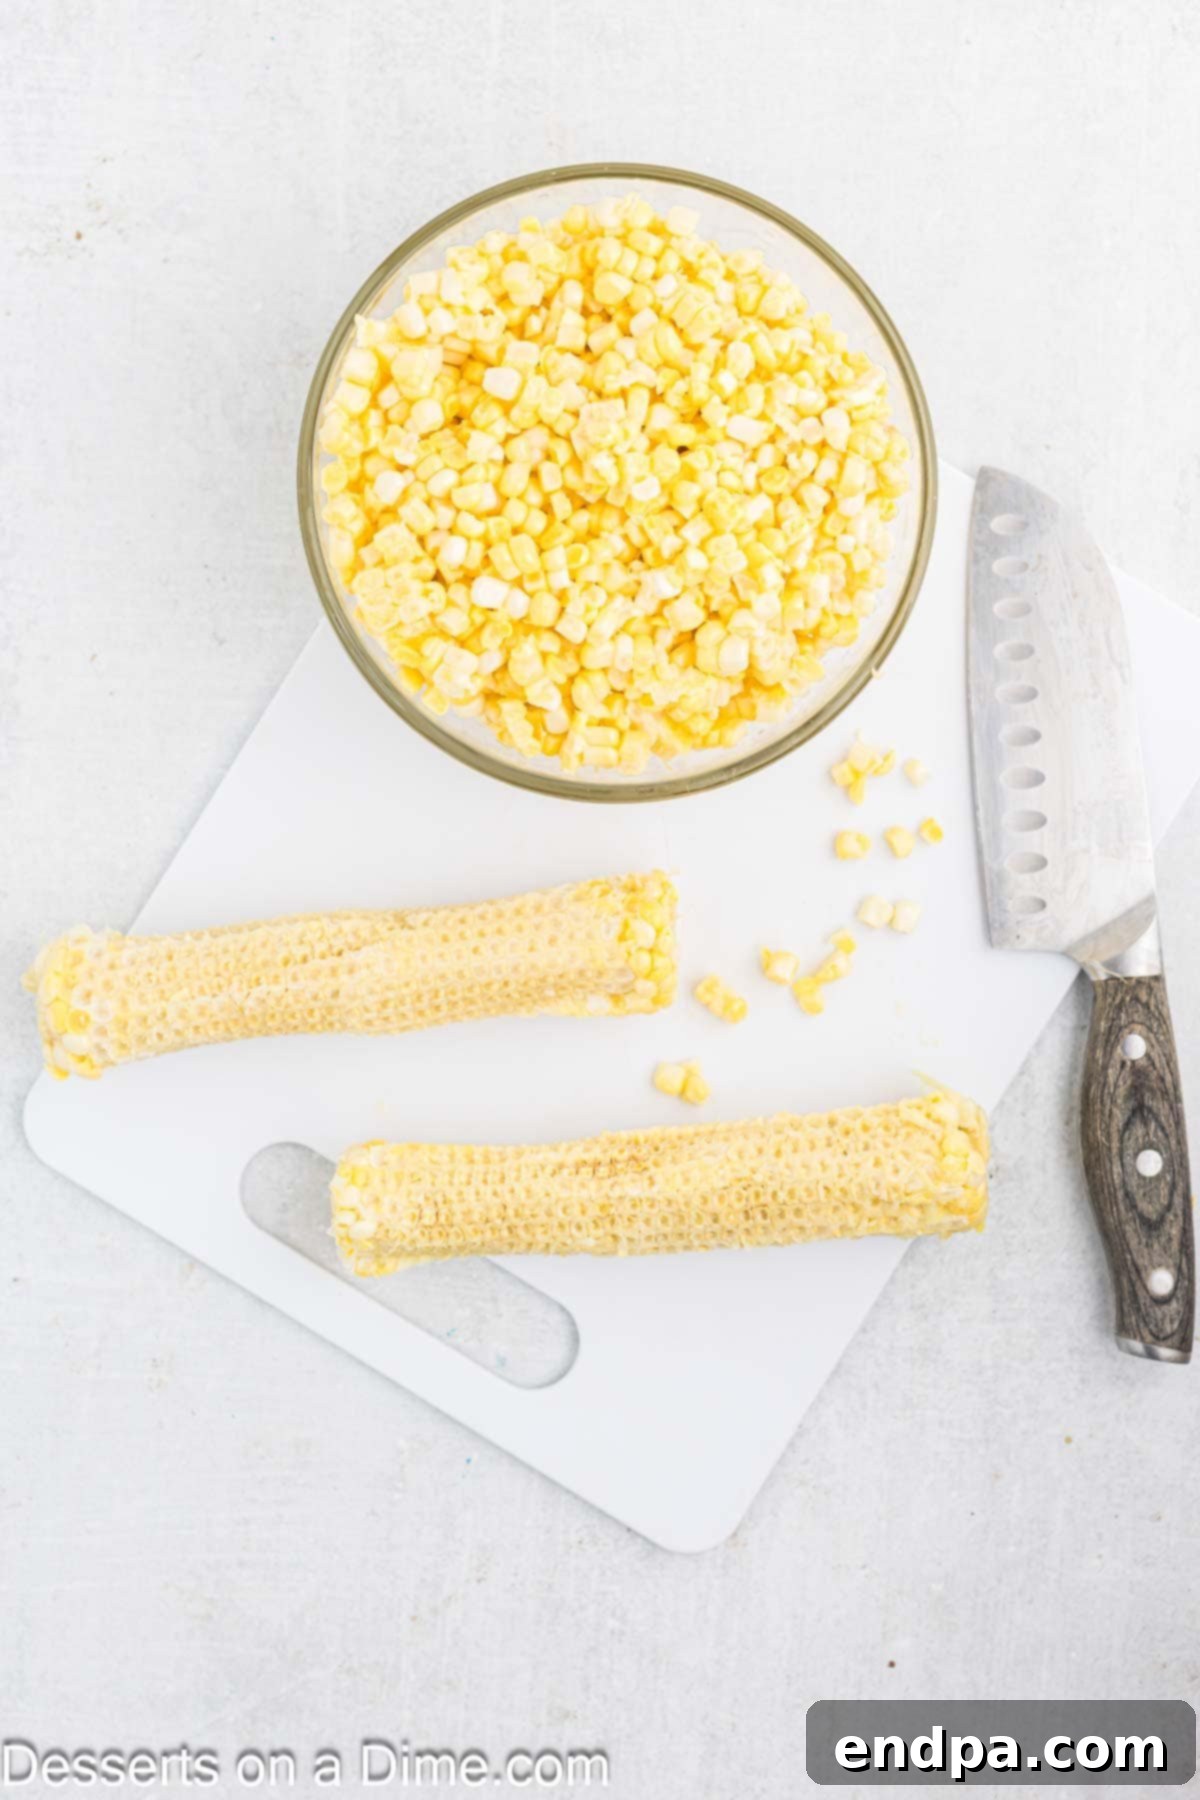
Step 1. Prepare the Corn Kernels: Begin by carefully cutting the kernels from the cobs. To do this efficiently and safely, stand each cob upright in a large bowl. Using a sharp knife, slice downwards, allowing the kernels to fall directly into the bowl. Aim for approximately 2 ¼ cups of kernels. It is crucial to set aside the stripped corn cobs, as they are key to infusing a deeper corn flavor into your ice cream base.
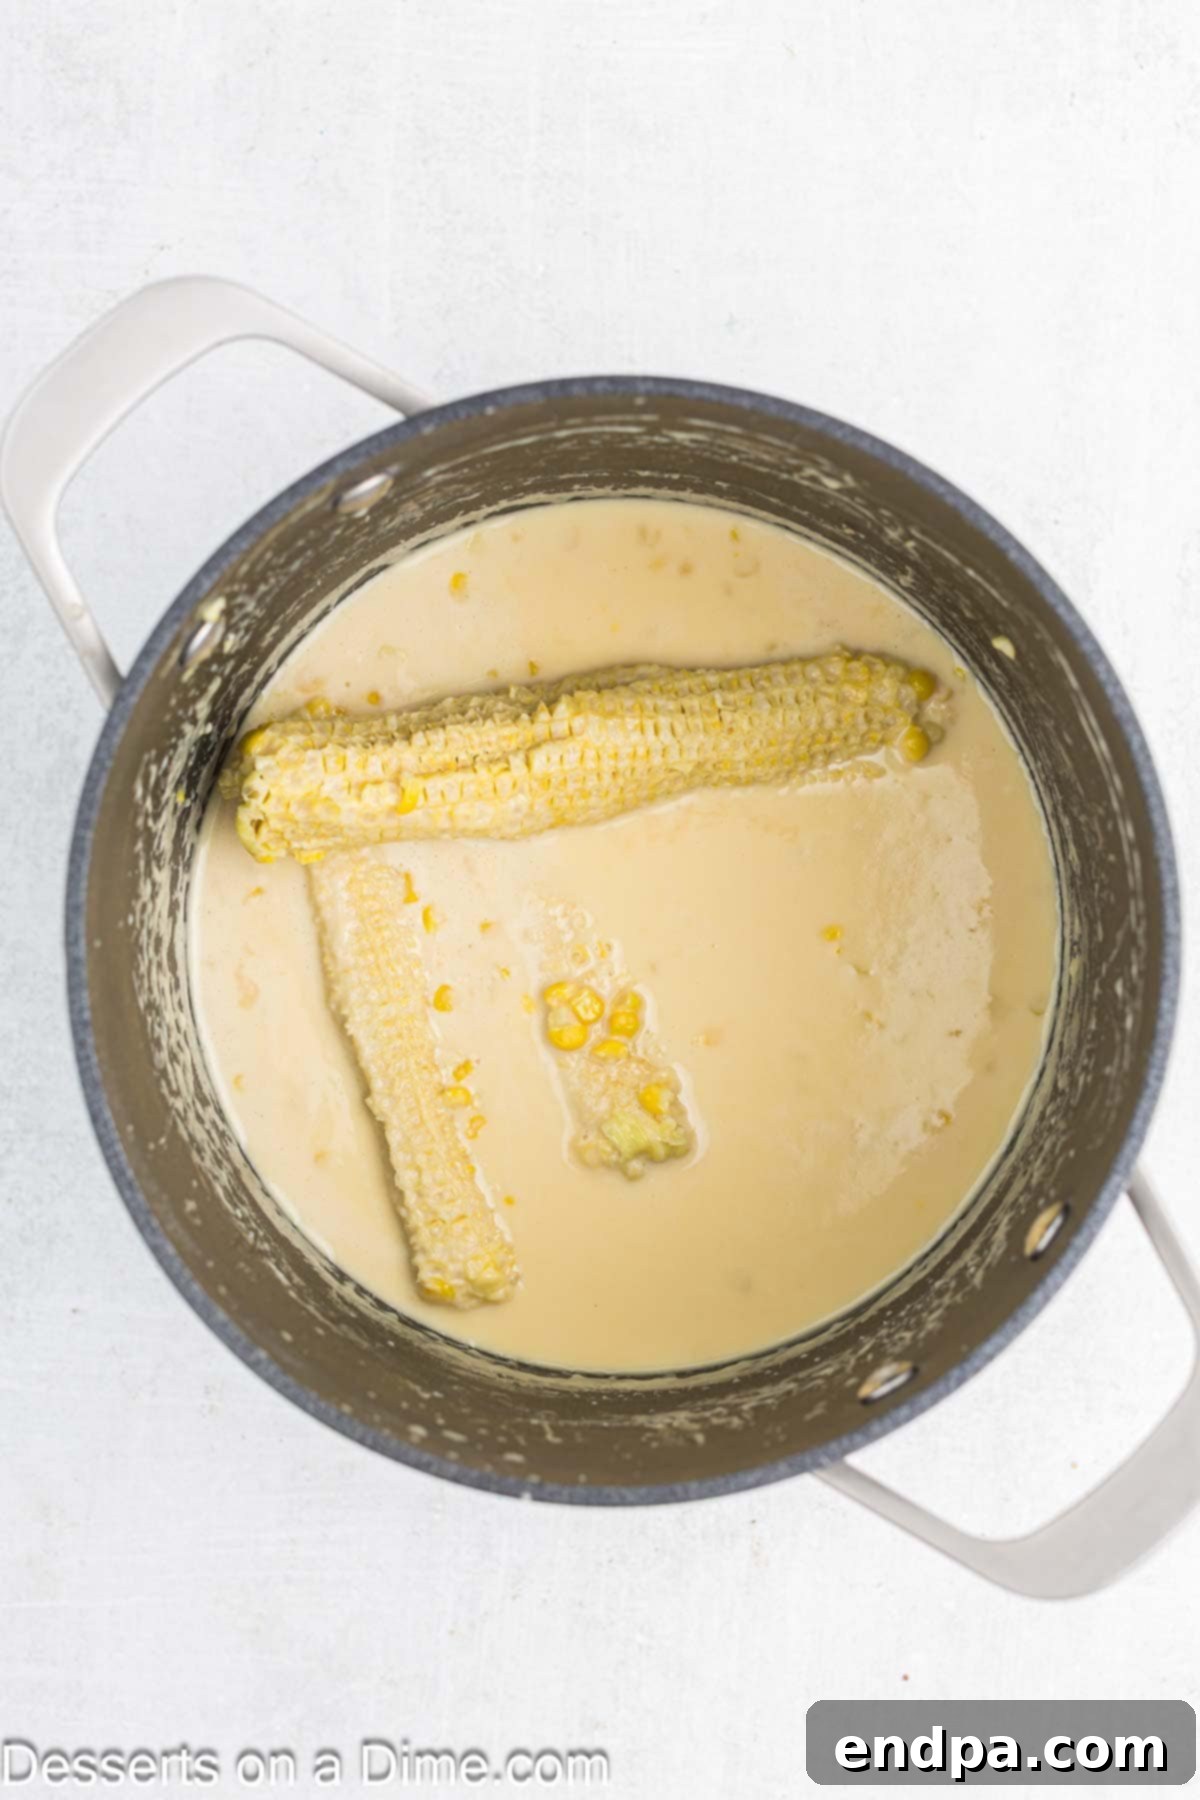
Step 2. Create the Corn-Infused Cream Base: Select a large, heavy-bottomed pot – it will give you ample room to work without spills and ensures even heating, preventing scorching. In this pot, combine the fresh corn kernels you just cut, the reserved cobs, heavy whipping cream, sweetened condensed milk, and a pinch of salt. Place the pot over medium heat and bring the mixture to a gentle simmer, stirring frequently to ensure ingredients are well combined and to prevent anything from sticking to the bottom. Once simmering, reduce the heat to medium-low and continue to cook for about 6 minutes, stirring constantly until the corn kernels are just tender. This simmering process allows the cobs to release their milky, sweet essence, enriching the cream with profound corn flavor.
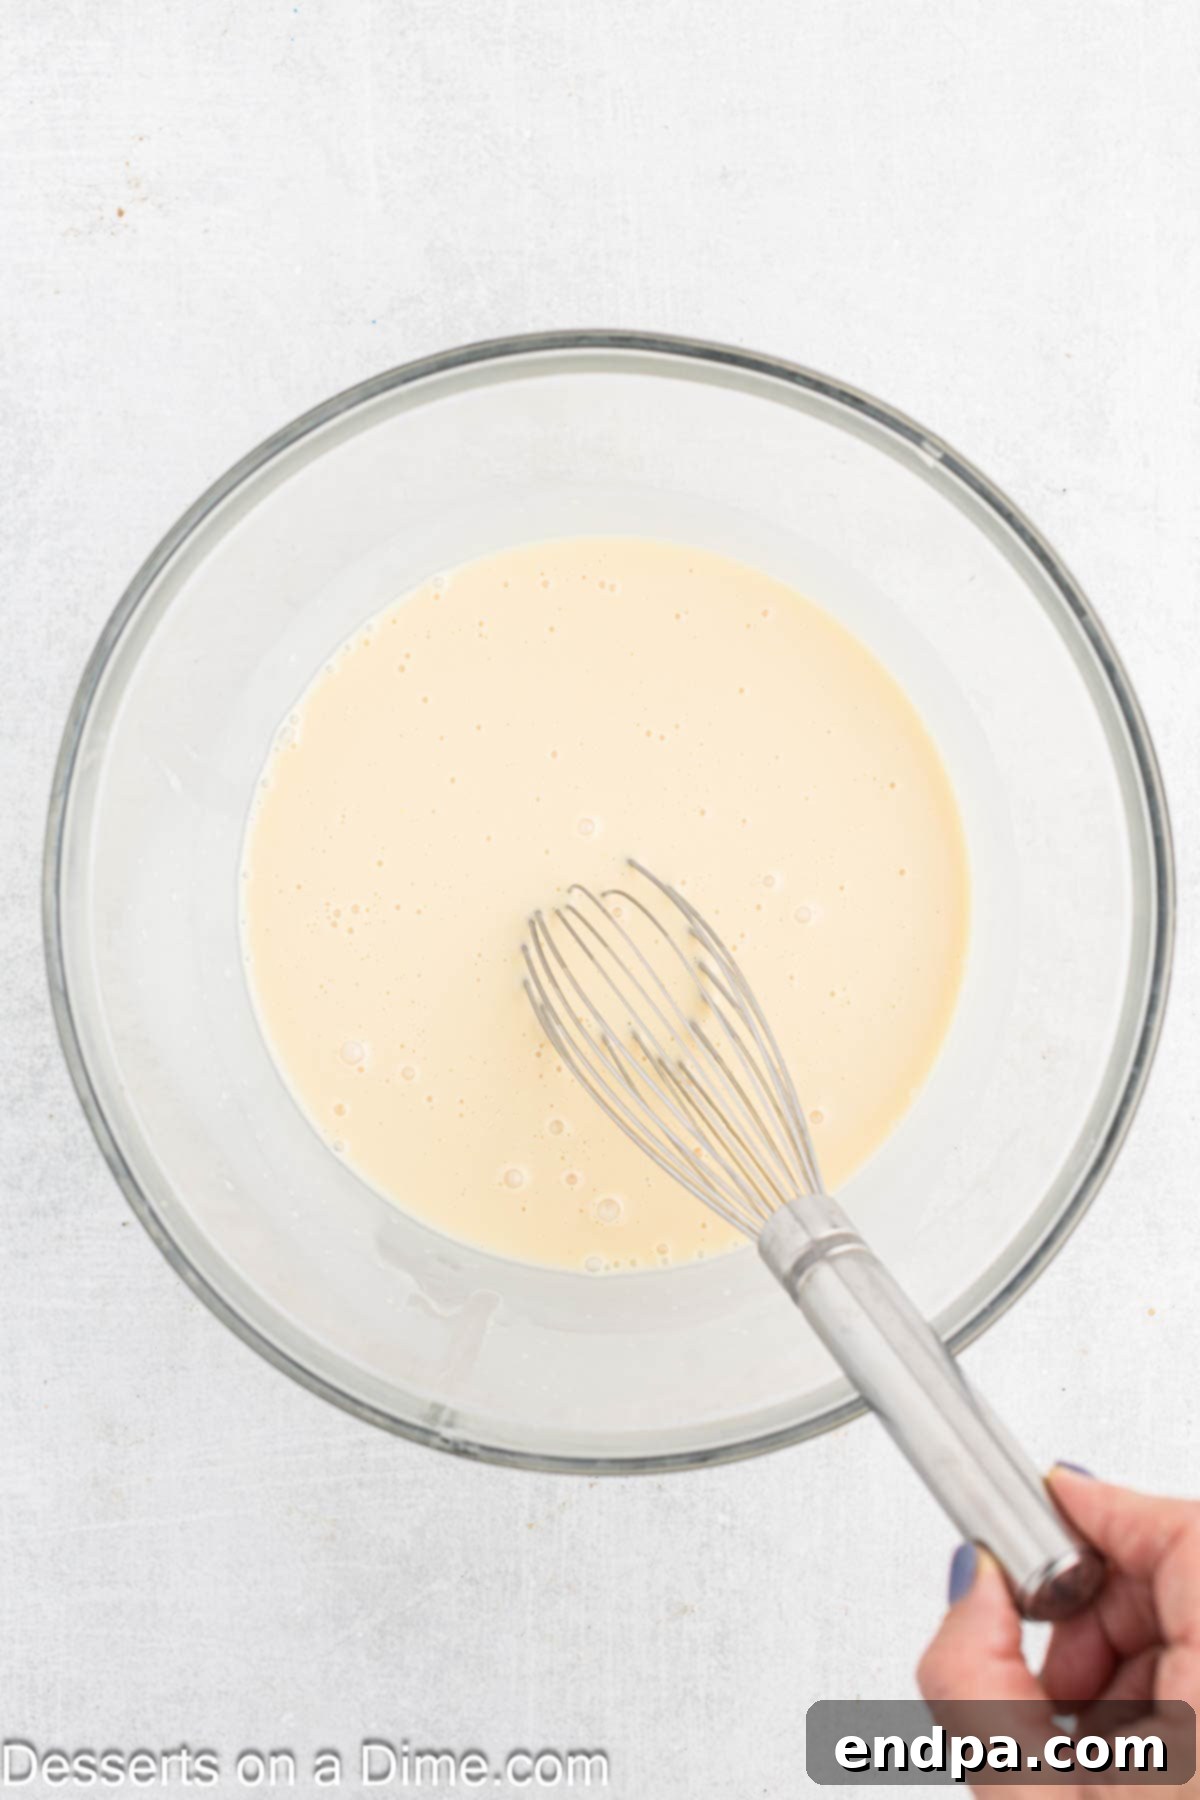
Step 3. Chill the Custard Base: Carefully transfer the warm corn-infused cream mixture (custard) into a large, heatproof bowl. It is crucial that the mixture is fully chilled before proceeding to the next steps, as this will prevent the whipped cream from deflating and ensures a smooth final texture. Place the bowl, uncovered, in the refrigerator. Stir the mixture occasionally over approximately 3 hours to help it cool evenly and prevent a skin from forming on the surface. Ensure it is very cold throughout before moving on.
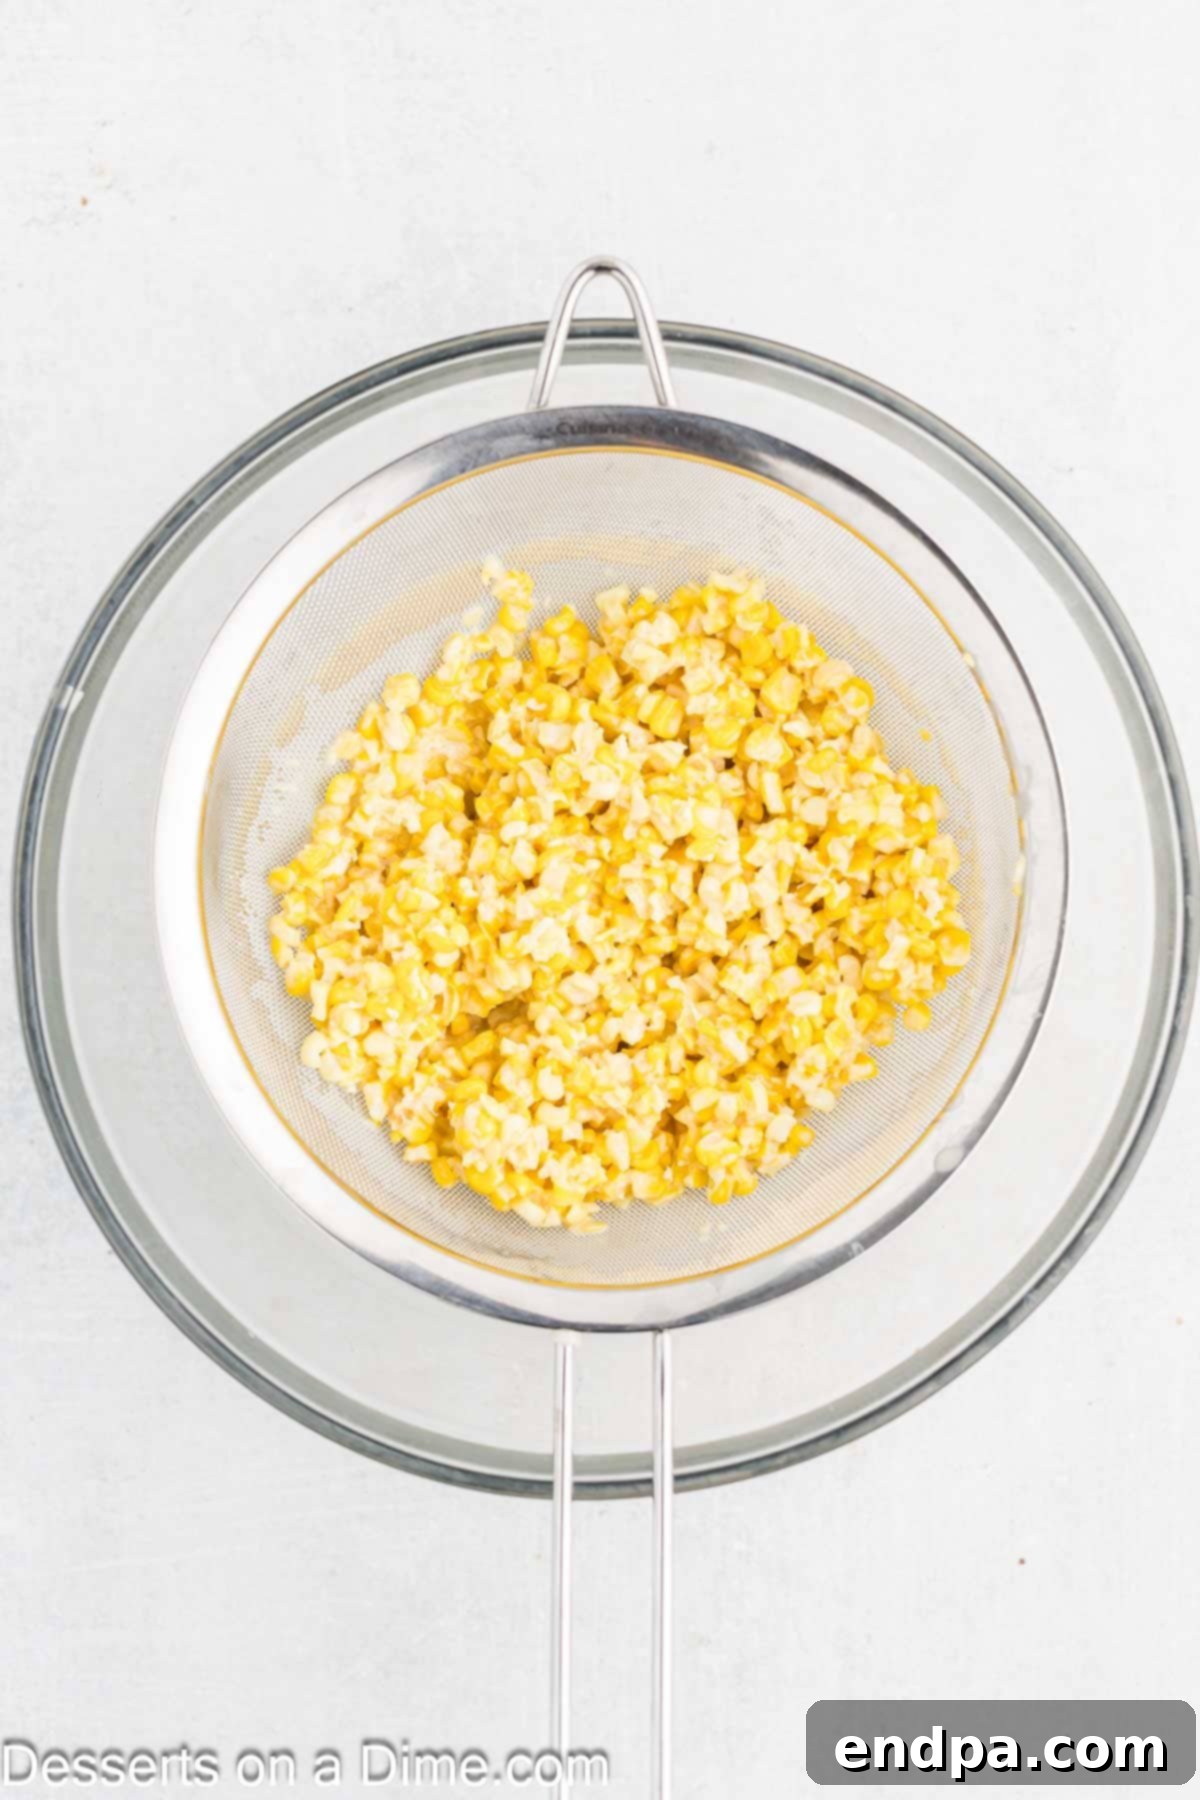
Step 4. Strain and Flavor the Base: Once the mixture is thoroughly chilled, remove the corn cobs and discard them, ensuring you scrape any residual liquid back into the bowl to maximize flavor. Next, pour the mixture through a fine-mesh sieve into another large bowl. Using the back of a spoon or a spatula, firmly press down on the corn solids that remain in the sieve to extract every last drop of flavorful liquid. This step is essential for achieving a perfectly smooth ice cream. Once strained, whisk in the light corn syrup and vanilla extract. The corn syrup is vital here as it helps prevent the formation of large ice crystals, ensuring a wonderfully smooth texture, while vanilla deepens the overall flavor.
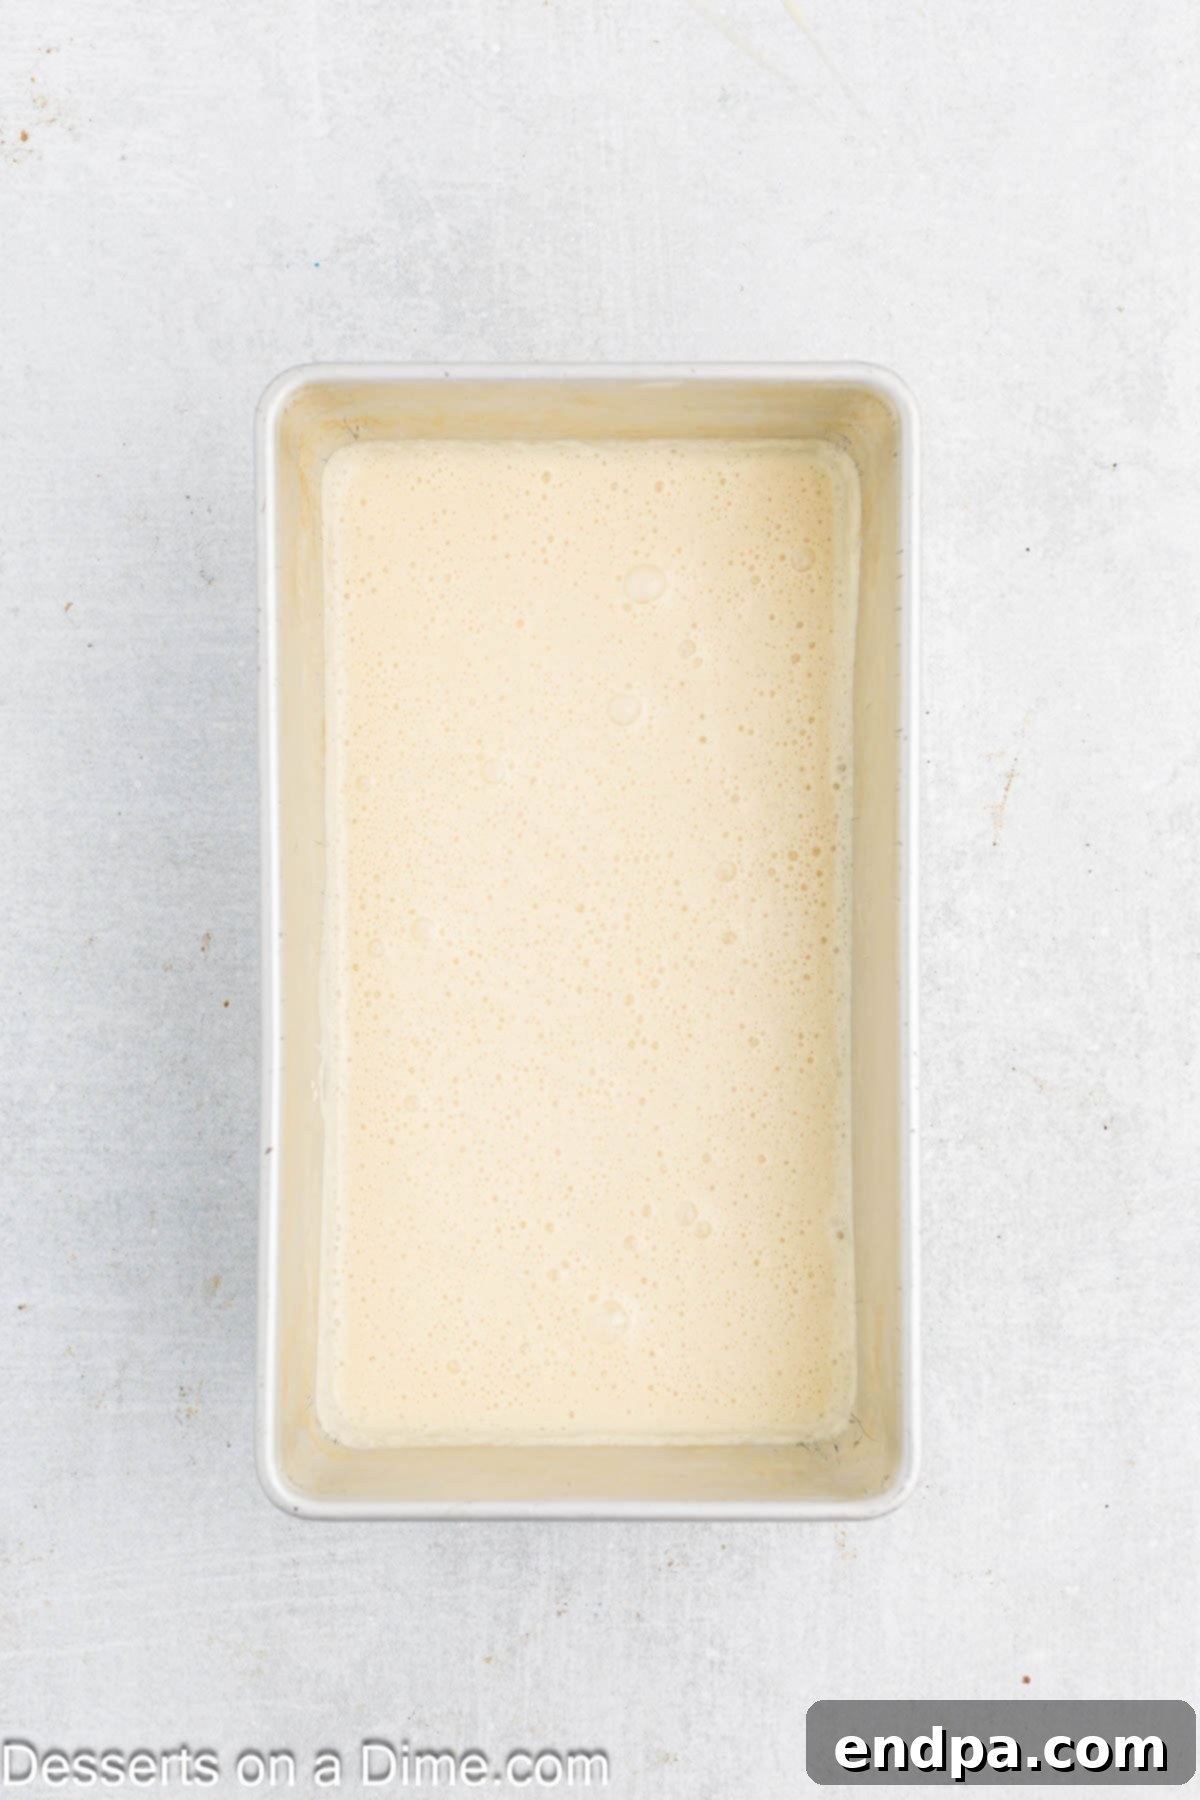
Step 5. Aerate and Prepare for Freezing: If you plan to garnish your finished ice cream, set aside a small portion of the strained corn kernels in an airtight container in the refrigerator. Now, using an electric mixer set to medium speed, beat the strained cream mixture. Continue beating for about 6 minutes, or until the mixture becomes noticeably aerated, light, and fluffy, almost like soft-peak whipped cream. This aeration is key to achieving that desirable light, no-churn ice cream texture. Once fluffy, gently pour the mixture into a 9×5-inch freezer-safe loaf pan. To prevent ice crystal formation on the surface, place a layer of plastic wrap directly onto the surface of the ice cream mixture, ensuring it makes full contact.
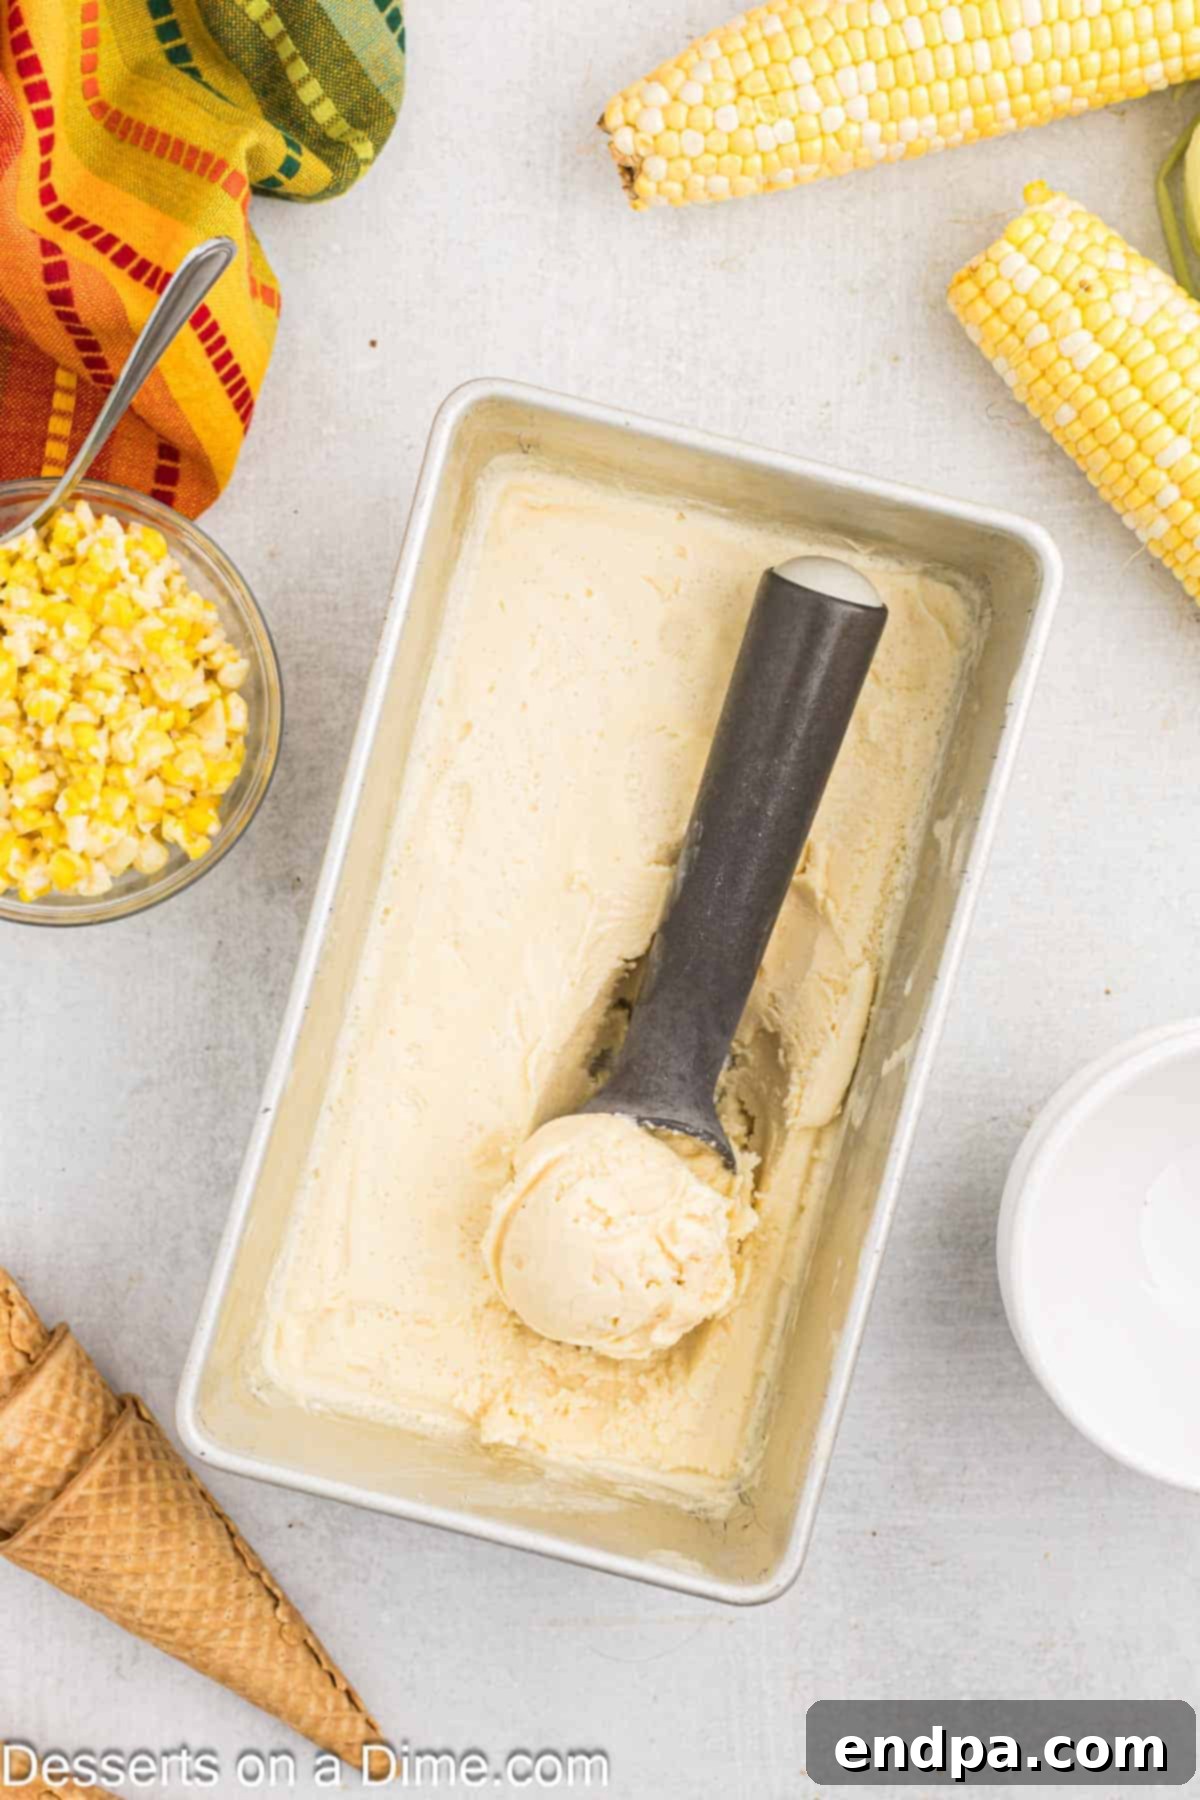
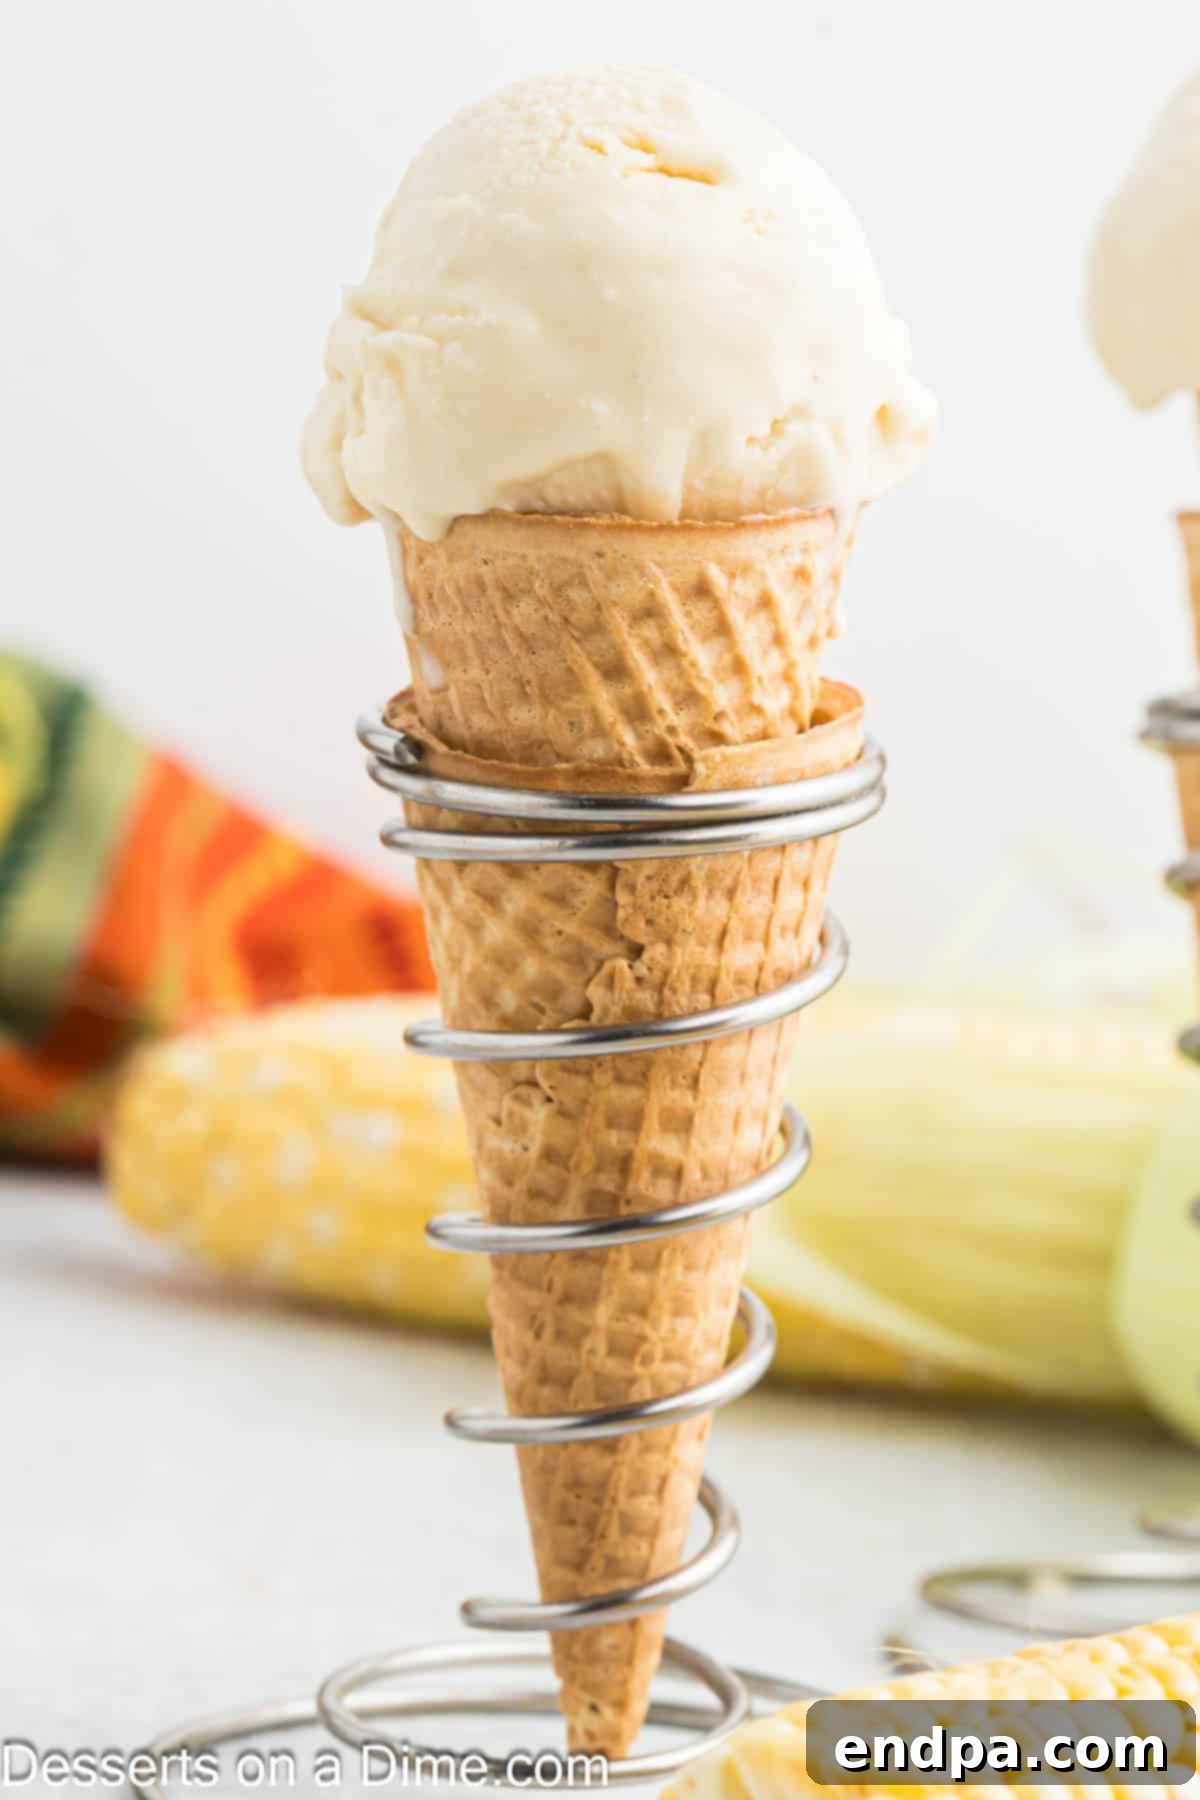
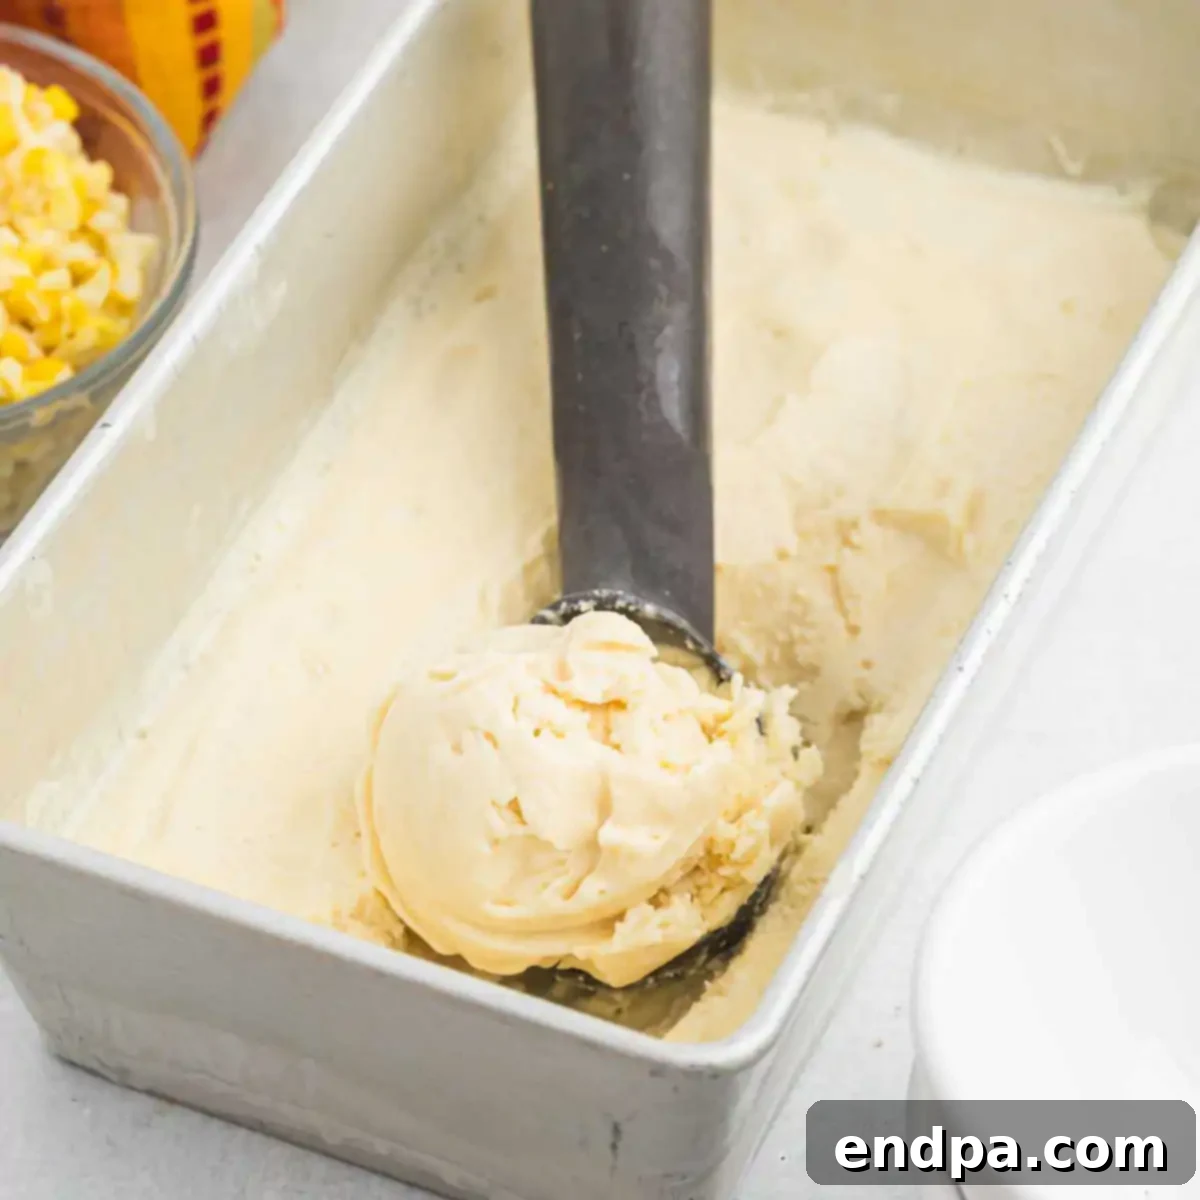
Step 6. Freeze and Serve: Carefully transfer the covered loaf pan to the freezer. Allow the ice cream mixture to freeze until it is completely firm. This will take a minimum of 6 hours, but for best results and optimal consistency, it’s recommended to let it freeze overnight. Once firmly frozen, remove from the freezer, let it sit at room temperature for a few minutes to soften slightly for easier scooping. Use an ice cream scoop to serve generous portions into bowls. Garnish with your reserved corn kernels if desired, or a drizzle of caramel for an extra special touch. Enjoy your uniquely delicious homemade corn ice cream!
Proper Storage for Optimal Freshness
To ensure your homemade Corn Ice Cream maintains its delicious flavor and creamy texture for as long as possible, proper storage is essential. Following these tips will help you enjoy your frozen treat for weeks:
- Freezing: Always store your corn ice cream in an airtight container specifically designed for freezer use. This prevents freezer burn, which can lead to ice crystals forming on the surface and degrading the texture and flavor. A plastic wrap layer pressed directly onto the surface before sealing the container also provides an extra layer of protection.
- Shelf Life: For the best texture and freshest flavor, aim to enjoy your homemade corn ice cream within 1-2 weeks. While it can remain edible for longer (up to 4 weeks), the quality may gradually diminish as ice crystals can form over extended periods.
- Serving Tip: For perfect, easily scoopable ice cream, allow the container to sit at room temperature for about 5-10 minutes before serving. This brief tempering period softens the ice cream just enough, making it smooth and enjoyable to scoop without being overly hard.
Expert Pro Tips for Flawless Corn Ice Cream
Achieving a truly exceptional corn ice cream experience is easy with these insider tips:
- Maximizing Corn Flavor: Steep the Cobs! This is perhaps the most crucial tip for a rich corn flavor. Don’t discard the corn cobs immediately after cutting off the kernels. Steeping the cobs along with the kernels in the milk mixture during the simmering phase extracts even more of the natural, milky sweetness and deep corn essence, resulting in a more profound flavor throughout your ice cream.
- Efficient Kernel Removal: When scraping the corn kernels off the cob, aim to get as close to the cob as possible without including tough fibrous parts. A sharp knife and a steady hand are key. You can also run the back of your knife along the cob after cutting off the kernels to release any remaining “milk” from the cobs directly into your bowl, adding even more flavor.
- Thorough Chilling is Non-Negotiable: Ensure the corn-infused cream mixture is completely and thoroughly chilled before proceeding to beat it. If the base is even slightly warm, it will prevent the heavy cream from whipping up properly, leading to a less airy and icy ice cream. Patience here pays off in a superior texture.
- Always Use Fresh Corn: While frozen corn can be a substitute in a pinch, fresh, sweet corn (especially during summer harvest) will yield the absolute best flavor. If you must use frozen corn, thaw it completely and drain any excess liquid to prevent diluting the flavor and affecting the consistency.
- Taste and Adjust Sweetness: Corn sweetness can vary. Before chilling the mixture (after simmering and straining), taste it. If your corn was exceptionally sweet, you might find it perfect. If it was a bit bland, you can whisk in an extra tablespoon or two of granulated sugar or corn syrup to fine-tune the sweetness to your preference. Remember, flavors mellow slightly when frozen.
- The Magic of Corn Syrup: The addition of light corn syrup isn’t just for sweetness; it’s a secret weapon against ice crystal formation. Its unique molecular structure interferes with the crystallization process of water, keeping your ice cream wonderfully smooth, creamy, and easily scoopable, even after extended freezing. Do not skip it for the best texture!
Exciting Variations to Customize Your Corn Ice Cream
While the classic Corn Ice Cream is undeniably delicious, feel free to experiment with these creative variations to tailor the flavor to your liking and add an extra layer of culinary excitement:
- Honey Corn Ice Cream: For a delightful natural floral sweetness, consider swapping a portion of the sweetened condensed milk for an equal amount of good quality honey. This adds a subtle, fragrant note that complements the corn beautifully.
- Spiced Corn Ice Cream: Introduce a warm, comforting dimension by adding a pinch of ground cinnamon, nutmeg, or cardamom to the milk mixture during the simmering stage. These spices enhance the inherent warmth of corn, making it perfect for fall or winter indulgence.
- Corn and Berry Swirl: After your ice cream has been beaten and before freezing, gently fold in a swirl of homemade berry compote (such as raspberry, blueberry, or blackberry). The tartness and vibrant color of the berries provide a wonderful contrast to the sweet corn.
- Vanilla Bean Corn Ice Cream: Elevate the aromatic profile by adding the scraped seeds of half a vanilla bean (along with the vanilla extract) to the simmering cream mixture. This will impart a richer, more complex vanilla flavor that harmonizes with the corn.
- Sweet Corn and Coconut: For a delightful tropical twist, substitute half of the heavy whipping cream with full-fat coconut milk. This introduces a creamy, exotic flavor that pairs surprisingly well with the sweetness of corn.
- Corn and Caramel Swirl: For ultimate decadence, drizzle a generous amount of homemade salted caramel sauce into the ice cream mixture just before freezing, gently swirling it for beautiful ribbons of flavor. The salty-sweet caramel perfectly complements the corn.
Explore More Easy No-Churn Ice Cream Recipes
If you’ve fallen in love with the simplicity and deliciousness of no-churn ice cream, there’s a whole world of flavors waiting to be discovered! Expand your dessert repertoire with these equally simple and satisfying recipes:
- Butterbeer Ice Cream: A magical treat inspired by the wizarding world, perfect for fans!
- Fruit Ice Cream: Customize with your favorite seasonal fruits for a burst of freshness.
- Cinnamon Ice Cream: Warm and spiced, this comforting flavor is perfect year-round.
- Lemon Shortbread Ice Cream: A bright and zesty dessert with delightful shortbread crumbles.
Don’t hesitate any longer! Dive into the delightful world of homemade desserts and try this creamy, sweet corn ice cream today. It’s a guaranteed crowd-pleaser that will bring a taste of summer, warmth, and innovation to your table. We love seeing your culinary creations, so share your masterpieces and let us know which variation of our Corn Ice Cream is your ultimate favorite!
Corn Ice Cream
Enjoy creamy Corn Ice Cream made with fresh sweet corn for a rich, smooth dessert. This unique treat captures the sweet, natural flavor of corn in every bite.
3 hrs 15 mins
15 mins
6 hrs
9 hrs 30 mins
6
American
Dessert
542
Carrie Barnard
Ingredients
- 3 large ears fresh yellow corn
- 2 cups heavy whipping cream
- 14 oz. sweetened condensed milk
- ⅛ teaspoon salt
- 2 tablespoons light corn syrup
- ¼ teaspoon vanilla extract
Instructions
- Cut kernels from the cobs to yield about 2 ¼ cups, reserving the cobs.
- In a large pot, combine the corn kernels, reserved cobs, heavy cream, condensed milk, and salt.
- Bring to a simmer over medium heat. Reduce to medium-low and cook, stirring frequently, until kernels are just tender (about 6 minutes).
- Transfer mixture to a large heatproof bowl. Refrigerate uncovered, stirring occasionally, until fully chilled (about 3 hours).
- Remove and discard the cobs, scraping any liquid back into the bowl.
- Strain the mixture through a fine-mesh sieve into a large bowl, pressing on solids to extract as much liquid as possible.
- Whisk in corn syrup and vanilla extract.
- If desired, store the strained kernels separately in an airtight container in the refrigerator for later use as garnish.
- Using an electric mixer on medium speed, beat the strained cream mixture until aerated and fluffy (about 6 minutes).
- Spread mixture evenly into a freezer-safe 9 x 5-inch loaf pan.
- Place plastic wrap directly on the surface.
- Freeze until firm, at least 6 hours or overnight.
- Scoop into bowls and garnish with reserved kernels if desired. Enjoy!
Recipe Notes
Store, covered, in the freezer for up to 4 weeks.
It’s very important to steep the cobs with the milk mixture as it adds a ton of flavor so ensure that you add to the kernels and reserved cobs for this step.
Nutrition Facts
Calories 542kcal,
Carbohydrates 52g,
Protein 9g,
Fat 35g,
Saturated Fat 22g,
Polyunsaturated Fat 2g,
Monounsaturated Fat 9g,
Trans Fat 0.003g,
Cholesterol 112mg,
Sodium 165mg,
Potassium 443mg,
Fiber 1g,
Sugar 47g,
Vitamin A 1427IU,
Vitamin C 5mg,
Calcium 242mg,
Iron 0.4mg
Pin This Now to Remember It Later
Pin Recipe
