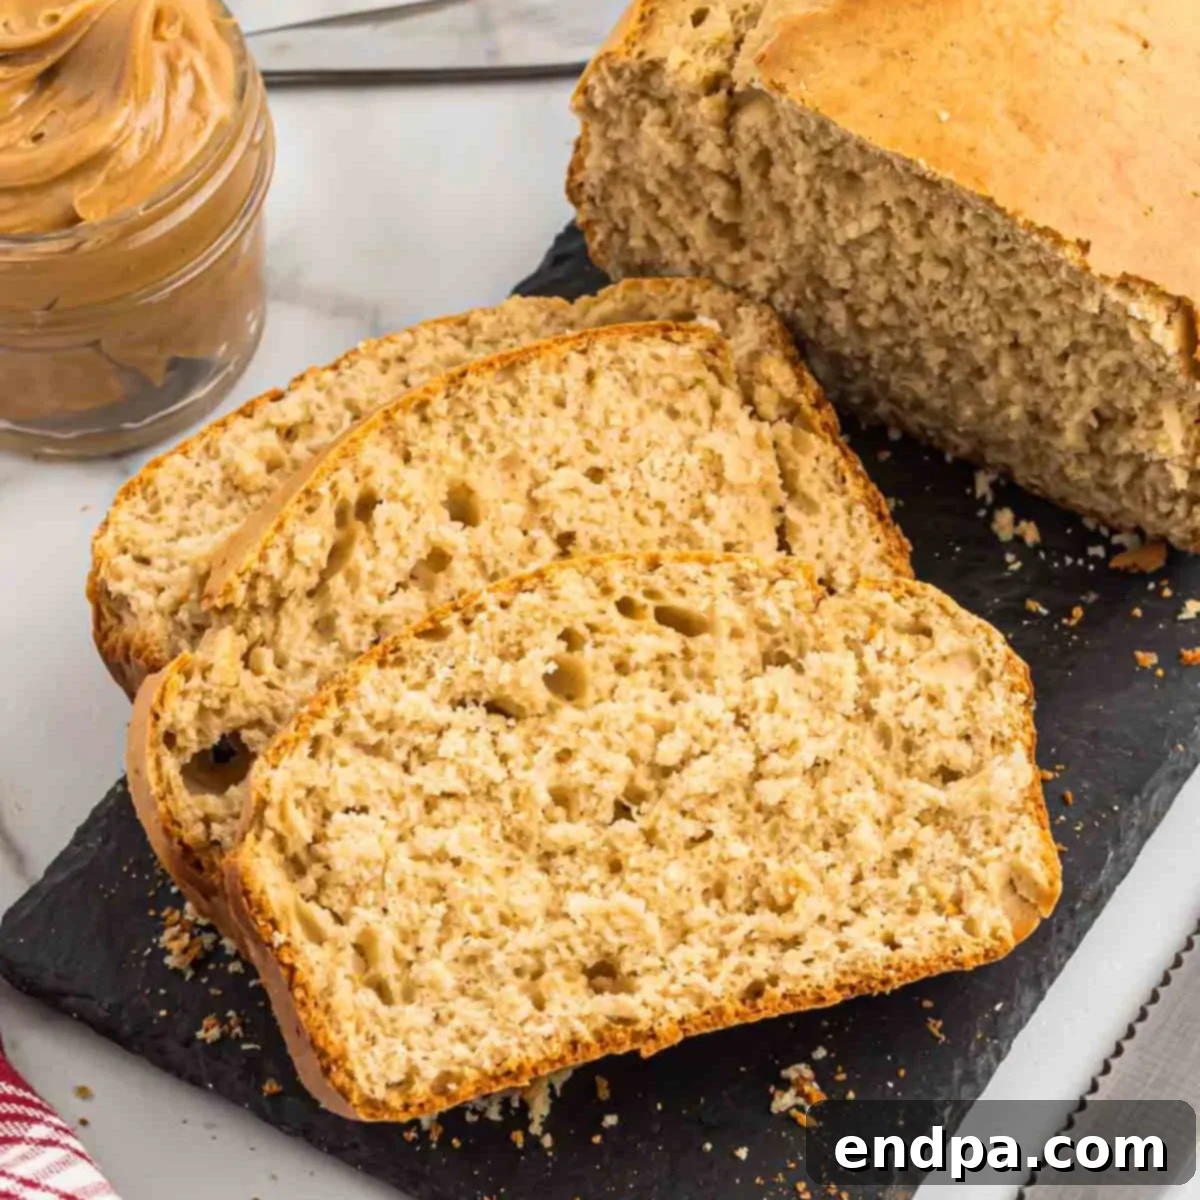
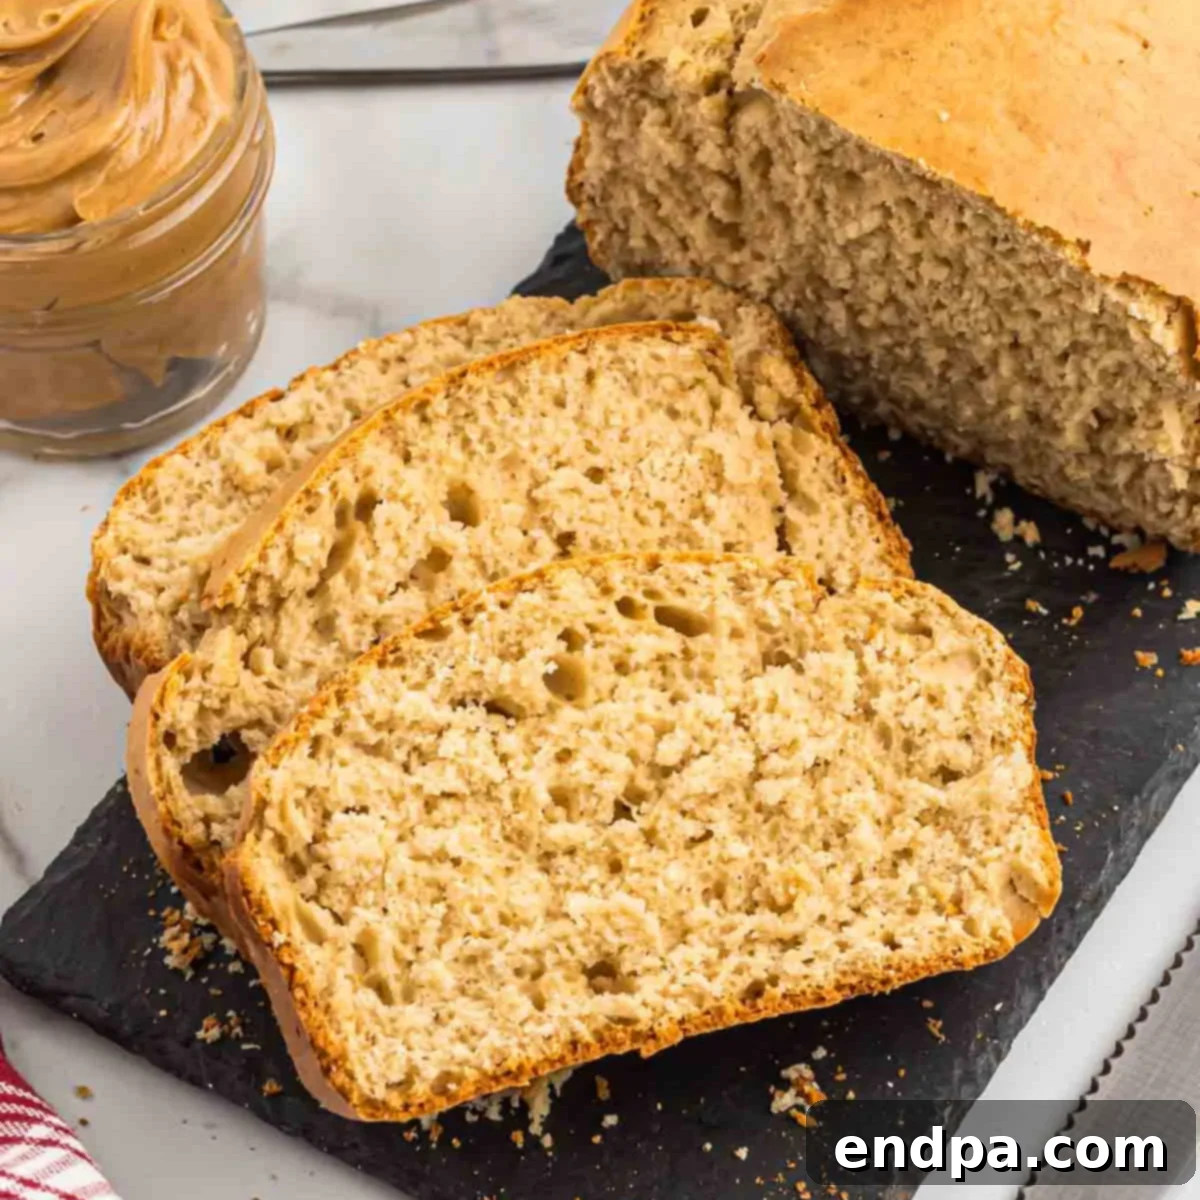
Welcome to the ultimate guide for crafting the most delightful and effortlessly delicious Peanut Butter Bread! This isn’t just any quick bread; it’s a wholesome, comforting treat brimming with rich peanut butter flavor, perfect for any time of day. With its simple ingredients and straightforward steps, this recipe is a true testament to the joy of homemade baking. Whether you’re a seasoned baker or just starting your culinary journey, you’ll find this easy peanut butter bread a fantastic addition to your repertoire. It’s incredibly adaptable, making it a versatile option for breakfast, a satisfying snack, or a unique dessert.
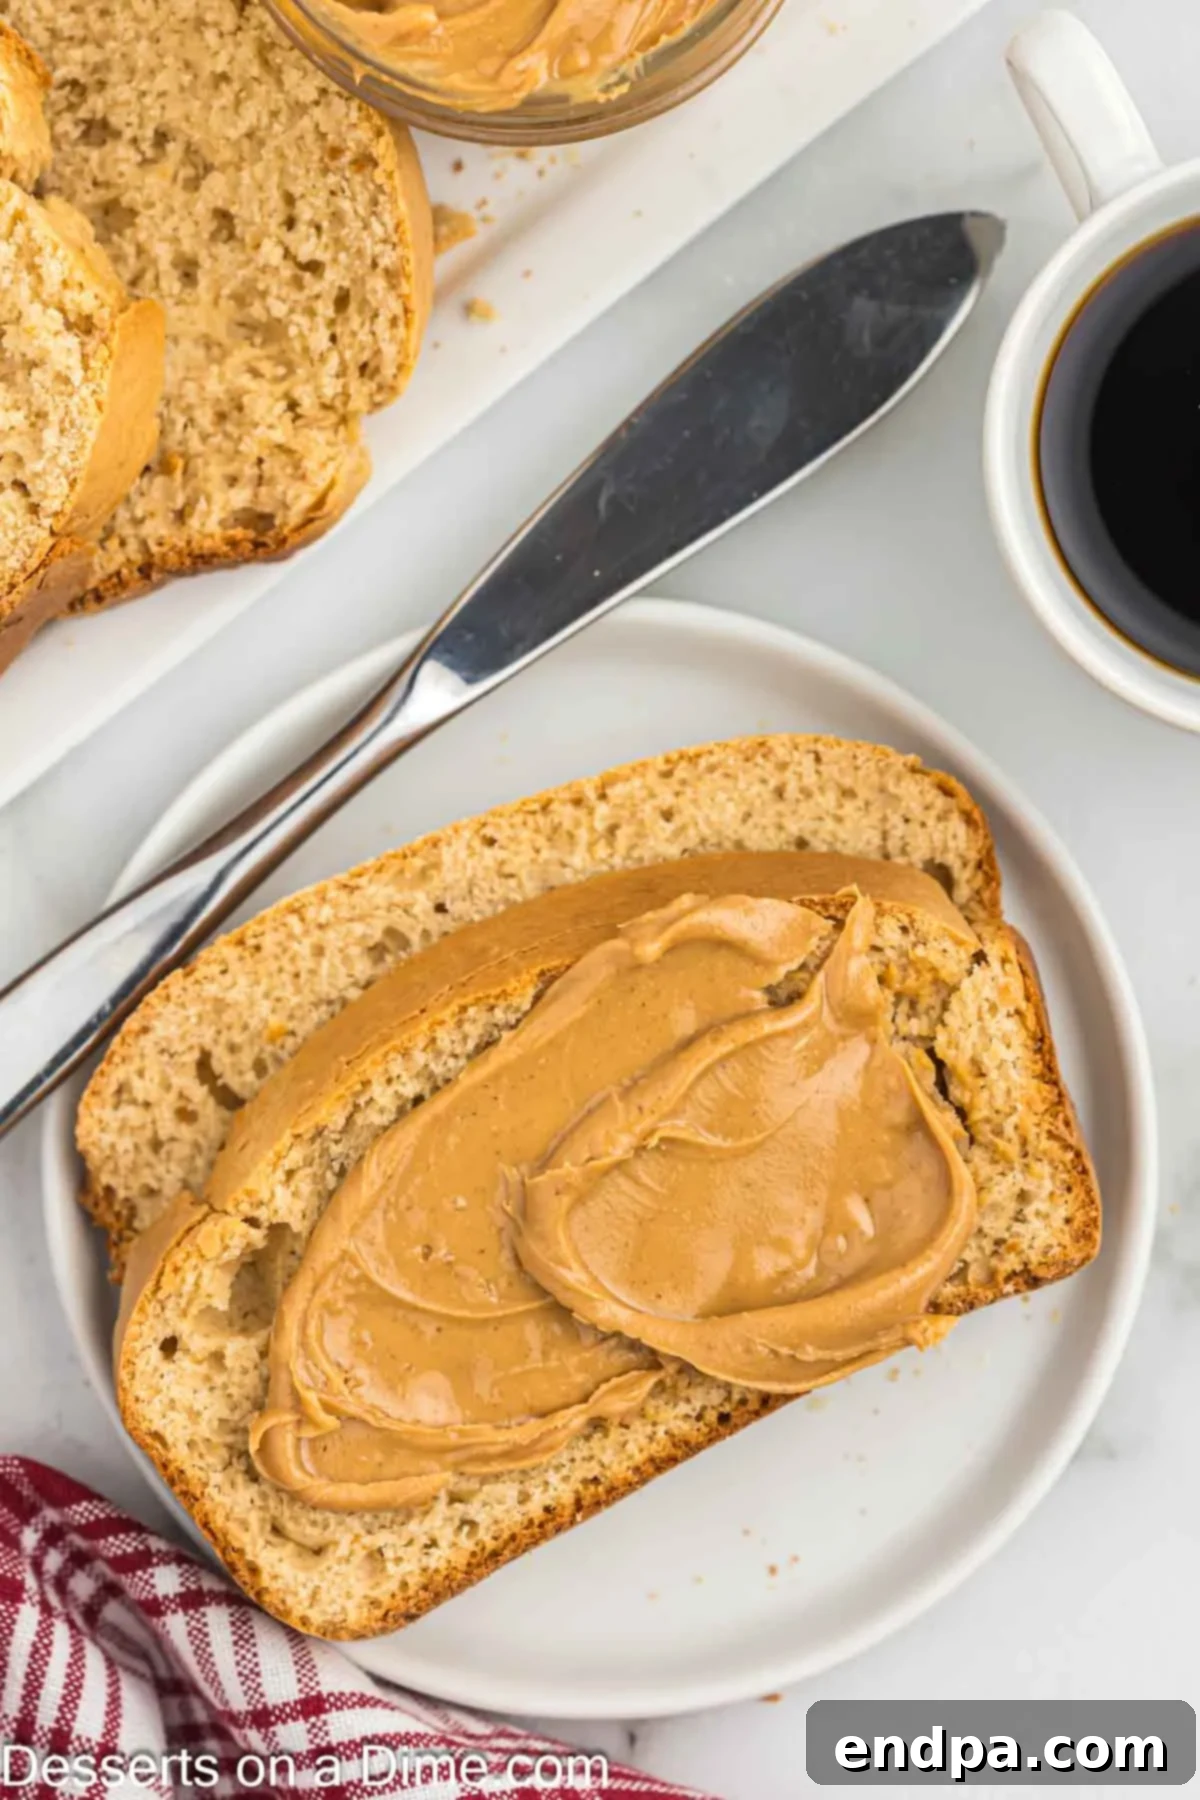
Imagine waking up to the irresistible aroma of freshly baked bread, ready to be enjoyed with your morning coffee or a glass of cold milk. This easy Peanut Butter Bread recipe delivers exactly that – a quick and satisfying option that tastes like a warm hug. It stands proudly among beloved peanut butter desserts, offering a lighter, less indulgent experience than traditional sweets like Peanut Butter Pudding, Peanut Butter Snowballs, or Reese’s Pieces Cookies. Made with just a handful of pantry staples, this recipe is incredibly forgiving and ideal for busy individuals looking for a no-fuss baking project.
This classic recipe, often associated with the resourcefulness of the Great Depression era, highlights how a few simple ingredients can create something truly special. It’s been a cherished recipe for generations, celebrated for its delicious taste and incredible ease. If you enjoy baking quick loaves, you might also love our Banana Bread with Applesauce, another fantastic choice for a comforting treat. For dedicated peanut butter enthusiasts, exploring homemade delights like Nutter Butter Cookies, Buckeye Balls, or even 3 Ingredient Peanut Butter Cookies can be a delightful adventure into the world of rich, nutty flavors.
Table of Contents
- Why This Recipe Works
- Essential Ingredients
- Simple Equipment You’ll Need
- Delightful Variations
- Step-by-Step Perfection
- Expert Tips for Success
- Serving Suggestions
- Storage and Freezing
- Frequently Asked Questions
- More Quick Bread Recipes to Explore
Why This Recipe Works: Effortless Flavor and Comfort
The beauty of this peanut butter bread lies in its simplicity. You won’t need any complex or expensive ingredients; most items are likely already in your pantry. A standout feature is that this recipe doesn’t even require butter, making it a great option if you’re out of butter or simply looking for a lighter alternative. This humble loaf comes together quickly, without much fuss or specialized equipment, proving that delicious baking doesn’t have to be complicated. It’s a wonderful example of a “quick bread,” meaning it uses baking powder or baking soda as a leavening agent rather than yeast, allowing you to go from mixing bowl to oven in minutes.
For any true peanut butter lover, this recipe is an absolute must-try. Its intense, nutty flavor is undeniably satisfying, and the soft, moist texture makes every bite a pleasure. Beyond its incredible taste, this bread is also remarkably inexpensive to make, offering a budget-friendly way to enjoy a homemade treat. It’s the perfect solution when you crave something sweet and comforting but don’t want to spend hours in the kitchen. Plus, the delightful aroma that fills your home while it bakes is a bonus that’s hard to beat, making your kitchen feel warm and inviting.
Essential Ingredients for Your Peanut Butter Bread
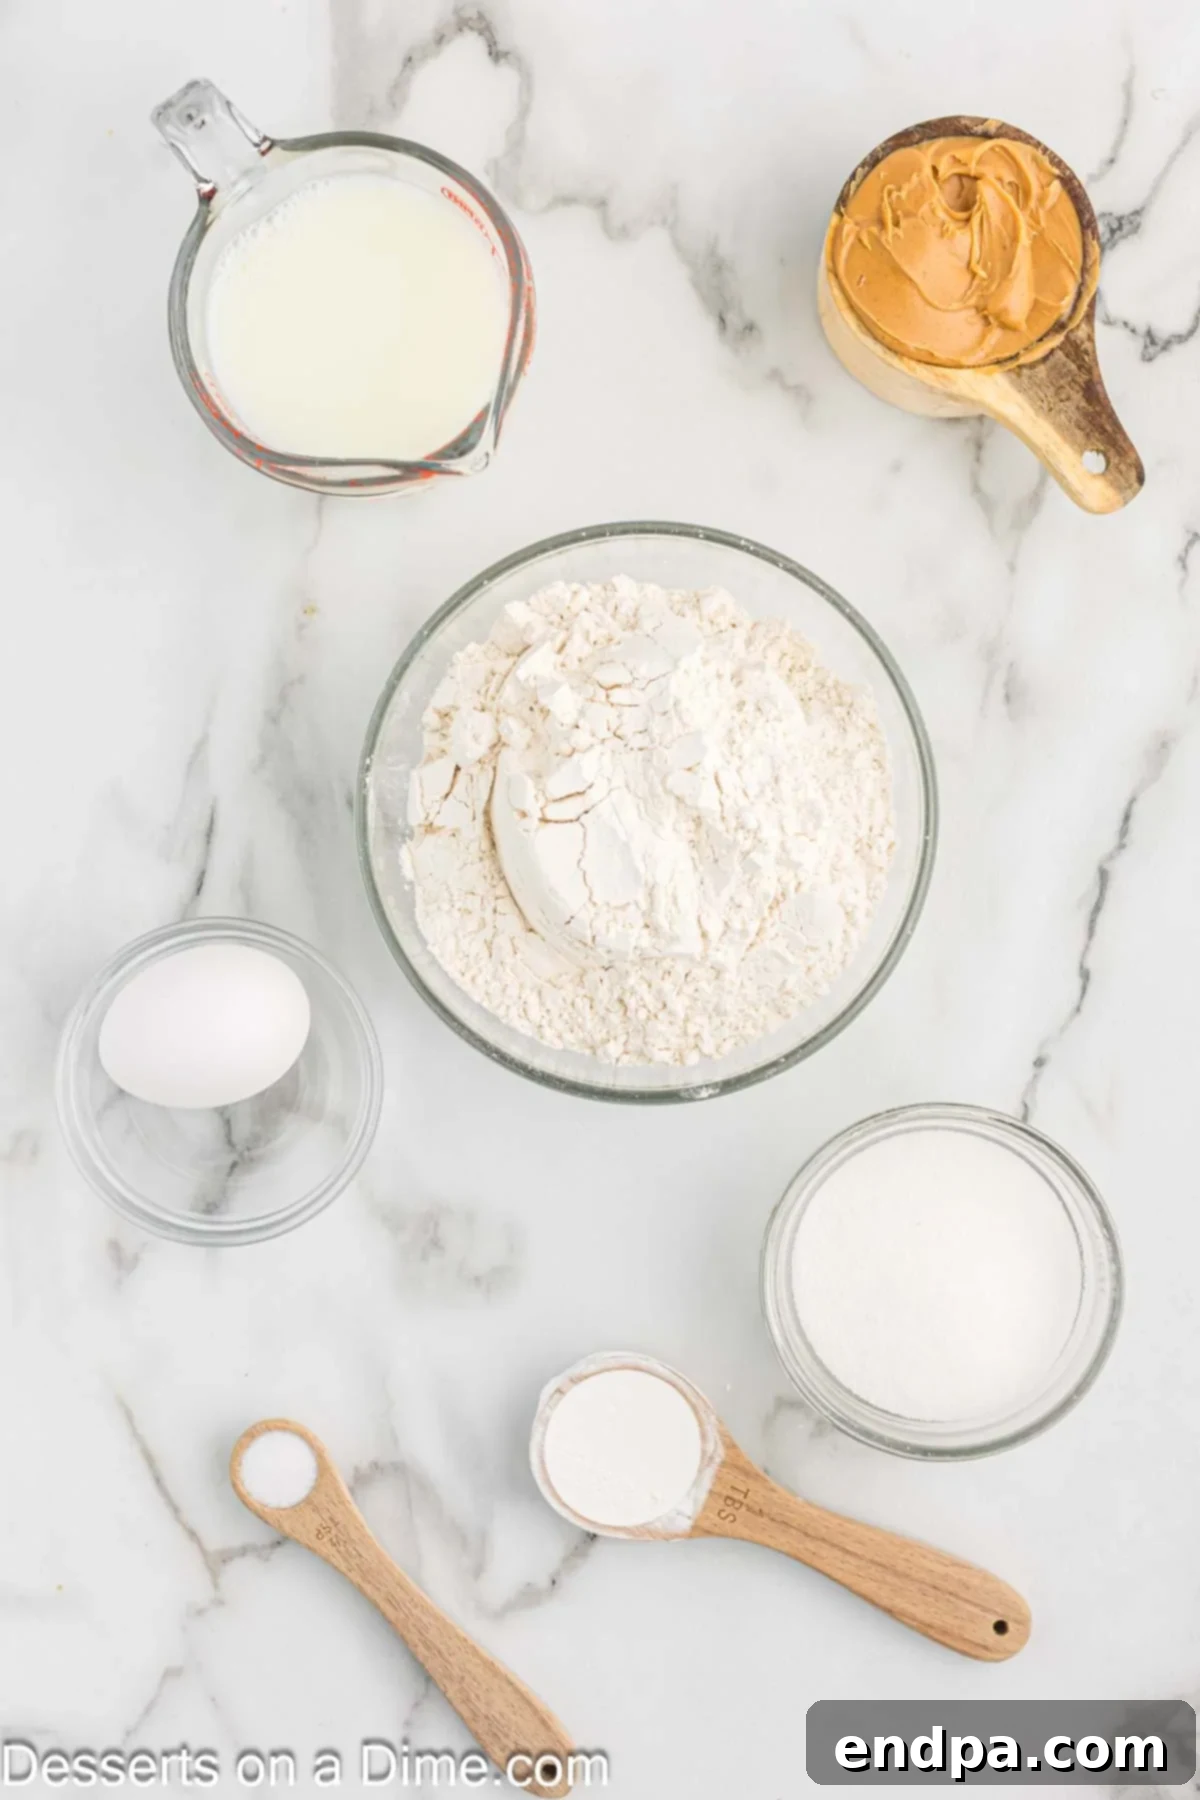
Creating this irresistible peanut butter bread requires only a handful of everyday ingredients. Each plays a crucial role in achieving the perfect texture and flavor:
- All-Purpose Flour: The foundation of our bread, providing structure.
- Granulated Sugar: Adds sweetness and helps create a tender crumb.
- Large Egg (Room Temperature): Binds the ingredients, adds moisture, and contributes to the bread’s richness. Using a room temperature egg helps it incorporate more smoothly into the batter.
- Baking Powder: Our primary leavening agent, ensuring a light and airy texture.
- Salt: Enhances all the other flavors, balancing the sweetness and bringing out the nutty notes of the peanut butter.
- Fat-Free Milk: Provides moisture and helps activate the baking powder. You can use any milk variety, but fat-free keeps it lighter.
- Creamy Peanut Butter: The star of the show! Choose a good quality creamy peanut butter for the best flavor and smooth consistency. Avoid natural peanut butter that separates too much, as it can alter the texture.
You’ll find the precise measurements for these simple ingredients in the full recipe card below.
Simple Equipment You’ll Need
One of the many advantages of this peanut butter bread recipe is that it doesn’t require any fancy kitchen gadgets. You likely already have everything you need:
- 9×5-inch Loaf Pan: The standard size for most quick breads.
- Large Mixing Bowl: Essential for combining your dry and wet ingredients.
- Whisk: For blending the dry ingredients thoroughly.
- Electric Mixer (Handheld or Stand): While you can mix by hand, an electric mixer makes quick work of blending the wet and dry ingredients into a smooth batter.
- Non-Stick Cooking Spray: To ensure your bread comes out of the pan easily.
- Toothpick: For testing doneness.
- Wire Rack: For cooling the bread evenly.
Gathering these items before you start will make your baking process even smoother and more enjoyable!
Delightful Variations to Personalize Your Loaf
While classic peanut butter bread is fantastic on its own, it’s also a wonderful canvas for creative additions. Feel free to experiment with these delicious variations to customize your loaf:
- Chocolate Chips: A match made in heaven! Fold in a generous handful (about ½ to ¾ cup) of semi-sweet, milk chocolate, or even dark chocolate chips into the batter during the final mixing stage. The melted chocolate creates pockets of gooey sweetness that complement the peanut butter beautifully.
- Chopped Nuts: For an extra layer of crunch and nutty flavor, fold in about ½ cup of chopped peanuts, walnuts, or pecans. Toasting the nuts lightly before adding them can enhance their flavor even further.
- Dried Fruit: Sweet and chewy dried fruits add a lovely contrast. Raisins and dried cranberries are popular choices and taste wonderfully in this bread, adding a hint of tartness or sweetness. About ½ cup would be ideal.
- Spices: A pinch of cinnamon or nutmeg (about ¼ teaspoon) can add warmth and depth to the flavor profile, complementing both the peanut butter and any additional mix-ins.
- Different Peanut Butter Textures: While creamy is specified, chunky peanut butter can add a delightful textural element if you prefer a less uniform loaf.
Remember to gently fold in any additions to avoid overmixing the batter, which can lead to a tough bread.
Step-by-Step Perfection: Baking Your Peanut Butter Bread
Baking this peanut butter bread is a straightforward process, designed for ease and enjoyment. Follow these simple steps for a perfect loaf every time:
- Step 1: Prepare Your Oven and Pan. Begin by preheating your oven to 350°F (175°C). While the oven heats, thoroughly spray a 9×5-inch loaf pan with a non-stick cooking spray. Ensuring the pan is well-greased is crucial for easy removal of your baked bread.
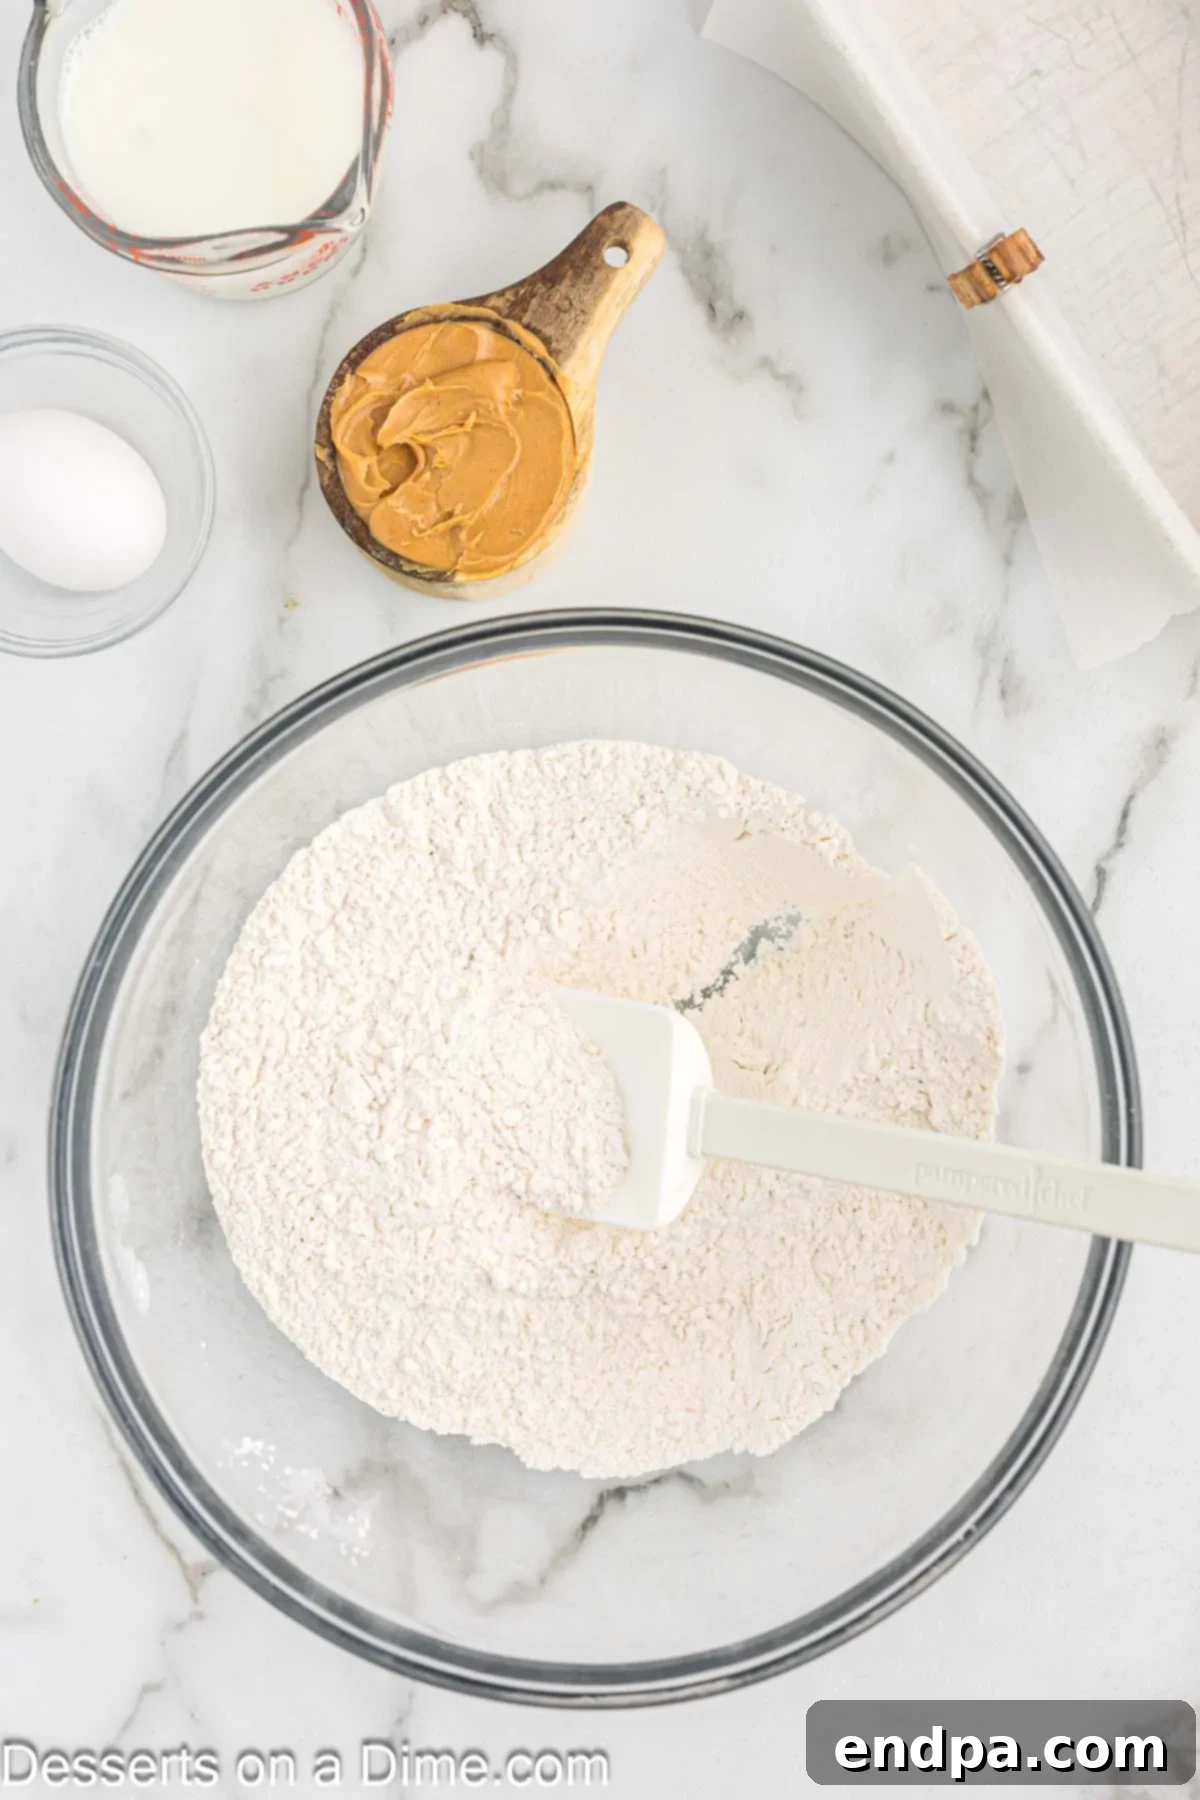
Step 2: Combine Dry Ingredients. In a large mixing bowl, thoroughly whisk together the all-purpose flour, granulated sugar, baking powder, and salt. Whisking ensures that the leavening agent and salt are evenly distributed throughout the flour, which is key for a consistent rise and flavor.
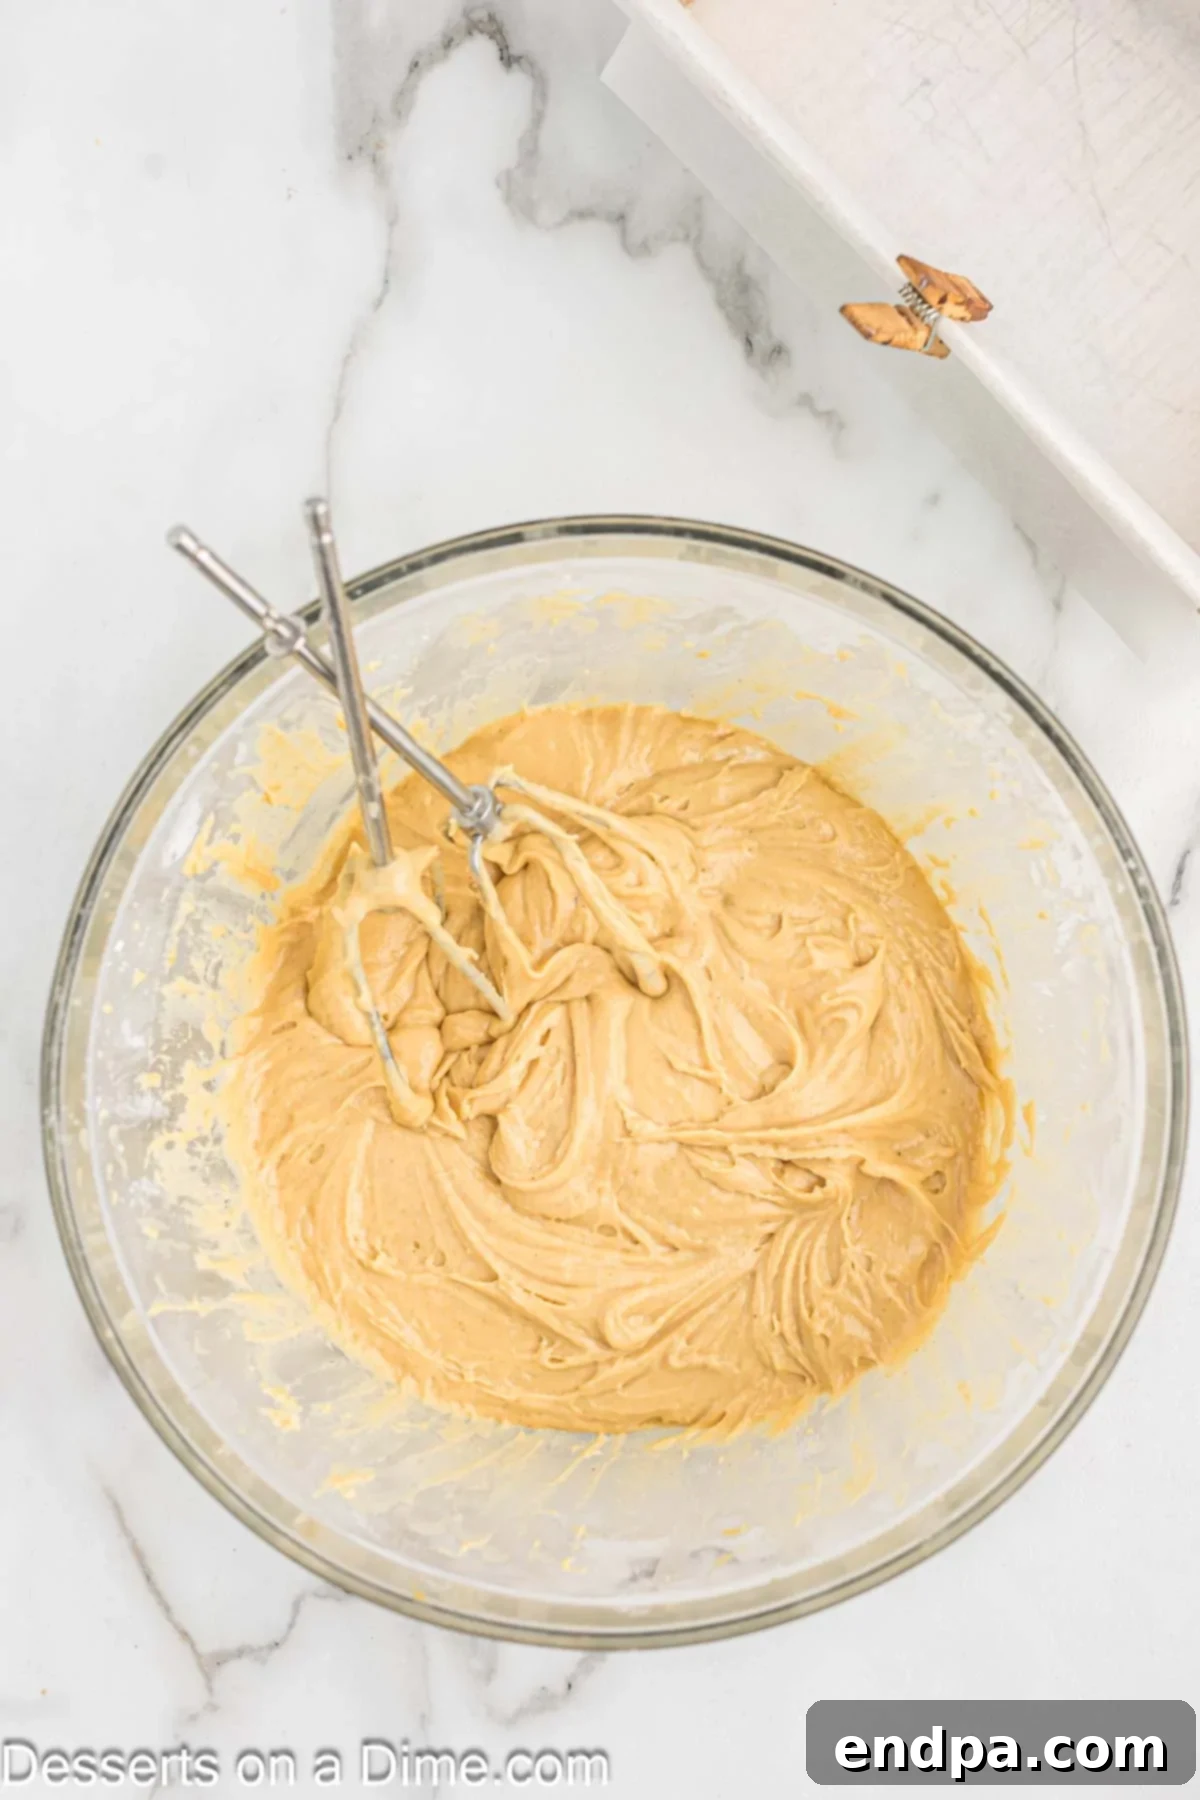
Step 3: Incorporate Wet Ingredients. Add the room temperature egg, milk, and creamy peanut butter directly into the bowl with your dry ingredients. Using an electric mixer (either handheld or stand mixer), blend the ingredients on low speed until they are just combined and form a smooth batter. Be careful not to overmix, as this can lead to a tough bread.
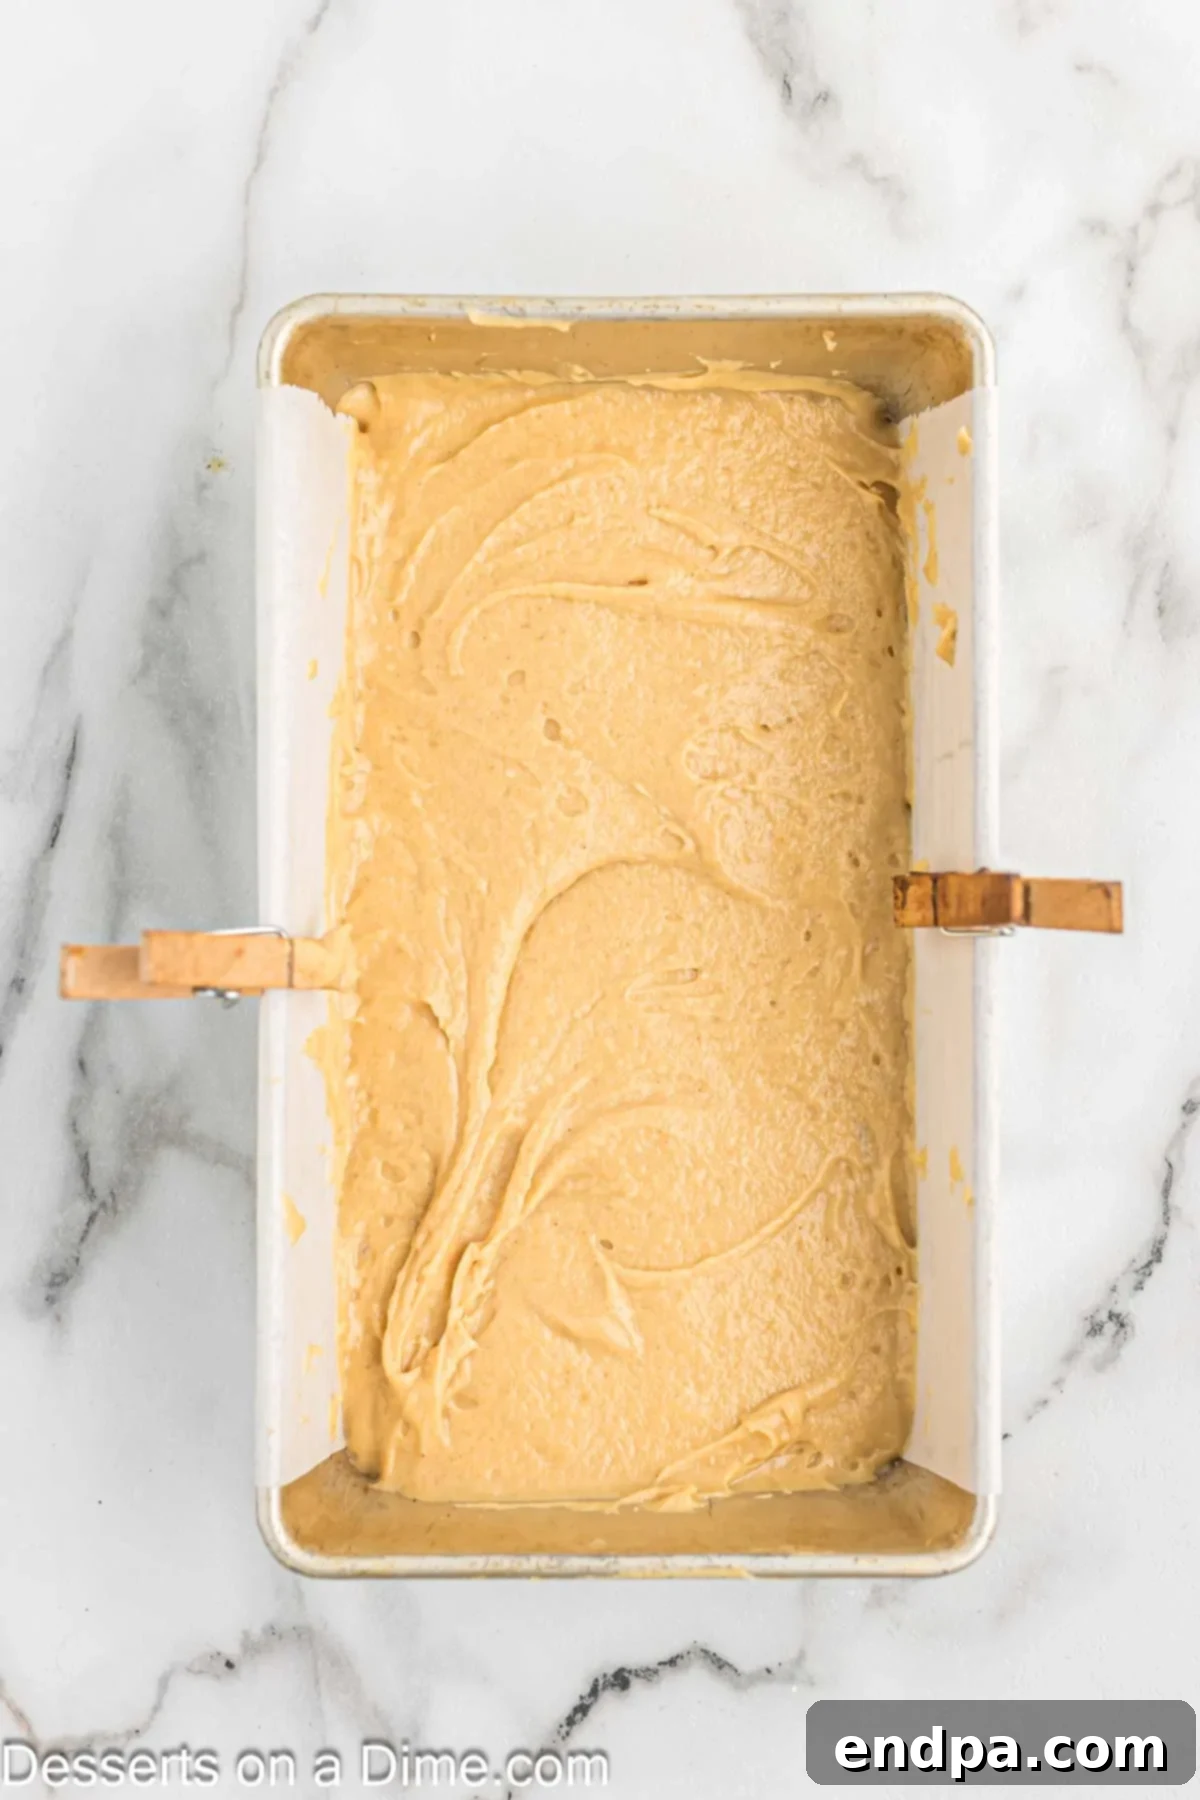
Step 4: Pour and Prepare for Baking. Carefully pour the prepared peanut butter bread batter into your greased 9×5-inch loaf pan. Gently tap the pan on the counter a couple of times to release any large air bubbles and ensure the batter settles evenly.
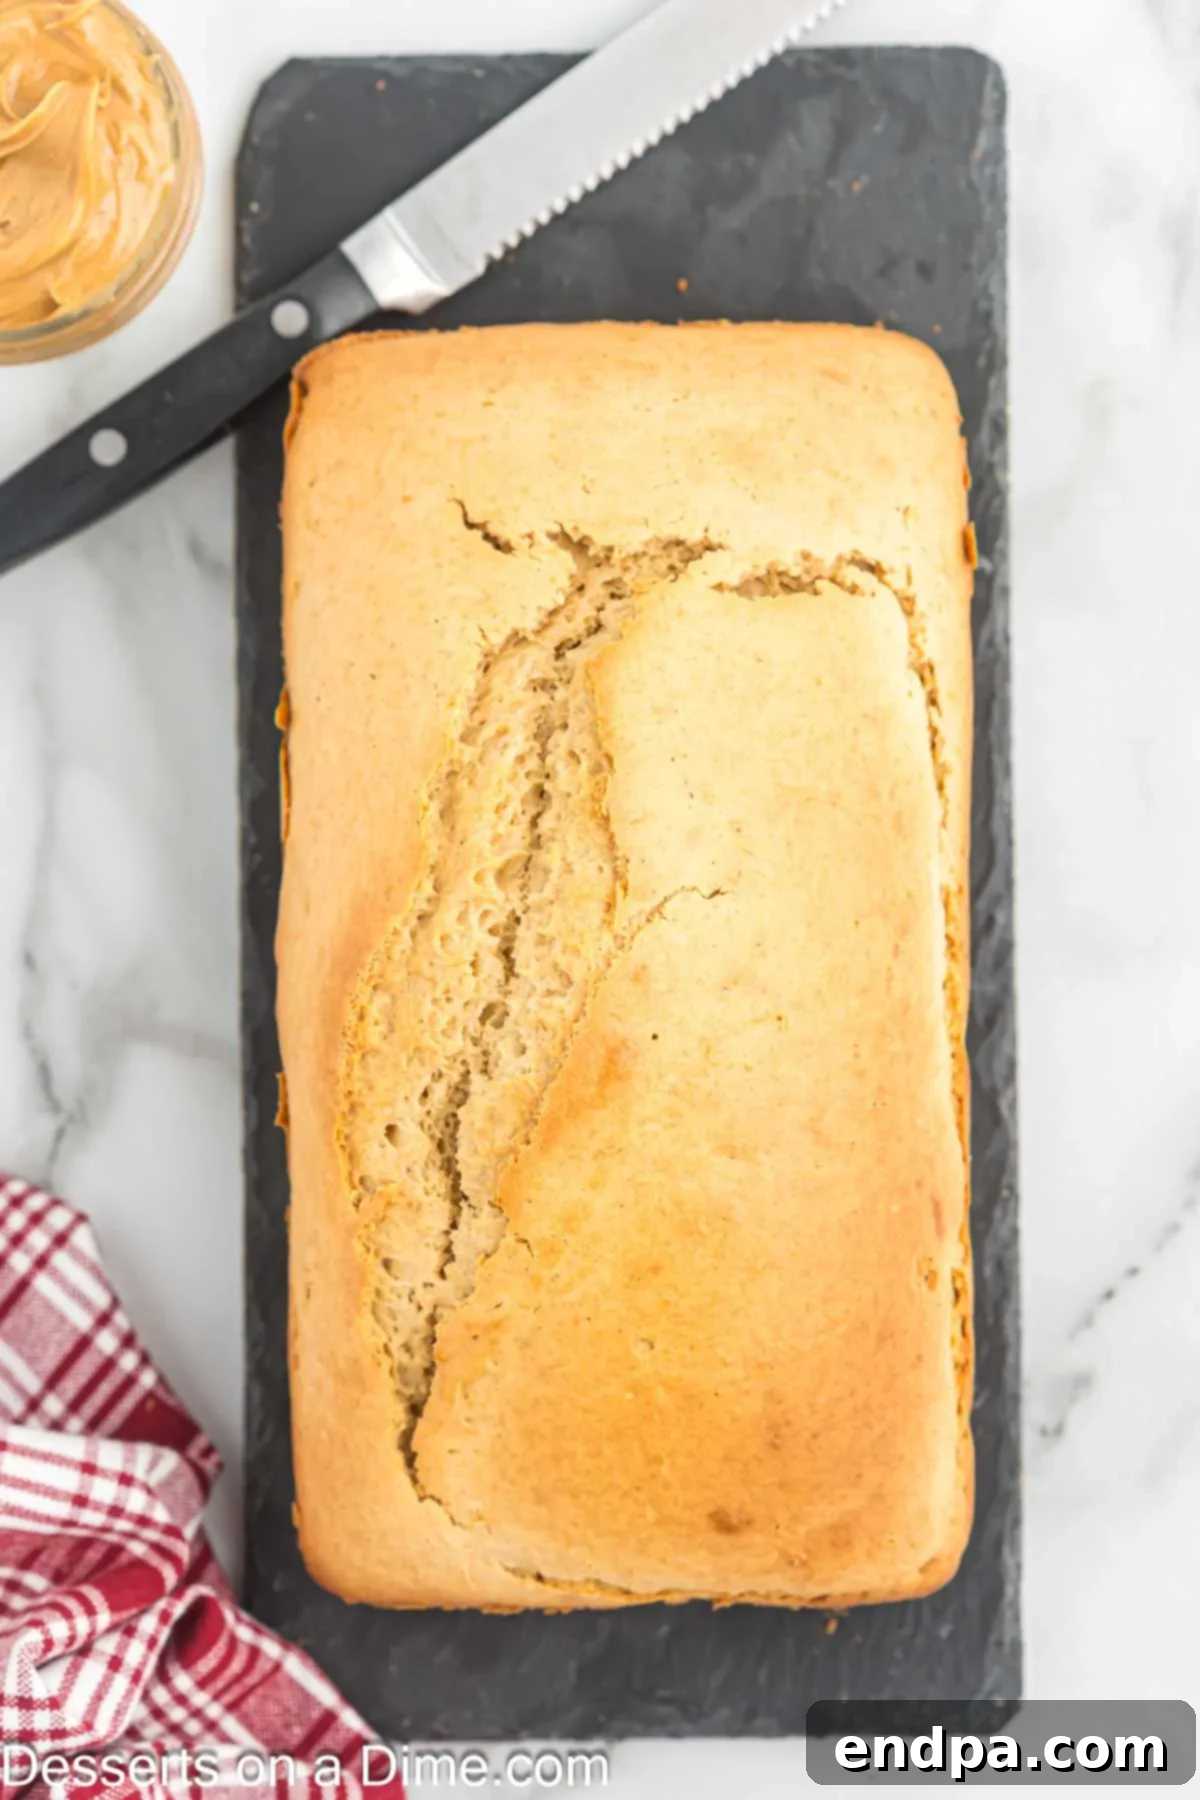
Step 5: Bake and Cool. Place the loaf pan into your preheated oven and bake for 50-60 minutes. The bread is fully cooked when a toothpick inserted into the center comes out clean, with no wet batter attached. Once baked, remove the pan from the oven and let the bread cool in the pan for about 10 minutes. This allows the bread to set and prevents it from crumbling. After 10 minutes, carefully remove the bread from the pan and transfer it to a wire rack to cool completely. Cooling completely is important for easier slicing and a better texture.
Expert Tips for Success
Even though this recipe is incredibly simple, a few expert tips can ensure your peanut butter bread turns out perfectly every time:
- Wait for Complete Cooling Before Slicing: Patience is key! For beautifully clean, uniform slices, it’s best to wait until the bread has cooled completely to room temperature. Slicing warm quick bread can cause it to crumble or compress, ruining its delicate texture.
- Confirm Doneness with a Toothpick: Baking times can vary depending on your oven. Always rely on the toothpick test: insert a toothpick into the very center of the loaf. If it comes out clean or with just a few moist crumbs attached, your bread is done. If it has wet batter, continue baking for a few more minutes and test again.
- Avoid Overmixing the Batter: When combining the wet and dry ingredients, mix just until they are blended and no streaks of dry flour remain. Overmixing develops the gluten in the flour, which can result in a tough, dense bread rather than a light and tender one. A few lumps in the batter are perfectly fine!
- Room Temperature Ingredients: Using a room temperature egg and milk helps them emulsify better with the other ingredients, leading to a smoother, more uniform batter and a finer crumb in the finished bread.
Serving Suggestions: Elevate Your Peanut Butter Bread Experience
This delightful peanut butter bread is incredibly versatile and can be enjoyed in many ways. Here are some suggestions to elevate your experience:
- Classic Spread: The simplest and most delicious way is to spread a thin layer of creamy or crunchy peanut butter on each slice, intensifying the nutty flavor.
- PB&J Twist: Pair it with your favorite jelly or jam for a gourmet peanut butter and jelly sandwich experience. Raspberry, grape, or strawberry jams are fantastic complements.
- Sweet Drizzles: Drizzle with a touch of honey, maple syrup, or even chocolate syrup for added sweetness.
- Cream Cheese Frosting: For a more decadent dessert, a light cream cheese frosting can turn this quick bread into a showstopper.
- Toasted: Lightly toast a slice and serve with a pat of butter, allowing the edges to crisp up and the interior to warm through.
- With Fruit: Serve alongside fresh berries, sliced bananas, or apples for a balanced breakfast or snack.
However you choose to enjoy it, this bread promises a comforting and flavorful treat.
Storage and Freezing: Keeping Your Bread Fresh
Proper storage is essential to keep your peanut butter bread tasting fresh and delicious for as long as possible. This loaf is great for making ahead!
- How to Store: Any leftover bread should be stored in an airtight container or a large resealable plastic bag at room temperature. This helps prevent it from drying out. When stored correctly, it will stay fresh and moist for up to 4-5 days. For best results, avoid refrigeration, as it can sometimes dry out quick breads.
- Can You Freeze This Bread? Absolutely! Peanut butter bread freezes beautifully, making it an excellent option for meal prepping or having a quick treat on hand. To freeze, ensure the bread is completely cooled. Wrap the entire loaf or individual slices tightly in plastic wrap, then place it in a freezer-safe bag or container. It can be frozen for up to 3 months without losing its quality.
- How to Thaw: When you’re ready to enjoy, simply remove the frozen bread from the freezer and let it thaw in the refrigerator overnight or at room temperature for a few hours. Individual slices will thaw much faster. For a warm treat, you can gently reheat thawed slices in a toaster oven or microwave.
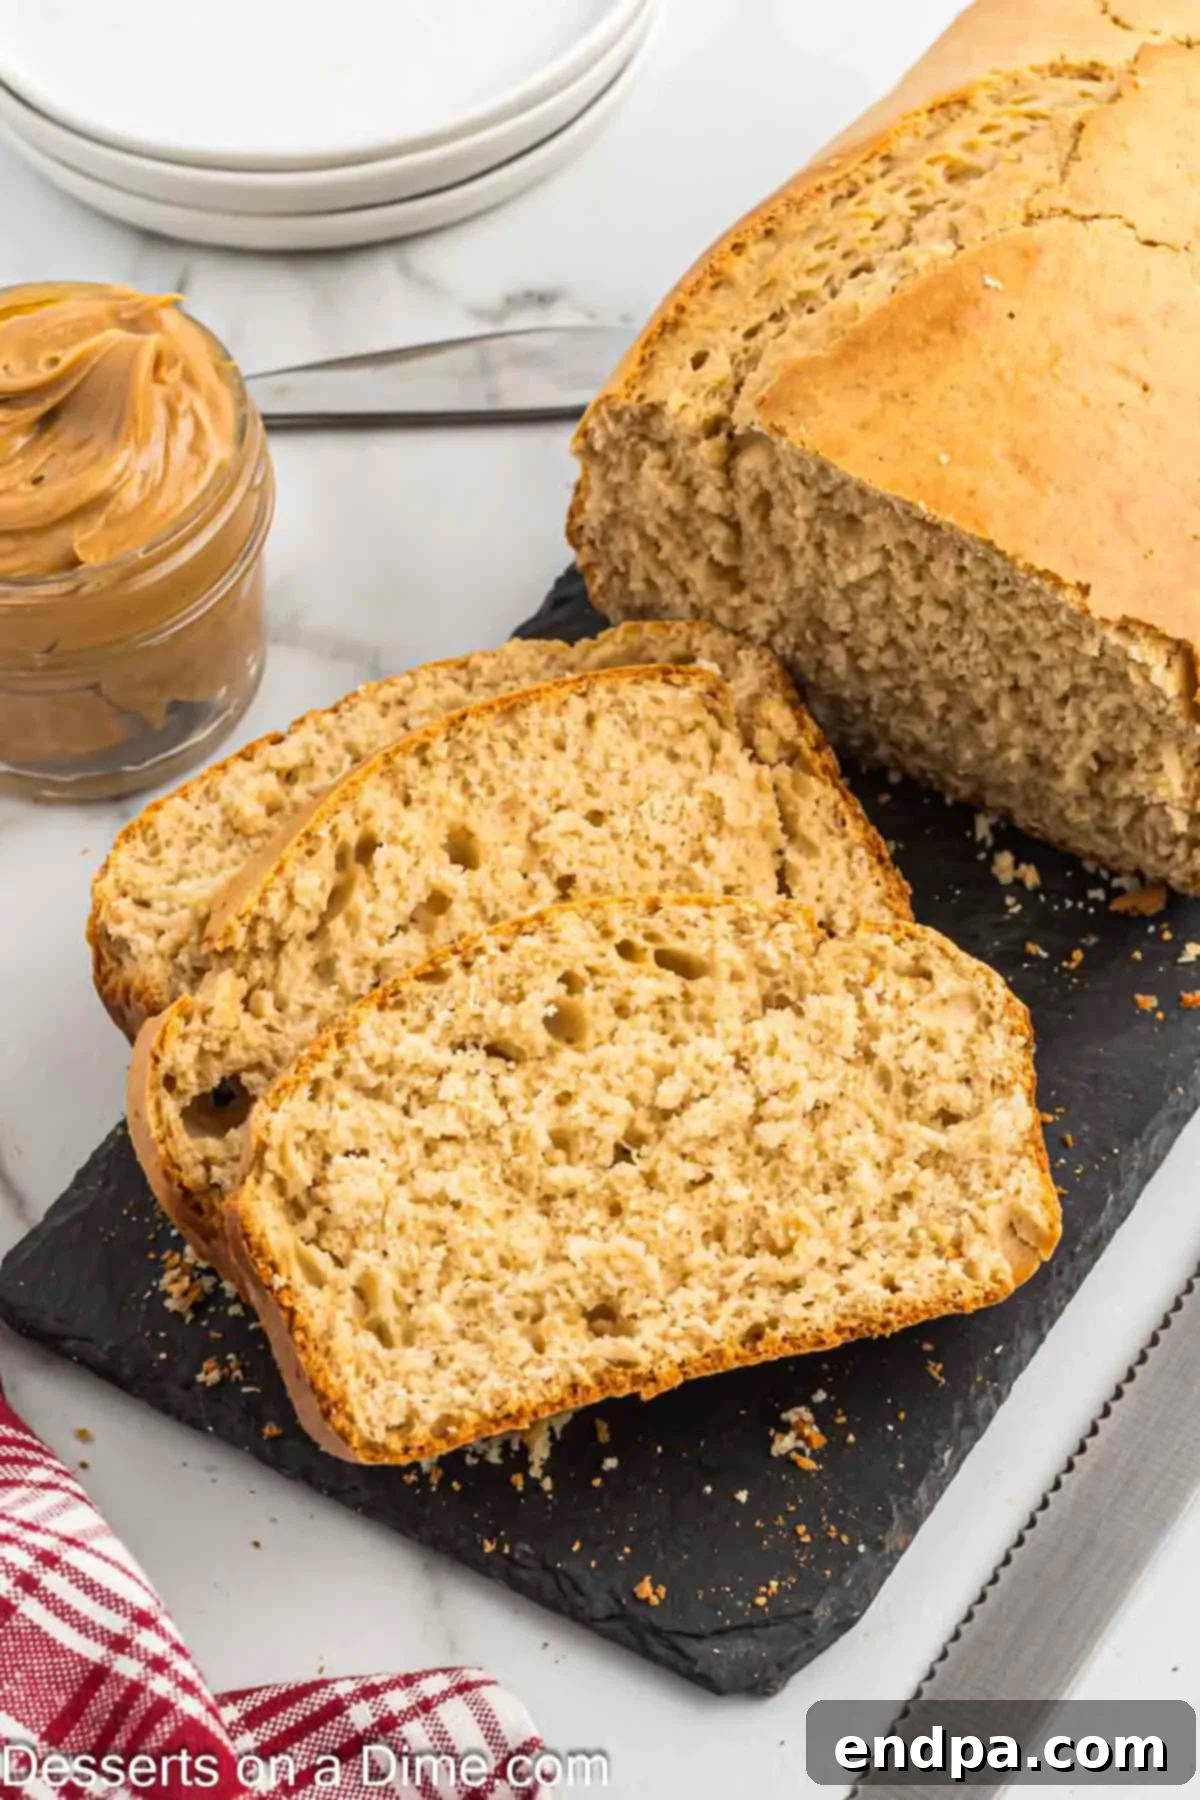
Frequently Asked Questions (FAQs)
Here are answers to some common questions about making and enjoying peanut butter bread:
Creamy peanut butter is generally recommended for its smooth texture and even distribution throughout the bread. While chunky peanut butter can be used, it will result in a slightly different texture with peanut pieces.
Yes, you can use whole milk, 2% milk, or even non-dairy milk alternatives like almond or soy milk. The fat content might slightly alter the texture, but the recipe should still work well.
Dry bread is often a result of overbaking or too much flour. Ensure you measure your flour accurately (by spooning it into the measuring cup and leveling off) and use the toothpick test to avoid overbaking.
More Quick Bread Recipes to Explore
If you loved making this easy peanut butter bread, you’re in for a treat! Quick breads are incredibly satisfying to bake and even more delightful to eat. They are perfect for impromptu guests, last-minute gifts, or simply enjoying with your family. Here are a few more quick bread recipes that are sure to become new favorites:
- Pineapple Bread
- Oatmeal Bread
- Cinnamon Bread
- Applesauce Bread
Each of these offers a unique flavor profile and the same ease of preparation you enjoyed with the peanut butter bread. Happy baking!
You probably already have all the ingredients needed to whip up this easy peanut butter bread today. Give it a try, and you’ll quickly see why it’s a timeless classic. Once you’ve baked your delicious loaf, we would love to hear from you! Please come back and share your experience by leaving a star rating and a comment below. Your feedback helps other bakers discover and enjoy this wonderful recipe!
Print Recipe
Peanut Butter Bread
If you love peanut butter, you will adore this easy Peanut Butter Bread recipe. It makes a delicious snack or breakfast that’s simple to prepare and incredibly satisfying.
Prep Time: 10 minutes
Cook Time: 50 minutes
Cooling Time in Pan: 10 minutes
Total Time: 1 hour 10 minutes
Servings: 10 slices
Cuisine: American
Course: Breakfast, Dessert
Calories: 323 kcal per serving
Author: Carrie Barnard
Ingredients
- 2 cups All-Purpose Flour
- 1/2 cup Granulated Sugar
- 1 large Egg (room temperature)
- 1 Tablespoon Baking Powder
- 1/2 teaspoon Salt
- 1 1/3 cup Fat-Free Milk
- 1/2 cup Creamy Peanut Butter
Instructions
- Preheat the oven to 350 degrees Fahrenheit (175°C) and spray a 9×5-inch loaf pan with a non-stick cooking spray.
- In a large bowl, whisk together the flour, sugar, baking powder, and salt until well combined.
- Add the egg, milk, and peanut butter to the dry ingredients. Blend with an electric mixer until the ingredients are just combined and smooth. Be careful not to overmix.
- Pour the batter into the prepared loaf pan.
- Bake for 50-60 minutes, or until a toothpick inserted into the center of the bread comes out clean.
- Let the bread cool in the pan for 10 minutes. Then, remove it from the pan and place it on a wire rack to cool completely.
- Once the bread has cooled completely, it’s ready to slice, serve, and enjoy!
Recipe Notes
Store any leftover bread in an airtight container or bag at room temperature for up to 4-5 days. For longer storage, see our freezing instructions above.
Nutrition Facts (per serving)
- Calories: 323 kcal
- Carbohydrates: 57g
- Protein: 10g
- Fat: 7g
- Saturated Fat: 1g
- Polyunsaturated Fat: 2g
- Monounsaturated Fat: 3g
- Trans Fat: 0.002g
- Cholesterol: 16mg
- Sodium: 360mg
- Potassium: 106mg
- Fiber: 1g
- Sugar: 36g
- Vitamin A: 124 IU
- Calcium: 232mg
- Iron: 2mg
Pin This Now to Remember It Later
Pin Recipe
