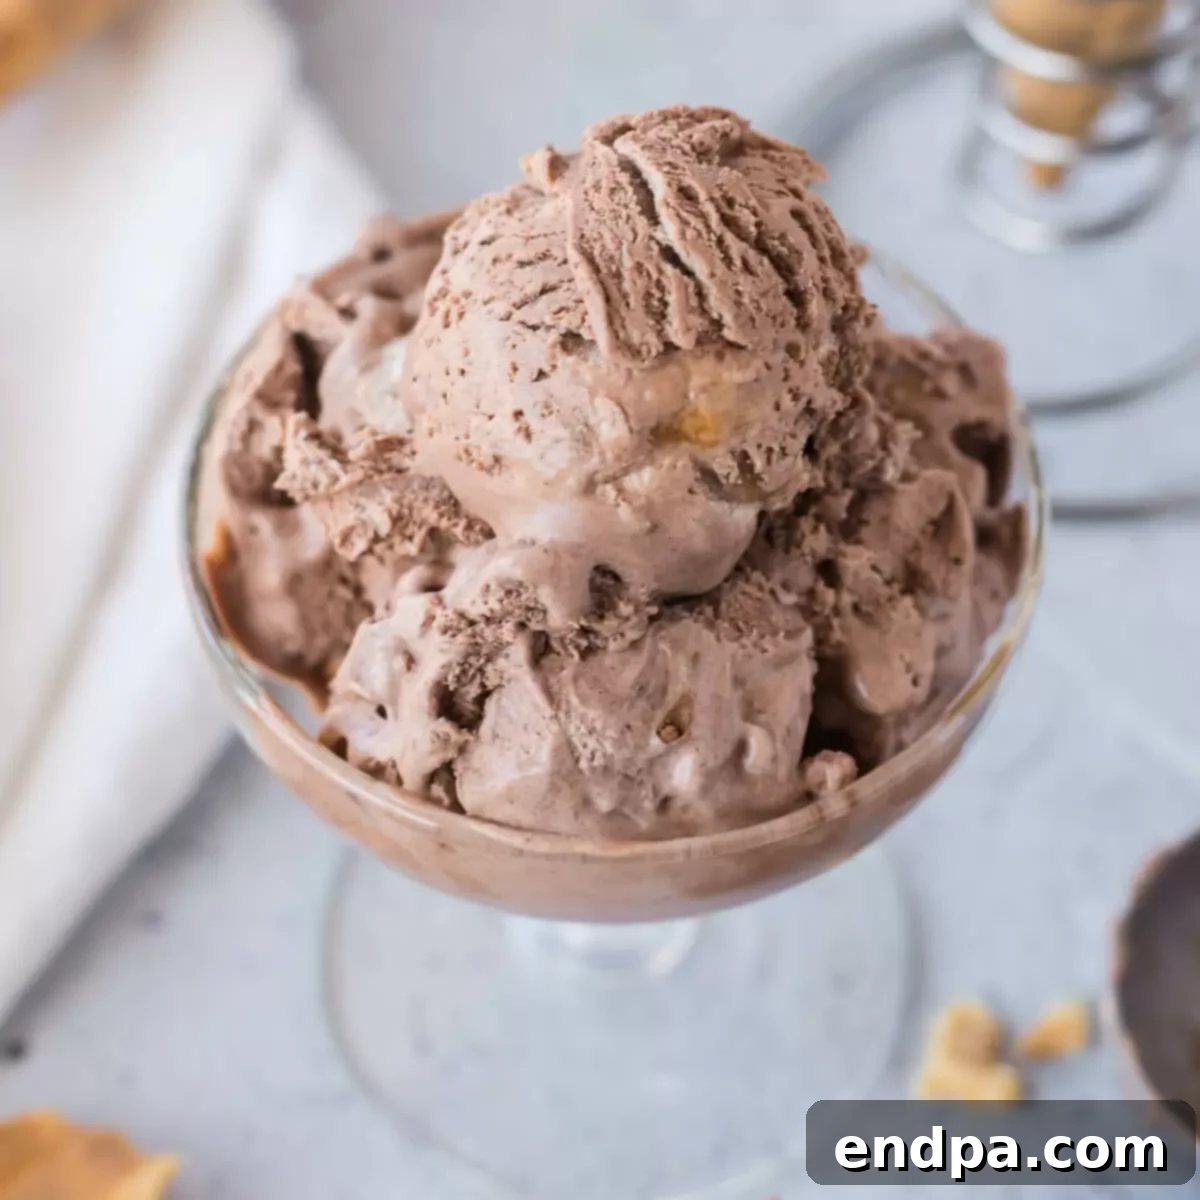
Beat the heat and treat your taste buds to an extraordinary dessert with this incredibly easy and utterly delicious No-Churn Chocolate Caramel Ice Cream recipe. Loaded with rich chocolate and luscious caramel flavor, this homemade ice cream offers a creamy texture and an irresistible taste that will make it your go-to summer indulgence. Forget the fancy ice cream maker – this recipe proves that crafting gourmet ice cream at home is simpler than you ever imagined. It’s the perfect combination of two classic dessert favorites, expertly blended into a smooth, decadent frozen treat that promises to delight every spoon. Whether you’re cooling down on a warm day or simply craving something sweet, this chocolate caramel ice cream delivers pure bliss with every scoop.
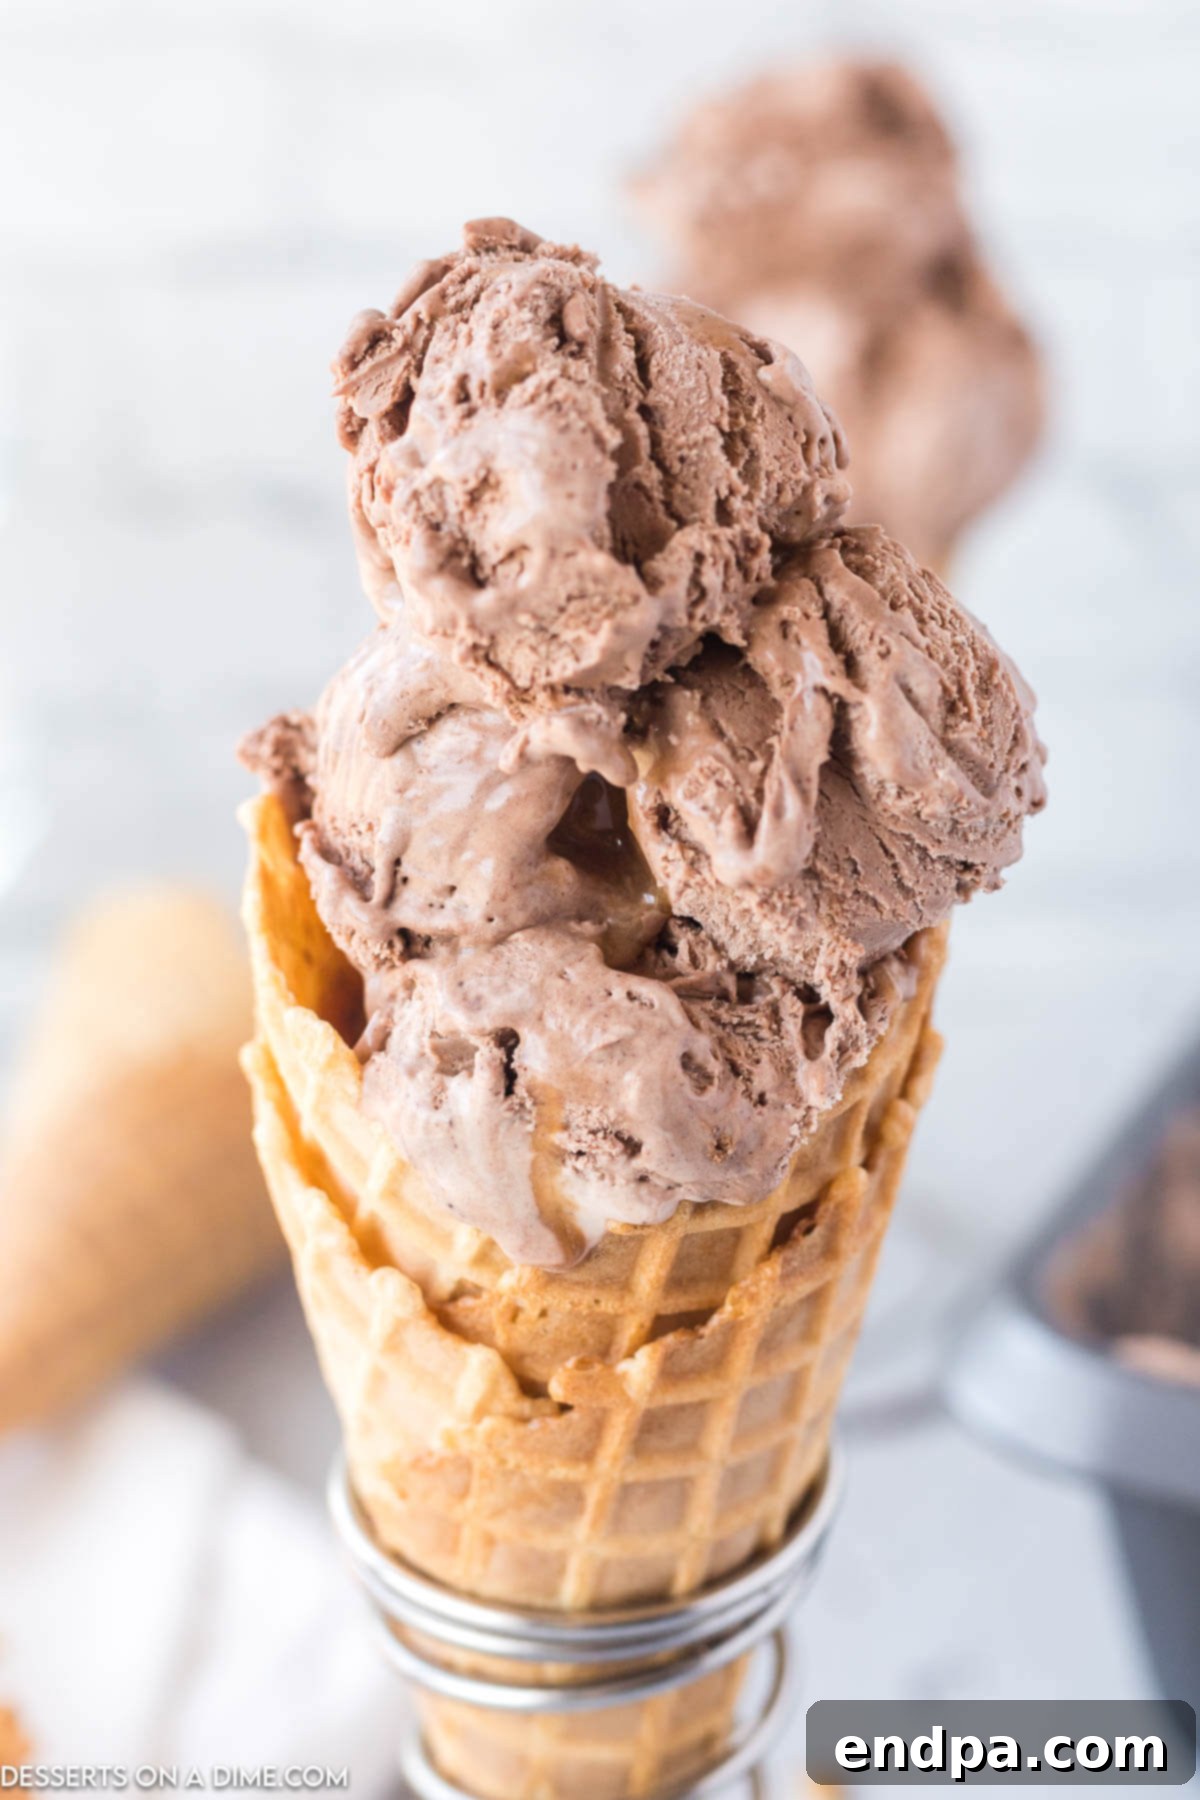
This caramel chocolate ice cream recipe isn’t just easy; it’s bursting with flavor and boasts a wonderfully creamy texture, all made possible with just a handful of simple ingredients. If you’re a devout fan of classic chocolate ice cream, prepare to fall in love when you introduce the luxurious swirl of homemade or store-bought caramel sauce. The harmonious blend of deep cocoa and buttery caramel creates a symphony of taste that’s truly unmatched. For those who enjoy exploring other frozen delights, you might also discover new favorites with our Snickers Ice Cream Recipe, the comforting Snickerdoodle Ice Cream Recipe, and the surprisingly refreshing Peanut Butter Banana Ice Cream. Each offers a unique twist on the classic no-churn method, proving that delicious homemade ice cream is always within reach.
Table of Contents
- Why This Recipe Works
- Essential Ingredients
- Recipe Variations & Creative Add-ins
- How to Make Chocolate Caramel Ice Cream
- Irresistible Ice Cream Topping Ideas
- Storage Tips for Homemade Ice Cream
- How Long Will Homemade Ice Cream Last?
- Expert Tips for Perfect No-Churn Ice Cream
- More No-Churn Ice Cream Recipes to Explore
- More Chocolate Caramel Desserts You’ll Love
Why This No-Churn Chocolate Caramel Ice Cream Recipe is a Game-Changer
This recipe truly shines because of its simplicity and the incredible results it delivers without the need for specialized equipment. Gone are the days when homemade ice cream meant hauling out a bulky ice cream maker and dealing with rock salt and churning. Our no-churn method relies on basic kitchen tools, making it accessible for even the most novice home cooks. The step-by-step instructions are so straightforward that you’ll wonder why you ever bought ice cream from the store. The magic lies in whipping heavy cream to create an airy base, which, when combined with sweetened condensed milk and rich flavorings, freezes into a luxuriously smooth and dense ice cream. The outcome is consistently rich, delightfully creamy, and bursting with deep chocolate and luscious caramel notes – a gourmet experience crafted right in your own kitchen.
Essential Ingredients for Your Creamy Delight
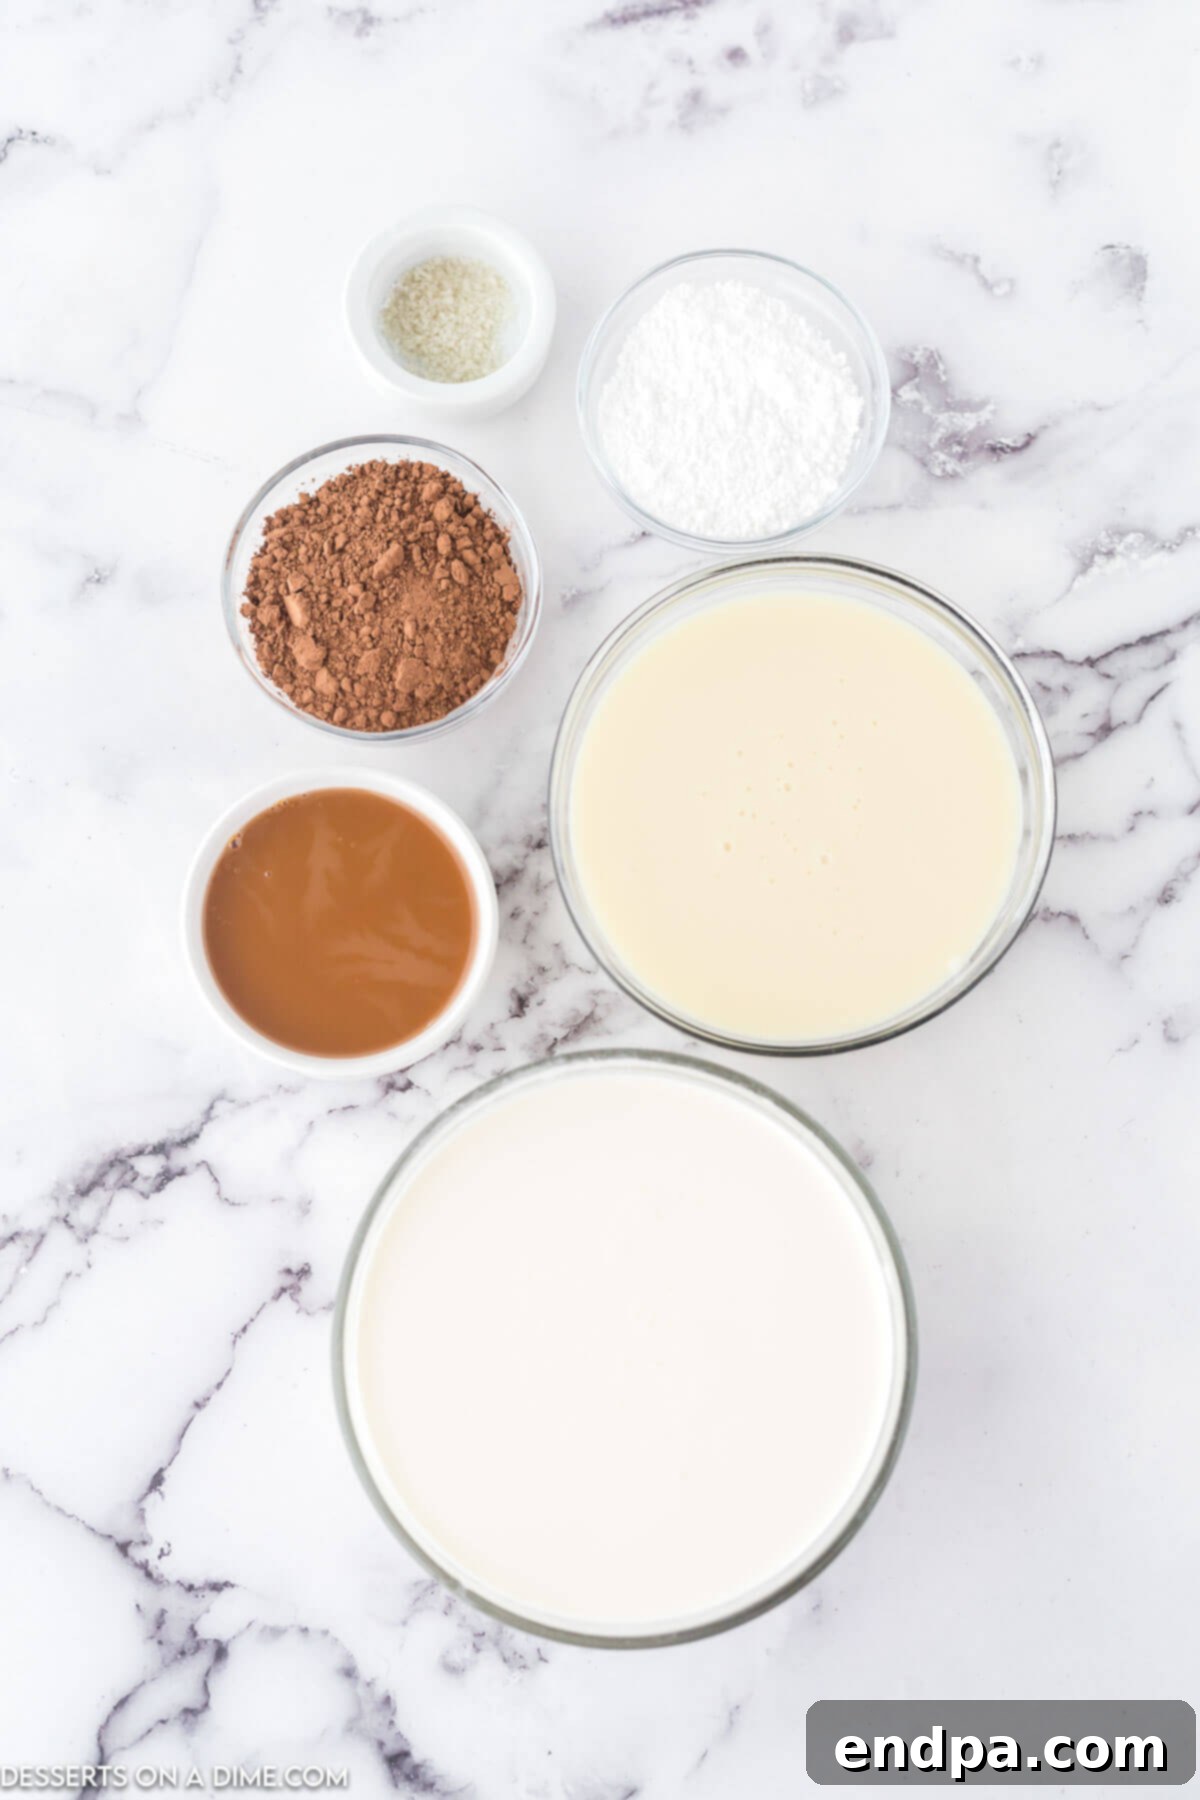
Creating this decadent dessert requires just a few pantry staples. Each ingredient plays a crucial role in achieving that perfect balance of flavor and an irresistibly smooth texture. Here’s a closer look:
- Heavy Whipping Cream: This is the backbone of our no-churn ice cream. When whipped, it incorporates air, creating a light, fluffy base that freezes into a creamy, scoopable treat. Ensure it is very cold before whipping for the best results and highest volume.
- Powdered Sugar: Unlike granulated sugar, powdered sugar (confectioners’ sugar) dissolves easily and contributes to the silky-smooth texture of the ice cream, preventing any graininess. If your powdered sugar tends to clump, a quick sift before using will ensure a perfectly smooth mixture.
- Sweetened Condensed Milk: This magical ingredient provides both the primary sweetness and the creamy consistency that is characteristic of no-churn ice cream. Its thick, viscous nature helps prevent ice crystals from forming, ensuring your ice cream remains wonderfully smooth.
- Dutch Process Cocoa Powder: For a deep, rich chocolate flavor and a beautiful dark color, Dutch process cocoa powder is ideal. It’s less acidic than natural cocoa, which results in a milder, more mellow chocolate taste that pairs exquisitely with caramel.
- Caramel Sauce: This is where the caramel magic happens! You can certainly use a high-quality store-bought caramel sauce for convenience, or elevate your ice cream even further by making a rich and buttery Homemade Caramel Sauce Recipe. The choice is yours, but either way, it provides that signature luscious swirl.
- Salt: A small but mighty ingredient. A pinch of salt is crucial for balancing the sweetness from the condensed milk and caramel, enhancing all the flavors and preventing the ice cream from being overly sweet. It truly makes a difference.
You’ll find the exact measurements and full recipe details for these essential ingredients at the bottom of this page, in the complete recipe card.
Recipe Variations & Creative Add-ins for Your Ice Cream
While the classic chocolate caramel combination is heavenly, this no-churn recipe is also incredibly versatile, serving as a perfect base for countless delicious additions. Get creative and customize your batch with these exciting variations:
- Chopped Candy Bar Delight: Transform your ice cream into a candy bar dream! If you have leftover candy from holidays or simply want to elevate the treat, chop it into small pieces and gently fold it into the mixture before freezing. Mini Kit-Kats, Reese’s Peanut Butter Cups, Heath bars, or even Snickers pieces add wonderful texture and flavor bursts.
- Cookie Crumble Heaven: Who doesn’t love cookies in their ice cream? Crush your favorite cookies into chunks and mix them in. Mini Oreo cookies provide a classic cookies-and-cream vibe, while mini chocolate chip cookies add a delightful chew. You could even try crushed graham crackers or waffle cone pieces for extra crunch.
- Fun with Sprinkles: Add a festive touch with colorful sprinkles! Whether it’s rainbow sprinkles, chocolate sprinkles, or themed ones for a special occasion, they add a playful element and a subtle textural contrast that everyone loves, especially kids.
- Crunchy Nut Additions: For an extra layer of texture and nutty flavor, chopped nuts are an excellent choice. Roasted peanuts, slivered almonds, or chopped pecans provide a satisfying crunch that complements the creamy ice cream and rich caramel perfectly. You can even lightly toast them for enhanced flavor.
- Swirls of Extra Goodness: Beyond caramel, consider swirling in other sauces for added complexity. A drizzle of hot fudge, a ribbon of peanut butter sauce, or even a berry puree can add another dimension to the flavor profile.
- A Hint of Coffee: For coffee lovers, dissolve a teaspoon of instant espresso powder in a tablespoon of hot water and add it to the chocolate mixture. This will deepen the chocolate flavor and add a subtle mocha note that pairs beautifully with caramel.
Don’t be afraid to experiment and create your own signature chocolate caramel ice cream variations. The possibilities are truly endless!
How to Make Indulgent No-Churn Chocolate Caramel Ice Cream
Making this incredible ice cream is a breeze. Follow these simple steps to create a dessert that tastes gourmet but is surprisingly easy to whip up:
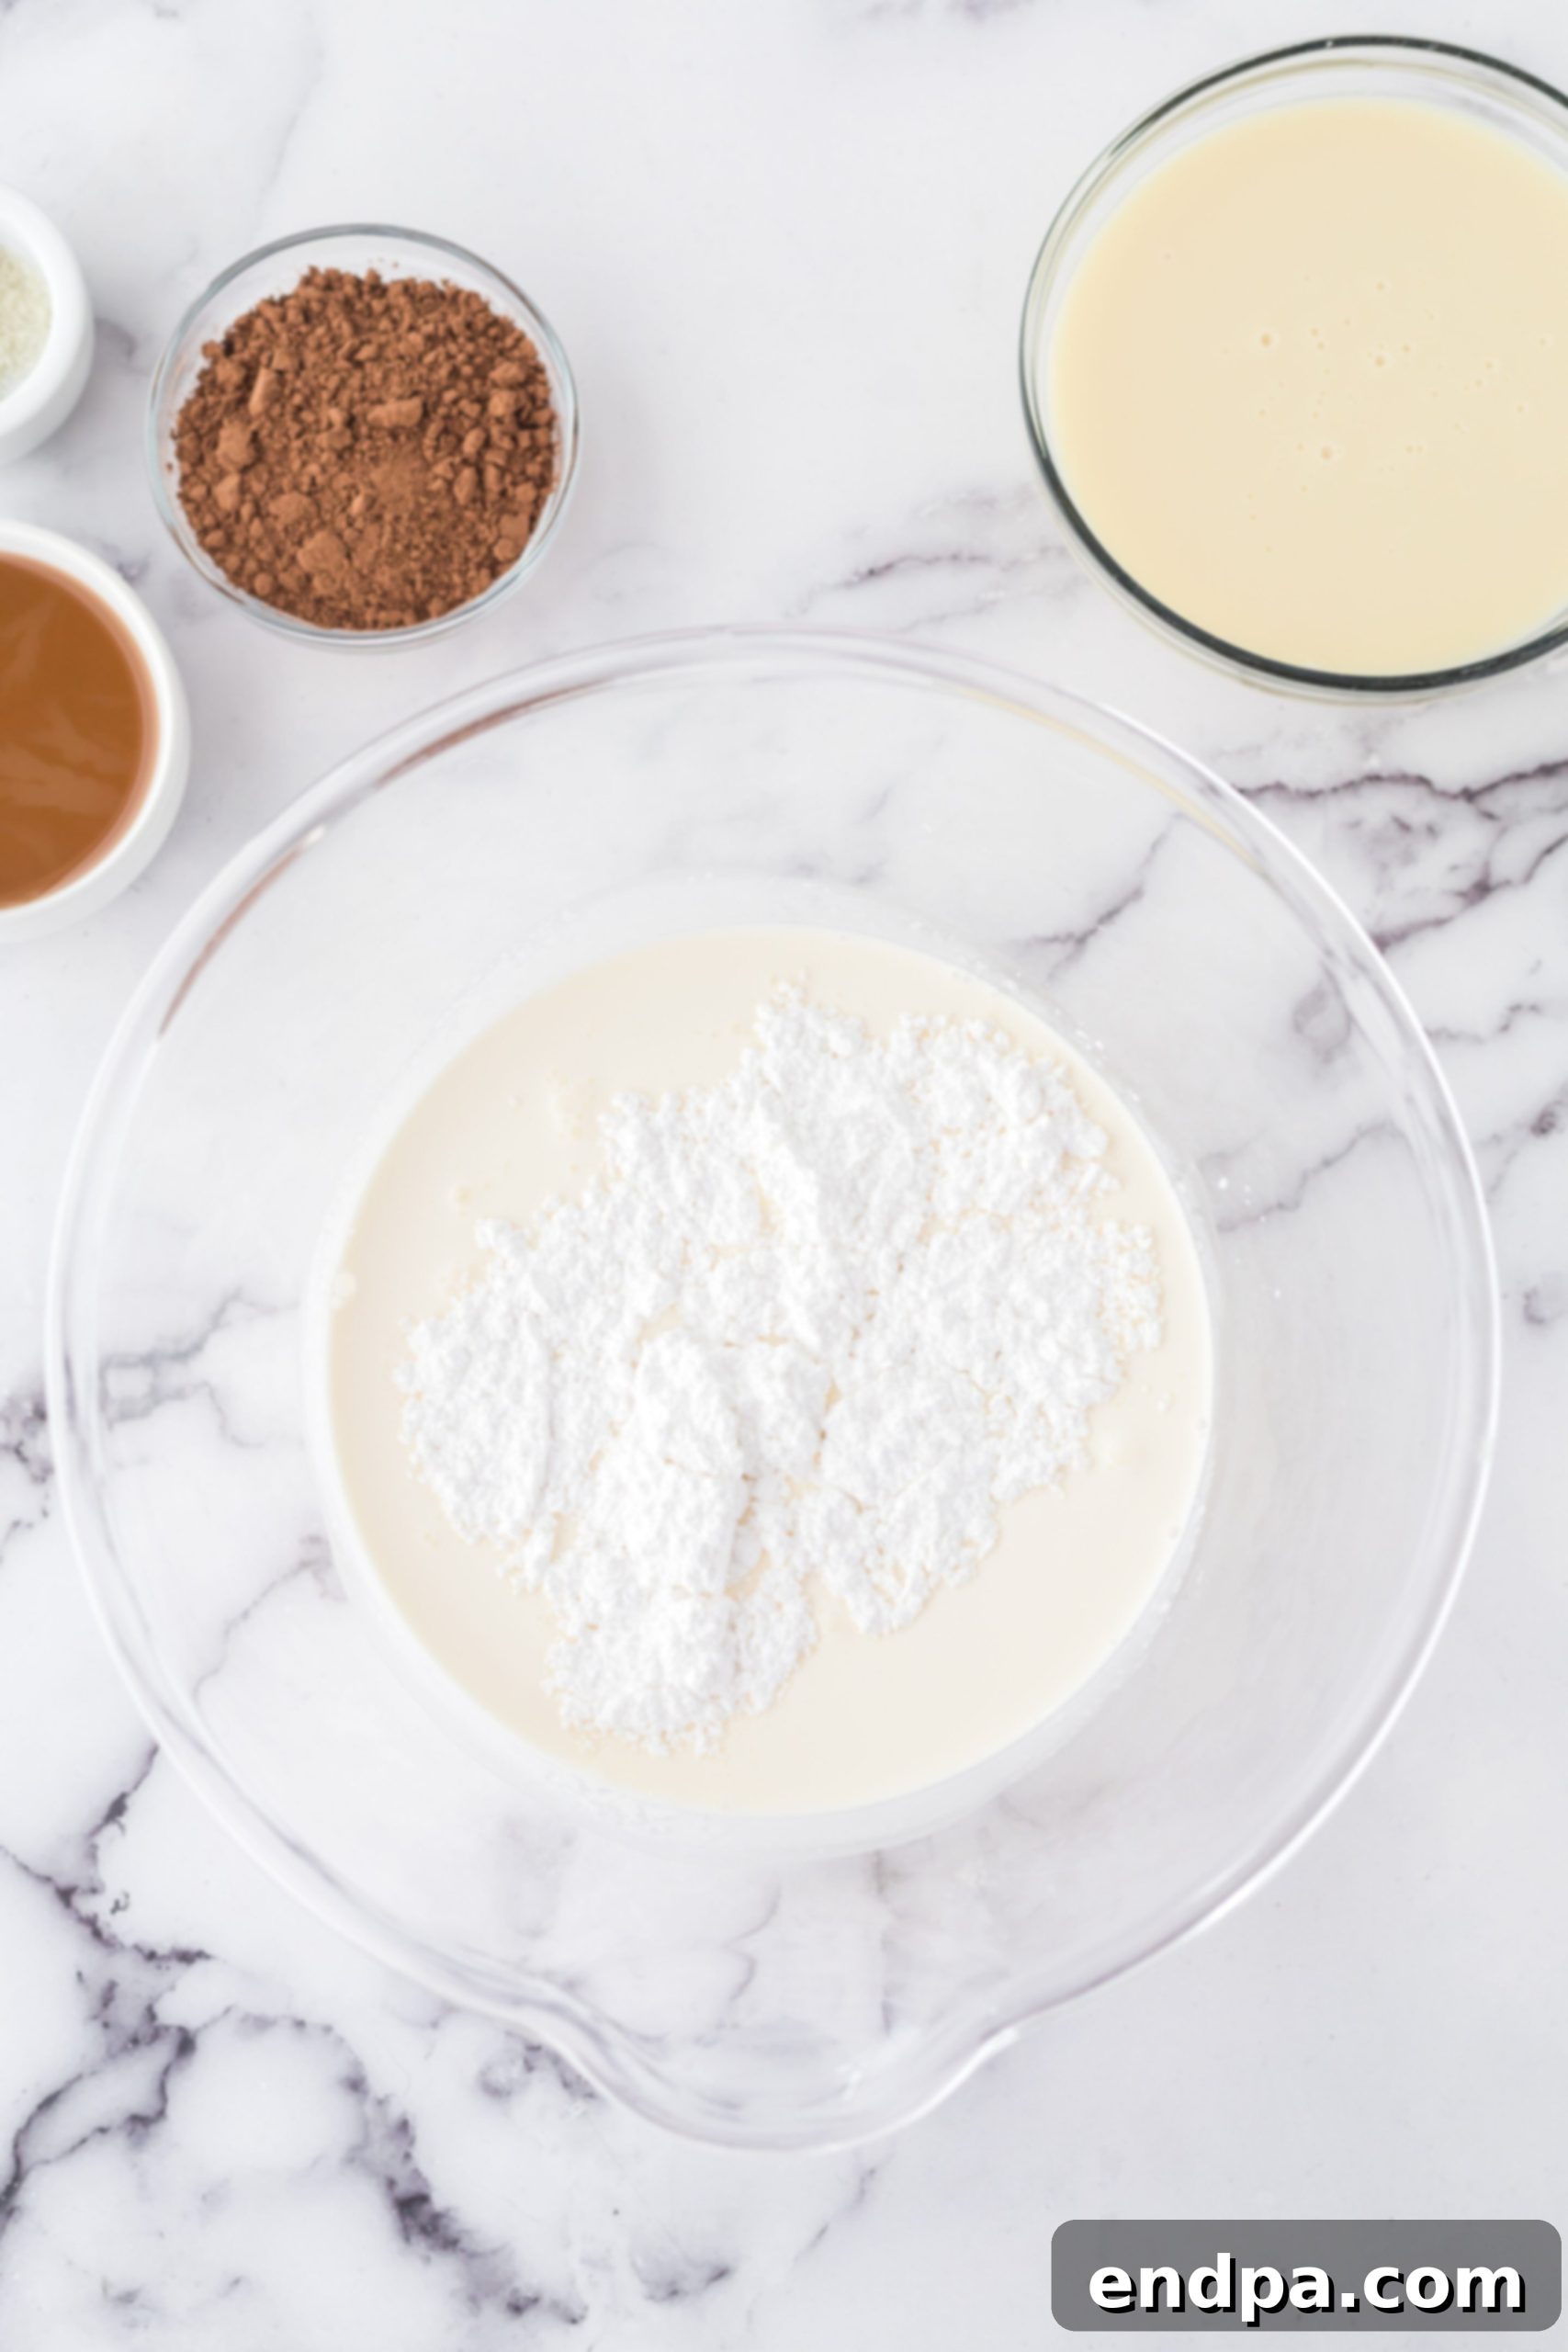
Step 1: Whip the Cream and Sweetener to Perfection. In a large, preferably chilled mixing bowl, combine the very cold heavy whipping cream and powdered sugar. Using an electric mixer on medium-high speed, whip the mixture for approximately five minutes. Continue mixing until the cream transforms into a thick, airy consistency and forms stiff peaks. This means when you lift the beaters, the peaks hold their shape firmly.
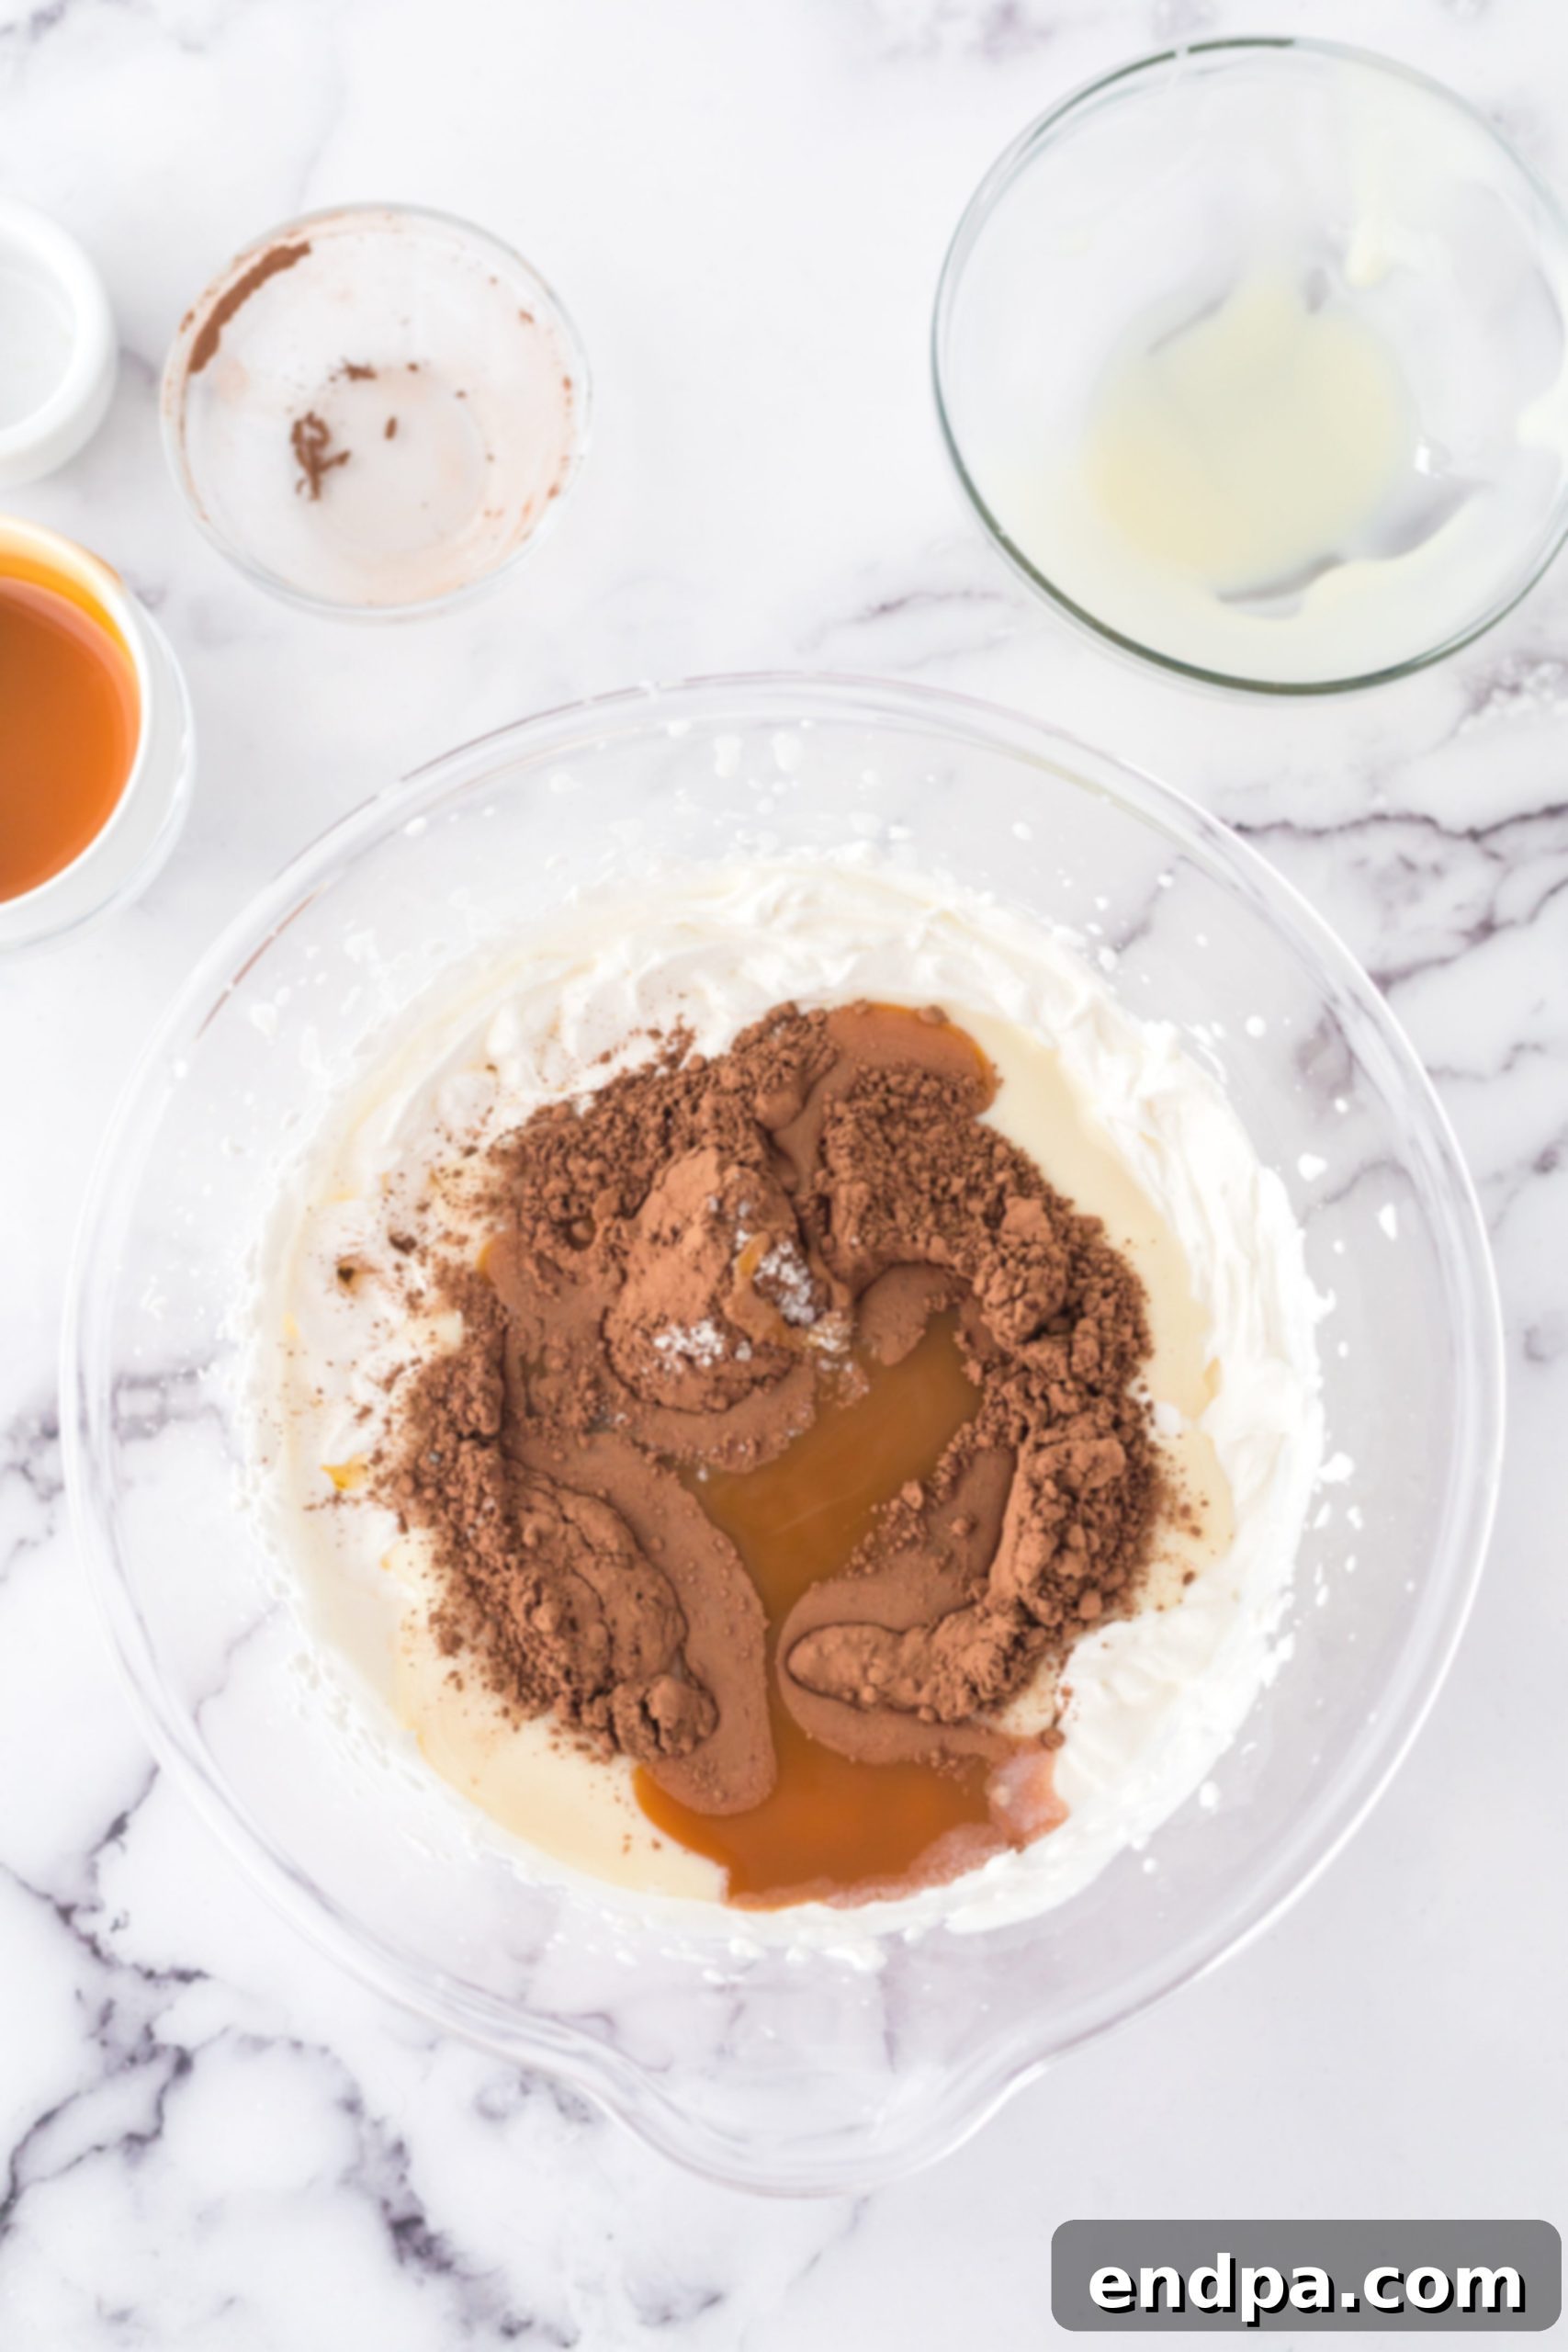
Step 2: Gently Fold in the Rich Flavors. Now, it’s time to incorporate the remaining delicious ingredients. Carefully pour the sweetened condensed milk, Dutch process cocoa powder, and half of your caramel sauce into the whipped cream mixture. Using a large spoon or spatula, gently fold these ingredients together. The key here is to use a light hand, folding from the bottom up to avoid deflating the airy whipped cream. Continue folding until all the ingredients are just combined and no dry clumps of cocoa powder are visible, creating a homogeneous, luscious mixture.
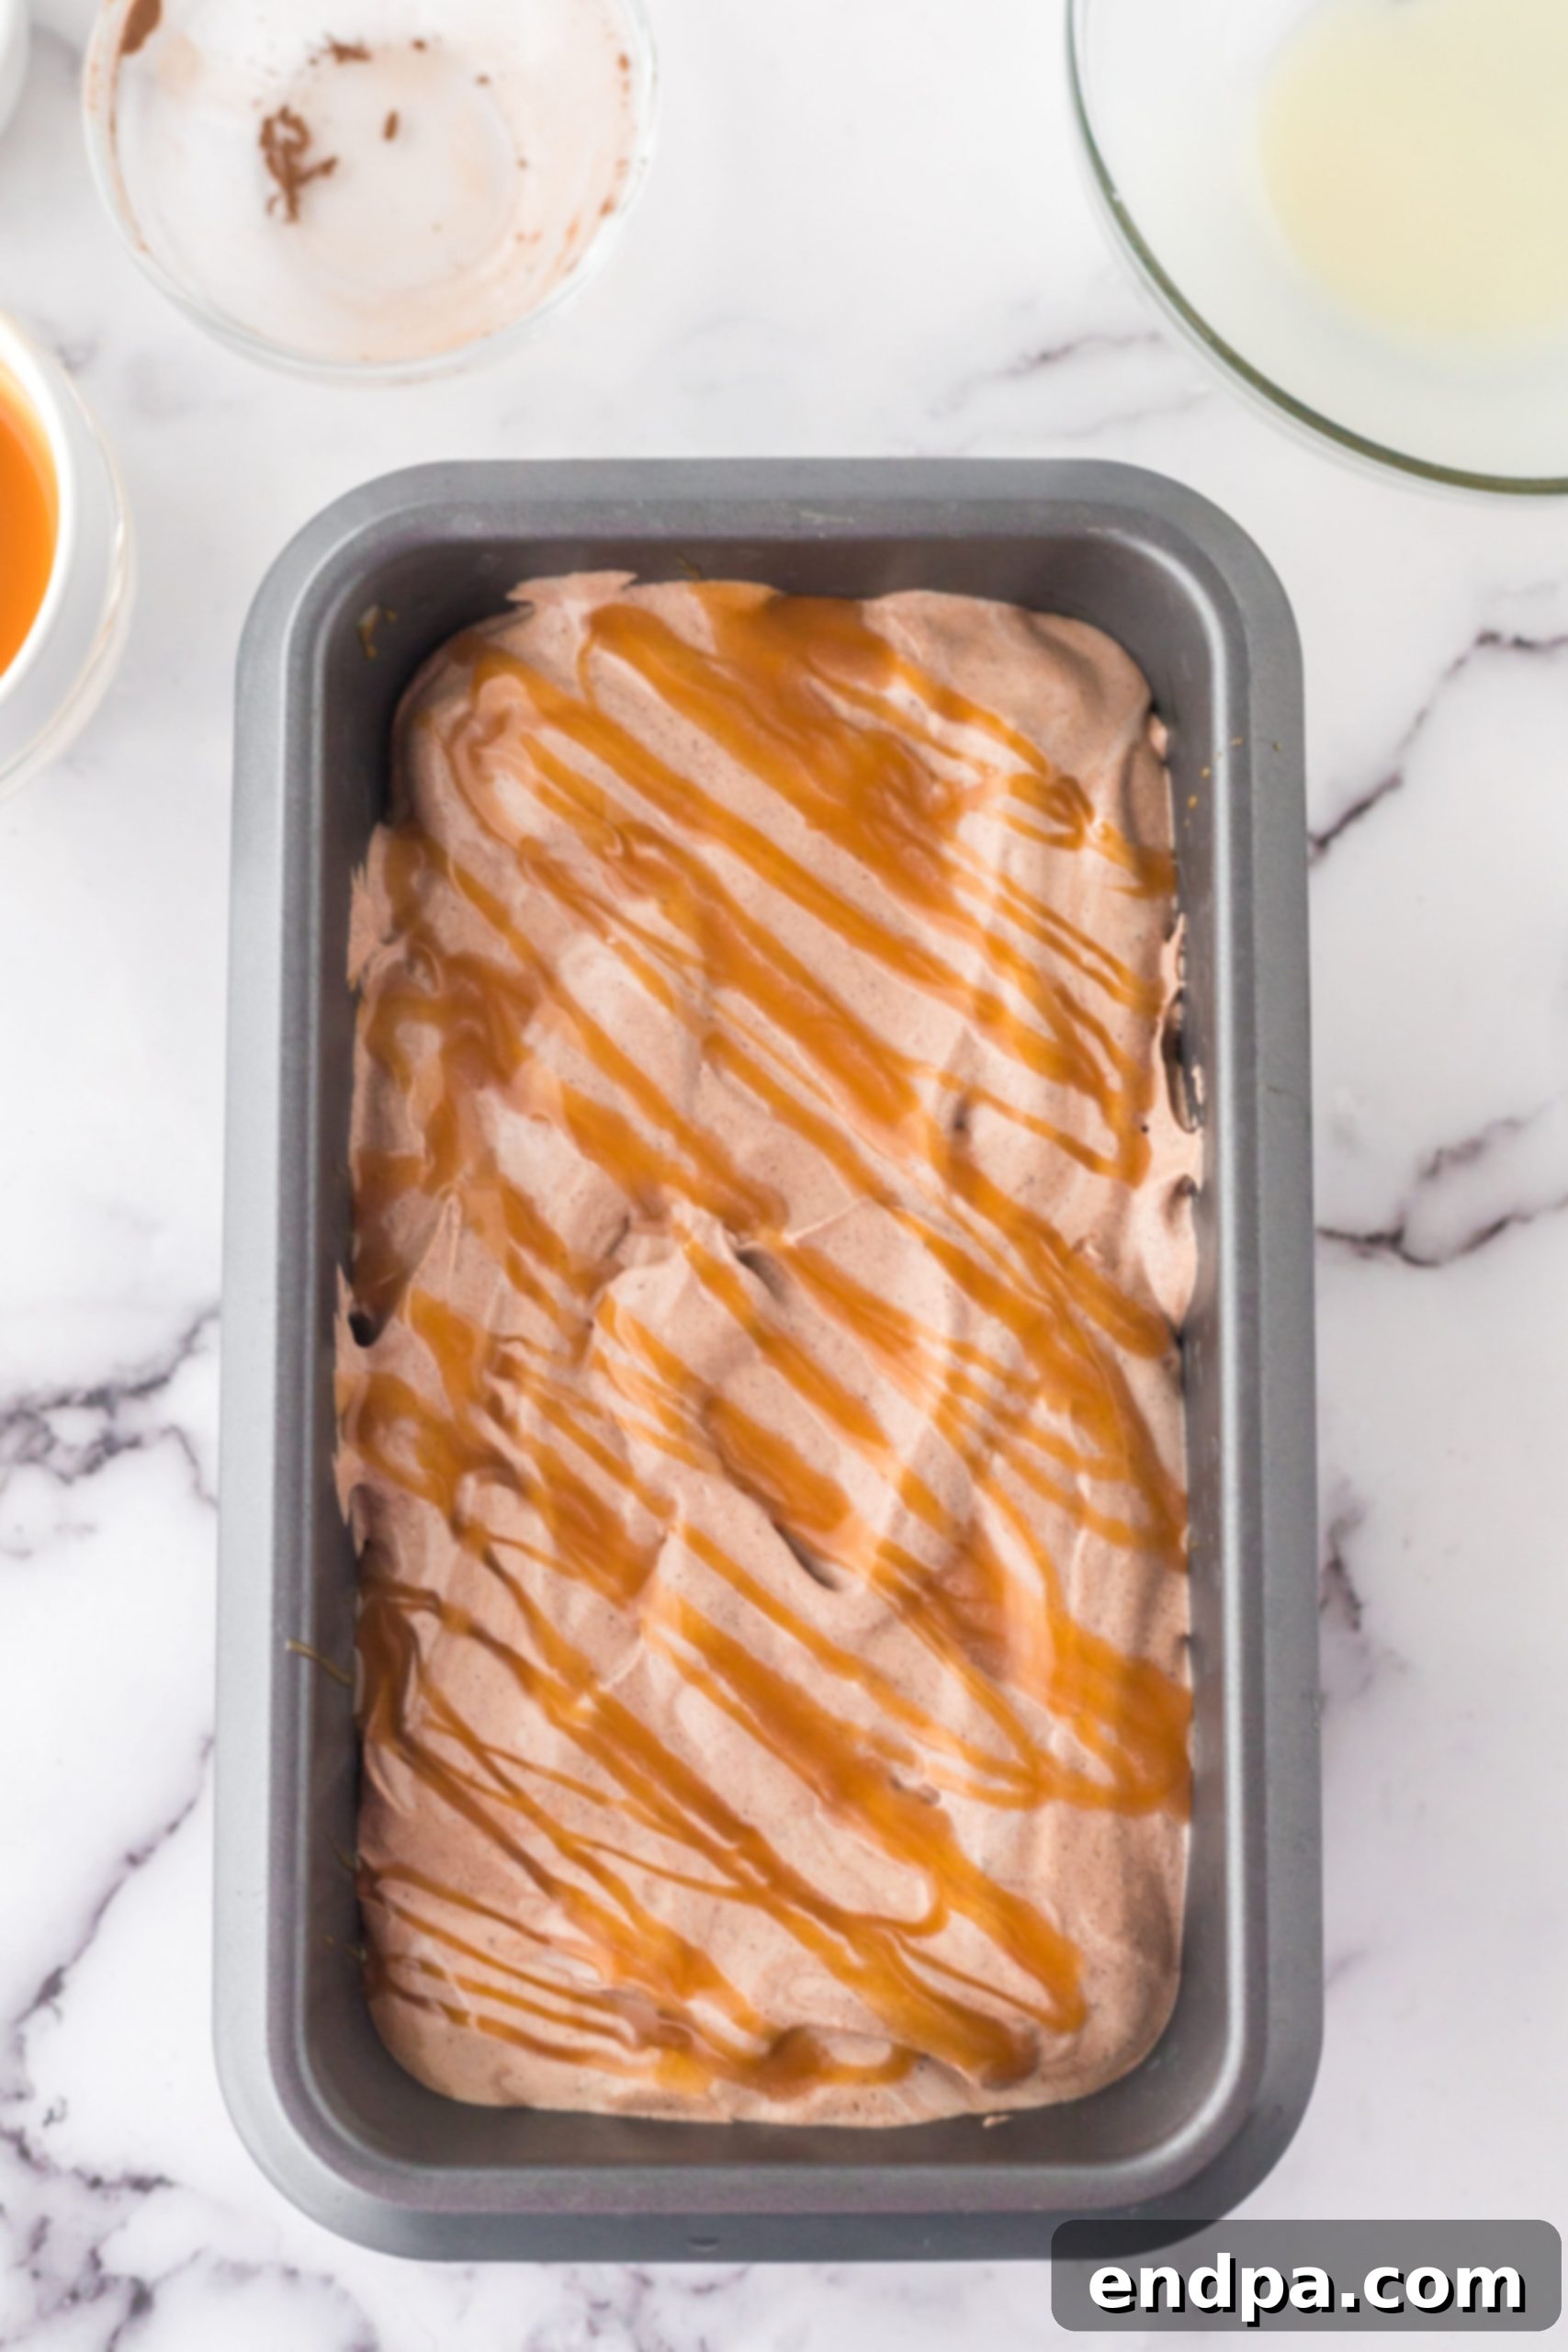
Step 3: Freeze for Irresistible Texture. Once your mixture is perfectly folded, transfer it into a 9×5-inch loaf pan or another freezer-safe container. Smooth the top with your spatula, then take the remaining caramel sauce and drizzle it generously over the surface of the ice cream. You can create beautiful swirls with a knife or leave it as a simple drizzle. Cover the pan tightly with plastic wrap, pressing it directly onto the surface of the ice cream to prevent ice crystals. Freeze for a minimum of 5 hours, though for the best, firmest results, we recommend freezing it overnight.
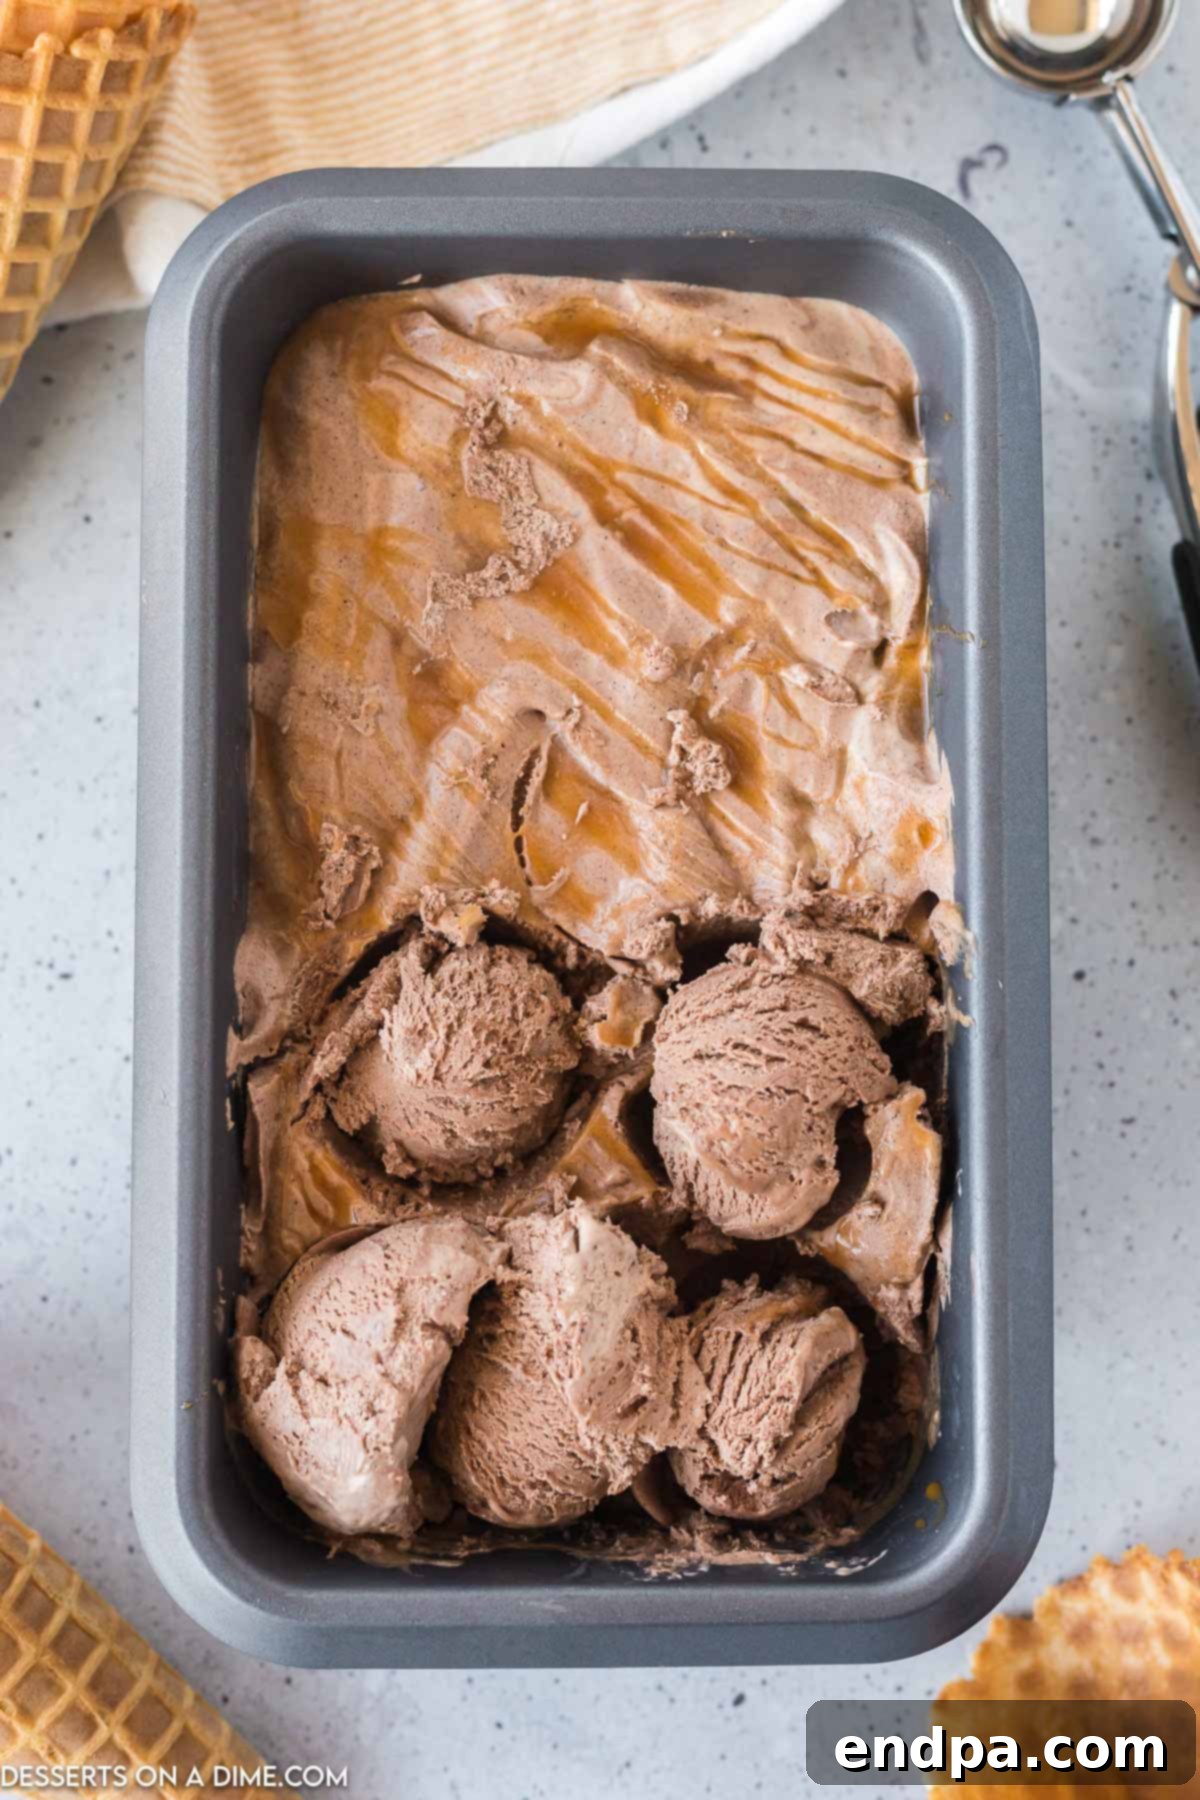
Step 4: Scoop and Enjoy! After sufficient freezing time, your homemade chocolate caramel ice cream is ready! Remove it from the freezer and, if needed, let it sit on the counter for a few minutes to soften slightly, making it easier to scoop. Serve generous scoops into bowls or cones, and prepare for a truly delightful experience. Add your favorite toppings (see ideas below!) and savor every single spoonful of this rich, creamy, and utterly satisfying dessert.
Irresistible Ice Cream Topping Ideas to Elevate Your Scoop
While this Chocolate Caramel Ice Cream is phenomenal on its own, adding toppings can take it to a whole new level of indulgence. Here are some fantastic ideas to enhance your dessert experience:
- Extra Caramel Drizzle: You can never have too much caramel! A final generous drizzle of extra caramel sauce over your scooped ice cream adds a glossy finish and intensifies that buttery, sweet flavor. For an extra gourmet touch, try a salted caramel sauce.
- Chocolate Delights: Amplify the chocolate factor with various forms of cocoa goodness. Sprinkle mini chocolate chips for a textural bite, shave some dark or milk chocolate over the top for an elegant touch, or even add chocolate curls for a truly decadent presentation.
- Warm Hot Fudge: The classic pairing of hot and cold is always a winner. A warm, gooey drizzle of Homemade Hot Fudge Sauce melting into the cold ice cream creates an incredible sensory experience.
- Fluffy Whipped Cream & Cherries: For a traditional sundae vibe, crown your ice cream with a dollop of Homemade Whipped Cream Recipe and a bright red maraschino cherry (or fresh cherry, when in season). This adds a light, airy contrast and a pop of color.
- Fresh Fruit Burst: Introduce a touch of freshness and natural sweetness with sliced fresh fruits. Strawberries, bananas, raspberries, or blueberries pair wonderfully with chocolate and caramel, offering a lighter counterpoint to the richness.
- Toasted Nuts or Coconut: Add a pleasant crunch and aromatic depth with a sprinkle of toasted pecans, walnuts, or shredded coconut. The toasting process brings out their natural flavors beautifully.
- Pretzel Crumbs: For a salty-sweet crunch, crush some pretzels and sprinkle them over your ice cream. The saltiness will perfectly complement the sweet caramel and chocolate.
Storage Tips for Your Homemade Ice Cream
Proper storage is essential to keep your homemade chocolate caramel ice cream fresh, creamy, and free from freezer burn. Once your ice cream is fully set, transfer it from the loaf pan to an airtight, freezer-safe container. If you don’t have a container with an airtight lid, you can press a layer of plastic wrap directly onto the surface of the ice cream before securing the lid or wrapping the entire loaf pan tightly with multiple layers of plastic wrap and then aluminum foil. This barrier helps prevent air and moisture from reaching the ice cream, which is the primary cause of freezer burn and ice crystal formation, ensuring it maintains its smooth texture and delicious flavor for as long as possible.
How Long Will Homemade Ice Cream Last?
With proper storage, your homemade no-churn chocolate caramel ice cream can be enjoyed for an extended period. When stored in an airtight, freezer-safe container and kept consistently cold in the freezer, it will maintain its quality and flavor for up to 1 month. Beyond this timeframe, while it may still be safe to eat, you might notice a slight degradation in texture or flavor. For the freshest and most enjoyable experience, it’s always best to consume homemade ice cream within a few weeks of preparation. Remember, consistent freezer temperature and minimal exposure to air are your best allies in preserving its deliciousness.
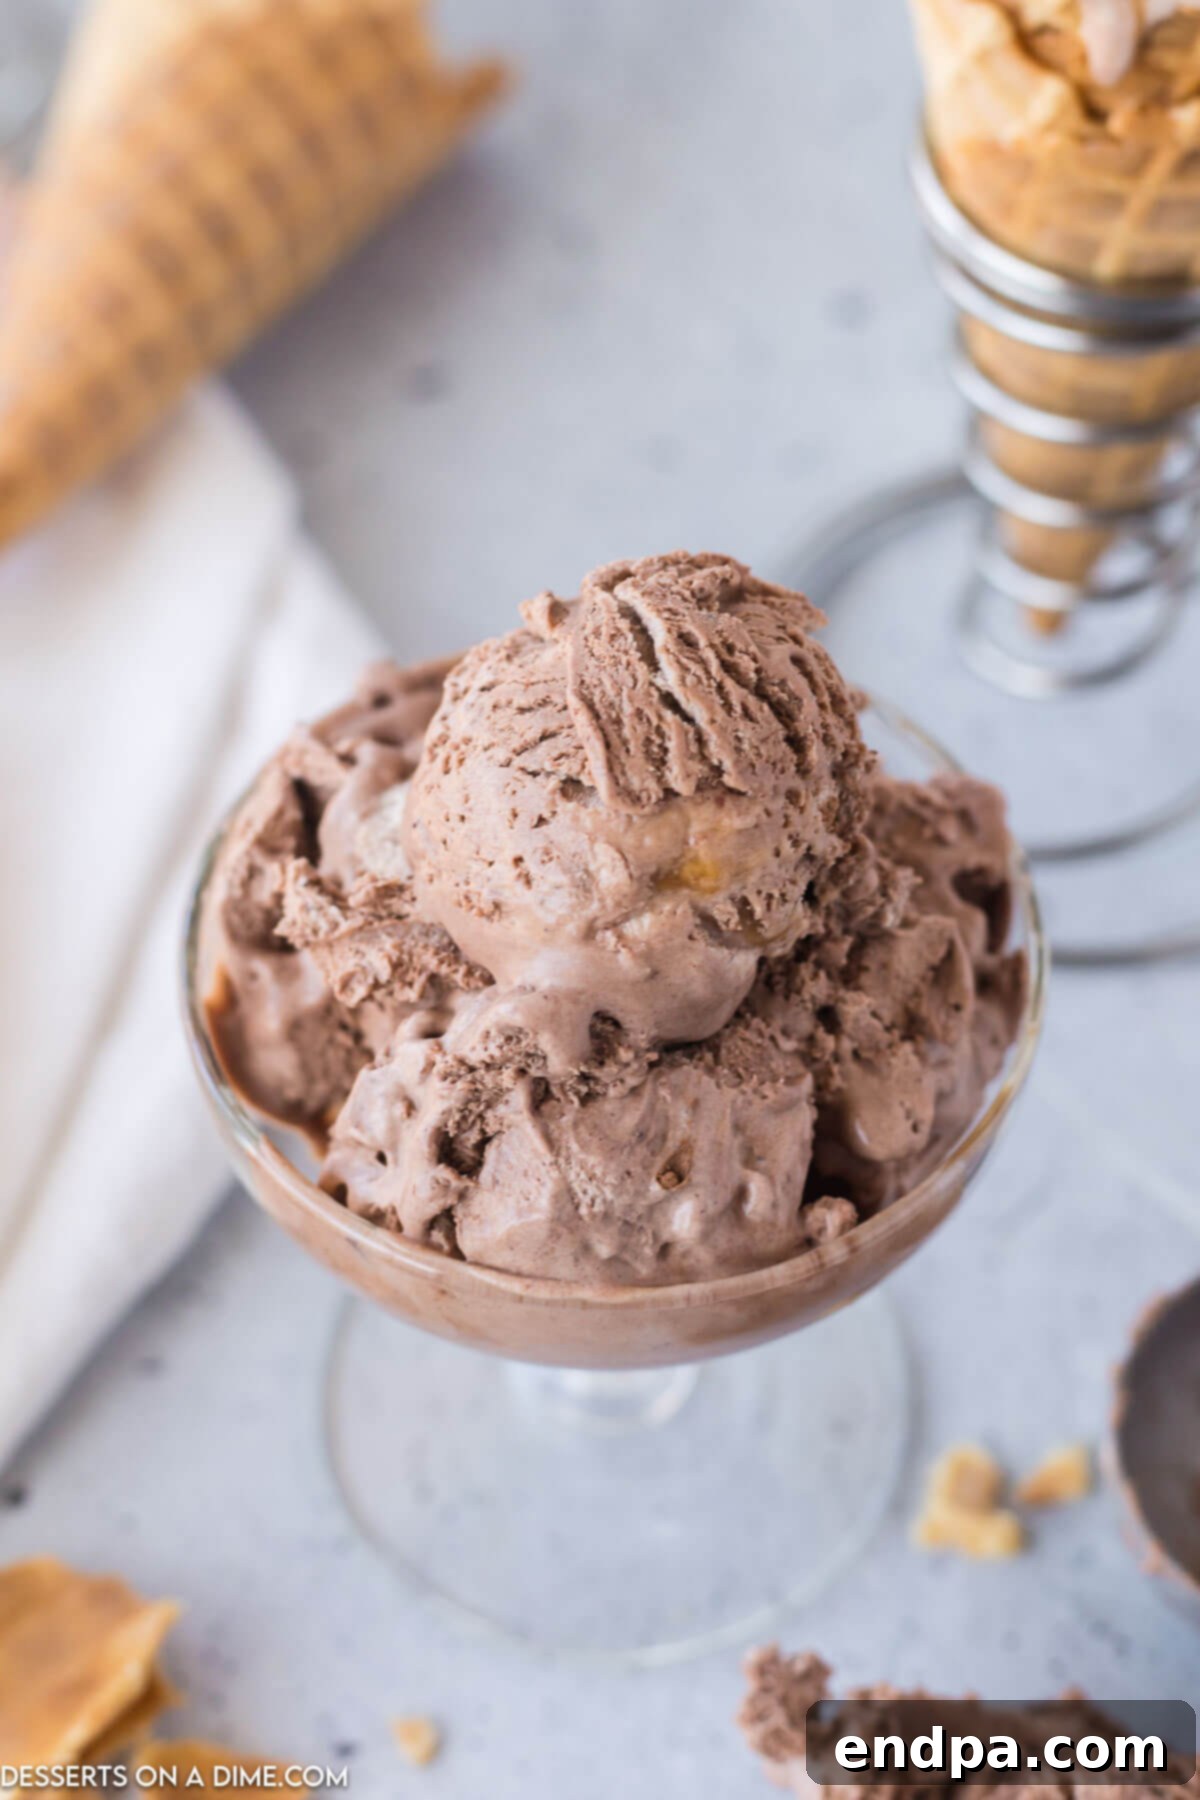
Expert Tips for Perfect No-Churn Ice Cream Success
Achieving consistently perfect no-churn ice cream is easy with a few simple techniques. These expert tips will help ensure your chocolate caramel ice cream is always creamy, flavorful, and a true crowd-pleaser:
- Perfect Scooping Technique: Depending on the precise temperature of your freezer, homemade ice cream can sometimes freeze quite hard. To get those perfect, effortless scoops, let your ice cream sit on the kitchen counter for 5-10 minutes before serving. This brief tempering period allows it to soften just enough to become easily scoopable without melting.
- The Unsung Hero: Adding the Salt: Don’t skip the salt! While it might seem counterintuitive to add salt to a sweet dessert, a small amount of salt is crucial for balancing the intense sweetness from the condensed milk and caramel. It enhances the chocolate and caramel flavors, preventing the ice cream from being overwhelmingly sugary and adding a subtle depth.
- Versatile Ice Cream Base: This chocolate caramel recipe uses a foundational no-churn ice cream base that is incredibly versatile. Once you master this method, you can easily experiment by adding different flavorings, syrups, fruit purees, or mix-ins. Consider this your starting point for endless homemade ice cream creations!
- Utilize a Frozen Mixing Bowl: For the best results when whipping heavy cream, try using a mixing bowl that has been chilled in the freezer. Place your mixing bowl (and even the whisk attachments!) in the freezer for at least 20-30 minutes, or even better, 24 hours prior to using. A cold bowl helps the heavy cream whip up faster and achieve stiffer, more stable peaks, which translates to a lighter, airier ice cream mixture.
- Quality Ingredients Make a Difference: With a recipe that calls for so few ingredients, the quality of each component truly shines through in the final product. Opt for high-quality heavy cream, a rich Dutch process cocoa powder, and a delicious caramel sauce. Better ingredients will yield a significantly more flavorful and luxurious ice cream.
- No Substitutions for Heavy Cream: It’s crucial not to substitute regular milk for heavy whipping cream in this recipe. Heavy whipping cream contains a high fat content, which is essential for creating the rich, creamy texture and volume needed for no-churn ice cream. Using lighter milk or half-and-half will result in an icy, less satisfying texture that won’t set correctly.
- Gentle Folding is Key: When combining the whipped cream with the condensed milk and cocoa mixture, resist the urge to vigorously stir. Instead, use a gentle folding motion with a spatula. Overmixing will deflate the air you’ve carefully incorporated into the heavy cream, leading to a denser, less creamy ice cream. Fold just until the ingredients are combined and no streaks remain.
- Chill Everything: Beyond the mixing bowl and heavy cream, ensuring all your ingredients are cold (especially the sweetened condensed milk) can contribute to a faster whip and a more stable ice cream base.
- Cover Properly: Always press plastic wrap directly onto the surface of the ice cream before covering the container. This prevents air pockets, which are breeding grounds for ice crystals and freezer burn.
Discover More Easy No-Churn Ice Cream Creations
If you loved the simplicity and deliciousness of this recipe, you’re in luck! The world of no-churn ice cream is vast and full of delightful possibilities. Here are some more fantastic no-churn recipes to try, each offering unique flavors without the need for an ice cream maker:
- No-Churn Lemon Shortbread Ice Cream: A bright and zesty treat with crunchy shortbread pieces.
- Butterfinger Ice Cream Recipe: Indulge in the crispy, peanut-buttery goodness of Butterfinger candy in every scoop.
- No-Churn Cotton Candy Ice Cream: A whimsical and vibrant dessert perfect for kids and adults alike.
- Peach No-Churn Ice Cream: Capturing the sweet, juicy essence of summer peaches in a creamy frozen delight.
- Pistachio Ice Cream: A classic, subtly nutty flavor that’s both elegant and refreshing.
Explore More Decadent Chocolate Caramel Desserts You’ll Love
The combination of rich chocolate and gooey caramel is a match made in heaven, extending far beyond ice cream. If you’re a fan of this classic duo, you’ll definitely want to try these other irresistible chocolate caramel desserts that are sure to satisfy any sweet craving:
- Chocolate Caramel Poke Cake: A moist chocolate cake infused with sweet caramel and topped with a decadent frosting.
- Salted Caramel Chocolate Chip Cookies: A perfect blend of sweet and salty in a chewy, classic cookie.
I’m so excited for you to try this incredibly easy and wonderfully delicious no-churn chocolate caramel ice cream. It’s truly a labor of love that delivers exceptional results without the fuss. Once you’ve made it, please come back and leave a comment sharing your experience and any creative twists you added. I promise you’ll love it!
Chocolate Caramel Ice Cream Recipe
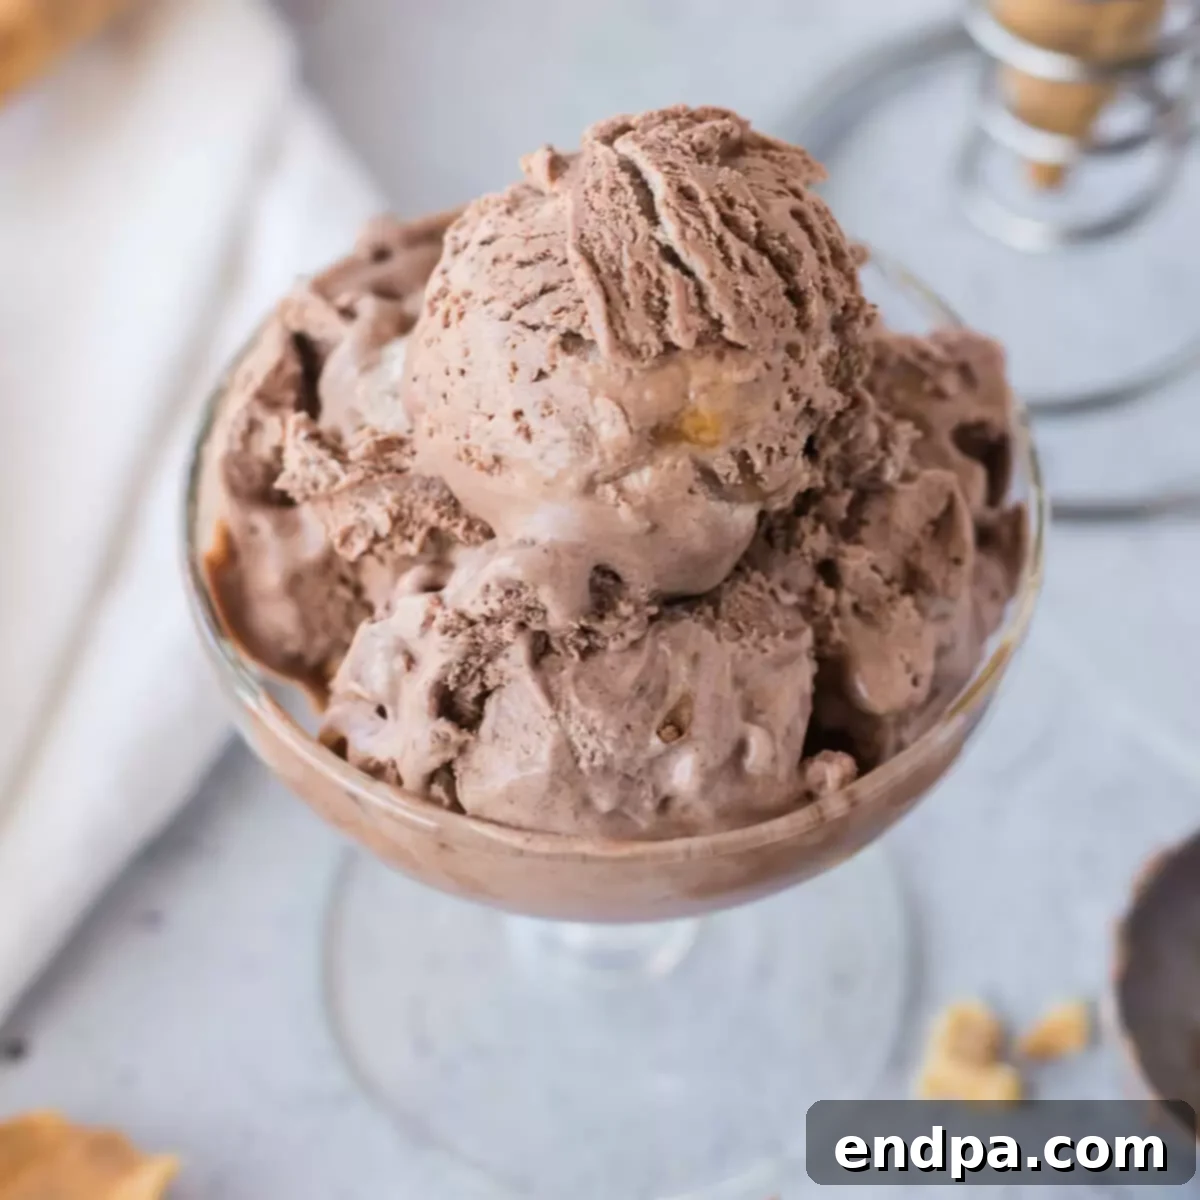
This homemade No-Churn Chocolate Caramel Ice Cream is incredibly easy to make, loaded with intense chocolate and rich caramel flavor, and boasts a wonderfully creamy texture. It’s the ultimate refreshing treat to beat the summer heat or satisfy your sweet tooth any time of year.
15 mins
5 hrs (minimum)
5 hrs 15 mins
6
American
Dessert
669 kcal
Carrie Barnard
Ingredients
- 3 cups heavy whipping cream, very cold
- ¼ cup powdered sugar (sifted if lumpy)
- 14 oz can sweetened condensed milk
- 1/3 cup Dutch process cocoa powder
- ½ cup caramel sauce (store-bought or homemade)
- 1 tsp salt
Instructions
- In a large mixing bowl, use an electric hand mixer to whip the heavy cream and powdered sugar for about five minutes until the cream forms stiff peaks.
- Gently fold in the condensed milk, cocoa powder, and half of the caramel sauce using a large spoon or spatula. Gently fold the mixture until no dry clumps of cocoa powder remain and the ingredients are homogeneous. Be careful not to deflate the whipped cream.
- Pour the ice cream mixture into a 9×5 inch loaf pan or another freezer-safe container. Drizzle the remaining caramel over the top of the ice cream. Cover tightly with plastic wrap, pressing it directly onto the surface to prevent ice crystals. Freeze for at least 5 hours, but preferably overnight for the best texture.
- Once thoroughly frozen, scoop and enjoy your delicious homemade chocolate caramel ice cream!
Recipe Notes
You can store this ice cream for up to 1 month in the freezer when covered with plastic wrap, ensuring it’s in an airtight container to prevent freezer burn.
Depending on the temperature of your freezer, you may need to let your ice cream sit on the counter for a few minutes (5-10) before scooping it, allowing it to soften slightly for easier serving.
This ice cream is incredibly delicious topped with an extra drizzle of caramel and some shaved chocolate or chocolate chips for added indulgence.
The small amount of salt in the recipe is crucial; it helps balance the sweetness from the condensed milk and caramel, ensuring the ice cream isn’t overwhelmingly sweet and enhances all the flavors.
Nutrition Facts (per serving, approximate)
Calories: 669kcal
Carbohydrates: 53g
Protein: 10g
Fat: 49g
Saturated Fat: 31g
Polyunsaturated Fat: 2g
Monounsaturated Fat: 13g
Cholesterol: 157mg
Sodium: 569mg
Potassium: 444mg
Fiber: 2g
Sugar: 50g
Vitamin A: 1943IU
Vitamin C: 3mg
Calcium: 282mg
Iron: 1mg
