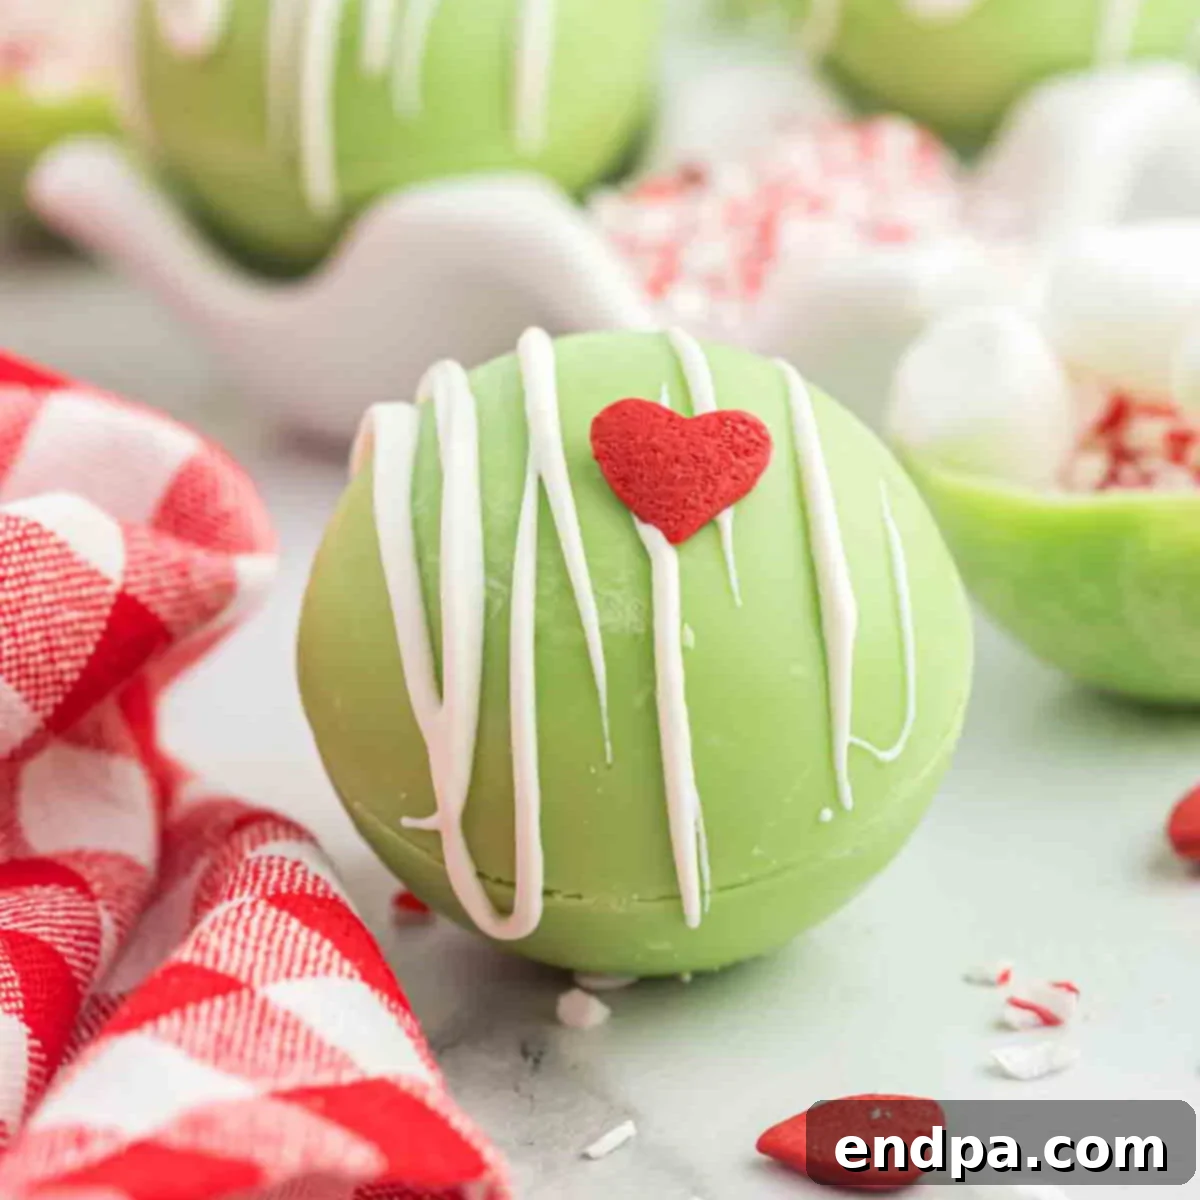
Experience the Magic of the Holidays with Grinch Hot Chocolate Bombs!
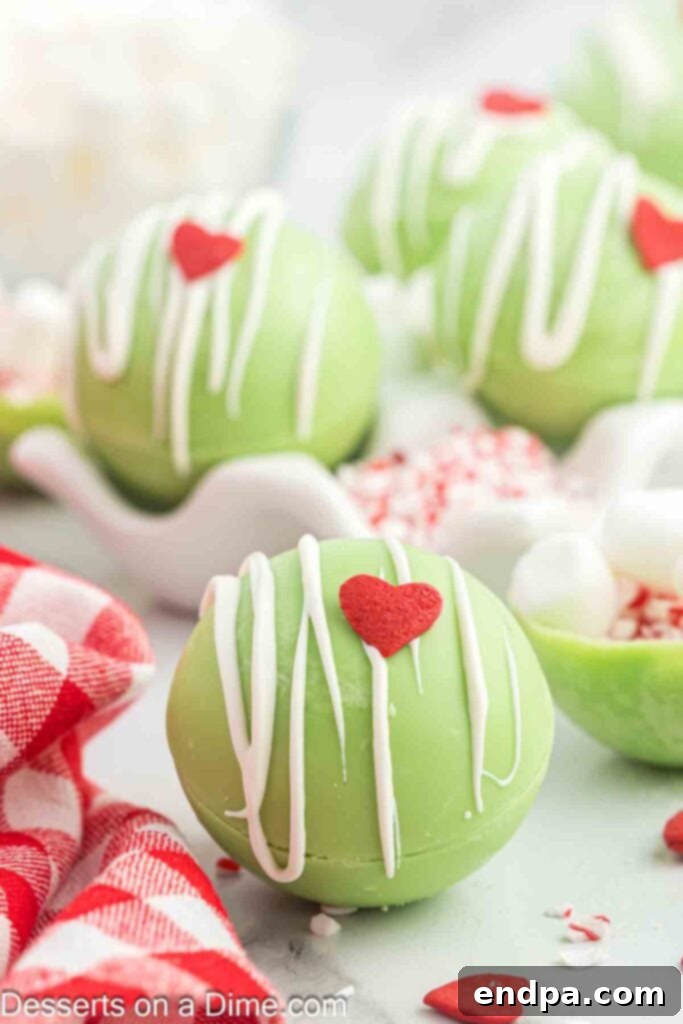
Step into a world of whimsical holiday delight with our incredible Grinch Hot Chocolate Bombs! These enchanting confections are more than just a treat; they’re an experience, transforming a simple mug of hot milk into a festive spectacle. Imagine the joy as the vibrant green shell melts away to reveal a treasure trove of marshmallows, crushed candy canes, and rich hot chocolate mix, all culminating in a delicious, Grinch-themed beverage. Perfect for cozy movie nights, memorable holiday parties, or as a heartwarming gift, these hot cocoa bombs capture the spirit of Christmas with a mischievous grin.
For years, Grinch-themed desserts have been a cherished tradition, bringing smiles and a touch of Whoville magic to our holiday season. These hot chocolate bombs continue that tradition, blending the beloved character’s iconic green hue with the comforting warmth of hot cocoa. They’re designed to be both stunningly visual and incredibly delicious, making them an instant hit with kids and adults alike.
Table of Contents: Grinch Hot Chocolate Bombs
- Why You’ll Adore This Recipe
- What Exactly Are Hot Chocolate Bombs?
- Ingredients for Grinch Magic
- Essential Tools for Success
- Variations and Creative Additions
- How to Make Grinch Hot Chocolate Bombs: A Visual Guide
- How to Enjoy Your Grinch Cocoa Bombs
- Storage and Gifting
- Pro Tips for Perfect Hot Chocolate Bombs
- More Grinch Holiday Recipes
- Grinch Hot Chocolate Bombs Recipe Card
Why You’ll Adore This Recipe
These Grinch Hot Chocolate Bombs aren’t just a dessert; they’re an experience waiting to happen. Here’s why they’re guaranteed to become a new holiday favorite:
- Unforgettable Grinch Theme: The iconic Grinch green, adorned with a tiny red heart, makes these hot cocoa bombs instantly recognizable and incredibly charming. They bring a playful, festive touch to any holiday gathering and are sure to be a conversation starter.
- Irresistibly Delicious: Beyond their charming appearance, these bombs deliver a rich, creamy, and satisfying cup of hot chocolate. The combination of high-quality candy melts, sweet marshmallows, and refreshing crushed candy canes creates a flavor profile that’s both comforting and exciting.
- Surprisingly Simple to Make: Don’t let their intricate look fool you! Our easy-to-follow, step-by-step instructions break down the process into manageable tasks, making it a fun and rewarding project for bakers of all skill levels. You’ll be amazed at how quickly you can create these impressive treats.
- Perfect for Gifting: Handcrafted hot chocolate bombs make thoughtful and unique holiday gifts. Package them in cellophane bags with a festive ribbon, and you have a personalized present that truly spreads cheer.
- A Magical Movie Night Treat: Elevate your holiday movie marathon – especially if you’re watching “How the Grinch Stole Christmas” – with these themed beverages. It adds an extra layer of immersion and fun that the whole family will love.
What Exactly Are Hot Chocolate Bombs?
For those new to the trend, hot chocolate bombs are hollow chocolate spheres filled with hot cocoa mix, mini marshmallows, and often other delightful additions like sprinkles or crushed candies. When placed in a mug and topped with hot milk, the chocolate shell melts, bursting open to release its delicious contents, creating an instant, magical cup of hot chocolate. It’s a visually stunning and incredibly fun way to enjoy a classic comfort drink, perfect for adding a touch of theatrical flair to your beverage experience.
Ingredients for Grinch Magic
Crafting these adorable Grinch Hot Chocolate Bombs requires just a few key ingredients. Each component plays a crucial role in both the visual appeal and the delightful taste of your festive treat.
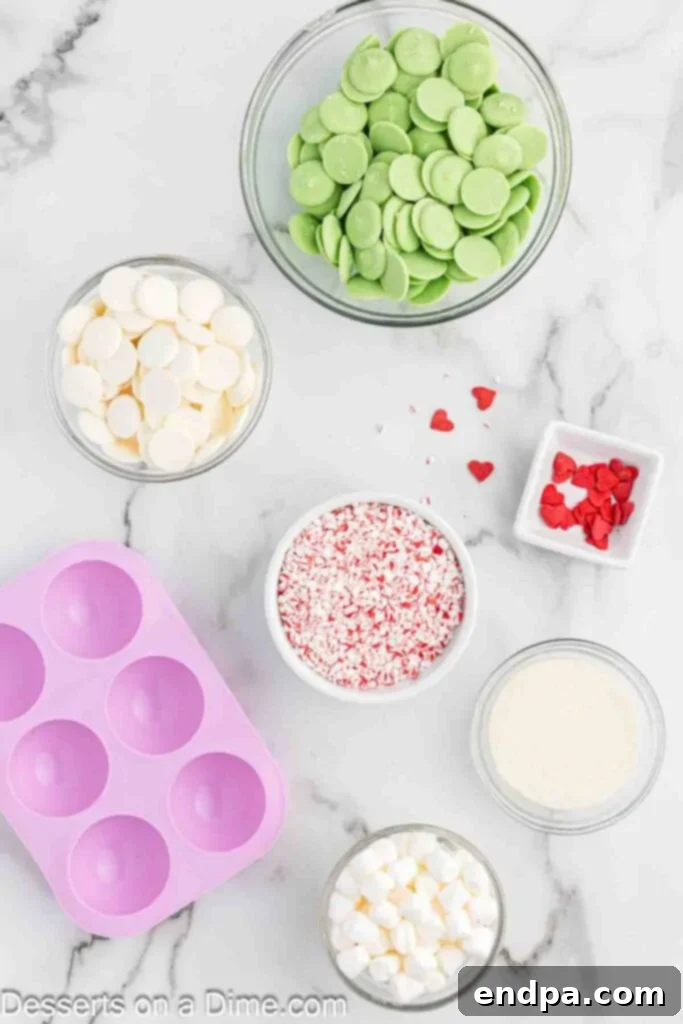
- Green Candy Melts: These are the star of our Grinch theme! Candy melts are specifically designed to melt smoothly and harden quickly, providing that perfect vibrant green shell without needing tempering. They offer a consistent color and texture, making them ideal for molding.
- Mini Marshmallows (Divided): What’s hot chocolate without marshmallows? We divide them to fill the bomb and use some for extra topping goodness once the bomb melts. Their soft, sweet texture is essential for a classic hot cocoa experience.
- White Hot Chocolate Mix (Divided): While regular hot cocoa works, white hot chocolate mix contributes to a lighter, brighter color if any peeks through, and offers a delicious, creamy flavor that complements the candy melts beautifully.
- Crushed Candy Canes (Divided): Adding a festive crunch and a burst of minty flavor, crushed candy canes are a must for these holiday bombs. They also add a lovely visual pop of red and white inside the green shell.
- White Candy Melts: Used for drizzling on top, these provide a lovely contrast to the green and serve as the “glue” for our signature red heart sprinkle.
- Red Candy Heart Sprinkles: The iconic tiny red heart, symbolizing the Grinch’s growing heart, is the perfect finishing touch. It instantly transforms a green sphere into a recognizable Grinch masterpiece.
You’ll find the precise measurements and quantities for each ingredient in the comprehensive recipe card located at the bottom of this post.
Essential Tools for Success
Having the right tools can make all the difference in creating perfect hot chocolate bombs. Here’s what you’ll need:
- Silicone Sphere Molds: These are absolutely crucial! Opt for molds with multiple cavities to make a batch efficiently. Silicone is flexible, making it easy to release the delicate chocolate shells without breakage.
- Microwave-Safe Bowls: For melting your candy melts. Choose bowls that are easy to handle and stir in.
- Spoon or Small Pastry Brush: To spread the melted candy melts evenly inside the silicone molds. A spoon works for scooping and spreading, while a clean, food-safe pastry brush can help ensure a thin, even coat.
- Small Plate (Microwave-Safe): This will be gently warmed to create a smooth, sealed edge when joining your chocolate halves.
- Piping Bag or Ziploc Bag (Optional): For neatly drizzling the white candy melts, though a spoon works just as well for a rustic look.
Variations and Creative Additions
While the classic Grinch Hot Chocolate Bomb is fantastic, feel free to get creative with these delicious variations and additions to customize your treats:
- Regular Hot Cocoa Mix: If white hot chocolate isn’t your preference, you can certainly substitute with regular hot cocoa mix. Just keep in mind that the resulting drink might have a slightly different hue, becoming a richer brown rather than a bright green if the chocolate shell is too thin or melts too quickly.
- Minty Fresh Flavor: For a delightful burst of cool mint, add a few drops of mint extract to your melted green candy melts. Be cautious not to add too much, especially since you’ll also be incorporating crushed peppermint candy canes inside. A little goes a long way to infuse that refreshing essence.
- White Chocolate Base: Don’t have green candy melts on hand? You can use high-quality white chocolate chips or bars and add green food coloring. Gel food coloring works best for vibrant results without altering the chocolate’s consistency too much. While white chocolate may not melt quite as smoothly as candy melts, it will still yield delicious bombs. Ensure it’s fully melted and well-mixed for an even color.
- Sprinkle Swap: Instead of or in addition to crushed candy canes, try green and red sprinkles, small chocolate chips, or even mini chocolate candies inside your bombs for different textures and flavors.
- Spiced Holiday Twist: Add a tiny pinch of cinnamon, nutmeg, or a pumpkin pie spice blend to your hot chocolate mix for a warm, spiced holiday flavor.
- Adult Version (21+): For a grown-up treat, consider adding a splash of peppermint schnapps or a festive liqueur to your mug of hot milk before pouring it over the bomb.
How to Make Grinch Hot Chocolate Bombs: A Visual Guide
Making these festive Grinch Hot Chocolate Bombs is an enjoyable process! Follow these detailed steps to create your own magical holiday treats.
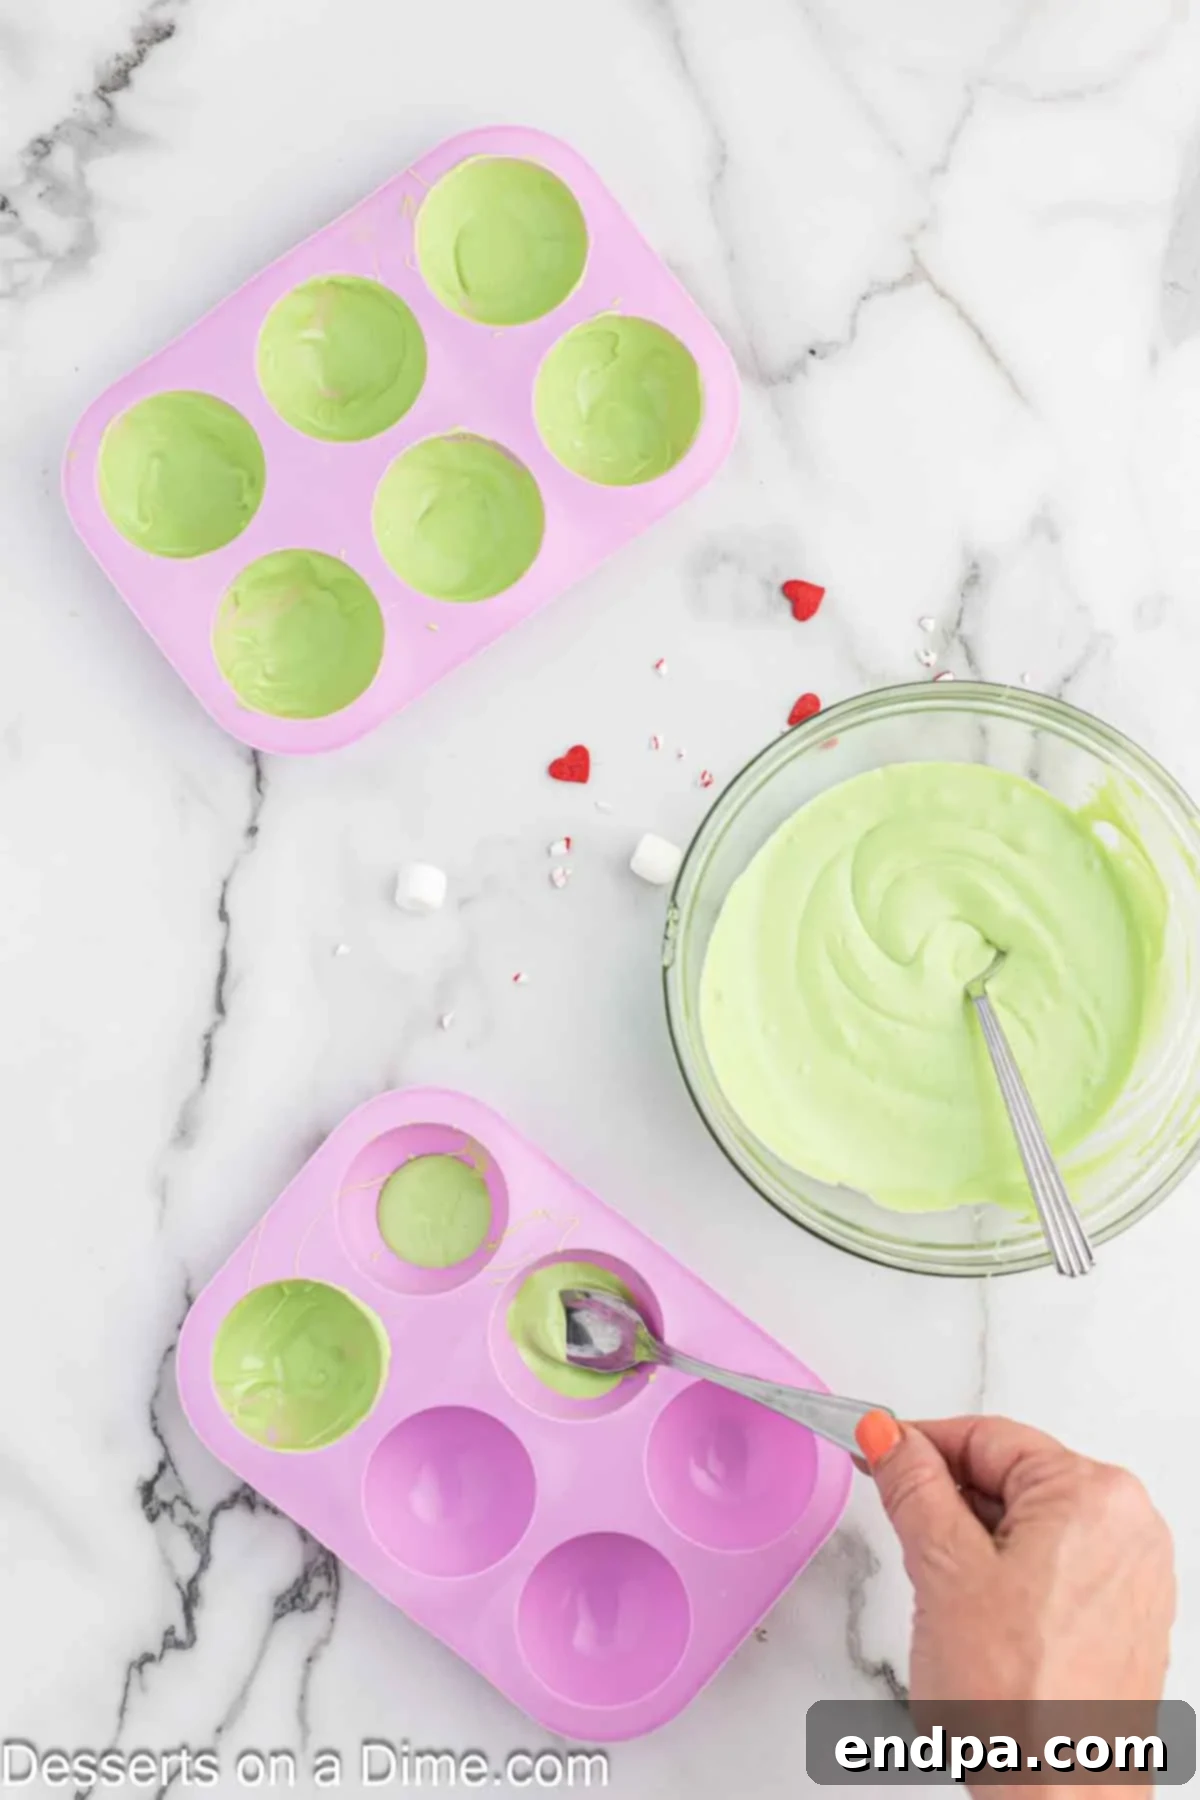
Step 1: Melt and Coat the Molds
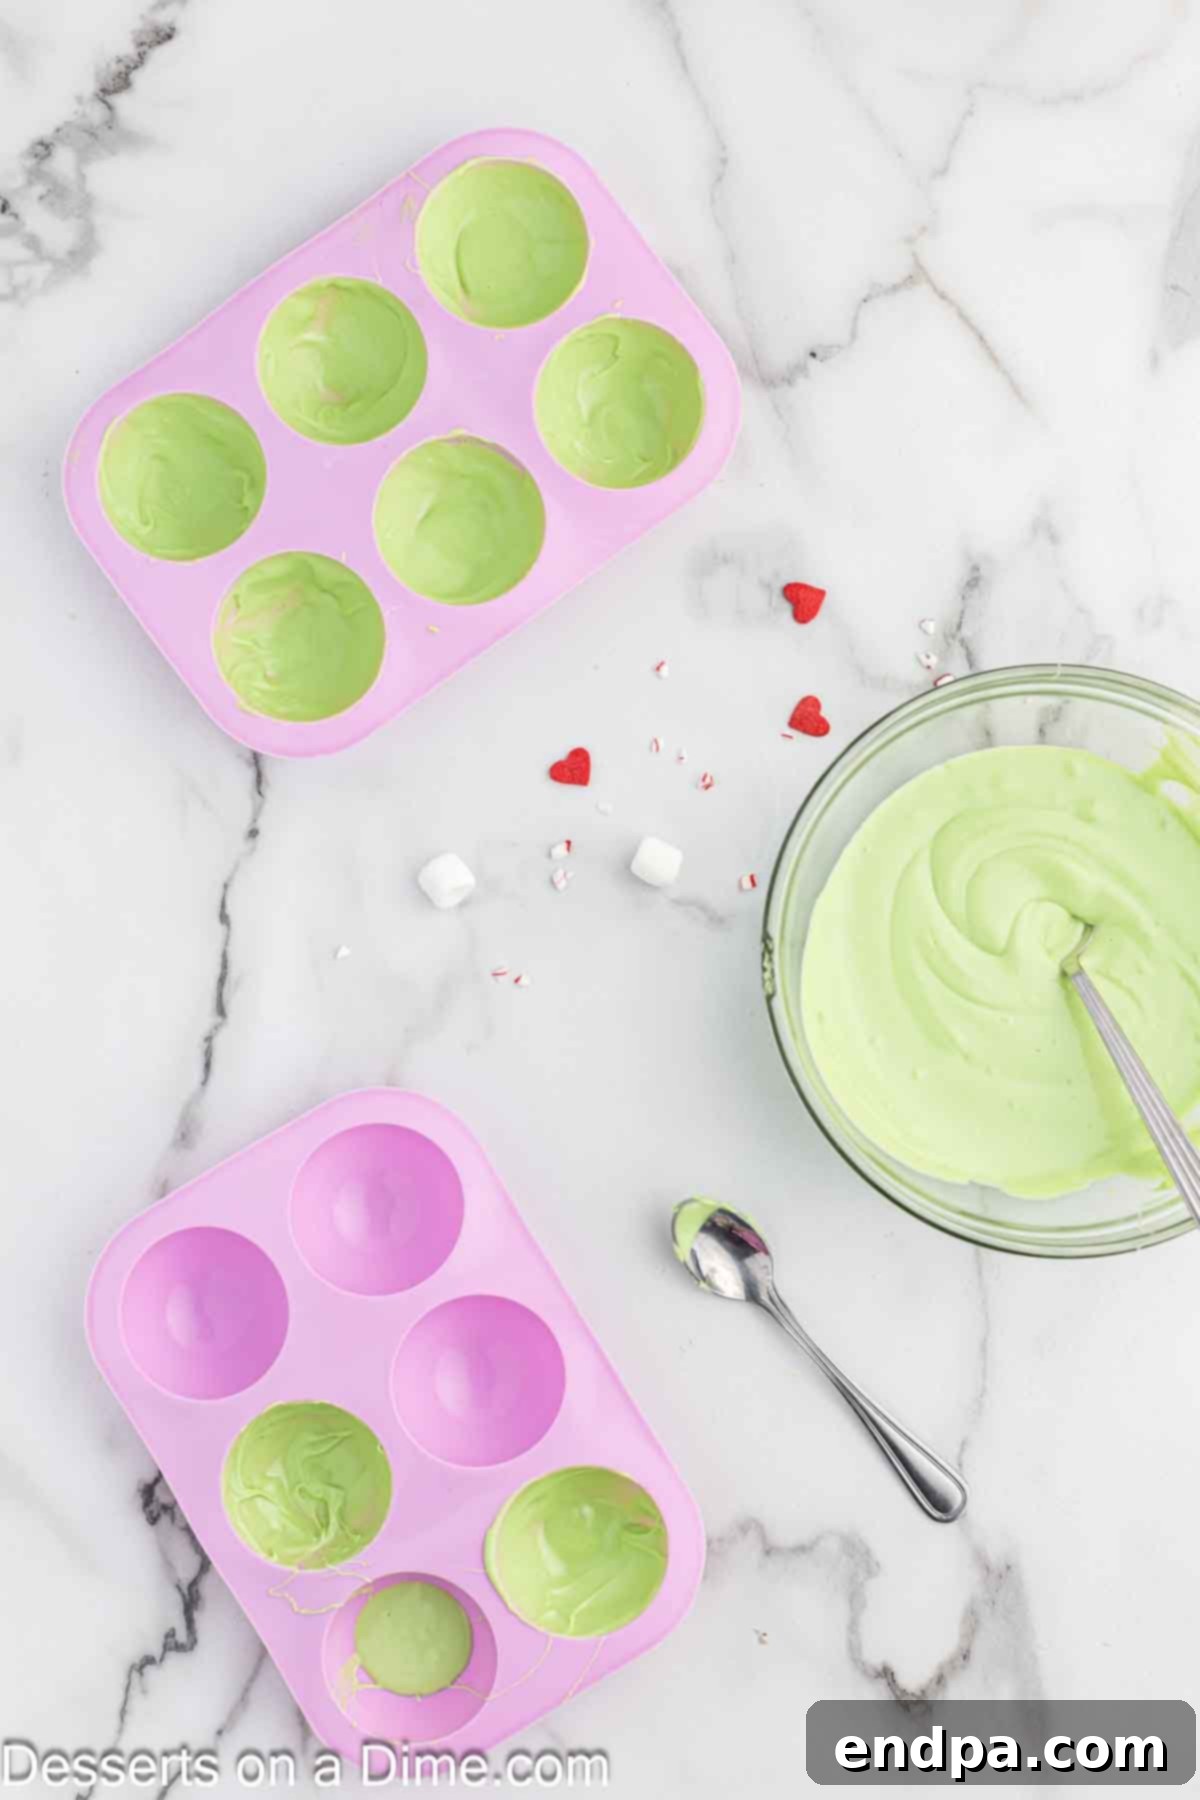
Begin by melting your vibrant green candy melts in a microwave-safe bowl. Heat in 30-second intervals, stirring thoroughly after each, until completely smooth and melted. Pour a small amount of the melted candy into each cavity of your silicone sphere mold. Using the back of a spoon or a small pastry brush, spread the melted chocolate evenly up the sides of the mold, ensuring it reaches the very edges. This creates a solid shell.
Step 2: Build Layers for Durability
Allow the first layer of candy melts to harden completely. This usually takes about 5 minutes, or you can speed it up by placing the mold in the refrigerator for 2-3 minutes. Once hardened, repeat the coating process 3-4 more times, building up thin layers. Multiple layers create a sturdy shell that is less likely to break when handled and will melt perfectly when hot milk is added.
Step 3: Release and Prepare for Filling
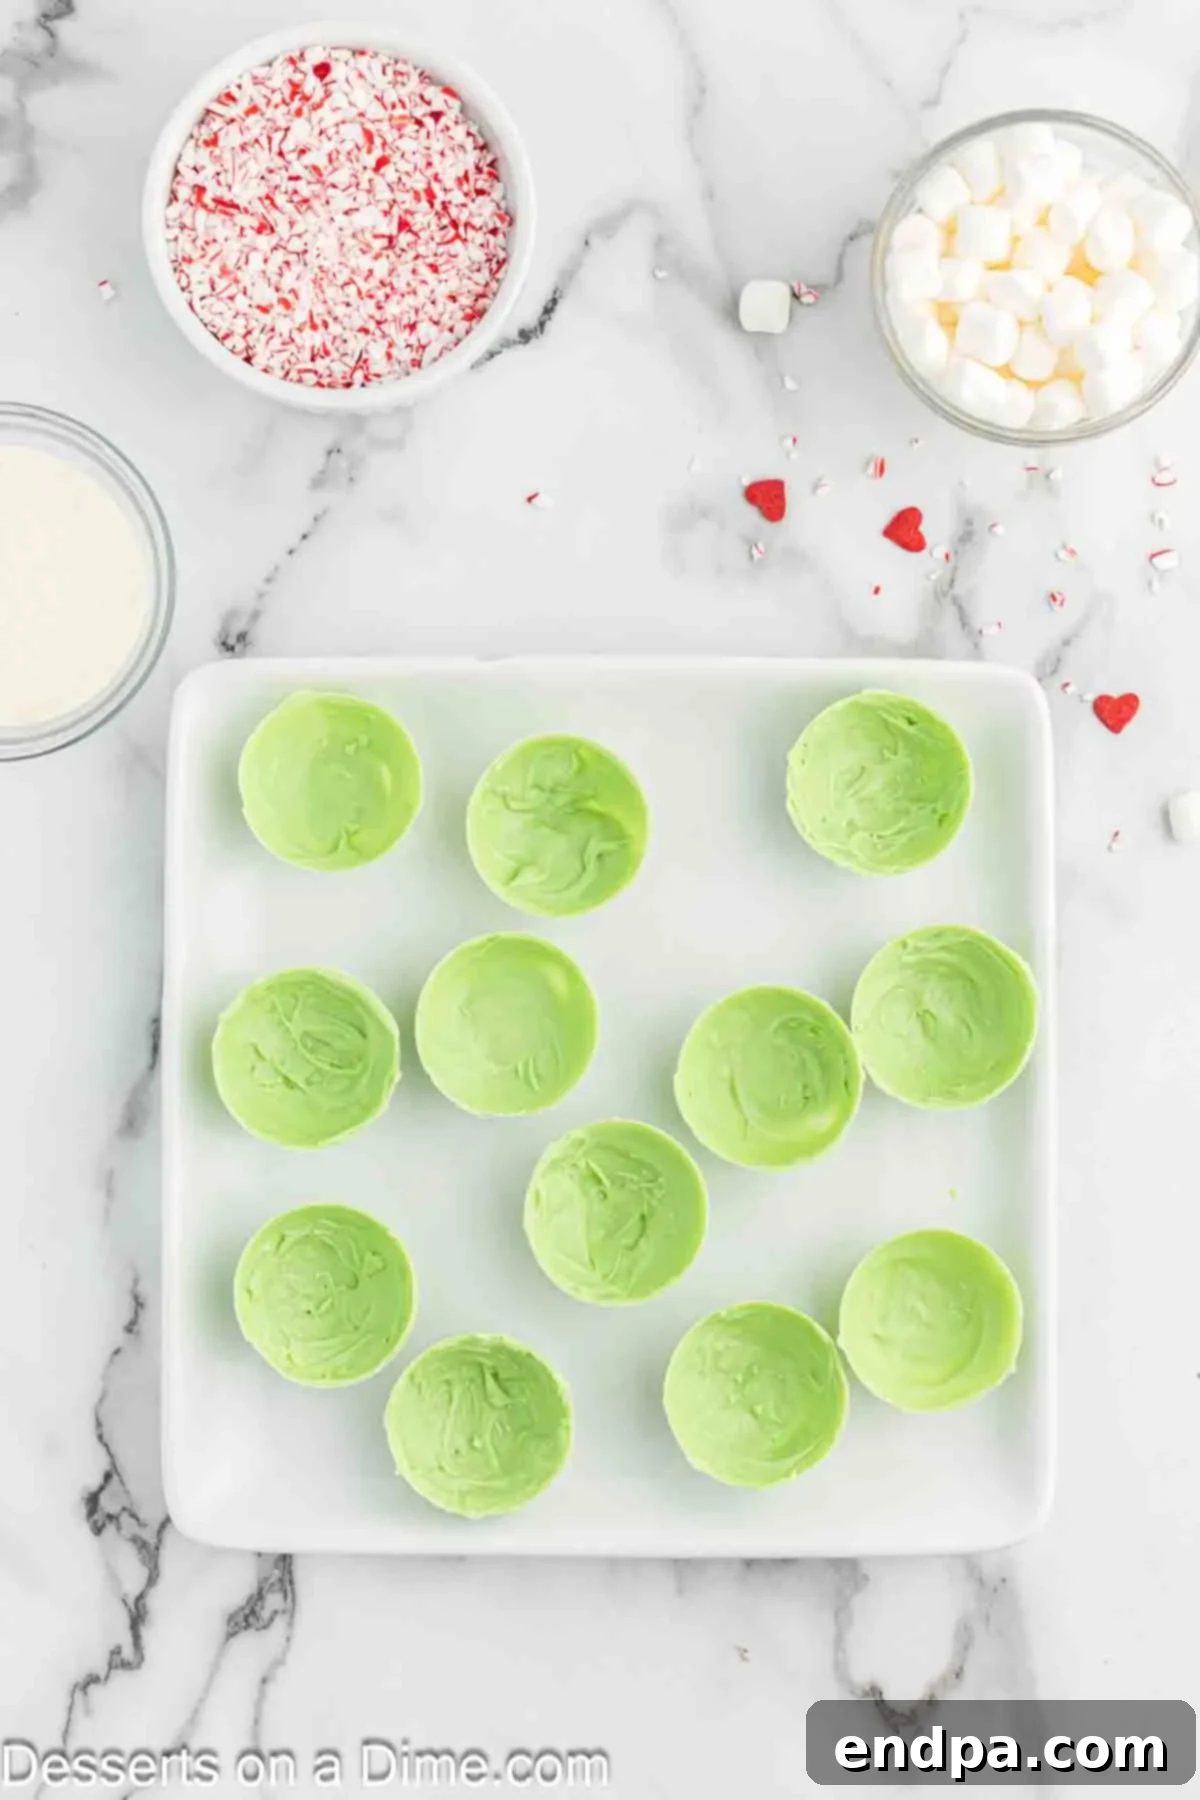
Once your final layer has hardened, gently remove the chocolate spheres from the silicone molds. They should pop out easily if well-coated. Now, prepare to seal them: microwave a clean, flat, microwave-safe plate for about 30 seconds until it’s warm to the touch (but not hot enough to burn). Take one half of a chocolate shell and gently press its rim onto the warm plate for a few seconds. This will slightly melt the edge, creating a perfectly smooth, level surface for sealing.
Step 4: Fill with Delightful Surprises
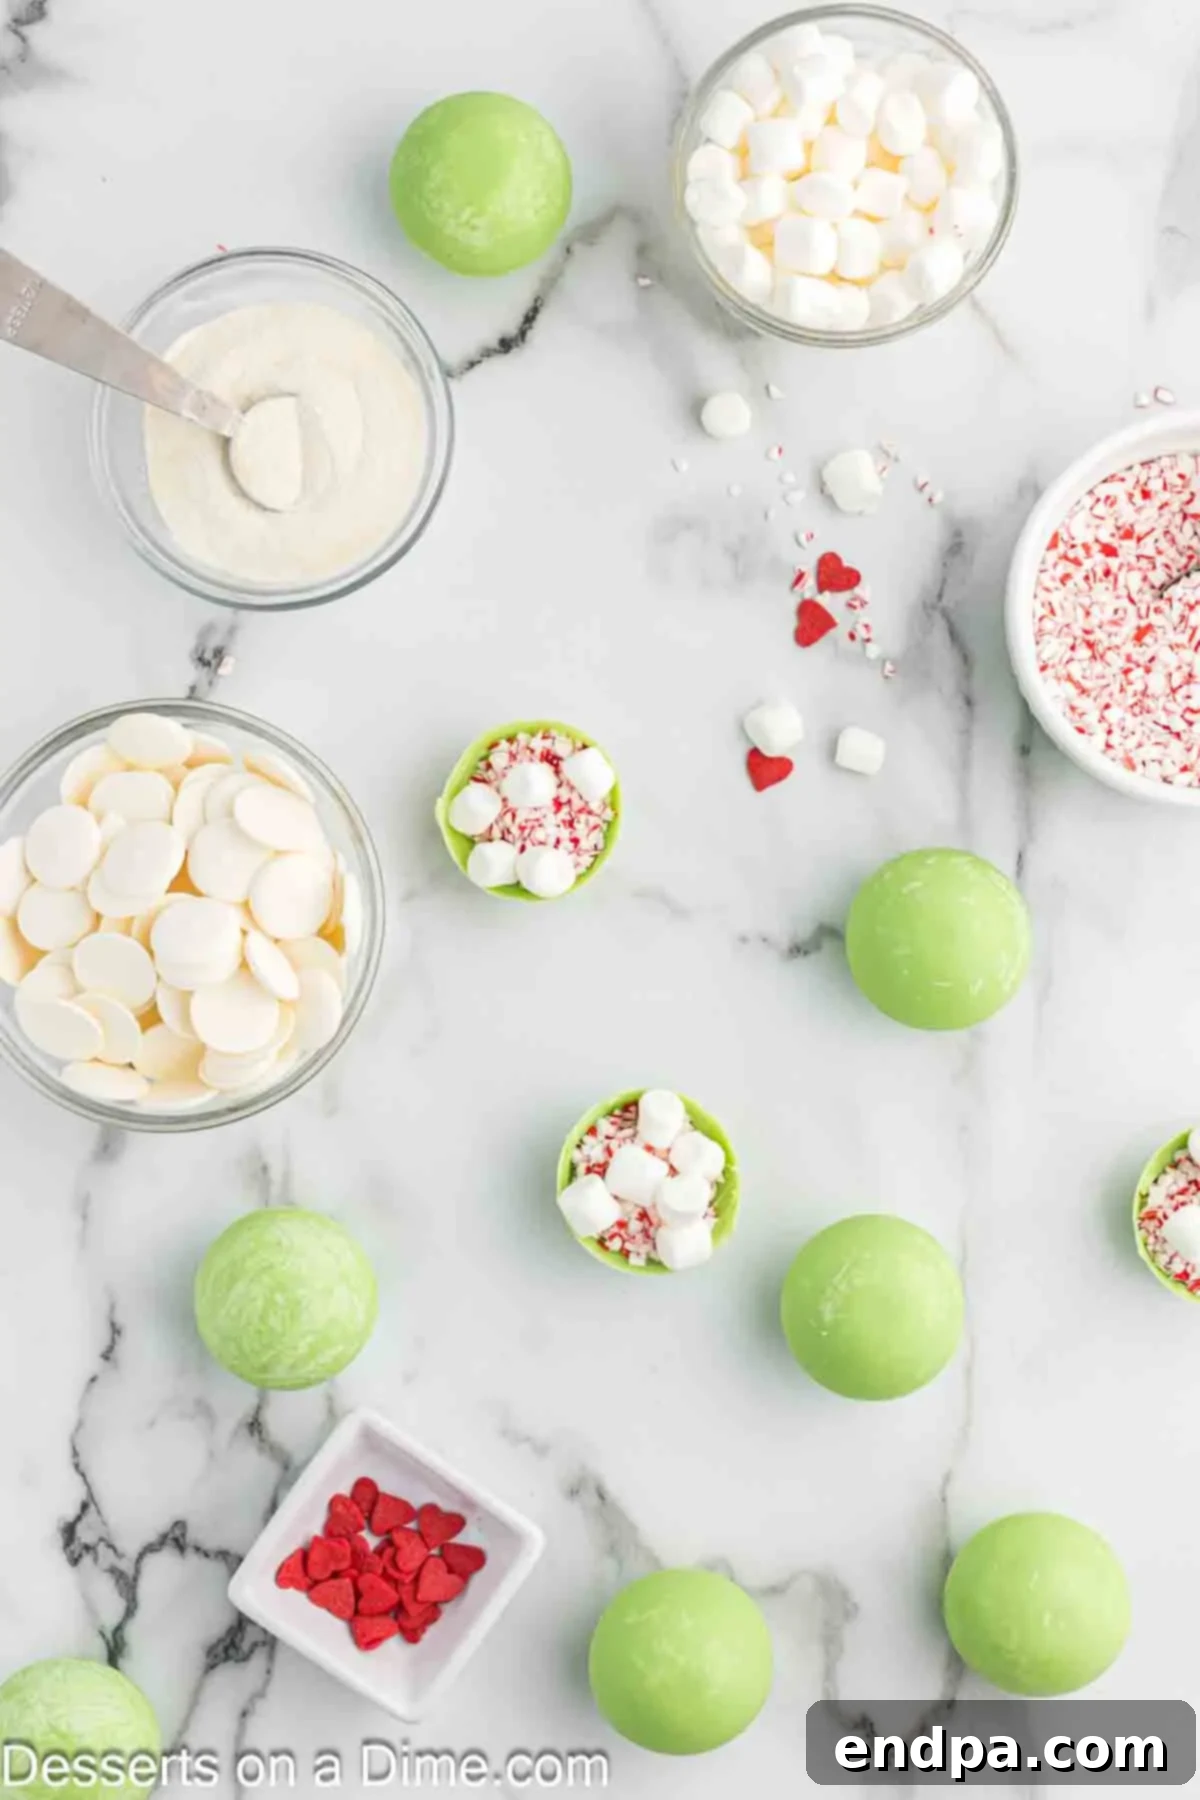
Take one of your melted-rim halves and fill it with 2 teaspoons of white hot chocolate mix, 1 tablespoon of mini marshmallows, and 1 tablespoon of crushed candy canes. Be generous with your fillings, but ensure there’s enough space to seal the bomb. Repeat the warming process (Step 3) with a second chocolate half, then quickly and carefully press the two halves together. The slightly melted edges will fuse, creating a sealed, full sphere. Gently smooth any excess chocolate around the seam with your finger or a small tool.
Step 5: Decorate with Signature Grinch Style
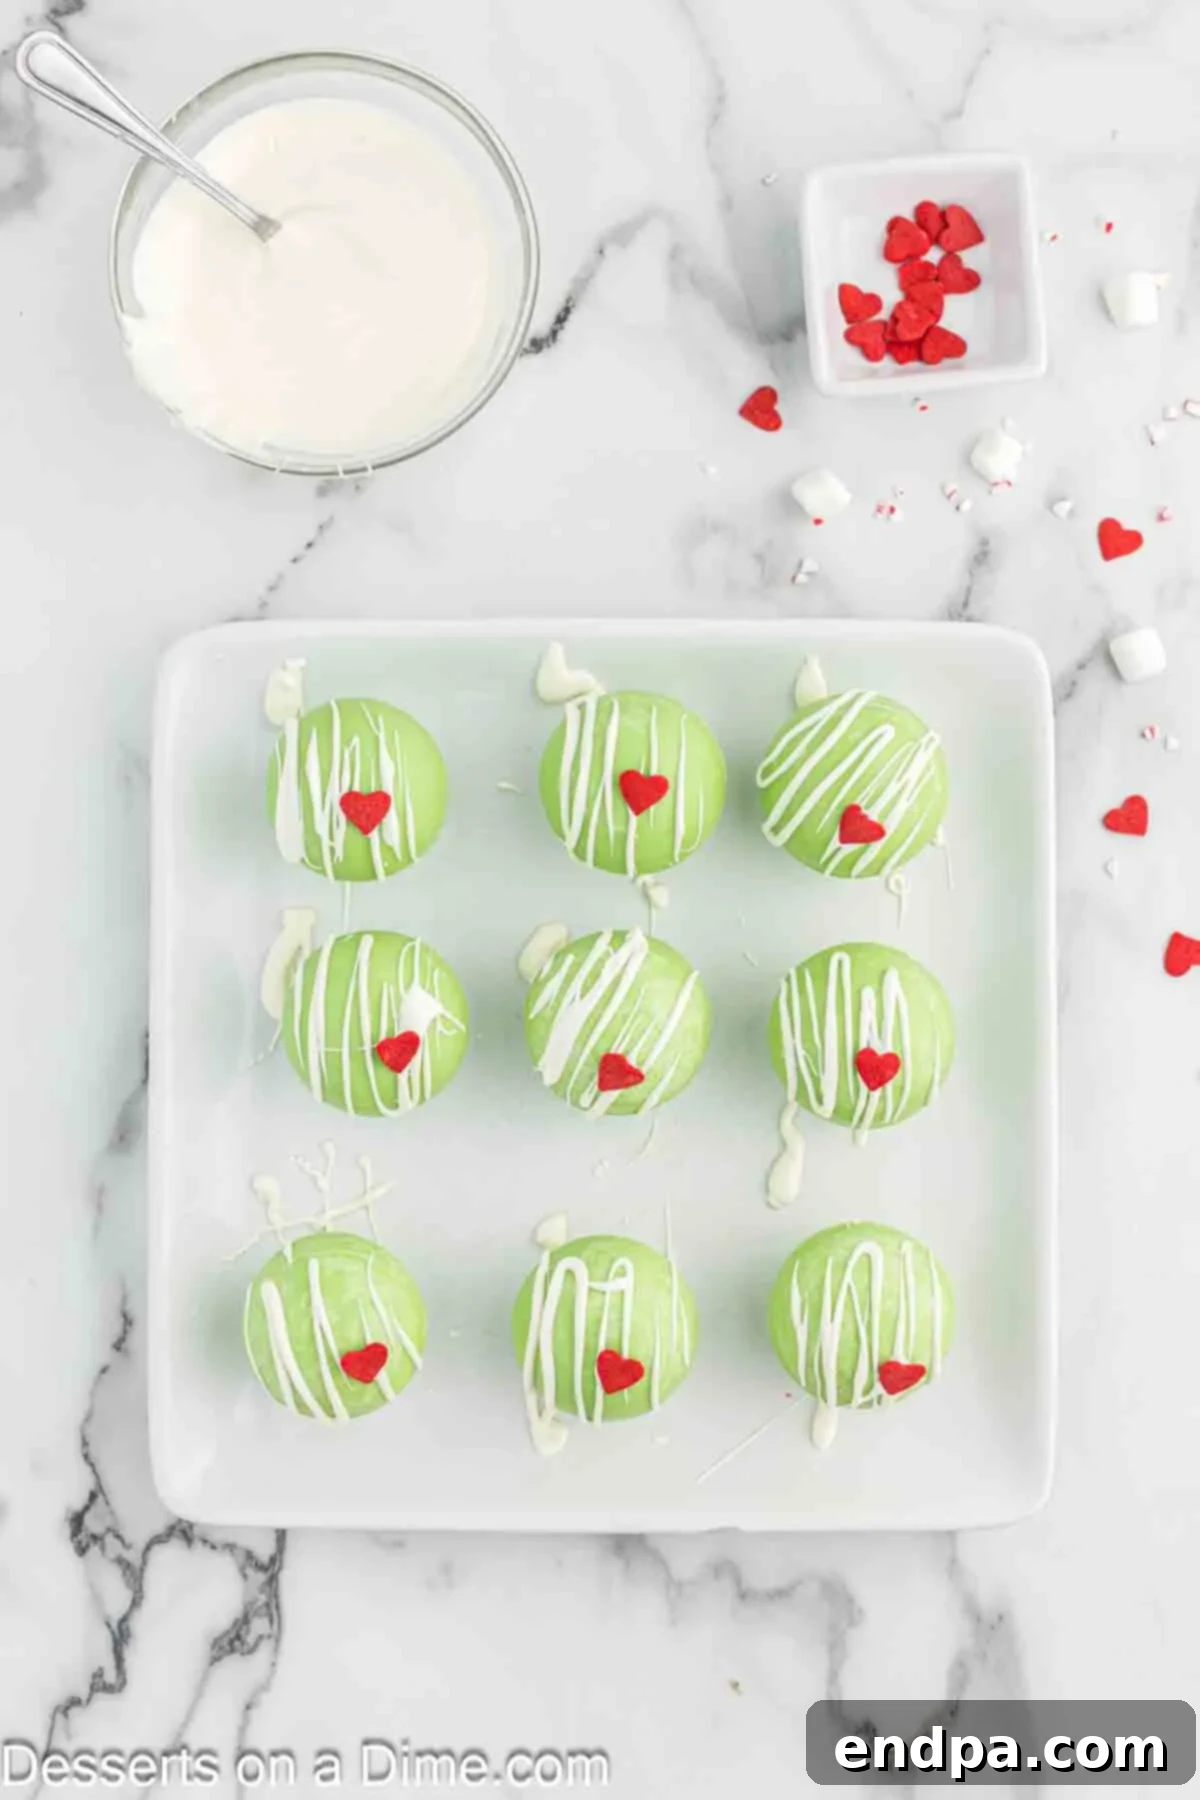
Melt the white candy melts in a separate microwave-safe bowl using 30-second intervals until smooth. Drizzle the melted white candy artistically over each assembled Grinch Hot Chocolate Bomb. While the white drizzle is still wet, carefully place one small red heart sprinkle on top of each bomb. This iconic touch perfectly captures the Grinch’s transformation! Allow the white candy melts to set completely, which can be hastened by placing them in the refrigerator for 5-10 minutes.
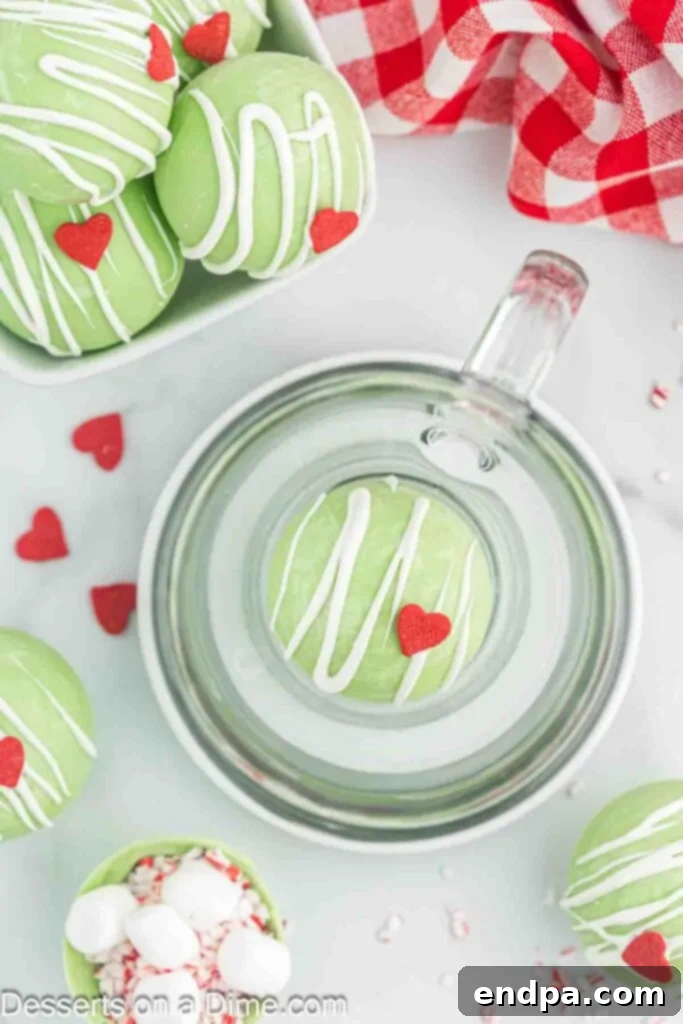
Step 6: Serve and Experience the Magic!
Your Grinch Hot Chocolate Bombs are now ready to bring joy! Place one bomb in your favorite mug, and pour a generous cup of steaming hot milk (about 8-10 ounces) over it. Watch as the green shell elegantly melts away, releasing the colorful marshmallows, hot chocolate mix, and candy canes. Stir gently with a spoon until all the ingredients are well combined and dissolved, creating a rich, creamy, and wonderfully festive Grinch-themed hot chocolate. Enjoy your delightful creation!
How to Enjoy Your Grinch Cocoa Bombs
The best part about hot chocolate bombs is the exciting reveal! Here’s how to get the most out of your Grinch-themed treats:
- Choose Your Mug: Select a generously sized mug to accommodate the bomb and hot milk.
- Place the Bomb: Gently place one Grinch Hot Chocolate Bomb into the bottom of the mug.
- Pour Hot Milk: Slowly pour about 8-10 ounces of steaming hot milk over the chocolate sphere. You can use any type of milk you prefer – dairy or non-dairy both work beautifully. The heat from the milk will cause the chocolate shell to melt.
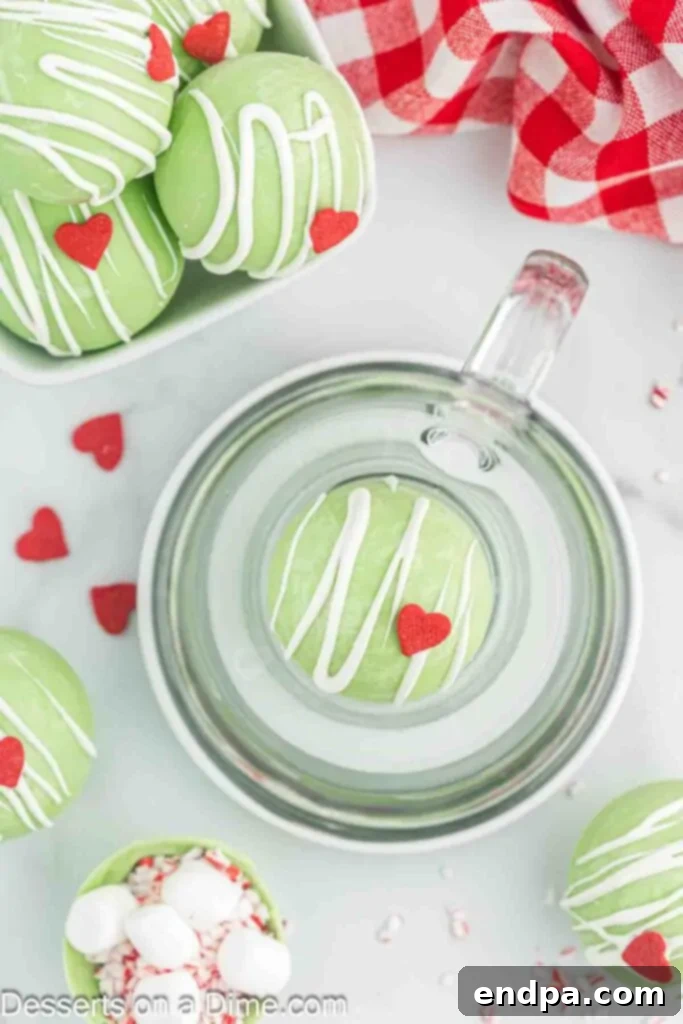
- Watch the Magic Unfold: This is where the fun happens! As the chocolate shell softens and breaks apart, the hidden treasures—mini marshmallows, crushed candy canes, and hot chocolate mix—will “pop” out and float to the surface. It’s a delightful spectacle, especially for kids!
- Stir and Savor: Once the bomb has fully melted and released its contents, stir well with a spoon to ensure all the hot chocolate mix is dissolved. You’ll be left with a rich, creamy, and wonderfully festive cup of Grinch hot chocolate. Adjust the amount of milk to your taste for desired richness.
- Optional Toppings: Enhance your drink with extra mini marshmallows, whipped cream, or a drizzle of green food coloring for an even more vibrant Grinch effect. Consider pairing it with Homemade Marshmallows for an extra special touch.
Storage and Gifting
Proper storage ensures your Grinch Hot Chocolate Bombs remain fresh and ready to delight, whether for personal enjoyment or as thoughtful gifts.
- Room Temperature Storage: Once assembled, these hot chocolate bombs do not require refrigeration. They are best stored at cool room temperature, away from direct sunlight or heat sources, which could cause the chocolate to melt or bloom.
- Shelf Life: Stored correctly, your hot chocolate bombs can last approximately 3 to 6 months. The exact shelf life largely depends on the expiration dates of the ingredients used, particularly the candy melts and hot chocolate mix. Always check these dates to ensure freshness.
- Airtight Containers: To maintain freshness and protect them from moisture or odors, place each cocoa bomb in a cupcake liner, then store them in an airtight container. This also helps prevent them from clumping together.
- Perfect for Gifting: Grinch Hot Chocolate Bombs make fantastic homemade gifts! For a beautiful presentation, wrap individual bombs in clear cellophane bags and tie them with a festive ribbon. You can add a small tag with instructions on how to use them. This makes them look absolutely adorable and ready for sharing holiday cheer.
Pro Tips for Perfect Hot Chocolate Bombs
Achieving flawless hot chocolate bombs is easier with a few insider tricks. Here are some pro tips to ensure your Grinch creations are a huge success:
- Handle with Care: Chocolate is sensitive to heat! The warmth from your hands can quickly soften and even melt the delicate chocolate shells. Handle your cocoa bombs as little as possible, and consider wearing food-safe gloves to minimize direct contact. If they start to soften, place them back in the refrigerator for a few minutes to firm up.
- Achieving the Right Chocolate Consistency: If your melted candy melts or chocolate seem too thick to spread smoothly in the molds, add a very small amount of coconut oil (start with ½ teaspoon per cup of chocolate) and stir until it reaches a pourable consistency. Be careful not to add too much, or the chocolate will become too runny and won’t set properly. Alternatively, a small amount of paramount crystals can achieve the same effect without altering flavor.
- Even Coating is Key: When coating your molds, aim for an even thickness across the entire sphere. Thinner spots are prone to cracking, while overly thick spots can make the bomb too heavy and slow to melt. Building up 3-4 thin layers is better than one thick one.
- Clean Mold Edges: After coating the molds and before the chocolate fully sets, you can gently scrape the top edge of the mold with a knife or spatula. This creates a cleaner, crisper rim on your chocolate halves, which makes sealing them together much easier and more professional-looking.
- Don’t Overfill: While it’s tempting to cram in as many marshmallows and candies as possible, overfilling can make it difficult to properly seal the two halves of the bomb. Leave a little room at the top to ensure a clean seal.
- Patience During Setting: Allow each layer of chocolate to set completely before adding the next, and ensure the finished bombs are fully hardened before handling or decorating. Rushing this step can lead to cracks or fingerprints.
- Warming Plate Technique: The warmed plate method for melting the rims is crucial for a smooth seal. Don’t let the plate get too hot, just warm enough to gently soften the chocolate.
More Grinch Holiday Recipes
If you’ve fallen in love with the Grinch theme, you’re in luck! There are plenty of other festive Grinch-inspired treats to brighten your holiday table. Consider pairing your hot chocolate bombs with some of these delightful recipes:
- Grinch Cake Pops: Cute, colorful, and perfectly portioned for parties.
- Grinch Dip Recipe: A vibrant green dessert dip that’s both easy to make and delicious.
- Grinch Cookie Bars: Simple, chewy, and loaded with Grinchy goodness.
- Grinch Bark: A quick and easy chocolate bark recipe with festive colors.
- Easy Grinch Fudge: Rich, creamy fudge that’s a breeze to whip up.
- No Bake Grinch Pie: A refreshing and simple dessert, perfect for busy holiday schedules.
- Grinch Pretzels: A sweet and salty snack that’s fun to make with kids.
- Easy Grinch Cookies Recipe: Soft, chewy cookies with that signature Grinch green.
These recipes are sure to make your holiday celebrations extra special and filled with Grinchy cheer!
Grinch Hot Chocolate Bombs Recipe Card
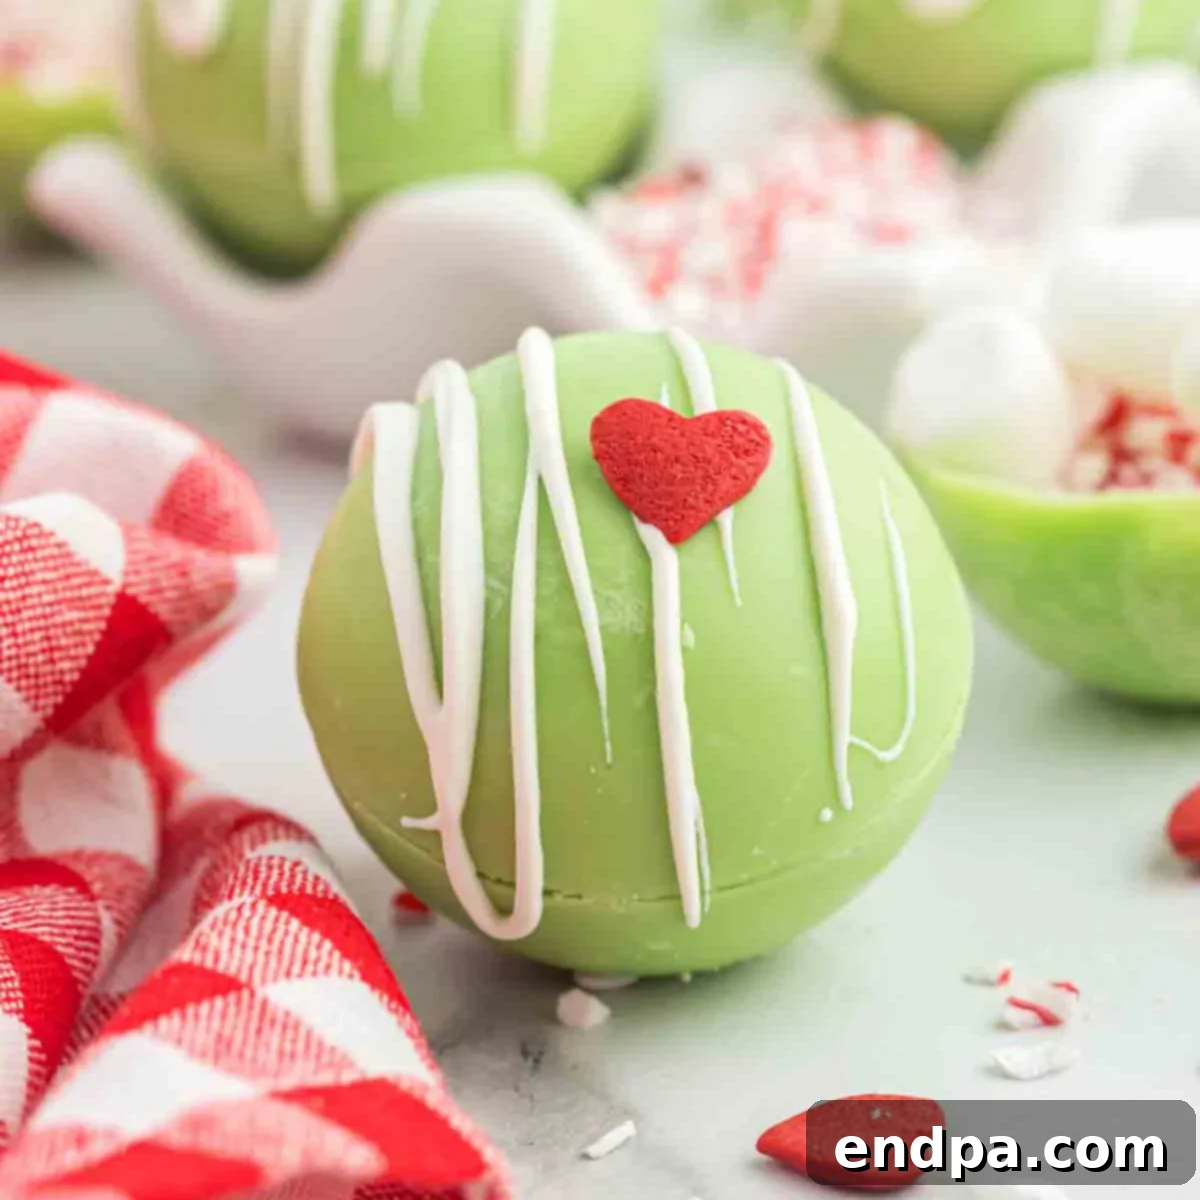
Grinch Hot Chocolate Bombs
4.82 from 11 votes
Grinch Hot Chocolate Bombs are so fun and festive. These hot cocoa bombs are perfect for movie night and make a great gift.
20 mins
20 mins
40 mins
6
American
Dessert
210 kcal
Carrie Barnard
Ingredients
- 12 ounces Green Candy Melts
- ½ cup Mini Marshmallows (divided)
- ¼ cup White Hot Chocolate Mix (divided)
- ½ cup Crushed Candy Canes (divided)
- ½ cup White Candy Melts
- Red Heart Sprinkles
- Hot Milk (for serving)
Instructions
- Melt the green candy melts in a microwave-safe bowl in 30-second intervals, stirring between each interval, until completely smooth.
- Pour a small amount of melted candy into each silicone mold cavity. Use a spoon or a small, clean pastry brush to spread the candy melts evenly up the sides of the mold, ensuring full coverage to the edges.
- Allow the first layer of candy melts to harden. Repeat the coating process 3-4 more times to build strong, even layers. Chill in the refrigerator for 2-3 minutes between layers if needed.
- Once the final layer is completely hardened (approximately 5 minutes), gently remove the chocolate shells from the molds.
- Heat a clean, flat, microwave-safe plate in the microwave for approximately 30 seconds until warm. Place half of the chocolate shells onto the warm plate for a few seconds to slightly melt and smooth their rims.
- Fill one half of a smoothed chocolate shell with 2 teaspoons of white hot cocoa mix, 1 tablespoon of mini marshmallows, and 1 tablespoon of crushed candy canes.
- Repeat the rim-melting process with a second chocolate shell. Quickly and carefully press the two halves together, sealing them into a complete sphere. Gently smooth any excess chocolate around the seam.
- Place the assembled bombs in the refrigerator for 15-20 minutes to fully set.
- While the bombs are chilling, melt the white candy melts in a separate microwave-safe bowl in 30-second intervals, stirring until smooth.
- Once the bombs are set, drizzle the melted white candy over each one. Immediately place one red heart sprinkle on top of each bomb while the white chocolate is still wet. Allow to set until hardened.
- When serving, place a Grinch Hot Chocolate Bomb in a mug and pour 8-10 ounces of steaming hot milk over the top to melt the chocolate and reveal the delicious contents within. Stir well and enjoy!
Recipe Notes
These hot chocolate bombs do not need to be refrigerated and will last approximately 3-6 months when stored at cool room temperature in an airtight container. The shelf life depends on the expiration dates of the ingredients used.
Nutrition Facts
Per serving:
- Calories: 210 kcal
- Carbohydrates: 28g
- Protein: 1g
- Fat: 11g
- Saturated Fat: 9g
- Polyunsaturated Fat: 0.1g
- Monounsaturated Fat: 0.3g
- Trans Fat: 0.02g
- Cholesterol: 27mg
- Sodium: 90mg
- Potassium: 10mg
- Fiber: 0.2g
- Sugar: 26g
- Vitamin A: 40 IU
- Calcium: 9mg
- Iron: 0.2mg
We hope you love making and enjoying these Grinch Hot Chocolate Bombs as much as we do! Please share your thoughts and leave a star rating and a comment below once you try this festive recipe. Your feedback helps us share more delicious ideas!
