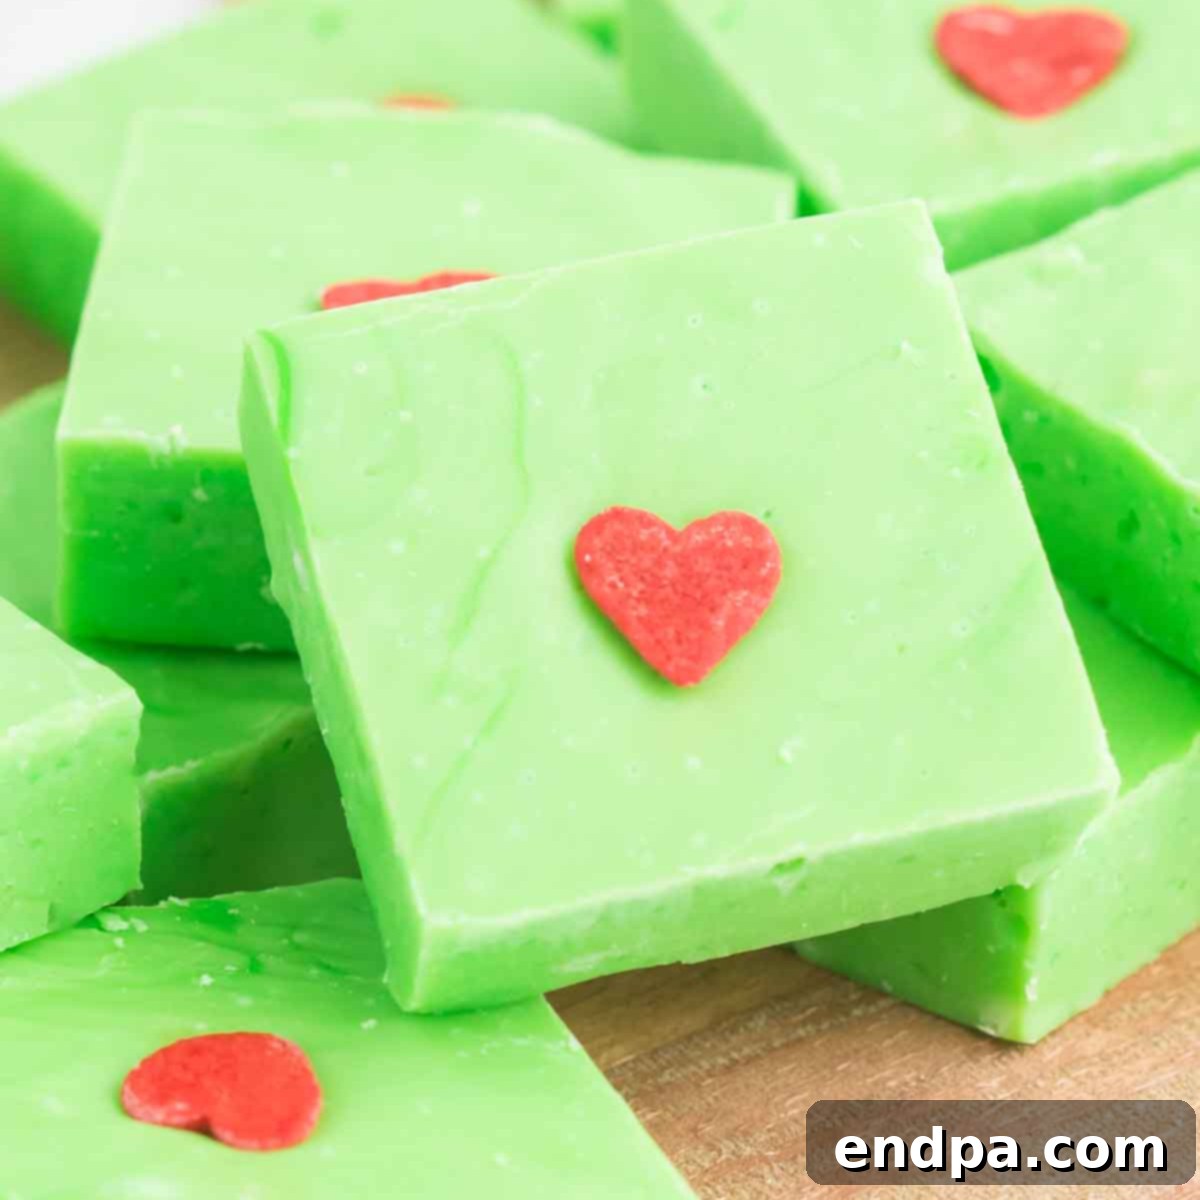
Welcome to the enchanting world of holiday baking, where festive flavors meet joyful celebrations! Among the myriad of Christmas fudge recipes, Grinch Fudge stands out as a truly magical sweet treat, captivating hearts with its vibrant green hue and signature red heart sprinkle. This delightful confection, requiring only 6 simple ingredients, is more than just a dessert; it’s an invitation to create cherished memories. Imagine cozying up with your loved ones for a Grinch movie night, a plate of this irresistible fudge in hand, bringing a touch of Whoville whimsy to your home. It’s a wonderfully festive fudge mixture that promises to be a hit with everyone, transforming ordinary moments into extraordinary holiday joy.
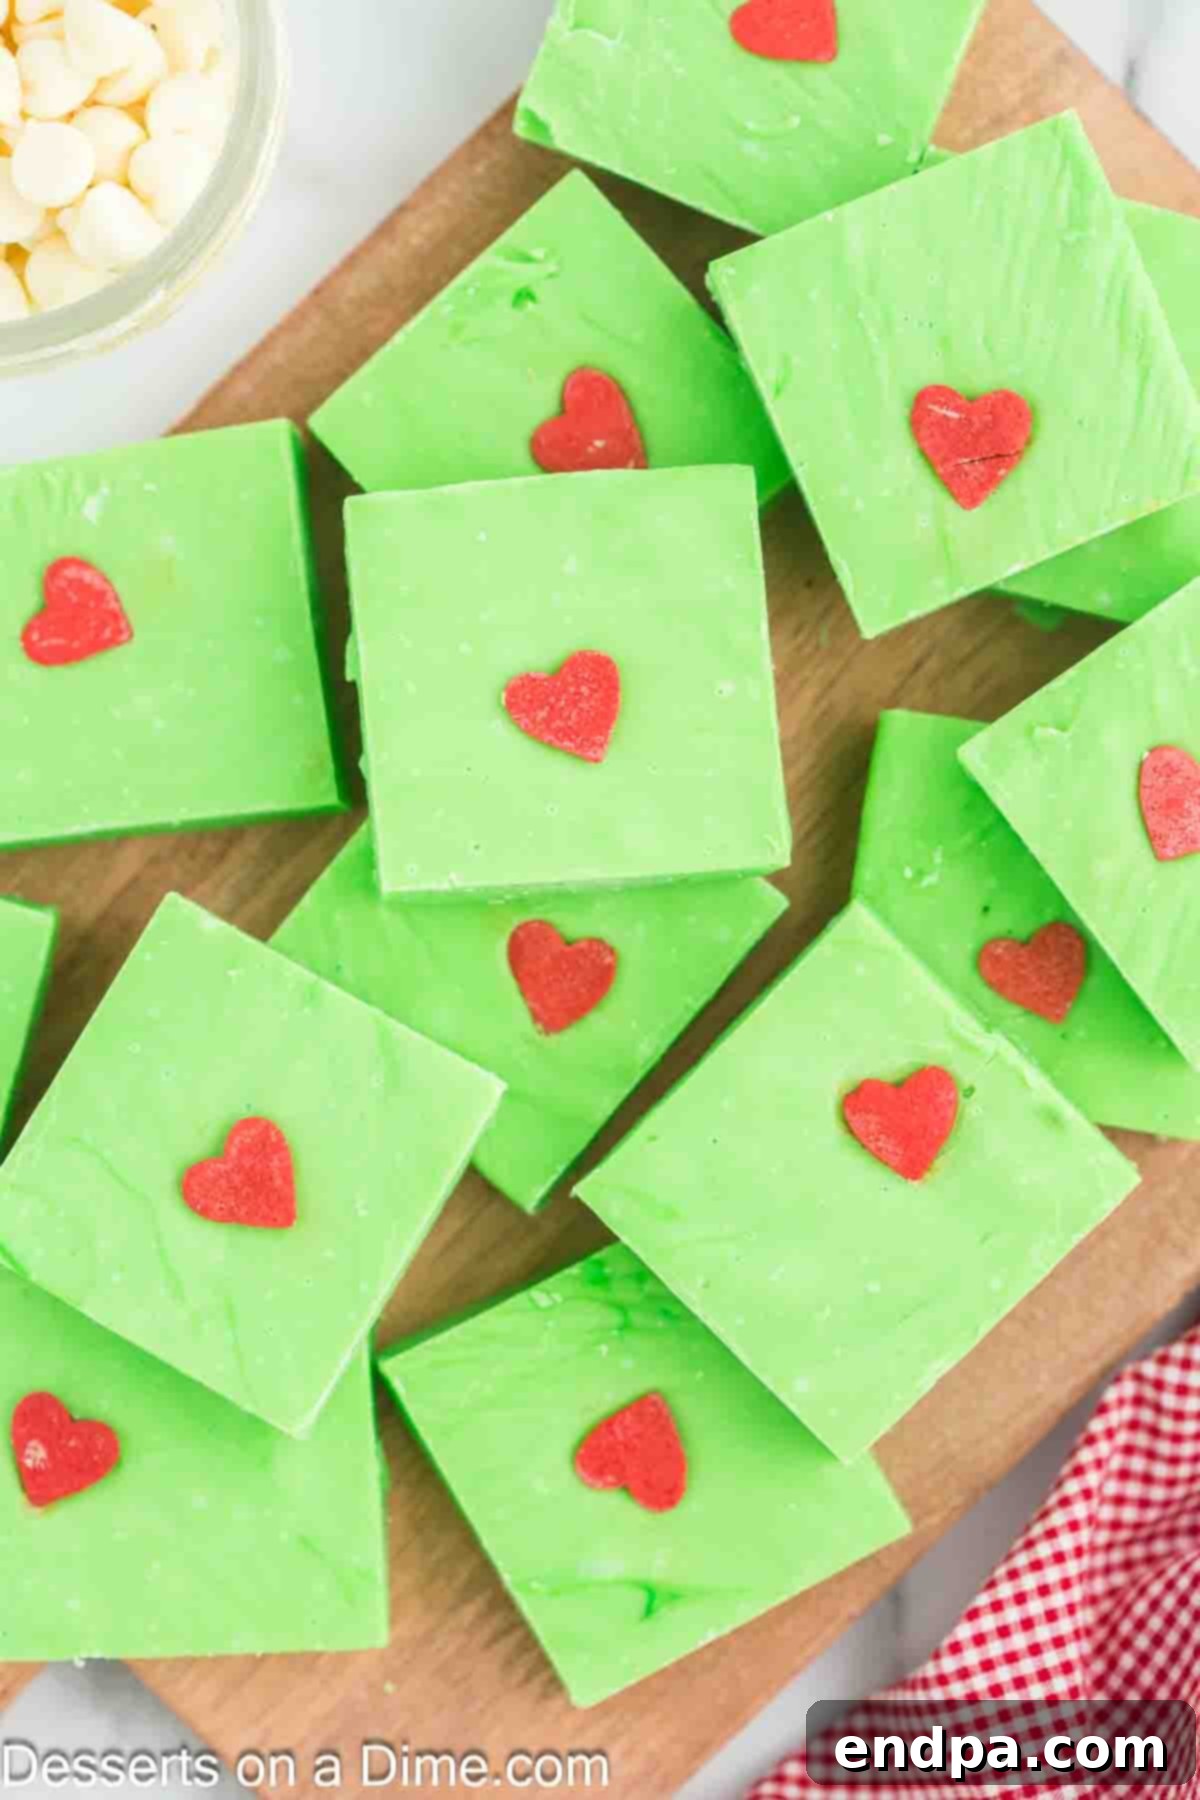
Year after year, this Grinch Fudge recipe holds a special place in our holiday traditions. It’s not just delicious; it’s an experience, a symbol of the Christmas season’s fun and indulgence. Kids especially adore the playful Grinch theme, and its cheerful appearance instantly brightens any festive gathering. This easy Christmas fudge recipe is a testament to how simple ingredients can yield truly spectacular results. The smooth, creamy texture and rich white chocolate flavor make every bite a delight. What makes it even more appealing is its straightforward preparation, requiring minimal effort and no specialized equipment like a candy thermometer, making it accessible for even novice bakers.
This exceptional Christmas recipe is so incredibly easy to whip up that you’ll have ample time to create an entire Grinch-themed spread for your holiday festivities. Beyond this delectable fudge, consider adding Grinch Chocolate Covered Oreos or festive Grinch Hot Chocolate Bombs to your menu. For those seeking a lighter, yet equally themed option, our refreshing Grinch Fruit Kabobs offer a perfect balance. And when the holiday season passes, don’t pack away your fudge-making skills! You can continue the fun year-round with other creative ideas, such as our whimsical Unicorn Fudge.
What’s in this post: Grinch Fudge
- Why You Will Love This Easy Grinch Fudge Recipe
- Essential Ingredients for Grinch Fudge
- Exciting Variations to Customize Your Grinch Fudge
- Step-by-Step Guide to Making Grinch Fudge
- Pro Tips for Flawless Grinch Fudge
- Mastering the Art of Cutting Fudge
- Storage Solutions for Your Grinch Fudge
- Can You Freeze Grinch Fudge?
- Stove-Top Melting Method for Fudge
- More Magical Grinch-Themed Recipes
- Explore More Christmas Fudge Recipes
- Grinch Fudge Recipe Card
Why You Will Love This Easy Grinch Fudge Recipe
Our Grinch Fudge recipe is more than just a holiday dessert; it’s a delightful experience that brings cheer and simplicity to your festive season. Here are just a few reasons why this recipe is sure to become a beloved staple in your Christmas traditions:
A Festive Family Tradition
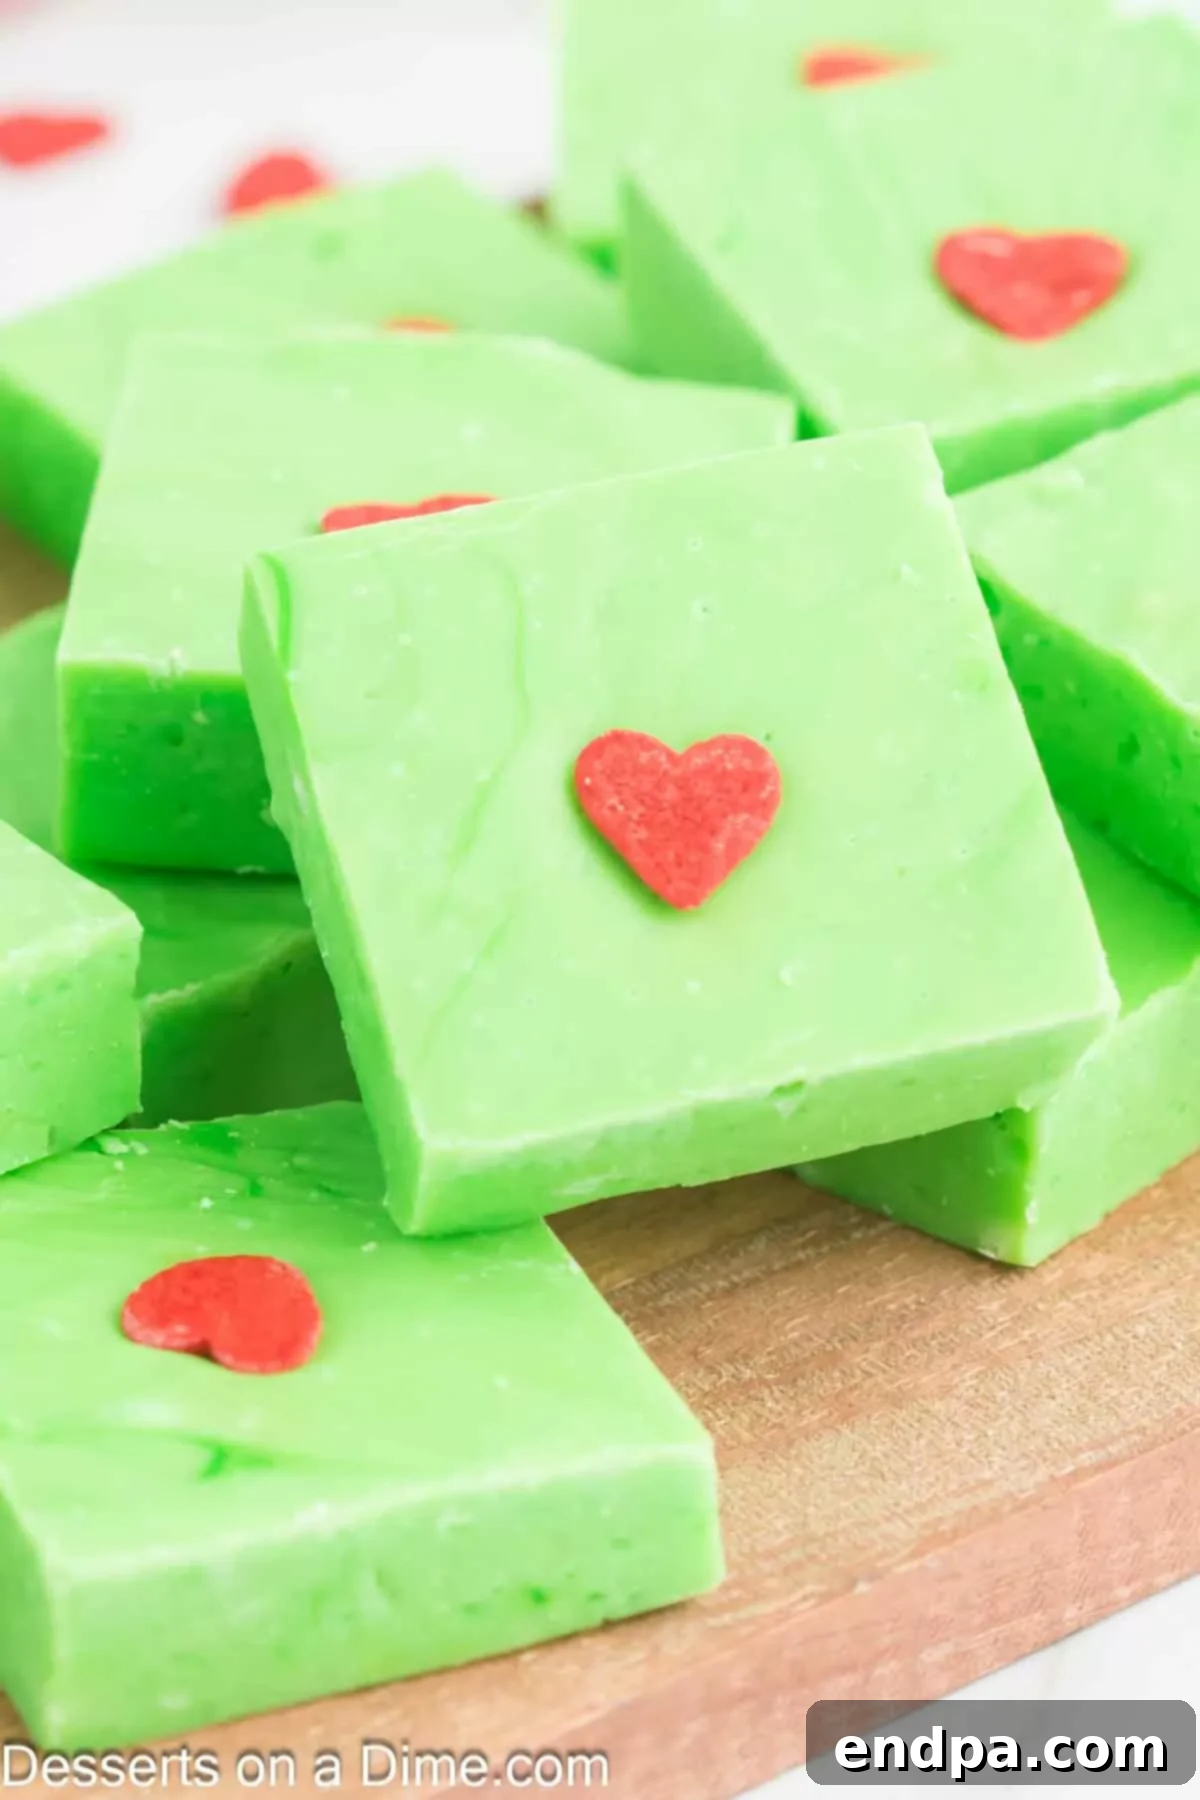
This fudge is incredibly festive, with its eye-catching neon green color and adorable red heart sprinkles perfectly capturing the spirit of the Grinch. It’s the ideal treat for family movie nights, holiday parties, or simply enjoying a cozy evening. Its playful theme appeals to all ages, making it a wonderful way to celebrate the holiday season and create lasting memories with loved ones.
Effortless to Make
You’ll be amazed at how quickly and easily this fudge comes together. Designed for convenience, this recipe bypasses the need for a specialized candy thermometer, simplifying the process significantly. It’s a fantastic option for busy holiday schedules when you want to impress without spending hours in the kitchen.
Simple, Wholesome Ingredients
Forget complicated shopping lists! This recipe calls for just 6 everyday ingredients, readily available at most grocery stores. The minimal ingredient list not only makes preparation easier but also ensures a pure, delicious flavor profile that everyone will appreciate.
Perfect for Gifting
Homemade treats always make the best gifts, and this Grinch Fudge is no exception. Its beautiful presentation and irresistible taste make it an ideal present for friends, family, teachers, or neighbors. Package it in a decorative box or festive cellophane bag, and you’ve got a thoughtful, delicious gift that spreads holiday cheer.
Make this Grinch Fudge a yearly tradition and prepare for an abundance of smiles and compliments. Its rich flavor and stunning appearance, with that iconic green and the charming red heart, perfectly embody the joy and magic of the holiday season.
Essential Ingredients for Grinch Fudge
Crafting this delightful Grinch Fudge requires just a handful of simple, high-quality ingredients. Each component plays a crucial role in achieving that perfect creamy texture, sweet flavor, and iconic festive look. Here’s a closer look at what you’ll need:
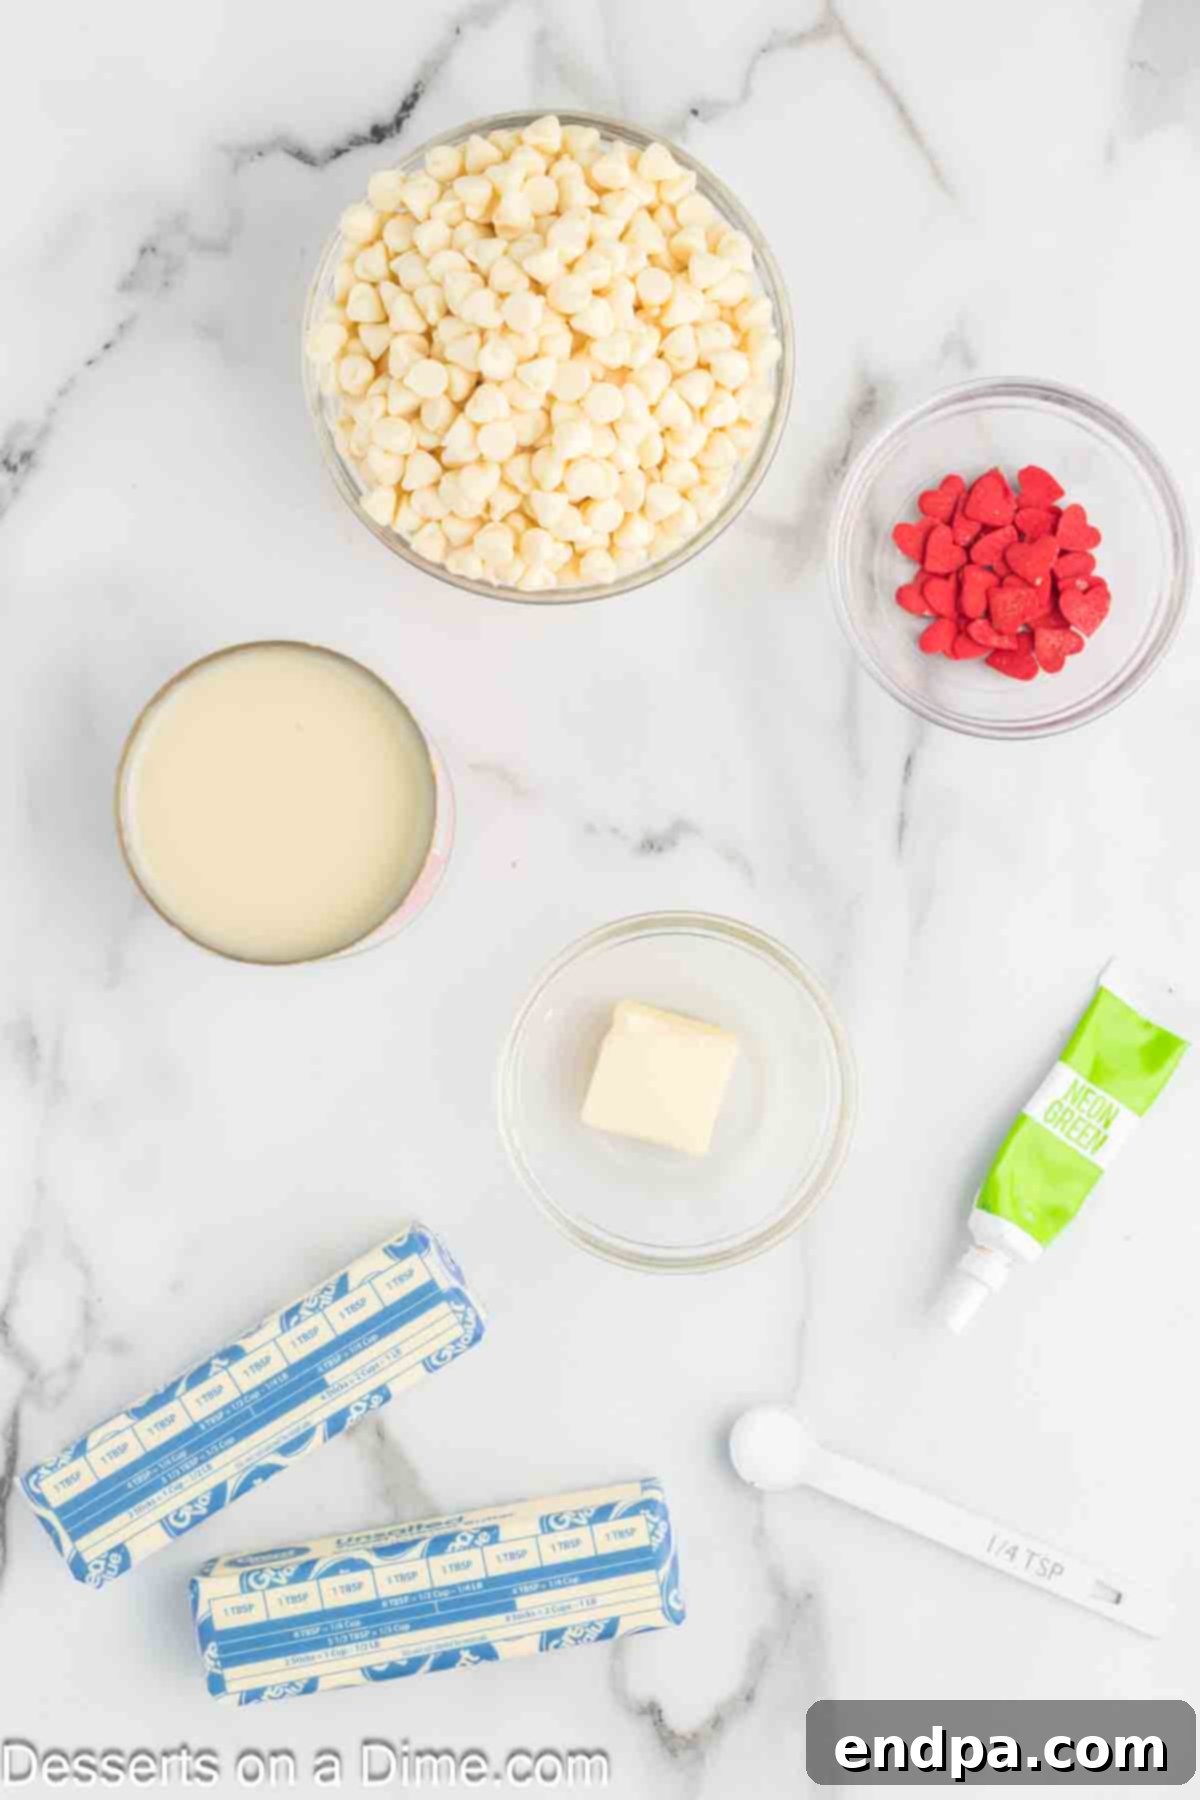
White Chocolate Chips: The Creamy Base
The foundation of our Grinch Fudge is good quality white chocolate chips. Using a premium brand like Ghirardelli or Guittard can make a noticeable difference in the final taste and texture, ensuring a smoother, richer, and more luxurious fudge. White chocolate provides the perfect canvas for the vibrant green food coloring, allowing the Grinch’s signature hue to truly pop.
Sweetened Condensed Milk: Key to Fudge Perfection
Sweetened condensed milk is the secret ingredient for foolproof fudge. It provides both sweetness and the necessary thick, creamy consistency without the need for a candy thermometer. Ensure you use *sweetened* condensed milk, not evaporated milk, as they are not interchangeable in this recipe.
Unsalted Butter: For Richness and Texture
A touch of unsalted butter adds richness and a desirable smoothness to the fudge. Using unsalted butter allows you to control the overall saltiness of the recipe, ensuring a perfectly balanced flavor. Make sure your butter is softened to room temperature for easier incorporation into the melted chocolate mixture.
Salt: A Flavor Enhancer
Just a pinch of salt is crucial to balance the sweetness of the fudge and enhance all the other flavors. It prevents the fudge from tasting overly sugary and adds depth to the overall profile.
Neon Green Food Coloring: Achieving the Iconic Grinch Shade
To achieve that unmistakable Grinch green, neon green food coloring is a must. Gel food coloring typically provides a more concentrated and vibrant color than liquid varieties, meaning you’ll need less to get the desired intense shade. Start with a small amount and gradually add more until you reach your perfect Grinch hue.
Red Heart Sprinkles: The Grinch’s Signature Touch
No Grinch Fudge would be complete without the iconic red heart sprinkles, representing the Grinch’s “two sizes too small” heart. These charming sprinkles can often be found in the baking or craft sections of your local grocery or specialty store, especially during the holiday season. They add a whimsical and authentic touch to each piece of fudge.
For the precise measurements and detailed instructions, remember to scroll down to the comprehensive recipe card at the bottom of this post.
Exciting Variations to Customize Your Grinch Fudge
While the classic Grinch Fudge is undeniably delicious, there’s plenty of room for creativity and customization. Whether you want to alter the flavor, add a delightful crunch, or simply enhance its visual appeal, these variations offer fantastic ways to make the recipe your own.
Chocolate Choices
While white chocolate is essential for the iconic green color, you can certainly experiment with other types of chocolate if you’re not fixated on the vibrant green. Substitute white chocolate chips with milk chocolate chips, semi-sweet chocolate chips, or even dark chocolate for a richer flavor profile. Keep in mind that using darker chocolates will prevent you from achieving the green color, but you can still adorn the fudge with festive red and green sprinkles for a holiday touch.
Crunchy Add-Ins
For those who love a bit of texture in their fudge, adding nuts is a fantastic option. Finely chopped pecans or walnuts make wonderful additions, providing a pleasant crunch that complements the creamy fudge beautifully. You can also try chopped pretzels for a salty-sweet contrast, or crushed peppermints for a seasonal zing.
Flavor Enhancers
Infuse your fudge with additional flavors to create a unique twist. A popular holiday choice is peppermint extract; add 1 to 2 teaspoons to the melted chocolate mixture for a refreshing minty kick. Vanilla extract, almond extract, or even a touch of orange zest could also elevate the flavor profile, depending on your preferences.
Creative Toppings
The red heart sprinkle is absolutely perfect for completing the classic Grinch look, but don’t limit yourself! Feel free to add other festive sprinkles, edible glitter, or even a drizzle of contrasting colored chocolate (like red or white chocolate) once the green fudge has set slightly. Mini marshmallows, M&Ms, or crushed candy canes can also be pressed into the top for extra festive flair.
Marshmallow Swirl
For an extra soft and chewy texture, gently fold in a cup of mini marshmallows into the fudge mixture just before pouring it into the pan. You can even swirl in a separate mixture of melted red candy melts for a vibrant red and green marble effect.
These variations allow you to tailor the Grinch Fudge to your exact taste and occasion, ensuring that every batch is a unique and delicious creation.
Step-by-Step Guide to Making Grinch Fudge
Making this Grinch Fudge is a breeze, especially when you follow these clear, step-by-step instructions. Get ready to create a festive masterpiece with minimal effort!
Step 1: Preparing Your Baking Dish
Begin by preparing an 8×8 inch baking dish. Line it completely with aluminum foil or parchment paper, ensuring that the lining extends up and over the sides of the pan. This creates “handles” that will make lifting the set fudge out of the pan incredibly easy, preventing sticking and ensuring clean removal. For extra assurance, you can lightly spray the foil or parchment with cooking spray.
Step 2: Melting the White Chocolate: Microwave Method
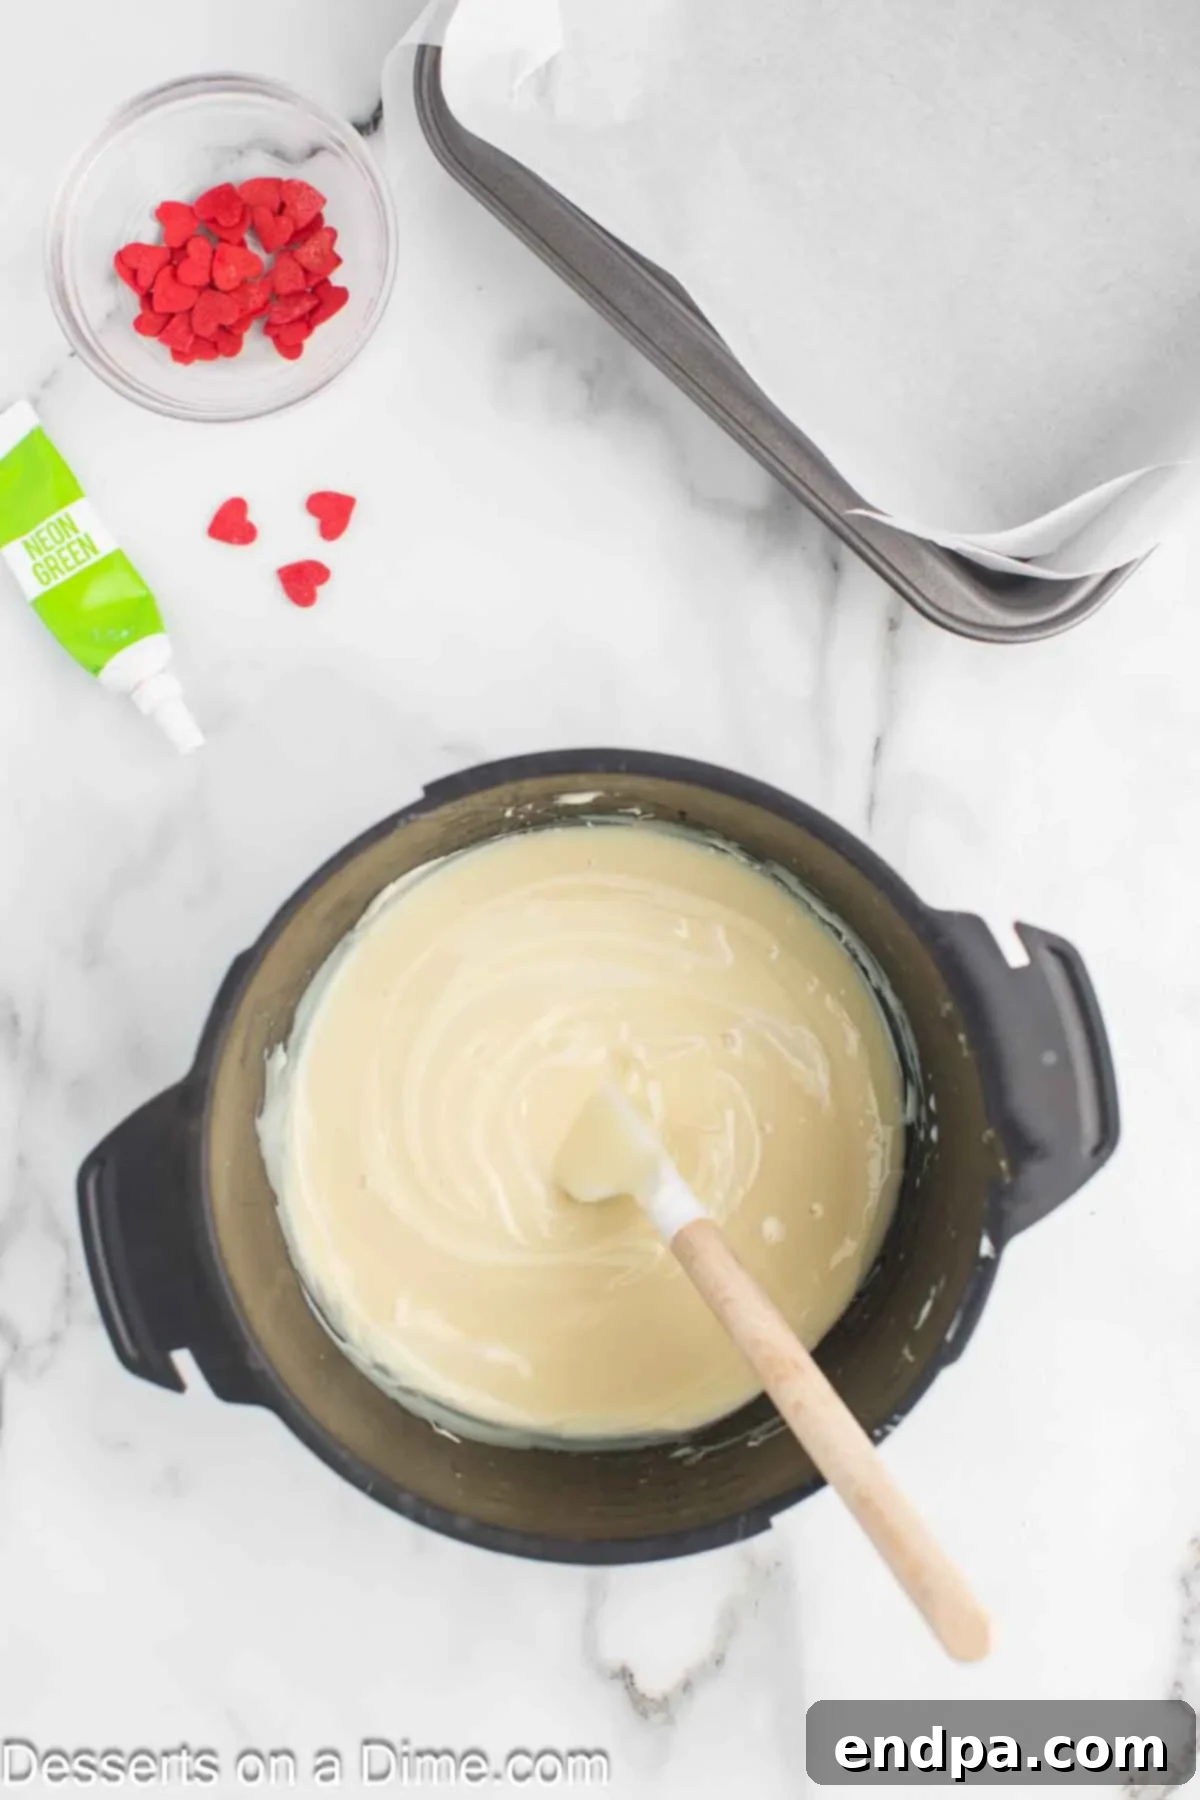
Place your high-quality white chocolate chips into a microwave-safe bowl. It’s crucial to melt chocolate slowly and carefully to prevent scorching. Microwave the chips in 30-second intervals. After each interval, remove the bowl and stir the chips thoroughly with a spatula, even if they don’t appear fully melted. The residual heat will continue to melt them. Repeat this process until the white chocolate is completely smooth and creamy with no lumps remaining.

Stirring white chocolate chips as they melt to achieve a smooth consistency. Step 3: Combining the Fudge Base
Once your white chocolate is perfectly melted and smooth, it’s time to incorporate the other key ingredients. Add the sweetened condensed milk, softened unsalted butter, and the pinch of salt to the bowl with the melted chocolate. Stir vigorously until all ingredients are thoroughly combined and the mixture is homogenous and glossy. This forms the rich, creamy base of your fudge.
Step 4: Achieving the Perfect Grinch Green
Now for the fun part – coloring your fudge! Add the neon green food coloring to the mixture. Start with a few drops or a small amount of gel color and mix it in completely. Continue adding more food coloring, a little at a time, until you achieve your desired vibrant, Grinch-like shade of green. Remember, gel food coloring is highly concentrated, so a little goes a long way!
Step 5: Setting the Fudge
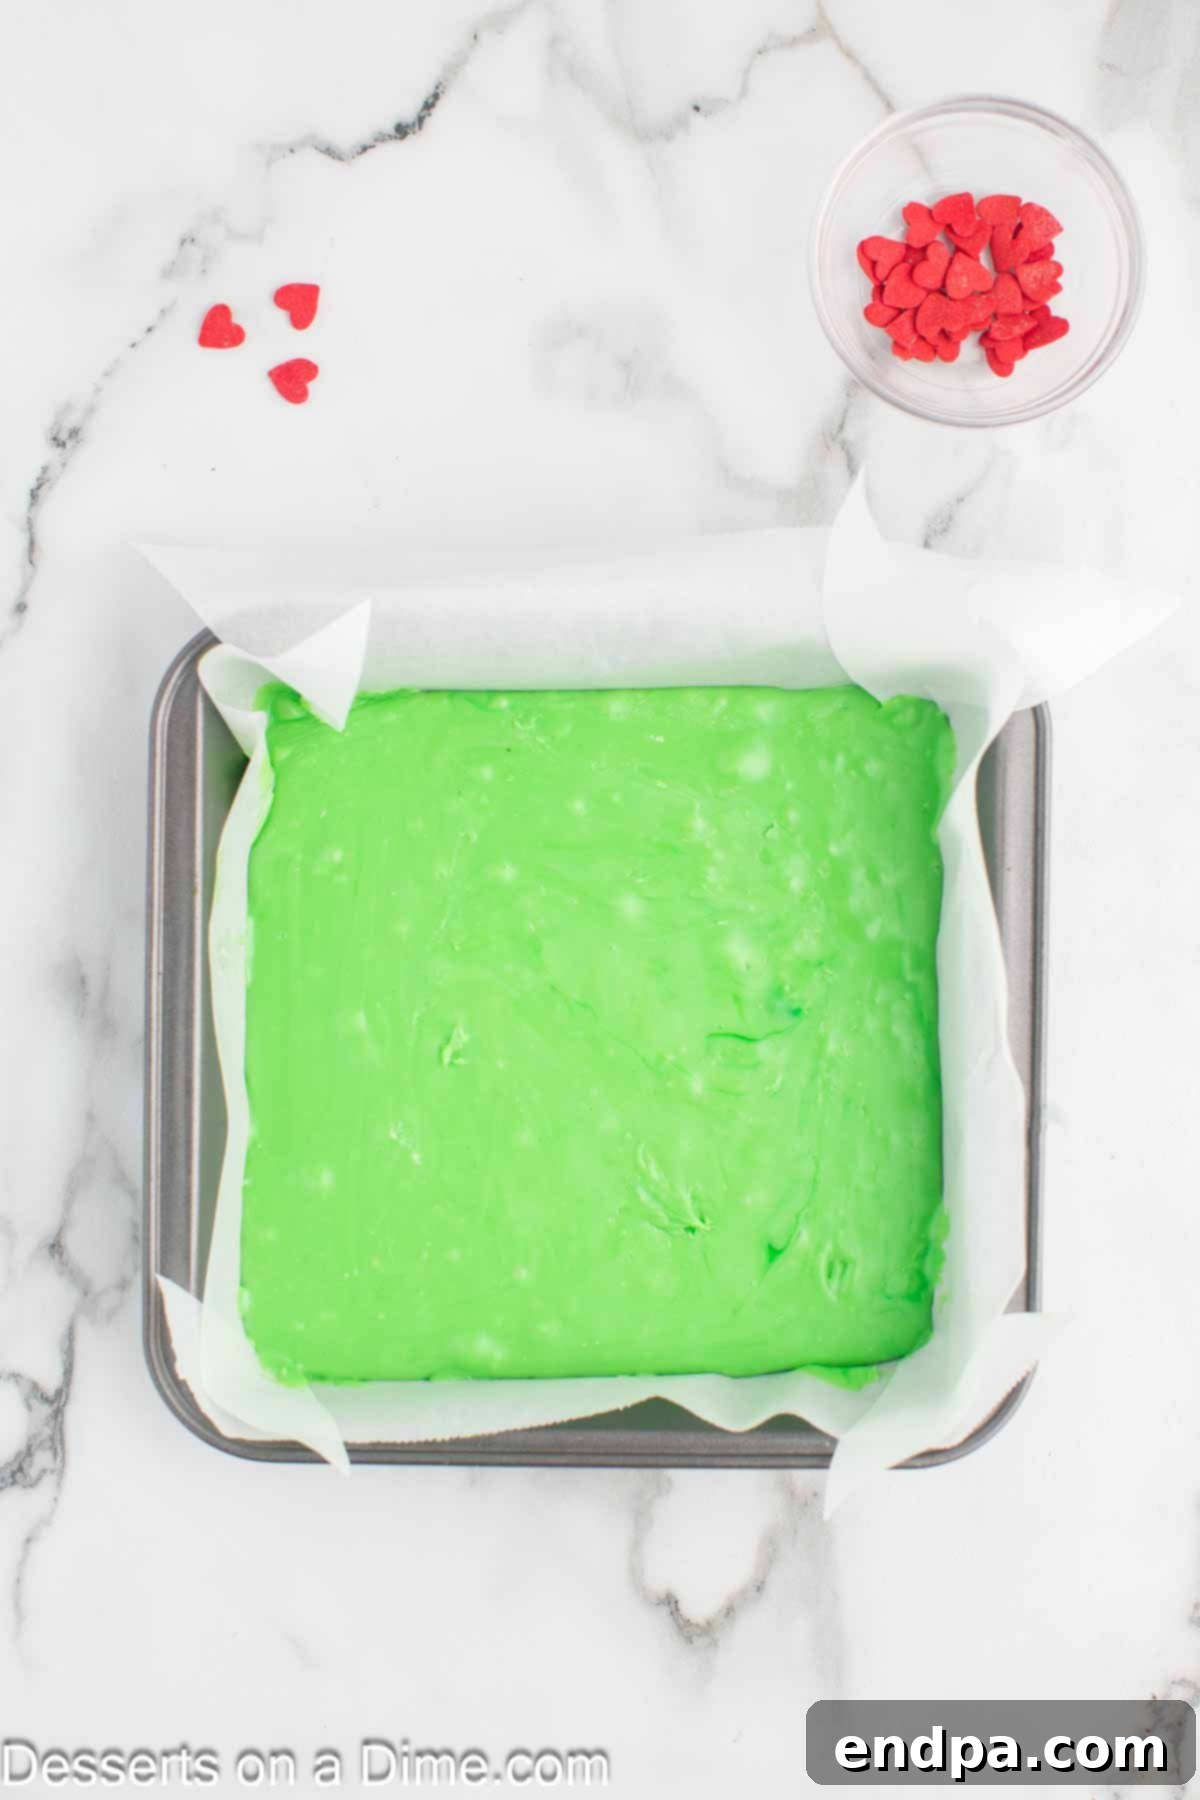
Carefully pour the vibrant green fudge mixture into your prepared 8×8 inch baking dish. Use a spatula to spread it evenly into the pan, ensuring a consistent thickness. To create a smooth, level top layer, gently bang the pan a few times on your countertop. This helps to release any trapped air bubbles and settles the fudge uniformly.

The green fudge mixture being poured into the prepared pan, ready for setting. Step 6: The Final Grinchy Touch
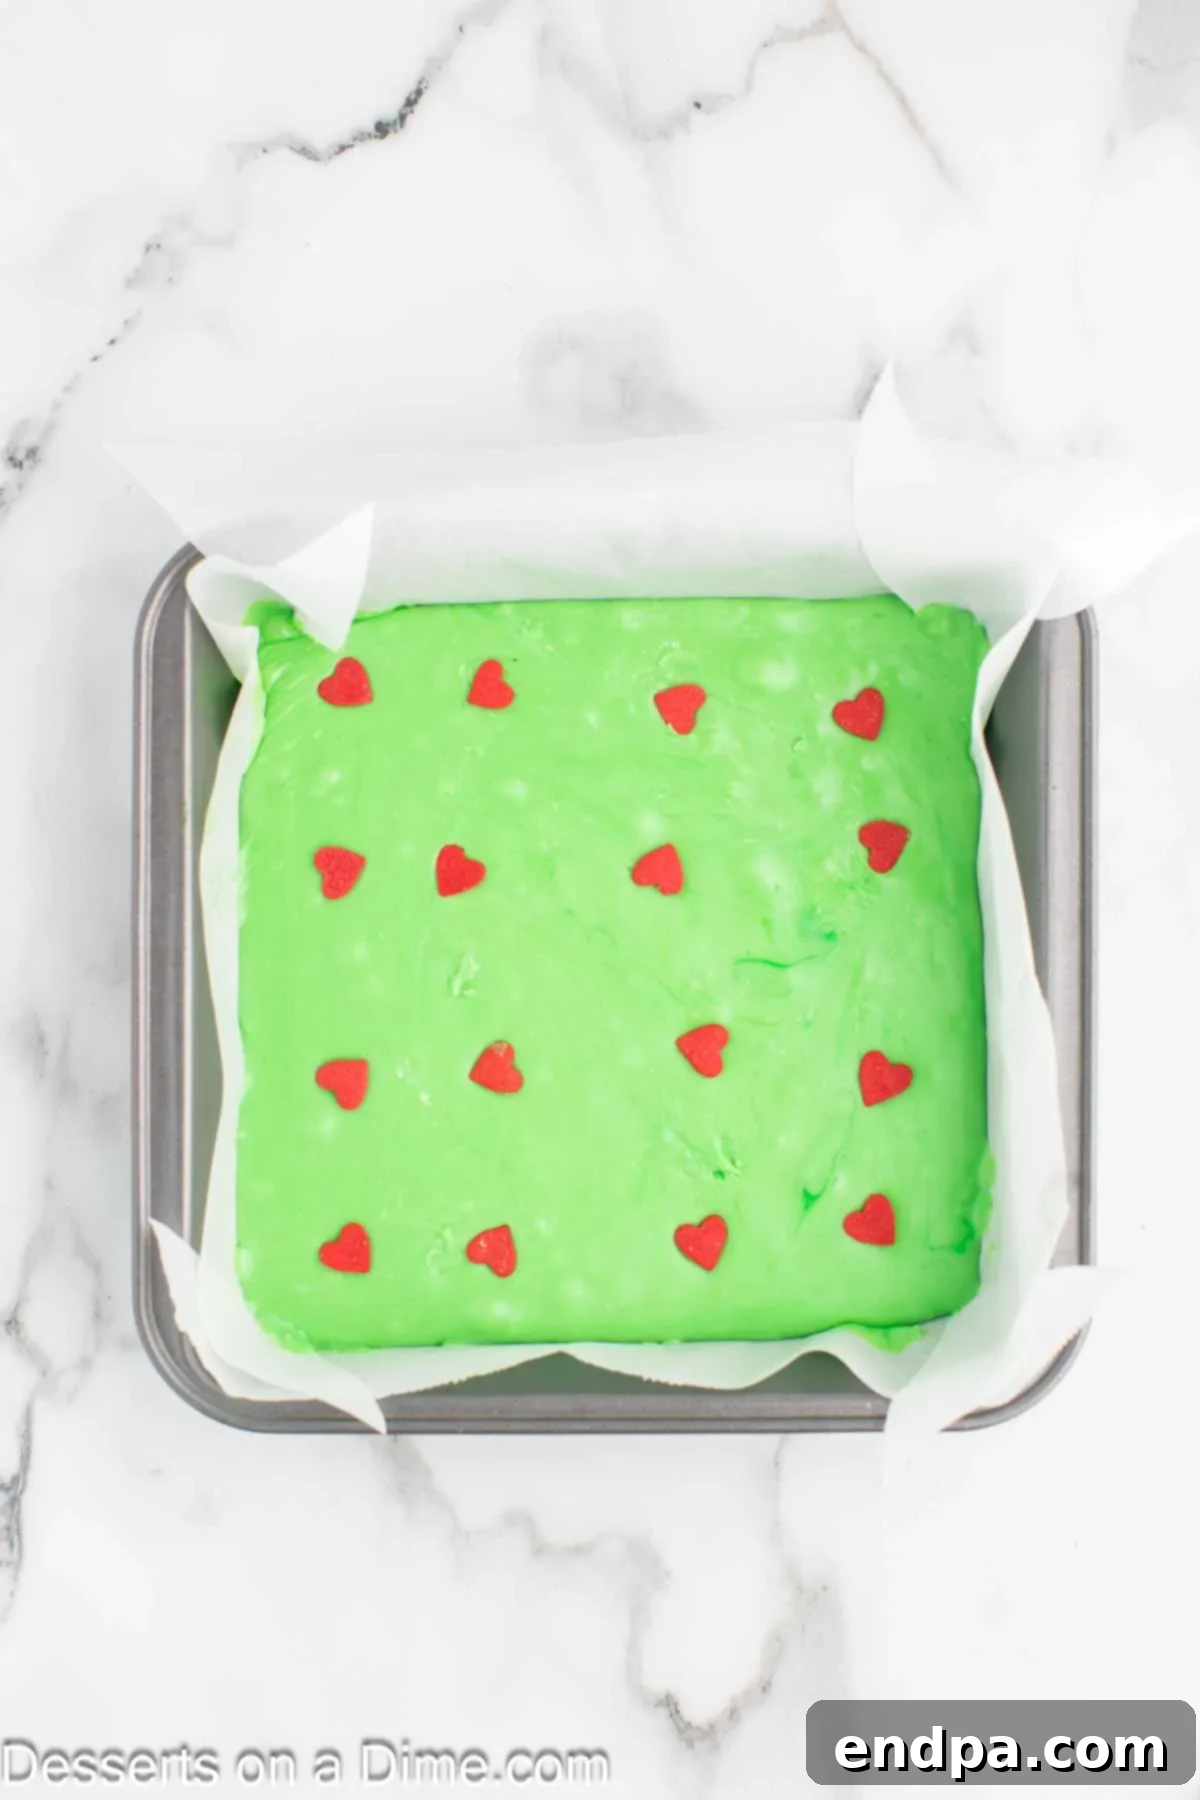
Immediately after pouring the fudge, sprinkle the red heart sprinkles generously and evenly over the top. To ensure each piece of fudge has its own iconic Grinch heart, try to strategically place them. For a typical 4×4 grid of fudge pieces (16 squares), you’ll want to place 16 hearts, aiming for one heart per intended square. This thoughtful placement makes serving even more delightful.

Adding the signature red heart sprinkles to the top of the green fudge. Step 7: Chilling and Setting
Allow the fudge to cool down slightly at room temperature for about 15-30 minutes, then transfer the pan to the refrigerator to set completely. This chilling process will take approximately 1-2 hours, or until the fudge is firm to the touch. Do not rush this step, as proper setting ensures easy cutting and a perfect texture.
Step 8: Cut and Serve
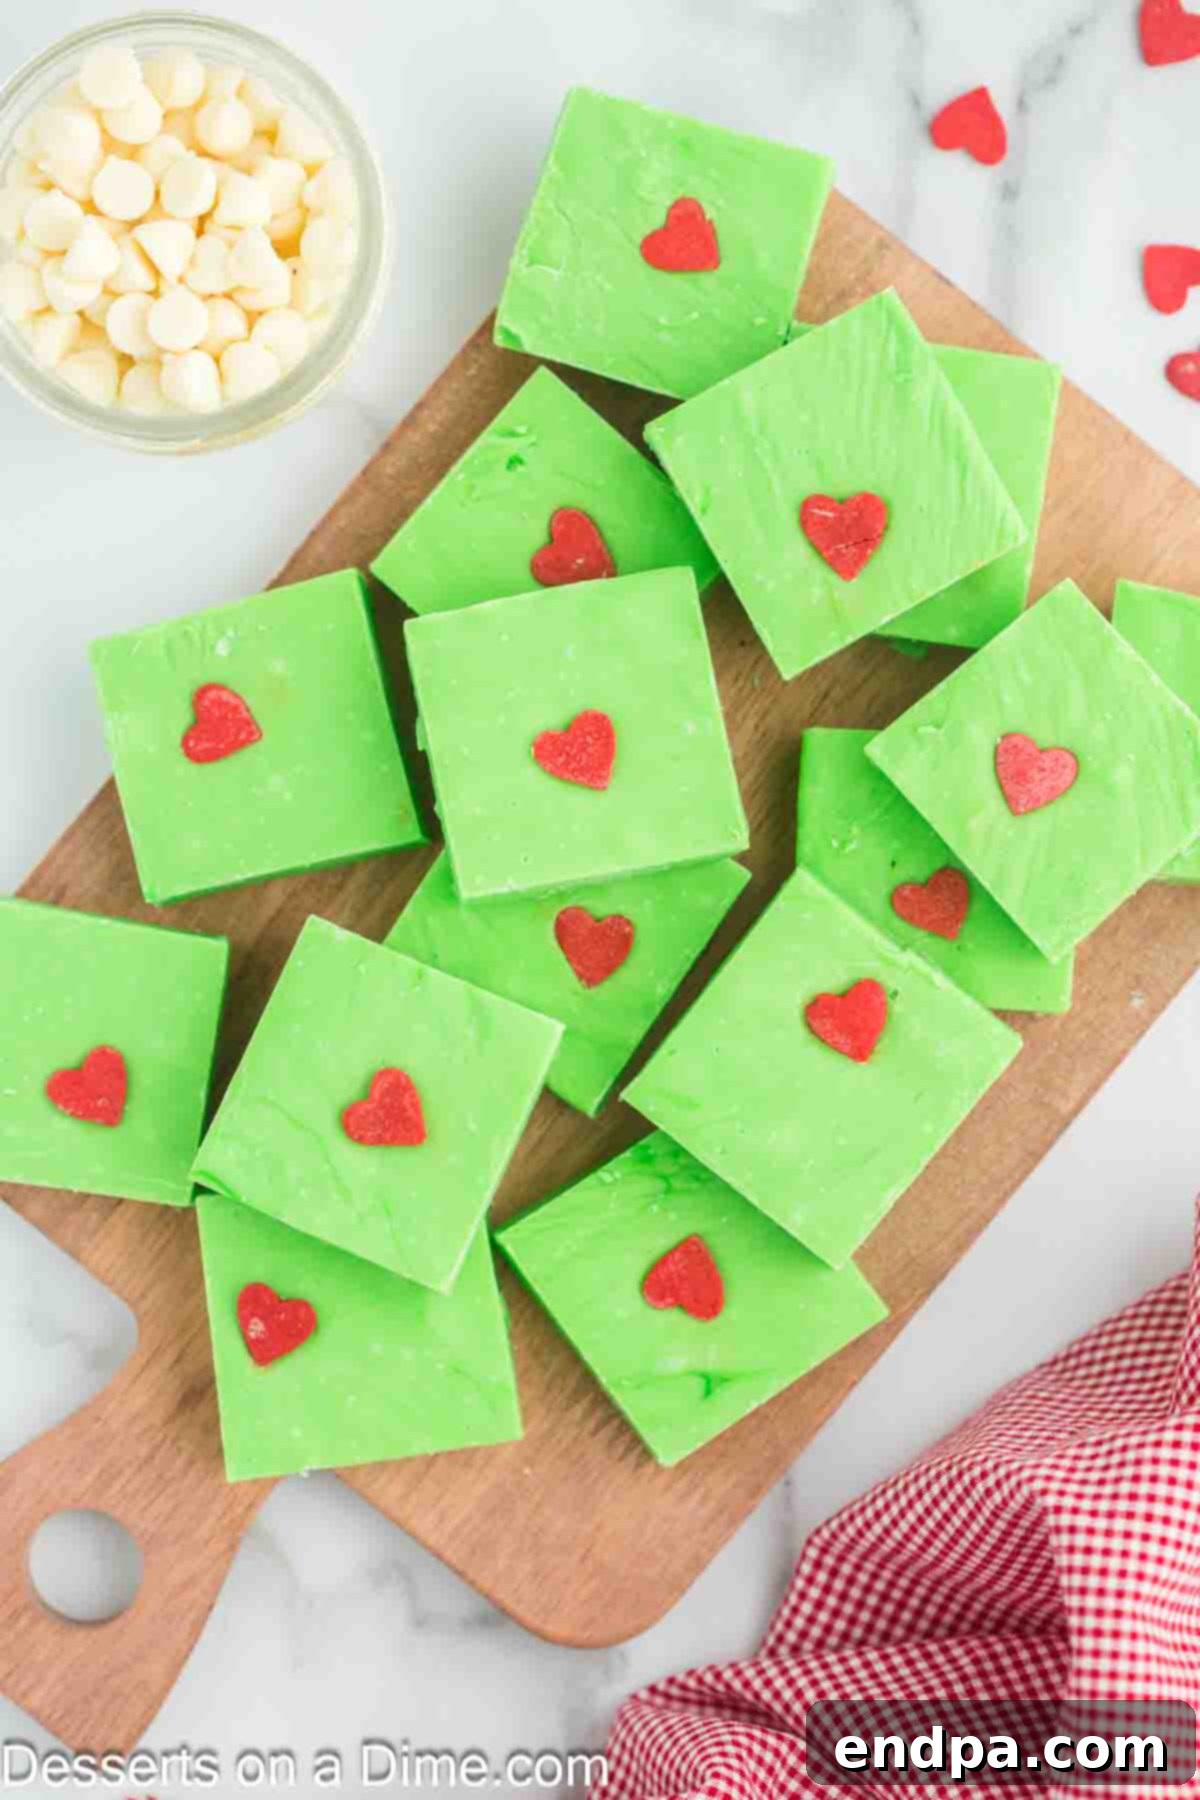
Once fully set, remove the fudge from the refrigerator. Use the foil or parchment paper “handles” to lift the entire block of fudge out of the pan. Place it on a cutting board, then carefully cut it into individual squares. Now, your homemade Grinch Fudge is ready to be served and enjoyed! Prepare for compliments!
Pro Tips for Flawless Grinch Fudge
Achieving perfect, creamy fudge every time is easy with a few insider tips. These simple recommendations will help you ensure your Grinch Fudge is not only delicious but also beautifully textured and easy to handle.
Tempering Your Chocolate
When melting white chocolate, slow and steady wins the race. It’s absolutely critical to melt the chocolate in short, 30-second intervals in the microwave, stirring thoroughly after each one. White chocolate can seize or burn easily if overheated. Stirring helps distribute the heat and ensures a smooth, creamy consistency without scorching. If, despite your best efforts, the white chocolate seems a bit stiff or gritty after melting, a small amount (1/2 to 1 teaspoon) of vegetable oil or coconut oil stirred in can help thin it out and restore its creamy texture.
Preventing Sticking
For effortless removal and perfectly shaped fudge, always line your baking dish with parchment paper or aluminum foil, leaving an overhang on the sides. This overhang acts as a sling, allowing you to lift the entire block of fudge out of the pan once it’s set. For an extra layer of non-stick security, lightly spray the lined pan with cooking spray before adding the fudge mixture. This small step makes a big difference in presentation and ease of handling.
Patience is Key for Setting
Allowing the fudge ample time to set is crucial for its texture and ease of cutting. While it might be tempting to cut into it sooner, letting it chill in the refrigerator for the full 1-2 hours (or even longer if needed) ensures it becomes firm enough for clean, sharp slices. Rushing this step can result in soft, sticky, or crumbly fudge.
Quality Ingredients Matter
Given the simplicity of this recipe, the quality of your ingredients truly shines through. Opt for good quality white chocolate chips, as they melt more smoothly and contribute to a superior flavor. Similarly, using a reliable brand of sweetened condensed milk will ensure the proper consistency and sweetness.
Achieving the Perfect Green Hue
When adding the neon green food coloring, start with a small amount (a few drops for liquid, a tiny bit on a toothpick for gel) and mix thoroughly. Gradually add more until you reach your desired Grinch green. It’s easier to add more color than to correct an overly dark shade.
Mastering the Art of Cutting Fudge
Achieving those perfectly clean, neat lines when cutting fudge can elevate its presentation from homemade to professional. With a few simple tips and tricks, you can ensure every piece of your Grinch Fudge looks as appealing as it tastes.
The Right Tools for the Job
The most important tool for cutting fudge is a good quality, long, and sharp knife. A chef’s knife or a large carving knife works best. A sharp blade makes clean cuts, while a dull one can drag and tear the fudge, resulting in messy edges. For perfectly straight lines, you can use a ruler as a guide.
Optimal Timing is Key
Always cut your fudge as soon as you remove it from the refrigerator, when it is thoroughly chilled and firm. Fudge that is too warm will be sticky and difficult to cut cleanly, while fudge that has sat out too long might become too hard or prone to crumbling. The cold temperature helps the fudge maintain its structure as you slice through it.
Clean Slices Every Time
To achieve consistently clean cuts, wipe your knife blade clean with a damp cloth or paper towel after each slice. This removes any sticky residue that might accumulate and prevents it from transferring to the next cut, ensuring smooth, precise edges for every piece. For exceptionally clean lines, you can also run your knife under hot water for a few seconds, then wipe it dry before each cut. The warm blade helps to glide through the fudge more easily.
Scoring for Precision
Before making your final cuts, gently score the top of the fudge with your knife to mark out your desired grid pattern. This acts as a guide, helping you to make straight, even cuts and ensures that each piece is roughly the same size, especially if you planned your sprinkle placement.
Storage Solutions for Your Grinch Fudge
Proper storage is essential to keep your homemade Grinch Fudge fresh, delicious, and at its best for as long as possible. Whether you plan to enjoy it immediately or save it for later, these tips will ensure your festive treat maintains its quality.
Room Temperature Storage
For immediate enjoyment or short-term storage, Grinch Fudge can be kept at room temperature. Place the fudge in an airtight container to prevent it from drying out or absorbing odors. To prevent the pieces from sticking together, especially if stacked, place a sheet of parchment paper or wax paper between layers. Stored this way, your fudge will remain fresh and delightful for up to 2 weeks.
Refrigeration Tips
If your kitchen tends to be warm, or if you prefer a firmer texture, you can also store Grinch Fudge in the refrigerator. Again, use an airtight container and layer the fudge pieces with parchment paper. Refrigerated fudge can last even longer, typically up to 3-4 weeks. Just be aware that chilling can make the fudge very firm; allowing it to sit at room temperature for 10-15 minutes before serving can help it soften slightly to a more desirable consistency.
Preventing Drying Out
The key to long-lasting fudge is protecting it from air exposure. Always use an airtight container. If you’re using a container that isn’t perfectly sealed, you can add a layer of plastic wrap directly over the fudge before sealing the lid, ensuring no air can reach the surface.
Can You Freeze Grinch Fudge?
Absolutely! Freezing is an excellent way to prepare Grinch Fudge in advance, making your holiday preparations much less stressful. It’s also a fantastic method for extending the shelf life of your festive treat, allowing you to enjoy it far beyond the holiday season.
To ensure your fudge freezes beautifully, follow these simple steps:
- Ensure Fudge is Fully Cooled and Set: Before freezing, make sure your Grinch Fudge is completely cool and firm. Attempting to freeze warm or soft fudge can compromise its texture.
- Wrap Individually or in Layers: For best results, wrap individual pieces or small blocks of fudge in parchment paper. This prevents them from sticking together and helps preserve their texture.
- Double Wrap for Protection: After wrapping in parchment, tightly wrap the fudge again, this time in plastic wrap or aluminum foil. This double layer of protection guards against freezer burn and protects the fudge from absorbing any unwanted freezer odors.
- Place in an Airtight Container: Transfer the double-wrapped fudge into a freezer-safe airtight container or a heavy-duty ziploc freezer bag. Remove as much air as possible from the bag before sealing.
- Add Sprinkles After Thawing (Optional but Recommended): If your fudge relies heavily on delicate sprinkles (like the red heart sprinkles) for its appearance, it’s often best to wait and add them *after* the fudge has thawed and just before serving. Freezing can sometimes alter the texture or appearance of some sprinkles.
- Freezing Duration: Properly prepared, Grinch Fudge can be frozen for up to 6 months without a significant loss in quality.
- Thawing Instructions: When you’re ready to enjoy your frozen fudge, simply remove it from the freezer and thaw it overnight in the refrigerator. Once thawed, you can let it come to room temperature for a softer consistency, or serve it chilled if preferred. Add any fresh sprinkles if you held them back during the initial preparation.
Freezing is a convenient way to enjoy homemade Grinch Fudge whenever a festive craving strikes, making holiday entertaining or gift-giving a breeze.
Stove-Top Melting Method for Fudge
While the microwave method is incredibly convenient for melting chocolate, some prefer or require a stove-top approach. If you don’t have a microwave or simply prefer traditional methods, you can easily melt your white chocolate chips using a double boiler on the stove top. This method offers precise control over the heat, ensuring your chocolate melts smoothly without scorching.
Here’s how to melt your white chocolate chips on the stove top for this Grinch Fudge recipe:
- Set Up Your Double Boiler: Fill a saucepan with about 1-2 inches of water and bring it to a gentle simmer over medium heat. Place a heat-safe bowl (preferably glass or stainless steel) on top of the saucepan, ensuring the bottom of the bowl does not touch the simmering water. The steam from the simmering water will gently heat the bowl.
- Add White Chocolate Chips: Pour your white chocolate chips into the top bowl of the double boiler.
- Melt Gently: Allow the chocolate to melt slowly, stirring occasionally with a spatula. As the chips begin to soften, stir more frequently. The key is gentle, indirect heat. Avoid high heat, which can cause the chocolate to seize or burn.
- Remove from Heat and Stir Until Smooth: Once the white chocolate chips are almost completely melted (you might still see a few small lumps), remove the bowl from the heat (leaving the saucepan of water on the stove is fine). Continue to stir the chocolate vigorously. The residual heat will melt any remaining lumps, resulting in a perfectly smooth, glossy consistency.
- Continue with the Recipe: Once your white chocolate is smooth and creamy, proceed with Step 4 of the main instructions, adding the sweetened condensed milk, butter, salt, and food coloring.
This stove-top method provides a reliable alternative for melting chocolate, ensuring the same delicious results for your Grinch Fudge.
More Magical Grinch-Themed Recipes
If you’ve fallen in love with the Grinch theme and want to expand your holiday repertoire, explore these other fantastic Grinch-inspired recipes. They’re perfect for creating a truly memorable and whimsical holiday spread!
- Grinch Puppy Chow
- Easy Grinch Brownies
- Grinch Cake Balls
- Grinch Bark
- No Bake Grinch Pie
- Grinch Dip Recipe
Explore More Christmas Fudge Recipes
The holiday season is synonymous with delicious fudge! If you’re eager to try more homemade fudge variations beyond our Grinch-themed delight, here are some other festive recipes to add to your baking list. Each offers a unique flavor profile perfect for gifting or enjoying with family.
- Red Velvet Fudge Recipe
- Butterscotch Fudge Recipe
- Eggnog Fudge Recipe
- Christmas Coal Fudge
- Classic Christmas Fudge
We hope you thoroughly enjoy making and sharing this Easy Grinch Fudge Recipe. Your feedback means the world to us, so if you try it out, please consider leaving a star review and letting us know what you think. Happy holidays and happy baking!
Pin Recipe
Print Recipe
Grinch Fudge
10 mins
2 hrs
2 hrs 10 mins
15
American
Dessert
214
Carrie Barnard
Ingredients
- 12 oz White Chocolate Chips
- 14 oz Sweetened Condensed Milk
- 1 Tablespoon Unsalted Butter softened
- ¼ tsp Salt
- Neon Green Food Coloring
- Red Heart Sprinkles
Instructions
- Line an 8X8 baking dish with foil or parchment paper.
- Place the white chocolate chips in a microwave safe dish.
- Microwave the chips in 30 second intervals, stirring between each interval until they are melted.
- Stir in the condensed milk, butter and salt.
- Add the neon green food coloring into the mixture until it reaches the color you desire.
- Pour the mixture into the pan. Slightly bang the pan on the countertop to even out the top layer of the fudge.
- Add the red heart sprinkles on top of the fudge. Make sure to spread them out evenly so that there is one heart in each piece of fudge when they are cut. I put 16 hearts on the fudge (4 across and 4 down).
- Allow to cool at room temperature and then place in the refrigerator to set (for approximately 1-2 hours).
- Cut and serve. Enjoy!
Recipe Notes
Nutrition Facts
Carbohydrates 28g,
Protein 3g,
Fat 10g,
Saturated Fat 6g,
Polyunsaturated Fat 0.3g,
Monounsaturated Fat 3g,
Trans Fat 0.03g,
Cholesterol 16mg,
Sodium 93mg,
Potassium 163mg,
Fiber 0.05g,
Sugar 28g,
Vitamin A 101IU,
Vitamin C 1mg,
Calcium 121mg,
Iron 0.1mg
Pin This Now to Remember It Later
Pin Recipe
