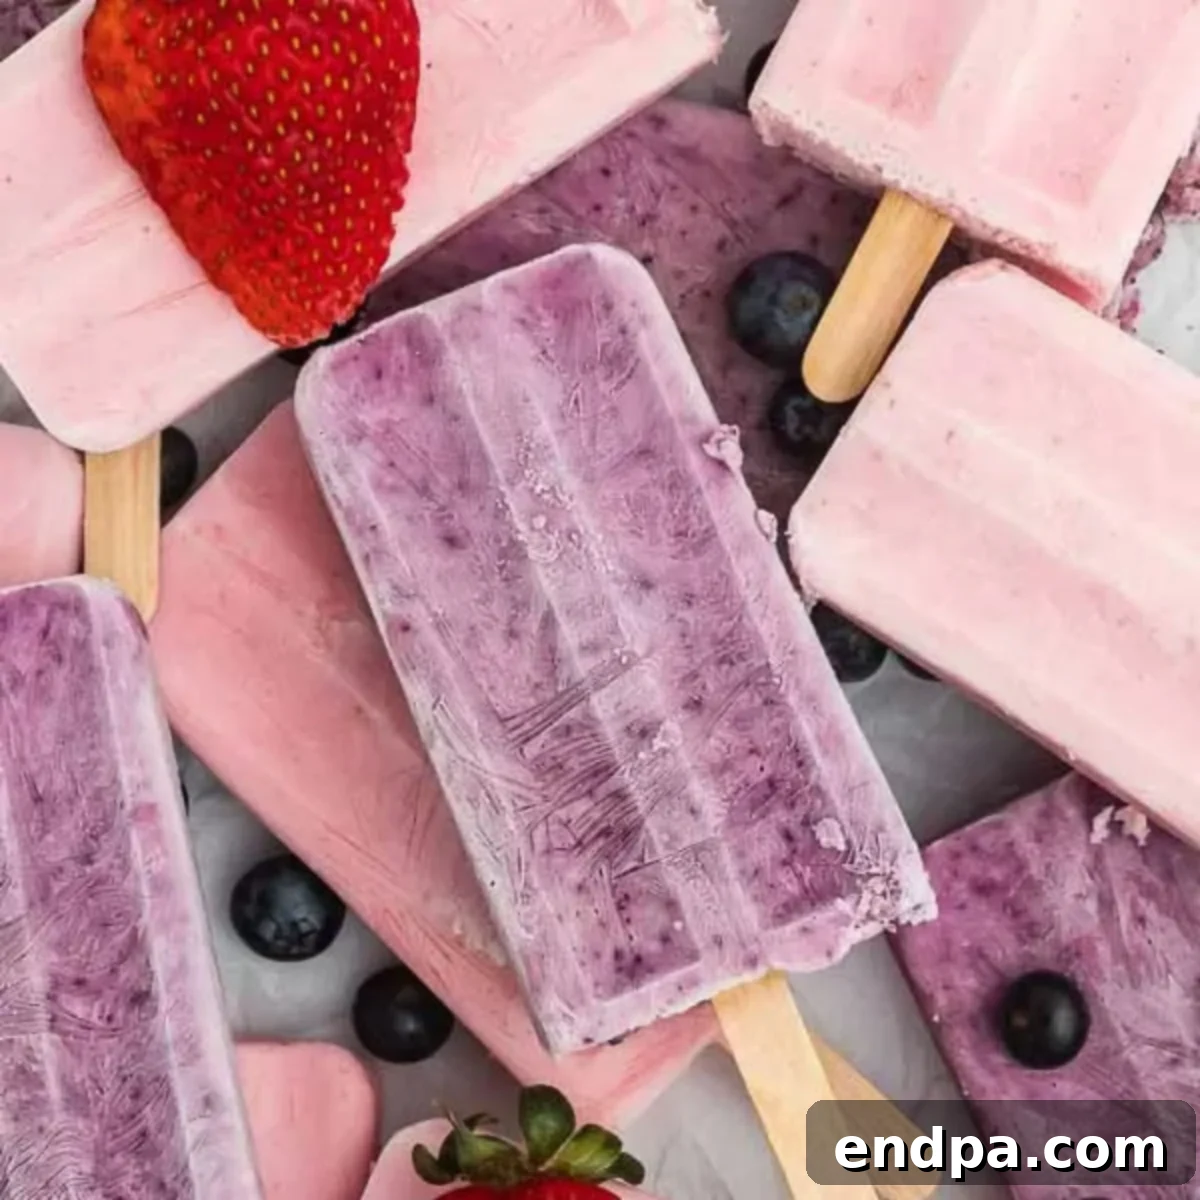
Greek Yogurt Popsicles offer a delightful escape into healthy indulgence, providing a refreshing and creamy treat that’s incredibly simple to prepare. This wholesome dessert, made with just three core ingredients, is an absolute game-changer for anyone seeking a guilt-free pleasure during the warmer months. Perfect for both kids and adults, these popsicles redefine what it means to enjoy a sweet treat, blending the creamy goodness of Greek yogurt with the vibrant flavors of fresh fruit and a hint of natural sweetness.
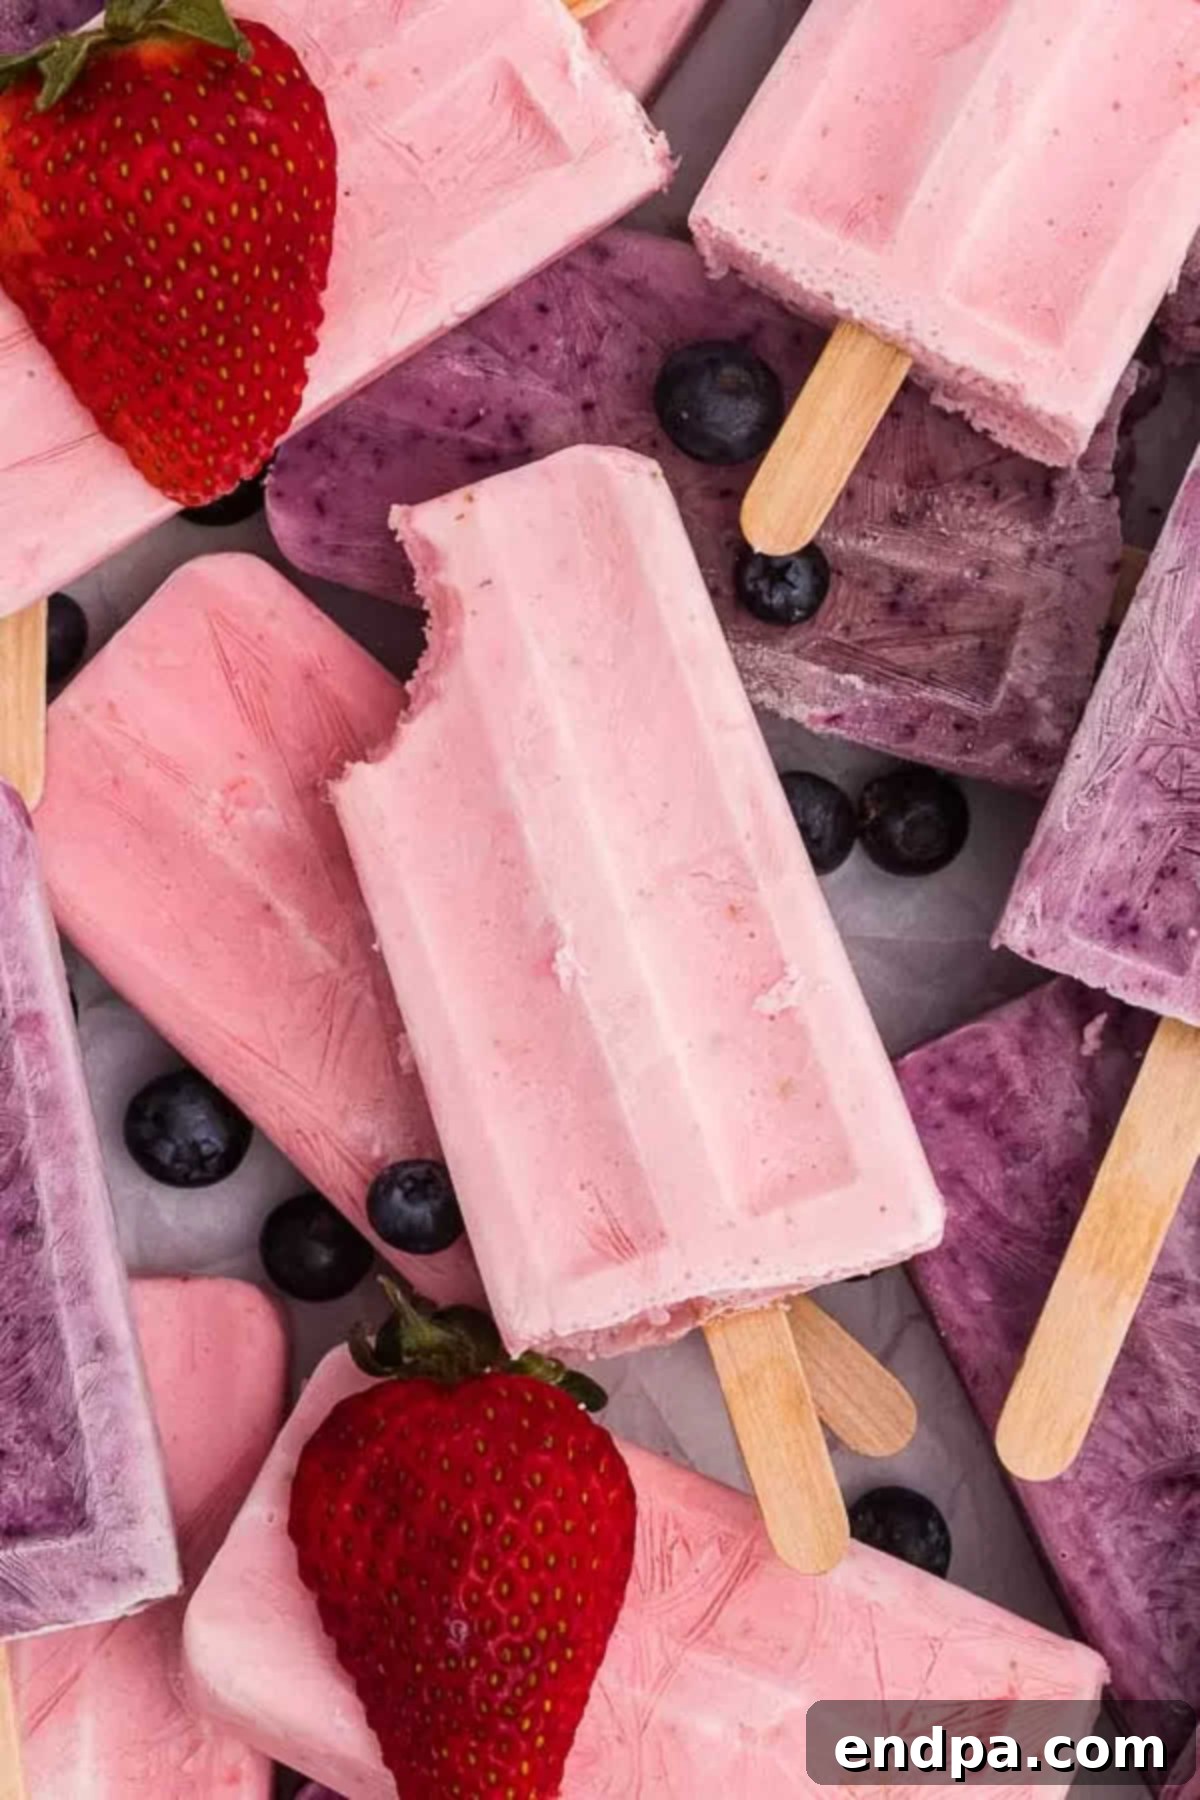
In a world full of sugary snacks, finding a treat that is both easy to make and genuinely good for you can feel like a quest. Look no further! These Greek Yogurt Popsicles are the answer to your summer cravings. Requiring nothing more than a blender and a set of popsicle molds, you can whip up this easy popsicle recipe in minutes, making them an ideal project for a lazy afternoon or a quick prep session before a busy week.
If you’re new to the world of homemade popsicles, this recipe is the perfect starting point due to its straightforward nature and forgiving process. It’s a fantastic introduction to creating delicious frozen desserts right in your own kitchen. Once you master these, you might also enjoy exploring other delightful variations like our Strawberry Yogurt Popsicles or our Banana Popsicles Recipe, which offer similar health benefits and irresistible flavors.
The magic of these popsicles lies in the harmonious blend of protein-packed Greek yogurt with your favorite fresh fruits, sweetened naturally with a touch of honey. This simple combination results in a rich, smooth, and utterly satisfying frozen delight that everyone in the family will adore. Beyond popsicles, consider transforming these flavors into Strawberry Yogurt Bites for another quick and healthy snack option.
Table of Contents
- Why You’ll Adore These Greek Yogurt Popsicles
- Essential Ingredients
- Equipment You’ll Need
- Creative Variations and Additions
- Step-by-Step Guide: How to Make Greek Yogurt Popsicles
- Tips for the Perfect Greek Yogurt Popsicles
- Frequently Asked Questions (FAQs)
- More Homemade Popsicle Ideas
Why You’ll Adore These Greek Yogurt Popsicles
These Greek Yogurt Popsicles aren’t just a treat; they’re a revelation. Here’s why they’ll quickly become a staple in your freezer:
- Incredibly Creamy Texture: While yogurt is already a fantastic food, transforming it into a frozen treat elevates its appeal. The natural richness of Greek yogurt translates into a wonderfully smooth and creamy popsicle that melts in your mouth, offering a luxurious texture unmatched by water-based popsicles.
- Bursting with Natural Flavor: The combination of luscious Greek yogurt with the natural sweetness and tang of fresh fruit creates an unparalleled flavor profile. Each bite delivers a refreshing burst of fruitiness balanced by the subtle tartness of the yogurt, making it a truly satisfying and invigorating snack.
- Made with Simple, Wholesome Ingredients: Forget complicated lists and hard-to-find items. This recipe relies on basic ingredients you likely already have in your pantry or can easily find at any local grocery store. This simplicity means less time shopping and more time enjoying your delicious creations.
- Effortless Preparation Process: With just a blender and a set of popsicle molds, making these treats couldn’t be easier. The entire process is so straightforward that even kitchen novices will find success. Prepare them in the evening, and by morning, you’ll have a delightful, healthy option ready for breakfast or a mid-day snack, much to the excitement of your little ones!
- A Healthy Alternative: Unlike many store-bought frozen desserts packed with artificial flavors and excessive sugar, these homemade popsicles are a powerhouse of nutrition. Greek yogurt provides essential protein and probiotics, while fresh fruits deliver vitamins, minerals, and fiber. It’s a smart choice for anyone looking to reduce processed sugar intake.
- Customizable to Your Taste: This recipe serves as a perfect canvas for culinary creativity. Easily swap out fruits, adjust the sweetness, or add other flavorful elements to match your personal preferences or what’s in season. The possibilities for customization are endless, ensuring you never get bored.
Essential Ingredients
Crafting these delectable Greek Yogurt Popsicles is incredibly simple, thanks to a concise list of wholesome ingredients. Each component plays a vital role in achieving that perfect balance of creamy texture and vibrant flavor.
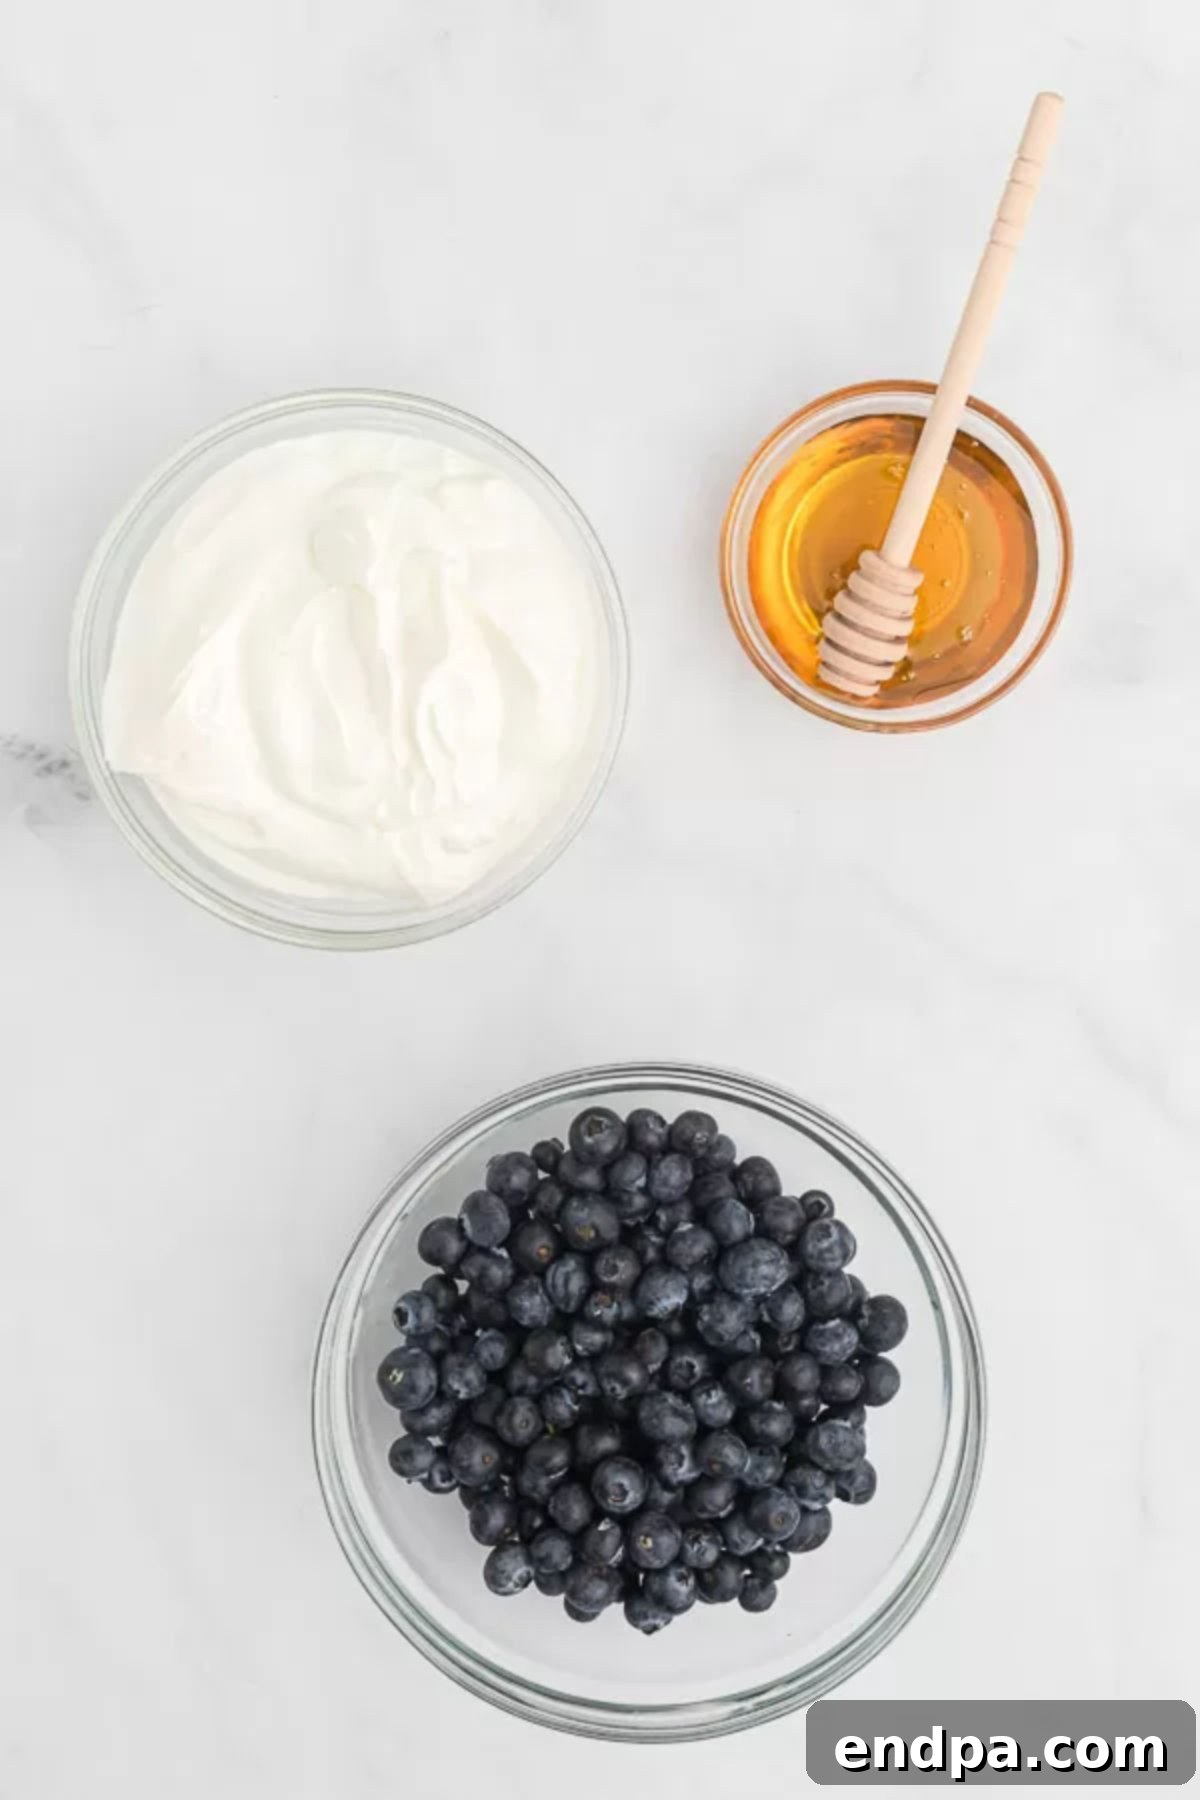
- Plain Greek Yogurt: This is the star of our show, providing the rich, smooth, and incredibly creamy base for the popsicles. Opt for full-fat Greek yogurt for the most decadent texture, or choose a low-fat or non-fat version for a lighter alternative. The plain variety is crucial as it allows the natural fruit flavors to shine through, and you can control the sweetness level precisely with honey. Greek yogurt also packs a significant protein punch, making these popsicles a surprisingly satisfying snack.
- Fresh Fruit: The beauty of this recipe lies in its versatility with fruit. You can use virtually any fruit you prefer, making it an excellent way to use up ripe produce or to experiment with different flavor combinations. Classic choices include sweet strawberries, tangy raspberries, and antioxidant-rich blueberries. However, don’t hesitate to venture into tropical territories with mangoes or pineapples, or try the subtle sweetness of peaches. Ensure your fruit is ripe for the best flavor, and wash it thoroughly before blending.
- Honey: A natural and healthier sweetener, honey perfectly complements the yogurt and fruit, adding a depth of flavor that refined sugar simply can’t. The amount of honey can be adjusted to your personal taste and the sweetness of your chosen fruit. If your fruit is very sweet, you might need less honey. For a vegan alternative, maple syrup works wonderfully. You can also consider monk fruit sweetener for a sugar-free option.
The complete, detailed ingredient list with exact measurements can be found in the recipe card at the bottom of this page, ensuring you have everything you need to create these delightful frozen treats.
Equipment You’ll Need
Making Greek Yogurt Popsicles requires only a few basic kitchen tools, making this recipe accessible to everyone. You don’t need any specialized gadgets, just a couple of essentials:
- Blender: A good blender is essential for achieving that silky-smooth consistency. Any standard blender will do the trick, whether it’s a high-speed professional model or a simple personal blender. The goal is to thoroughly combine the yogurt, fruit, and honey until there are no lumps and the mixture is uniformly blended.
- Popsicle Molds: These are, of course, critical for shaping your popsicles. Popsicle molds come in various shapes and sizes, from classic single-serve molds to multi-cavity sets. Silicone molds are particularly popular as they make unmolding much easier. If you don’t have traditional molds, small paper cups with wooden sticks work as a great makeshift alternative. Just be sure to find sticks that fit well and stand upright as the popsicles freeze.
- Popsicle Sticks: Most popsicle molds come with reusable sticks, but if you’re using paper cups or molds that require separate sticks, ensure you have a good supply of wooden popsicle sticks.
With these simple tools, you’re well-equipped to create delicious, homemade Greek Yogurt Popsicles whenever a craving strikes!
Creative Variations and Additions
While the classic Greek Yogurt Popsicle recipe is undeniably delicious, it also serves as a fantastic base for endless customization. Get creative and experiment with these exciting variations and additions to discover your new favorite flavor combinations:
- Explore Different Yogurt Types: While Greek yogurt provides a unique creamy texture and protein boost, you’re not limited to it. Experiment with other yogurt varieties like regular plain yogurt for a slightly lighter consistency, or try a flavored yogurt (e.g., vanilla, peach) if you want to skip the honey or add an extra layer of taste. Dairy-free alternatives like coconut, almond, or soy yogurt can also be used for a vegan option, adjusting the sweetness as needed.
- Indulge with Chocolate Chips: For a touch of decadence, add mini chocolate chips to your popsicle mixture. One of our favorite combinations involves blending Greek yogurt with strawberries and honey, then stirring in a handful of chocolate chips before pouring into molds. The chocolate adds a delightful textural contrast and a rich flavor that pairs beautifully with the fruit.
- Craft Tie-Dye Yogurt Pops: Achieve a visually stunning “tie-dye” effect by blending your ingredients lightly. Instead of fully combining the fruit and yogurt into a uniform color, gently pulse the blender a few times. This will leave swirls of white yogurt and vibrant fruit color throughout the mixture, creating beautiful, marbled popsicles that are as pretty to look at as they are delicious to eat.
- Nutty Swirls and Crunchy Bits: For added texture and healthy fats, swirl in some nut butter (like almond or peanut butter) before freezing, or sprinkle in chopped nuts (almonds, walnuts) or seeds (chia, flax) for a delightful crunch. This also adds another dimension of flavor and makes the popsicles even more satisfying.
- Layered Popsicle Perfection: Create visually appealing and multi-flavored pops by layering different fruit and yogurt mixtures. For instance, make a strawberry yogurt base, pour a layer into the mold, freeze partially, then add a blueberry yogurt layer, and so on. This creates distinct colorful stripes and allows you to enjoy multiple flavors in one popsicle.
- Spice It Up: Don’t shy away from adding a pinch of warm spices like cinnamon or nutmeg, especially when using fruits like apples, peaches, or pumpkin puree. A tiny dash of vanilla extract can also enhance the overall flavor.
- Hidden Veggie Power: For a super healthy boost, sneak in some mild-flavored vegetables like spinach (it won’t affect the taste but adds a vibrant green color) or shredded carrots. The fruit and honey will mask the veggie flavor, making it a great way to add nutrients to your kids’ diet without them knowing!
With these variations, you can truly make these Greek Yogurt Popsicles your own, catering to any craving or dietary preference.
Step-by-Step Guide: How to Make Greek Yogurt Popsicles
Making these delicious and healthy Greek Yogurt Popsicles is incredibly simple. Follow these straightforward steps to create your perfect frozen treat:
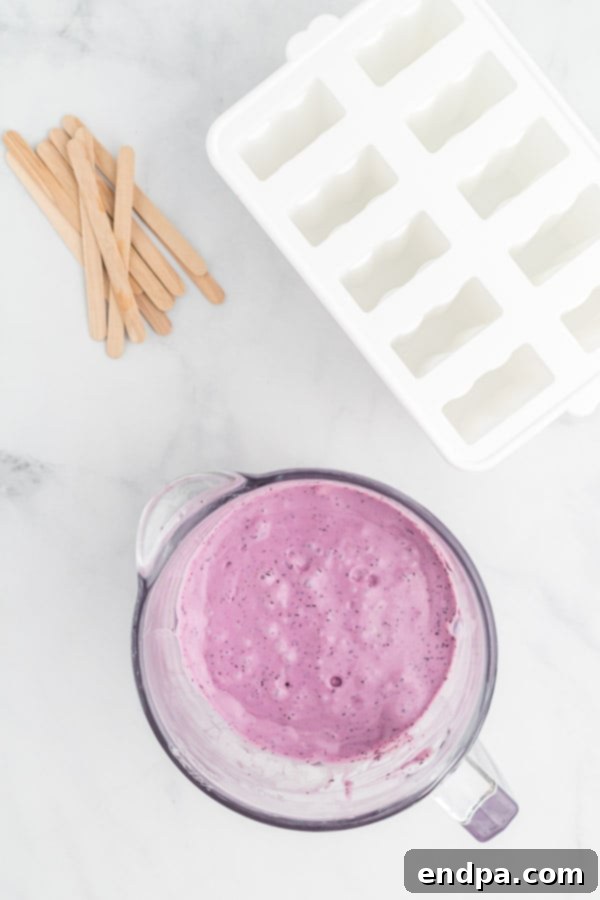
Step 1: Blend the Ingredients. Add the plain Greek yogurt, your chosen fresh fruit, and honey into a blender. Secure the lid and blend until the mixture is completely smooth and creamy. Ensure there are no large fruit chunks remaining, unless you desire a chunkier texture for your popsicles.
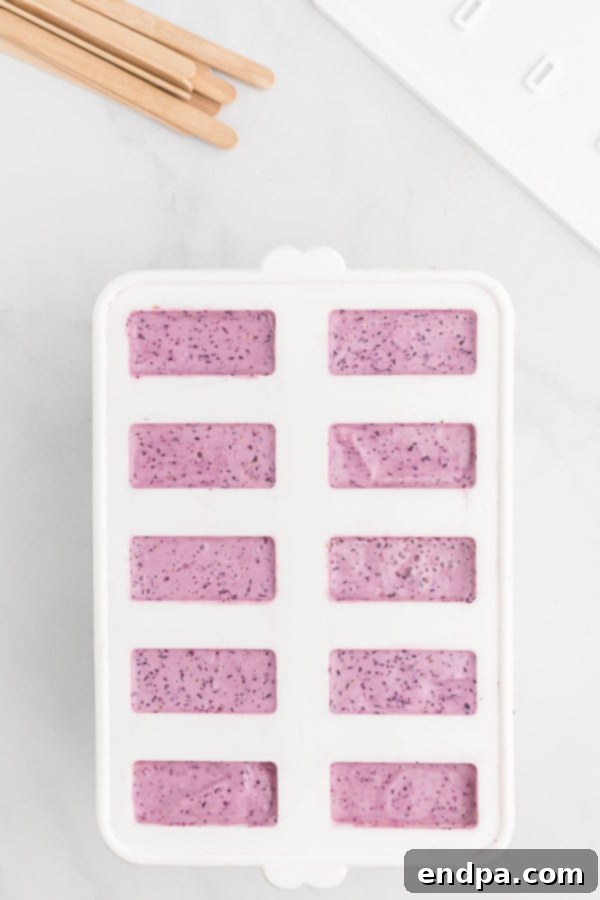
Step 2: Fill the Popsicle Molds. Carefully pour the blended yogurt mixture evenly into your popsicle molds. Fill each mold to about ¼ inch from the top to allow for slight expansion during freezing and to prevent overflow when inserting the sticks.
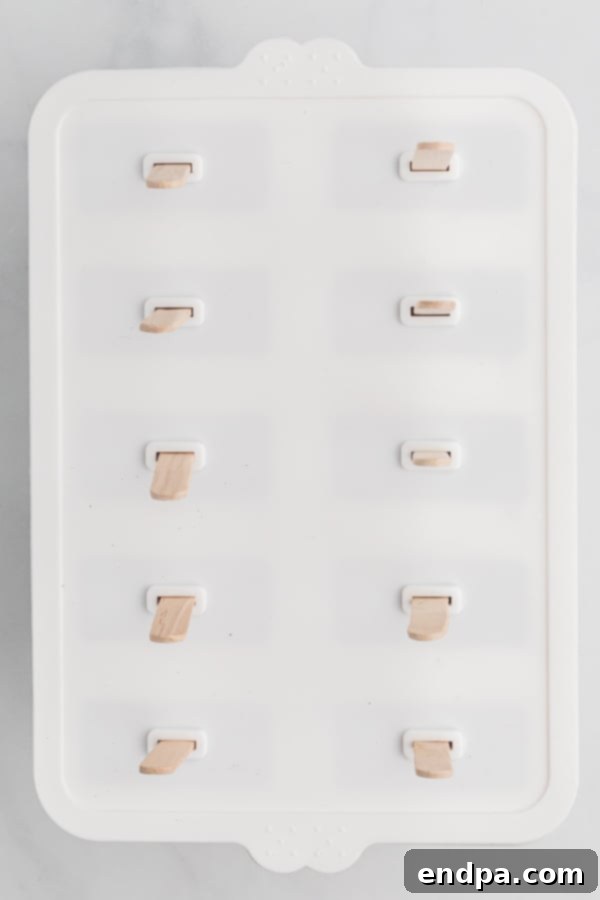
Step 3: Insert Sticks and Freeze. Add the popsicle sticks into each mold. If your molds have lids, secure them in place. Place the filled molds into the freezer. Freeze for at least 4-6 hours, or preferably overnight, to ensure they are completely solid and hold their shape.

Step 4: Unmold and Serve. Once the popsicles are thoroughly frozen, they are ready to be enjoyed! To easily remove them from the molds, run the outside of each mold under warm tap water for about 15-30 seconds. This gentle warmth will slightly loosen the popsicle from the mold, allowing for easy extraction without breaking. Carefully wiggle and pull the popsicle free.

Tips for the Perfect Greek Yogurt Popsicles
To ensure your Greek Yogurt Popsicles turn out perfectly every time, consider these helpful tips:
- Choose Ripe Fruit: The riper the fruit, the sweeter and more flavorful your popsicles will be, potentially reducing the amount of added sweetener needed.
- Blend Thoroughly: For the creamiest texture, make sure to blend all ingredients until completely smooth. Any remaining chunks of fruit might create icy spots.
- Don’t Overfill Molds: Leave a small gap at the top of your molds when filling, as the mixture will expand slightly as it freezes. This prevents messy overflows.
- Freeze Overnight for Best Results: While 4-6 hours might be sufficient, freezing your popsicles overnight guarantees they are perfectly solid and won’t melt too quickly when removed from the mold.
- Proper Unmolding Technique: Running warm water over the outside of the mold is key for easy release. Be patient and don’t force it, as this can break the popsicle.
- Batch Prep for Convenience: Make a larger batch and store them in the freezer. They are a convenient grab-and-go snack or dessert, perfect for busy schedules.
- Experiment with Sweeteners: Taste the mixture before freezing and adjust the honey to your preference. Remember, frozen treats often taste less sweet than their liquid counterparts.
Frequently Asked Questions (FAQs)
Once your homemade popsicles are frozen solid, the easiest way to remove them from the mold is by running the mold under warm tap water for about 15-30 seconds. This gentle warmth causes the outer layer of the popsicle to slightly melt, creating a thin layer of liquid that allows the popsicle to slide out smoothly. Be careful not to get water inside the mold. Gently wiggle the stick as you pull. If it doesn’t come out immediately, run it under water for a few more seconds. Avoid forcing it, as this can cause the stick to separate from the popsicle or break the treat itself.
These delicious homemade Greek yogurt popsicles can be stored in the freezer for up to 6 weeks. For best results and to maintain their shape and flavor, it’s recommended to store them in their molds if space allows. If you need to remove them from the molds, wrap each popsicle individually in plastic wrap or parchment paper and then place them in an airtight freezer bag or container. This helps prevent freezer burn and keeps them fresh and tasty for longer.
Adding honey is highly recommended as it provides the perfect amount of natural sweetness that beautifully complements the tang of Greek yogurt and the flavor of the fruit. However, if you prefer not to use honey, you have several excellent alternatives. Granulated sugar can be used, though you might need slightly less as it tends to taste sweeter. For a healthier, natural sugar option, consider using maple syrup or a sugar substitute like monk fruit or stevia. Always taste your mixture before freezing and adjust the sweetener to your preference.
The beauty of this recipe is its adaptability to various fruits! For vibrant flavors and colors, we love using berries such as blueberries, raspberries, and strawberries. Tropical fruits like mangoes and pineapples lend a lovely exotic twist. Peaches, cherries (pitted), and kiwi are also fantastic choices. The key is to use ripe fruit for the best natural sweetness and flavor. Feel free to mix and match to create your own unique fruit combinations!
For these Greek yogurt popsicles, we’ve found that they typically take about 5 to 6 hours to freeze completely and achieve a firm consistency. However, freezing times can vary depending on the temperature of your freezer and the size of your molds. For the best results and to ensure they are perfectly solid and easy to unmold without breaking, it is always recommended to prepare them the night before and let them freeze overnight. Remember, popsicles will melt quickly if left at room temperature for too long, so enjoy them immediately after unmolding!
Absolutely! Frozen fruit is an excellent alternative to fresh fruit, especially when your favorite fruits are out of season or if you want to save on prep time. Using frozen fruit will still yield delicious yogurt pops. You can use either sliced or whole frozen fruit. We often find that sliced frozen fruit blends a bit more easily and quickly. Just be sure to let the frozen fruit thaw slightly at room temperature for about 10-15 minutes before blending. This makes it easier on your blender and helps achieve a smoother consistency. This flexibility is just one more reason why homemade popsicles are so fantastic!
More Homemade Popsicle Ideas
If you’ve fallen in love with making homemade popsicles, there’s a whole world of frozen delights waiting to be explored! Here are some other easy and delicious popsicle recipes to inspire your next kitchen adventure:
- Strawberry Shortcake Popsicles
- Blueberry Popsicles
- Jello Popsicles
- Blueberry Yogurt Popsicles
- Root Beer Float Popsicles
These recipes offer a variety of flavors and textures, ensuring there’s a perfect frozen treat for every palate and occasion. Enjoy experimenting and keeping your freezer stocked with these delightful creations!
Don’t miss out on this simple yet incredibly satisfying recipe! Try making these healthy Greek Yogurt Popsicles today for a perfect, refreshing treat that will quickly become a family favorite. We’d love to hear from you — please leave a comment with your thoughts and experiences once you’ve made them!
Greek Yogurt Popsicles Recipe
Ingredients
- 2 cups Plain Greek Yogurt
- 2 cups Fresh Fruit strawberries, raspberries, blueberries, or your choice
- ¼ cup Honey or to taste
Instructions
- Combine the Greek yogurt, fruit, and honey in a blender. Blend until the mixture is smooth and creamy. Adjust honey to desired sweetness.
- Pour the blended yogurt mixture evenly into your popsicle molds, leaving a small space at the top. Insert popsicle sticks into each mold.
- Place the filled molds in the freezer and freeze for a minimum of 4-6 hours, or ideally overnight, until the popsicles are completely solid.
- To serve, run the outside of the popsicle molds under warm water for 15-30 seconds to loosen the popsicles. Gently wiggle and pull the popsicles from the molds.
- Enjoy your refreshing and healthy homemade Greek Yogurt Popsicles!
