Valentine’s Day Sugar Cookies are more than just a sweet treat; they’re a delightful tradition, bringing joy and a splash of vibrant color to the most romantic day of the year. These heart-shaped cookies are not only incredibly delicious but also beautifully festive, making them the perfect centerpiece for any Valentine’s celebration or a heartfelt gift for loved ones. The simple act of baking and decorating these charming cookies is an experience in itself, creating lasting memories, especially when shared with family.

Every Valentine’s Day gathering deserves these adorable conversation heart cookies. Their irresistible charm and tender crumb make them a standout cookie recipe. Considered among the best Valentine’s Day cookies, this recipe is remarkably easy to follow, even for novice bakers. There’s an unparalleled satisfaction that comes from homemade cookies, and these are no exception. Encourage your children to join in the baking and decorating process; it’s a wonderful way to make cherished memories while crafting fun Valentine’s Day Desserts. Beyond these sugar cookies, we also love preparing Valentine’s Day Dirt Cake and Valentine’s Day Brownies. And for a year-round indulgence, our Chocolate Dipped Sugar Cookies are always a hit!
Table of Contents
- Why This Recipe Works
- Essential Ingredients
- Cookie Ingredients
- Royal Icing Ingredients
- Recommended Equipment
- Creative Variations
- Step-by-Step Baking Instructions
- Mastering the Decoration
- Pro Tips for Perfect Cookies
- Frequently Asked Questions (FAQs)
- Storage and Freezing Tips
- Serving and Gifting Ideas
- Explore More Valentine’s Day Desserts
Why This Recipe Works
This Valentine’s Day sugar cookie recipe stands out for several reasons. It provides a simple, foolproof method to create an assortment of vibrant, colorful cookies, ideal for capturing the festive spirit. The detailed step-by-step instructions ensure that both beginner and experienced bakers can achieve beautifully baked and decorated cookies without stress. The dough is designed to be easy to handle, minimizing spreading in the oven, which is key for maintaining those perfect heart shapes. The real magic, however, lies in the taste – these cookies are delightfully buttery, perfectly sweet, and have a wonderfully tender texture that melts in your mouth. Combined with a smooth royal icing that dries to a hard, glossy finish, they offer a professional look and an amazing flavor that truly makes them special for Valentine’s Day.
Essential Ingredients
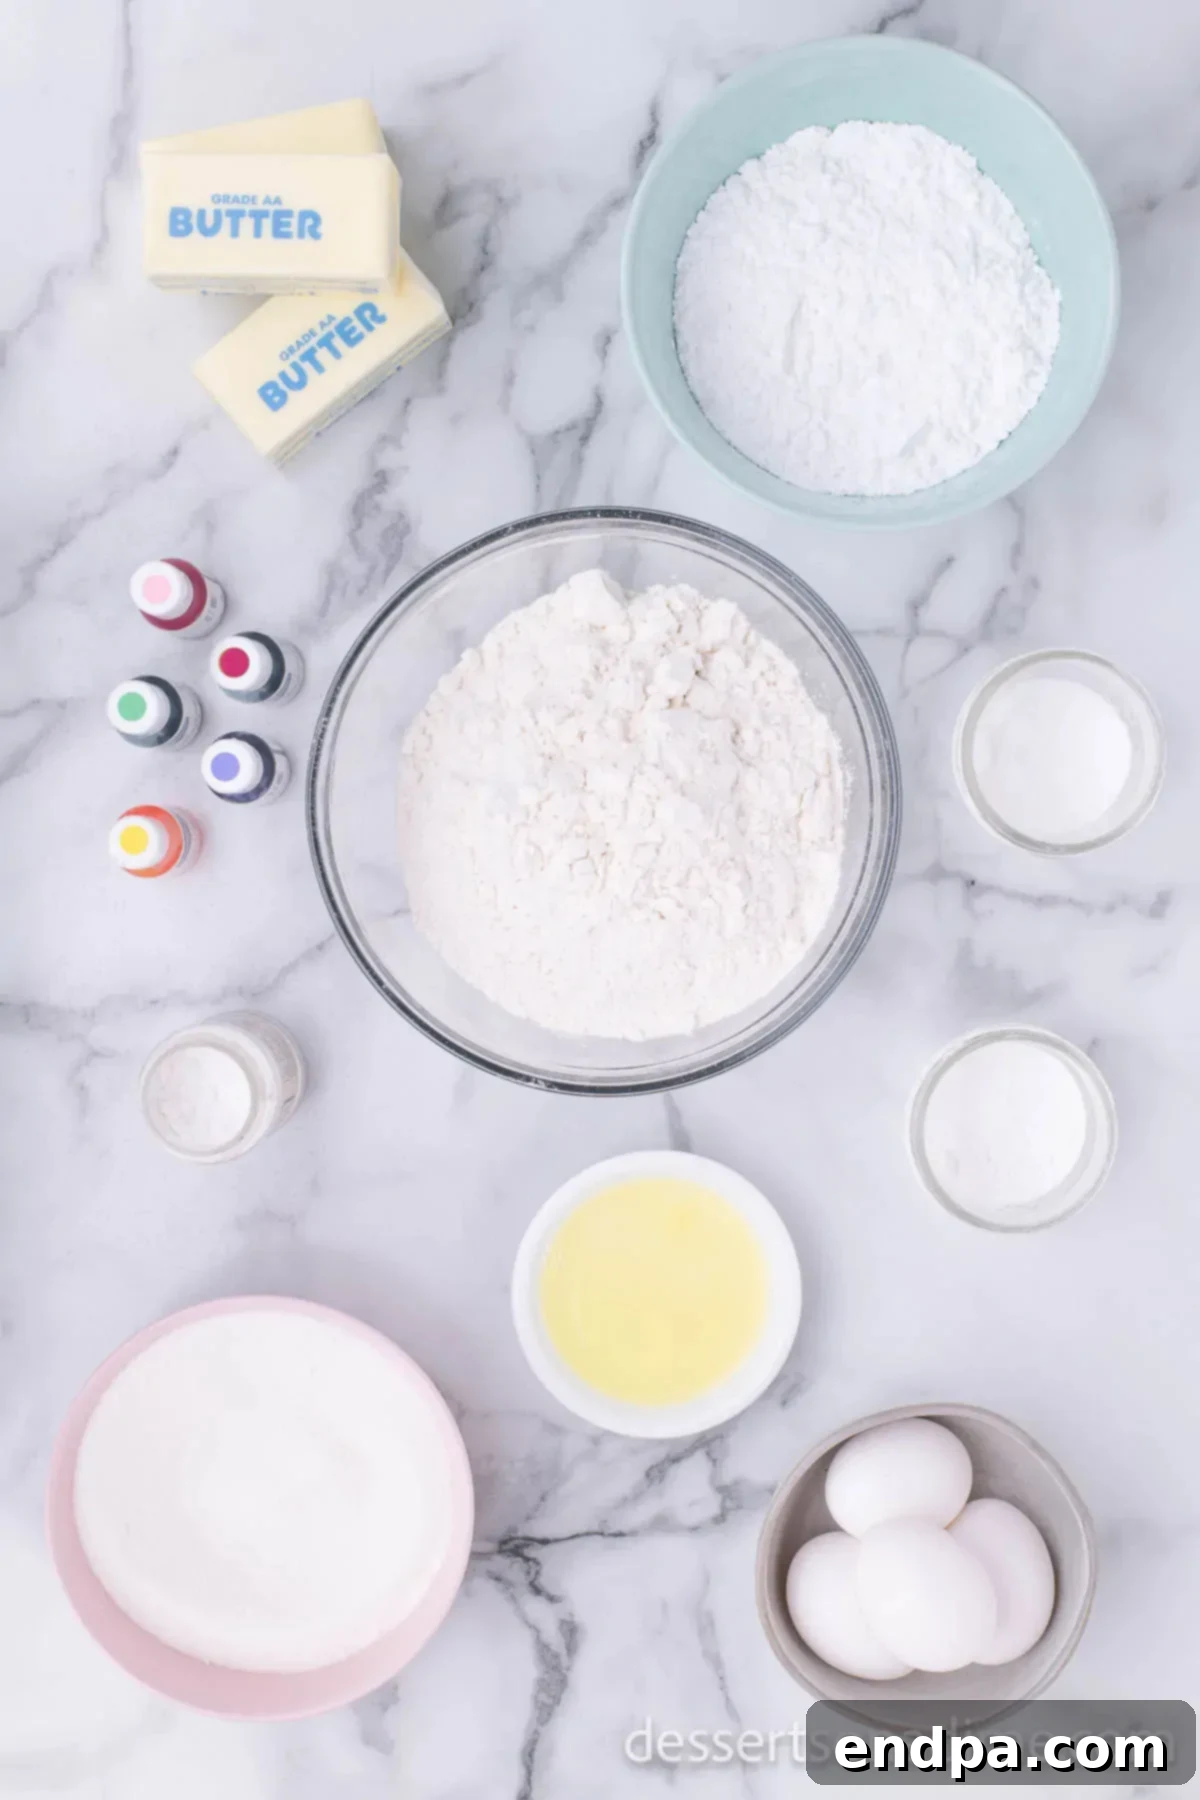
Cookie Ingredients
- All-Purpose Flour: The foundation of our cookies. For accurate measurement, spoon the flour into your measuring cup rather than scooping directly from the bag. This prevents overpacking and ensures a tender cookie.
- Baking Powder: This leavening agent gives the cookies a slight lift and contributes to their soft texture. Always ensure your baking powder is fresh and not expired for optimal results.
- Salt: A pinch of salt balances the sweetness and enhances all the other flavors in the cookie dough.
- Unsalted Butter (softened at room temperature): Using unsalted butter allows you to control the salt content. Softened butter creams beautifully with sugar, creating an airy base for the dough.
- Granulated Sugar: Provides sweetness and contributes to the cookie’s structure and golden-brown edges.
- Large Eggs (room temperature): Eggs bind the ingredients together and add richness. Using room temperature eggs helps them emulsify better with the butter and sugar, resulting in a smoother dough.
Royal Icing Ingredients
This classic royal icing provides a smooth, hard finish that’s perfect for detailed cookie decorating.
- Egg Whites: The base for our royal icing, providing structure and gloss. While you can discard the yolks, consider saving them for another recipe like custards or curds.
- Powdered Sugar (confectioners’ sugar): Crucial for the icing’s sweetness and smooth texture. Sift it thoroughly to remove any lumps, which will ensure your icing is perfectly smooth and clog-free when piping.
- Cream of Tartar: A stabilizing agent that helps whip the egg whites to a firm consistency and adds strength to the dried icing, preventing it from becoming too brittle.
- Gel Food Coloring: Far more concentrated than liquid food coloring, gel colors allow you to achieve vibrant hues without thinning your icing. Choose a variety of colors to create a festive assortment.
Recommended Equipment
Having the right tools makes the baking and decorating process much smoother and more enjoyable:
- Stand Mixer or Hand Mixer: Essential for creaming butter and sugar, and for whipping royal icing to the correct consistency.
- Large Mixing Bowls: For preparing both the cookie dough and the icing.
- Measuring Cups and Spoons: For accurate ingredient measurements.
- Sifter: To ensure lump-free flour and powdered sugar.
- Rolling Pin: For evenly rolling out the cookie dough.
- Heart-Shaped Cookie Cutters: The star of your Valentine’s Day theme!
- Baking Sheets: Sturdy sheets that conduct heat evenly.
- Parchment Paper or Silicone Baking Mats: To prevent sticking and ensure even baking, making cleanup a breeze.
- Wire Cooling Racks: For cooling cookies completely before decorating.
- Piping Bags: Disposable or reusable, these are key for precise icing application.
- Small Round Decorating Tips (e.g., #1, #2): For outlining, flooding, and writing messages.
- Small Bowls: For separating and coloring batches of icing.
Creative Variations
While the classic recipe is wonderful, these sugar cookies are incredibly versatile. Feel free to get creative with these delicious variations:
- Frosting Alternatives: If royal icing isn’t your preference, feel free to substitute a different type of frosting. A creamy Strawberry Buttercream Frosting can be spread or piped onto the cookies for a softer bite, adding a lovely fruity note. Homemade Cream Cheese Frosting is another delightful option, offering a tangy sweetness that pairs wonderfully with the sugar cookie base.
- Flavor Extracts: Beyond classic vanilla, experiment with different extracts in the cookie dough. A teaspoon of almond extract can add a sophisticated nutty flavor, or try a hint of lemon or orange extract for a bright, citrusy twist.
- Decorative Sprinkles: Once the icing has set (or even while it’s still wet, depending on the effect), adorn your cookies with an array of festive sprinkles. Think red, pink, and white nonpareils, edible glitter, or small heart-shaped sprinkles for extra sparkle and charm.
- Chocolate Dipped Cookies: For a decadent touch, after the cookies are cooled, dip half of each cookie in melted white, milk, or dark chocolate. You can then add sprinkles before the chocolate sets for an extra layer of texture and visual appeal.
- Marbled Icing: For a simple yet elegant look, flood your cookies with one color of icing, then immediately pipe thin lines of a contrasting color onto the wet icing. Use a toothpick to swirl the colors together for a beautiful marbled effect.
Step-by-Step Baking Instructions
Follow these detailed steps to create perfectly baked heart-shaped sugar cookies, ready for decorating.
- Step 1: Prepare the Oven. Begin by preheating your oven to 325 degrees Fahrenheit (160 degrees Celsius). Line your baking sheets with parchment paper or silicone baking mats to ensure the cookies don’t stick and bake evenly.
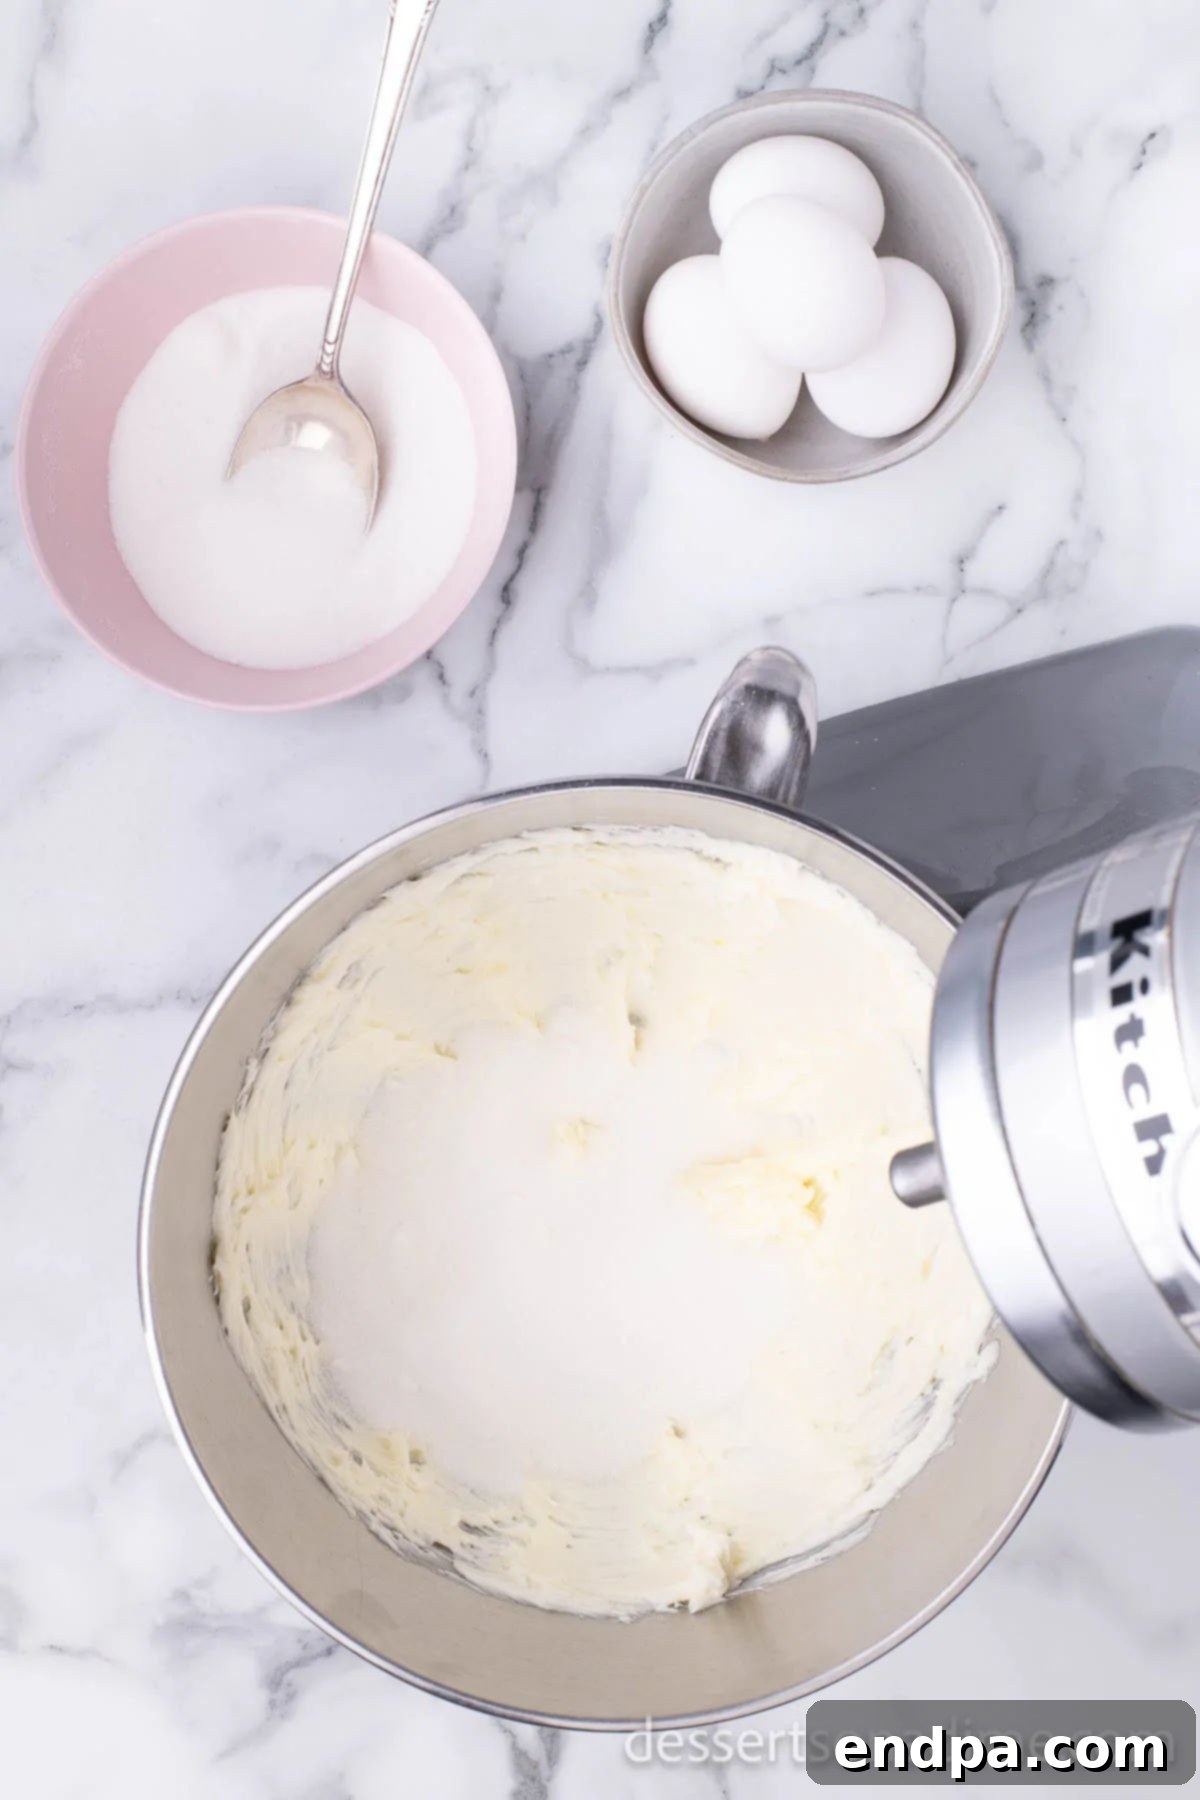
Step 2: Cream Butter and Sugar. While the oven warms, add the softened unsalted butter and granulated sugar to a large mixing bowl. Using a stand mixer with a paddle attachment or a hand mixer, cream these ingredients together on medium-high speed until the mixture is light, fluffy, and no longer grainy to the touch. This typically takes 3-5 minutes and incorporates air, contributing to the cookies’ tender texture.
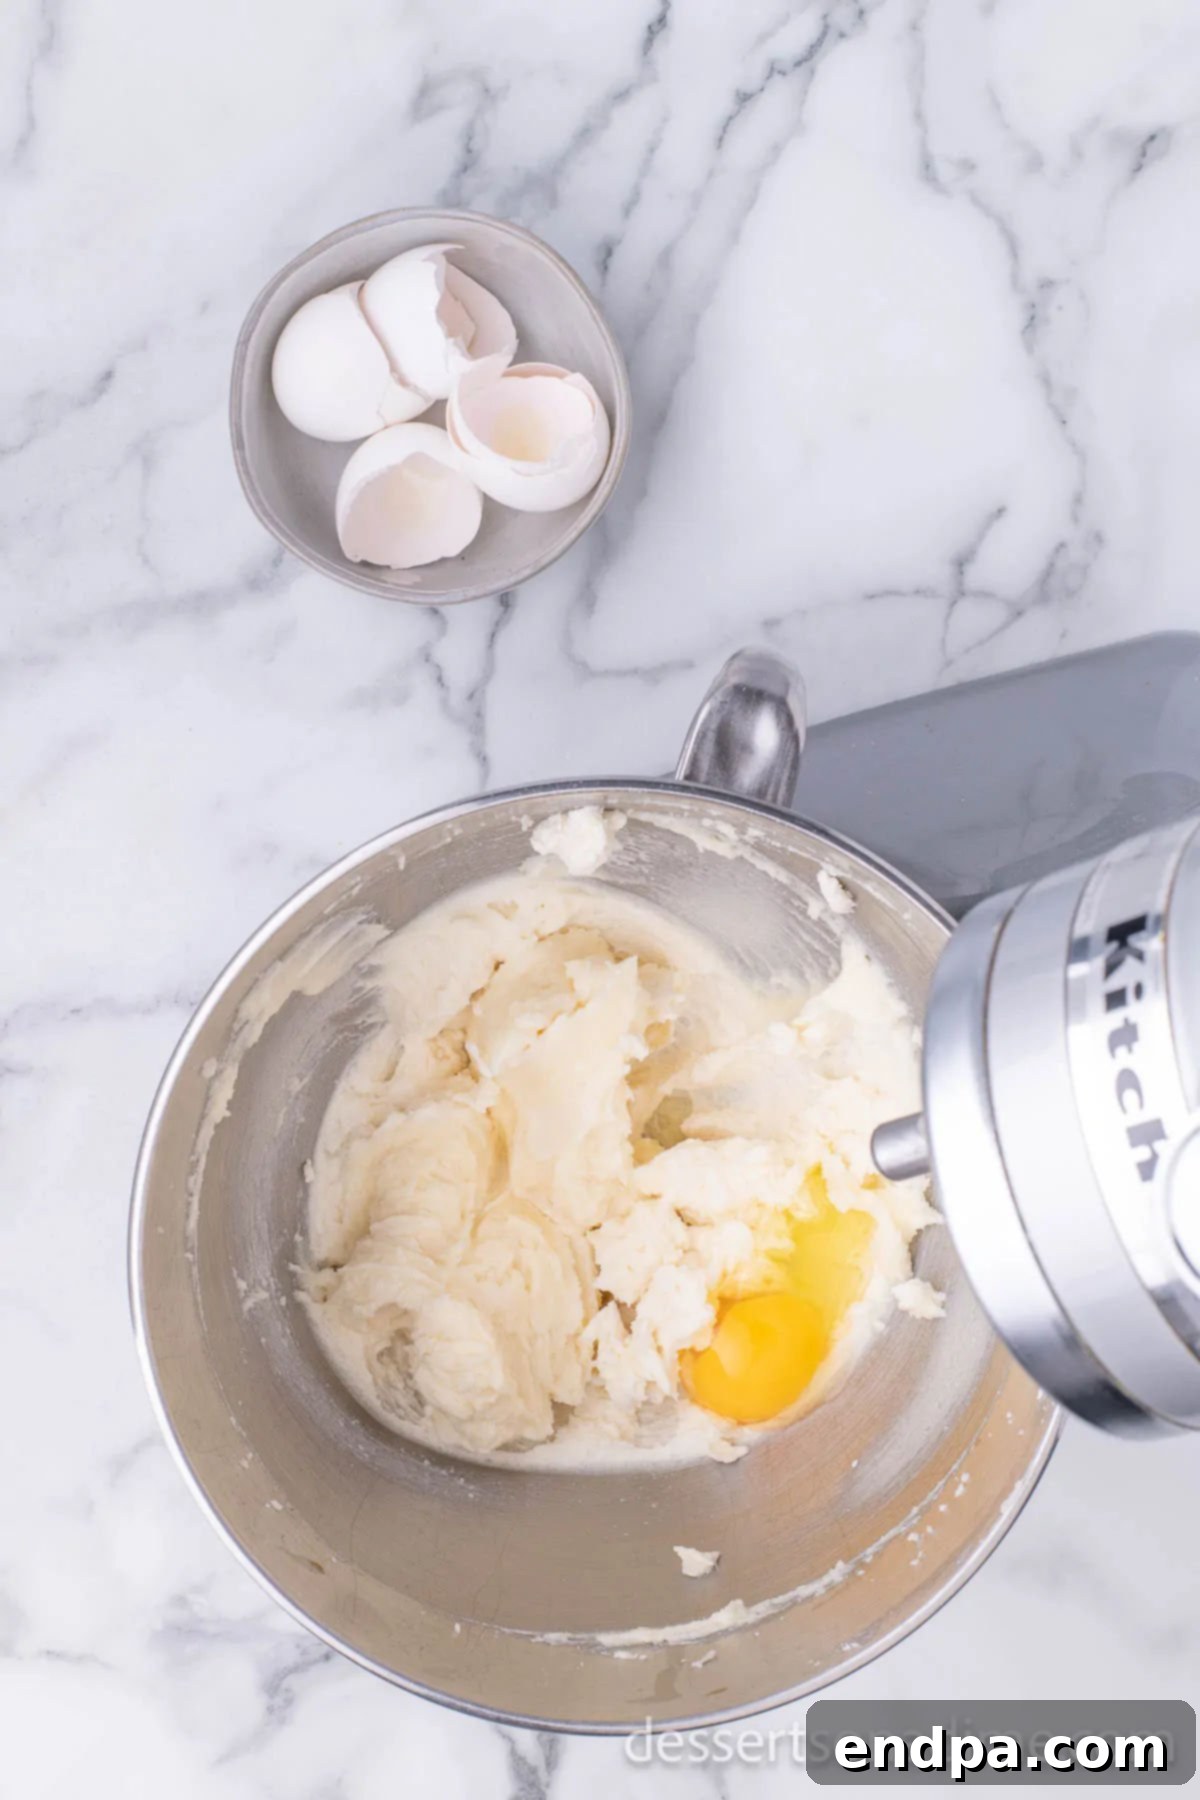
Step 3: Incorporate Eggs. Add the large eggs one at a time to the creamed butter and sugar. Mix thoroughly after each addition, scraping down the sides of the bowl as needed, until each egg is fully incorporated and the mixture is smooth.
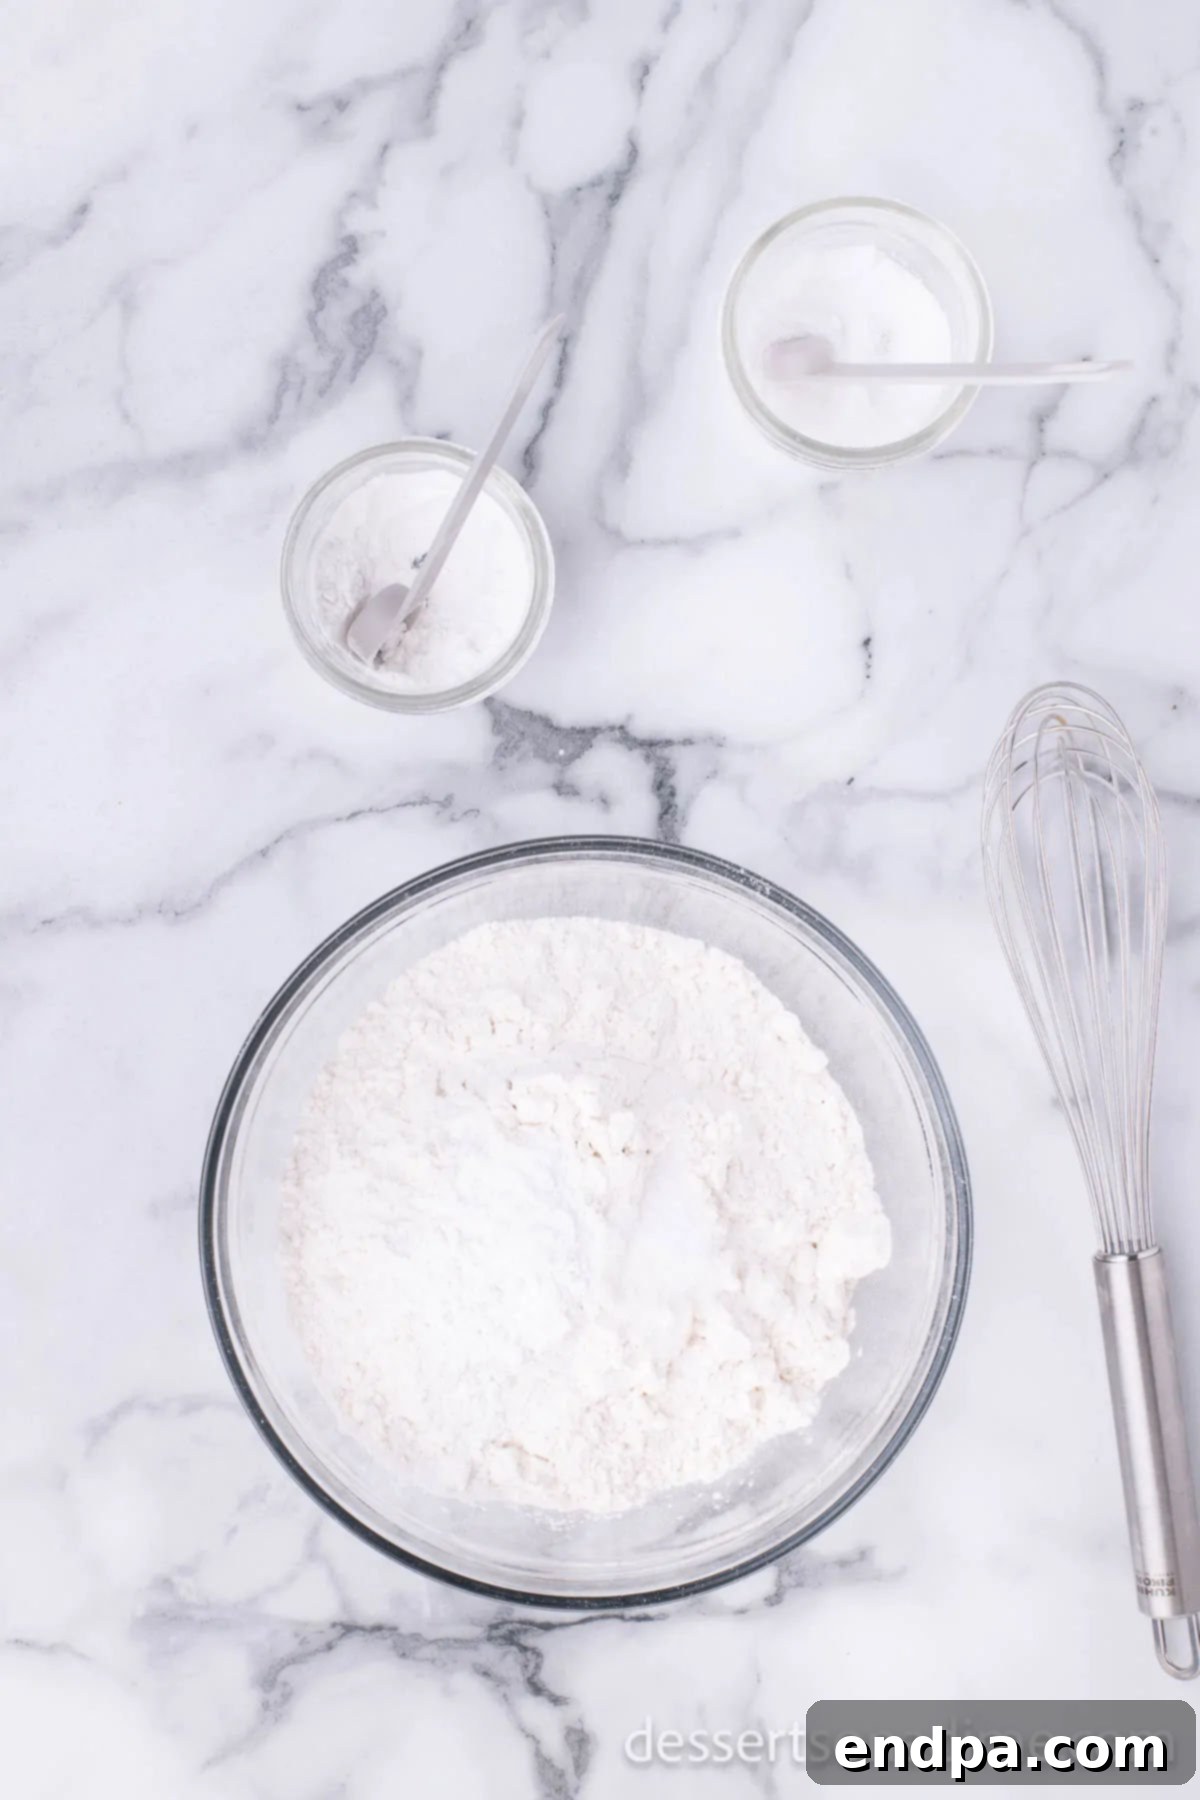
Step 4: Sift Dry Ingredients. In a separate medium bowl, sift together the all-purpose flour, baking powder, and salt. Sifting helps to aerate the flour and ensures these dry ingredients are evenly distributed in the dough.
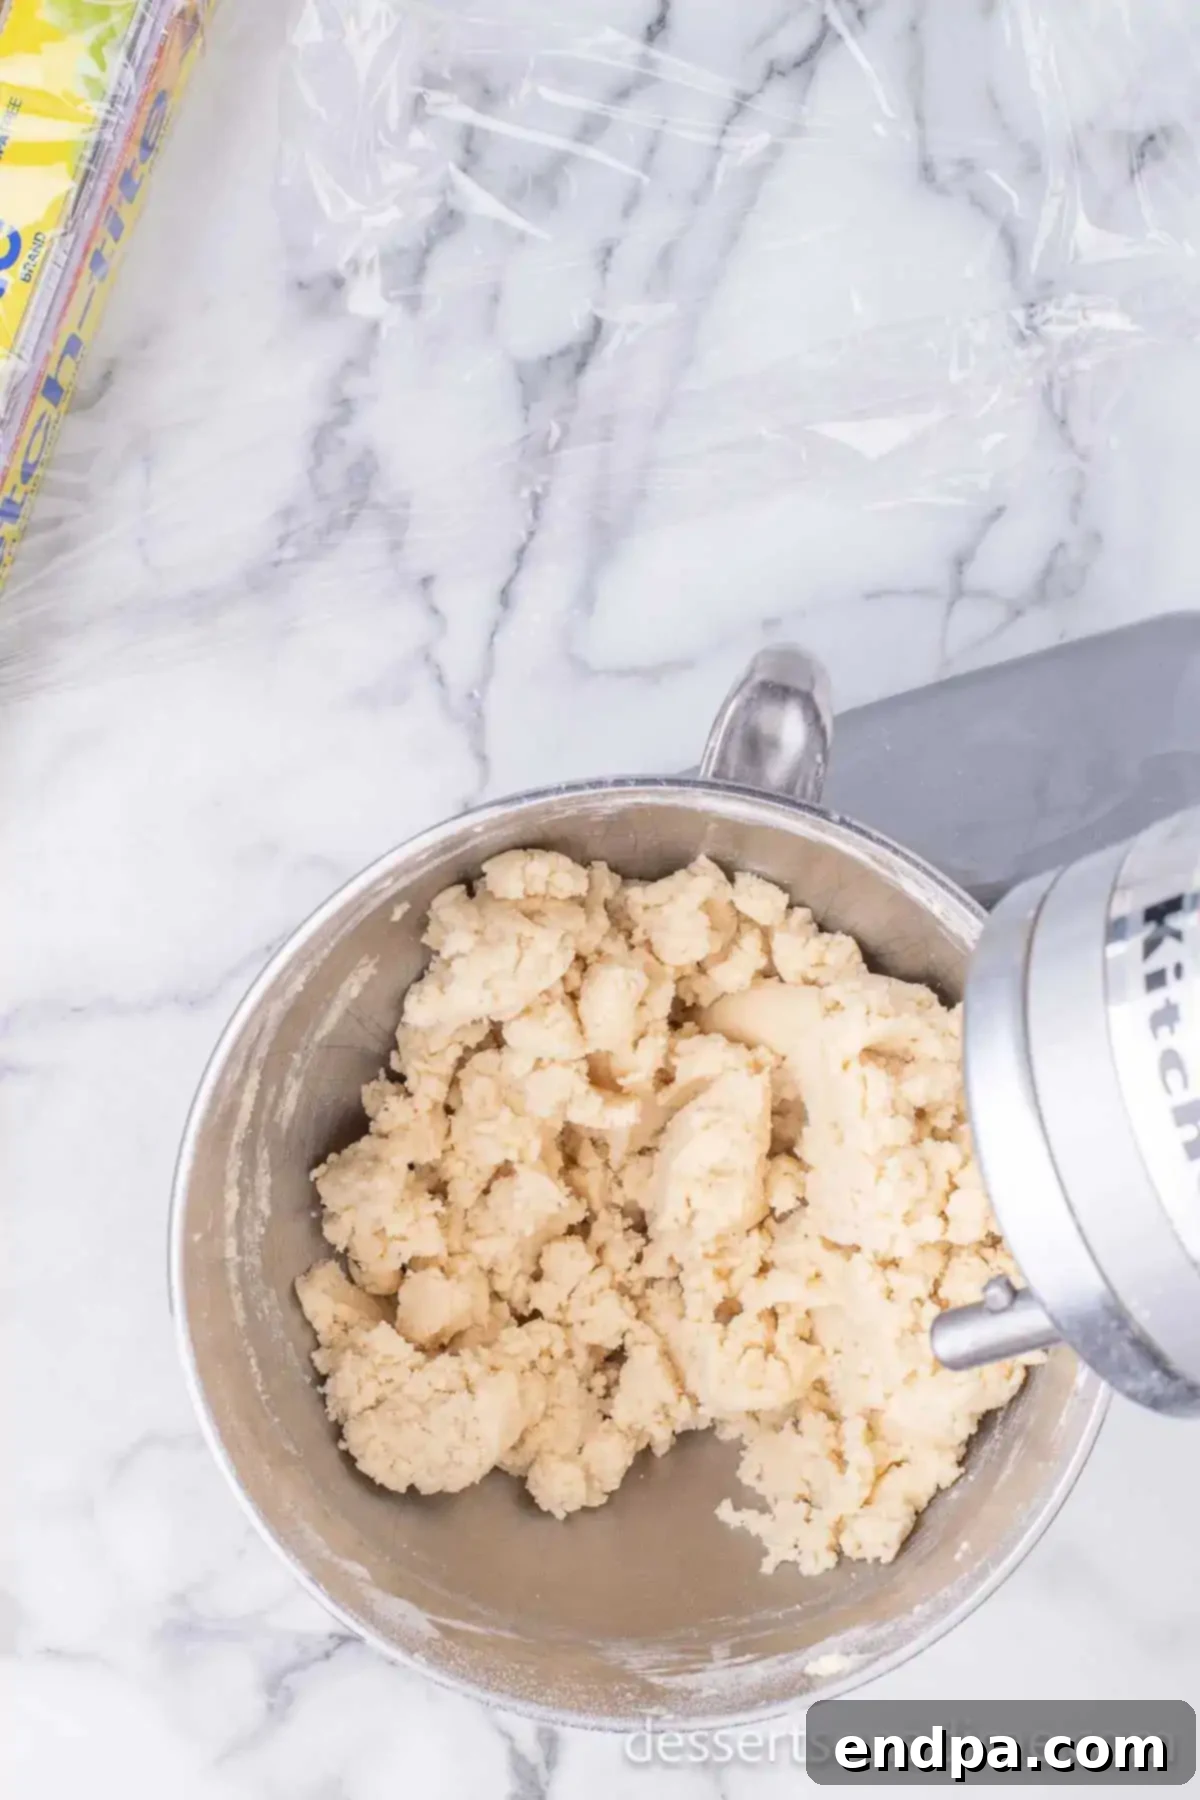
Step 5: Combine Wet and Dry. Gradually add the sifted dry mixture to the wet mixture in the stand mixer. Mix on low speed with the paddle attachment until just combined. Be careful not to overmix, as this can lead to tough cookies. Mix until no streaks of flour remain.
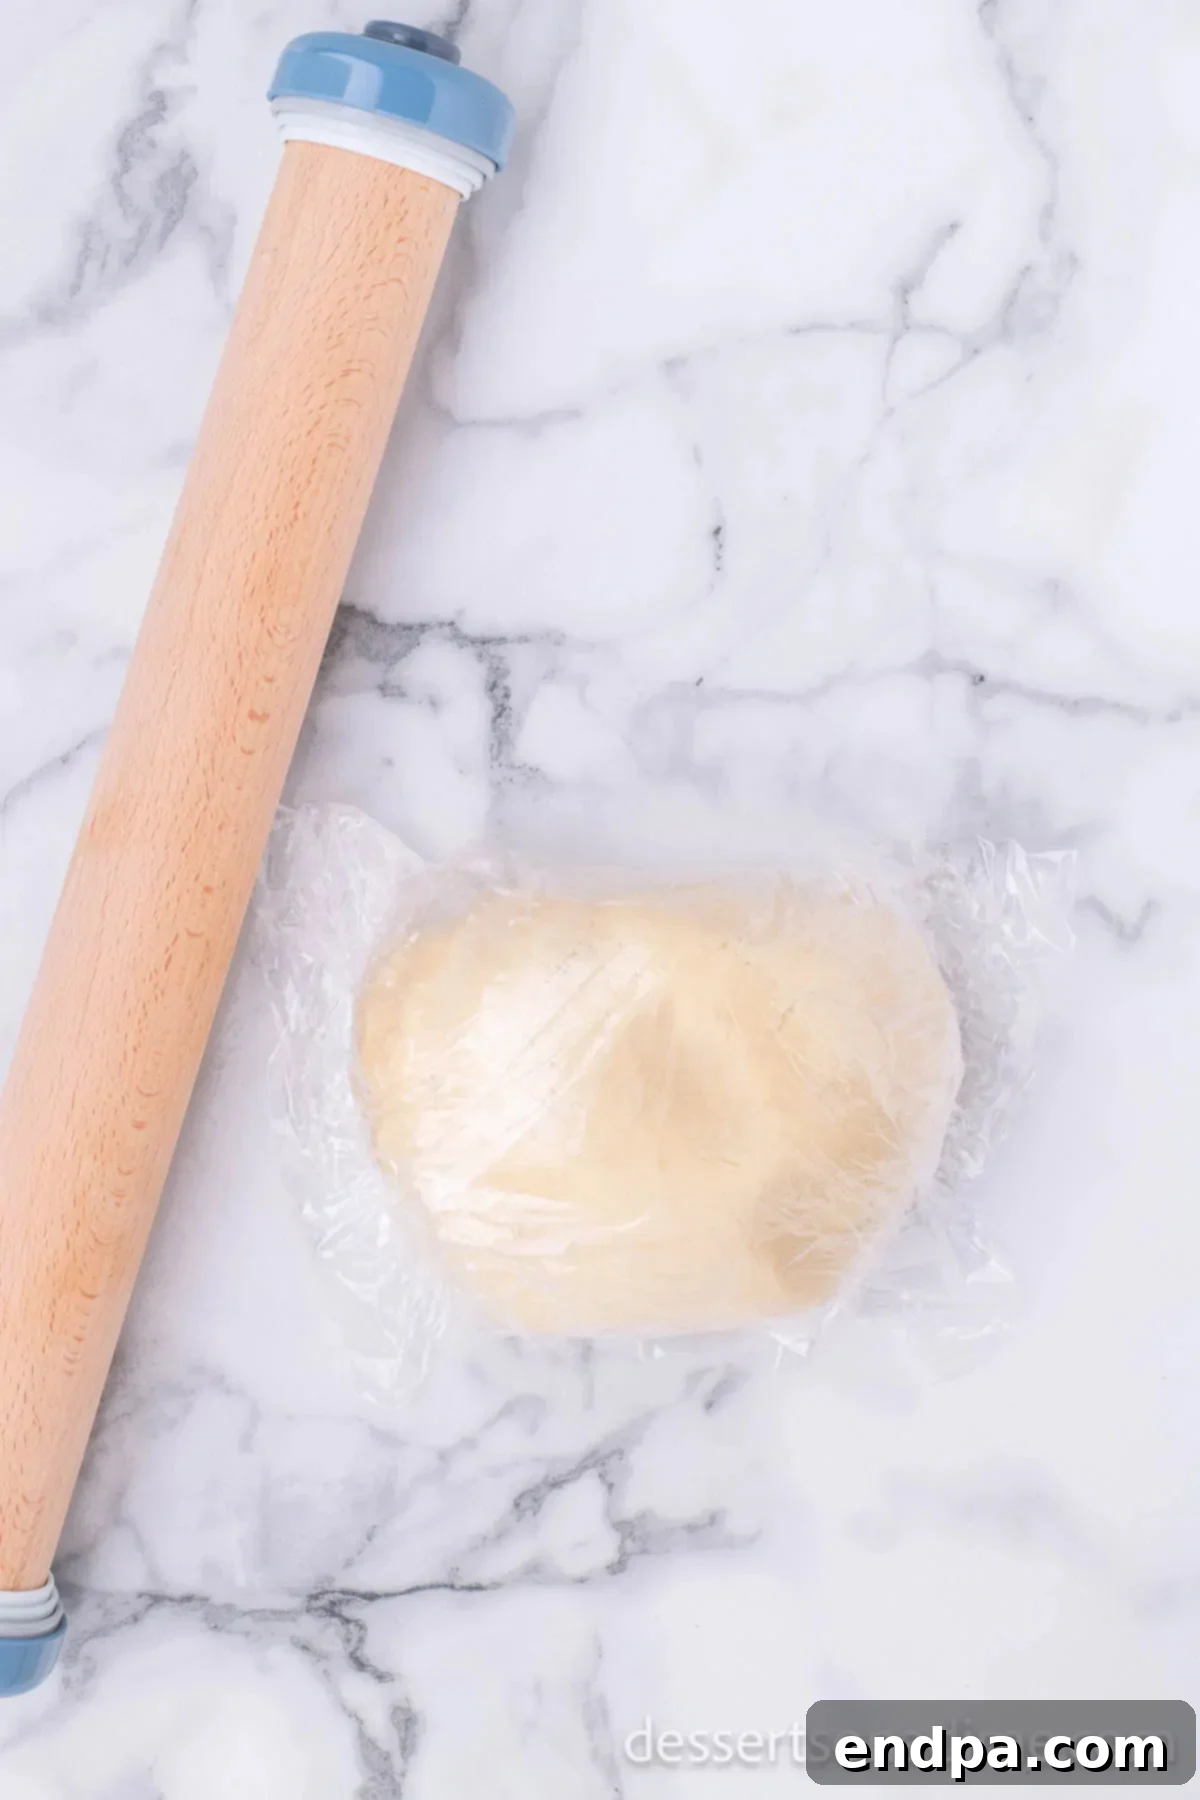
Step 6: Chill the Dough. Gather the sugar cookie dough into a cohesive ball. Wrap it tightly in plastic wrap, ensuring the entire dough ball is covered to prevent it from drying out. Refrigerate for a minimum of 6 hours, or ideally, overnight. Chilling the dough is crucial as it allows the butter to solidify, preventing the cookies from spreading excessively during baking and ensuring they hold their shape beautifully.
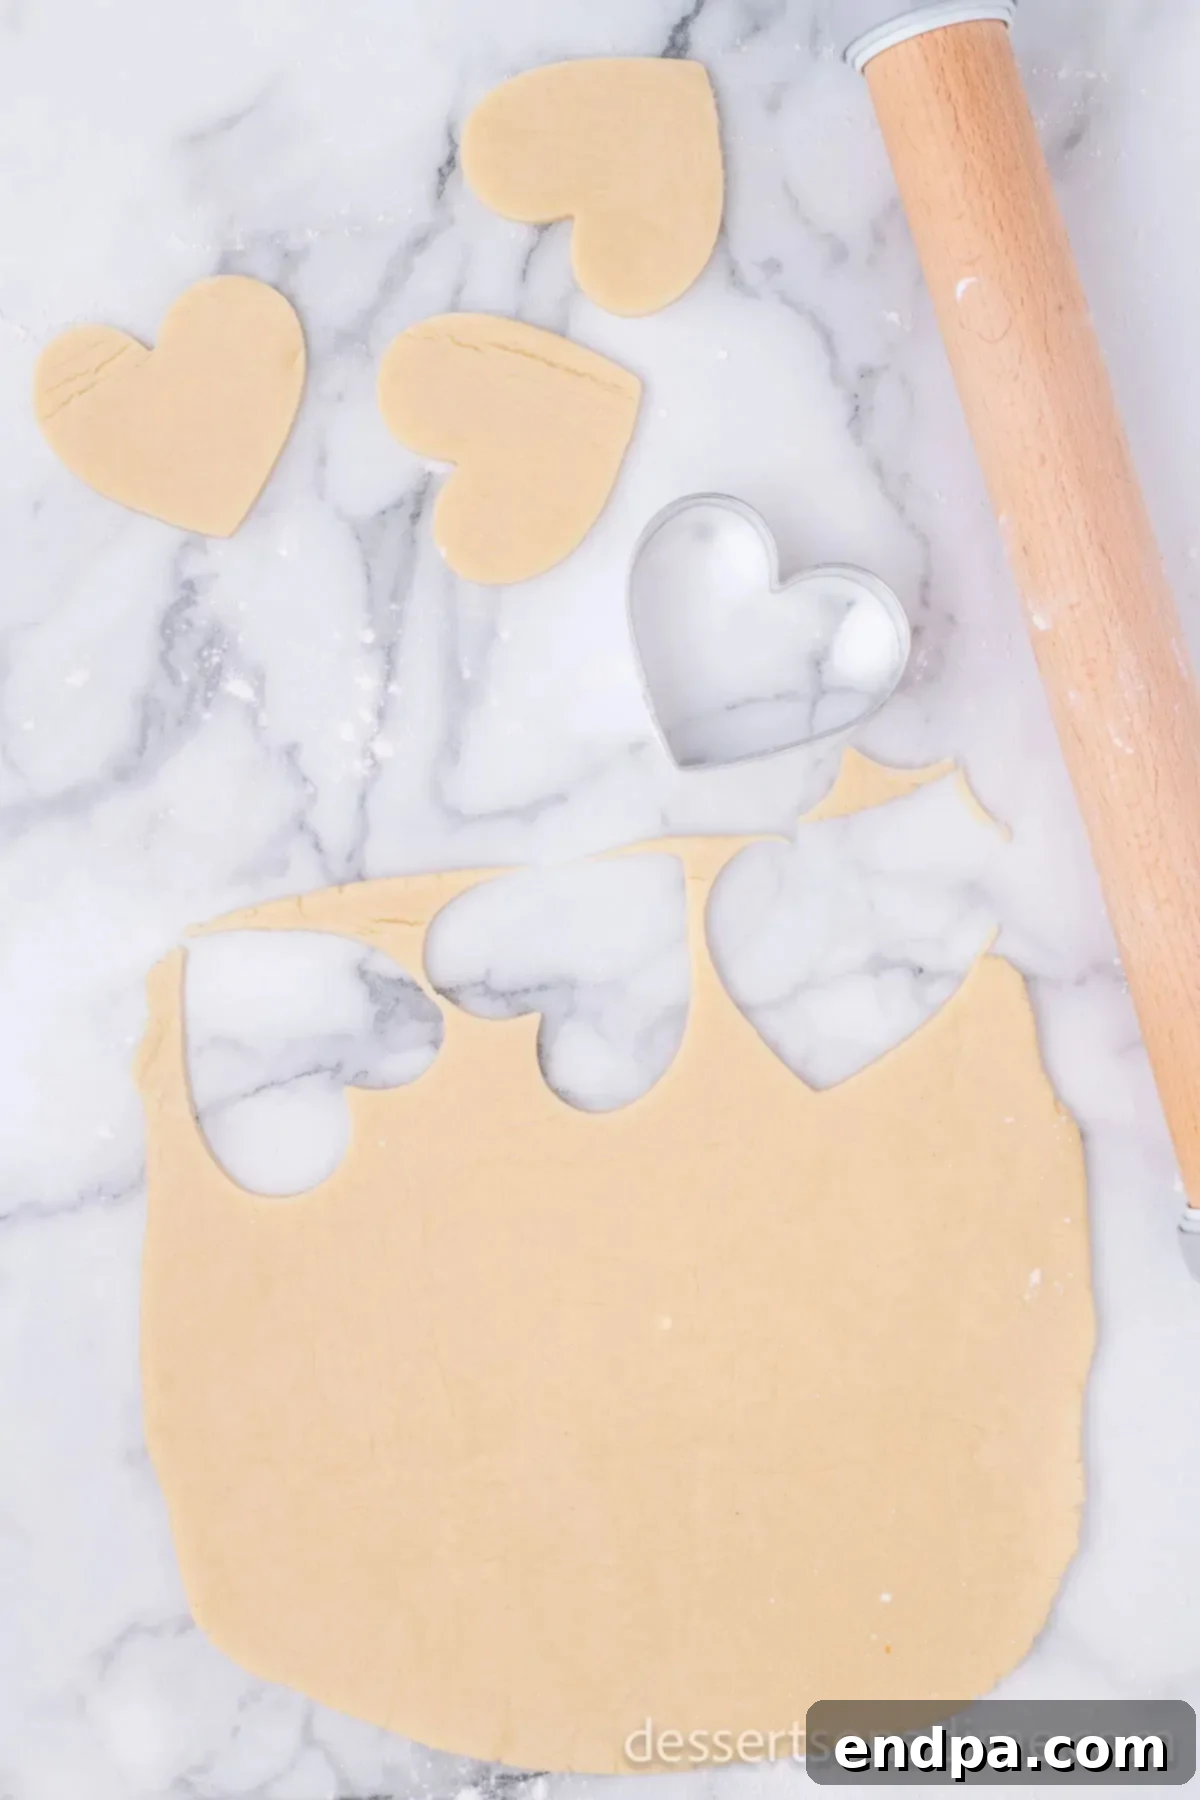
Step 7: Roll and Cut Cookies. Once the dough is thoroughly chilled and firm, remove it from the refrigerator and let it sit at room temperature for about 10-15 minutes to soften slightly, making it easier to roll. Lightly dust your work surface with flour, and lightly flour your rolling pin as well. Roll out the dough to an even thickness, approximately ¼ inch. Use your heart cookie cutters to cut out the shapes. Re-roll any scraps of dough gently, only once or twice, to cut more cookies.
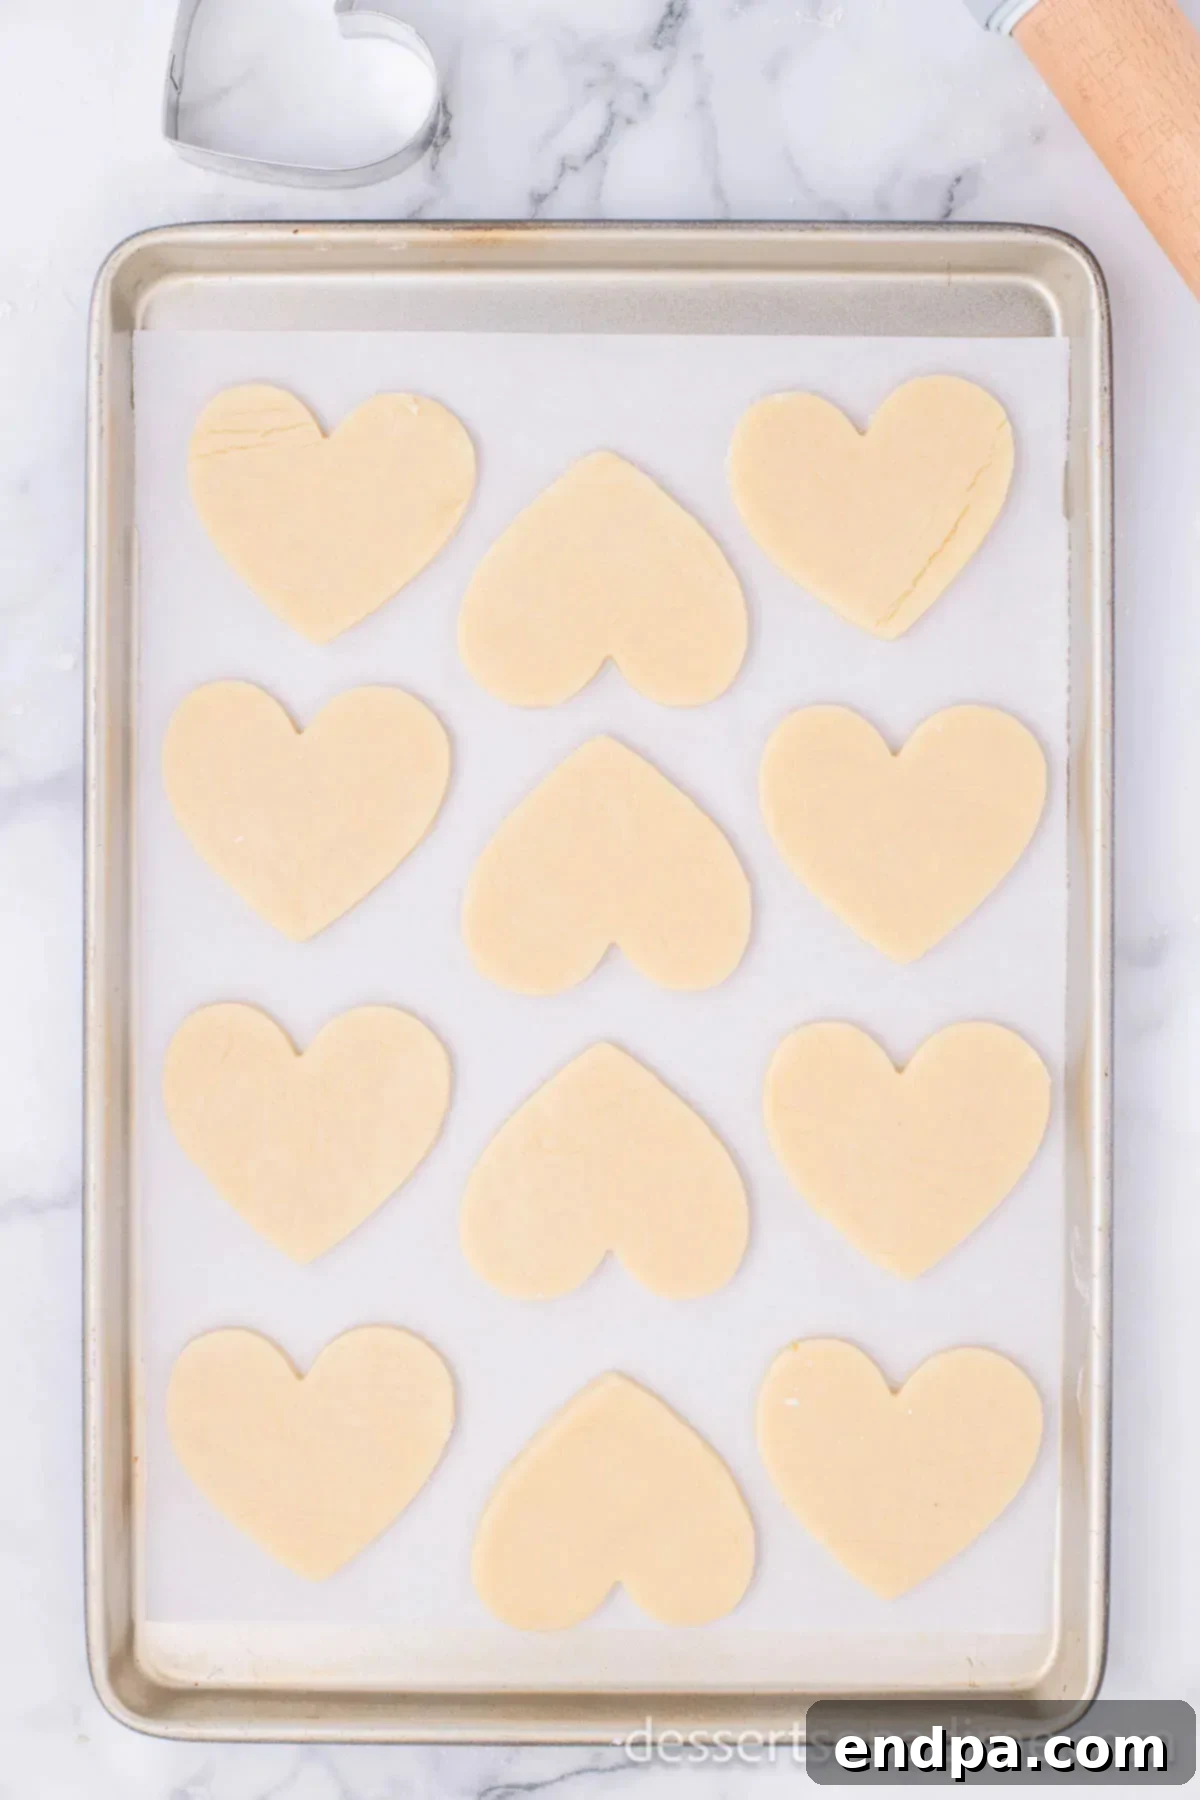
Step 8: Arrange on Baking Sheet. Carefully transfer the cut-out heart cookies to your prepared baking sheets, leaving about 1-2 inches between each cookie to allow for slight spreading. Avoid overcrowding the baking sheet.
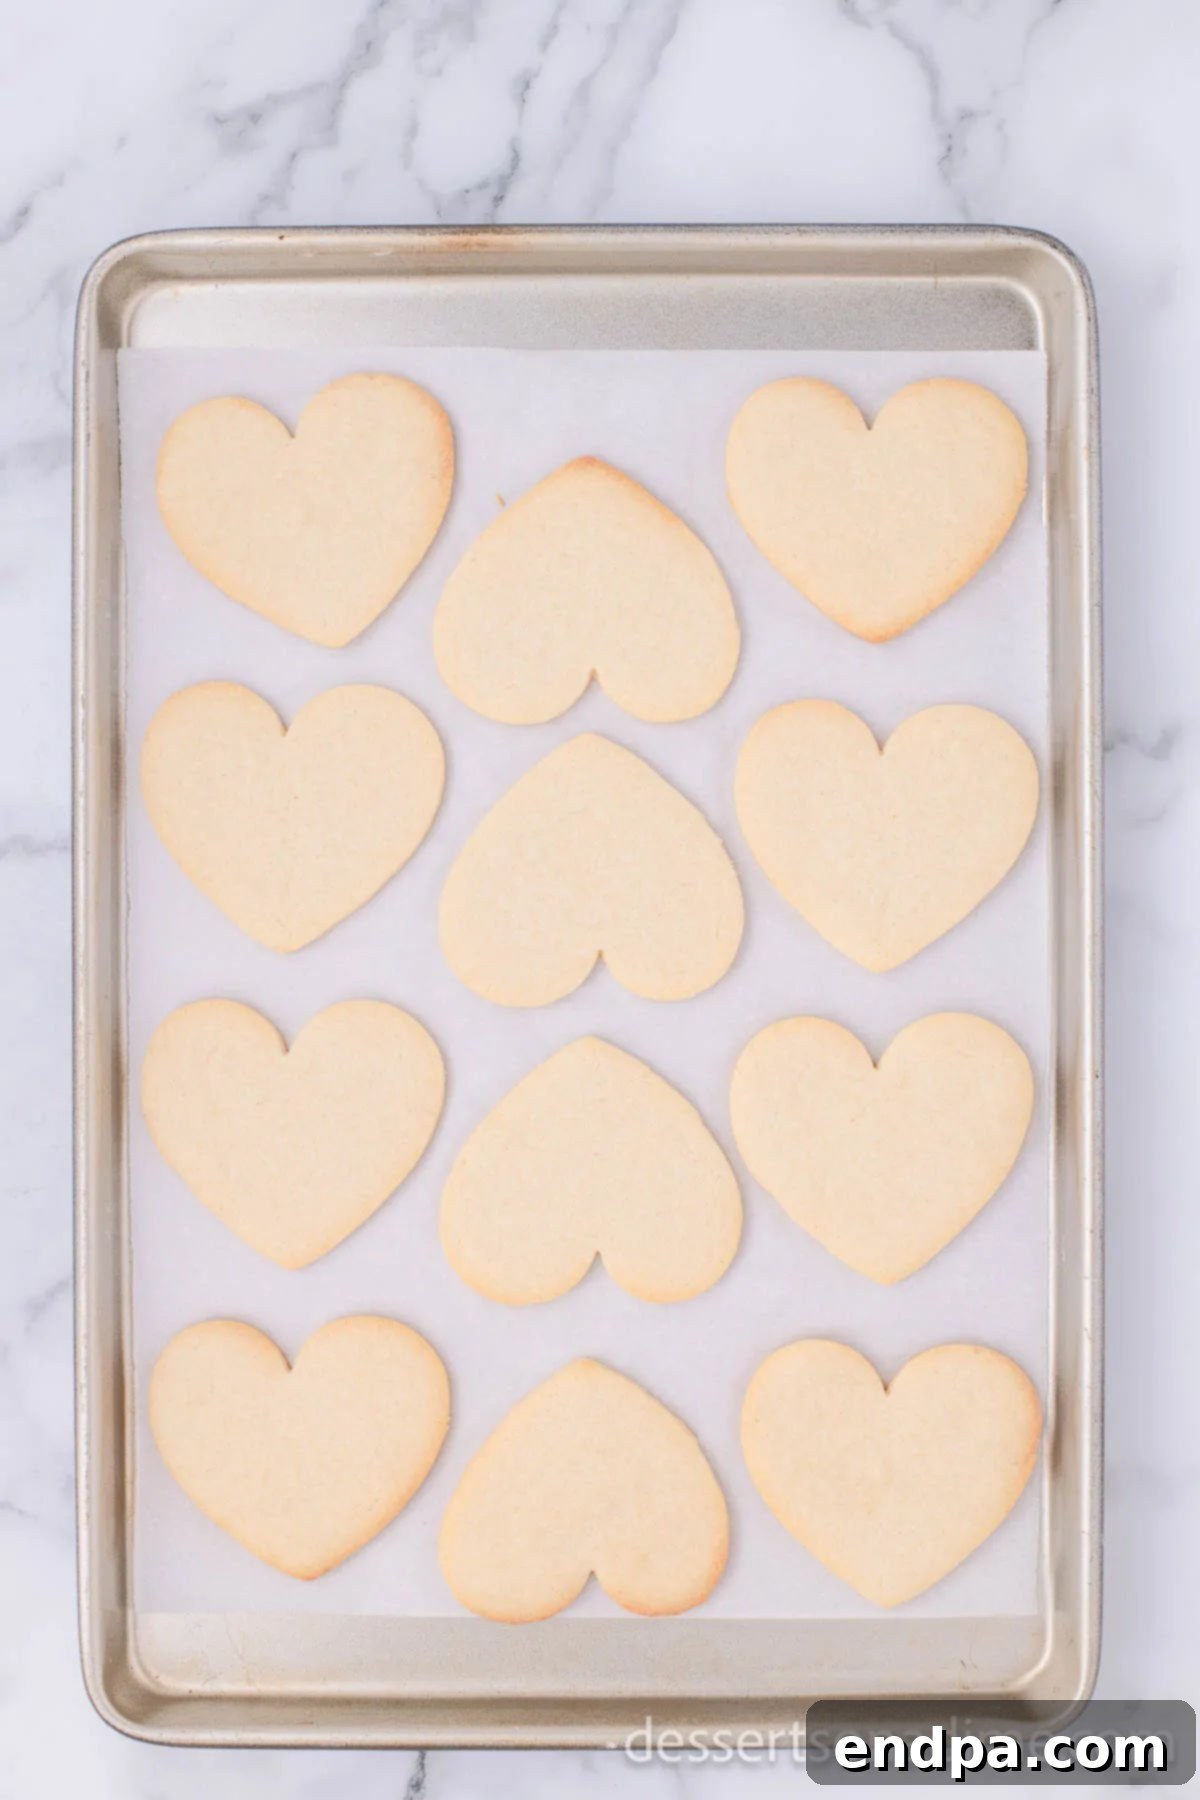
Step 9: Bake and Cool. Bake the cookies in the preheated oven for 8 to 10 minutes. The exact baking time may vary based on your oven and cookie thickness. Look for the edges to be lightly golden brown; the centers should still be pale. Do not overbake, as this will result in dry cookies. Once baked, remove the cookie sheets from the oven and let the cookies cool on the sheet for a few minutes before transferring them to a wire cooling rack to cool completely. This crucial step prevents them from breaking and ensures they are firm enough for icing.
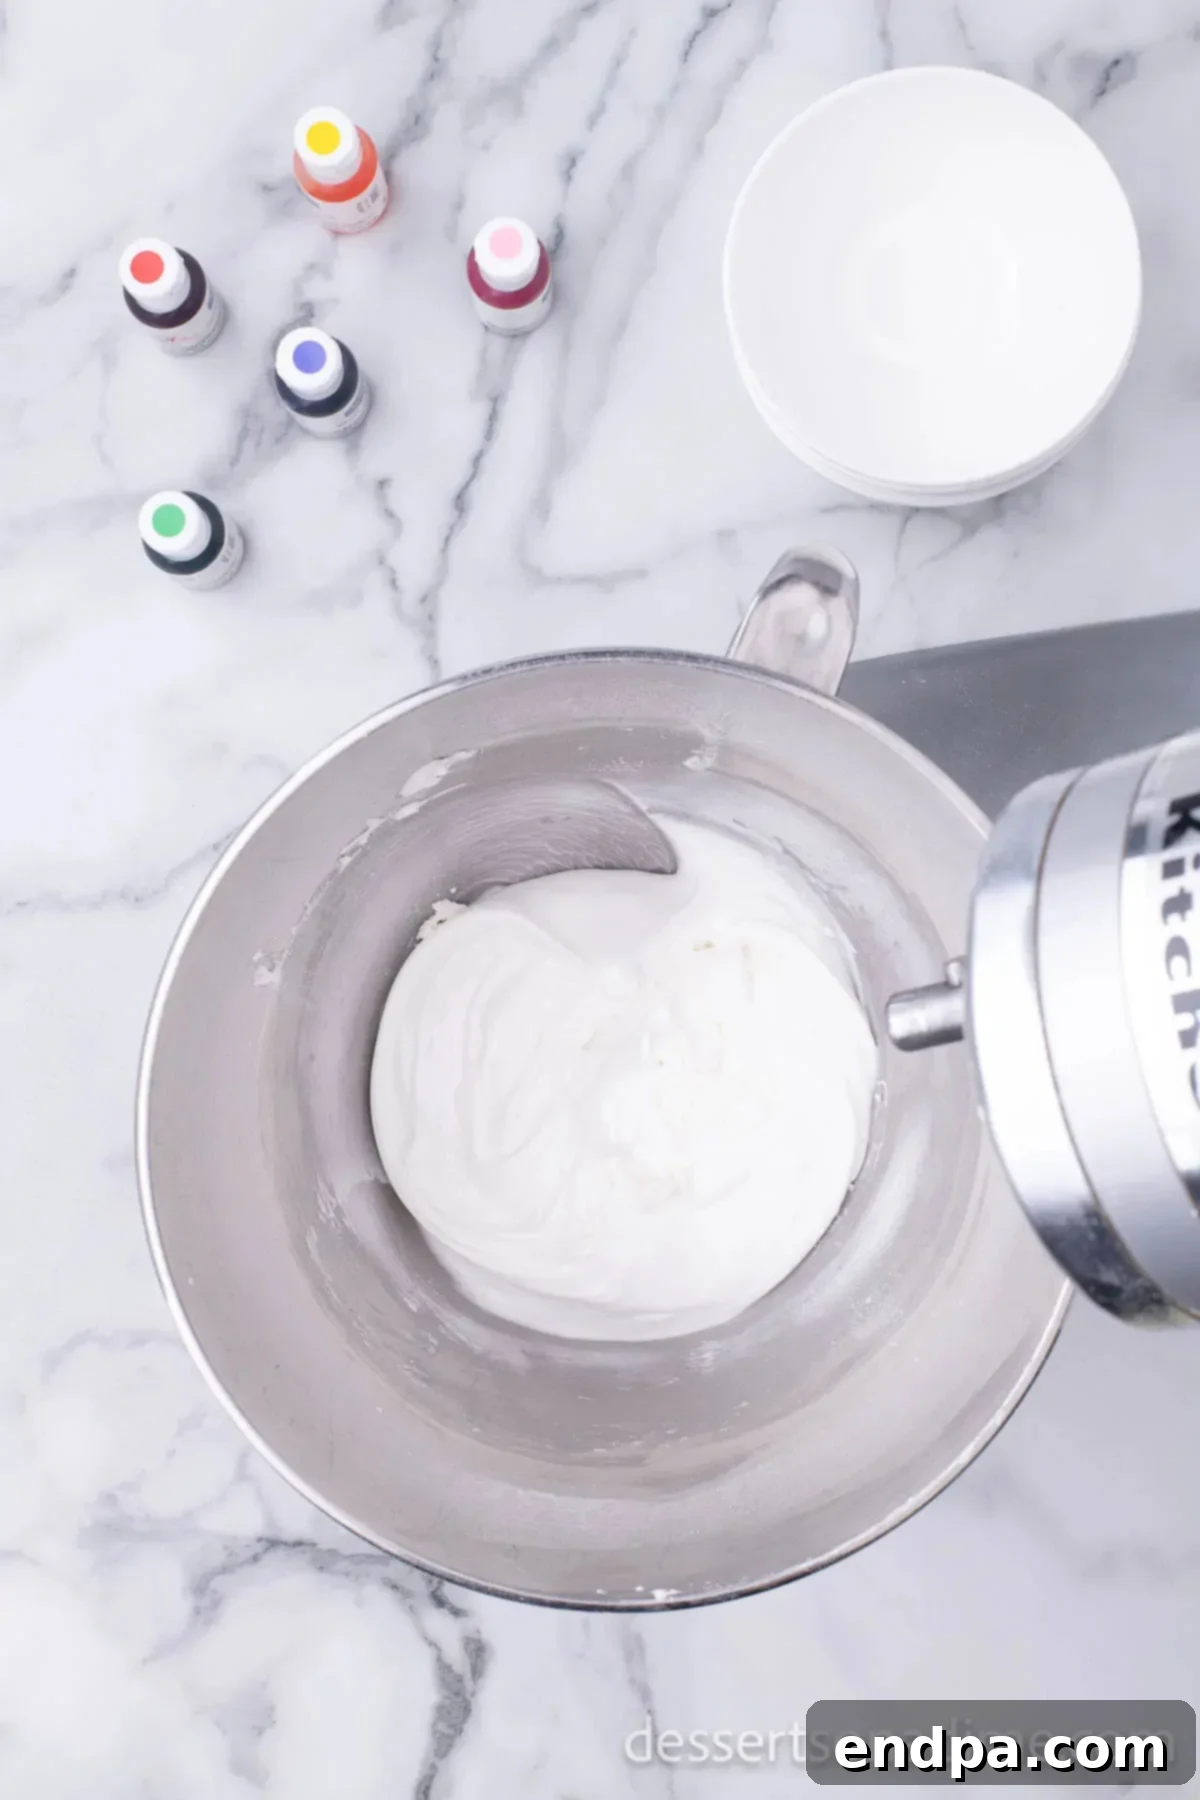
Step 10: Prepare the Royal Icing. While the cookies are cooling, it’s time to prepare the royal icing. In a clean, large mixing bowl, combine the egg whites, sifted powdered sugar, and cream of tartar. Using a hand mixer or stand mixer, beat the mixture on medium speed for about 4 minutes, until stiff peaks form. The icing should be thick enough to hold its shape. To test for a “15-second consistency,” drag a knife or spatula through the icing; the line should disappear in approximately 15 seconds. If the icing is too stiff, add a tiny amount of water (¼ teaspoon at a time). If it’s too thin, add ¼ cup more sifted powdered sugar until the desired consistency is achieved.
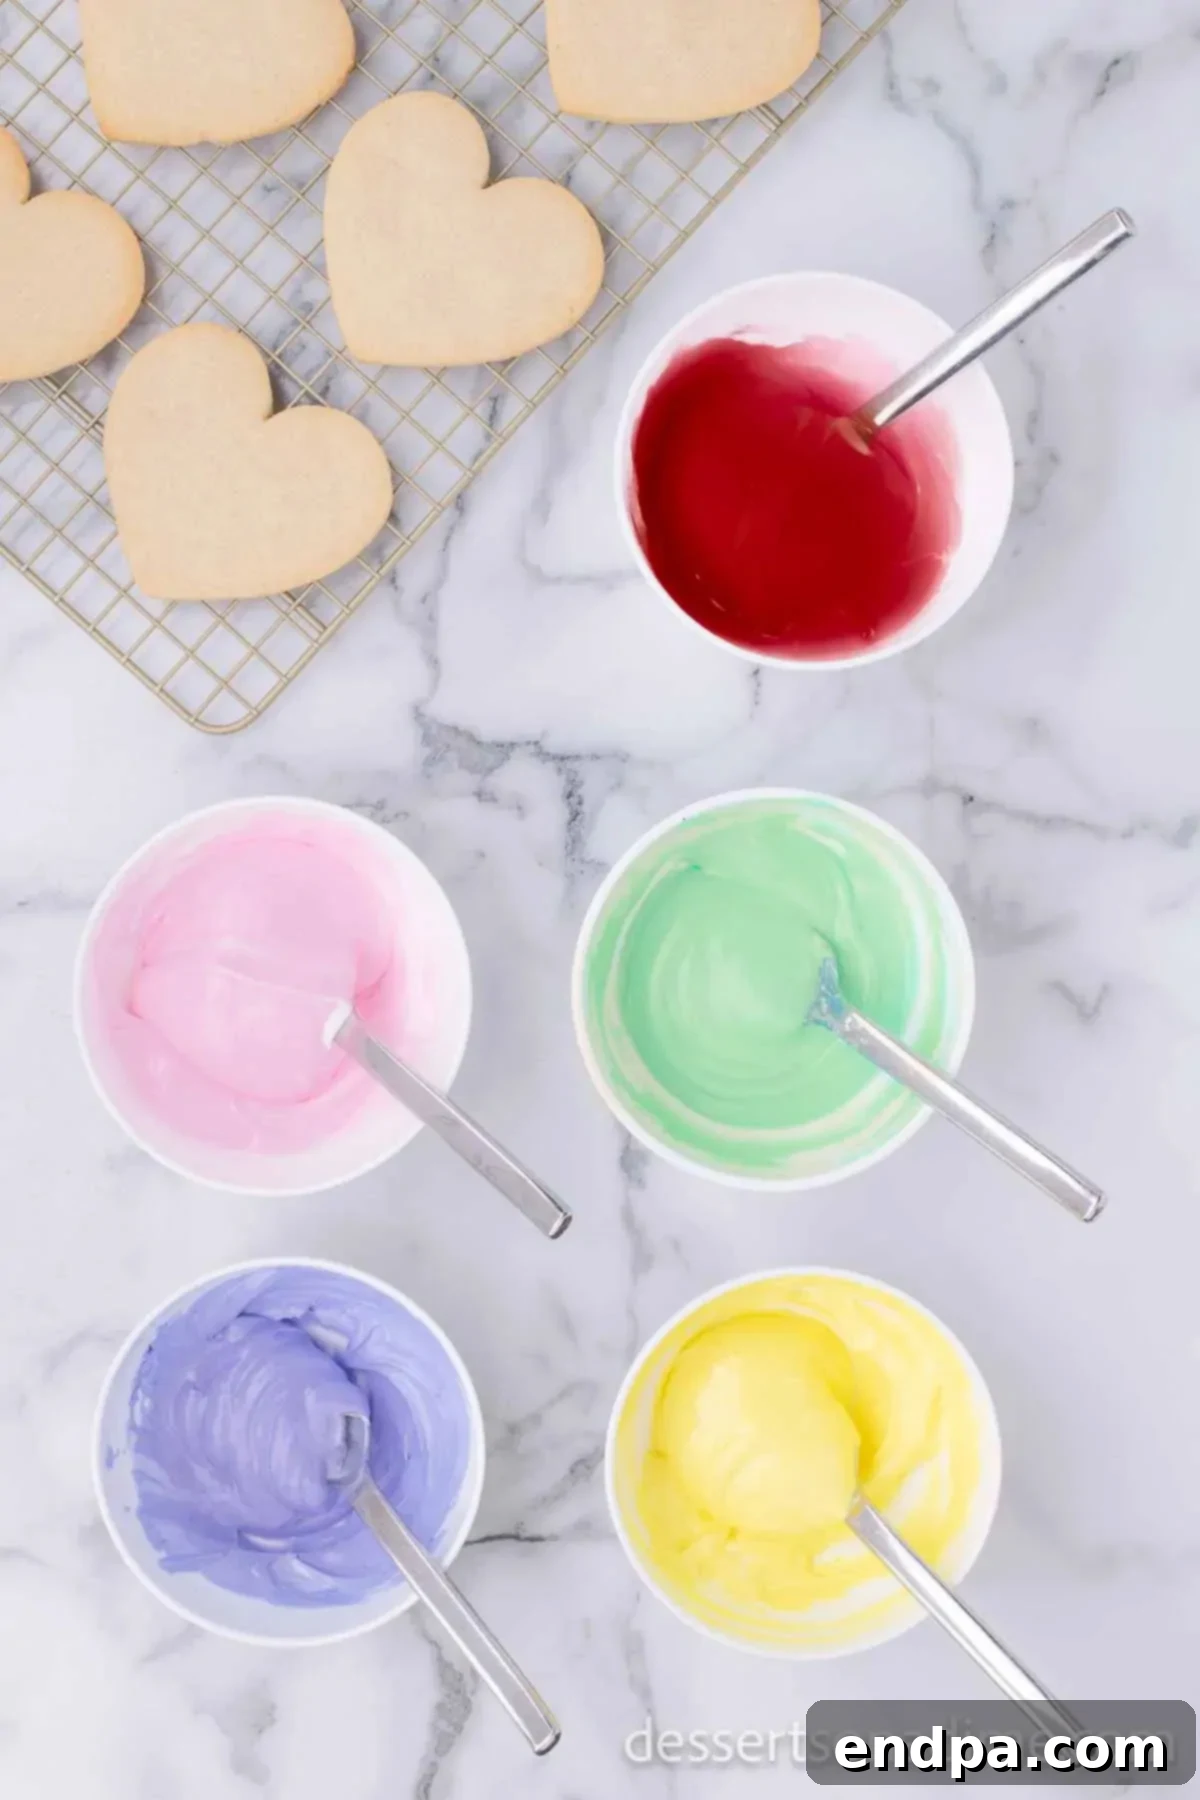
Step 11: Color the Icing. Divide the prepared royal icing into 5 small bowls, or as many as you need for your chosen colors. Stir a small amount of gel food coloring of your choice into each bowl, mixing until you achieve your desired pastel shades. For Valentine’s Day, popular choices include pink, yellow, purple, and green, with a separate bowl for a darker red or contrasting color for writing. Adjust the intensity of the color by adding more gel coloring incrementally.
Mastering the Decoration
Decorating these cookies is the most fun part, allowing your creativity to shine!
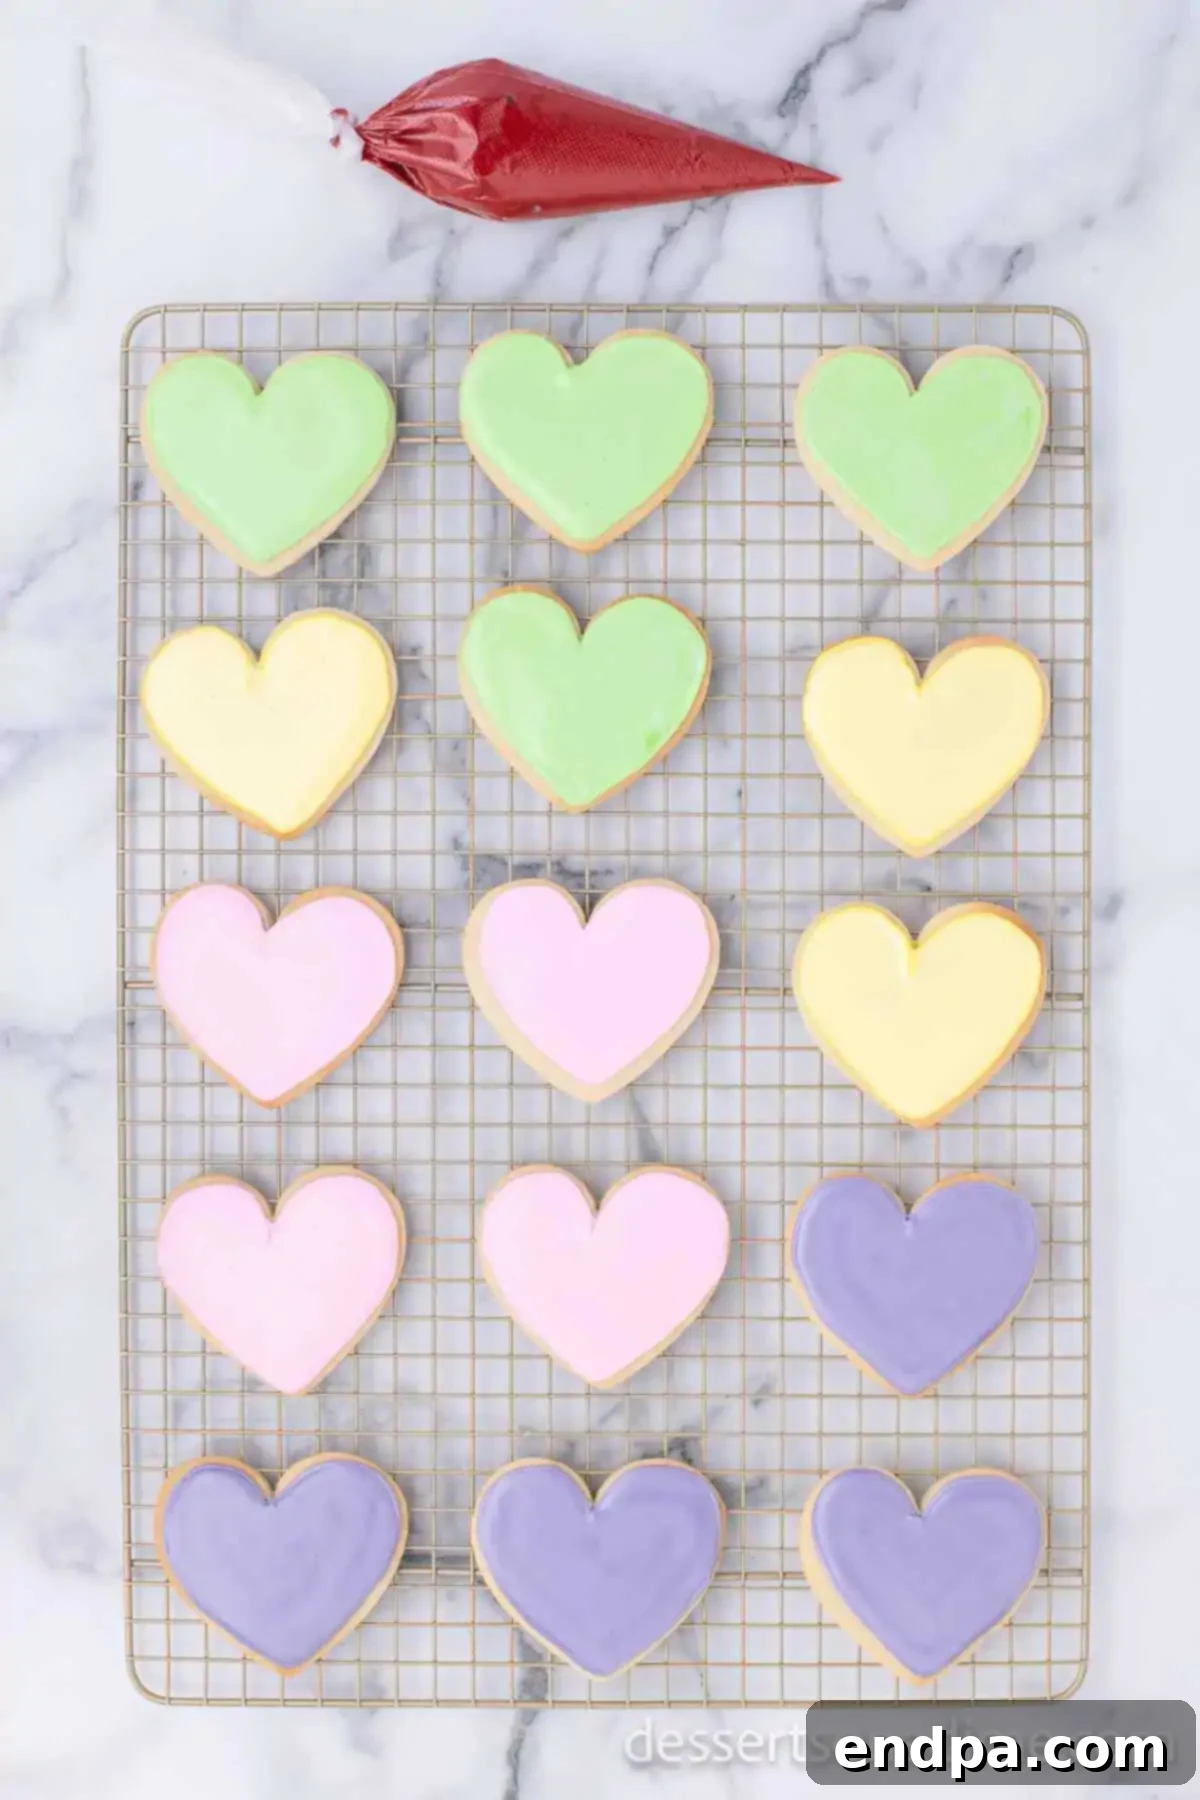
Step 1: Outline and Flood. Transfer the pastel-colored icing into separate piping bags fitted with small round tips (like a #2 tip). Start by outlining each cookie with a border of icing. Immediately after outlining, “flood” the inside of the border with more of the same colored icing, using a clean toothpick or scribe tool to gently spread it to the edges and pop any air bubbles. This creates a smooth, flat base layer. Allow this initial layer of icing to cool and set completely for at least 2 to 3 hours, or even longer, before adding any further details. This prevents colors from bleeding into each other.

Step 2: Add Details and Messages. Once the base layer of icing is completely dry, take your red (or chosen contrasting color) icing and place it into a piping bag fitted with a very small tip, such as a #1. Now, you can carefully write your favorite Valentine’s Day sayings in the center of each cookie, or create decorative outlines and patterns. Popular ideas for conversation hearts include “Love,” “BFF,” “Cutie,” “XOXO,” “Call Me,” “Hug,” “Kiss,” or personalize them with names or short messages.
- Step 3: Final Drying. After all the writing and detailing are complete, allow the cookies to air dry uncovered for another 2 to 3 hours, or until the writing icing has fully hardened. It’s crucial not to cover the cookies during this drying process, as humidity can prevent the icing from setting properly.
Pro Tips for Perfect Cookies
Achieve bakery-quality results with these expert tips:
- Allow Icing to Cool and Set: Patience is key in cookie decorating. Ensure each layer of icing (the base flood and any detailed writing) has completely set and hardened before adding subsequent layers or handling the cookies. Rushing this step can lead to smudged designs and colors bleeding.
- Thoroughly Chill the Dough: This is arguably the most important step for perfectly shaped cookies. The dough needs to be refrigerated for at least 6 hours, but ideally overnight. Chilling prevents the butter from melting too quickly in the oven, thus stopping the cookies from spreading and losing their shape.
- Use Room Temperature Ingredients: For both the cookie dough and the royal icing, using ingredients at room temperature (especially butter and eggs) allows them to combine more smoothly and evenly, resulting in a better emulsion and a more consistent final product.
- Do Not Overbake the Cookies: Sugar cookies should be baked just until their edges are lightly golden, while the centers remain pale. Overbaking will result in dry, crumbly cookies. Keep a close eye on them during the last few minutes of baking.
- Sift Dry Ingredients: Always sift your flour, baking powder, and salt together. This step removes lumps and ensures these dry ingredients are evenly distributed throughout the dough, contributing to a uniform texture.
- Don’t Overwork the Dough: Once the dry ingredients are added, mix just until combined. Overworking the dough develops too much gluten, which can lead to tough cookies.
- Even Thickness is Key: When rolling out the dough, aim for a consistent ¼-inch thickness. This ensures all cookies bake evenly, preventing some from being undercooked while others are overbaked.

Frequently Asked Questions (FAQs)
Here are answers to common questions about making and decorating Valentine’s Day sugar cookies:
Absolutely! Preparing the cookie dough ahead of time is highly recommended. The dough requires at least 6 hours of chilling, but it can be made up to 2-3 days in advance and stored tightly wrapped in the refrigerator. This makes the baking process much more manageable, especially for busy holidays.
Adjusting royal icing consistency is common. If your icing is too thick, add water a tiny drop at a time (using an eyedropper works well) until it reaches the desired flow. If it’s too thin, gradually add more sifted powdered sugar until it thickens. For outlining and writing, you’ll want a slightly thicker consistency, while for flooding, a thinner (15-second) consistency is ideal.
Cookies typically spread if the dough was not chilled long enough, or if the butter in the dough was too soft before baking. Ensure your butter is softened to the correct room temperature (still slightly cool to the touch, not melted) and that the dough chills for the recommended time, preferably overnight.

Storage and Freezing Tips
Proper storage ensures your beautiful Valentine’s Day sugar cookies stay fresh and delicious:
How to Store Decorated Sugar Cookies: Once the royal icing has completely hardened (which can take several hours), store the heart sugar cookies at room temperature in an airtight container. Layer the cookies gently, using parchment paper between layers if you have many, to prevent any sticking or damage to the decorations. Stored this way, the cookies will keep fresh and delicious for up to 5 to 7 days.
Can You Freeze Heart-Shaped Sugar Cookies? Yes, these cookies freeze beautifully, both plain and decorated! If freezing decorated cookies, ensure the icing is completely dry and hard before storage. Place the cookies in a single layer on a baking sheet and flash freeze for about 30 minutes until solid. Then, transfer them to a freezer-safe airtight container, separating each layer with parchment paper to prevent sticking and protect the decorations. The cookies will maintain their quality in the freezer for up to 3 months. When you’re ready to enjoy them, allow them to thaw slowly in the refrigerator overnight or at room temperature for a few hours before serving.
Serving and Gifting Ideas
These Valentine’s Day sugar cookies are perfect for many occasions:
- Valentine’s Day Parties: Arrange them on a festive platter as a sweet centerpiece.
- Gifts for Loved Ones: Package a few cookies in a clear cellophane bag with a ribbon for a thoughtful, homemade present.
- Classroom Treats: Share the love with classmates (check school policies first!).
- Dessert Table: A colorful addition to any holiday dessert spread.
- Breakfast or Brunch: A delightful treat to start a special Valentine’s Day morning.
Explore More Valentine’s Day Desserts
If you loved these heart-shaped sugar cookies, be sure to try these other fantastic Valentine’s Day dessert recipes:
- Valentine’s Day Cake Mix Cookies
- Valentine’s Day Poke Cake Recipe
- Chocolate Heart Cupcakes
- Valentine’s Day Chocolate Covered Pretzel Rods
- 35 Valentine’s Day Cupcakes
This Valentine’s Day sugar cookies recipe is sure to be a favorite. We encourage you to try it today and spread the love with these charming, delicious treats!
Valentine’s Day Sugar Cookies
Ingredients
- Cookie Ingredients:
- 5 C flour
- 2 tsp baking powder
- 1 tsp salt
- 1 1/2 cup unsalted butter softened at room temperature
- 2 cups granulated sugar
- 4 eggs
- Icing Ingredients:
- 2 egg whites
- 1 cup powdered sugar
- 1/2 tsp cream of tartar
- Gel Food Coloring
Instructions
- COOKIE INSTRUCTIONS:
- Preheat oven to 325 degrees F.
- Cream the soft butter with the sugar until the combination is smooth and not grainy to the touch in a mixing bowl.
- Add all 4 eggs at one time. Continue to mix until fully incorporated.
- Sift the flour, baking powder, and salt together. Add the dry mixture to the wet mixture. Continue mixing to make sure all ingredients are thoroughly blended, being careful not to overmix.
- Form the dough into a ball, wrap it in cling wrap completely covering the entire dough ball.
- Refrigerate for about 6 hours or overnight.
- Check to see if the dough is firm. Pull the cookie dough out of the refrigerator and let it sit out to soften up a bit (about 10-15 minutes).
- Lightly flour your work surface and rolling pin. Roll out the dough to an even ¼-inch thickness. Using a heart cookie cutter, begin to cut out your cookies.
- Line the cookie sheet with parchment paper or a silicone mat.
- Using a metal spatula, carefully move the cut cookies to the lined cookie sheet, leaving space between each.
- Bake at 325 degrees F for 8-10 minutes until the cookies are lightly browned around the edges.
- Remove the cookies from the oven and let them cool on the cookie sheet for a few minutes before transferring them to a wire rack to cool completely (approximately 10 minutes).
- ICING INSTRUCTIONS:
- Combine egg whites, powdered sugar, and cream of tartar in a mixing bowl. Mix on medium speed for 4 minutes until stiff peaks form. If the icing is not stiff enough, add ¼ C powdered sugar until it reaches a 15-second consistency (when a line drawn through the icing disappears in 15 seconds).
- Separate the icing into 5 small bowls. Mix the icing with the gel food coloring of your choice. Use pastel colors for the base (e.g., pink, yellow, purple, green) and a darker color like red for writing.
- Place the pastel icing in piping bags and outline and flood the cookies. Let this icing cool completely (2-3 hours) before proceeding.
- Place the red icing in a piping bag fitted with tip #1 and write your favorite Valentine’s Day sayings in the center of each cookie, such as Love, BFF, Cutie, XOXO, Call Me, Hug, Kiss, etc.
- Allow the writing icing to cool completely (another 2-3 hours). Do not cover the cookies while the icing is cooling.
- After the icing has cooled completely and hardened, store the cookies at room temperature in an airtight container for up to 5-7 days.
Nutrition Facts
Pin This Now to Remember It Later
Pin Recipe
