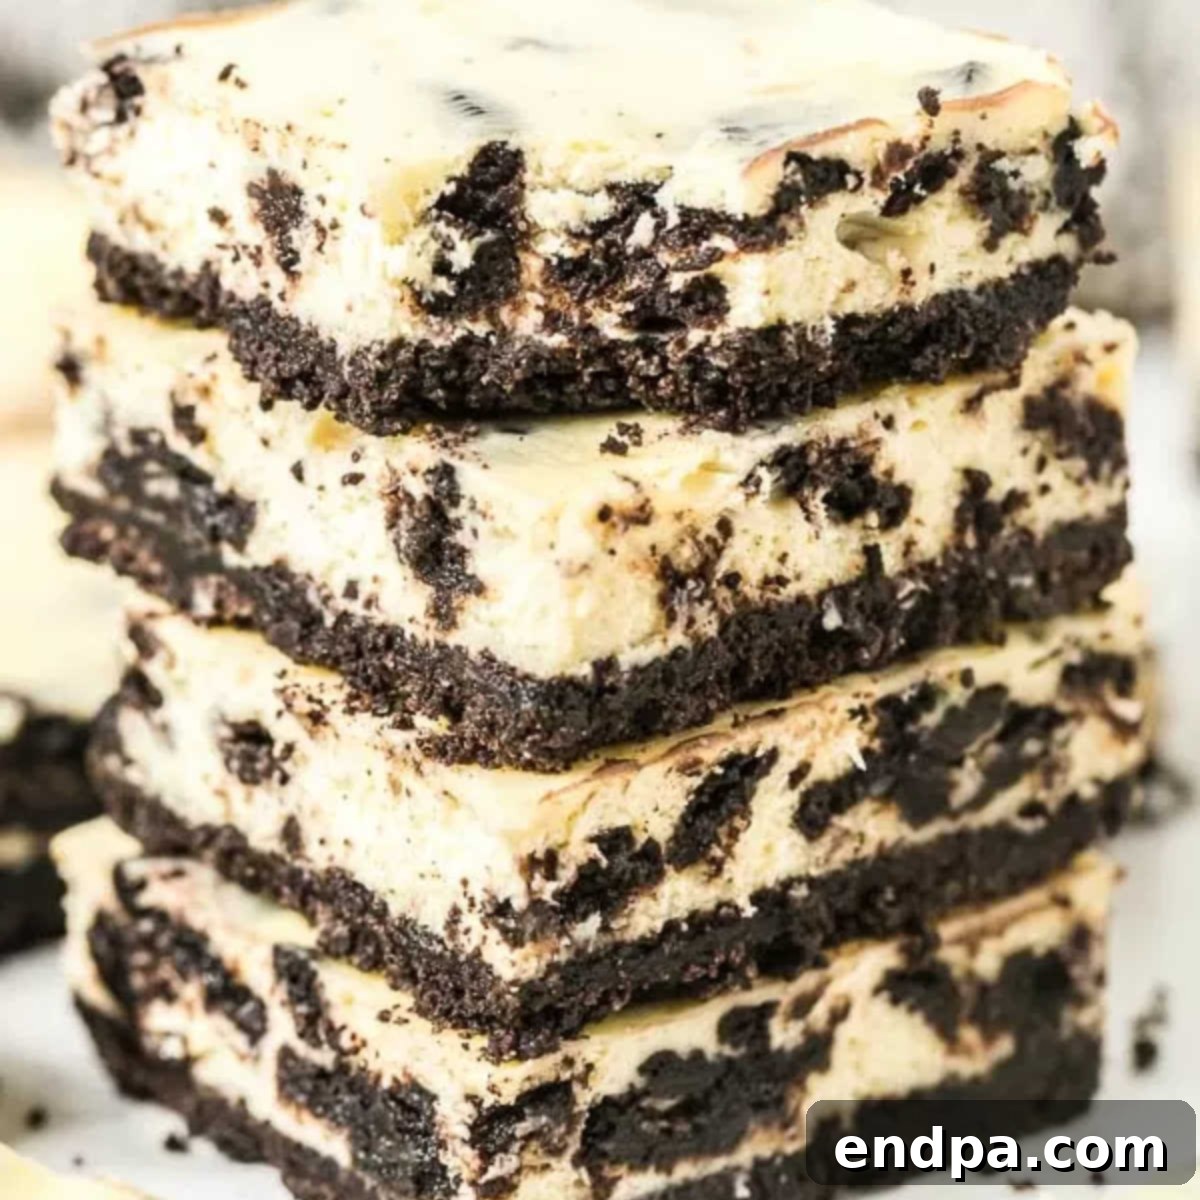
Indulge in the ultimate dessert experience with these irresistible Oreo Cheesecake Bars. This recipe masterfully blends the iconic chocolatey crunch of Oreo cookies with the rich, creamy decadence of classic cheesecake, creating a dessert that’s truly out of this world. Perfect for any gathering, from casual family dinners to festive holiday parties, these bars are guaranteed to be the first to disappear. Their captivating flavor and convenient bar form make them an instant crowd-pleaser and a staple for anyone looking to impress with minimal effort.
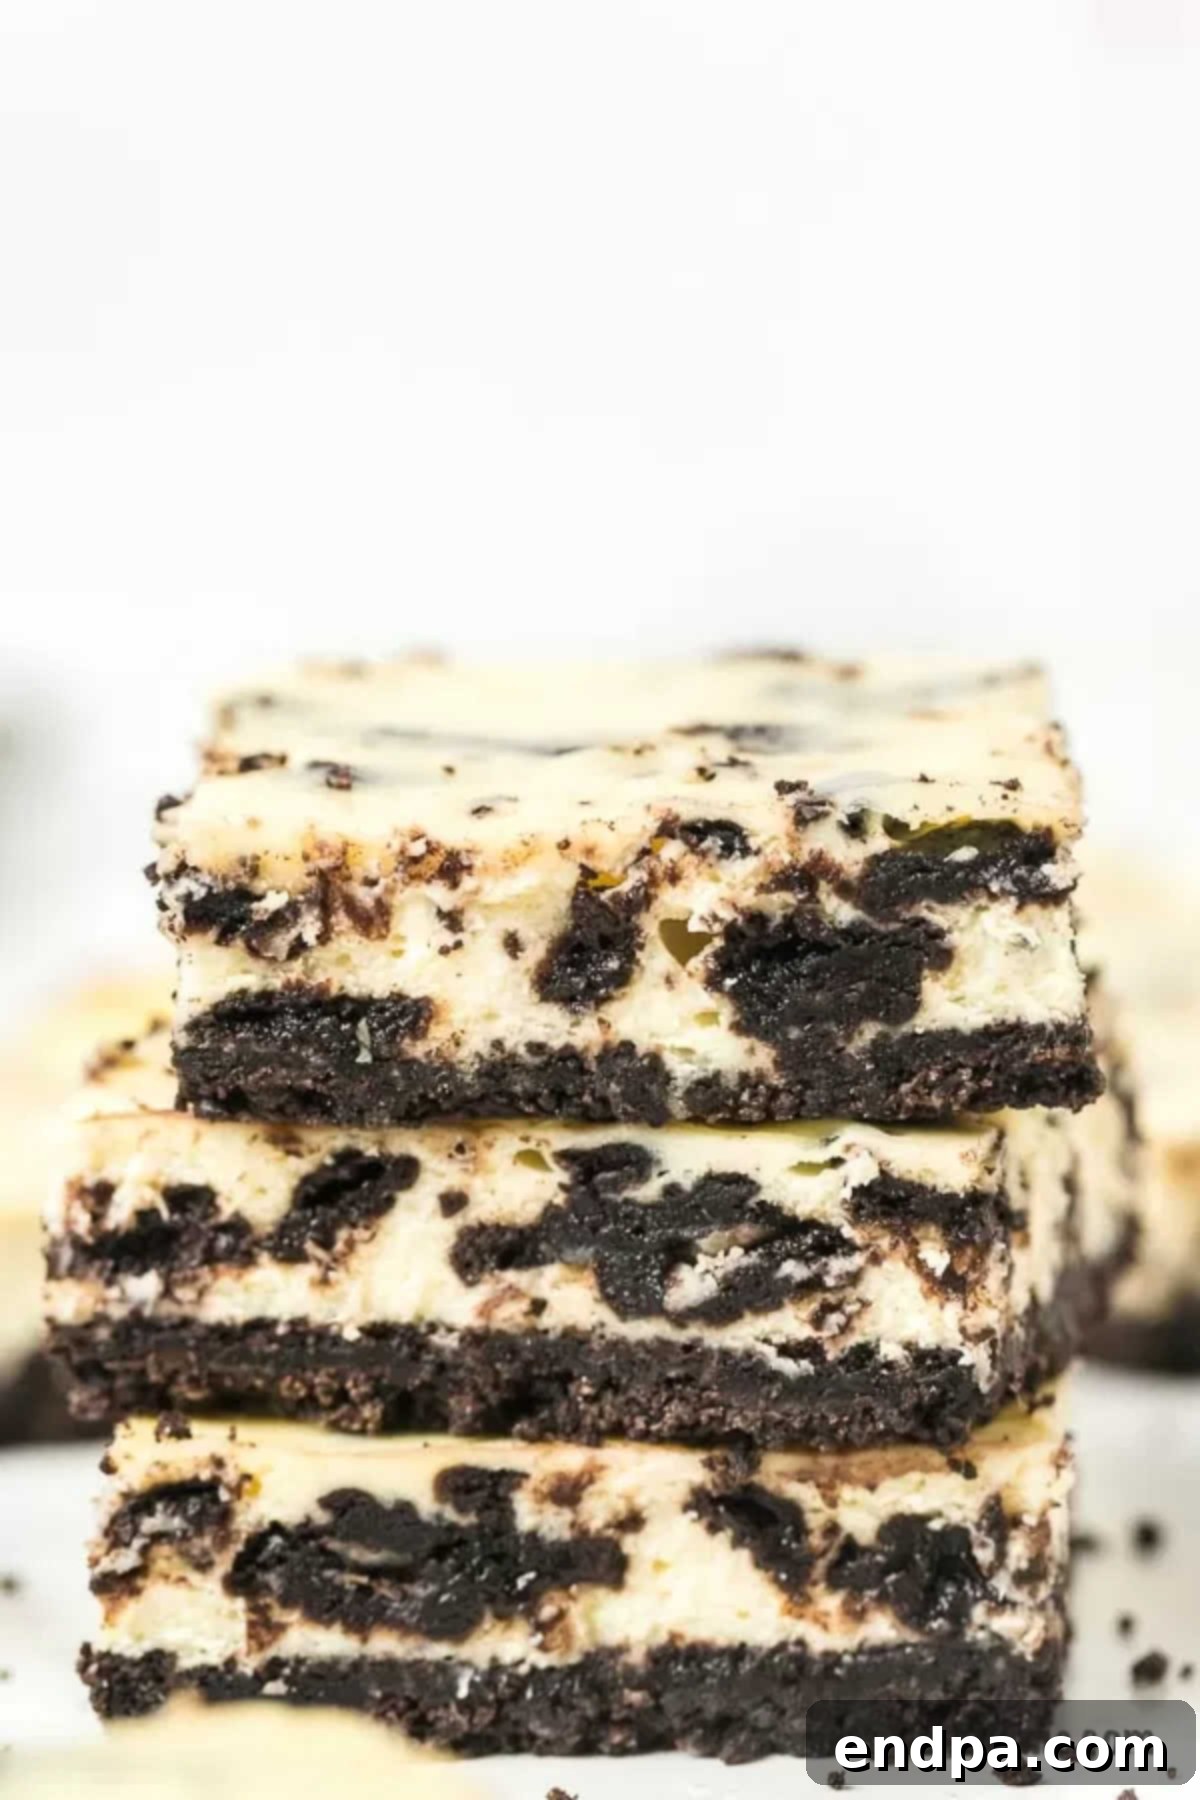
These Oreo Cheesecake Bars quickly became a beloved favorite among everyone who tried them. Their combination of a crunchy cookie base and a smooth, rich filling is simply unforgettable. Whether you’re seeking a show-stopping dessert for a special occasion or a delightful snack to brighten your day, this recipe delivers every time. If you’re a fan of Oreo desserts, you’ll love exploring other Easy Oreo Desserts Recipes that are family favorites. Don’t miss out on trying our Deep Fried Oreos Recipe, the crispy Air Fryer Oreos, the playful Oreo Dirt Cake Recipe, or the chewy Oreo Rice Krispie Treats. For a fantastic no-bake option that’s equally delicious, be sure to try our Cheesecake Dip.
Table of Contents
- What Are Oreo Cheesecake Bars?
- Why You’ll Love This Oreo Cheesecake Bars Recipe
- Essential Ingredients for Oreo Cheesecake Bars
- Creative Recipe Variations
- Step-by-Step Guide: How to Make Oreo Cheesecake Bars
- Expert Tips for Perfect Oreo Cheesecake Bars
- How to Properly Store Oreo Cheesecake Bars
- Freezing Oreo Cheesecake Bars for Later
- Frequently Asked Questions About Oreo Cheesecake Bars
- More Irresistible Easy Cheesecake Recipes
What Are Oreo Cheesecake Bars?
Oreo Cheesecake Bars are a delightful twist on traditional cheesecake, transforming the classic dessert into an easy-to-serve, convenient bar form. Instead of baking in a round springform pan, the rich and creamy cheesecake mixture is poured into a 9×13 inch baking pan. This simple change allows for quick baking and effortless slicing into individual squares, making them perfect for feeding a crowd at parties, potlucks, or family gatherings.
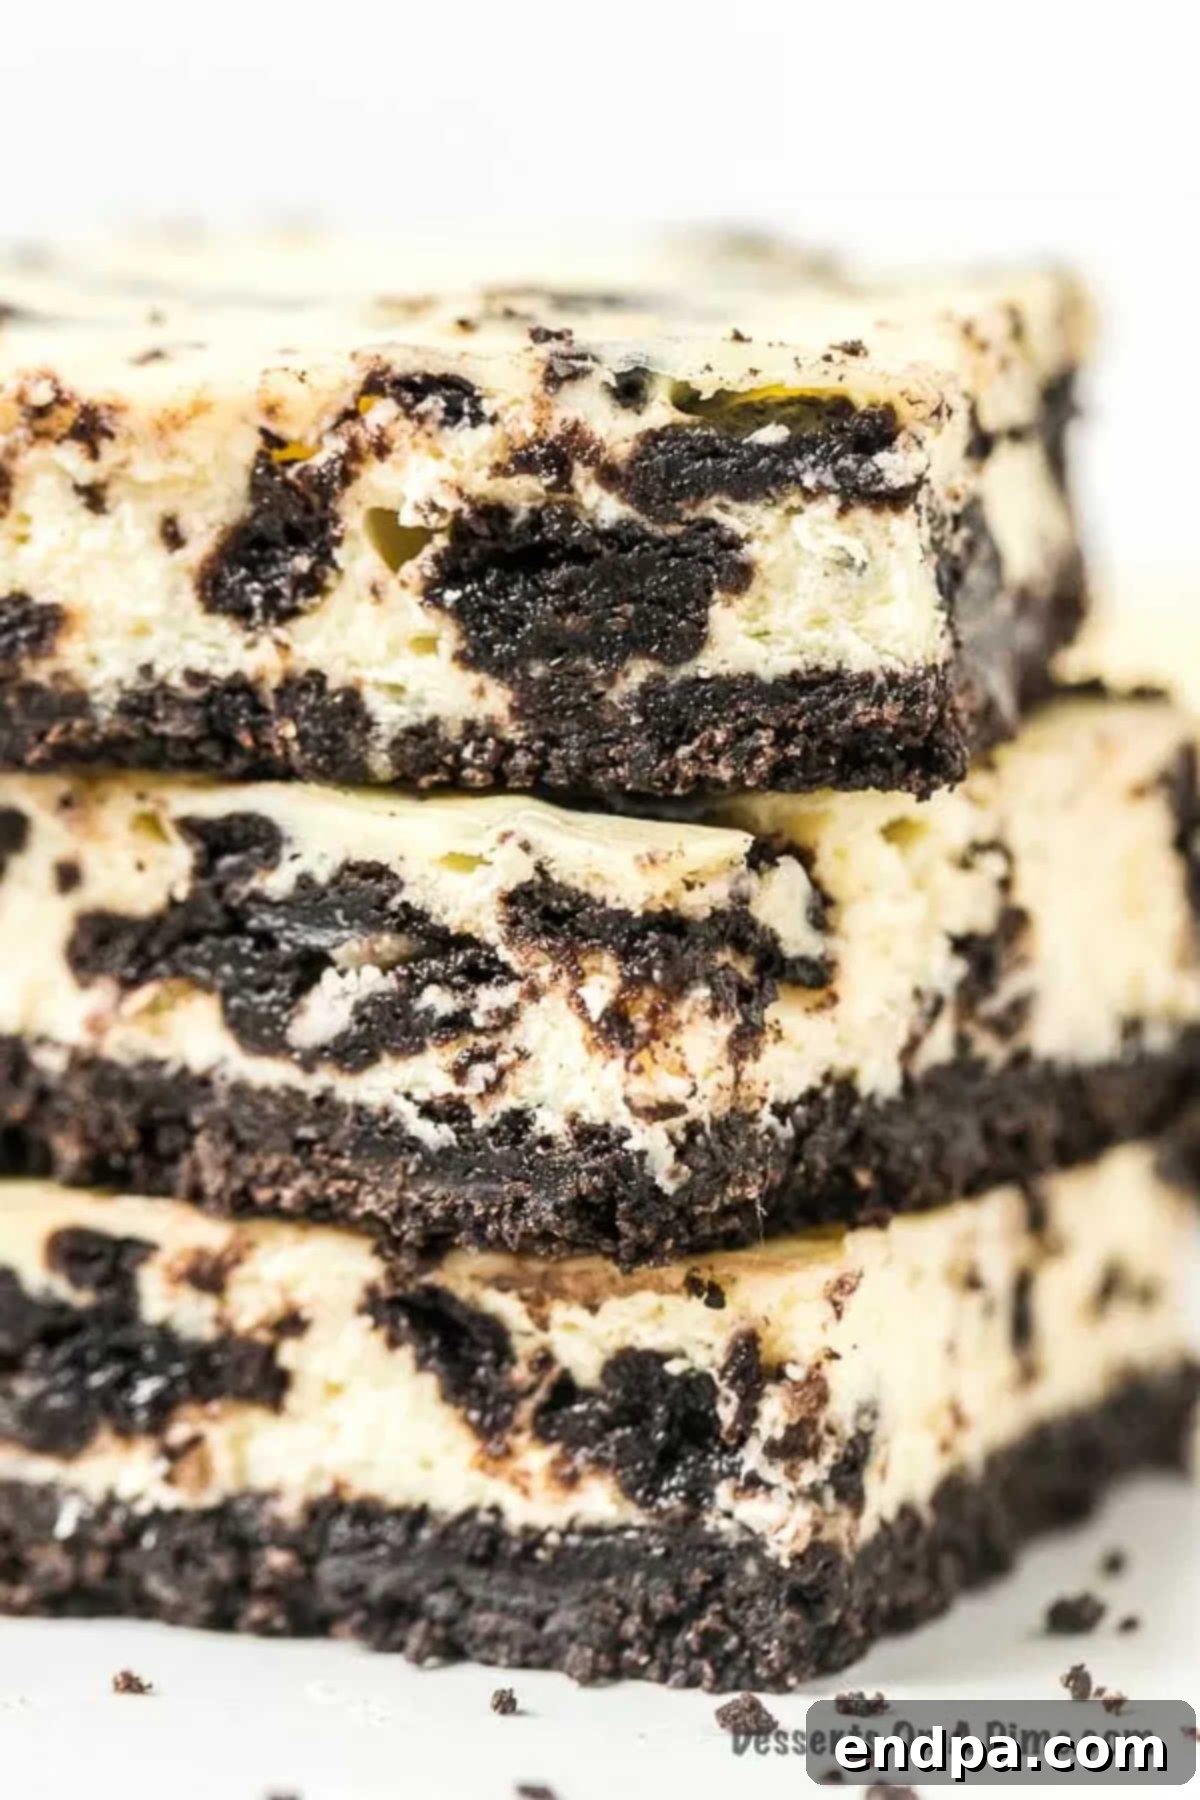
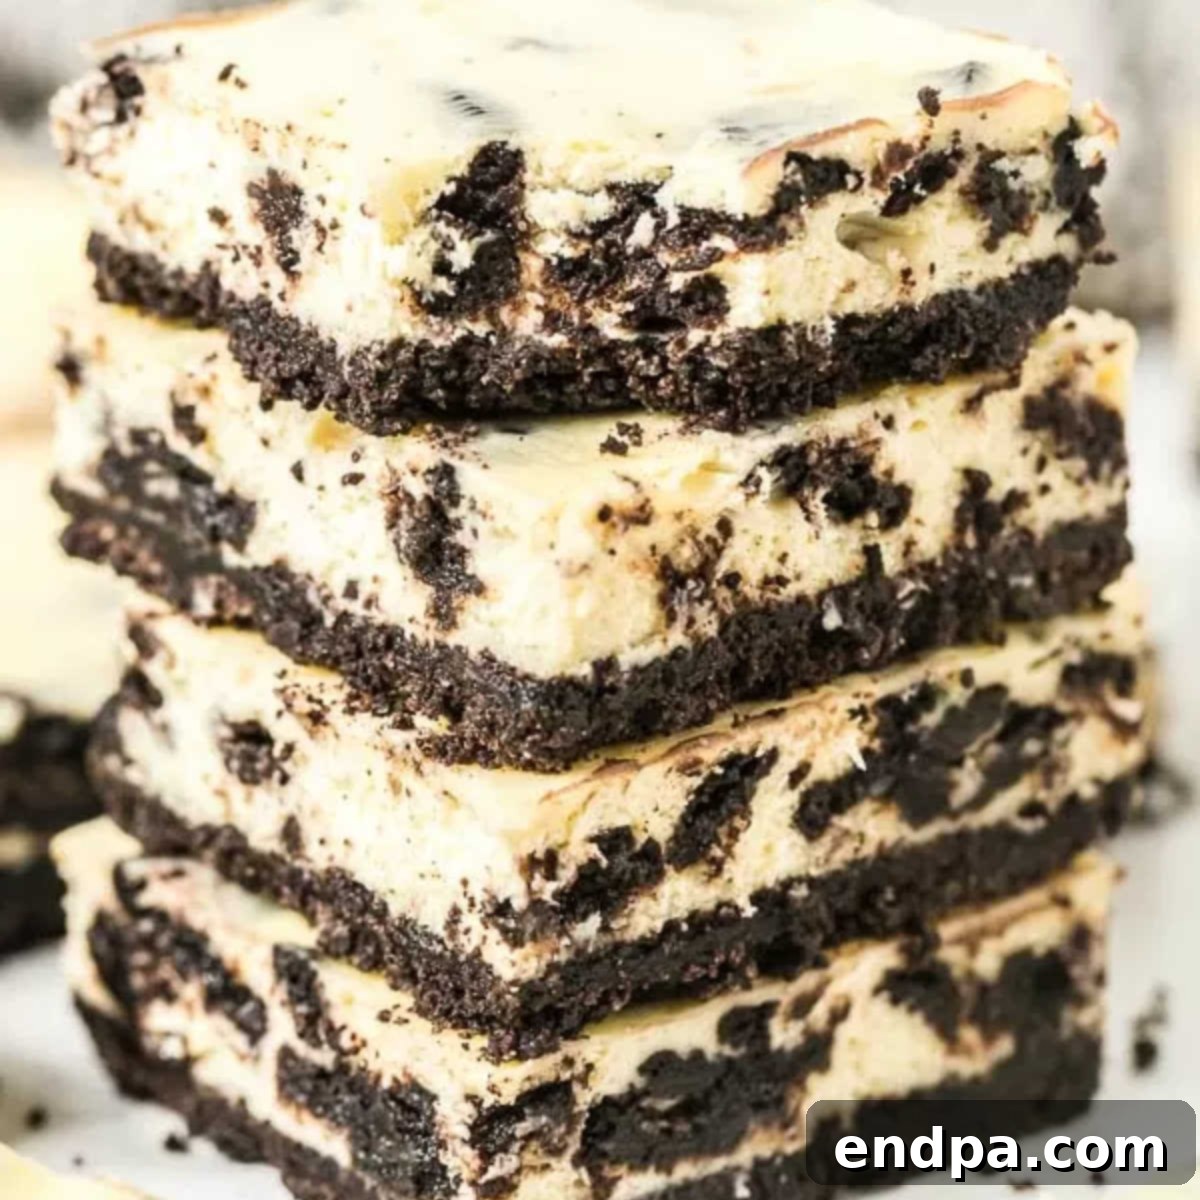
These bars feature a distinct two-layer structure: a buttery, crumbly crust made from crushed Oreo cookies, and a luxuriously smooth cheesecake filling generously studded with even more chunks of Oreos. The result is a harmonious blend of textures and flavors that captivates with every bite. From the first crunch of the Oreo crust to the velvety cream cheese filling, each element works together to create a dessert that is both familiar and exciting. They’re a fantastic choice when you want the impressive taste of cheesecake without the fuss of a traditional whole cake, and they’re always a crowd-pleaser, establishing themselves as a go-to dessert for any special occasion.
Why You’ll Love This Oreo Cheesecake Bars Recipe
This Oreo Cheesecake Bars recipe stands out for several compelling reasons, making it a must-try for any dessert enthusiast. First and foremost, its unparalleled flavor profile is a guaranteed hit. The combination of classic Oreo cookies and rich, tangy cheesecake creates a symphony of taste that is both comforting and exciting. The buttery, chocolatey cookie crust provides the perfect counterpoint to the smooth, creamy filling, while the added chunks of Oreo throughout the cheesecake ensure a delightful textural surprise in every bite.
Beyond taste, convenience is a major advantage. Unlike traditional cheesecakes that often require elaborate water baths and careful handling, these bars are baked in a simple 9×13-inch pan, making the process straightforward and less intimidating for novice bakers. The preparation time is minimal, taking only about 20 minutes of active work, which means you can whip up this impressive dessert without spending hours in the kitchen. This makes it an ideal choice for busy individuals or for last-minute dessert needs.
Furthermore, the bar format offers incredible versatility for serving. Easily cut into squares, these bars are perfect for sharing at parties, potlucks, or any event where individual portions are preferred. They are also incredibly portable, making them a great option for picnics or bake sales. Plus, the ability to make them ahead of time and store them in the refrigerator or freezer adds to their appeal, allowing you to prepare for your event well in advance. This recipe truly embodies the best of both worlds: gourmet taste with everyday ease.
Essential Ingredients for Oreo Cheesecake Bars
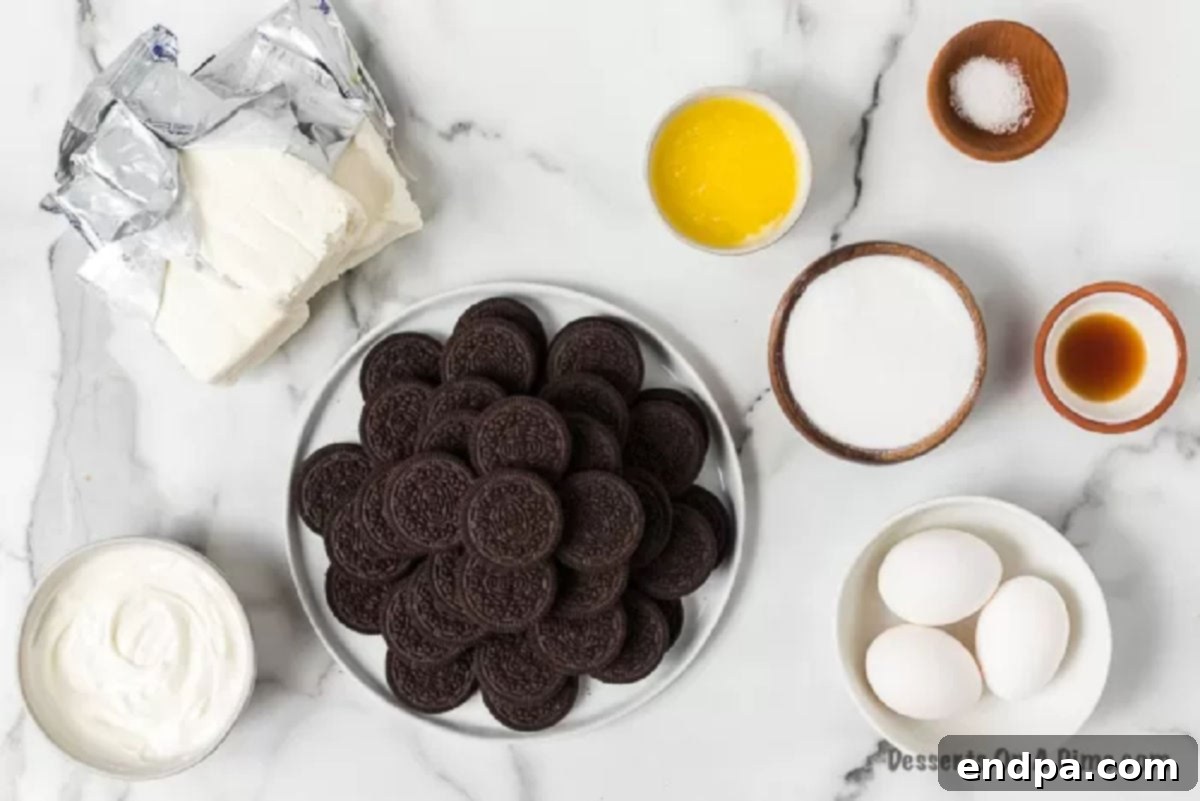
Crafting the perfect Oreo Cheesecake Bars requires a selection of fresh, quality ingredients. Each component plays a crucial role in achieving the desired texture and flavor profile. Below is the full list of ingredients you’ll need, along with tips for optimal results:
- Oreo Cookies: A 19.1 oz package of regular Oreo cookies is ideal for both the crust and the filling. The classic chocolate sandwich cookie provides that signature flavor and crunch.
- Salted Butter: 1/4 cup, melted. Salted butter balances the sweetness and helps bind the cookie crumbs for a firm, flavorful crust.
- Cream Cheese: Three 8 oz packages, softened. Full-fat cream cheese is essential for a rich, smooth, and creamy cheesecake filling. Ensure it’s fully softened to room temperature to prevent lumps.
- Granulated Sugar: 3/4 cup. Sweetens the cheesecake filling to perfection.
- Sour Cream: 3/4 cup, at room temperature. Adds a subtle tanginess and contributes to the ultra-creamy texture of the cheesecake. Room temperature sour cream incorporates smoothly into the mixture.
- Vanilla Extract: 1 tsp. Enhances the overall flavor profile of the cheesecake, adding a warm, aromatic note.
- Salt: 1/2 tsp. A small amount of salt balances the sweetness and brings out the flavors of the other ingredients.
- Large Eggs: 3 large eggs, at room temperature. Eggs act as a binder, providing structure and richness to the cheesecake. Using room temperature eggs helps them emulsify better with the cream cheese mixture, leading to a smoother batter.
Creative Recipe Variations
While the classic Oreo Cheesecake Bar recipe is phenomenal on its own, it also serves as an excellent canvas for culinary creativity. Experimenting with different toppings and mix-ins can transform this beloved dessert into a new and exciting treat every time. Here are some delightful variations to inspire your next baking adventure:
- Whipped Cream Topping: For an extra layer of indulgence and a beautiful presentation, top your cooled cheesecake bars with a generous dollop of freshly whipped cream or a rich cool whip just before serving. A sprinkle of mini chocolate chips or finely crushed Oreos on top of the cream can add a professional finish.
- Chocolate Chips: Elevate the chocolate factor by mixing in a cup of your favorite chocolate chips into the cheesecake batter. Semisweet, milk chocolate, or even dark chocolate chips can add varying degrees of sweetness and intensity, creating a more complex flavor profile that chocolate lovers will adore.
- Peanut Butter Swirl: For a delightful nutty twist, swirl in about half a cup of creamy peanut butter into the cheesecake mixture before baking. You can gently heat the peanut butter slightly to make it easier to swirl. This creates a beautiful marbled effect and introduces a fantastic peanut butter and chocolate flavor combination that is simply divine.
- Powdered Sugar Dusting: A simple yet elegant variation involves dusting the top of the chilled cheesecake bars with powdered sugar (confectioners’ sugar) just before serving. This not only adds a touch of sweetness but also gives the bars a sophisticated, bakery-worthy appearance. You can even use a stencil to create fun patterns.
- Different Oreo Flavors: Don’t limit yourself to original Oreos! Many seasonal and specialty Oreo flavors can be incorporated. Think Mint Oreos for a refreshing twist, Peanut Butter Oreos for an intensified nutty flavor, or even Golden Oreos for a vanilla-based cheesecake bar experience.
- Caramel Drizzle: A luscious caramel drizzle over the top of the finished, chilled bars can add another dimension of sweetness and sticky, gooey texture. You can use store-bought caramel sauce or make your own for an extra gourmet touch. A sprinkle of sea salt flakes with the caramel can create a salted caramel effect.
Step-by-Step Guide: How to Make Oreo Cheesecake Bars
Creating these delectable Oreo Cheesecake Bars is a straightforward process that yields impressive results. Follow these detailed steps to ensure your bars are perfectly creamy, crunchy, and utterly delicious.
- Step 1: Prepare Your Baking Pan and Oven. Begin by preheating your oven to 325 degrees Fahrenheit (160°C). This ensures the oven is at the correct temperature when you place the cheesecake in. Line a 9×13 inch baking dish with aluminum foil or parchment paper, making sure to leave a generous 2-inch overhang on both sides. This overhang will serve as handles later, making it incredibly easy to lift the entire baked cheesecake out of the pan. Lightly spray the foil or parchment paper with cooking spray to prevent any sticking, then set the prepared pan aside.
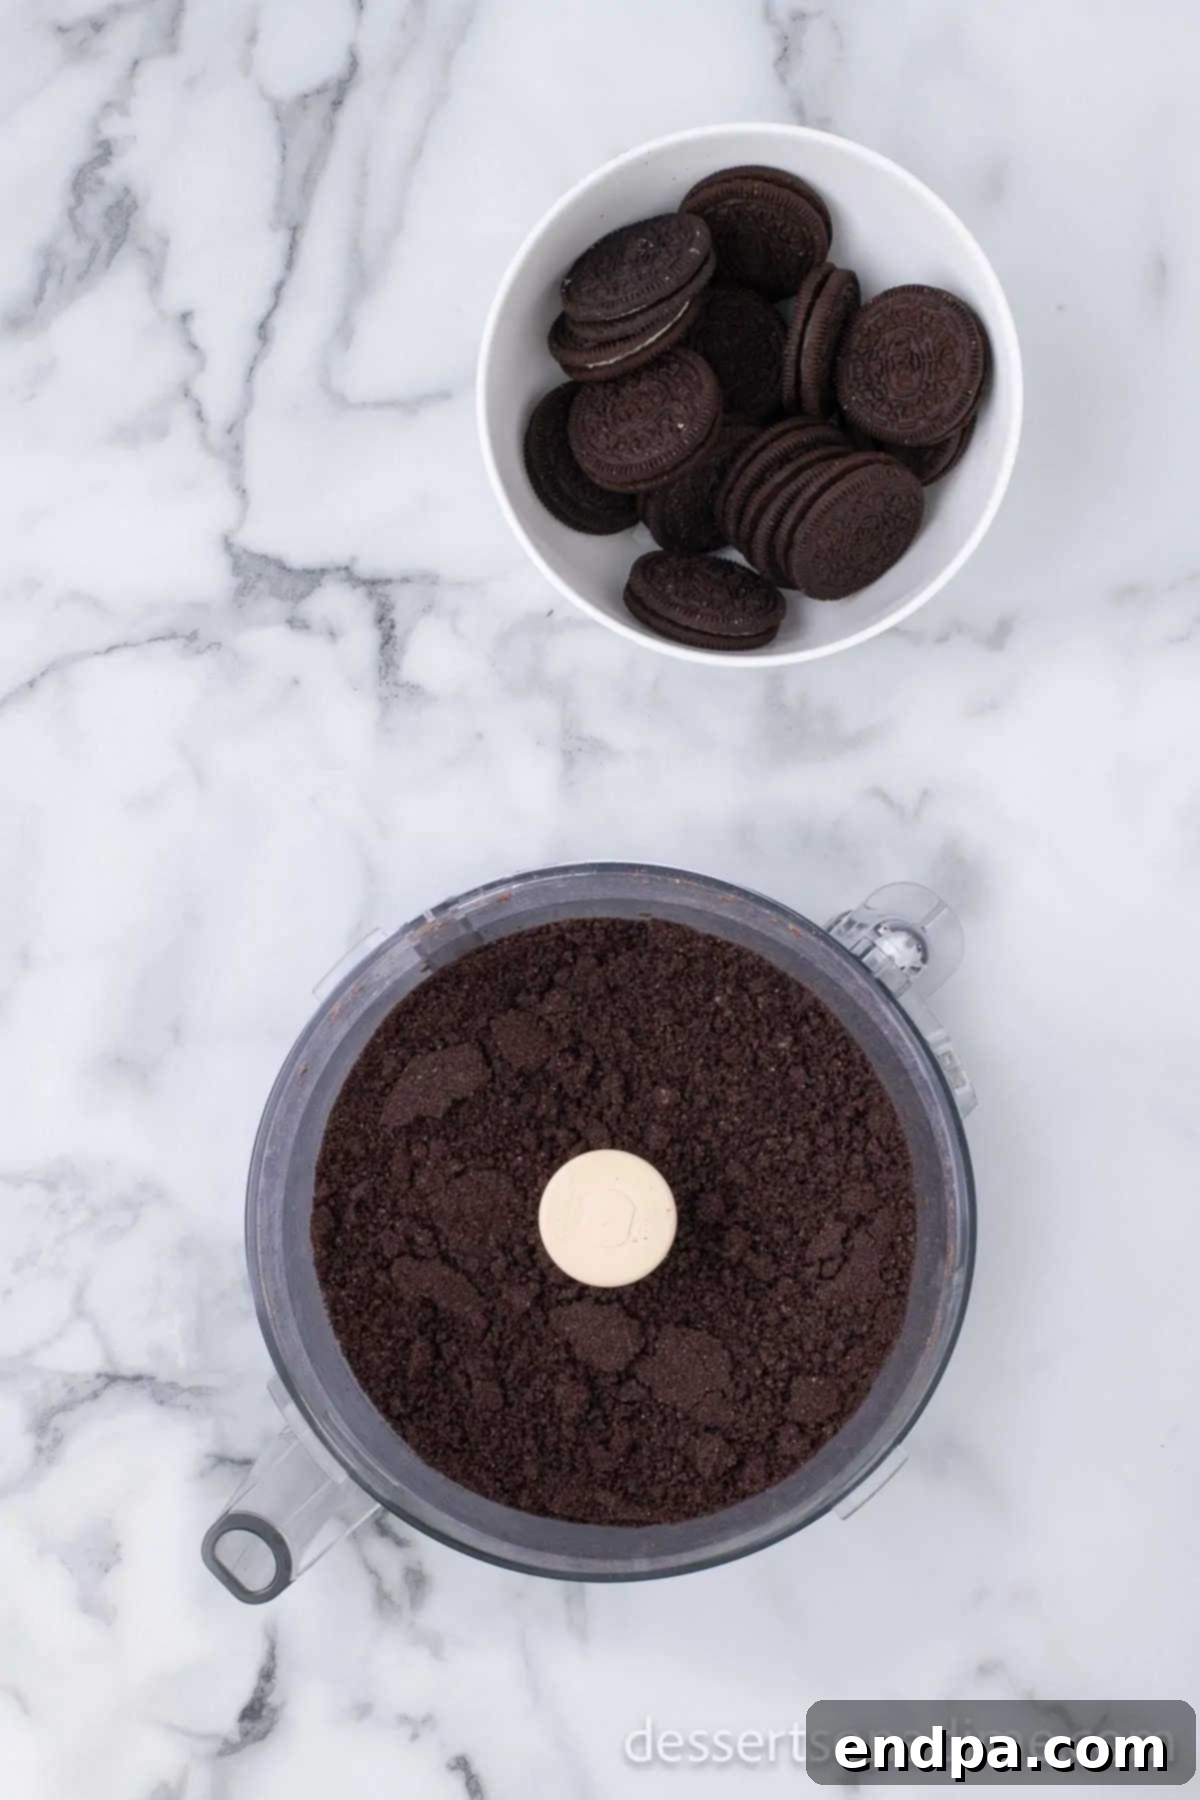
Step 2: Create the Oreo Crust. Take approximately 28 Oreo cookies from your package and place them into a food processor. Pulse the cookies until they are finely ground into crumbs, resembling coarse sand. If you don’t have a food processor, you can place the Oreos in a sturdy Ziploc bag and crush them using a rolling pin or the bottom of a heavy glass. The finer the crumbs, the more cohesive your crust will be.
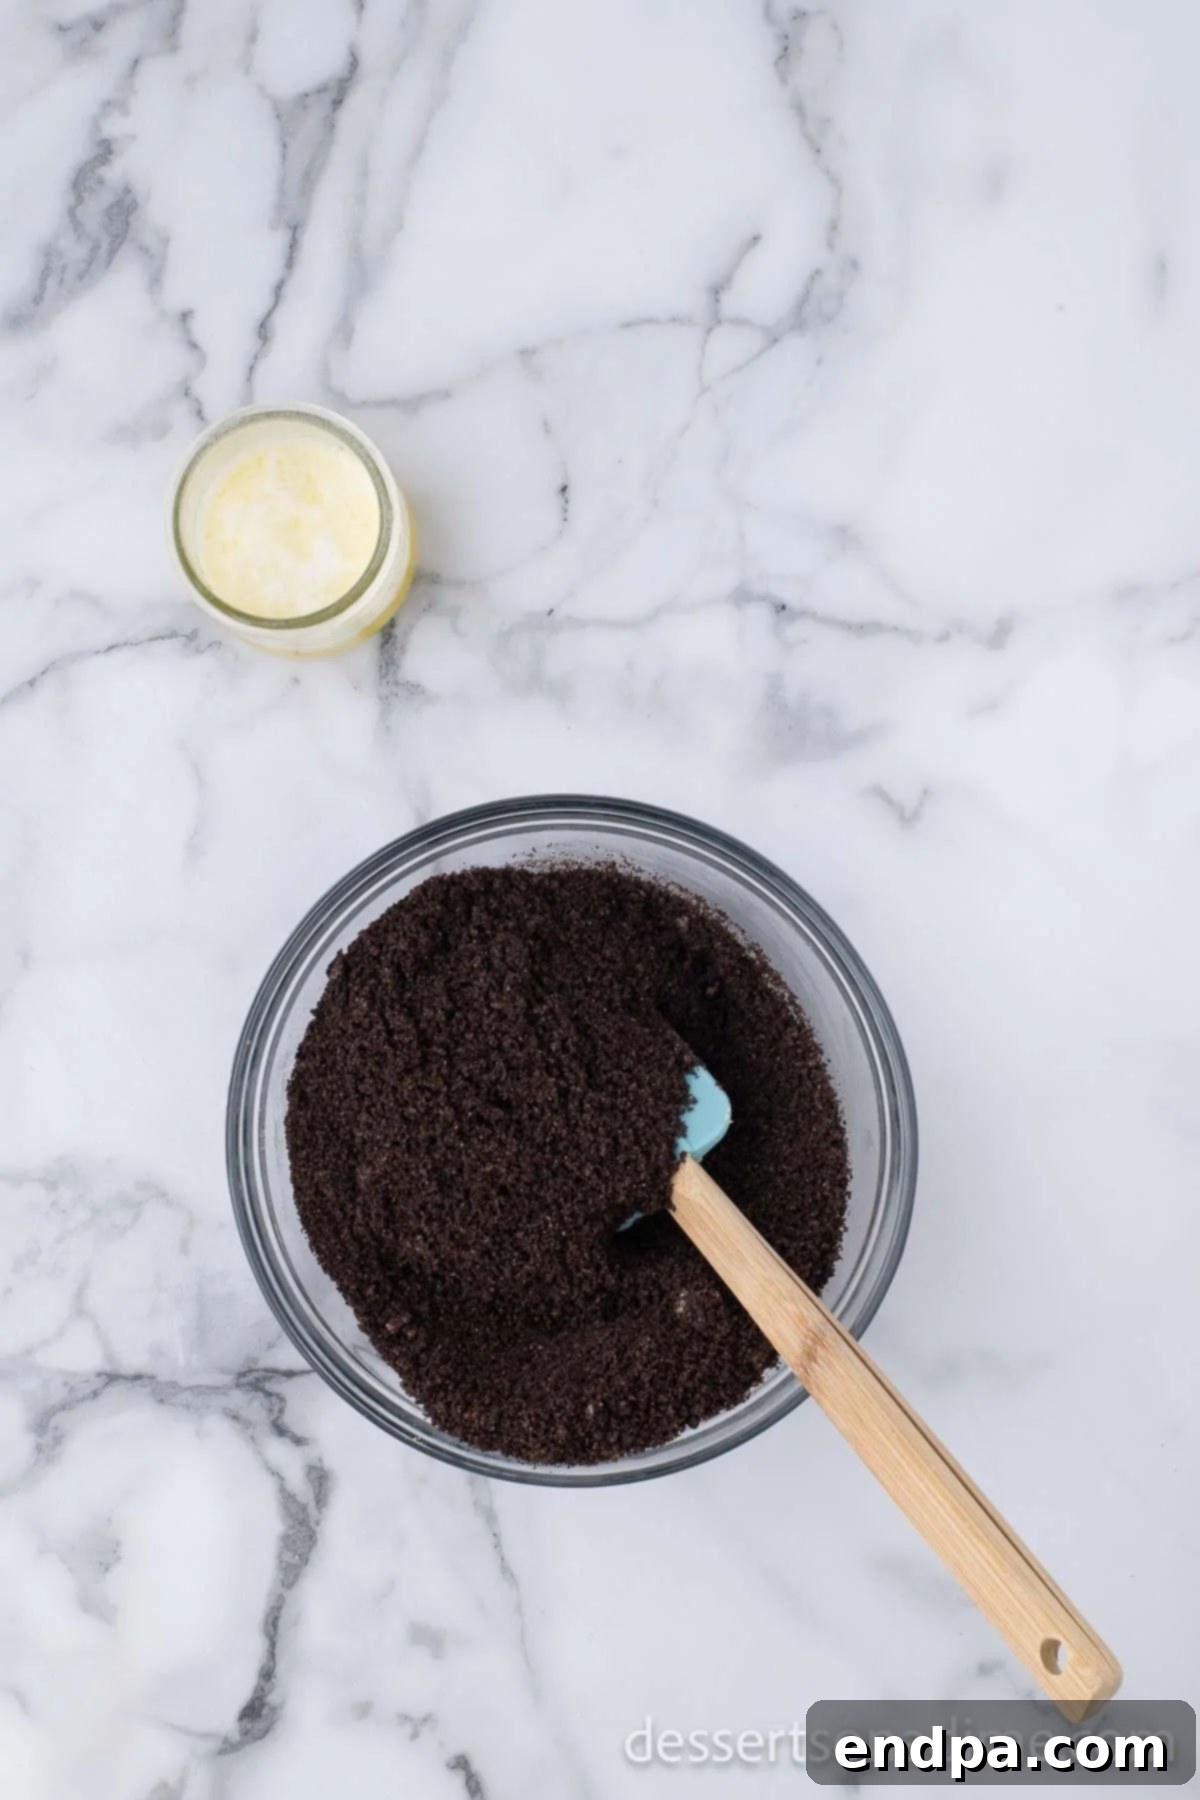
Step 3: Combine Crumbs with Butter. Once you have your finely crushed Oreo crumbs, transfer them to a medium-sized bowl. Pour the melted salted butter over the crumbs and stir thoroughly with a spoon or spatula until all the crumbs are evenly coated. The butter helps bind the crumbs together, forming a sturdy crust.
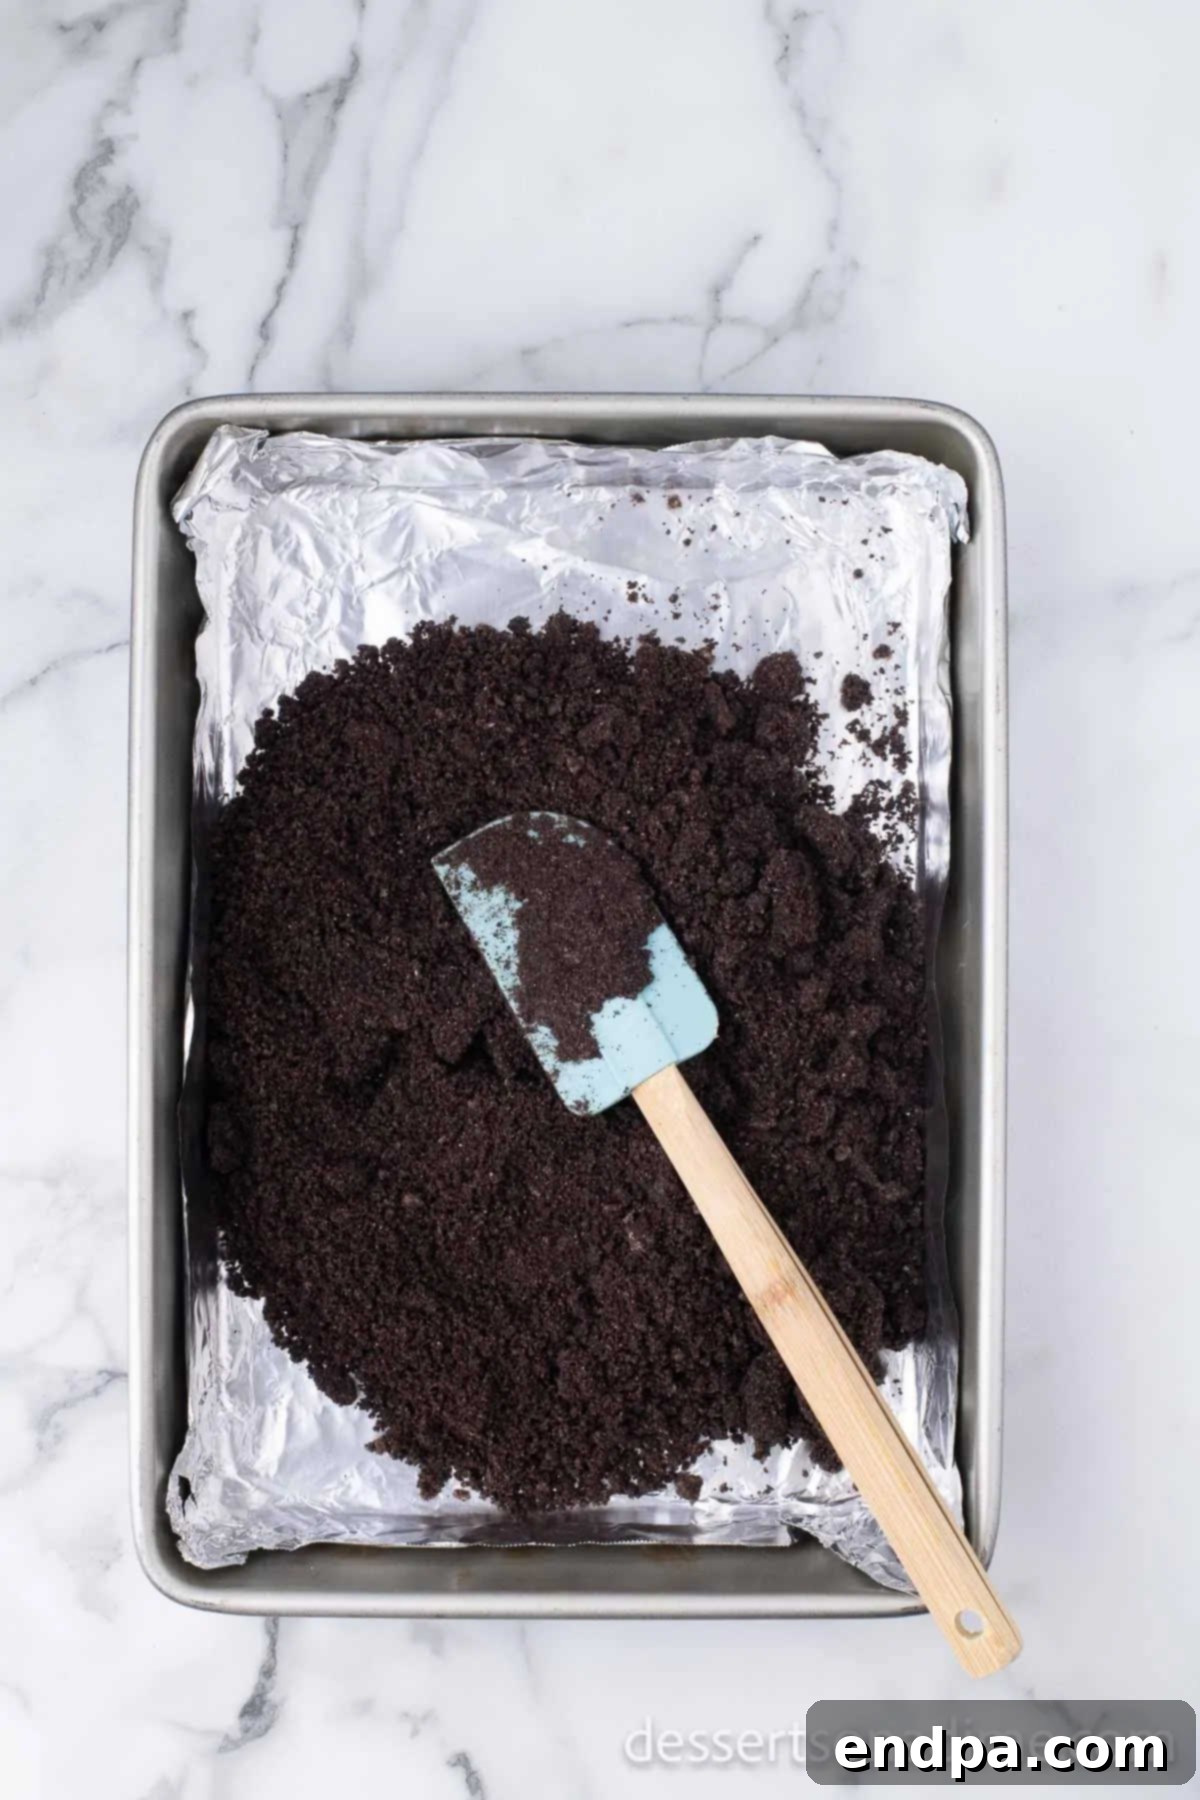
Step 4: Press and Bake the Crust. Transfer the buttered Oreo crumbs into your prepared 9×13 inch baking pan. Using the bottom of a glass, your fingers, or a flat-bottomed measuring cup, firmly and evenly press the cookie mixture across the bottom of the pan. Ensure it’s compact and forms a uniform layer. Bake the crust for 10 minutes, which will help set it and make it perfectly crisp. After baking, remove it from the oven and transfer it to a wire cooling rack to cool slightly while you prepare the filling.
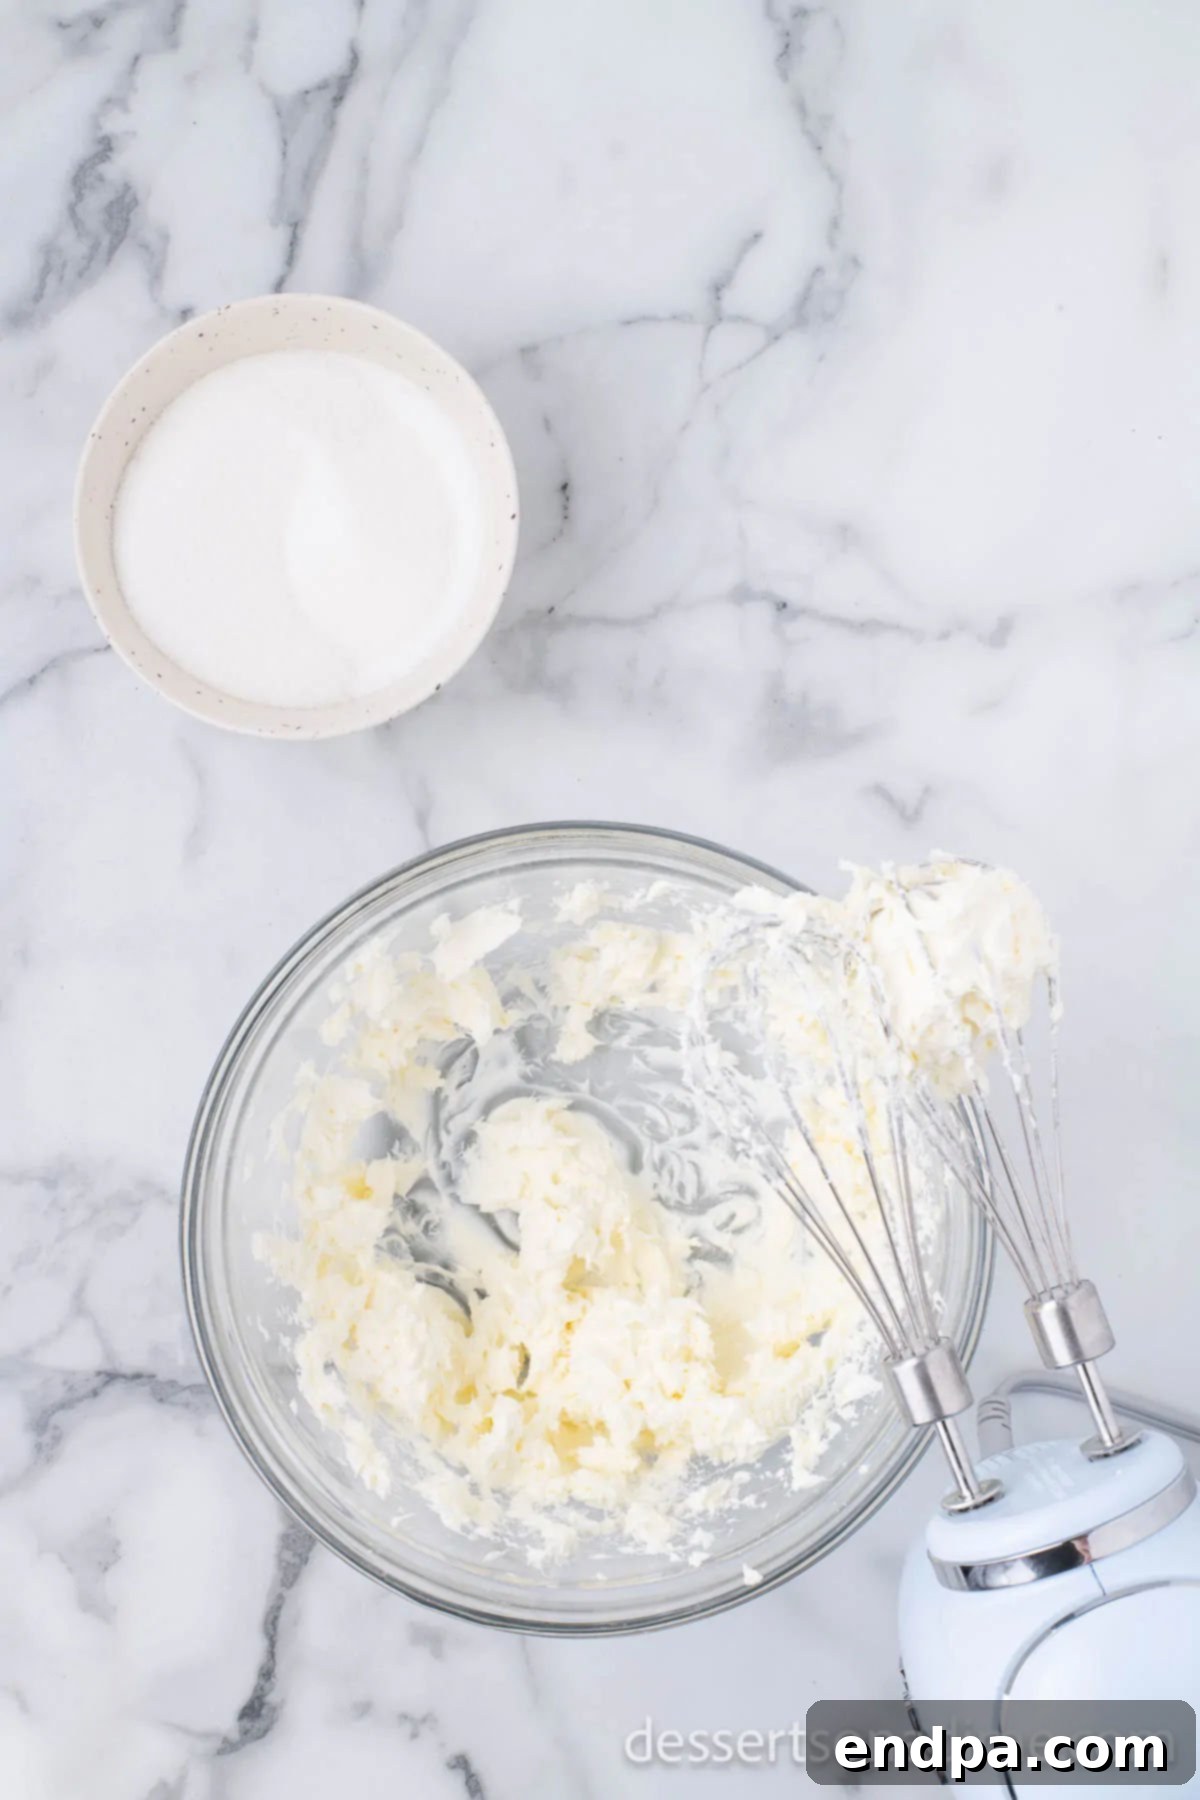
Step 5: Prepare the Cream Cheese Base. In a large mixing bowl, beat the softened cream cheese on medium speed using an electric mixer or a stand mixer fitted with the paddle attachment. Beat for about 2 minutes until it becomes completely smooth and creamy, with no lumps remaining. It’s crucial that the cream cheese is at room temperature for this step to achieve a silky-smooth texture.
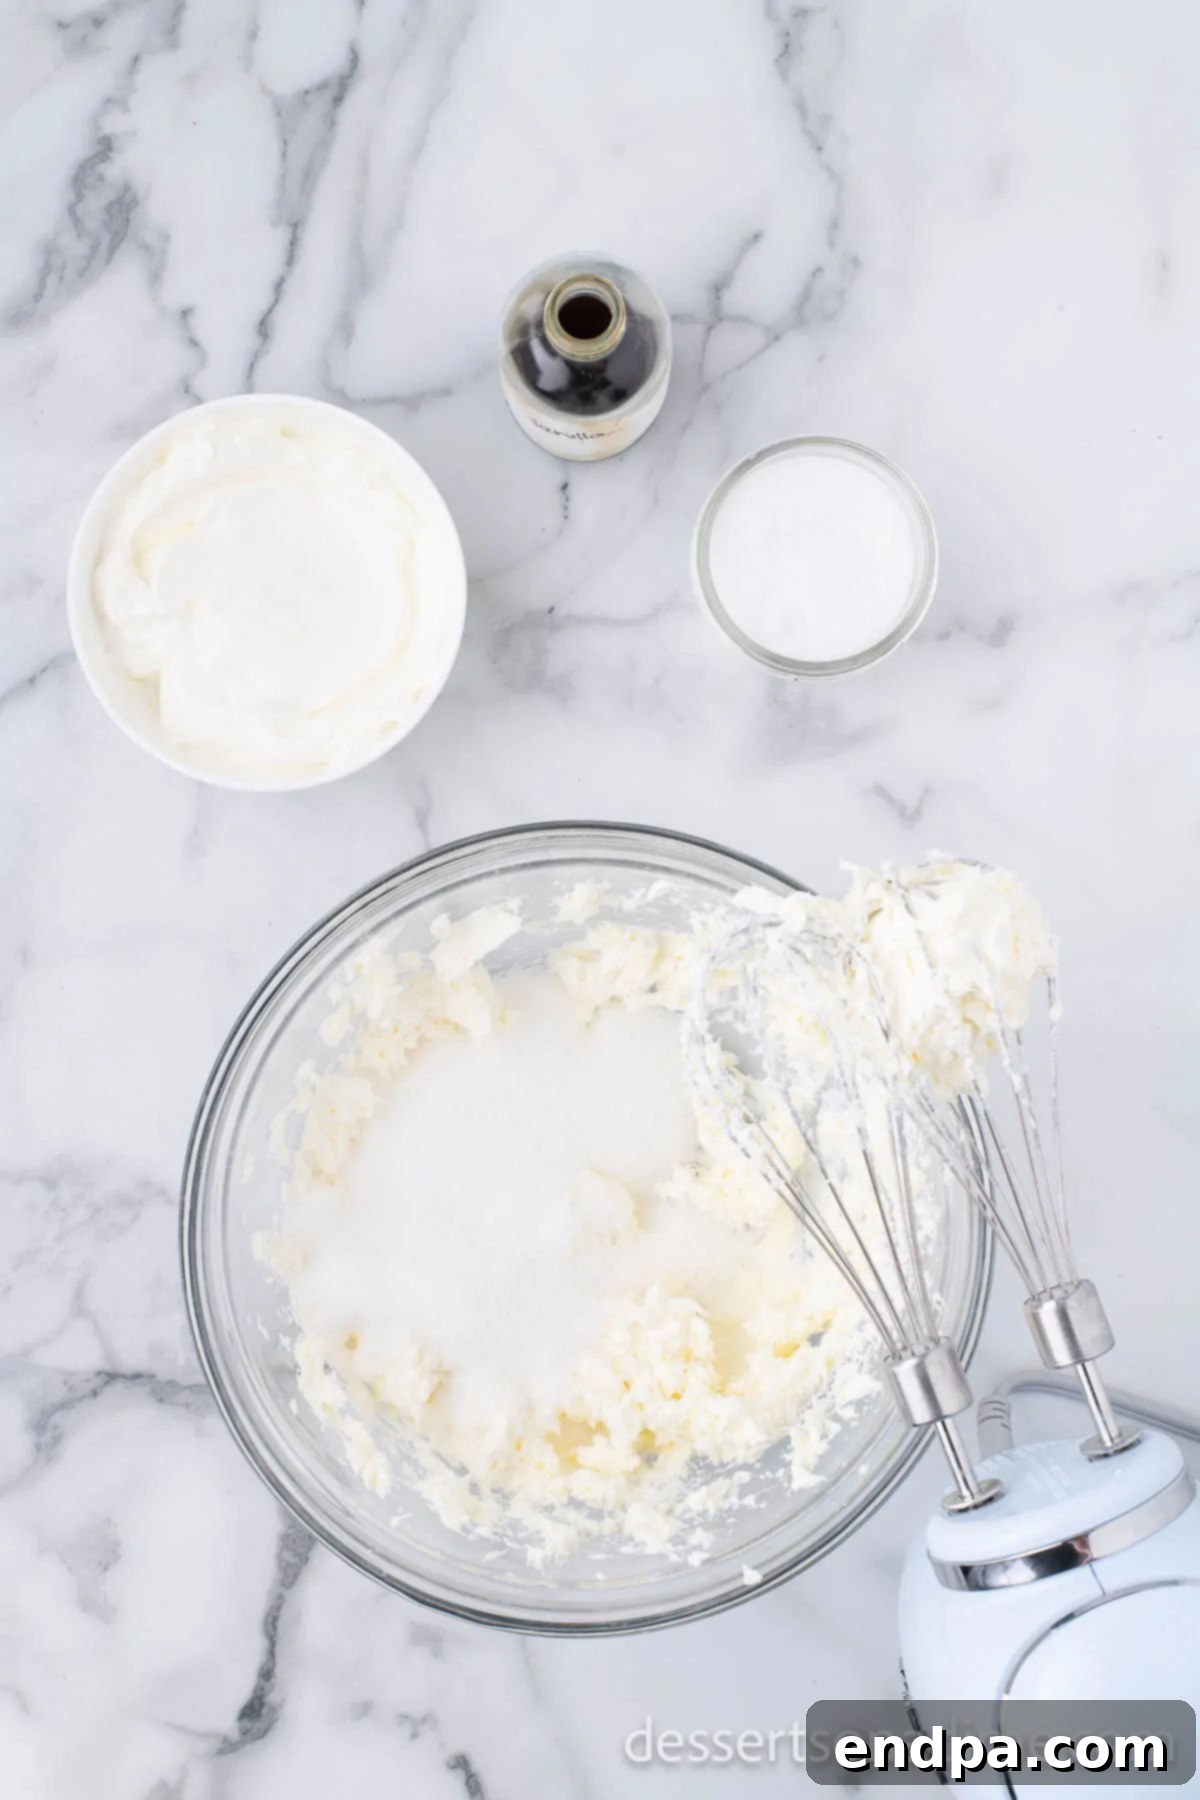
Step 6: Incorporate the Sugar. Once the cream cheese is smooth, add the granulated sugar to the bowl. Continue to beat on medium speed for another 2 minutes, ensuring the sugar is fully dissolved and incorporated into the cream cheese. Scrape down the sides of the bowl with a spatula periodically to ensure everything is thoroughly mixed.
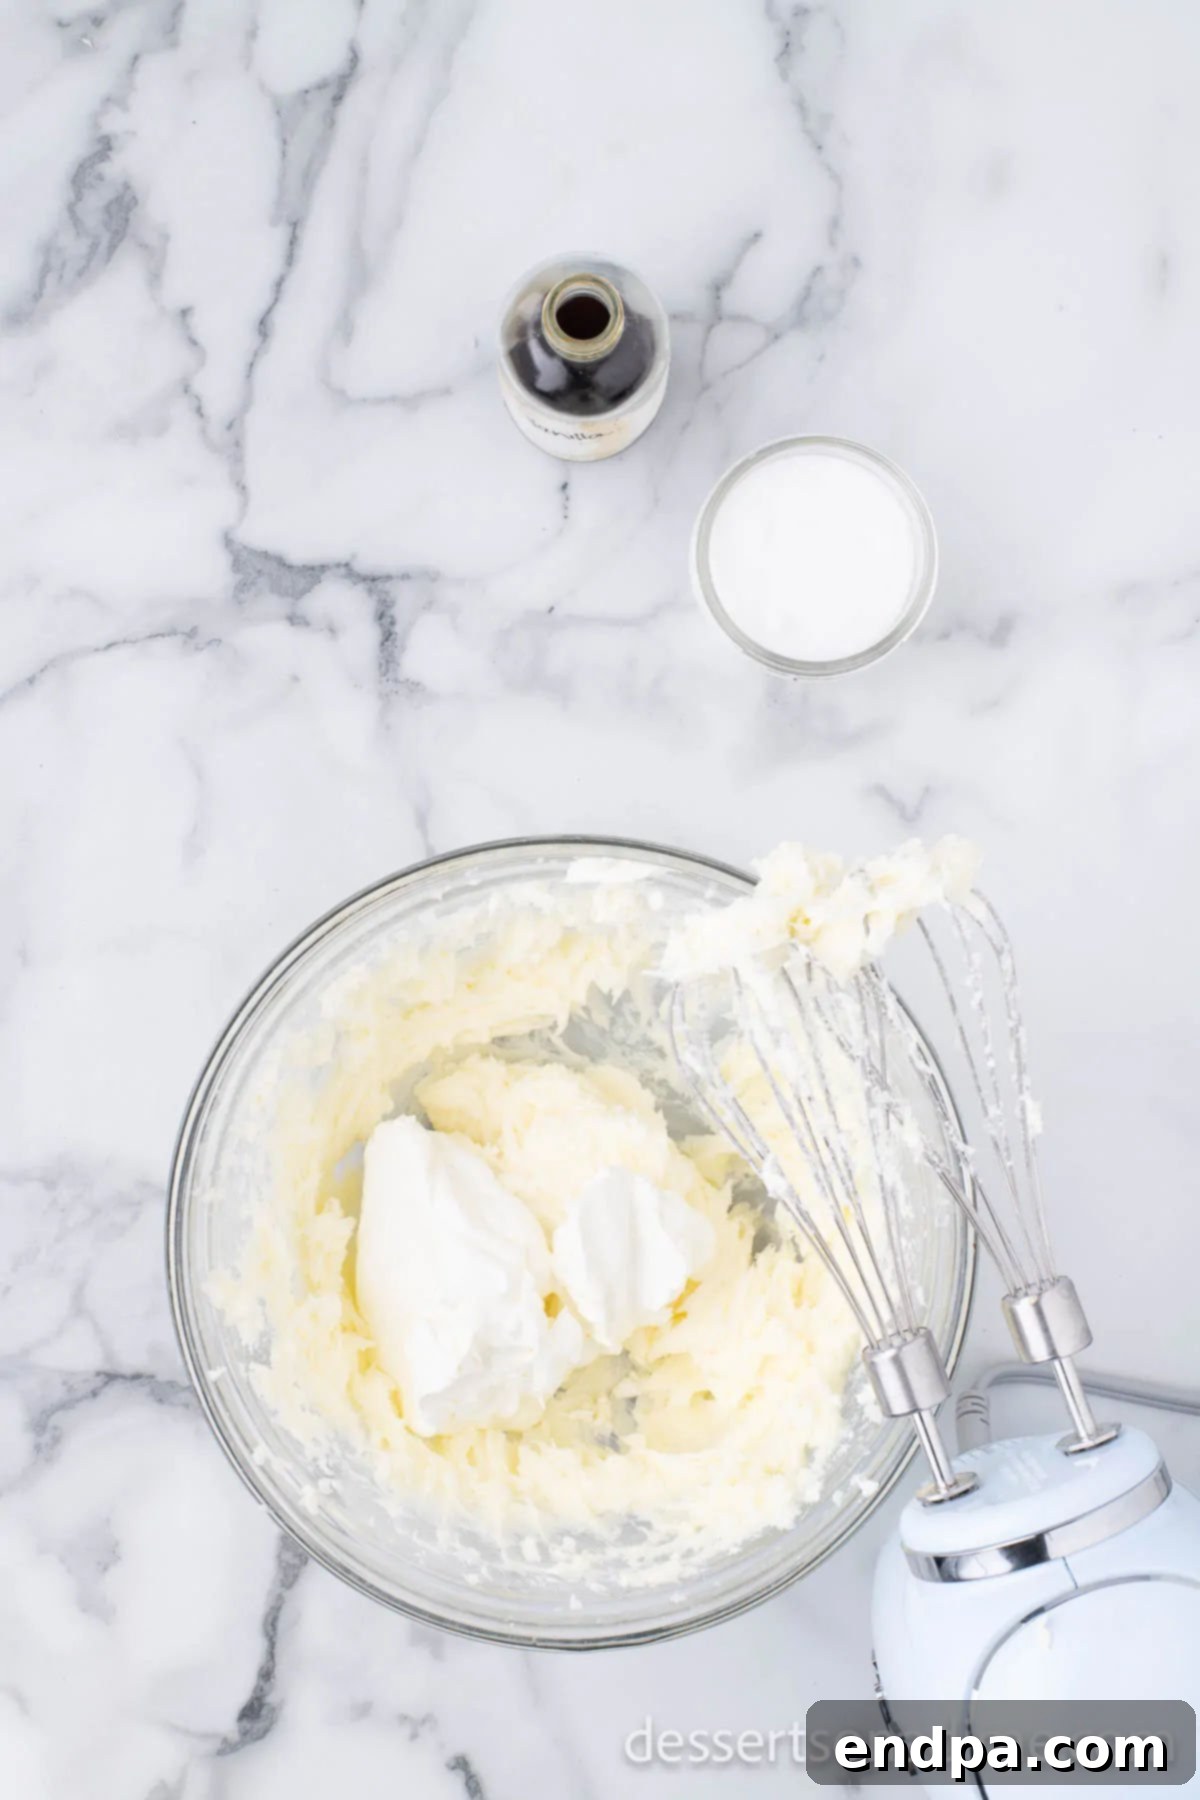
Step 7: Add Sour Cream, Vanilla, and Salt. Next, add the room temperature sour cream, vanilla extract, and salt to the cream cheese mixture. Beat on low speed until just combined. Overmixing at this stage can incorporate too much air, which can lead to cracks in the cheesecake. Scrape down the bowl once more to ensure a uniform batter.
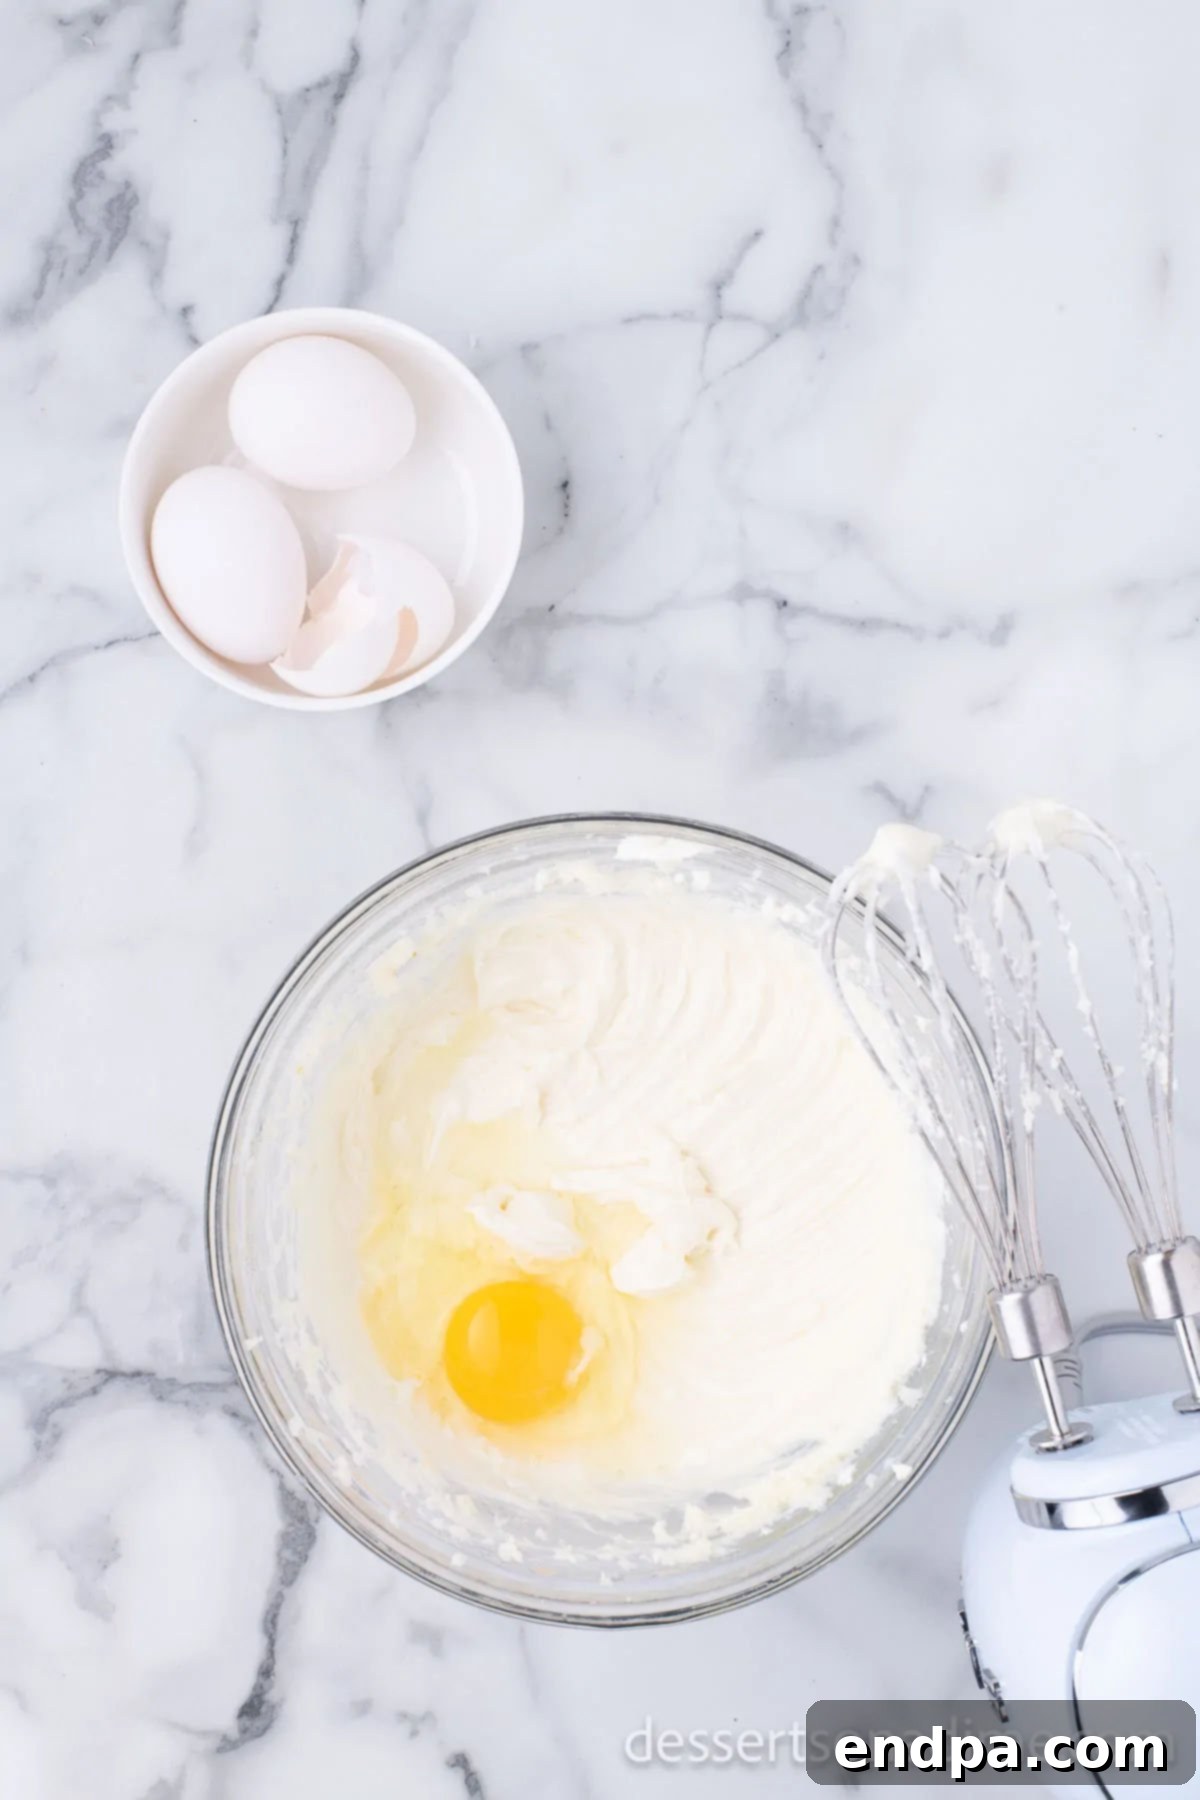
Step 8: Gently Mix in Eggs. Add the large eggs one at a time, beating well after each addition until just incorporated. Scrape down the sides of the bowl frequently to ensure everything is mixed evenly. The goal is to combine the ingredients without overmixing, which can introduce too much air and result in a cracked cheesecake surface during baking.
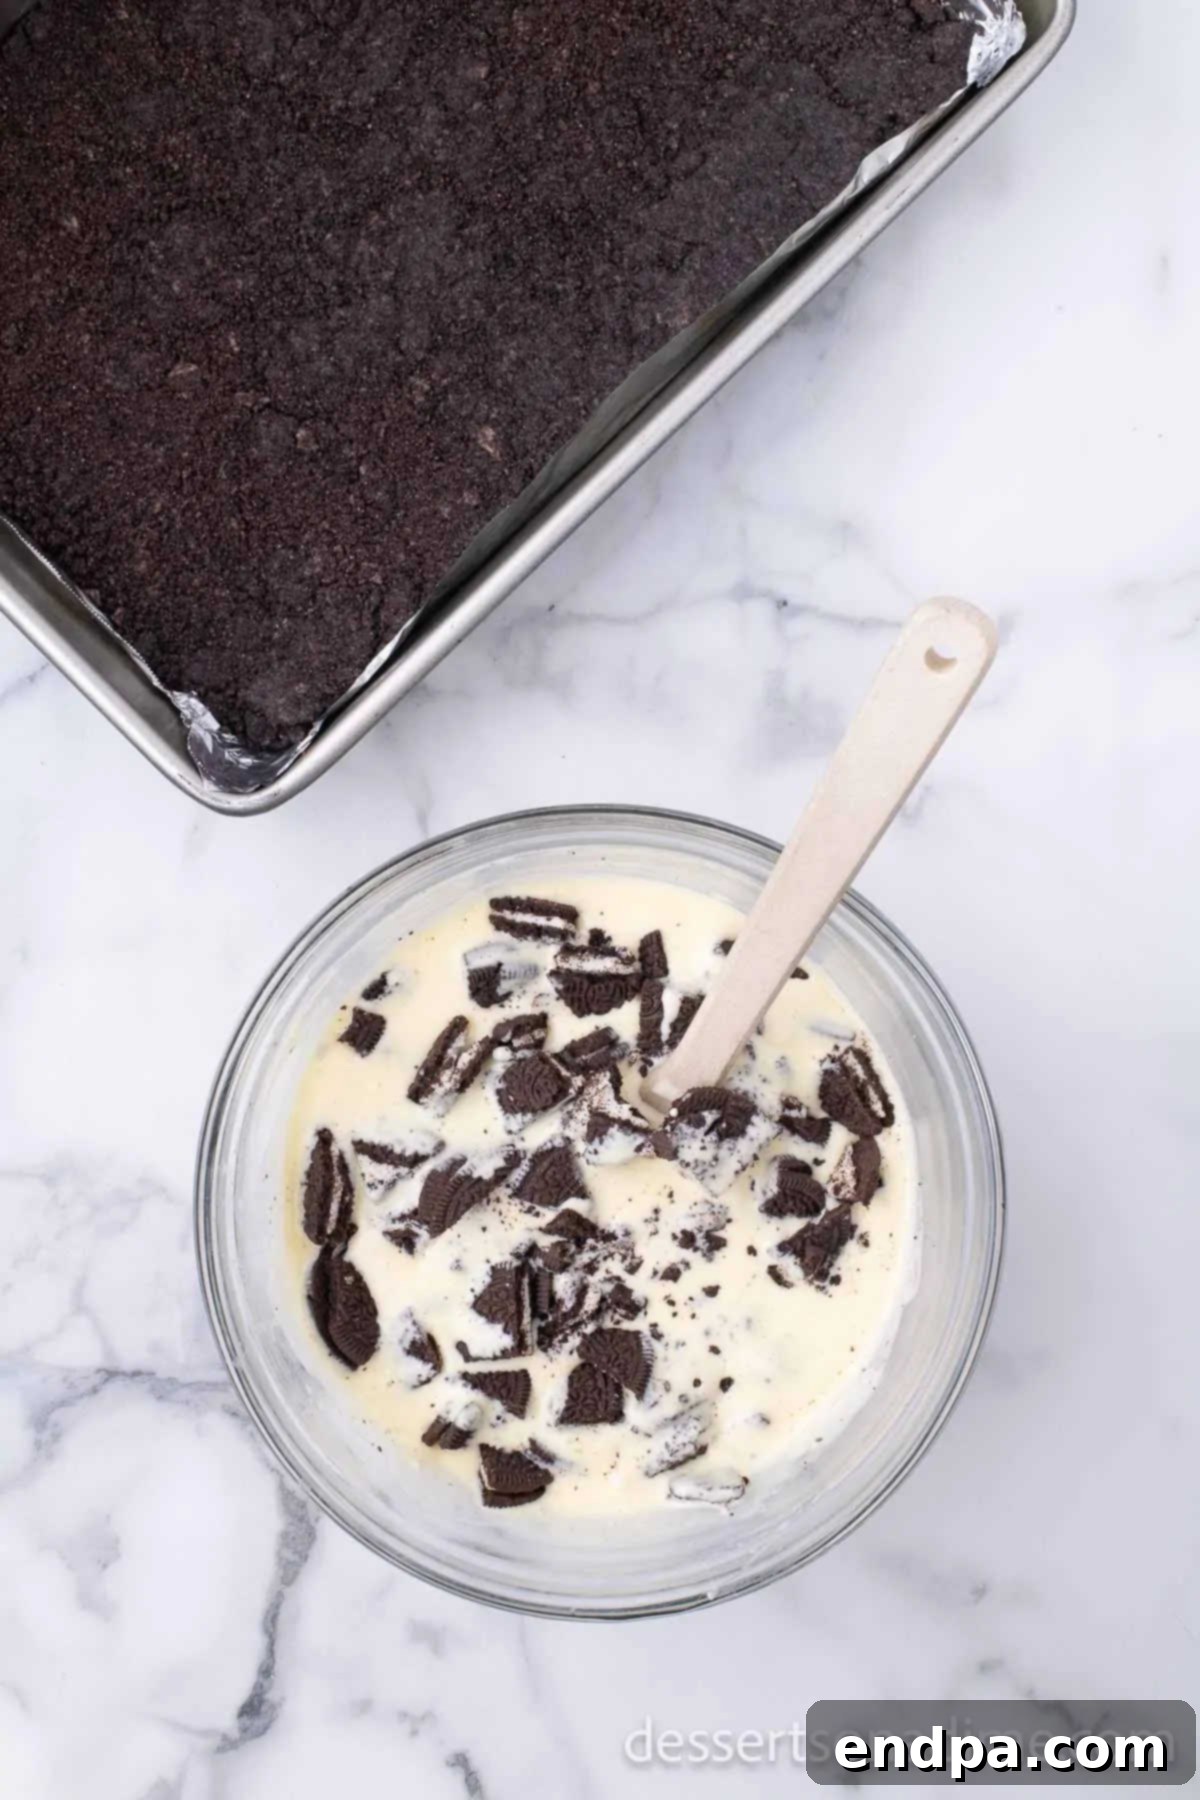
Step 9: Fold in Chopped Oreos. Roughly chop the remaining Oreo cookies by hand into varying sizes. Gently fold these chopped Oreos into the cheesecake mixture using a spatula. Mix just enough to distribute the cookie pieces evenly throughout the batter. This adds delightful pockets of chocolatey crunch to every bite.
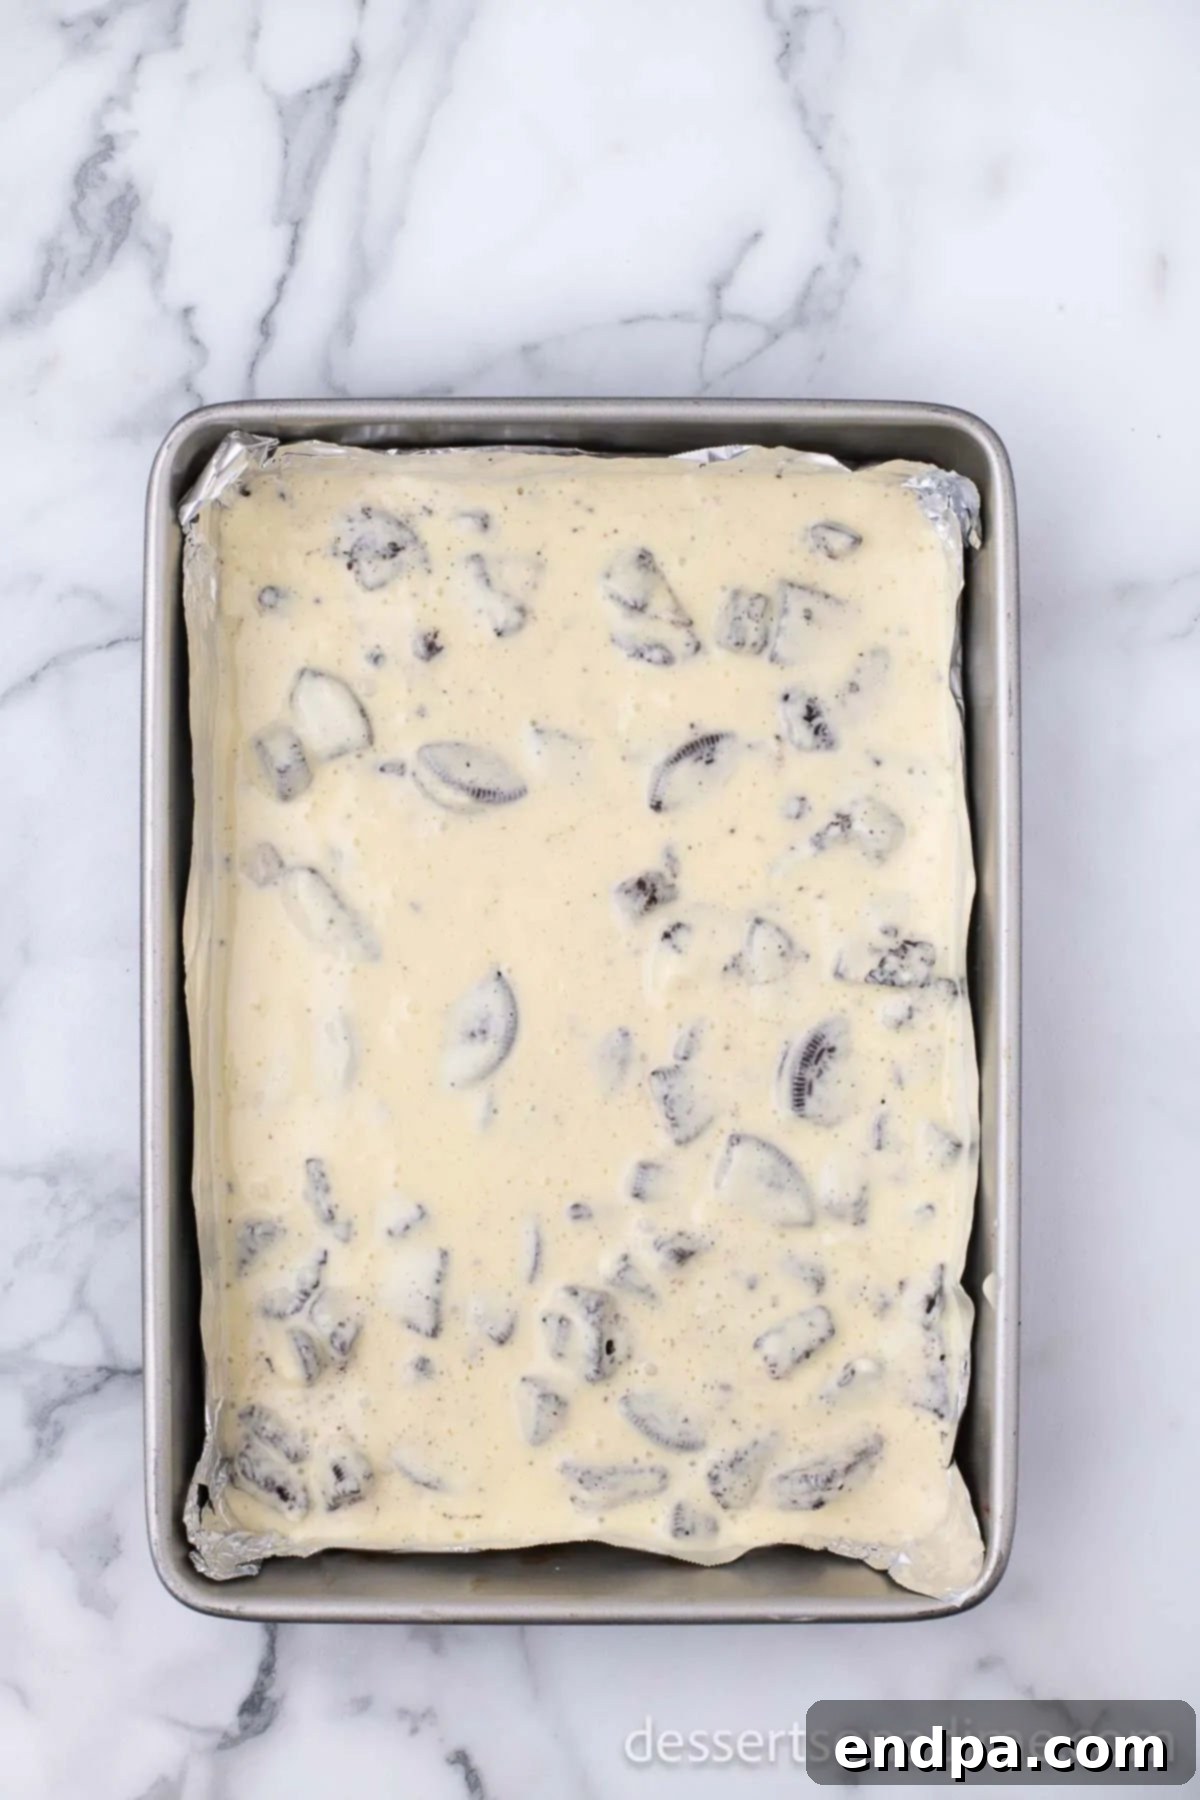
Step 10: Pour Filling Over Crust. Carefully pour the prepared cheesecake mixture evenly over the partially cooled Oreo crust in the baking pan. Use a spatula to gently spread the filling and smooth out the top, ensuring an even layer.
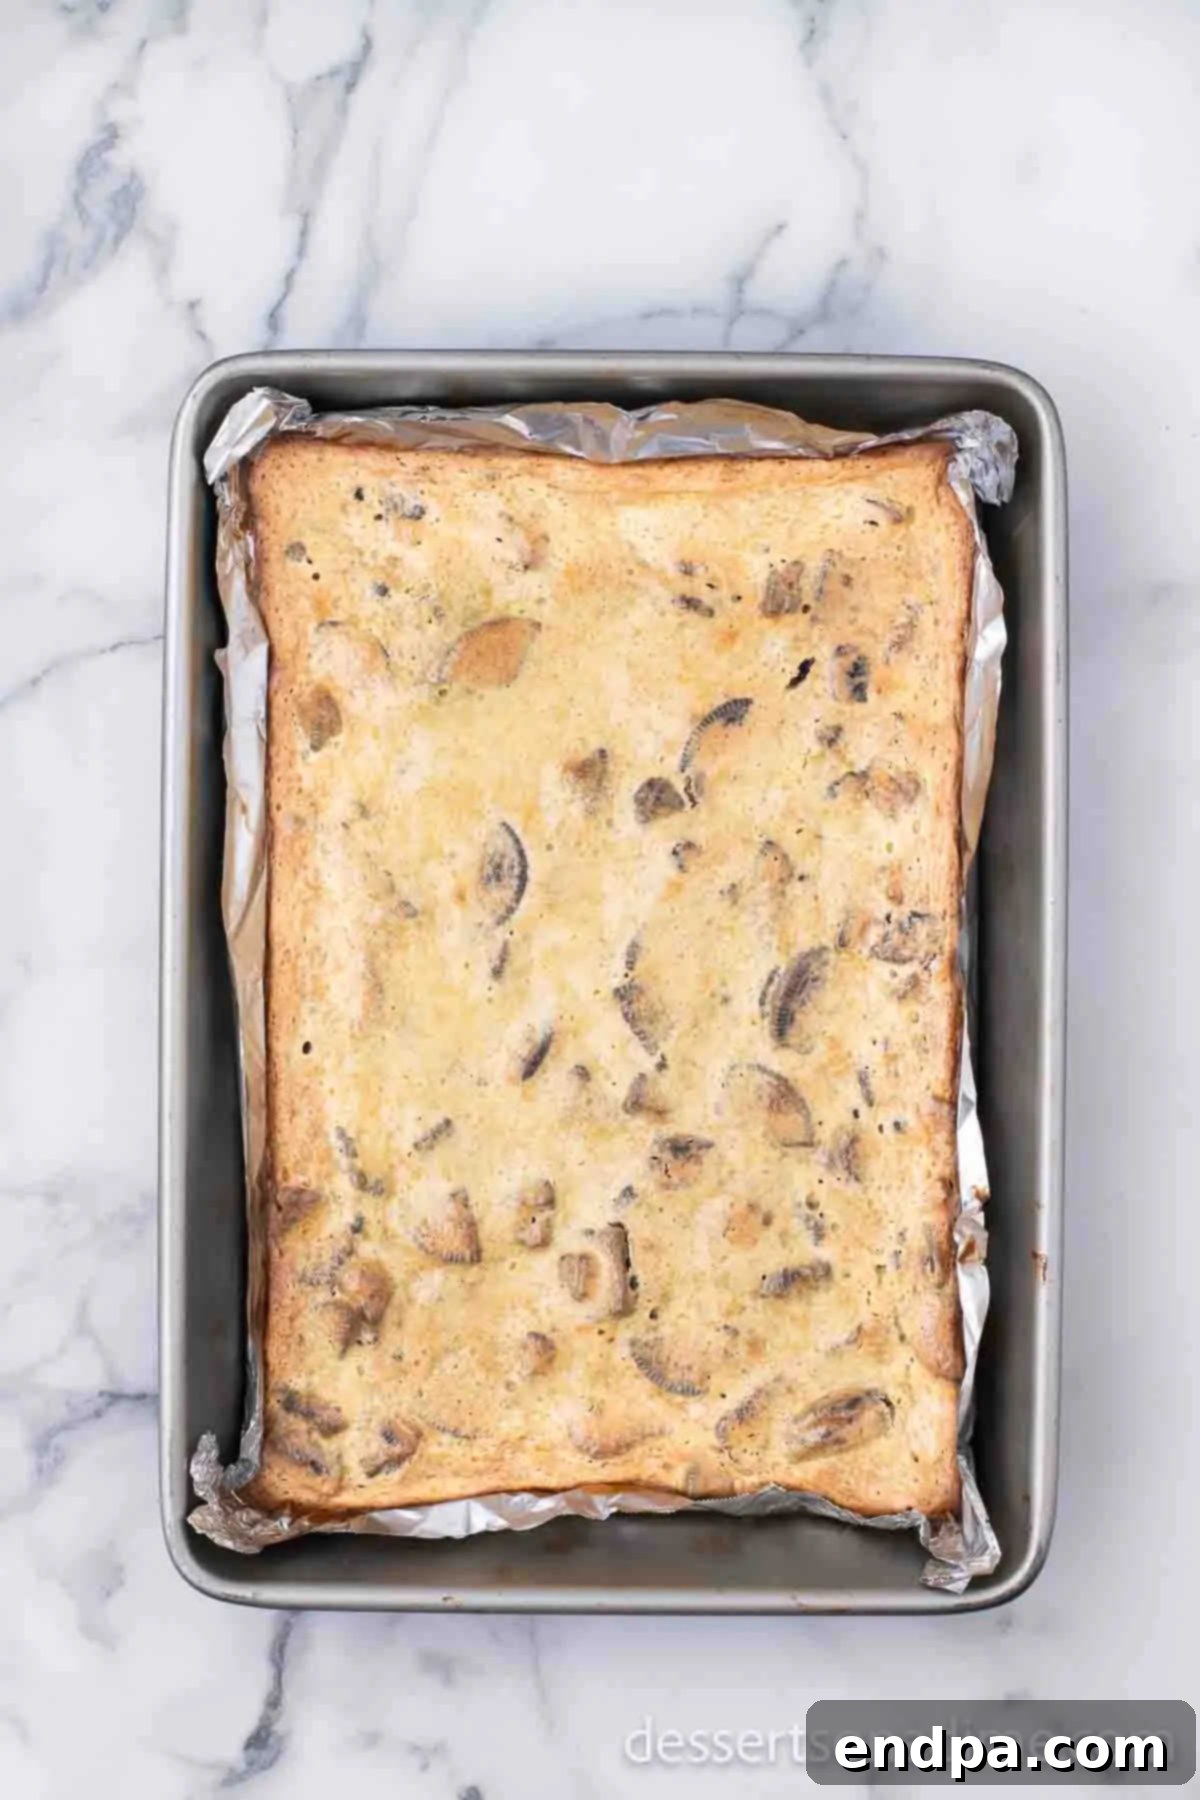
Step 11: Bake the Cheesecake Bars. Transfer the pan to the preheated oven and bake for approximately 40 minutes. The cheesecake is ready when the edges appear set and slightly firm, but the very center still has a slight wobble when gently shaken. This slight wobble is normal and indicates that the cheesecake will continue to set as it cools. Avoid overbaking, as this can lead to a dry texture and cracks.
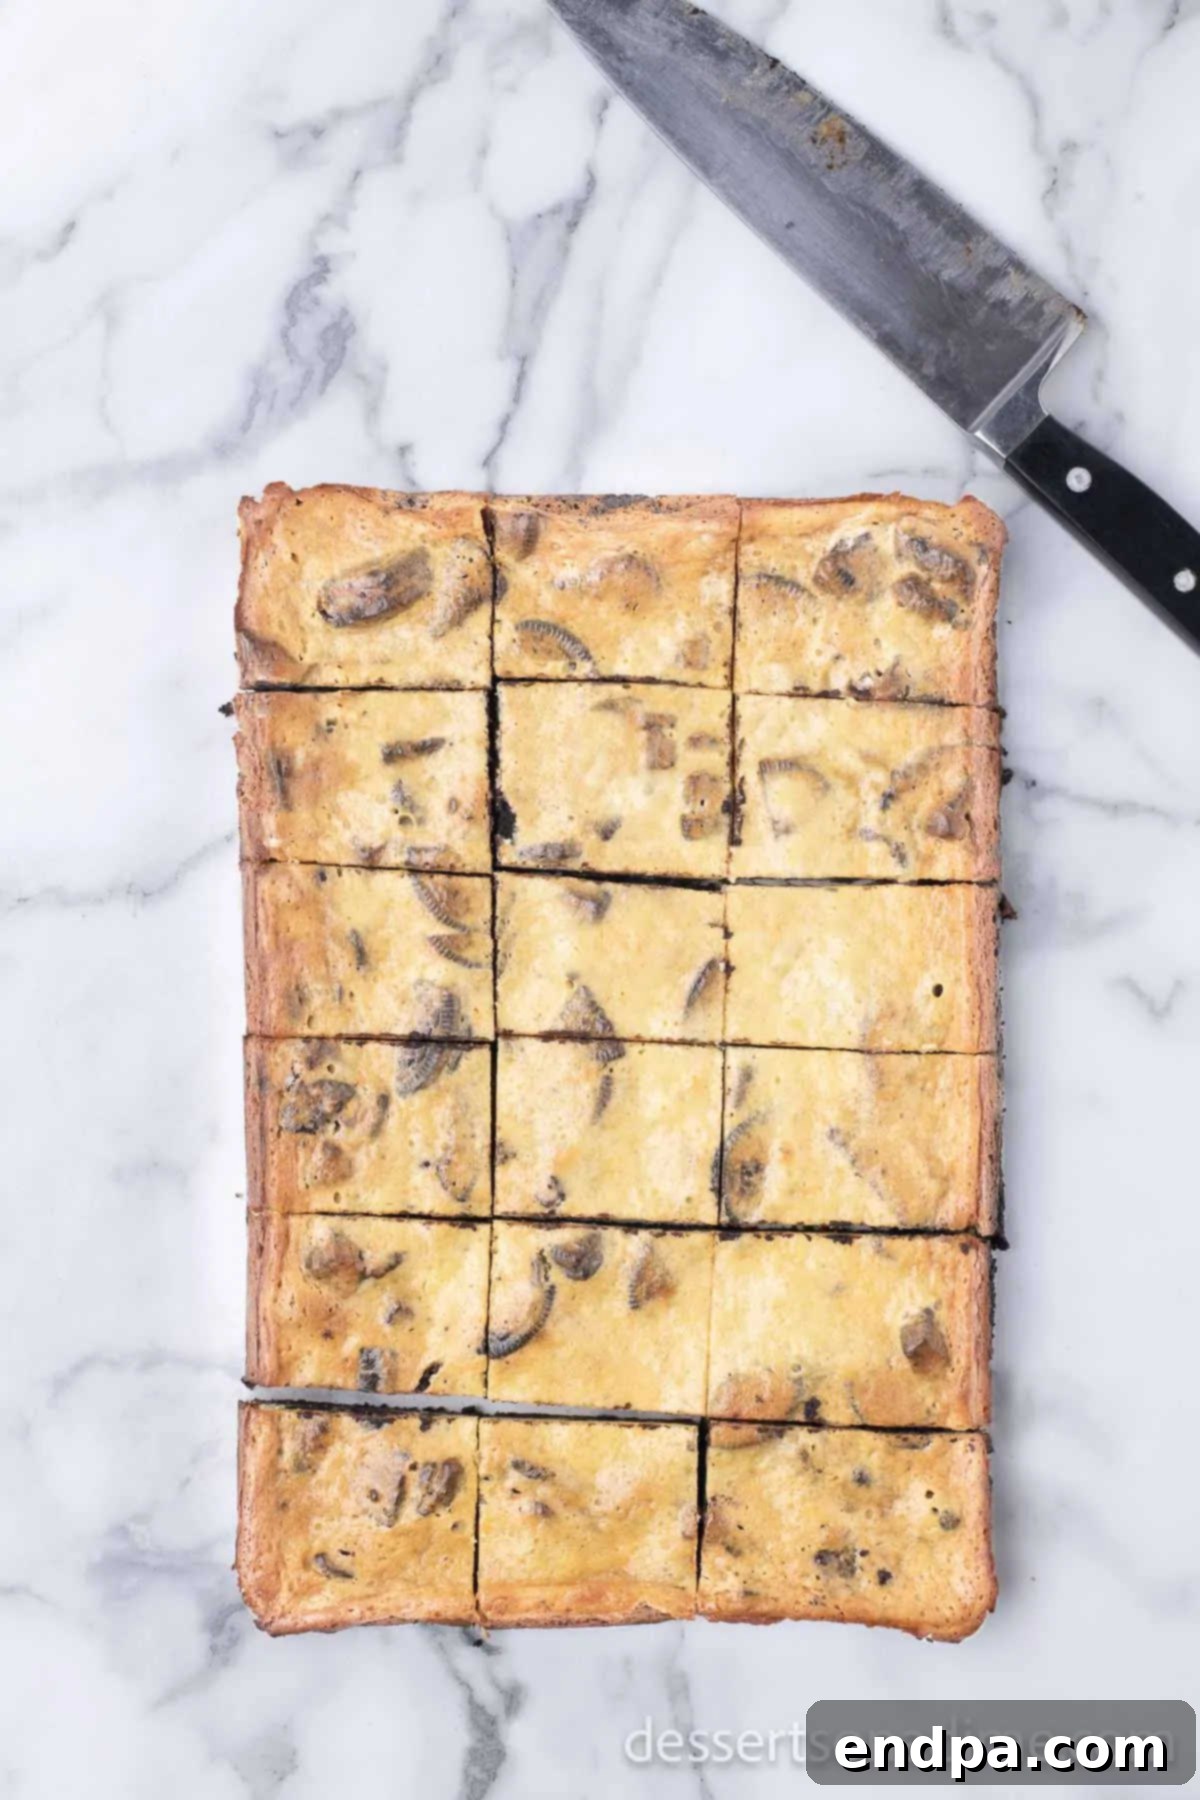
Step 12: Cool and Chill Thoroughly. Once baked, carefully remove the pan from the oven and place it on a wire cooling rack. Allow the cheesecake bars to cool completely at room temperature for about 1 hour. This slow cooling helps prevent cracks. Once cooled, transfer the pan to the refrigerator and chill for at least 3 hours, or preferably overnight. Chilling is essential for the cheesecake to fully set and achieve its perfect firm yet creamy texture. After chilling, use the foil overhangs to lift the entire cheesecake slab out of the pan, then place it on a cutting board and slice into individual squares.
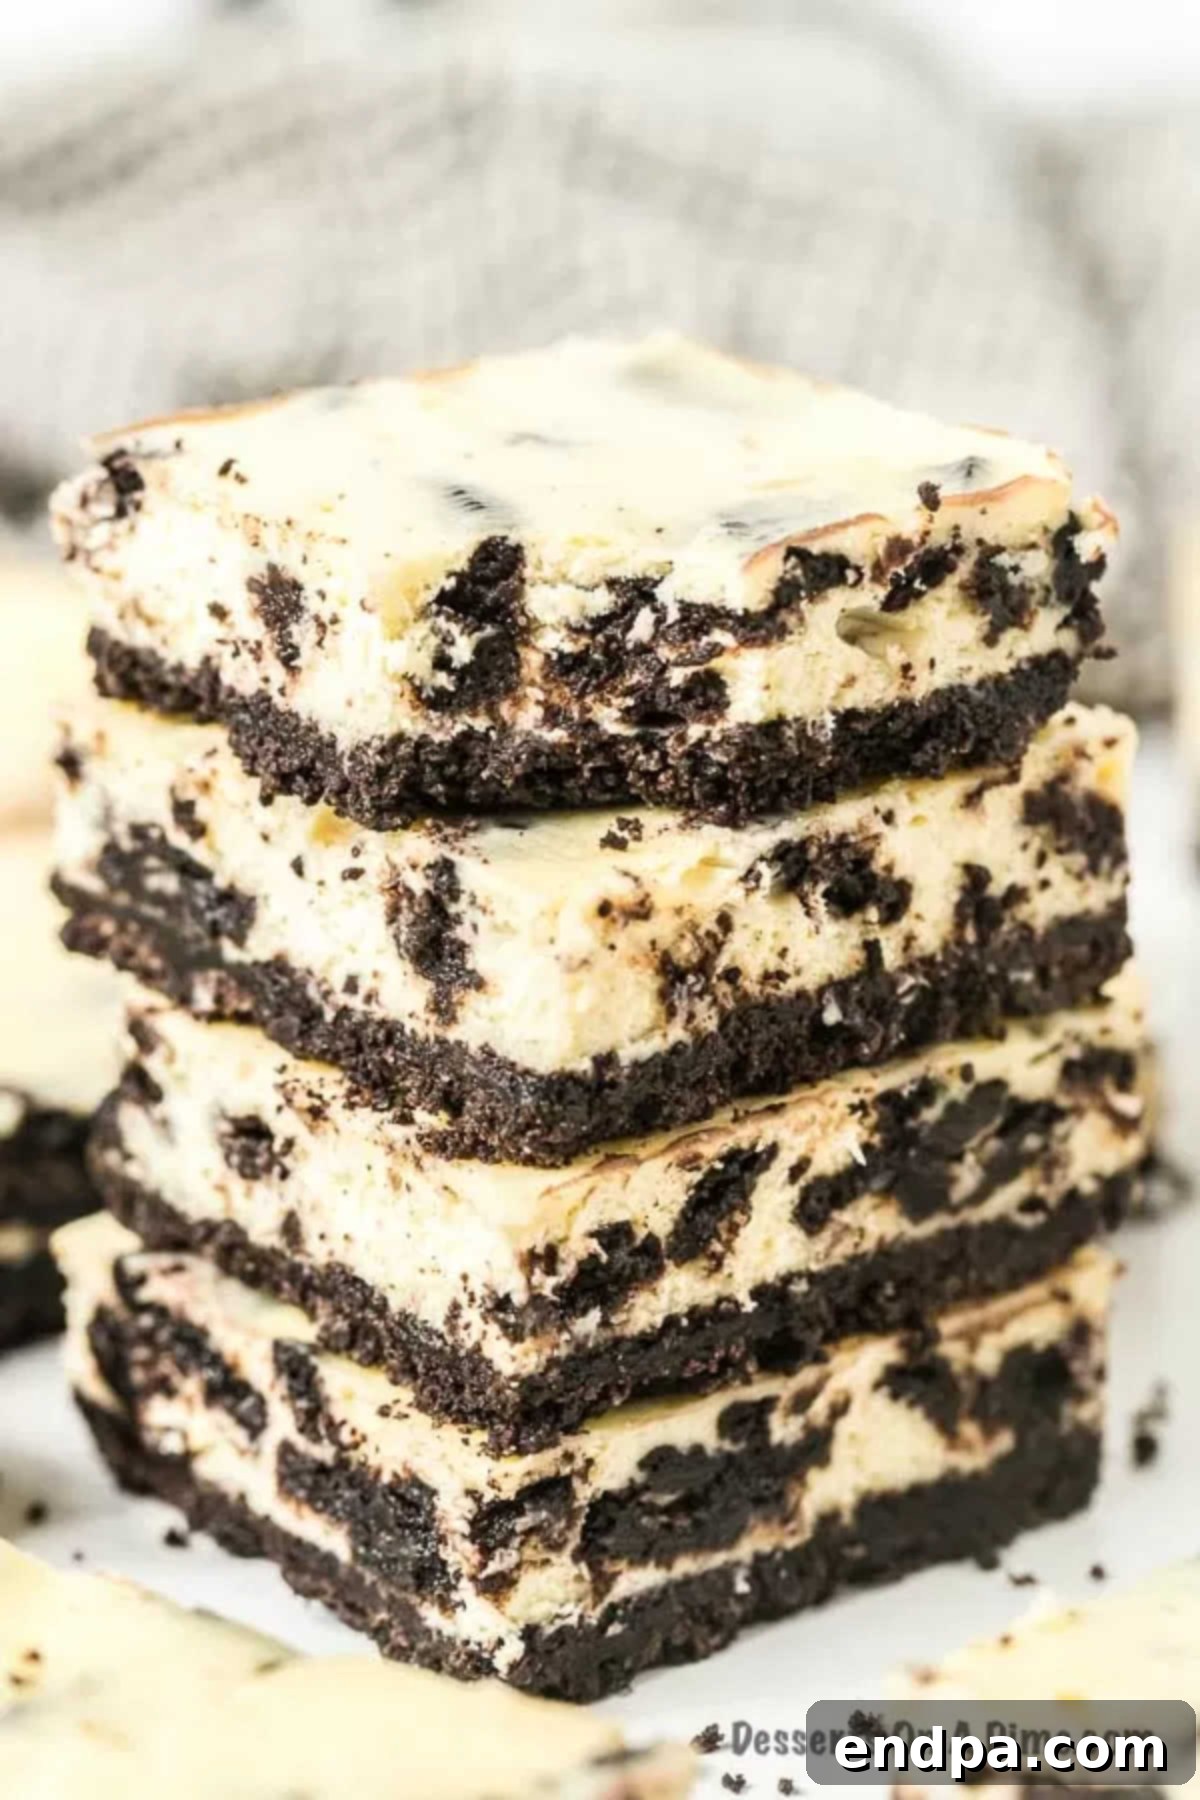
Step 13: Serve and Enjoy. Keep the cut Oreo Cheesecake Bars refrigerated until you’re ready to serve them. The cold temperature ensures they maintain their firm structure and refreshing taste. These bars are best enjoyed chilled.
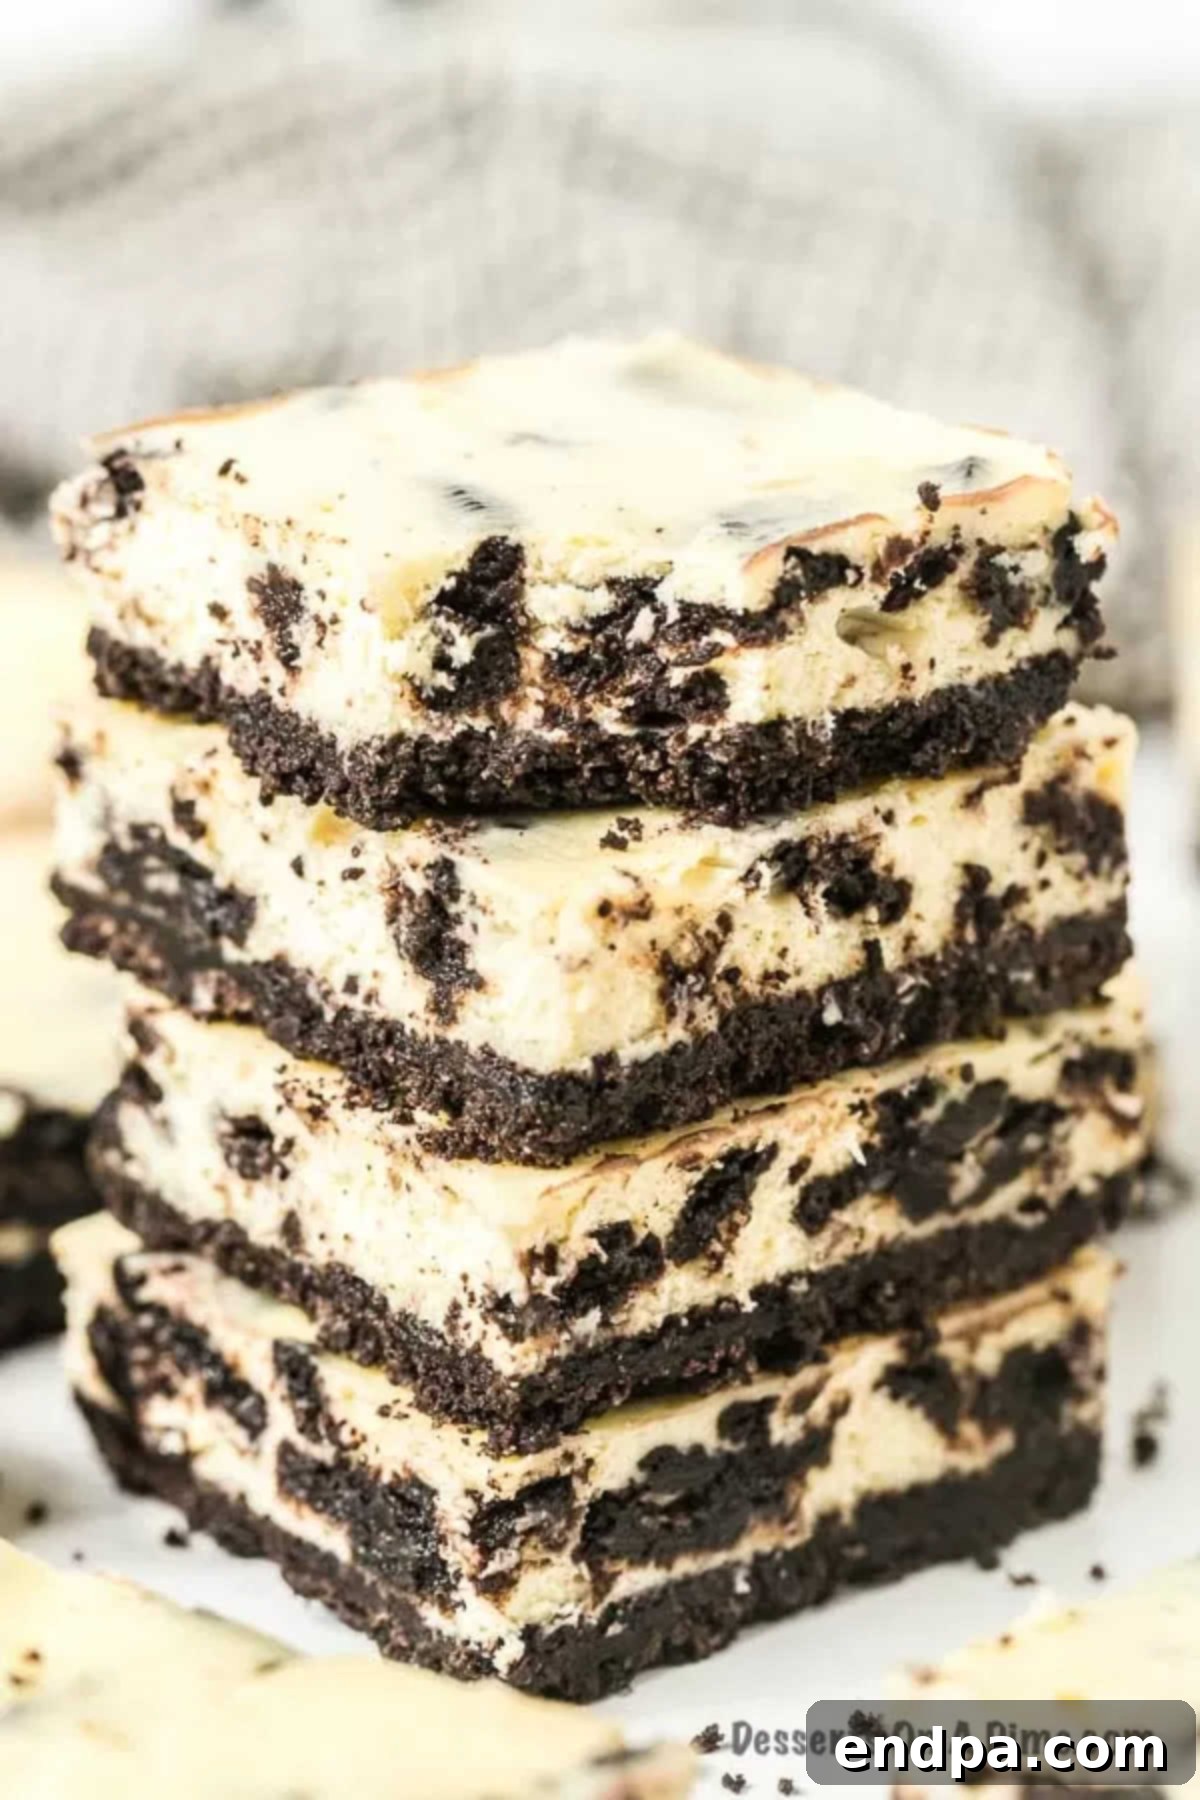
Expert Tips for Perfect Oreo Cheesecake Bars
Achieving the perfect Oreo Cheesecake Bars is easier than you think, especially with a few expert tips. These suggestions will help ensure your cheesecake is flawlessly creamy, beautifully smooth, and utterly delicious every time.
- Use Room Temperature Ingredients: This is arguably the most crucial tip for any cheesecake recipe. Ensure your cream cheese, sour cream, and eggs are all at room temperature before you begin mixing. Room temperature ingredients emulsify much more easily and thoroughly, resulting in a smooth, lump-free, and creamy cheesecake batter. Cold ingredients can lead to a lumpy texture and may require overmixing to combine, which can negatively impact the final product.
- Do Not Overmix the Batter: Once you’ve added the eggs, mix the cheesecake batter just until the ingredients are combined. Overmixing, particularly after the eggs have been added, can incorporate too much air into the batter. This excess air can cause the cheesecake to puff up significantly during baking and then collapse and crack as it cools, marring its smooth surface. A gentle hand and minimal mixing are key to a crack-free and silky cheesecake.
- Cut with a Warm, Plastic Knife: For impeccably clean and neat slices, use a plastic knife. The non-stick nature of plastic prevents the cheesecake from clinging to the blade, giving you sharp edges. For even better results, warm the plastic knife under hot water, wipe it clean, and then make each cut. Clean the knife after every slice to maintain those pristine lines. This technique works wonders for all kinds of bar desserts.
- Opt for Full-Fat Cream Cheese: While reduced-fat options might seem healthier, they don’t deliver the same richness and creamy texture essential for a truly decadent cheesecake. Full-fat cream cheese is vital for achieving the signature luxurious mouthfeel and robust flavor that makes these bars so irresistible. Stick to the regular, full-fat variety for the best results.
- No Springform Pan Needed: One of the beauties of cheesecake bars is their simplicity. There’s absolutely no need for a specialized springform pan. A standard 9×13 inch baking pan is all you require. The foil or parchment paper lining with an overhang makes removal and cutting incredibly easy, streamlining the baking process and making cleanup a breeze.
- Don’t Skip the Chilling Time: The prolonged chilling time (at least 3 hours, preferably overnight) is non-negotiable. This period allows the cheesecake to fully set, firm up, and develop its full flavor and perfect texture. Rushing this step will result in a soft, messy cheesecake that is difficult to slice and less enjoyable to eat. Patience truly pays off here.
How to Properly Store Oreo Cheesecake Bars
Proper storage is key to maintaining the freshness, texture, and flavor of your delicious Oreo Cheesecake Bars. Since they contain dairy products like cream cheese and sour cream, refrigeration is essential. Once the bars have completely cooled and been cut into squares, transfer them to an airtight container. Layer them carefully, using parchment paper between layers if stacking, to prevent them from sticking together or losing their shape. Stored in the refrigerator, these rich and creamy cheesecake bars will remain fresh and delightful for up to 1 week. This makes them an excellent make-ahead dessert, perfect for busy hosts or those who appreciate having a sweet treat readily available throughout the week. Planning a holiday gathering or a special event? Prepare these bars a day or two in advance to alleviate stress and ensure you have a show-stopping dessert ready to serve.
Freezing Oreo Cheesecake Bars for Later
Oreo Cheesecake Bars freeze beautifully, making them an ideal dessert for meal prepping or simply ensuring you always have a delightful treat on hand. To freeze, first ensure the bars are completely chilled and firm. Place the individual cut bars onto a baking sheet, making sure they are not touching each other. Put the baking sheet in the freezer for at least 1-2 hours, or until the bars are frozen solid. This initial flash-freeze prevents them from sticking together when stored in bulk.
Once frozen, transfer the solid bars to a freezer-safe airtight container or a heavy-duty freezer bag. For added protection against freezer burn, you can wrap each bar individually in plastic wrap before placing them in the container. Label the container with the date. Frozen cheesecake bars can be stored for up to 2-3 months without a significant loss in quality.
When you’re ready to enjoy them, simply remove the desired number of bars from the freezer and let them defrost at room temperature for a few hours, or in the refrigerator overnight. Once thawed, you’ll have a perfectly delicious dessert that tastes just as fresh as the day it was made, ready to enjoy or share at a moment’s notice.
Frequently Asked Questions About Oreo Cheesecake Bars
Here are some common questions about making and enjoying Oreo Cheesecake Bars:
What is the Best Way to Crush Oreos for the Crust?
The most efficient and best way to crush Oreos for a fine, uniform crust is by using a food processor. Simply place the cookies in the processor and pulse until you achieve finely ground crumbs. If you don’t have a food processor, a great alternative is to place the Oreos in a large, sturdy Ziploc bag, seal it, and then use a rolling pin or the bottom of a heavy pan to crush them into fine crumbs. Ensure there are no large chunks for an even crust.
Can I Use Different Flavors of Oreos in This Recipe?
Absolutely! This Oreo Cheesecake Bars recipe is incredibly versatile and works wonderfully with various Oreo flavors. Feel free to experiment with seasonal or specialty flavors like Mint Oreos, Peanut Butter Oreos, Golden Oreos, or even Red Velvet Oreos to create unique and exciting variations. Each different flavor will lend its distinct character to the cheesecake, making for a fun and customizable dessert.
Can I Make Oreo Cheesecake Bars Ahead of Time?
Yes, making these cheesecake bars ahead of time is highly recommended! In fact, since they require a significant chilling period (at least 3 hours, preferably overnight) to fully set and develop their ideal texture and flavor, they are the perfect dessert to prepare a day or two in advance. This not only allows the flavors to meld beautifully but also helps alleviate stress, especially when preparing for parties or special occasions.
How Can I Prevent My Cheesecake Bars from Cracking?
Preventing cracks in cheesecake often comes down to a few key techniques. First, ensure all your dairy ingredients (cream cheese, sour cream, eggs) are at room temperature to create a smooth batter without overmixing. Second, avoid overmixing the batter, especially after adding the eggs, as this incorporates too much air. Third, do not overbake; look for edges that are set with a slight wobble in the center. Finally, allow the cheesecake to cool slowly, first at room temperature on a wire rack, then in the refrigerator. Sudden temperature changes are a common cause of cracks.
Can I Make These into Mini Cheesecake Bites?
Yes, you can absolutely transform this recipe into mini Oreo cheesecake bites! Instead of a 9×13 inch pan, you would use a mini muffin tin lined with paper liners. Press a small amount of the Oreo crust mixture into the bottom of each liner, then fill with the cheesecake batter. The baking time will be significantly reduced, likely to about 15-20 minutes, or until the centers are just set. These mini bites are perfect for bite-sized treats at parties or as elegant individual desserts.
More Irresistible Easy Cheesecake Recipes
If you’ve fallen in love with the simplicity and deliciousness of these Oreo Cheesecake Bars, you’re in for a treat! The world of easy cheesecake recipes is vast and full of delightful variations. Here are some more fantastic cheesecake recipes that are just as simple to make and equally impressive:
- Classic Cheesecake Bars
- Easy Peanut Butter Cheesecake Bites
- Chocolate Chip Cookie Cheesecake Bars
- Chocolate Chip Cheesecake Bars (note: this link is a duplicate of the previous one, will keep as is)
- Slutty Cheesecake Bars
- Red Velvet Cheesecake Brownies
We hope you enjoy making this easy Oreo cheesecake recipe as much as we do. Don’t forget to leave a comment below with your feedback!
Oreo Cheesecake Bars
Oreo cheesecake bars combine all that you love about Oreo cookies and cheesecake into one luscious dessert. Perfect for parties and more.
Ingredients
- 19.1 oz package regular Oreo cookies
- 1/4 cup salted butter, melted
- 3 (8 oz) packages cream cheese, softened
- 3/4 cup granulated sugar
- 3/4 cup sour cream, room temperature
- 1 tsp. vanilla extract
- 1/2 tsp. salt
- 3 large eggs, room temperature
Instructions
- Preheat oven to 325ºF (160°C) and line a 9×13 inch pan with aluminum foil, leaving a 2-inch overhanging on both sides. Spray with cooking spray and set aside.
- Place 28 Oreos in a food processor and pulse until finely ground. Stir in the melted butter until the crumbs are completely coated.
- Evenly press the cookie mixture firmly into the prepared pan. Bake for 10 minutes and transfer to a wire cooling rack.
- Roughly chop the remaining Oreos by hand to be folded into the cheesecake mixture.
- In a large bowl, use an electric mixer to beat the cream cheese on medium speed. Once smooth and creamy, add the sugar and blend well for about 2 minutes. Scrape down the sides as needed.
- Beat in the sour cream, vanilla, and salt. Scrape the bowl and mix again until just combined.
- Add the eggs, one at a time, beating well after each addition until just incorporated. Scrape down the sides and then beat again, making sure the mixture is fully combined but not overmixed.
- Gently fold in the chopped Oreos and mix well to distribute them evenly.
- Pour the cream cheese mixture over the crust and smooth out the top. Bake for 40 minutes, until the filling is slightly wobbly in the middle and set on the outside.
- Move to a wire rack and let cool completely at room temperature for about 1 hour. Once cooled, chill in the refrigerator for at least 3 hours, or preferably overnight.
- Once thoroughly cooled and chilled, lift the cheesecake from the pan using the foil overhangs and cut into squares. Keep refrigerated until ready to serve.
- Note: We recommend making these bars the day before serving to allow for optimal chilling and setting.
Nutrition Facts
Carbohydrates: 35g,
Protein: 6g,
Fat: 27g,
Saturated Fat: 14g,
Cholesterol: 91mg,
Sodium: 398mg,
Potassium: 158mg,
Fiber: 1g,
Sugar: 25g,
Vitamin A: 771IU,
Vitamin C: 1mg,
Calcium: 66mg,
Iron: 3mg
