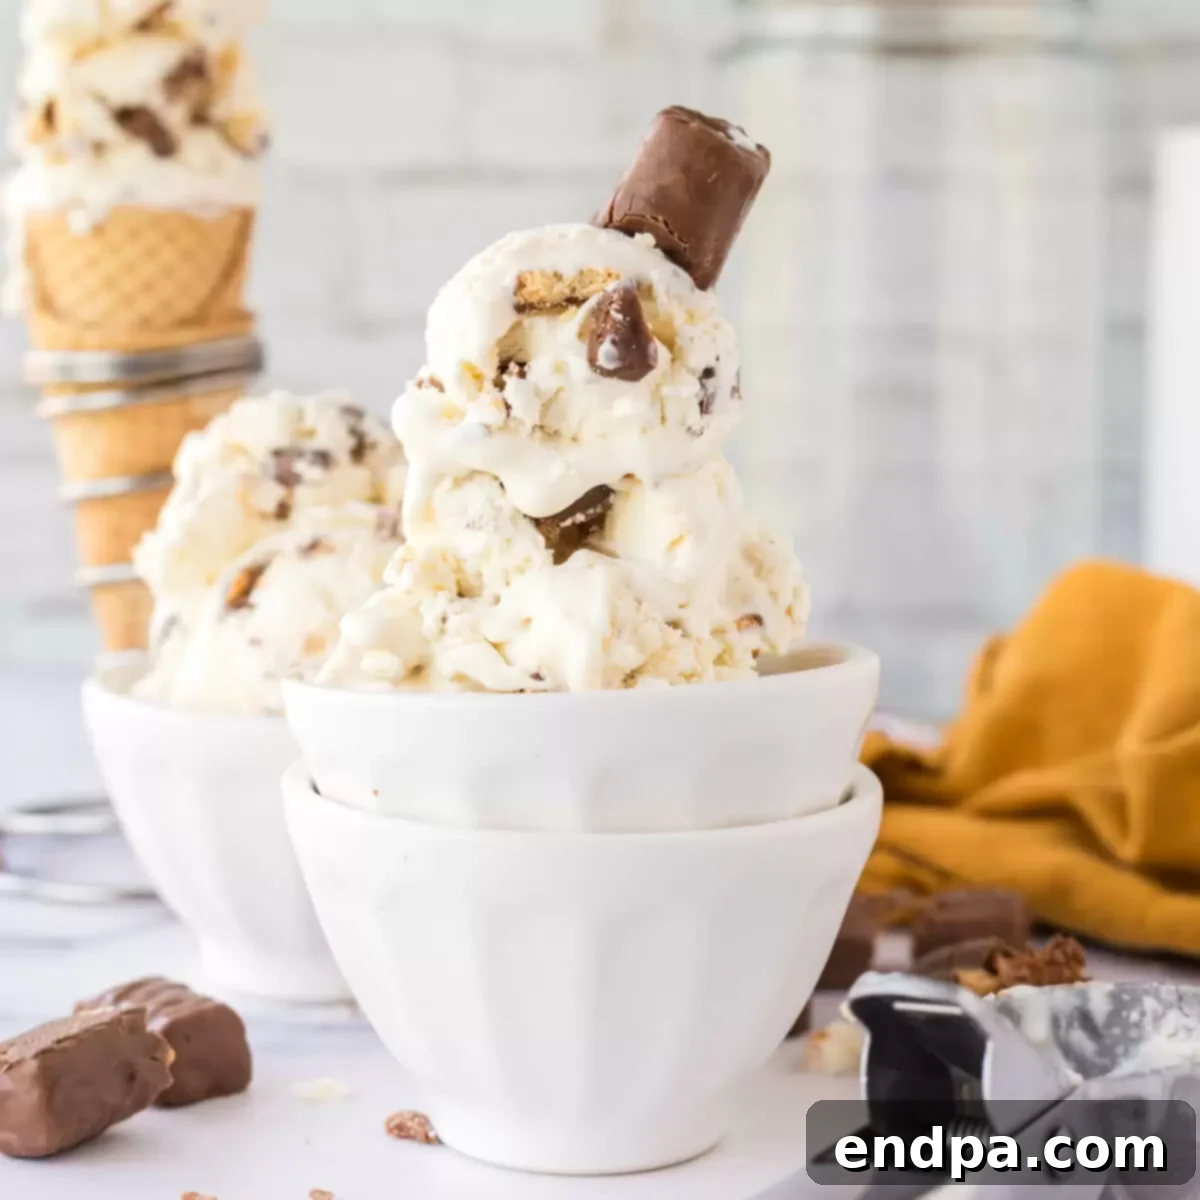
Twix Ice Cream isn’t just a dessert; it’s an experience. Imagine a creamy, velvety homemade ice cream bursting with the iconic flavors of your favorite Twix candy bar: rich chocolate, gooey caramel, and that satisfying biscuit crunch. The best part? This incredible treat is a no-churn recipe, meaning you don’t need a fancy ice cream machine to whip up this decadent delight. With just three simple ingredients and minimal effort, you can create a masterpiece that will impress everyone and satisfy even the most intense sweet cravings. Prepare for a dessert that’s as easy to make as it is utterly irresistible.
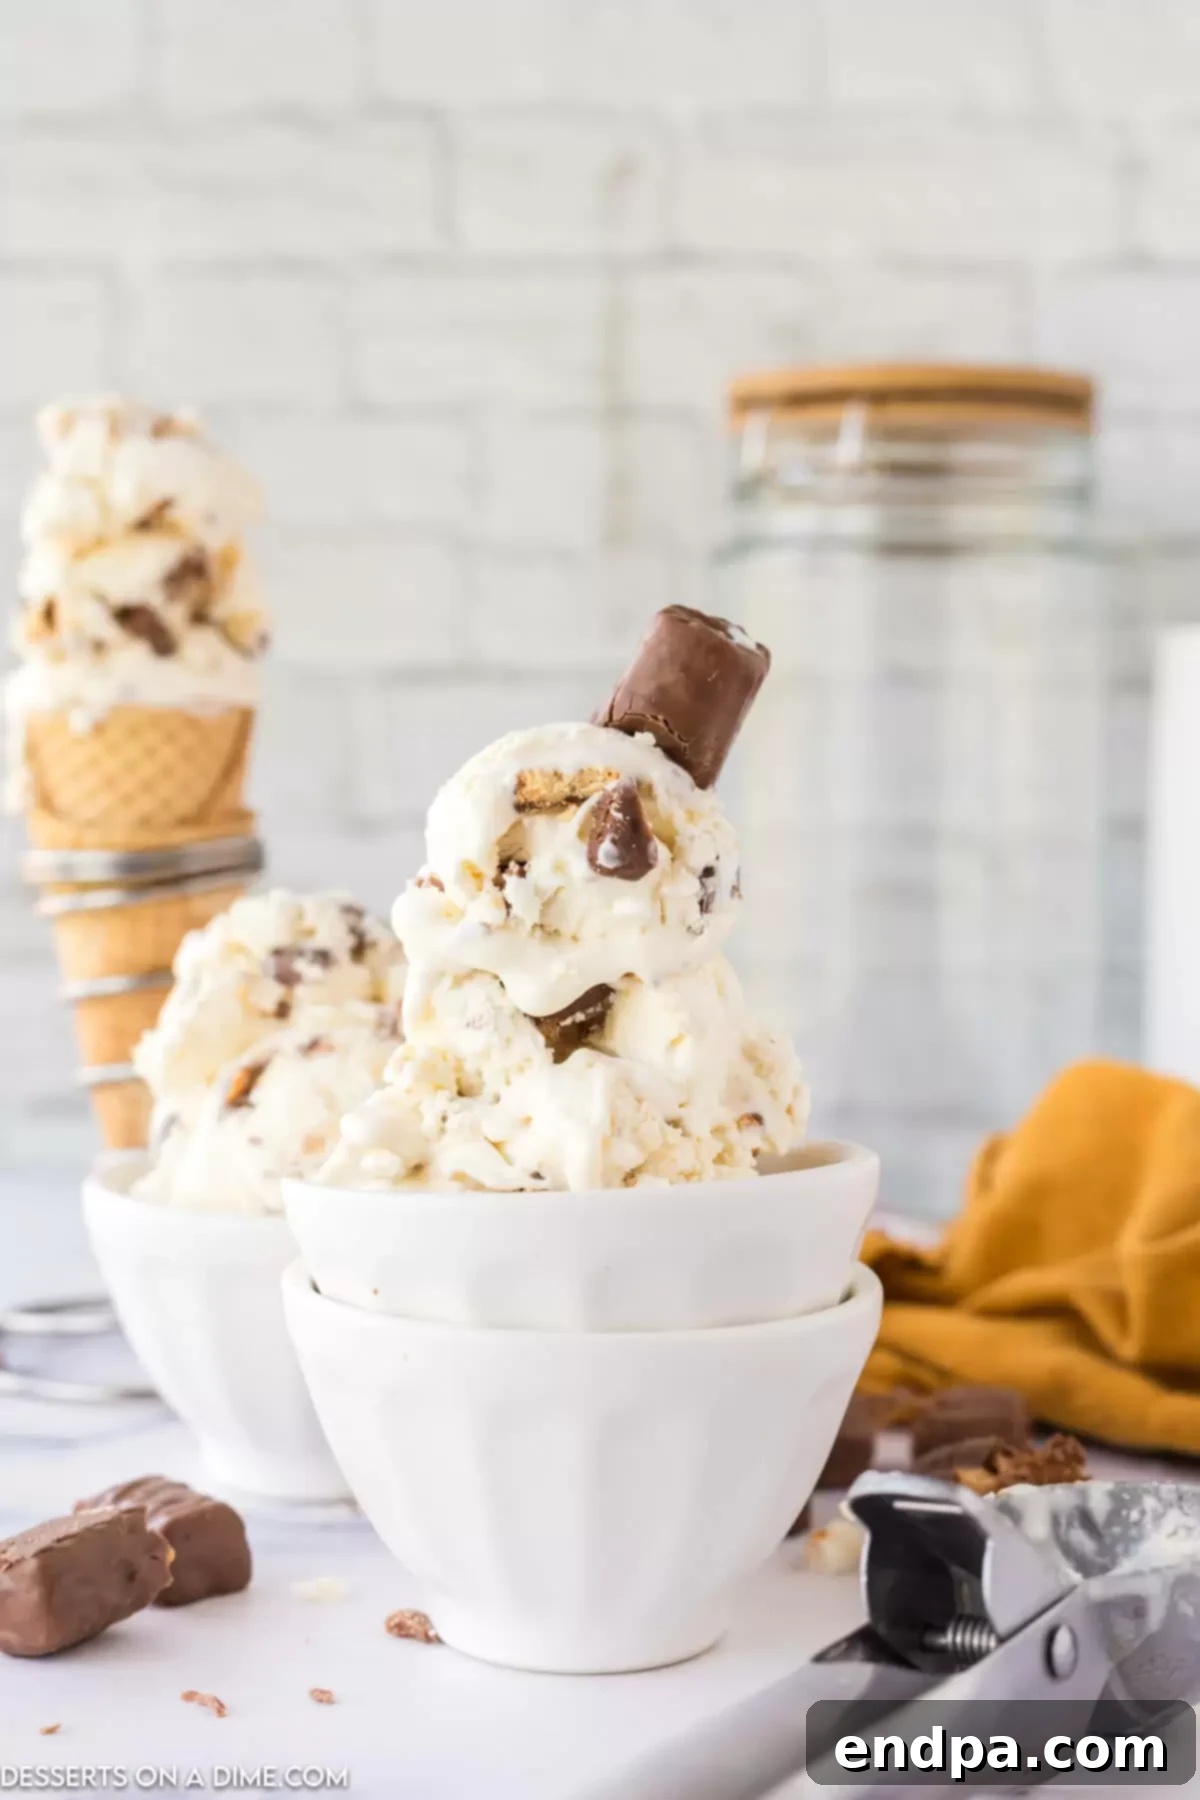
For anyone who adores the classic combination found in a Twix Candy Bar, prepare to have your world (and your taste buds) revolutionized. Every spoonful of this homemade Twix ice cream is an adventure, loaded with generously chopped pieces of cookie, luscious caramel, and indulgent chocolate. These delightful Twix fragments are lovingly swirled throughout the creamy base, ensuring an explosion of flavor and texture in every single bite. It’s a truly amazing ice cream recipe that transforms a beloved candy into an even more irresistible frozen treat, perfect for cooling down on a hot day or simply indulging your sweet tooth.
If you find yourself enchanted by the irresistible charm of Twix, you might also enjoy exploring other ways to enjoy these flavors. Consider trying your hand at crafting Homemade Twix Bars from scratch for a truly authentic experience, or perhaps bake a batch of delightful Twix Thumbprint Cookies for a chewy, bite-sized indulgence. These recipes offer different takes on the classic, perfect for any occasion and for expanding your dessert repertoire with more Twix-inspired goodness.
Our love for rich, caramel and chocolate-infused desserts runs deep, and if you share that passion, there’s a whole world of creamy delights waiting for you. Dive into the comforting flavors of autumn with our Pecan Pie Ice Cream Recipe, or indulge in the complex sweetness of Caramel Pecan Praline Ice Cream Recipe. For a touch of sophistication, our Homemade Salted Caramel Ice Cream Recipe offers the perfect balance of sweet and savory. If you prefer timeless simplicity, our No Churn Vanilla Ice Cream serves as a fantastic base for endless customization. And for seasonal celebrations, don’t miss our festive Peppermint Ice Cream, enchanting Christmas Ice Cream, or the fruity, chocolatey goodness of Cherry Chocolate Chip Ice Cream. Each recipe promises a delightful homemade experience, proving that delicious desserts don’t have to be complicated.
Table of Contents
- Why We Love This Recipe
- The Magic of No-Churn Ice Cream
- Essential Equipment
- Simple Ingredients for Decadent Flavor
- How to Make No-Churn Twix Ice Cream
- Expert Tips for Perfect Ice Cream
- Storage Best Practices
- Creative Serving Suggestions
- Variations and Customizations
- Common Questions and Troubleshooting
- More Delightful Ice Cream Recipes
Why We Love This Recipe: Your New Favorite Dessert
Our homemade Twix Ice Cream isn’t just a recipe; it’s a revelation. It takes the beloved flavors of a classic candy bar and transforms them into a luscious, frozen dessert that’s remarkably easy to make. Here’s why this recipe will quickly become a staple in your kitchen and a go-to for satisfying those sweet cravings:
- Unbeatable Simplicity with Just 3 Ingredients: Forget complex lists and obscure components. This recipe relies on a trio of readily available ingredients, making it accessible for even novice bakers and busy schedules. Minimal ingredients mean maximum ease and less time spent grocery shopping, allowing you to whip up a gourmet-tasting dessert in a flash.
- No Ice Cream Machine Needed – Truly No-Churn: The biggest hurdle for many aspiring ice cream makers is the need for specialized equipment. This recipe brilliantly bypasses that requirement. Using a clever technique, we achieve an incredibly rich and creamy texture without an ice cream maker, opening up the world of homemade ice cream to everyone, regardless of their kitchen gadgets.
- Rich, Creamy, and Unforgettably Delicious: Despite its simplicity, the final product is anything but basic. Each bite delivers a luxurious, smooth consistency that melts in your mouth, perfectly complemented by the delightful chewiness of caramel, the crispness of cookie, and the indulgent taste of chocolate from the Twix pieces. It’s a sensory experience that’s truly addicting and far superior to many store-bought options.
- A Fun Family Activity: This recipe is so straightforward, it’s perfect for getting kids involved in the kitchen. Chopping the Twix bars, whipping the cream, and folding everything together can be a fun and rewarding activity for all ages, creating not just a dessert, but also wonderful memories and a shared sense of accomplishment.
- Customizable to Your Liking: While Twix is the star, the base recipe is incredibly versatile. You can easily adapt it with different candy bars, nuts, or sauces to create endless variations, making it a recipe that keeps on giving and allows you to personalize your frozen treats.
The Magic of No-Churn Ice Cream: Achieving Creaminess Without a Machine
You might wonder how it’s possible to create such a rich and creamy ice cream without the constant churning of a machine. The secret lies in two key ingredients: heavy whipping cream and sweetened condensed milk. When heavy cream is whipped to stiff peaks, it incorporates air, creating a light and voluminous base. This aeration is crucial for a light texture. The sweetened condensed milk, with its thick consistency and high sugar content, then acts as a natural emulsifier and prevents the formation of large ice crystals during freezing. Sugar lowers the freezing point, making the ice cream softer and smoother, while the milk solids and fats contribute to the richness. This combination results in an astonishingly smooth, dense, and delightful ice cream that rivals traditional churned versions, all without the need for specialized equipment. It’s a game-changer for homemade dessert enthusiasts, simplifying the process without compromising on quality or taste.
Essential Equipment for Your No-Churn Adventure
One of the greatest advantages of this no-churn Twix ice cream recipe is its minimal equipment requirements. You likely already have most, if not all, of these items in your kitchen. Gathering them before you begin will ensure a smooth and enjoyable preparation process. No need for expensive, single-purpose gadgets—just a few basic tools!
- 9×5 inch Loaf Pan: This standard-sized loaf pan is perfect for freezing your ice cream. Its rectangular shape makes it easy to scoop and store. You can also use other freezer-safe containers of similar volume, but ensure they have a good seal to prevent ice crystals and freezer burn. Glass or metal pans work equally well.
- Silicone Spatula or Large Spoon: Essential for gently folding ingredients together, ensuring the whipped cream maintains its airy volume while incorporating the dense condensed milk and chopped Twix bars without deflating. A large, flexible spatula is ideal for scraping down the sides of the bowl and ensuring all ingredients are well combined.
- Large Mixing Bowl: You’ll need ample space to whip your heavy cream without spills. A large, deep bowl prevents splattering and allows for efficient whipping, especially as the cream increases significantly in volume. Ideally, use a chilled metal bowl for even faster and more stable stiff peaks.
- Electric Hand Mixer: While a stand mixer with a whisk attachment also works wonders, a handheld electric mixer is perfect for whipping the heavy cream to stiff peaks. This tool significantly cuts down on the effort and time compared to whisking by hand, ensuring a perfectly airy and voluminous base for your ice cream in just a few minutes.
- Plastic Wrap: Crucial for covering the ice cream while it freezes. This tight seal prevents the formation of ice crystals on the surface of your ice cream, preserving its smooth and creamy texture. Alternatively, an airtight freezer-safe lid can be used, but ensure it creates a tight seal.
- Sharp Knife and Cutting Board: For safely and efficiently chopping your Twix bars into desired pieces. A good quality knife will make quick work of the chocolate, caramel, and biscuit layers.
Simple Ingredients for Decadent Flavor
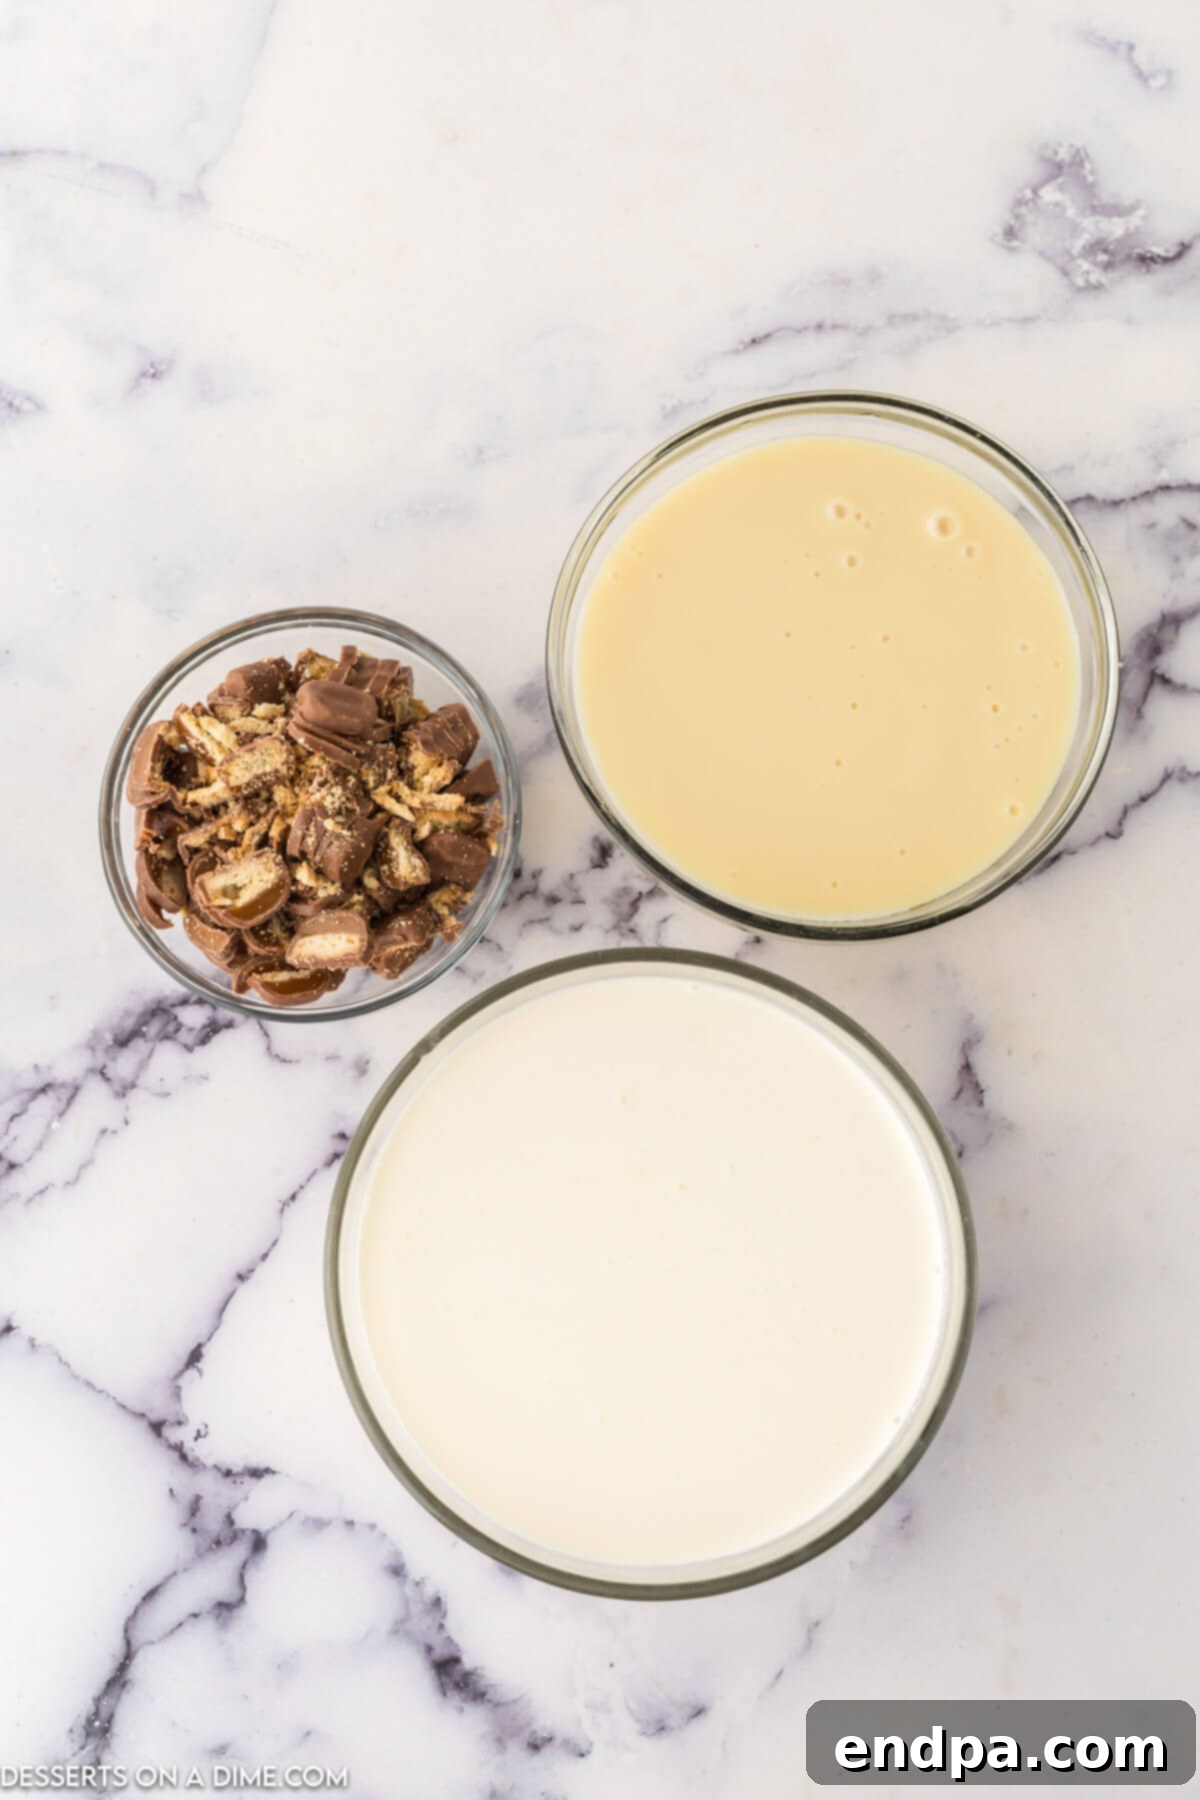
The magic of this Twix ice cream recipe truly lies in its simplicity. With just a few high-quality ingredients, you can create a dessert that tastes far more complex and indulgent than it is. Each component plays a vital role in achieving that perfect no-churn texture and irresistible flavor profile.
- Heavy Whipping Cream (Cold): This is the foundation of your creamy ice cream. When whipped, cold heavy cream incorporates air, providing the light, airy, and voluminous texture that makes no-churn ice cream so delightful. Ensure your cream is very cold (straight from the fridge) for the best results, as this allows it to whip up much faster and hold its peaks more effectively, contributing to a stable and smooth ice cream base.
- Sweetened Condensed Milk: The sweet secret to a smooth, no-ice-crystal finish. Sweetened condensed milk not only provides the necessary sweetness but also contributes to the rich, dense body of the ice cream. Its high sugar content and thick consistency prevent large, crunchy ice crystals from forming during freezing, resulting in that wonderfully smooth and melt-in-your-mouth mouthfeel that distinguishes quality ice cream.
- Chopped Twix Bars: The star flavor component and the namesake of this delicious dessert! Twix bars bring together the perfect trifecta of crunchy biscuit, luscious caramel, and a generous coating of milk chocolate. Chopping them into varying sizes ensures that every spoonful delivers a delightful mix of these textures and flavors, making your ice cream authentically “Twix.” You can choose classic Twix, or experiment with variations like peanut butter Twix for a different twist, adding another layer of complexity.
The complete, detailed ingredient list, including precise measurements for this homemade Twix ice cream, can be found in the recipe card below. Always use high-quality ingredients for the best possible flavor and texture; fresh cream and your favorite brand of Twix will make all the difference!
How to Make No-Churn Twix Ice Cream: A Step-by-Step Guide
Creating this incredibly delicious Twix ice cream is surprisingly simple, requiring just a few easy steps. Follow these instructions carefully, paying attention to the details, and you’ll be enjoying your homemade treat in no time!
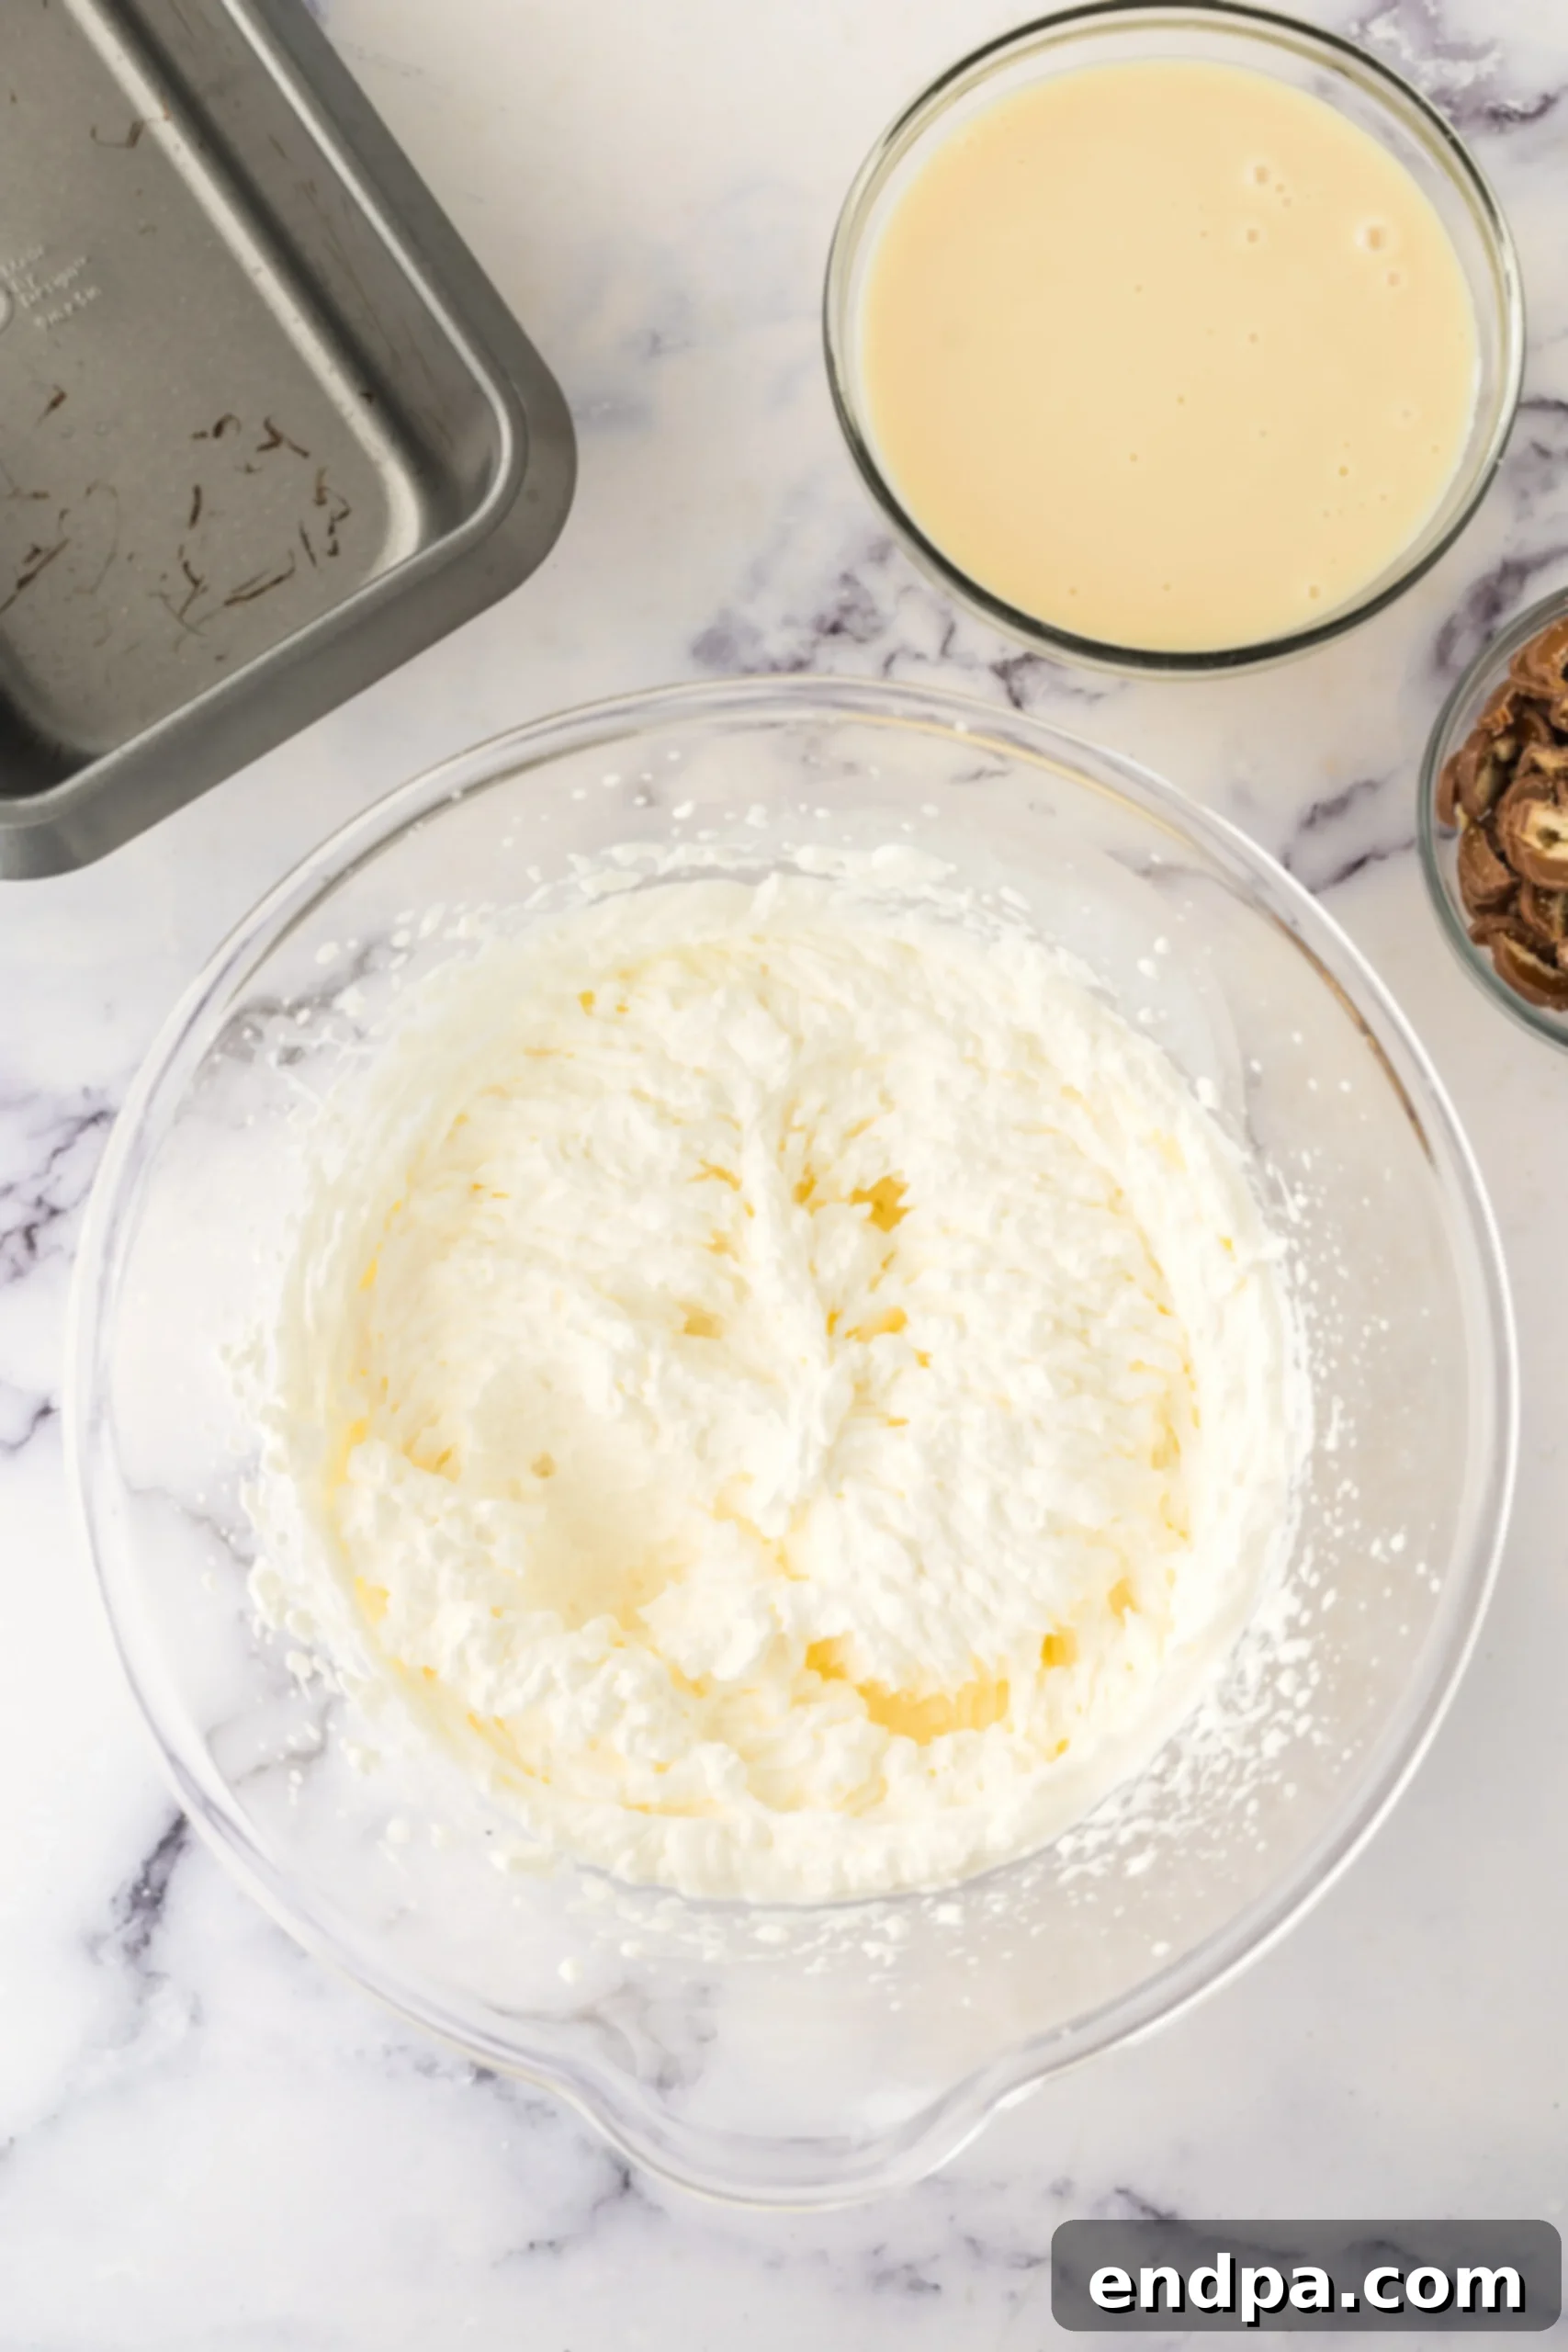
Step 1: Whip the Heavy Cream. Begin by pouring your very cold heavy whipping cream into a large, chilled mixing bowl. Using an electric hand mixer (or a stand mixer with a whisk attachment), beat the cream on medium-high speed until it transforms into beautiful, stiff peaks. This means when you lift the beaters, the cream should stand up firmly without collapsing. This process incorporates the crucial air that gives your no-churn ice cream its light, airy, and fluffy texture, which is essential for a smooth final product.
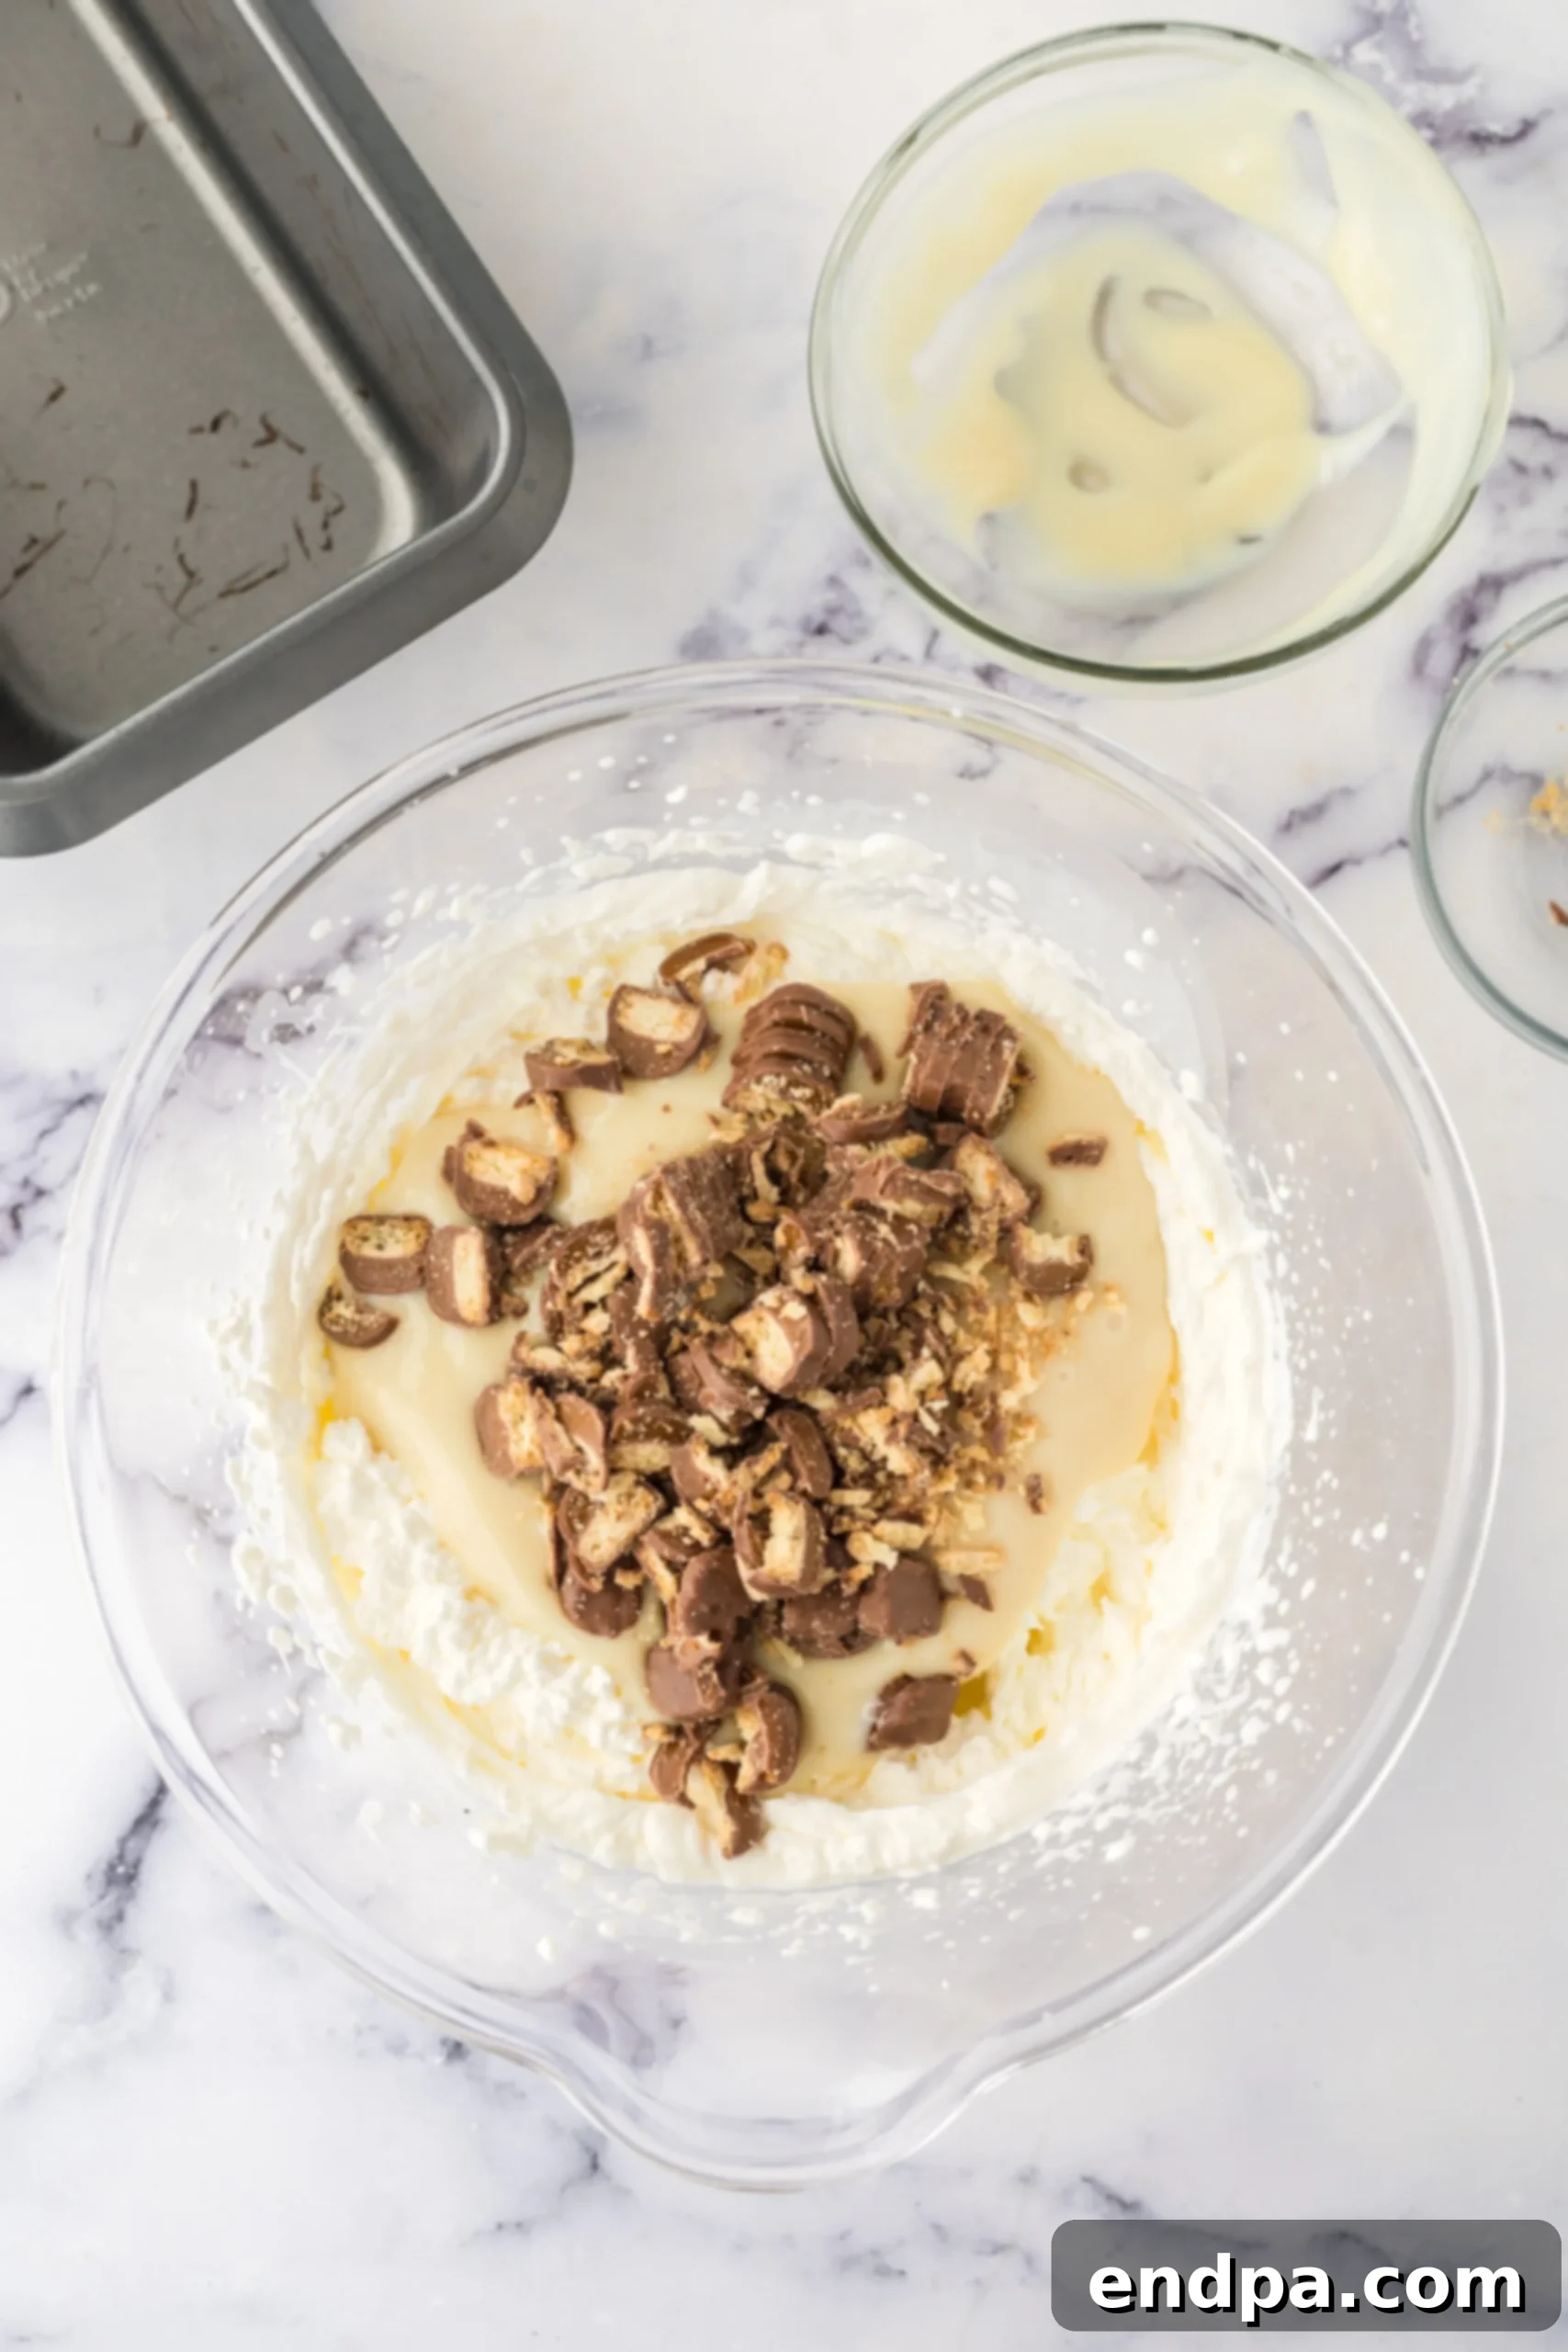
Step 2: Fold in Condensed Milk and Twix Bars. Once your heavy cream has reached stiff peaks, gently pour in the sweetened condensed milk. Using a silicone spatula or a large spoon, carefully fold the condensed milk into the whipped cream. The key here is to be gentle, using an under-and-over motion, to avoid deflating the airy cream. Continue folding until the mixture is just combined and homogeneous. Then, add your generously chopped Twix bars. Again, gently fold them into the mixture, ensuring they are evenly distributed throughout the creamy base. Don’t overmix, as this can lead to a dense ice cream!
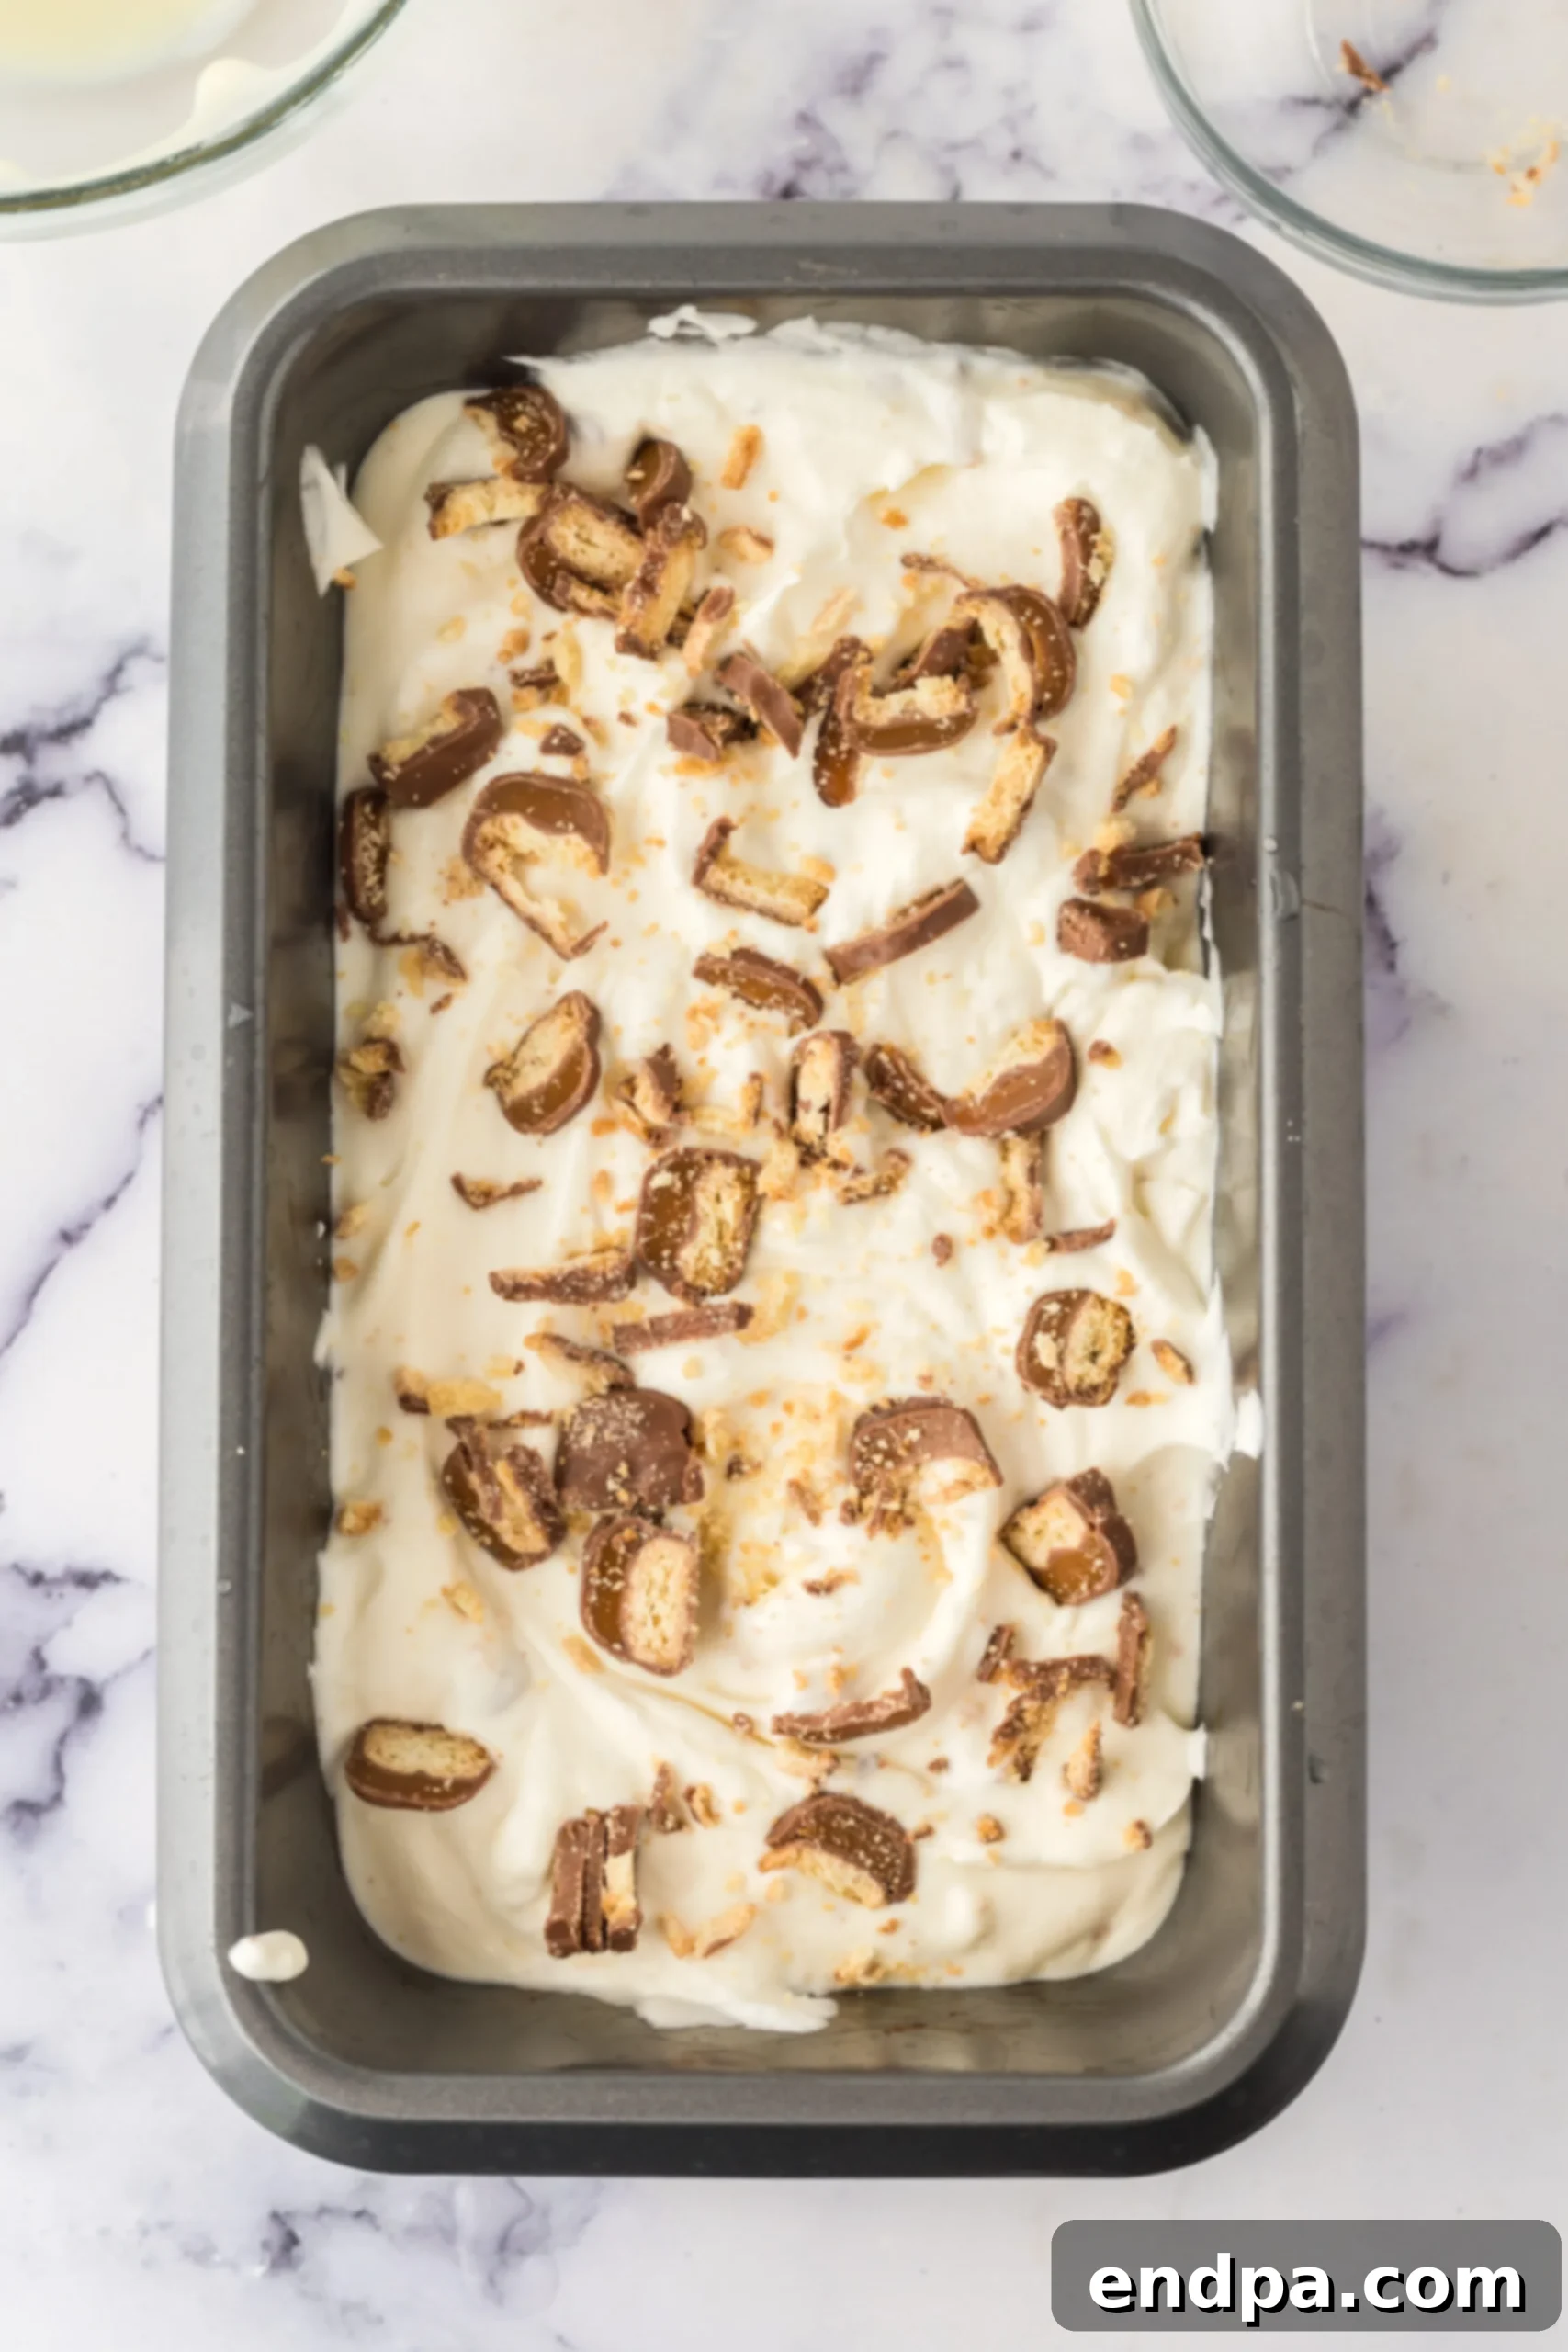
Step 3: Transfer to Pan and Cover. Carefully transfer the entire ice cream mixture into your 9×5 inch loaf pan. Use your spatula to spread it evenly across the pan, ensuring a smooth top surface. This allows for even freezing. Once transferred, cover the pan completely and tightly with plastic wrap. Press the plastic wrap directly onto the surface of the ice cream to minimize air exposure, which helps prevent ice crystals from forming and maintains a super creamy texture throughout the freezing process.
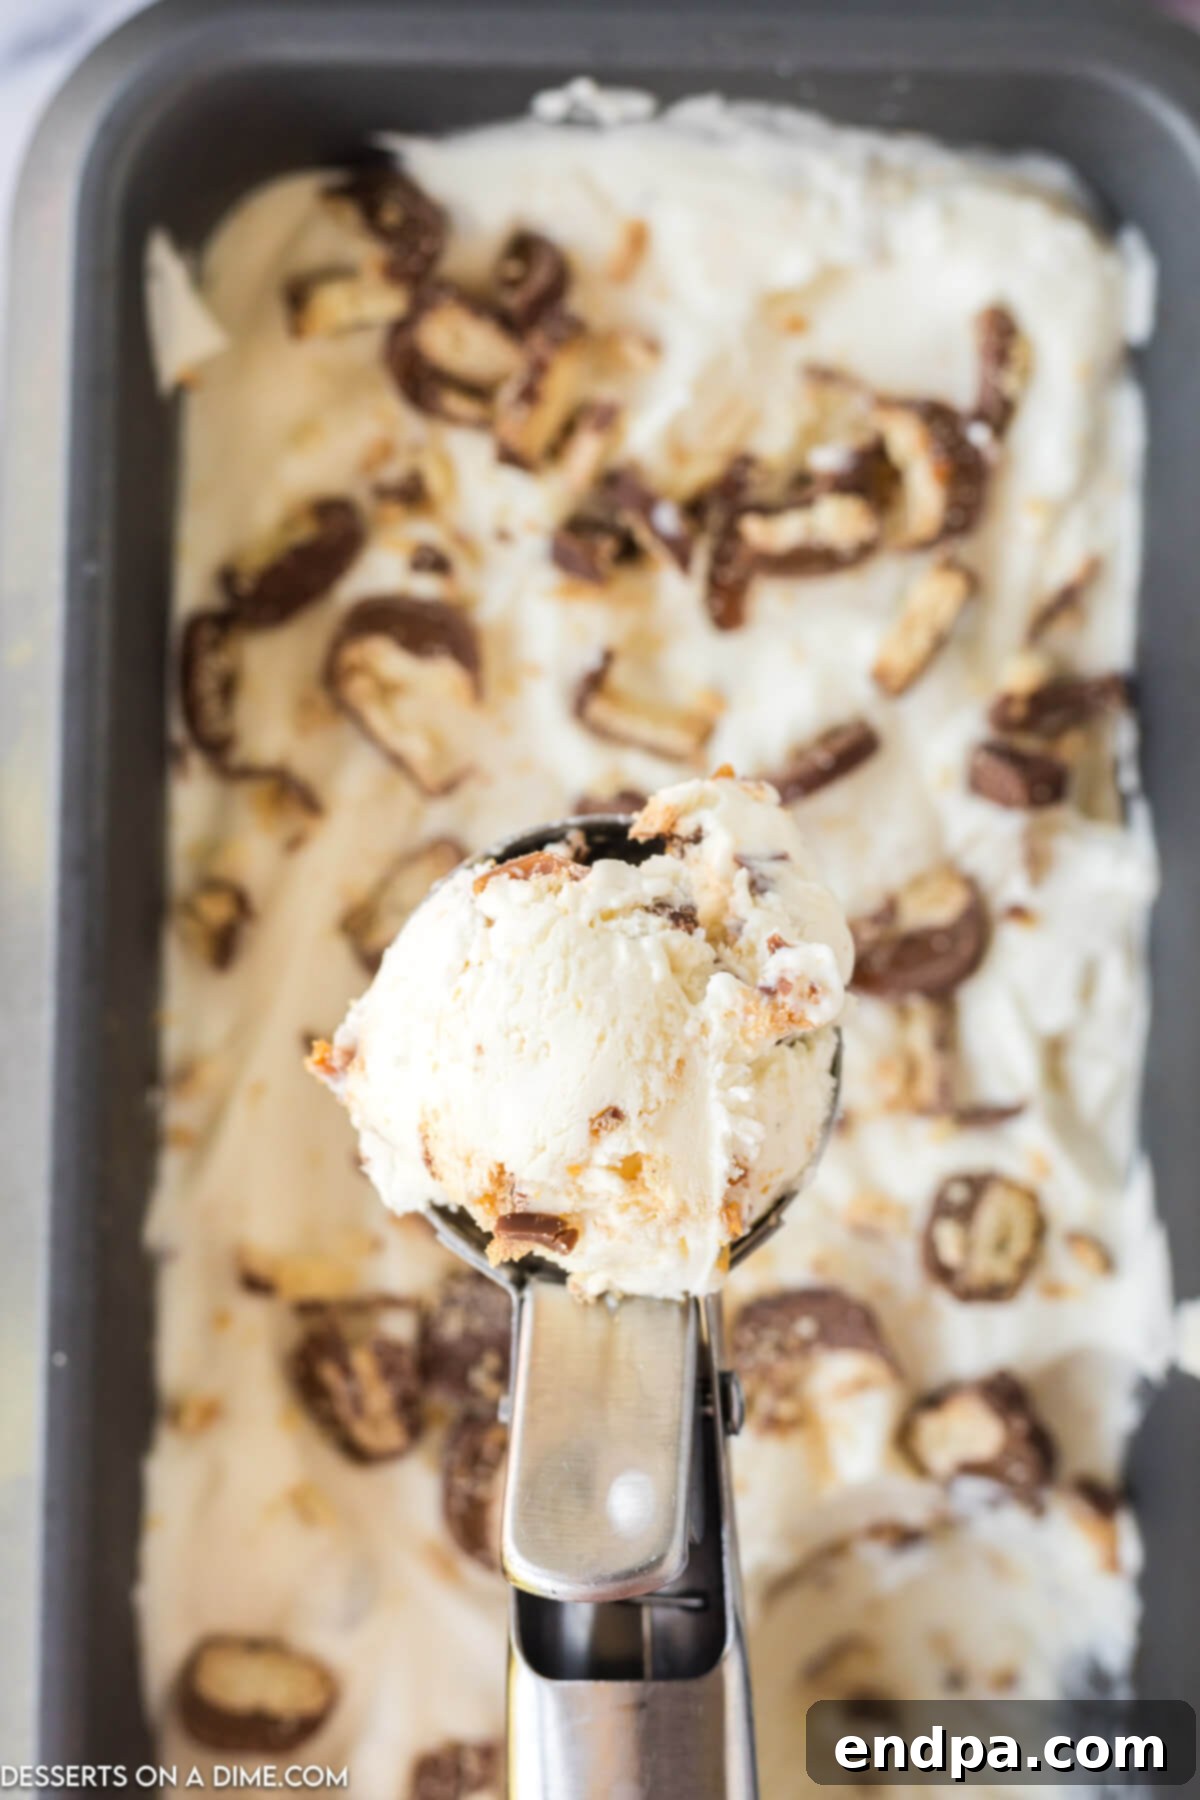
Step 4: Freeze and Enjoy! Place the covered loaf pan into your freezer. Allow the ice cream mixture to freeze for at least 5 hours, or ideally, overnight (8-12 hours), to ensure it becomes firm and perfectly scoopable. The longer it freezes, the more stable its texture will be. Once fully frozen, remove it from the freezer, scoop out generous portions, and savor the delightful homemade Twix ice cream!
Expert Tips for Perfect No-Churn Twix Ice Cream Every Time
While this recipe is incredibly simple, a few expert tips can elevate your homemade Twix ice cream from great to absolutely extraordinary, ensuring a smooth, creamy, and flavorful result every single time.
- Start with Very Cold Cream and Equipment: For the best and quickest whipping results, ensure your heavy whipping cream is straight from the fridge and very cold. You can even chill your mixing bowl and electric mixer beaters in the freezer for 10-15 minutes before you begin. This helps the cream whip up faster and hold its stiff peaks more effectively, leading to a lighter, airier ice cream base that won’t easily deflate.
- Whip Cream to Stiff Peaks: This is arguably the most crucial step in any no-churn ice cream. Stiff peaks mean that when you lift the beaters, the cream holds its shape firmly, without drooping. It should be glossy and voluminous. Over-whipping can turn it grainy or into butter, while under-whipping will result in a less airy and possibly icier texture, as there won’t be enough air to prevent large ice crystals.
- Gently Fold, Don’t Stir: When combining the sweetened condensed milk and Twix pieces with the whipped cream, use a gentle folding motion with your silicone spatula. This technique involves cutting down through the middle of the mixture and lifting from the bottom, turning it over on itself. This preserves the precious air you’ve incorporated into the cream, which is vital for the light, creamy texture of no-churn ice cream. Vigorously stirring can deflate the mixture, leading to a denser, icier consistency.
- Evenly Distribute Twix Chunks: Take your time during the folding process to ensure the chopped Twix bars are evenly distributed throughout the ice cream base. You want a delightful piece of chocolate, caramel, and cookie in every bite, so avoid having them clumped together at the bottom of the pan.
- Cover Directly with Plastic Wrap: After transferring the mixture to the loaf pan, press the plastic wrap directly onto the surface of the ice cream, ensuring there are no air pockets between the wrap and the ice cream. This creates an airtight barrier that prevents air from reaching the surface, which is the primary cause of ice crystal formation and freezer burn, thereby preserving maximum creaminess.
- Allow Adequate Freezing Time: Patience is key! While 5 hours is the minimum, freezing overnight (8-12 hours) will yield the best, most solid, and perfectly scoopable ice cream with the ideal texture. Resist the urge to check it too often, as fluctuating temperatures can also contribute to iciness.
- Temper Before Scooping: Depending on the temperature of your freezer, your ice cream might be very hard straight out of the freezer. To achieve that perfect scoop, let it sit on the counter at room temperature for about 5-10 minutes before attempting to scoop. This allows it to soften slightly, making it much easier to serve without a struggle.
- Warm Your Scoop: For even smoother and more effortless scooping, run your ice cream scoop under hot water for a few seconds, then wipe it dry before digging in. The warmth helps the scoop glide through the frozen dessert with ease, creating beautiful, round scoops.
Storage Best Practices: Keeping Your Ice Cream Fresh and Creamy
Proper storage is essential to maintain the delightful creamy texture and prevent ice crystals from forming in your homemade Twix ice cream. Follow these tips to keep your dessert fresh and delicious for as long as possible, ensuring every scoop is as good as the first:
Store this delightful ice cream in an airtight container in the freezer. When covered with plastic wrap, it can last for up to two months. For an extra layer of protection and to absolutely minimize ice crystal formation, we highly recommend placing a layer of parchment paper directly onto the surface of the ice cream before securing the lid or plastic wrap. This direct contact acts as an additional barrier against freezer burn, which can cause the ice cream to develop an unpleasant icy texture and dull flavor over time.
If you happen to have a loaf pan or freezer-safe container with its own tight-fitting lid, utilize it! This offers excellent protection and makes storage incredibly convenient. By taking these simple precautions, you’ll ensure that every scoop of your Twix ice cream is as perfect as the first, maintaining its smooth, rich texture without any unpleasant iciness. Always keep it sealed tightly to lock in those incredible flavors and freshness for weeks to come.
Creative Serving Suggestions: Elevate Your Twix Ice Cream Experience
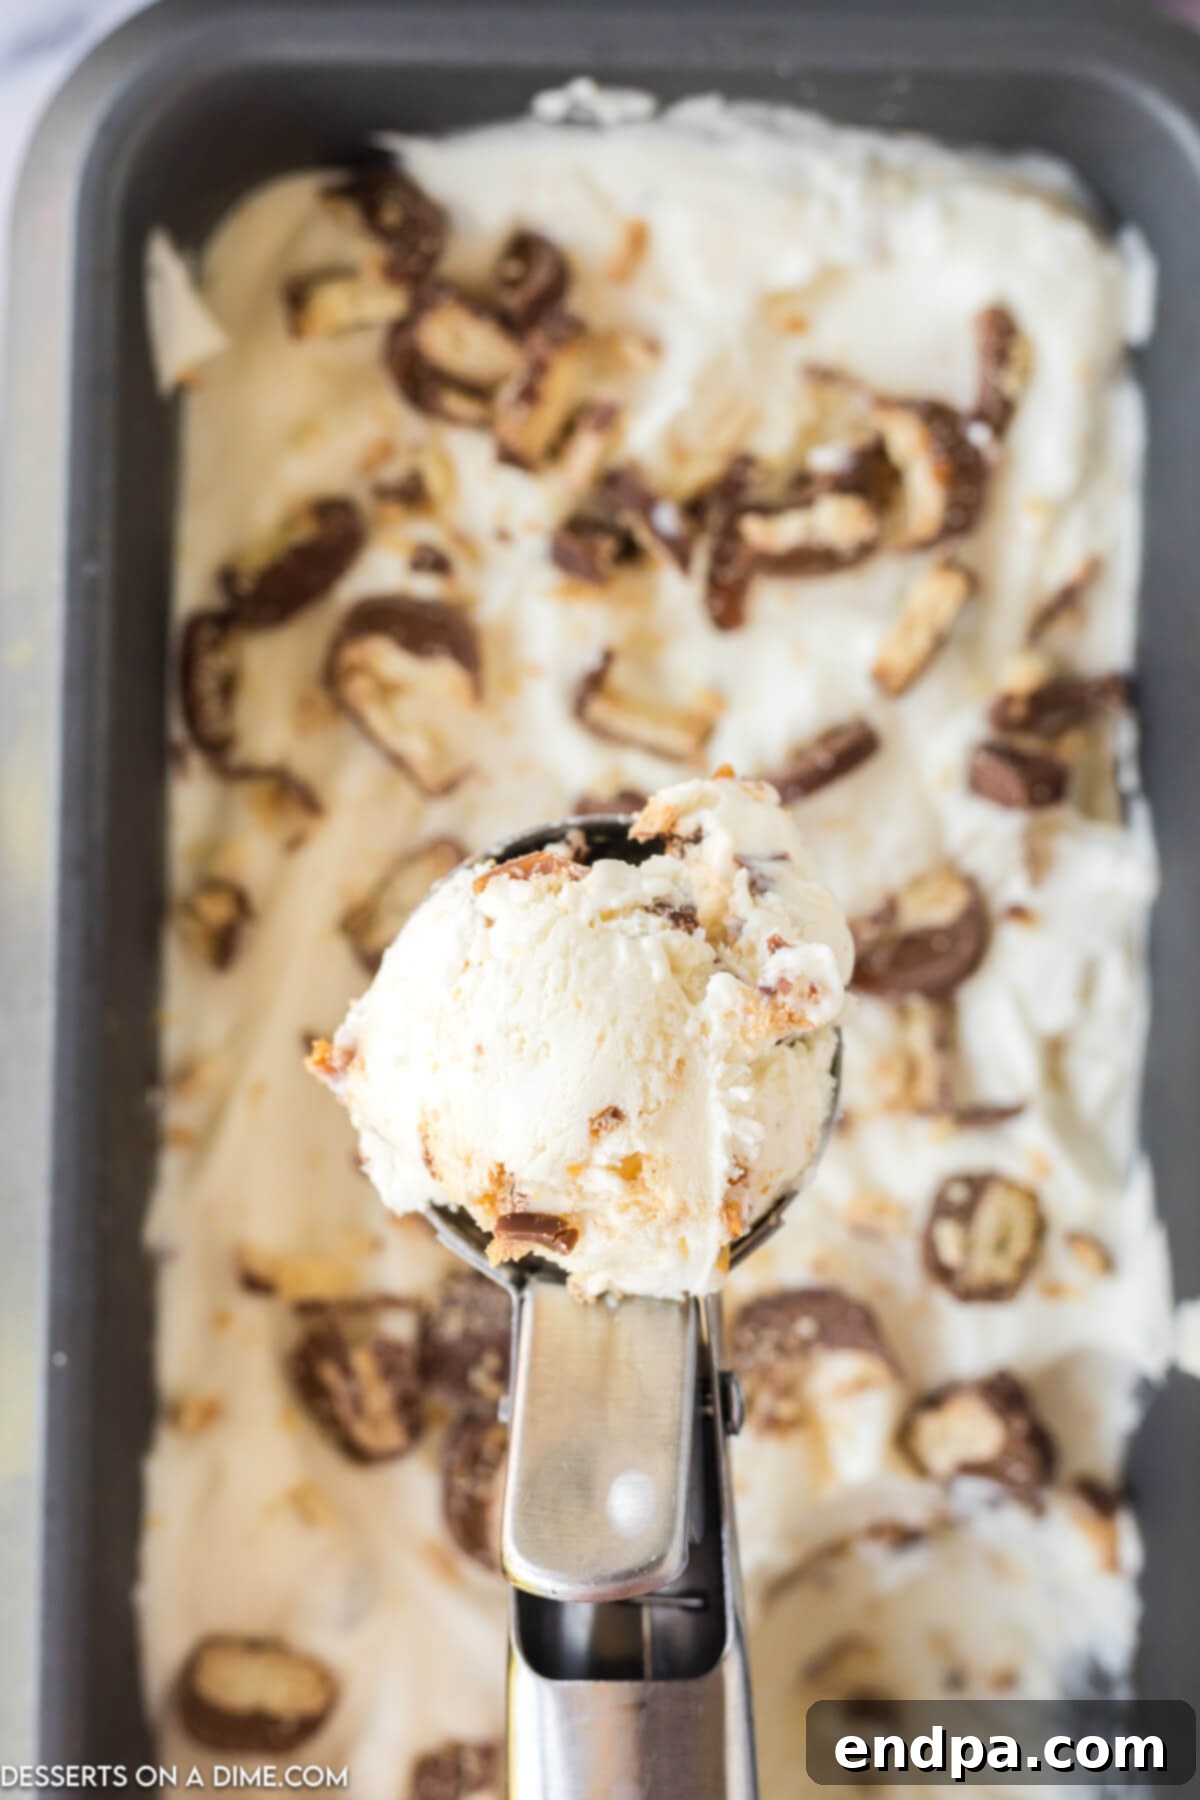
While our homemade Twix Ice Cream is undeniably delicious on its own, there are countless ways to elevate your serving experience and make it even more special. Get creative and customize each bowl to your heart’s content, turning a simple scoop into a gourmet dessert!
We absolutely love to garnish this ice cream with even more Twix pieces! A sprinkle of freshly chopped Twix bars on top not only adds an extra layer of crunch and flavor but also makes for a visually appealing presentation. You could also break up mini Twix ice cream bars and add them on top for an extra chocolatey-caramel punch. The creamy vanilla ice cream base with these additional pieces creates a fun and exciting texture contrast that truly celebrates the Twix flavor profile, making it a feast for both the eyes and the palate.
Beyond extra candy, this ice cream is a fantastic canvas for various dessert sauces and toppings. Drizzle generously with our Easy Homemade Caramel Sauce Recipe for an even deeper, more luxurious caramel flavor that perfectly complements the Twix. Or, for a touch of classic indulgence, spoon over some of The BEST Homemade Hot Fudge Sauce. For a touch of classic elegance and lightness, a dollop of our fluffy Homemade Whipped Cream Recipe is always a welcome addition. And for a nostalgic, satisfying crunch, a quick pour of our Magic Shell Recipe creates an instant chocolatey coating that hardens on contact with the cold ice cream, adding a delightful crackle.
For those who appreciate a nutty crunch and earthy sweetness, consider sprinkling some Slow Cooker Candied Pecans over your scoop. Their sweet, buttery flavor and satisfying texture provide a wonderful counterpoint to the creamy ice cream. Don’t be afraid to mix and match these ideas to create your ultimate Twix ice cream sundae—the possibilities are endless!
Variations and Customizations: Make It Your Own!
One of the greatest joys of homemade ice cream is the freedom to experiment and customize flavors to your heart’s content. While the classic Twix version is stellar, you can easily adapt this no-churn recipe to suit your preferences or to incorporate other favorite candy bars and mix-ins. Get creative and discover your next favorite frozen treat!
- Different Candy Bars: Don’t limit yourself to just Twix! This versatile no-churn base works beautifully with other chocolate-caramel-cookie combinations. Try chopped Snickers for peanuts and nougat, Butterfingers for a crispy, peanut-butter brittle, or even Kit Kats for an extra wafer crunch. M&M’s, Reese’s Peanut Butter Cups, or chopped Oreos are also fantastic choices.
- Add a Swirl: For an extra layer of flavor and visual appeal, swirl in additional sauces before the final freeze. A generous ribbon of extra caramel sauce, rich chocolate fudge, or even a creamy ribbon of peanut butter can be added. Use a knife or skewer to create elegant patterns throughout the ice cream after it’s in the loaf pan.
- Extract Enhancements: A few drops of pure vanilla extract are always a welcome addition to enhance overall flavor, but consider adding a touch of caramel extract, almond extract, or even a hint of espresso powder to deepen the chocolate notes and add complexity. Add these during the folding stage with the condensed milk.
- Nutty Additions: Boost the crunch factor and add healthy fats with finely chopped nuts. Pecans, walnuts, roasted almonds, or even pistachios can be folded in along with the Twix bars for added texture and a different flavor dimension.
- Cookie or Biscuit Crumble: For an extra layer of texture that complements the biscuit in the Twix bar, consider folding in some crushed shortbread cookies, graham cracker crumbs, or even digestive biscuits. These add another dimension of crunch and buttery flavor.
- Salted Caramel Twist: For a sophisticated touch and to balance the sweetness, add a pinch of flaky sea salt (like Maldon) to the condensed milk mixture before folding. This enhances the caramel flavor and creates a wonderful sweet-and-salty dynamic.
- Coffee Infusion: For coffee lovers, dissolve 1-2 teaspoons of instant espresso powder or strong instant coffee into the condensed milk before folding it into the whipped cream. This creates a mocha-Twix delight!
Common Questions and Troubleshooting Your No-Churn Ice Cream
Even with a simple recipe, questions can arise, and sometimes things don’t go exactly as planned. Here are answers to some common queries and solutions to potential issues you might encounter while making your no-churn Twix ice cream:
- Why is my ice cream icy? This is the most common issue with no-churn ice cream. It usually happens if the heavy cream wasn’t whipped to stiff enough peaks (meaning not enough air was incorporated), or if the mixture wasn’t covered tightly during freezing. The air incorporated in the cream and the sugar in the condensed milk are key to preventing large ice crystals. Ensure tight plastic wrap contact with the ice cream surface to prevent air exposure.
- My ice cream is too soft/doesn’t freeze properly. This could be due to not enough fat content in the cream (always use heavy whipping cream, which has a higher fat content than whipping cream or half-and-half) or not freezing long enough. Make sure your freezer is set to 0°F (-18°C) or colder, and give it at least 8 hours, preferably overnight, to set completely. Opening the freezer frequently can also disrupt freezing.
- Can I use a different type of milk? No, sweetened condensed milk is crucial for the no-churn method. Regular milk, evaporated milk, or even cream without added sugar will not yield the same creamy, no-crystal result. Sweetened condensed milk provides both the necessary sweetness and the essential thick consistency that prevents large ice crystals from forming.
- How long does homemade ice cream last? When stored correctly in an airtight container with minimal air exposure (e.g., plastic wrap pressed directly onto the surface), homemade no-churn ice cream can last up to 2 months in the freezer. However, for optimal taste and texture, we recommend enjoying it within 3-4 weeks.
- Can I make this dairy-free? While the core principles remain, you would need to use full-fat coconut cream (chilled overnight and scooped from the top solid part, discarding the liquid) and a dairy-free sweetened condensed milk substitute. The results may vary slightly in texture and flavor, and you might need to adjust sweetness. Ensure your Twix bars are also dairy-free if following a strict diet.
- What if my cream won’t whip? Ensure your cream is very cold, and your bowl and beaters are impeccably clean and completely free of any grease. Even a tiny bit of oil can prevent cream from whipping. Sometimes chilling the equipment helps significantly. If it still won’t whip, double-check that you’re using heavy whipping cream and not a lighter cream product.
- How do I prevent the Twix pieces from sinking? To help prevent heavier mix-ins from sinking to the bottom, you can freeze your Twix pieces for 15-20 minutes before folding them in. Also, ensuring your whipped cream is very stiff and the folding is gentle but thorough helps distribute them evenly.
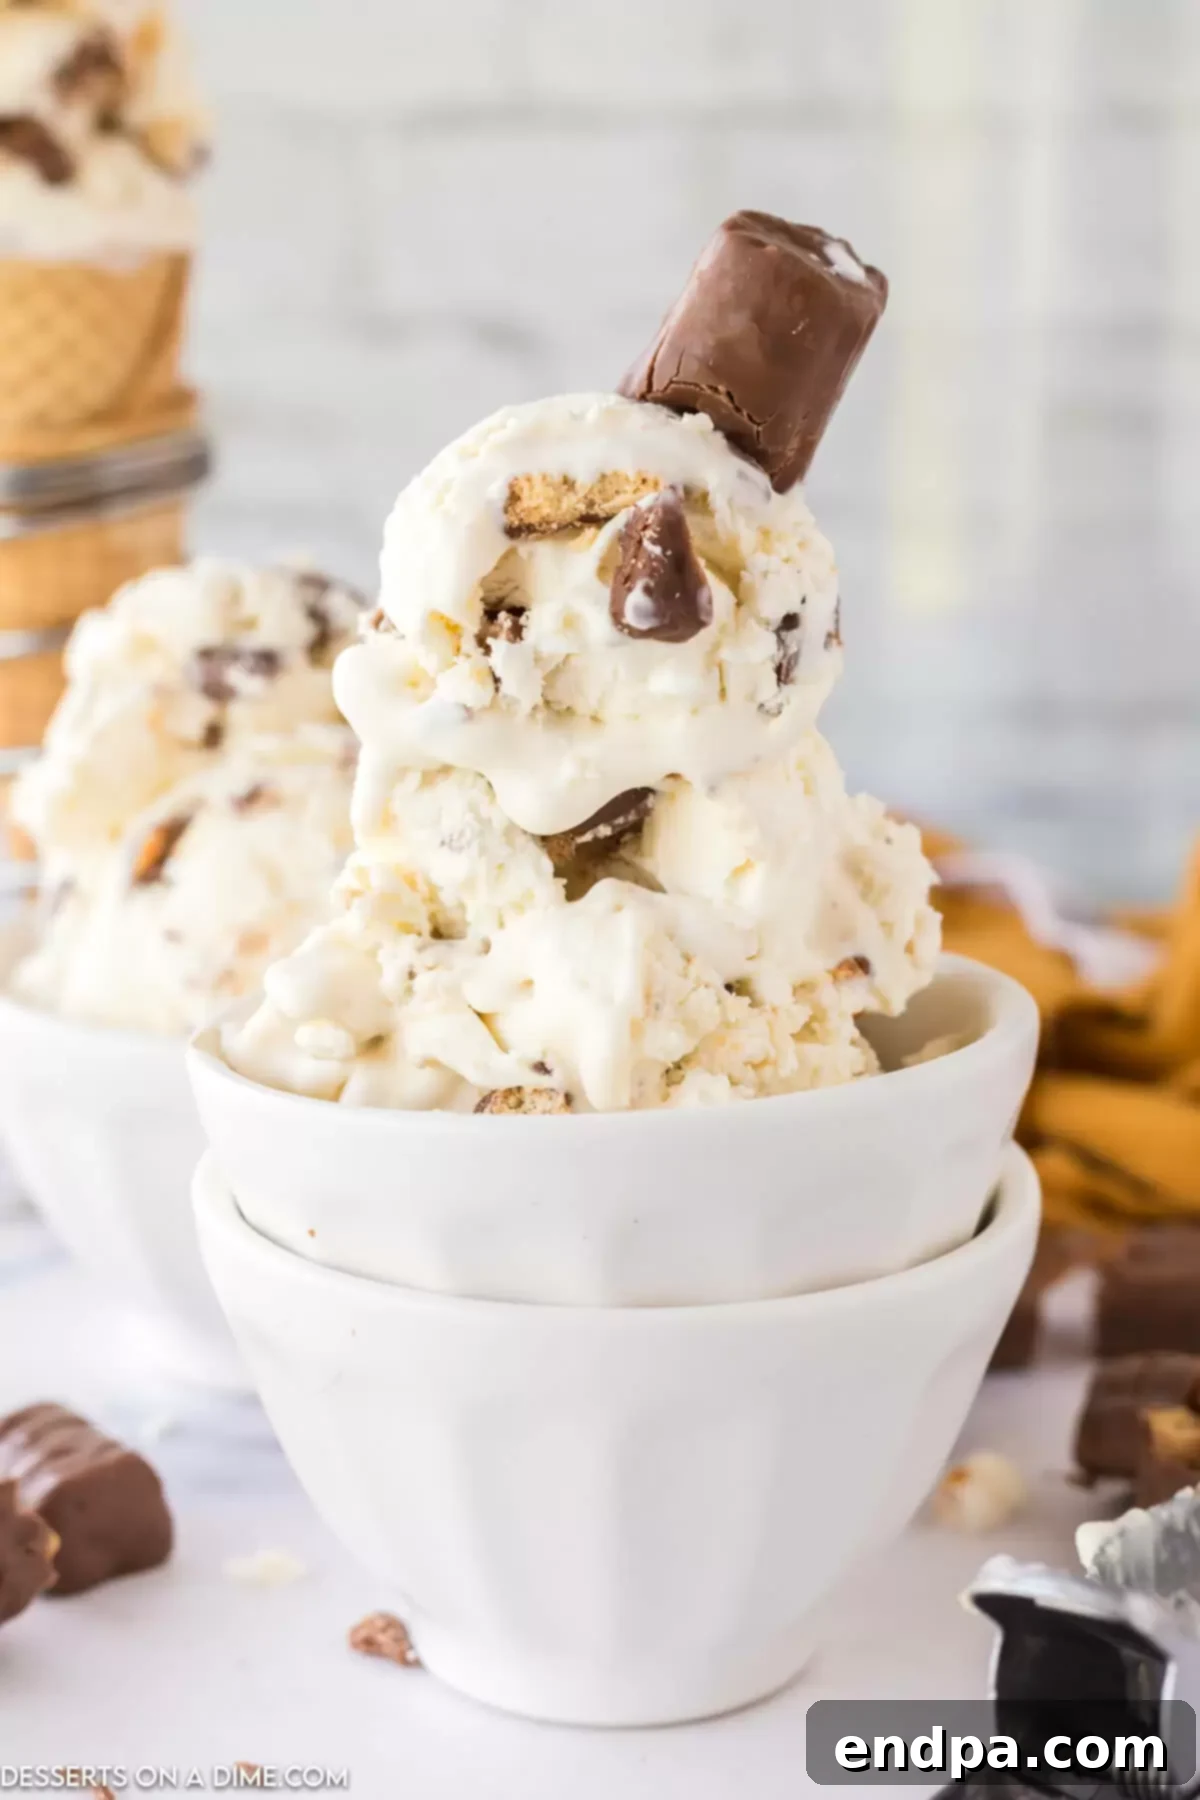
Twix Ice Cream
This Twix Ice Cream is an unbelievably easy no-churn ice cream recipe that requires no special machine. With only 3 ingredients, you get a rich, creamy, and decadent homemade ice cream packed with the irresistible flavors of caramel, chocolate, and crunchy biscuit from your favorite Twix bars. It’s the perfect treat for any occasion, requiring minimal effort for maximum deliciousness.
15
5
5 15
6 servings
American Dessert
Dessert
636 kcal
Carrie Barnard
Equipment
- 9×5 inch loaf pan (or similar freezer-safe container)
- Silicone spatula or large spoon
- Large mixing bowl (preferably chilled)
- Electric hand mixer
- Plastic wrap (or airtight lid)
- Sharp knife and cutting board
Ingredients
- 2 cups heavy whipping cream (very cold)
- 14 ounce sweetened condensed milk (one standard can)
- 1 ¼ cup chopped Twix bars (about 6-8 standard bars, chilled for easier chopping)
Instructions
- Whip the Cream: In a large, chilled mixing bowl, use an electric hand mixer to whip the very cold heavy whipping cream until stiff peaks form. The cream should hold its shape firmly when the beaters are lifted.
- Combine & Fold: Gently pour the sweetened condensed milk into the whipped cream. Using a silicone spatula, carefully fold the milk into the cream until just combined, being careful not to deflate the cream. Add the chopped Twix bars and gently fold them in until evenly distributed throughout the mixture.
- Transfer to Pan: Transfer the ice cream mixture into a 9×5 inch loaf pan. Smooth the top with your spatula for even freezing.
- Cover & Freeze: Cover the pan tightly with plastic wrap, pressing it directly onto the surface of the ice cream to prevent ice crystals. Place the loaf pan in the freezer for at least 5 hours, or preferably overnight, until firm and completely set.
- Serve: Once frozen, remove from the freezer and let sit at room temperature for 5-10 minutes to soften slightly, making it easier to scoop. Scoop generous portions and enjoy your decadent homemade Twix ice cream!
Recipe Notes
For best results, ensure all dairy ingredients are very cold. You can even chill your mixing bowl and beaters for 10-15 minutes prior to whipping the cream to help it stiffen faster. When folding, always be gentle to maintain the airy texture of the whipped cream, which is crucial for a smooth no-churn ice cream. For long-term storage and to prevent freezer burn and ice crystals, press a layer of parchment paper directly onto the ice cream surface before covering with plastic wrap or a lid. This will keep it fresh and creamy for up to two months. If ice cream is too hard to scoop, let it temper on the counter for a few minutes.
Nutrition Facts (per serving)
- Calories: 636 kcal
- Carbohydrates: 57g
- Protein: 10g
- Fat: 42g
- Saturated Fat: 25g
- Polyunsaturated Fat: 2g
- Monounsaturated Fat: 11g
- Trans Fat: 0.1g
- Cholesterol: 116mg
- Sodium: 180mg
- Potassium: 422mg
- Fiber: 1g
- Sugar: 54g
- Vitamin A: 1393 IU
- Vitamin C: 2mg
- Calcium: 269mg
- Iron: 0.4mg
More Delightful Ice Cream Recipes to Explore
If you’ve fallen in love with the simplicity and deliciousness of this no-churn Twix ice cream, then you’re in for a treat! There’s a whole world of easy, homemade ice cream flavors waiting to be discovered. Expand your frozen dessert repertoire with these fantastic recipes, all designed to bring joy to your taste buds with minimal fuss:
- Butterfinger Ice Cream Recipe: For a crunchy, peanut-buttery, and chocolatey explosion that’s impossible to resist.
- No-Churn Chocolate Ice Cream: A classic rich chocolate flavor, effortlessly made without an ice cream machine, perfect for any chocolate lover.
- Snickers Ice Cream Cake: Combine your love for ice cream and Snickers in a show-stopping cake that’s ideal for birthdays and celebrations.
- Cookie Monster Ice Cream: A fun, vibrant, and cookie-filled treat that kids and adults alike adore, bringing a playful touch to your dessert table.
- Kool-Aid Ice Cream Recipe: A surprisingly simple and colorful option for a fruity, refreshing twist on traditional ice cream.
- Chunky Monkey Ice Cream: A delightful combination of sweet banana, rich chocolate chunks, and crunchy walnuts for a wholesome yet indulgent treat.
Why settle for bland, store-bought ice cream when you can whip up such incredible homemade versions with ease and personalize them to your liking? We encourage you to try this Twix Ice Cream and experience the joy and satisfaction of making your own frozen treats. We’d love to hear your thoughts and experiences! Please let us know what you think once you try it by leaving a comment below. Happy scooping, and enjoy every creamy, dreamy bite!
